
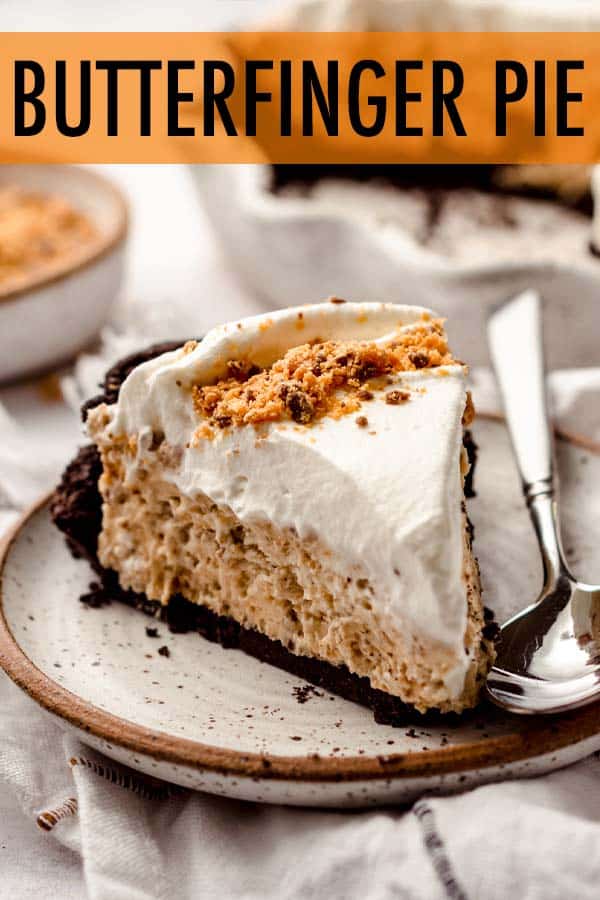
No Bake Butterfinger Pie
As an Amazon Associate, I earn from qualifying purchases. Read the full disclosure here.
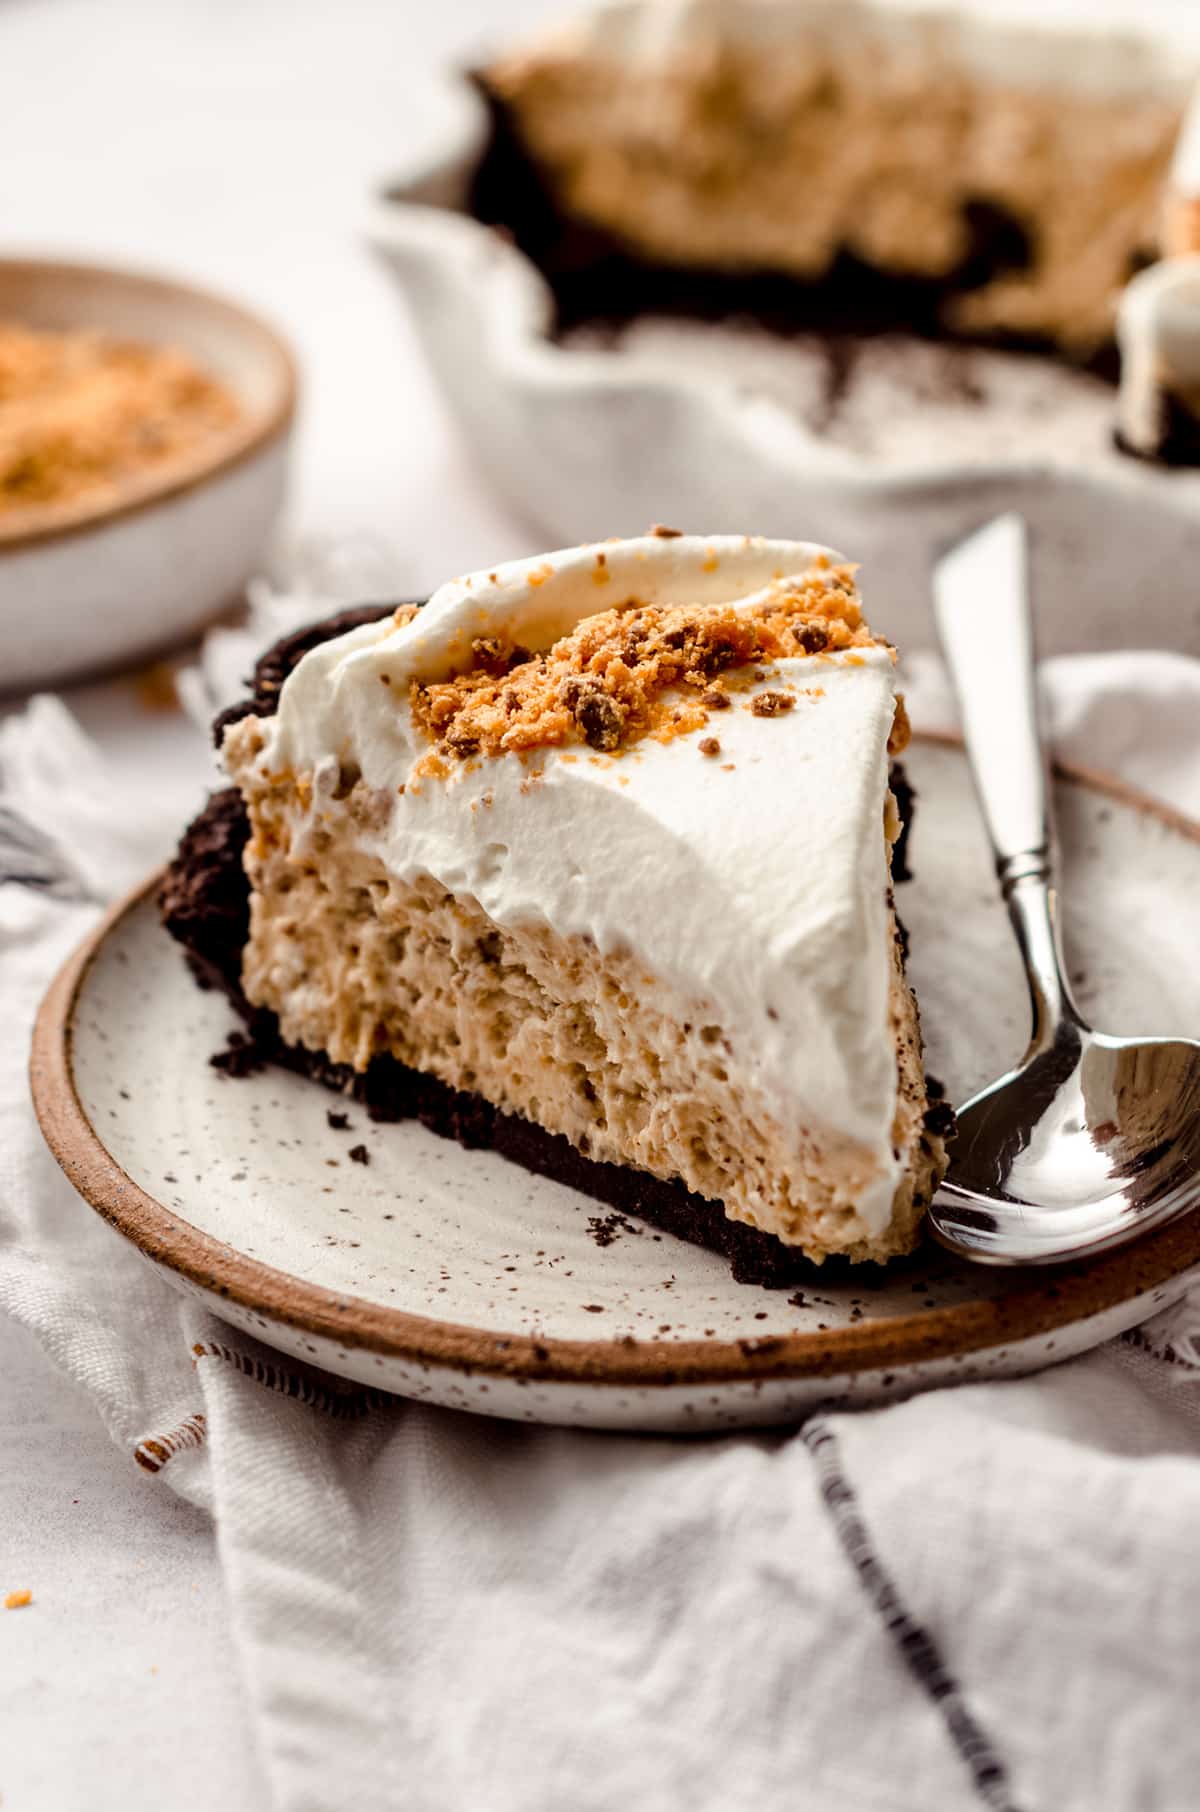
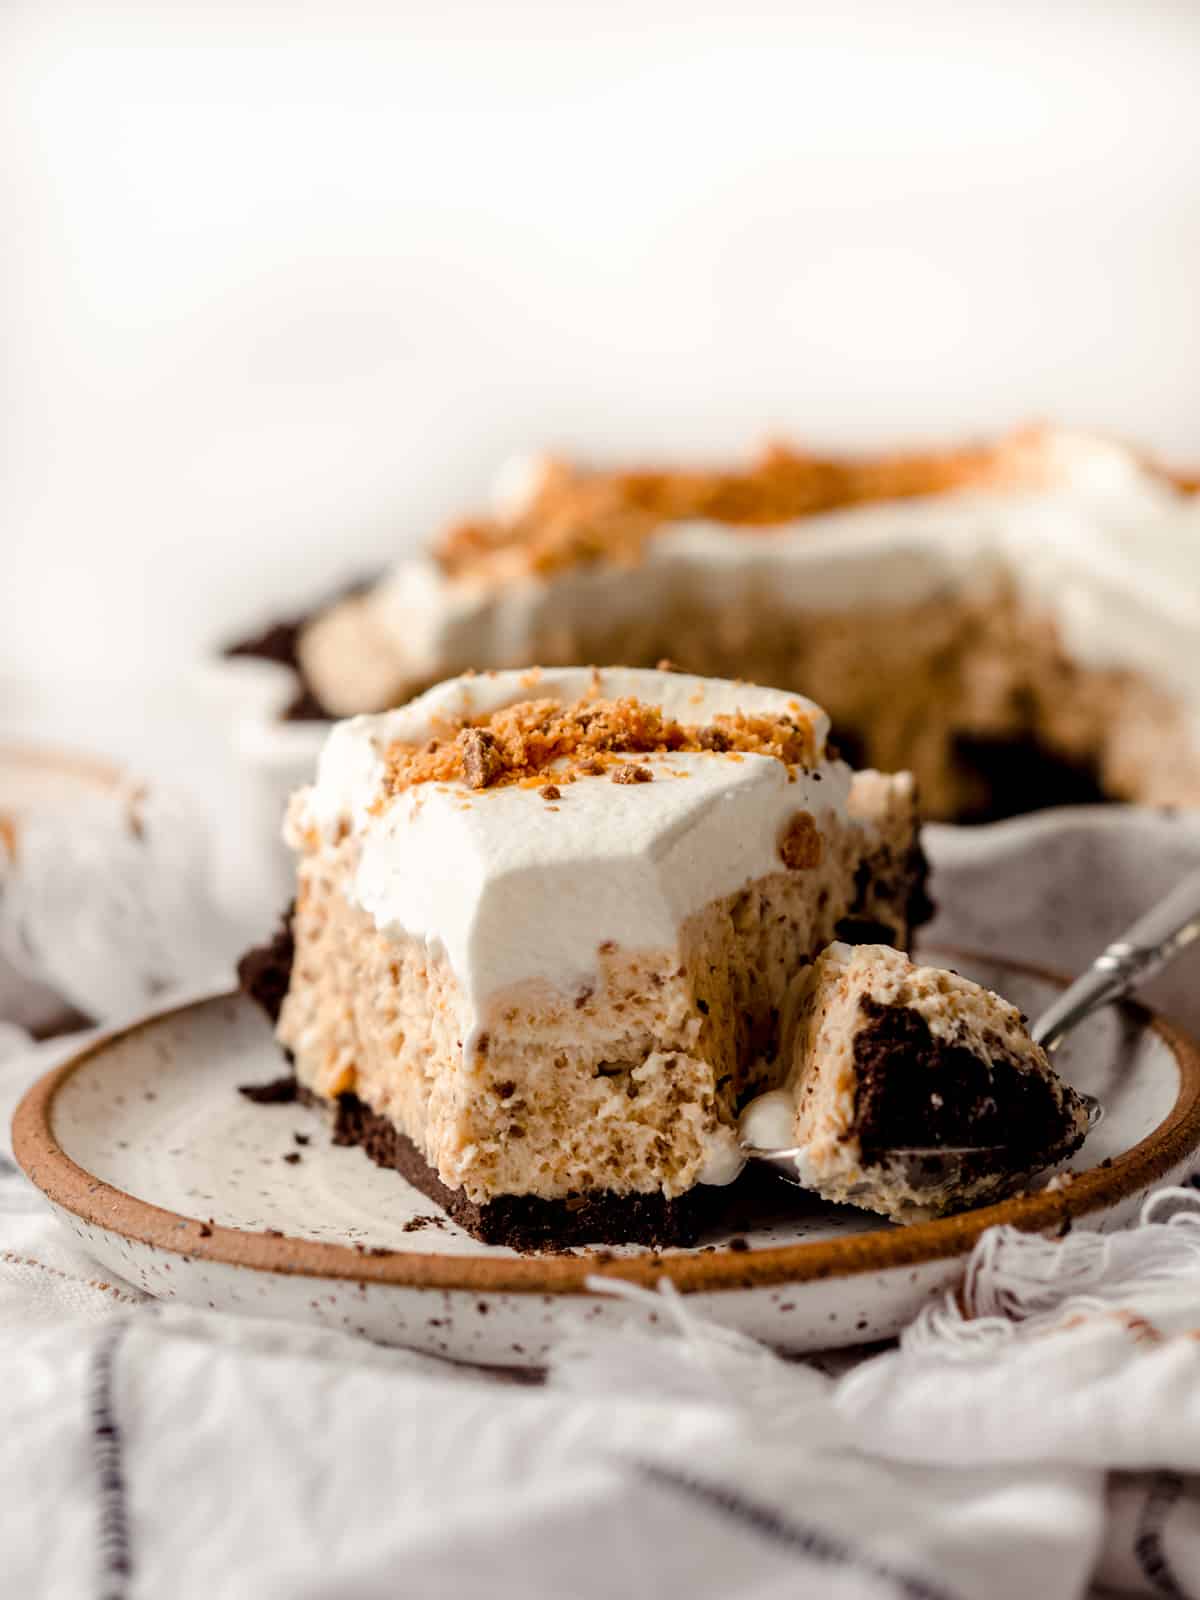
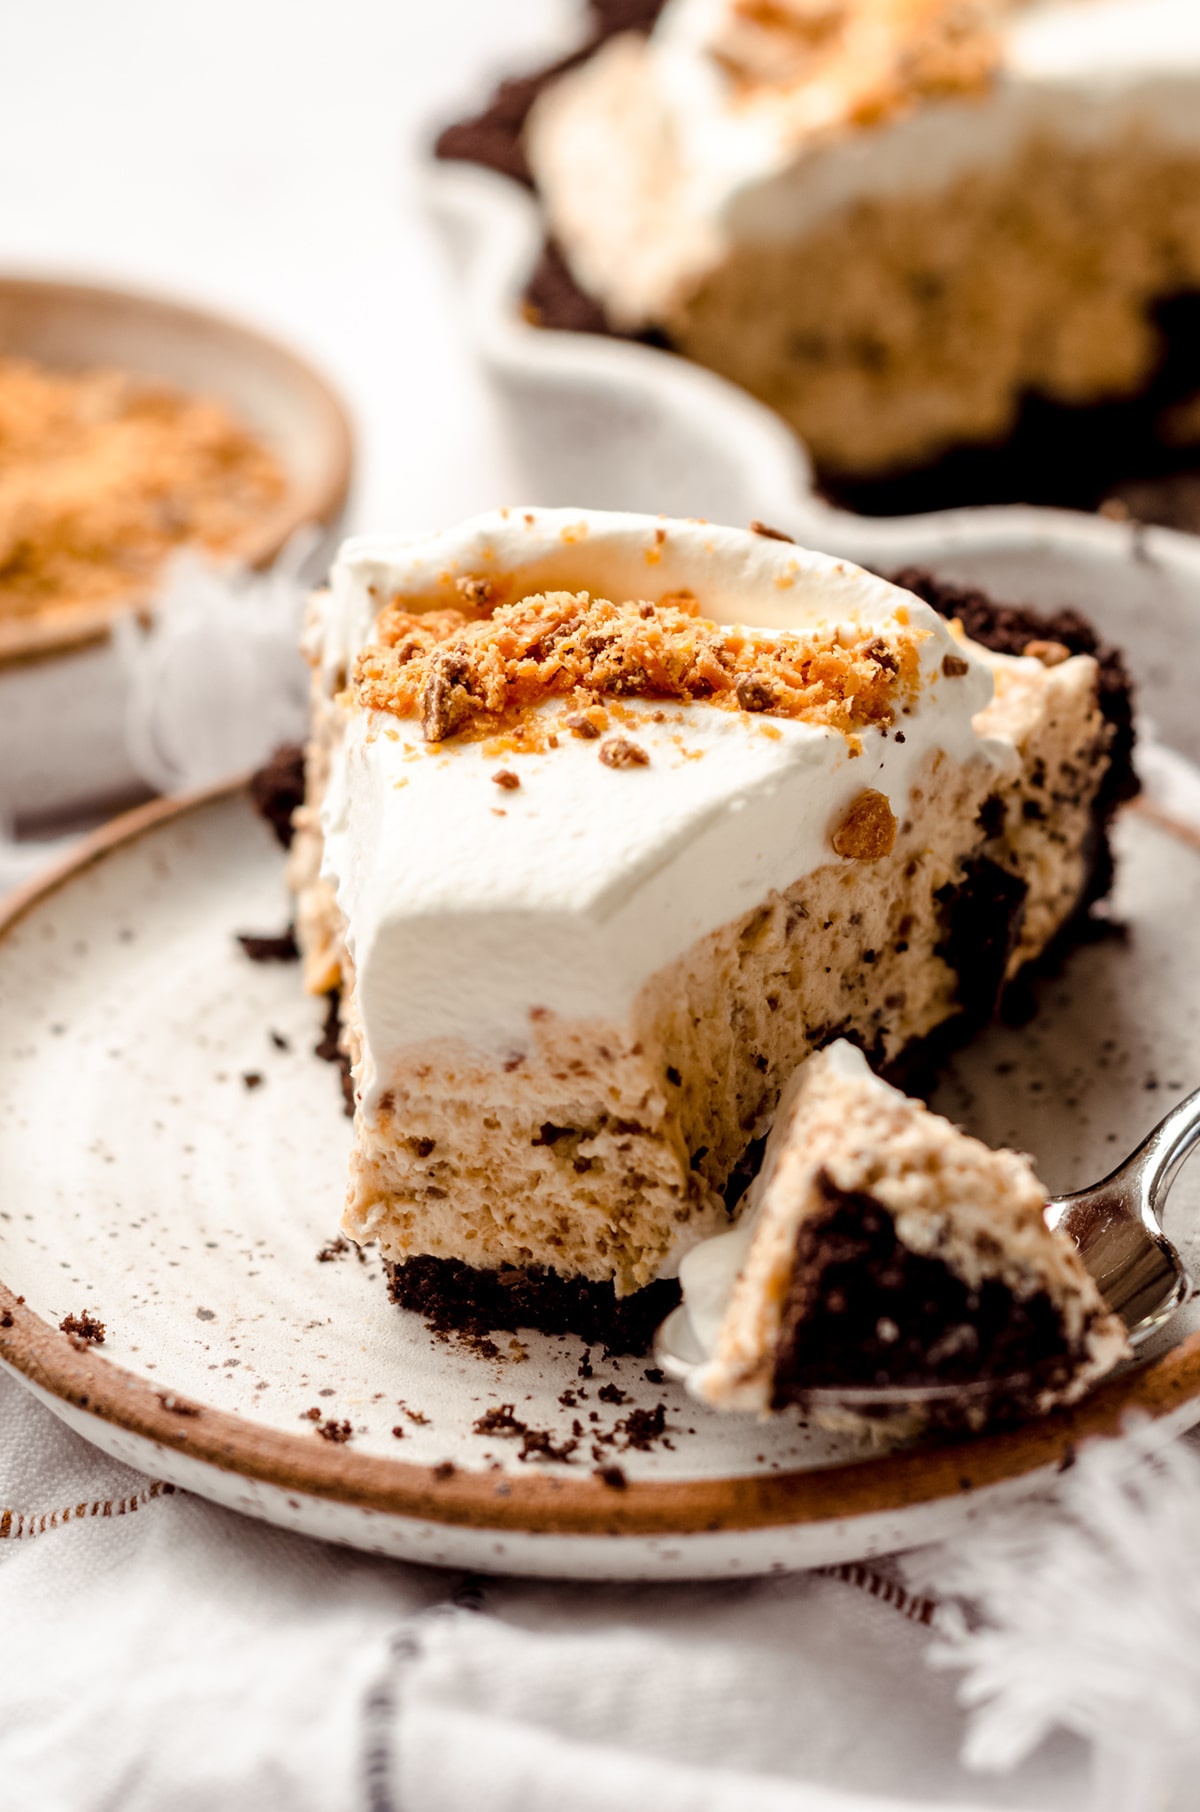
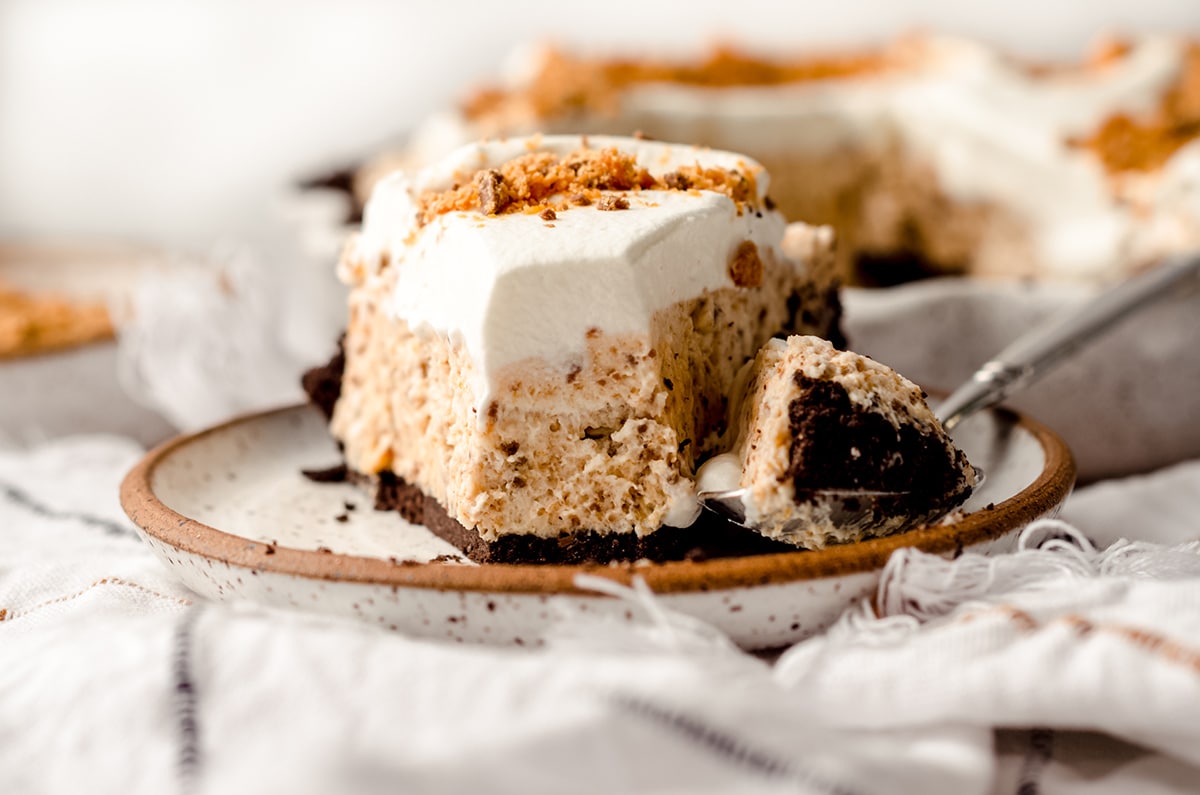
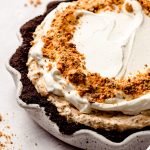
An easy, creamy no bake pie made with a simple Oreo cookie crust and filled with chunks of crushed Butterfinger candy and topped with fluffy homemade whipped cream.

Creamy Butterfinger Pie Recipe
If you’ve been with me a while, you probably know that every year I host a monthly recipe around a central theme. I’ve been doing this for 6 years going strong, and I don’t plan on slowing down any time soon!
In year one, I featured a monthly cake recipe. In year two, muffins were on the menu. In year three, it was time for breads. In year four, I featured 12 different brownie recipes! In year five, I was all about sharing my favorite no bake recipes.
Now in year six, it’s time for pies to get their due! So far, I’ve shared banoffee pie, chocolate chess pie, and now this creamy no bake Butterfinger pie recipe.
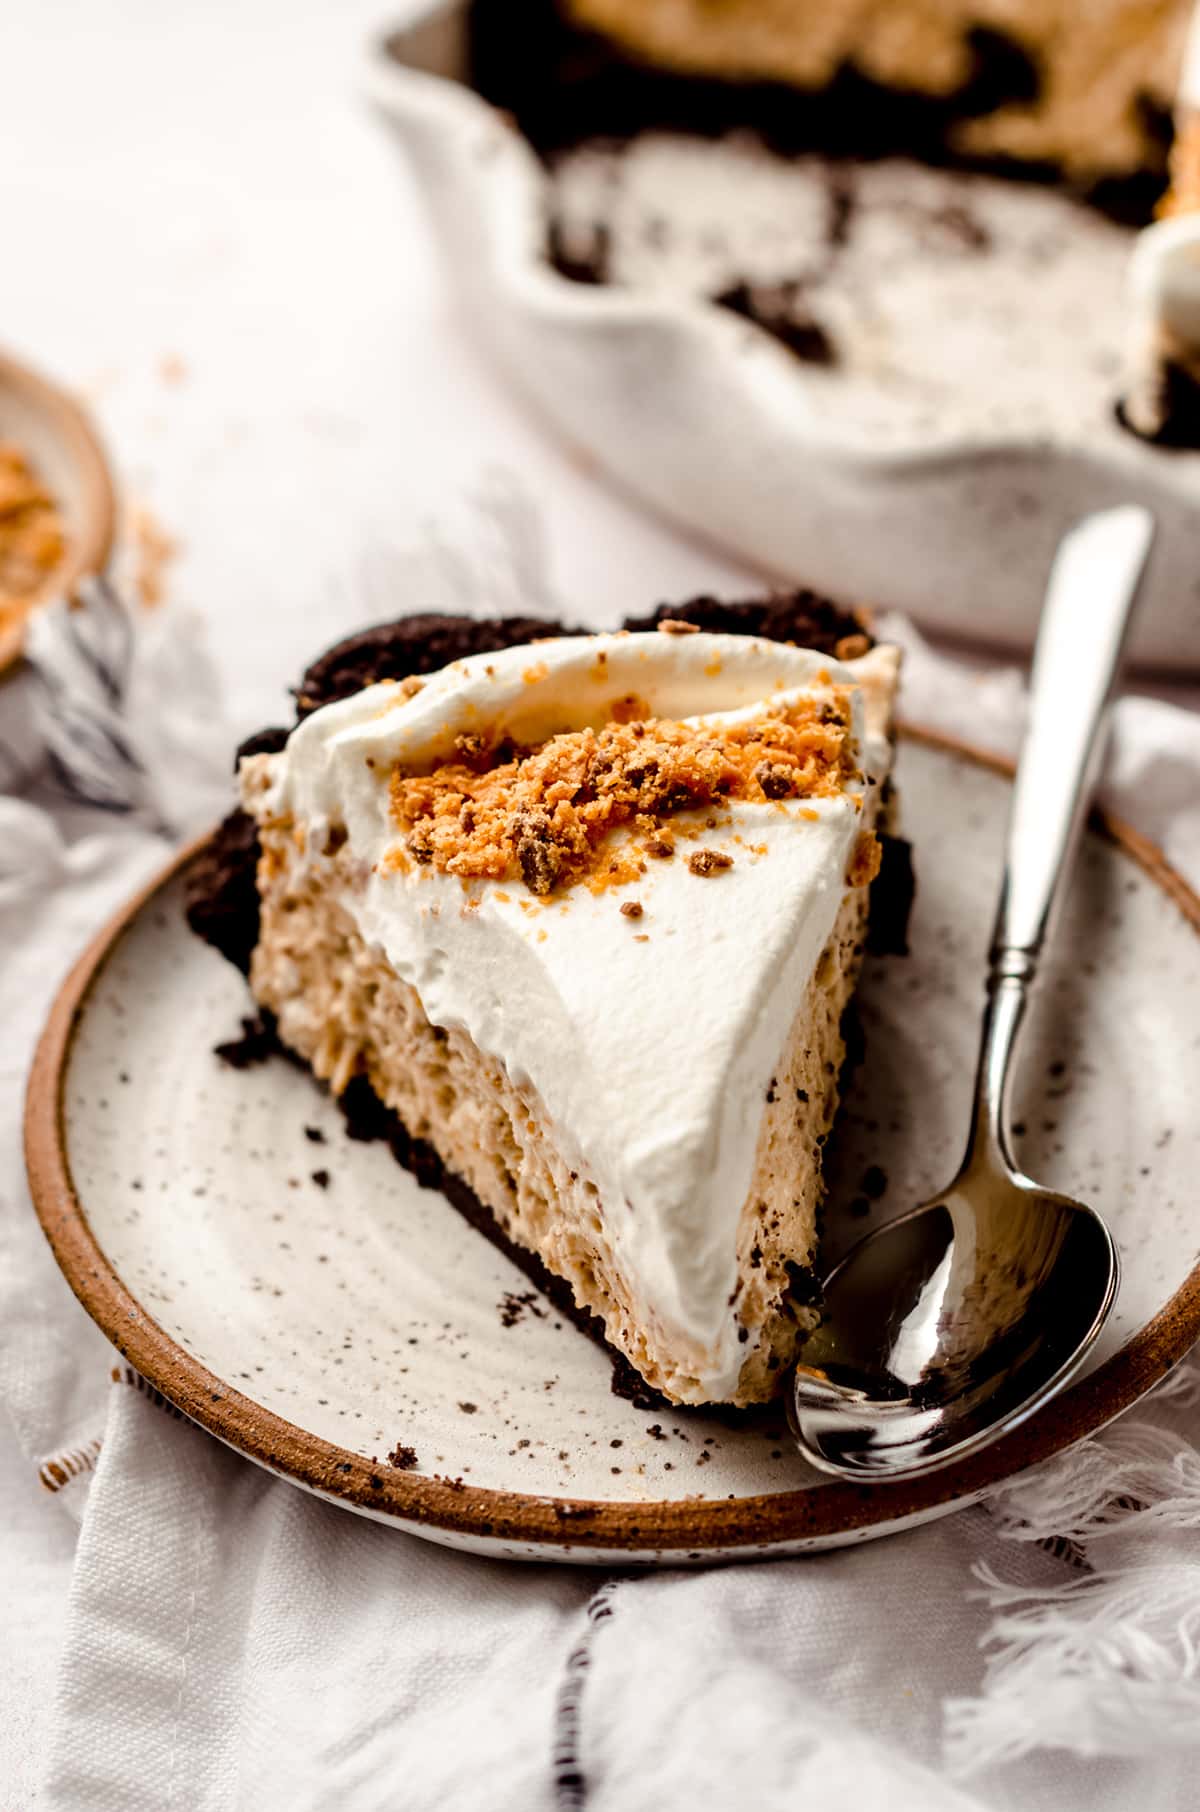
But baker beware: Butterfinger pie is for peanut butter lovers only. It’s a rich, creamy, and decadent pie that is perfect for those who love that combo of peanut butter + chocolate.
If you’re just not that into peanut butter, I recommend that you check out one of my many other recipes to find something just right for you.
Check out these much beloved vanilla bean sugar cookies, this bright and colorful funfetti cheesecake recipe, OR my personal favorite, chewy oatmeal raisin cookies.
But if you crave that signature sweet and salty taste, let’s get going on that Butterfinger pie recipe.
Butterfinger Pie Ingredients
One of the things you’ll love most about this creamy, candy filled pie is how few ingredients it actually uses, and how simple it is to prepare.
Since Butterfinger pie is a no bake pie recipe, you don’t need to worry about prepping a buttery pie crust in advance, or adding an entire arsenal of ingredients to your grocery list.
With just a few simple ingredients (one of which is chopped Butterfinger candy bars), you can have the most amazing sweet and salty no bake pie ready to go.
THE CRUST
The Oreo crust requires just 2 ingredients, and can be made in just a matter of minutes with a food processor. Make sure to check out my step-by-step instructions for an Oreo crust if you need some tips and tricks for getting the best crust.
THE FILLING
Then we have the filling, which is made with heavy cream, cream cheese, powdered sugar, vanilla, and (of course) chopped Butterfinger candy bars.
TOPPING
For the crowning glory we have a thick, pillowy layer of homemade whipped cream made with heavy cream, powdered sugar, and vanilla.
While you could totally use Cool Whip for the topping, I might have to shoot you a disapproving glance, since making homemade whipped cream is just too easy, and really tastes so much better. It’s worth it, I promise.
HOW TO MAKE BUTTERFINGER PIE
Like I’ve mentioned, this pie is so(ooo) easy to make. The hardest part is probably chopping the Butterfinger candy bars, but being able to snack on a few pieces throughout the process makes it a little more bearable.
Just be sure to buy a few extra Butterfingers if you plan on getting a little snacky, or if you have sneaky hands at home. OR if you are the sneaky hands in question. Ok, especially if you are the sneaky hands in question (guilty!).
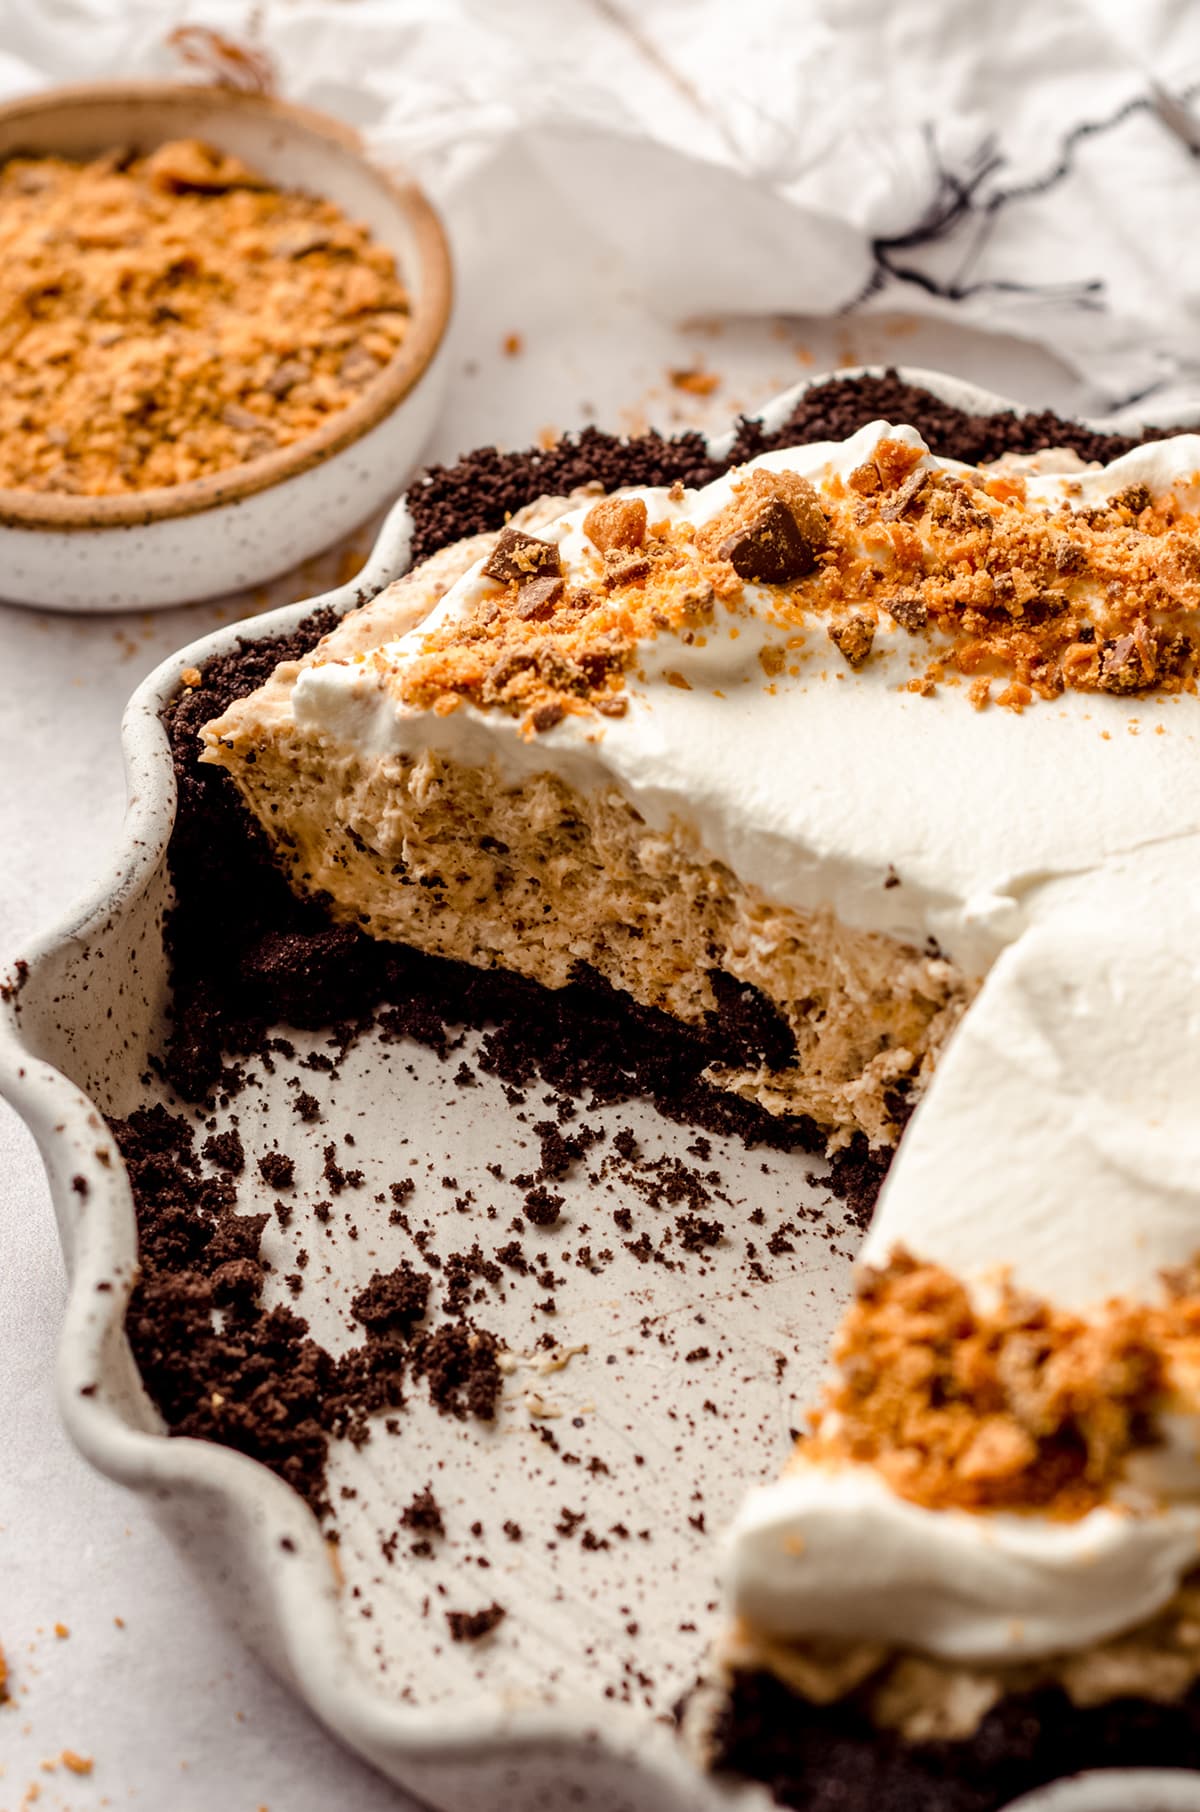
OREO CRUST
The Oreo crust really drives home that classic flavor combo of peanut butter and chocolate.
While some versions of easy Butterfinger pie use a graham cracker crust, I wanted to give you a flavor packed pie. And we all know that good things happen when you start with Oreo cookies. Am I right?
I have a post detailing exactly how to make the perfect Oreo crust, but it really is very simple:
STEP #1. Just add your Oreos to a food processor (cream filling included!) and crush them until they are fine and fully broken down.
STEP #2. Then add your crushed Oreo cookies to a medium size bowl and drizzle in the melted butter.
STEP #3. Stir to mix completely, then press into the bottom (and up the sides) of a 9″ pie plate.
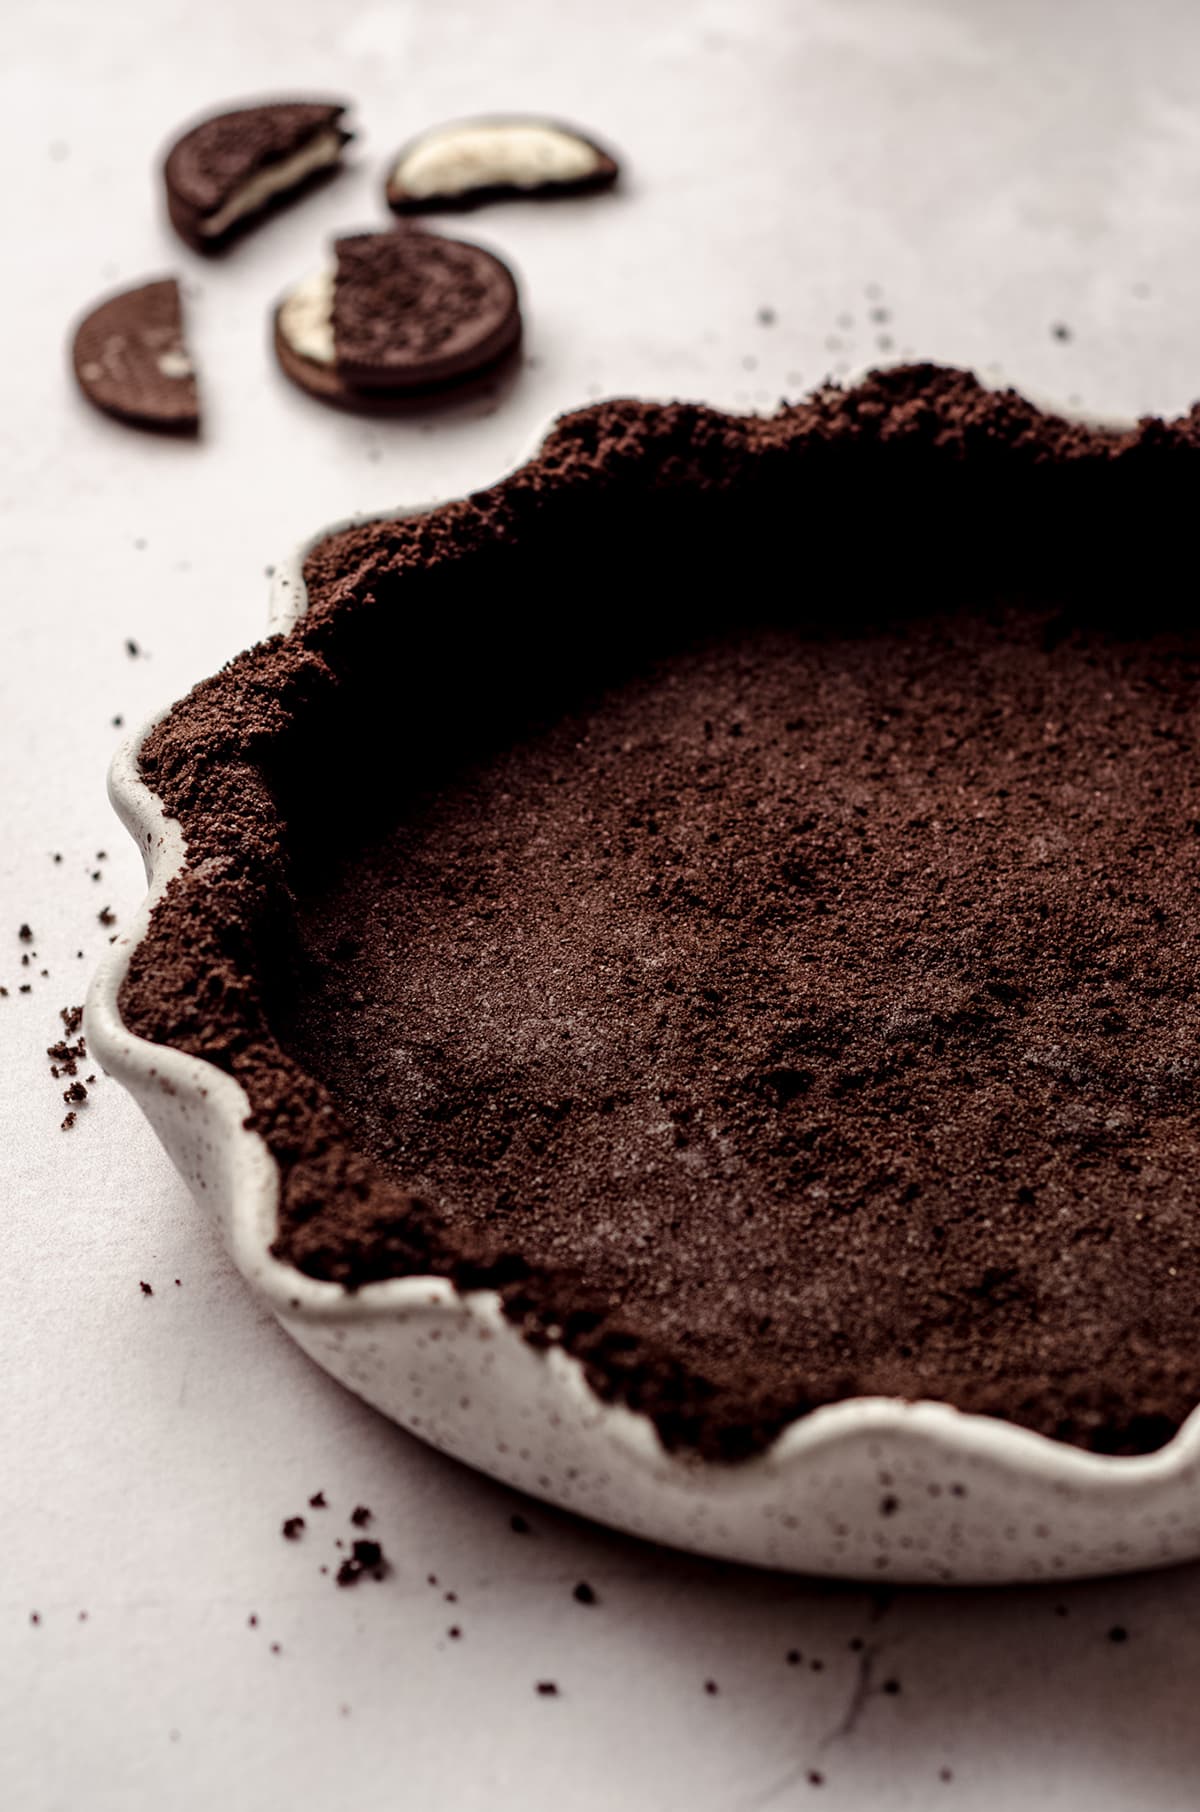
STEP #4. Go ahead and add your pie plate to the fridge and chill for at least 30 minutes. This will give it a chance to firm up as the butter hardens, and creates a firm base for your creamy Butterfinger filling.
BUTTERFINGER FILLING
STEP #5. Now we are getting to the really good stuff. I mean, it’s all been good until now with the Oreo cookies and whatnot. But this is what we came here for: Butterfinger candy galore.
I recommend getting started on your filling just before your crust is finished chilling. That way you don’t have filling waiting around, impatiently waiting to be added to a decadent crust.
STEP #6. About 10 minutes before your pie crust is ready to come out of the fridge, get started by adding the heavy cream to the bowl of a stand mixer fitted with the whisk attachment.
STEP #7. Beat the whipping cream until stiff peaks form, which is typically after 3-4 minutes. Check out my homemade whipped cream recipe if you want a good visual.
STEP #8. Transfer the whipped cream to a bowl and set aside while you get started on the next step.
STEP #9. Fit your stand mixer with the paddle attachment, and add the softened block of cream cheese to your mixer.
STEP #10. Beat the cream cheese on medium-high speed until smooth.
STEP #11. Reduce the mixer speed to low and add in the powdered sugar. Then, increase the mixer speed to medium high and beat until smooth.
STEP #12. Add in the vanilla extract and beat until it is well incorporated, stopping the mixer and scraping down the sides of the bowl if necessary.
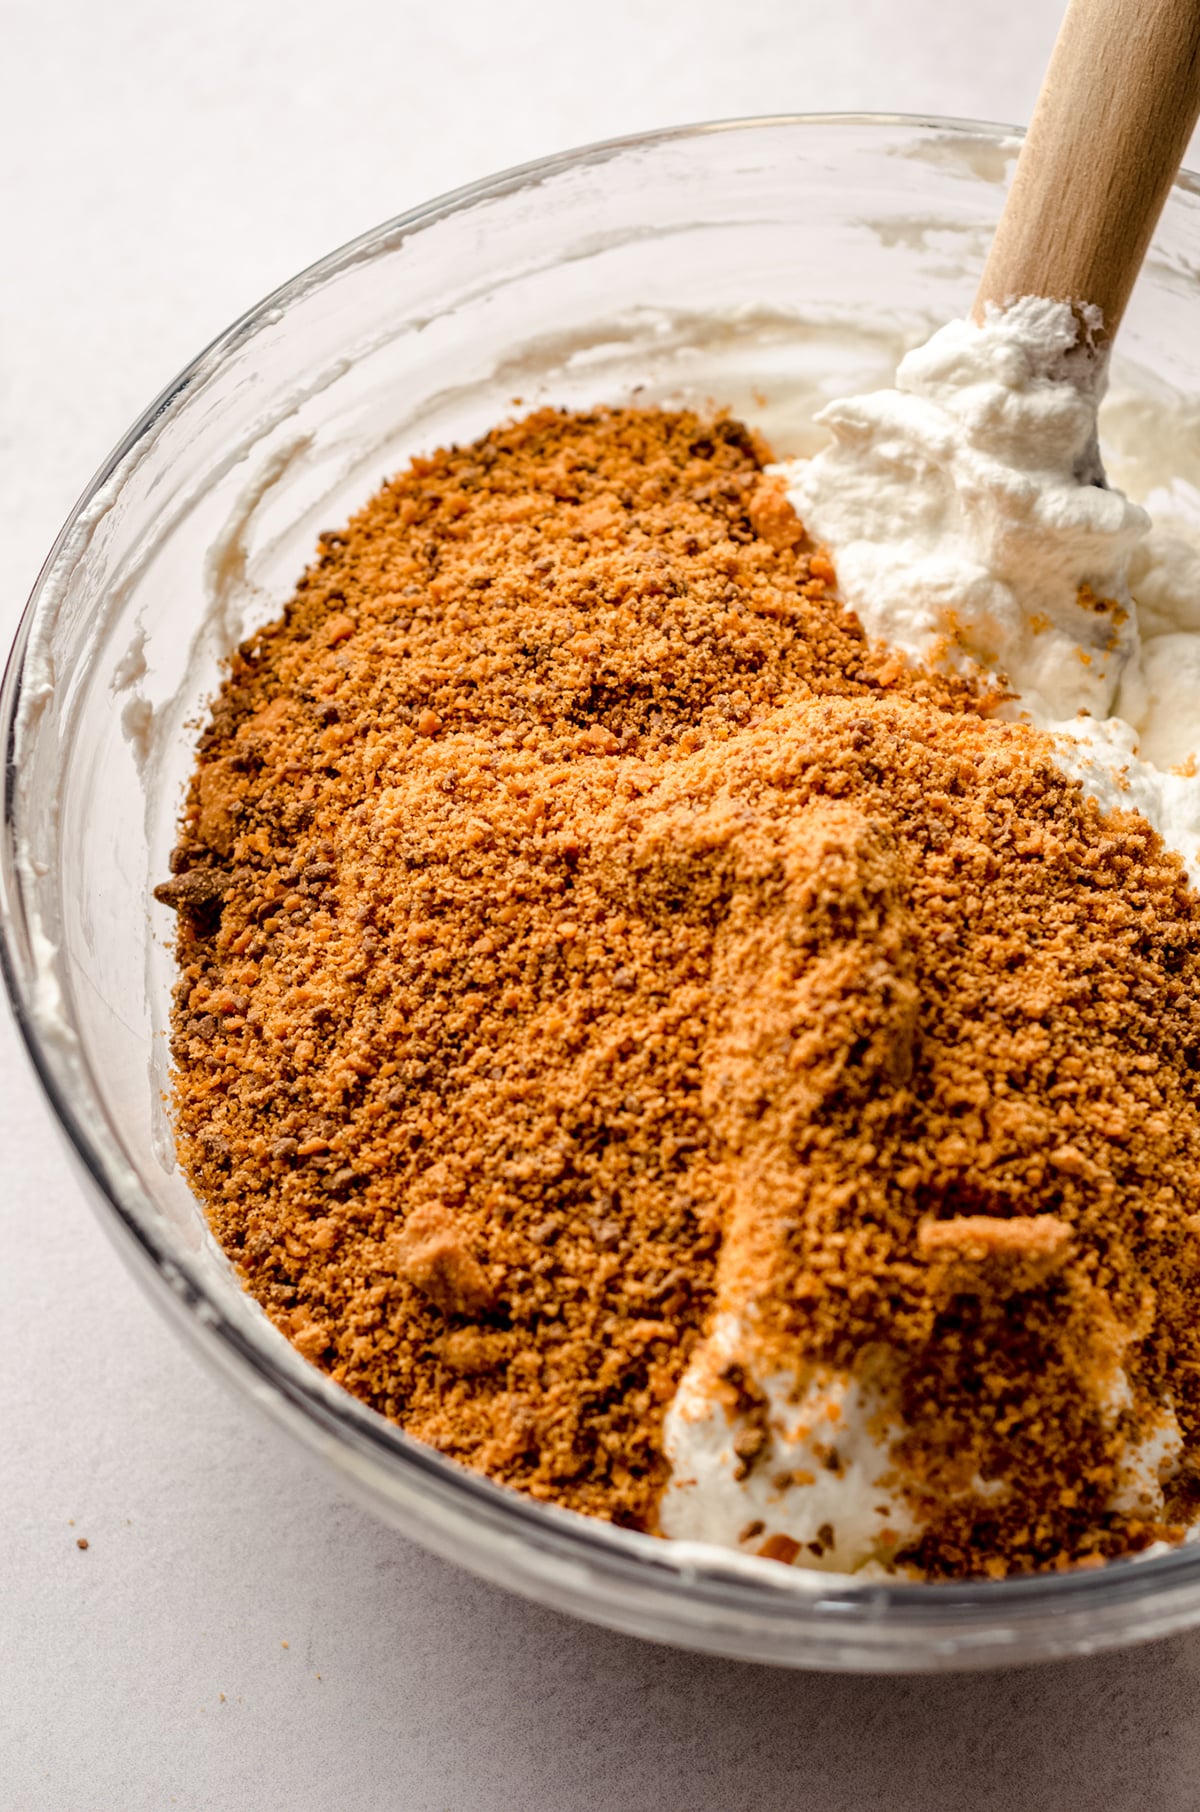
STEP #13. Turn off the mixer and remove the bowl. Add the whipped cream to the bowl of whipped cream cheese, and gently fold it in with a silicone spatula.
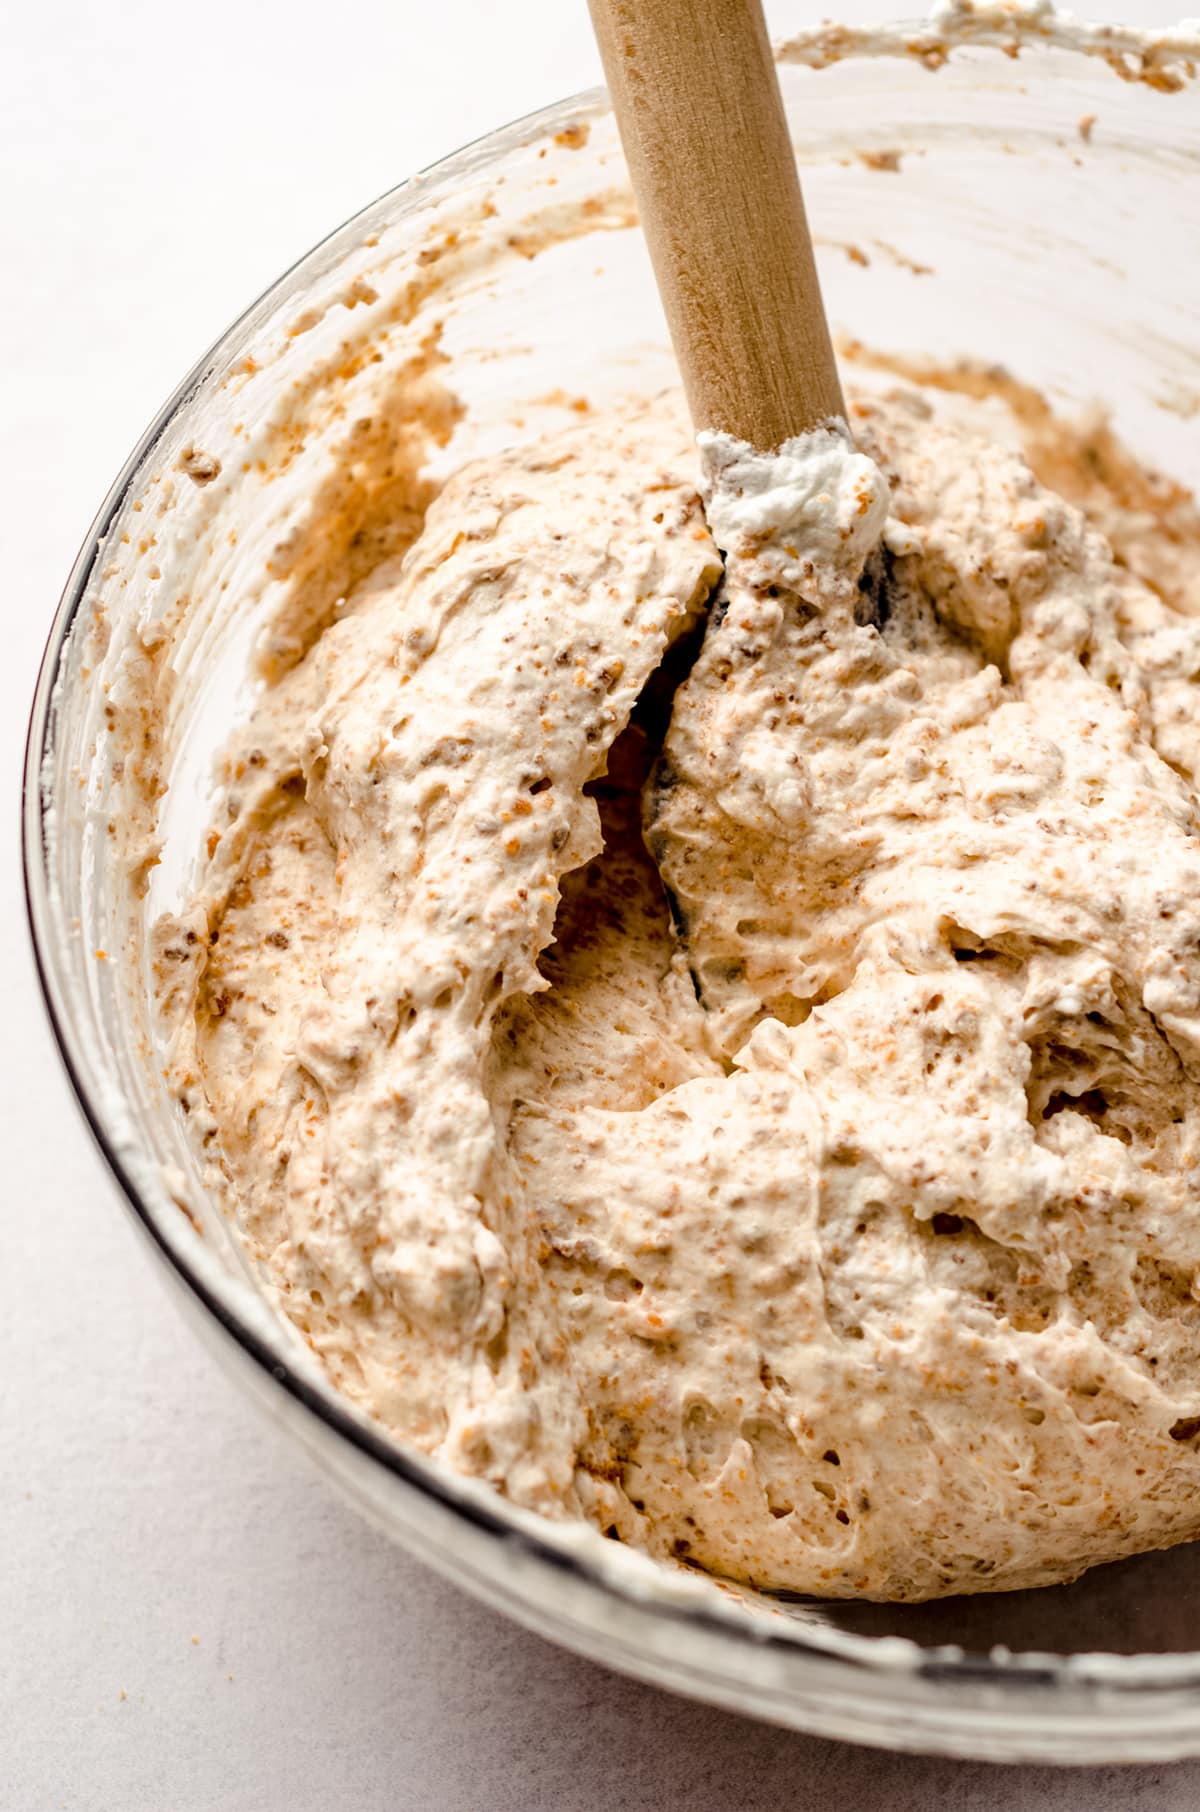
STEP #14. Once everything is combined, pour in the chopped Butterfingers and continue mixing everything together with the silicone spatula.
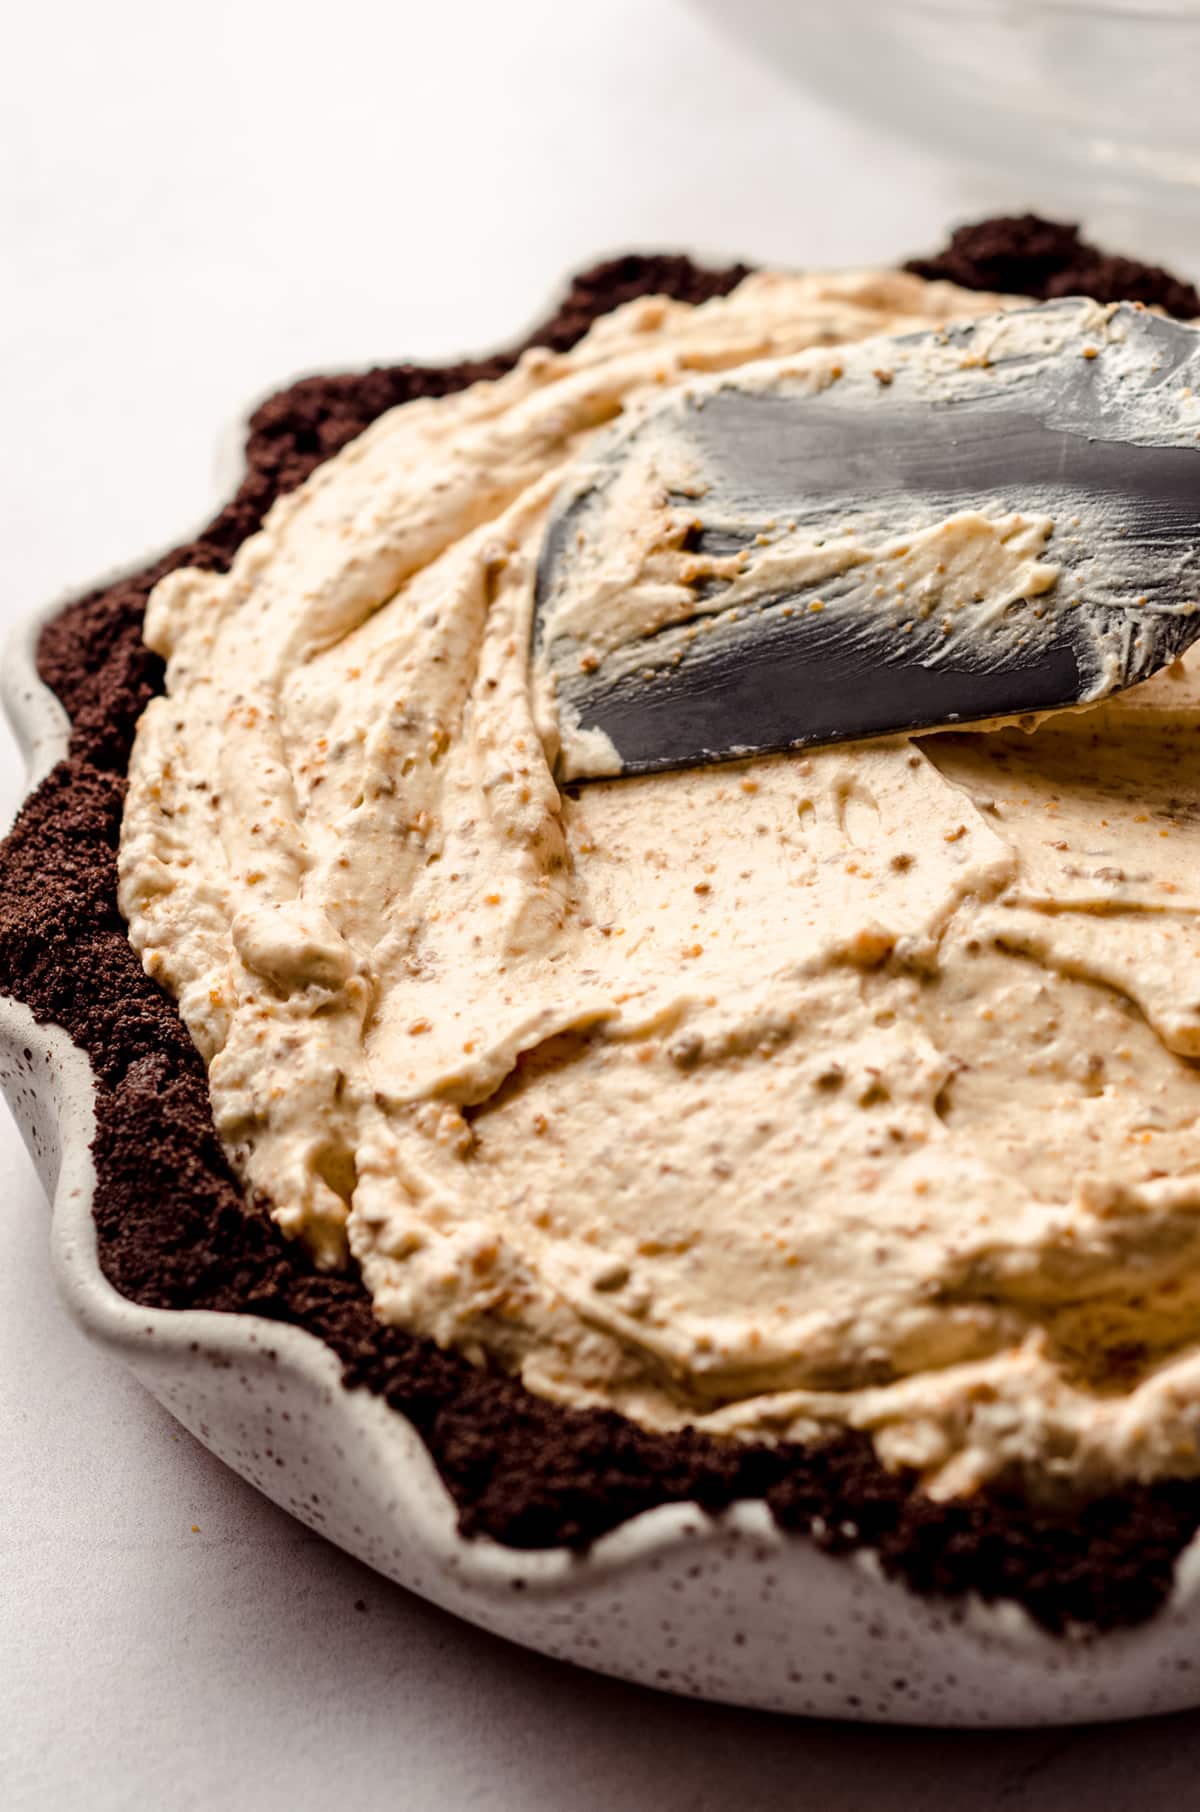
FILL AND CHILL
STEP #15. Once the filling is full mixed, take your chilled Oreo crust out of the fridge and gently add the filling to the pie plate.
STEP #16. Spread the filling into the crust evenly using the silicone spatula, then cover tightly with plastic wrap or aluminum foil and place back into the fridge.
STEP #17. Allow your Butterfinger pie to chill for at least 4 hours, but overnight is ideal. This will give your pie a chance to set up, and make sure you get nice, clean slices of pie when you’re ready to serve.
WHIPPED CREAM TOPPING
Once your pie has chilled for at least 4 hours, you’re ready to get started on your whipped cream topping.
I don’t recommend making your whipped cream in advance, since homemade whipped cream doesn’t have stabilizers and can fall or weep with extended storage. To make sure your pie is as fresh and delicious as possible, just wait until the last minute to make the whipped cream topping.
STEP #18. Once you’re ready, simply whip together the heavy cream, sugar, and vanilla until soft peaks form (or about 3-4 minutes).
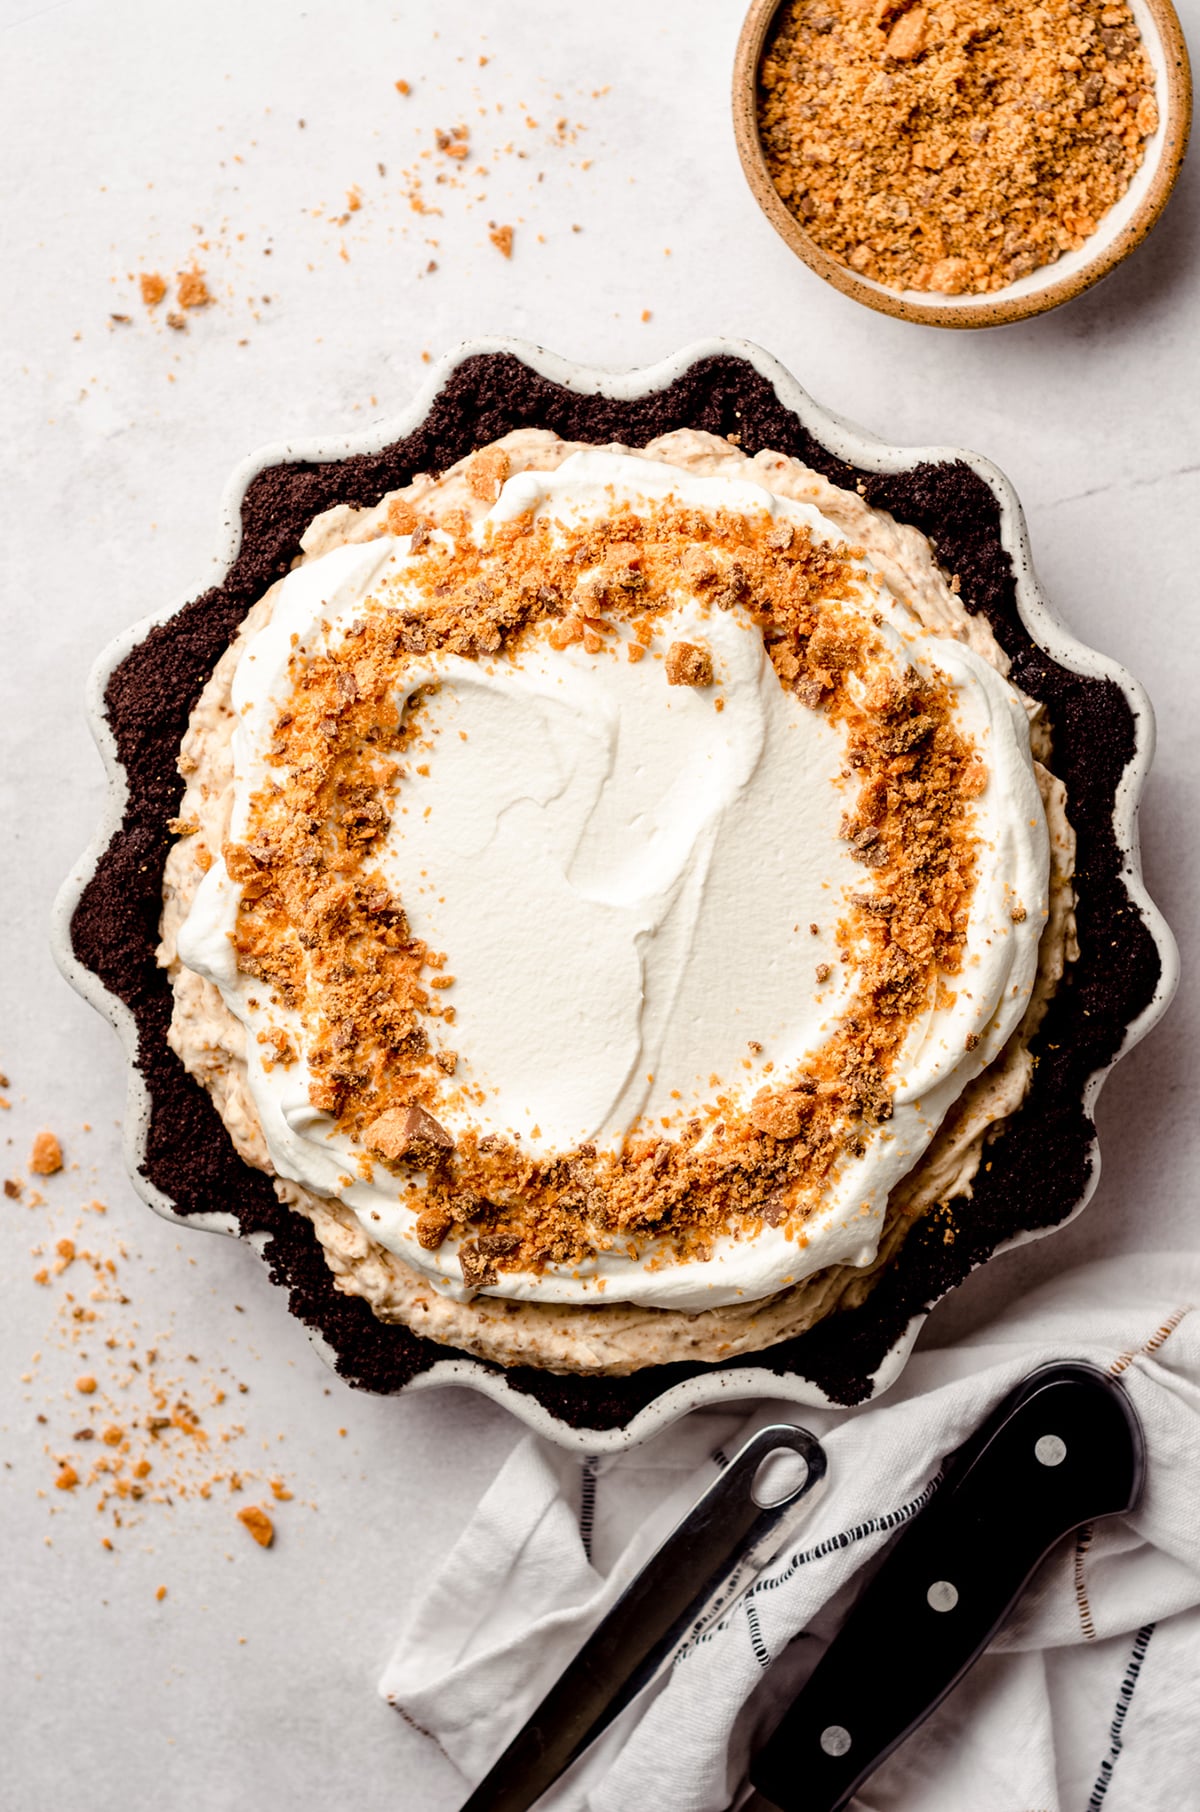
STEP #19. Then slather it all over the chilled Butterfinger pie filling using an offset spatula or silicone spatula. Try to get it as even as possible, but it doesn’t need to be perfect!
STEP #20. Then go ahead and top with some additional crushed Butterfingers (if you have any left!), slice, and serve!
OR cover with a dome lid and store in the fridge for up to 5 days.
Then be sure to check out some of my other easy gluten free recipes like my flourless crunchy peanut butter cookies, almond flour pecan sandies, gluten free chocolate cake, or this almond flour banana bread recipe.
How to store Butterfinger No Bake Pie
Store this pie covered tightly in the refrigerator for up to 5 days. Make sure the whipped topping is covered well, as it will dry out if exposed to air.
CAN I FREEZE BUTTERFINGER PIE?
You can totally freeze any leftover (or whole) pie, but with one caveat: leave the whipped cream off.
Whipped cream doesn’t typically freeze (or thaw) well, so it can be a bit messy if you choose to leave the topping on the pie.
Instead, tightly wrap your pie and place it in a freezer bag without any whipped cream. Then, when you’re ready to serve it, thaw and top with freshly made whipped cream. Easy peasy!
No Bake Butterfinger Pie FAQs
You may be surprised to hear that Butterfingers are naturally gluten free. I know I was! Since you can easily find gluten-free Oreos, it’s actually quite simple to make your Butterfinger pie completely gluten free. Just be sure to verify any of the ingredients you use are free from gluten (they likely are), and you’re good to go!
The inside of Butterfingers is a crunchy peanut butter filling. The candy bar is coated in milk chocolate.
Since this pie just needs to chill in the refrigerator, you can make it the day of or a day before you want to serve it.
Remember to check back next month for our next pie recipe, and be sure to follow along on Instagram to stay up to date with all of my most recent creations.
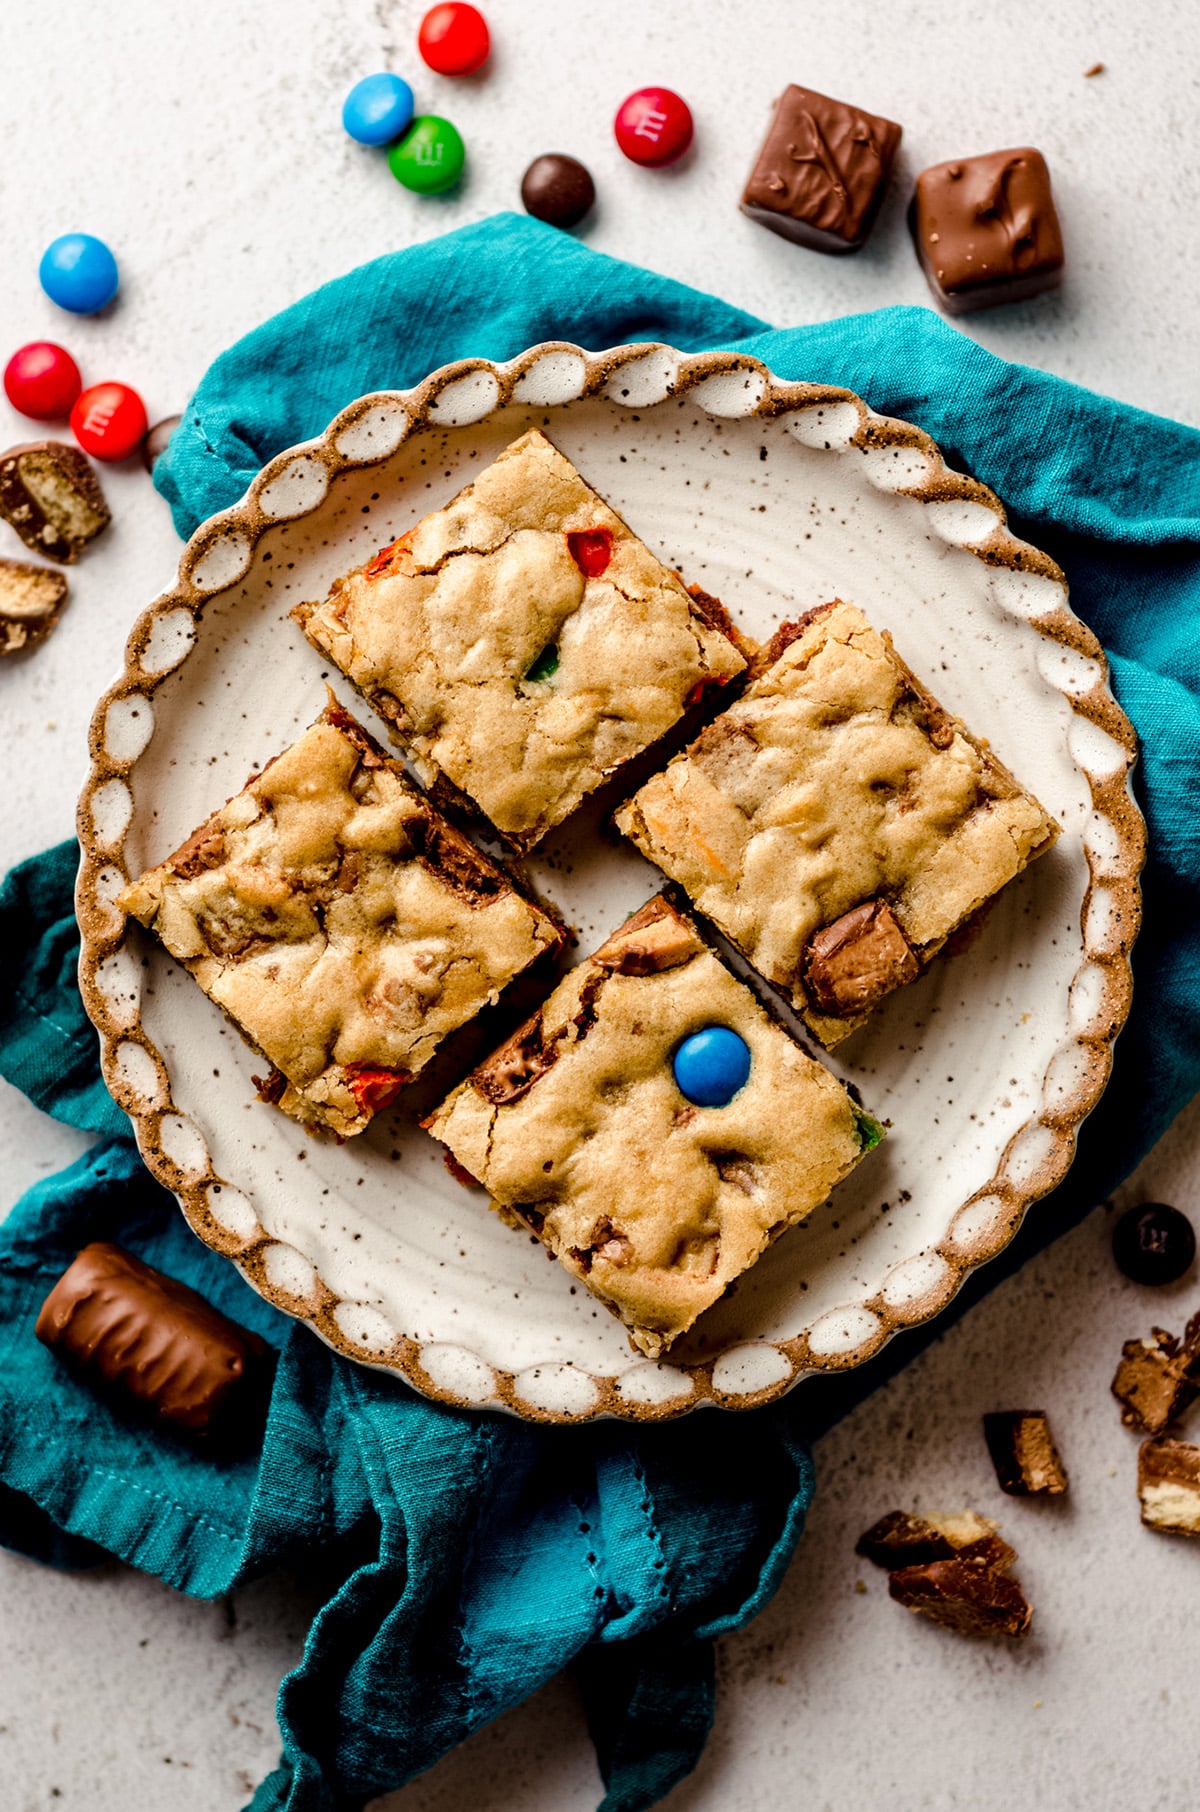
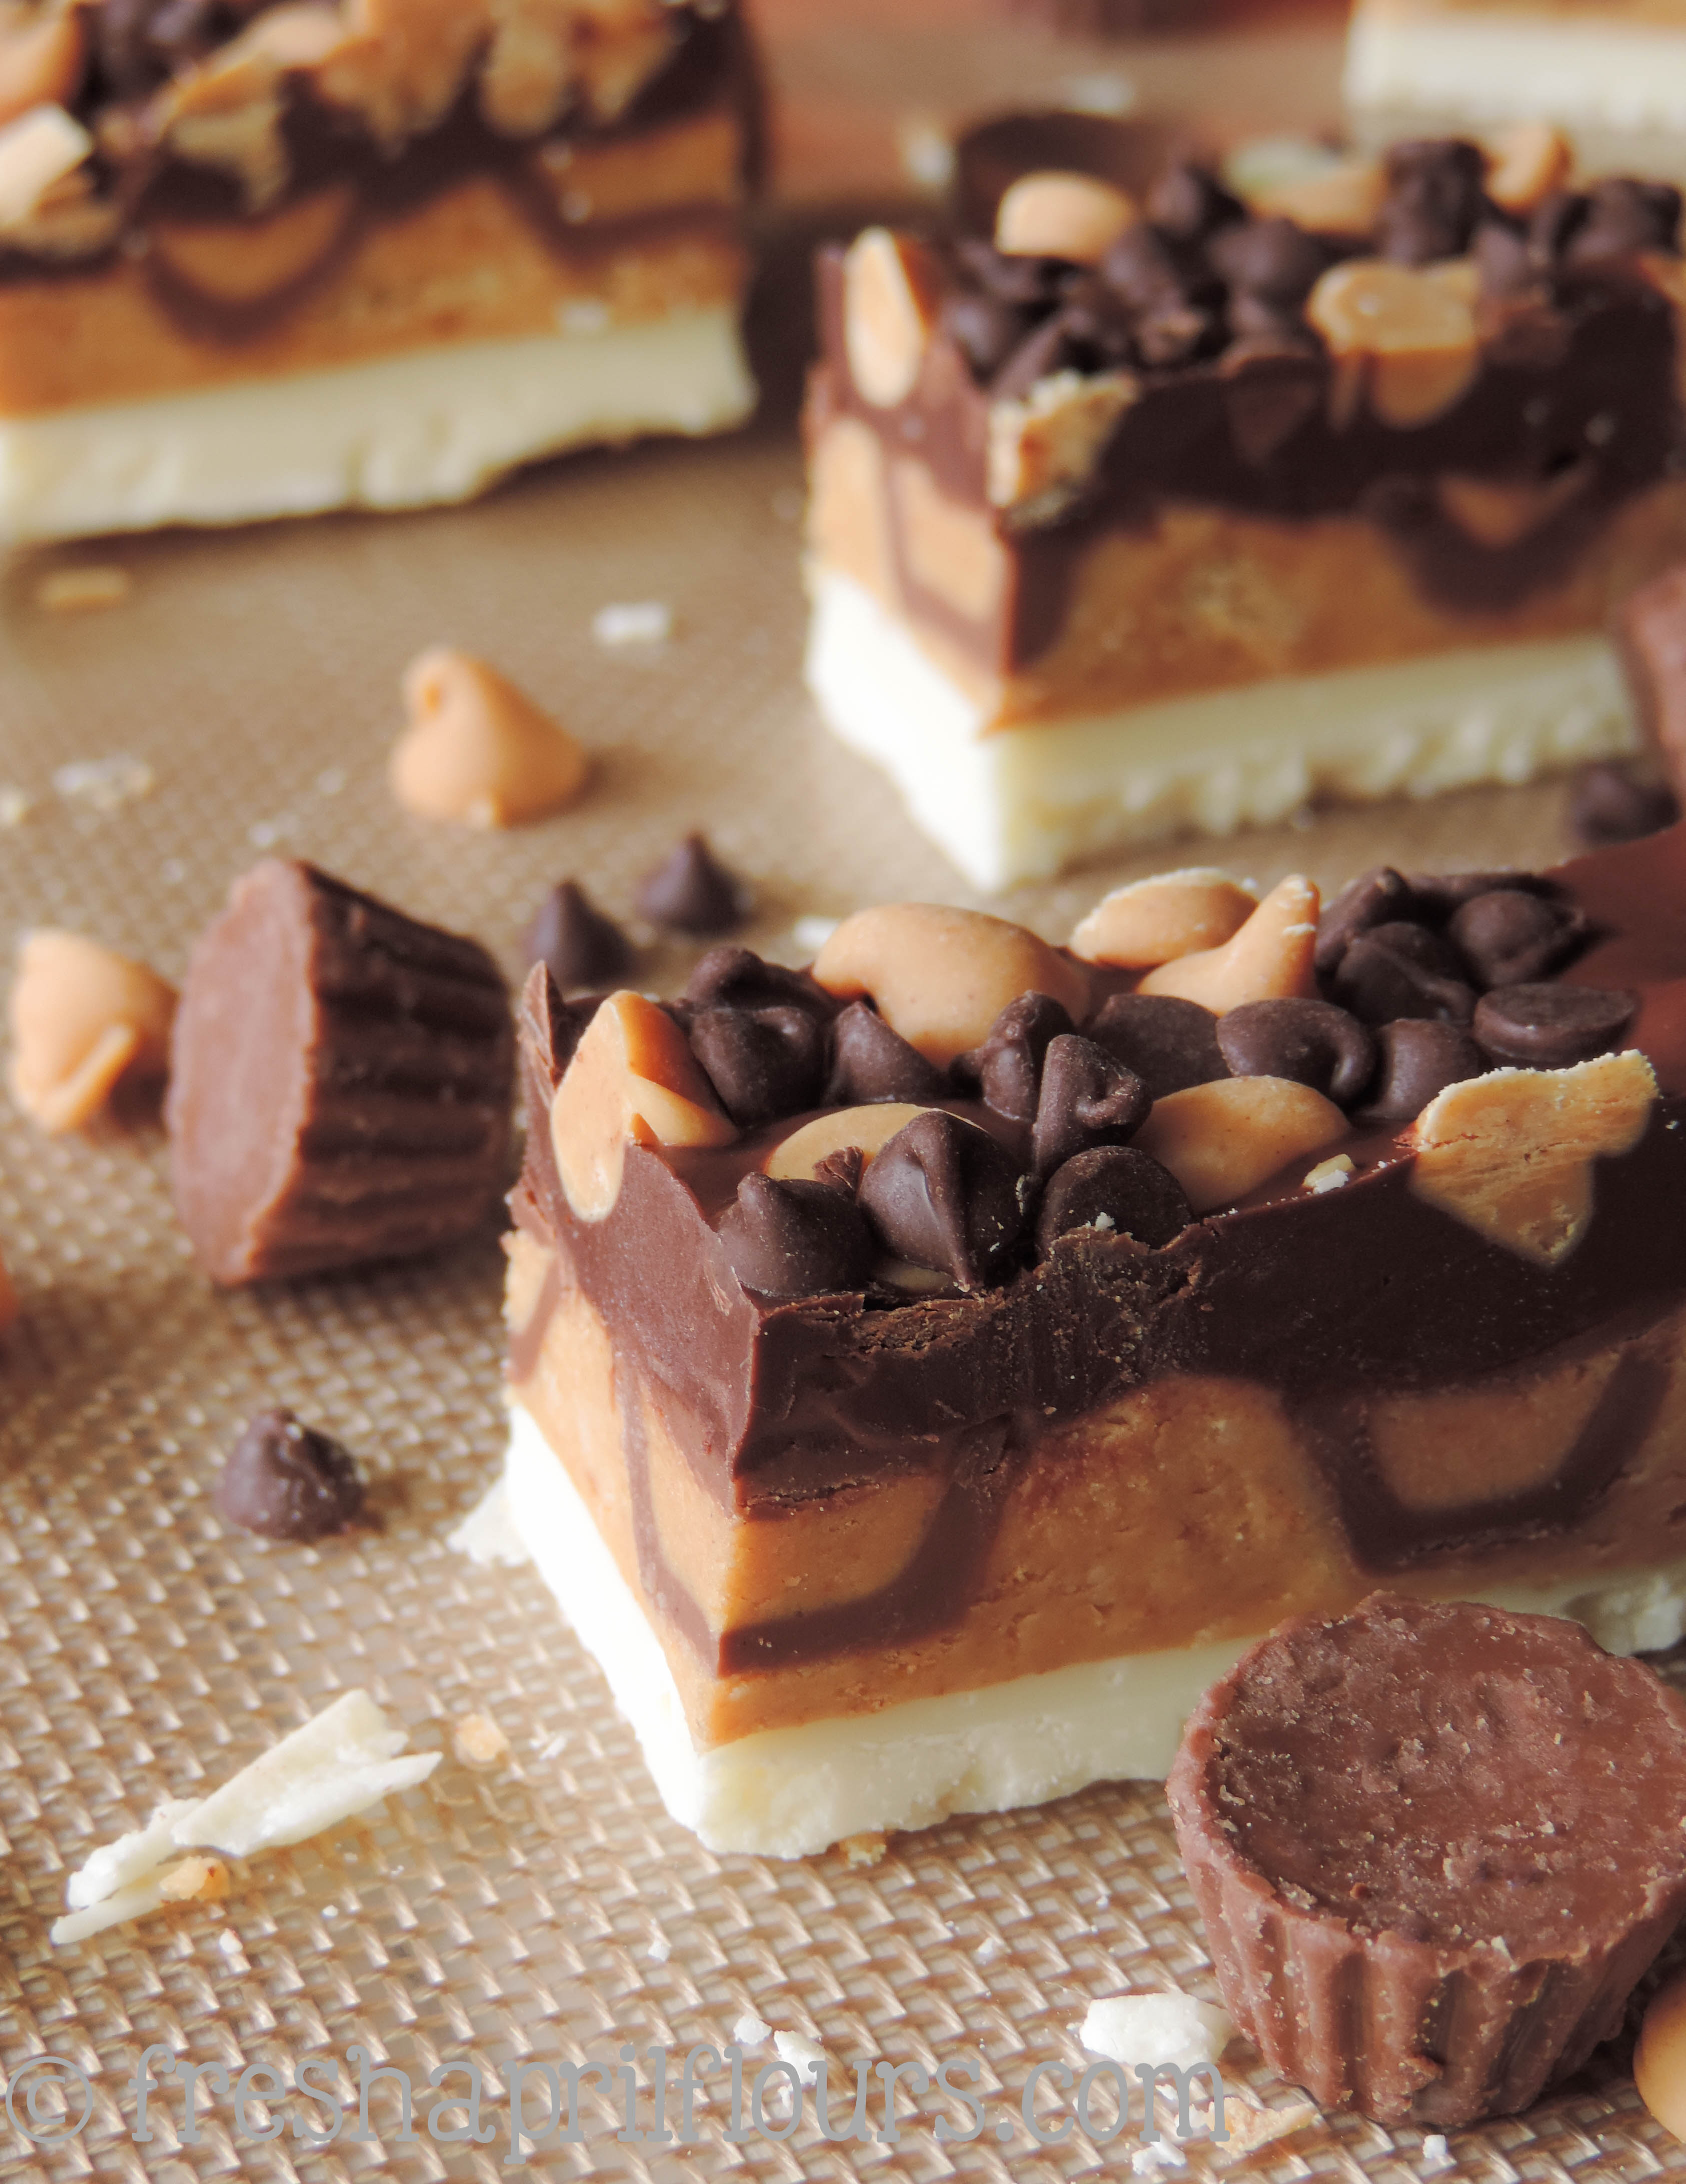
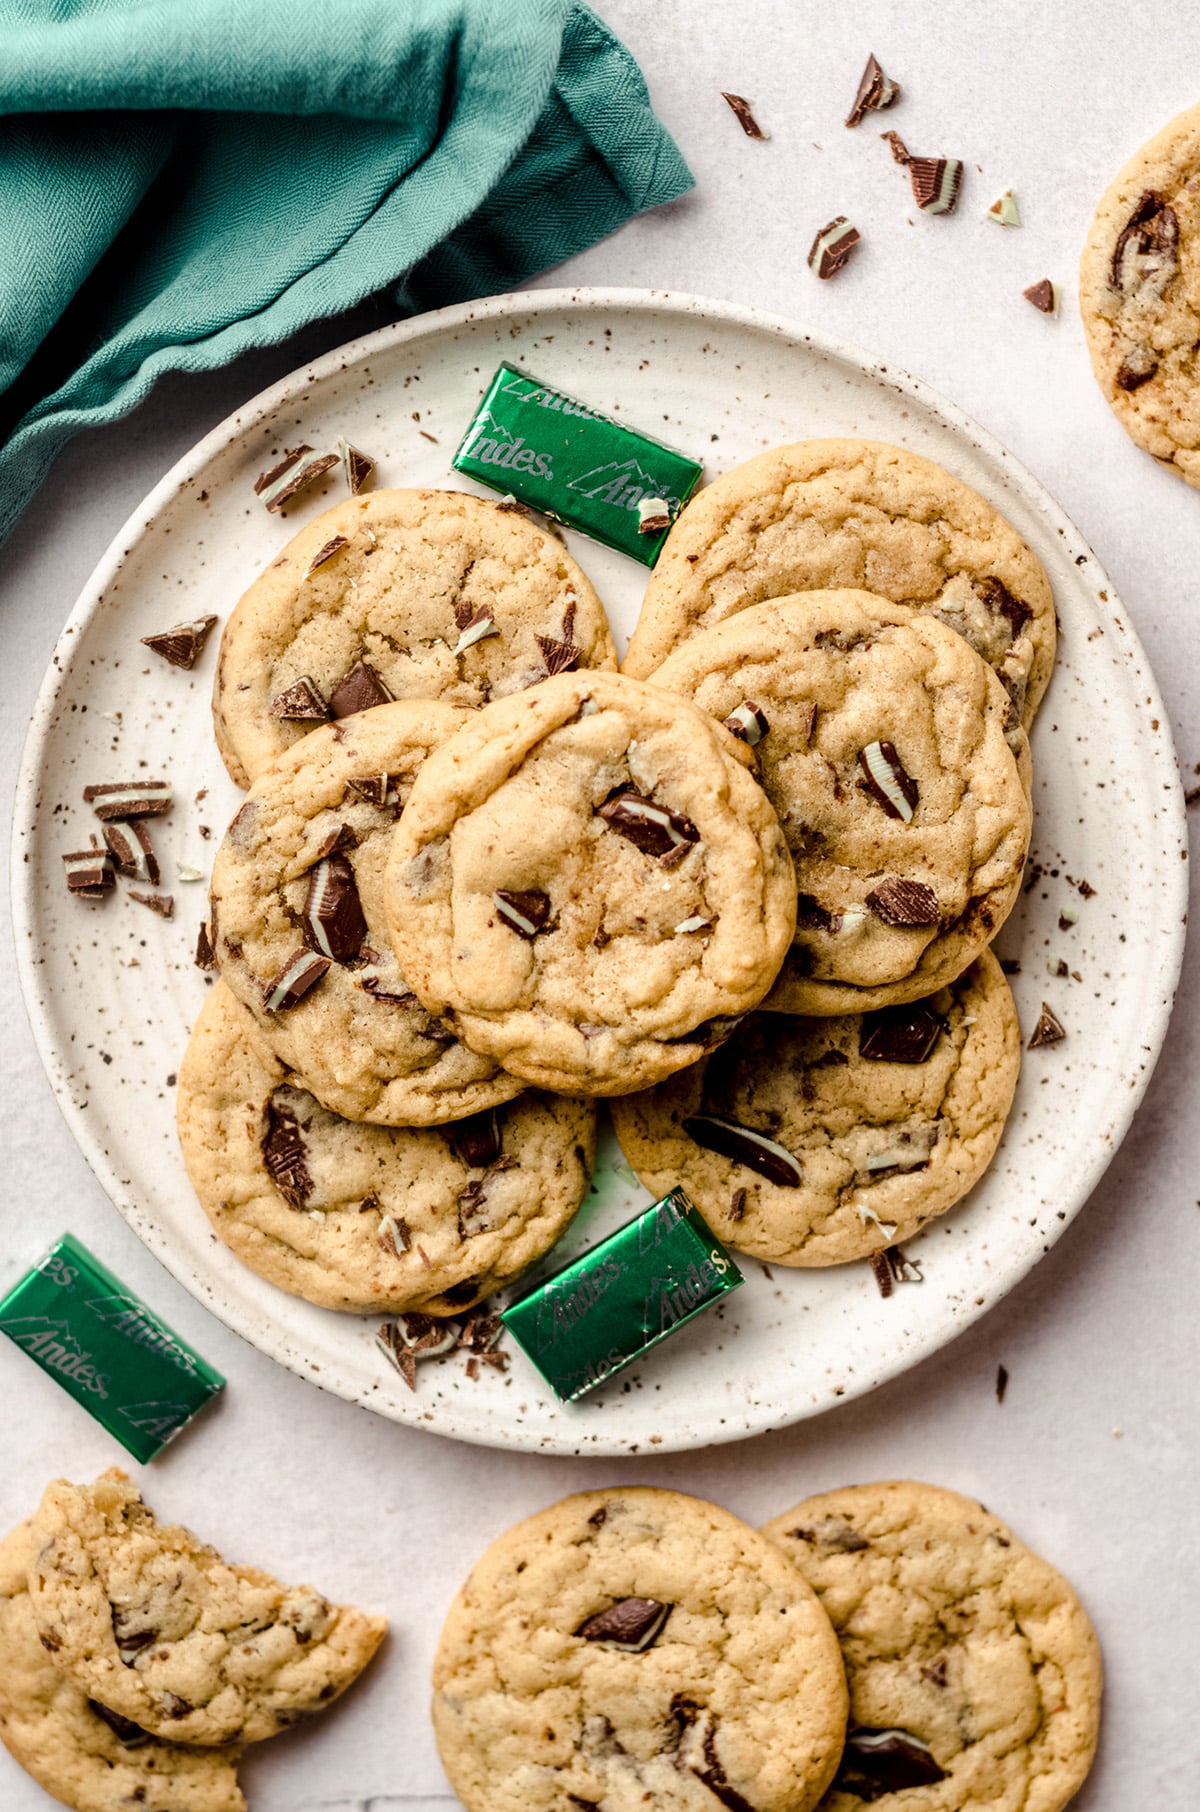
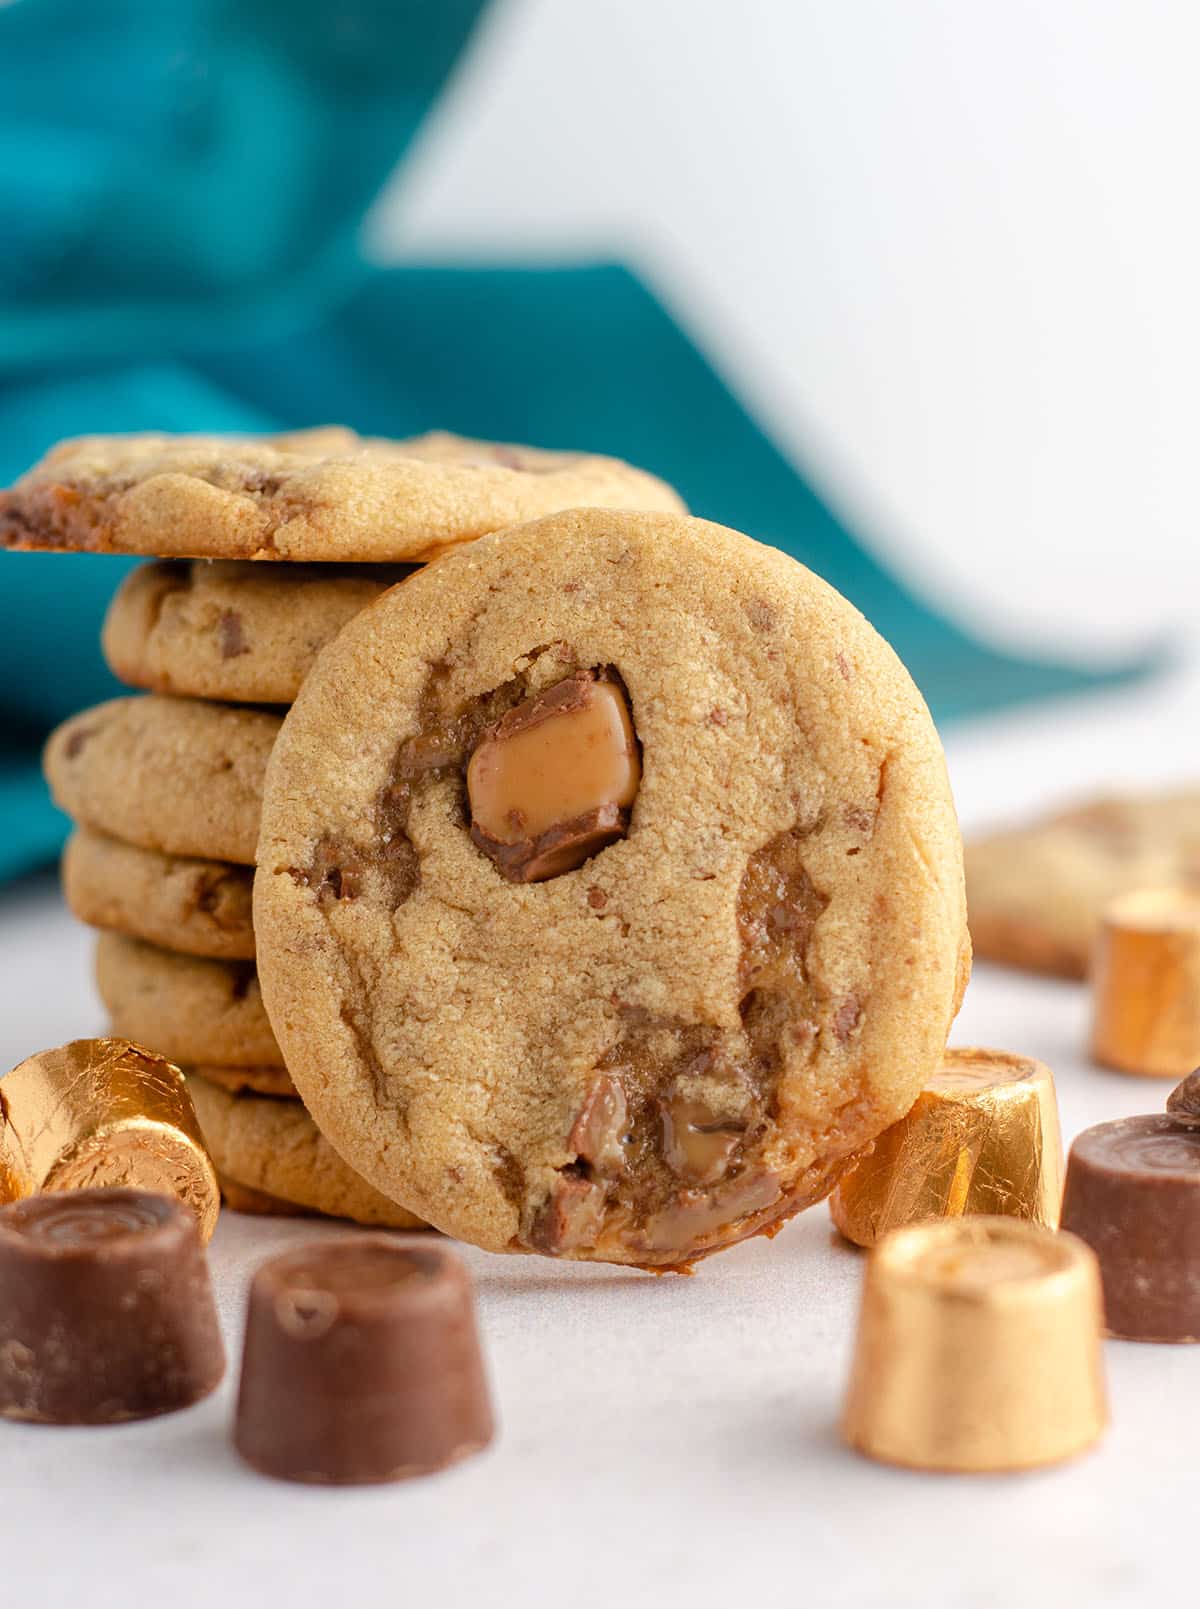
And if you’re still craving more candy bar goodness, try my candy bar blondies, triple chocolate peanut butter bites, Andes mint cookies, OR my peanut butter Rolo cookies.
Butterfinger Pie
Ingredients
OREO CRUST
- 24 Oreos crushed1
- ¼ cup (57g) unsalted butter melted
BUTTERFINGER FILLING
- 1 cup (240mL) heavy cream plus more for topping2
- 8 ounces (225g) cream cheese softened to room temperature
- ¾ cup (90g) powdered sugar
- 1 and ½ teaspoons vanilla extract
- 16 mini Butterfinger bars3 chopped
WHIPPED CREAM TOPPING
- ½ cup (120mL) heavy cream
- ½ Tablespoon (4g or 8g) sugar4
- ½ teaspoon vanilla extract
Instructions
OREO CRUST
- Place the crushed Oreos in a medium size bowl and drizzle the melted butter evenly over the cookies.24 Oreos, ¼ cup (57g) unsalted butter
- Stir to mix completely, then press evenly into the bottom and up the sides of a 9" pie plate. Chill in the refrigerator for 30 minutes.
BUTTERFINGER FILLING
- In a medium size bowl with a hand mixer or the bowl of a stand mixer fitted with the whisk attachment, beat the whipping cream until stiff peaks form (about 3-4 minutes; see this tutorial for step-by-step instructions for homemade whipped cream). Place bowl in the refrigerator (or transfer to smaller bowl if using a stand mixer) until ready to use.1 cup (240mL) heavy cream
- In a large bowl with a hand mixer or the same bowl of the stand mixer (no need to clean) now fitted with the paddle attachment, beat the cream cheese on medium-high speed until smooth. Reduce mixer speed to low and add the sugar, increase the mixer speed to medium-high, and beat again until smooth. Add the vanilla extract and continue beating until smooth. Scrape down the sides as necessary.8 ounces (225g) cream cheese, ¾ cup (90g) powdered sugar, 1 and ½ teaspoons vanilla extract
- Turn off the mixer and gently fold in the cold whipped cream with a large spatula until everything is combined. Pour in the chopped Butterfingers and mix again with the spatula until evenly dispersed.16 mini Butterfinger bars3
- Pour the filling onto the prepared crust and spread evenly with the spatula. Cover with foil or plastic wrap and chill in the refrigerator at least 4 hours (for best results, overnight).
WHIPPED CREAM TOPPING
- Once pie is chilled, make the whipped topping. In a medium size bowl with a hand mixer or the bowl of a stand mixer fitted with the whisk attachment, beat the whipping cream until stiff peaks form (about 3-4 minutes; see this tutorial for step-by-step instructions for homemade whipped cream).½ cup (120mL) heavy cream, ½ Tablespoon (4g or 8g) sugar4, ½ teaspoon vanilla extract
- Spread whipped topping evenly over the chilled pie. Top with additional crushed Butterfingers, if desired. Store leftovers covered tightly in the refrigerator up to 5 days. Pie can be wrapped tightly and frozen up to 2 months. Thaw in refrigerator overnight.
Notes
- Crushed Oreos: I find it easiest to put the Oreos into a food processor than to do this step by hand.
- Top with homemade whipped cream: one small carton of heavy whipping cream will give you enough for this recipe + a whole batch to top your pie with. See my linked tutorial for instructions.
- Butterfinger bars: mini Butterfinger bars are the ones that are tiny, like bite-size. This is what my recipe refers to. Fun size are about 2x the size of the mini, so use 8 of those if that’s what you have. If you can only find large, full size Butterfinger bars, use 3 of them.
- Sugar: you can use granulated or powdered sugar here. I have used both and find a slightly smoother whipped cream with powdered. If you want to double or triple this recipe, powdered sugar is the way to go to keep everything light and airy. For ½ Tablespoon of sugar, powdered sugar will be 4g and granulated sugar will be 8g.
Nutrition Disclosure
All nutritional values are approximate and provided to the reader as a courtesy. Changing ingredients and/or quantities will alter the estimated nutritional calculations.
I love that you made this with an Oreo crust! No bake makes it even more fun!
Yes it does!
I love Butterfingers and I love that Oreo crust for this pie!
Thanks, Ashley!
I make a butterfinger cKe but never thought to make it as a pie! I’ve got to try this.
Butterfingers are my favorite candy! I know I’d love this!
Stunning! Love this delicious pie and has all of my favorites!
Easy delicious recipe!!
Thanks so much!
This recipe sounds amazing. What size butterfingers do you use?
Hi, Brandy– I use the small ones. Fun size!
I can’t believe how delicious and EASY this recipe was! I am notorious for taking easily double the time it says it will take to make any recipe, and it wasn’t the case this time, it was so quick! As people were arriving at Thanksgiving I decided to whip it up last minute and I’m so glad I did!
That’s amazing, Andrea! I love this 🙂