
How To Make An Oreo Crust
As an Amazon Associate, I earn from qualifying purchases. Read the full disclosure here.
You only need 2 ingredients to make your own thick and crunchy Oreo crust at home. Includes instructions for using with baked and no bake pies and desserts.
So many great things begin with Oreos.
Like my cookies and cream cookies, my no bake mint chocolate chip pie, my no bake Oreo pie, and even my Christmas Oreos. All of these recipes begin with Oreos.
And because I love teaching my readers how to make all kinds of pies, I know that not everyone always wants a traditional pie crust. This Oreo crust recipe has tested and perfected for you to use with all of your no bake and/or baked pies and desserts that might be complemented nicely by a solid Oreo pie crust.
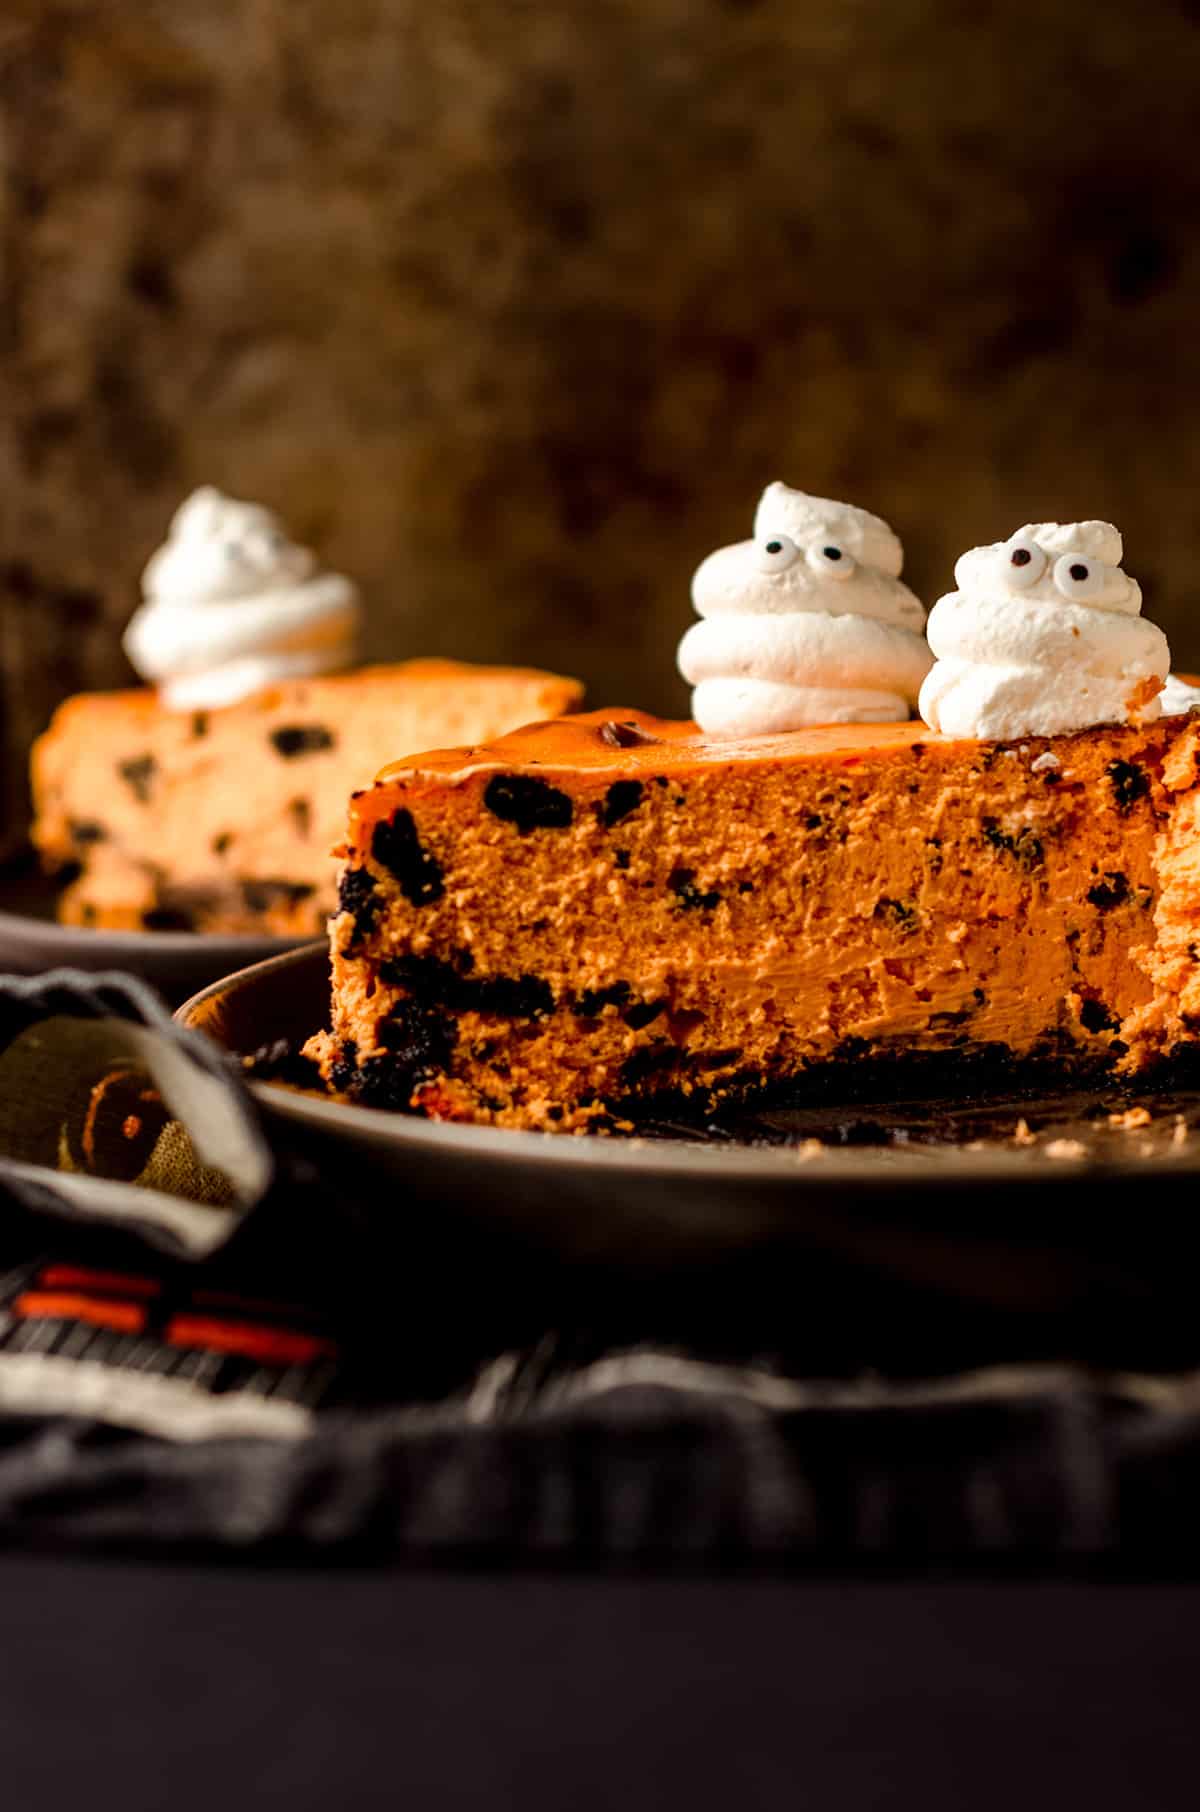
Which is, like, nearly everything. I even use this Oreo crust for cheesecake– check out my Halloween cheesecake (which is actually just a cookies and cream cheesecake tinted orange and topped with adorable whipped cream ghosts– save that one for October!).
Oreo Cookie Pie Crust Ingredients
This isn’t exactly a list of ingredients as much as it is a mention of two ingredients. Because, yes, you only need TWO simple ingredients to make this Oreo cookie crust.
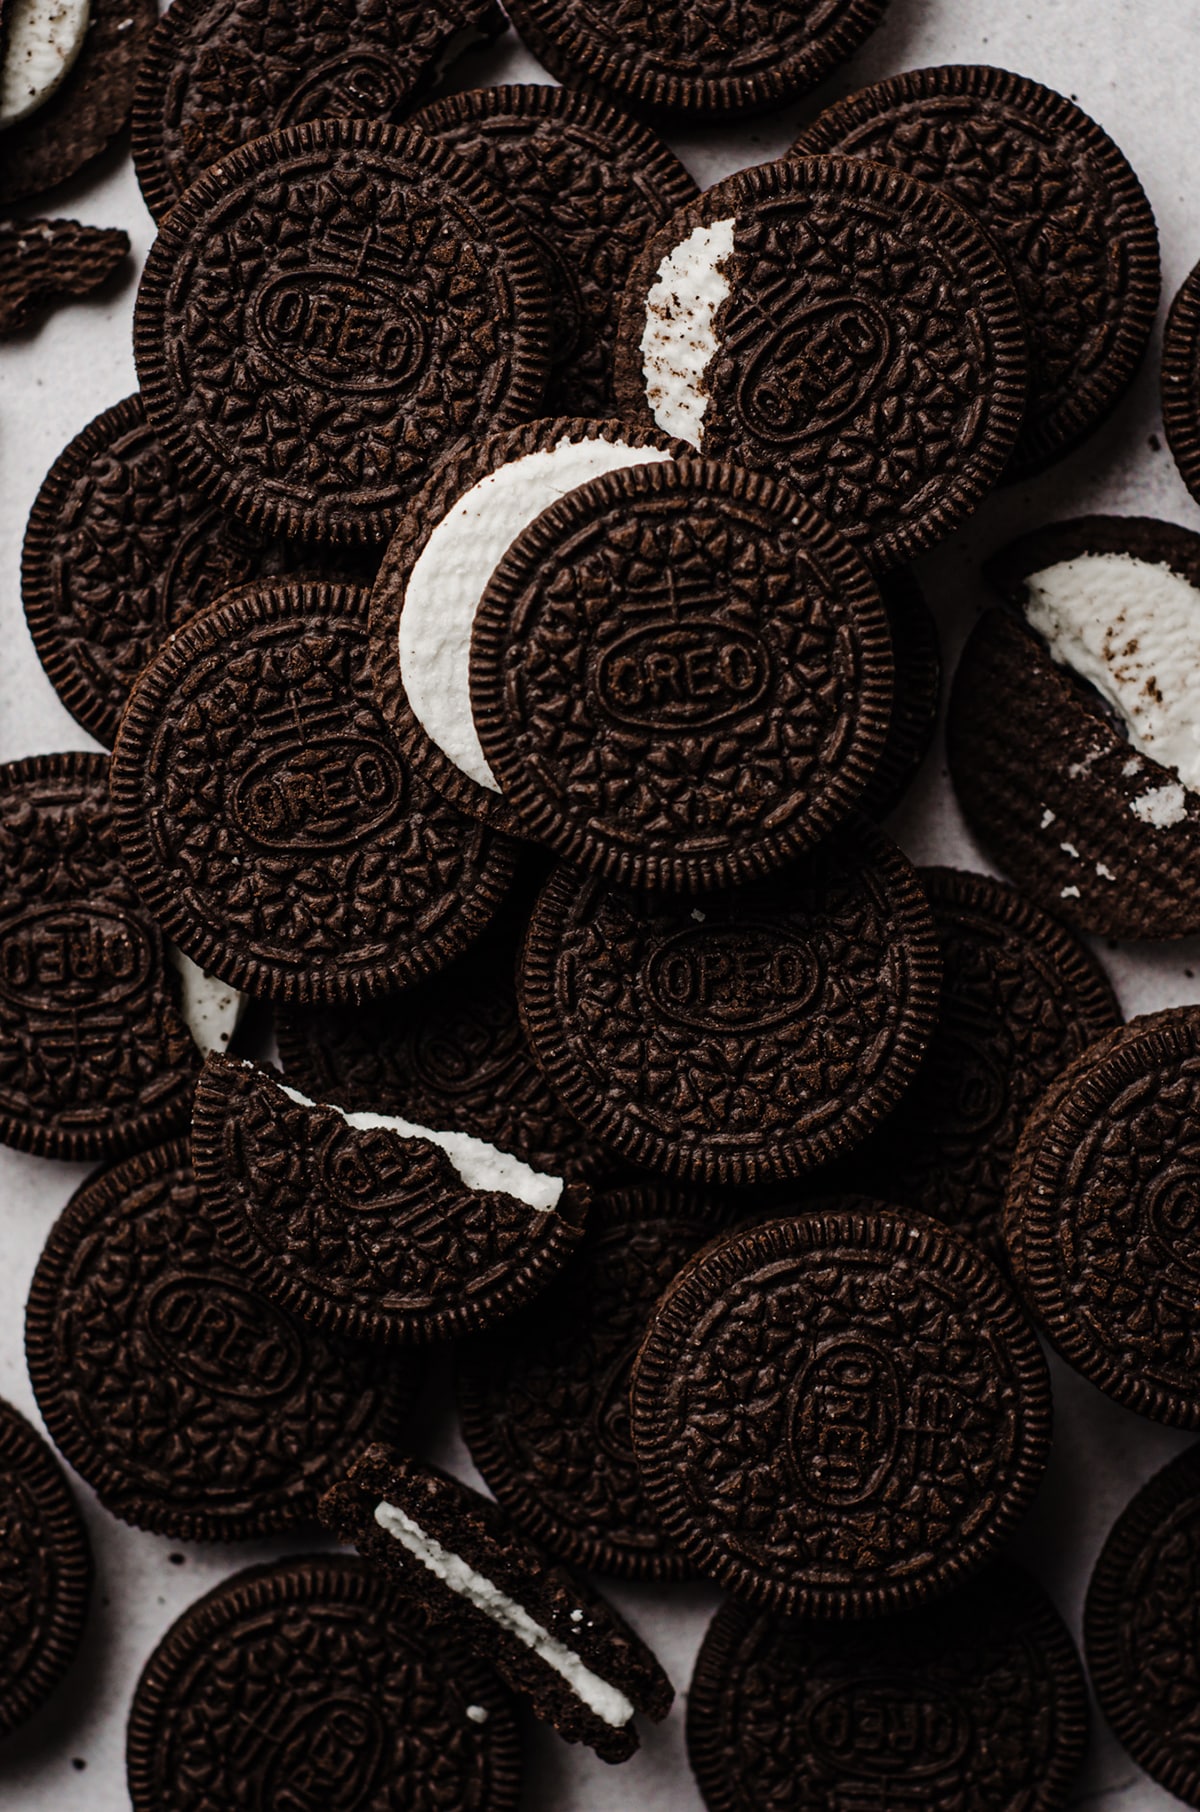
One is Oreos, and the other is melted butter. That’s it. So easy. You don’t even need to sweeten it with anything else like you do with my graham cracker crust.
The Oreos take care of the sweetness, the cream takes care of some of the “glue” and sticky sugar that helps keep the structure together, and the butter seals the deal, filling all the cracks and crevices to enforce the strength of the crust.
HOW MANY OREOS DO I USE FOR OREO CRUST?
You will need 24 Oreos for this crust. For a no bake dessert, standard, DoubleStuf, and MegaStuf all work just fine, as do gluten free Oreos. Use your preference. If you are going to bake the crust, I highly recommend using standard Oreos as the filling can sometimes weep as it melts in the oven (extra filling means extra oil). If you want to use anything bigger than standard stuffed, remove the filling from half of the Oreos before proceeding.
How to Make Oreo Pie Crust
This is crazy simple. So simple, in fact, it’s again more or less just like a short list to remember.
First, place your Oreos into a blender or food processor. You could also put them into a zip topped bag and crush them with a rolling pin, but I prefer the food processor method because it makes far less of a mess (those sharp Oreo edges poke holes in the bag and the crumbs tend to leak out everywhere).
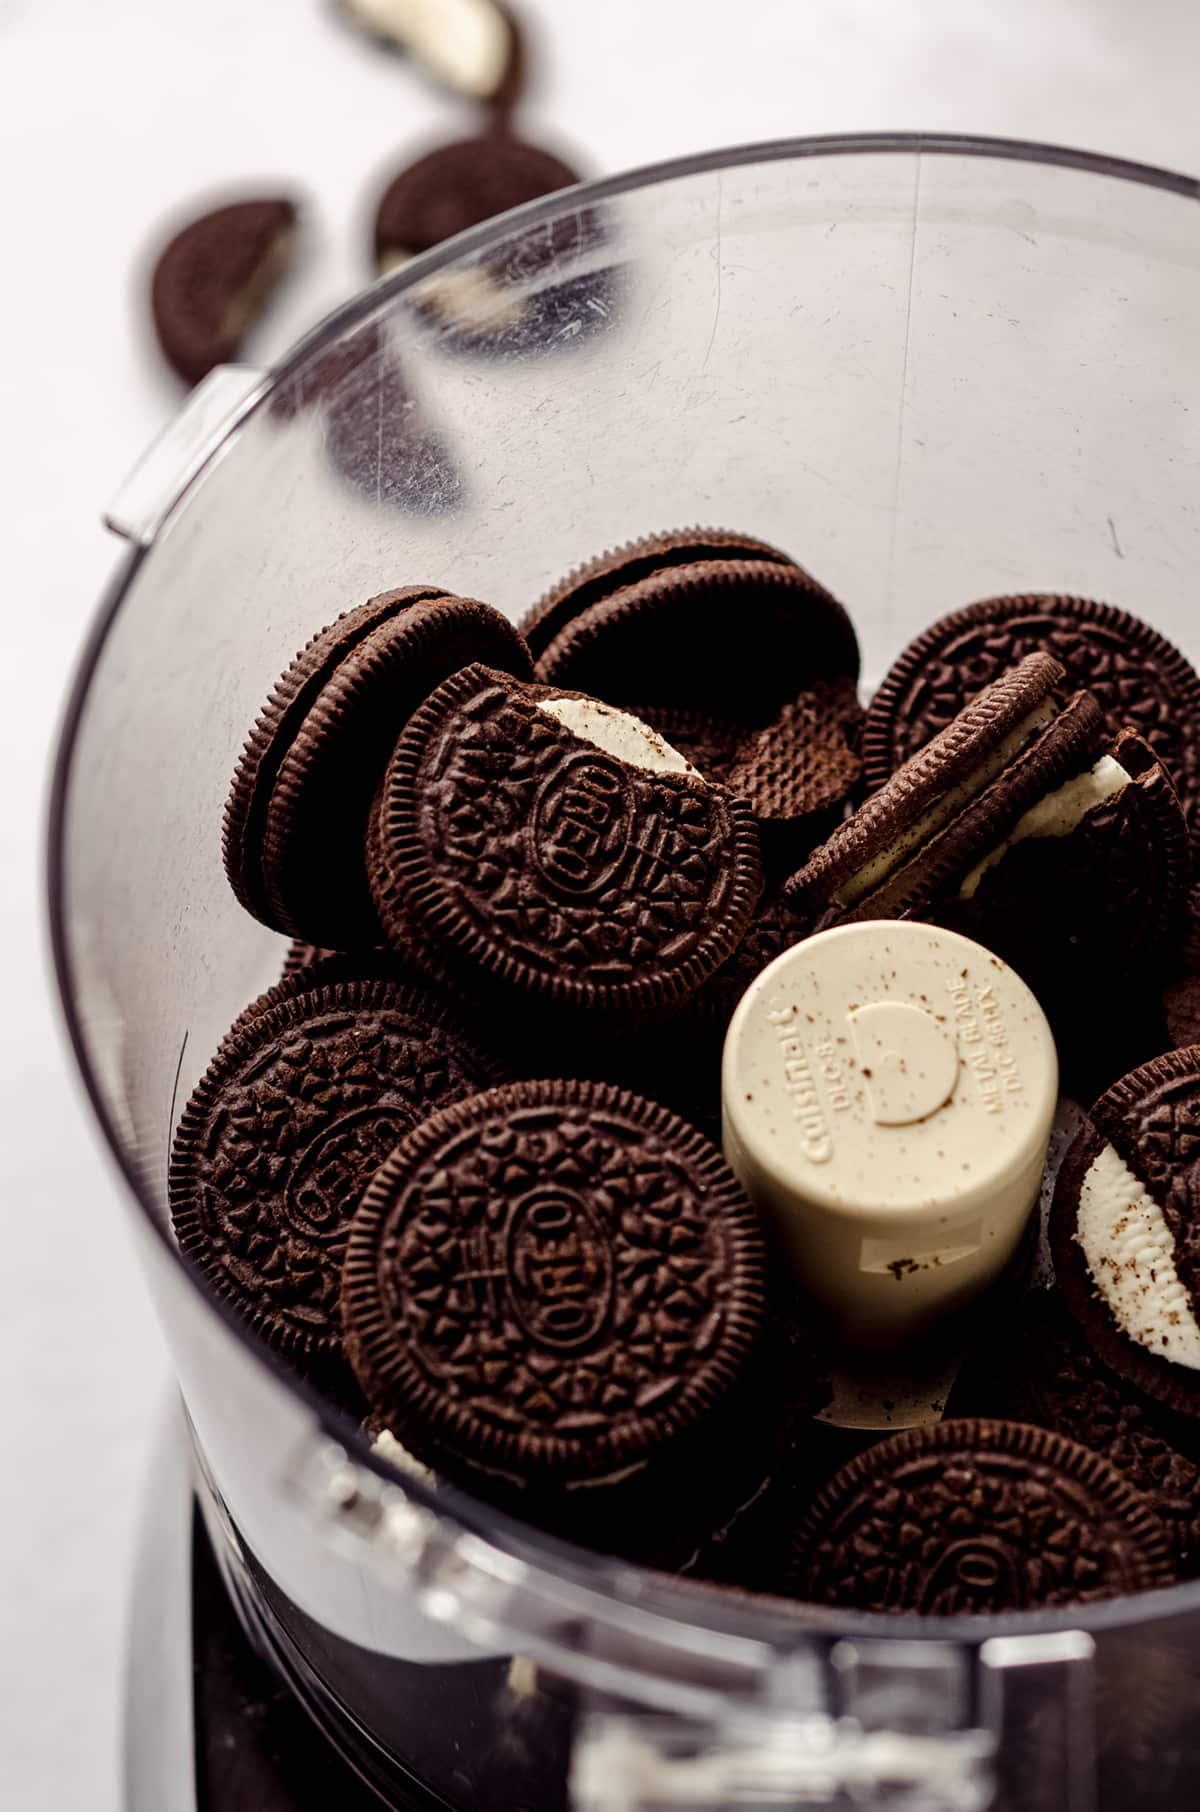
The bag method is totally doable if you don’t have a food processor or blender, just be aware it can get a bit messy!
Once your Oreos are completely crushed, add in the melted butter. You can pulse a few times to blend, or you can stir it in right there in the food processor.

You can also add the crushed Oreos into a bowl and stir the butter in that way.
However you do it, you simply add the butter to the Oreos and that’s that. See? So simple.
STEP #2: FILL THE PIE PLATE OR BAKING DISH
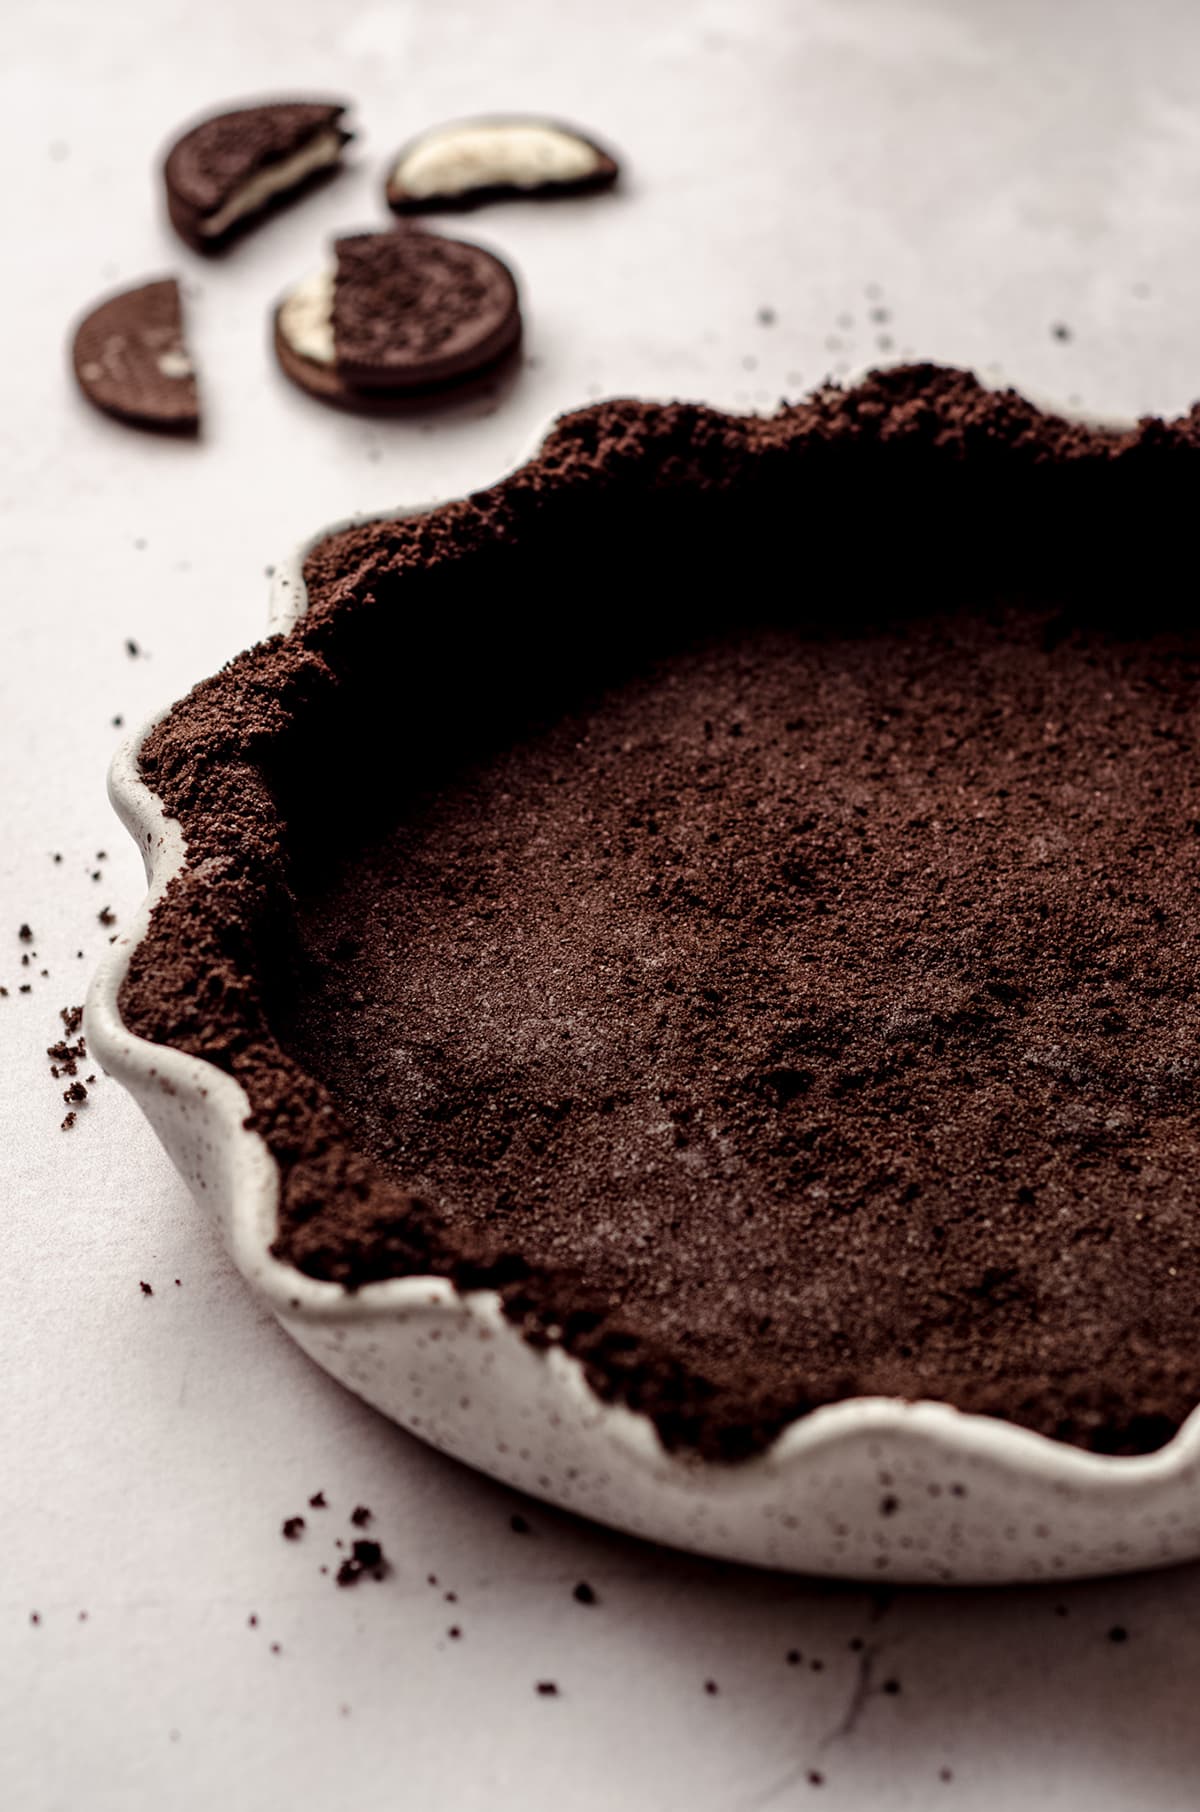
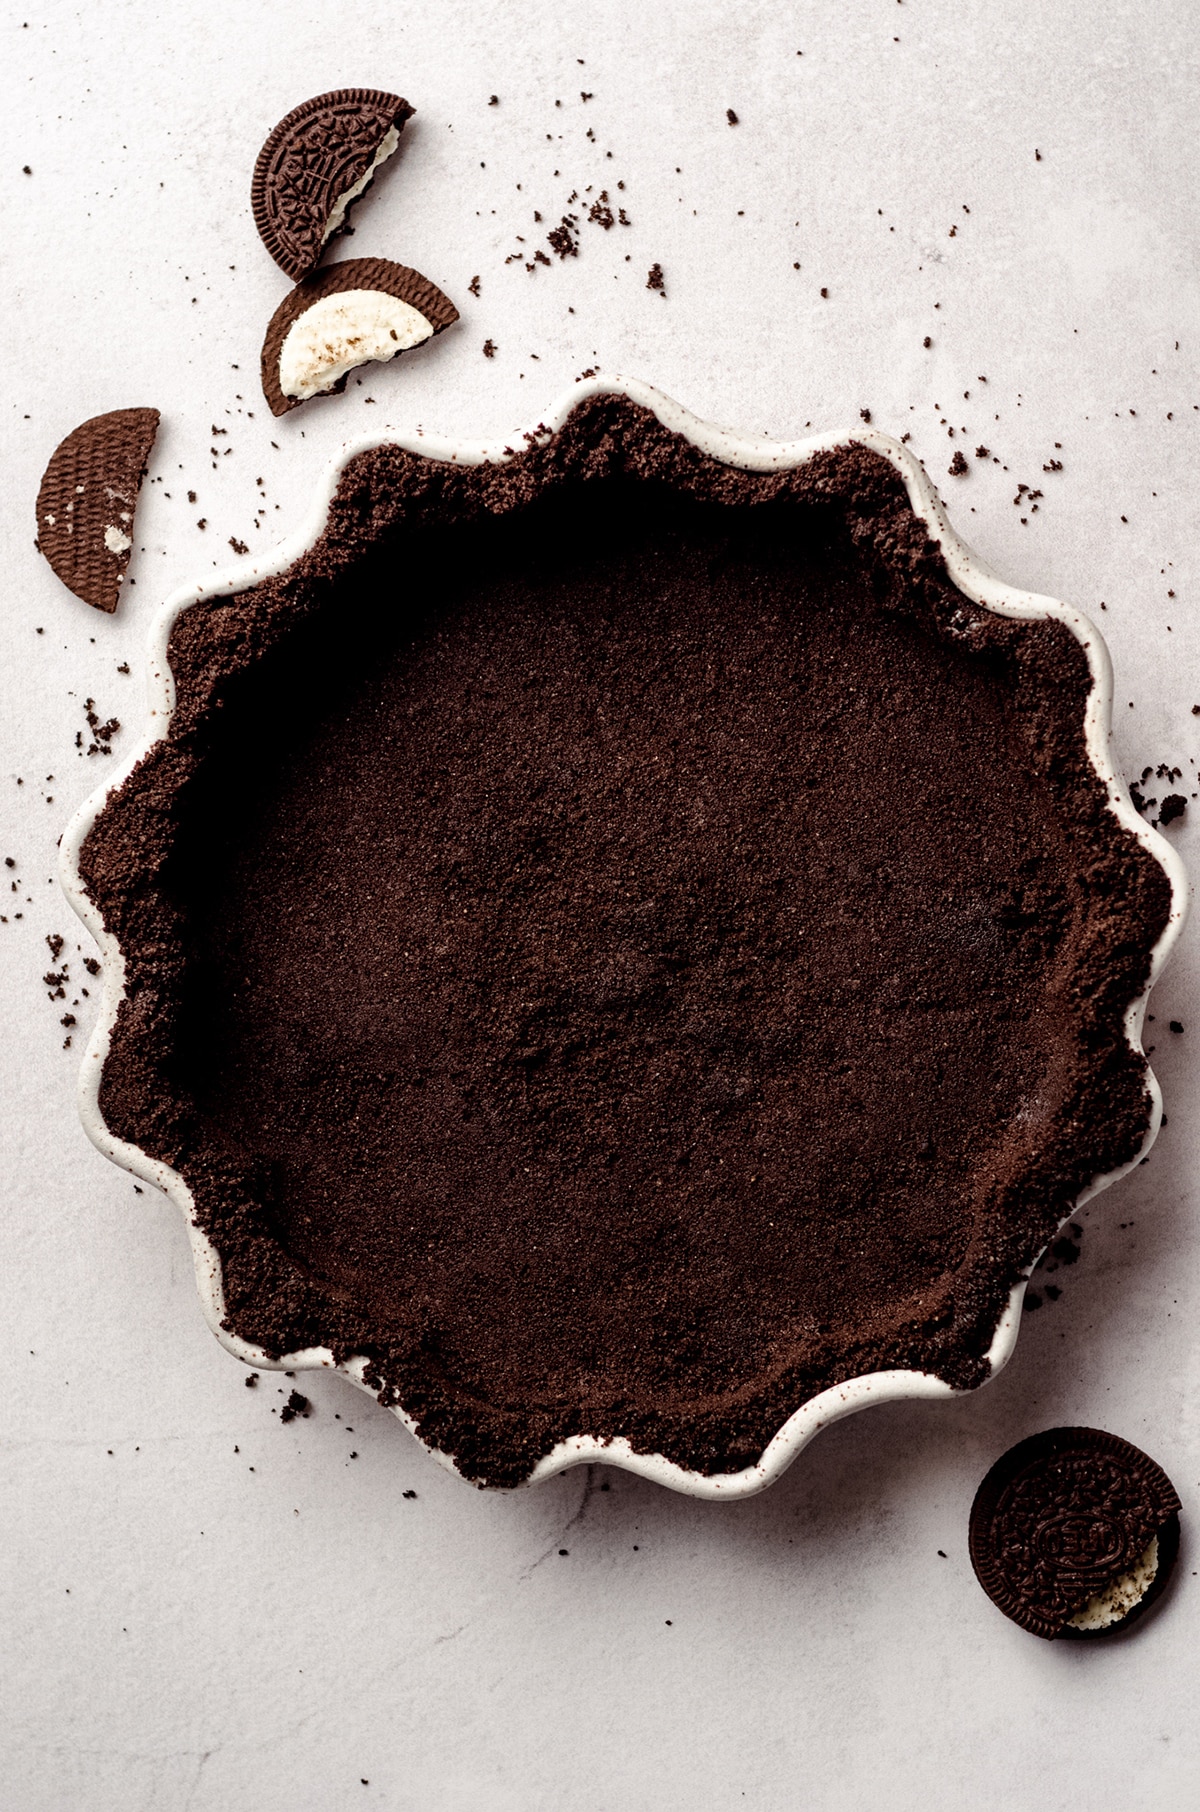
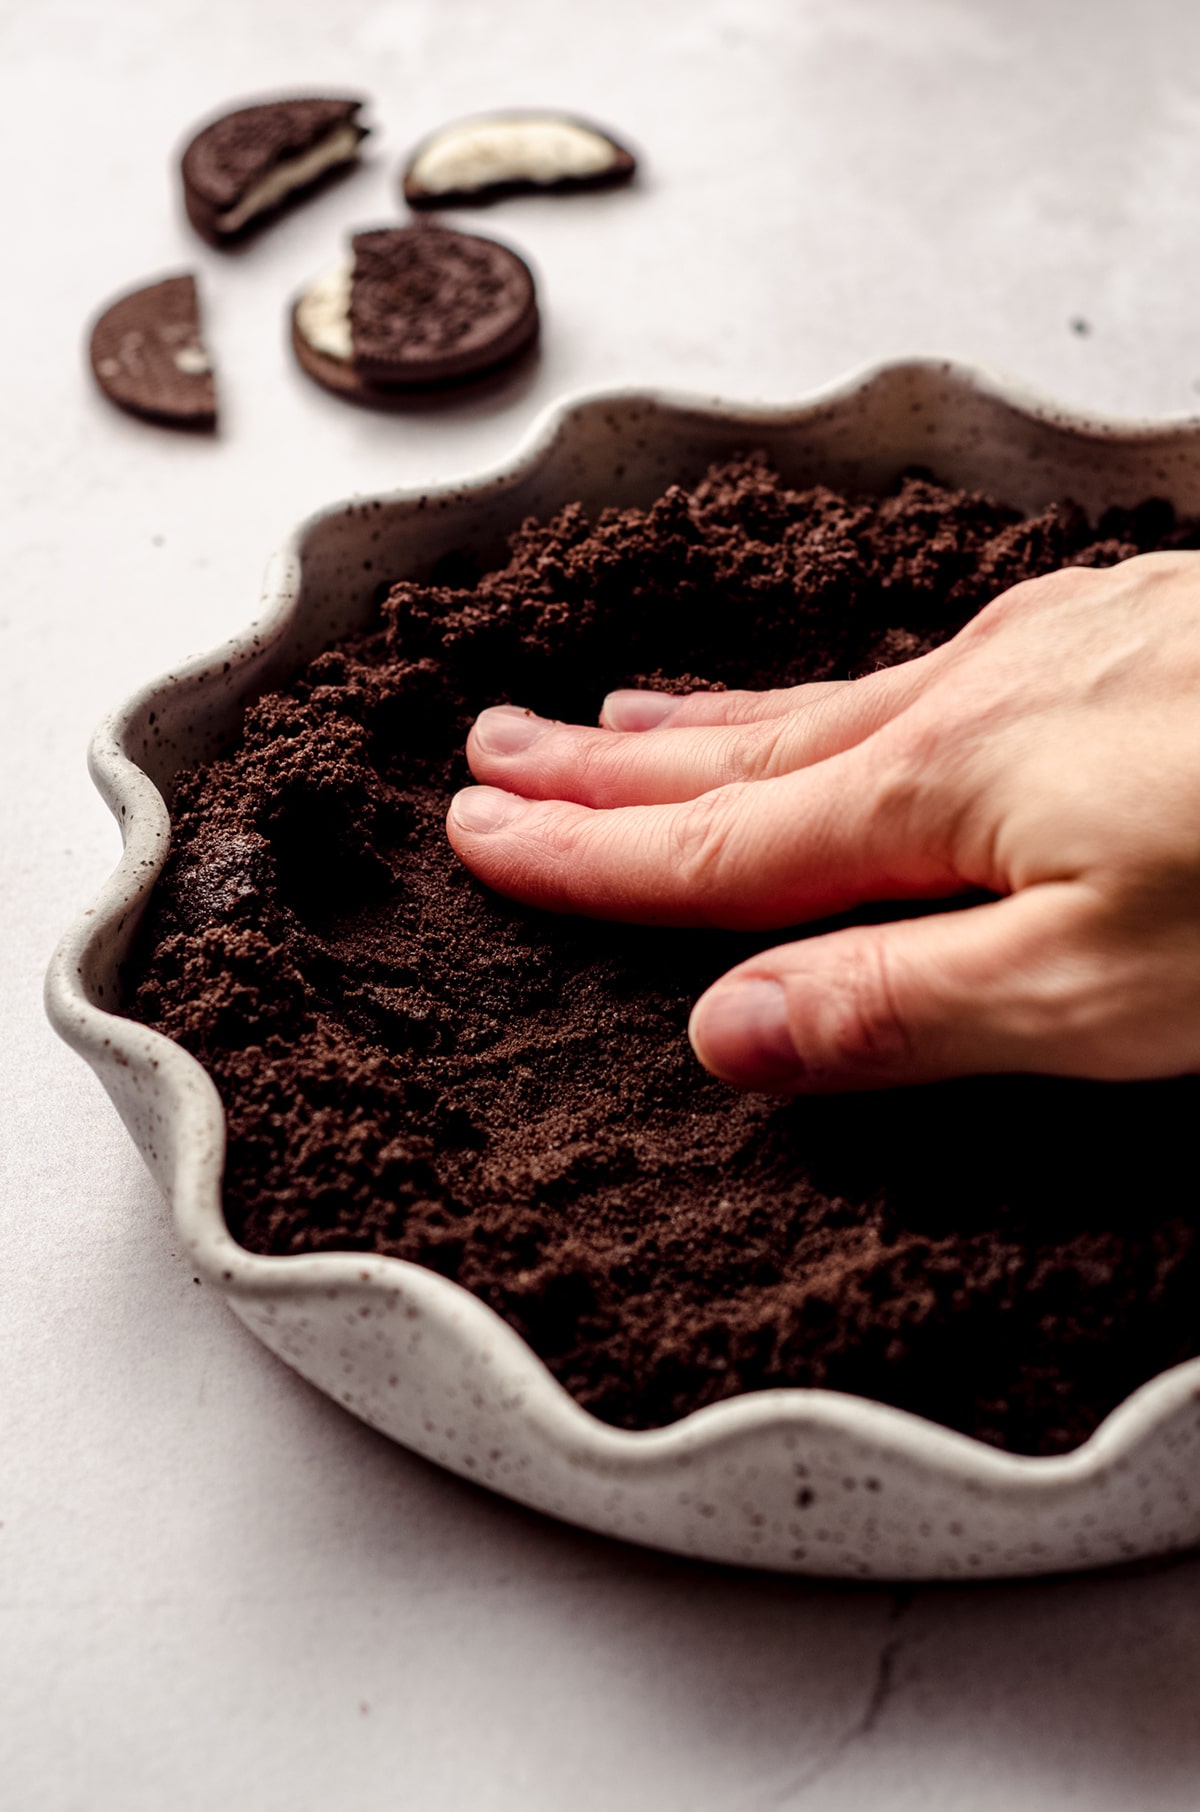
When your Oreos + butter are blended together completely, simply pour the crumbs into your pie plate and press firmly all along the bottom and up the sides, ensuring the crumbs are tight and compact.
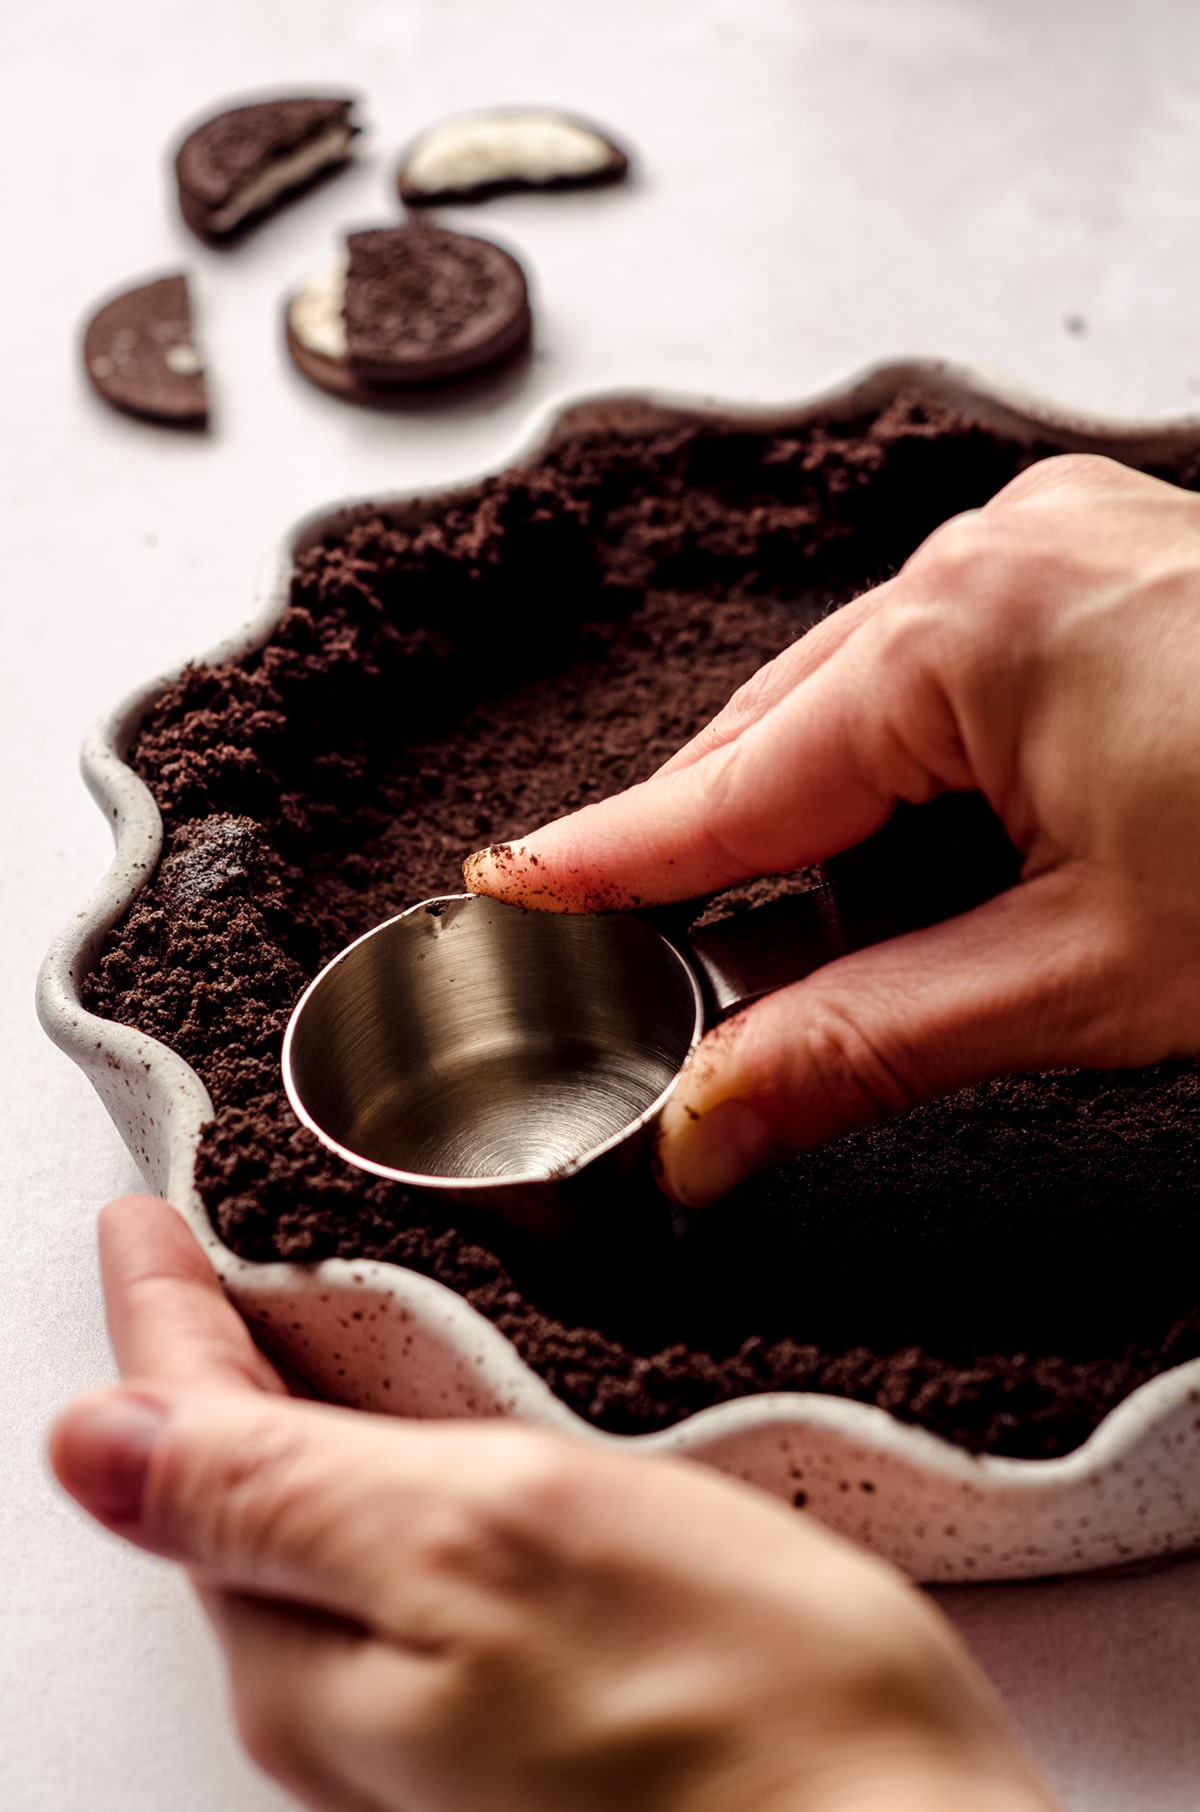
I like to use my hands at first to feel the thickness and evenness of the crumbs before I switch to a small measuring cup to get the rest of the job done.
This Oreo crust recipe works great in an 8″ or 9″ square baking dish. Line your pan with foil, leaving an overhang. Use the overhangs to lift the dessert out of the pan before serving.
If you’re wanting an Oreo cookie crust recipe for a 9″ x 13″ pan, simply double the recipe and proceed as normal.
To use this Oreo crust for a cheesecake, press into a 9″ or 10″ springform pan, pressing it into the bottom and slightly up the sides.
(Below: Halloween cheesecake)
Oreo Crust Recipe Tips
To insure your crust isn’t soggy or greasy, you may need to add more crumbs. The filling of an Oreo is made with oil, and using anything more than standard stuffing can sometimes yield a greasy crust. My advice? If you’re using more than standard stuffed, remove the filling from about half of the Oreos before crushing them into crumbs. If it’s too late and you’ve already made your crust, don’t panic! Transfer your crust back to the bowl, remove the filling from 3-4 additional Oreos, crush them up, and add them to your crust.
To make sure your crust is even, use your hands to firmly press the bottom of the crust. The crumbs should fit together snugly. A few loose crumbs are fine, but the bulk of the crust should be solidly packed together. Use a measuring cup to help you do this– I like to use a 1/4 cup measure with a flat bottom.
How to Use Oreo Cookie Crust
Once your crust is done, it’s time to fill it with the good stuff! And you have a few different ways to do this.
For a baked dessert: pre-bake this crust per your recipe’s instructions. I typically pre-bake for 8-10 minutes at 350°F (177°C) or 10-12 minutes at 300°F (149°C). Allow to cool, then fill and continue with your recipe’s directions.
For a no-bake dessert: chill your pie crust for at least 30 minutes before filling it. Chilling the crust before adding your no-bake filling will solidify the cookie/cream/melted butter mixture.
To make ahead: this crust can be covered and kept in the refrigerator up to 3 days before using in a recipe. To store for longer, freeze the prepared crust in the pan for up to 3 months. Thaw in the refrigerator or at room temperature before using in your recipe.
And yes, you can use any flavor of Oreo to make any of your Oreo crust desserts. In fact, now that Oreos come in a gluten free option, if the filling of your pie or dessert is gluten free, you can now have a completely gluten free Oreo crust in no time.
(Below: no bake Oreo pie)
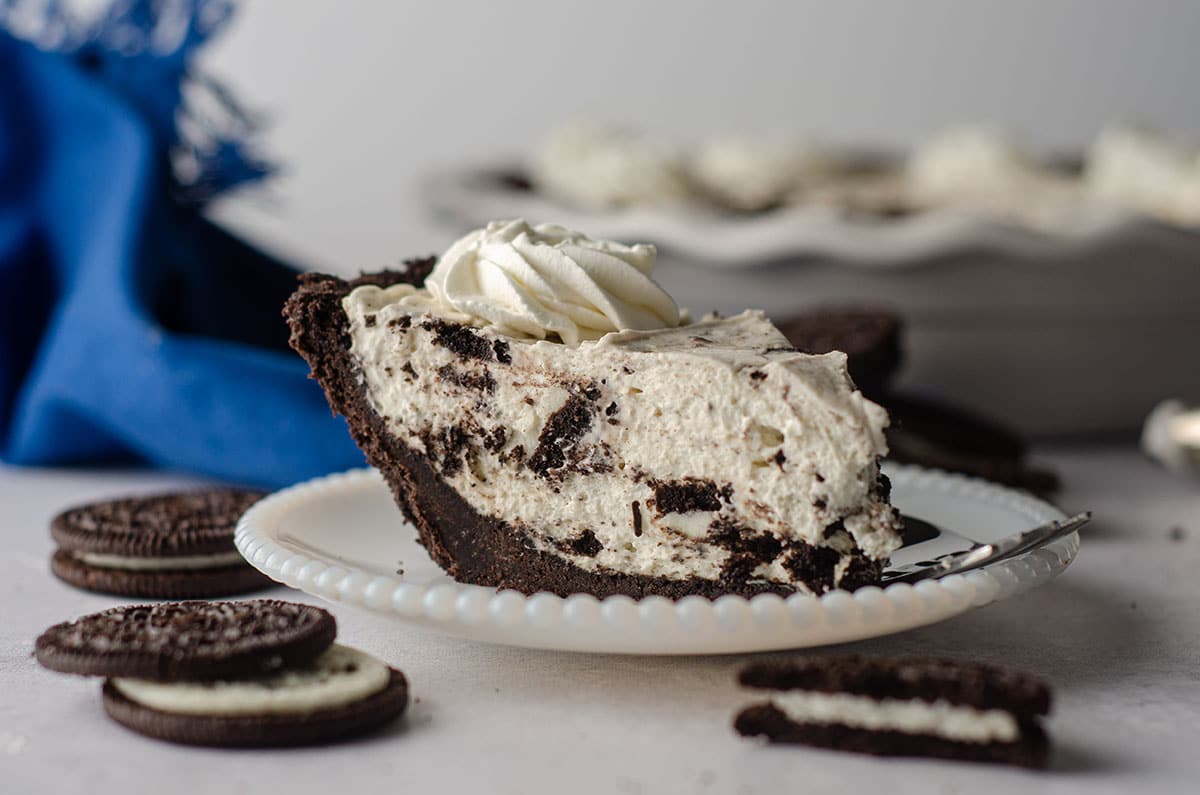
I hope you’ll ditch the pre-made Oreo crust next time and opt for using this Oreo pie crust recipe instead when you’re baking (or no baking!) that next treat. You’ll never go back, I swear!
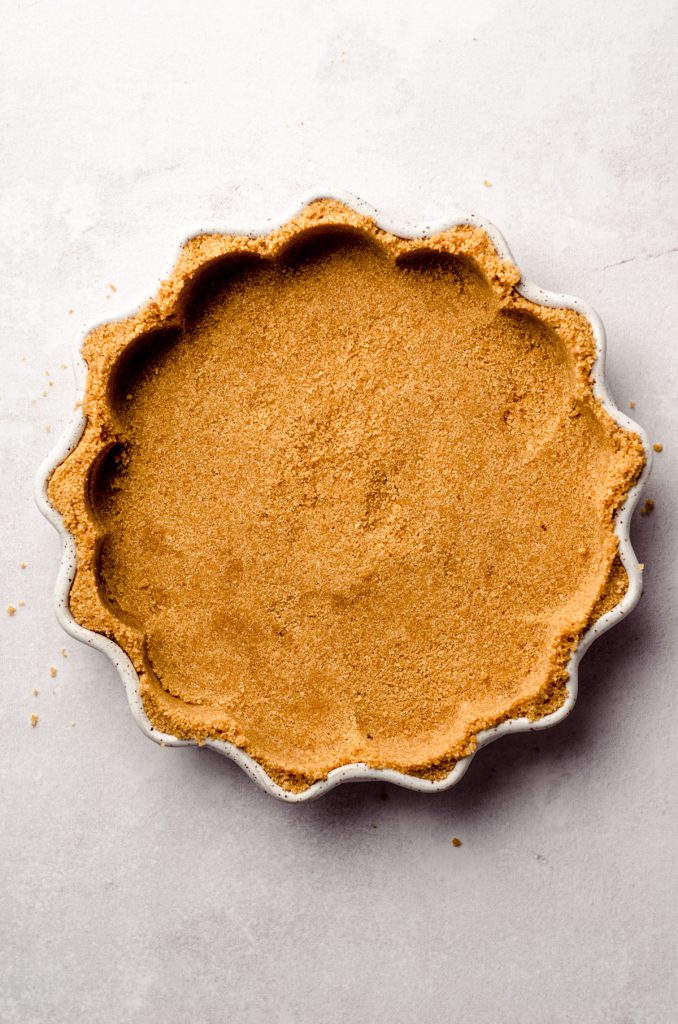
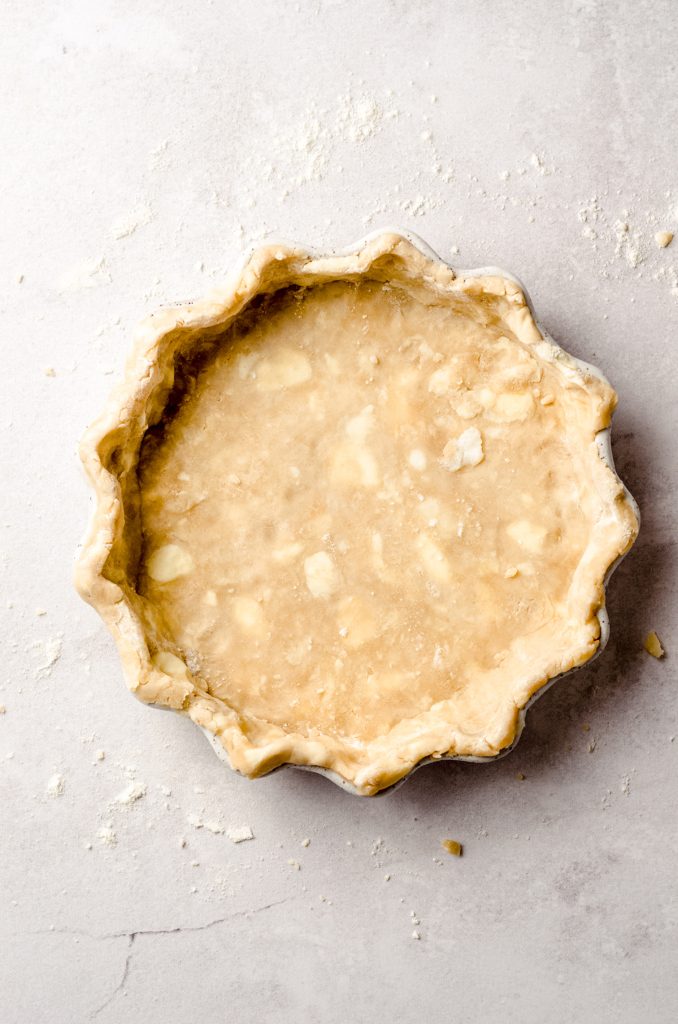
More pie crusts: graham cracker crust and traditional flaky pie crust.

Homemade Oreo Crust
Ingredients
- 24 Oreos1 crushed2
- 4 Tablespoons (57g) unsalted butter melted
Instructions
- Use a food processor or blender2 to process Oreos into a fine crumb.24 Oreos1
- Turn the processor or blender off, add the butter, then pulse a few times until everything is blended well. Alternatively, you can add the Oreo crumbs to a bowl and mix the butter in with a large spatula. Mixture will be coarse and crumbly.4 Tablespoons (57g) unsalted butter
- Use your hands to press the mixture evenly into the bottom and slightly up the sides of a pie dish (this crust is enough for a 9" or 10" pan). Once it is evenly spread into the dish, use the bottom of a flat measuring cup to make the crust tight and compact in the dish. Crust will be thick.
- For a baked dessert: pre-bake this crust per your recipe’s instructions. I typically pre-bake for 8-10 minutes at 350°F (177°C) or 10-12 minutes at 300°F (149°C). Allow to cool, then fill and continue with your recipe’s directions.
- For a no-bake dessert: chill your pie crust for at least 30 minutes before filling it. Chilling the crust before adding your no-bake filling will solidify the cookie/cream/melted butter mixture.
- To make ahead: this crust can be covered and kept in the refrigerator up to 3 days before using in a recipe. To store for longer, freeze the prepared crust in the pan for up to 3 months. Thaw in the refrigerator or at room temperature before using in your recipe.
Notes
- Oreos: for a no bake dessert, standard, DoubleStuf, and MegaStuf all work just fine, as do gluten free Oreos. Use your preference. If you are going to bake the crust, I highly recommend using standard Oreos as the filling can sometimes weep as it melts in the oven (extra filling means extra oil). If you want to use anything bigger than standard stuffed, remove the filling from half of the Oreos before proceeding.
- Crushed Oreos: I find it easiest to put the Oreos into a food processor than to do this step by hand.
- Other sizes: this recipe will fit nicely into an 8″ or 9″ square baking pan. Line the baking dish with foil before pressing the crust together. Use foil overhangs to lift the dessert out of the pan to serve.
Nutrition Disclosure
All nutritional values are approximate and provided to the reader as a courtesy. Changing ingredients and/or quantities will alter the estimated nutritional calculations.
I made this with an easy chocolate pudding filling. The crust was the best part. I just want to eat it straight!
Great tips! We love using cookie crusts.
This is such a great recipe to have in your back pocket when you need a last-minute dessert.
Thank you!
From now on, I’m putting an Oreo crust on everything! Okay, maybe not quiche, but all of my sweet things, love how easy and simple this recipe was.
Thank you for this unique and fun and EASY recipe for Halloween! My “kids” of all ages are a bit tired of “Ghost” cookies! Plus, we LOVE Oreos!
Thanks so much, Cherry!
Hi Lynn! Thanks for this oreo crust recipe, looks great! Your instructions say that when using this crust for a no-bake dessert, you chill it in the freezer for 30 minutes. What I’m not clear on is whether you bake the crust first, or if you don’t bake it at all. I’m making an ice cream cake. Thanks in advance!
Hi, Christy– you do NOT need to bake it if you are using it with a no bake dessert. Enjoy!