
Classic Cheesecake

As an Amazon Associate, I earn from qualifying purchases. Read the full disclosure here.
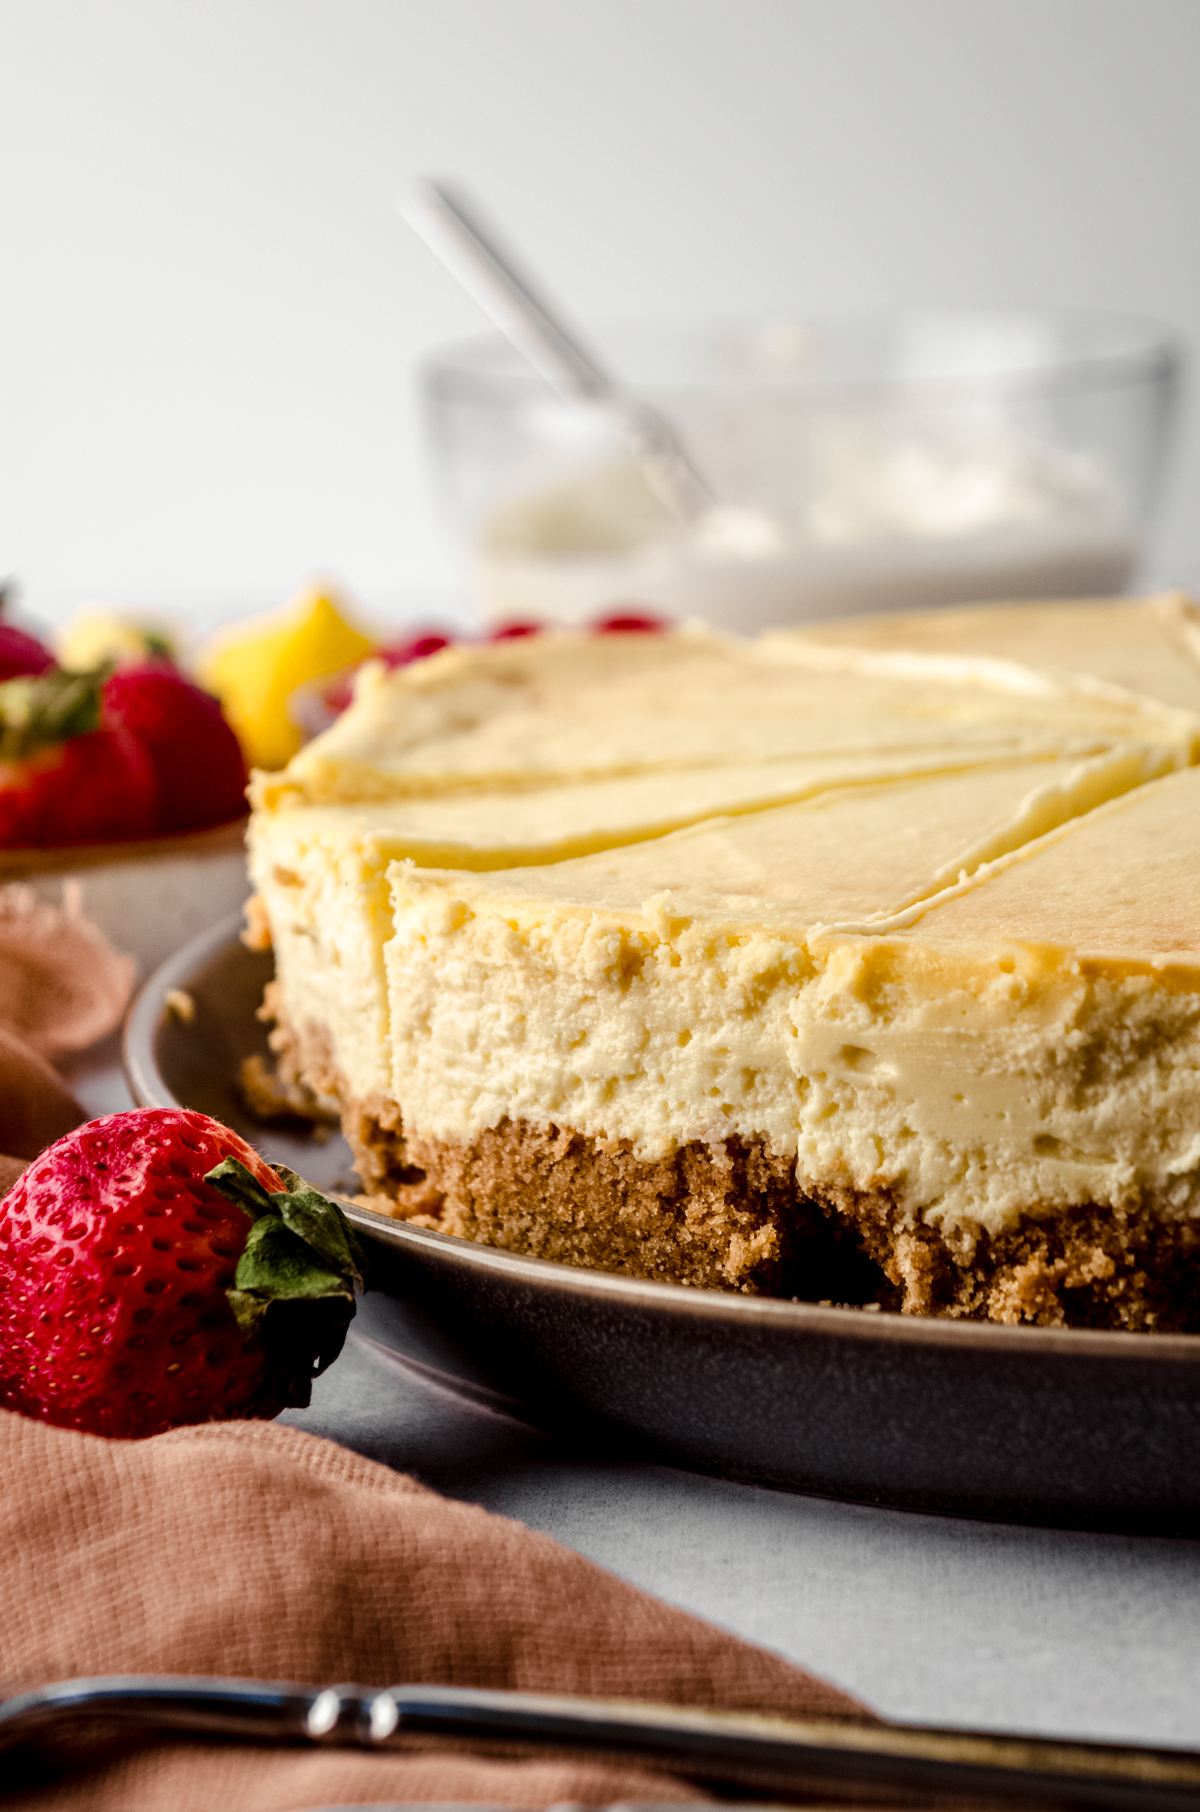
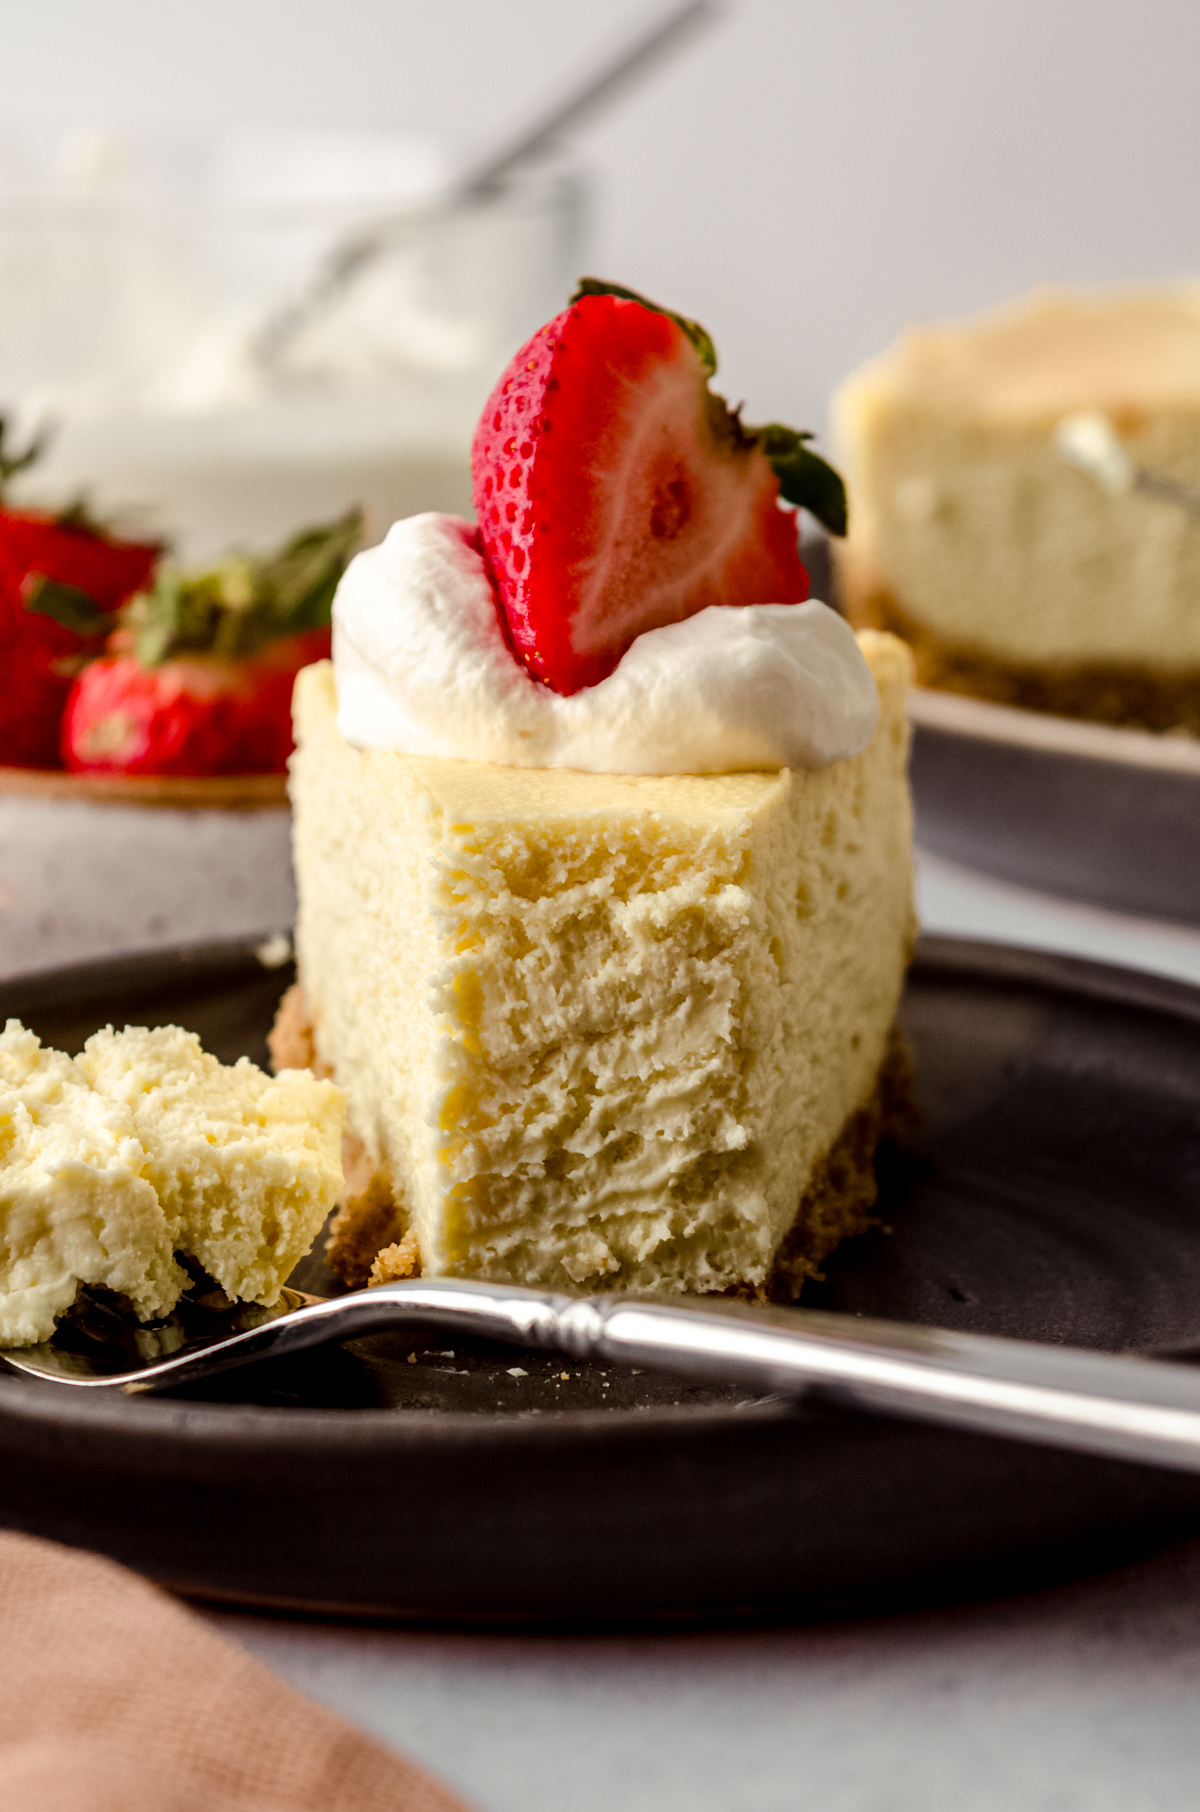
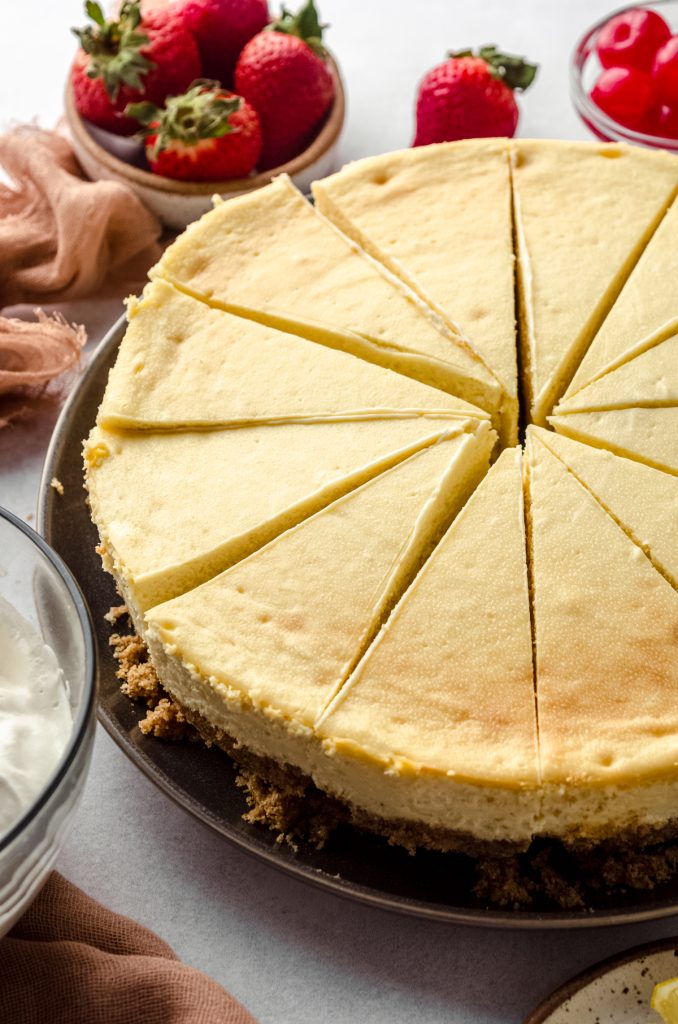
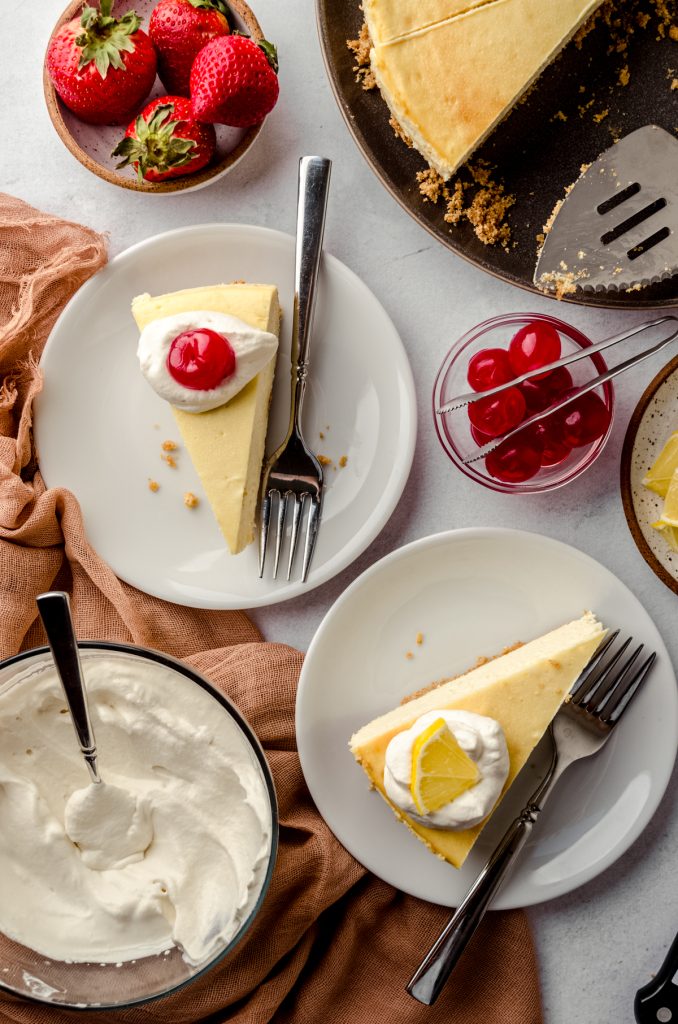
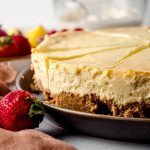
This simple classic cheesecake on a buttery graham cracker crust will wow you with its velvety smooth and ultra creamy texture. I’ve included instructions for making the easiest water bath (no foil necessary!) and recipes for all of my favorite cheesecake toppings.
This is the Best Cheesecake Recipe
If you, like I once was, are intimidated about taking on the seemingly daunting task of making a cheesecake, you are not alone. I often hear from readers that cheesecakes seem finicky, and while they may require some careful planning and attention to steps, I’m here to tell you that they are actually quite simple and you can totally do this.
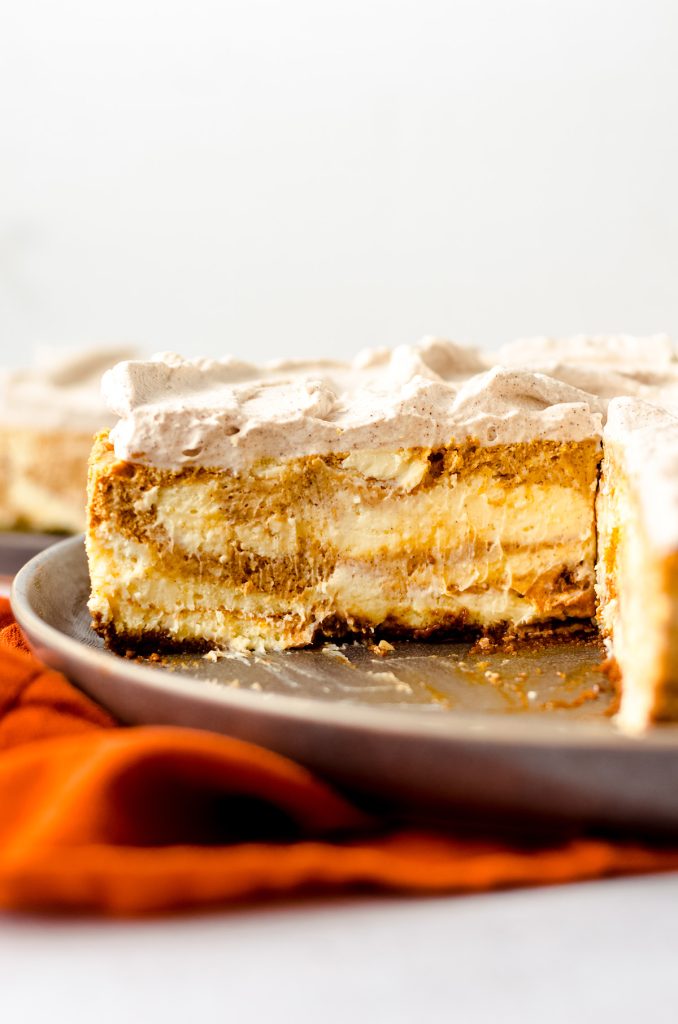
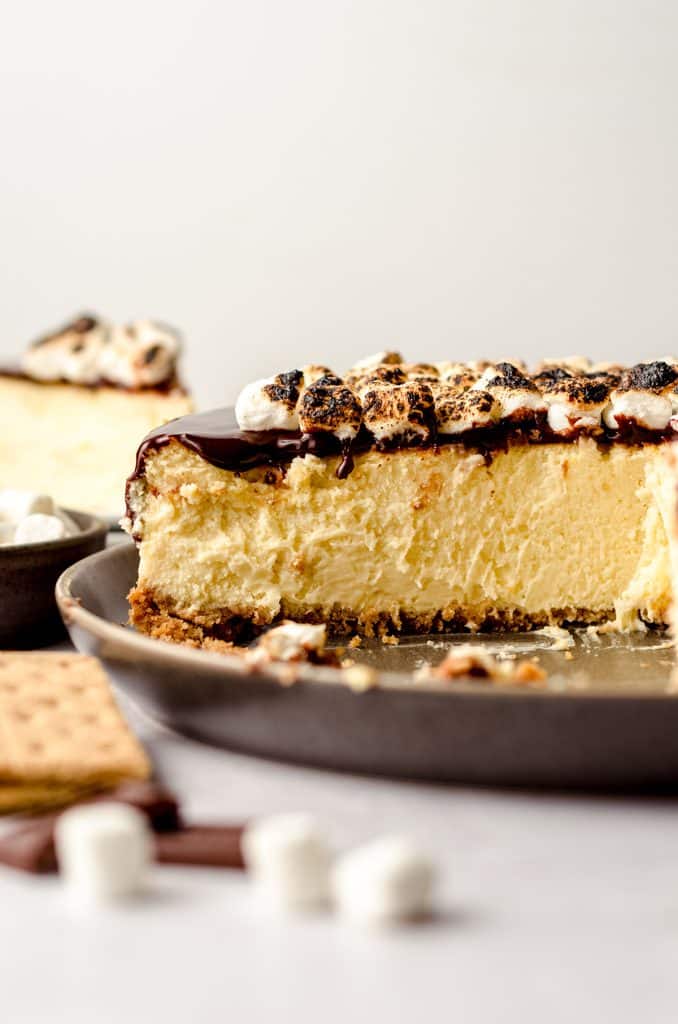
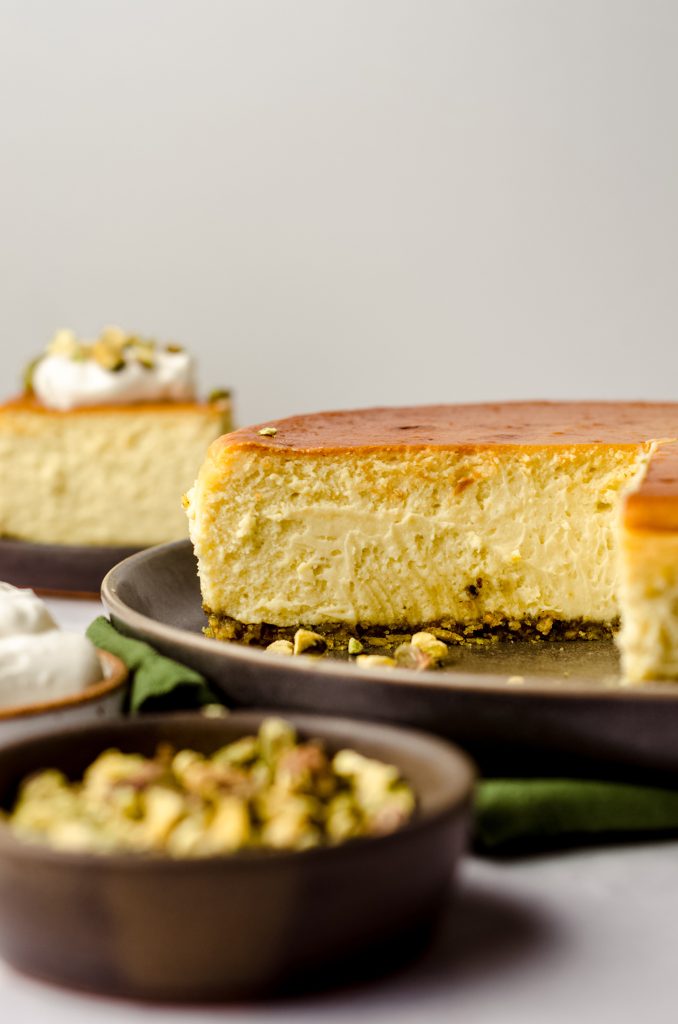
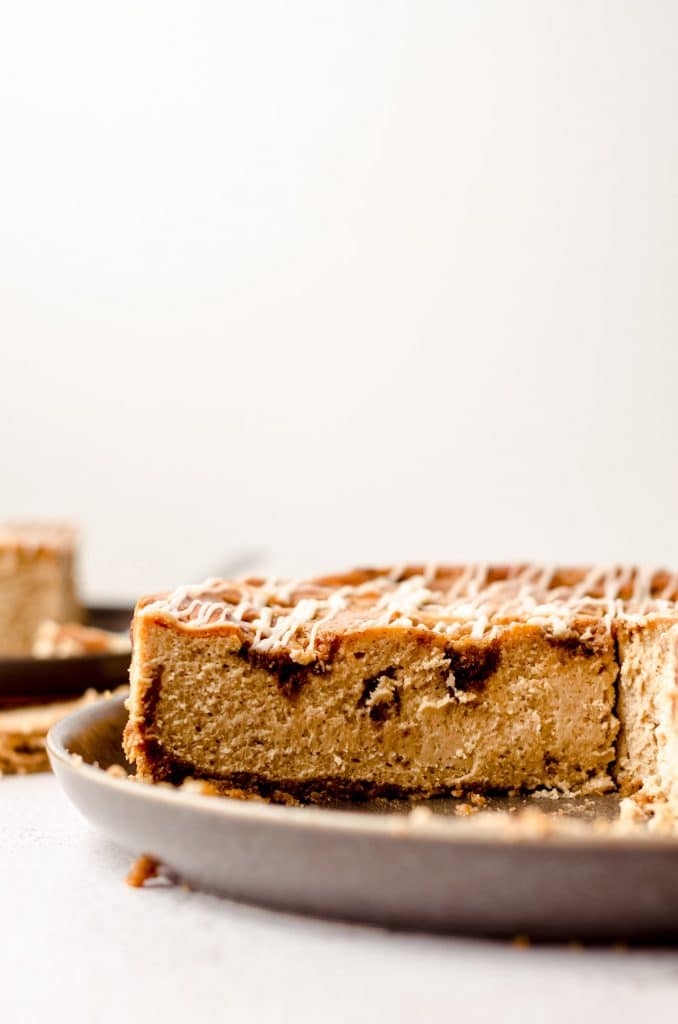
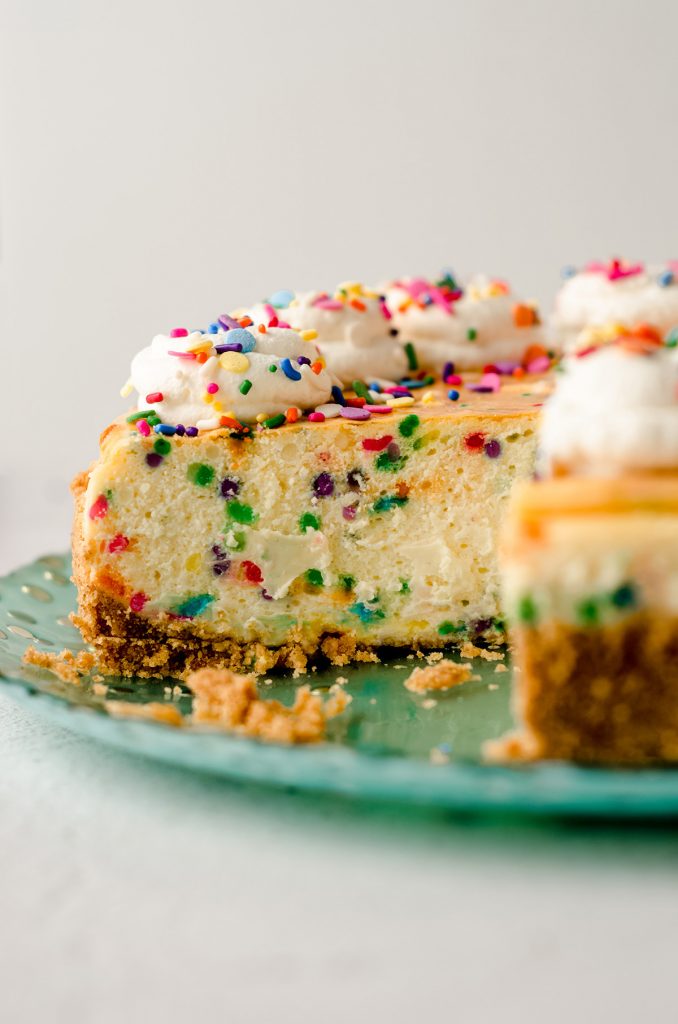
In fact, back in 2021, I made my first cheesecake ever. It was a funfetti cheesecake, and I’ve since published peach cheesecake, s’mores cheesecake, pumpkin swirl cheesecake, cinnamon roll cheesecake, and pistachio cheesecake. Oh, and I can’t forget this adorable Halloween cheesecake with cutie pie whipped cream ghosts on top!
Yes, I am a seasoned baker. But believe me, if I can conquer my white whale and be encouraged to bake cheesecake that many subsequent times, you can, too. Let me help you with this easy cheesecake recipe!
Why you’ll love this Classic Cheesecake Recipe
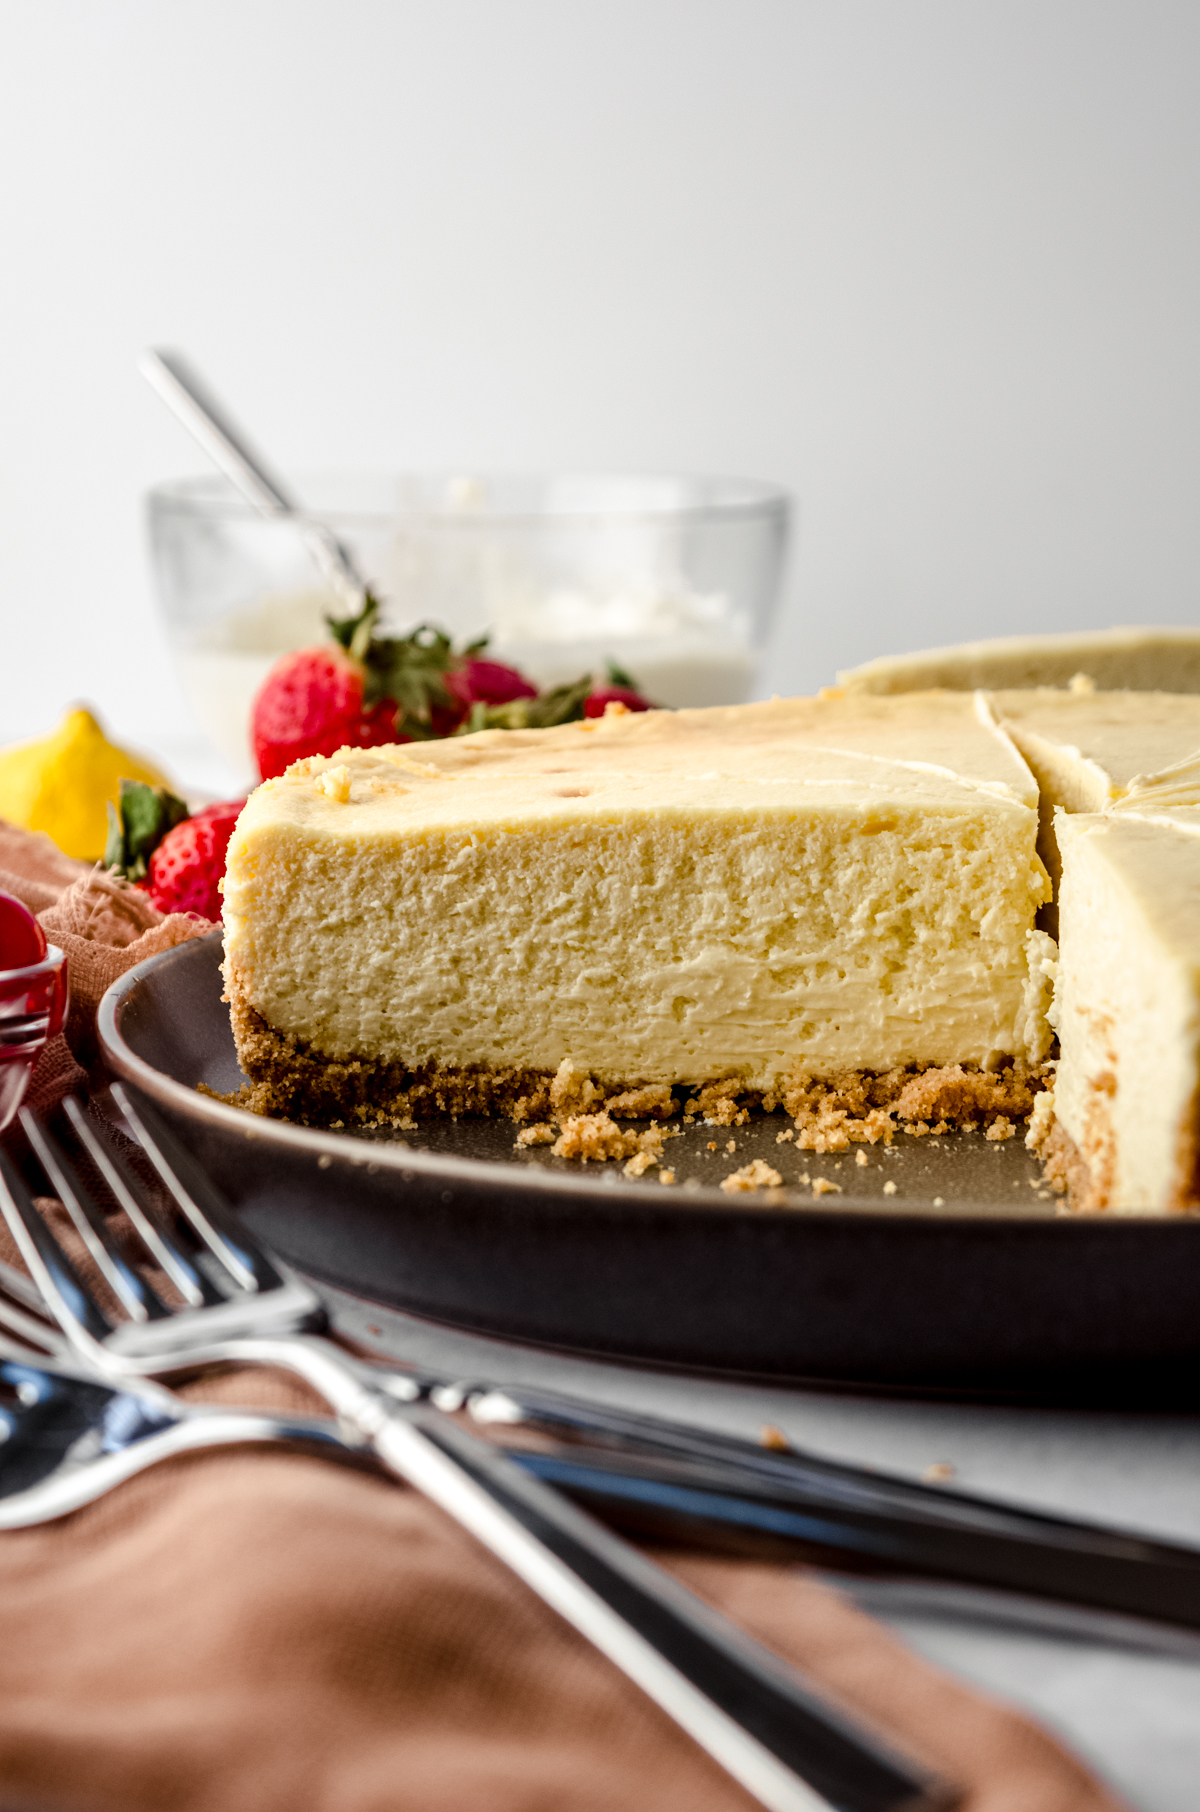
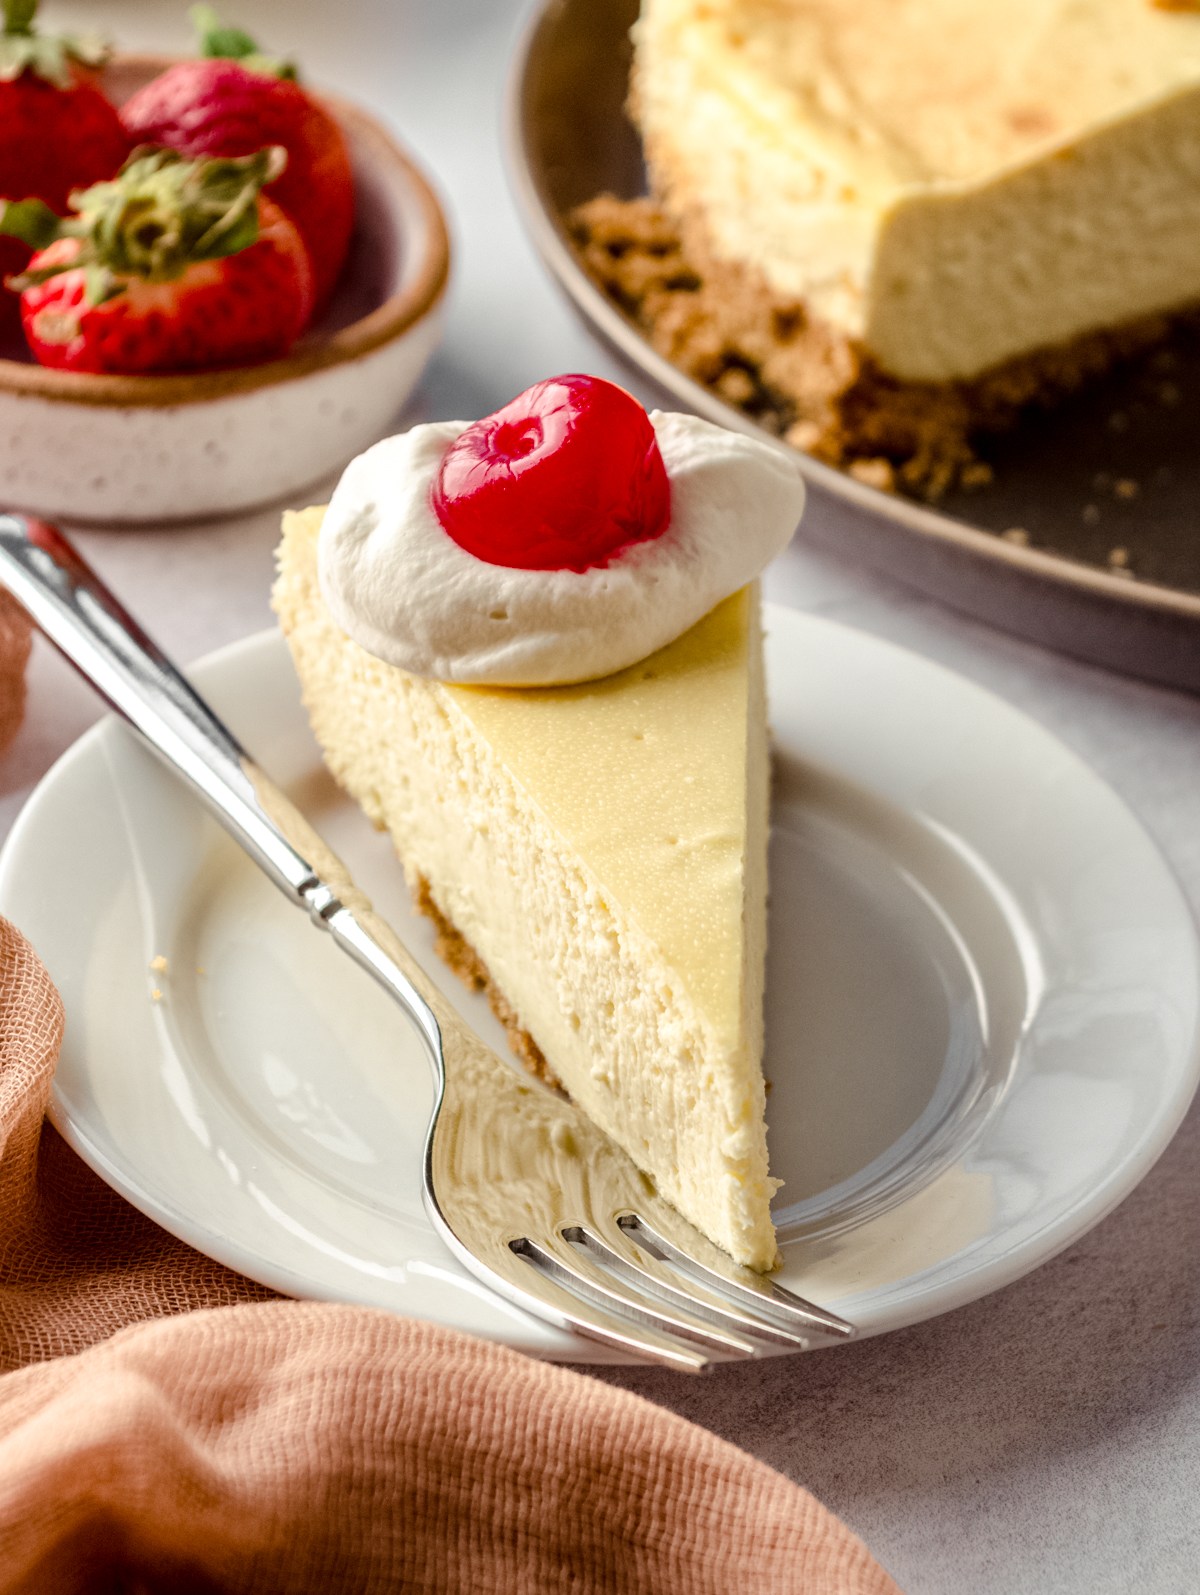
With all of those cheesecake recipes as my guide, I wanted to create the easiest and best cheesecake recipe possible. After several test cheesecakes, I landed on the perfect combination of ingredients that yields a rich, creamy, and smooth texture. The filling is thick but with a lighter mouthfeel than a dense New York cheesecake, which relies heavily on extra cream cheese.
This classic cheesecake depends on full fat sour cream to make it silky smooth and I removed the additional heavy cream and egg yolks from my other cheesecake recipes to produce a light and fluffy filling that is thick and sturdy enough to handle all of your favorite toppings.
Below you’ll find thorough and clear instructions for exactly how to make this classic cheesecake, so be sure you’re paying attention. Preparing the ingredients is the first key to success, treating the batter with care follows right after, and baking and cooling the cheesecake is the last strategic move.
Follow my instructions exactly and you’ll be rewarded with an ultra creamy, evenly baked, and crack-free cheesecake on the other side. Oh yeah, and it will taste absolutely divine, that’s for sure.
Basic Cheesecake Recipe Ingredients
For a dessert that delivers mega flavor, there are surprisingly very few ingredients in the recipe, and they’re simple ingredients at that.
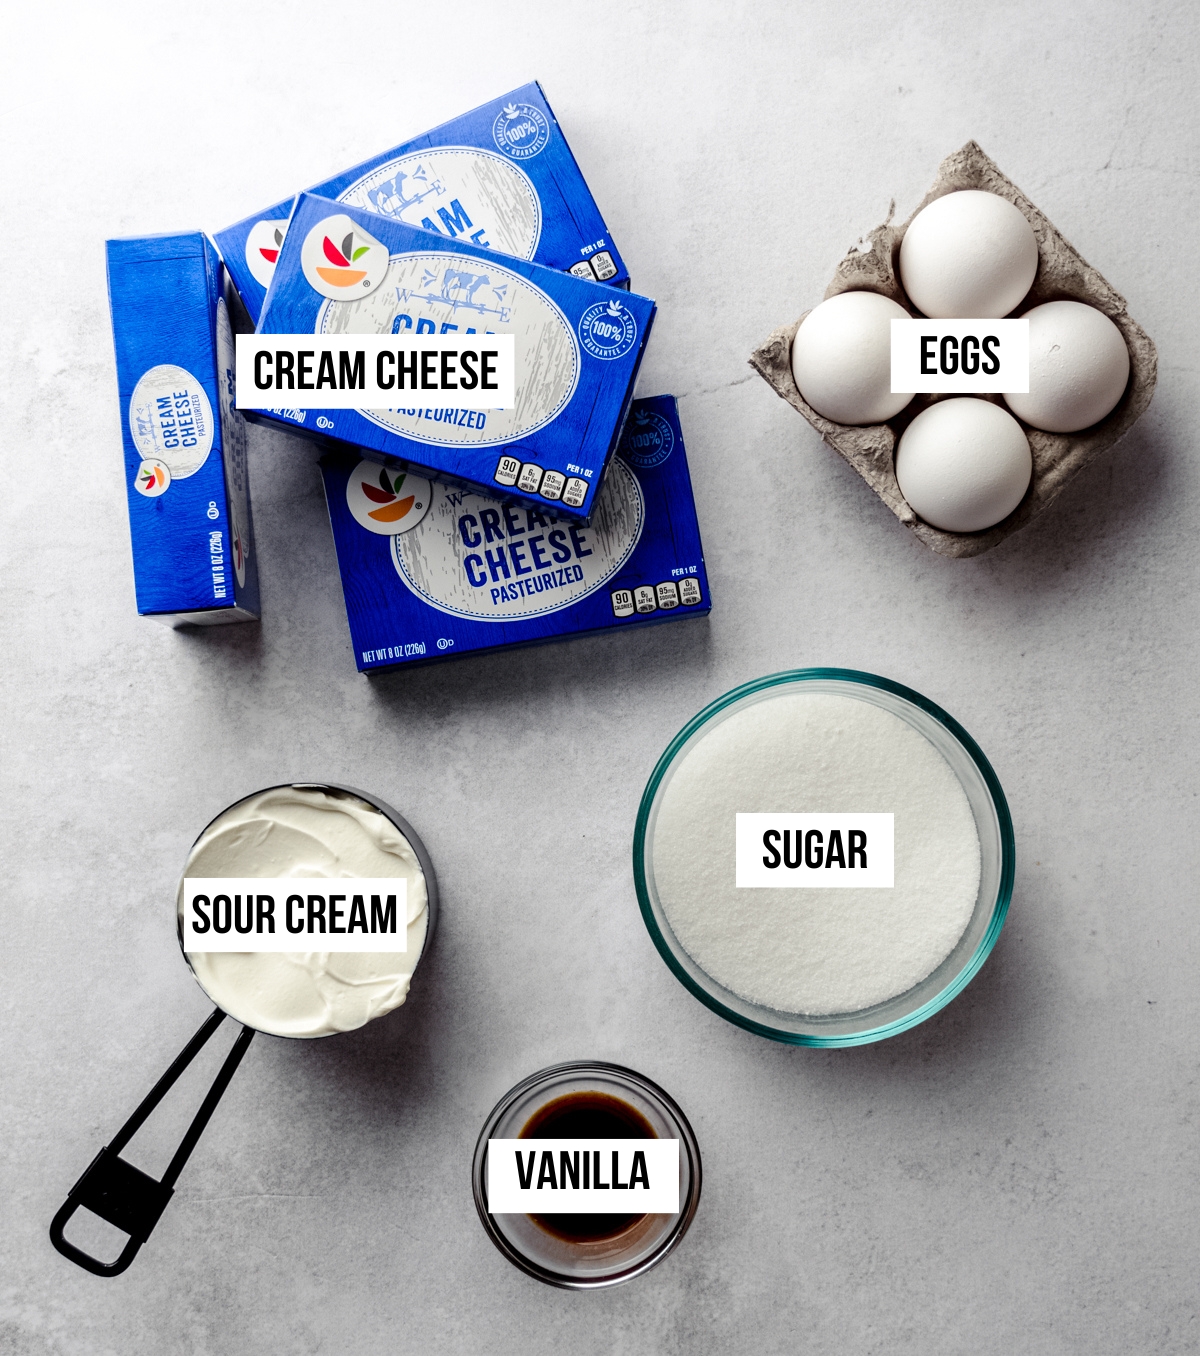
FULL FAT BLOCK CREAM CHEESE: we’re using 2 pounds of cream cheese in this cheesecake recipe. You will want to make sure these are full fat blocks/bricks and nothing “whipped” or anything that comes in a tub (no spreads). Believe it or not, these cream cheeses are not all the same and using anything other than full fat block cream cheese won’t yield the same results.
GRANULATED SUGAR: many of my other cheesecake recipes use 1 and ½ cups of sugar to sweeten the filling. I found that just 1 cup was the perfect amount to balance the tanginess and sweetness and allow the authentic taste of a basic cheesecake shine through, even without any toppings.
SOUR CREAM: you’ll want to be sure you’re using full fat sour cream here. I increased the amount of sour cream in this recipe since I completely removed the need for heavy cream. The balance of the two is great, but for a cheesecake with nothing else happening in the filling, I wanted to be sure it was sturdy, rich, and luxurious.
VANILLA EXTRACT: we’re using an entire Tablespoon of vanilla extract. No, that’s not a typo. It’s the perfect amount, trust me!
EGGS: I eliminated the additional 2 egg yolks from my previous cheesecake recipes because it felt unnecessary once I increased the sour cream. The eggs, however, may be the most crucial ingredient as overmixing them into the batter is the best way to add too much air, resulting in a cracked and/or deflated cheesecake. More on this in a bit.
IMPORTANT INGREDIENT NOTE
ALL INGREDIENTS AT ROOM TEMPERATURE: I cannot stress enough how important it is that you have room temperature ingredients. This will allow your batter to blend together easily, staying nice and smooth, so there is no need to overbeat the mixture. I usually let my ingredients sit out for at least 1 hour but closer to 2 hours to insure they are absolutely at room temperature with zero chill. Using cold ingredients WILL yield a lumpy cheesecake. Creamy cheesecake only, please. Let those ingredients sit out!
USE A GRAHAM CRACKER CRUST
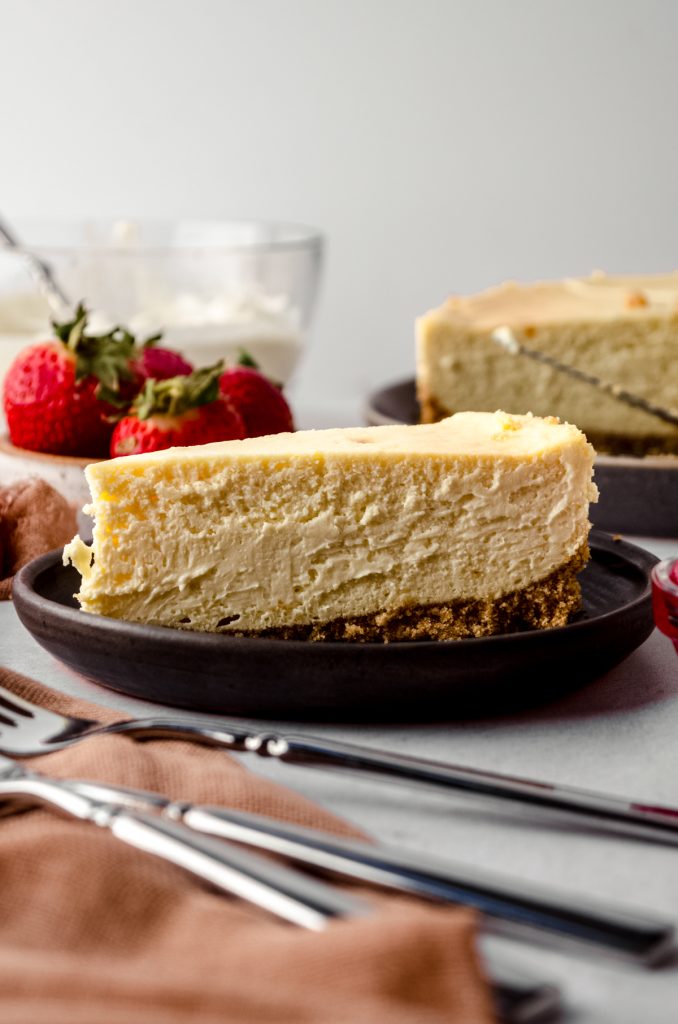
Since we’re focusing on the classic form of cheesecake, we’re using the classic crust: graham cracker! My homemade graham cracker crust is sturdy with a slight tendency of crumble (in a good way!) as opposed to one that is sticky and gooey. The cheesecake sits perfectly on top of it without making it soggy.
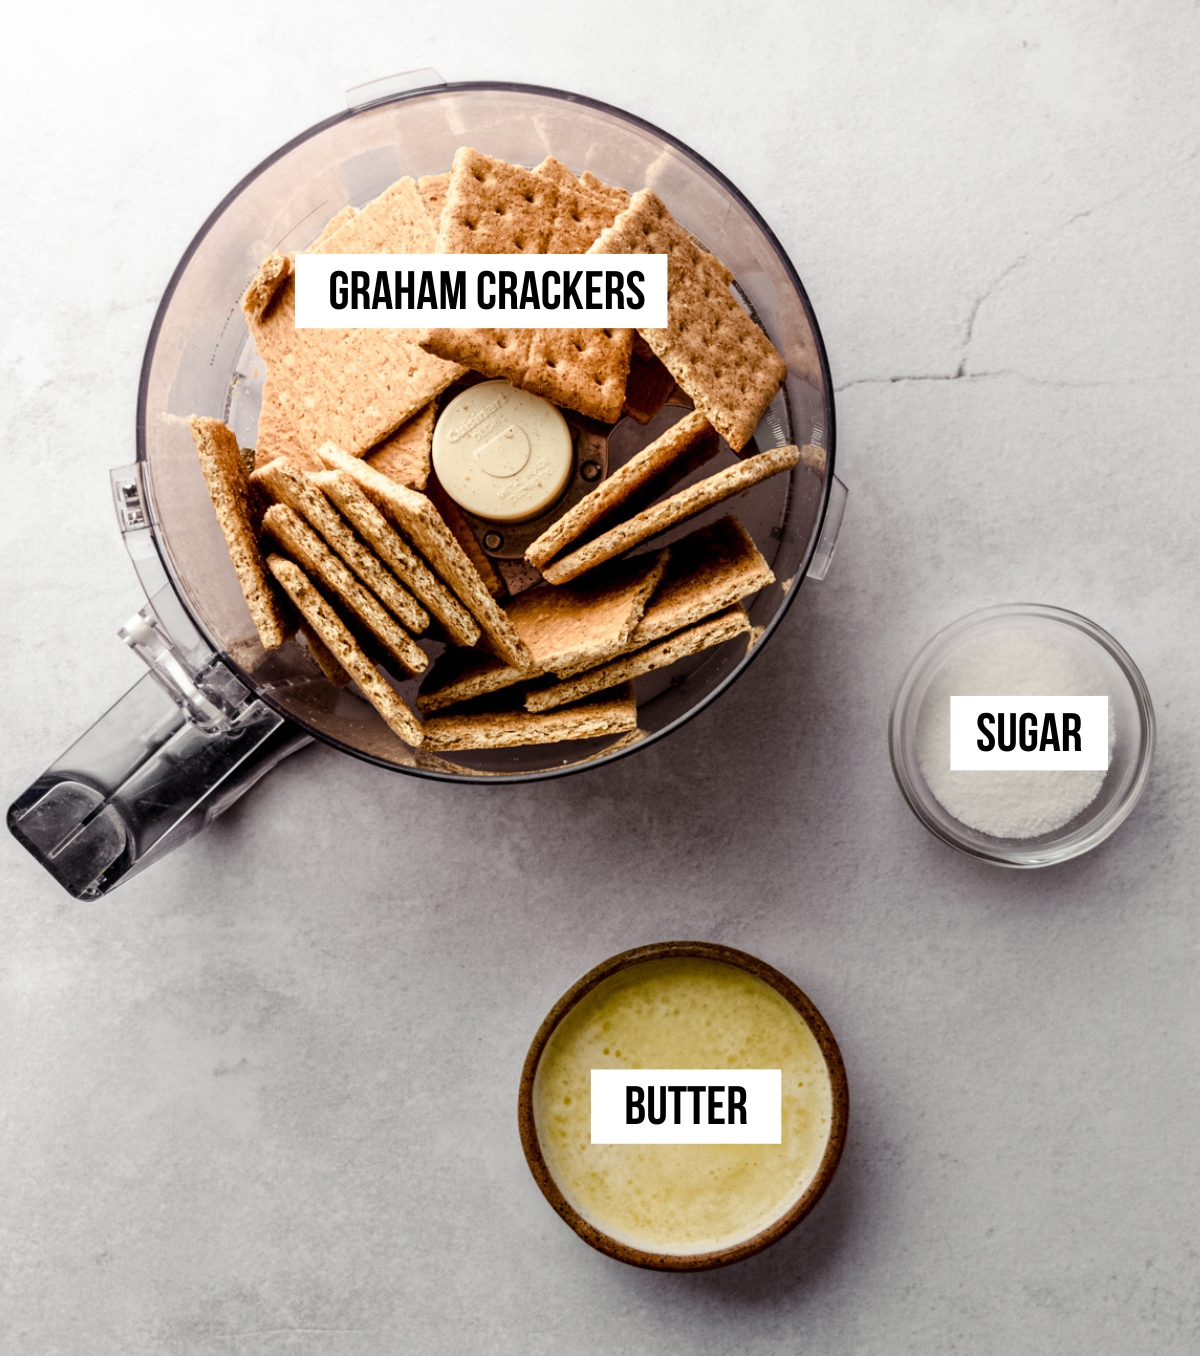
GRAHAM CRACKER CRUMBS: you can purchase these pre-crushed or crush your own in a food processor. I usually use whatever is available or on sale, but keep in mind that anything with a cinnamon-sugar coating will be sweeter than a traditional graham cracker or cinnamon-spiced one without additional sugar.
GRANULATED SUGAR: just a touch of sweetness keeps this crust the perfect complement to the lightly sweetened and tangy cheesecake filling. It’s slightly crunchy with just the right amount of crumble.
MELTED BUTTER: butter helps “glue” the whole crust together and brings a deliciously buttery flavor to every bite of cheesecake.
If you’re interested in a different crust, you can use my Oreo crust recipe or change things up and use the gingersnap crust recipe I put under my pumpkin swirl cheesecake.
How to Make Classic Cheesecake
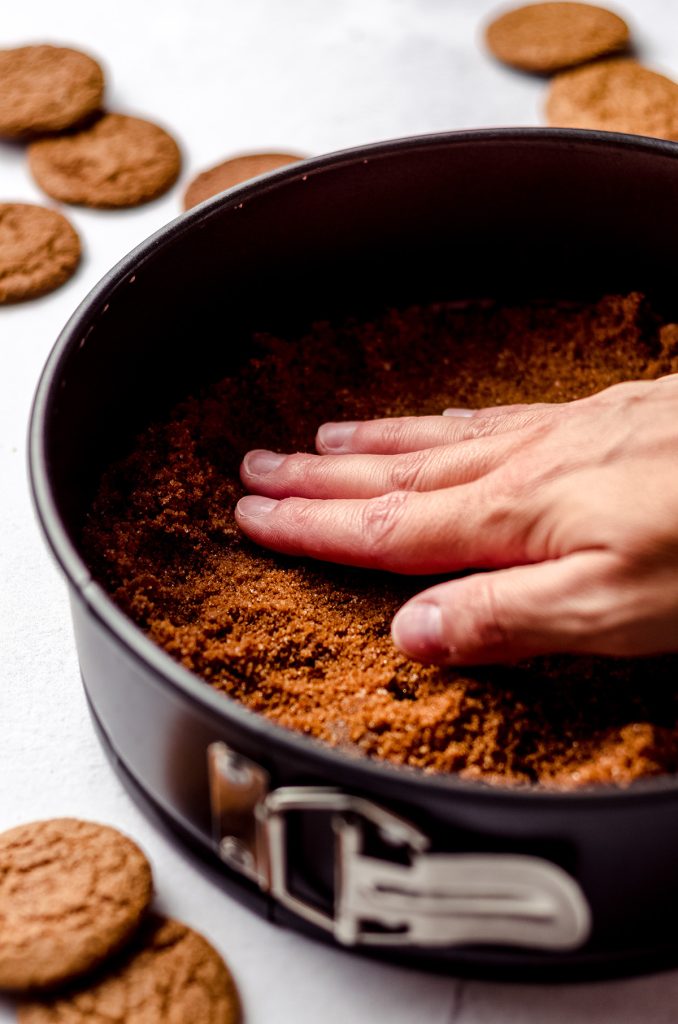
STEP #1
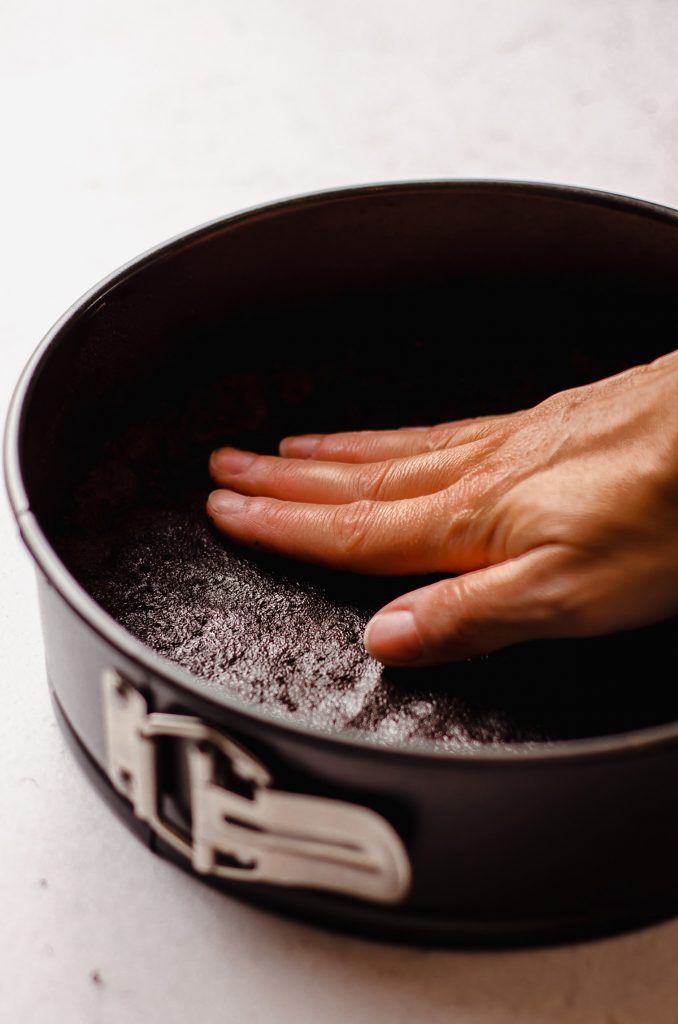
Start by making your graham cracker crust, then pre-baking the crust so it’s nice and sturdy for the filling.
STEP #2
While the crust bakes and cools, prepare the filling by beating the cream cheese on medium high speed until smooth, about 2 minutes. Next, add the granulated sugar then beat again until combined, about another 2 minutes.
STEP #3
Reduce the mixer speed to low (very important step— remember we don’t want to incorporate extra air!), then add the sour cream and vanilla and mix until completely combined.
STEP #4
Add the eggs one at a time, mixing after the addition of each egg and adding the next just after the previous egg starts to incorporate, and continue mixing on low (again, emphasis in low) until there are no more yellow yolk streaks.
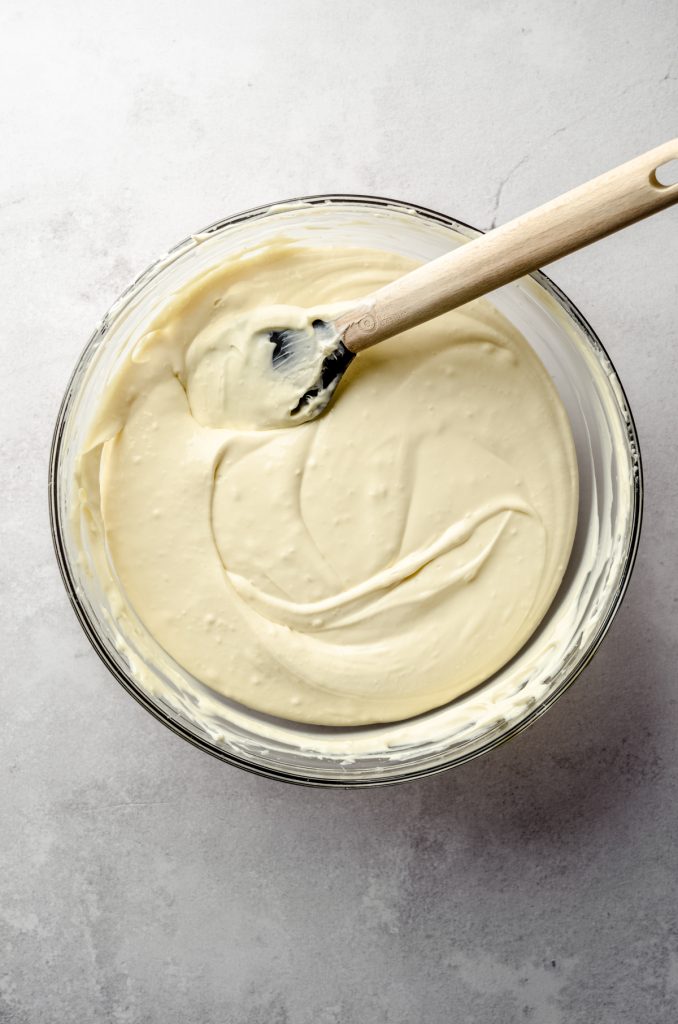
STEP #5
Use a large spatula to carefully fold the batter together, scraping the bottom of the bowl and the sides to gather any extra batter that may not be fully incorporated. Sometimes I need to use the mixer again, but be sure to keep it on low. Your batter should be smooth and creamy without lumps. Some small lumps are fine (like the ones you see below).

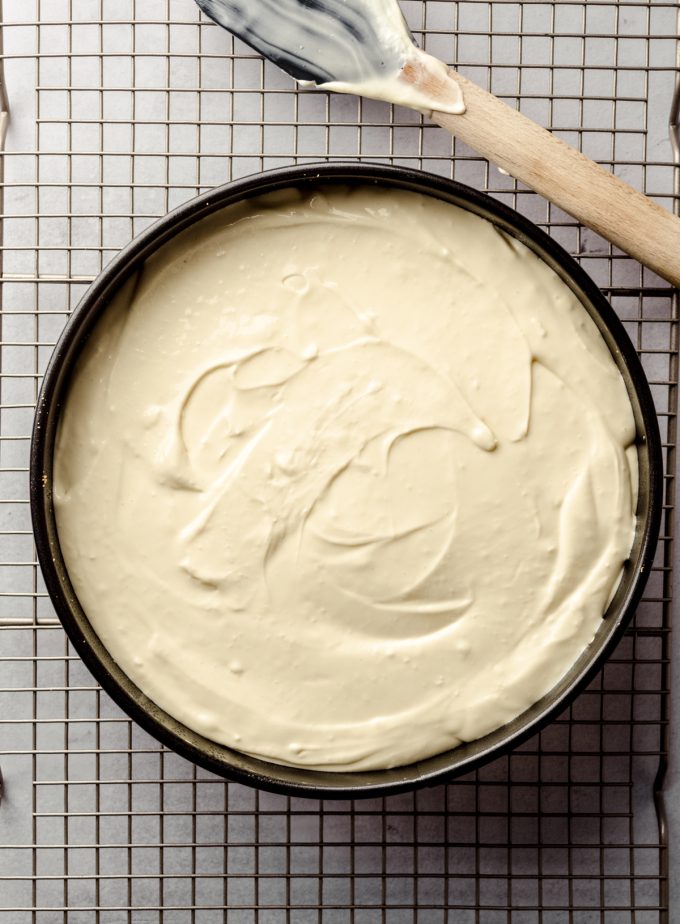
STEP #6
Pour the batter into the prepared pan then create your water bath for baking.
How to MAKE A Water Bath Cheesecake
I like to keep this process incredibly uncomplicated by eliminating the need for foil. I have seen folks place a pan of water under the cheesecake in the oven, but I prefer immersing the cheesecake into the water (well, sort of).
I actually have an entire post dedicated to how to make a cheesecake water bath (without foil), because it’s that important.
But what the heck is the point of a water bath?
Since there are no leavening agents in cheesecake, we rely on a humid environment to create steam to lift the cheesecake. You’ll see the baking time is somewhere near an hour and a half, which means this is a low and slow process. Using a water bath insures your cheesecake bakes evenly, reducing the risk of surface cracks on the top of the cheesecake as well as deflation.
Create a water bath by placing the 9″ springform pan in a slightly larger round pan (I like to use a 10″ cake pan) and then place that pan into an even larger round pan (I like to use a 12″ cake pan) or roasting pan.
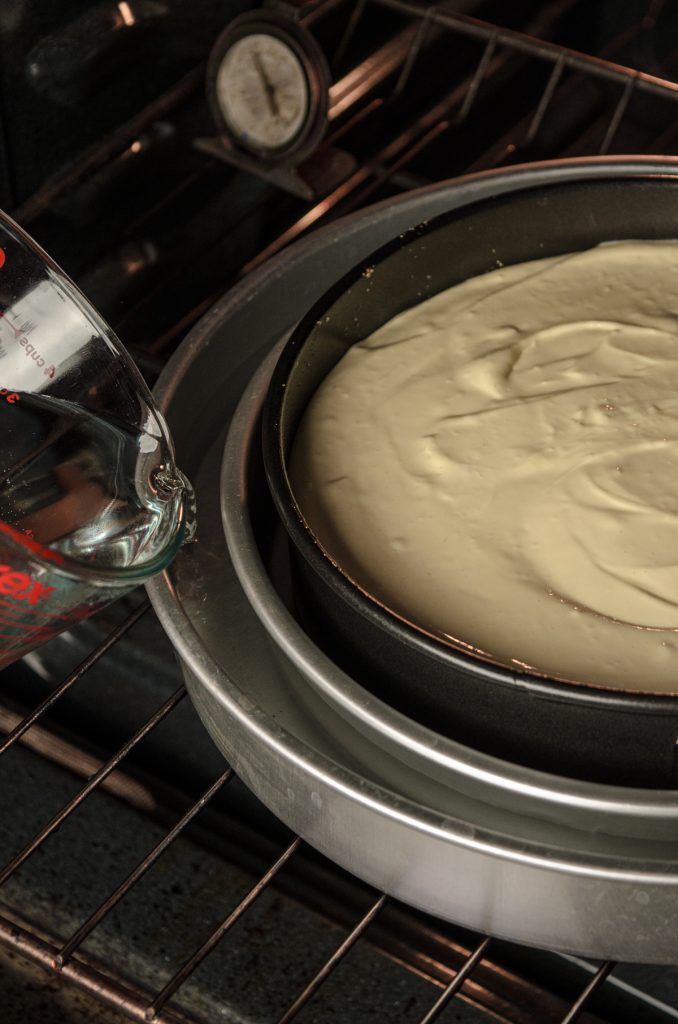
Fill the outer pan with hot water halfway up the sides of the middle pan, then carefully transfer the whole thing to the oven. You can also assemble the pans in the oven, but work quickly so as not to let too much hot air out of the oven.
Here is a cake pan bundle that includes both of the larger size pans I use for my water bath.
HOW TO TELL WHEN CHEESECAKE IS DONE
There are two definitive ways to tell whether or not your cheesecake is done.
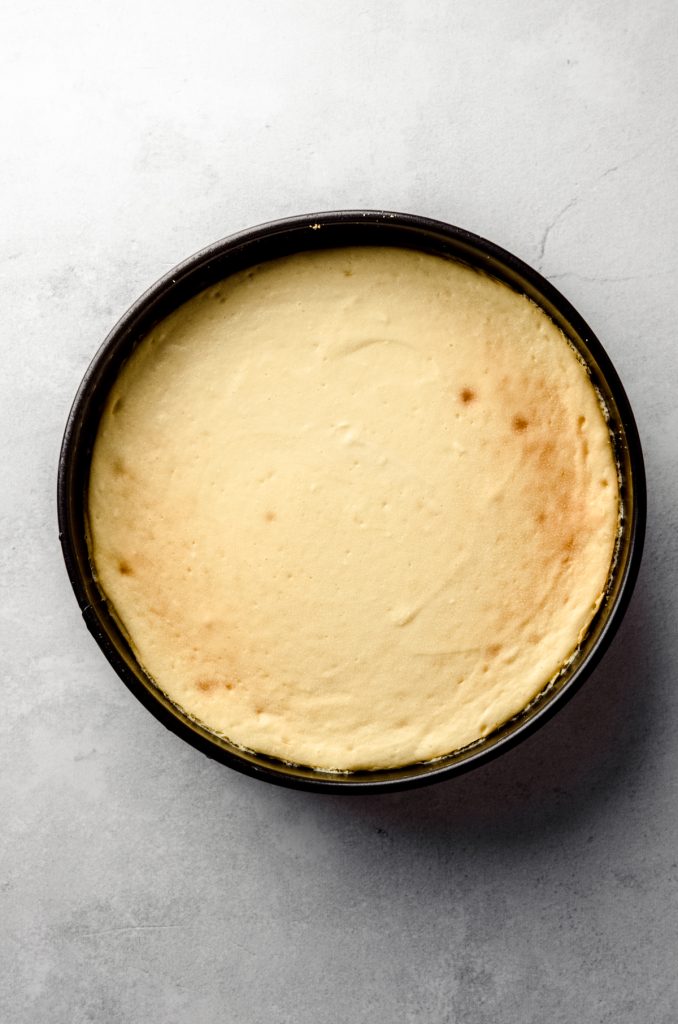
BY LOOK: you’ll want to look for set edges around the sides of the springform pan and a slightly jiggly center of the cheesecake, only about 2″ in diameter.
BY TEMPERATURE: believe it or not, heat is an ingredient in baking. When you think of heat as the final ingredient in your bakes, you’ll see final temperature as key in determining when something is “done.” Cheesecake is done when the internal temperature reaches 145ºF (63ºC). This is my very favorite instant-read digital thermometer, and this is my favorite budget-friendly digital thermometer.
I usually use both of these markers because the scientist in me wants as many solid indicators as possible that my experiment is over. No, a digital thermometer is not the only way, but it does take the guesswork out of baking cheesecake and can really help a cheesecake newbie know what the visuals are that match up with the technicals.
How to Properly Cool a Classic Cheesecake
Taking care when cooling your cheesecake is another way to prevent any cracks. I always let my cheesecake do its initial cooling inside the turned-off oven with the door cracked.
When we move a cheesecake from one extreme temperature to another, we run the risk of shocking its system, causing it to sink too quickly, creating surface cracks. While there is certainly nothing wrong with cracks in a cheesecake, it’s often the one thing folks gripe about when it comes to reasons cheesecakes are labeled “finicky.”
When your cheesecake is finished baking, turn off the oven, crack the door (I like to stick the wooden handle of my spatula in there), and let the cheesecake cool for 1 hour.
After that initial cooling, you can let the cheesecake continue to cool on the counter. Once completely at room temperature, chill it in the refrigerator for at least 4 hours, but ideally overnight. I like to cover mine with foil or an upside-down plate. There will likely be some condensation on the surface of the cheesecake once it is completely chilled, but you can just blot that off with a paper towel.
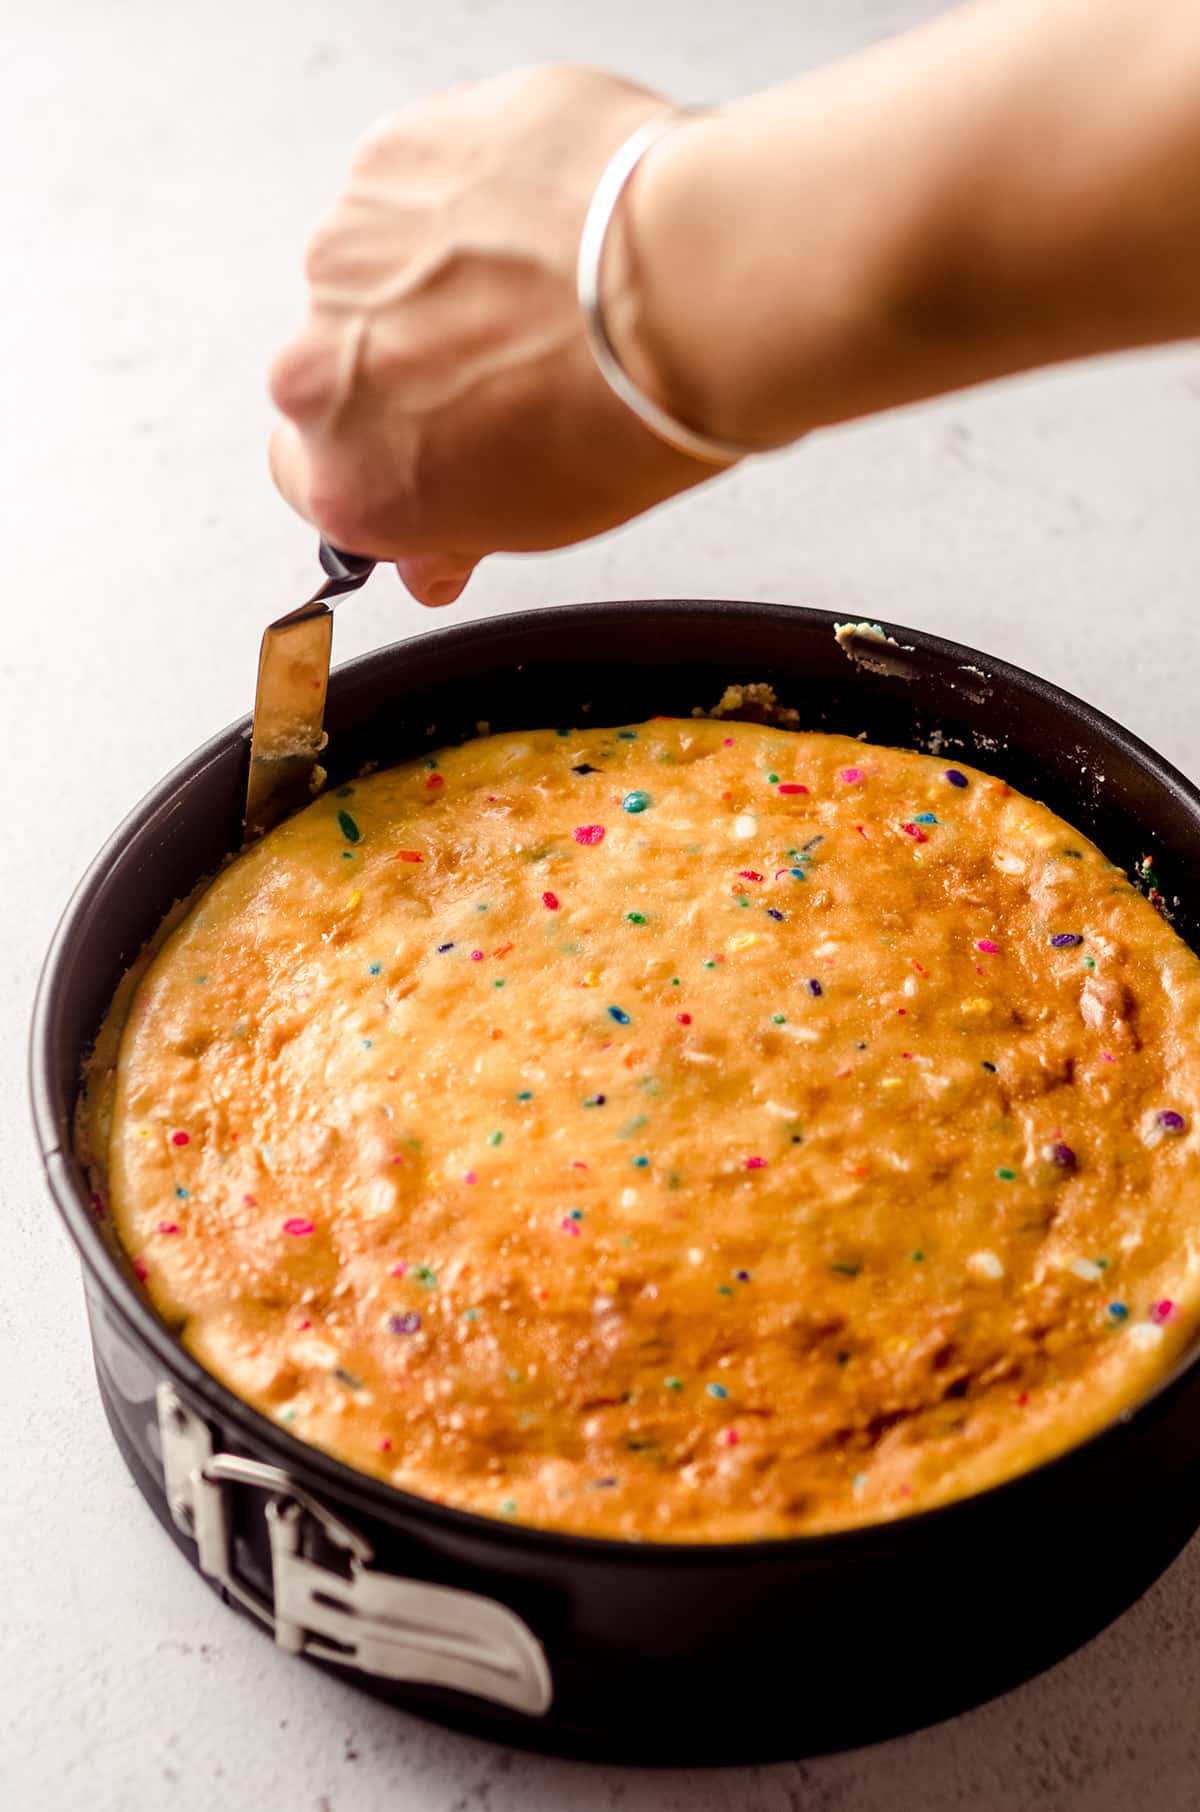
HOW TO REMOVE CHEESECAKE FROM THE SPRINGFORM PAN
Run a small spatula or butter knife around the edge of the rim of the springform pan to release the cheesecake from the pan. The outer ring should easily pop off and leave you with a beautiful cheesecake on the bottom platform of the springform pan.
You can leave the cheesecake on the platform or remove it.
TO REMOVE THE CHEESECAKE FROM THE PLATFORM: run that same spatula or knife under the cheesecake to separate it from the platform, then use two large spatulas to carefully lift it up and onto a serving plate.
Tips For Making The Best Cheesecake Recipe
Be sure you’ve read through my instructions thoroughly before beginning your classic cheesecake journey. To summarize the key points, try to remember these 5 success tips for the perfect cheesecake while you’re working through the recipe.
DO NOT OVERMIX THE BATTER: after adding the sour cream and vanilla, stick to the “low” setting on your mixer. There is no need to rush this process.
BAKE IN A WATER BATH: at the very minimum, place a large roasting pan with hot water in it on the rack below the one that has your cheesecake on it. For best results, create a no-foil water bath like I outlined in the recipe.
DO NOT OPEN THE OVEN DOOR: I know. It’s super tempting to check in on your cheesecake. Try to resist that temptation and use your oven light to see how it’s doing. Allowing the hot air to escape can drastically change the temperature inside your oven, resulting in uneven baking of your cheesecake.
COOL IN THE OVEN INITIALLY: allowing the cheesecake to cool alongside the gradually cooling oven will insure a slow and even settling of the cheesecake filling.
COOL AT ROOM TEMPERATURE BEFORE CHILLING: do not go from the possibly-still-slightly-warm oven to the refrigerator. Remember, we want gradual temperature changes for our baked cheesecake.
CAN I USE THIS RECIPE TO MAKE A SMALLER CHEESECAKE?
You can make this exact cheesecake recipe in a 6″ springform pan or 7.5″ springform pan. Simply halve the recipe (for the crust and the filling). Bake time will be about 60-70 minutes. You can reduce the sizes of the water bath pans to 8″ round and 10″ round sizes or use the same ones I have linked here.
If you’d like to make this cheesecake in the Instant Pot, use my Instant Pot cheesecake recipe.
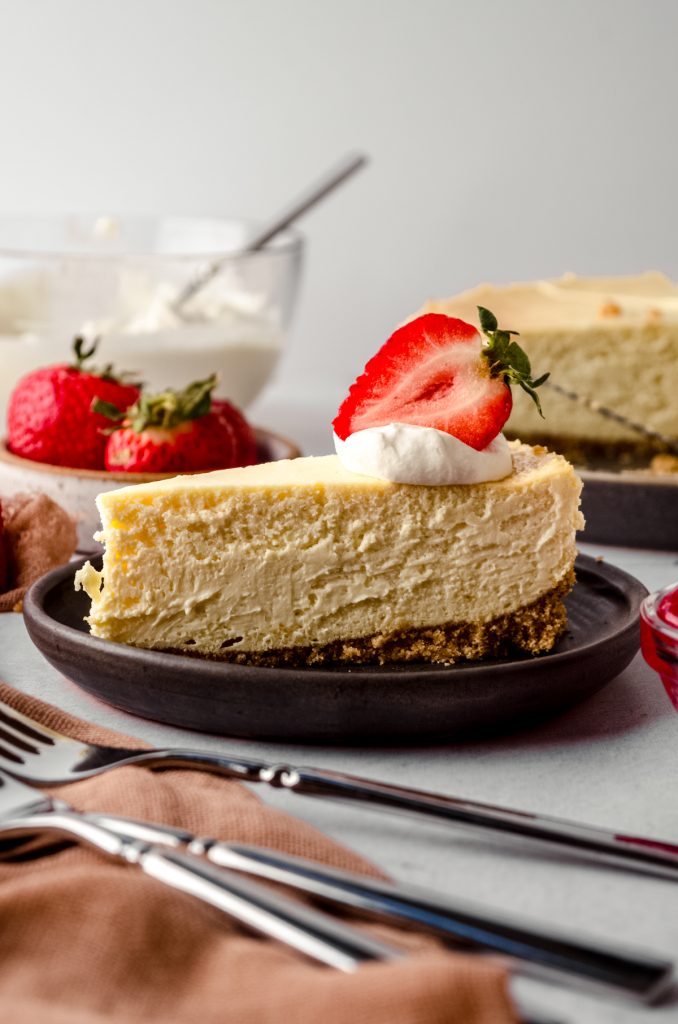
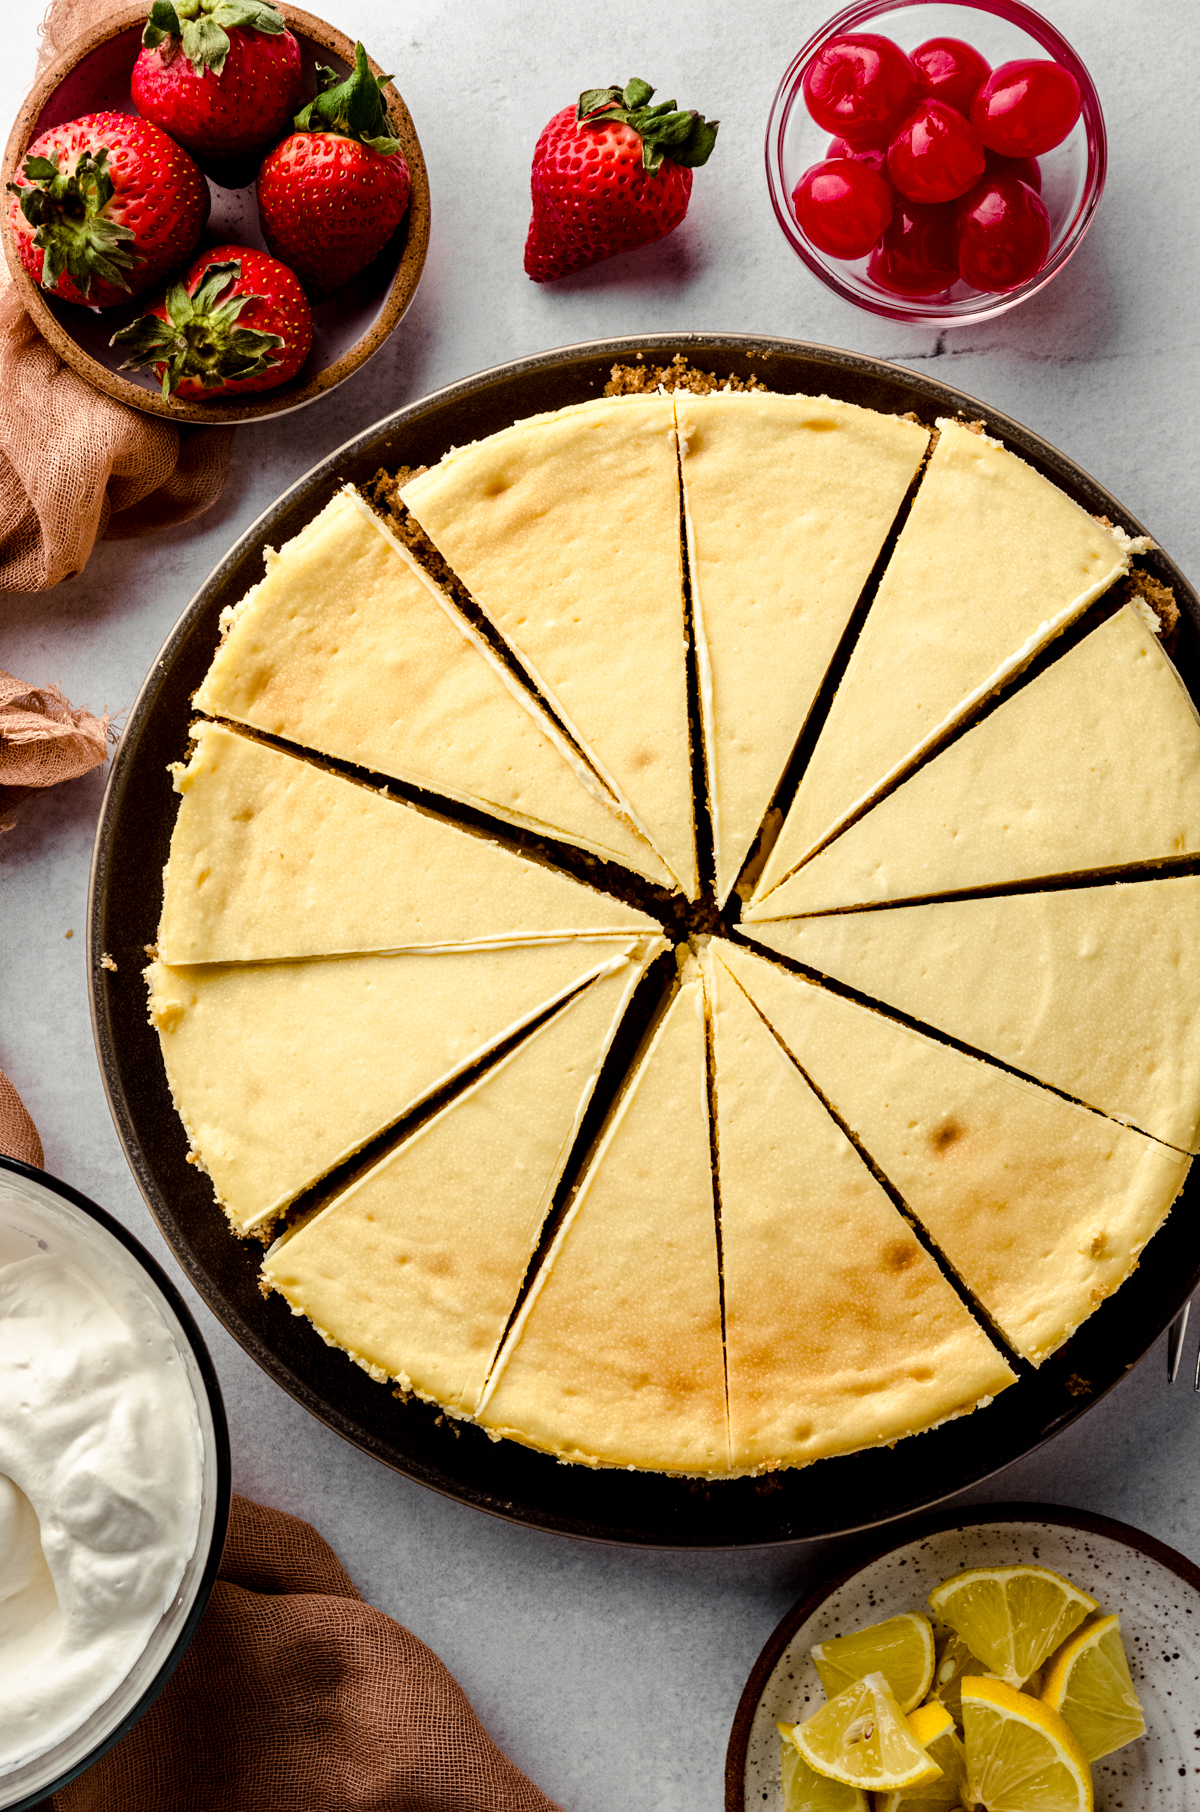
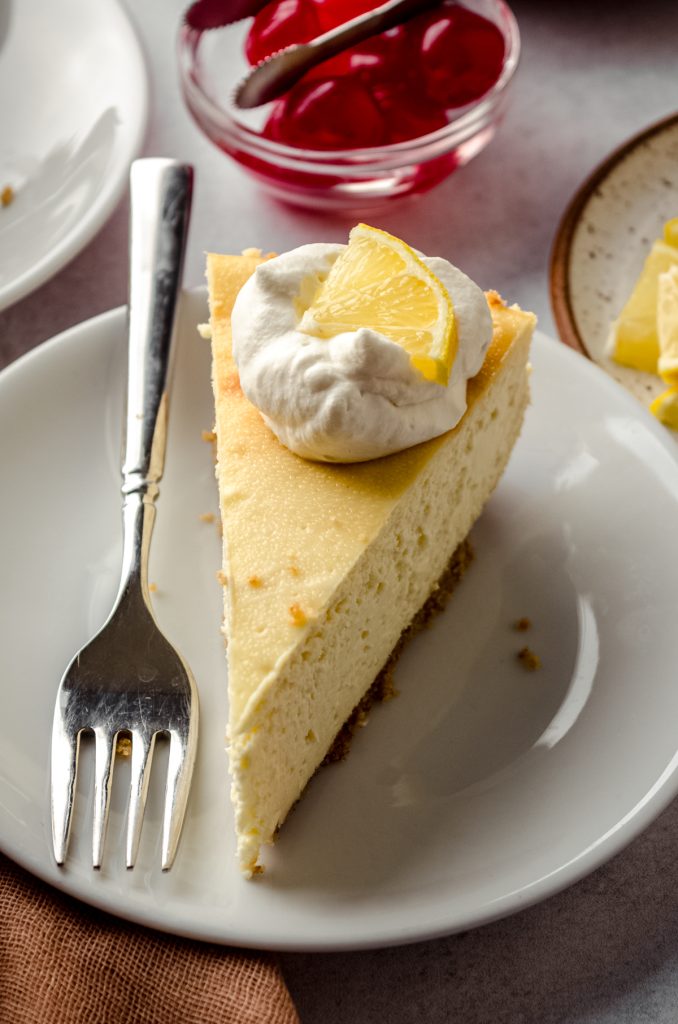
My Favorite Toppings For Classic Cheesecake
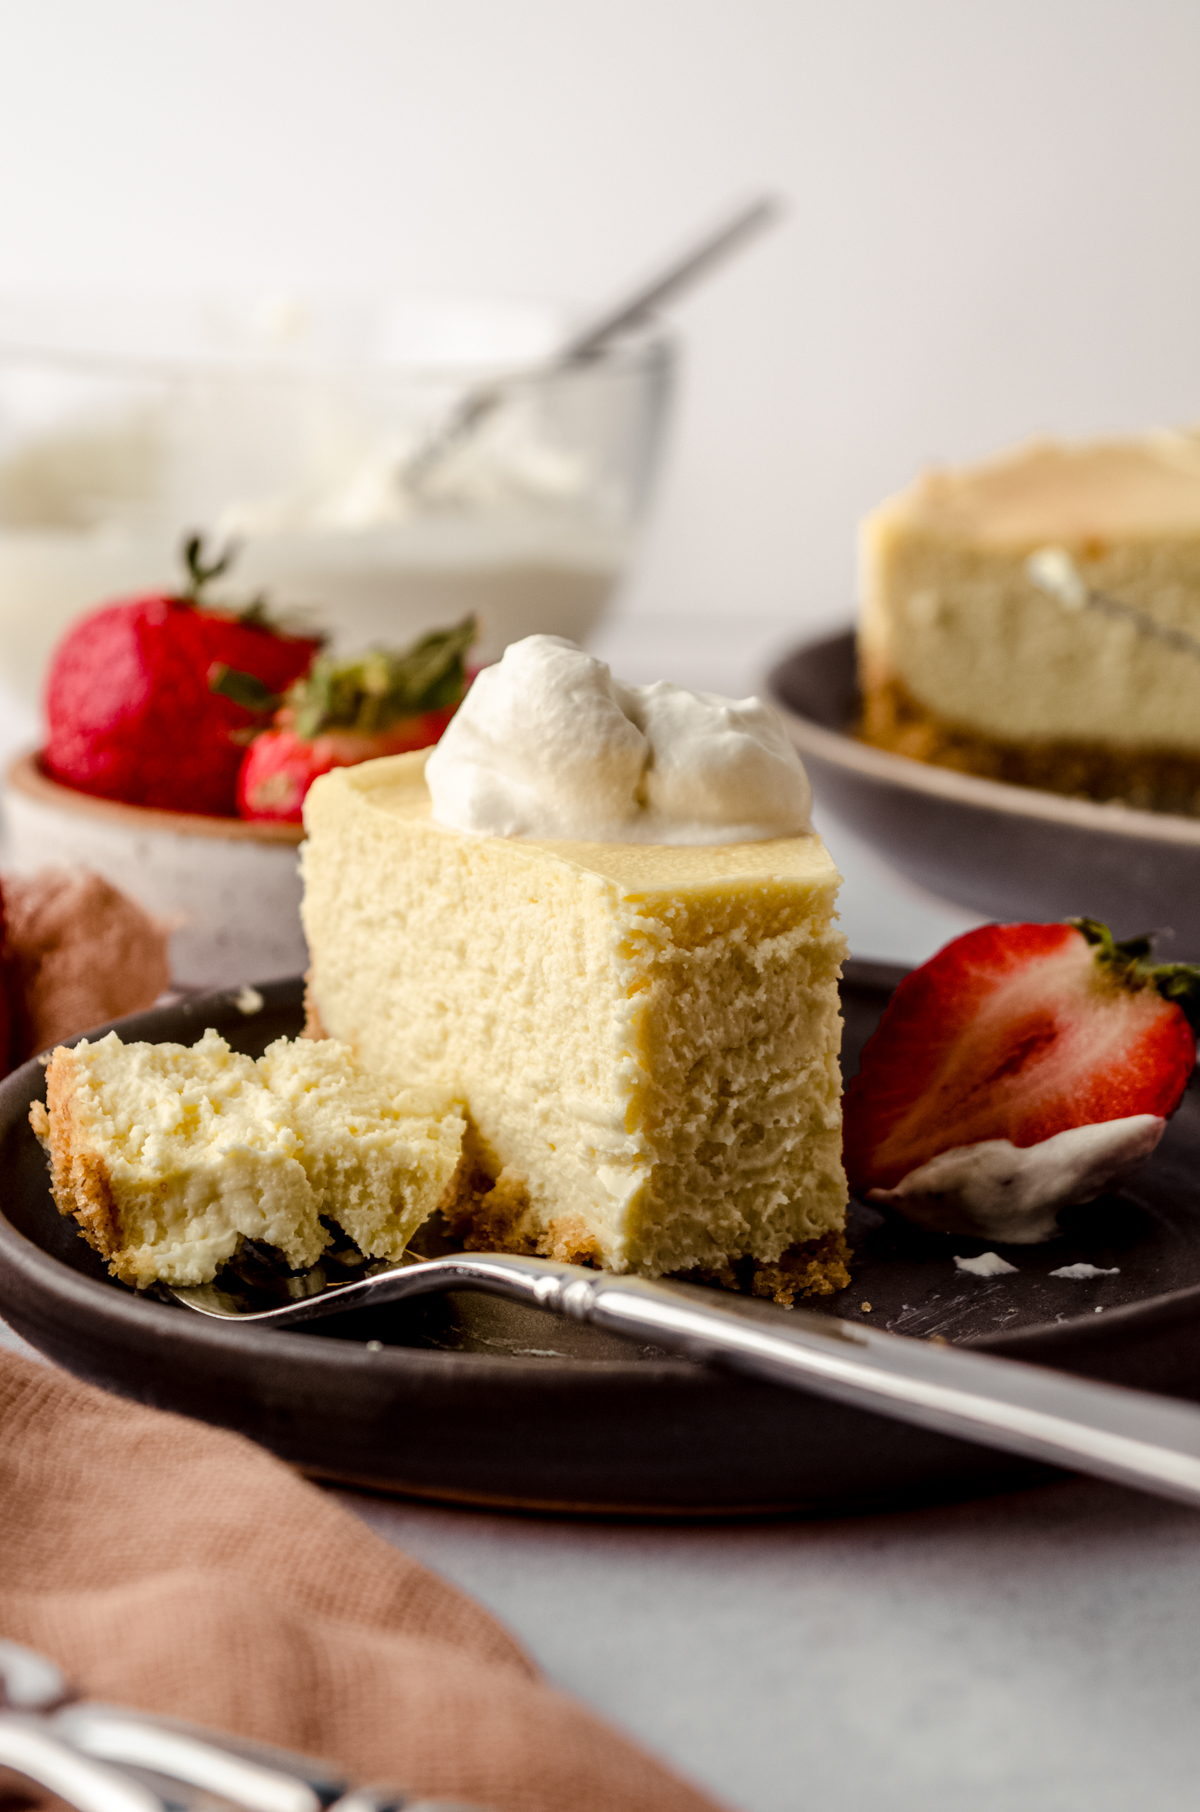
While this cheesecake is absolutely delicious on its own, I have a whole slew of recipes that pair wonderfully with this sweet and tangy cheesecake.
CAN I FREEZE CHEESECAKE?
Yes, you can freeze cheesecake! In fact, this exact cheesecake photographed here was made in November and frozen until Christmas. It can be frozen for up to 3 months! Thaw it in the refrigerator overnight.
Here are some tips for freezing your cheesecake.
COUNTER TO FREEZER: there is no need to chill your cheesecake in the refrigerator before freezing it. Just wrap it tightly from the counter and pop it in the freezer.
PLATFORM OR NO PLATFORM: it doesn’t matter if you freeze your cheesecake still on the springform pan platform or off of it. Just keep in mind… If you only have one springform pan, make sure you won’t need it before you’re ready to thaw your cheesecake!
FREEZE WITHOUT TOPPINGS: unless we’re talking about s’mores cheesecake that has a chocolate ganache topping, it’s best to freeze cheesecake without anything on top. If you top your cheesecake and then realize you want to freeze the leftovers, you can try your best to scrape off the topping.
CLASSIC CHEESECAKE RECIPE FAQs
Plain Cheesecake Recipe
Ingredients
GRAHAM CRACKER CRUST
- 1 and ½ cups (155g) graham cracker crumbs approximately 10 full sheets
- ¼ cup (50g) granulated sugar
- 5 Tablespoons (72g) unsalted butter melted
CHEESECAKE
- 32 ounces (900g) full fat block cream cheese completely softened to room temperature1
- 1 cup (200g) granulated sugar
- 8 ounces (226g) full fat sour cream about 1 scant cup; at room temperature1
- 1 Tablespoon vanilla extract
- 4 large eggs at room temperature1
Instructions
GRAHAM CRUST
- Preheat the oven to 325ºF (162ºC). Spray a 9" springform pan or my very favorite Fat Daddio's cheesecake pan with nonstick spray. Set aside.
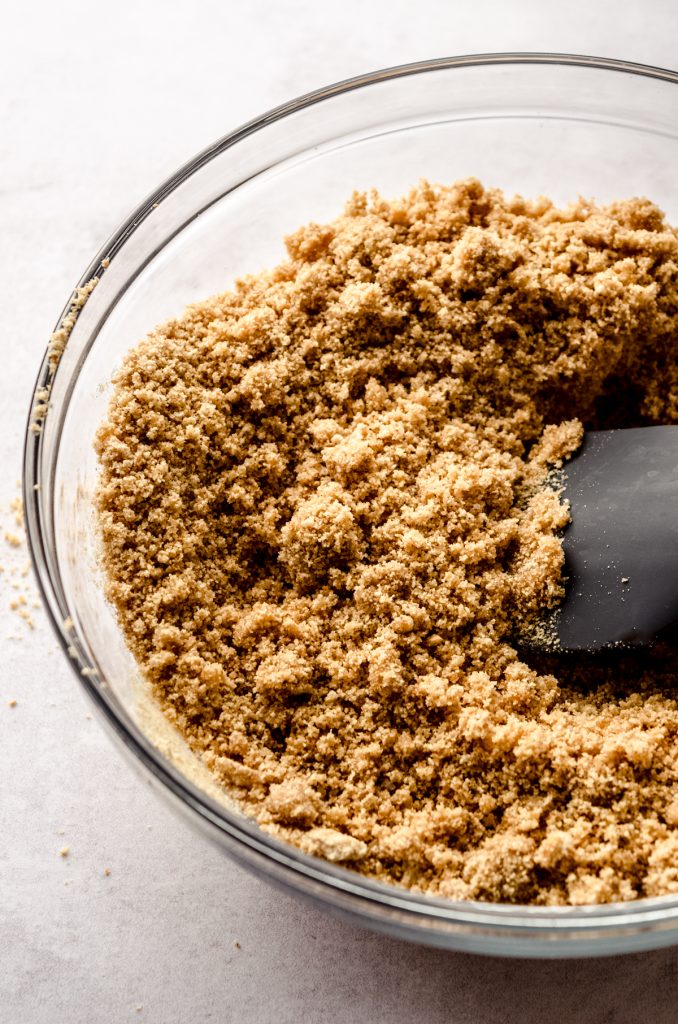
- In a food processor, crush the graham crackers until they become a fine crumb. Pour the graham cracker crumbs into a large bowl, add the sugar and stir to combine. Drizzle the melted butter over the mixture and stir until everything is evenly saturated with butter.1 and ½ cups (155g) graham cracker crumbs, ¼ cup (50g) granulated sugar, 5 Tablespoons (72g) unsalted butter
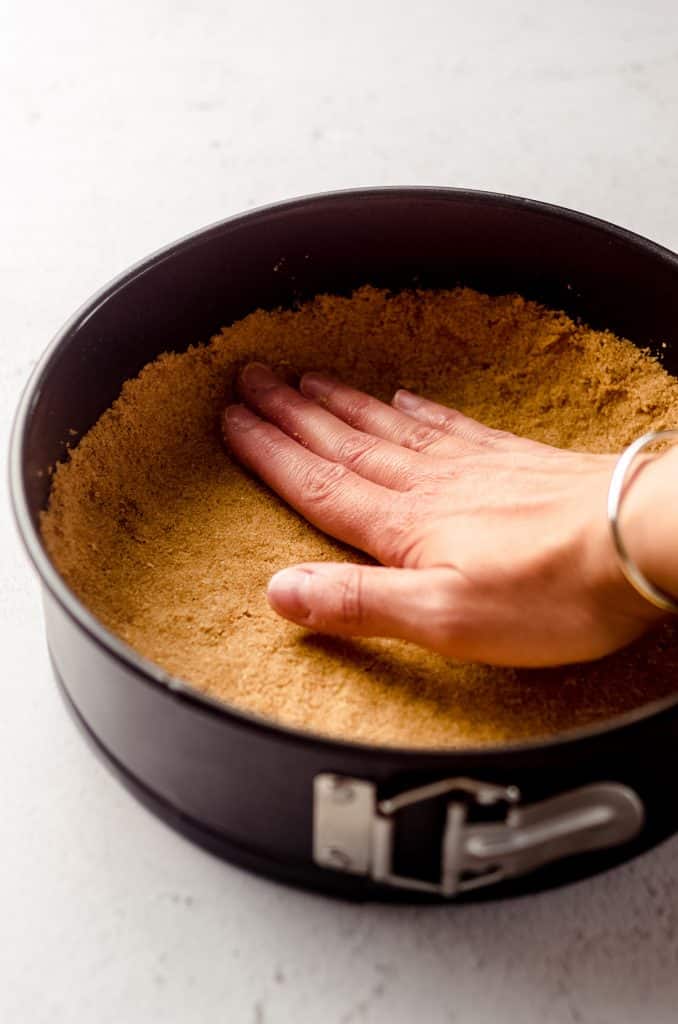
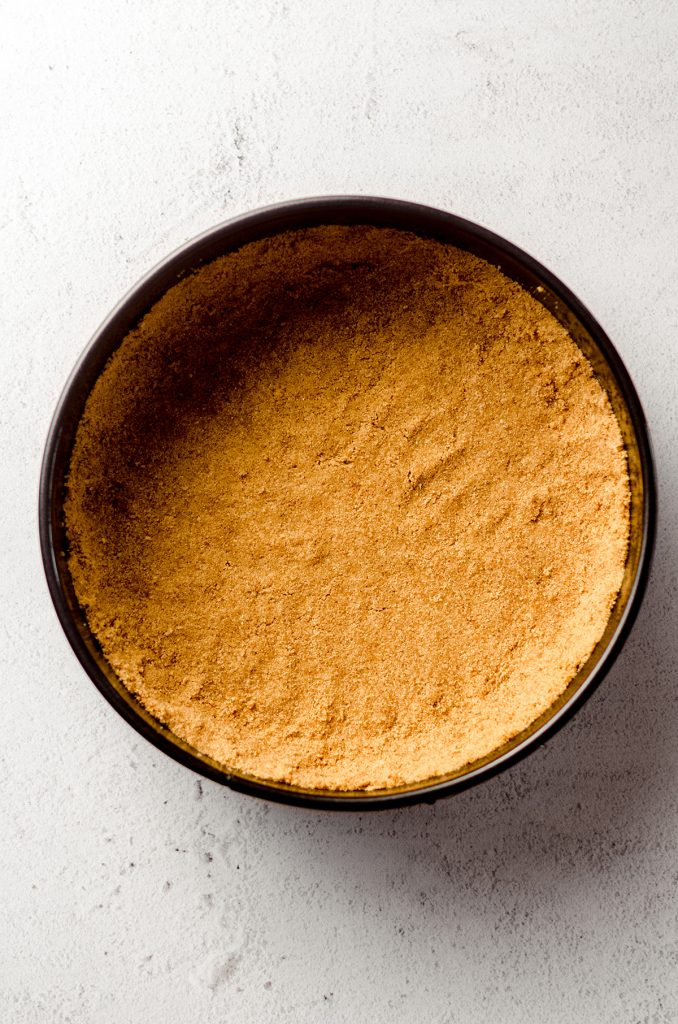
- Press the graham cracker crumb mixture into the bottom of the prepared springform pan, then bake the crust for 8 minutes. Remove from the oven and allow to cool while you prepare the filling.
CHEESECAKE
- In a large bowl with a handheld mixer or the bowl of a stand mixer fitted with the paddle attachment, beat the cream cheese on medium high speed until smooth, about 2 minutes. Add the granulated sugar then beat again until combined, about another 2 minutes.32 ounces (900g) full fat block cream cheese, 1 cup (200g) granulated sugar
- Reduce the mixer speed to low2, then add the sour cream and vanilla and mix until completely combined.8 ounces (226g) full fat sour cream, 1 Tablespoon vanilla extract
- Add the eggs one at a time, mixing on low after the addition of each egg and adding the next just after the previous egg starts to incorporate, and continue mixing until there are no more yellow yolk streaks.4 large eggs
- Use a large spatula to carefully fold the batter together, scraping the bottom of the bowl and the sides to gather any extra batter that may not be fully incorporated. Sometimes I need to use the mixer again, but be sure to keep it on low. Your batter should be smooth and creamy without lumps.
- Pour the batter into the prepared pan. Create a water bath3 by placing the 9" springform pan in a slightly larger round pan (I like to use a 10" cake pan) and then place that pan into an even larger round pan (I like to use a 12" cake pan) or roasting pan.
- Fill the outer pan with hot water halfway up the sides of the middle pan, then carefully transfer the whole thing to the oven. You can also assemble the pans in the oven, but work quickly so as not to let too much hot air out of the oven.
- Bake the cheesecake for 1 hour 20 minutes to 1 hour 45 minutes. The middle of the cheesecake (a center approximately 2" wide) should jiggle just a little bit. I use my digital instant-read thermometer to check the internal temperature has reached 145ºF (63ºC). Turn the oven off4 and allow the cheesecake to cool in the oven for 1 hour. After 1 hour, remove the springform pan from all of the other pans and allow to cool on a cooling rack for another 2 hours. When the cheesecake is completely cool, cover or wrap tightly and allow to chill in the refrigerator for at least 6 hours, ideally overnight.
TOPPING
- Remove the cheesecake from the fridge and use a spatula or butter knife to gently loosen the crust from the side of the pan, then release the outer ring of the springform pan.
- Top the cheesecake with desired toppings or leave plain. Store leftovers in the refrigerator up to 5 days. Cheesecake freezes well, up to 3 months. Thaw in the refrigerator overnight.
Video
Notes
- Room temperature: I cannot stress enough how important it is to have completely room temperature ingredients. This will insure you have the smoothest batter possible. I like to let my ingredients sit out at least 1 hour and sometimes closer to 2 hours before starting my recipe.
- Mixer speed: it’s important not to go above low (or low-medium) speed after you’ve beaten the cream cheese. Incorporating too much air will create bubbles and potential cracks in your finished cheesecake.
- Water bath pans: here is a bundle that includes all the pans I use. Using this method eliminates the need to wrap anything in foil.
- Cool the cheesecake: I like to prop the oven door open with a wooden spoon or spatula.
- Make a smaller cheesecake: you can make this exact cheesecake recipe in a 6″ springform pan or 7.5″ springform pan. Simply halve the recipe (for the crust and the filling). Bake time will be about 60-70 minutes. You can reduce the sizes of the water bath pans to 8″ round and 10″ round sizes or use the same ones I have linked here.
- Make in the Instant Pot: you can make this exact cheesecake in a smaller size with my Instant Pot cheesecake recipe.
Nutrition Disclosure
All nutritional values are approximate and provided to the reader as a courtesy. Changing ingredients and/or quantities will alter the estimated nutritional calculations.
I was a little nervous making my own cheesecake but this one was easy to make and we loved it! I’ll be making another one for Valentine’s Day!
Thanks, Jules! I’m so glad it worked out well for you 🙂
That water bath trick is the way to go. Every time I make cheesecake it cracks and this one didn’t. But that wasn’t the best part, it was the creamy flavor that was AMAZING!
I’m SO glad you gave my recipe a try! 🙂
So yummy and packed with flavor! My co-workers all went nuts for this cheesecake!
Thanks so much, Janelle!
Recipe was easy to follow, and turned out perfect! Highly encourage anyone making this to utilize a kitchen scale to weigh your ingredients for the most precise bake.
Thank you so much, Andrea! I’m so glad you enjoyed it 🙂
I have made many cheesecakes using this recipe. My water bath method is a bit different, but works wonderfully.
Make the cheesecake in the prescribed pan, place on a sheet pan. On the lowest oven rack, place another sheet pan and partially fill is with hot water. Bake cheesecake according to the directions. The water in the sheet pan produces the necessary humid environment to avoid cracks in the cake. I always leave the water pan in the oven until it cools to avoid moving a hot water filled pan. Hope this is helpful.
Hi, Barbara– yes, I mention in the post I liked about how to make a cheesecake bath that you can do it that way, too.