
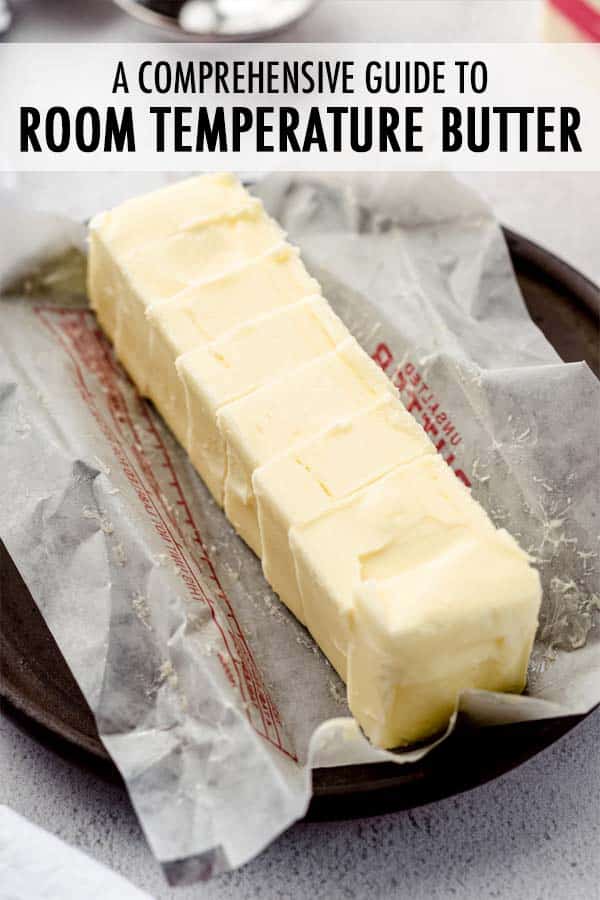
What Does Room Temperature Butter REALLY Mean?
As an Amazon Associate, I earn from qualifying purchases. Read the full disclosure here.
Did you know that the temperature of the butter you use in a recipe can quite literally make or break that recipe? Find out exactly how to tell when your butter is at the optimal temperature and consistency, and how to insure success for every recipe, every time.

It seems a little crazy that one ingredient can throw off an entire recipe, but it is true. Just like I always encourage you in every recipe involving flour to measure your flour by weight, I always indicate when it’s crucial for your butter to be at exactly room temperature so that your recipe turns out perfectly.
I troubleshoot recipes with my readers all the time. Whether it’s before they’re starting and they want to ask specific questions about substitutions or where to find certain ingredients or after everything is baked and the results weren’t what they expected.
When someone tells me a recipe didn’t work, I will ask about:
1) flour first (if applicable) and
2) butter second (again, if applicable).
It’s typically one or both of those ingredients that threw everything off, and in this post, I’m going to explain to you why that happens and what you can do about it.
WHAT IS ROOM TEMPERATURE BUTTER?
I know, this room is not the same as that room. If your house is anything like ours, no two rooms are exactly the same temperature at any given moment, and the kitchen can feel warm or cool depending on what’s happening in it.
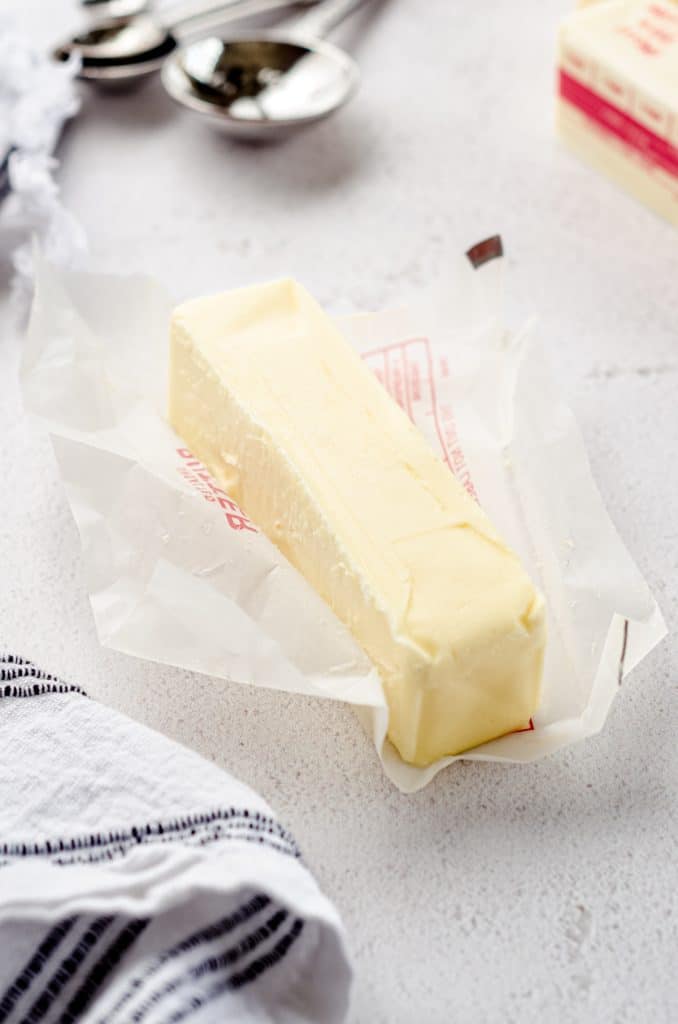
Did you know room temperature has an actual definition? It’s 68ºF (20ºC).
And when butter is truly at room temperature, it actually will feel cool to the touch.
Many home bakers think that “room temperature” means “very soft,” but in reality, “very soft” is actually way too warm.
If you are one of those people who feels they always produce dense cakes, greasy cupcakes, grainy frostings, or cookies that turn into puddles, you are likely softening your butter too much.
IS ROOM TEMPERATURE BUTTER THE SAME AS SOFTENED BUTTER?
I get asked this question a lot. For the purposes of baking, recipe writing, recipe reading, and recipe executing, you can consider room temperature butter and softened butter the same thing.
If a recipe author wants you to use butter in a form other than “room temp” or “softened,” they will disclose that (as either cold, melted, frozen, etc).
If you read the recipe and still aren’t sure from context clues, find a new recipe, as the one you’re looking at is likely not carefully written and/or tested.
WHY IS ROOM TEMPERATURE BUTTER IMPORTANT?
Baking is a science. We know this. It’s a fact. And science is very often very specific.
That’s why people like me, a classically trained scientist, like baking. It’s ingredients and instructions that yield specific results, and when a recipe author (hi, me!) writes some iteration of “butter, softened to room temperature” in their recipe, trust that this has been tested, and the recipe will not work the same with butter that is anything but truly room temperature.
You can almost guarantee that a cake, cupcake, cookie, or even quick bread recipe that calls for room temperature butter and either granulated or brown sugar will have you creaming those ingredients together.
WHY DO WE CREAM BUTTER AND SUGAR?
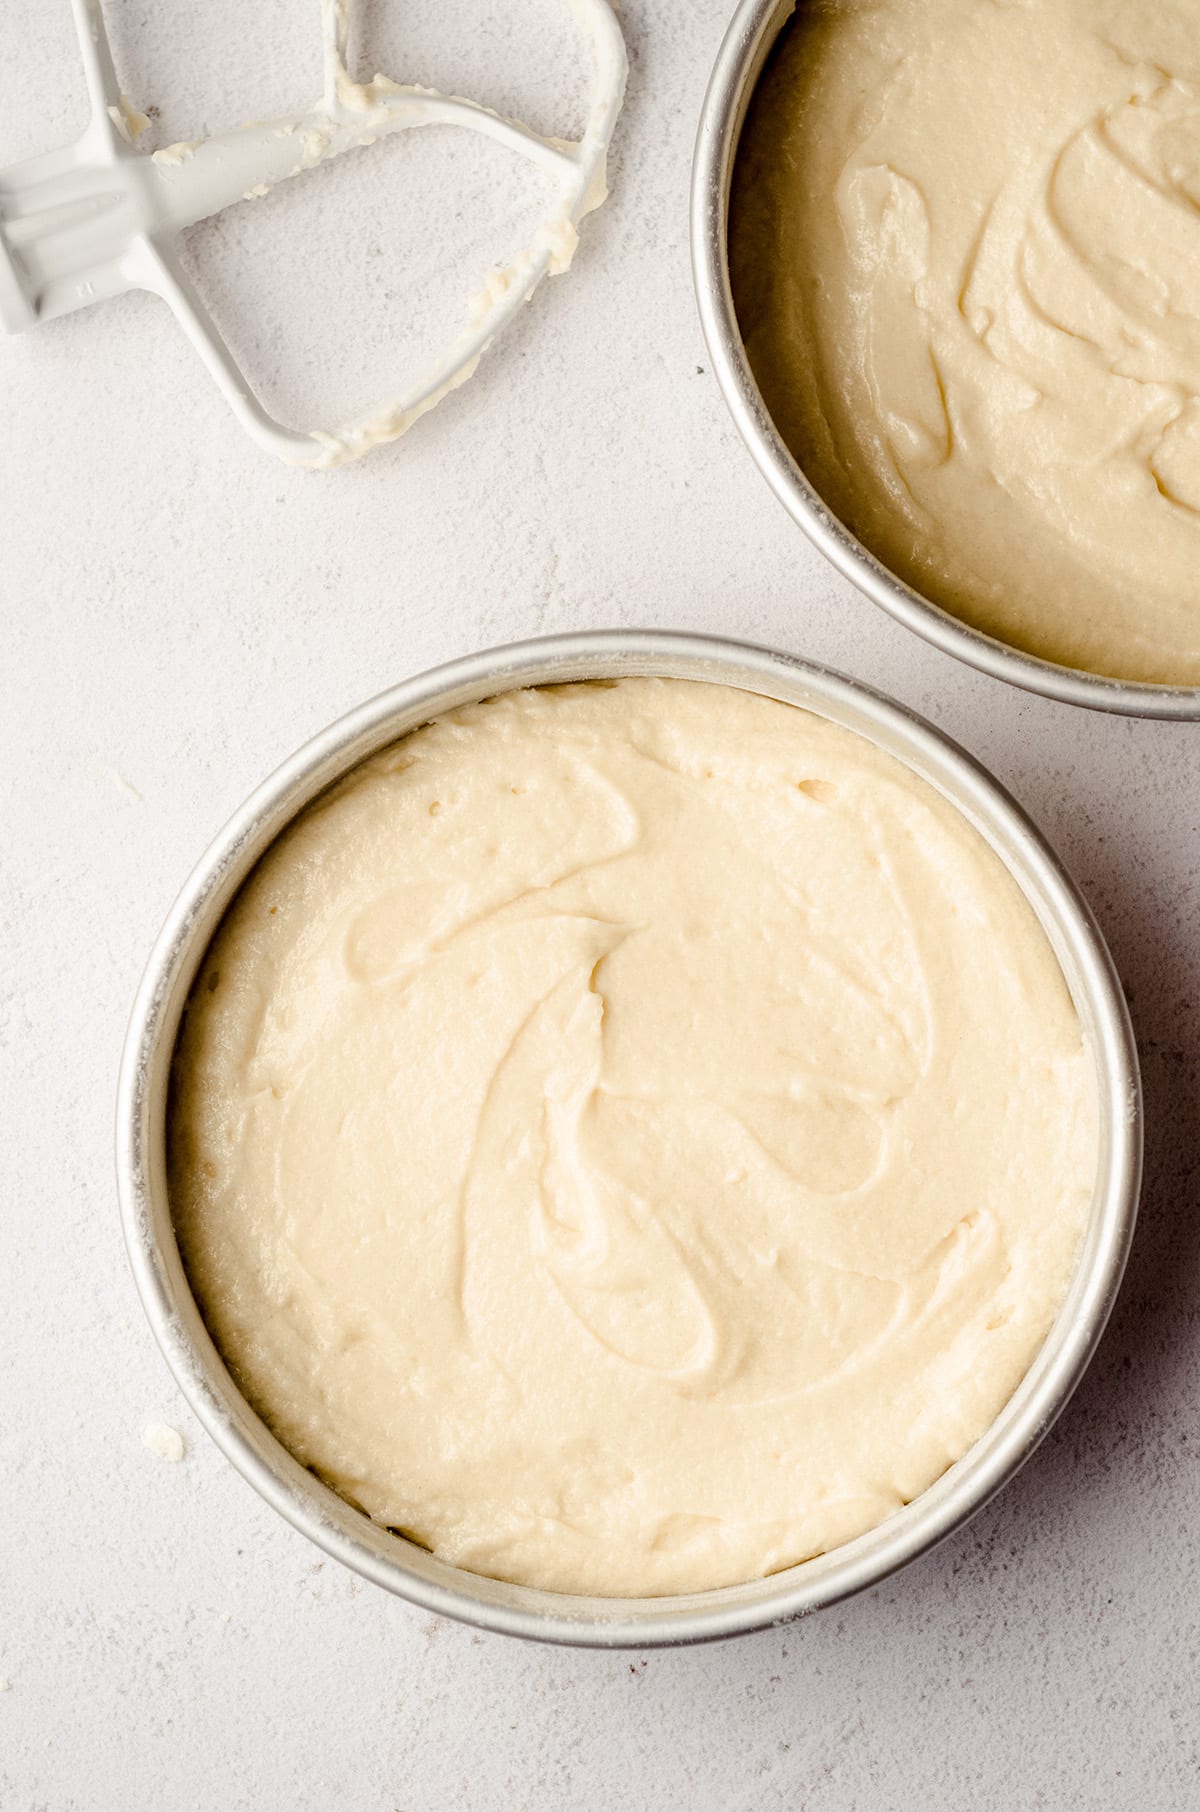
Butter is a fat (duh), and as a fat, it is able to trap air during the creaming process. Just as it does with homemade pie crust and homemade biscuits, that trapped air will expand during baking, create steam, and generate pockets that = fluffy baked goods (or in the case of pie crust and biscuits, flaky layers).
Thus, creaming together butter and sugar properly is what leads to fluffy cakes, smooth cheesecakes, silky frostings, and light and airy cupcakes.


It is especially important in recipes like red velvet cake and red velvet cupcakes that the creaming is done with perfectly room temperature butter, as the crumb of red velvet cake is highly sensitive to moisture issues.
WHAT ABOUT OTHER ROOM TEMPERATURE INGREDIENTS?
If you see a recipe call for room temperature butter, it’s highly likely it will also call for other room temperature ingredients such as eggs, milk, yogurt, sour cream, cream cheese, or any other ingredients that are typically kept in the fridge.
This is because room temperature ingredients will incorporate much better into your batter than cold or even cool ingredients will. It’s why you will always see notes in my recipes about insuring your other ingredients are at room temperature, most specifically in any of my cheesecake recipes.
Since these ingredients will be warmer than they would be right from the fridge, they will enter into your batter seamlessly, creating a consistent and uniform texture.
Not only that, if any of these ingredients are significantly colder than the butter, the butter will solidify again, leading to clumping, deflating of air, and overall a total disruption and sabotage of your recipe.
Combine that trapped air from creaming the butter and sugar together with an even texture of batter, and you’re pretty much guaranteed a flawlessly textured and delicious tasting baked good.
HOW TO BRING BUTTER TO ROOM TEMPERATURE
In order to get true room temperature butter, you have a couple different ways to get the same results.
LET IT SIT OUT
Simple, right? Let your butter sit out on the counter for about 1 to 2 hours before starting on your recipe. The amount of time it will need to be ready can (and will) depend on the weather (temperature and/or humidity) and how cool you keep your house, particularly your kitchen.
If I know I’m baking, I will often sit butter out the night before. Just make sure it isn’t sitting on top of a running dishwasher or too close to any appliance you may be using before you’re ready to use your butter (such as a stove, microwave, coffee maker, air fryer, etc).
CHECK IT
Yes, we’re going to get into the nitty gritty here and bring back some science.
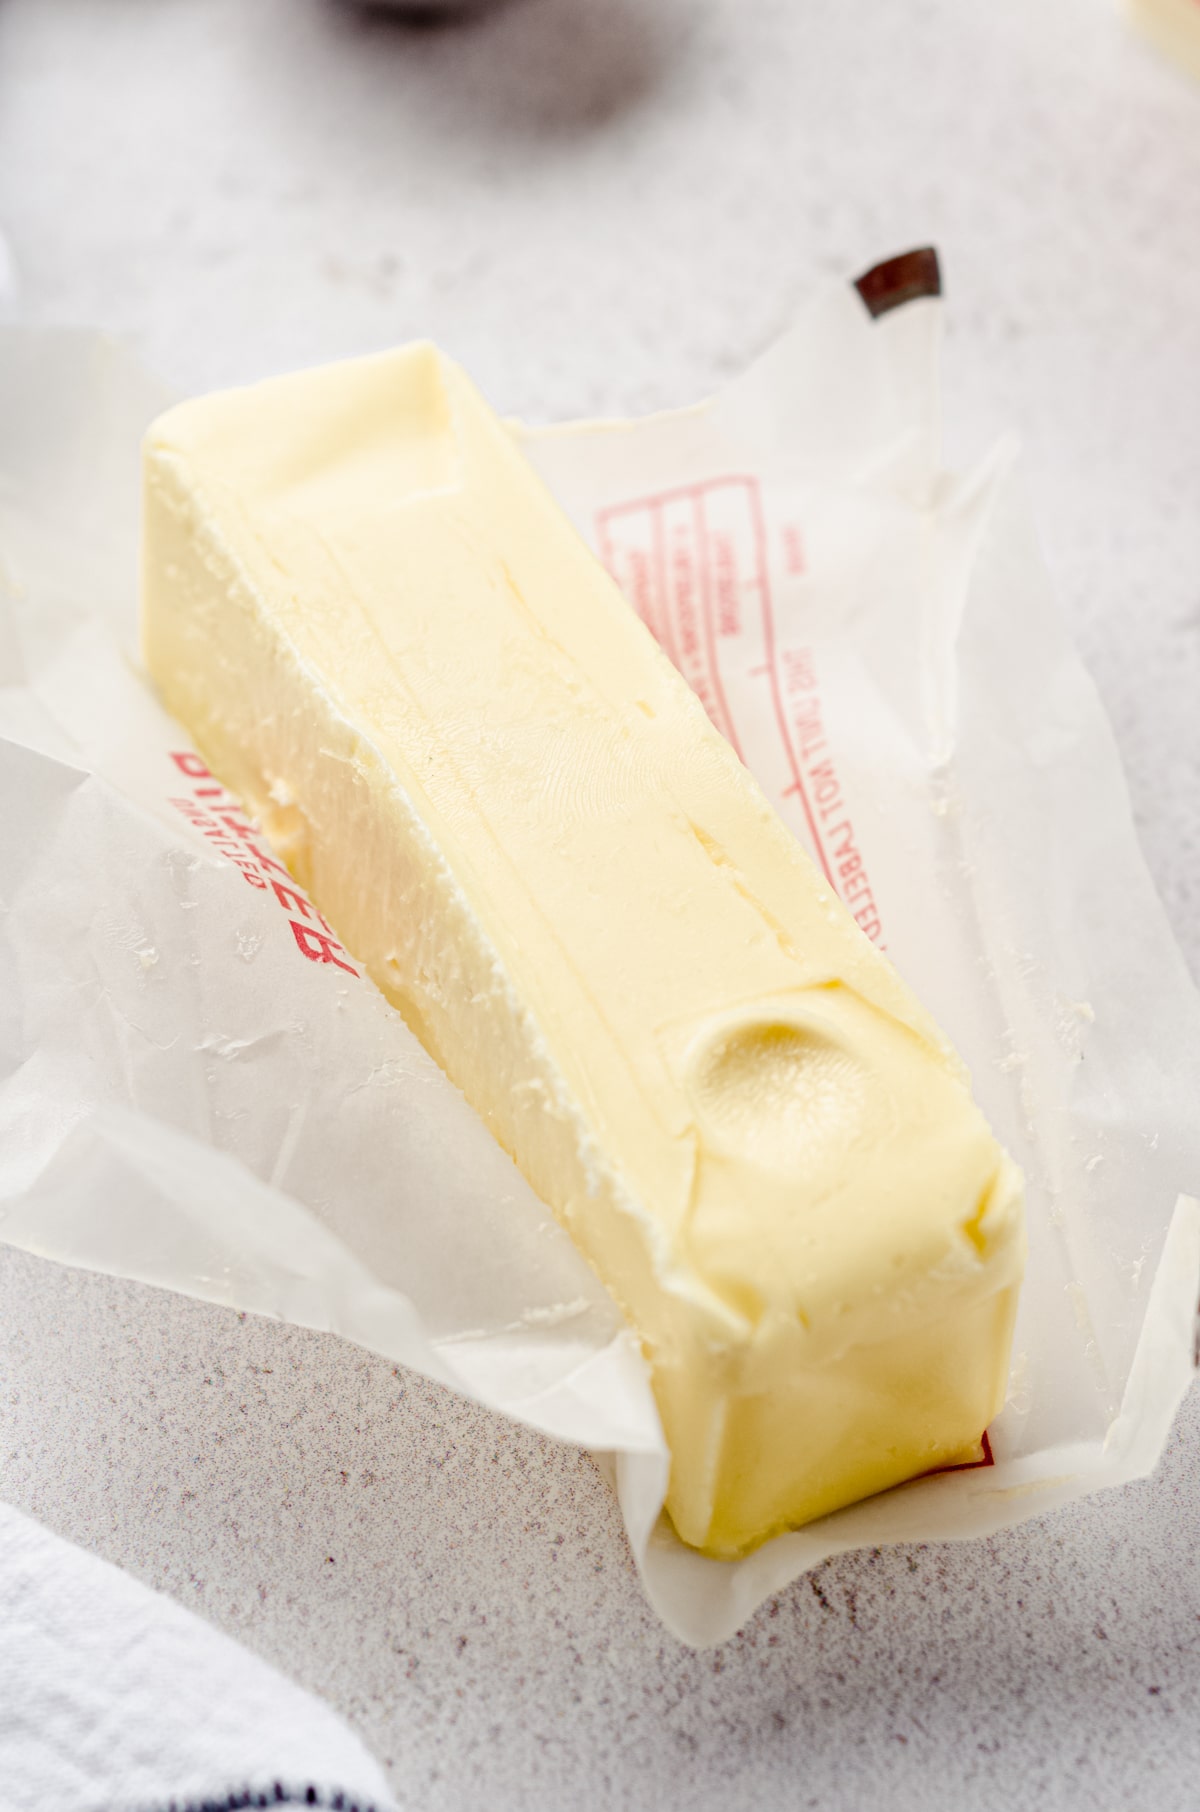
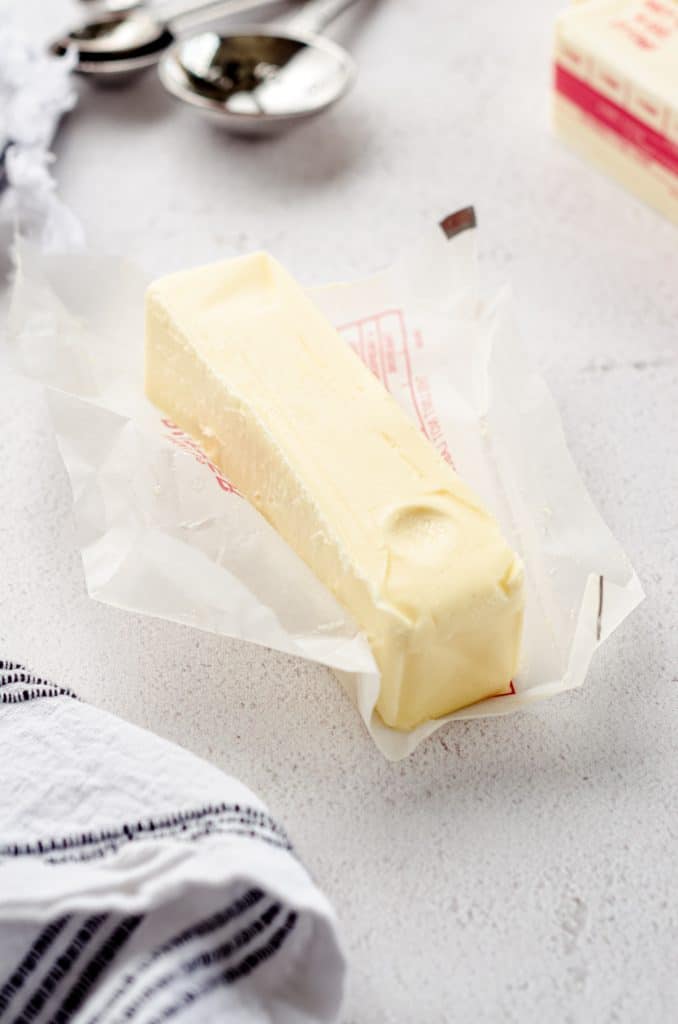
First, you can touch it with your finger, which should make an indent, but not slip or slide around. The butter should still look matte, not shiny, and it shouldn’t look greasy or leave any grease marks on any surface it’s been sitting on. It should feel cool and should not feel warm at all.
Second, you can actually use an instant read thermometer, which is my favorite way to most accurately tell if my butter is ready.
It’s probably right now that you think I’m a crazy butter lady, but when I said that butter can make or break your recipe, I meant it.
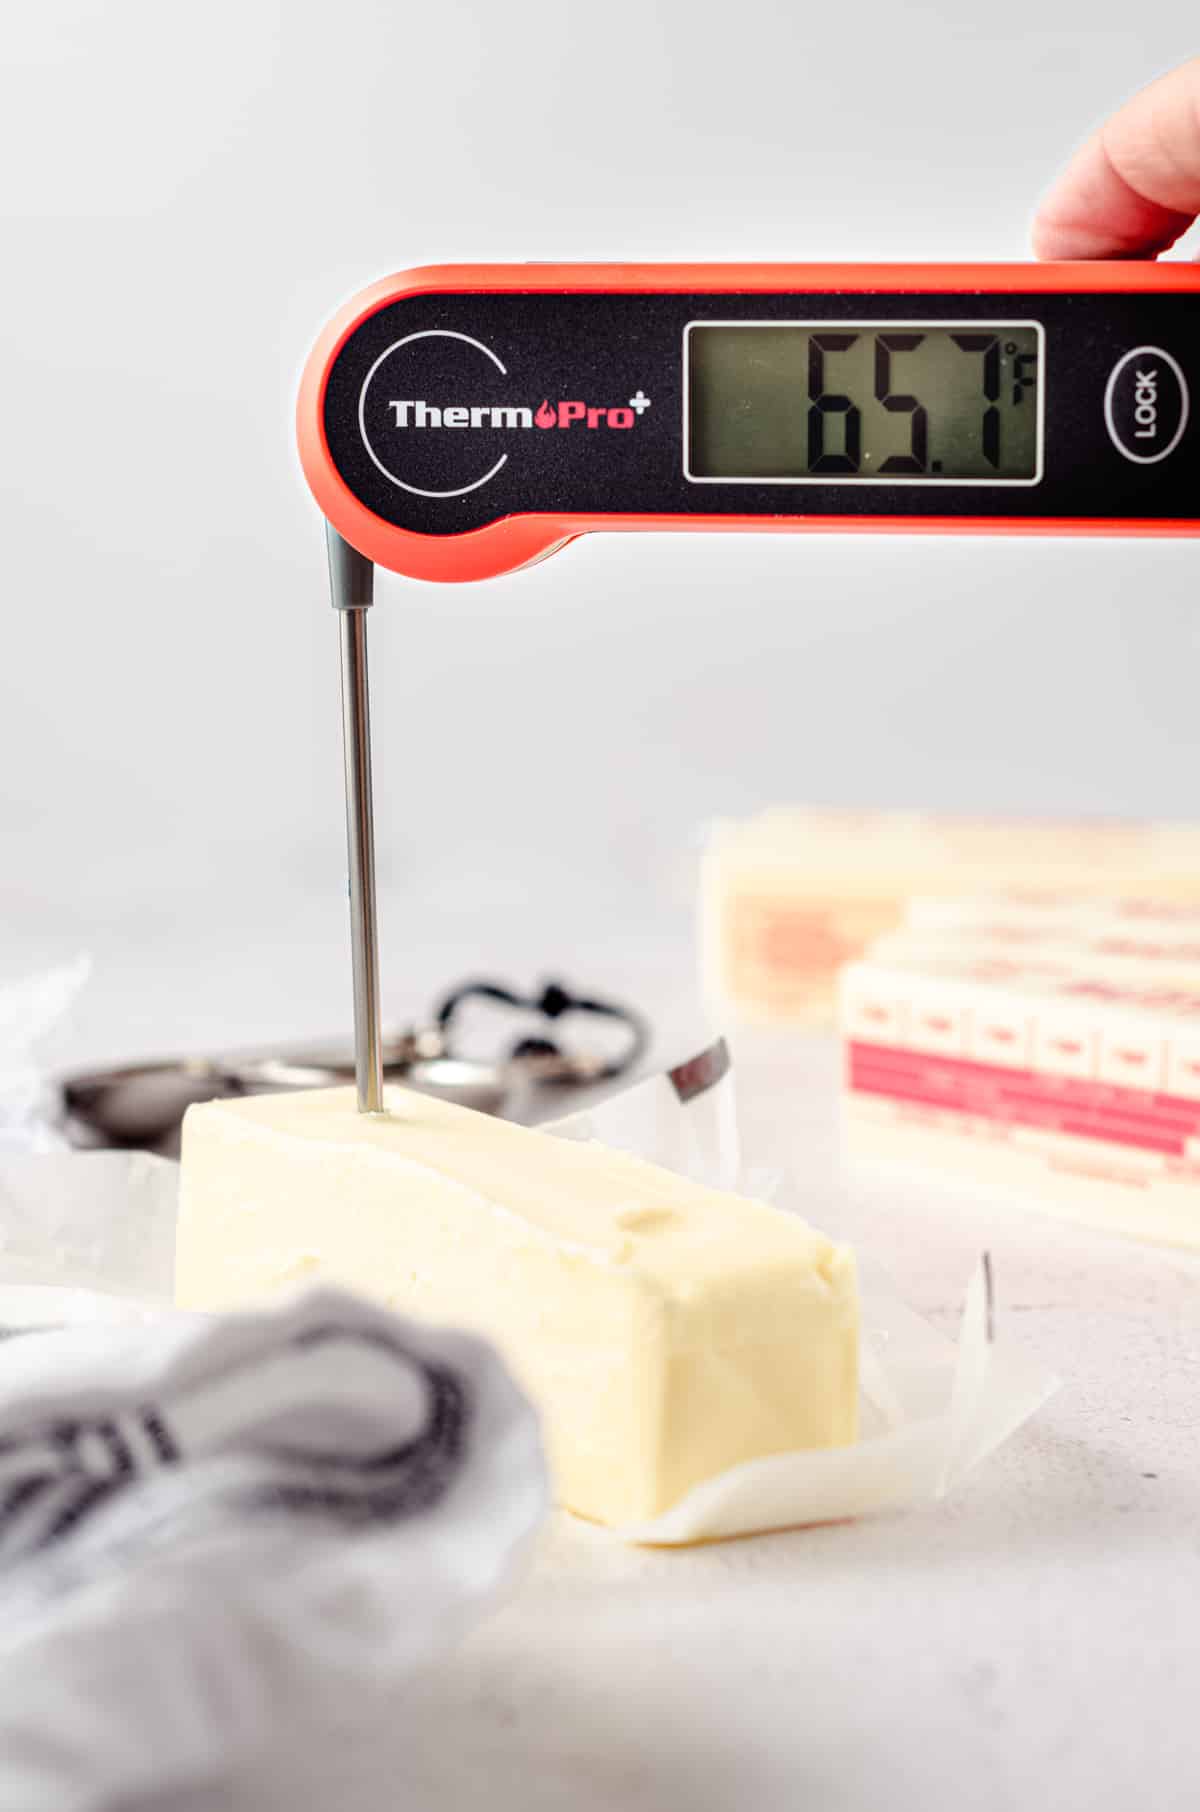
If my butter registers anywhere between 65ºF (18ºC) and 68ºF (20ºC), I deem it appropriate to use. Butter will melt around 90ºF (32ºC), so obviously the closer we get to that number, the bigger risk we’re taking of ruining our recipe.
THE DO NOT LIST
I know it will feel tempting to zap your butter in the microwave in order to take a shortcut, but don’t do this. Please. I hope I’ve already made it clear how this can completely ruin your recipe.
Many folks think that if they’re going to microwave their butter, it’s ok that it won’t heat evenly because they’re going to mix it up and cream it anyway.
This is not how science works.
Those melted butter molecules are completely destroyed, even if you allow the butter to come back to room temperature. This will result in butter that will not cream properly in a baked good.
But the good news is, you can save and use this butter for any recipe that calls for melted butter OR in something like buttercream, once it’s been re-chilled.
Do not use butter that has reached the melting point for a recipe that calls for room temperature butter, even if it has been re-chilled.
Start over with new room temperature butter. This might mean pushing the start of your recipe back an hour or two, so if your schedule doesn’t allow for that, I have a solution!
WHAT IF I DON’T HAVE TIME TO WAIT FOR MY BUTTER TO COME TO ROOM TEMPERATURE?
Sometimes schedules don’t allow for 1 or 2 hours to wait for butter to come to room temperature, so I have a quick Lynn-approved trick that will get you properly softened, room temperature butter in about 10-15 minutes.
USE THE MICROWAVE’S HEAT TO SOFTEN YOUR BUTTER
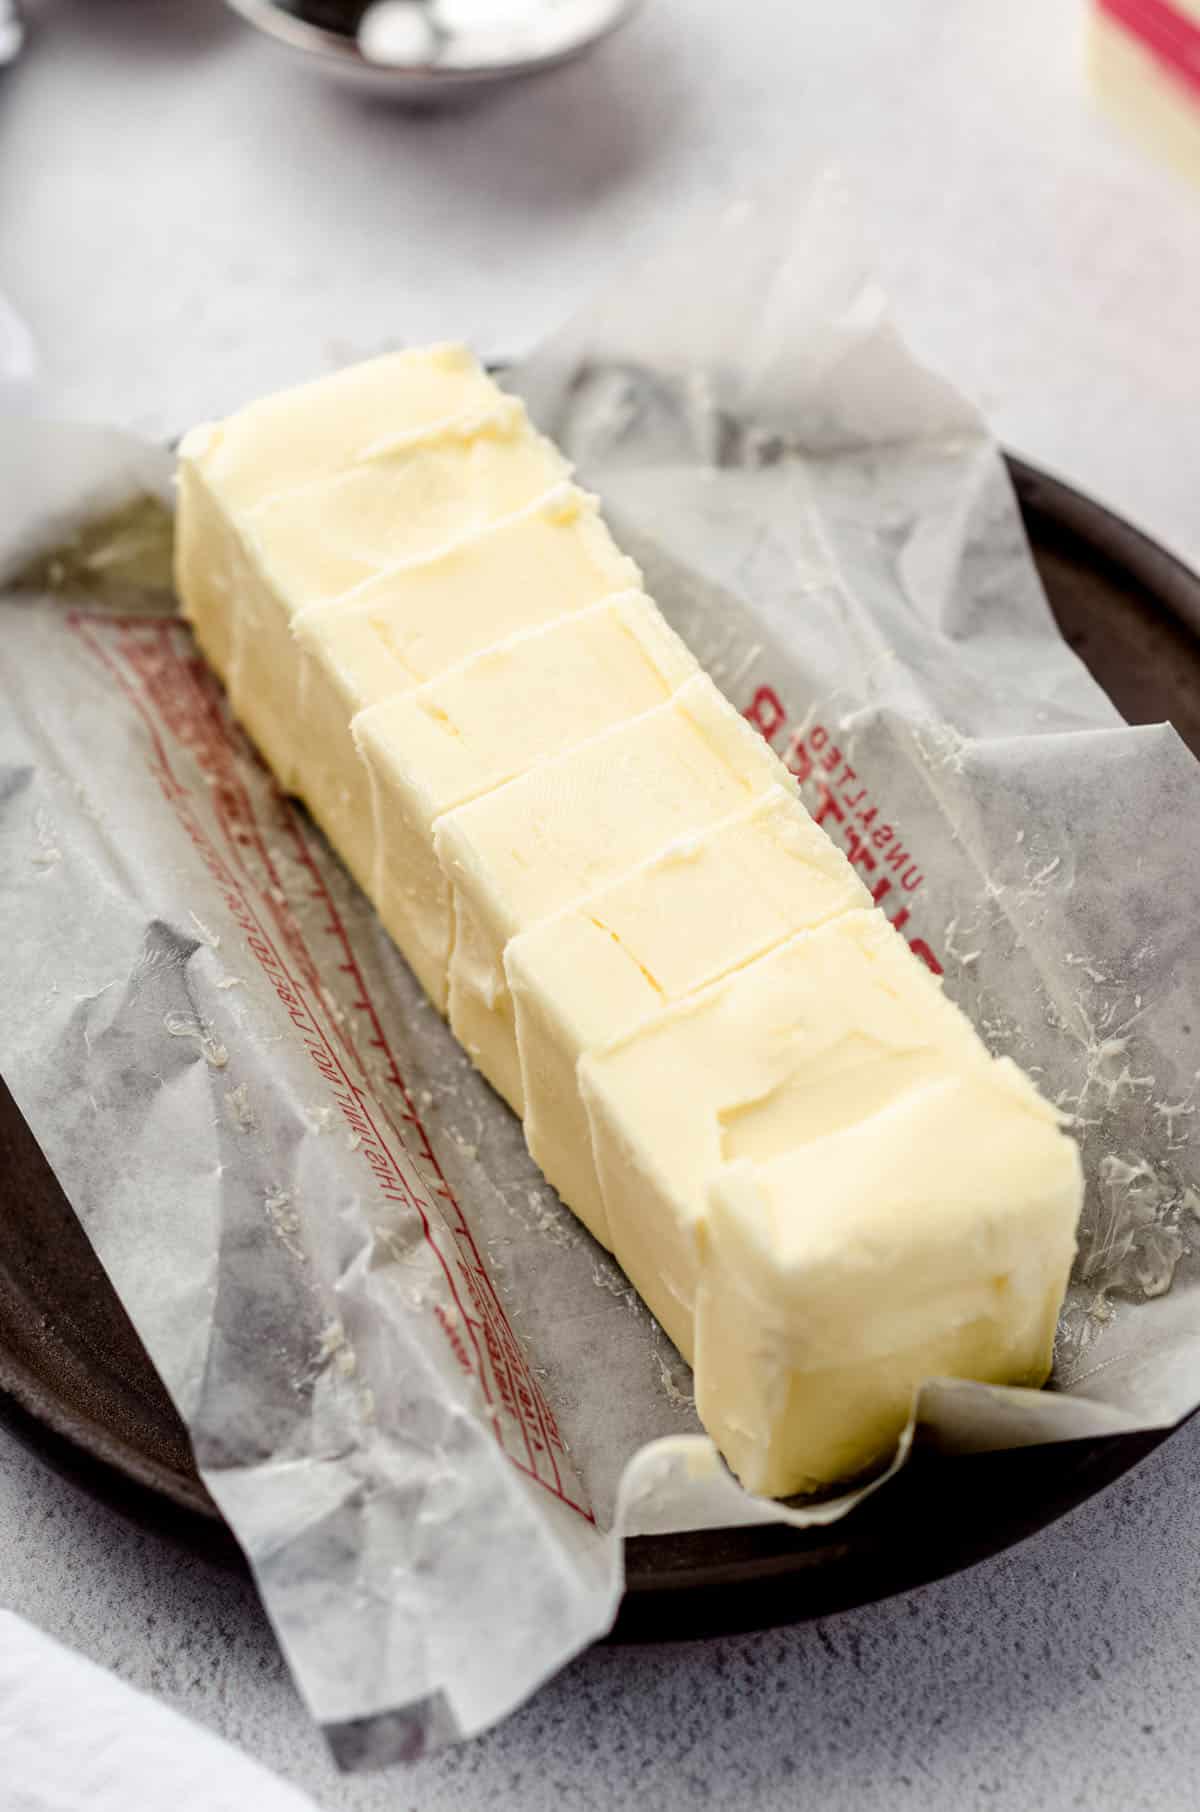
STEP #1: Slice the required amount of butter. I typically slice into Tablespoon slices (so 8 slices per ½ cup stick). Place these slices into a heatproof bowl (I usually use the bowl I plan to use for my recipe) or onto a plate.
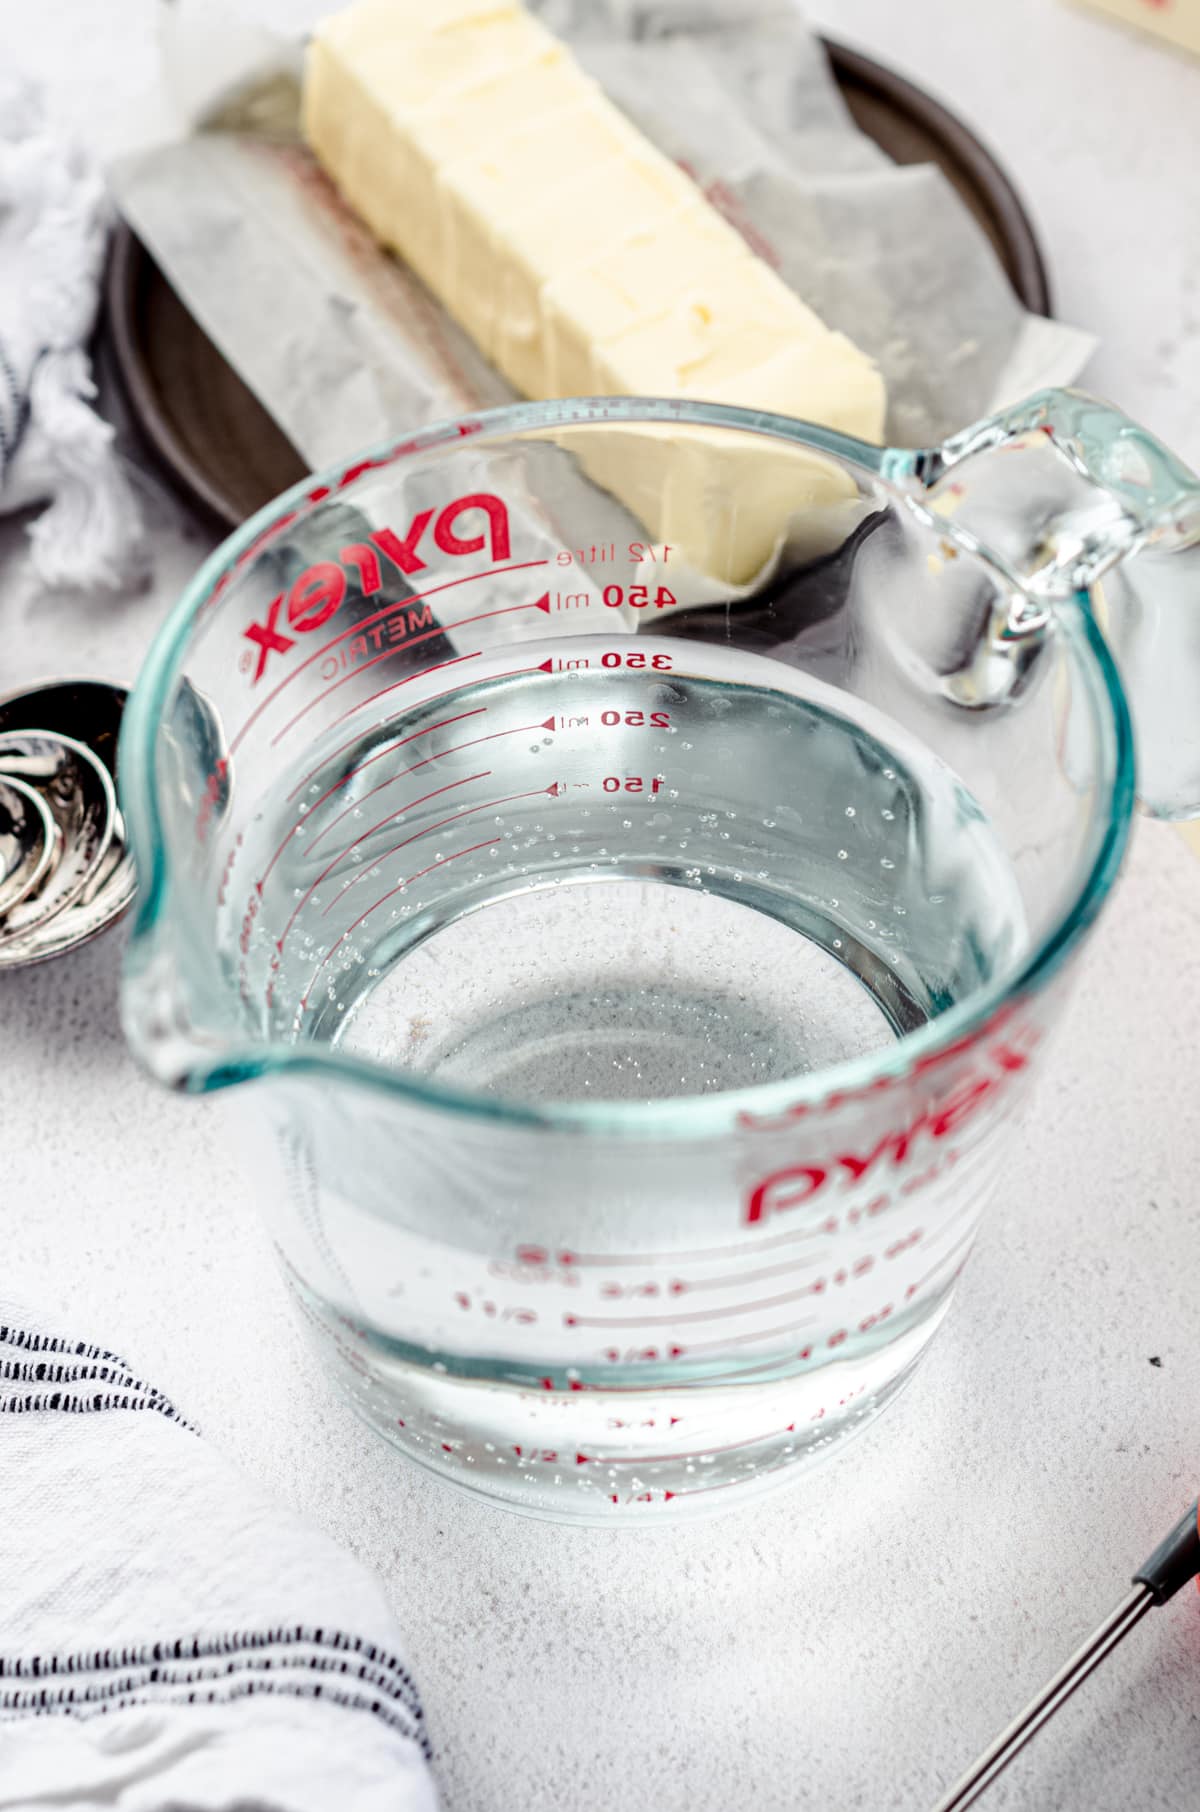
STEP #2: Pour 2 cups of water into a glass measuring cup or some other microwave-safe container with a spout.
STEP #3: Microwave the water for 2 minutes (it will be very hot, maybe even boiling).
STEP #4: Remove the water from the microwave, place the butter inside of the microwave, and quickly close the door.
That’s it! The ambient heat will soften the butter in about 10-15 minutes.
Check the butter with one of the two methods I mentioned above to insure it’s properly at room temperature, then proceed with your recipe.
HOW TO BRING OTHER INGREDIENTS TO ROOM TEMPERATURE
It’s simple: just let them sit out!
Smaller amounts of liquid will usually only take about 30 to 45 minutes sitting at room temperature to be ready to use.
Cream cheese can take longer, so I will typically cut it into smaller pieces, especially if I’m making cheesecake, where it is absolutely imperative that the ingredients not be cold.
Bringing eggs to room temperature is as simple as putting them in a cup or bowl of very warm water for about 10 minutes. Once they’re warm, you can set them at room temperature or leave them in the water until you need them.
Whenever I need milk at room temperature, I will often carefully use the microwave to bring it to room temperature. I microwave it for 8 to 10 seconds on HIGH, take it out, stir it around, and then test it with my finger. You’ll need to be careful not to scald your milk using this method, but it works in a pinch if you pay attention!
DON’T HAVE TIME TO WAIT FOR ROOM TEMPERATURE BUTTER?
I get it. If my quick method still isn’t fast enough for you, here are several of my recipes that call for cold butter or melted butter or ones that will ask you to melt the butter somewhere in the instructions.

• any of my brownie recipes
• any of my Rice Krispies Treats recipes
• homemade buttermilk biscuits
• pizzelle cookies
• banana crumb snack cake
• pumpkin fudge
• monster oatmeal cookies
• snickerdoodle cookie cake
• chocolate chip cookie cake
• Nutella cookie cake
• vanilla bean cake
• vanilla bean cupcakes
• dulce de leche cake
• dulce de leche cupcakes
• pear cobbler
• mini cookie & cream cupcakes
• Nutella swirl muffins
Happy baking! I hope you have nothing but baked good successes going forward with all of these tips.
I had a random pregnancy craving for a recipe that called for room temperature butter but didn’t want to wait hours for my butter to soften (baby needs it now!) I also usually microwave my butter when I’m pinched for time but I definitely won’t be using that method again. Your technique was super easy to follow and I’ll definitely continue using these tips in the future. Thank you!!
Thank you, Ash!! 🙂
This was so informative! You broke it down in a very easy to understand manner.
I’m so glad you found it helpful, Desiree!