
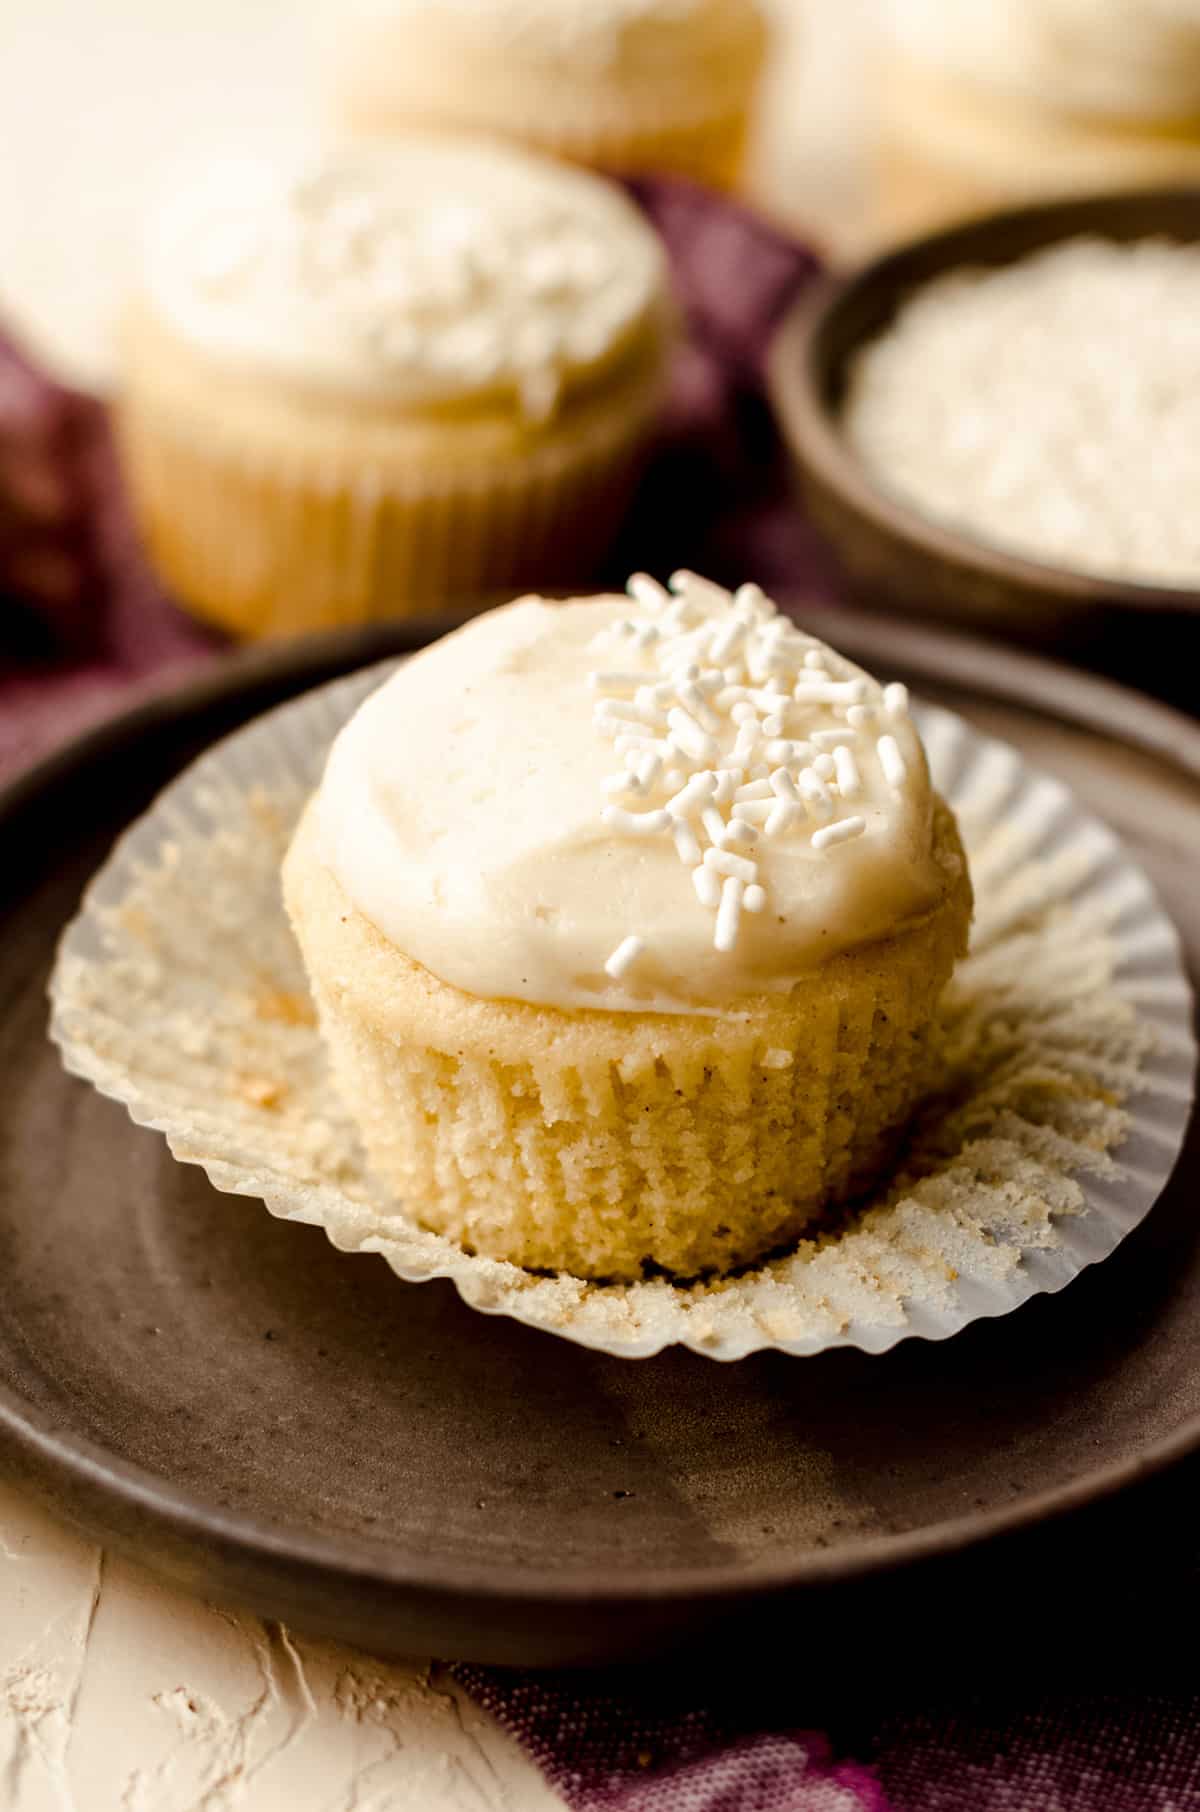
Dulce de Leche Cupcakes
As an Amazon Associate, I earn from qualifying purchases. Read the full disclosure here.
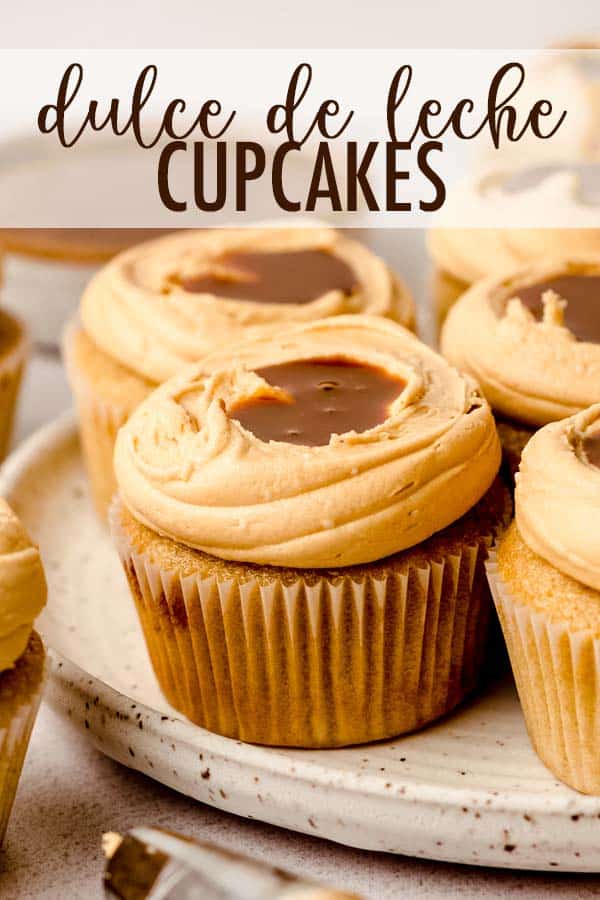
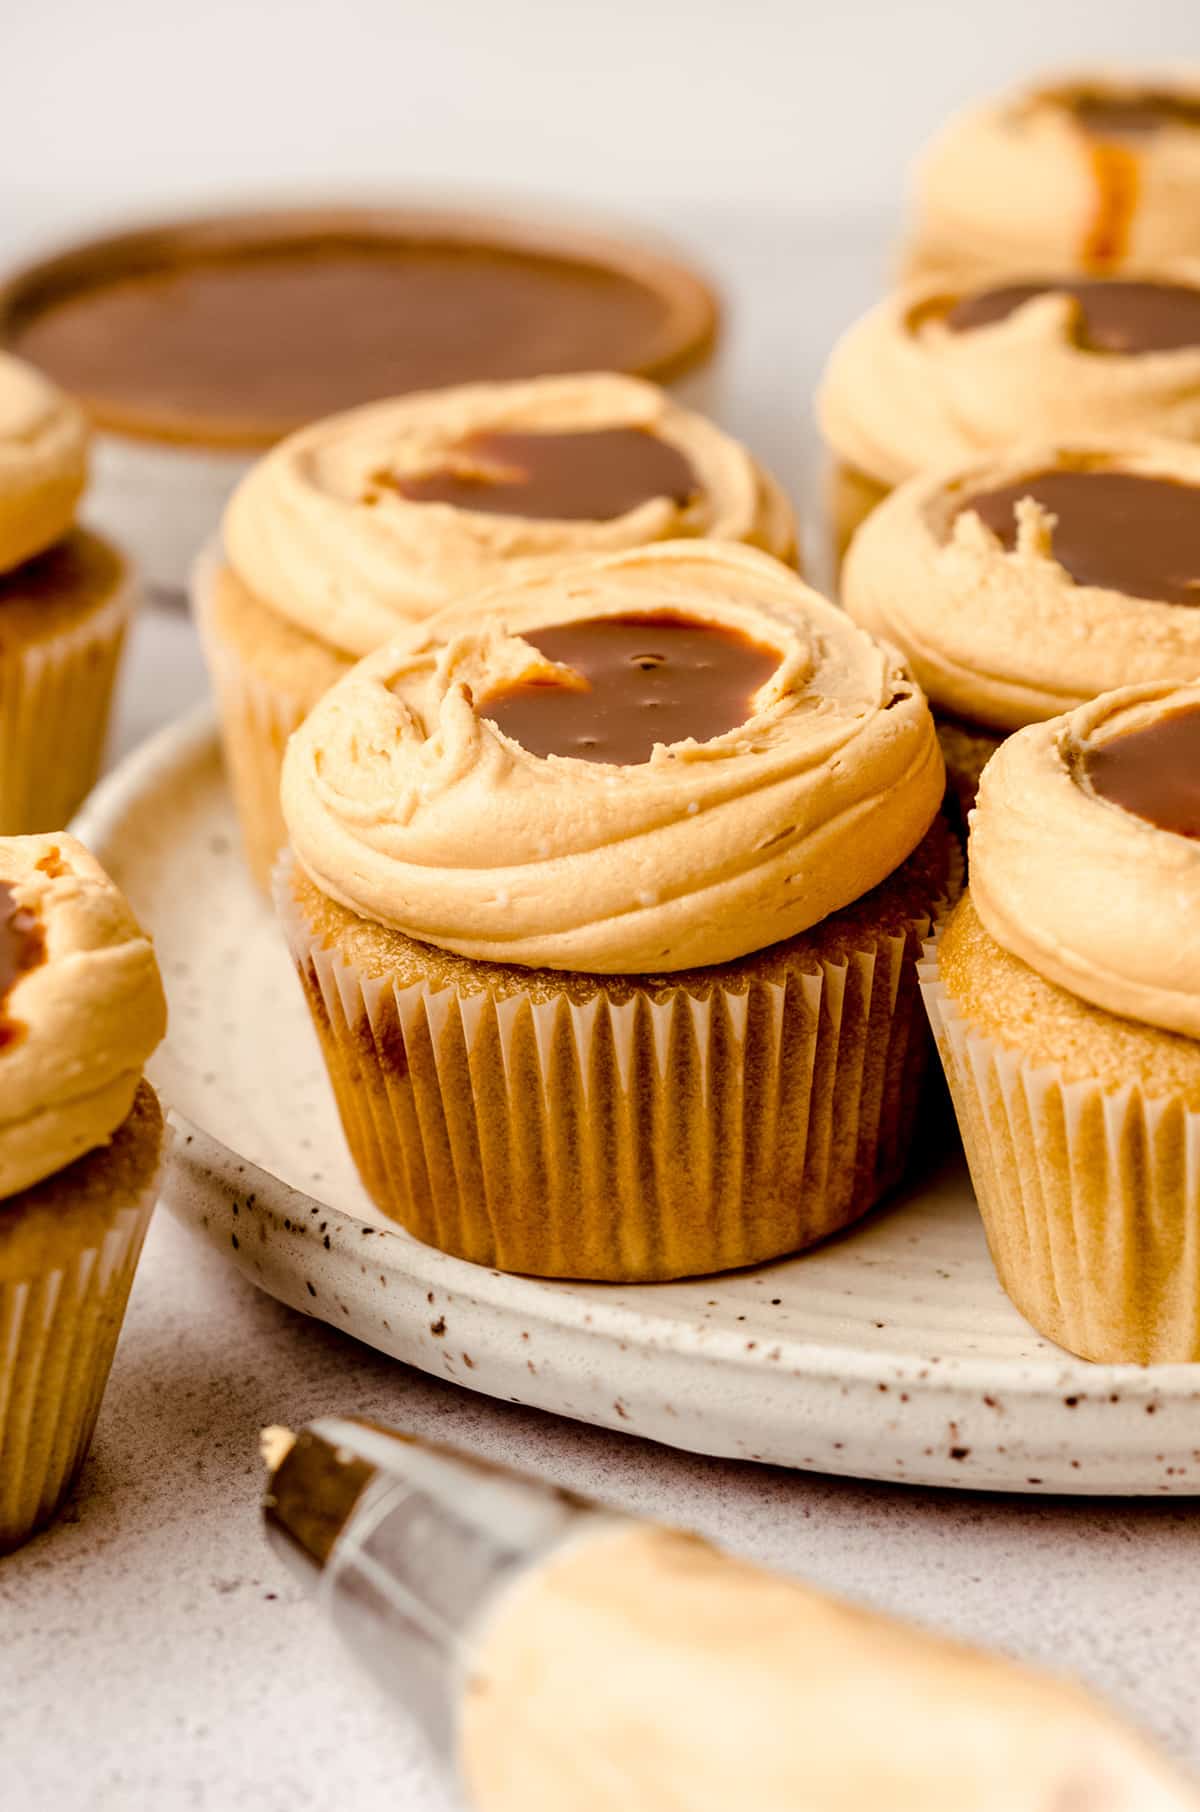
Moist and flavorful brown sugar cupcakes filled with sweet dulce de leche and topped with a smooth and creamy dulce de leche buttercream.
One of my favorite things to bake has to be cupcakes. Not only are they easy to make and completely adorable, but they also bake in way less time than a typical cake.
And while I love a good cake (I did run a home bakery, after all), cupcakes are just so fun to bake and decorate.
These easy dulce de leche cupcakes are filled with decadent dulce de leche, frosted with a dulce de leche buttercream, and then topped off with– you guessed it– more dulce de leche!
But if you’re not a fan of buttercream (gasp!), you could totally use a cream cheese frosting instead. I just might be a tiny bit disappointed. But I’ll try not to take it personally.
WHAT IS DULCE DE LECHE?
If you’ve never had dulce de leche, you’re going to spend the rest of your life wishing you would have tried it sooner!
Dulce de leche translates to “candy made of milk,” or “sweet made with milk.” And once you have that first taste of this caramelized confection, you’ll totally understand the hype.
Dulce de leche is made by slowly heating milk and sugar over a low temperature and for an extended period of time. Slowly, the mixture begins to caramelize and take on a deep, brown color and a thickened texture.
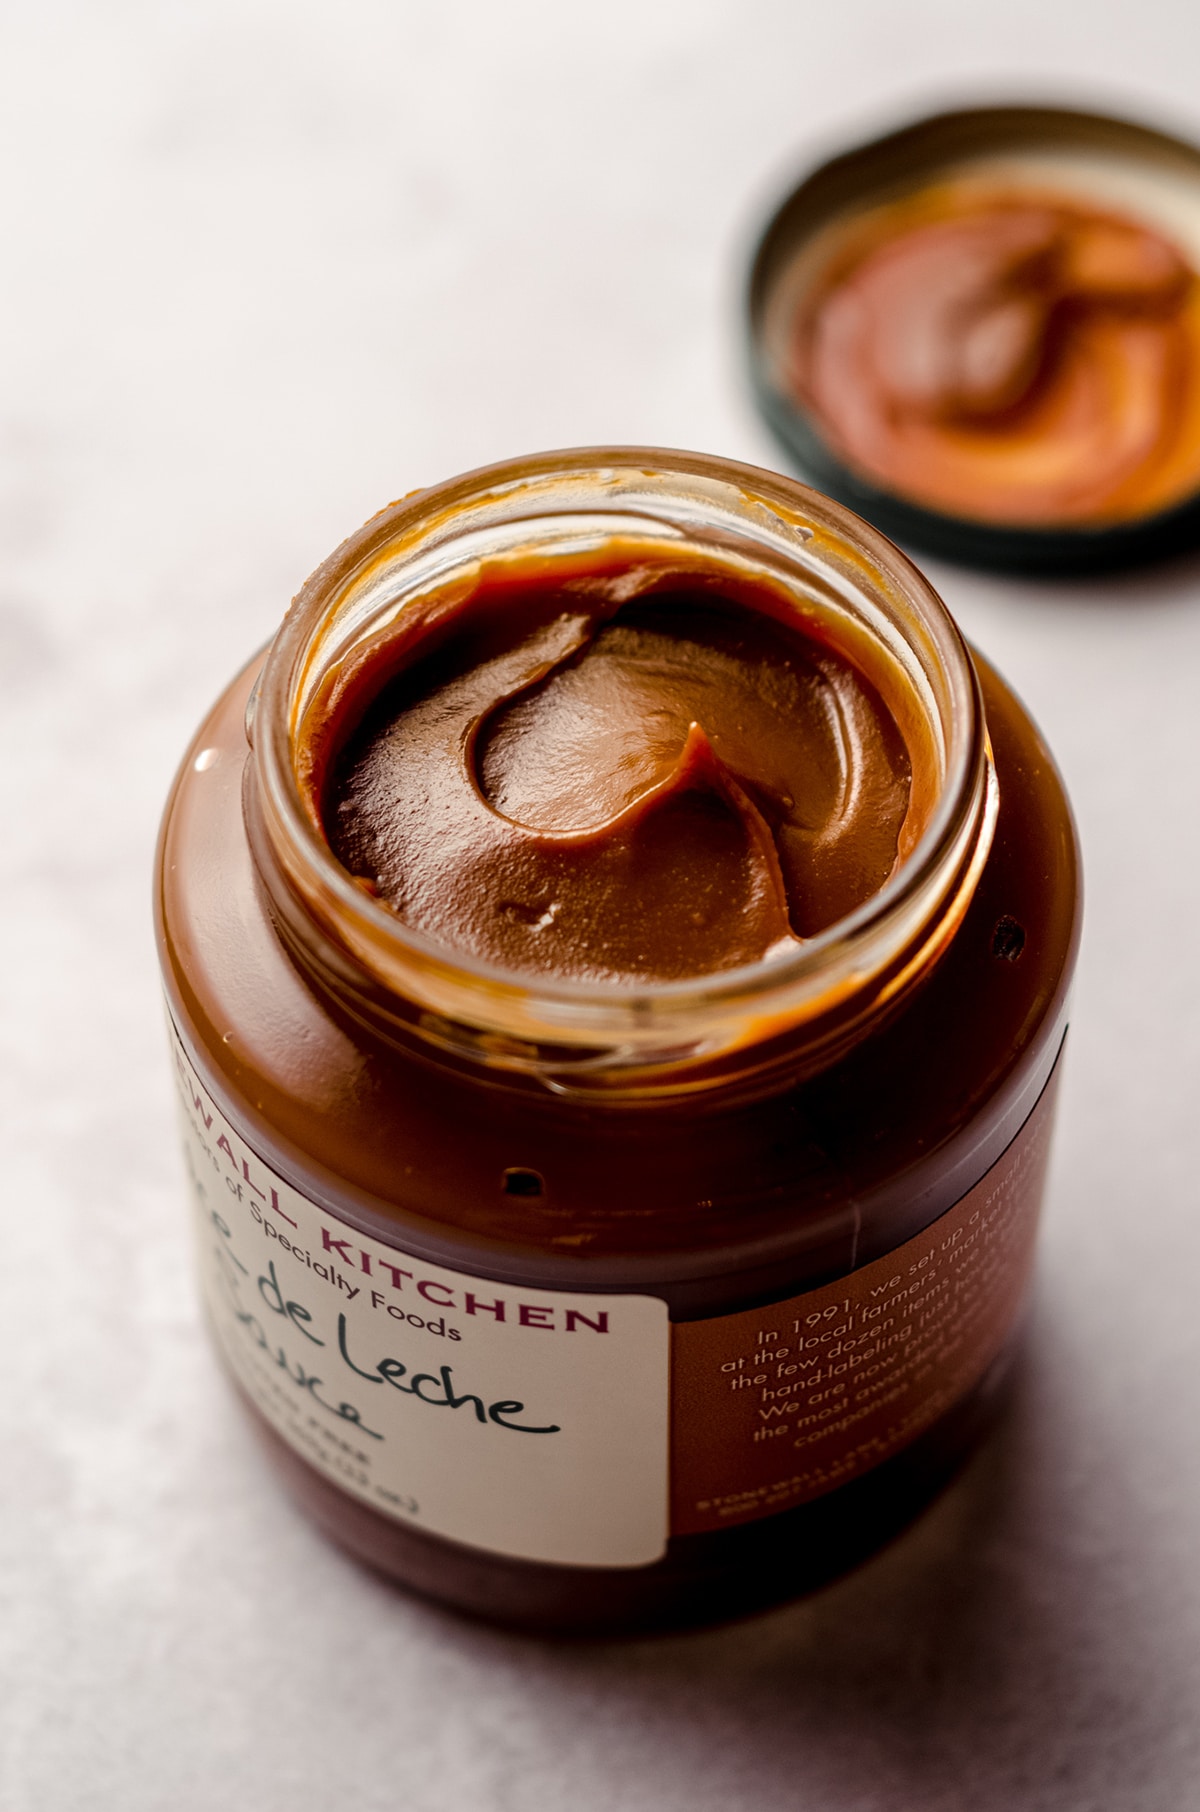
Various brands and methods for making dulce de leche produce different consistencies, with some being ultra thick, and others being very thin and pourable.
For these dulce de leche cupcakes, the viscosity of your dulce de leche of choice is an important factor.
Selecting a thicker sauce (like the baking method for my homemade dulce de leche) means that your baking process will be a tad less messy, but you will need to add more cream or milk to your dulce de leche buttercream to get the perfect consistency.
Since dulce de leche comes in a great variety of colors and consistency, you really have to play it by ear and make adjustments based on the texture during the baking process. This shouldn’t be a problem if you’re beyond the beginning stages of baking.
USE HOMEMADE OR STORE BOUGHT DULCE DE LECHE SAUCE
I was surprised to learn that dulce de leche isn’t as widely available as I had assumed. Since I was always able to pick up a jar at my local grocery store, it never occurred to me that anyone would have trouble finding some to include in their baking.
I started hearing from readers who were asking about where to find dulce de leche, what they could use instead, or if they could make it themselves.
I knew that I had to test out several methods for making your very own dulce de leche, and the results were pretty delicious! While I prefer using store bought, simply because it’s easy (and I’m busy!), the homemade versions were super delicious too.
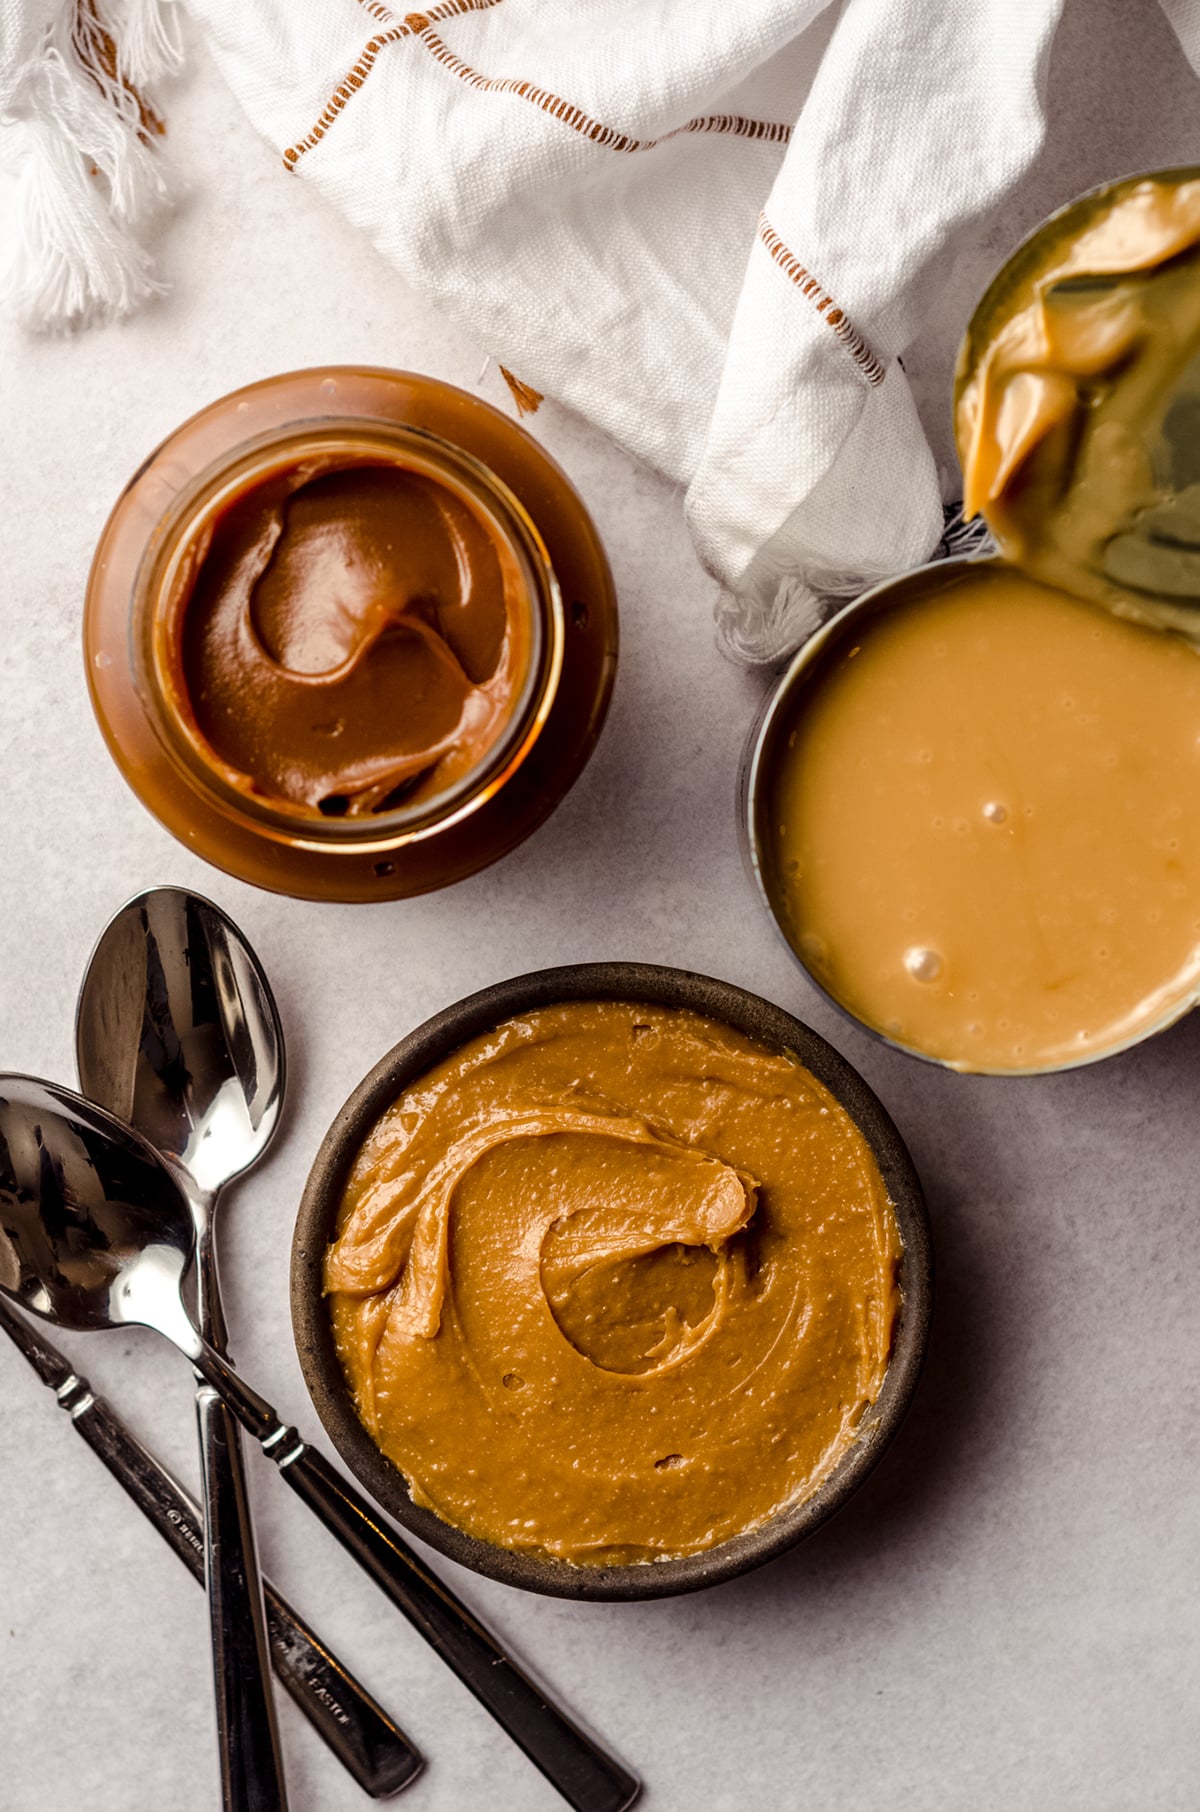
So if you can’t find dulce de leche OR happen to have an extra can of sweetened condensed milk in your cupboard, go ahead and make your own using one of two methods for homemade dulce de leche.
And since we’re on the topic, don’t forget to check out some of my favorite recipes using dulce de leche or caramel (the two are different, but best friends) like my banoffee pie, salted caramel stuffed snickerdoodles, salted caramel brownies, or salted caramel banana bread.
INGREDIENTS
The first thing I want to encourage you to do for this dulce de leche cupcake recipe is to use room temperature ingredients.
When a recipe calls for room temperature butter (either softened or melted and cooled), it’s generally recommended that any eggs used in the recipe be room temperature, too. This just makes it so the eggs incorporate into the batter much more easily.
If you forgot to let your eggs come to room temperature before baking, don’t despair! There’s an easy fix for that. Just add your eggs to a bowl of warm water and leave them for around 5-10 minutes.
Another thing I want to drive home is how imperative it is that you use full fat dairy products.
While I’m typically all about making substitutions if you need to, we really rely on full fat dairy to provide moisture to these dulce de leche cupcakes. Without it, they would be super dry and dense.
So in order to get the best, most delicious cupcakes possible, make sure you’re using whole milk, and full fat yogurt or sour cream. Just promise you’ll trust me on this!
CUPCAKES
For your dulce de leche cupcake batter, you’ll need some pretty standard ingredients that are typical of cupcakes, and some that are not so standard.
To get started, you’ll need flour, unsalted butter, brown sugar, egg, milk, and vanilla.
For your less common ingredients, you’ll want to get some (full fat) yogurt or sour cream to add a slight tanginess. And since these are dulce de leche cupcakes, you’ll need just a touch of the good stuff to bring it all together!
And of course, your typical pantry basics like baking soda, baking powder, and salt.
FROSTING
These cupcakes are frosted with a decadent dulce de leche frosting. Seriously, just typing that out is making me drool, so you know it’s going to be good.
Since we’re using dulce de leche in the frosting, that means there are multiple levels of dulce de leche goodness in every cupcake: the filled cupcake, the buttercream, and a generous dollop on top (I mean, can it get any better?).
To make your dulce de leche buttercream, you’ll need some powdered sugar, heavy cream (or whole milk), vanilla, salt, dulce de leche, and vegetable shortening.
I used vegetable shortening in this recipe because my dulce de leche was very thin. If your dulce de leche is thick and sturdy, feel free to use unsalted butter instead.
HOW TO MAKE DULCE DE LECHE CUPCAKES
Making the actual cupcakes is easy peasy, and actually the whole process is pretty simple! It’s one of those recipes that taste difficult, but they were really super easy to pull together (in fact, it stems from my vanilla bean cupcakes with a swap for brown sugar in place of white sugar and no vanilla beans).
That’s the sweet spot when it comes to baking– simple to make, satisfying to eat! These dulce de leche cupcakes are all that and more.
To get started, add all of your dry ingredients (flour, baking powder, baking soda, and salt) to a large bowl and give it a good whisk. Then set aside.
Add your melted butter, brown sugar, egg, milk/cream, yogurt, and vanilla extract to the bowl of a stand mixer fitted with the paddle attachment. Beat everything together on medium-high speed until completely smooth.
Reduce the mixer speed to low, and add the dry ingredients very slowly. Mix until just combined, and then stop the mixer. Use a silicone spatula to fold everything together gently, scraping large lumps of flour against the side of your bowl to break them up.
Once your batter is mostly smooth (some small lumps are fine), scoop the dulce de leche batter into a cupcake pan that has been lined with paper liners.
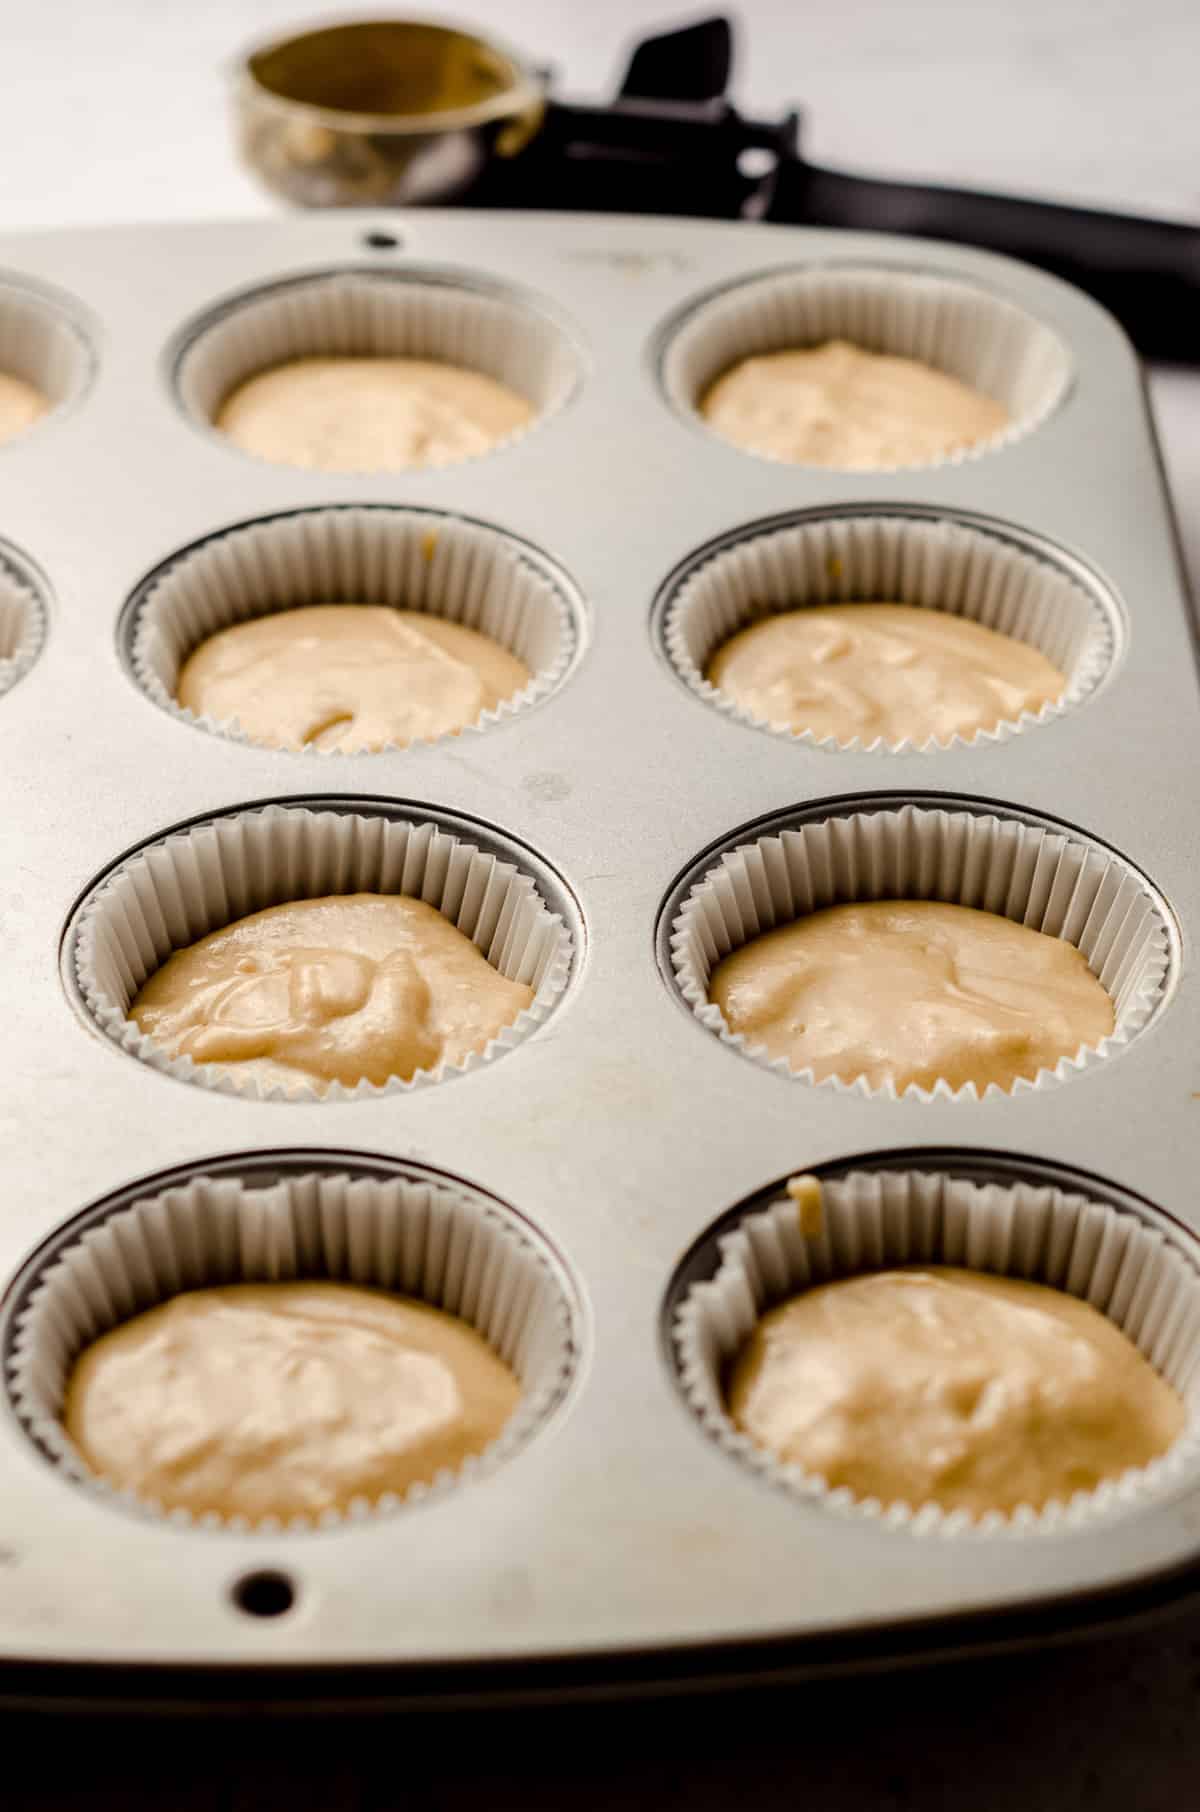
Fill the cups ⅔ to ¾ of the way full, and bake in the preheated oven for 15-17 minutes, or until a toothpick comes out clean when inserted into the center.
Remove from the oven and allow them to cool for 5 minutes before removing each cupcake and placing them on a wire rack to cool further. Make sure your cupcakes are completely cooled before decorating!
HOW TO FILL CUPCAKES
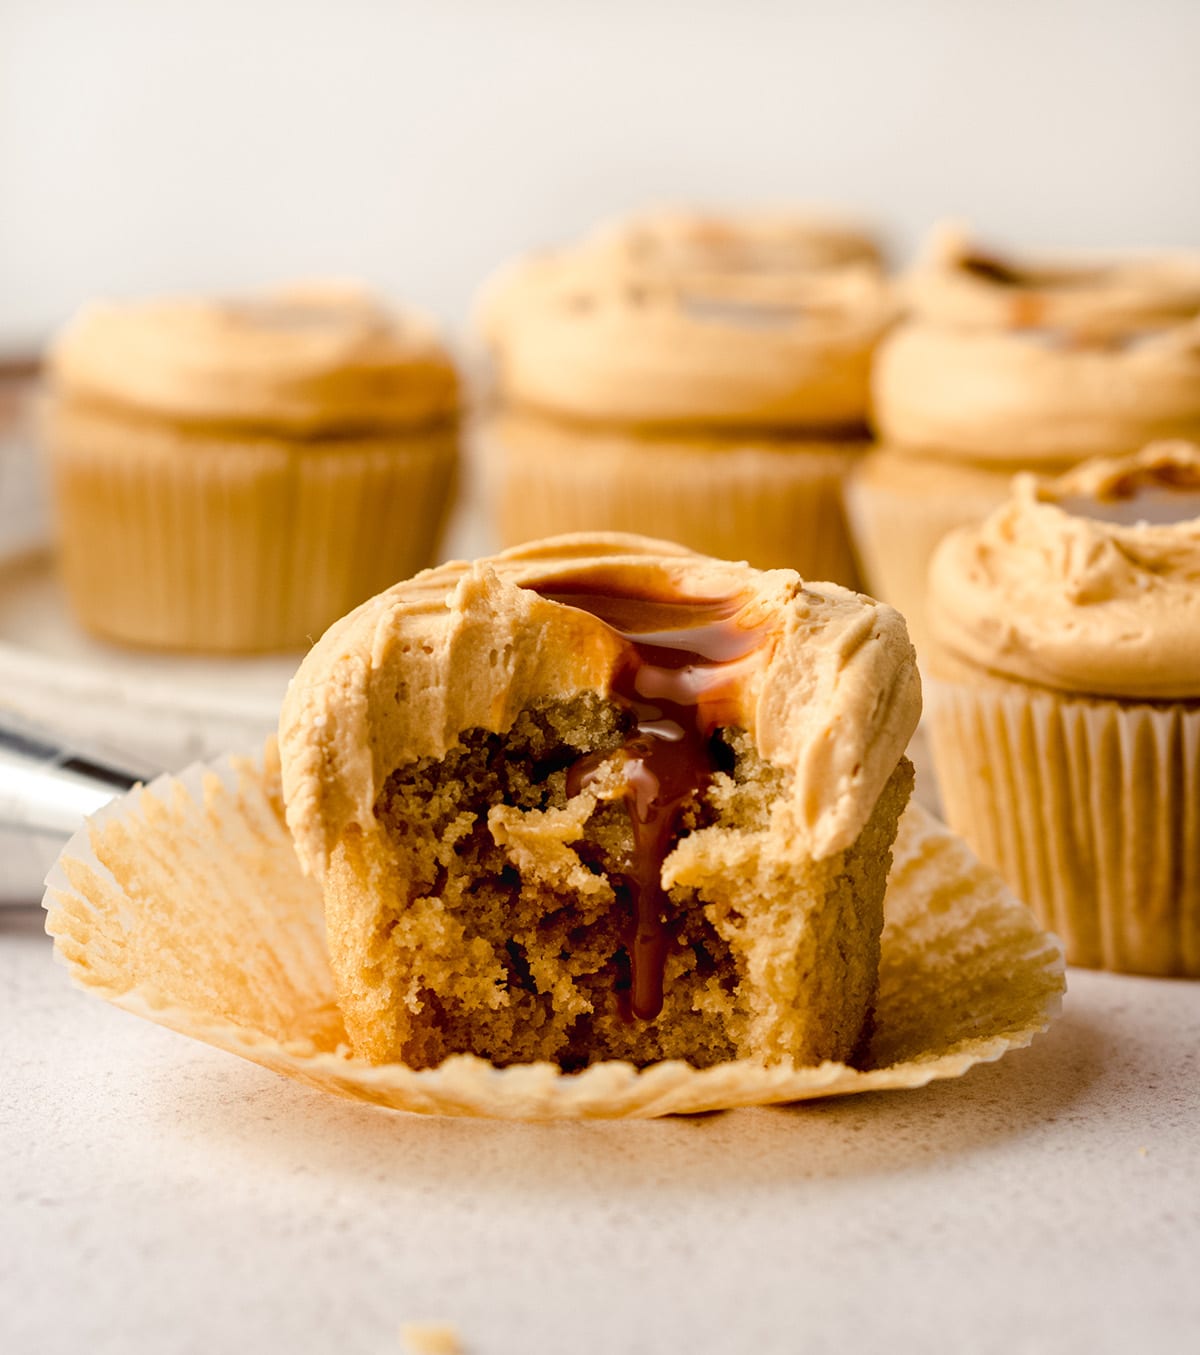
Once your cupcakes have had the chance to cool off, it’s time to fill them with some decadent dulce de leche. This is a step that seems complicated, but it is so easy.
Using a melon baller, the bottom of a large piping tip, or a small paring knife, remove the middle part of each cupcake. You’re looking for it to be about as wide as a nickel, and ½” deep. Set the cupcake piece aside– you’ll need it in a minute!

Fill each of the cupcakes with about 1 teaspoon of dulce de leche. It’s ok if there is some on the cupcake. That’s going to be covered with frosting and no one needs to know it wasn’t perfect.
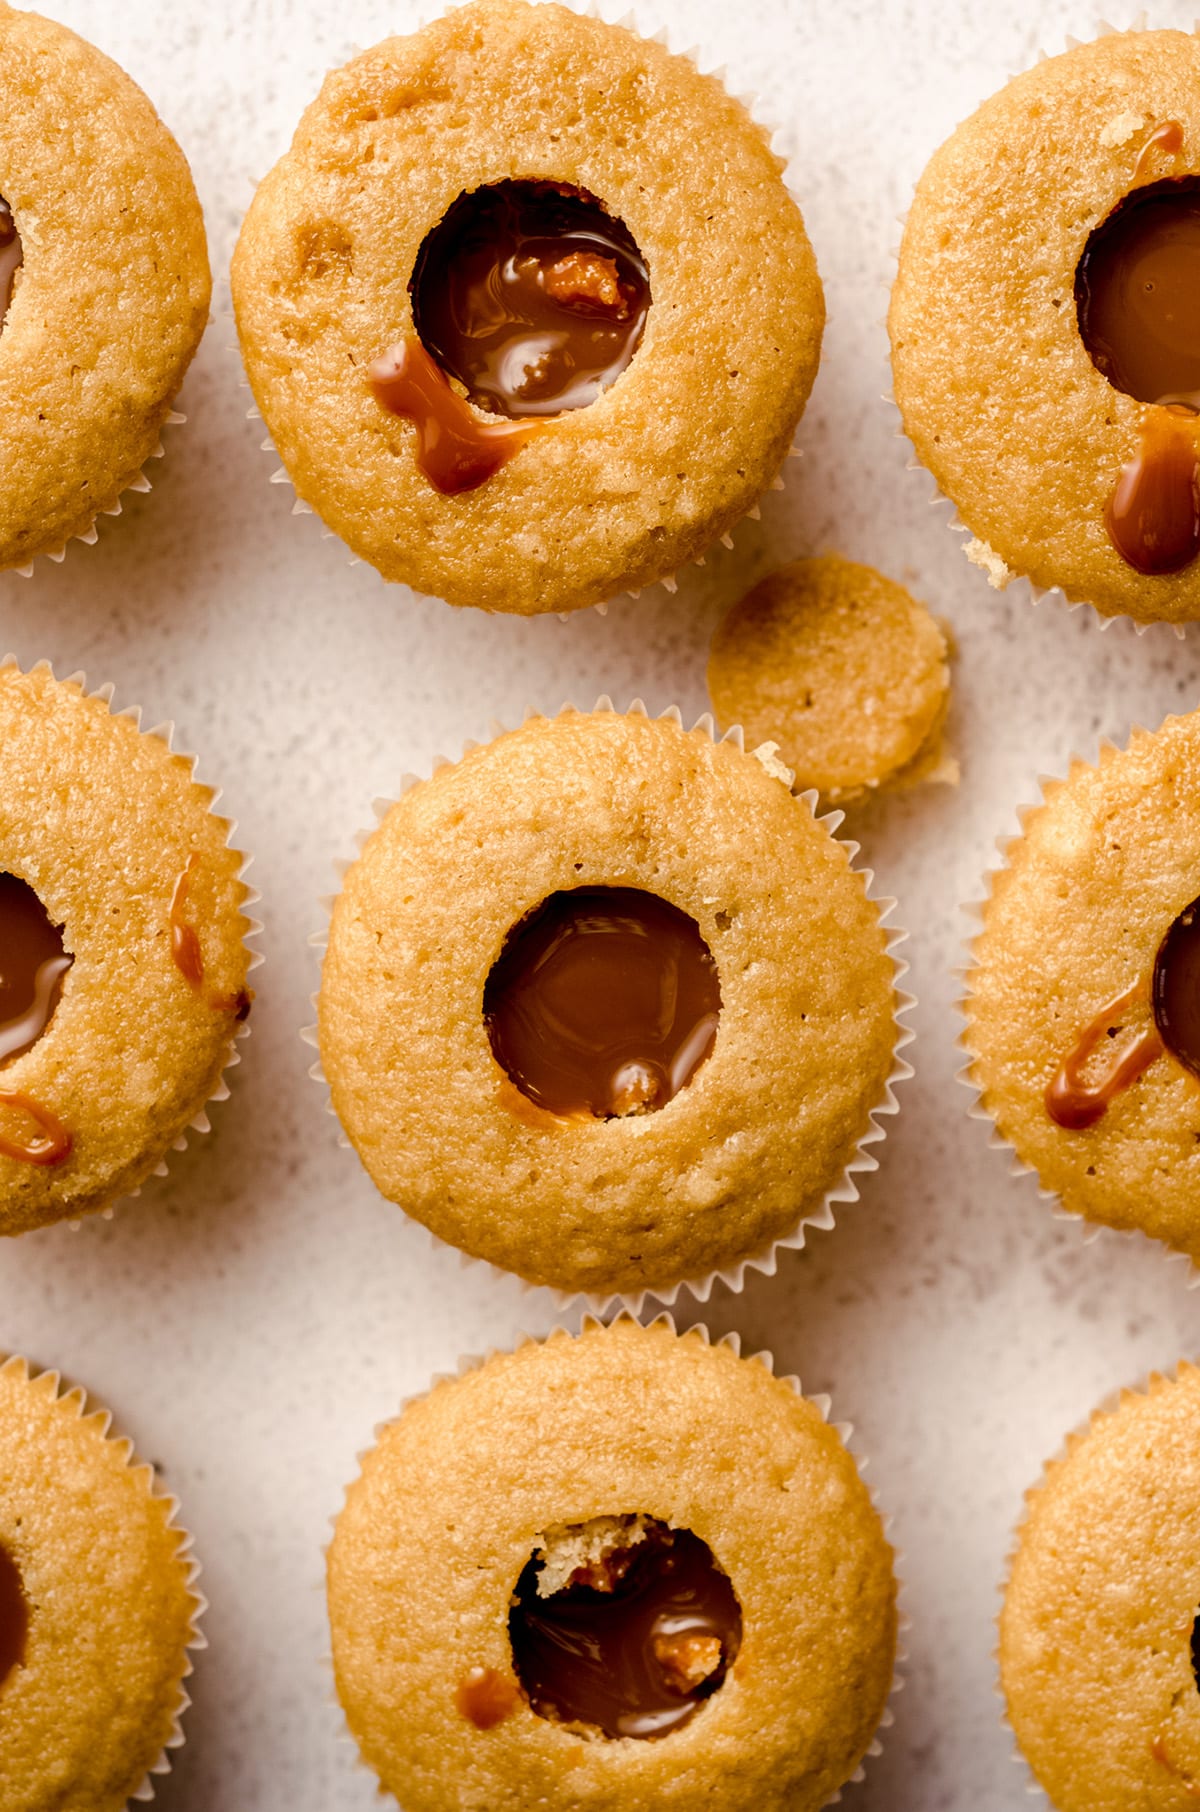
Then, add the reserved cupcake piece on top and press it down gently to fill the hole. Don’t worry if a little bit seeps out, but just aim to have as much stay inside of the cupcake as possible.
Set your cupcakes aside. Now it’s time to get started on the best part of any cupcake: the frosting!
HOW TO MAKE DULCE DE LECHE BUTTERCREAM
Add your shortening (or butter, if your dulce de leche is thick) to the bowl of a stand mixer fitted with the paddle attachment, or a large bowl with a handheld mixer.
Beat your shortening (or butter) on medium speed until creamy. This should take about 2 minutes, but it may take more if your shortening is on the cold side.
With the mixer on low, add in your powdered sugar, dulce de leche, and vanilla extract. Increase the mixer speed to medium and beat until completely smooth, or for about 3 minutes.
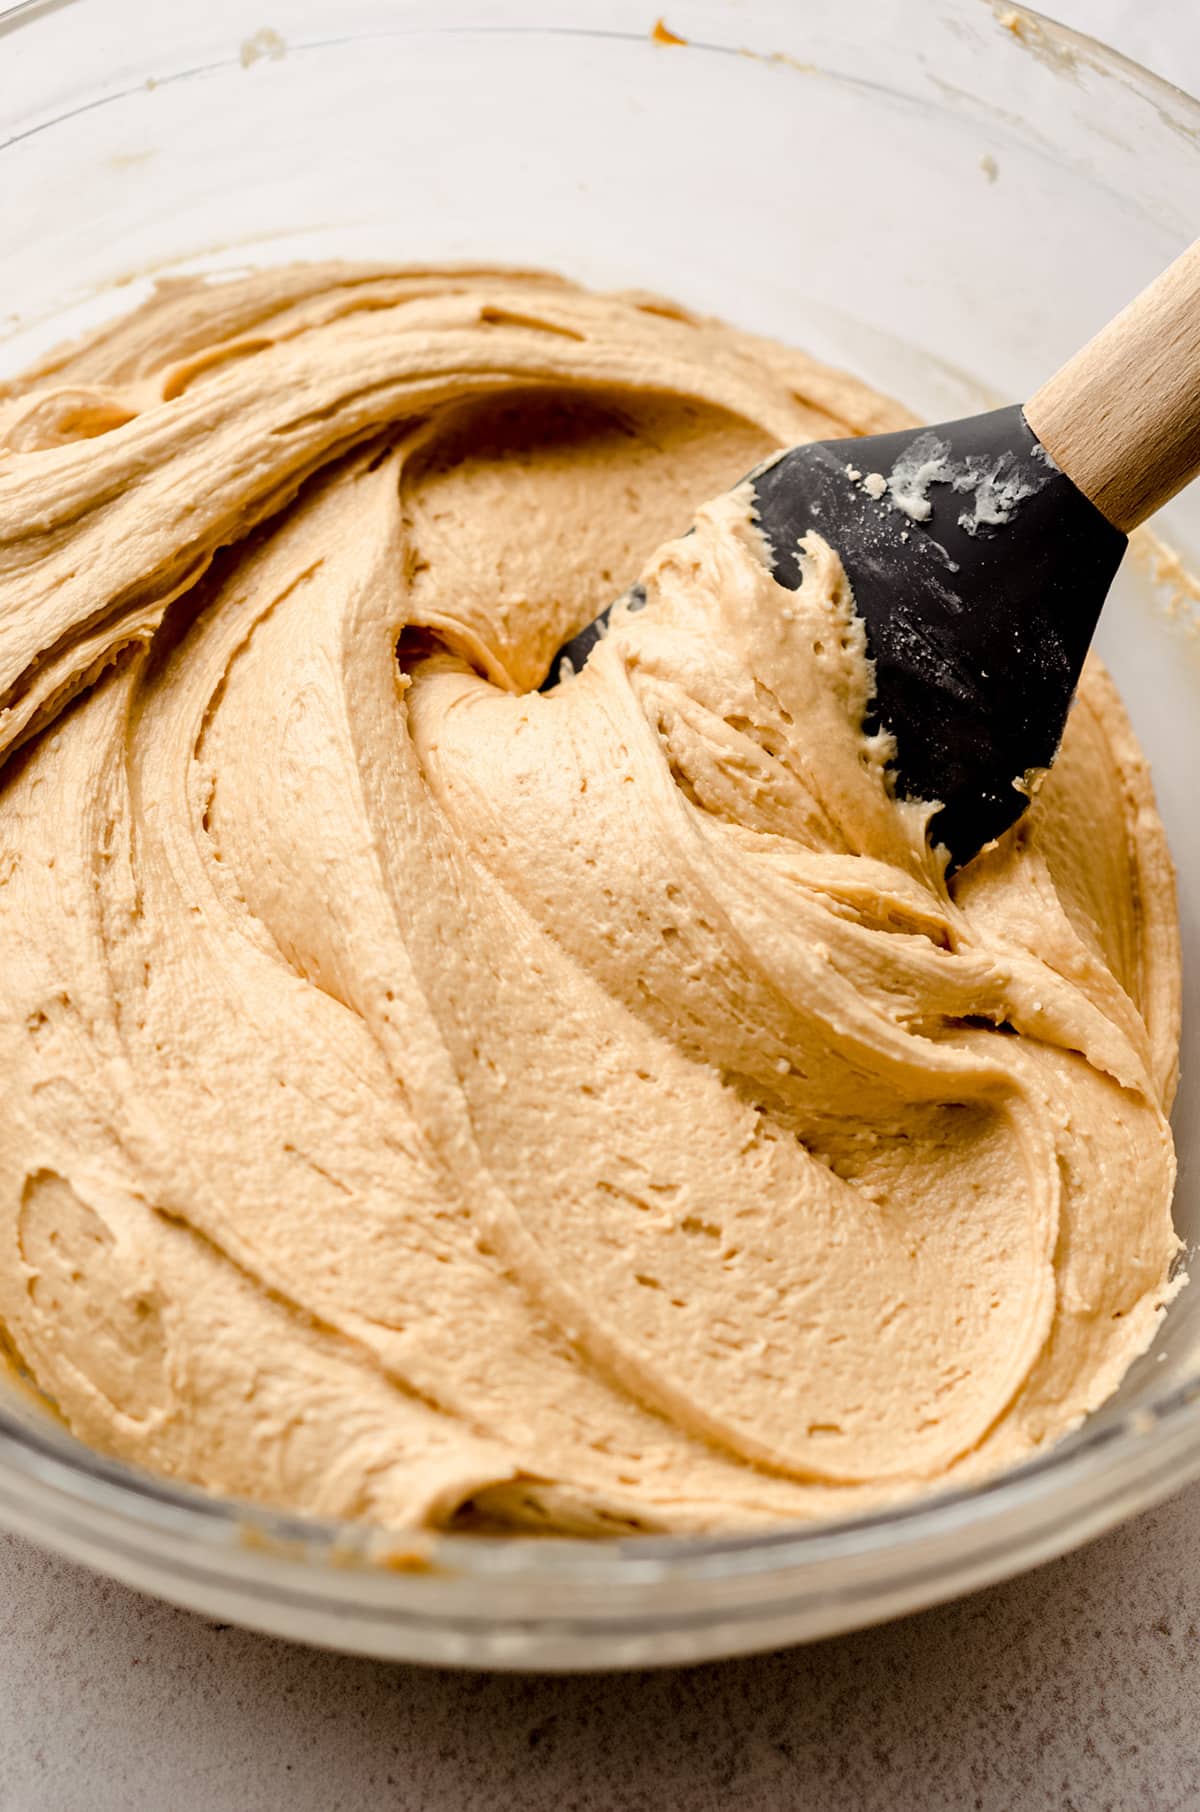
If your dulce de leche buttercream is very thick and seems like it needs to be thinned out, add a touch of milk or cream until you get the consistency you like. This will vary a lot based on the particular consistency of the dulce de leche you used. It’s important to go by eye and add a little bit at a time.
Then, give it a taste and add salt according to your preference.
HOW TO ASSEMBLE CUPCAKES
Frost your cupcakes using a piping bag, or a large zip top bag with the corner snipped off if you’re in a pinch.
I like to pile the frosting high, and use a round piping tip, but you can use whatever tip you like to get your desired look. When it comes to cupcakes, sometimes it’s best to let the flavor speak for itself, although you can certainly have some fun with decorating if you want to!
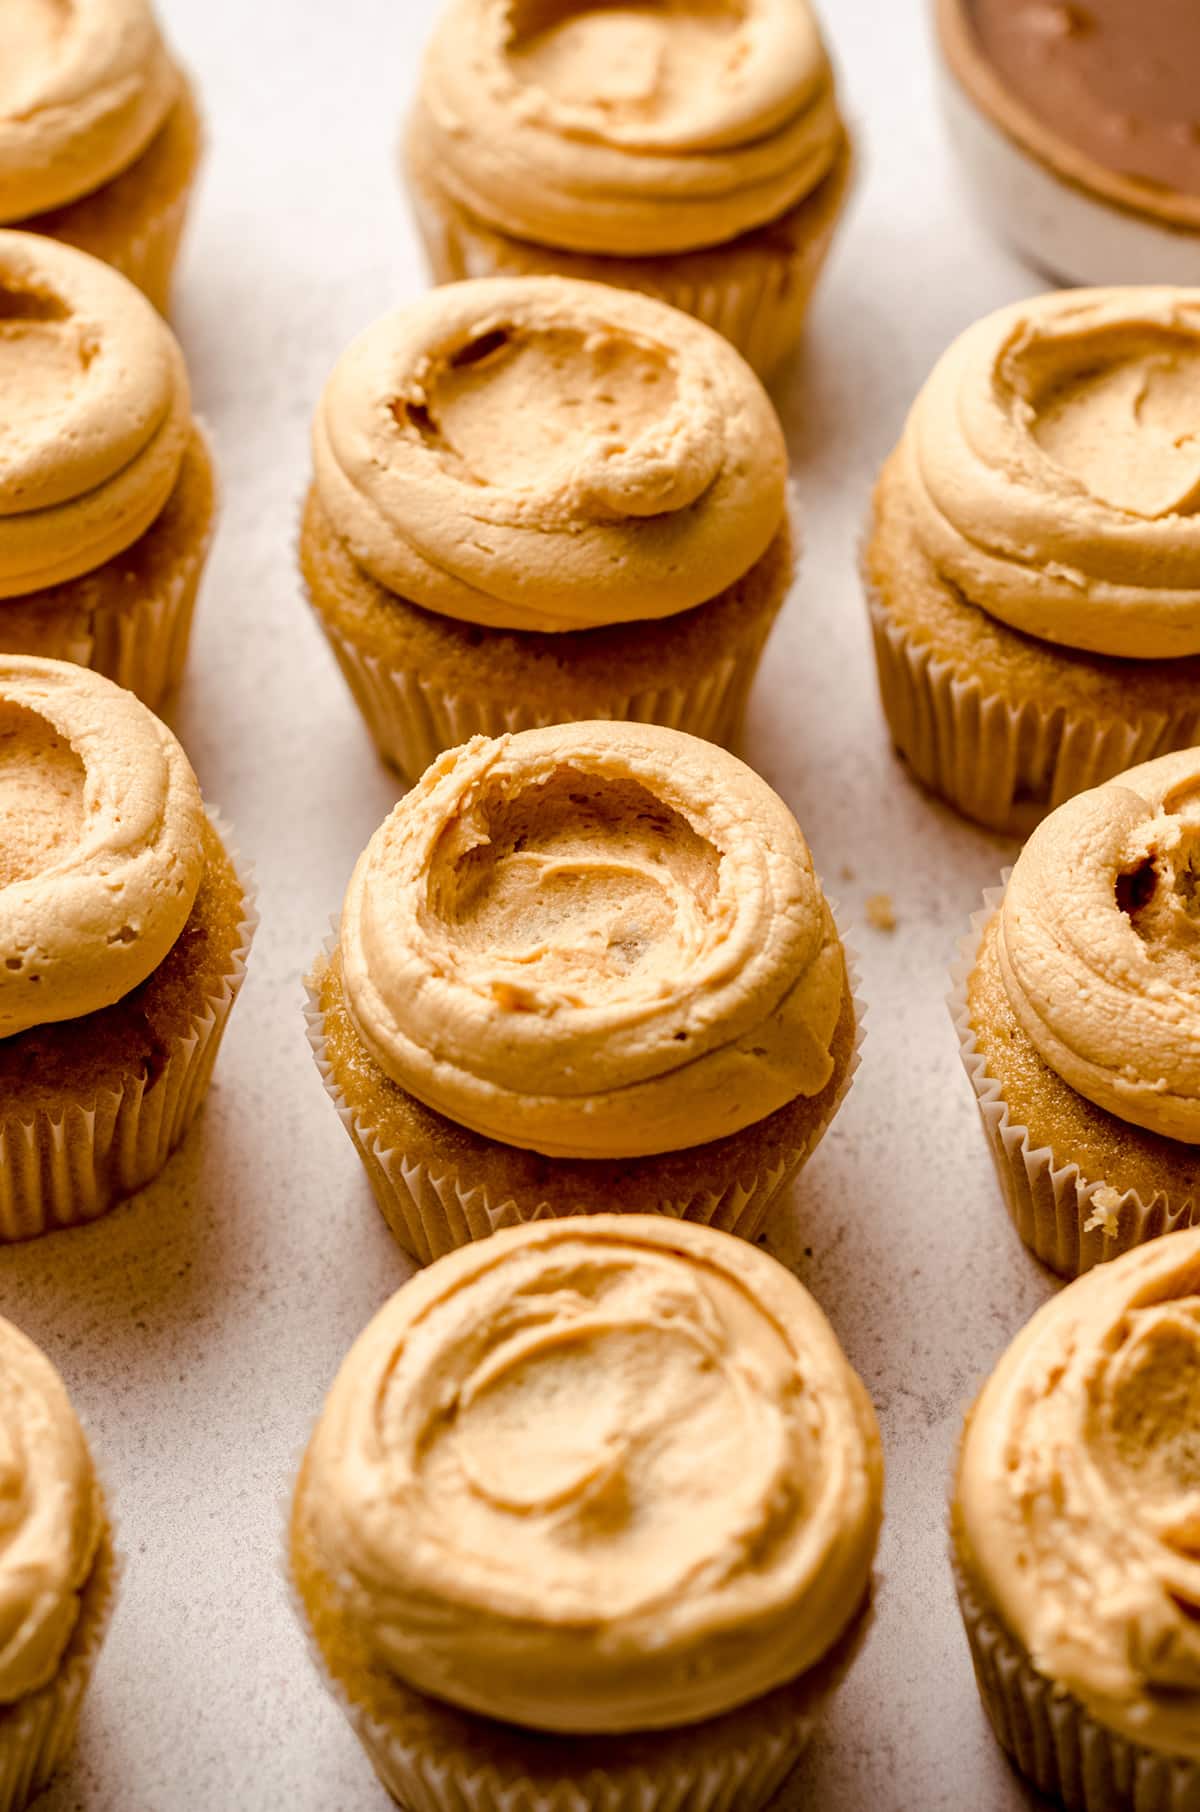
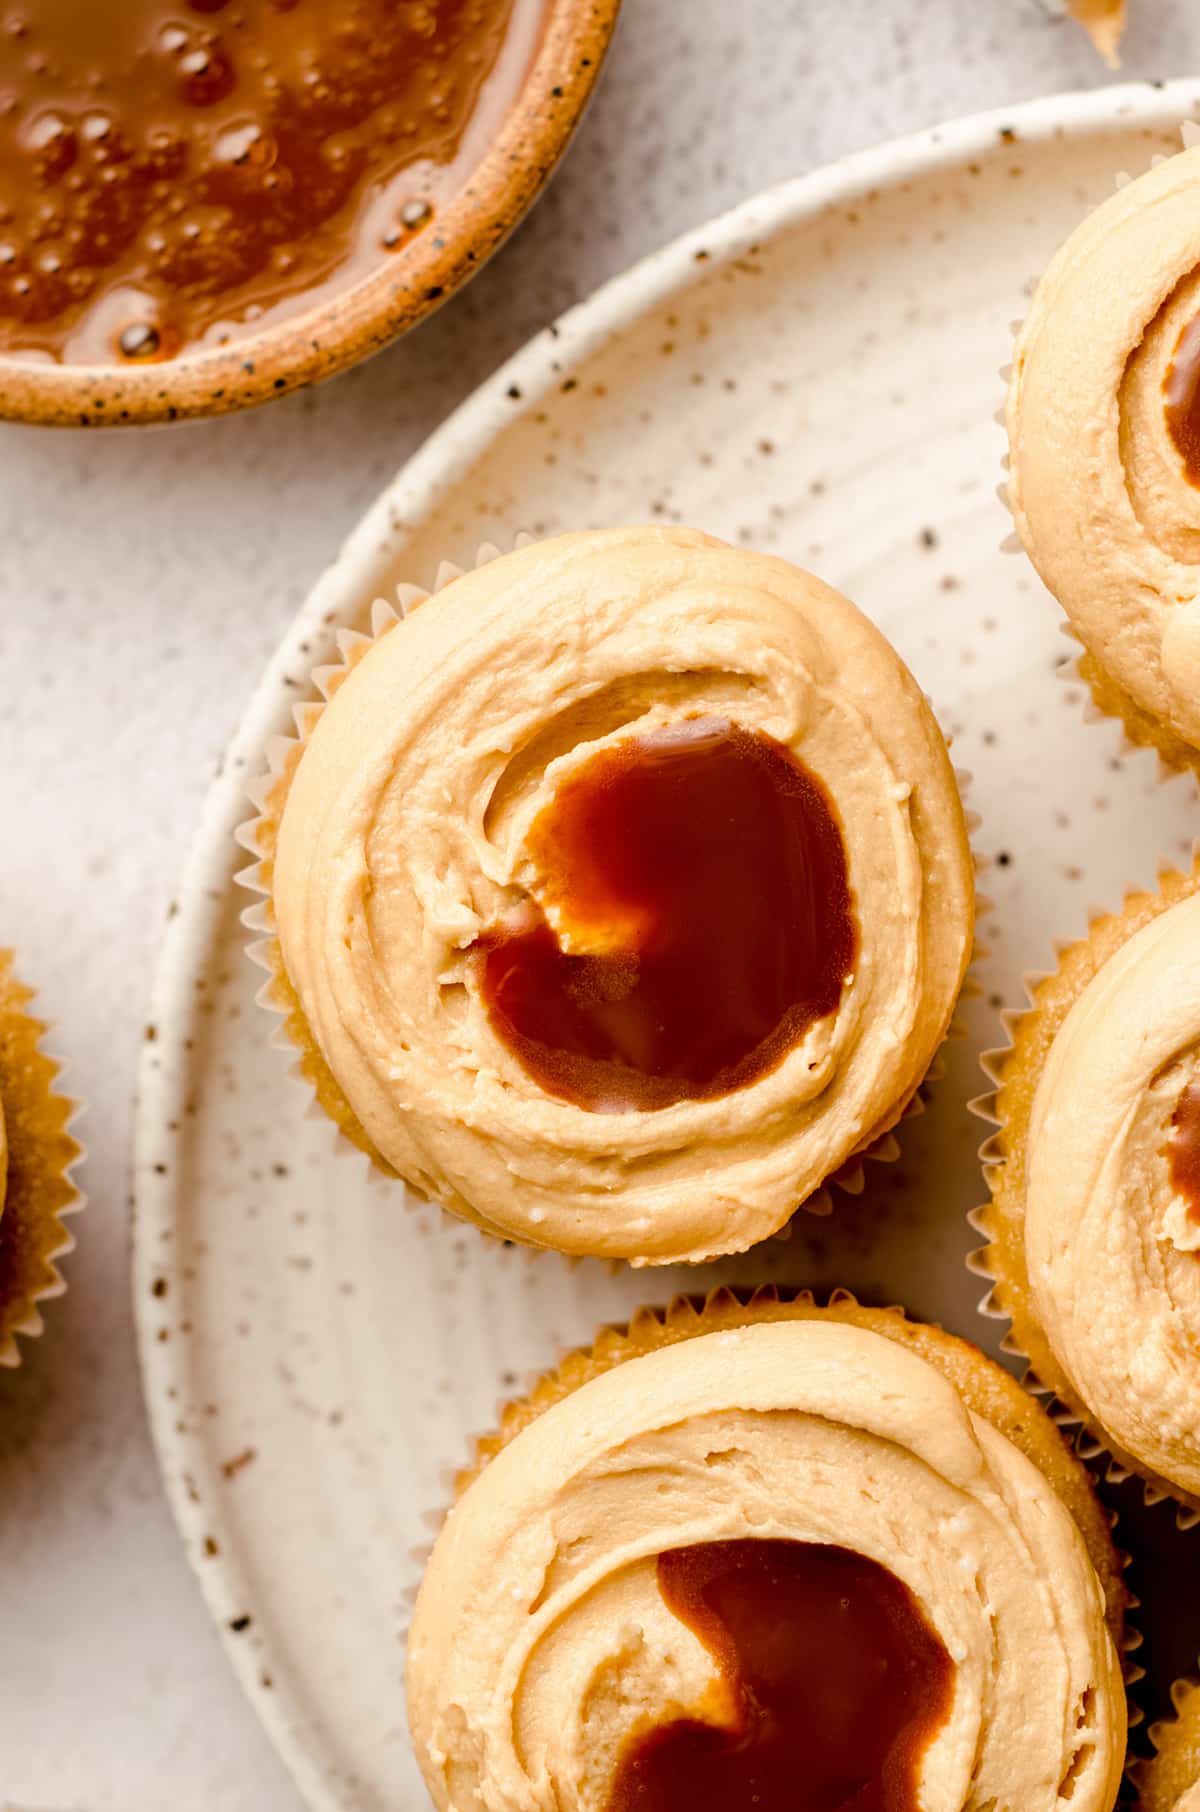
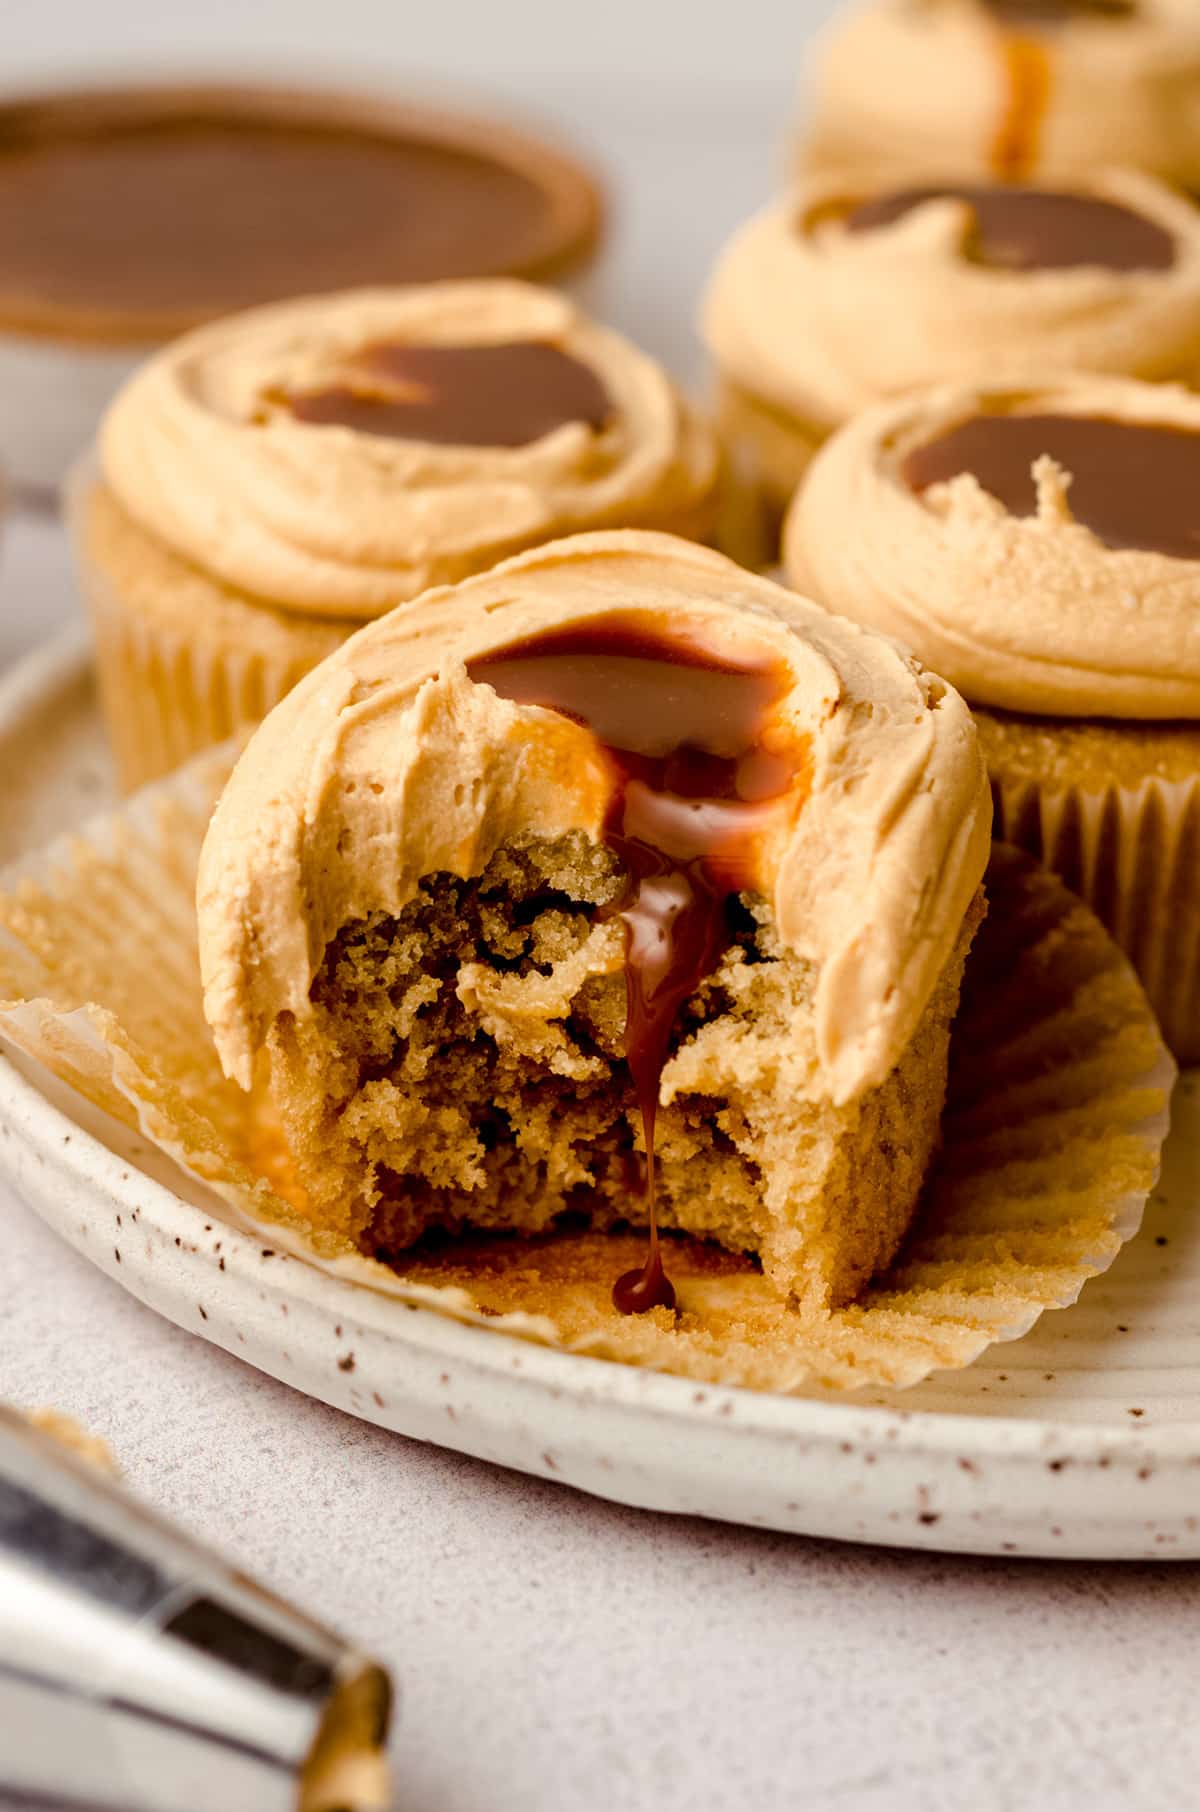
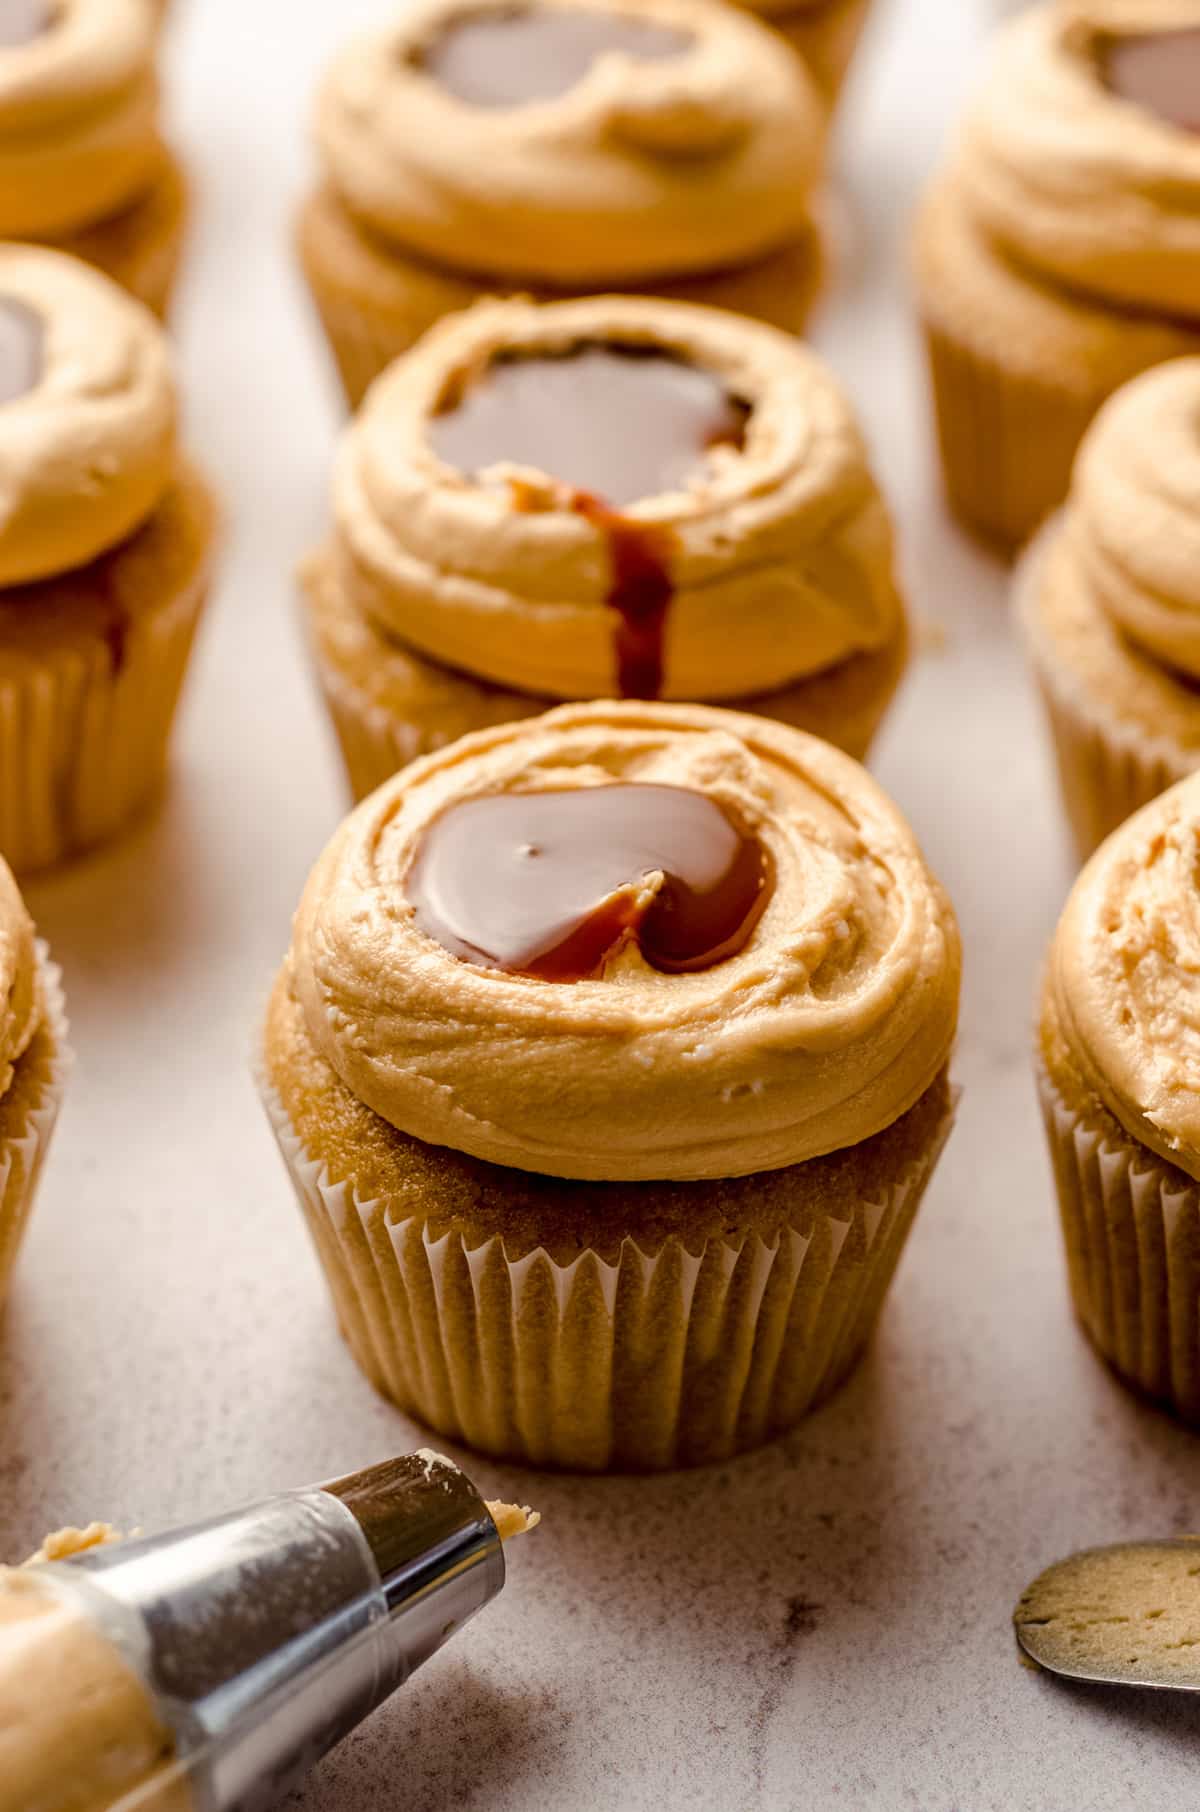
If you really want to up the dulce de leche ante (hands up!), press a small offset spatula into the top of the mound of frosting to create a well for more dulce de leche sauce.
If you prefer, you can also just drizzle the cupcakes with dulce de leche sauce. Both options work, and they are delicious either way!
If you want extended storage, you can store them in the fridge for up to 5 days OR freeze them for up to two months.
If you want to freeze your cupcakes, don’t fill or frost them first. Just cool completely, freeze in a zip top bag, and thaw the cupcakes at room temperature when you’re ready. Then, go ahead and fill and frost your cupcakes with all the dulce de leche goodness.
And now that you’ve made these decadent dulce de leche cupcakes, you have to try a few from my vast collection of cupcake recipes!
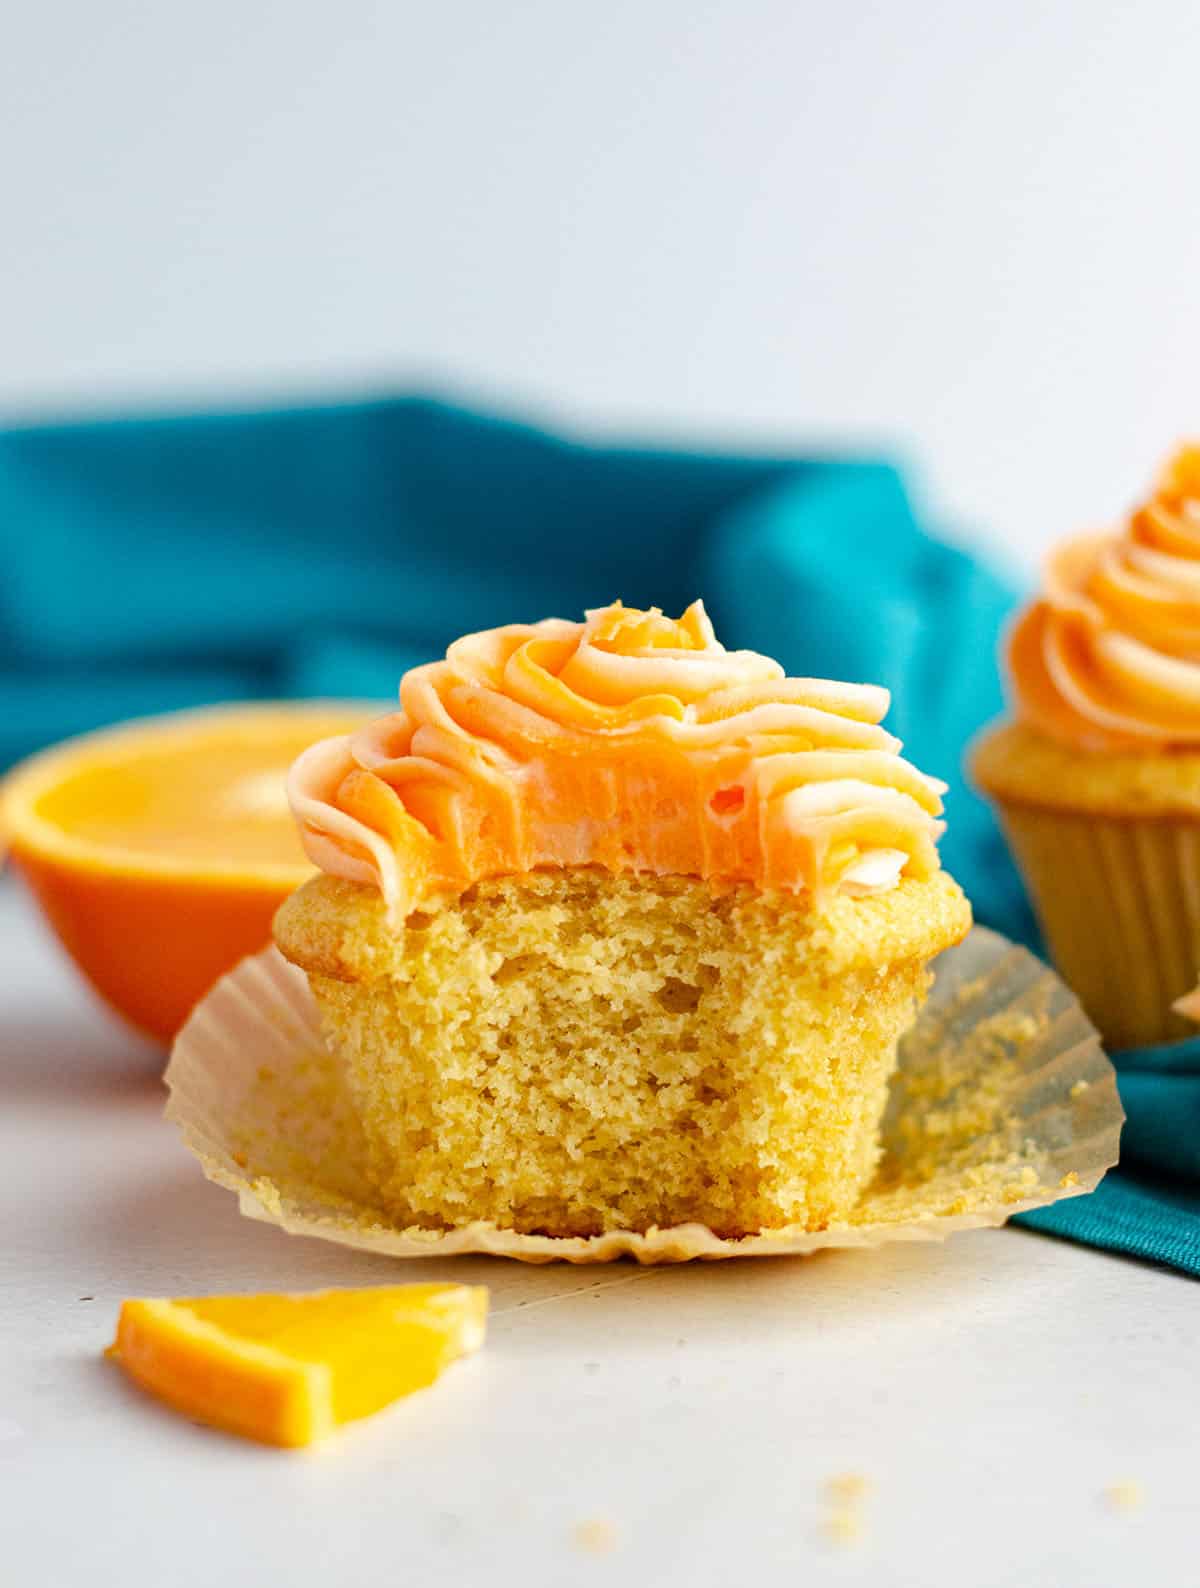
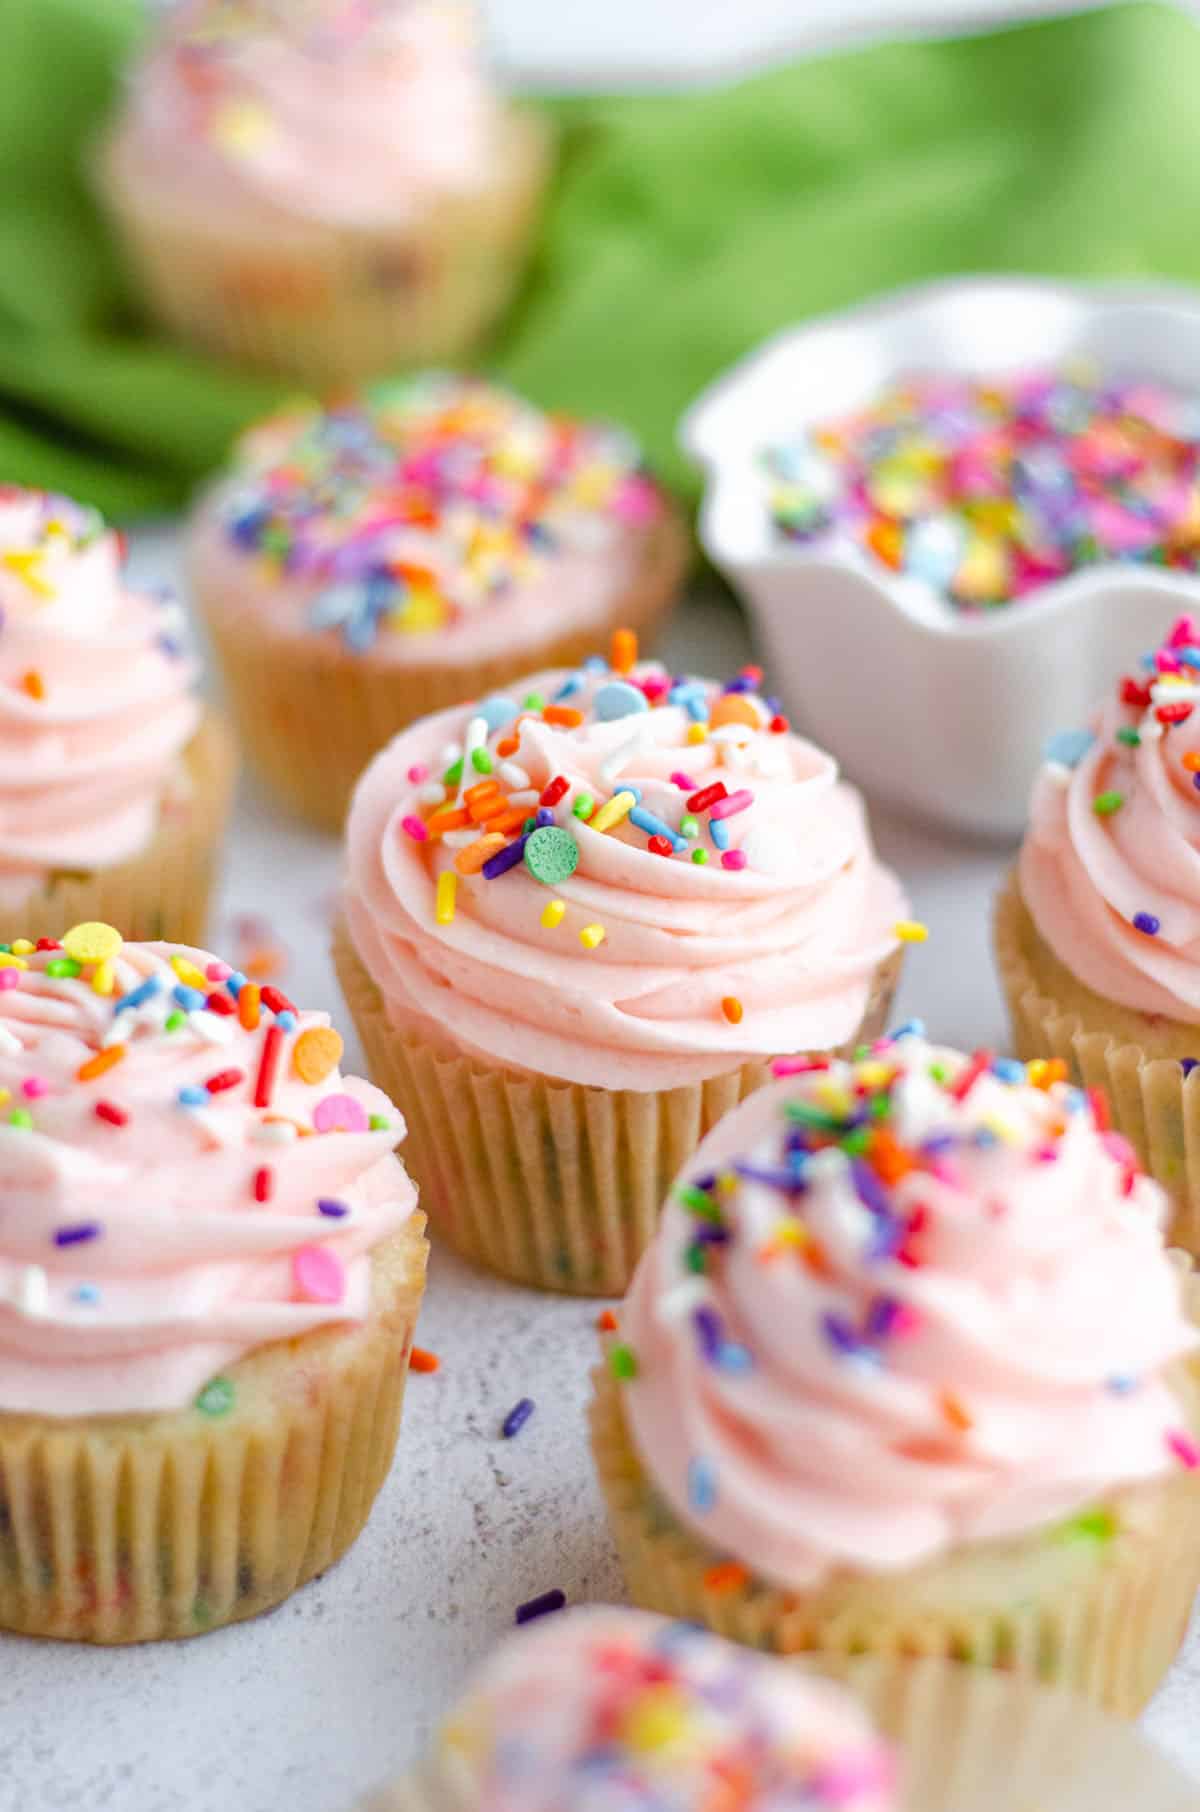
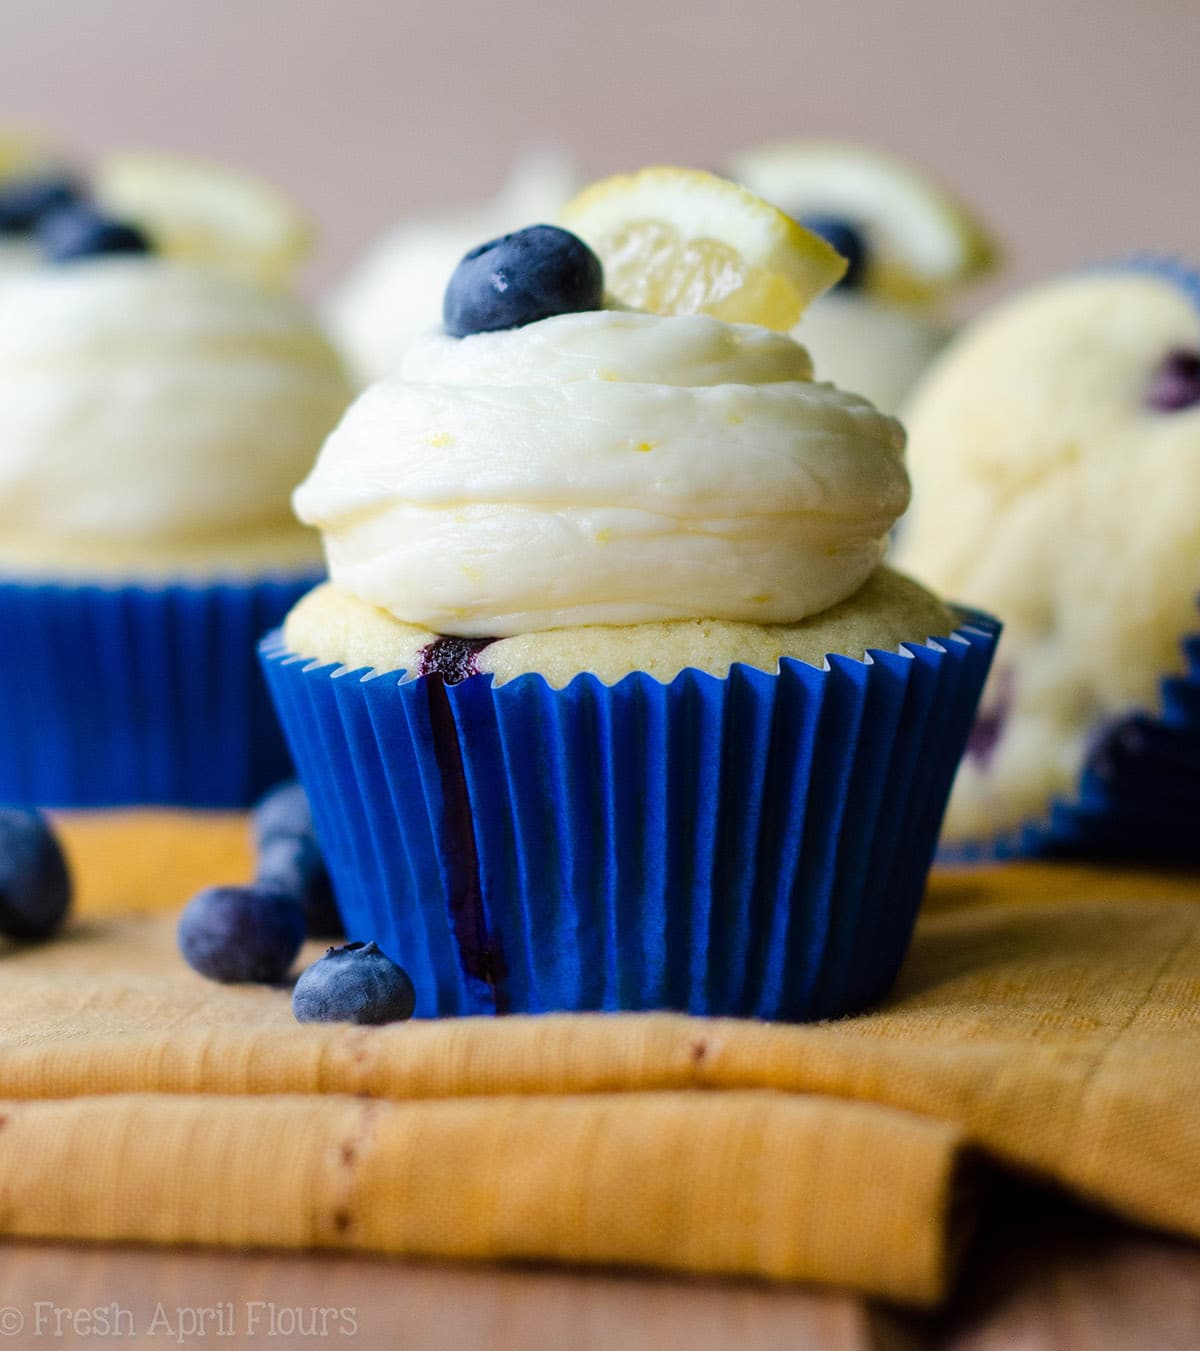
A few favorite cupcake recipes: vanilla bean cupcakes, an orange creamsicle version, my homemade funfetti cupcakes (of course there’s a funfetti cupcake recipe here!), and a lemon blueberry version.

Dulce de Leche Cupcakes
Ingredients
CUPCAKES
- 1 and ⅔ cups (200g) all-purpose flour be sure to measure properly
- ½ teaspoon baking powder
- ¼ teaspoon baking soda
- ½ teaspoon salt
- ½ cup (113g) unsalted butter melted and allowed to cool
- 1 cup (200g) firmly packed light brown sugar
- 1 large egg room temperature1
- ¾ cup (180mL) whole2 milk or cream room temperature1
- ¼ cup (61g) full fat2 yogurt or sour cream room temperature1
- 1 teaspoon vanilla extract
- ¼ cup (86g) dulce de leche3
FROSTING
- ½ cup (113g) vegetable shortening4 softened to room temperature
- 4 cups (480g) powdered sugar
- ⅔ cup (226g) dulce de leche3
- 1 teaspoon vanilla extract
- 2 Tablespoons (15mL) milk or cream5
- ⅛ teaspoon salt
Instructions
CUPCAKES
- Preheat oven to 350ºF (177ºC). Line the wells of a 12-count cupcake pan with cupcake liners and set aside.
- In a large bowl, whisk together the flour, baking powder, baking soda, and salt. Set aside.1 and ⅔ cups (200g) all-purpose flour, ½ teaspoon baking powder, ¼ teaspoon baking soda, ½ teaspoon salt
- In a large bowl with a handheld mixer or the bowl of a stand mixer fitted with the paddle attachment, beat together the melted butter, brown sugar, egg, milk/cream, yogurt, and vanilla extract on medium to high speed until completely smooth.½ cup (113g) unsalted butter, 1 cup (200g) firmly packed light brown sugar, 1 large egg, ¾ cup (180mL) whole2 milk or cream, ¼ cup (61g) full fat2 yogurt or sour cream, 1 teaspoon vanilla extract
- Reduce the mixer speed to low, then slowly add the dry ingredients to the wet ingredients until just combined. Then, fold gently by hand with a large spatula and press out any large lumps of flour that remain by scraping them against the side of the bowl. Small lumps are ok.
- Fill the cupcake liners ⅔ to ¾ of the way full with batter. Bake for 15-17 minutes or until a toothpick or cake tester inserted in the center comes out clean. Allow to cool completely before decorating.
FROSTING
- In a large bowl with a handheld mixer, or a stand mixer fitted with the paddle attachment, beat the shortening on medium speed until creamy, about 2 minutes.½ cup (113g) vegetable shortening4
- With the mixer on low, add in the powdered sugar, dulce de leche, and vanilla. Increase mixer speed to medium and beat until completely smooth, about 3 minutes. Add milk or cream if frosting seems to need to be thinned out. Add salt to taste.4 cups (480g) powdered sugar, ⅔ cup (226g) dulce de leche3, 1 teaspoon vanilla extract, 2 Tablespoons (15mL) milk or cream5, ⅛ teaspoon salt
ASSEMBLE THE CUPCAKES
- Using a melon baller, the bottom of large piping tip, or a small paring knife, remove part of the middle of the top of each cupcake about a nickel size diameter and about ½" depth. Set the piece of cupcake aside.
- Fill each cupcake with about 1 teaspoon of dulce de leche sauce and replace the reserved piece of cupcake. If some spills out, that's ok, but press gently to avoid excess spillage.¼ cup (86g) dulce de leche3
- Frost the cupcakes using a piping bag or a large zip top bag with the corner snipped off. If desired, press a small offset spatula into the top of the mound of frosting to create a well for more dulce de leche sauce. You can also just drizzle the cupcakes with dulce de leche sauce, if preferred. Cupcakes will stay fresh covered at room temperature up to 3 days. Store in the refrigerator up to 5 days. Cupcakes freeze well. Do not fill or frost until cupcakes are thawed and you are ready to serve. Thaw cupcakes at room temperature.
Notes
- Room temperature ingredients: these are always a good idea when using room temperature butter as it makes for easier incorporation into the batter. To bring eggs to room temperature quickly, place eggs in a bowl of warm water for 5-10 minutes.
- Full fat dairy: it is imperative to use full fat dairy in this recipe for moisture, since we’re using melted butter, therefore removing some natural moisture.
- Dulce de leche: you can use homemade or store bought. Textures/viscosities can vary depending on the method you make it or the brand you purchase. Looser dulce de leche will be messier than a thicker texture. Keep this in mind when making or purchasing your sauce.
- Vegetable shortening: I chose vegetable shortening for this dulce de leche buttercream because the sauce I used was very thin. If your sauce is thicker and sturdier, you can use room temperature butter in place of the shortening.
- Milk or cream: depending on the viscosity of your dulce de leche sauce, you may not need any additional liquid to thin out your buttercream. Add liquid with caution.
Nutrition Disclosure
All nutritional values are approximate and provided to the reader as a courtesy. Changing ingredients and/or quantities will alter the estimated nutritional calculations.
So good! Thanks so much, Sophie!
These have easily become my favorite thing to make now. Made this in the middle of the year and coming up to Christmas I have made around 40 to bring to family so they can taste these. I follow the recipe (almost) to the T. For frosting I replaced shortening for butter (just what I had on hand), decreased the powdered sugar to about 1-2 cups, add a can of dulce de leche and instant espresso, I mix the dehydrated espresso with the heavy cream. The instant espresso gives it an addicting taste, I have to stop myself from grabbing more. My husband loves these warm with a cup of milk. I will definitely be sharing this with everyone I know. We’re Hispanic and don’t favor pastries too sweet so these are the perfect cupcake to have one after another and not feel like you’ll get a sugar rush.
Thank you so much, Tina! 🙂
The dulce de leche I purchase was suuuuper thick and I was concerned it would negatively affect the final product. It did not. I made 12, not 14 as shown in the recipe and they were the perfect size. There was more than enough frosting, too much actually but that isn’t a bad problem to have.
Next time I might try to make my own so I have a looser consistency, or not.
Thanks so much, Cindy!