Homemade Dulce de Leche from Condensed Milk
As an Amazon Associate, I earn from qualifying purchases. Read the full disclosure here.
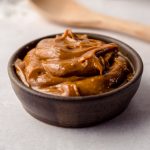
Learn how to make your own dulce de leche at home, starting with a simple can of sweetened condensed milk. This tutorial outlines the different methods you can choose from and compares the results of each in detail so you can make the best decision for yourself and your baking needs!
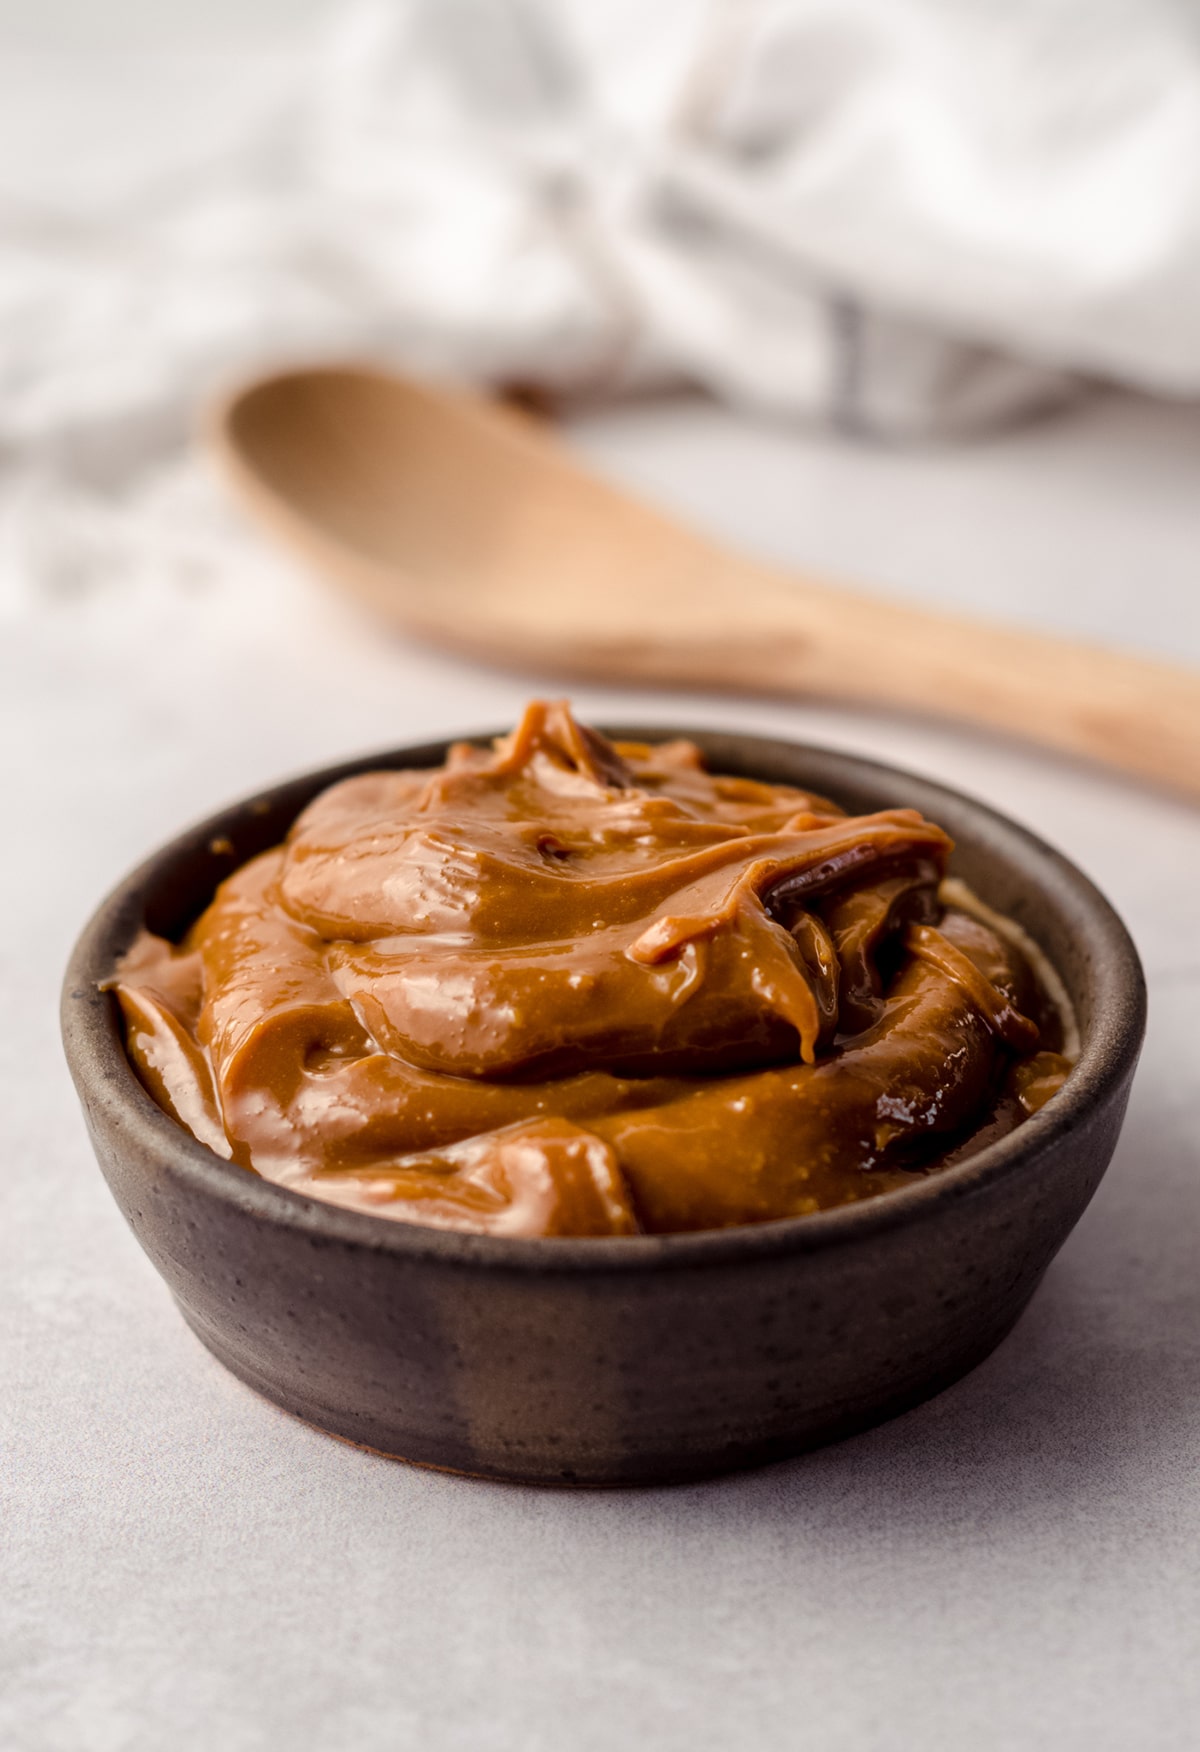
You will love this Homemade Dulce de Leche Recipe!
Dulce de leche is one of those confections I thought was pretty easy to find and frequently used in baking.
As it turns out, since I have always lived close to a major city, there are things I can find way more easily than those who live in more remote places and “small towns.”
Dulce de leche is one of them!
While this confection is very popular across Latin America, it is actually not as common or easily found in the United States.
If your local grocery store carries it, you can typically find it in the Latin aisle, baking aisle, or with peanut butter.
What’s Dulce de Leche?
Dulce de leche, which is Spanish, translates to “sweet from milk.” It is quite literally cooked sweetened milk, and it takes on a spreadable consistency, though it is still considered more of a sauce. It is often used to top or fill other foods.
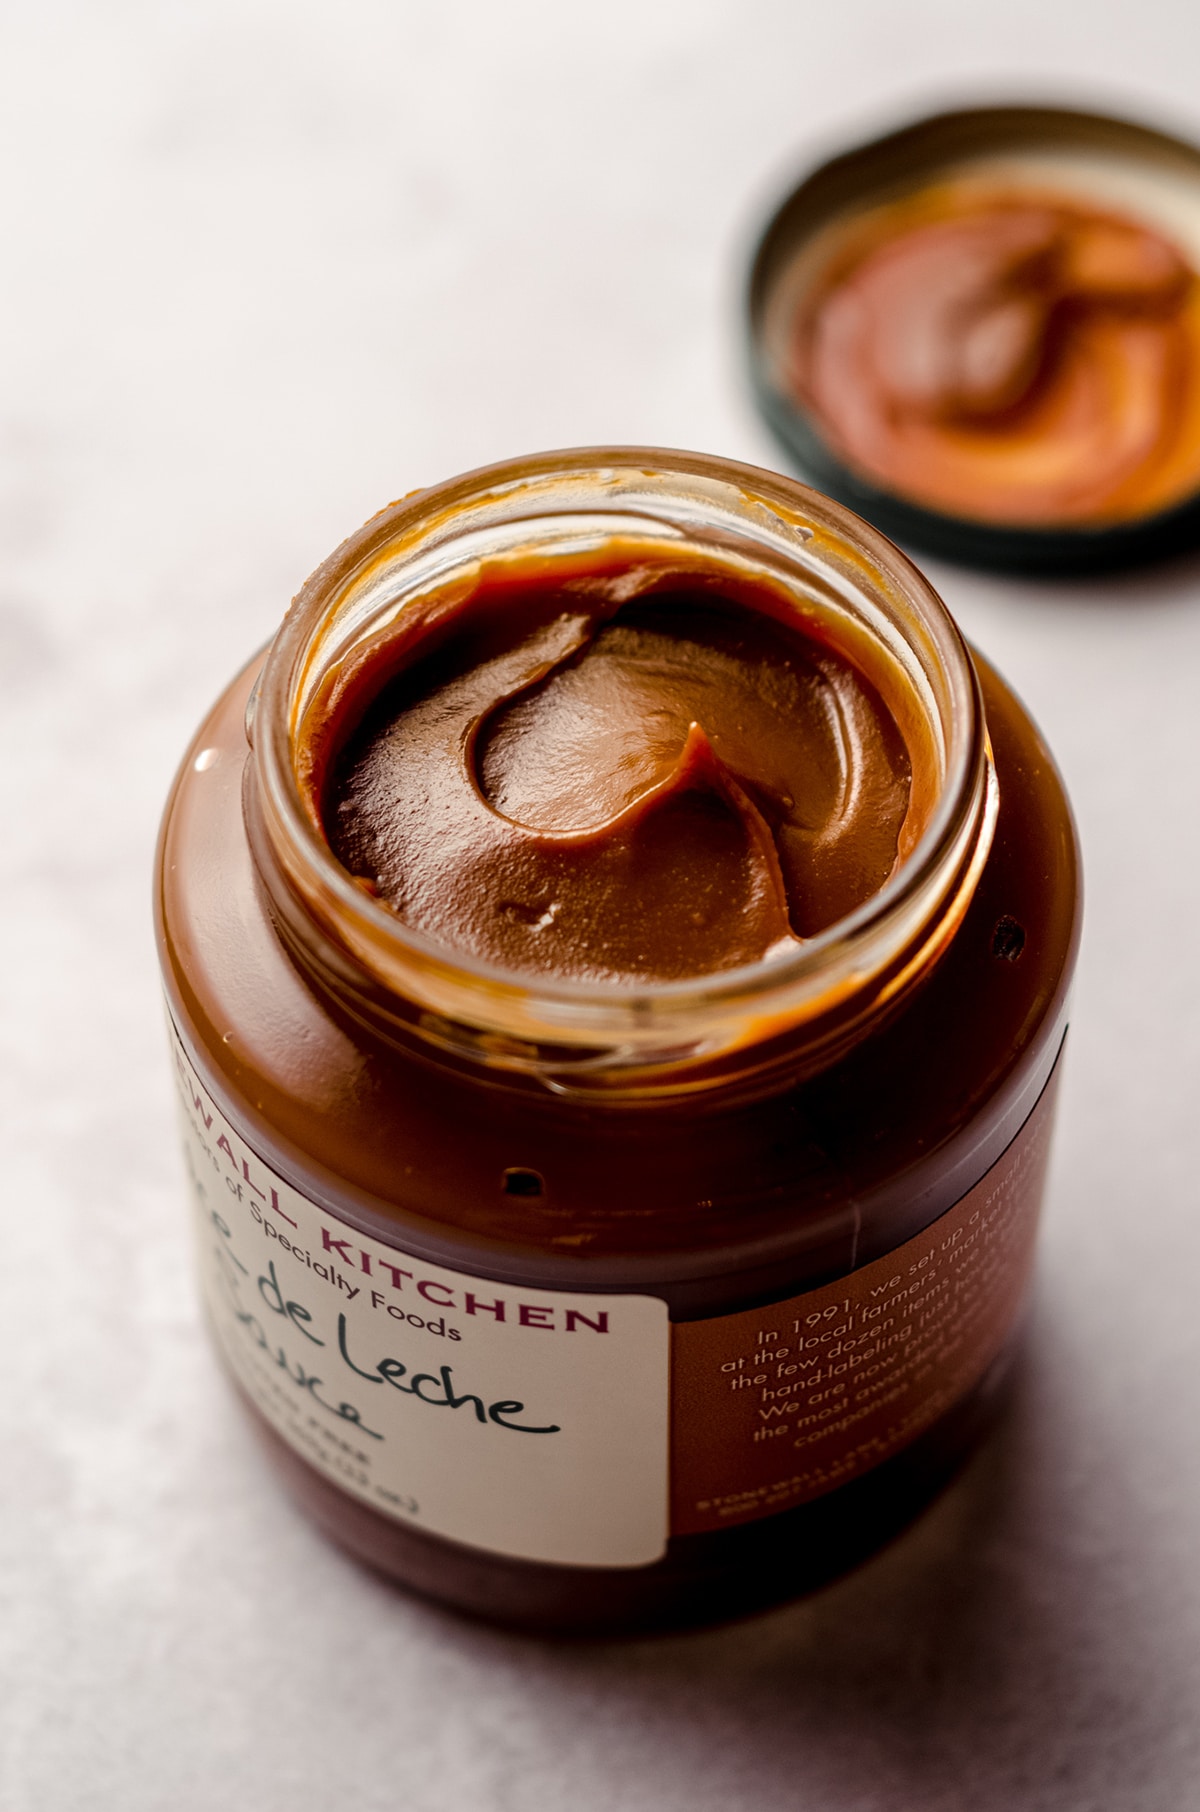
Depending on how long it is cooked, dulce de leche can take on anywhere from a lighter brown to darker amber color, which can also dictate its consistency.
The more you taste it and the more things you have it in/on, the more you will find the color you prefer (oh DARN, lots of taste testing necessary!).
DULCE DE LECHE VS CARAMEL
People often confused dulce de leche and caramel, and while they are similar, they are not the same.
They do actually use some of the same ingredients, but I like to think of dulce de leche as cooked milk with sugar in it and caramel is cooked sugar with cream and butter in it.
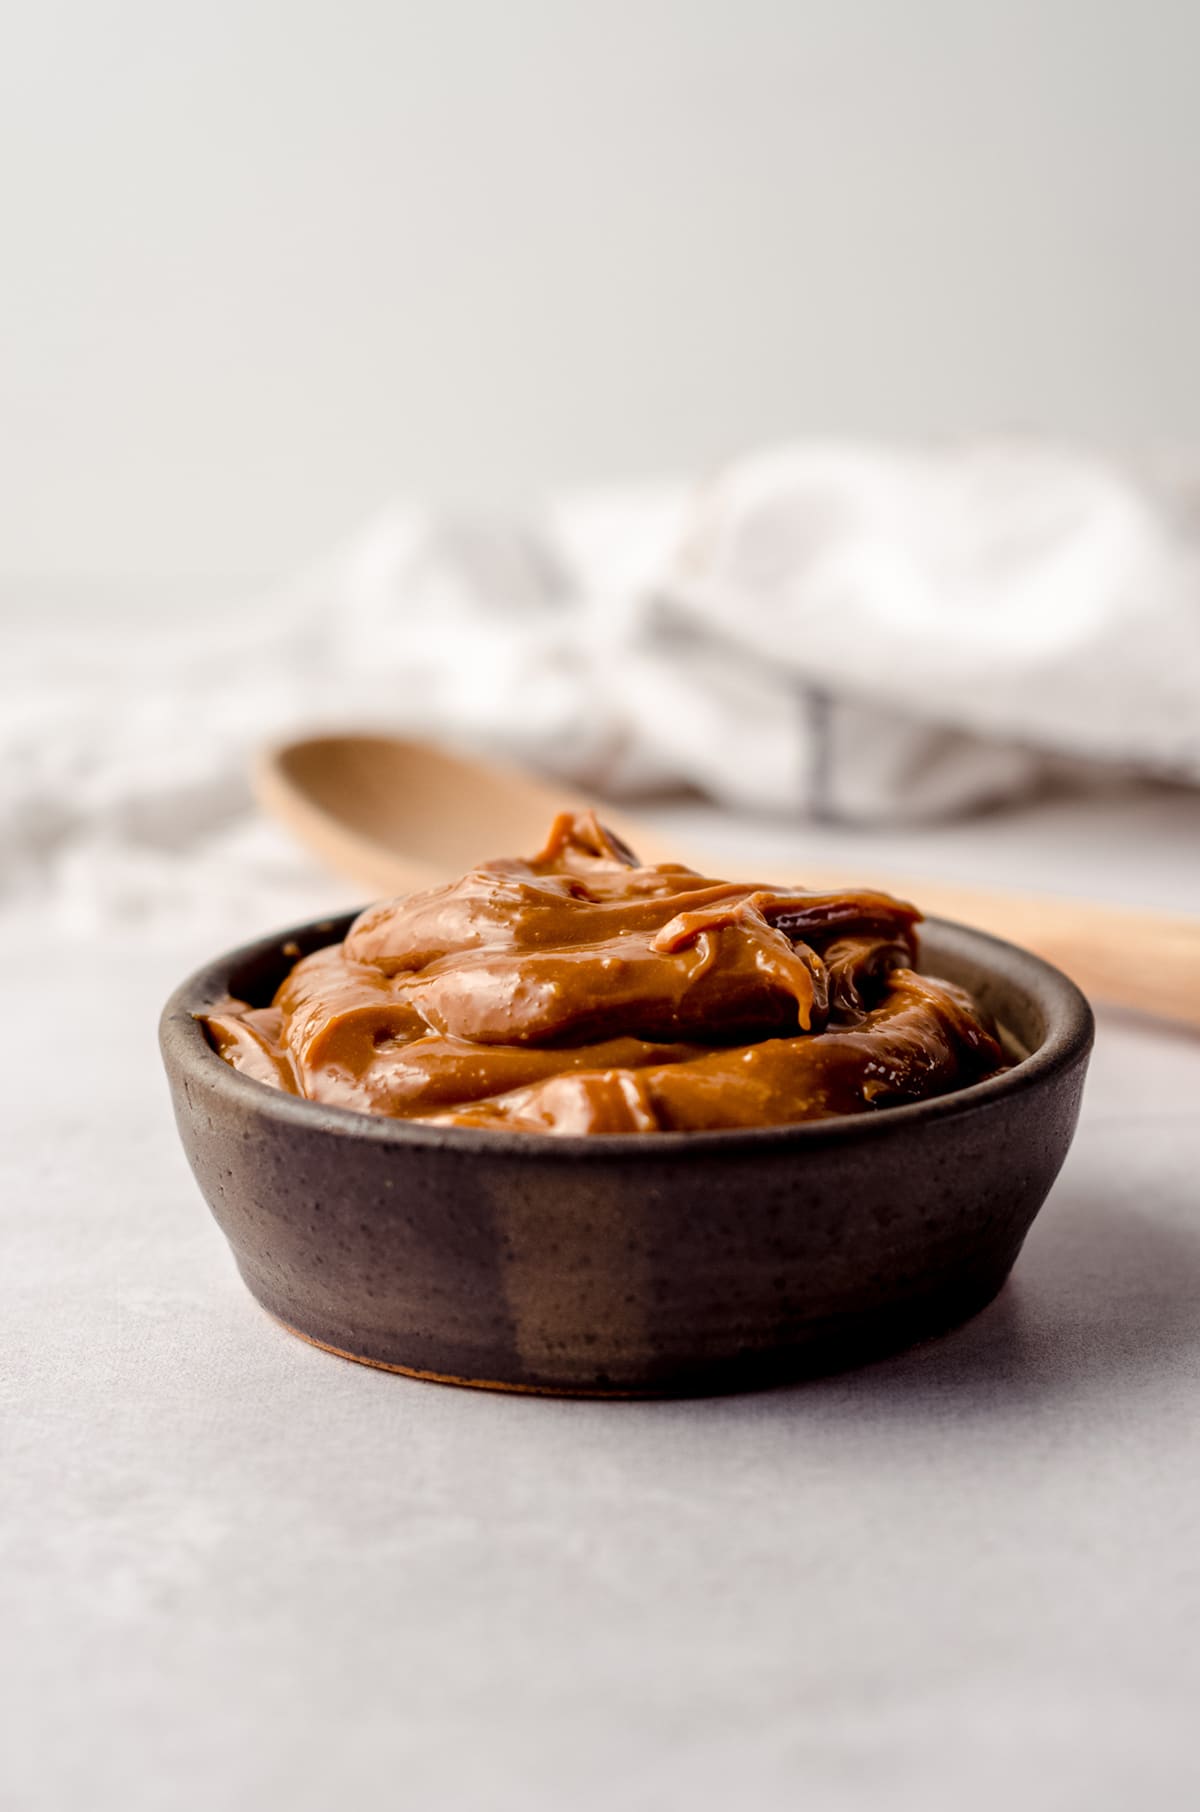
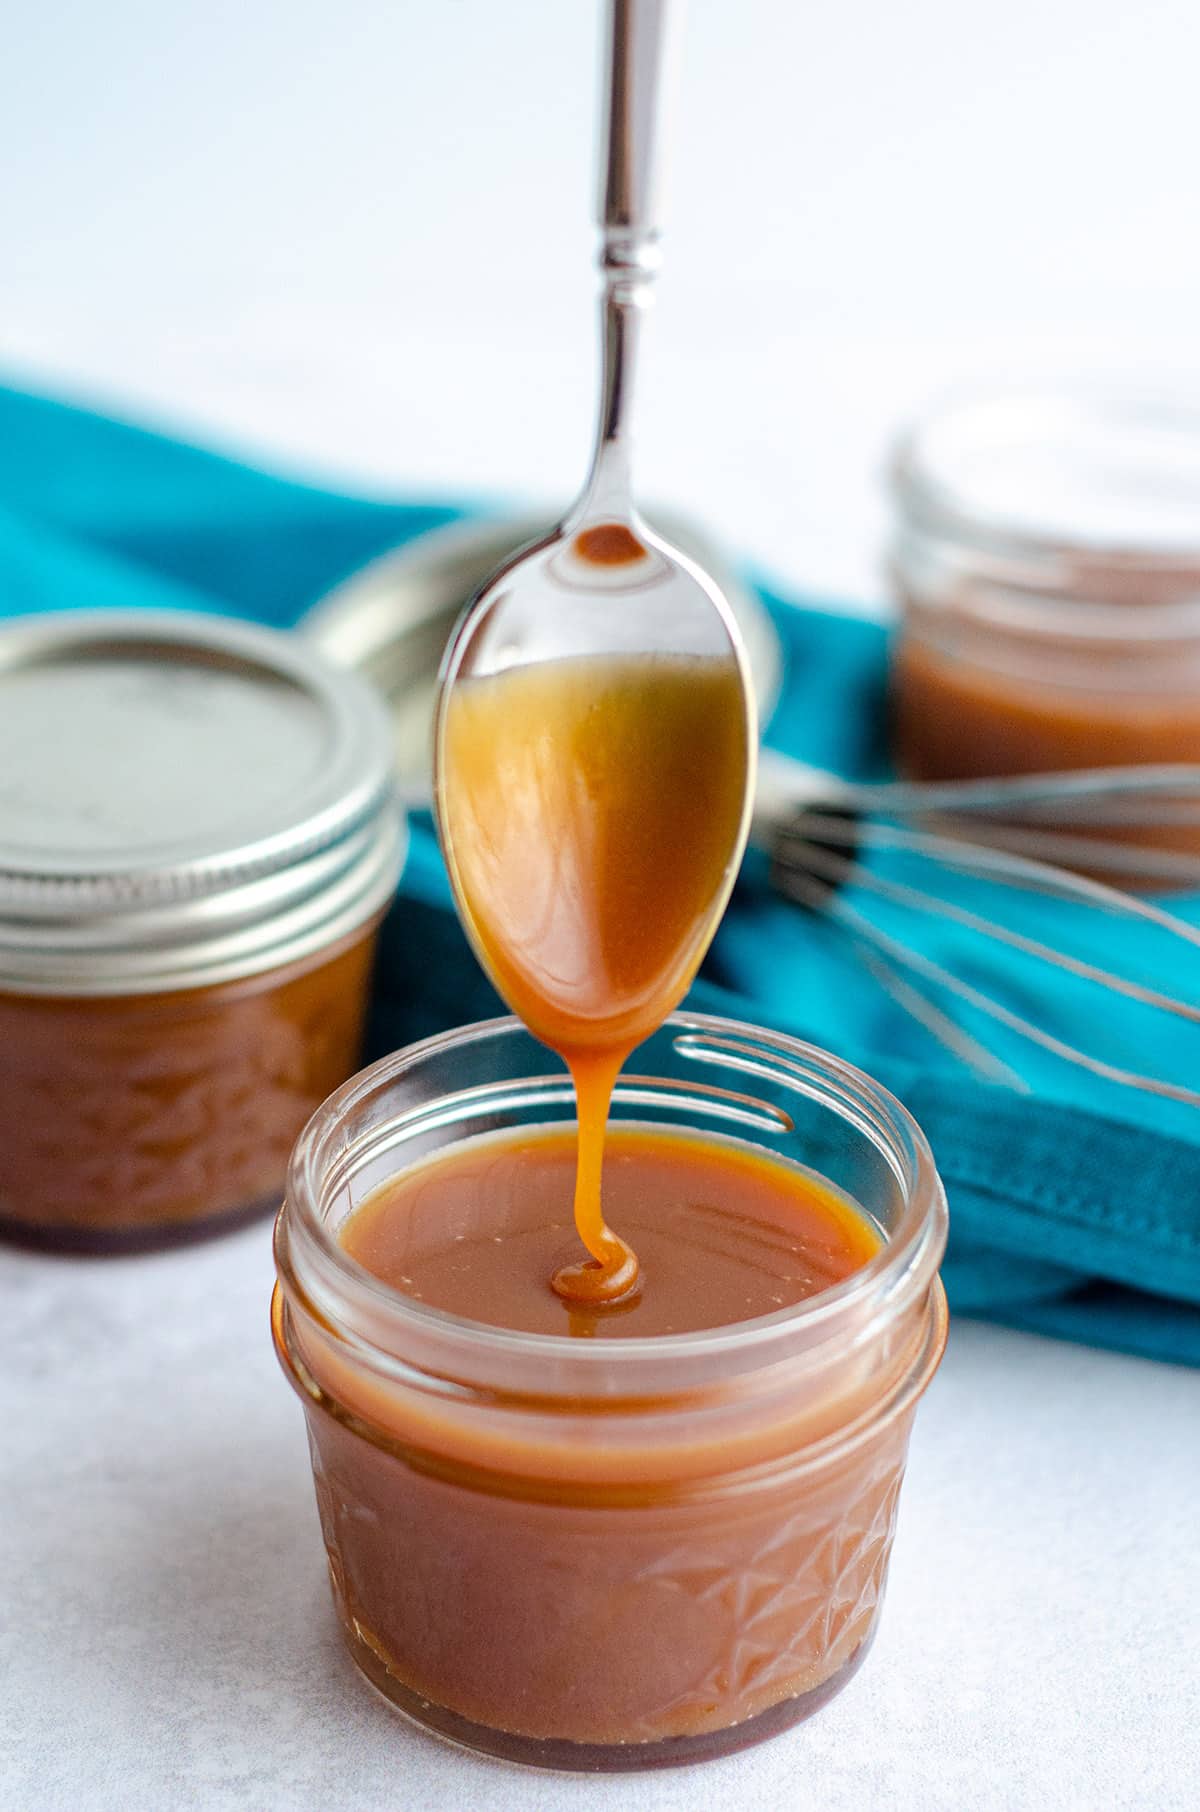
While both sauces are caramelized, the ingredient proportion gives them differing tastes and mouthfeels.
Although they do taste similar, dulce de leche is a little less sweet than caramel and it has a thicker, creamier mouthfeel. It does move with some viscosity, but it drips and flows much more slowly.
Homemade Dulce de Leche ingredients
While technically there are two ingredients in dulce de leche, we can simplify the process of making it ourselves by using one ingredient: sweetened condensed milk.
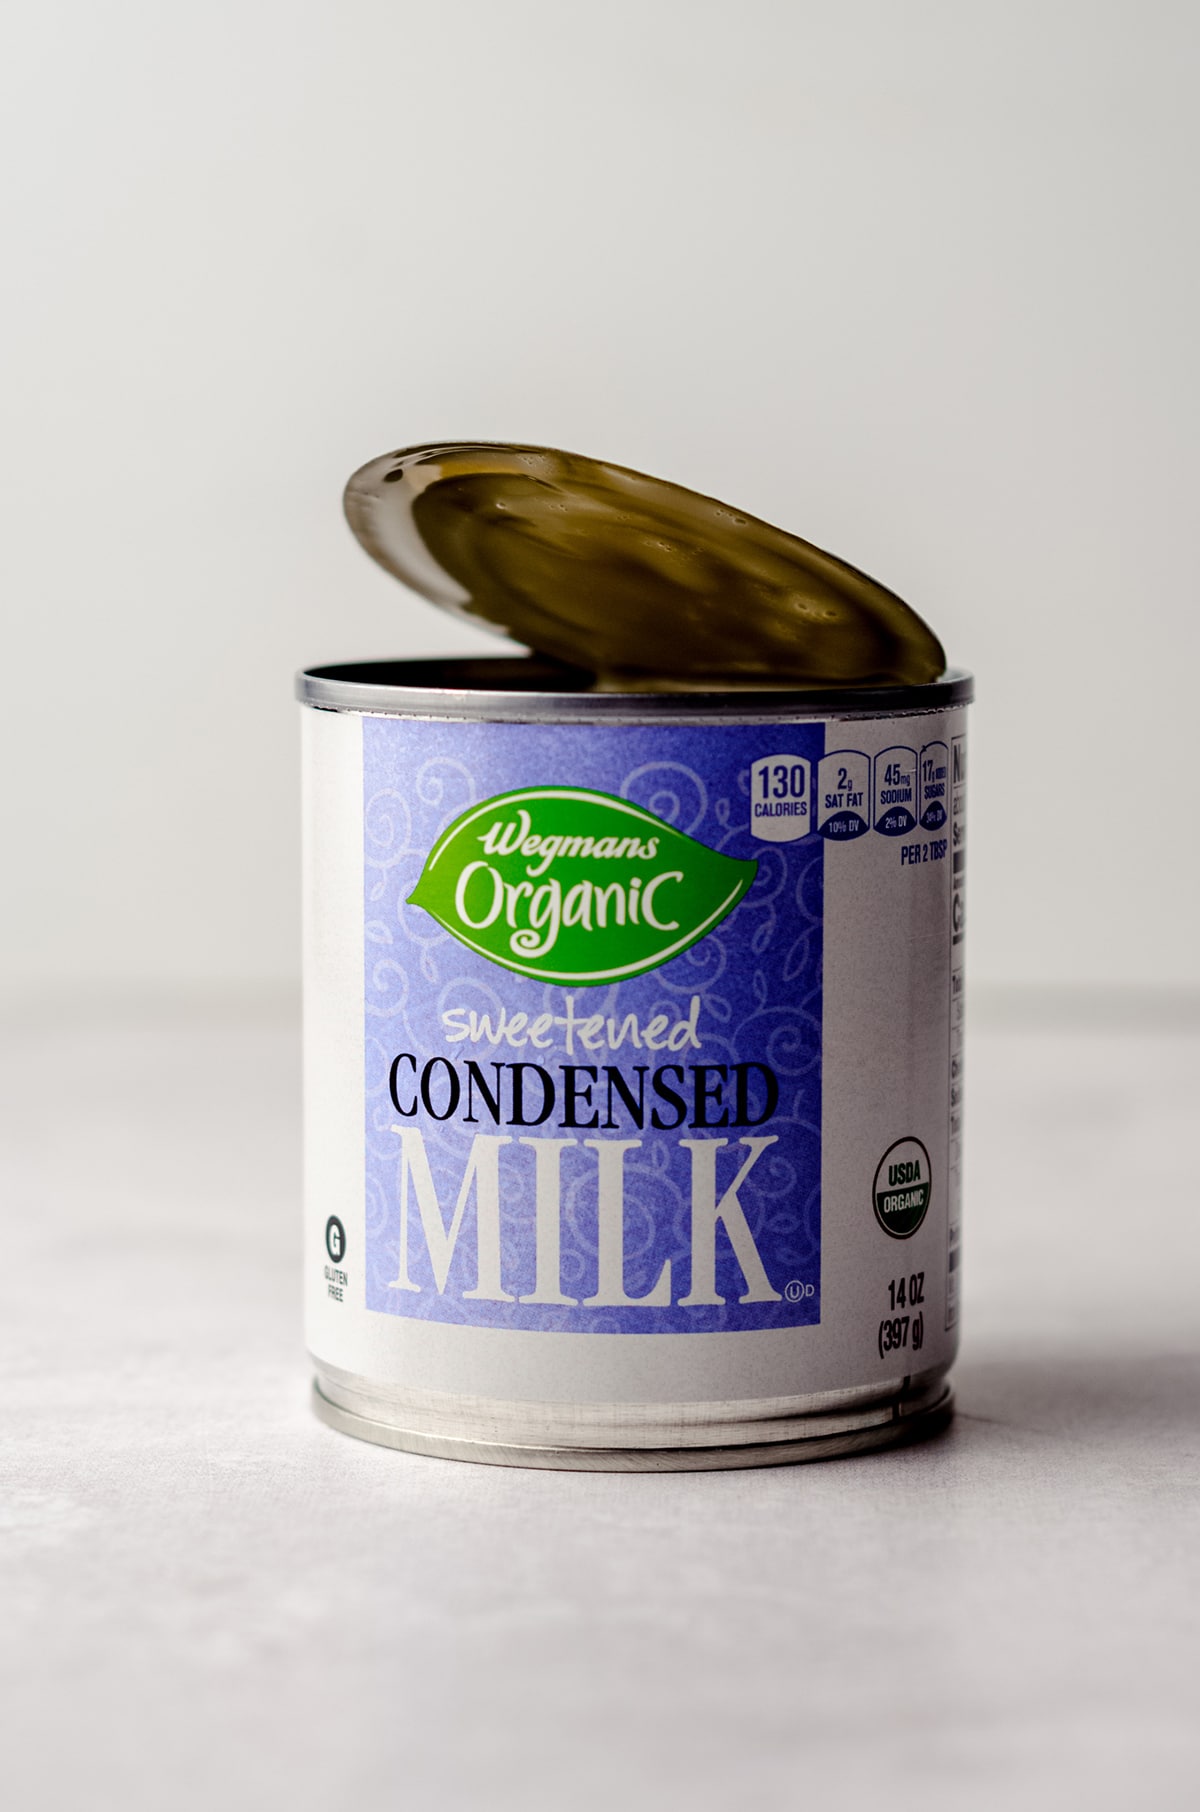
You could always start from super scratch and make your own sweetened condensed milk then move to this recipe for dulce de leche, but if sweetened condensed milk is available to you, definitely start there.
How to make Dulce de Leche from Condensed Milk
Since dulce de leche is just exactly what it sounds like– cooked sweet milk– turning sweetened condensed milk into dulce de leche is as simple as just cooking it.
You have a couple different ways you can approach this, and for your convenience, I did both of them for you, outlined what I liked and disliked about each method, and compared them not just to each other, but to store-bought, pre-made dulce de leche.
To say I had a ton of dulce de leche in my house after this experiment is an understatement.
BAKE IT
The first method is to bake it.
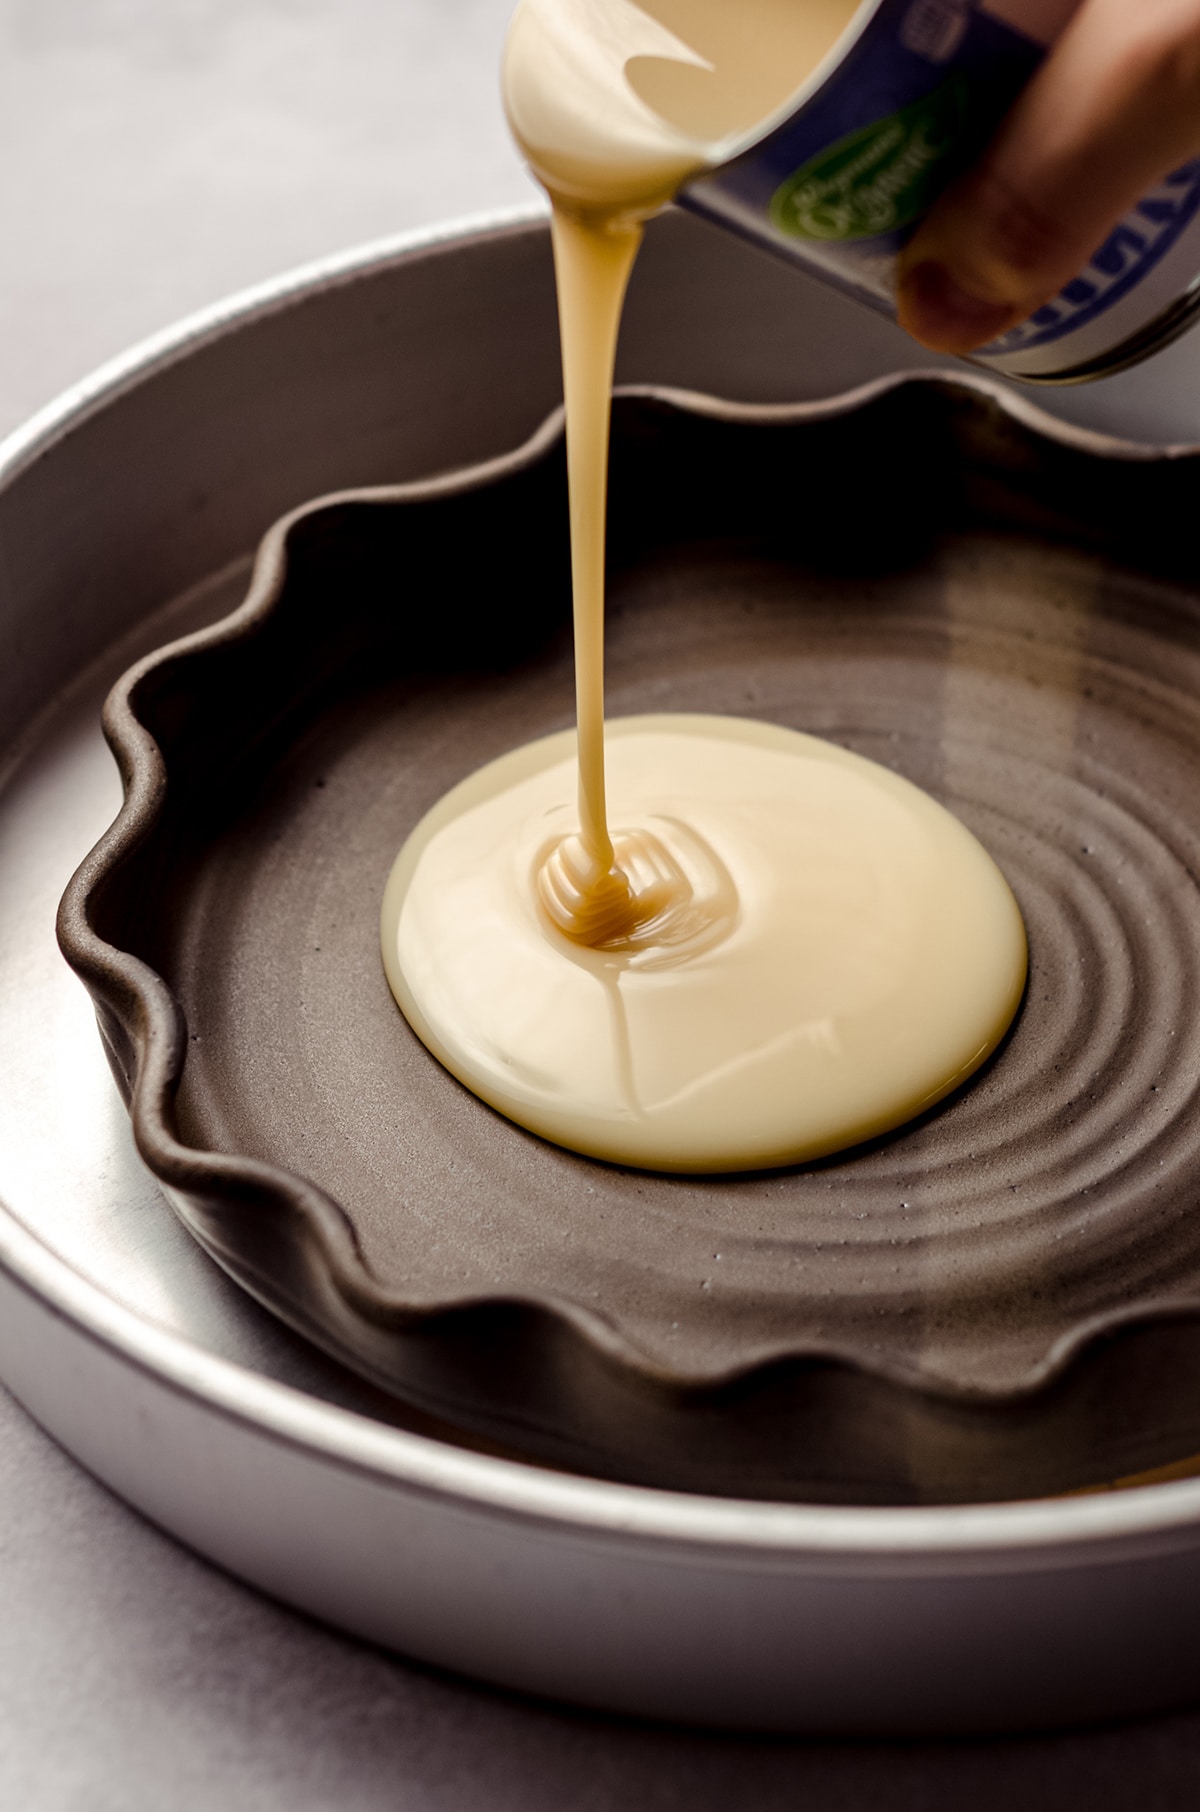
Open your can of sweetened condensed milk and pour it into a pie dish or other non-metal 9-10″ baking dish and cover it loosely with foil.
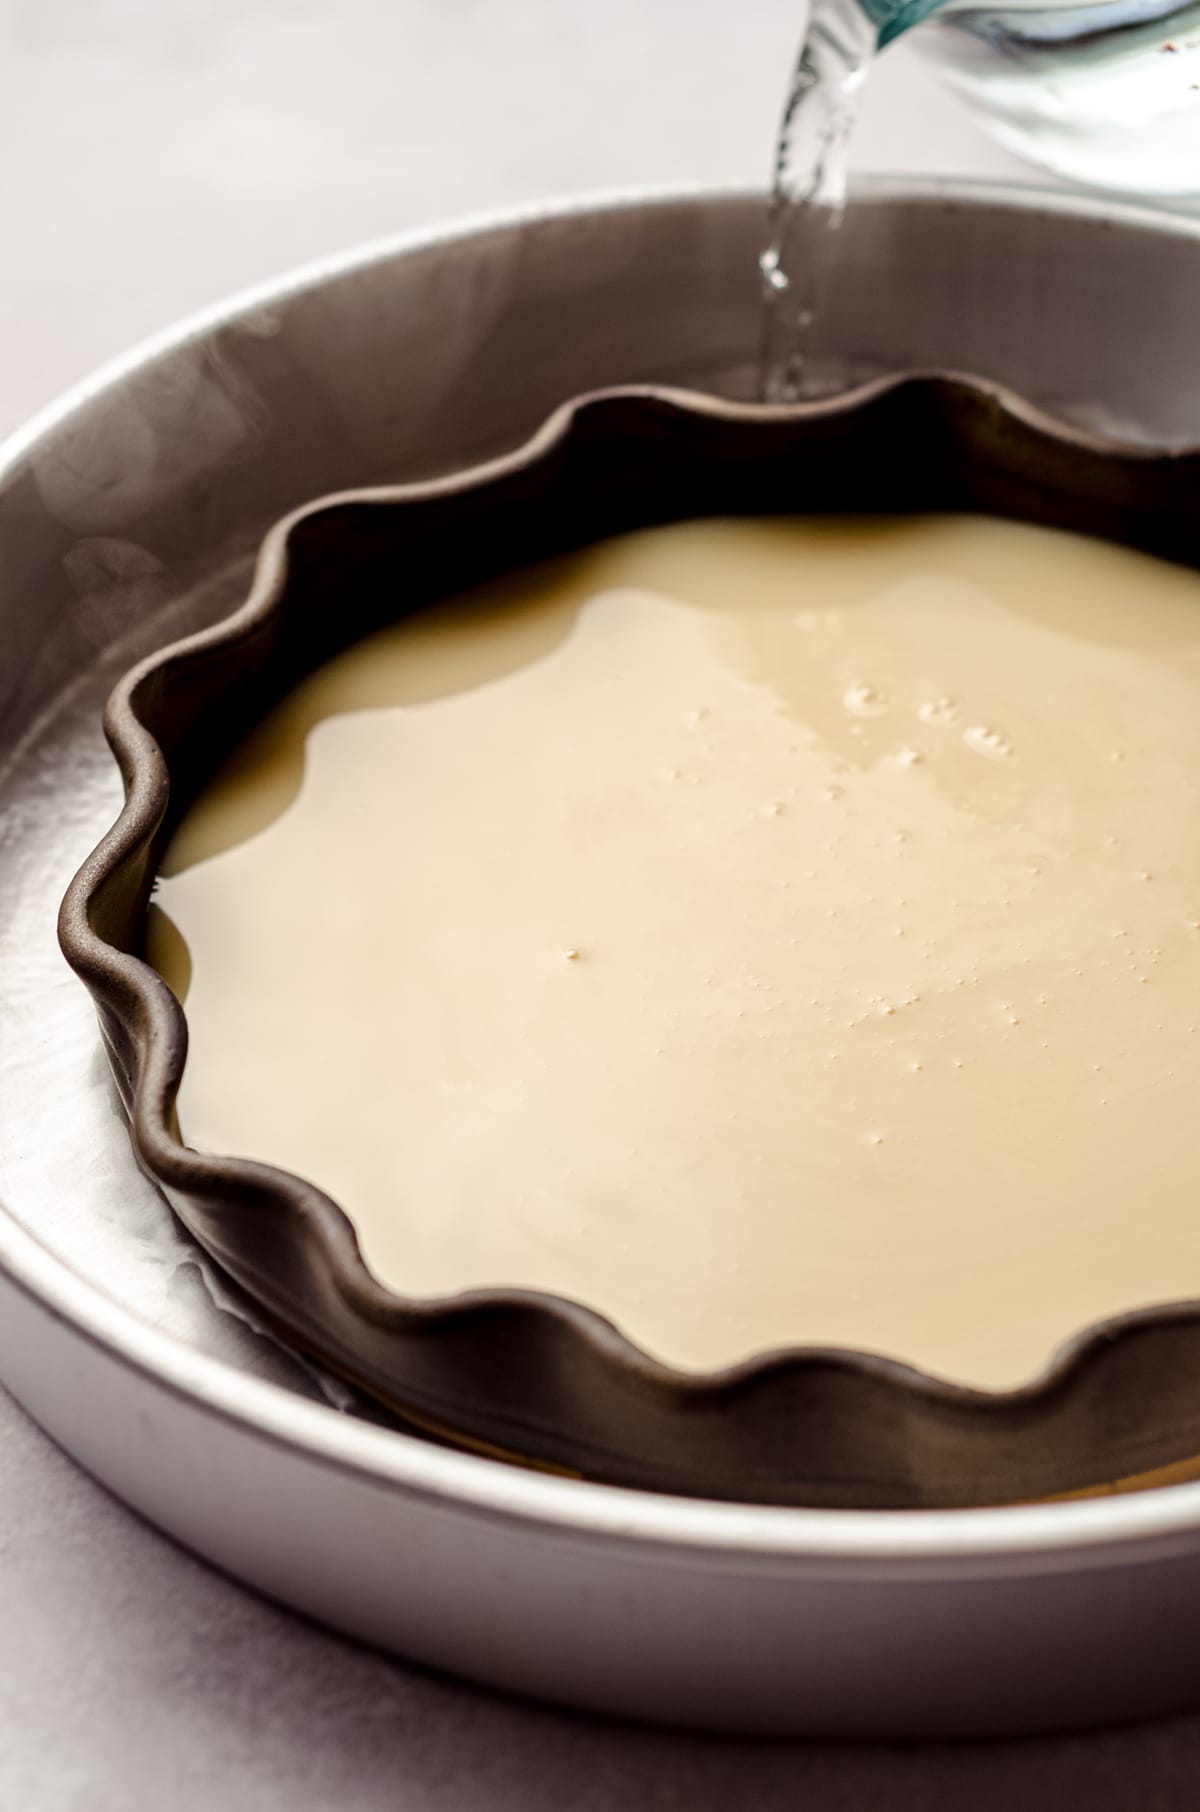
Then, place this dish in another large dish (this one can be metal) or roasting pan, fill it with hot water to about halfway up the side of the pie dish, then place in the oven.
Turn the oven to 400ºF (204°C), then bake the dish for 2-3 hours, adding more water after about an hour, and checking on the mixture intermittently to stir and assess color and flavor, if you’d like to taste it.
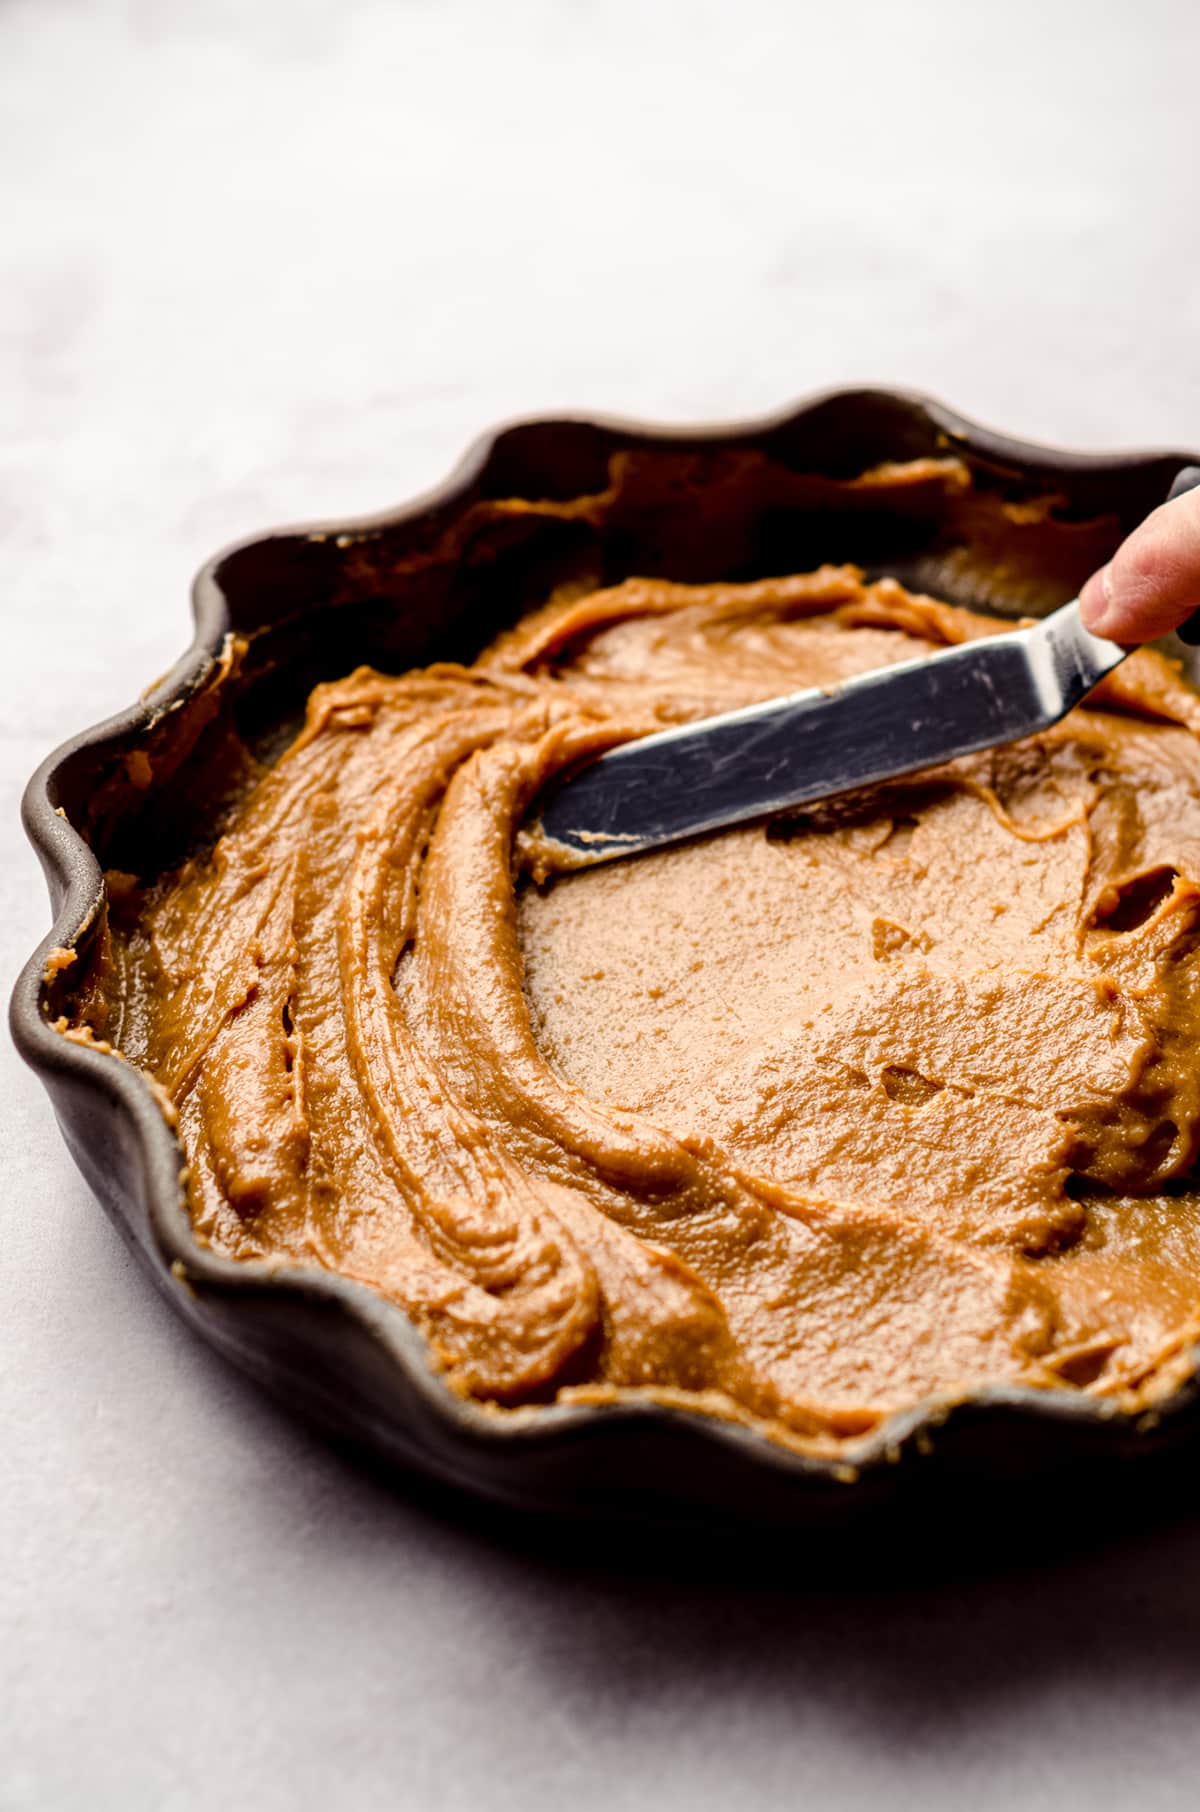
Once it has reached the desired color/consistency, remove from the oven, whisk out the lumps, allow to cool, then it’s ready to use.
BOIL IT
You also have the option to boil your can of sweetened condensed milk.
Remove the label from your can, then submerge it in a large pot of water.
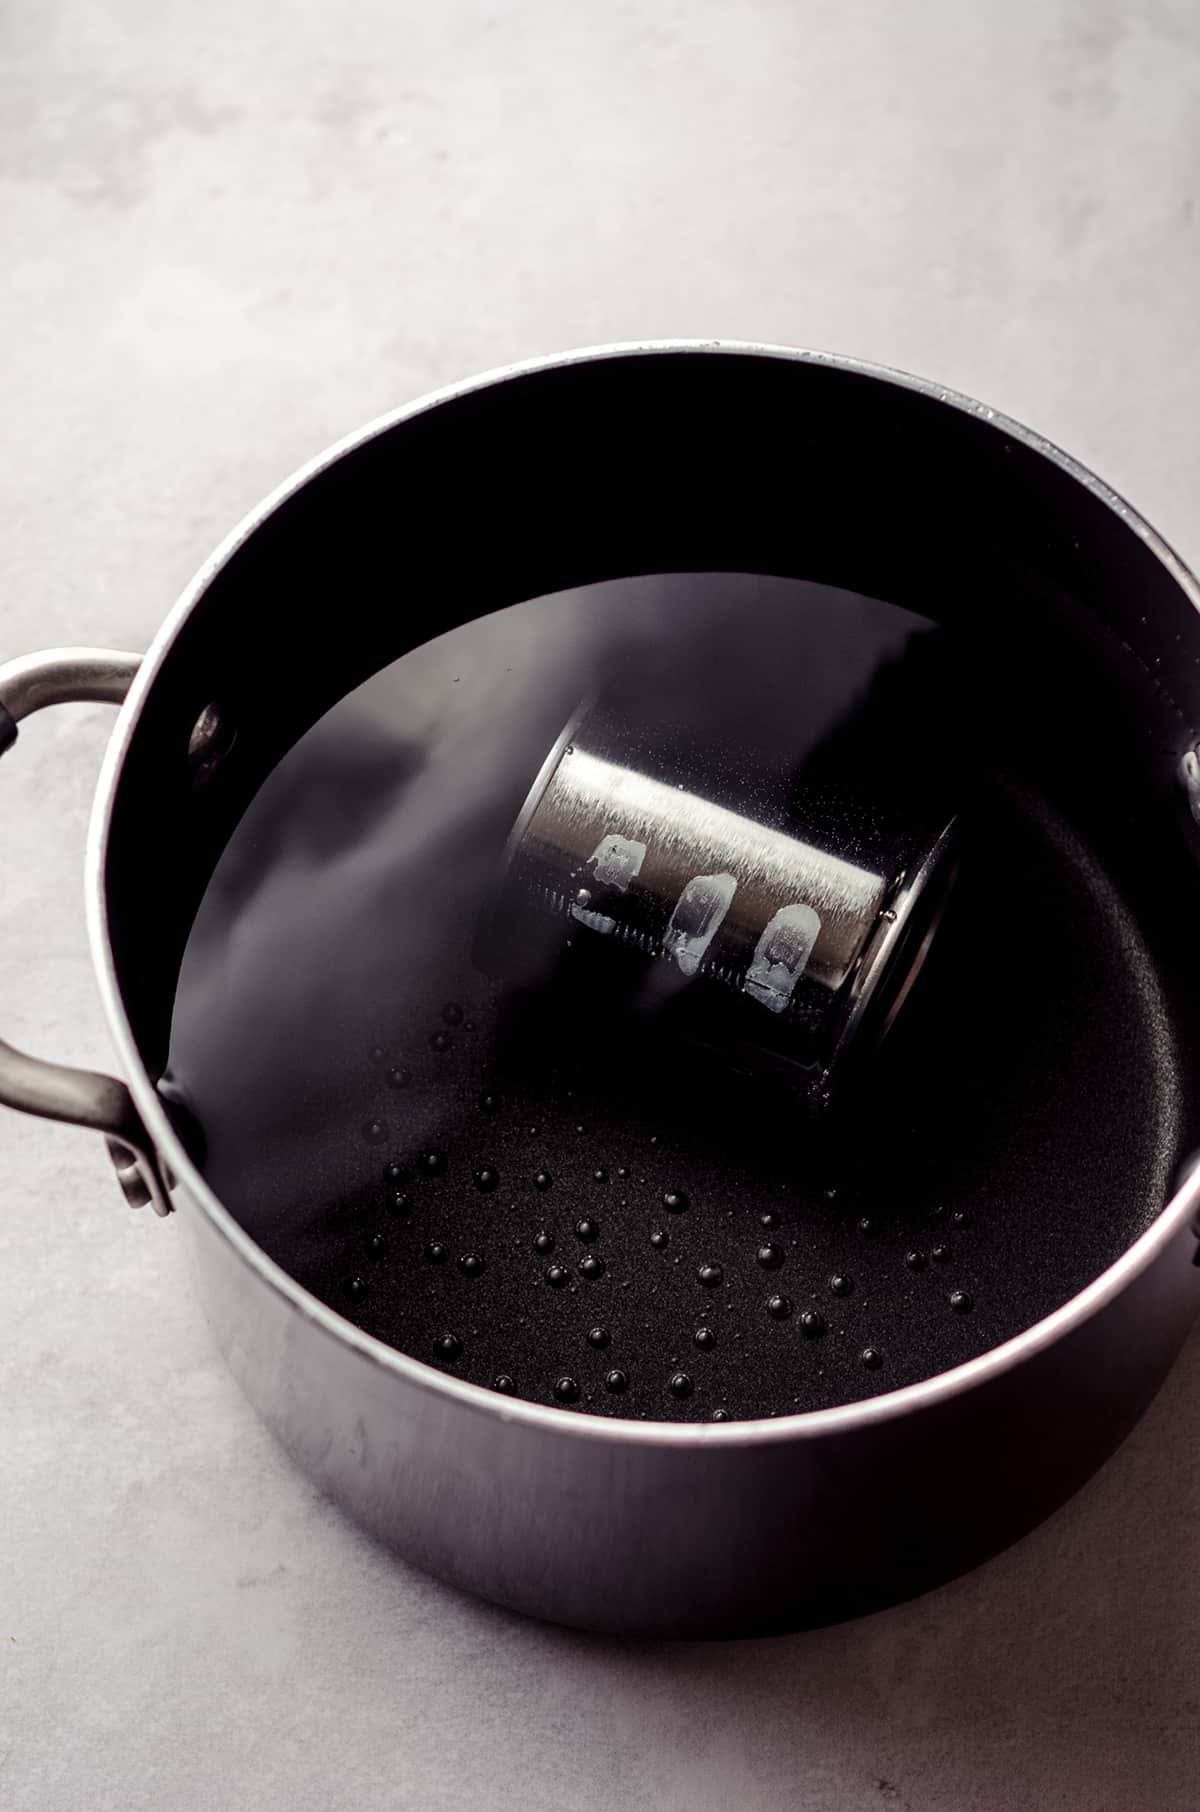
Bring the water to a boil, then turn it down to simmer the can for 2-3 hours.
You’ll want to keep the can submerged under about 2 inches of water the whole time, so you’ll need to check on it intermittently to maintain that level of submersion.
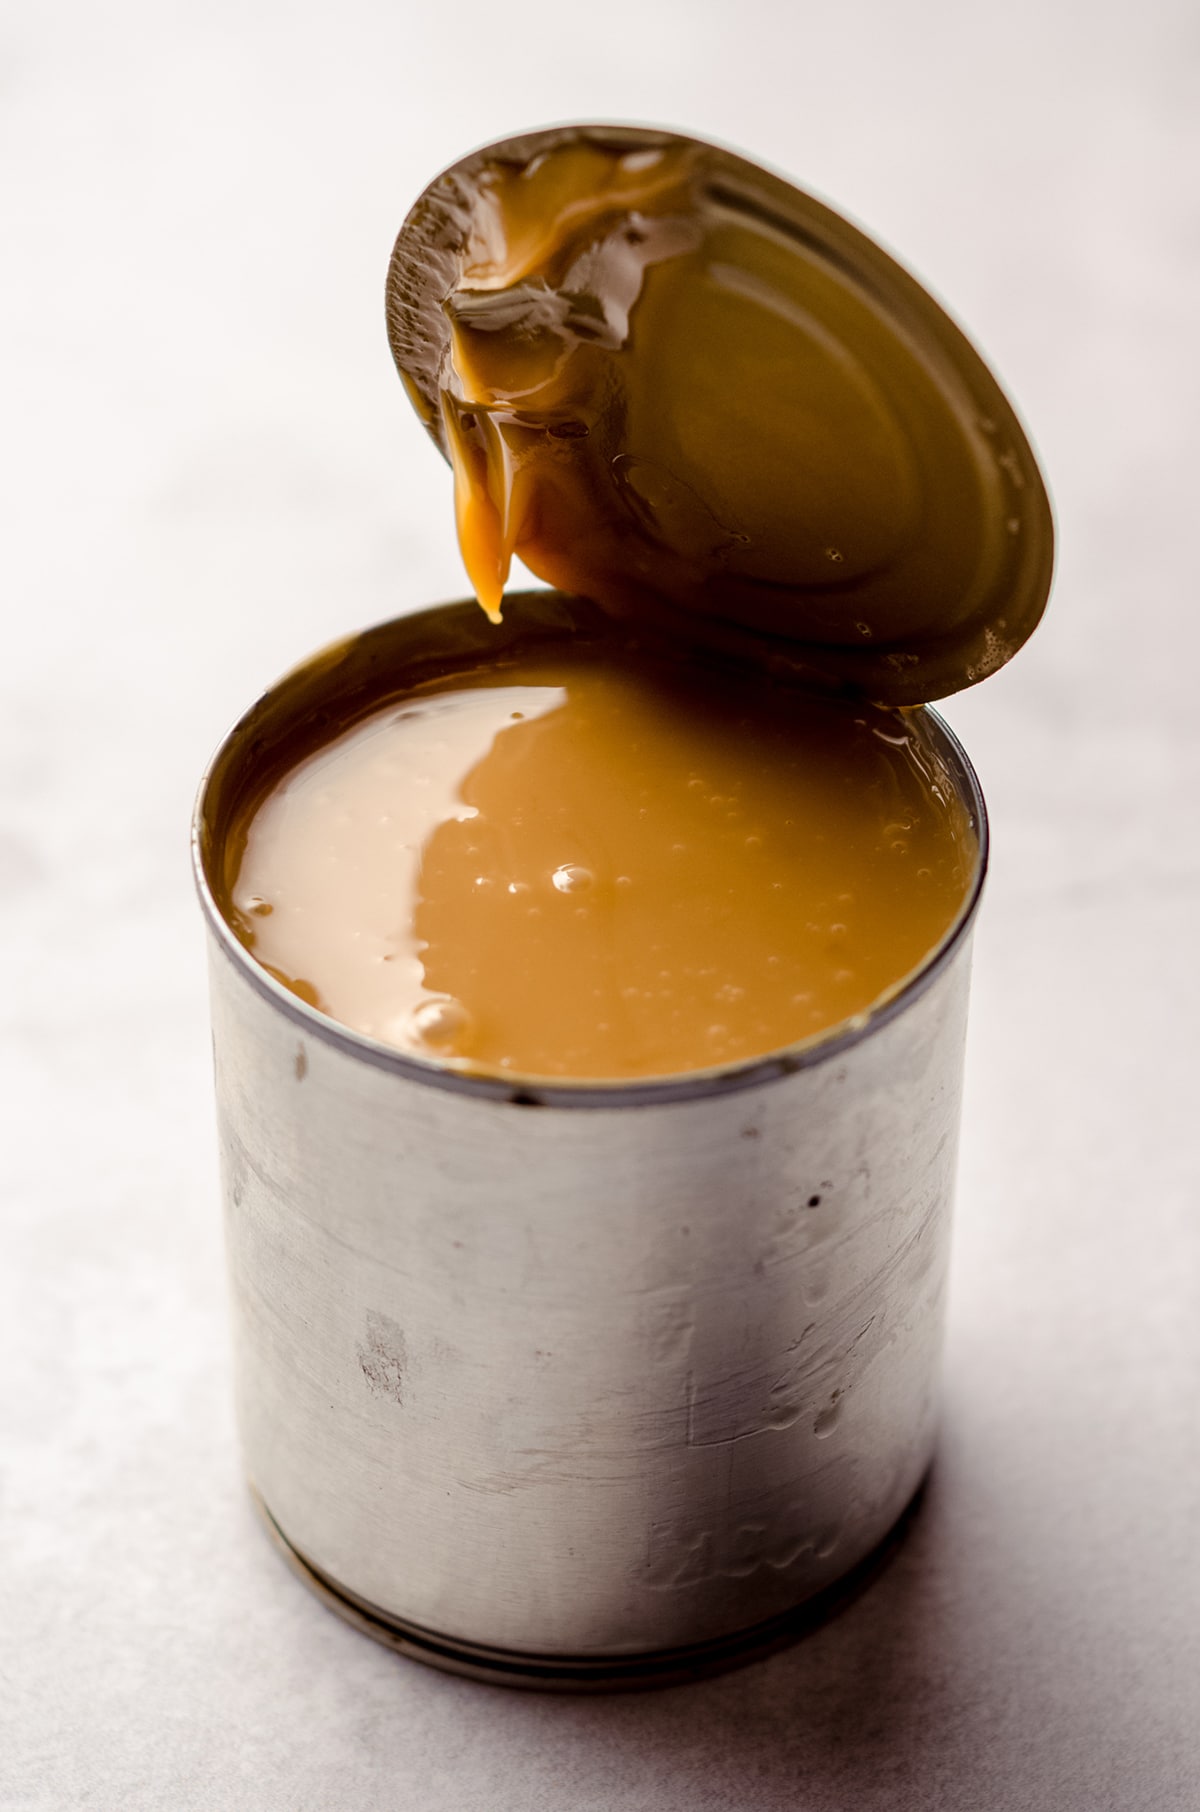
Once you have boiled your can for the desired amount of time, allow the can to cool, open the can, stir it up, then it’s ready to use.
Which method is best for Dulce de Leche with Condensed Milk?
Since I did both methods at the same time, I was able to compare them both in real time to each other and spend a lot of time with my homemade dulce de leche and its corresponding methods of cooking.
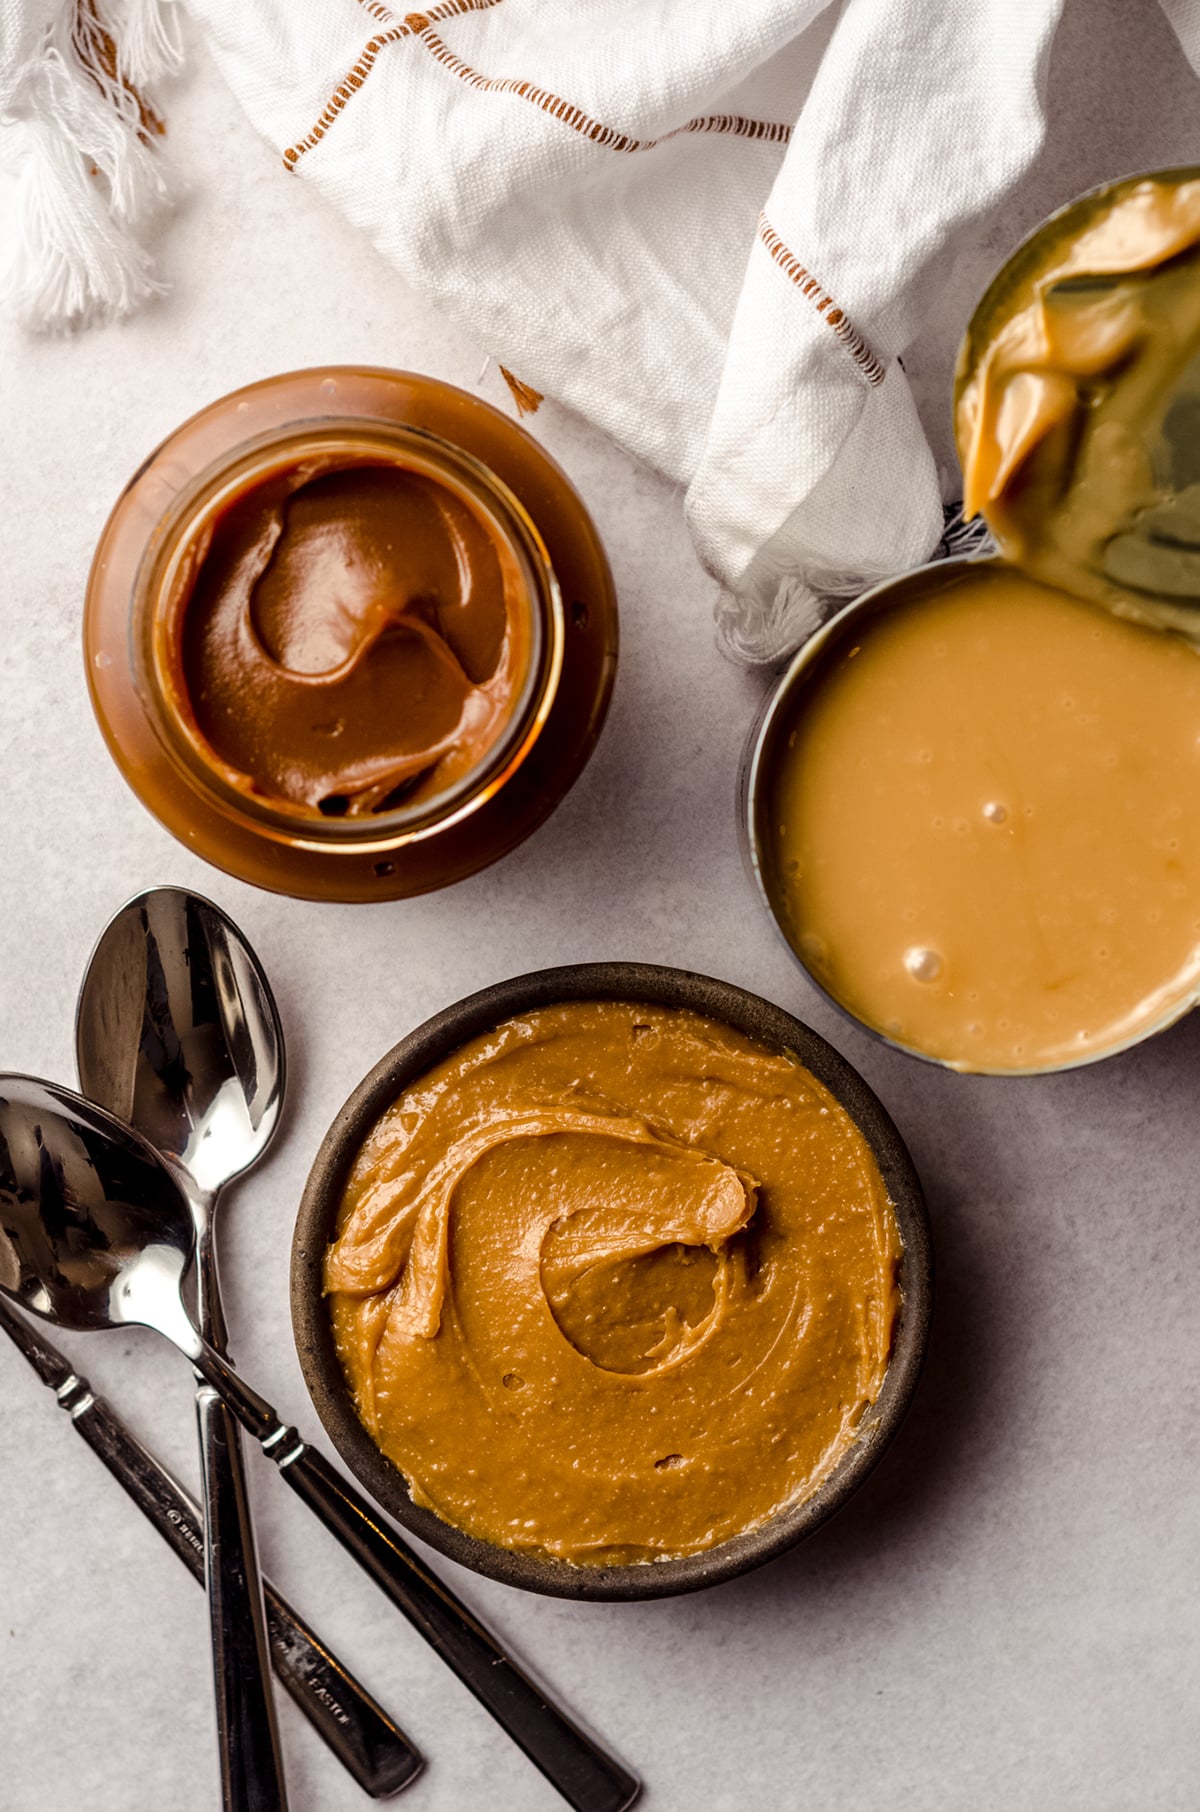
I also had a jar of pre-made dulce de leche to compare everything to as sort of a “control,” and to really get a taste of what commercial depth of flavor is. The baseline or standard, if you will.
WHY I LIKE THE BAKING METHOD
I like the baking method first and foremost because I could actually see the caramelization happening.
I was able to keep an eye on the color and see it happen right before my eyes.
I also took a few taste tests along the way so I could taste the progression of the Maillard reaction (just a fancy way of explaining the chemical reaction that gives food its brown color).
WHY I DON’T LIKE THE BAKING METHOD
The only thing I really didn’t like about the baking method is that my oven was on for close to 6 hours, because I made one batch that finished at about the 2 and ½ hour mark and when I decided I wasn’t as happy with that color and flavor as I had hoped, I baked another batch.
The second batch baked for about 3 and ½ hours before it reached a color and flavor I was happier with.
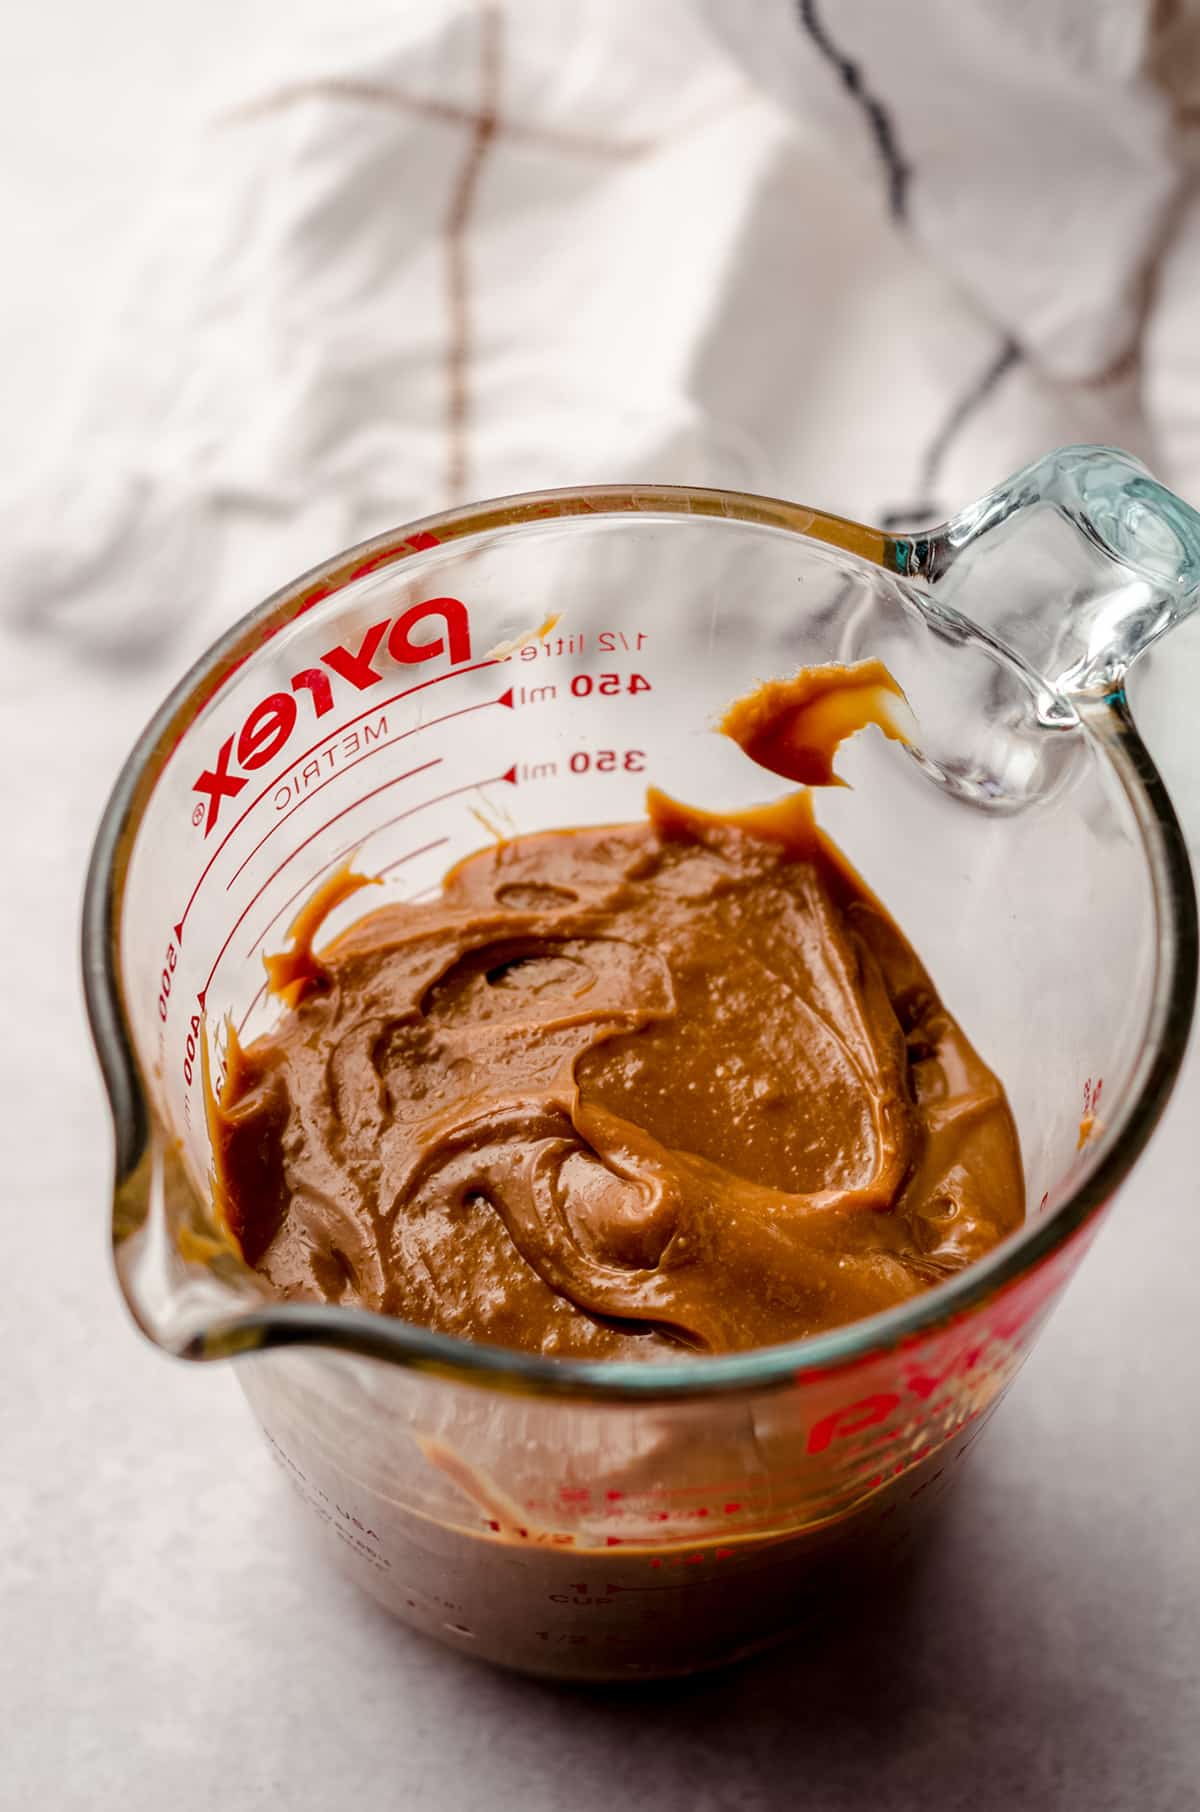
While that’s all fine and good if you have the time, capability, and resources available to you to have the oven on for nearly 4 hours, that’s a lot of time and resources.
WHY I LIKE THE BOILING METHOD
I liked the boiling method because it sort of just happened in the background. I didn’t have to think too much about it save for adding more water a couple times.
I boiled my can for 2 hours, and this amount of time was totally manageable.
WHY I DON’T LIKE THE BOILING METHOD
I absolutely hated the fact that I couldn’t see what was going on in that can.
While I suppose you could use a different vessel to boil the sweetened condensed milk, such as a clear glass jar, the point of this method is that it is supposed to be simple and able to be done inside the can.
I was slightly underwhelmed by the result of boiling my can for 2 hours, and would probably boil for more like 3 or 4 hours if I were to use this method again.
SHOULD I MAKE MY OWN OR JUST BUY IT?
When everything is said and done, I am really glad I took the time to learn about making dulce de leche with condensed milk, but since I am able to get it easily in my local grocery store, I will likely just do that going forward.
I am really glad to know, though, that I have other options and that I have guidance for my readers who either find themselves with an abundance of sweetened condensed milk for whatever reason, or those who cannot find pre-made dulce de leche in their grocery store.
Dulce de leche is a really lovely sauce and I am anxious to start using it in more recipes.
In addition to my banoffee pie recipe, consider some of the following recipes from my friends around the internet to get some dulce de leche all up in your treats, whether you buy it already made or make it yourself.
MY RESULTS
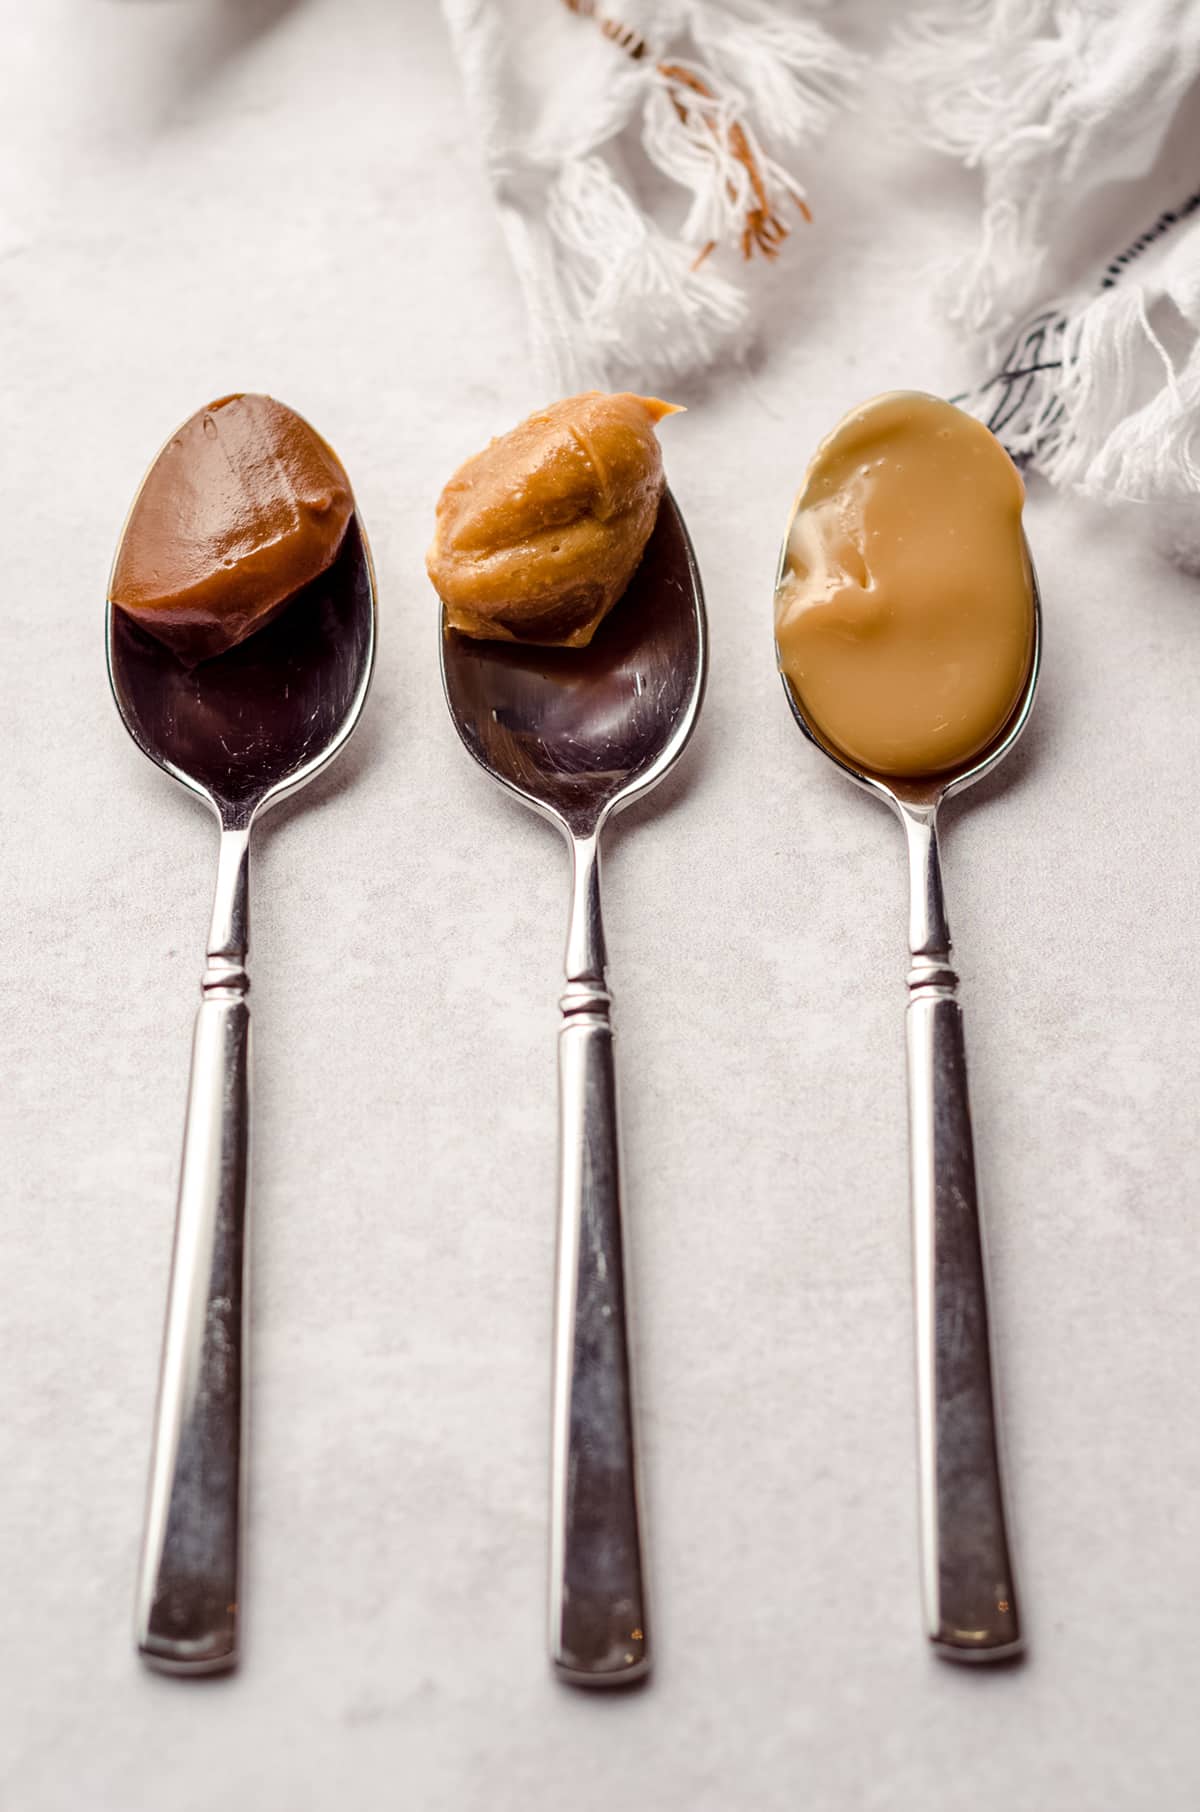
Baked: I thought my first baked version (the 2 and ½ hours batch) of the dulce de leche was a little runnier than I would have hoped thus lacked a little bit in depth of flavor compared to the store-bought kind.
The second round (the 3 and ½ hours batch) was much closer to the pre-made dulce de leche and I was much happier with that flavor and color.
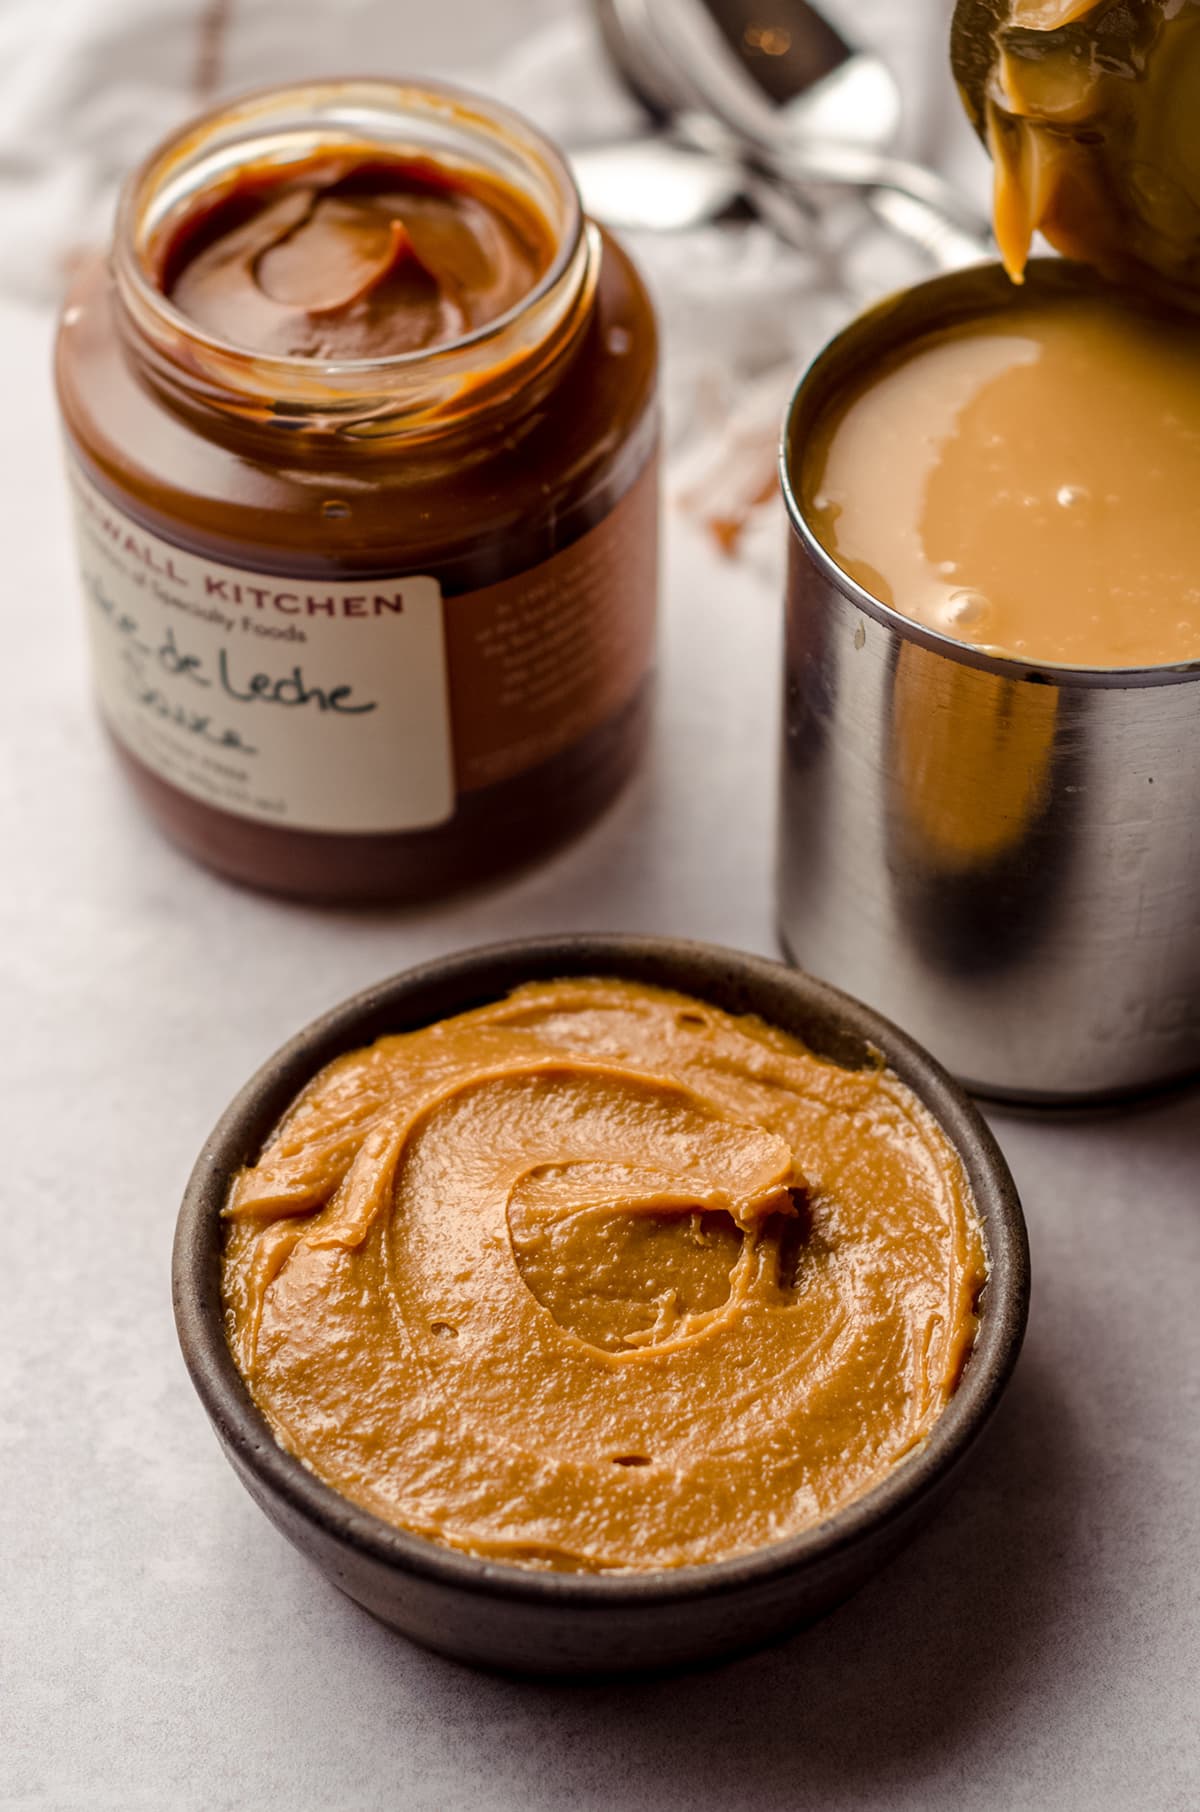
This version would make a great filling for cake or cupcakes or putting into frosting. It wasn’t too thin and could hold its shape nearly as well as the stuff in the jar.
Boiled: I thought the boiled version of dulce de leche was a little too loose for me. Though it was certainly delicious, I thought it lacked serious depth of flavor and it left a lot to be desired in the way of texture.
It was pretty runny but would work really well as a topping for ice cream, stirred into yogurt, or as a dip for cookies, fruit, or other sweets.
Favorite ways to use this Dulce de Leche Recipe
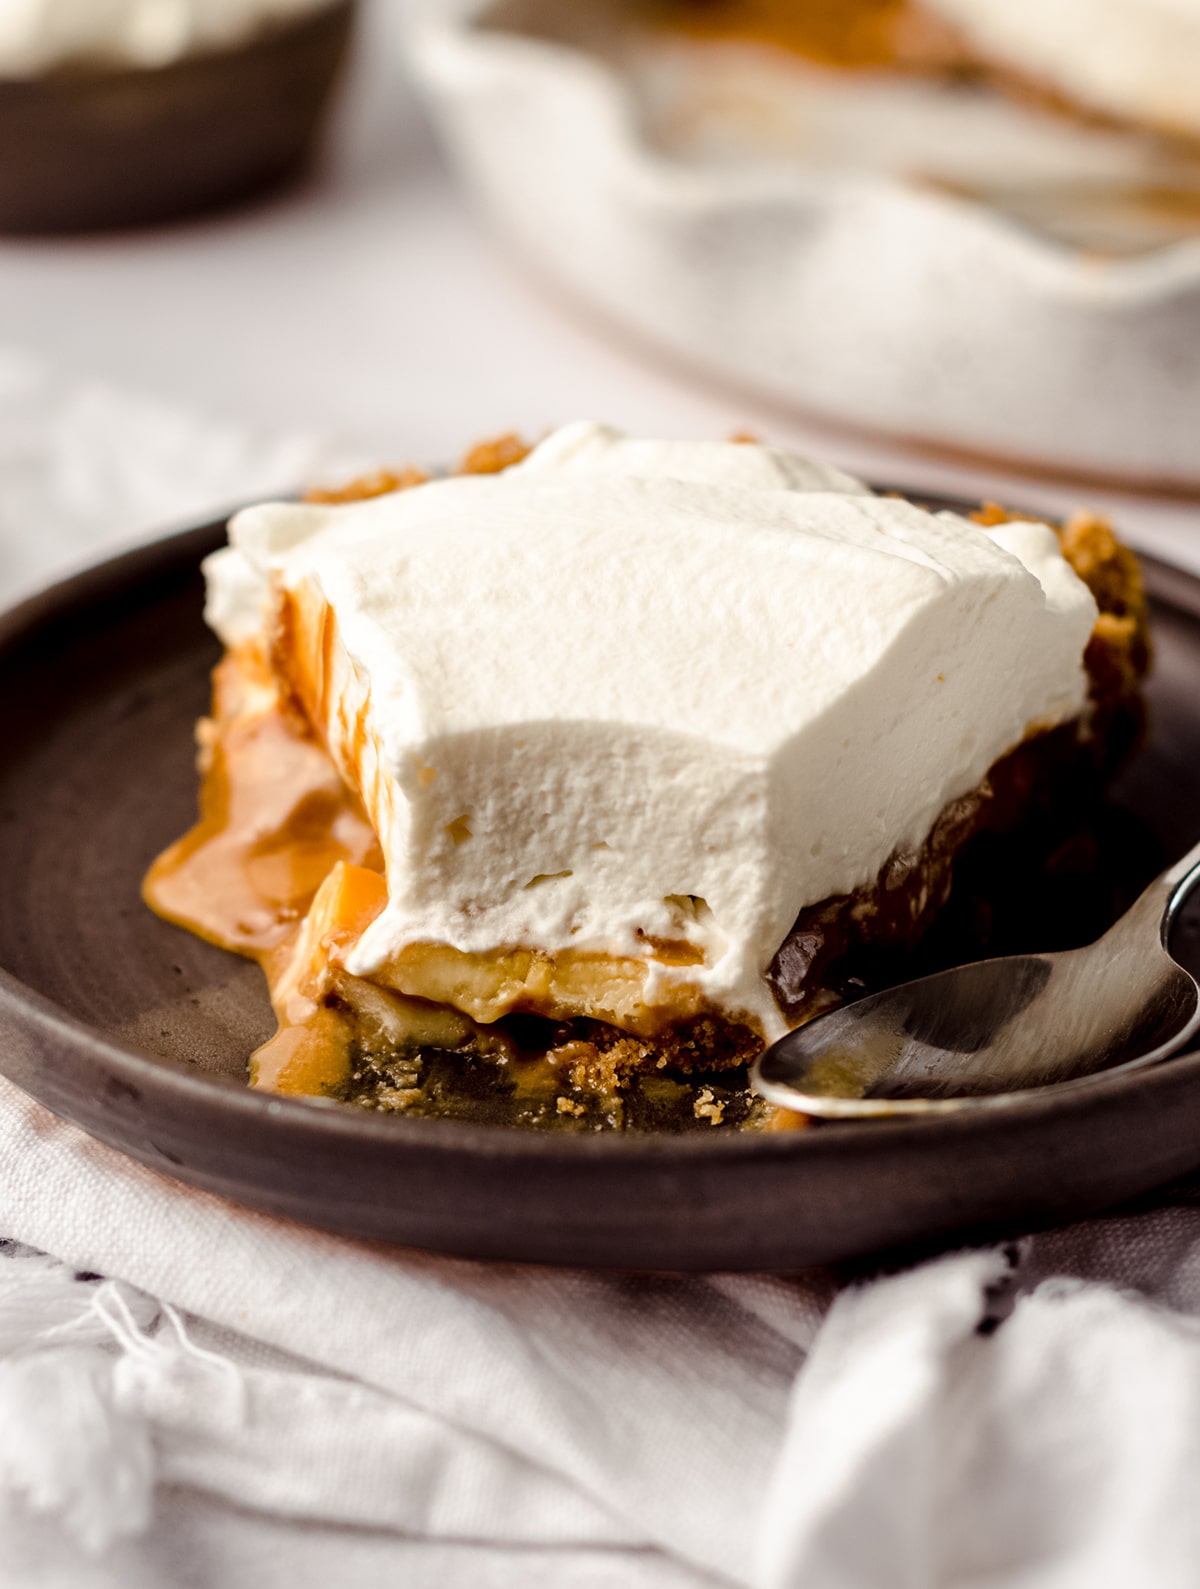
While dulce de leche is perfect as a topping for cakes, cheesecakes, pies, ice cream, or yogurt, you can also use it in recipes. Check out my dulce de leche cookies, dulce de leche cake, or banoffee pie for other uses.
How to store Condensed Milk Dulce de Leche
Does dulce de leche need to be refrigerated?
Dulce de leche is a dairy product, so it does need to be stored in the refrigerator. If you want to use it as a sauce or an ingredient, you can warm it up to make it easier to pour.
How long does Dulce de Leche last?
Dulce de leche will last in the refrigerator for about 2 weeks. You can also freeze it for up to 3 months.
Homemade Dulce de Leche FAQs
Dulce de leche tastes similar to caramel, but with a deeper milk flavor. It has notes of toffee and caramel with a very smooth sweet flavor.
The correct pronunciation of dulce de leche is “dool-seh deh leh-cheh.”
It will take about 2-3 hours to boil a can of condensed milk to create dulce de leche. In general, the longer it boils, the darker and more flavorful it will be.
You can overcook dulce de leche! Just like anything else, you can burn it, which will lead to a bitter flavor. This is why I prefer the baking method so I can see the darkness level it is at.
Depending on how you prep your homemade dulce de leche, the crystals formed by the sugar and milk may not dissipate the way you might expect them to. You can help solve this issue by reheating it and stirring it vigorously or pushing it through a fine mesh sieve.
More like this Condensed Milk Dulce de Leche
- Dulce de Leche Oatmeal Cookie Sandwiches from Who Needs A Cape
- Raspberry Dulce de Leche Icebox Cake from Food Meanderings
- Dulce de Leche Oatmeal Bar from My Cooking Journey
- Dulce de Leche Donuts from Frugal Mom Eh!
- No Bake Banana Dulce de Leche Mousse Cake from Beyond Frosting
- Dulce de Leche Granola Cookie Bars from Of Batter and Dough
- Salted Dulce de Leche Tart from Goodie Godmother
- Dulce de Leche Coffee Milkshake from Simply Stacie
- Dulce de Leche Scones from Kickass Baker
Condensed Milk Dulce de Leche Recipe
Ingredients
- 1-14 ounce can sweetened condensed milk
Instructions
BAKE IT
- Pour the sweetened condensed milk into a pie dish. Cover loosely with foil.
- Place the pie dish in a large roasting pan or baking dish that is larger than the pie dish. Place the roasting pan in the oven.
- Fill the roasting pan with enough hot water until it reaches halfway up the pie dish, then heat oven to 400°F (204°C).
- Bake the until sweetened condensed milk has thickened and caramelized, about 2-3 hours, checking intermittently to stir and assess color. Add more hot water after about 1 hour (some of it will have evaporated). Remove from the oven when it is desired color/consistency.
- Allow the dulce de leche to cool, whisk to remove lumps, then pour into your storage container of choice. Store dulce de leche in the refrigerator up to 2 weeks or in the freezer up to 3 months.
BOIL IT
- Remove the label from your can and place in a pot large enough to accommodate it. Fill the pot with water so the can is submerged by about 2 inches and place over medium high heat.
- Bring the water to a boil, then reduce temperature to simmer the can for 2-3 hours. Keep an eye on the water level and refill as necessary, always taking care to keep the can completely submerged.
- Remove the can from the water, allow to cool, then open the can and pour dulce de leche into your storage container of choice. Store dulce de leche in the refrigerator up to 2 weeks or in the freezer up to 3 months.
Nutrition Disclosure
All nutritional values are approximate and provided to the reader as a courtesy. Changing ingredients and/or quantities will alter the estimated nutritional calculations.

I used the baking method and it was super simple! We live in a small down in Idaho and can never find dulce de leche in our stores!
I’m so glad you found this, Carole!
In the photo with the 3 spoons – what was the order of what was on each spoon?
Jarred, baked, boiled.
Bonjour, je voudrai juste rajouter un petit commentaire, depuis peu je m’intéresse au dulce de leche et je trouve cela délicieux.
Par économie et pour sa simplicité je fais mon dulce de leche en cocotte minute et je trouve cela très pratique en 30 minutes ou 45 suivant le degré de fermeté mon dulce et terminé.
Bien cordialement
Colette
If you do not get the desired color when boiling can you bake it after?
Hi, Kayla– of course!