
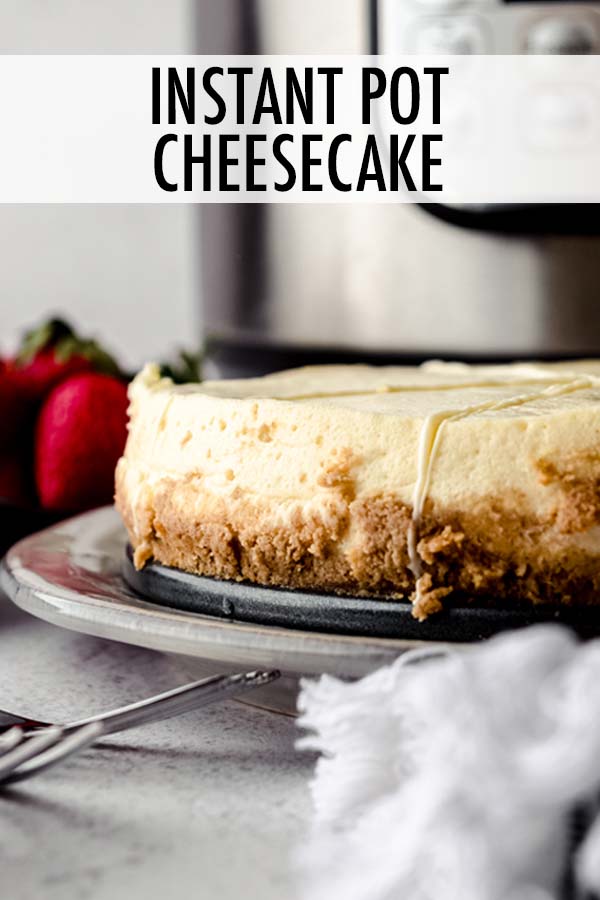
Easy Pressure Cooker Cheesecake (Instant Pot Recipe)
As an Amazon Associate, I earn from qualifying purchases. Read the full disclosure here.
No oven or water bath necessary for this mini-size cheesecake made entirely in an electric pressure cooker. After almost a dozen test runs in my own 6-quart Instant Pot, I finally landed on this flawless velvety smooth cheesecake recipe that goes perfectly with your favorite cheesecake toppings. Instructions include directions for making in a smaller 3-quart Instant Pot as well as the oven, in case you just want to use the oven for a smaller cheesecake.
THE INSTANT POT: NOT JUST FOR EASY DINNERS
When the Instant Pot first gained a lot of hype, it was mostly used for easy dinners and other savory recipes. In fact, I learned quickly that Instant Pot garlic mashed potatoes were my new favorite way to save time on Thanksgiving and that stir fry doesn’t actually need to be fried nor stirred (see my Instant Pot chicken and vegetable stir fry).
Although the hype of the Instant Pot has mellowed a bit over the years, we still use ours weekly to make Instant Pot hard boiled eggs and every apple season to make homemade applesauce and homemade apple butter.
OH! And don’t miss my copycat Starbucks egg bites recipe. That recipe will change your life… And your monthly spending.
This Instant Pot Cheesecake is Perfection
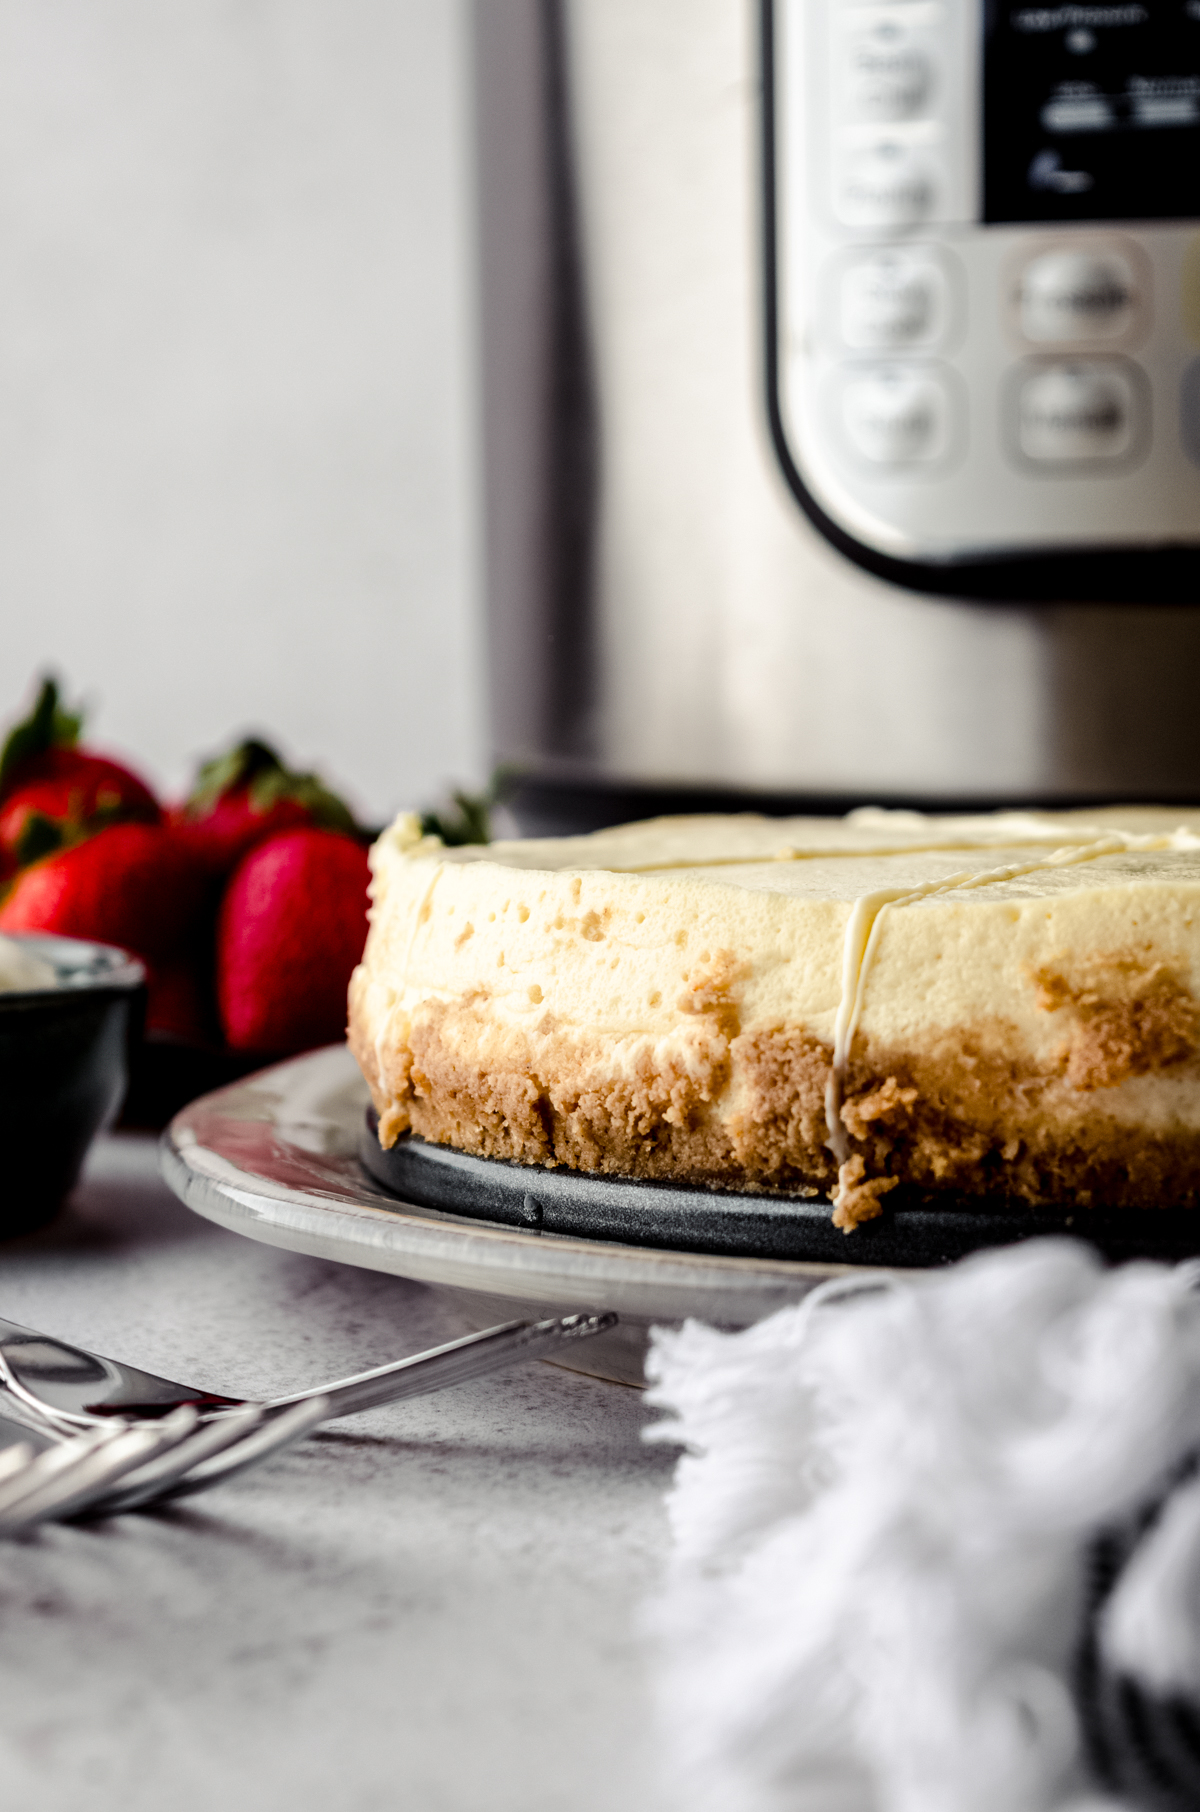
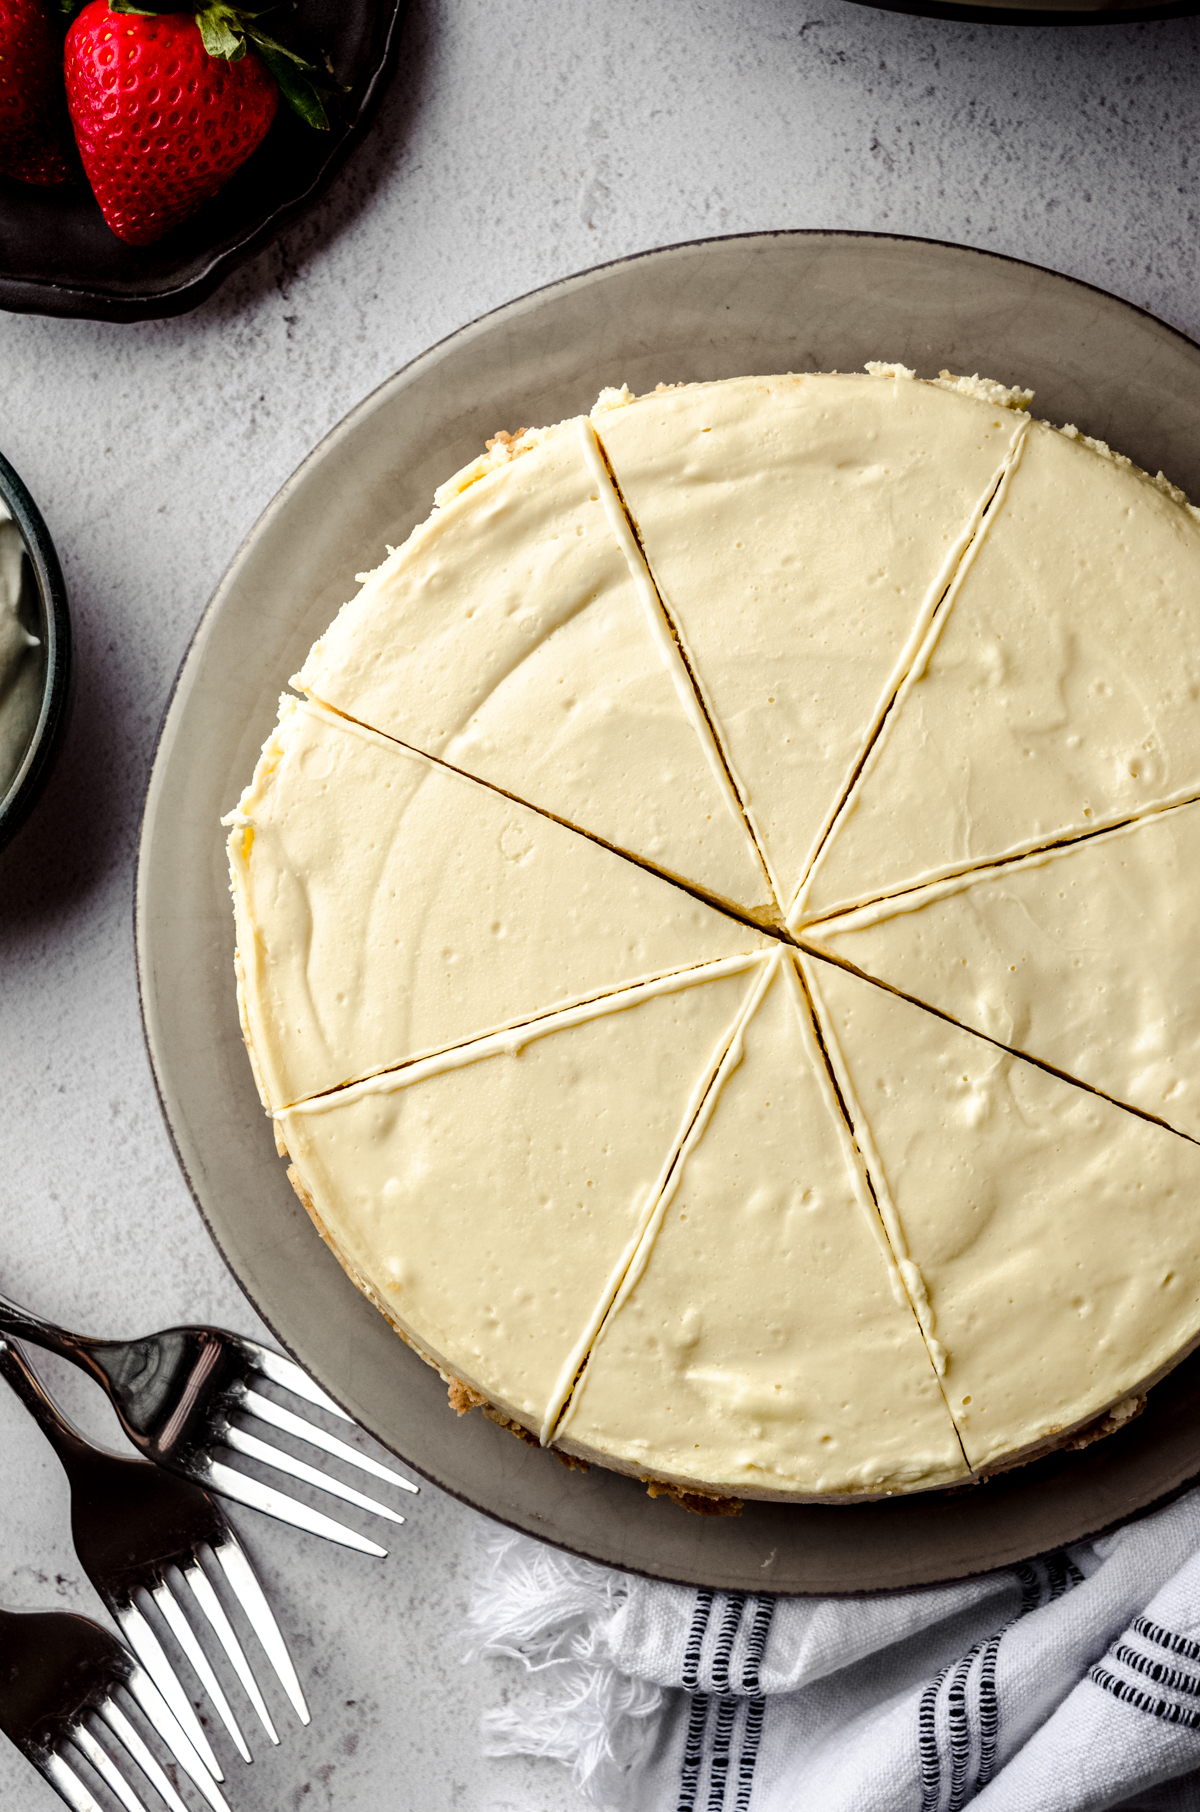
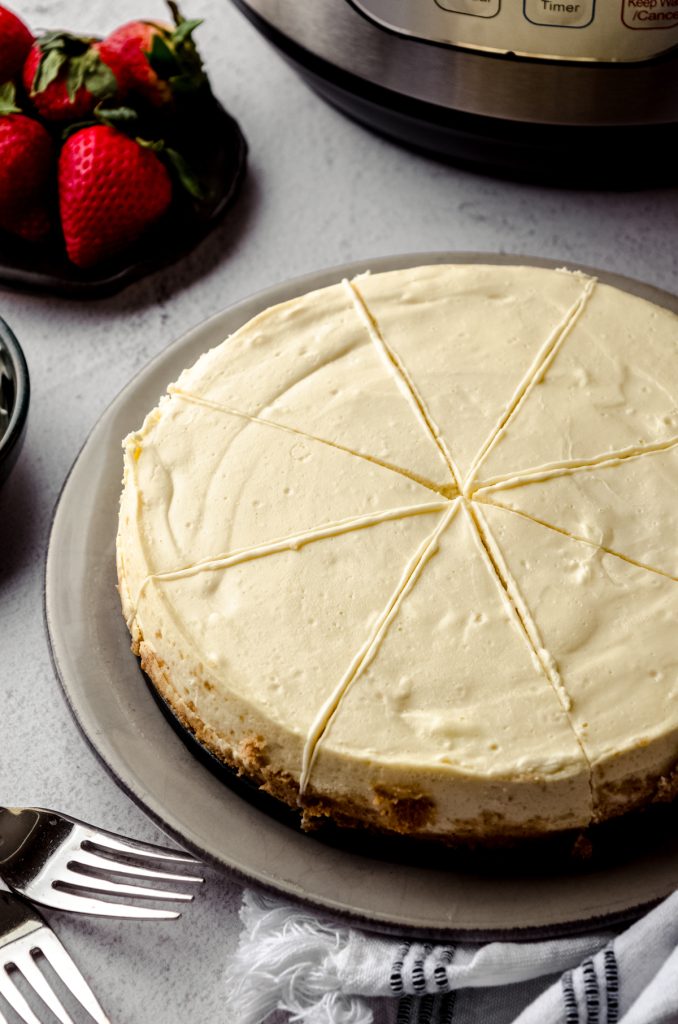
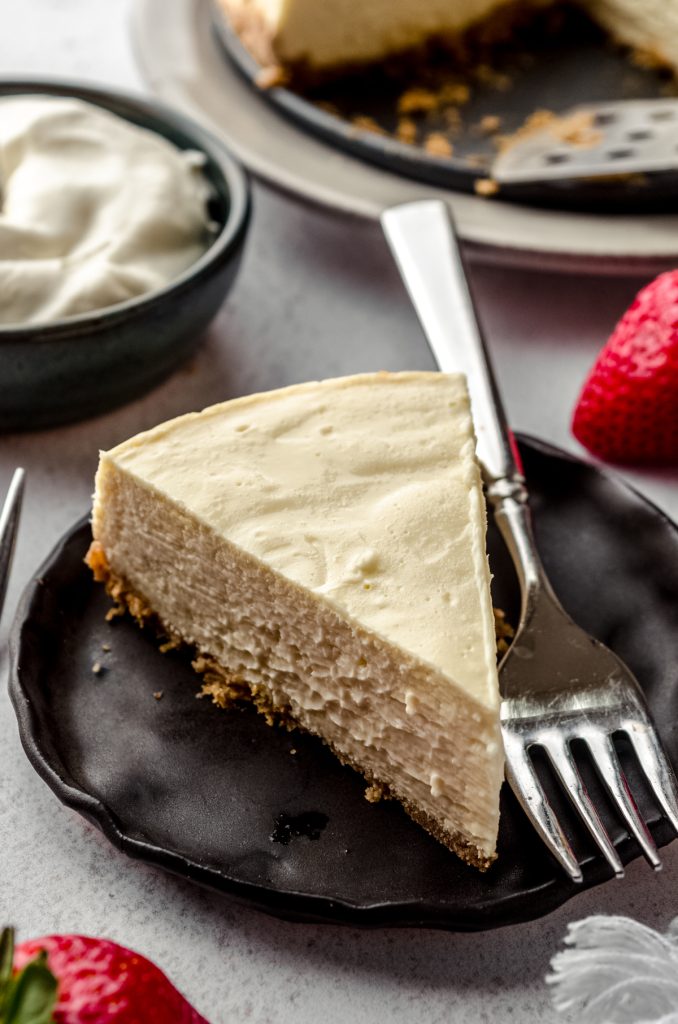
When I set out to make 2024 my year of monthly cheesecake recipes, I knew that I needed to add an Instant Pot version to my collection. Not only is the cooking method so simple, it’s the perfect size for a smaller crowd or smaller family.
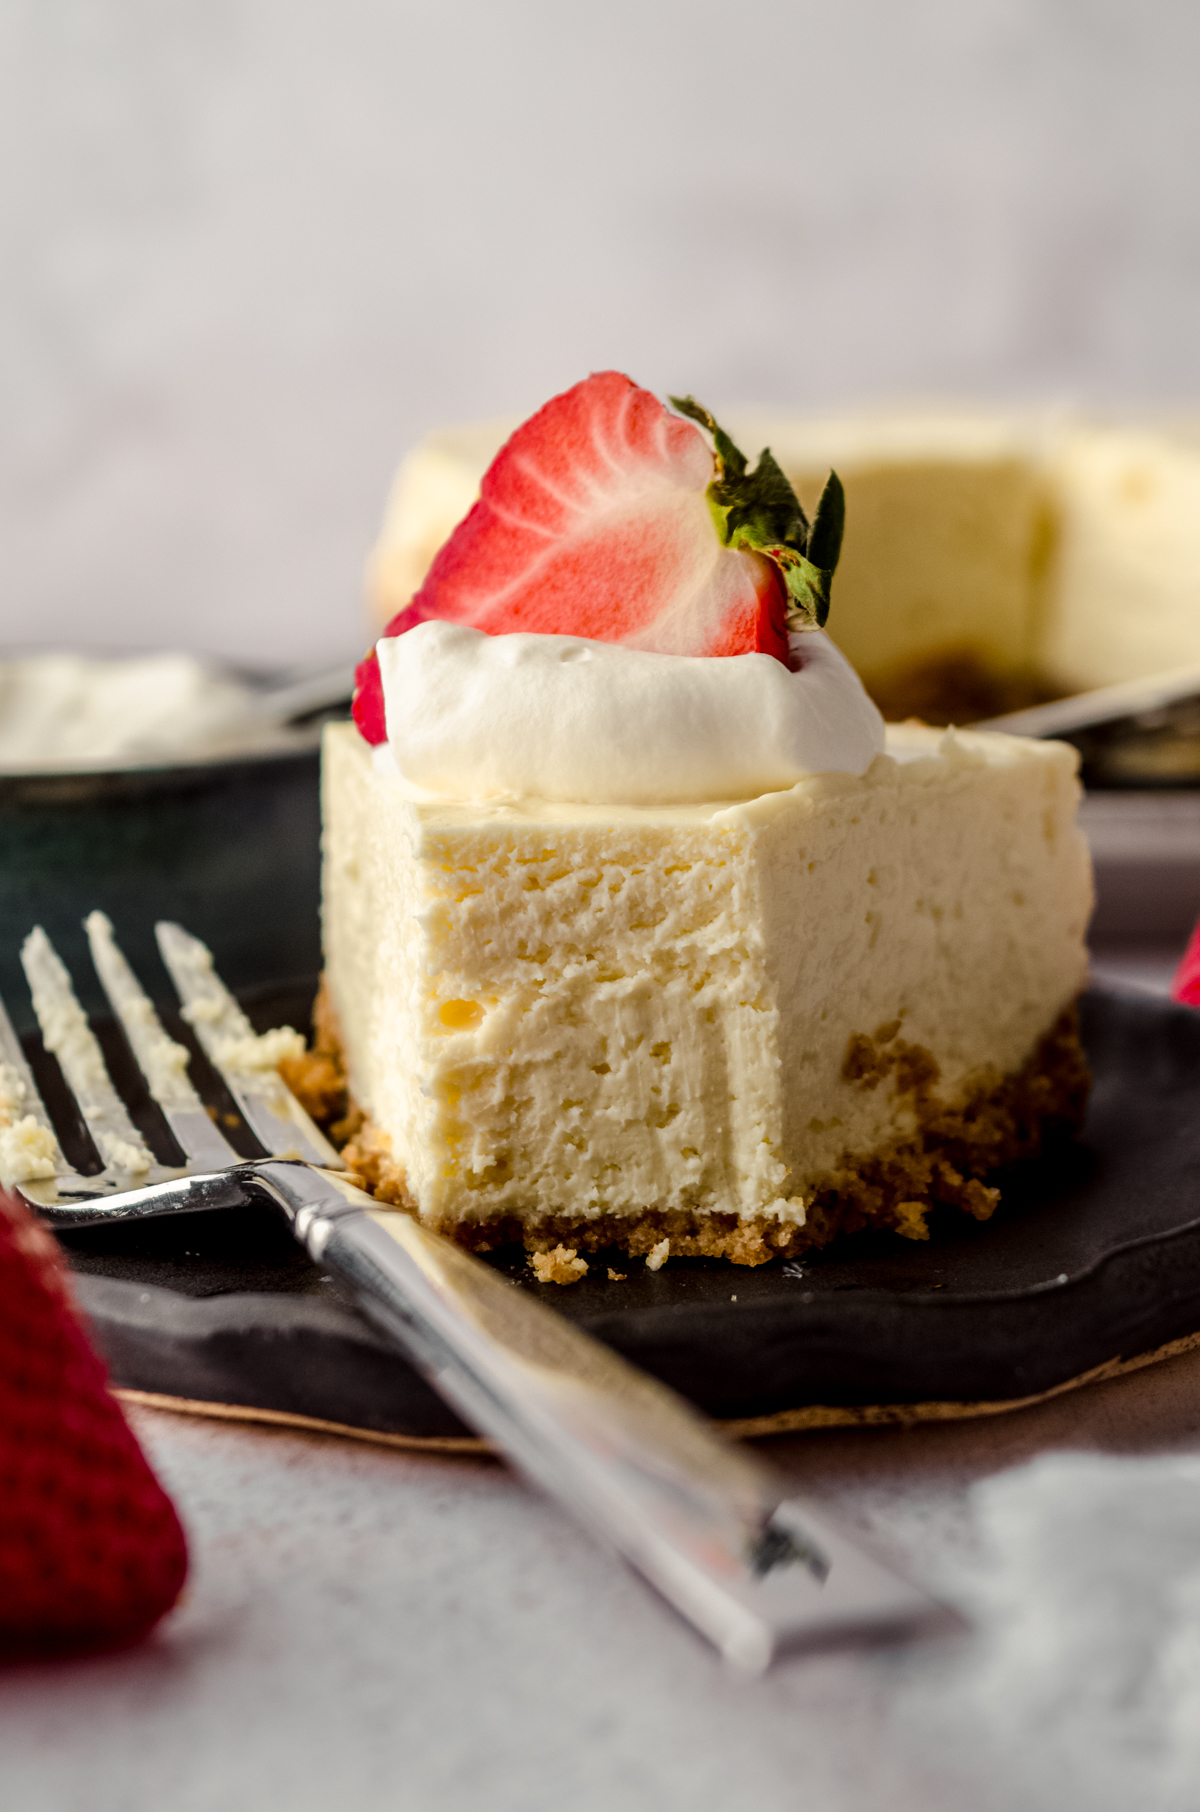
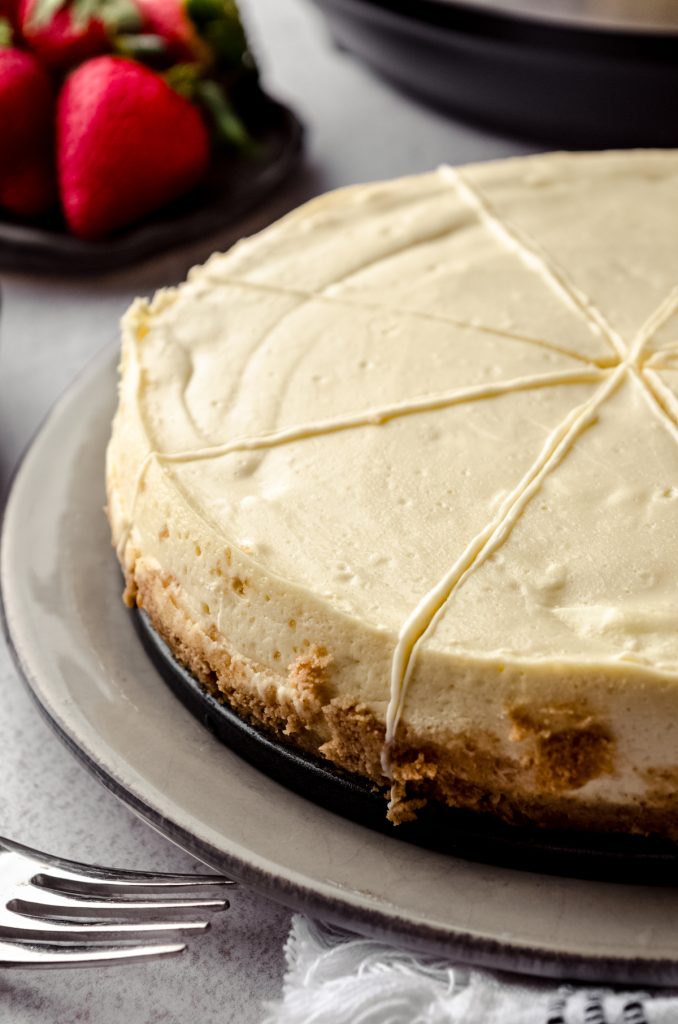
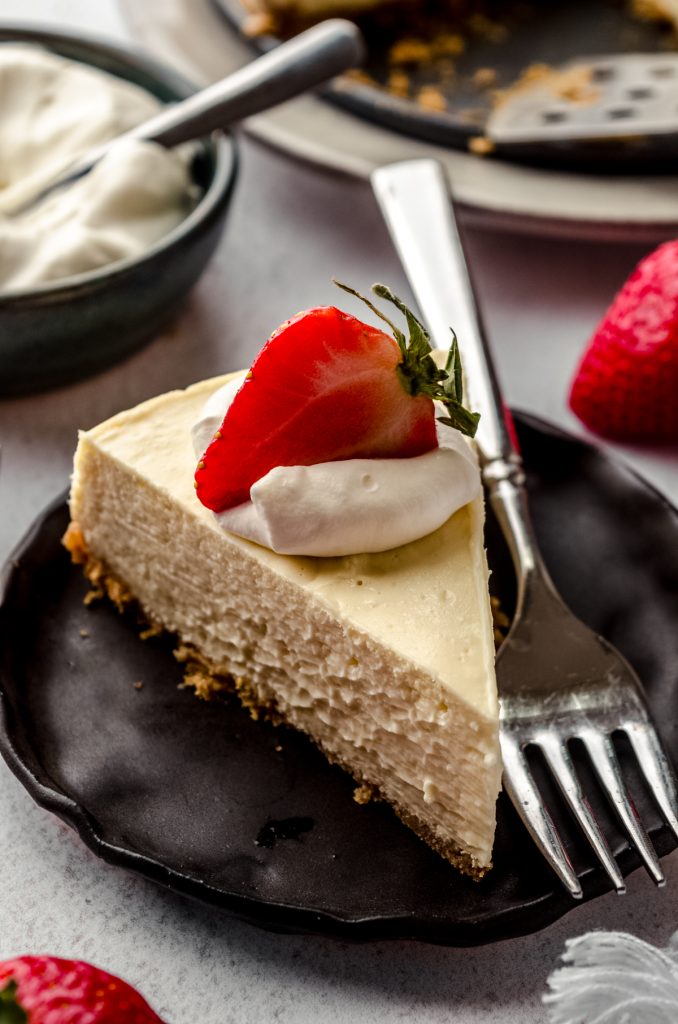
I’ll be honest, I thought for sure a cheesecake made in a pressure cooker would be gummy and gross. And believe me, until I got this recipe perfected, some of them were. I knew with the first bite of my final test run was the final recipe when the texture was velvety smooth, the fork slid through the filling like butter, and the graham cracker crust was perfectly together and not the least bit soggy.
And here’s the other thing– once you make a cheesecake in the Instant Pot or other electric pressure cooker, you may never use the oven ever again. Nearly any cheesecake recipe can be converted to an Instant Pot recipe with simple ingredient math and time adjustment. See my recipe notes for specific instructions about how to make this happen with other flavored and traditional cheesecake recipes.
USE MY CLASSIC CHEESECAKE RECIPE AS THE BASE
If you love my classic creamy cheesecake recipe, you’re in luck! This is literally the exact same recipe, just halved in the ingredients and adapted in the instructions to accommodate the Instant Pot.
This means you get the same trusted recipe you’ll get over there: a silky smooth interior that is light and fluffy and still sturdy enough to handle any and all of your favorite toppings.
INSTANT POT CHEESECAKE RECIPE INGREDIENTS
For a dessert that delivers mega flavor, there are surprisingly very few ingredients in the recipe, and they’re simple ingredients at that.
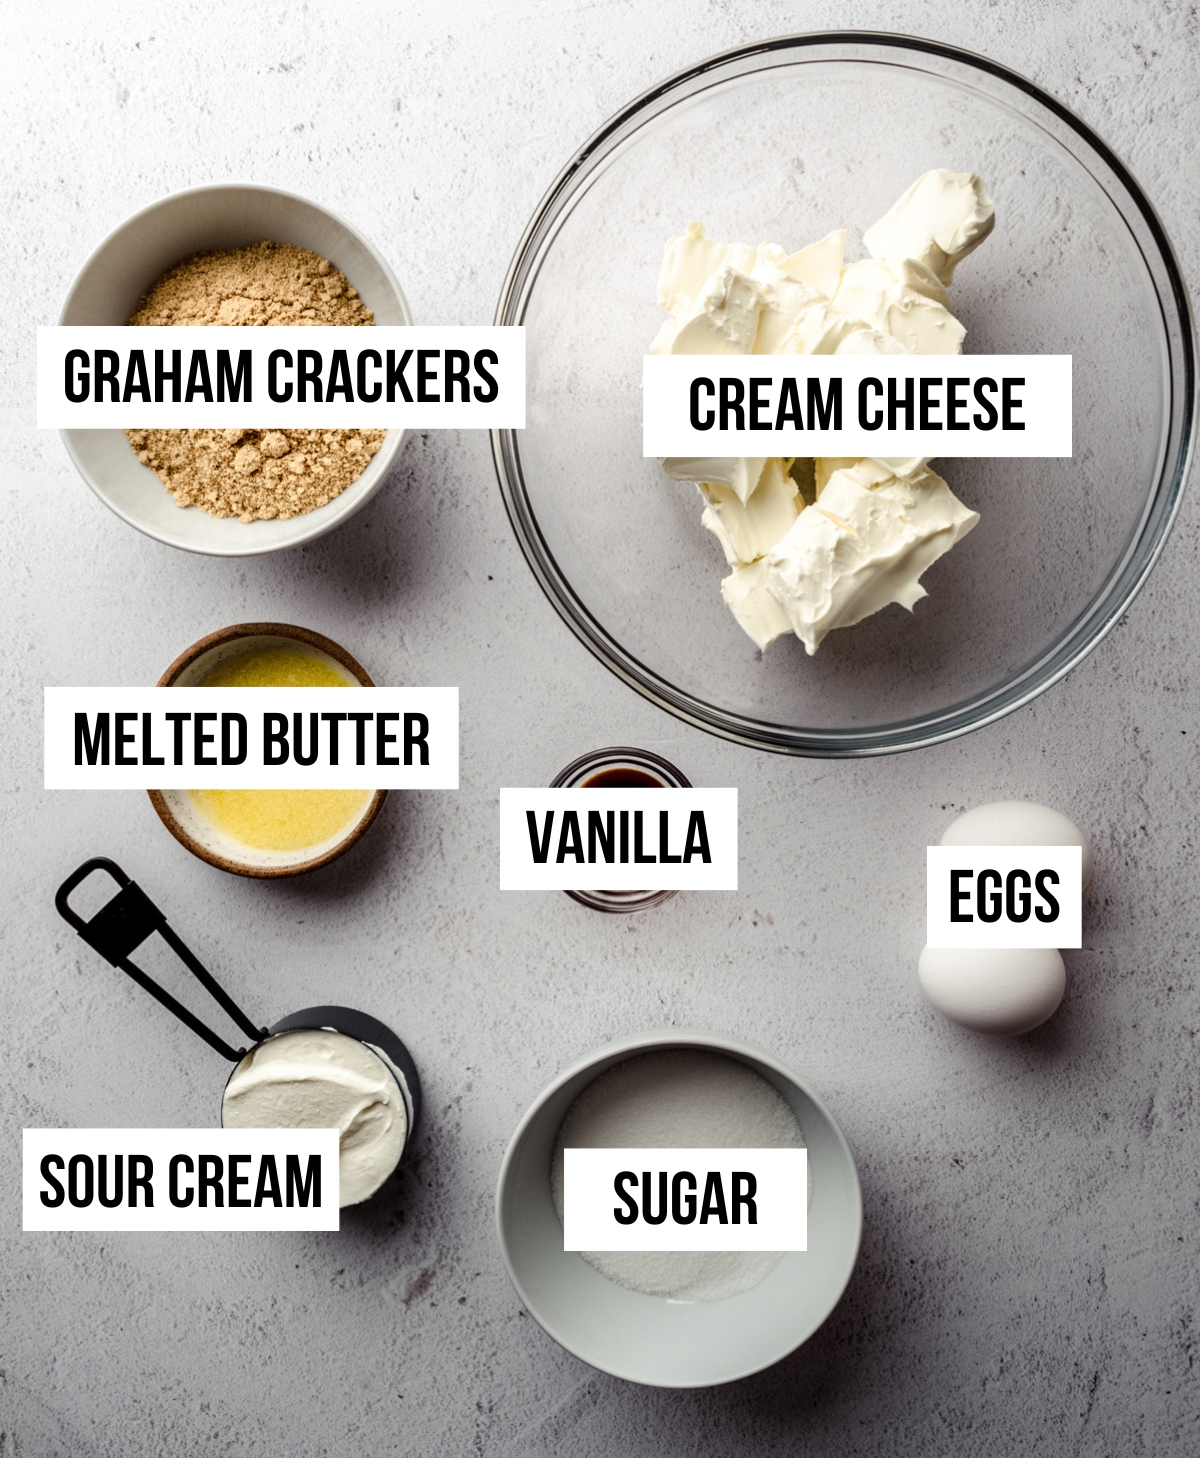
FULL FAT BLOCK CREAM CHEESE: we’re using 2 pounds of cream cheese in this cheesecake recipe. You will want to make sure these are full fat blocks/bricks and nothing “whipped” or anything that comes in a tub (no spreads). Believe it or not, these cream cheeses are not all the same and using anything other than full fat block cream cheese won’t yield the same results.
GRANULATED SUGAR: many of my other cheesecake recipes use a higher amount of white sugar to sweeten the filling. I found that a reduced amount is the perfect level of sweetness to balance the tanginess and allow the authentic taste of a basic cheesecake shine through, even without any toppings.
SOUR CREAM: you’ll want to be sure you’re using full fat sour cream here. I increased the amount of sour cream in this recipe since I completely removed the need for heavy cream. The balance of the two is great, but for a cheesecake with nothing else happening in the filling, I wanted to be sure it was sturdy, rich, and luxurious.
VANILLA EXTRACT: we’re using an entire Tablespoon of vanilla extract. No, that’s not a typo. It’s the perfect amount, trust me!
EGGS: in the past, I have used 2 additional in my cheesecake fillings, but once I increased the sour cream, I found extra yolks egg yolks unnecessary. The eggs, however, may be the most crucial ingredient as overmixing them into the batter is the best way to add too much air, resulting in a cracked and/or deflated cheesecake.
IMPORTANT INGREDIENT NOTE
I cannot stress enough how important it is that you use room temperature ingredients. This will allow your batter to blend together easily, staying nice and smooth, so there is no need to overbeat the mixture. I usually let my ingredients sit out for at least 1 hour but closer to 2 hours to insure they are absolutely at room temperature with zero chill. Using cold ingredients WILL yield a lumpy cheesecake. Creamy cheesecake only, please. Let those ingredients sit out!
FOR THE GRAHAM CRACKER CRUST
Since we’re using a classic cheesecake filling, we’re using the classic graham cracker crust. My homemade graham cracker crust is sturdy with a slight tendency of crumble (in a good way!) as opposed to one that is sticky and gooey. The cheesecake sits perfectly on top of it without making it soggy.
GRAHAM CRACKER CRUMBS: you can purchase these pre-crushed or crush your own in a food processor. I usually use whatever is available or on sale, but keep in mind that anything with a cinnamon-sugar coating will be sweeter than a traditional graham cracker or cinnamon-spiced one without additional sugar.
GRANULATED SUGAR: just a touch of sweetness keeps this crust the perfect complement to the lightly sweetened and tangy cheesecake filling. It’s slightly crunchy with just the right amount of crumble.
MELTED BUTTER: butter helps “glue” the whole crust together and brings a deliciously buttery flavor to every bite of cheesecake.
RECOMMENDED EQUIPMENT
As I mentioned, I tested this cheesecake recipe in my 6-quart Instant Pot. The 7.5″ springform pan is the standard size for this size Instant Pot, but you can also use a 6″ springform pan which will work in the 6 quart Instant Pot or in the smaller 3 quart size.
You will also need a wire trivet. This typically comes with your Instant Pot, but you can purchase one separately if yours did not.

HOW TO MAKE INSTANT POT CHEESECAKE
STEP #1
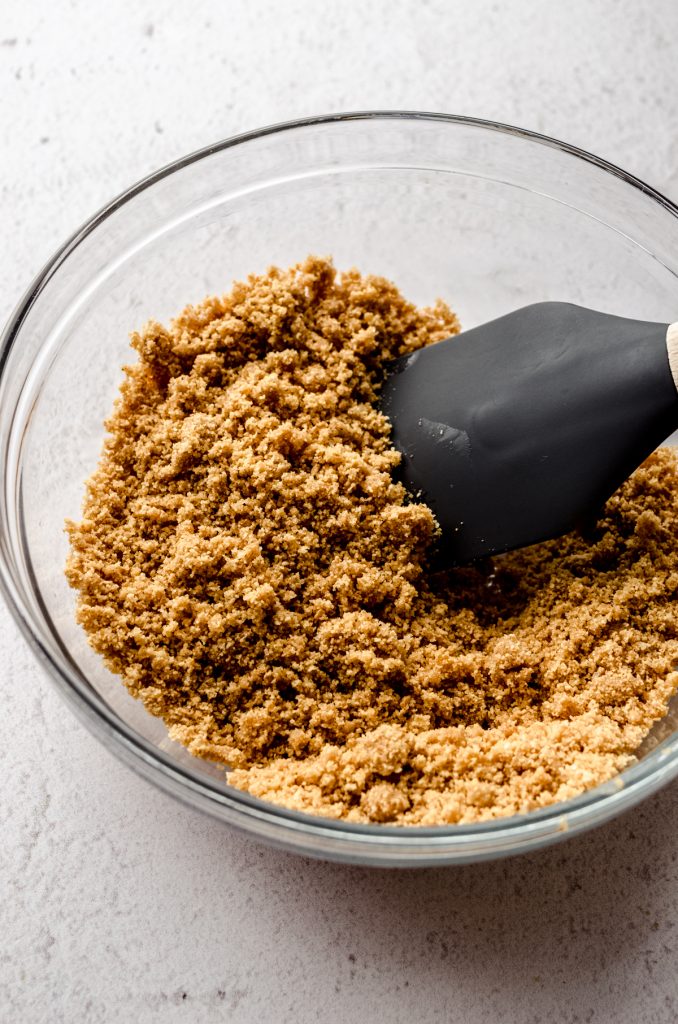
In a food processor, crush the graham crackers into fine crumbs. Combine graham cracker crumbs and sugar into a small mixing bowl and stir to combine. Drizzle the melted butter over the mixture and stir until everything is evenly saturated with butter.
STEP #2
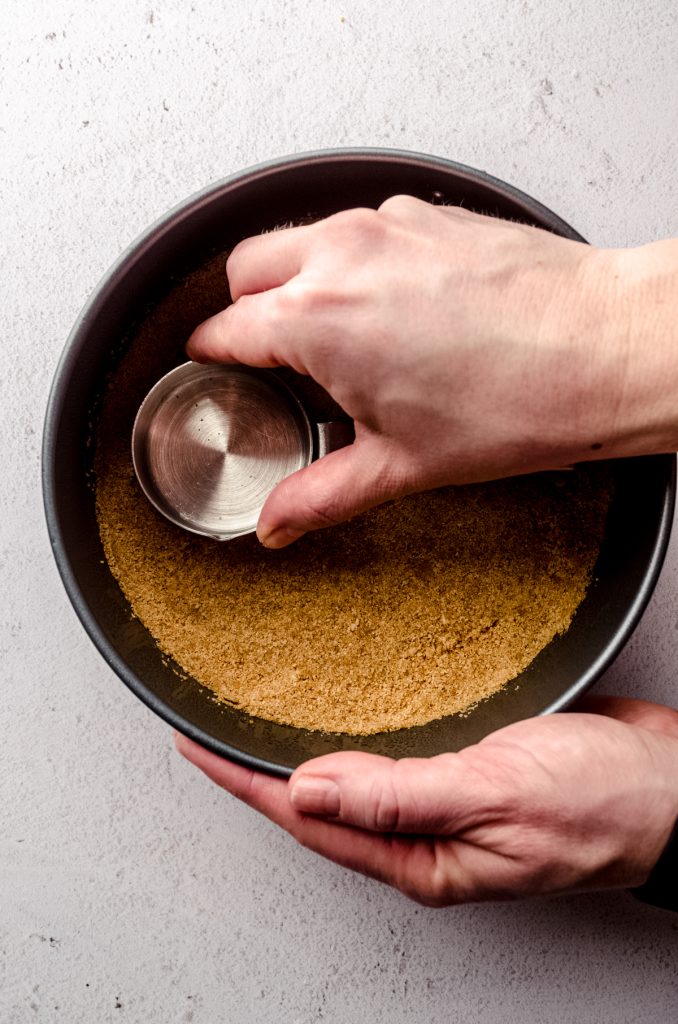
Press the graham cracker crumb mixture into the bottom of a prepared 7.5″ cheesecake pan, then freeze the crust while you prepare the filling.
STEP #3
Fit your pressure cooker with the wire trivet, then pour 1 cup of water into the bottom.
STEP #4
Start the filling by beating the cream cheese on medium high speed until smooth, about 2 minutes. Add the granulated sugar then beat again until combined, about another 2 minutes.
STEP #5
Reduce the mixer speed to low, then add the sour cream and vanilla and mix until completely combined.
STEP #6
Add the eggs one at a time, mixing on low after the addition of each egg and adding the next just after the previous egg starts to incorporate, and continue mixing until there are no more yellow yolk streaks.
STEP #7
Use a large spatula to carefully fold the batter together, scraping the bottom of the bowl and the sides to gather any extra batter that may not be fully incorporated. Sometimes I need to use the mixer again, but be sure to keep it on low. Your batter should be smooth and creamy without lumps.
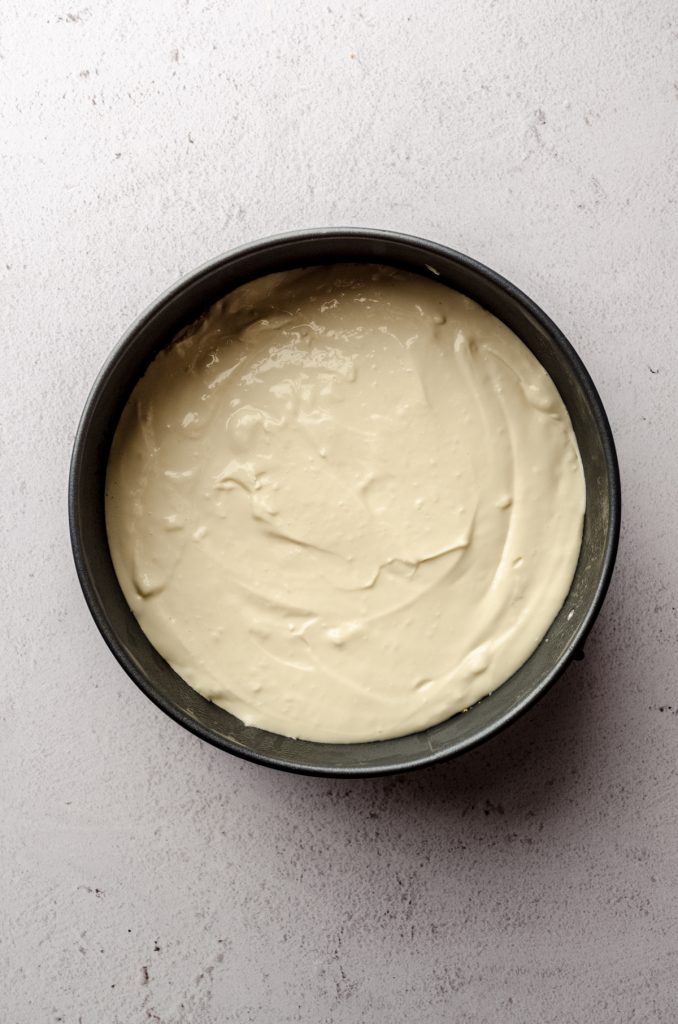
STEP #8
Pour the batter into the prepared pan, then place the filled pan into the pressure cooker so it sits in the center on top of the trivet.

STEP #9
Place the lid on the Instant Pot, be sure the valve is set to “sealing,” and cook on manual mode for 25 minutes.
STEP #10
When the timer goes off, allow natural pressure release for 10 minutes before removing the top. There will be water on the top– this is fine. Leave it there as it will absorb into the cheesecake just fine. If it really grosses you out, you can blot it off with a paper towel.
STEP #11
Allow the cheesecake to cool in the Instant Pot for 1 hour, then remove and allow to cool on a cooling rack for another 2 hours. When the cheesecake is completely cool, cover or wrap tightly and allow to chill in the refrigerator for at least 6 hours, ideally overnight.
SUBSTITUTIONS & VARIATIONS
CREAM CHEESE: I do not recommend using a lower fat cream cheese for this cheesecake recipe. Be sure you’re also using block cream cheese and nothing from a tub or labeled “whipped.”
USE AN OREO CRUST: if you’d like to use an Oreo crust for your classic cheesecake, use my Oreo crust recipe and halve it. Since you aren’t baking this crust, you can use DoubleStuf or flavored Oreos.
MAKE ANY CHEESECAKE: the Instant Pot method for cooking this cheesecake should work just fine for any cheesecake recipe. If the recipe is written for a standard 8-10″ springform pan, simply halve the ingredients. Bake time will be the same, but check for doneness and cook on high pressure for 5 additional minutes if it isn’t done initially.
CAN I MAKE THIS SIZE CHEESECAKE IN THE OVEN?
You can absolutely make this cheesecake recipe in the oven. Prepare a water bath with the method outlined in my cheesecake water bath post using 8″ round and 10″ round cake pans. Bake time is approximately 60-70 minutes.
CAN I USE ANY CHEESECAKE RECIPE IN THE INSTANT POT?
In theory, you can use any cheesecake recipe in the Instant Pot. Halve all of the ingredients, and bake for 60-70 minutes.

Tips for Making Cheesecake in Instant Pot
Though I find cheesecake made in a pressure cooker to be way more forgiving than one made in the oven, be sure you’ve read through my instructions thoroughly before beginning your Instant Pot cheesecake journey. To summarize the key points, try to remember these 3 success tips for the perfect cheesecake while you’re working through the recipe.
DO NOT OVERMIX THE BATTER: after adding the sour cream and vanilla, stick to the “low” setting on your mixer. There is no need to rush this process.
COOL IN THE INSTANT POT INITIALLY: allowing the cheesecake to cool alongside the gradually cooling pressure cooker will insure a slow and even settling of the cheesecake filling.
COOL AT ROOM TEMPERATURE BEFORE CHILLING: do not go from the possibly-still-slightly-warm Instant Pot to the refrigerator. Remember, we want gradual temperature changes for our cheesecake to prevent the top from cracking.
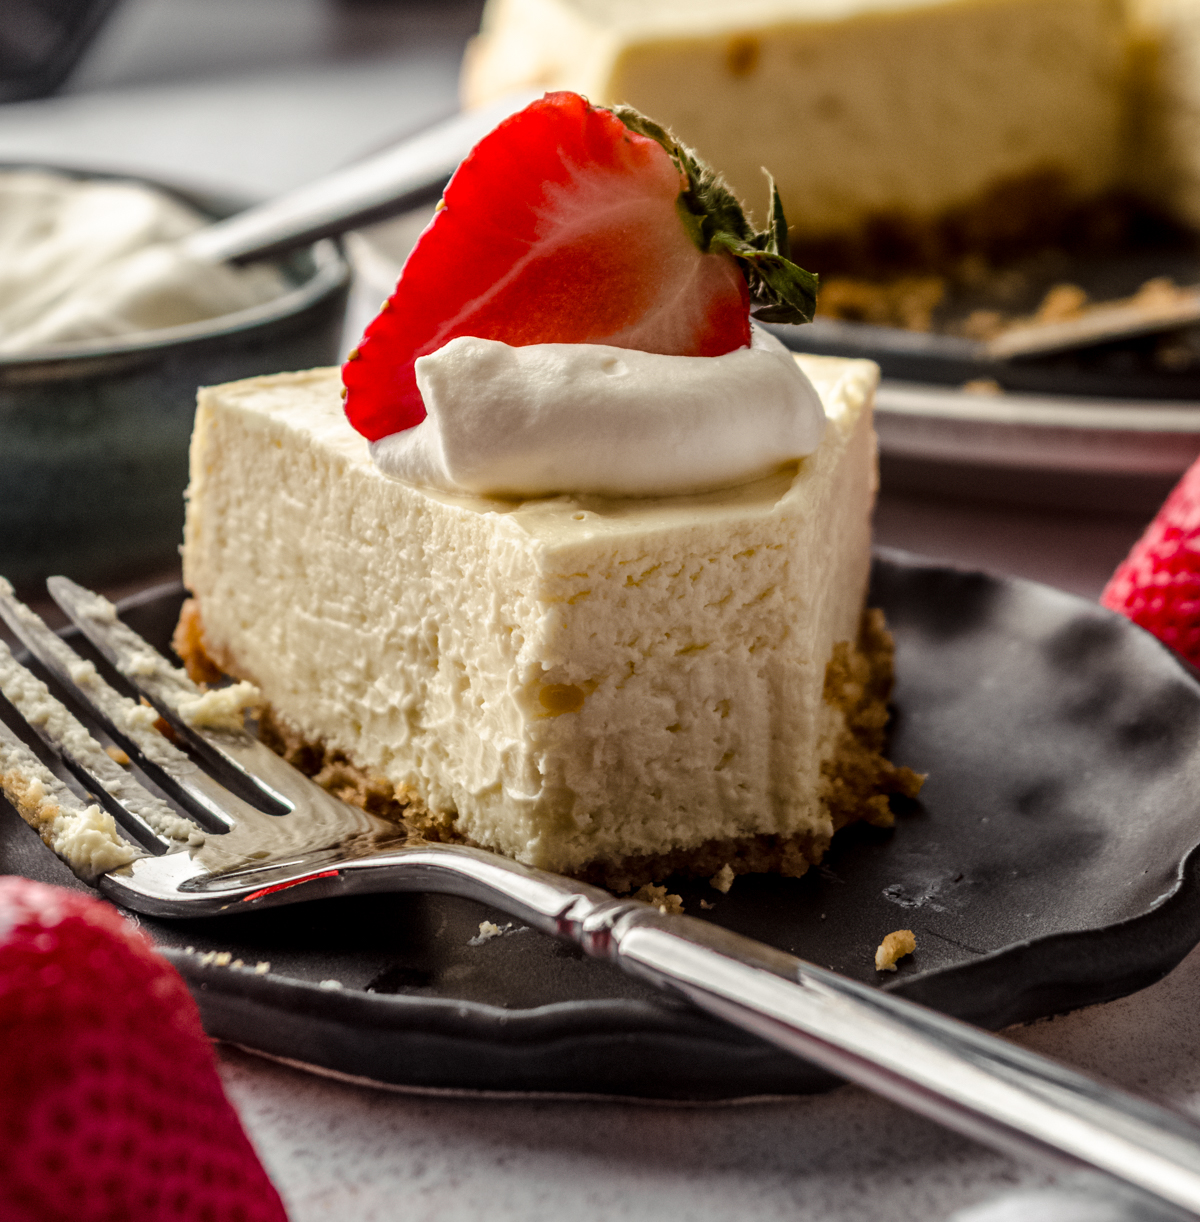
How to serve Pressure Cooker Cheesecake
While this cheesecake is absolutely delicious on its own, I have a whole slew of recipes that pair wonderfully with this sweet and tangy cheesecake.
STORING A PRESSURE COOKER CHEESECAKE
Cheesecake needs to be stored in the fridge for preservation of ingredients and freshness. Be sure it’s wrapped tightly and consumed within 5 days. It also freezes well, up to 3 months. If freezing, add any toppings before serving.
INSTANT POT CHEESECAKE RECIPE FAQs
Instant Pot Cheesecake
Ingredients
GRAHAM CRACKER CRUST
- 1 cup (110g) graham cracker crumbs approximately 6 full sheets
- 1 Tablespoon (13g) granulated sugar
- 2 Tablespoons (28g) unsalted butter melted
CHEESECAKE
- 16 ounces (450g) full fat block cream cheese completely softened to room temperature1
- ½ cup (100g) granulated sugar
- 4 ounces (113g) full fat sour cream about scant ½ cup; at room temperature1
- ½ Tablespoon vanilla extract
- 2 large eggs at room temperature1
Instructions
GRAHAM CRUST
- Spray a 7.5" springform pan2 or my very favorite Fat Daddio's cheesecake pan with nonstick spray. Set aside.
- In a food processor, crush the graham crackers until they become a fine crumb. Pour the graham cracker crumbs into a small bowl, add the sugar and stir to combine. Drizzle the melted butter over the mixture and stir until everything is evenly saturated with butter.1 cup (110g) graham cracker crumbs, 1 Tablespoon (13g) granulated sugar, 2 Tablespoons (28g) unsalted butter
- Press the graham cracker crumb mixture into the bottom of the prepared springform pan, then freeze while you prepare the filling (freeze for at least 15 minutes).
CHEESECAKE
- Fit your pressure cooker with the wire trivet, then pour 1 cup of water into the bottom. Set aside.
- In a large bowl with a handheld mixer or the bowl of a stand mixer fitted with the paddle attachment, beat the cream cheese on medium high speed until smooth, about 2 minutes. Add the granulated sugar then beat again until combined, about another 2 minutes.16 ounces (450g) full fat block cream cheese, ½ cup (100g) granulated sugar
- Reduce the mixer speed to low3, then add the sour cream and vanilla and mix until completely combined.4 ounces (113g) full fat sour cream, ½ Tablespoon vanilla extract
- Add the eggs one at a time, mixing on low after the addition of each egg and adding the next just after the previous egg starts to incorporate, and continue mixing until there are no more yellow yolk streaks.2 large eggs
- Use a large spatula to carefully fold the batter together, scraping the bottom of the bowl and the sides to gather any extra batter that may not be fully incorporated. Sometimes I need to use the mixer again, but be sure to keep it on low. Your batter should be smooth and creamy without lumps.
- Pour batter into the prepared pan, then place the filled pan into the pressure cooker so it sits in the center on top of the trivet.
- Place the lid on the Instant Pot, be sure the valve is set to "sealing," and cook on manual mode for 25 minutes.
- When the timer goes off, allow to natural release for 10 minutes before removing the top. There will be excess moisture on the top– this is fine. Leave it there as it will absorb into the cheesecake just fine. You will know the cheesecake is done when it is fully solidified, but I like to use my digital instant-read thermometer to check the internal temperature has reached 145ºF (63ºC). If the cheesecake isn't done, cook for another 5 minutes and check again.
- Allow the cheesecake to cool in the Instant Pot for 1 hour, then remove and allow to cool on a cooling rack for another 2 hours. When the cheesecake is completely cool, cover or wrap tightly and allow to chill in the refrigerator for at least 6 hours, ideally overnight.
TOPPING
- Remove the cheesecake from the fridge and use a spatula or butter knife to gently loosen the crust from the sides of the pan, then release the outer ring of the springform pan.
- Top the cheesecake with desired toppings or leave plain. Store leftovers in the refrigerator up to 5 days. Cheesecake freezes well, up to 3 months. Thaw in the refrigerator overnight.
Notes
- Room temperature: I cannot stress enough how important it is to have completely room temperature ingredients. This will insure you have the smoothest batter possible. I like to let my ingredients sit out at least 1 hour and sometimes closer to 2 hours before starting my recipe.
- Springform pan: the 7.5″ springform pan is the standard size for this size Instant Pot. You can also use a 6″ springform pan or 6″ Fat Daddio’s pan which will work in the 6 quart Instant Pot or in the smaller 3 quart size. Cook time is the same.
- Mixer speed: it’s important not to go above low (or low-medium) speed after you’ve beaten the cream cheese. Incorporating too much air will create bubbles and potential cracks in your finished cheesecake.
- Oven: you can use this size of pan to make a smaller cheesecake. Prepare a water bath with the method outlined in my cheesecake water bath post using 8″ round and 10″ round cake pans. Bake time is approximately 60-70 minutes.
Nutrition Disclosure
All nutritional values are approximate and provided to the reader as a courtesy. Changing ingredients and/or quantities will alter the estimated nutritional calculations.
This was sooooo good! It turned out perfect in the instant pot, much to my surprise. Makes a nice size dessert for a smaller group. I served this with a few spoonfuls of fresh blueberry sauce on top.
I’m so glad you enjoyed it, Joanne! Thank you!