Shoofly Pie Recipe
As an Amazon Associate, I earn from qualifying purchases. Read the full disclosure here.
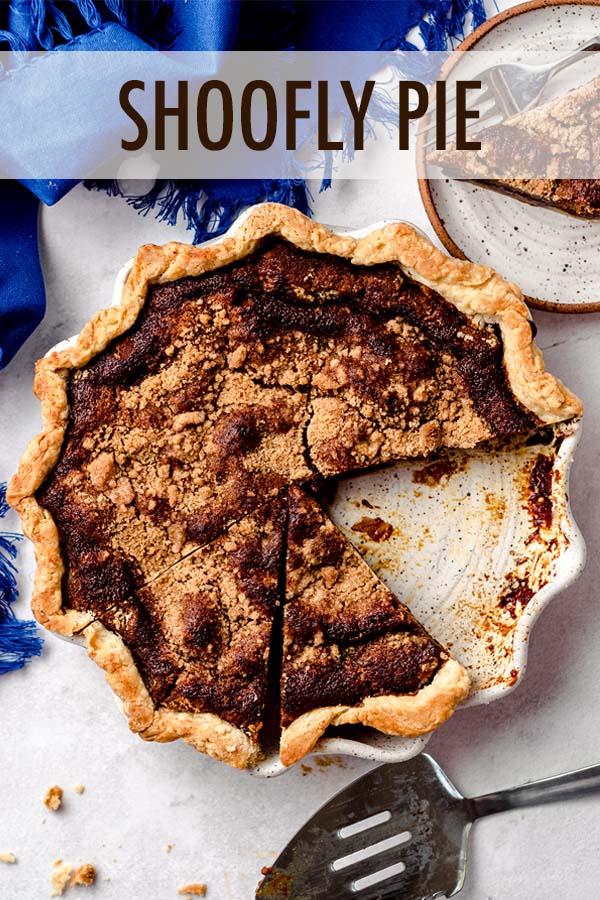
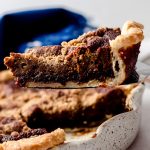
This simple shoofly pie recipe features a sticky molasses bottom and spiced crumb topping in a buttery and flaky homemade pie crust.
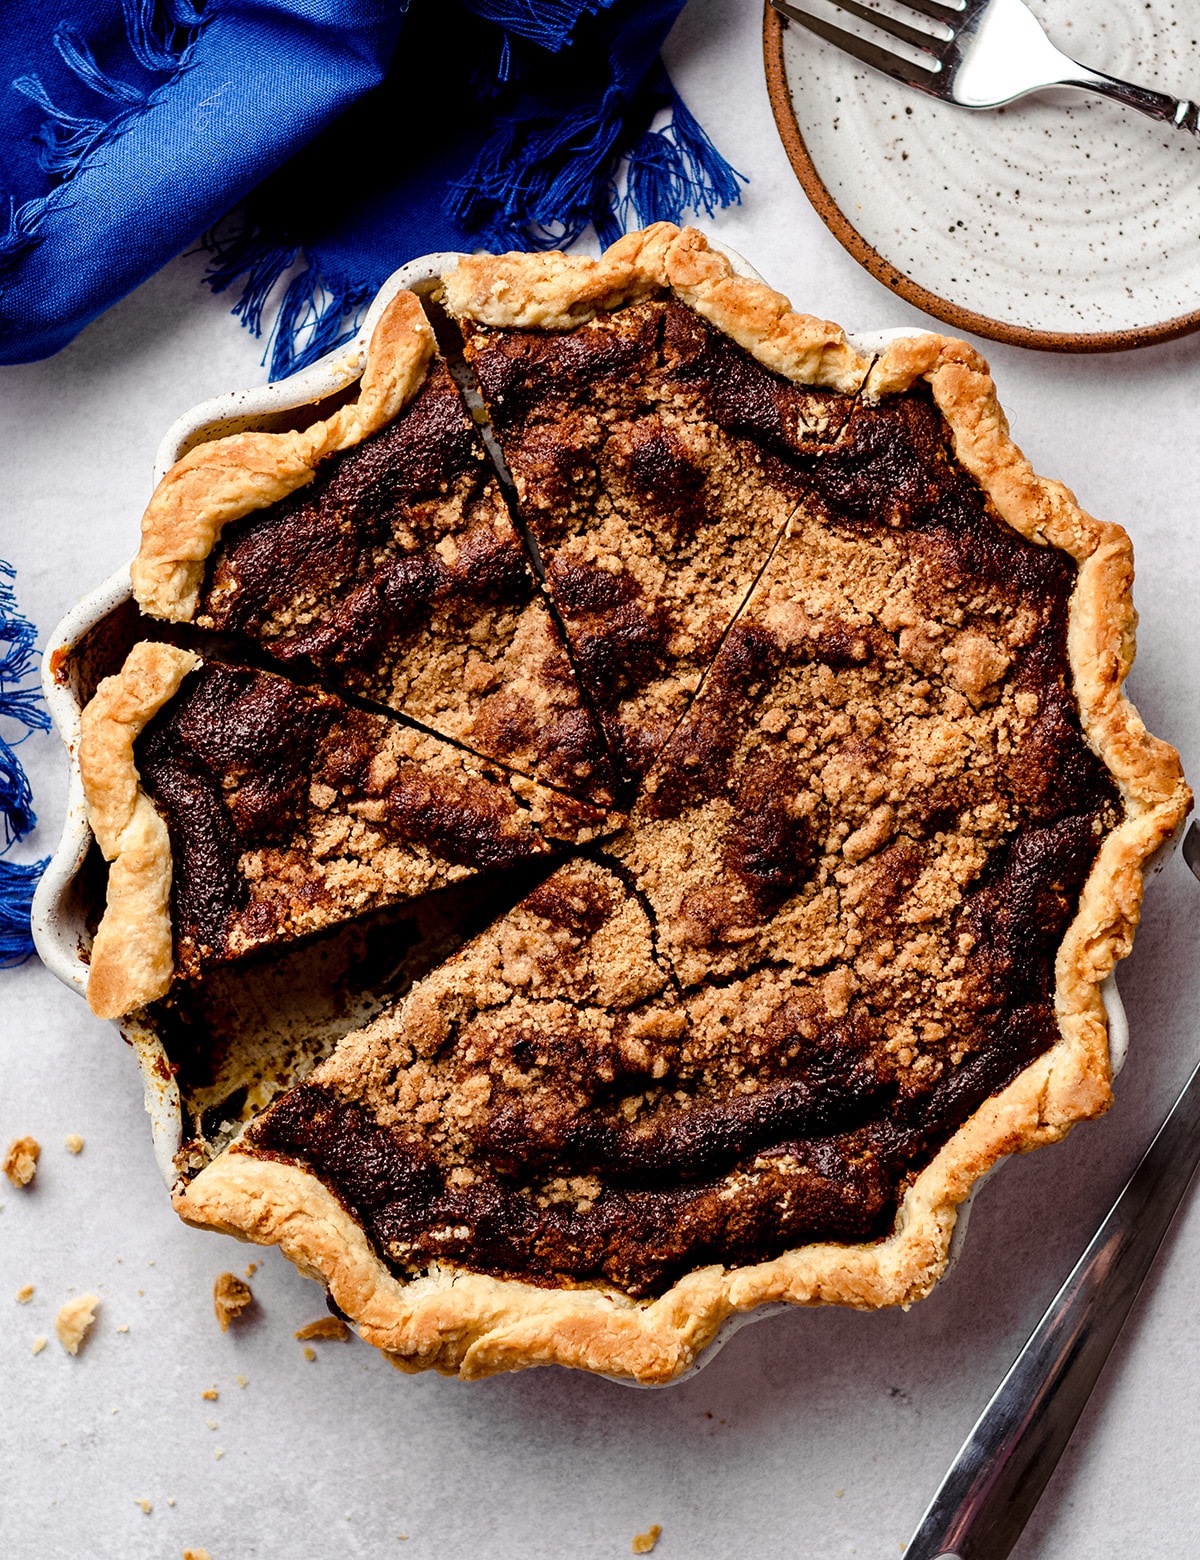
You will love this Wet Bottom Shoofly Pie Recipe
It wasn’t until I started sharing recipes on the internet that I realized my upbringing and early adulthood (geographically) has influenced the foods I like and am familiar with. I grew up in central Pennsylvania, with parents who were children of both Italian immigrants and folks who had grown up with Pennsylvania Dutch influence themselves.
This means that I make my meat sauce from scratch, learned the staples of yeast bread making with my grandmother’s recipe, have eaten chicken pot pie in *gasp* soup form, have spread apple butter on nearly everything, and enjoy brown butter on plain noodles.
When I went off to college in Lancaster County (Pennsylvania), I chose one that was right in the heart of Amish country, so I learned even more about the traditional foods of that culture like whoopie pies, molasses in everything, and shoofly pie.
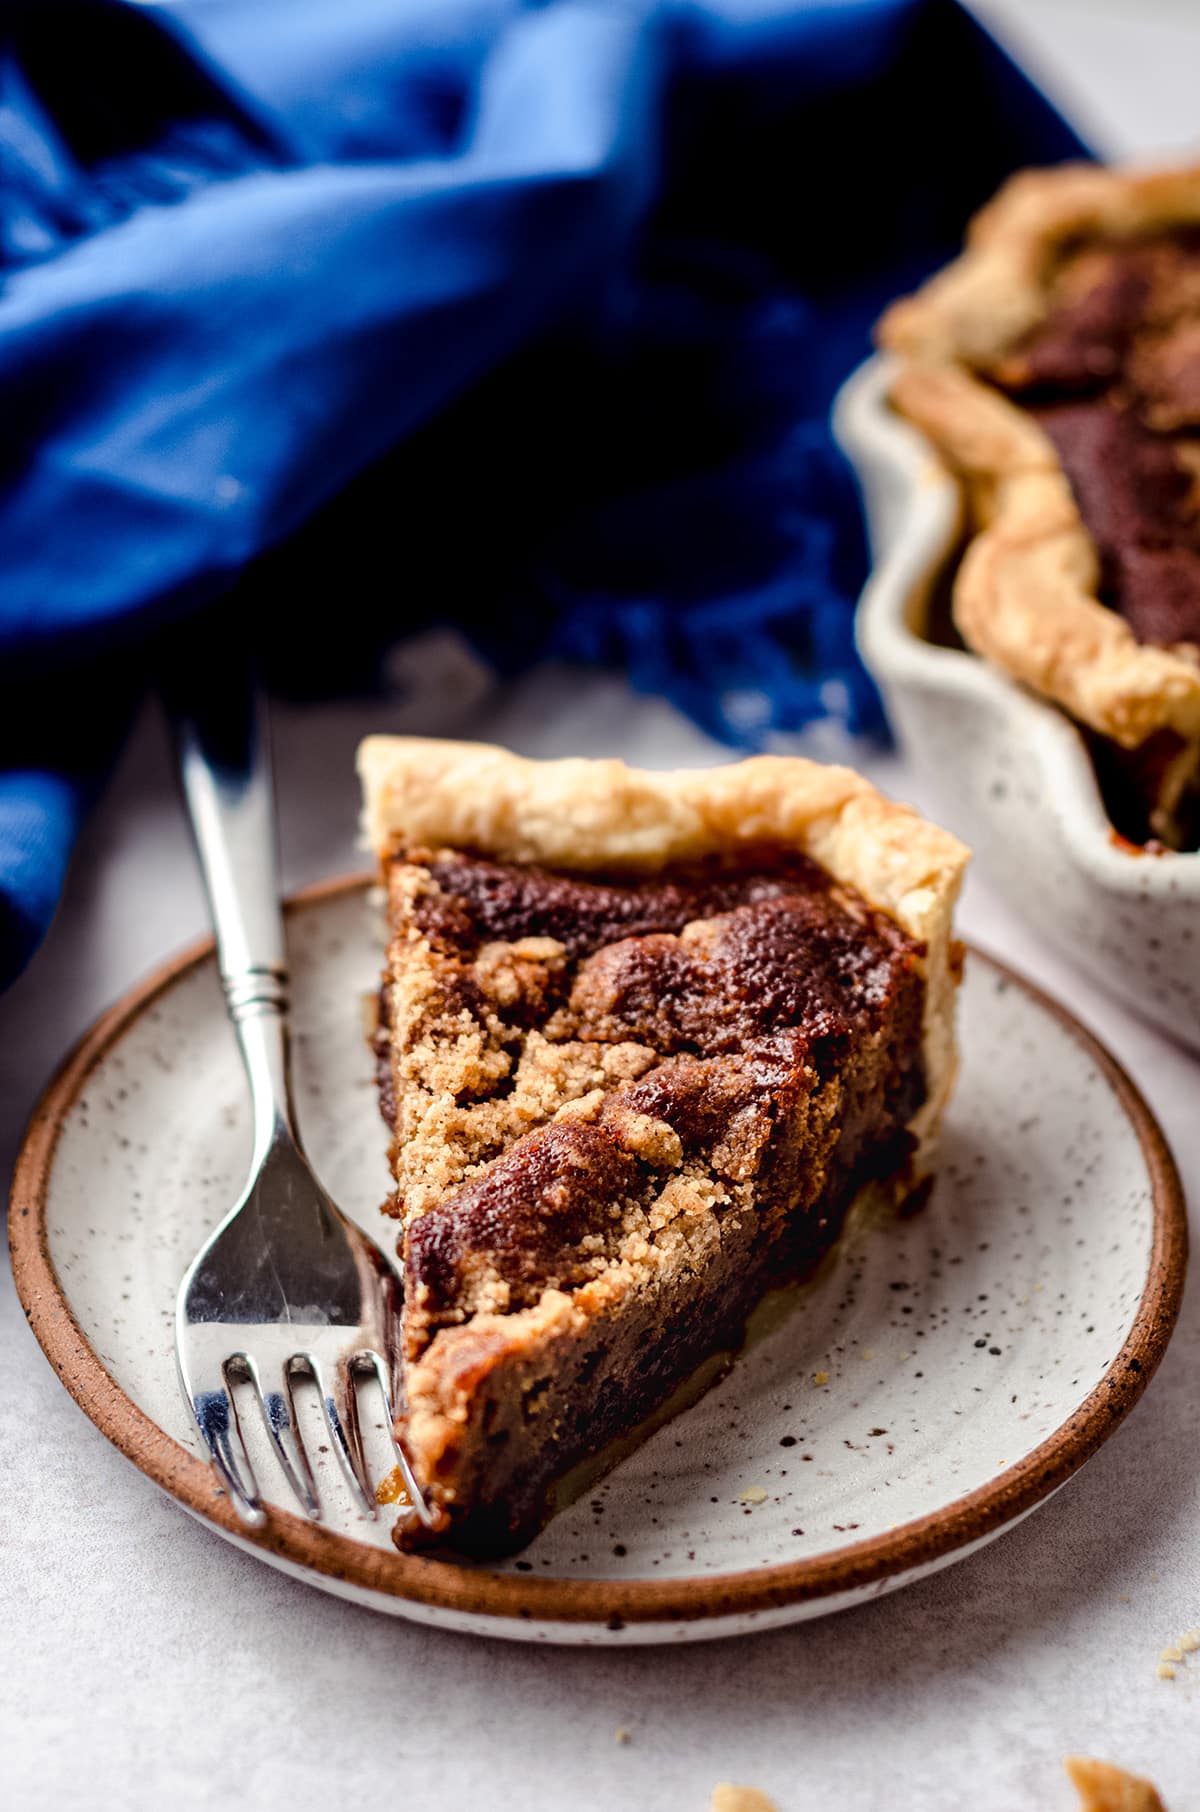
I met my husband Matt in college, and he’d grown up with even more Amish and Pennsylvania Dutch influence than I had. Needless to say, much of the start of our relationship was spent surround by a lot of that delicious food (and slowing down on the road for countless horses and buggy), and it did not take me long to find out that shoofly pie was his favorite.
All that said, when I asked you on Instagram if you knew what this pie was, many of you had either heard of it but never had it or had never even heard of it.
So I figured that this year’s Pie of The Month series had to include this Pennsylvania Dutch staple, and if you like spicy molasses, you’re going to love this pie.
WHAT IS SHOOFLY PIE?
Shoofly pie is very basic. There’s a pie crust (duh), a molasses bottom/filling, and a sandy crumb topping.
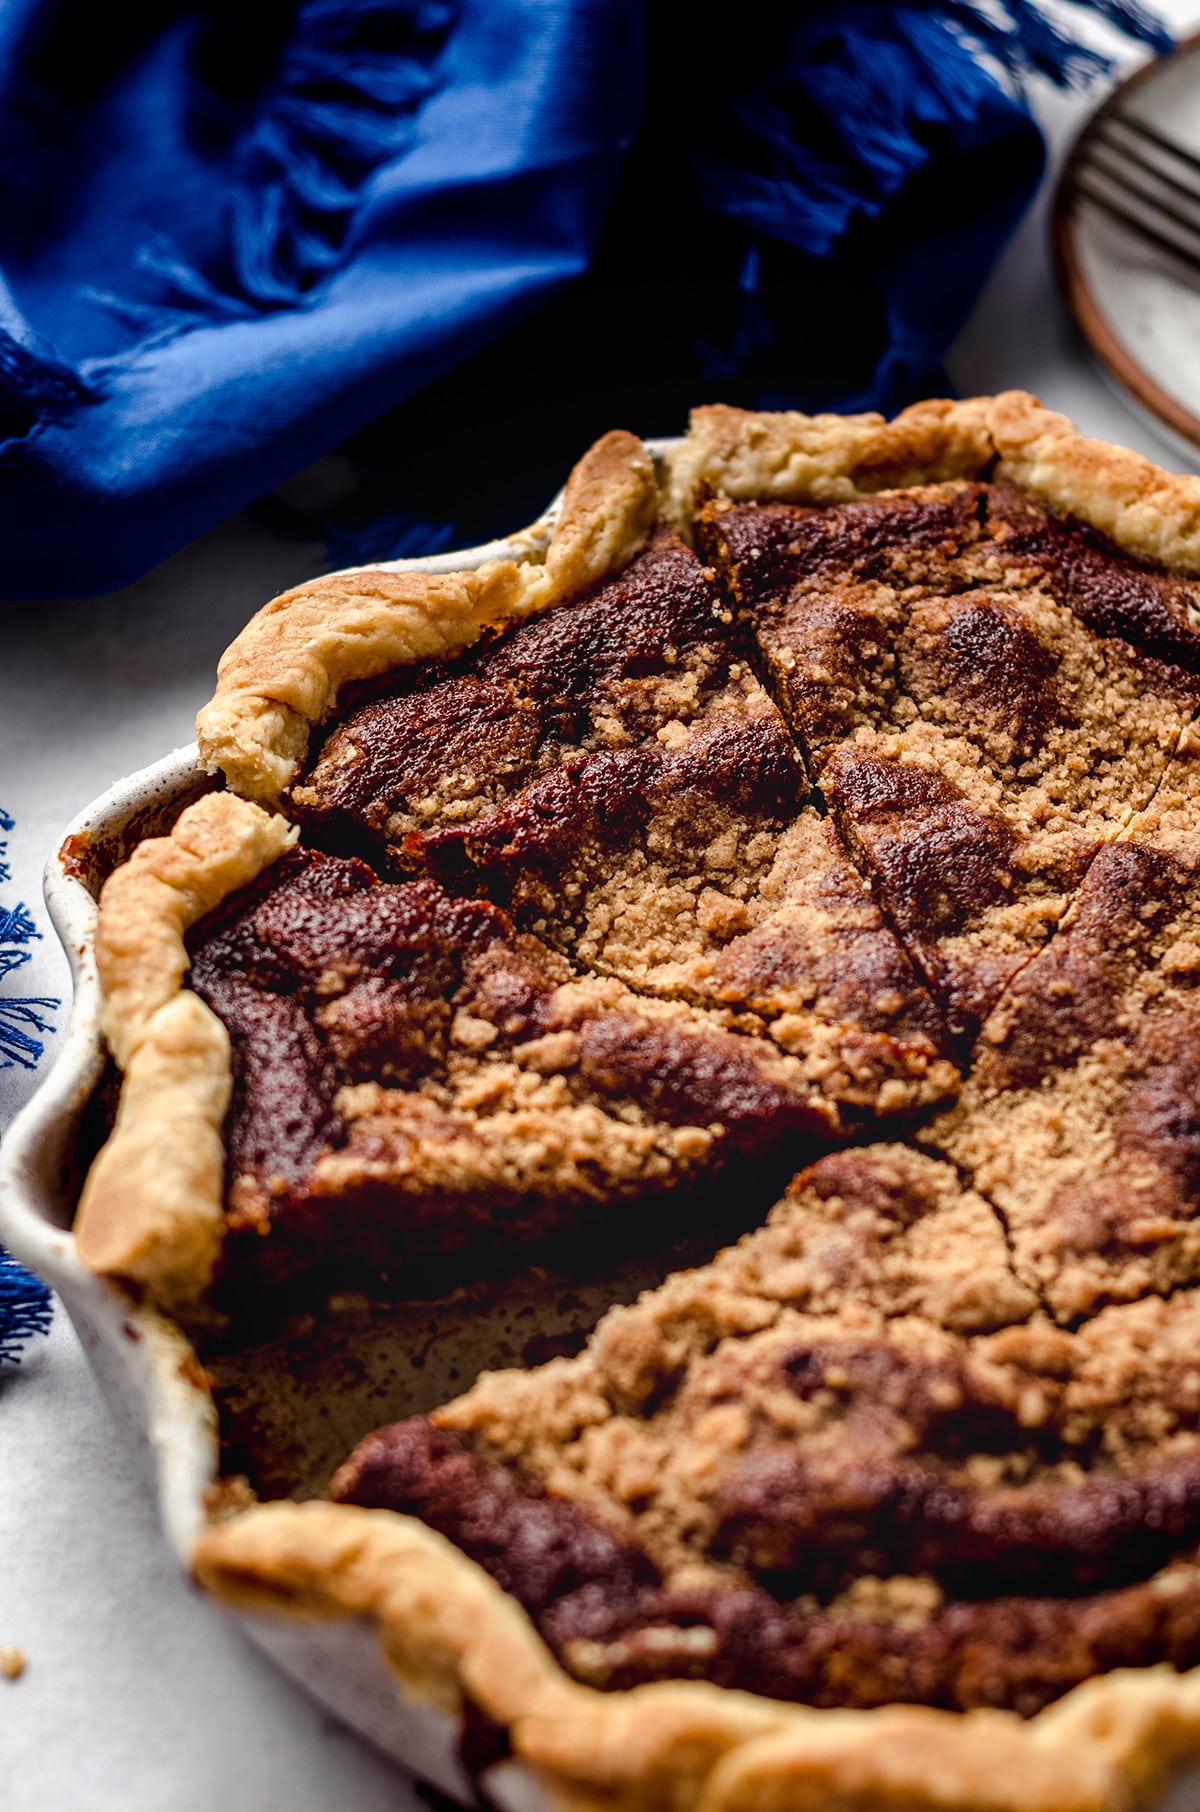
The molasses, in my opinion, is considered the bottom and the filling because it sort of really is both. The molasses gets poured into the pie crust then topped with the crumb topping, which partially soaks up the molasses and partially stays sitting on top.
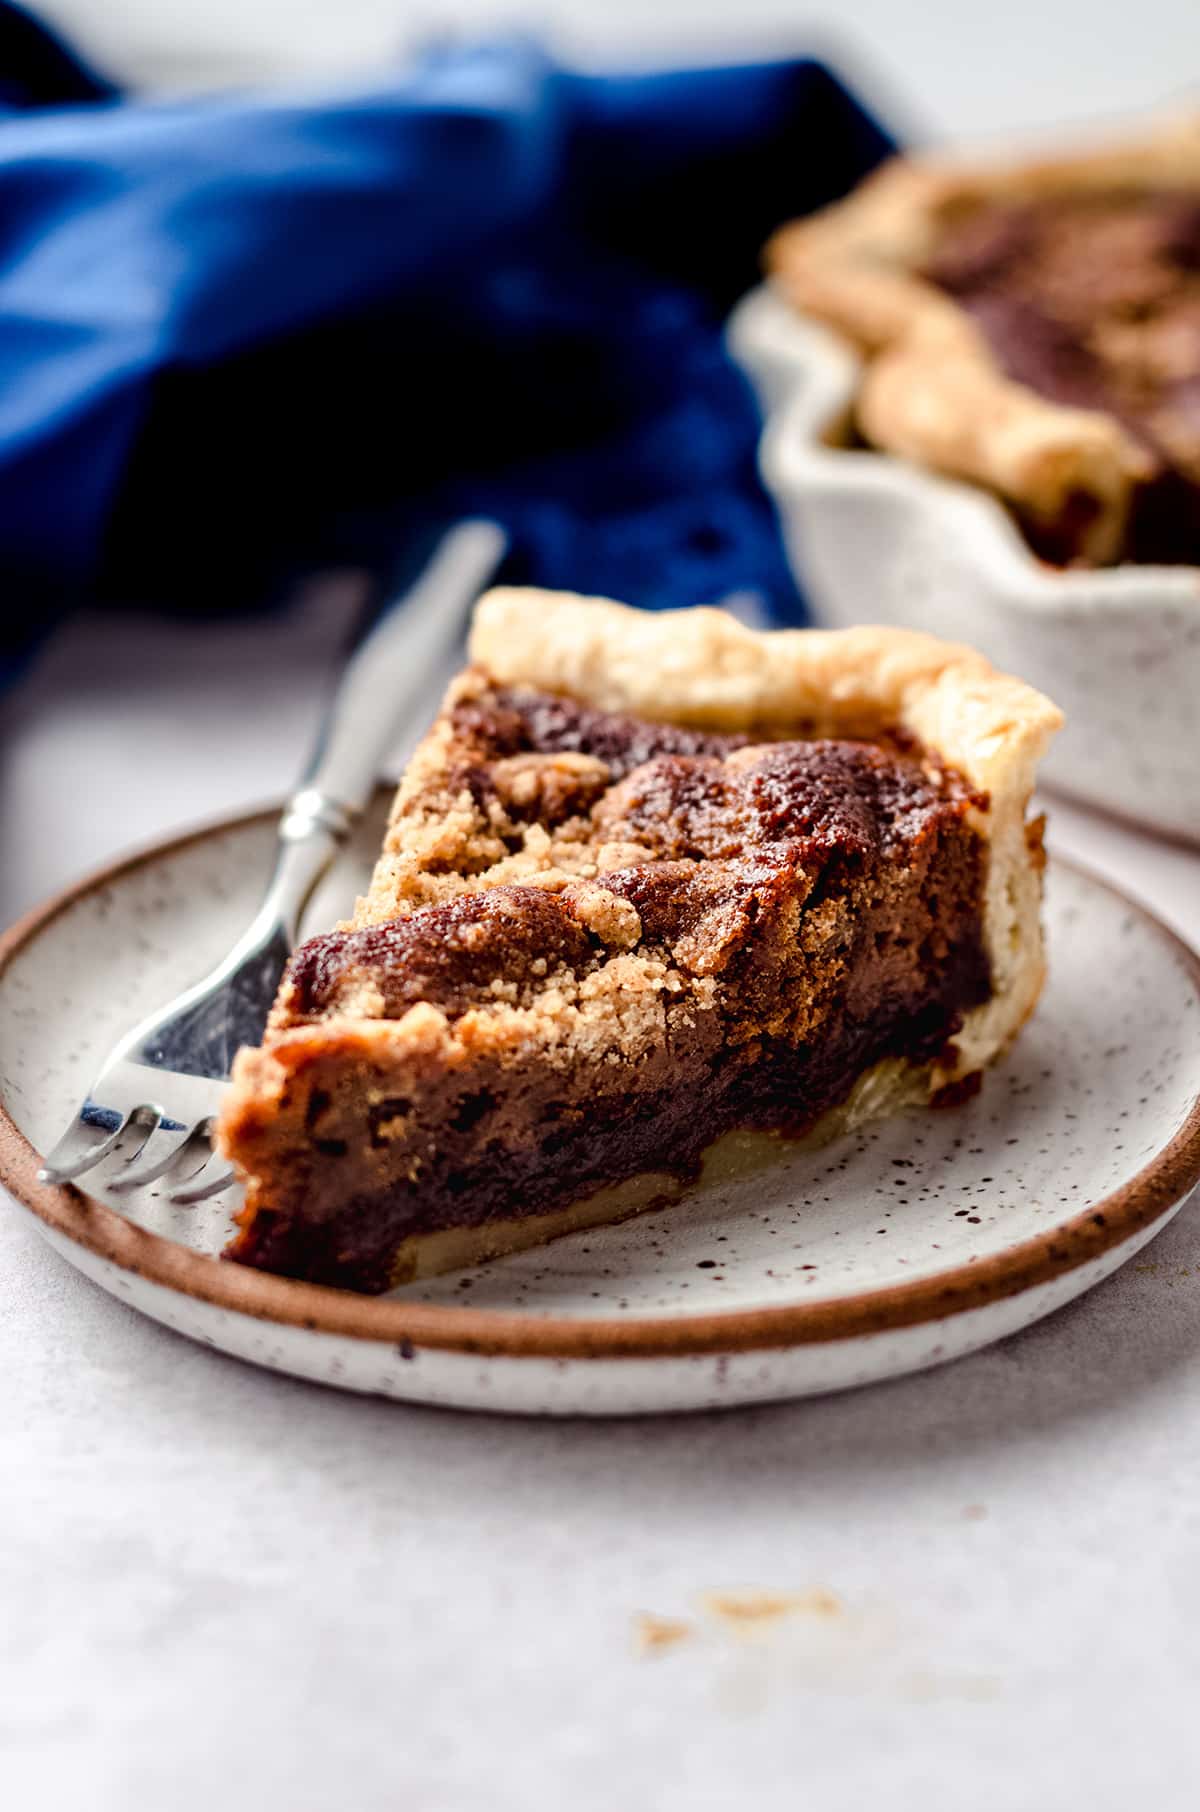
So rather than two distinct layers that are sharply defined (like a lemon meringue pie), we have two layers that sort of mingle in the center to create all kinds of textures in each bite.
WHY IS IT CALLED SHOOFLY PIE?
Allegedly, the name “shoofly” comes from Shoofly the Boxing Mule, who was part of a popular traveling circus act in Southeastern Pennsylvania when shoofly pie was first made in the early 1700s. I have also personally heard the name comes from literally shoo-ing away flies from the pie because it is sweet and adored by both humans and flies.
WET-BOTTOM VS DRY-BOTTOM
I know. The classifications here are… Questionable. But when you’ve had both types of shoofly pie, you can understand the distinction a bit better.
In a dry-bottom shoofly pie recipe, you bake the pie until the filling is mostly set. This results in a more cake-like consistency.
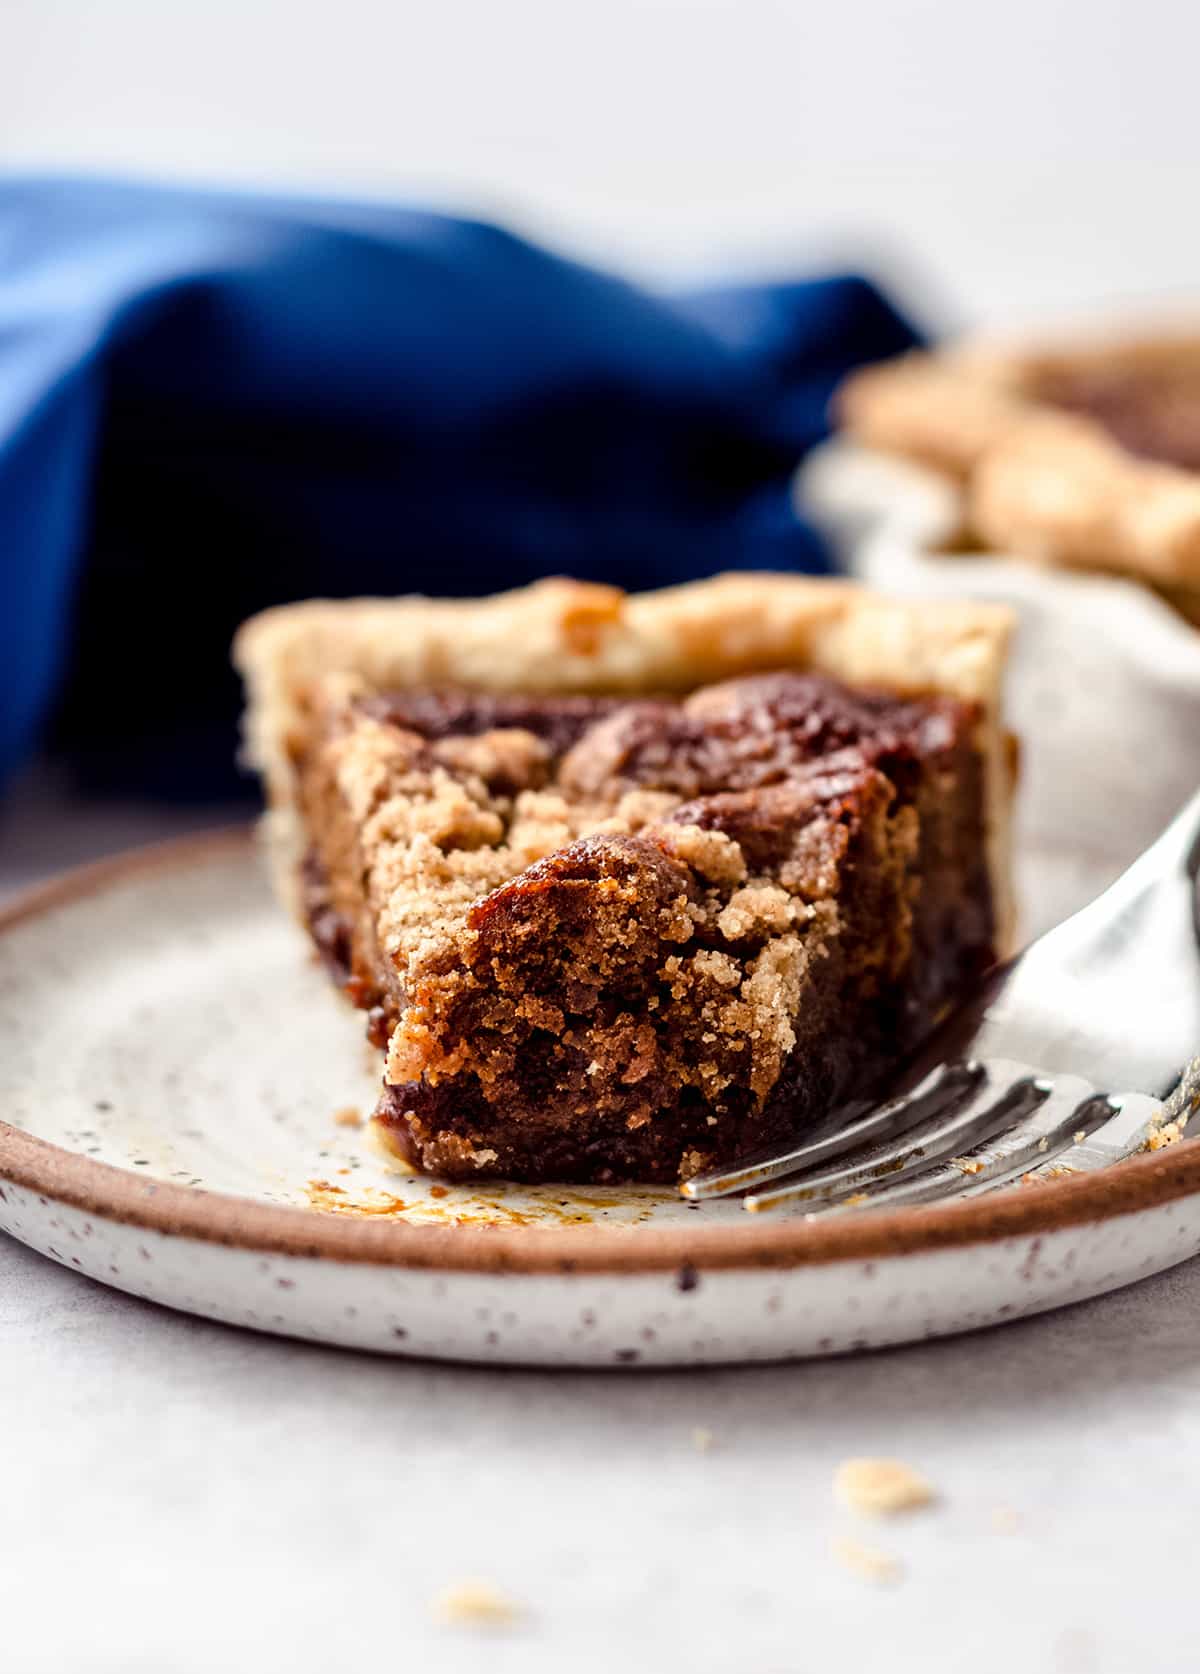
In a wet-bottom shoofly pie, we get a cake-like texture near the top of the cake where the molasses mixes with the crumb topping, but a gooey consistency lives near the bottom at the crust.
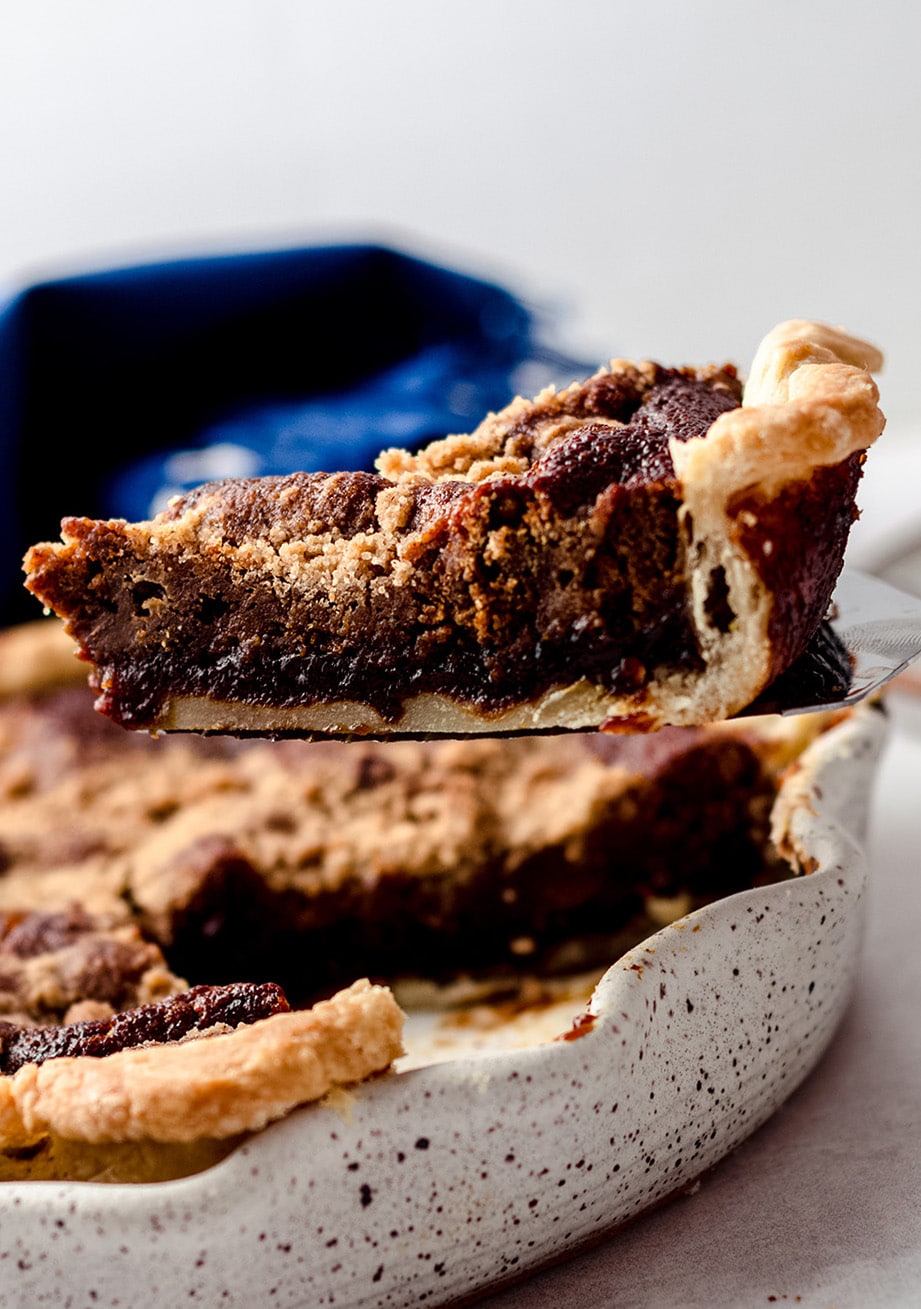
This particular shoofly pie recipe is of the wet-bottom kind, which is my personal favorite style. And if you’ve never had shoofly pie before and this would be your first experience with it, I think that wet-bottom is the way to really get your feet, well, wet, with this Pennsylvania Dutch staple.
Shoofly Pie ingredients
Since this shoofly pie recipe is made up of such basic ingredients, it’s really important for every component to shine. That means good quality ingredients like real butter and– if you want to be on my good side— homemade pie crust.
PIE CRUST
Yeah, sure you can get a decent-quality frozen crust at the grocery store, but why would you? Why would you when you can make the most amazing, buttery, and flaky pie crust right in the comfort of your own home?
Even if you’ve never made a pie crust from scratch before, I promise you that success can be yours! My homemade pie crust recipe is great for beginners, and it includes step-by-step instructions. I highly (and I mean highly) recommend you take the foray into the world of homemade pie crust.
For this recipe, you’ll need just a single crust (half of the recipe). You can either cut the recipe in half or seize the opportunity to make another pie (more pie is never a bad thing) with the other half. You could also totally whip up a batch of my pie crust cookies. They are pretty amazing for dipping if I do say so myself.
Just make sure if you’re using a homemade crust that you factor in enough chilling time. You’ll need to chill the dough for at least 2 hours, but I really think overnight or longer is best.
I like to make the dough before I go to bed the night before, and then it’s ready to roll out in the morning, or whenever you plan on baking. Easy peasy!
CRUMB TOPPING
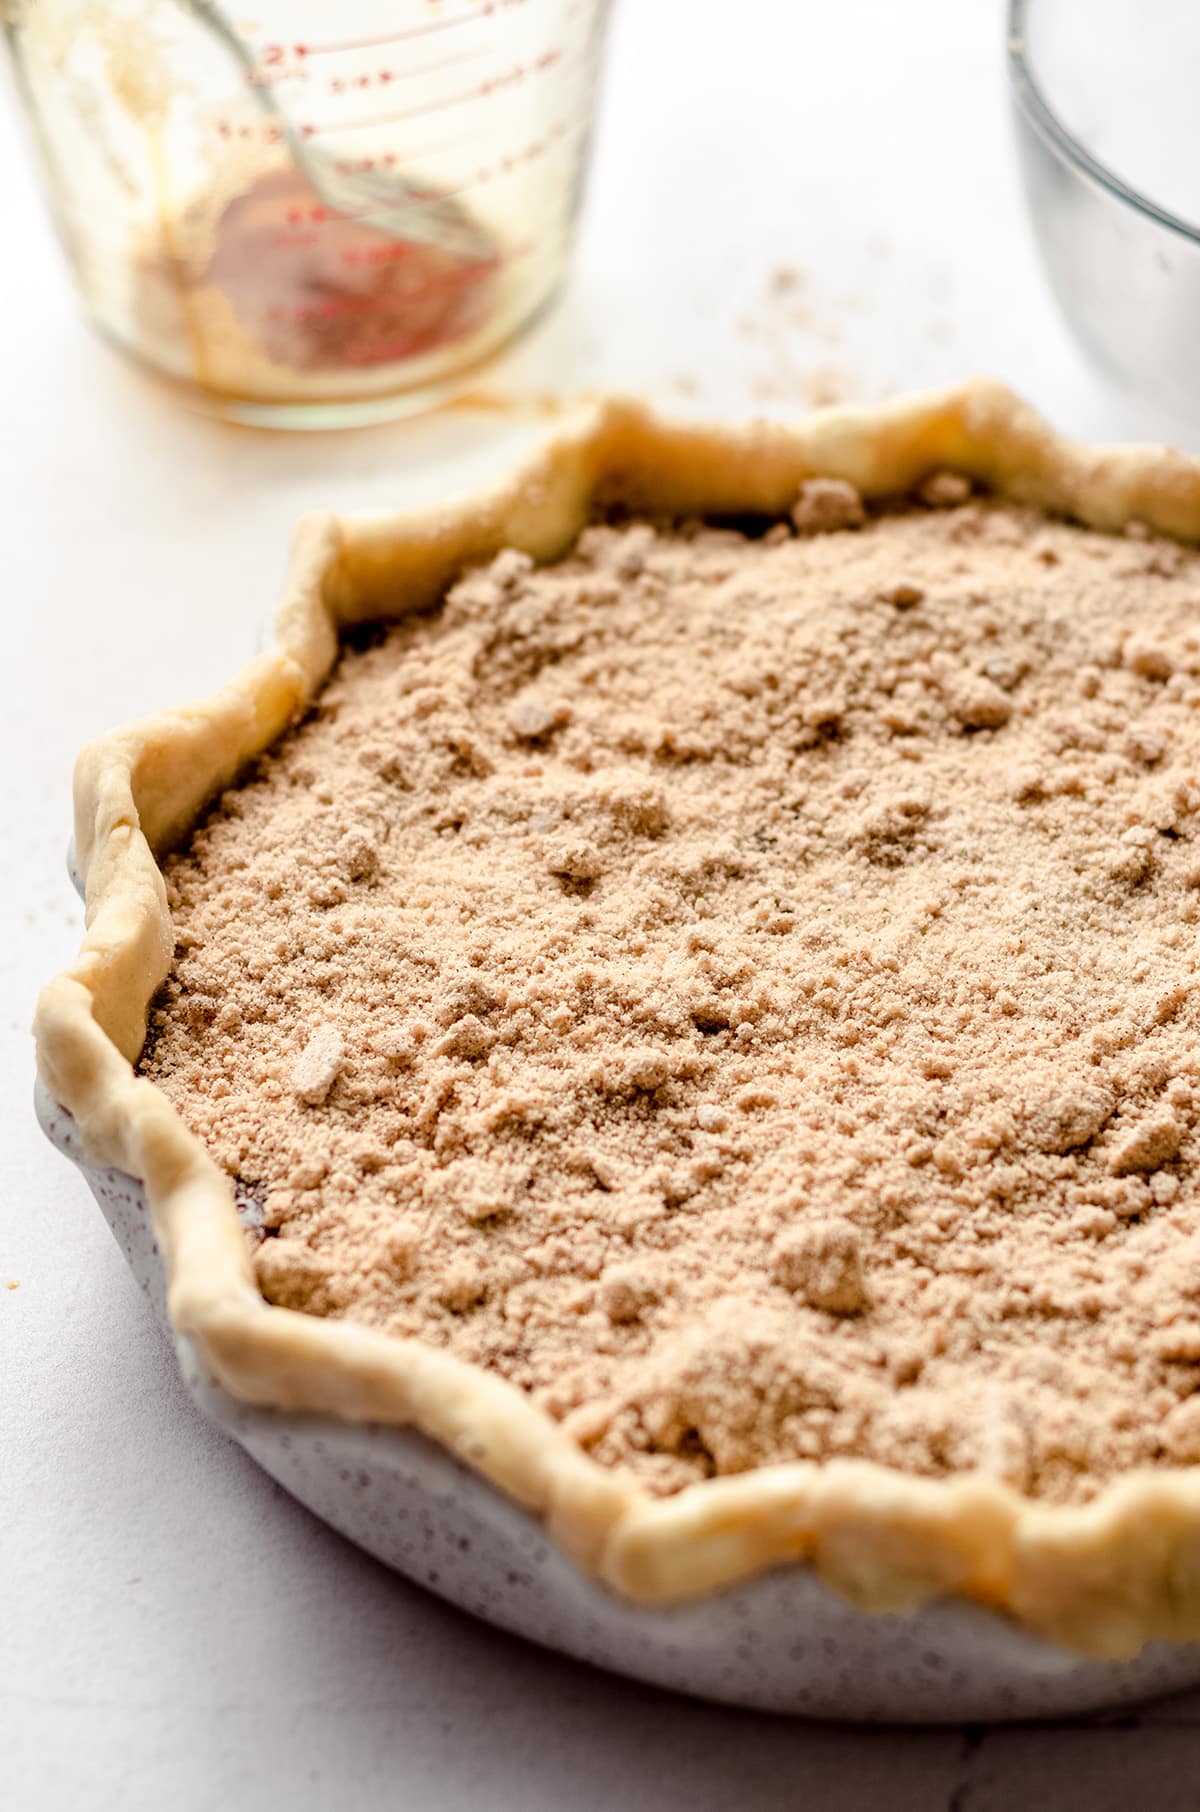
A signature element of the much beloved Pennsylvania Dutch classic is the crumb topping. Shoofly pie is characterized by the luscious, molasses-packed filling and a sandy, buttery topping.
The best part? You don’t need any fancy schmancy ingredients to make it. All you need is flour, brown sugar, cinnamon, nutmeg, salt, and butter. All ingredients you probably have at home right now!
MOLASSES FILLING
And now, for the star of the show: the gooey (in this case) and rich molasses filling! While the individual ingredients can vary slightly when comparing wet bottom versus dry bottom shoofly pie recipes, it really rests mostly in the hands of how you bake the pie.
My version’s filling contains just three simple ingredients: molasses, boiling water, and baking soda. And I mean, who counts water as an ingredient? So really I would say just two simple ingredients. Molasses and baking soda.
I’ve seen some recipes use corn syrup for the filling, but this authentic Pennsylvania Dutch shoofly pie would tell you that’s an unnecessary ingredient. You’d be shocked at what this simple molasses mixture can do for this wet bottom shoofly pie.
HOW TO MAKE SHOOFLY PIE
Now that we’ve covered the (totally non-exhaustive) list of ingredients, we’re ready to get started making this classic shoofly pie!
STEP #1
To get started, I always like to preheat the oven even before rolling out the pie crust. That way it’s super hot when I add the pie, giving it nice crispy edges and a fully cooked bottom. Before you preheat, make sure to move your oven rack to the middle position (if it’s not already there) and then set the temperature to 450ºF (232ºC).
PREPARE THE PIE PLATE
STEP #2
Since we are using a standard 9″ pie plate for this recipe, rolling your dough to 12″ will give you enough room to create a lovely fluted edge. Use a lightly floured surface and thoroughly chilled dough and you should have no problem rolling it out.
STEP #3
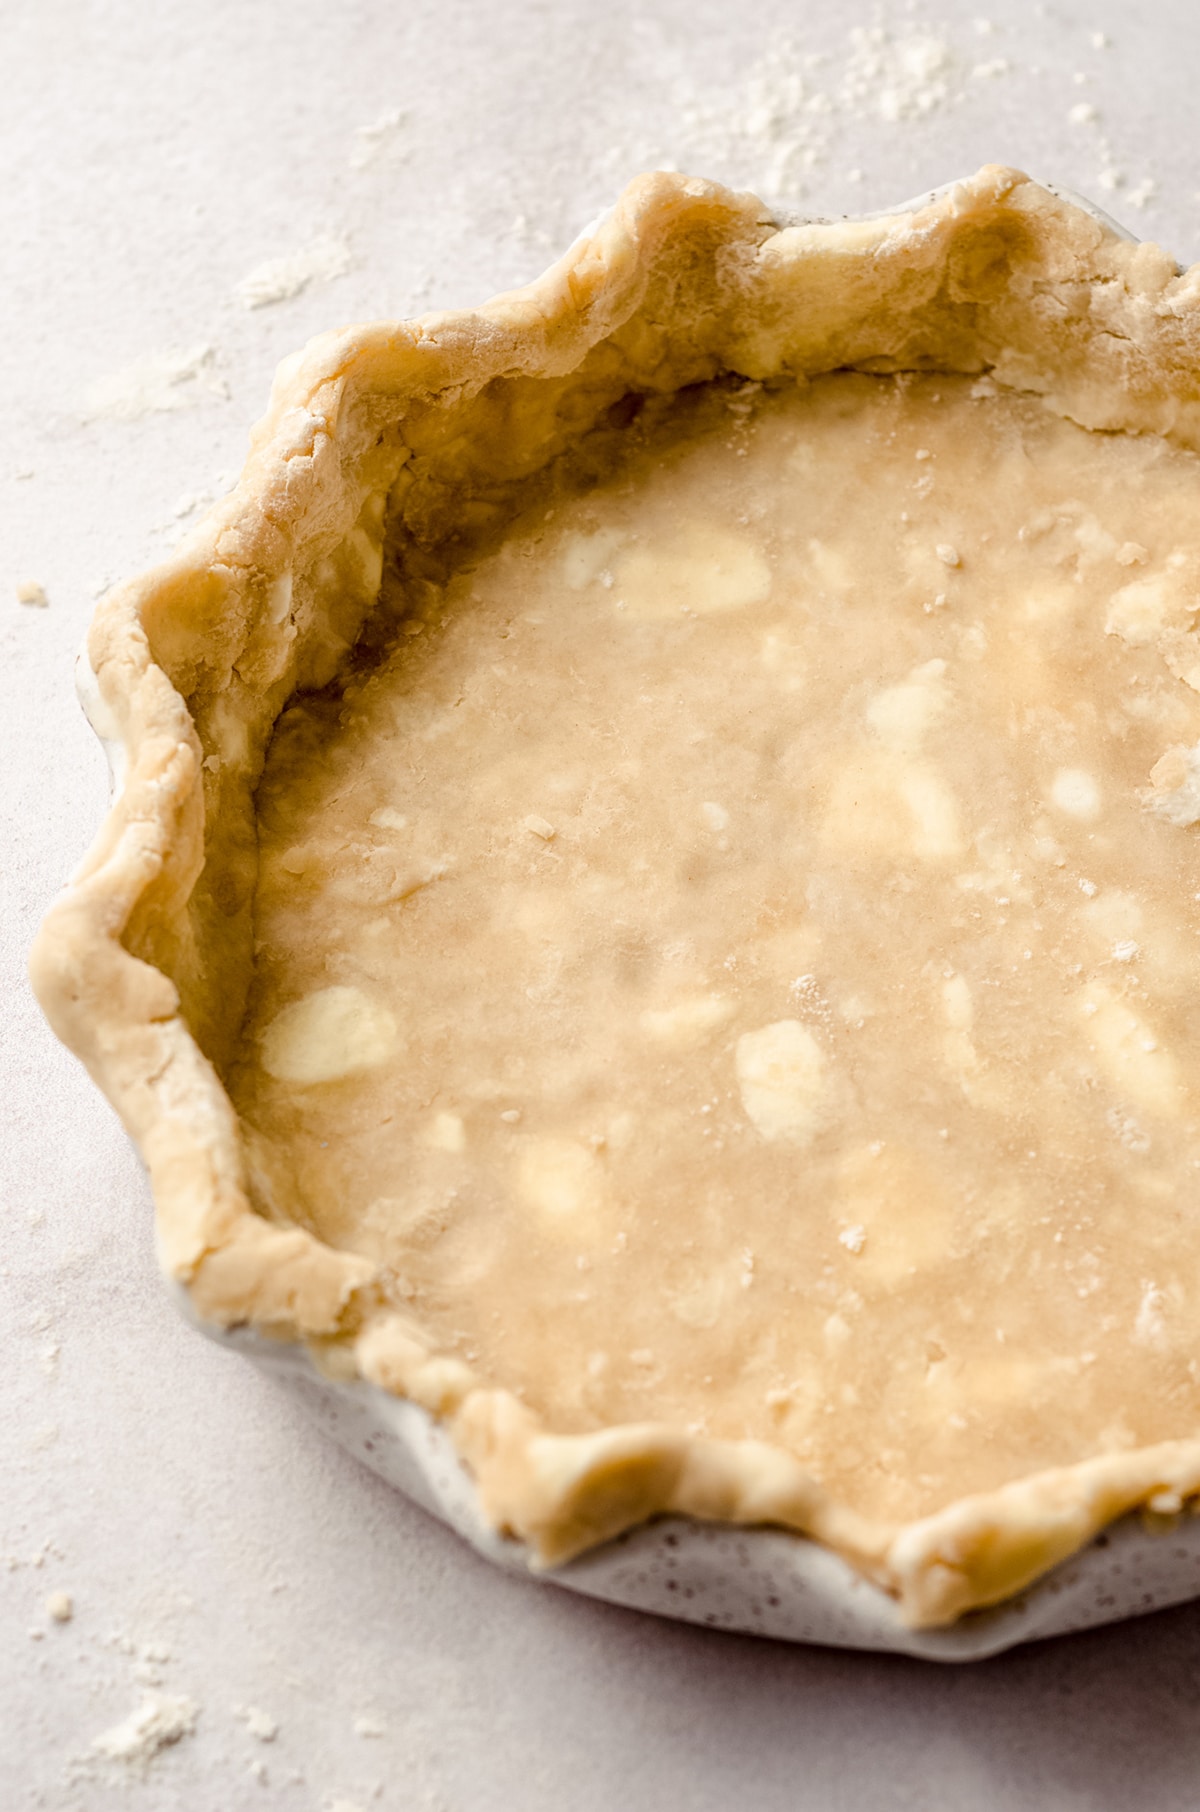
Fit your pie plate with the crust (check out my homemade pie crust post for detailed instructions if you need it) and crimp the edges. Then put the prepared pie plate in the refrigerator, letting it chill while you prepare the crumb topping and molasses filling.
MAKE THE CRUMB TOPPING
Next, we are going to make the crumb topping, which is a signature element of the classic shoofly pie.
STEP #4
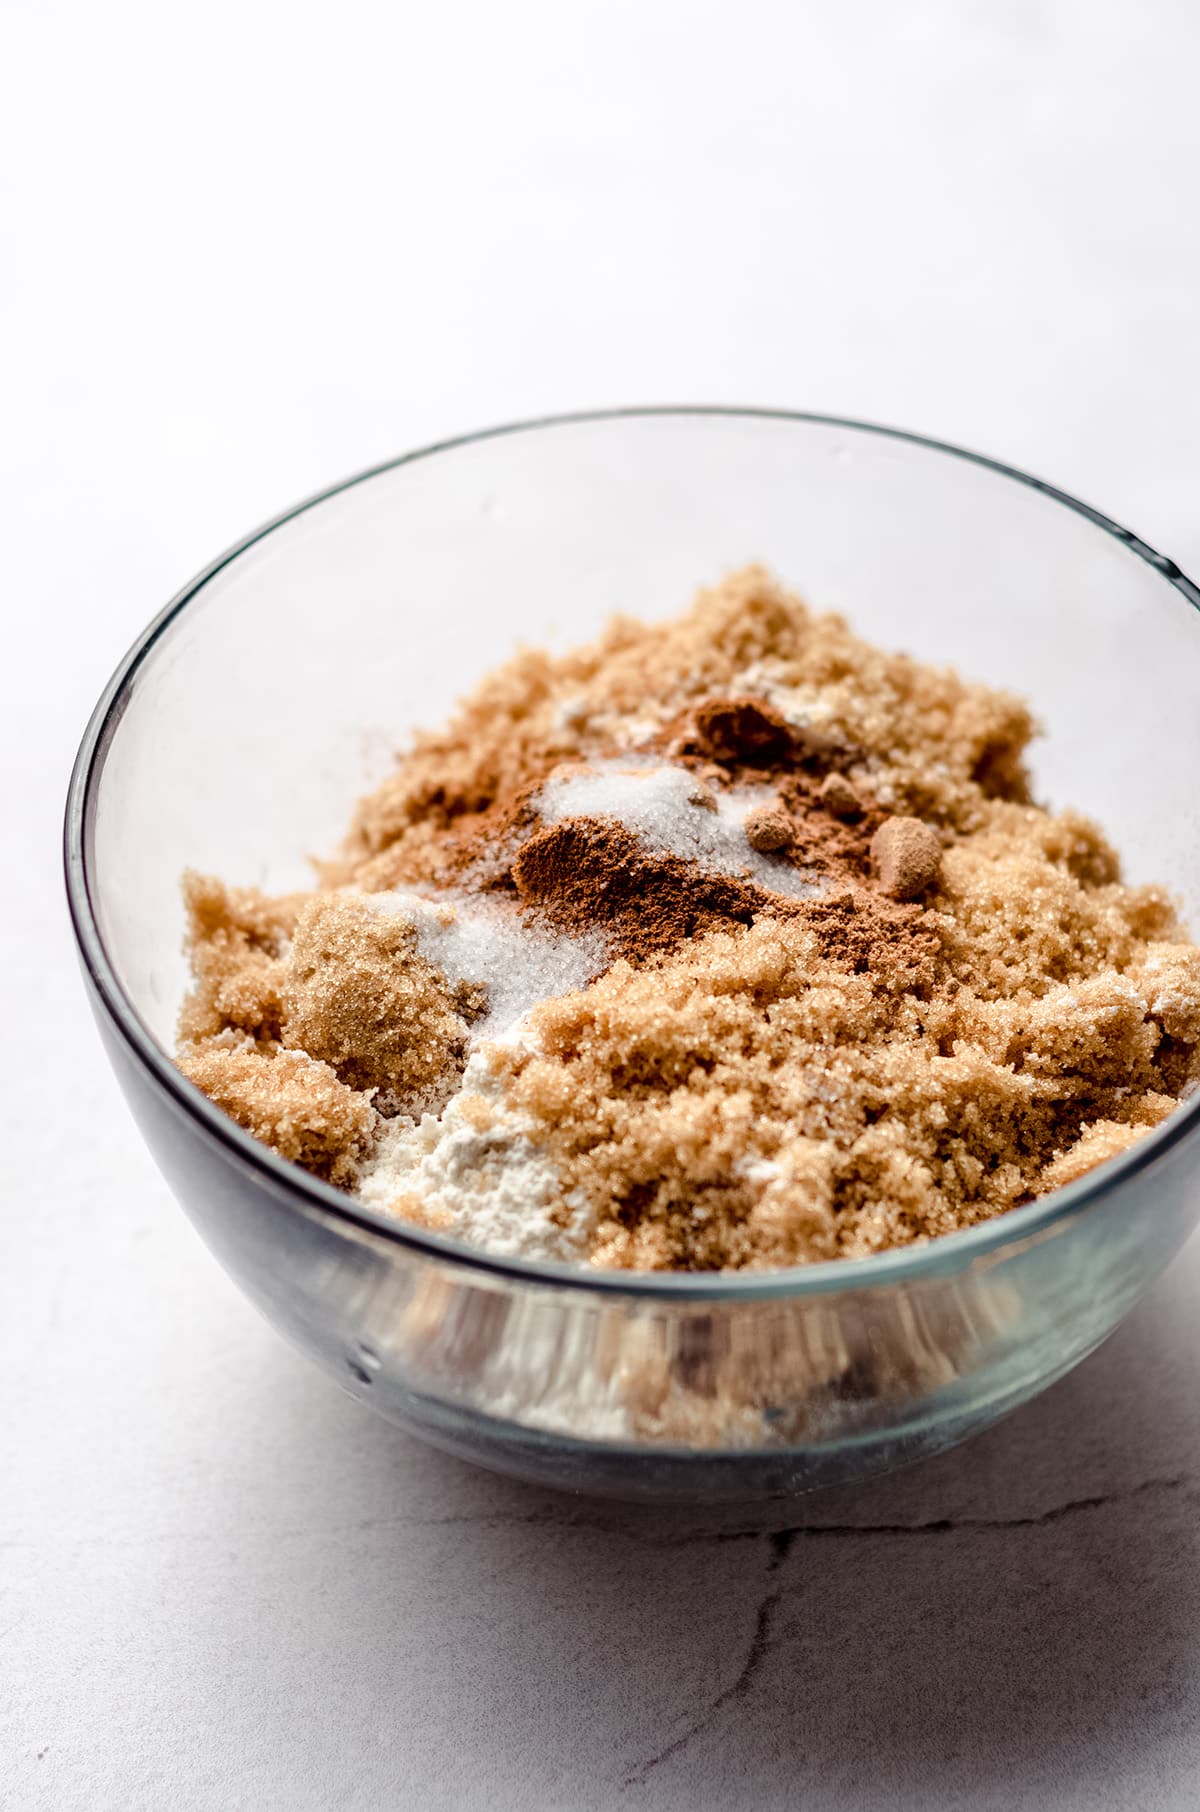
All you have to do is add the flour, brown sugar, cinnamon, nutmeg and salt to a small bowl and give everything a whisk to combine.
STEP #5
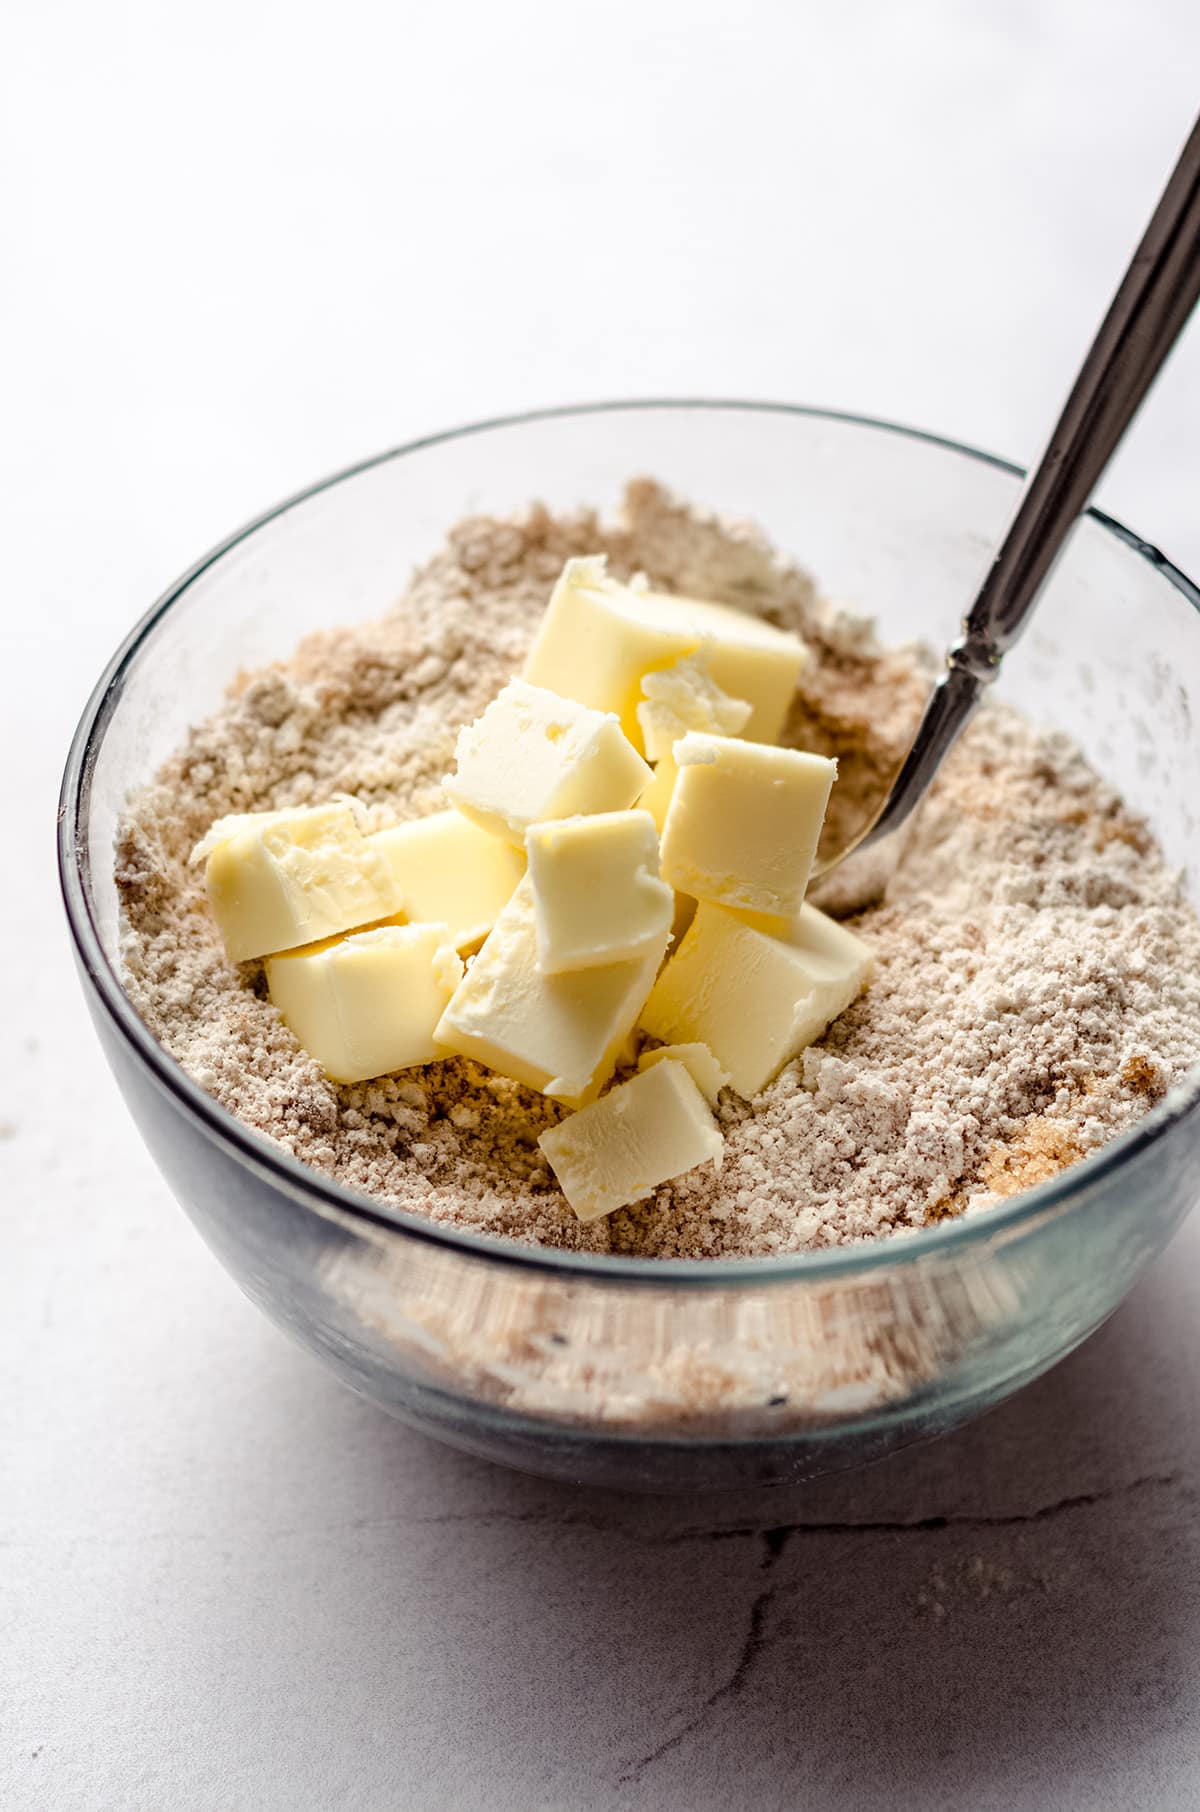
Then, we add some small cubes of butter. Use a fork (or a pastry blender) to cut the chunks of fat into the mixture. Then go ahead and get right in there with your hands to further blend the butter until it resembles sand.
When we make things like coffee cake, we like to keep the streusel topping nice and chunky. But for the best shoofly pie, you want a nice sandy crumb topping so that the gooey molasses can shine on the bottom of the pie, the streusel shines on the surface of the pie, and somewhere in the middle, you get a mixture of both.
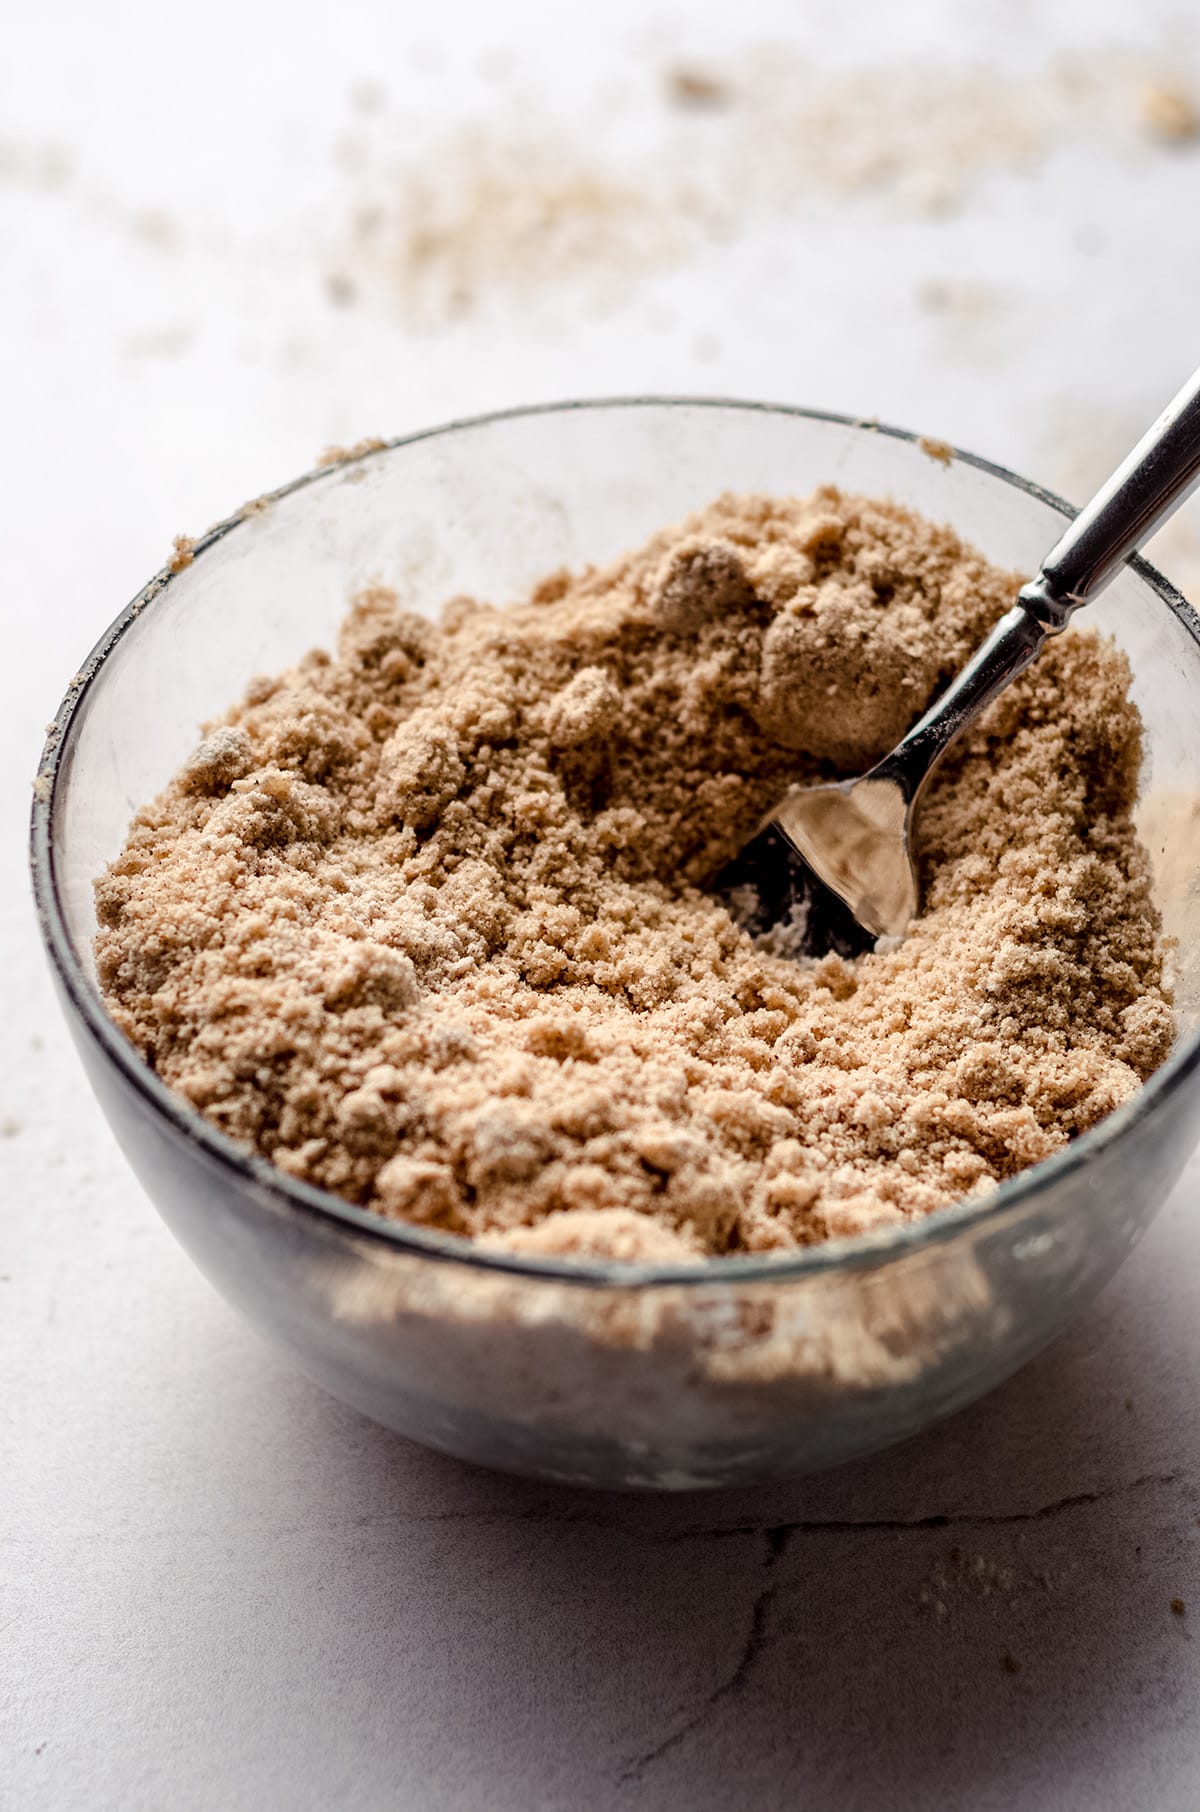
Once your crumb topping is sandy and ready to go, set it aside and we’ll get started on the sweet molasses filling. And you know, I really can’t decide what’s the best part: flaky crust, molasses filling, or the perfect crumb topping. I guess that’s the beauty of pie– you don’t have to choose!
MAKE THE MOLASSES FILLING
STEP #6
Add your molasses to a medium size bowl, or (better yet) a large glass measuring cup with a spout.
STEP #7
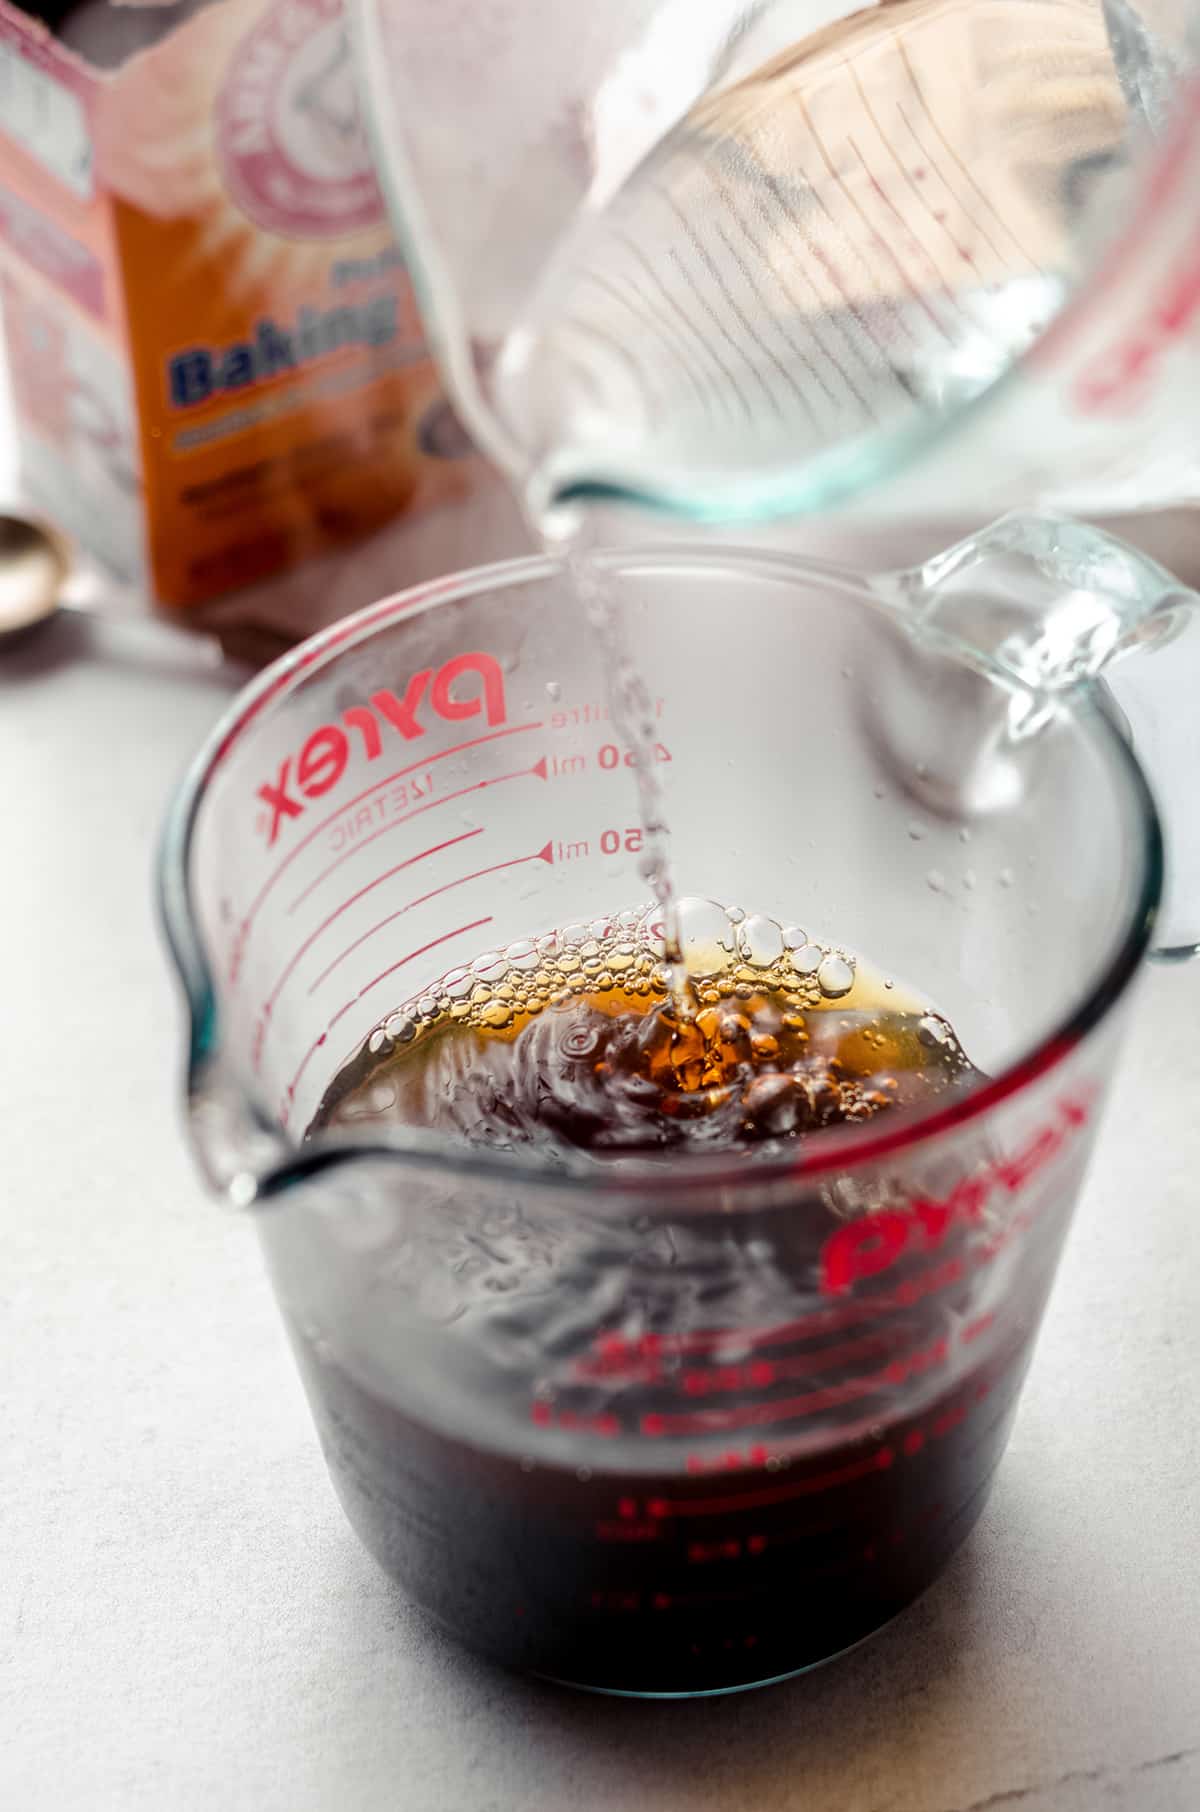
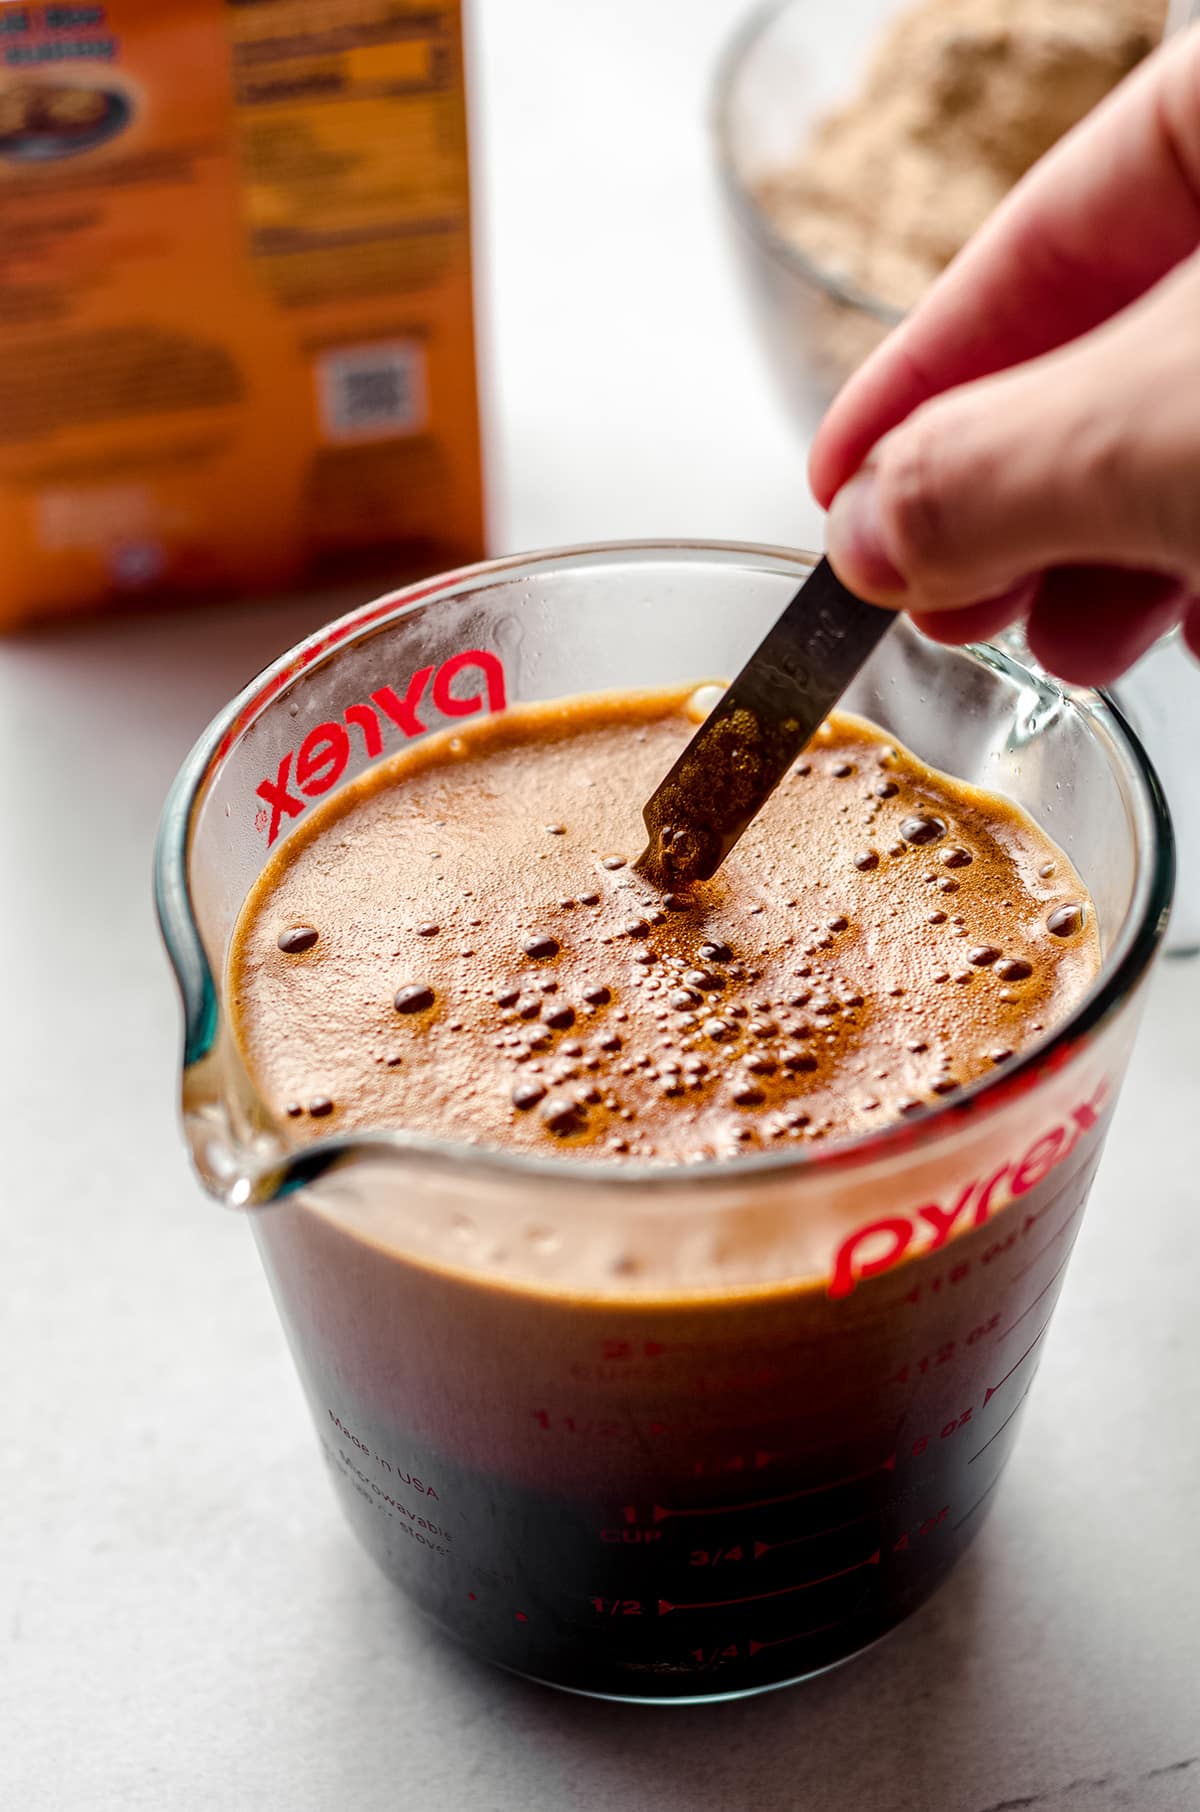
Pour in the boiling water, followed immediately by the baking soda. Then stir quickly until the mixture starts to foam and rise up. This is called blooming the molasses and it’s an essential (although simple) technique for making traditional shoofly pie!
STEP #8
Remove the pie plate from the refrigerator and pour the bloomed molasses right in there. It should spread out pretty evenly without any help from you.
STEP #9
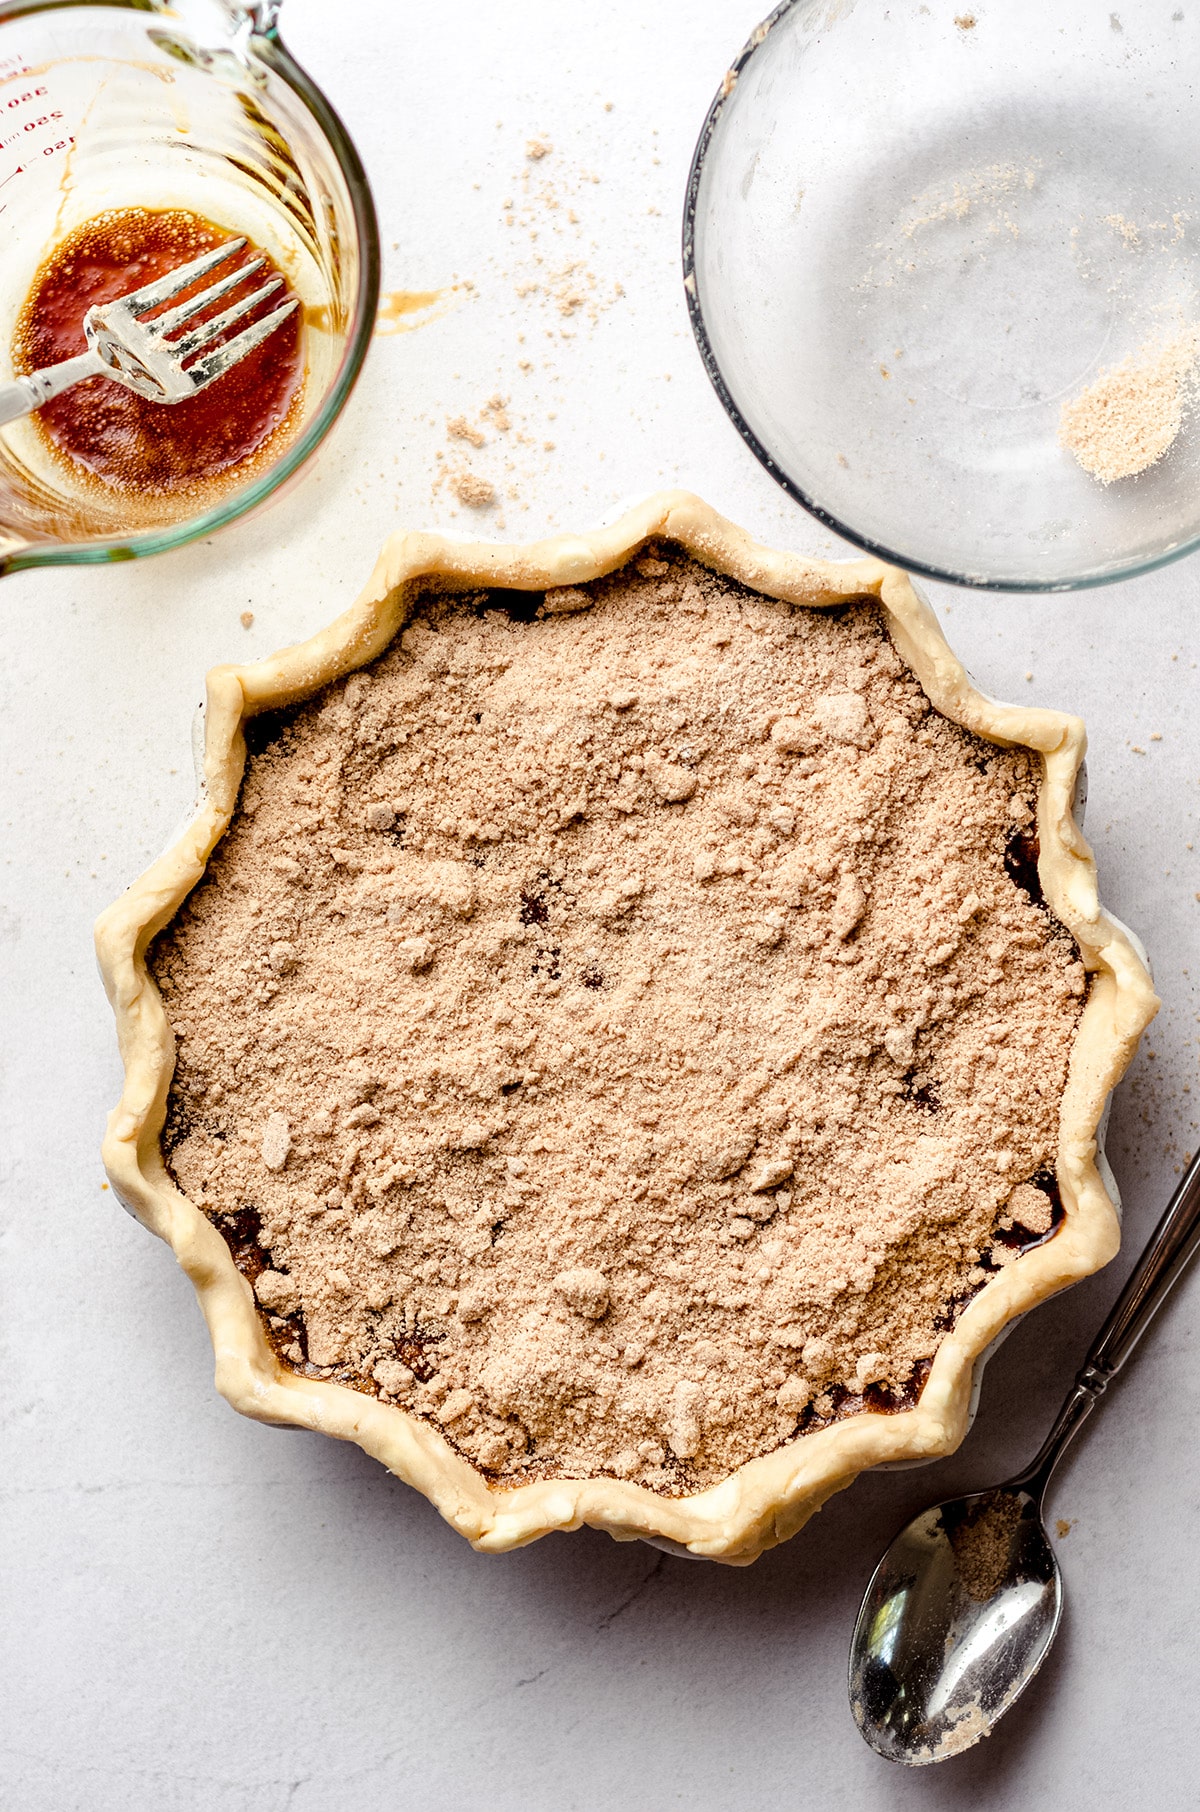
Then spoon the crumb mixture evenly on top of the molasses. Don’t forget the edges! They need some crumb love too.
BAKE THE PIE
STEP #10
Once your pie is filled with molasses and topped with the sandy crumb mixture, you’re ready to bake! Fit the pie plate with a pie shield or a rim of foil. Then place the pie on a large baking sheet. This will help to catch any drips, meaning you won’t have any big oven spills to clean up. Score!
Since we aren’t pre-baking or blind baking the pie crust, we will bake the pie at an initial high heat to insure the bottom of the pie is done. We’ll start baking the pie at 450ºF (232ºC) for 20 minutes then, while the oven is still closed, bump the temperature down to 350ºF (177ºC) to finish up.
Once you’ve dropped the temperature, bake for another 20 minutes or until set. You want to bake your shoofly pie just until the filling is set and firm. It can have a little bit of jiggle but should be pretty sturdy overall.
Oh! And to make sure your pie crust edges are nicely browned, remove the pie shield (or foil) for the last 10 minutes. This will give it a lovely golden brown color.
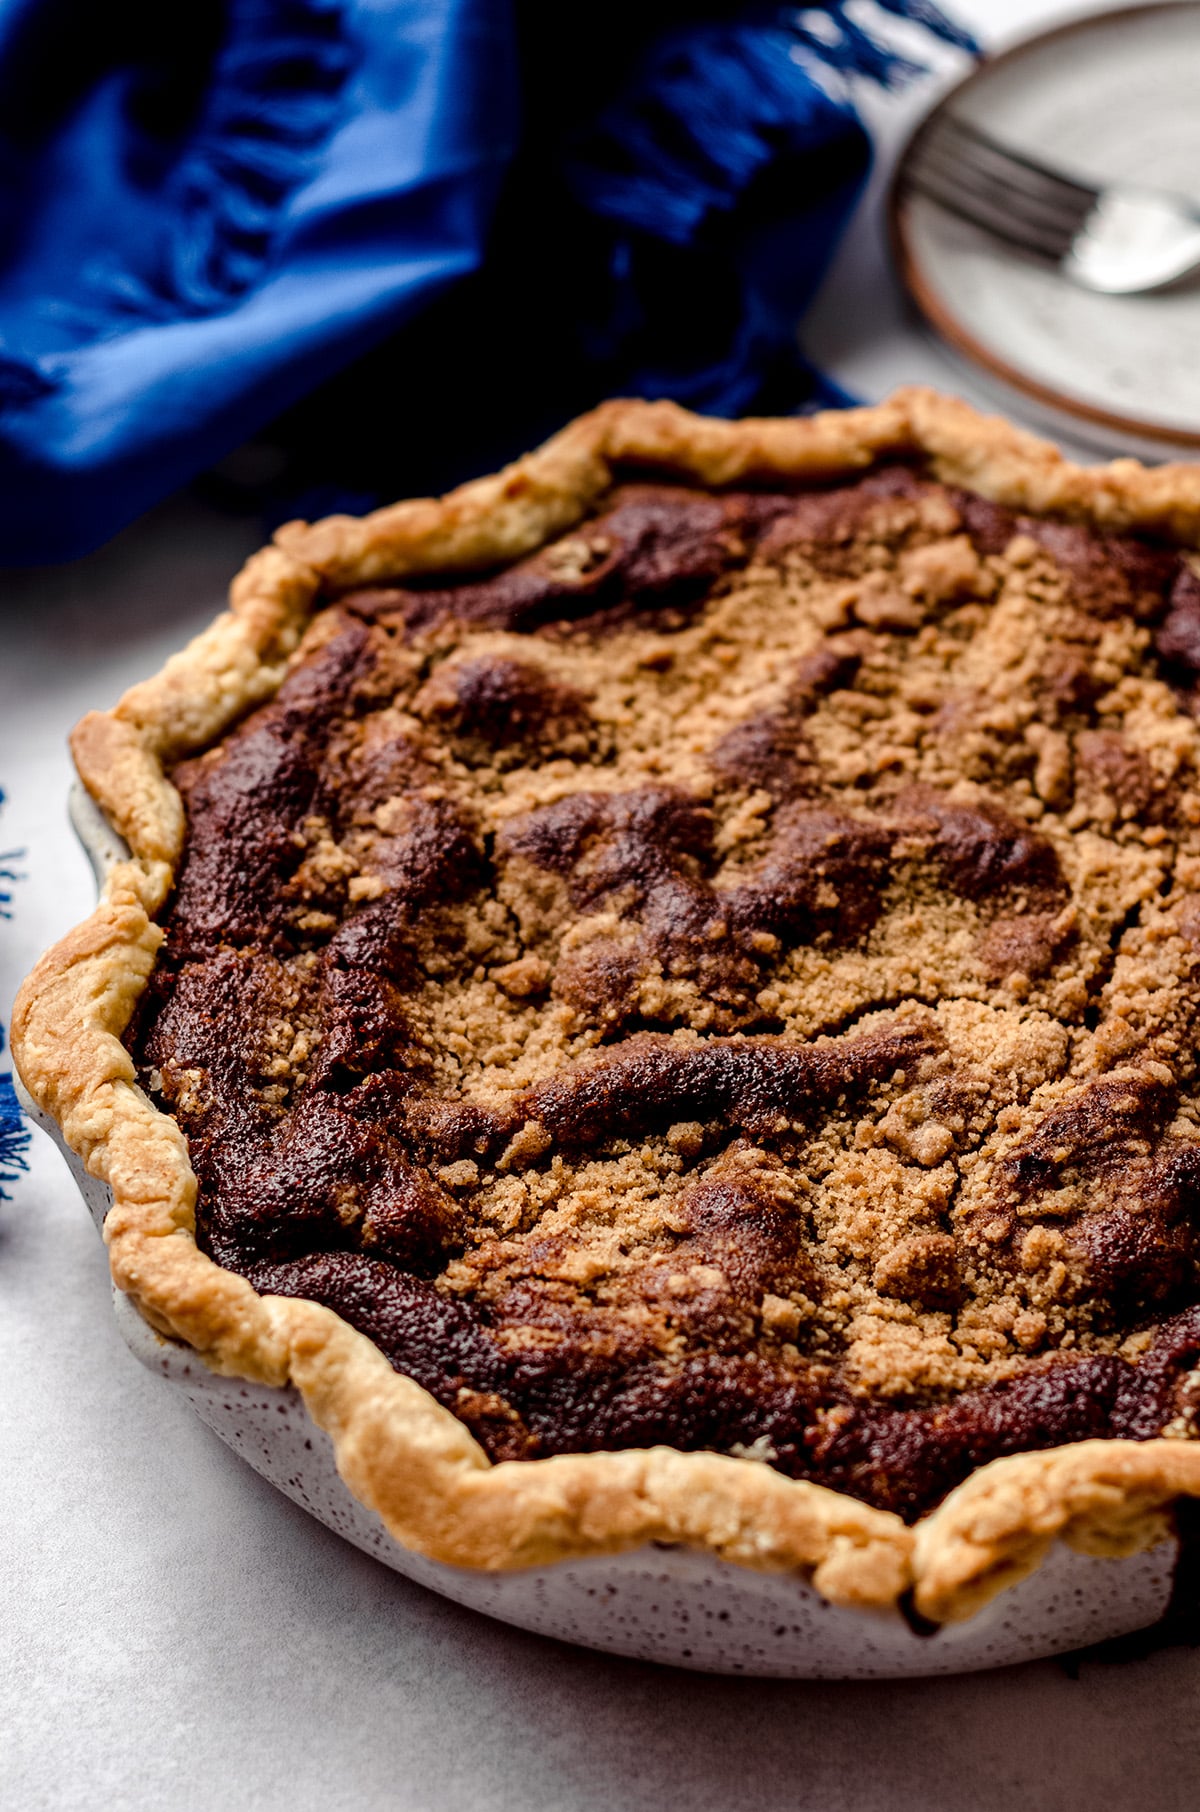
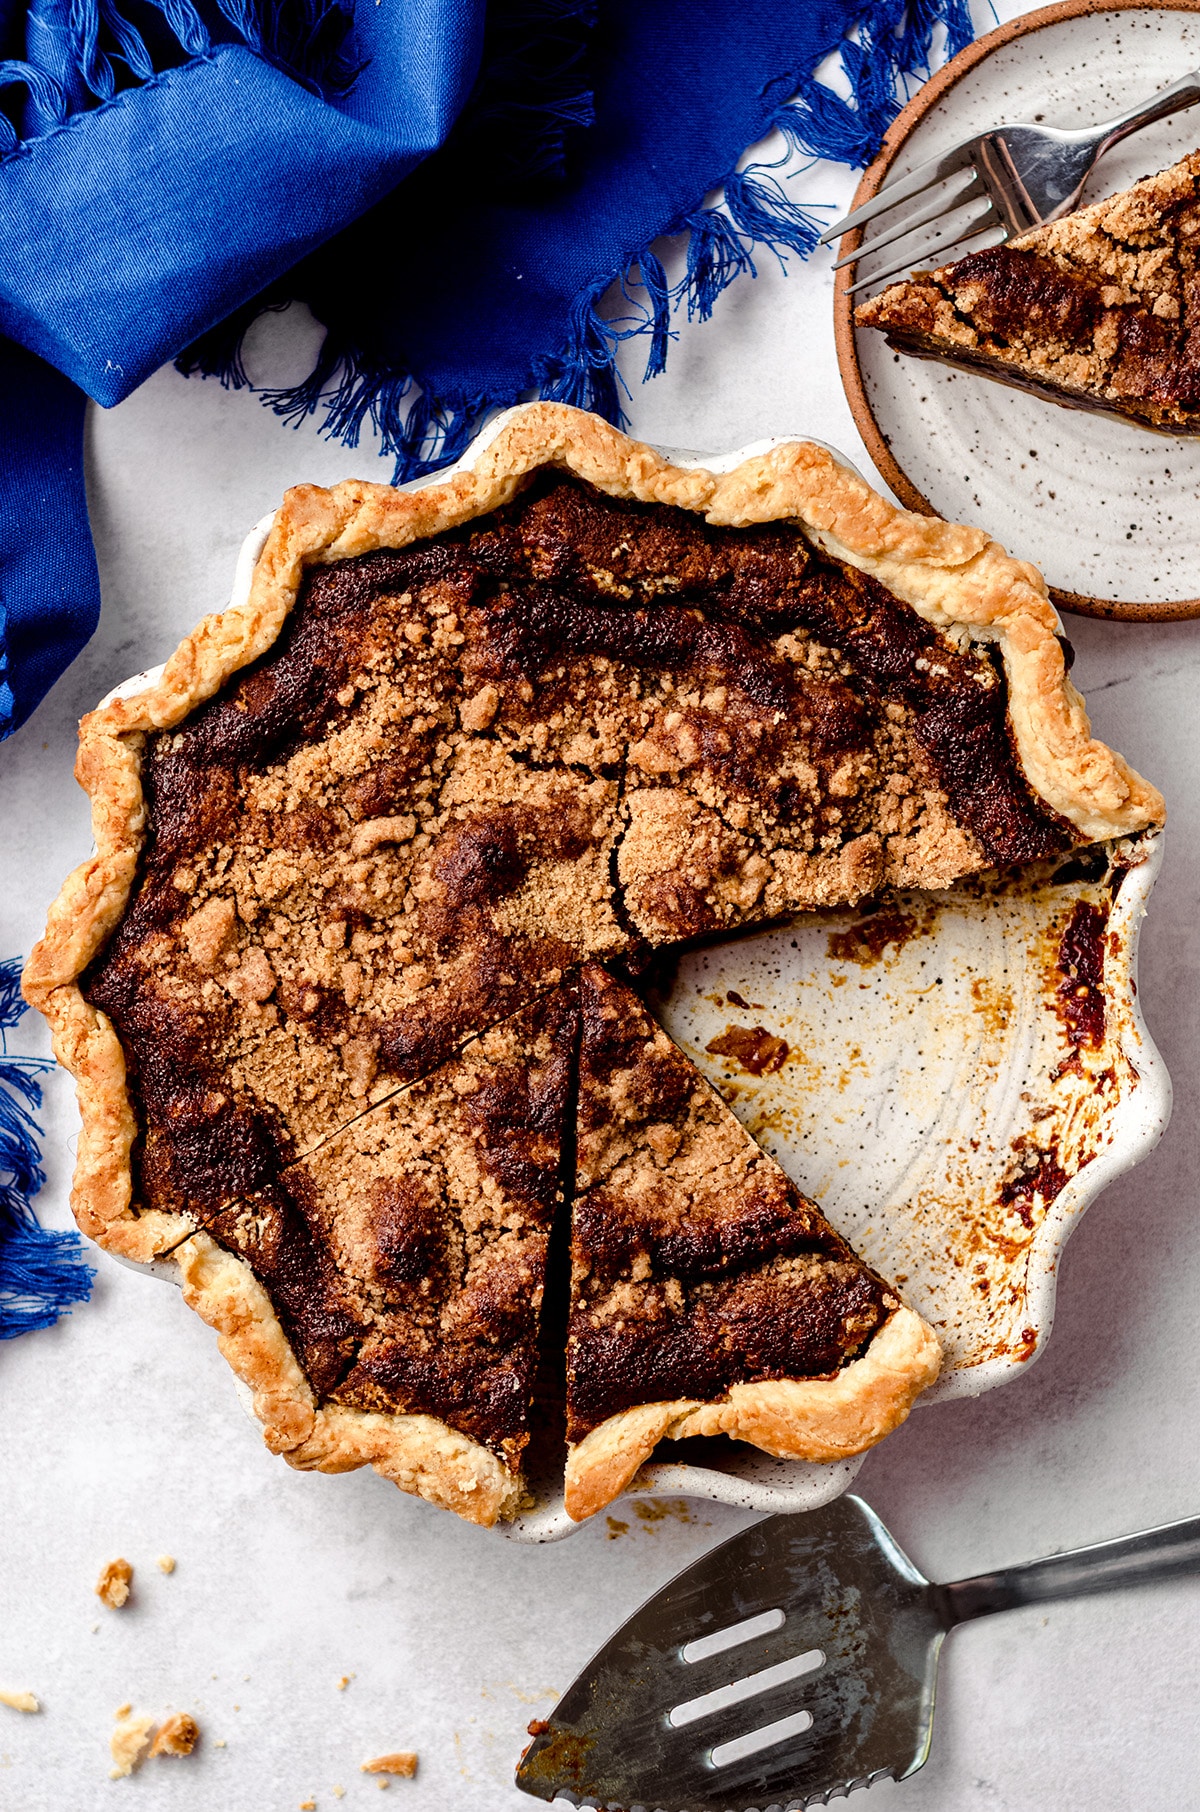
Once your pie is perfectly set, remove it from the oven and allow it to cool completely at room temperature. Since it’s a wet-bottomed pie, it’s one that I wouldn’t recommend serving warm. The pie can be served at room temperature or cold, and everyone has their preference. Maybe try both– for science!
How to serve this Shoo Fly Pie Recipe
Personally, I like my shoofly pie as is, but you can also serve it with a dollop of homemade whipped cream or a scoop of vanilla ice cream.
How to store this Recipe for Shoofly Pie
Once your pie has cooled to room temperature, cover it tightly with plastic wrap (or place it in an airtight container). Store at room temperature for up to 3 days, or in the refrigerator for up to 5 days.
If you want to freeze shoofly pie, you can absolutely do that! It freezes super well for up to 3 months. Just make sure you wrap it tightly and place it in a freezer bag if possible. Thaw your pie in the refrigerator OR at room temperature before serving.
Shoo Fly Pie Recipe FAQs
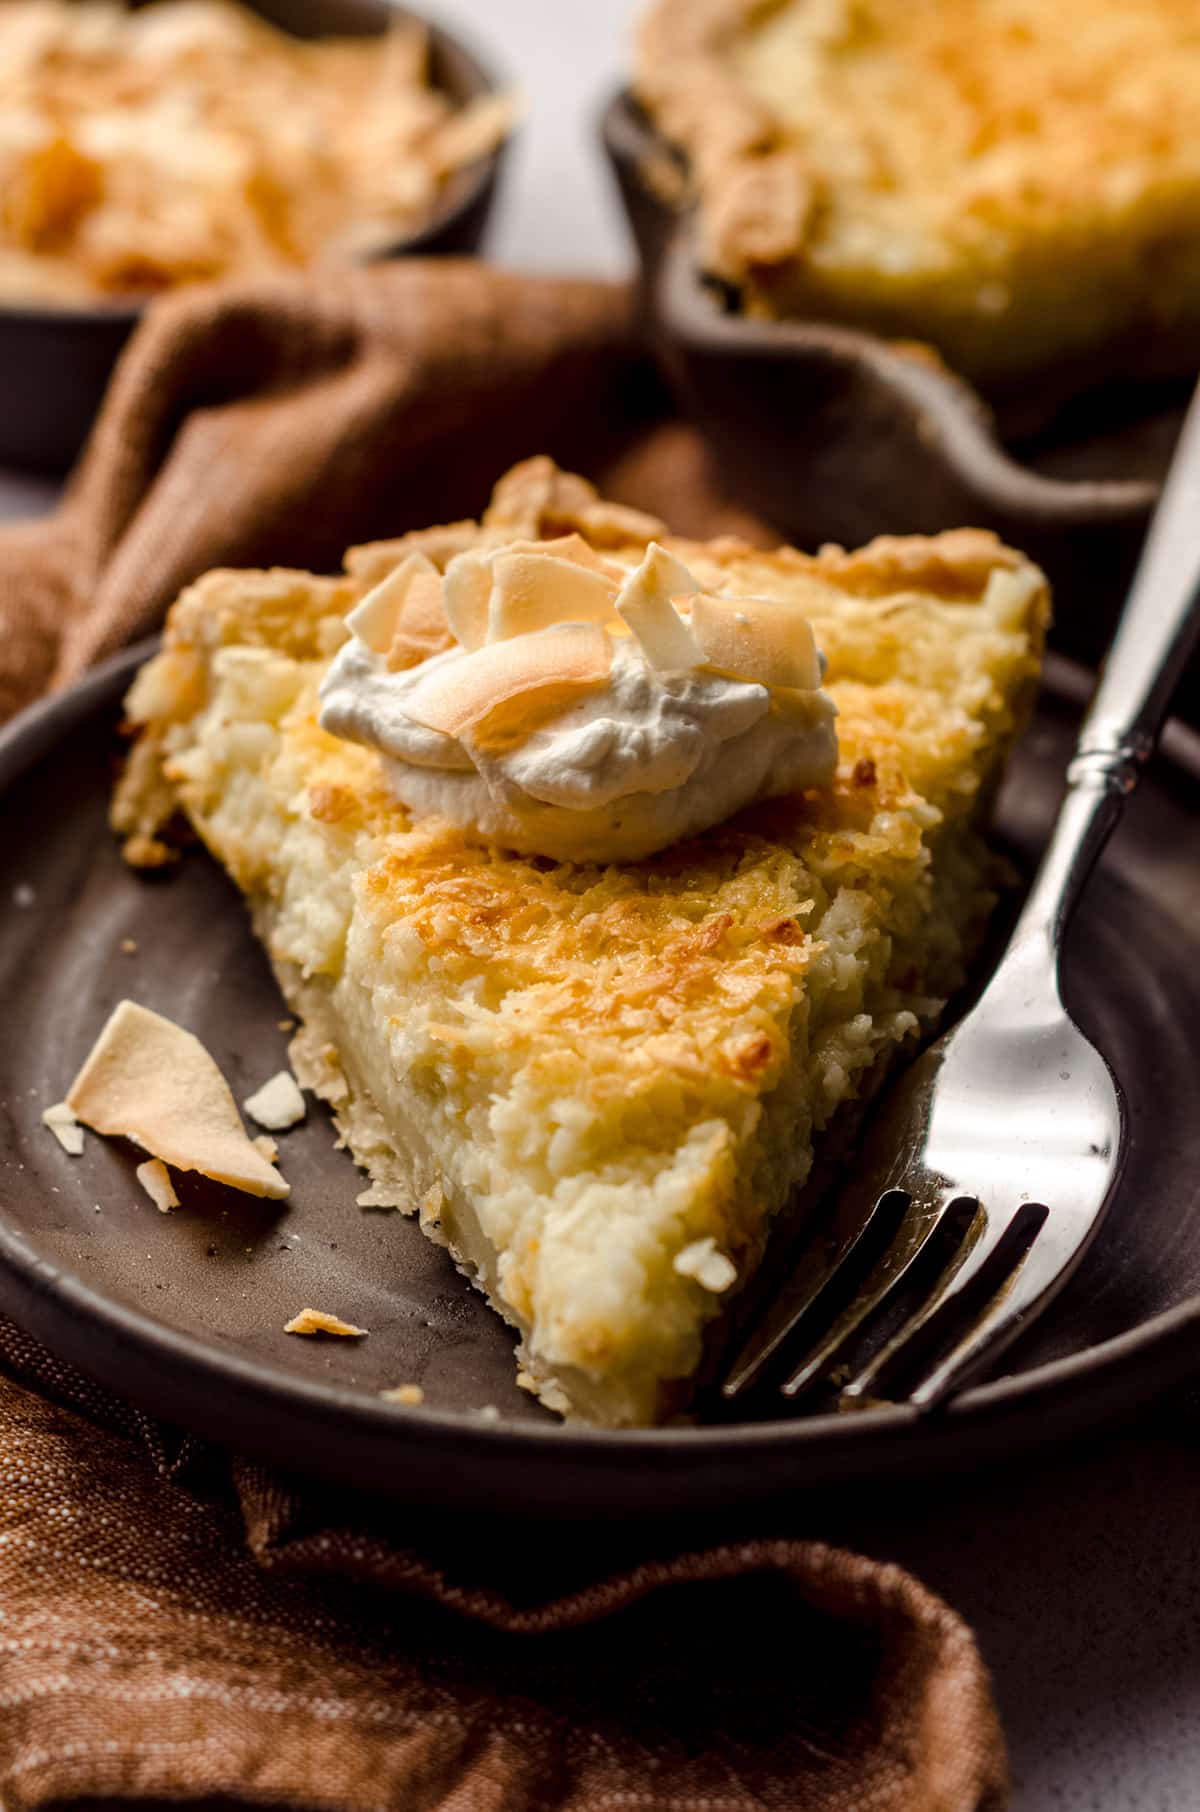
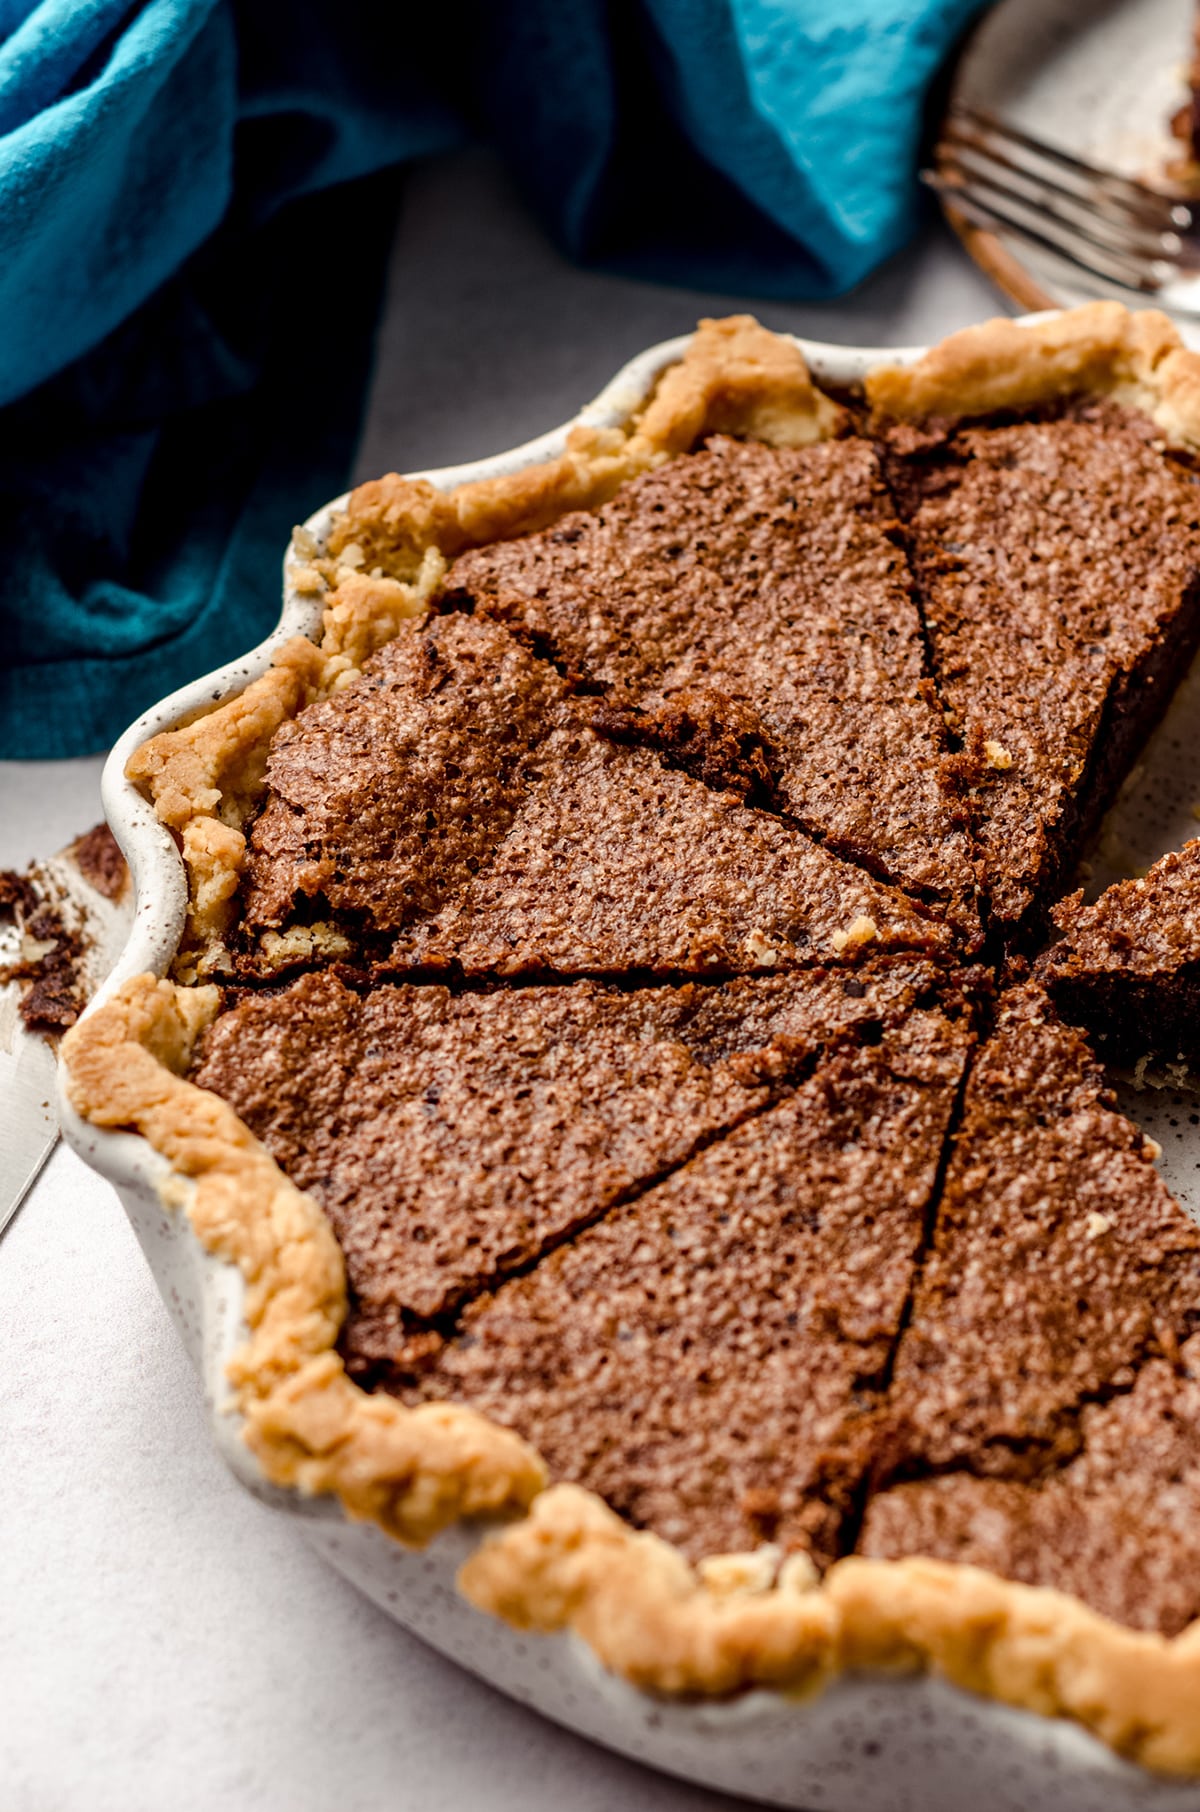
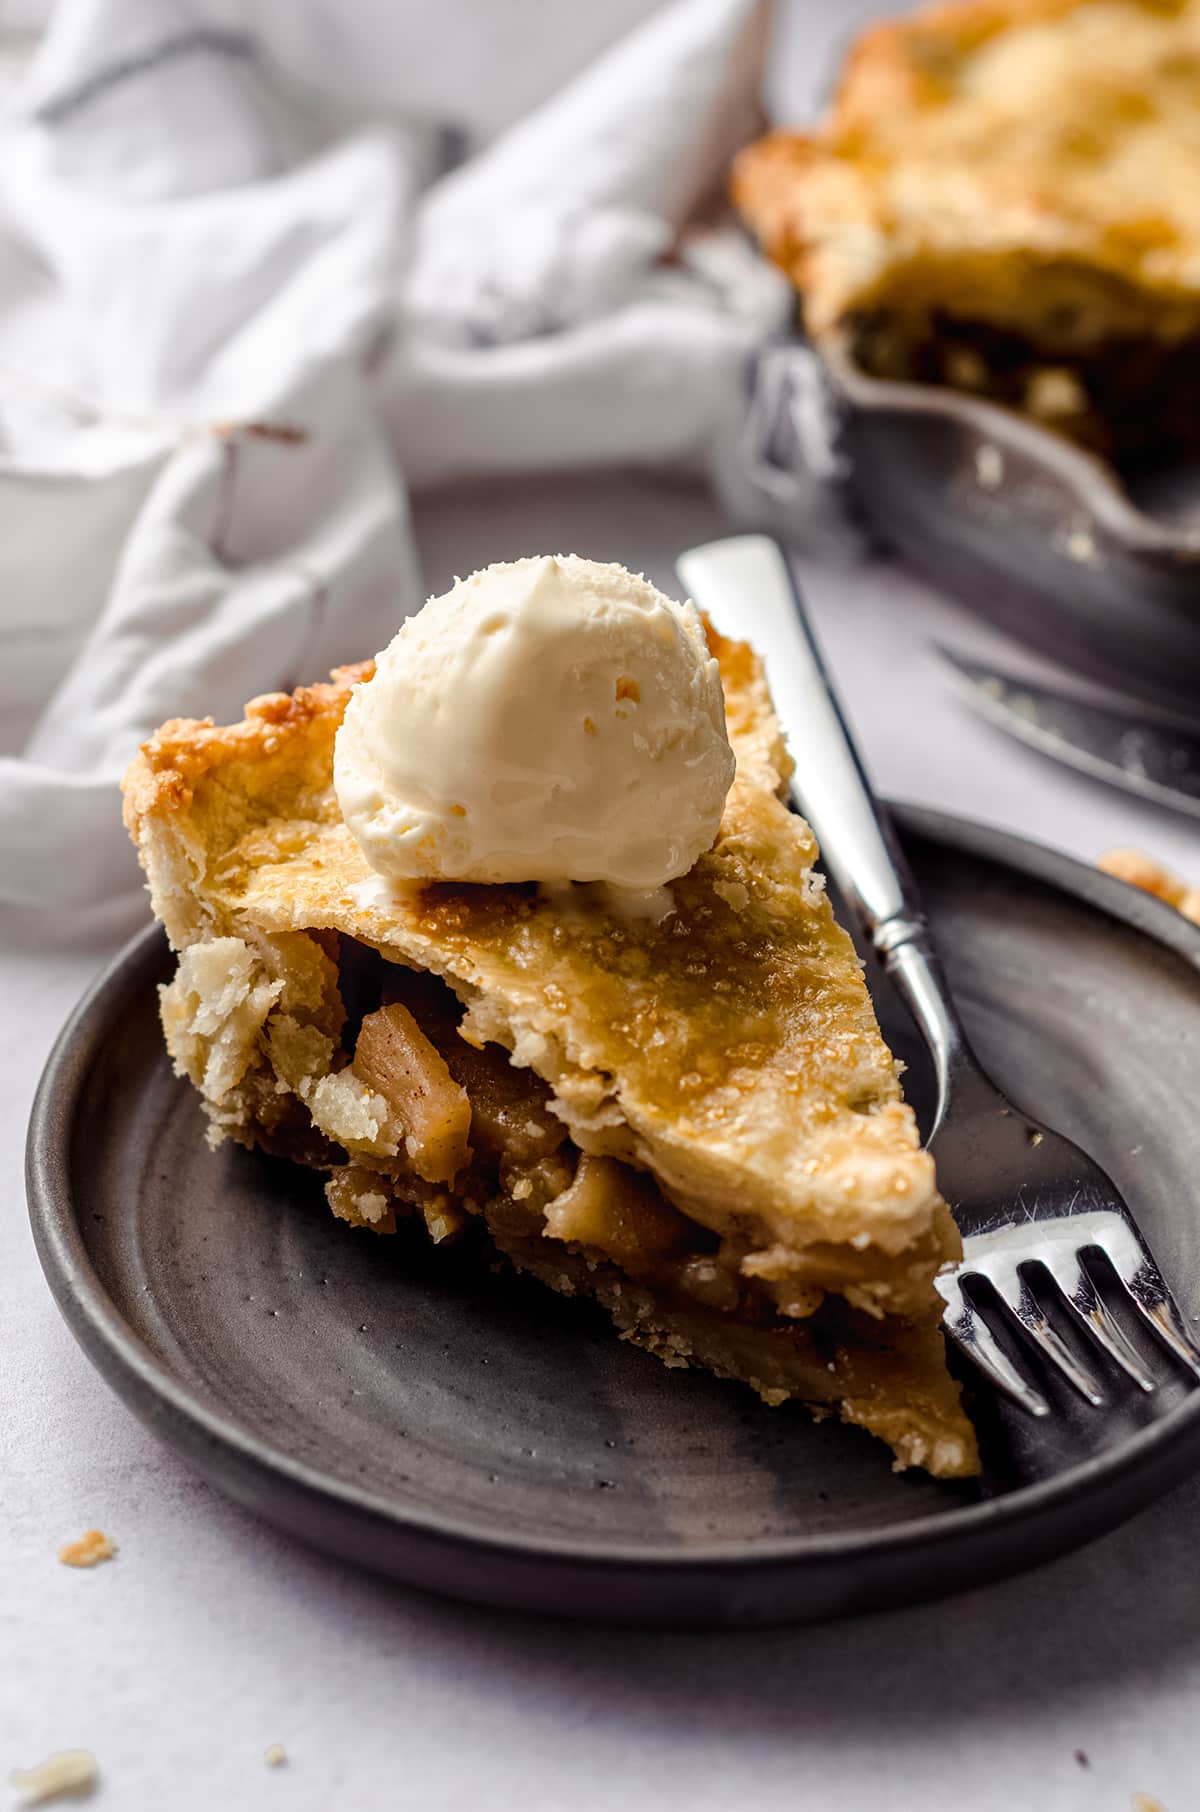
Ok, now that you’ve tried this much-beloved shoofly pie recipe, are you ready to check out some of the other fantastic pies I’ve been baking up this year? A few of my personal favorites include a creamy coconut custard pie, this Southern chocolate chess pie, AND a Gordon Ramsay-inspired caramelized apple pie. Which one are you going to try next?
Shoo Fly Pie Recipe
Ingredients
- ½ recipe homemade pie crust cold and ready to use
- 1 cup (120g) all-purpose flour
- ½ cup (100g) firmly packed light brown sugar
- 2 teaspoons ground cinnamon
- ½ teaspoon ground nutmeg
- ¼ teaspoon salt
- ¼ cup (57g) unsalted butter cold and cut into small pieces
- 8 ounces (227g) unsulphured molasses or ¾ cup
- ¾ cup (180mL) boiling water
- ½ teaspoon baking soda
Instructions
- Move an oven rack to the middle position, then preheat the oven to 450ºF (232ºC).
- Fit a 9" pie plate with the pie crust. Crimp the edges and allow to chill in the refrigerator until you are ready to fill it.½ recipe homemade pie crust
- In a small bowl, combine the flour, brown sugar, cinnamon, nutmeg, and salt. Whisk together to combine, then add the small pieces of butter. Use a fork to cut the chunks into the mixture, then use your hands to blend the butter in further until the mixture resembles sand. Set aside.1 cup (120g) all-purpose flour, ½ cup (100g) firmly packed light brown sugar, 2 teaspoons ground cinnamon, ½ teaspoon ground nutmeg, ¼ teaspoon salt, ¼ cup (57g) unsalted butter
- Add the molasses to a medium size bowl or, preferably, a large glass measuring cup with a spout. Pour in the boiling water, then immediately add the baking soda and stir quickly until mixture starts to foam.8 ounces (227g) unsulphured molasses, ¾ cup (180mL) boiling water, ½ teaspoon baking soda
- Remove the pie plate from the refrigerator then pour the bloomed molasses into the pie shell. Spoon the crumb mixture evenly over the top of the molasses, fit the pie plate with a pie shield or foil, then place on a large baking sheet.
- Bake the pie for 20 minutes. Reduce the oven temperature to 350ºF (177ºC) and bake an additional 20 minutes until filling is set and firm (it can jiggle a little bit but should mostly be intact). Remove the pie shield for the last 10 minutes to brown the crust. Remove from the oven and allow to cool completely at room temperature. Pie can be served room temperature or cold. Cover tightly and store leftovers at room temperature up to 3 days or in the refrigerator up to 5 days. Pie freezes well, up to 3 months. Thaw in the refrigerator or room temperature.
Notes
- Shoofly pie history: this article comes from a town that is just outside of the town in which my husband and I went to college.
Nutrition Disclosure
All nutritional values are approximate and provided to the reader as a courtesy. Changing ingredients and/or quantities will alter the estimated nutritional calculations.

I’ve only read about Shoofly Pie in books and never knew what it was. Now that I know, I’m intrigued. I’m adding this to my list of things to bake.
I actually like that it only uses one crust. That means I have the other crust to either put in the freezer or I can make quiche and have breakfast and lunch for the week!
Yessss! I would LOVE for you to try it, Linda 🙂
Boy, one bite and this brought me back to trips to Pennsylvania with my grandparents growing up. So delicious and I love recipes that bring up amazing memories in every bite.
I love that so much! Thanks, Nikki 🙂
I want to get my feet wet! 🙂 Love the sound of this, I had heard of Shoofly Pie, but have never tried it nor knew about what it was, now I cannot wait to bake this pie! I know I’ll love it as will my dad, who’s a sucker for anything with molasses!
Oh gosh, he’ll LOVE it!
I’ve always wanted to try this pie and it did not disappoint. So sweet and gooey and yummy!
I had never heard of this pie until recently but my friend made this recipe for us and I loved it!
Thanks for giving it a try!! 🙂
Made this as a Thanksgiving tester this past weekend, and boy, was it WONDERFUL! I cannot wait to serve this next week!
Yay! Such an underrated pie!
What a special recipe! LOVE the flavors and different textures of the layers, especially that sticky molasses layer. It was fun to learn more about the history of Shoofly Pie, too.
I’m so glad you enjoyed the pie and learned some stuff! 🙂
Mmmmm, this pie was outstanding! Tasted so much like the one my grandma used to make!
YES! Grandma vibes is everything I was going for!
Such a classic pie that is not only tasty but super fun to say!
Totally, Jennifer! Thanks for your feedback 🙂
Thanks so much, Julie! Glad you enjoyed it.
So glad you enjoyed it 🙂
Thanks so much, Min!
Believe it or not, you can 100% mail this. If you bake it in a foil pie tin, let it cool completely, and then carefully slide it into a gallon zip-top bag and seal. Slide this into a padded mailing envelope and you’re good to go (mark “fragile”). When family is spread out around the country, you do what you have to!
Sounds like you have some incredible experience! Happy to know this!!
First time making Shoofly pie. Great recipe! I think when you say 8oz OR 3/4 Cup molasses, go with 3/4 cup. It was way too runny. Or I needed another 30 minutes to bake. Not sure which. But the flavor was good.
Hi, Andrea! Thanks for your review. That clarification means that 8 ounces is 3/4 cup. It’s the same measurement. Your pie was definitely underbaked, but I’m glad you enjoyed it anyway!