Italian Anise Bread
As an Amazon Associate, I earn from qualifying purchases. Read the full disclosure here.
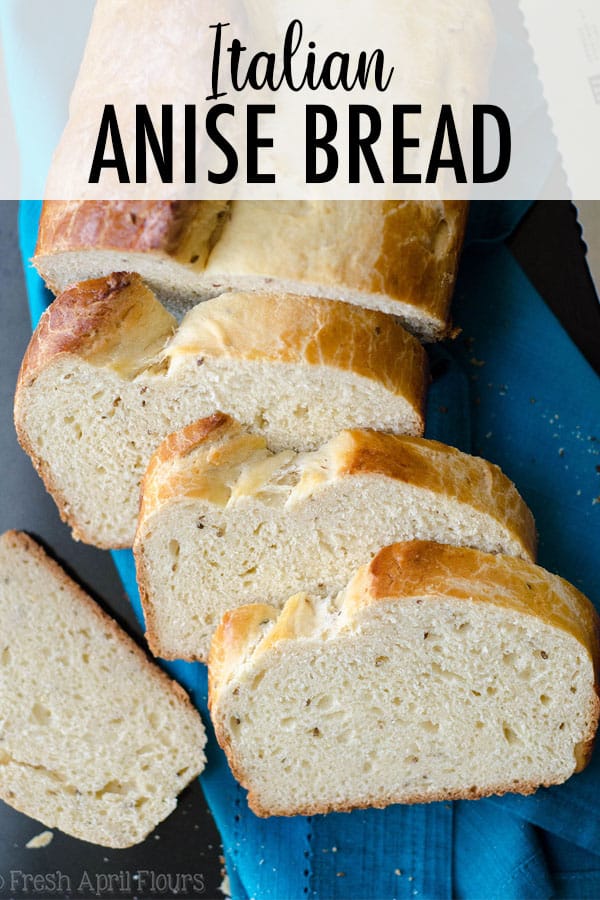
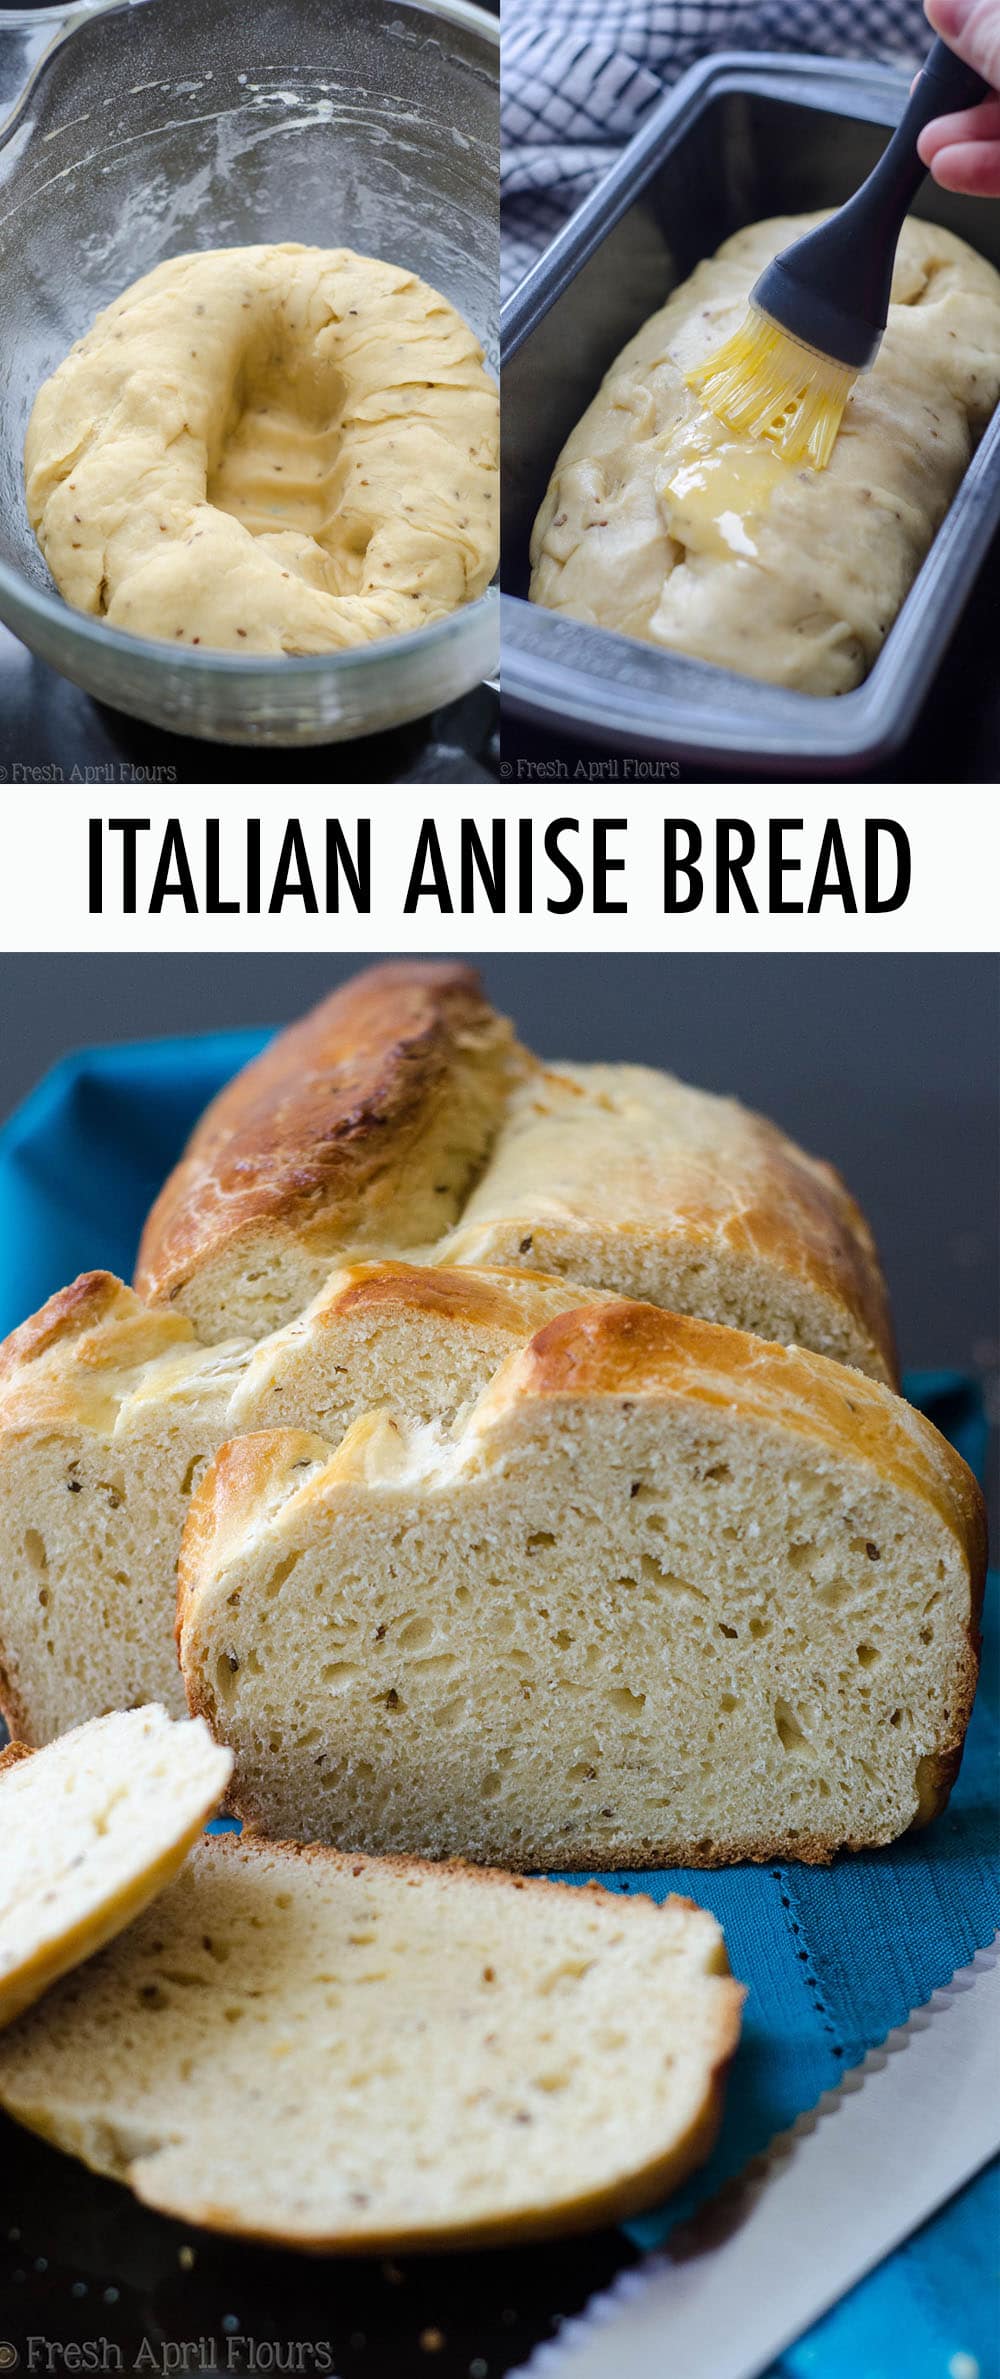
A sweet yeast bread with a tender crumb, flavored with anise extract and dotted with anise seeds.
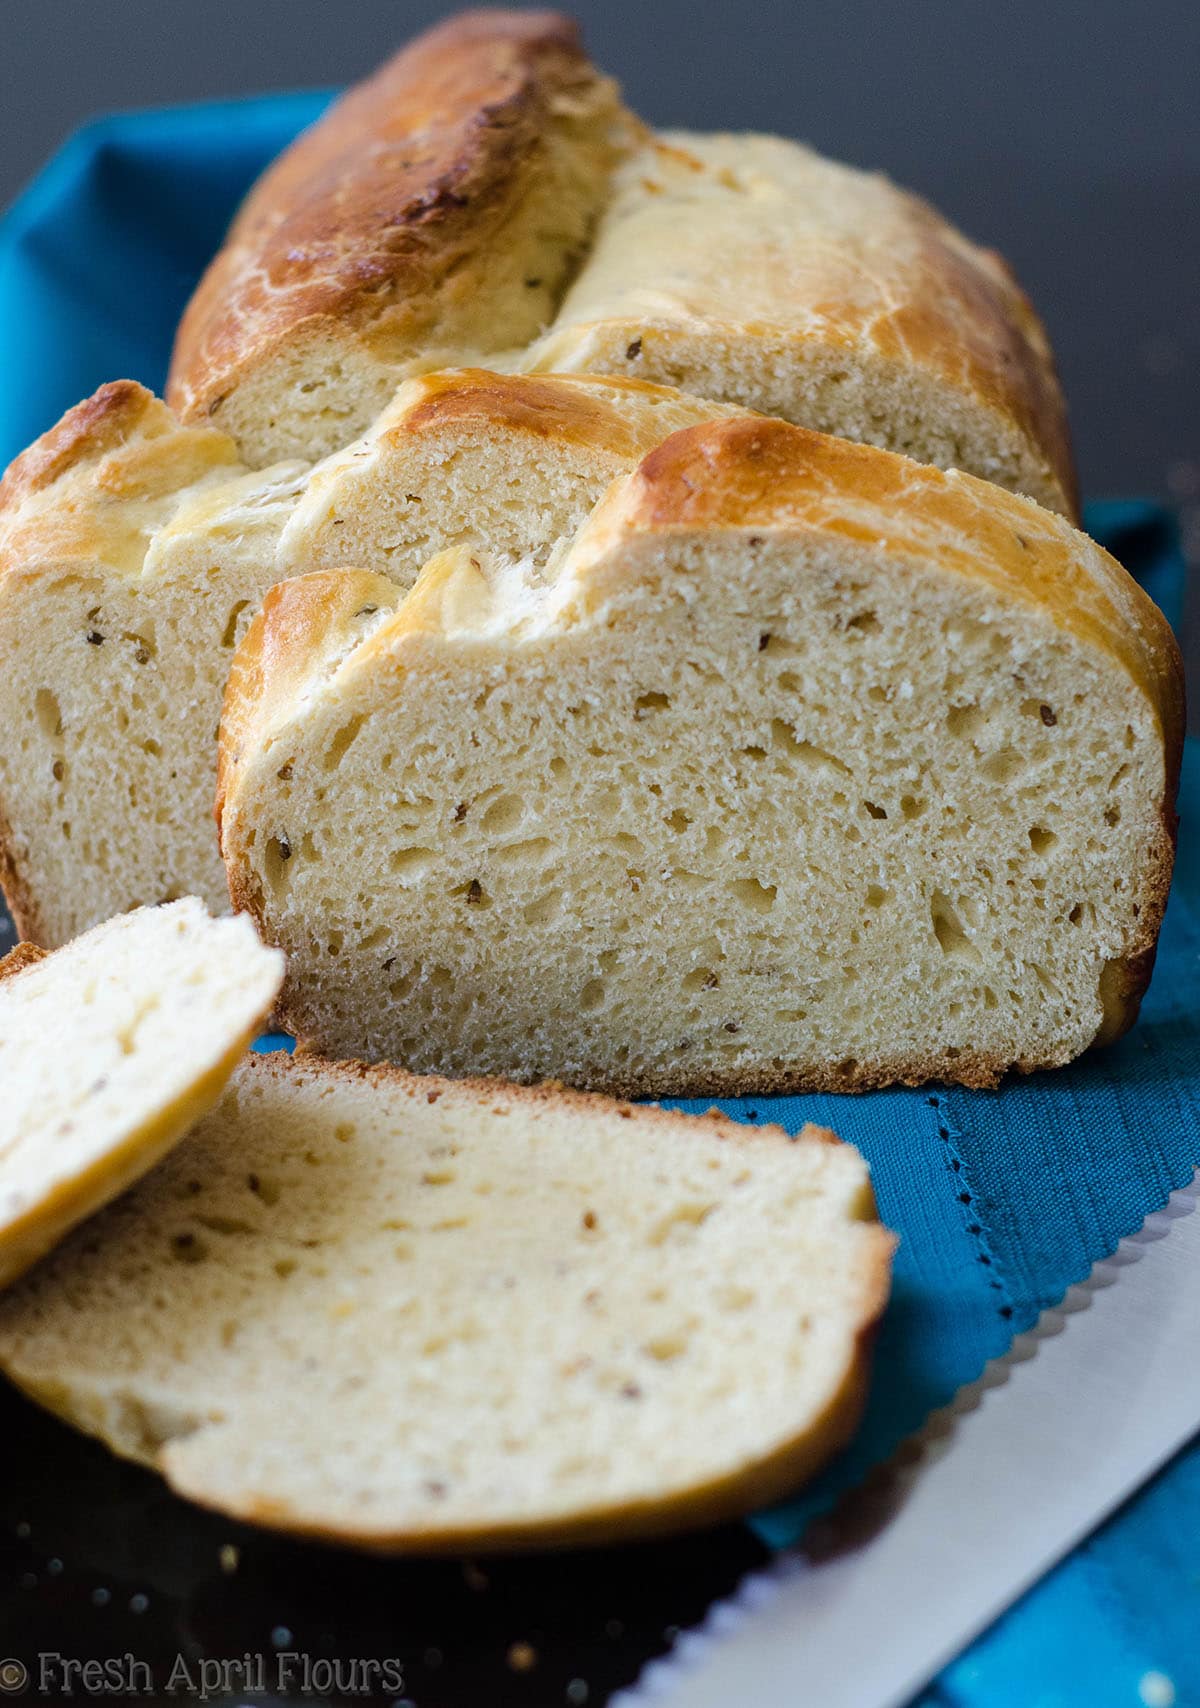
My dear readers– this post is a long time coming. And I mean longggg time. And I’m so glad to finally be bringing it to you today, probably at least 3 years later than I should have.
You see, almost 4 years ago, I posted my very first recipe here on Fresh April Flours.
That recipe was my grandmother’s Easter bread (also known in my family as Easter Pizza), and it’s always been a winner recipe, but the post? YIKES. Like super yikes. First of all, I had no clue what I was doing as far as food photography goes.
I mean, they’re not the worst pictures, but I have come a long way since I first took some weird angled photos with my first DSLR.
Second of all, have you ever seen a more SEO un-friendly recipe title? I called it “DeAngelis Family Easter Pizza.” It says literally nothing about what it actually is, except something to do with Easter, but the rest of the name?
No. Just… No.
That may be what my family calls it, but my readers and other bakers on the interwebs… Yeah. No one is ever finding that recipe.
Actually, it’s been viewed more times than I thought it would have been, but elsewhere (Pinterest, Facebook, Instagram) it is slacker city. Let’s change that, shall we?
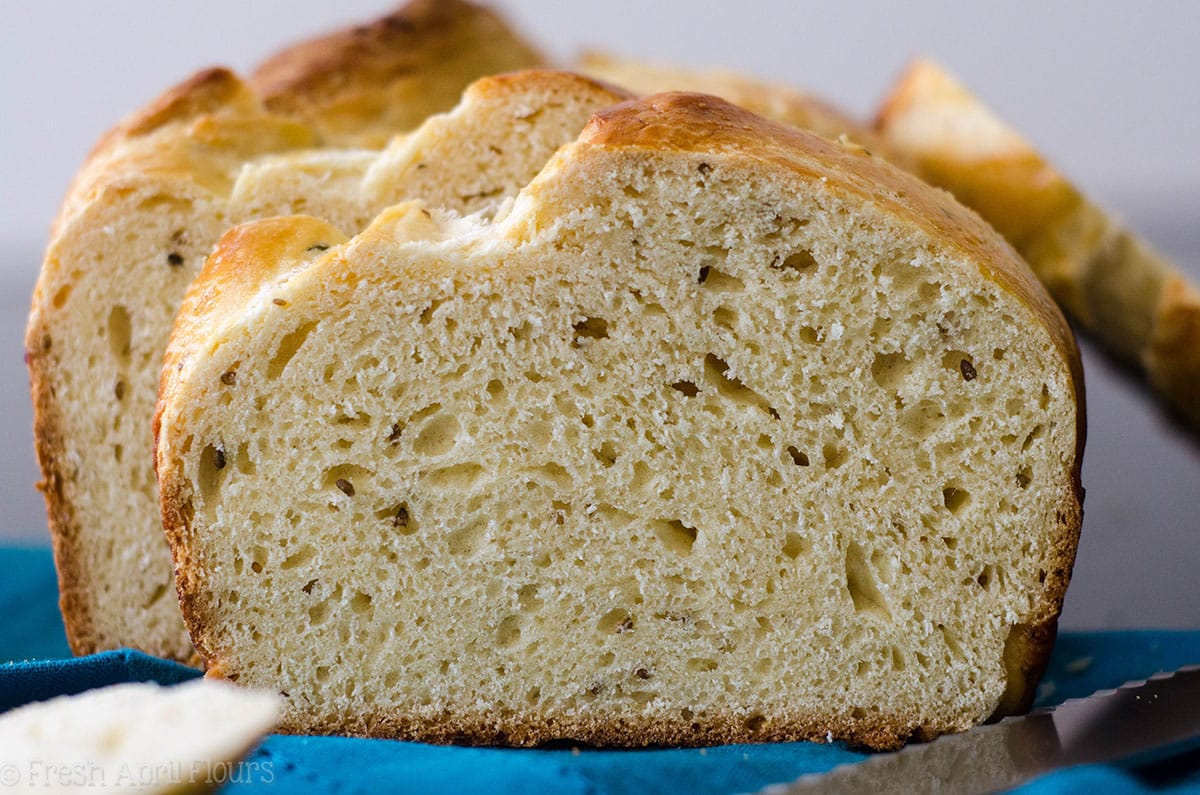
I present you… Italian anise bread. And!! Bonus!! I’ve managed to reduce this recipe to make just one loaf (my grandmother’s OG makes 2).
Of course, having two loaves of this amazingly soft and pillowy bread spiced with anise isn’t the worst problem to have, but I did want the versatility of just one loaf. Doubling the recipe is super easy.
So let’s get one thing straight: if you’re thinking “anise? Like licorice?” put that thought away now. Yes, anise is the spice that gives black licorice its signature deep spicy taste, but I will tell you this…
This bread is not that. I promise you.
I actually despise black licorice so much that I refuse to let Matt near me when he eats the black jelly beans or Good N Plenty because GAG.
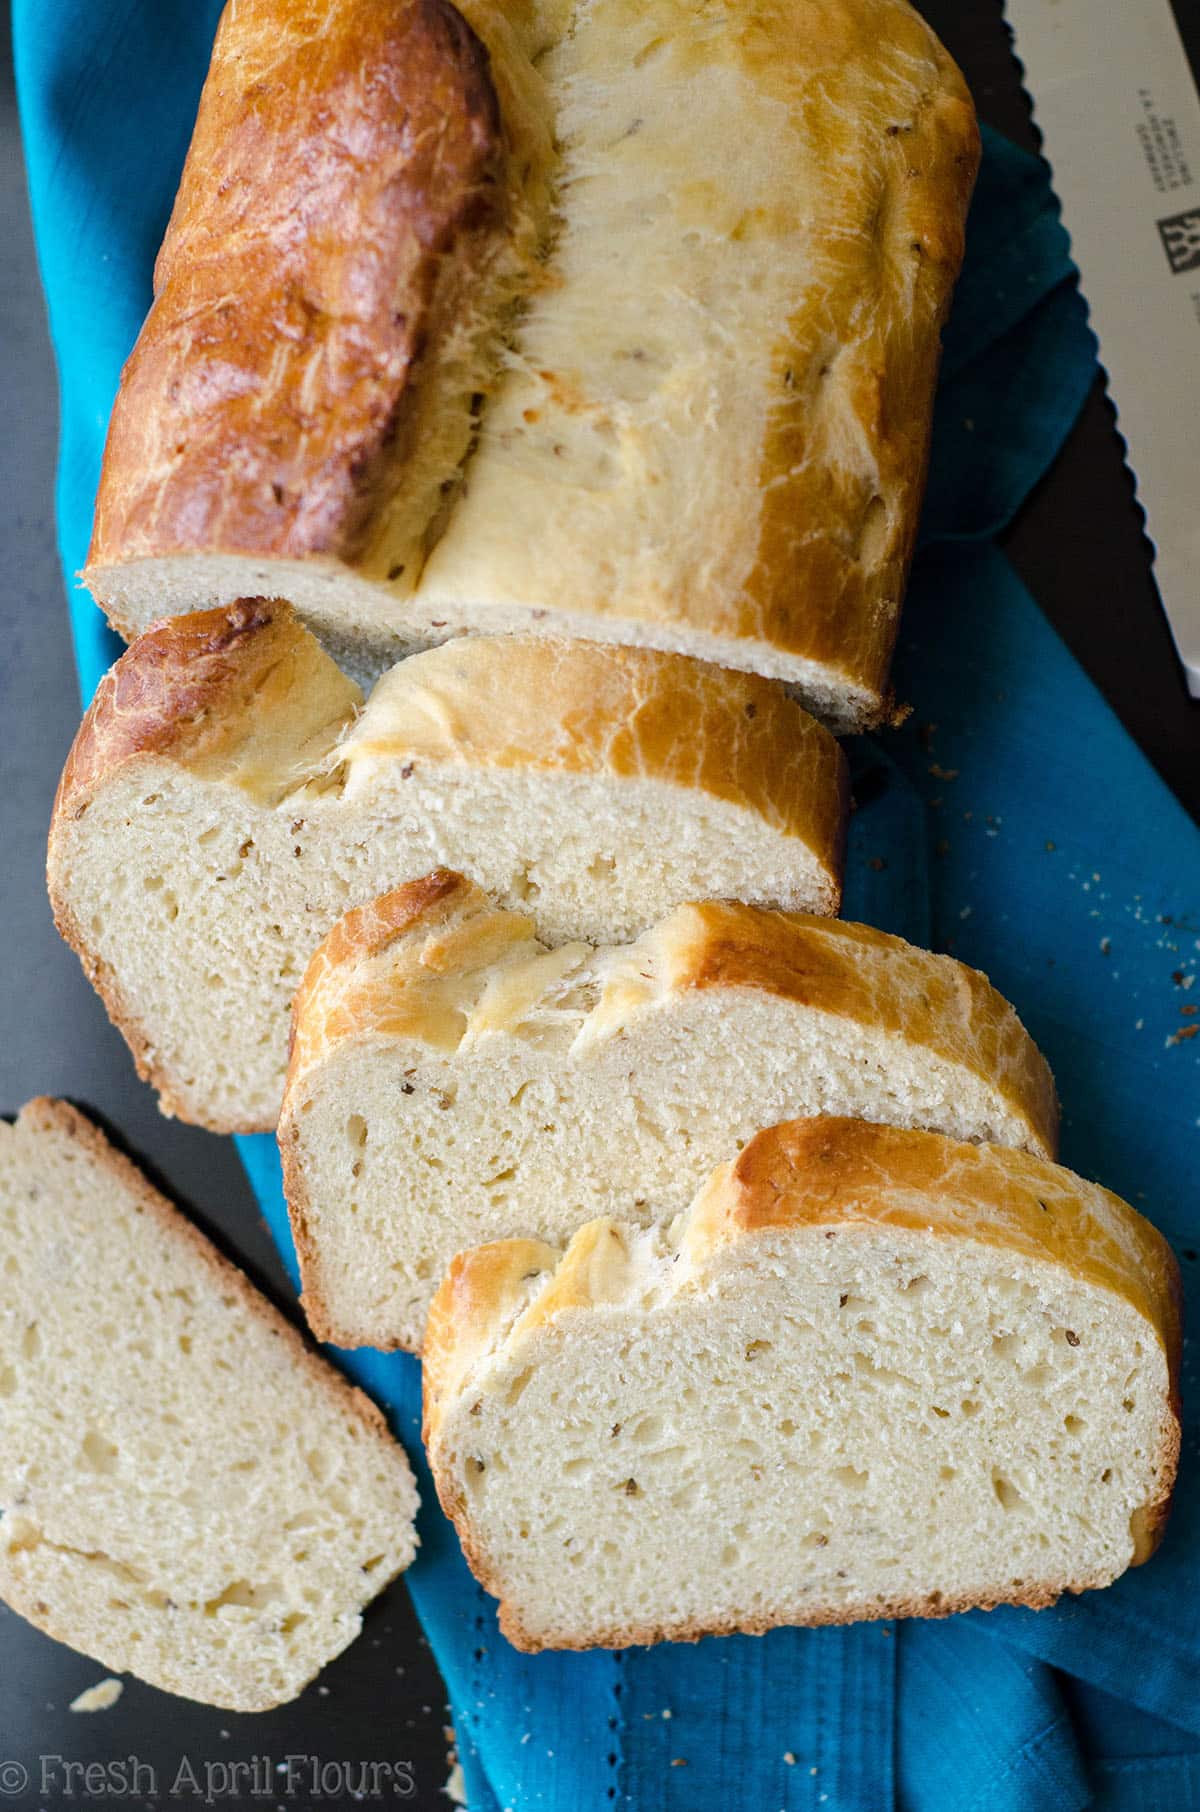
This anise? Subtle. Sweet. Spiced without being overpowering. A bread that goes with butter, plain, or with spaghetti sauce. While this is a sweeter bread, it’s not a sweet bread. There’s a difference!
This is just the right level of sweetness and unlike any other bread you’ve ever had before. I’m certain!
If you’re also thinking “yeast bread? No way!” put that thought away now, too.
Yeast bread is not hard. It can be intimidating, but once you’ve done it a time or two, you’ll see it’s easy peasy and you’ll be whipping up yeast bread left and right in no time.
There are just a few basics we have to chat about in order to insure success on your end.
YEAST

First, the yeast. High quality, fresh, active dry yeast. You’ll proof your yeast by sprinkling it into a small bowl of warm water. It should produce bubbles and smell very yeasty. This is proof that your yeast is ready to do its job.
Because of yeast, we don’t need any baking soda or baking powder. That live active yeast will do everything on its own. With a little help from…
SUGAR
The yeast feeds off of the sugar to produce ethanol (fermentation) and carbon dioxide. This is where we get the signature smell of bread dough and why we have to punch it down (more on that later).
ANISE FLAVOR
This comes from two places– anise extract and anise seed. You likely don’t have these ingredients on hand, but once you do, you’ll have all the reasons in the world to make lots and lots of loaves of this Italian anise bread. Not a bad problem to have!
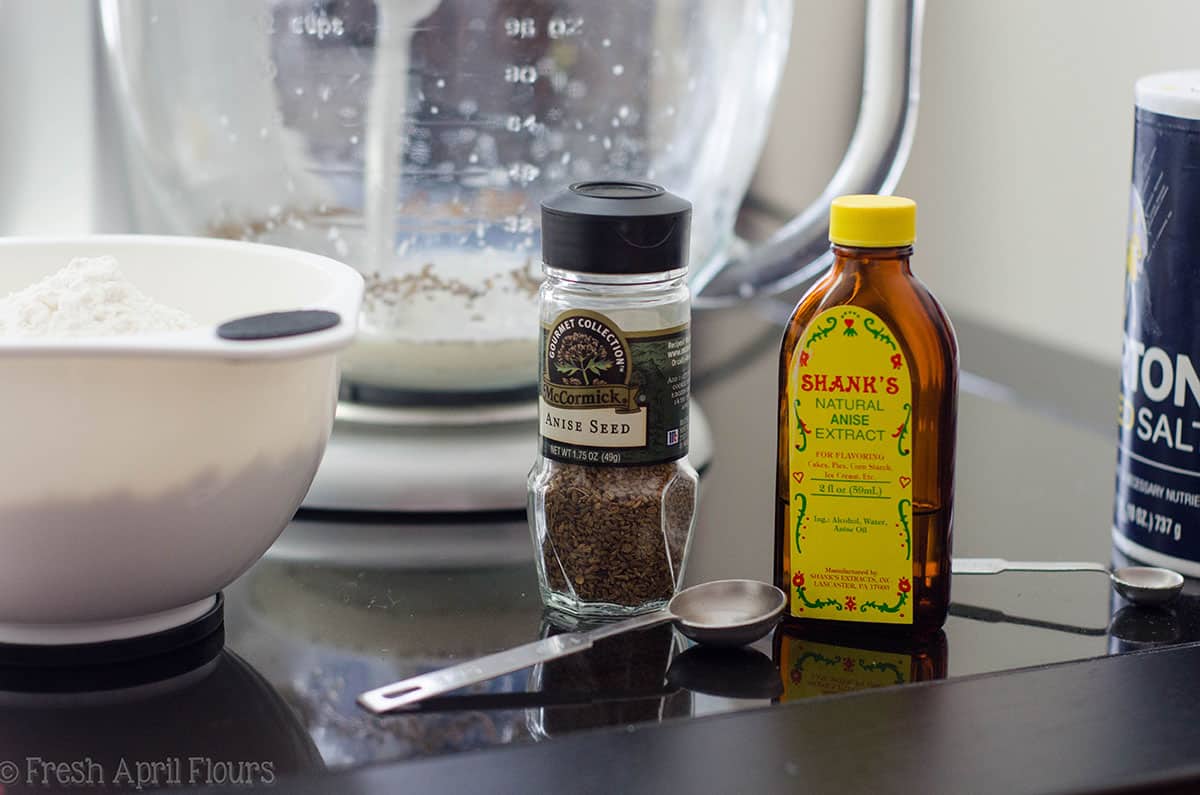
FLOUR
I have written in the recipe to use bread flour, but if we’re being completely honest here in yeast bread world, I have used bread, all-purpose, and a combination of the two for this bread, and I love all loaves equally.
Yes, bread flour gives the softest, most supple interior, but I certainly don’t hate the bread I’ve made with all-purpose. Use whatever you have available or prefer. Just no whole wheat flour!!
TIME
Yeast bread needs time time time. You’ll have 2 different rising times.
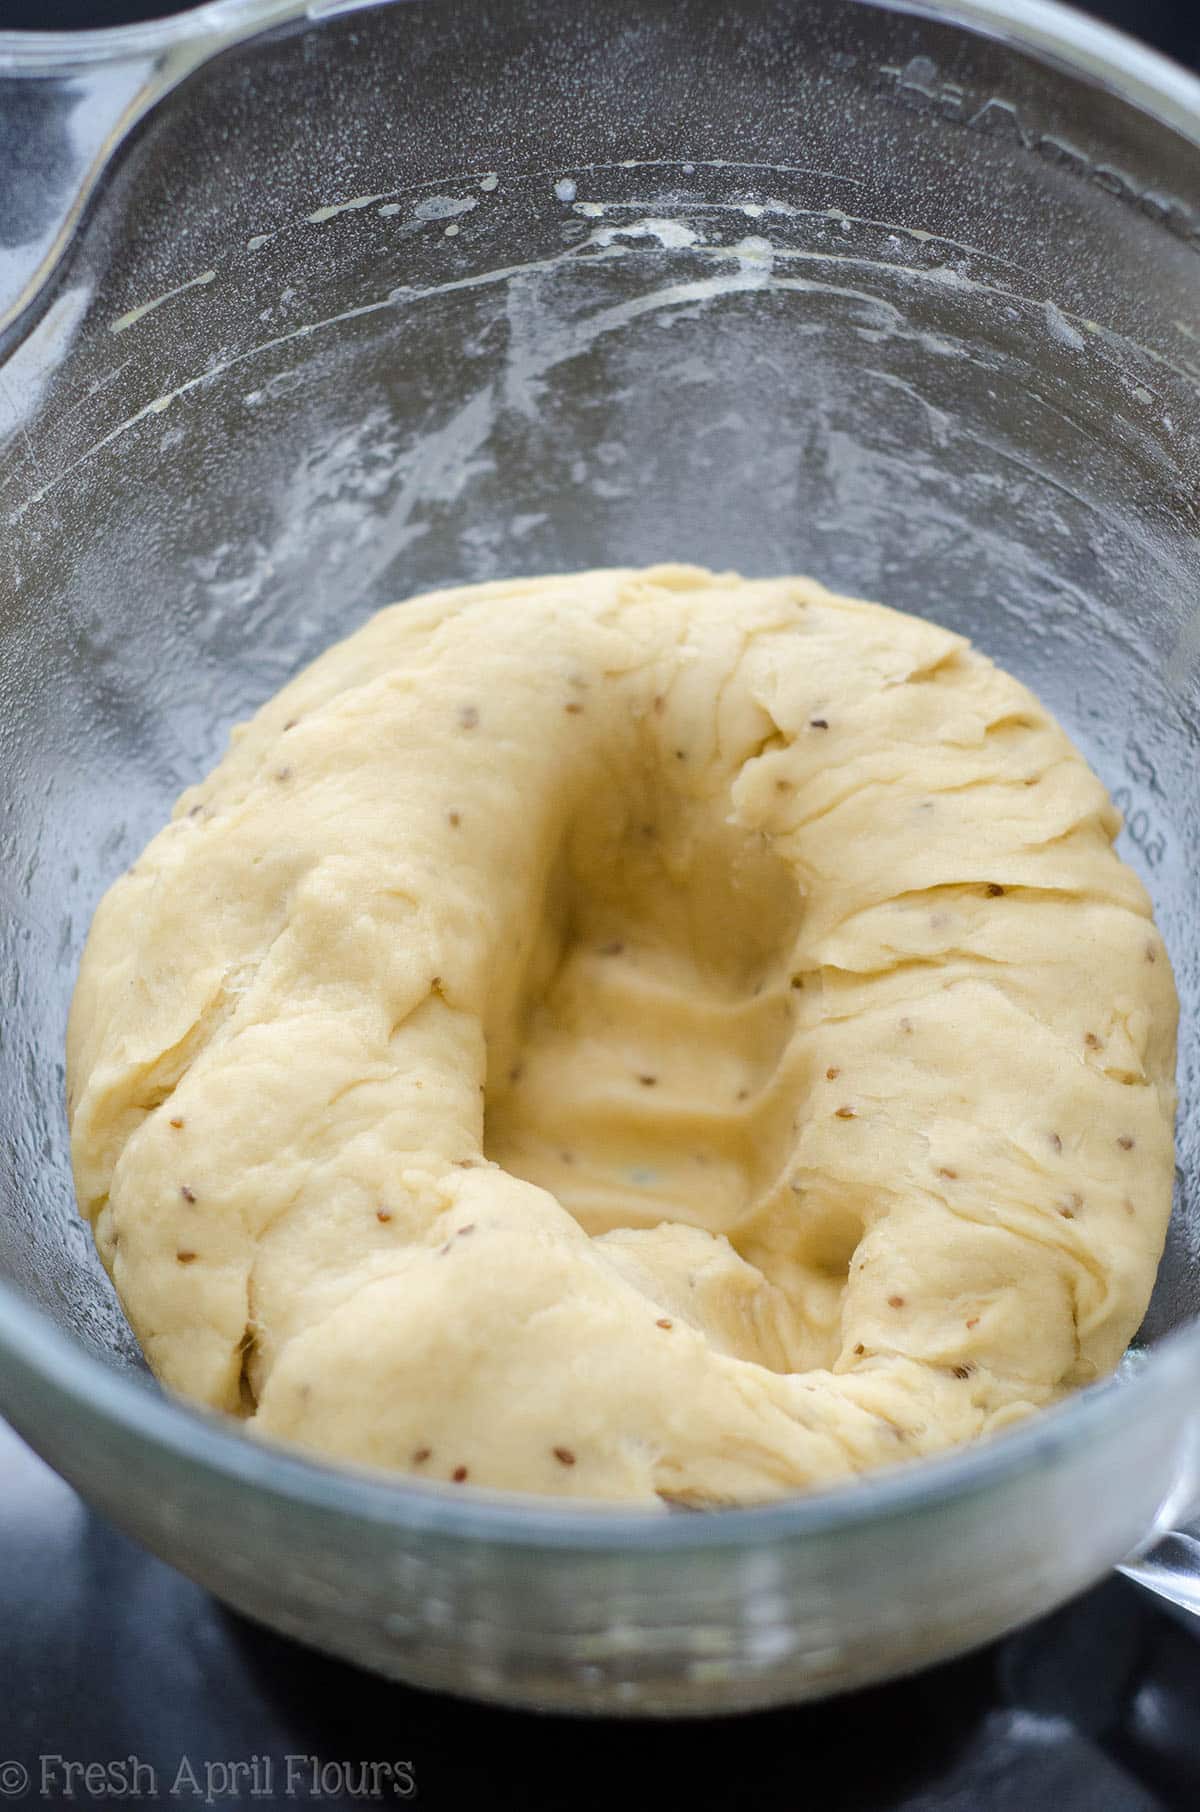
The initial one is 2 hours long. In this time, your yeast will be working its magic on all of those other ingredients, puffing up your dough to create pockets of air that give yeast bread its soft and pillowy center.
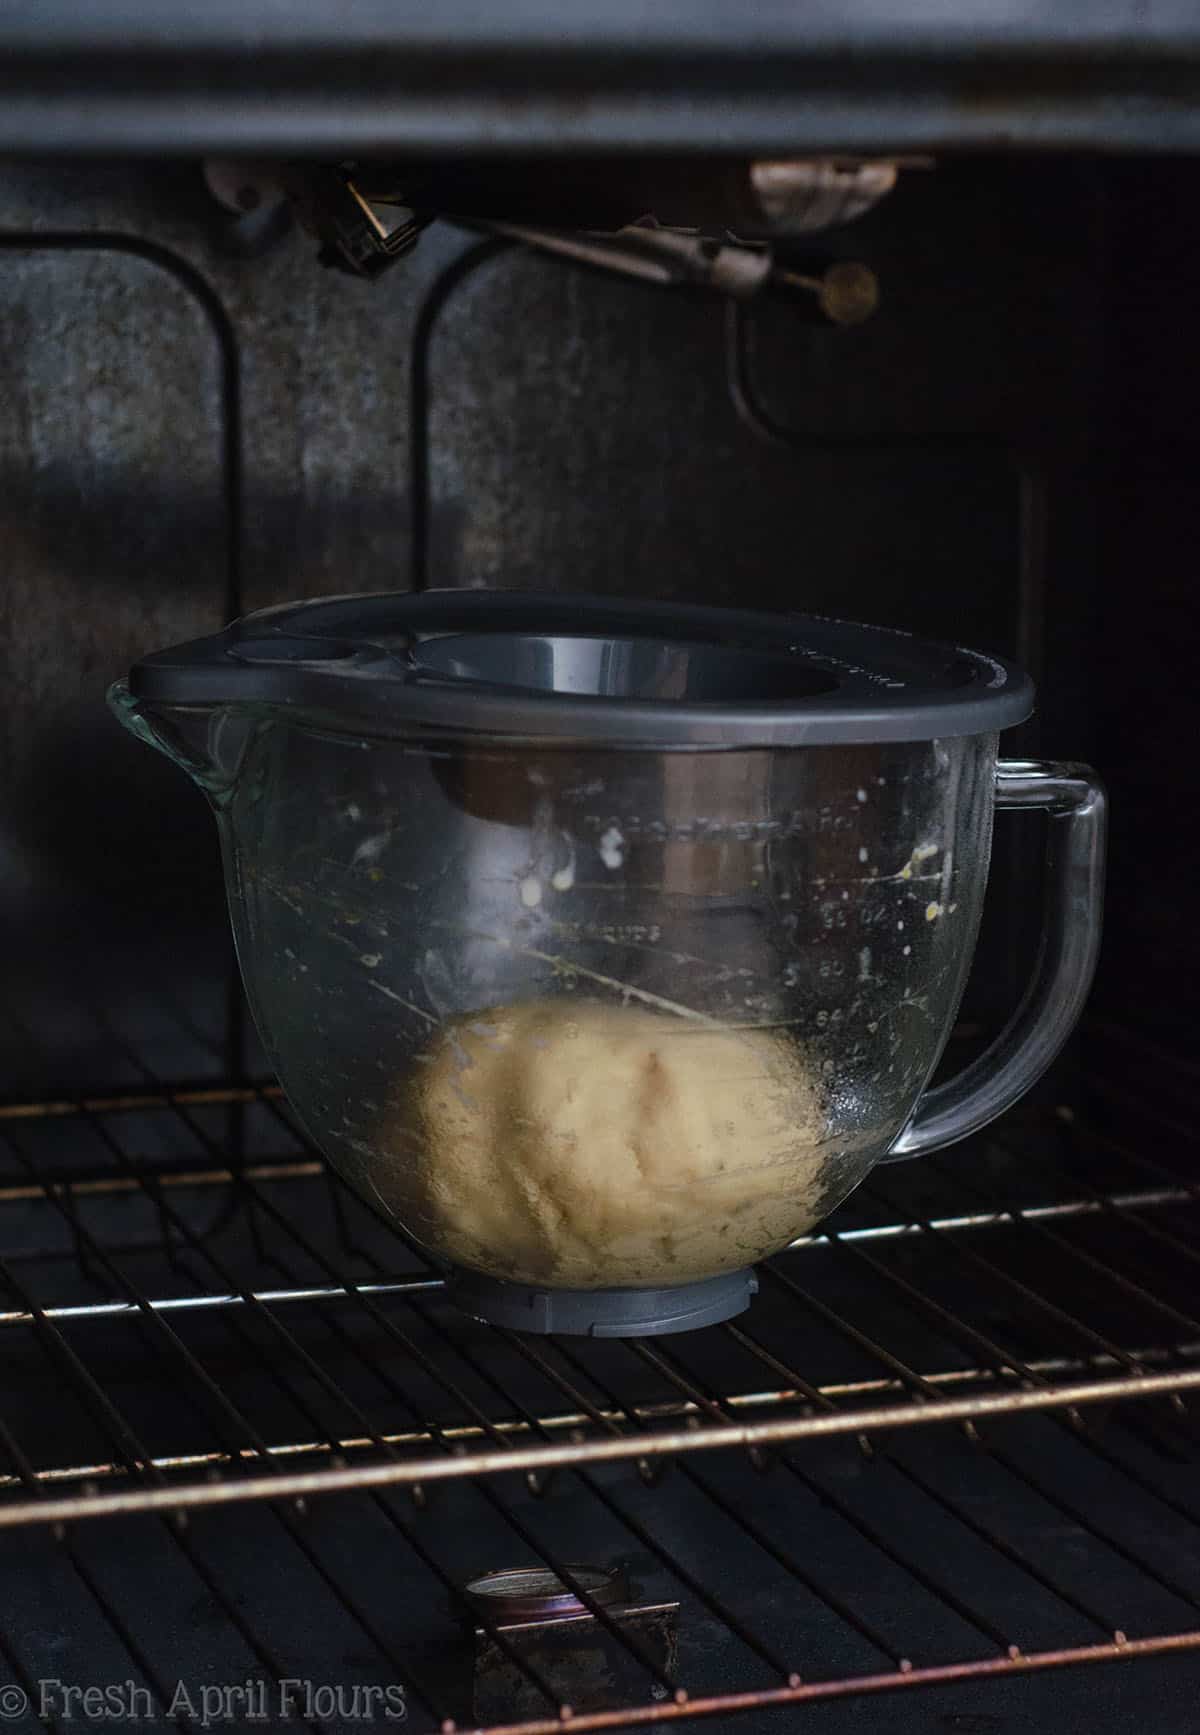
Your first rise takes place in your baking bowl in a warm environment. I like to preheat my oven to 200ºF, turn it off, then place the dough into the oven with the door cracked. The warm air will help get things going and, in cooler weather, encourage all that rising.
In the summer, I don’t really worry about this step, but it’s helpful to know about it if you’re feeling it’s on the cooler side in your kitchen.
The second rise takes place in your loaf pan. After you’ve punched down your dough initially, you’ll knead it a tiny bit, shape it into a loaf, and let it rise in the pan.
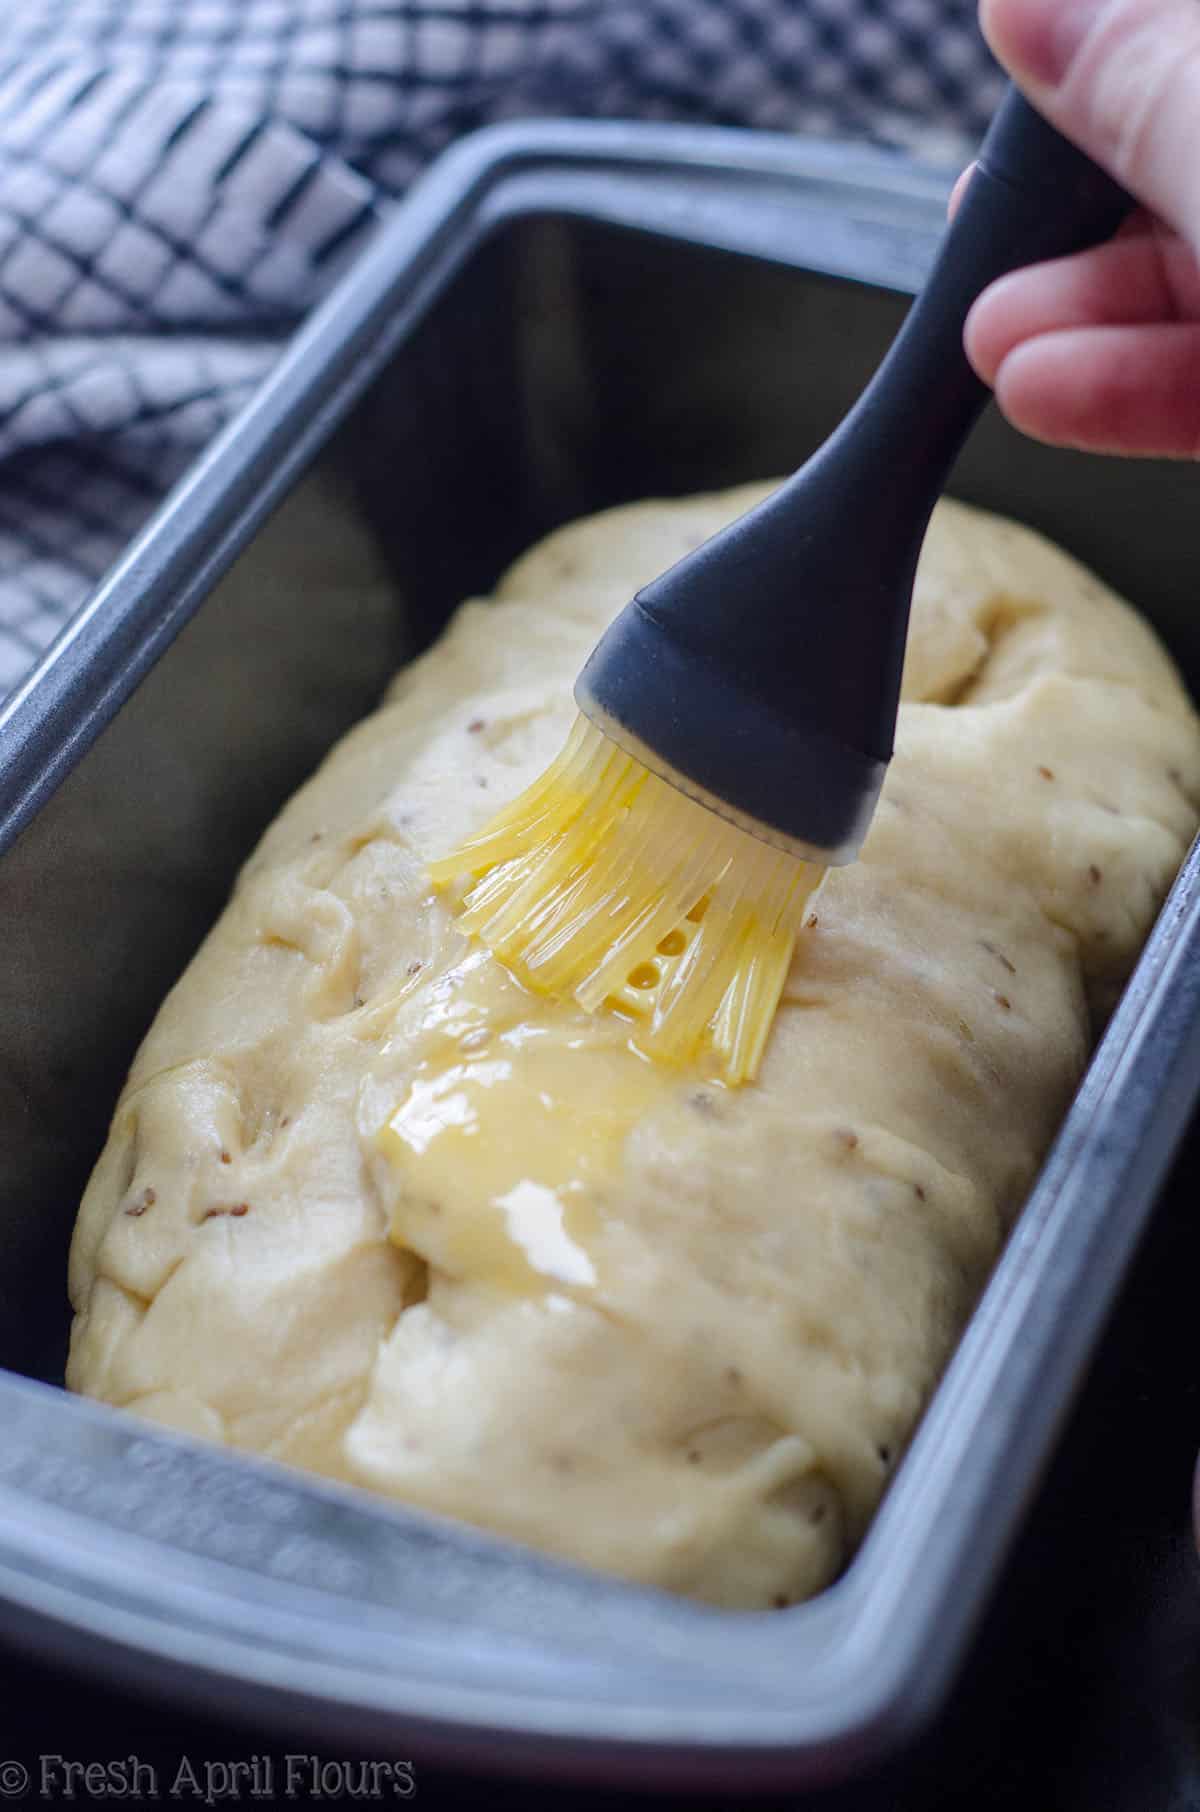
After an hour, it will be ready for an egg wash and then go into the oven!
So that’s 3 hours of sitting time. Yeast bread is not for the “I need this bread done quickly” people. Those are quick breads.
Yeast bread takes some planning ahead, and I promise, if you’re willing to put in the wait time, you’ll be rewarded with an incredible loaf of bread.
In. Cred. I. Ble.
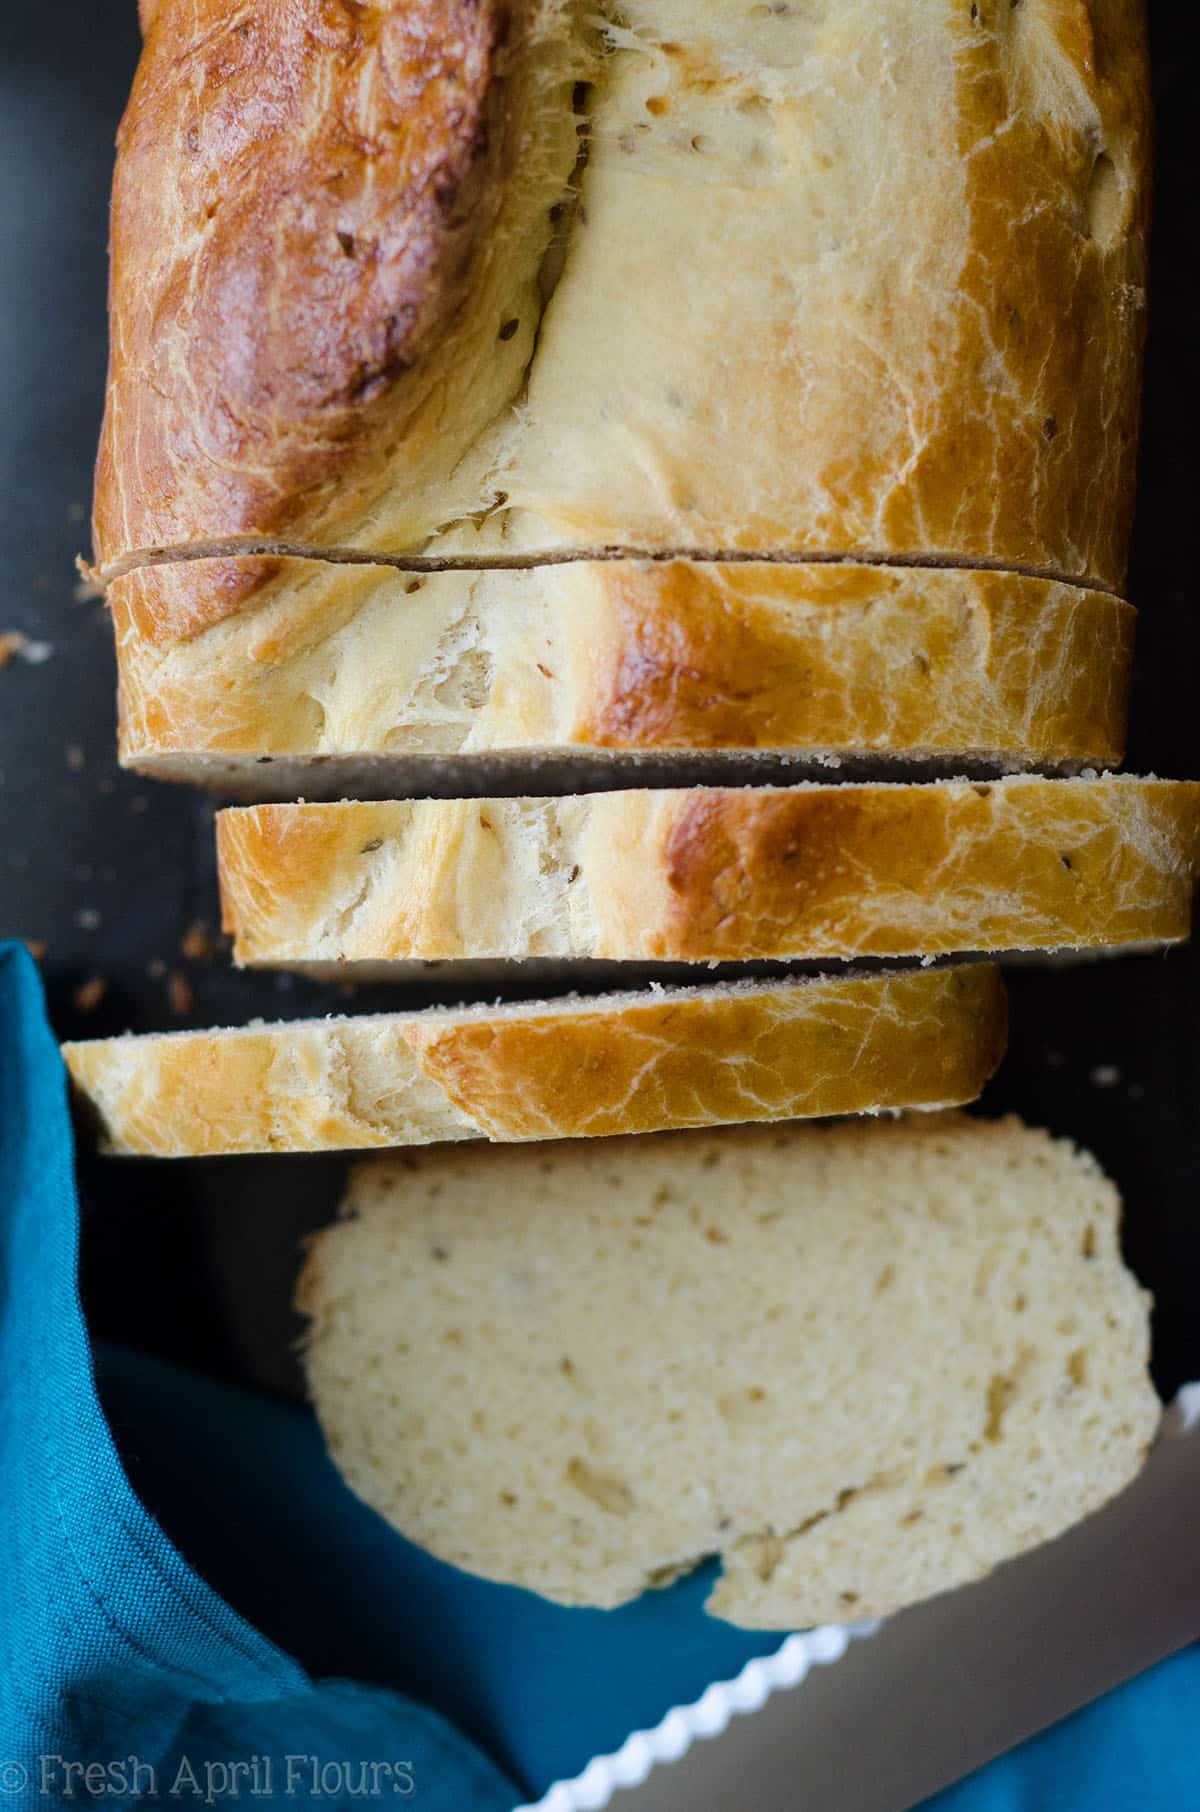
BUT! One of my very favorite things about yeast breads especially is that no two loaves will ever look the same.
In fact, I made this bread again this past weekend in preparation for hosting Easter at our house this coming weekend (popped it in the freezer– it will be good as new on Sunday!) and that loaf was a picture perfect loaf.
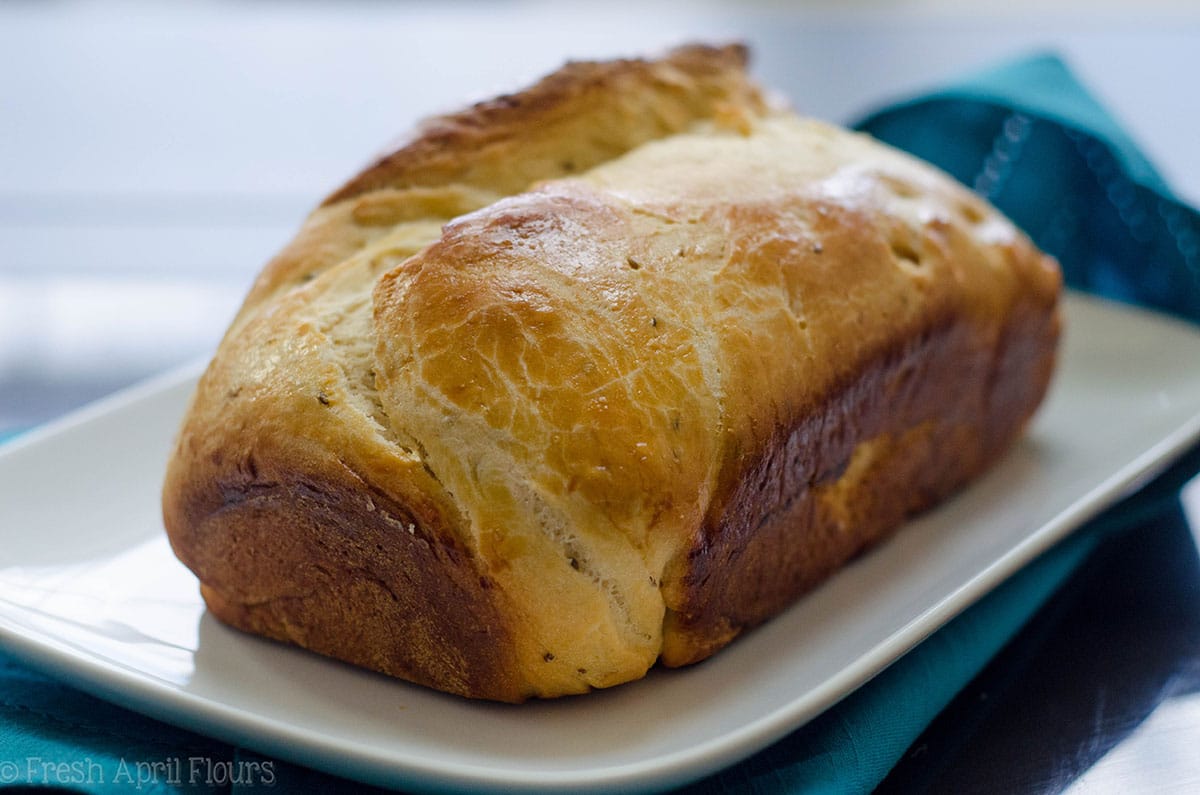
I debated whether or not I should re-photograph the bread, but I decided not to because the first one I made and photographed a few weeks ago has all the bumps and dips and curves that can only come with hand-crafted yeast bread.
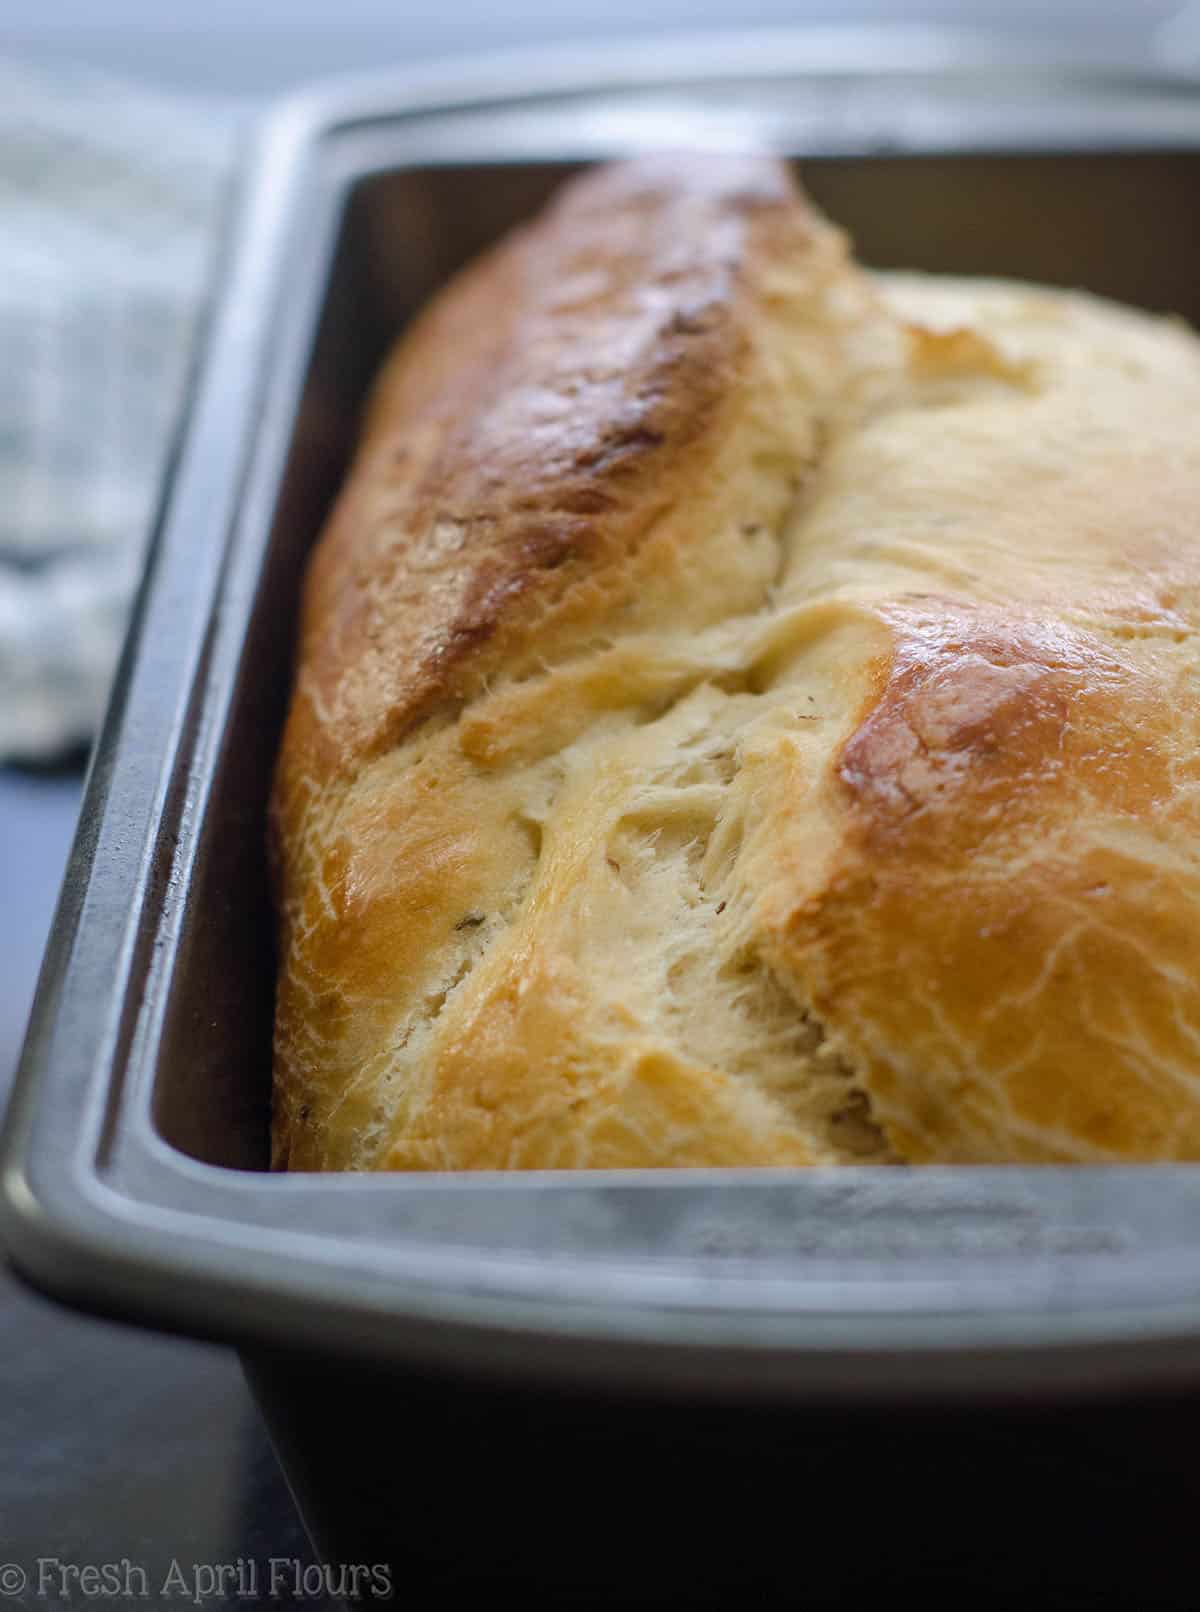
Plus, I kind of like that little notch in the top of this one. It gives it character! And you know what else– all the loaves taste the same anyway and my belly doesn’t care what the slices look like. TRUE STORY.
This bread is my childhood in a loaf of gluten. And sharing it with you all brings my heart so much joy. I know my grandmother is smiling down on the baker I have become and so happy her anise bread (aka Easter Pizza) is making its way onto other people’s tables and into their bellies.
So PLEASE, knead up a loaf for your celebration this weekend and pass on a little of the DeAngelis family for me.
Happy yeast bread baking, bakers!
Italian Anise Bread
Ingredients
- 2 and ¼ teaspoons (7g) dry active yeast or 1 packet
- ¼ cup (60mL) warm water
- ½ cup (120mL) warm milk I prefer whole milk
- ⅓ cup (67g) granuated sugar
- ¾ teaspoon salt
- ½ cup (113g) unsalted butter melted
- 1 heaping teaspoon anise seed
- 2 teaspoons anise extract
- 2 large eggs room temperature, lightly beaten, and 2 Tablespoons removed and set aside in the fridge for an egg wash
- 3 and ½ to 4 cups (420-480g) bread flour* be sure to measure properly
Instructions
- Sprinkle the yeast over warm water. The best way to test the temperature of your water is to take it from the tap and run your wrist in the stream. If you can’t feel the temperature of the water, it’s perfect. Stir yeast in with a fork until it is dissolved and set aside.
- In a large mixing bowl or the bowl of a stand mixer, blend the milk, sugar, salt, anise seed, and anise extract with a wooden spoon or a spatula. Stir in the butter, eggs with 2 Tablespoons removed, and yeast mixture.
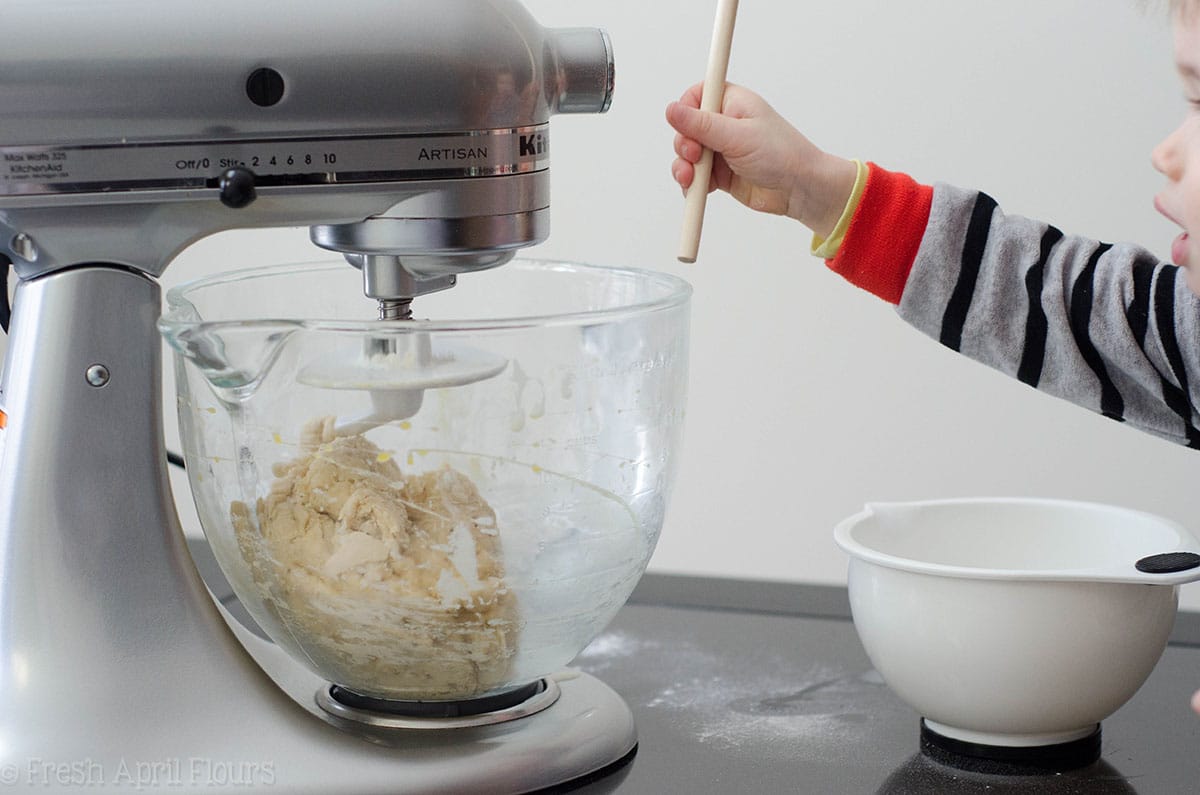
- Gradually stir in the flour. If you are using a stand mixer, use your dough hook. If mixing by hand, continue to use a wooden spoon or spatula. Add flour until your dough is soft enough to handle, usually when it can easily pull away from the sides of your bowl.
- Turn out dough on a lightly floured surface and knead until smooth and elastic. You may need to add the last cup or so of flour by hand. Your dough should feel like PlayDoh to the touch and “snap” when you pull it apart.
- Spray your bowl with non-stick spray and place the dough ball into the bottom of the bowl. Flip the dough ball over to coat the top, and then cover the bowl with a lid or towel and place in a warm environment. I like to heat my oven to 200ºF (93ºC), turn it off, then leave the door cracked with the bowl inside. Allow dough to rise until double in size, about 2 hours.
- After dough has doubled, punch down the dough and turn out onto a lightly floured surface. Shape into a loaf and place in a pre-greased loaf pan, cover with a towel, and allow to rise again, about 1 hour.
- When you are ready to bake the bread, set the rack to the middle position in your oven and preheat to 350ºF (177ºC).
- Using a pastry brush, brush the loaf with the reserved egg. Bake loaf for 36-40 minutes. Loaf is done when the top is golden brown and tapping on the top of bottom of the loaf produces a hollow sound. Loaf stays fresh covered at room temperature up to 1 week. Loaf may be frozen, wrapped tightly, up to 2 months. Thaw to room temperature before serving.
Notes
Nutrition Disclosure
All nutritional values are approximate and provided to the reader as a courtesy. Changing ingredients and/or quantities will alter the estimated nutritional calculations.

Love your posts Lynn!!
I look forward to trying this recipe, but I have a few questions:
1. Do you grind the anise seed, or treat it in any way, prior to incorporating it into the other ingredients?
2. What size loaf pan do you recommend for this recipe?
3. Is the raw dough scored on top just prior to baking? (Your photo of the baked loaf suggests that this might be the case).
TIA,
Elaine
Hi, Elaine!
1) The anise seed goes in whole.
2) I use a standard loaf, 9″x5″
3) I do not score the loaf, that’s just how the folds in the dough turned out for the pictures.
Enjoy!
Thank you Lynn, for a wonderful recipe and your thoughtful reply.
I have made this recipe twice now: once, in a conventional loaf pan, where it rose beautifully and baked to golden perfection. Second, I pre-shaped 4 strands of dough, braided them and baked them on my preheated baking stone. The bake time was shorter for this version: 30 minutes. Beautiful to look at, and delicious.
Thank you.
Awesome! Thanks for the report, Elaine. That’s actually really helpful, because I was going to use this dough base as an experiment with a King Cake. Check back for that one in February if it works out, haha 🙂
It’S exactly like my Grandmother’s! OMG, She was Albanese, born in Potentaza Italy. She lived In Jersey City, NJ a big community of Albanese Italians. The women all made the bread but we called it Kulyach. I just made 2 of them but I braid the top. I wish I could send you a picture of mine.
That’s amazing! If you have a picture to send me, email me! lynn@freshaprilflours.com 🙂
oh No! I just made this, still rising and went back and was reading your comments. No Whole Wheat flour. Ugh, that is all I had. I’m wondering if I should run to the store to get some white, and make another one?
That’s ok, Jody! Did it still turn out ok?
Hi Lynn:
Thanks for sharing the recipe for the bread. I am from Philadelphia and grew up eating my grandmother’s Easter Bread, which was always baked in a pan and never braided. Since she didn’t have a written recipe, for years I have been trying to recreate it. She called her bread “Cake Apizz,” which means “cake pizza.” I have done so many searches to find a bread similar to hers, but this is the first time I have ever seen a post where someone called their bread pizza – just like my grandmother. I am curious to see if your Easter Pizza is similar to my grandmother’s bread.
How cool, Donna! I bet it’s similar! I’ve heard this a lot from other Italians. You’ll have to try it and let me know 🙂
How difficult would it be to adapt this recipe for a bread machine? Has anyone tried it? Wouldn’t love to know how it turns me.
I’ve never used a bread machine, so I’m not much help. Sorry, Patricia!
I used my bread machine to mix the dough, but haven’t baked it in the bread machine. No tweaking necessary for the bread machine mixing. I baked my loaf in a loaf pan in the oven because I prefer normal-shaped loaves over the squarish loaf shape from bread machines.
Hi Lynn, I don’t have anise extract. Can I use more anise seed? Maybe add some ground anise?
Oh man, Kim! Get yourself some extract! Haha! I would up the anise seed and maybe use some almond extract. If you want to grind up the anise seed, that might help bring out more flavor. Let me know how it goes!
Can I use just the extract and not the seeds?
Definitely, Joann! I would put a little extra in, maybe 1/2 teaspoon or so.
My Father was the bread kneader in our Italian family. He used olive oil instead of butter. Any idea of how much is equivalent to the butter.
I would say 1:1, but I’m unsure about how the sub works out. Let me know if you try it!
Just wished to add, the conversion is 3 tablespoons of olive oil to 1/4 cup of butter. Hope this helps.
Delightful! Easy to make and so worth the time. Absolutely delicious! I can’t wait to bring one to a family occasion.
Thanks so much, Cathy! I’m glad you enjoyed them 🙂
Hi, Lynn!
I can’t wait to try this. My family makes an Easter pizza recipe handed down by ancestors from the Marche region. It has lots of eggs and parmesan. I love how the regions have their distinct recioes. Thank you for sharing your family’s recipe! Hope you are well. I miss the days when we were regulars at early morning spin class in Jennersville.
Tara! It is so nice to hear from you!! 🙂 I also love hearing about everyone’s regional differences– thank you for visiting! I hope you try our family’s recipe soon!
Hi there – I am so excited to make your recipe next weekend. I remember this Easter bread growing up in Philly in the 60’s but could never find a recipe. I now live in Idaho and want to make several loves as a thank you/ Easter gift to many kind neighbors and friends who have supported me through a personal tragedy this past January. God bless and thank you.
I hope it’s what you’re looking for, Judee! Please report back 🙂 happy Easter!
Hi. My mom made this for years braided. Her recipe got worn and I can’t read it but your bread looks just like it ! Can you use Instant yeast?
Hi, Nancy! Though I haven’t tested it with instant yeast, you can use 1 and 3/4 teaspoons of instant yeast in place of the active dry yeast. And you do not need to proof the yeast, just add it to the dry ingredients! Let me know if you try it 🙂
Awesome bread! Nice texture and flavor, and exceptionally good for thick, sliced French toast! The dough also worked out perfectly for bread rolls. I made some orange butter to go with the bread and that was a nice complement to the flavors. As a substitute for anise seed extract, if anyone is looking for an alcohol-free alternative, I ground up a tablespoon of anise seeds and poured hot water over it. I let it steep until it was cool enough to add the yeast. Turned out fine, but not as strong as the extract. F I try it again, I’ll add a bit more anise. The flavor was not that strong with out the extract.
Thank you so much, Myron 🙂
Have you ever toasted this bread? I’m picturing slice toasted & topped with honey butter with a cup of tea! Any thoughts?
Hi, Janet– it toasts and butters BEAUTIFULLY!
Hi Lynn,
I have been looking for a recipe like this for about twenty years! Thank you! Quick question–I am using a stand mixer with a dough hook. This is my first attempt at making bread. Do I use the stand mixer and dough hook just until the dough pulls from the side of the bowl, and continue as the instructions for mixing by hand, i.e., turn out the dough and add the remaining cup or so of flour by hand, or can this last step be done in the stand mixer and dough hook, until the dough is the consistency of play doh and “snaps” when pulled apart? Thank you in advance!
Hi, Kathy– it’s totally up to you and your personal preference. I like to do EVERYTHING with my hands but if I use the dough hook, I usually pull it out when it starts to pull away from the sides and knead the rest with my hands like you mentioned just so I have a better grasp on the overall texture. Your call! I can’t wait for you to try this– it’s one of my FAVORITES!
Thank you so very much! Happy Easter to you and your family. Thank you again for the recipe : )
I made two loaves of this anise Easter bread yesterday, one for us and one to share. It’s delicious and tastes just like the Easter bread my husband’s Italian mother and aunt used to make. The perfect amount of sweetness. Thank you for this wonderful recipe! Happy Easter to you and your family!
Thank you so much 🙂
Love your posts!
I’m wondering if I can double this recipe? If so, is it exactly the double of measurements in your recipe and can I use a big baking pan?
Thank you
Hey, Antonella! YES, you can. In fact, the original recipe made 2 loaves, though I always just baked it in two separate loaf pans.
This is EXCELLENT anise Easter bread! Just like my mom’s, except we add sliced almonds. Thank you and God bless for sharing this wonderful recipe!
Thanks so much, Jean!