
Home Made Buttermilk
As an Amazon Associate, I earn from qualifying purchases. Read the full disclosure here.
No buttermilk? No problem! You can make this easy buttermilk substitute at home with regular milk and either lemon juice, vinegar, or cream of tartar. You can even use your favorite plant-based milk to make vegan buttermilk.
Never Buy Buttermilk Again – Learn how to make Buttermilk Homemade!
I’ve been baking from scratch since 2010, and guess what? I’ve bought buttermilk maybe 5 times. For real.
Let me paint you a picture: you’re in the middle of gathering your ingredients to make red velvet cake (or buttermilk biscuits or yellow cake or bakery style chocolate chip muffins) and you stop in your tracks.
You need buttermilk.
*EXPLETIVE*
But guess what? It could not be simpler to make your own cup of buttermilk, so save yourself the rage trip to the grocery store. I’ve got you covered if you have two things: milk and either lemon juice, distilled white vinegar, or cream of tartar.
Got ’em? Let’s do this.
THE IMPORTANCE OF BUTTERMILK
My rule of thumb is if the recipe calls for it, you need it. I try to, as often as I can, offer substitutes for ingredients that can be easily substituted (like Greek or plain yogurt for sour cream or milk chocolate chips for semi-sweet chocolate chips), and buttermilk is no different.
Traditional buttermilk is an important ingredient in lots of recipes that have a signature tangy flavor: fluffy buttermilk pancakes, ranch dressing, Irish soda bread, many quick breads, and anywhere a recipe has been tested to insure the acidity of the buttermilk reacts properly with the leavening agent to bring lift to the baked good.
It breaks my heart when I know someone subbed out store-bought buttermilk for another kind of milk that hasn’t been soured and their recipe flopped. It doesn’t have to be this way! We can use any type of milk (YES, even non-dairy milk like almond milk, oat milk, or coconut milk) to make our own buttermilk and YES it is just as good as “real buttermilk” in any recipe that calls for it.
Also, buttermilk doesn’t come in anything smaller than a whole carton (at least not that I’ve ever seen!). And you rarely need more than 1 cup at a time. HOW ANNOYING.
WHAT IS BUTTERMILK?
Buttermilk is an acidic baking ingredient. Traditionally, buttermilk is the byproduct of butter and what is left after the churning process. When left to ferment, buttermilk naturally turns to a thick and tangy cream, which is low in fat.
Commercially made buttermilk is simply low fat milk that has been fermented by a bacteria culture. The milk is then heated to remove the bacteria, leaving behind safe-to-consume fermented milk.
WHAT DOES BUTTERMILK DO IN BAKING?
Buttermilk, like yogurt and sour cream, also helps tenderize gluten, which brings body, moisture, and a softer texture to baked goods.
You’ll often find buttermilk included in recipes that contain baking soda as the leavening agent.
Baking soda is simply an acid in powder form, and it needs an acid to activate it. Improper activation or no activation at all can leave baked goods dense and heavy instead of light and fluffy.
WHAT YOU’LL NEED TO MAKE YOUR OWN BUTTERMILK
Here’s the good news about all of this: you have options! I love when that happens.
If you have milk (again– ANY milk), you’re halfway there.
You will also need:
VINEGAR: white distilled vinegar is what you want here, not apple cider vinegar or balsamic vinegar. Please. The latter are not quite right and will drastically alter the overall flavor of your recipe.
LEMON JUICE: preferably FRESH lemon juice. You can use the bottled stuff, but fresh is best. I’ve even used lime juice as well as orange juice, depending on what my recipe called for (see my orange creamsicle cake which technically uses milk soured with orange juice).
CREAM OF TARTAR: if you’re a snickerdoodle maker, you have this on hand. It will sour your milk the same way lemon juice or vinegar will.
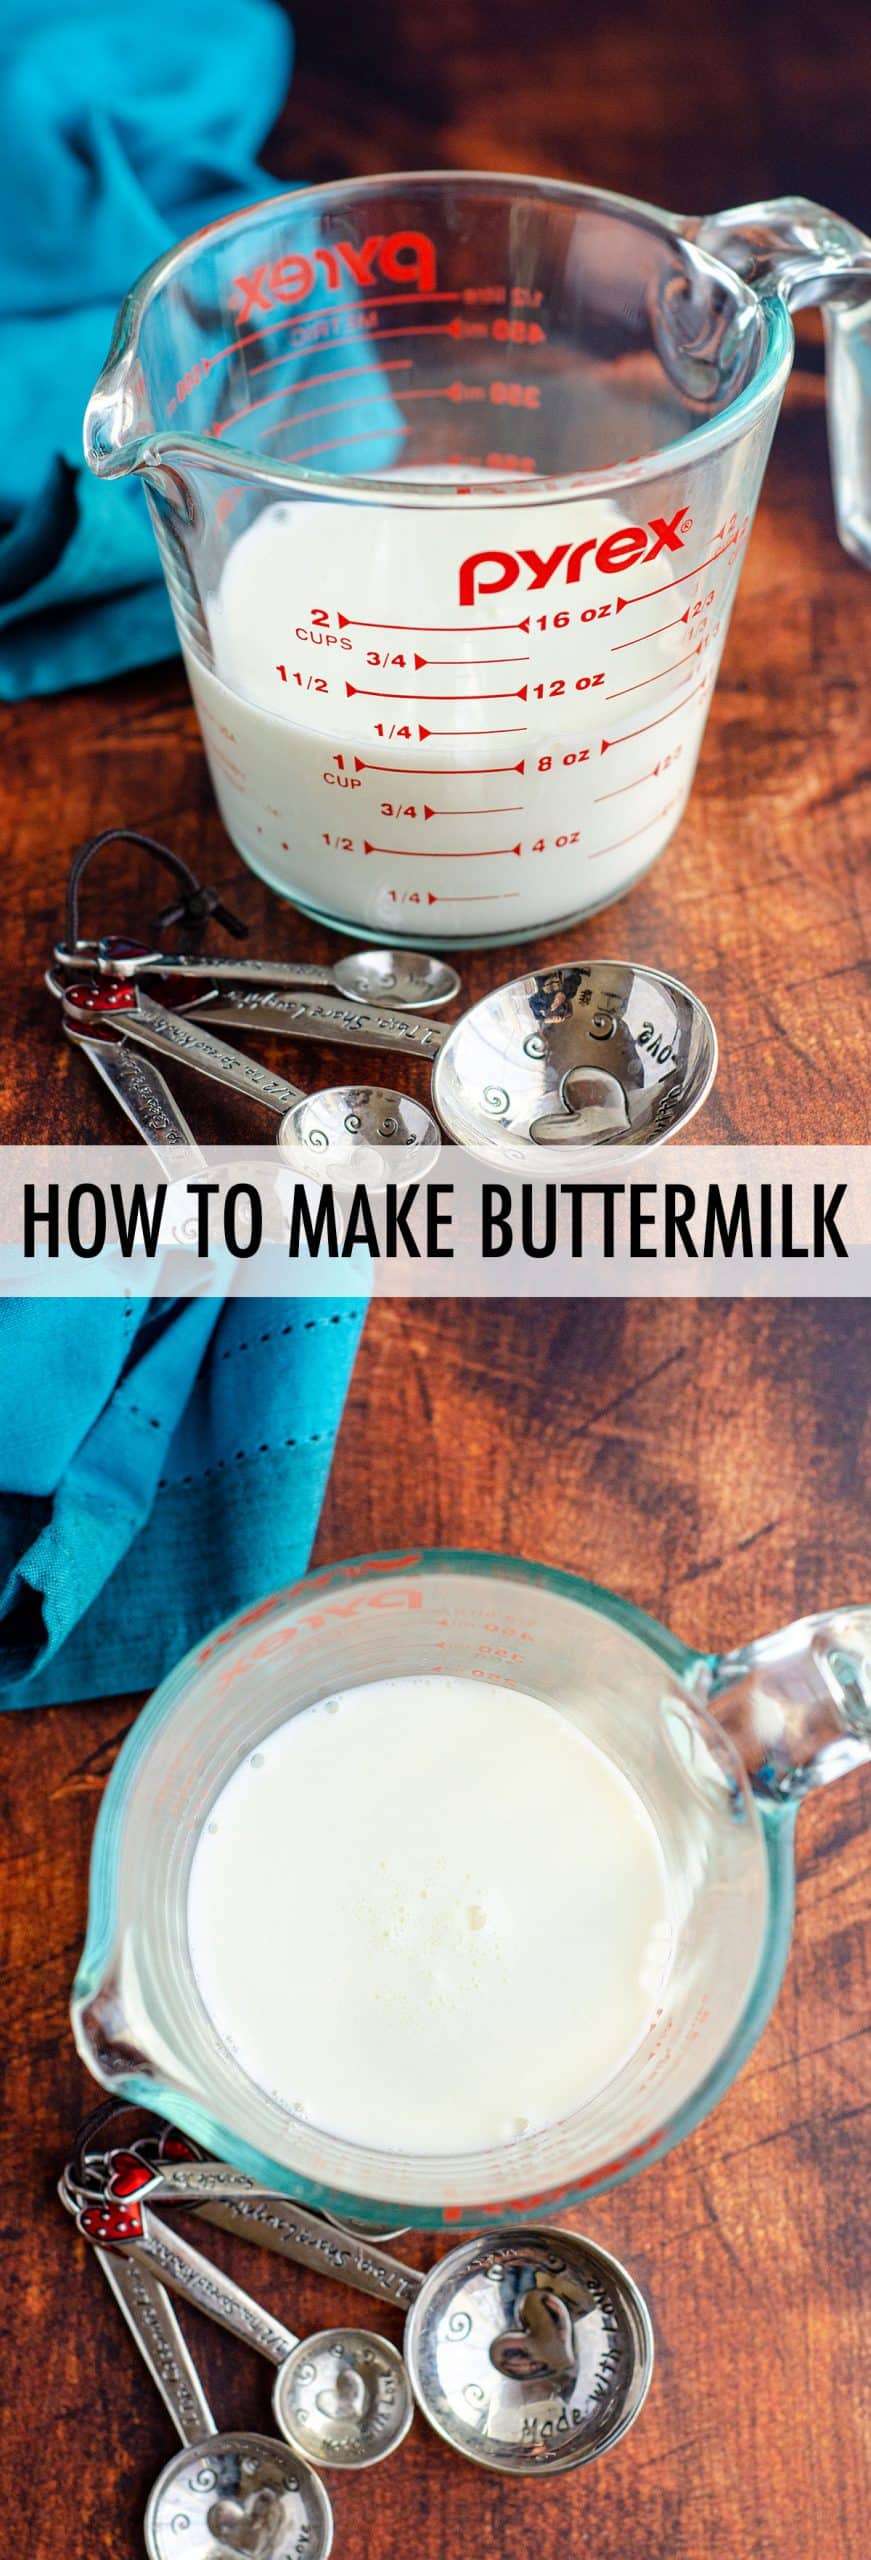
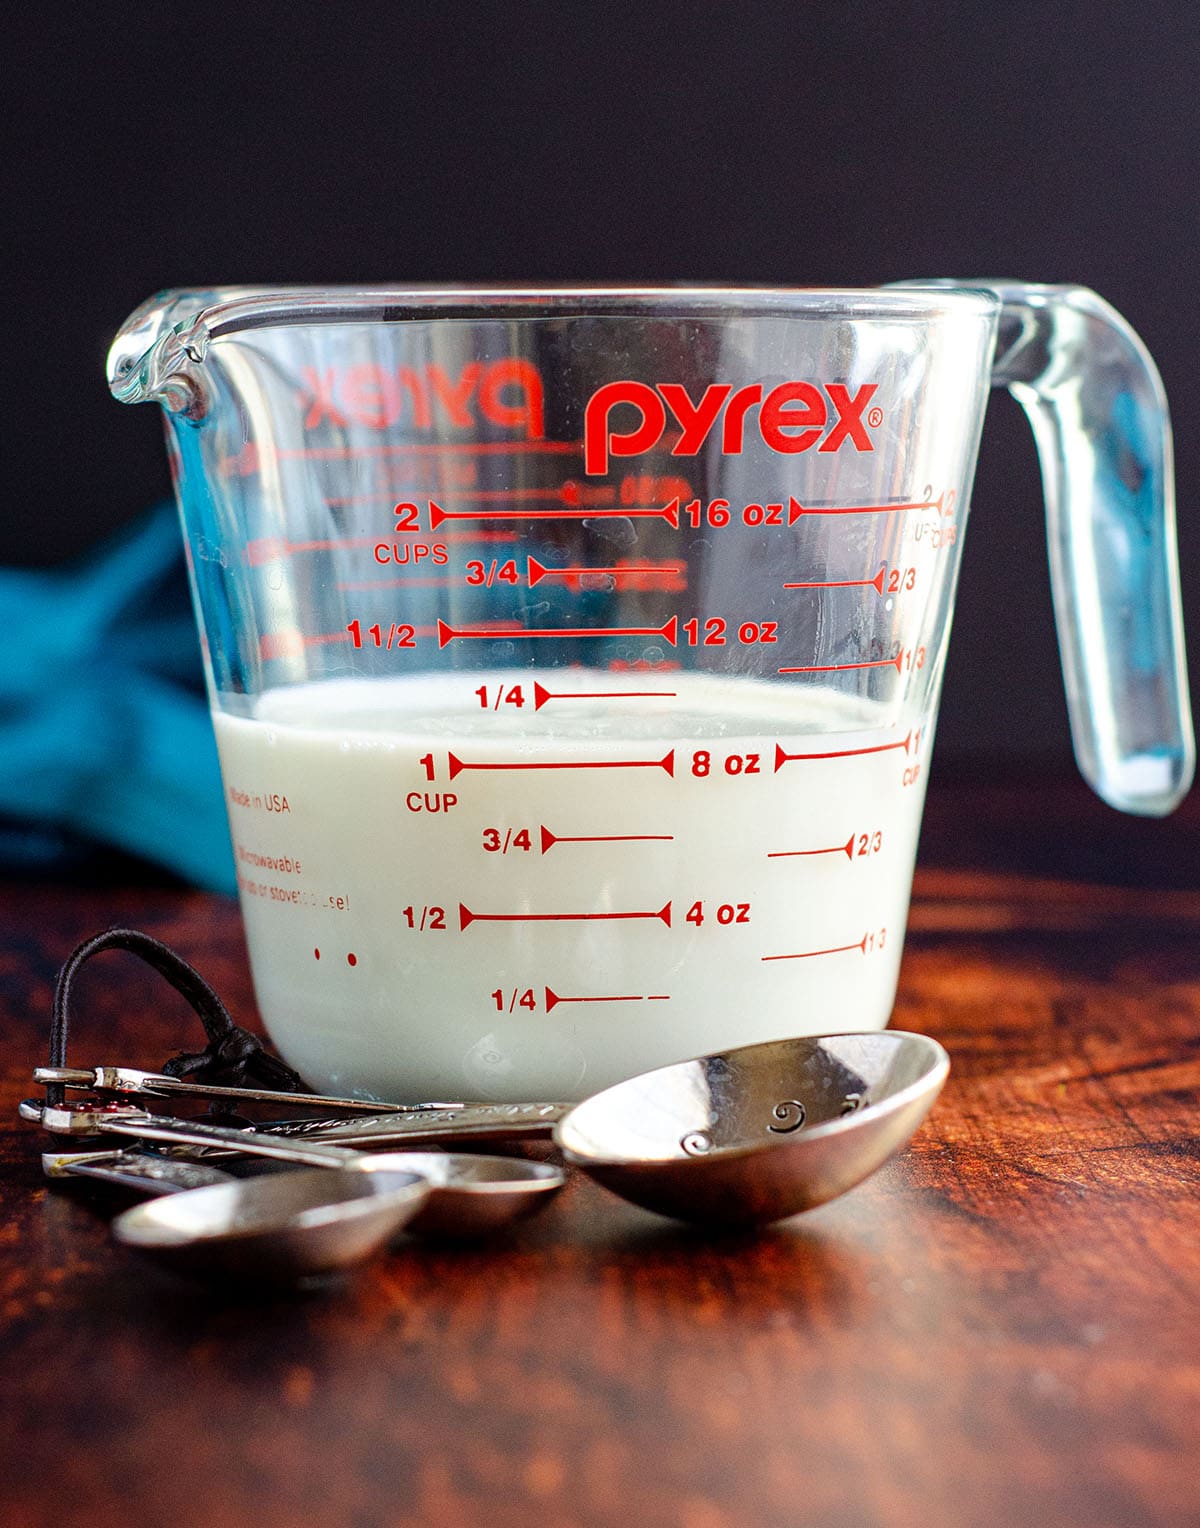
HOW TO MAKE YOUR OWN BUTTERMILK
This is so easy peasy!
MAKE YOUR OWN BUTTERMILK WITH LEMON OR VINEGAR
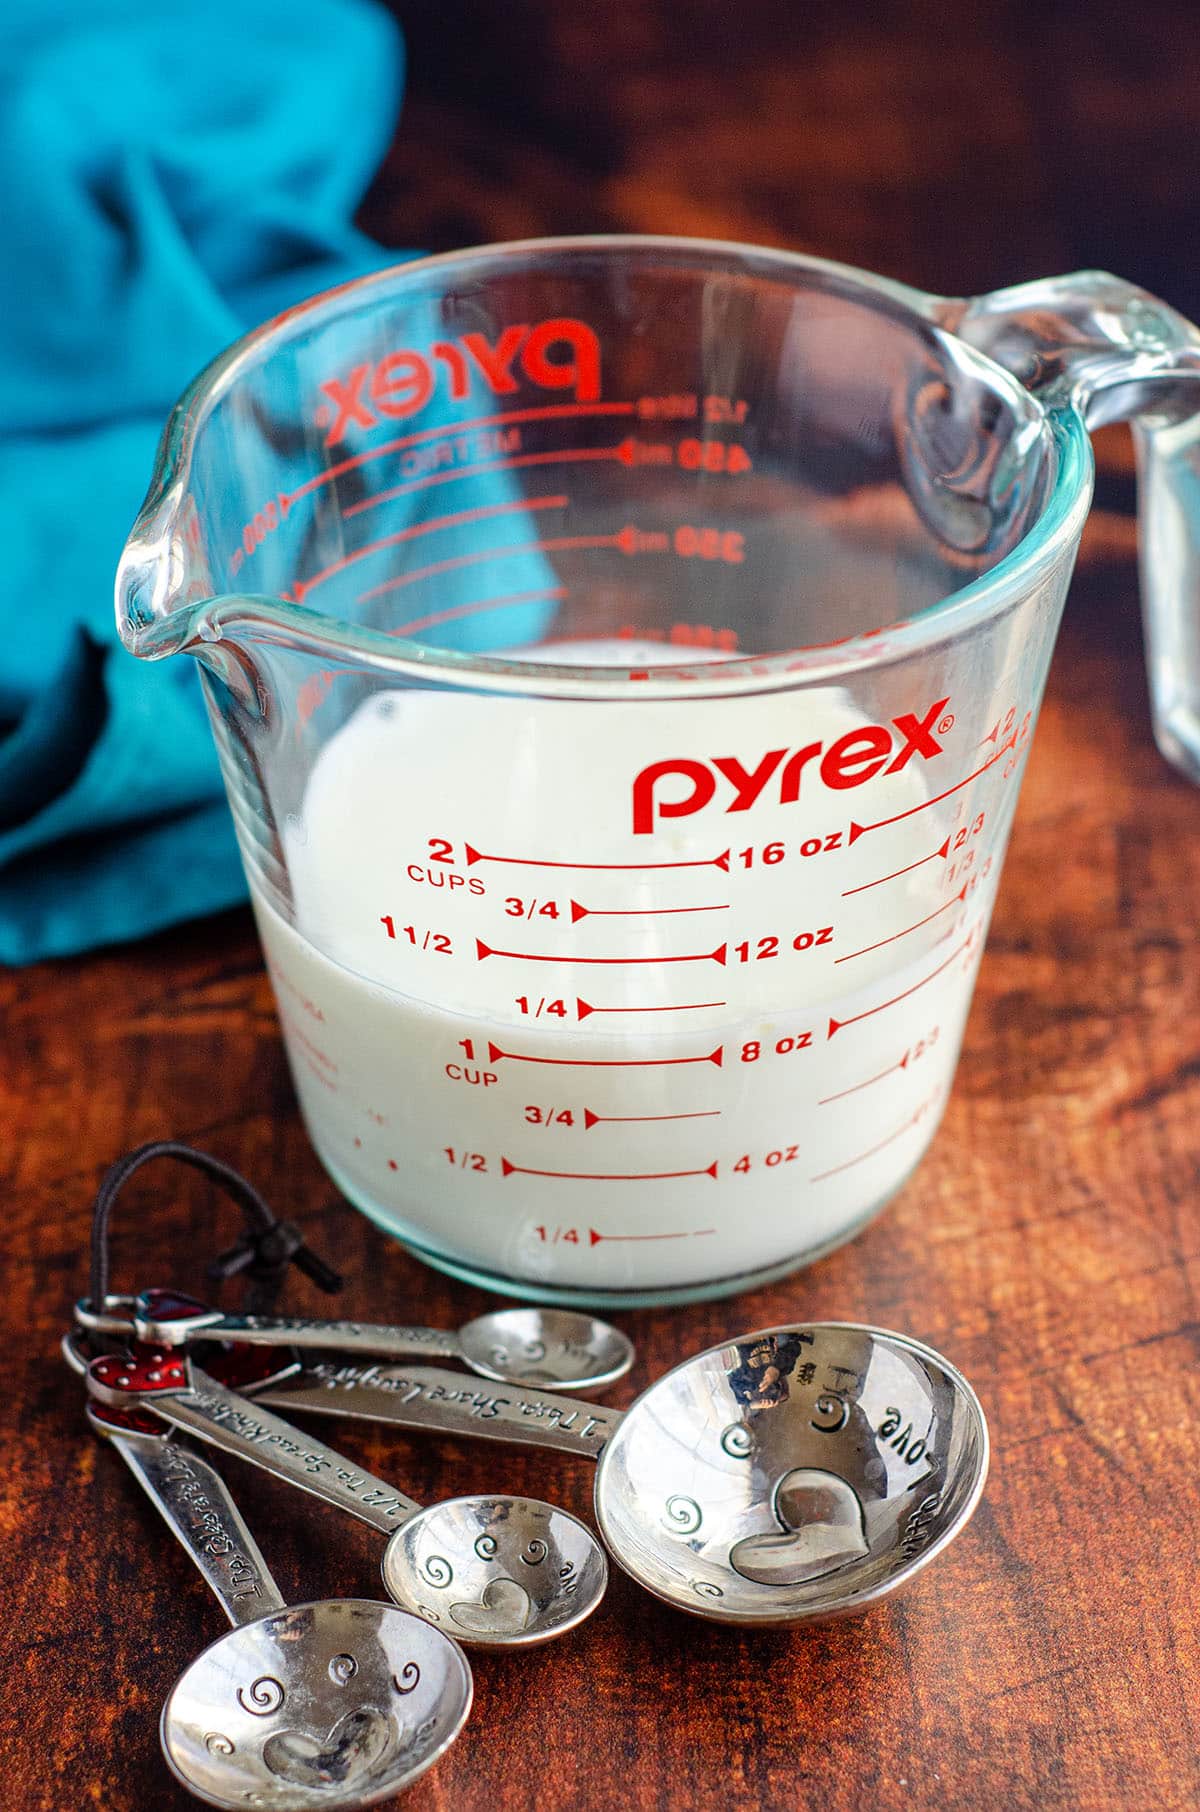
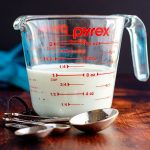
If you’re using lemon juice or vinegar, you’ll want to add 1 Tablespoon of it to a measuring cup, and then add milk to the level of 1 cup. Adjust this ratio as needed if you need more or less buttermilk.
Once combined, stir together and allow to sit for 5 minutes while the milk sours. Then it’s ready to use!
HOMEMADE BUTTERMILK WITH CREAM OF TARTAR
If you’re using cream of tartar, you’ll want to start with 1 cup of milk and then add 2 teaspoons directly to the milk. Again, stir it around and allow it to sour before using it.
HOME MADE BUTTERMILK VARIATIONS
DAIRY-FREE MILK SUBSTITUTION
If you have a dairy allergy, you can also use this buttermilk substitute recipe with any plant-based milk to make a dairy-free buttermilk substitute.
VEGAN BUTTERMILK SUBSTITUTION
If you are vegan, you can use the dairy-free substitute described above.
HOME MADE BUTTERMILK FAQS
Adjust the recipe as necessary to your needs. Only need ½ a cup of buttermilk? Reduce vinegar or lemon juice to ½ Tablespoon and add milk accordingly. Only need ¼ cup? Adjust to ¼ Tablespoon.
The conversion couldn’t be simpler.
HOW TO STORE HOMEMADE BUTTERMILK
CAN YOU FREEZE BUTTERMILK?
Buttermilk freezes beautifully! Store in an airtight container with enough butter for freezing room (the liquid will expand in the freezer). It will last up to 3 months! I’ve also poured my buttermilk into an ice cube tray which keeps it in approximately 1 Tablespoon portions for smaller batches and easier storage. Thaw in the refrigerator and use as directed.
HOW QUICKLY SHOULD I USE MY HOMEMADE BUTTERMILK?
Once your buttermilk is ready to use, you can use it right away. You can, however, let it sit if you don’t need to use it right away.
Use the expiration date on your original milk source as a guide.
Your homemade buttermilk will last just as long as regular milk. Just give it a good stir before using it again.
MY FAVORITE RECIPES USING BUTTERMILK
As I mentioned, there are so many recipes of mine that call for buttermilk. Consider any of the following, or use whenever you come across a recipe that calls for buttermilk.
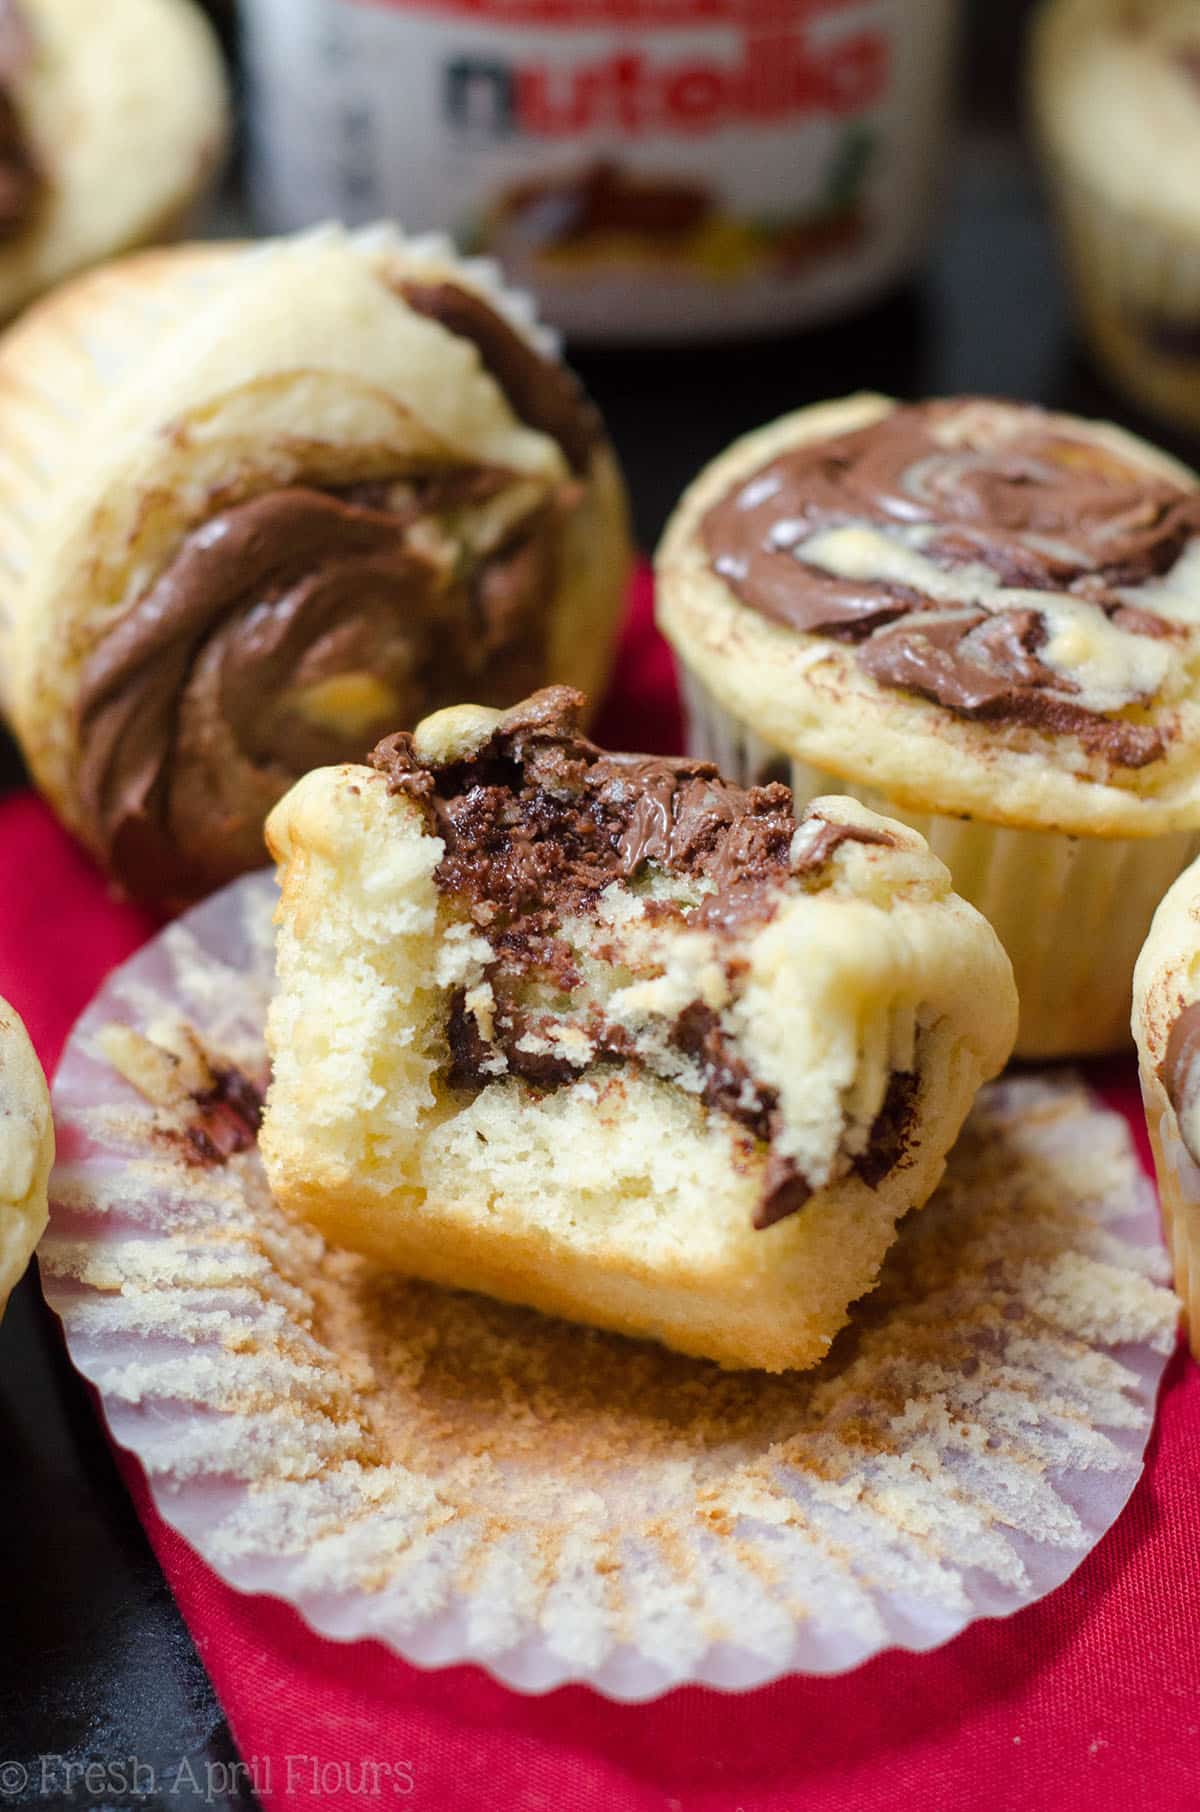
• Nutella swirl muffins
• very berry muffins
• bakery style chocolate chip muffins
• cream cheese filled red velvet muffins
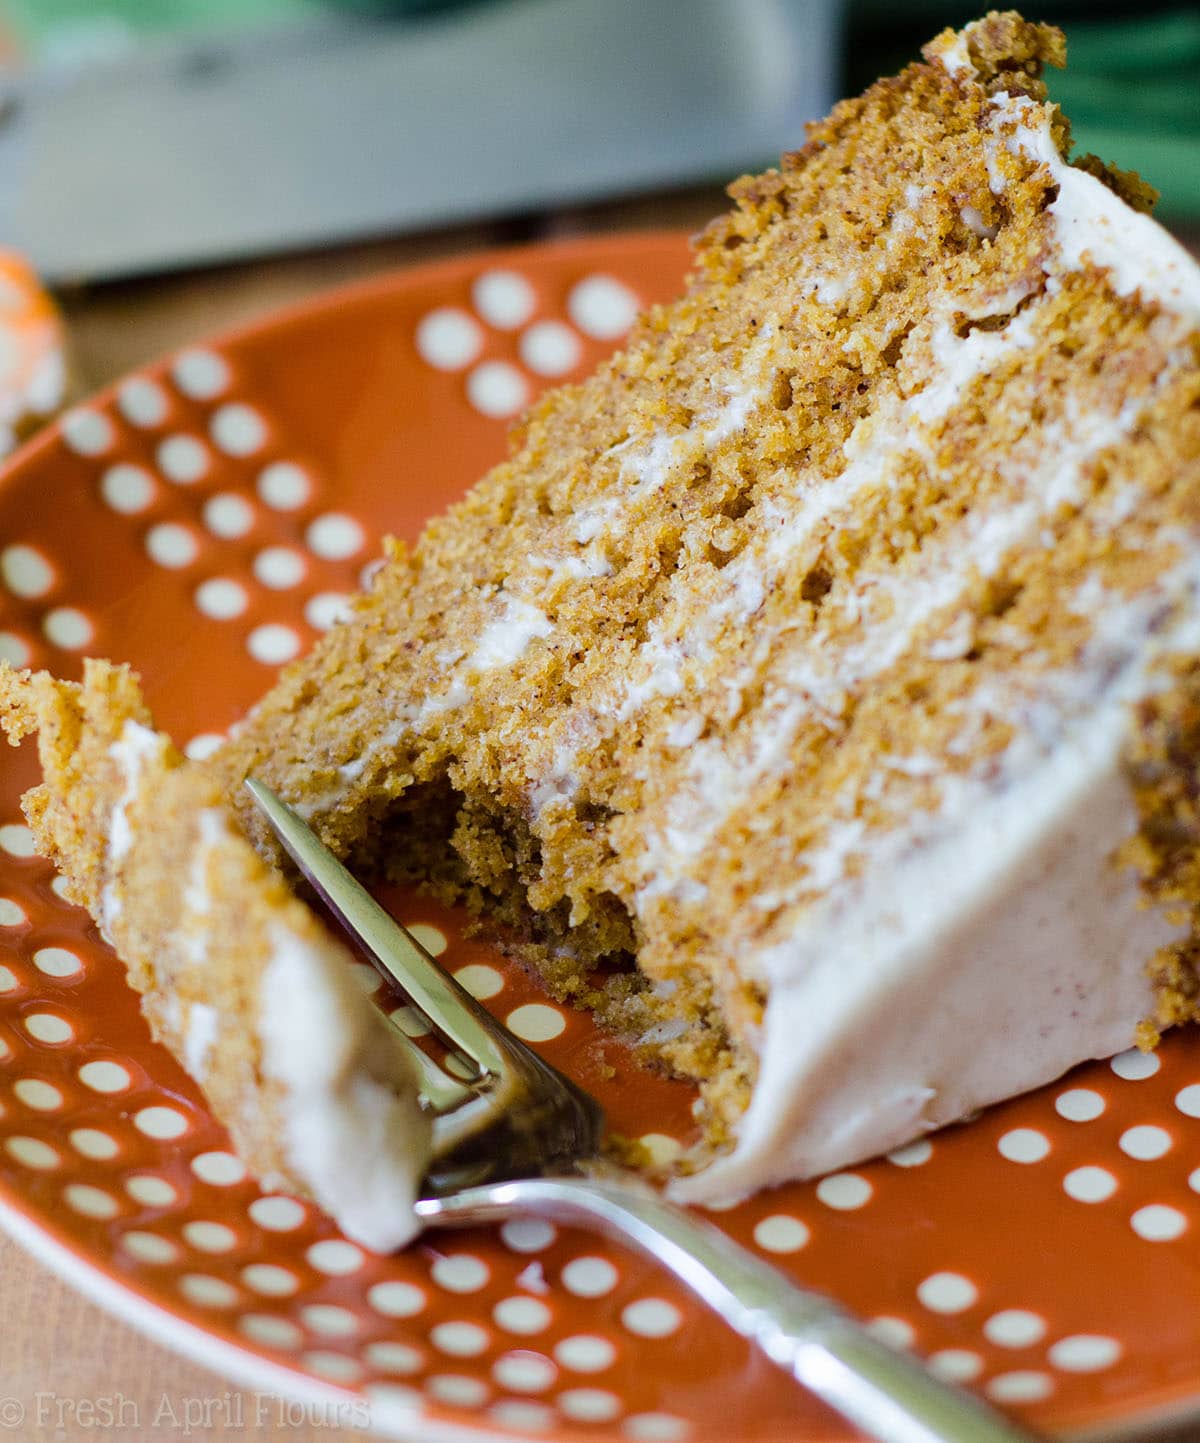
• brown butter pumpkin layer cake
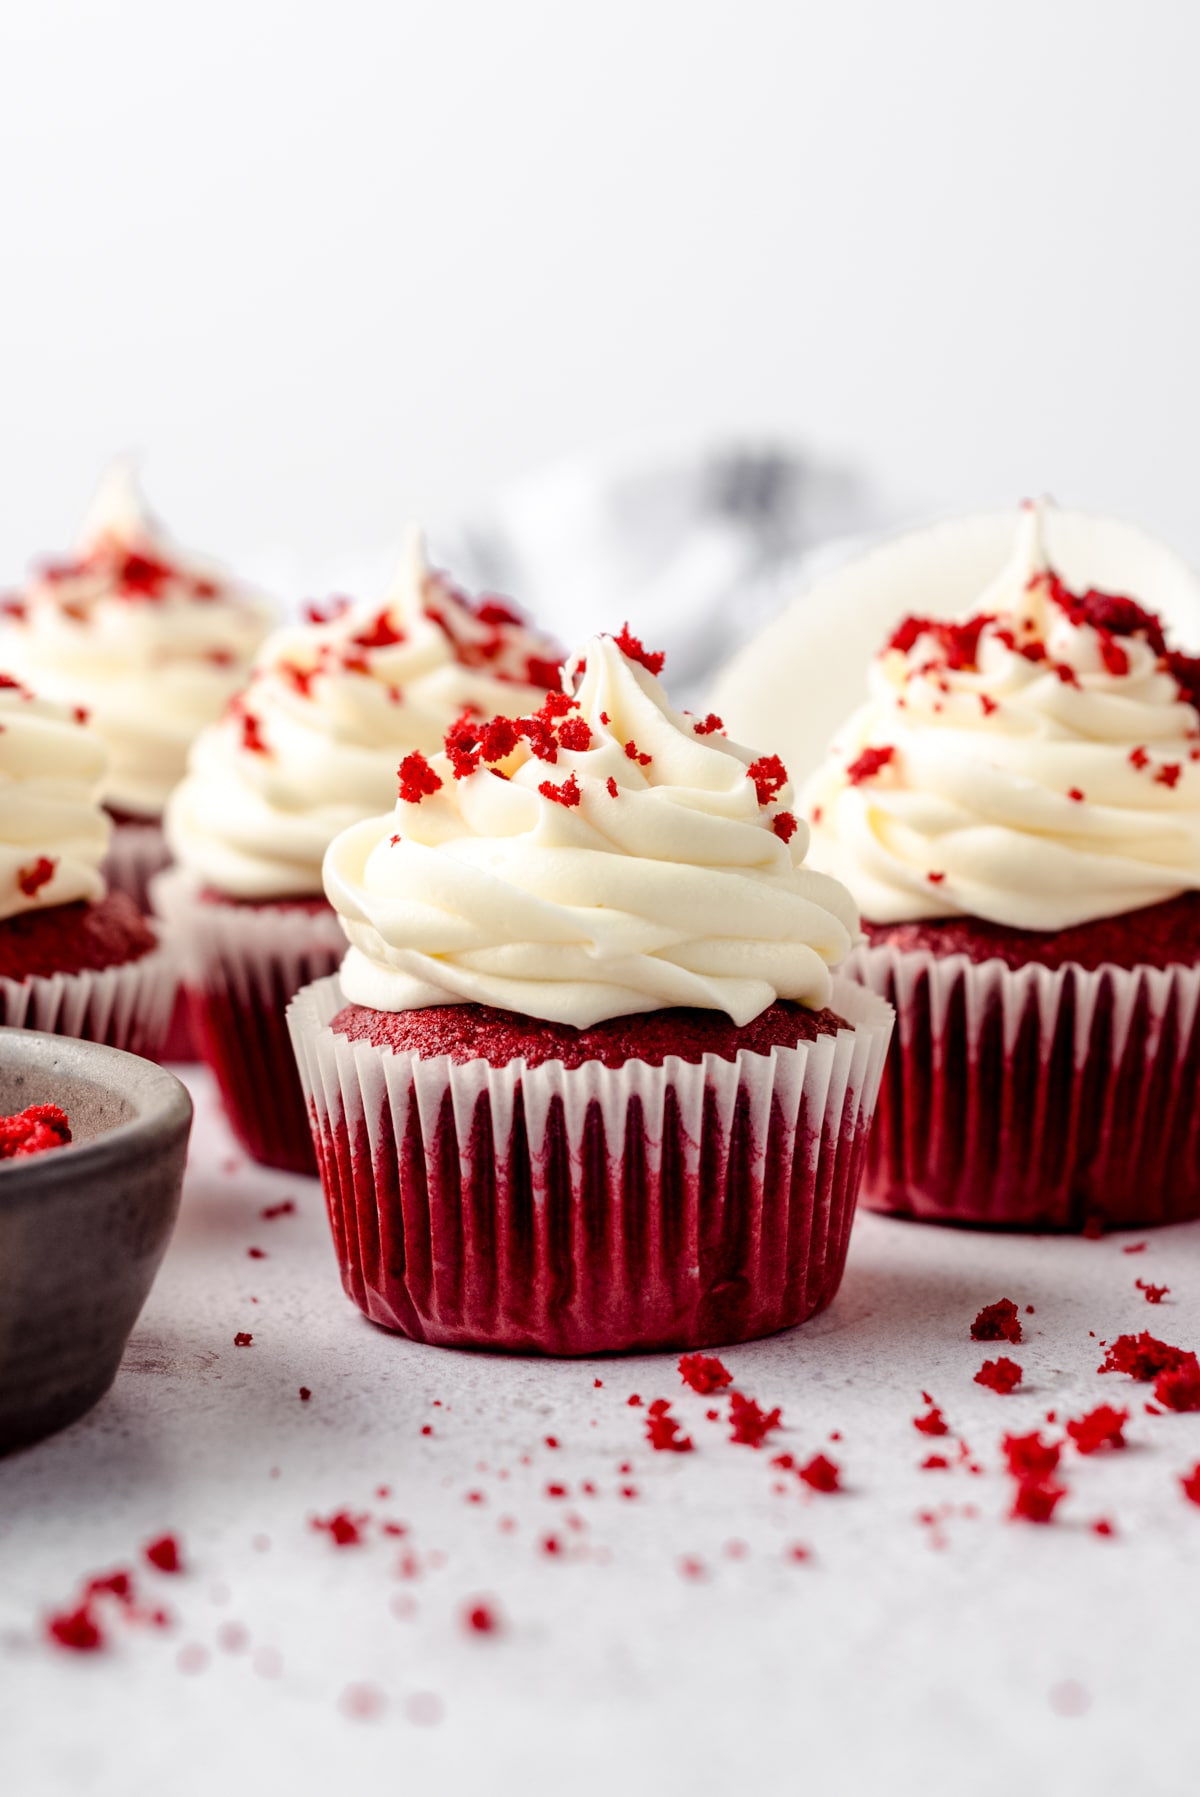
• red velvet cupcakes
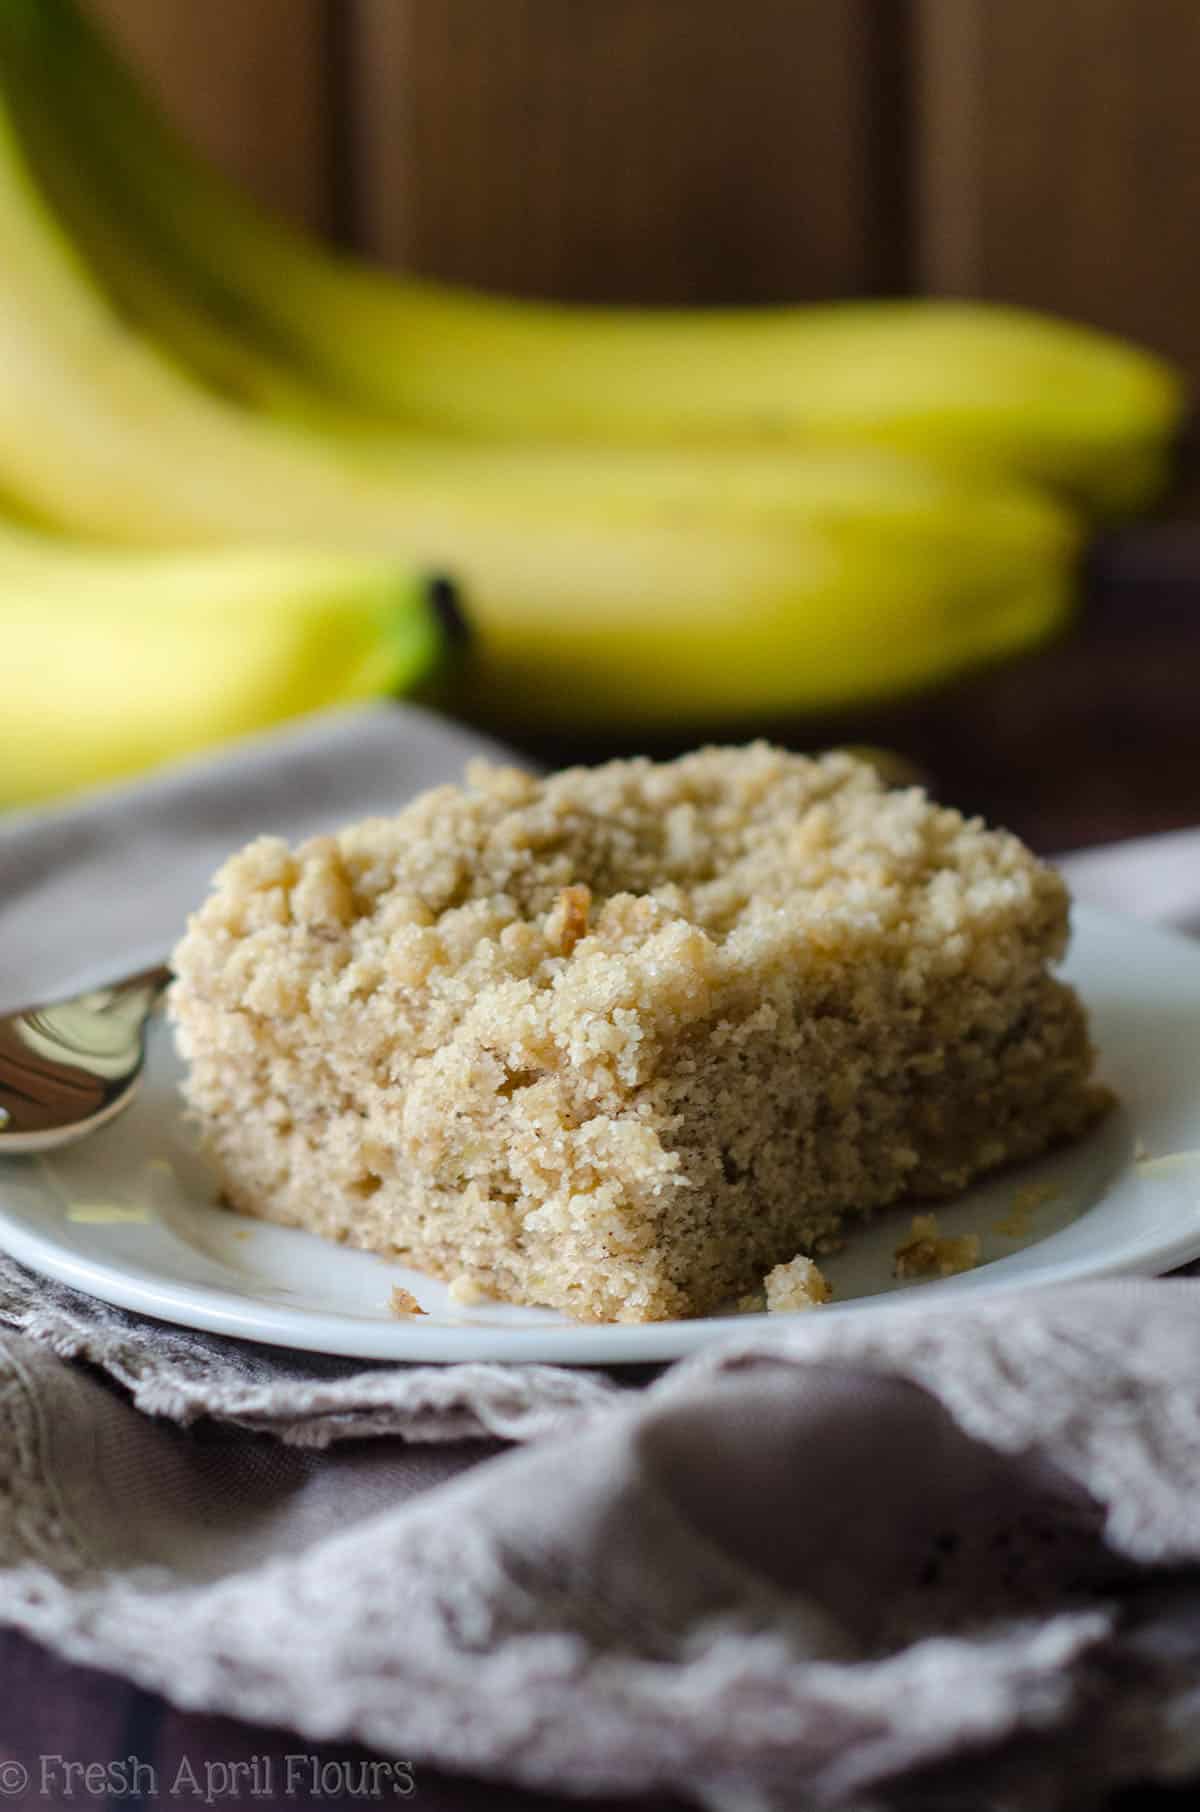
• banana crumb snack cake
• yellow layer cake
• blueberry muffins
• peach almond streusel muffins
• Irish soda bread
• chocolate chip peanut butter bread
• baked red velvet donuts
Buttermilk (Homemade)
Ingredients
- 1 Tablespoon (15mL) distilled white vinegar OR lemon juice1
- milk2
Instructions
- Add vinegar or lemon juice to a measuring cup.1 Tablespoon (15mL) distilled white vinegar OR lemon juice1
- Add milk to the measuring cup to bring the level to 1 cup. Stir and allow to sit for 5 minutes.milk2
- Proceed with recipe as directed. Store leftovers in the refrigerator up until the expiration date on the original milk container. Buttermilk freezes well, up to 2 months. Thaw in refrigerator or microwave as needed.
Notes
- Souring agent: you can also use cream of tartar. Add 2 teaspoons of cream of tartar to 1 cup of milk, stir it around, trying your best to smush out any clumps, and allow to sit for 5 minutes.
- Milk: you can keep your buttermilk vegan by using any plant-based milk replacement.
Nutrition Disclosure
All nutritional values are approximate and provided to the reader as a courtesy. Changing ingredients and/or quantities will alter the estimated nutritional calculations.
Thank you! 🙂
That couldn’t have been easier. And now I can make all of the things I never did becuase I didn’t have buttermilk!
Yes! So glad it was helpful, Brooke 🙂
Hello, I couldn’t find on internet if the milk has to be at room temperature, or slightly warm before making buttermilk. Thank you in advance.
Hi, Natalie– it does not matter when you’re making the actual buttermilk. You will want to pay attention to your recipe as to whether or not the buttermilk should be room temperature, warm, etc or not.