
Easy Yeast Roll Recipe
As an Amazon Associate, I earn from qualifying purchases. Read the full disclosure here.
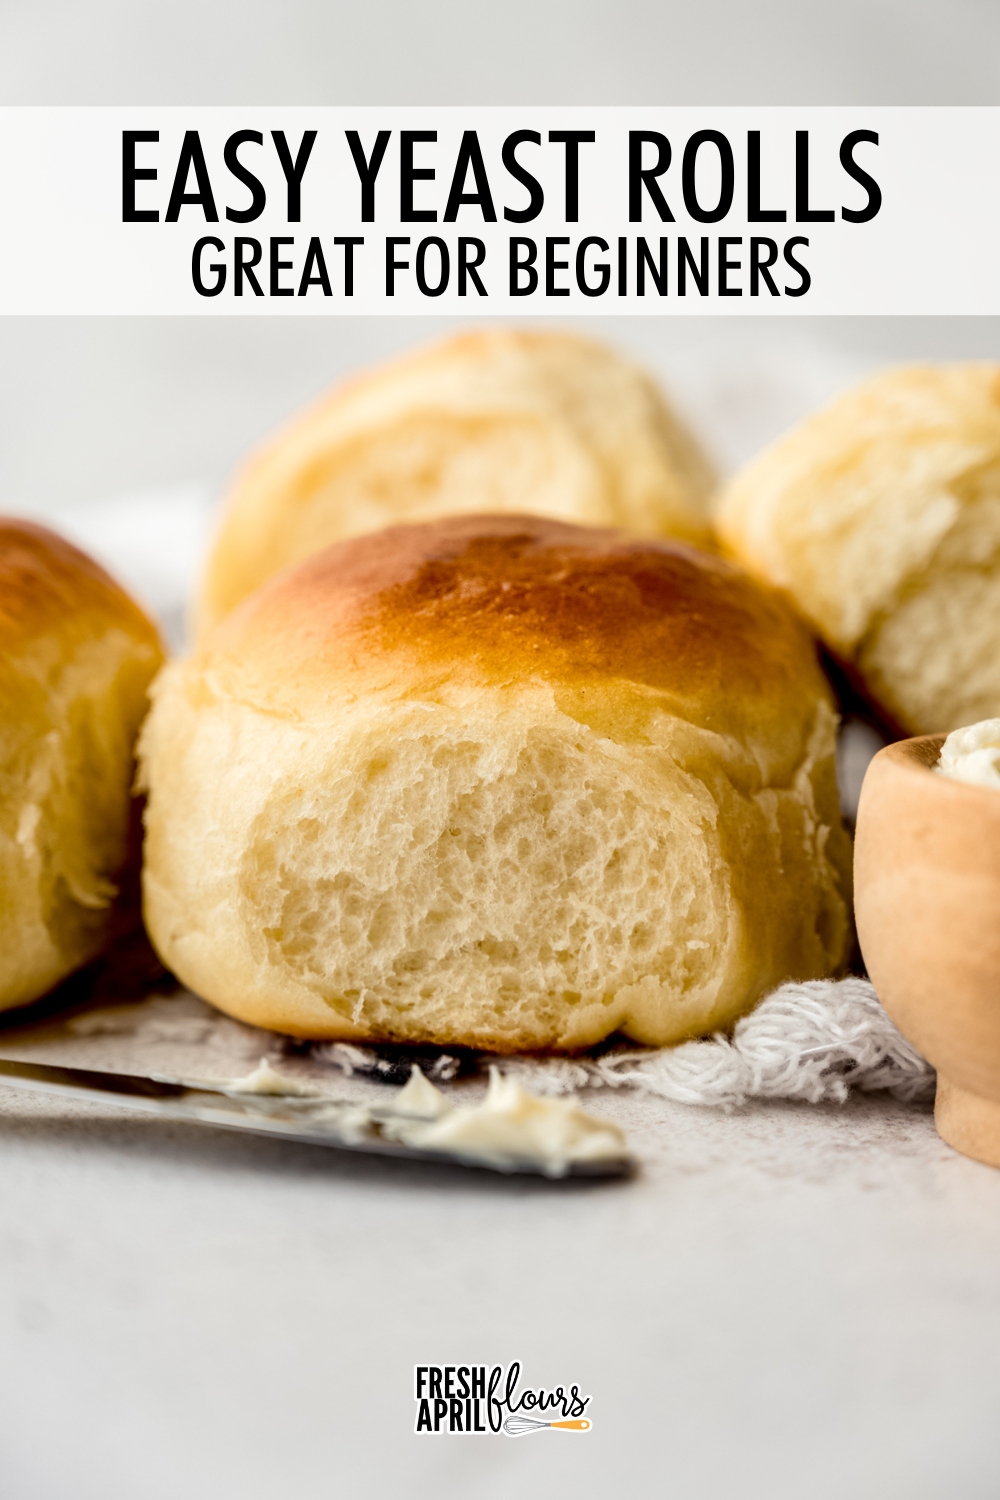
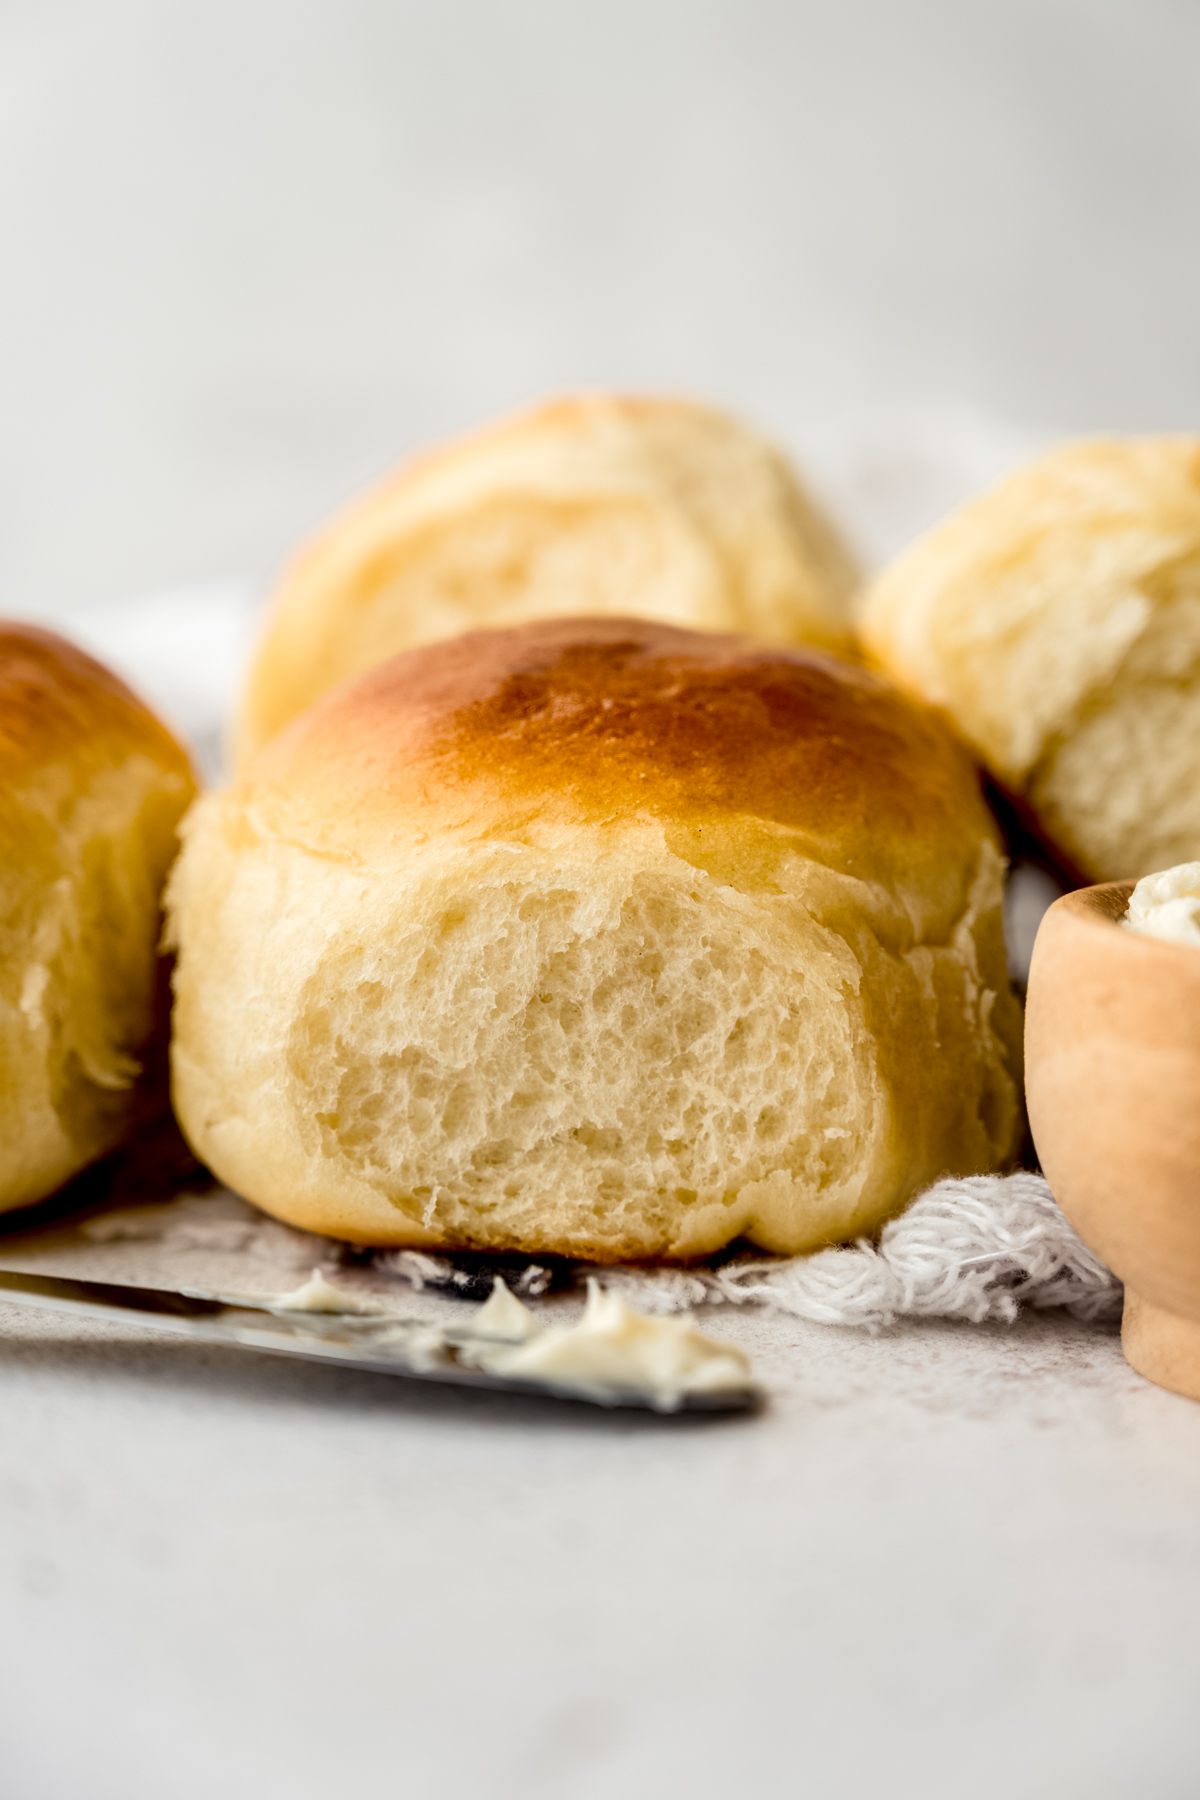
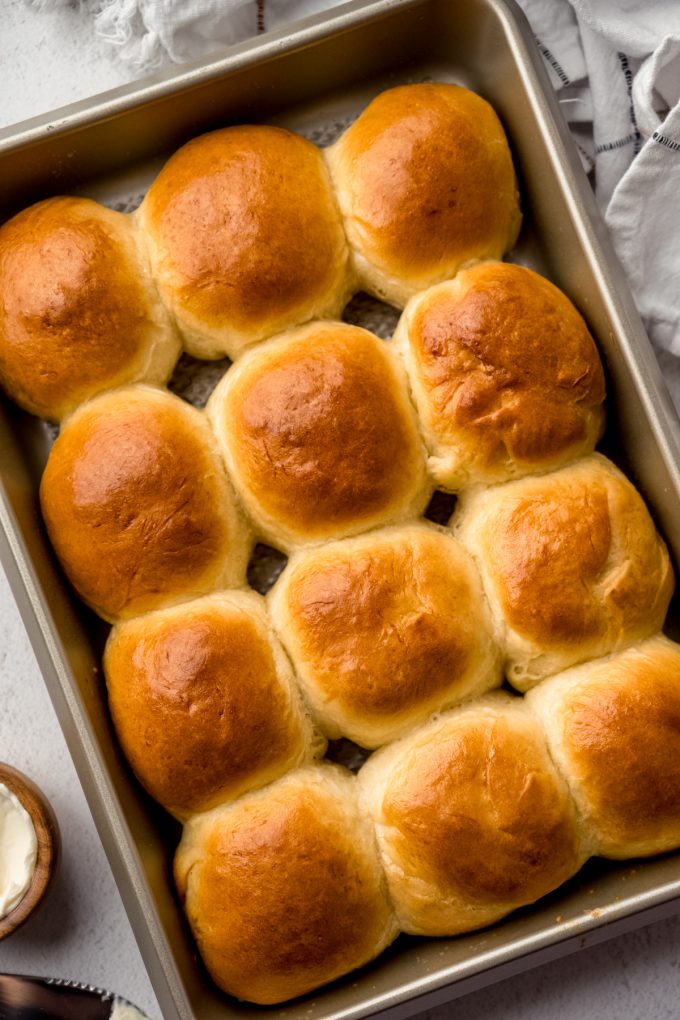
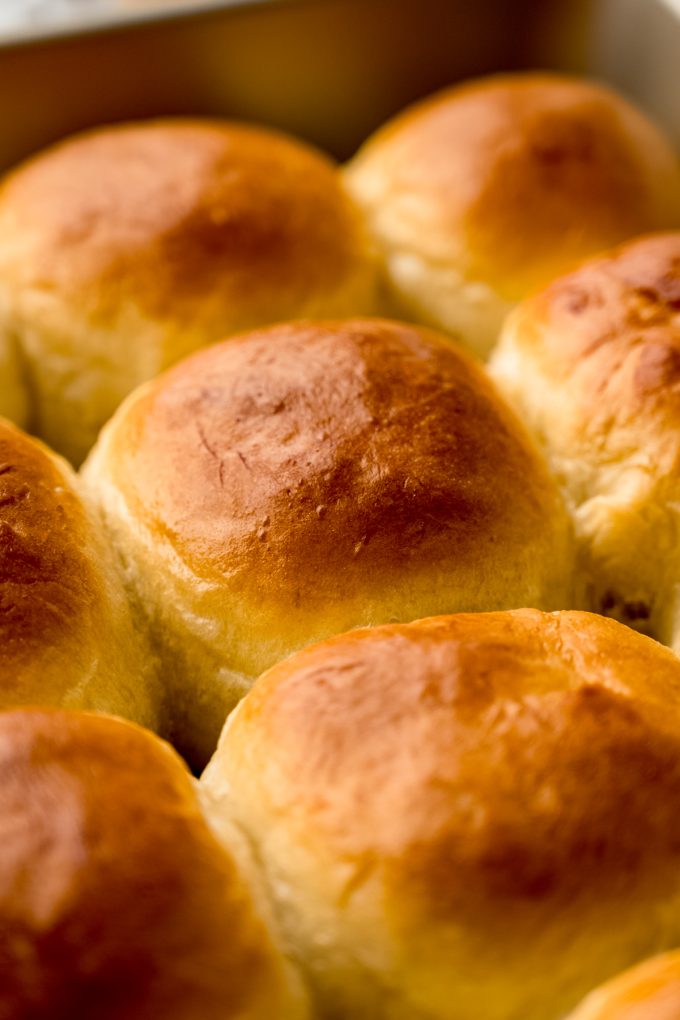
These easy yeast rolls are made with simple ingredients and are perfect for yeast bread beginners. This recipe results in soft, pillowy rolls that can be made ahead of time and allowed to rest overnight in the refrigerator or baked right away. See my post about baking with yeast for answers to all of your common FAQs.
Easy Yeast Rolls for any level of baker
These amazingly simple dinner rolls reign supreme when it comes to recipes I like to steer folks to when they’re intimidated by tackling their first yeast bread.
Believe me, before I started regularly making yeast bread, I was very much in the “yeast bread is scary” camp. I totally get that yeast bread is often intimidating to someone who has never done it before. But the more I do it, the more I realize how resilient and forgiving bread is. And I’ve never actually truly ruined it.
WHY YOU’LL LOVE THIS YEAST ROLLS RECIPE
While I have a bunch of yeast bread recipes on my site, these amazingly simple dinner rolls reign supreme when it comes to recipes I like to steer folks to when they’re intimidated by tackling their first yeast bread.
Many years ago, I went to my parents’ house to learn how to make my grandmother’s Easter bread. I set aside a day to learn, and once my mom showed me the ropes, I said… “THAT’S IT?”
Yep, that’s it. I was so intimidated for seemingly no reason.
While I do agree it can seem like a lot of work up front and that working with yeast is finicky or hard to manage, I truly believe it’s much easier than most people assume it to be, and these homemade yeast rolls are one of the easier yeast bread recipes I’ve published on my site.
These easy yeast roll recipe is very straight-forward. You’ll get the dough together, allow it to rise, and then forming and shaping the rolls is actually very simple.
But let’s start with the basics.
Easy Roll Recipe ingredients
You only need 7 ingredients to make these rolls. This is an enriched dough, just like all of my cinnamon rolls, meaning it utilizes milk, eggs, and butter to bring richness, a tender interior, and that pillowy texture we love from yeast bread.
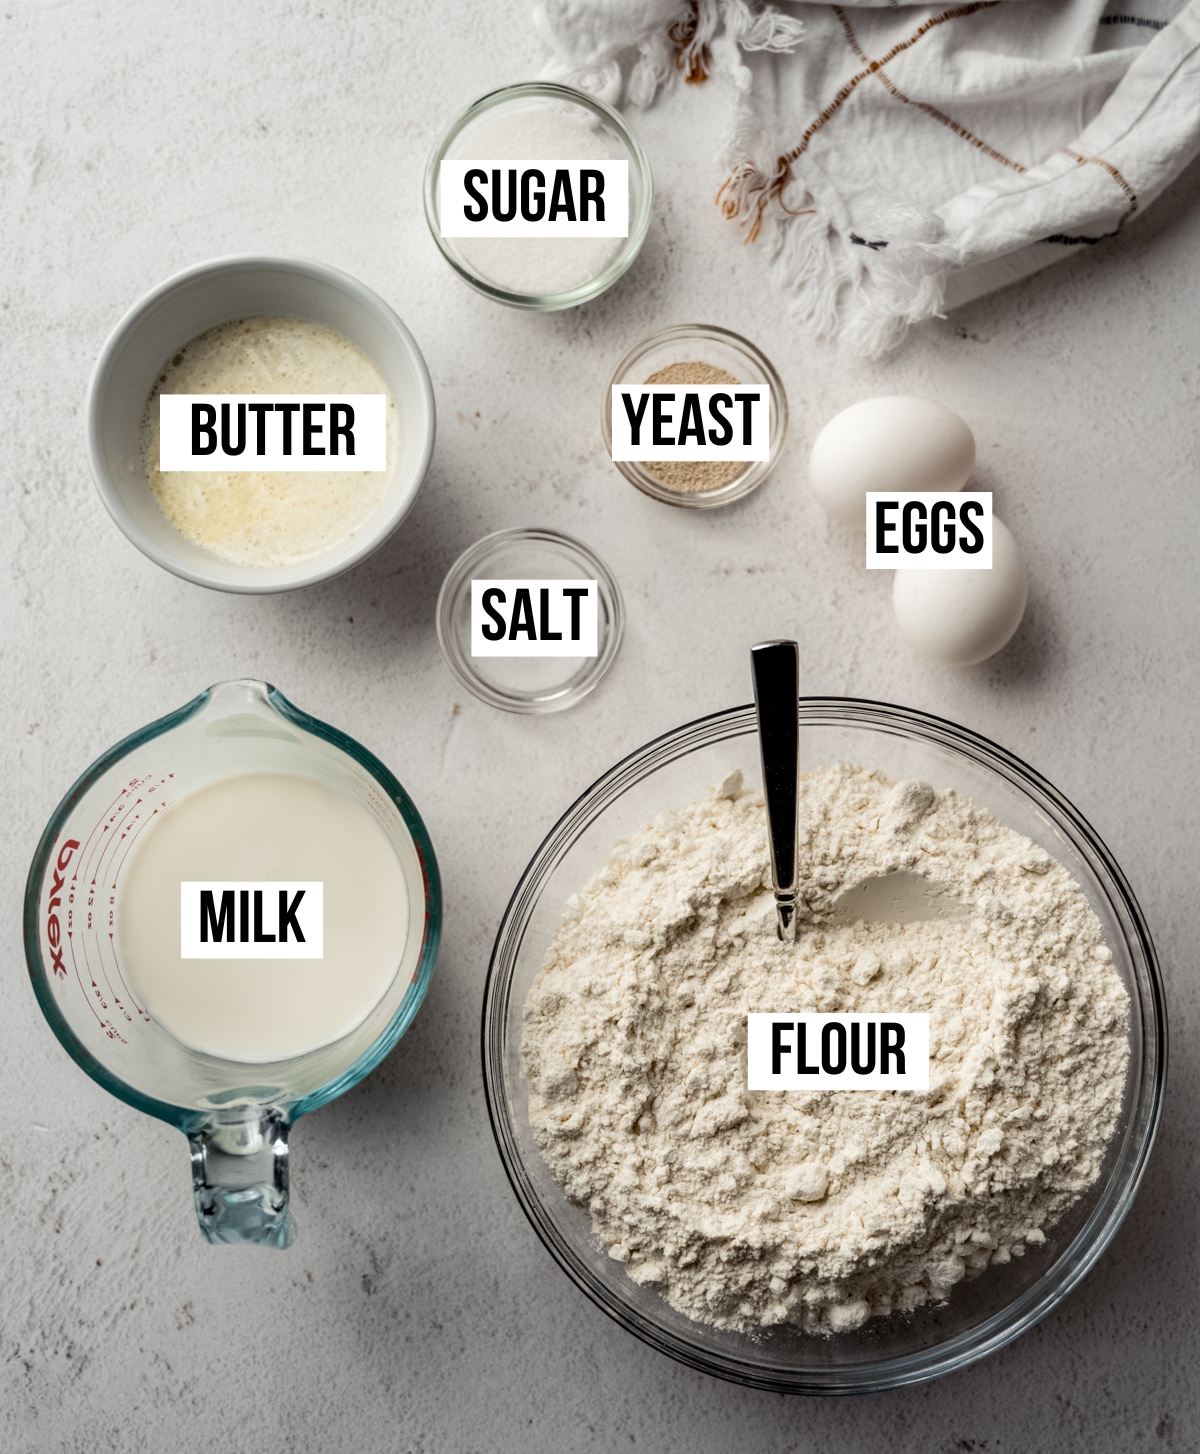
DRY ACTIVE YEAST: you will want 1 packet, or 2 and ¼ teaspoons. Do not use instant or rapid rise yeast.
MILK: we’ll use milk for a creamy, fatty base (I prefer whole) and GRANULATED SUGAR to activate the yeast.
UNSALTED BUTTER: you’ll use this melted, which makes this a quick recipe.
EGGS: two eggs make this an enriched yeast bread. They make the dough rich and eggy, but in a delicious way.
SALT: yeast bread will be bland without salt.
ALL-PURPOSE FLOUR: these yeast rolls will be nice and fluffy, even without bread flour. If you’d like to use bread flour, by all means do that! You do not need to adjust anything in the recipe.

My best success tip: measuring your flour correctly (by weight) is the key to avoiding a dense dough, which results in dry, heavy rolls.
How to make Yeast Rolls
From start to finish, you’ll need nearly 3 hours. See my copious notes below about how to make these ahead of time (for both the short and long term).
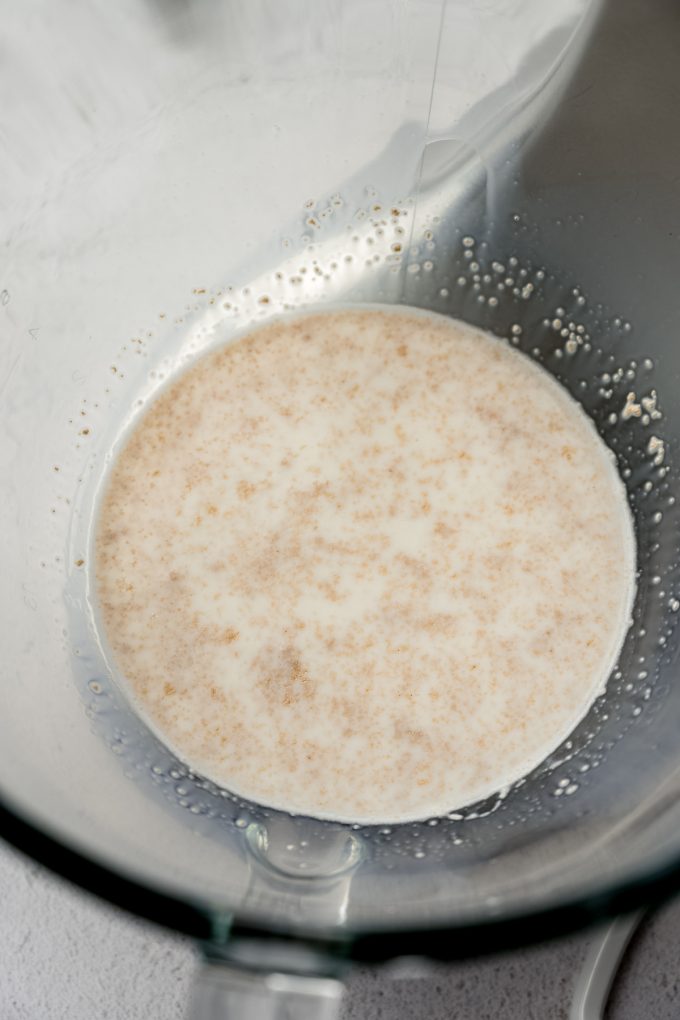
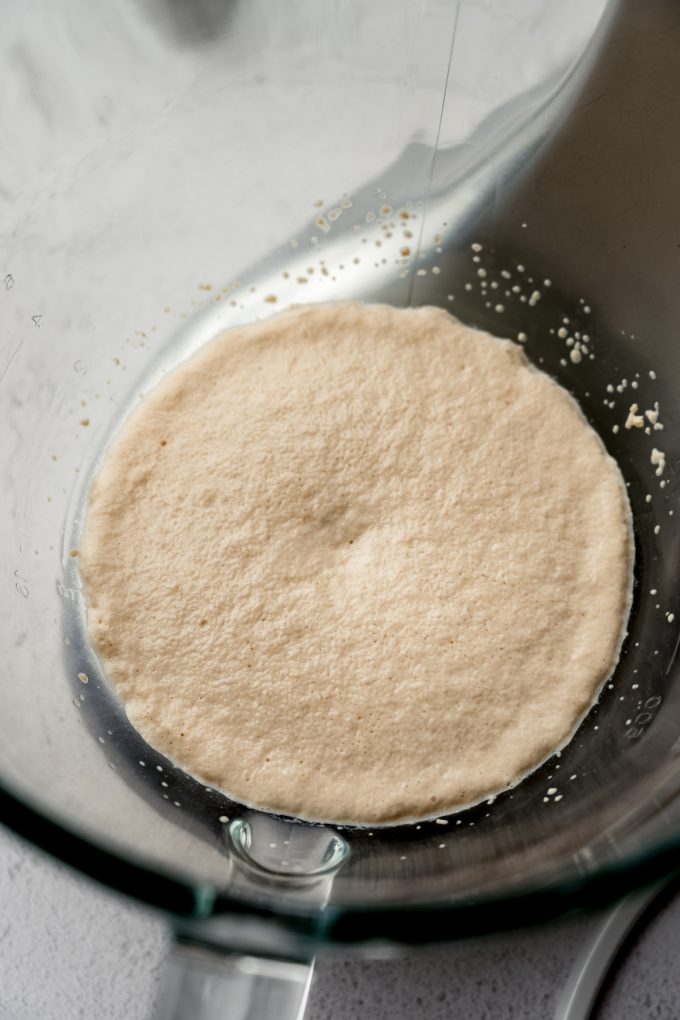
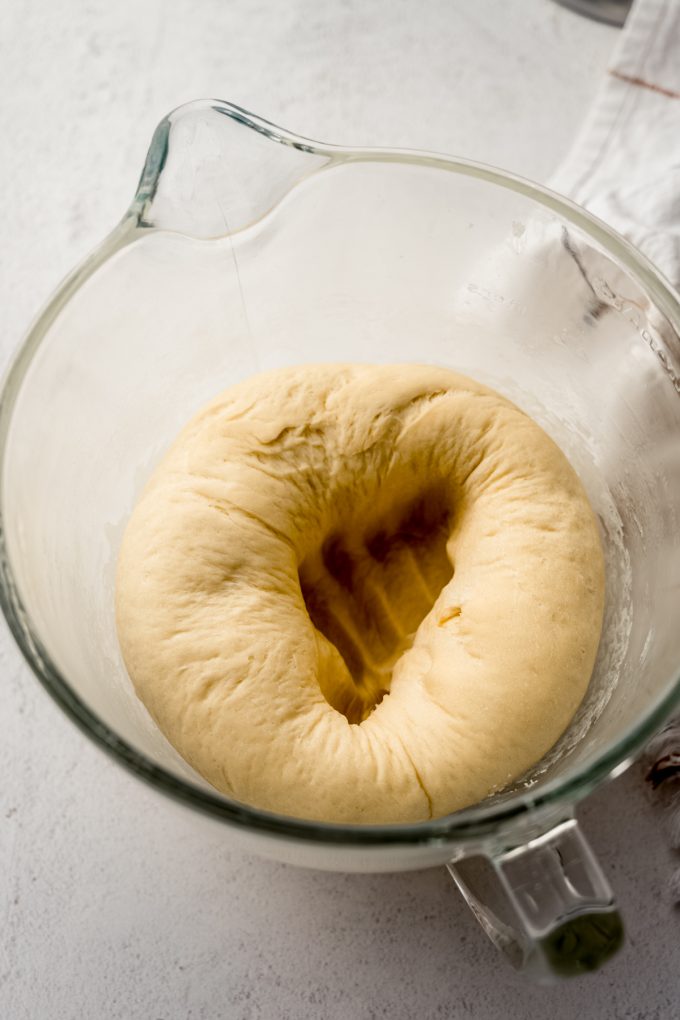
STEP #1: like all yeast bread recipes, we’ll start by activating the yeast. Adding the yeast to the warm milk with the sugar will ensure the yeast is cozy and fed, the start of a delicious and perfect yeast roll. Stir everything together and allow it to sit for 5-10 minutes to proof.
STEP #2: once the yeast is proofed, add the melted butter, eggs, and salt, then whisk that all together.
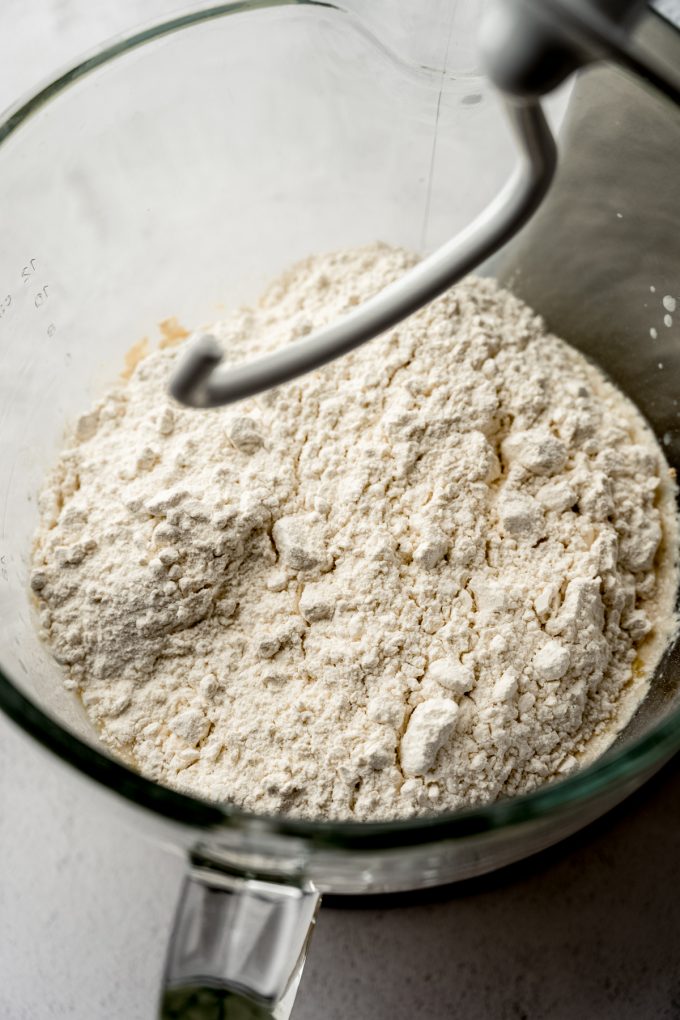
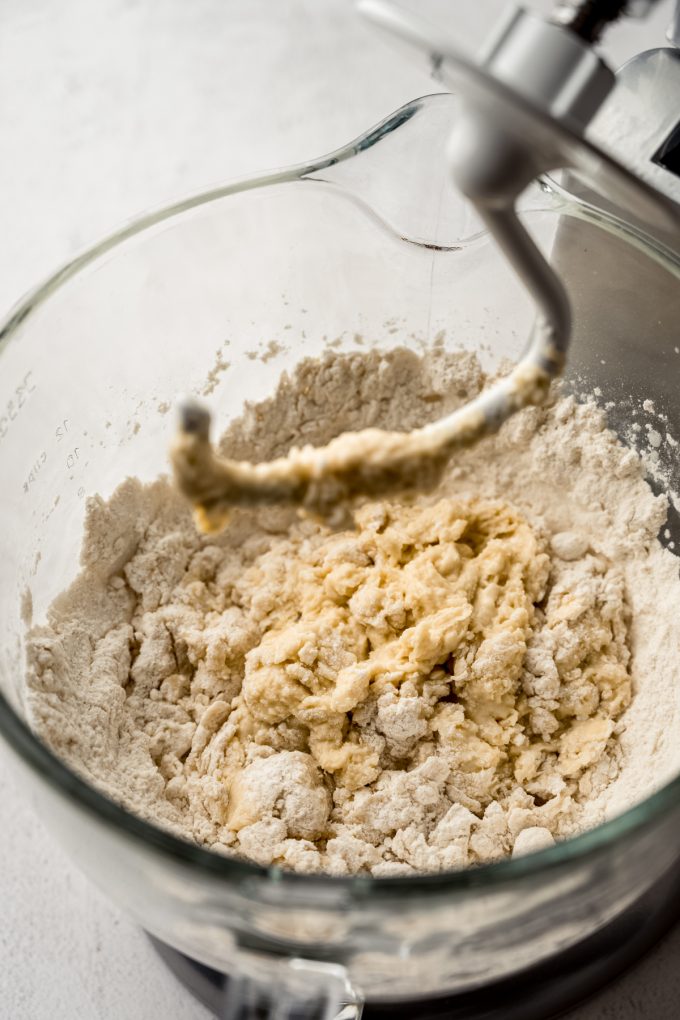
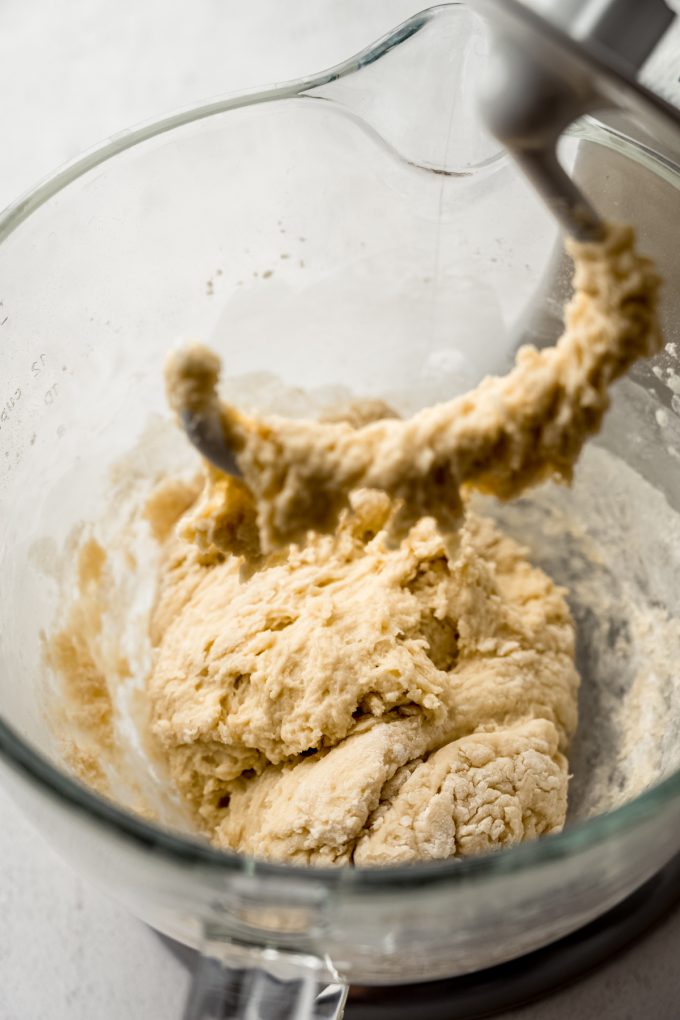
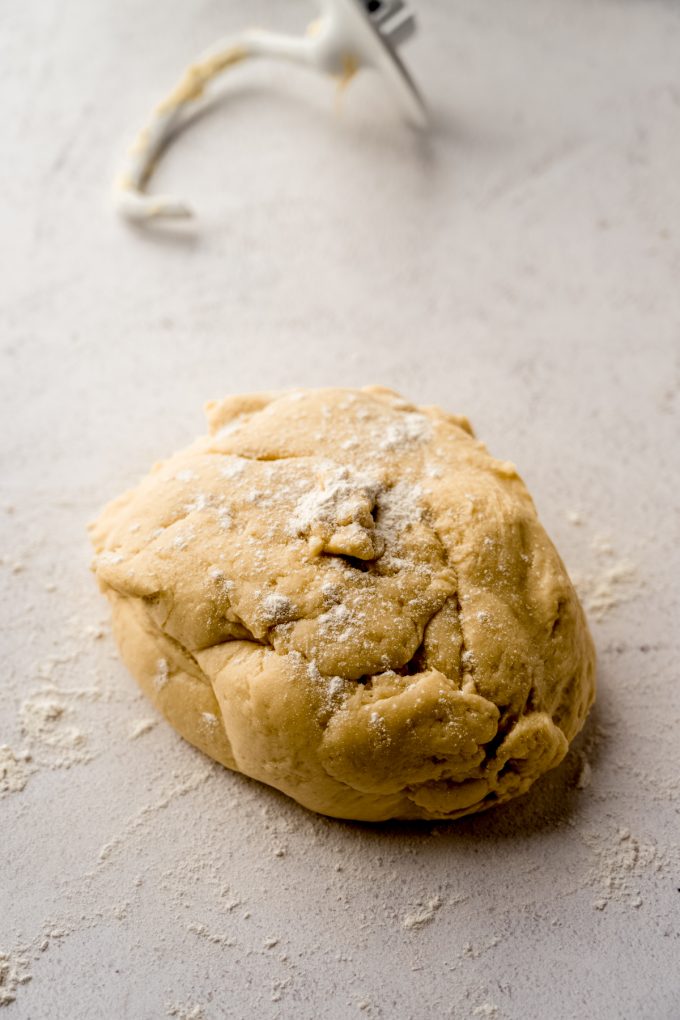
STEP #3: add the flour to the mixture, fit your mixer with the dough hook (or use a wooden or silicone spatula) and blend until a soft dough forms. It may still be shaggy, but it should pull away from the sides of the bowl fairly easily.
KNEAD THE DOUGH
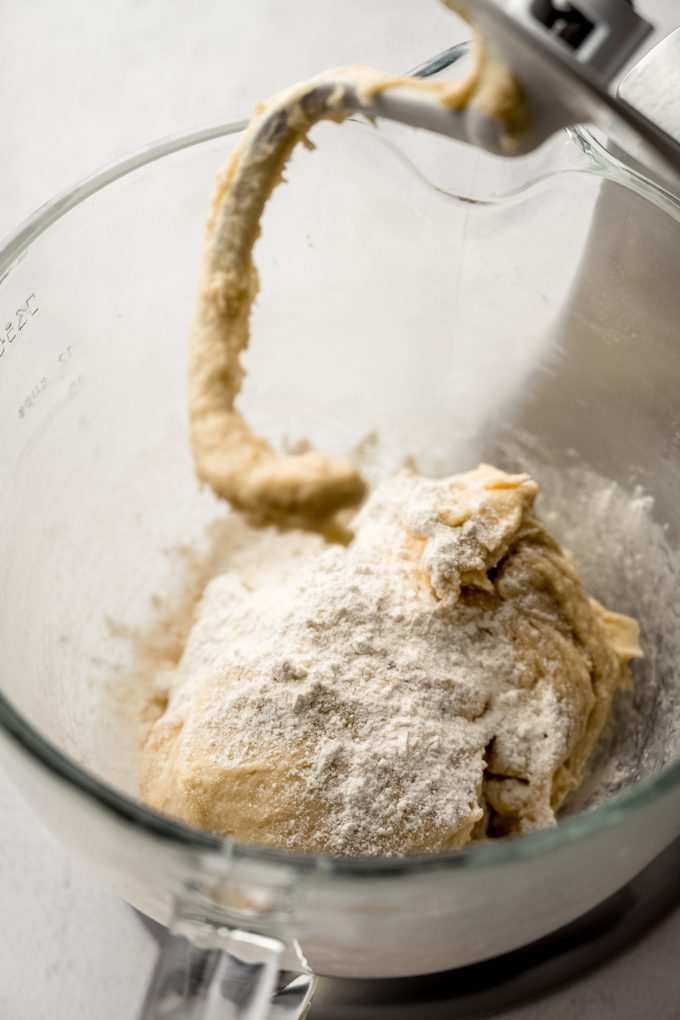
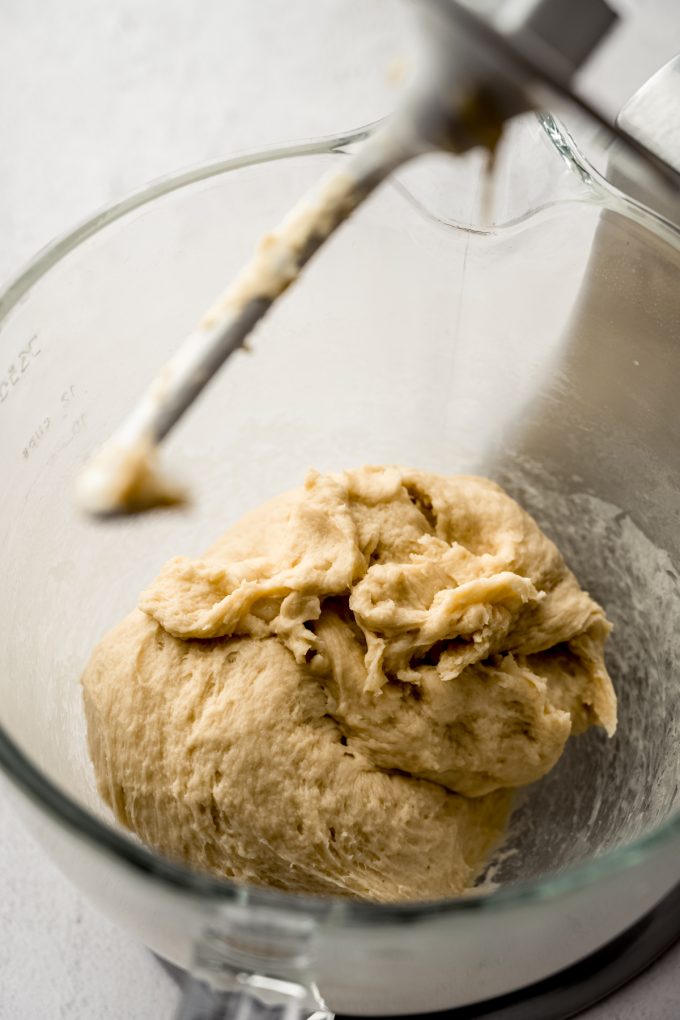
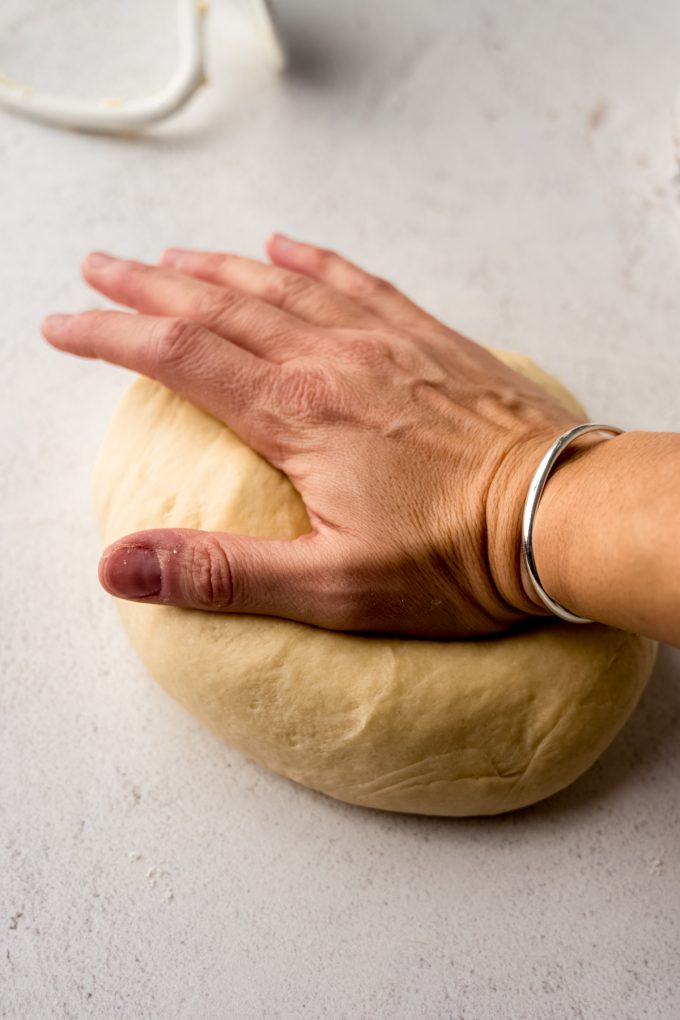
STEP #4: turn out dough on a floured surface and knead for about 8-10 minutes, adding flour about 1 Tablespoon at a time if the dough is too sticky, until smooth and elastic. Your dough should resemble the surface texture of PlayDoh when it is done. Alternatively, you can continue to knead the dough with the dough hook, but I prefer to do this with my hands so I can really feel the elasticity.
HOW TO SHAPE DINNER ROLLS
STEP #5: after the dough has risen, punch down the dough to deflate, then turn dough out onto a lightly floured surface. Pat the dough into a 12″ long rectangle or log, then cut into 12 equal pieces.
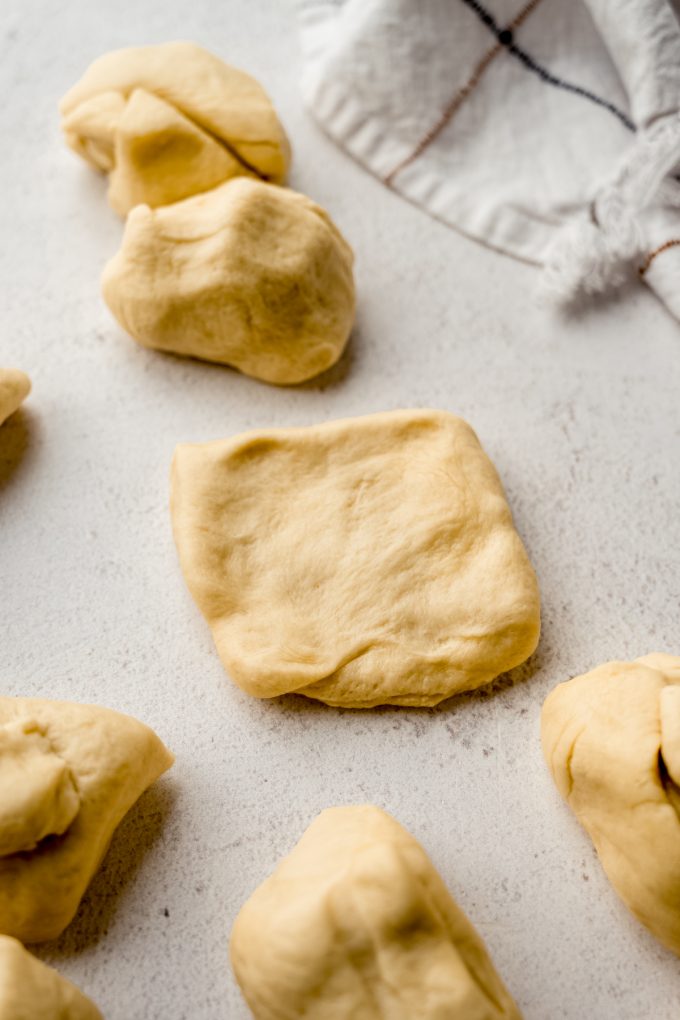
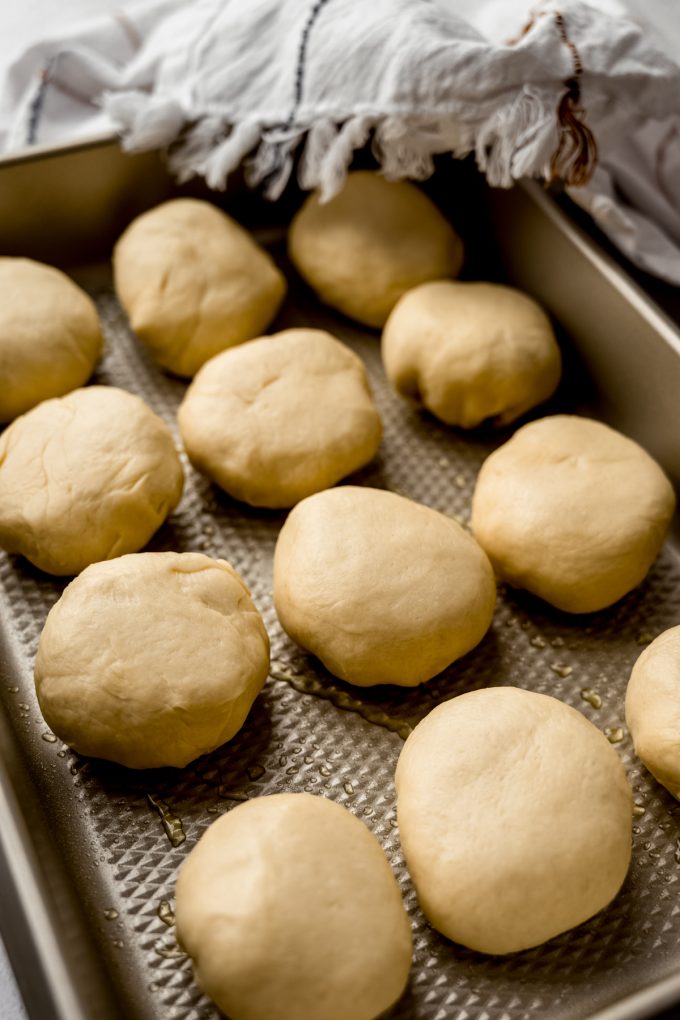
STEP #6: shape each piece of dough into a ball by patting the dough into a small square, then pulling each corner into the center to create a pouch. Pinch the corners together to make a seal. Place formed roll into the prepared pan, spacing them out evenly (4 rows of 3).

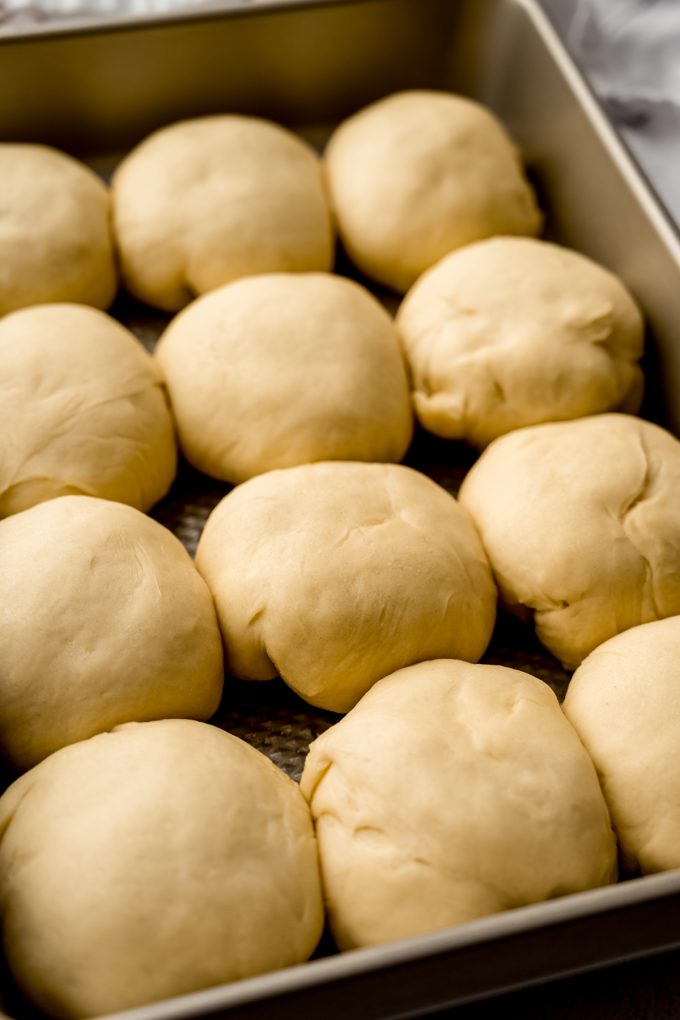
STEP #7: cover the rolls with a kitchen towel and allow them to rise at room temperature for 1 hour.
BAKE THE ROLLS
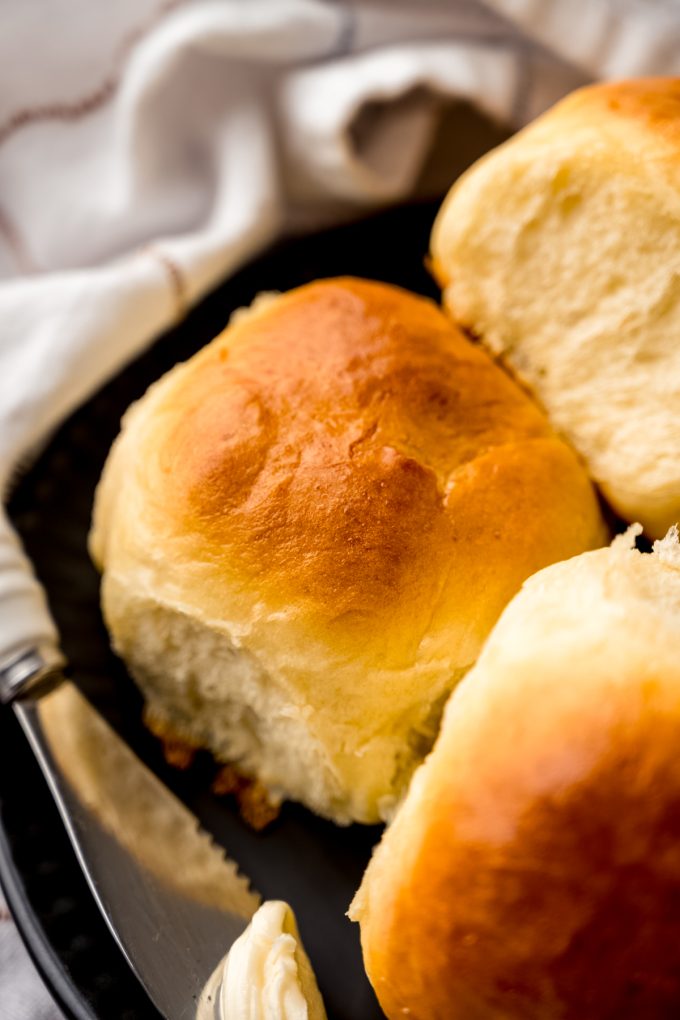
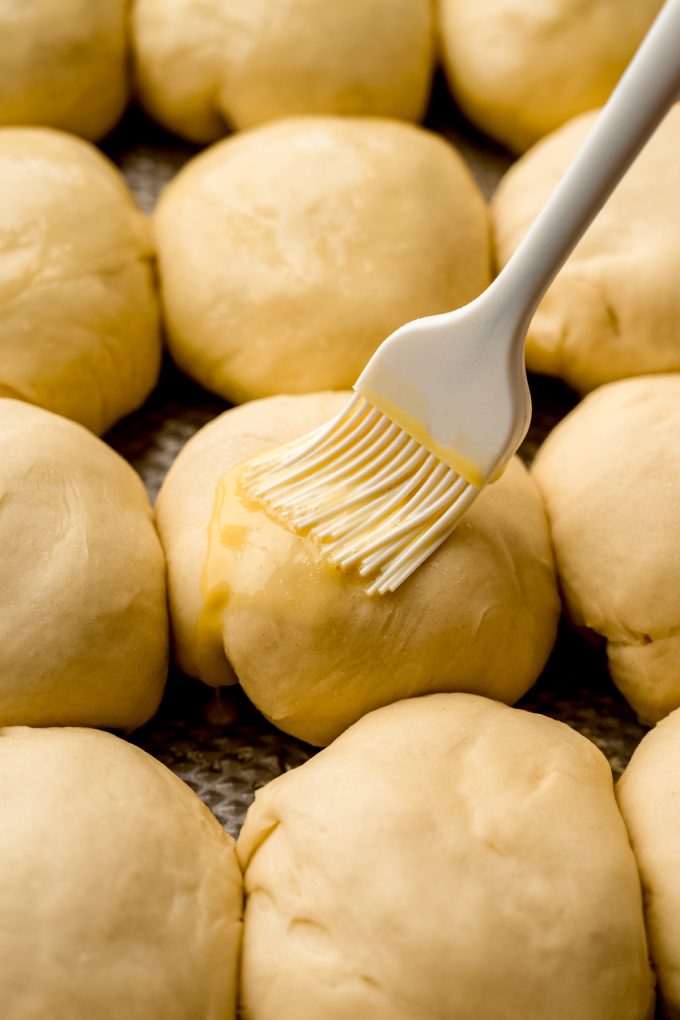
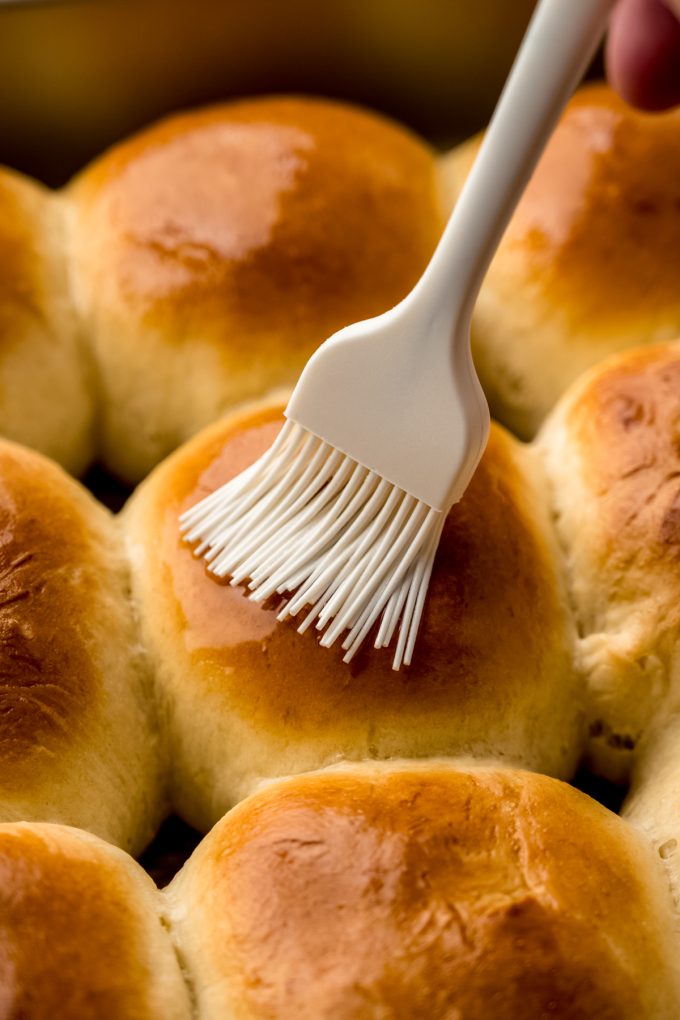
STEP #8: brush the rolls with an egg wash OR melted butter (my preference). Bake the rolls in the preheated oven until golden brown on top, then brush again with melted butter, if desired.
How to make Yeast Rolls Ahead OF TIME
Once all of the rolls are in the pan, you have the option of allowing them to rise in the refrigerator to bake at a later time or at room temperature to bake after their second rise.
You can think of the fridge as a “pause” button any time you’re making bread. The active yeast will rest and pause its activity, and while it isn’t indefinite, you can leave these rolls in the fridge to rest for up to 18 hours. Regardless of when you bake them, give them that egg wash or butter wash right before baking.
This is a great dinner roll recipe for a day when you would rather just do the work the night before and bake your homemade dinner rolls right before, well, dinner.
Or a holiday where you can prep one more thing ahead of time to reduce the amount of work you have to do on the actual holiday.
How to serve Homemade Yeast Rolls
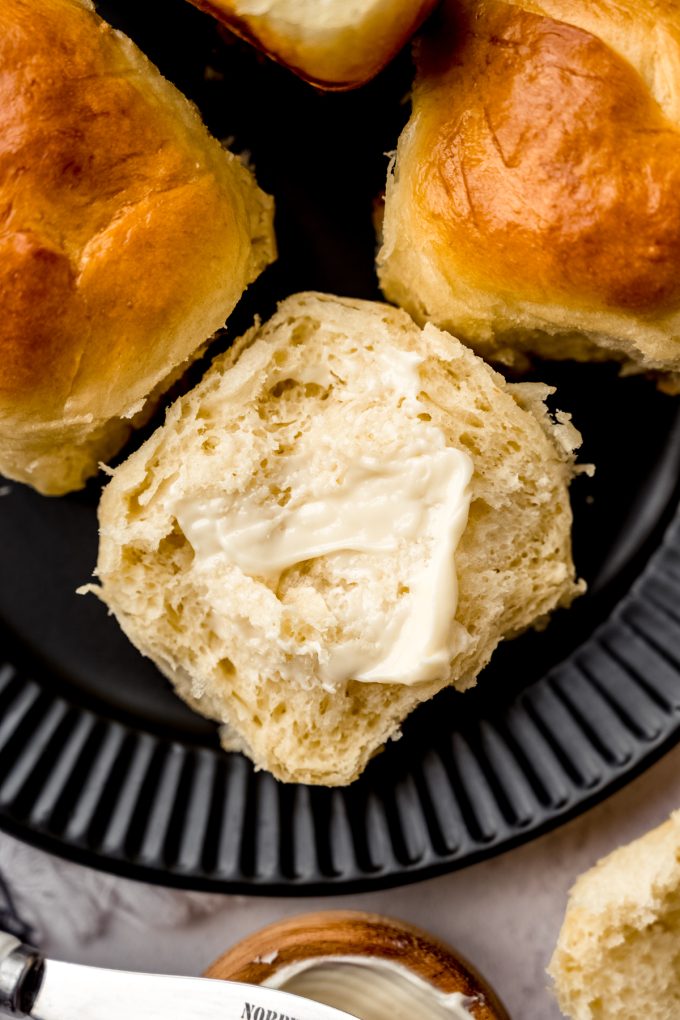
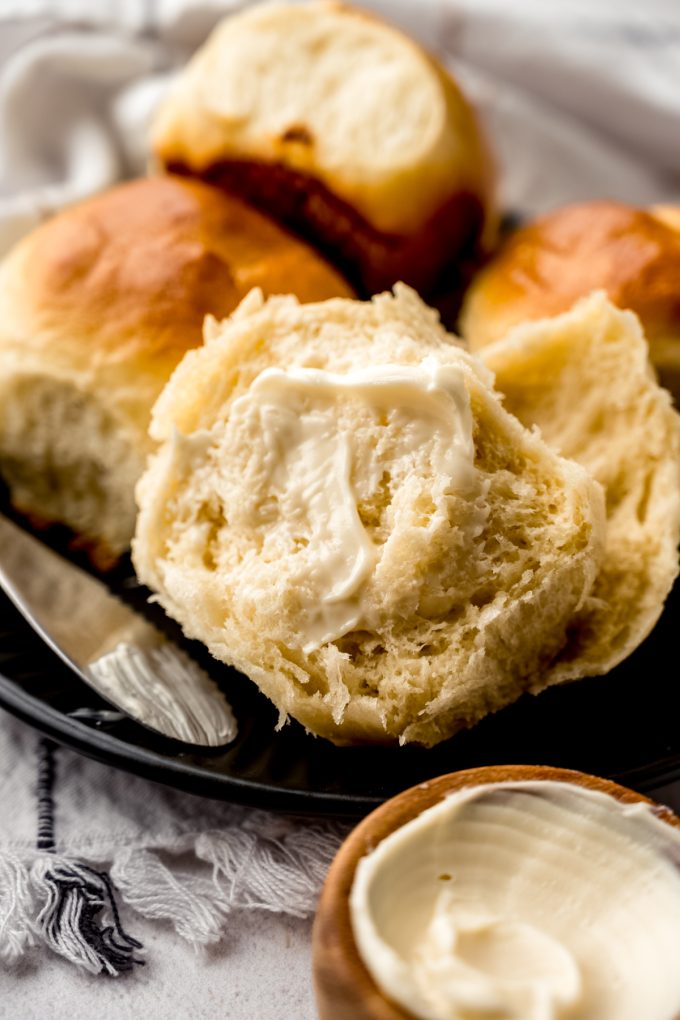
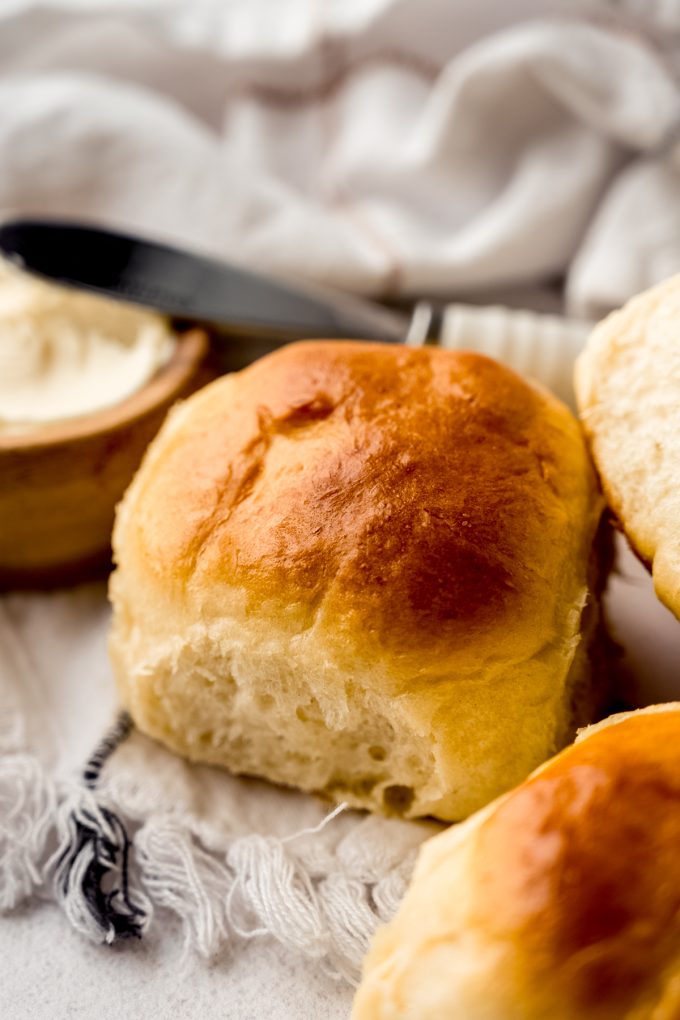
These easy yeast rolls are so versatile! You can spread them with butter, jam, jelly, or any of your other favorite spreads, or you can eat them plain or dipped into a bowl of soup. They also make a great slider or sandwich bread, so don’t limit yourself to how you can enjoy these rolls.
We love these homemade rolls spread with my cinnamon honey butter, but we also use them for sandwiches which are always extra good (because of the homemade bread love, of course).
This is the perfect bread roll recipe for a quick and easy alternative to store-bought slider rolls or dinner rolls. We utilizing this recipe again and again all year long, especially in summer for burgers on the grill and as we host holidays in the later part of the year.

Storing Yeast Rolls
Store leftover rolls covered tightly at room temperature up to 5 days. If you want them to last longer, store them in the fridge and warm them up as needed.
HOW TO FREEZE ROLLS
These rolls freeze well, up to 3 months. Wrap tightly in plastic wrap and thaw in the refrigerator or at room temperature before serving. To freeze unbaked rolls, freeze after shaping then allow to rise at room temperature for 1-2 hours before baking.
Easy Yeast Roll Recipe FAQs
If you’re a yeast bread beginner or even a pro, this is definitely one to stick in your recipe collection as a go-to. I know you’ll love the taste and texture. Go for gold with these never fail yeast rolls!
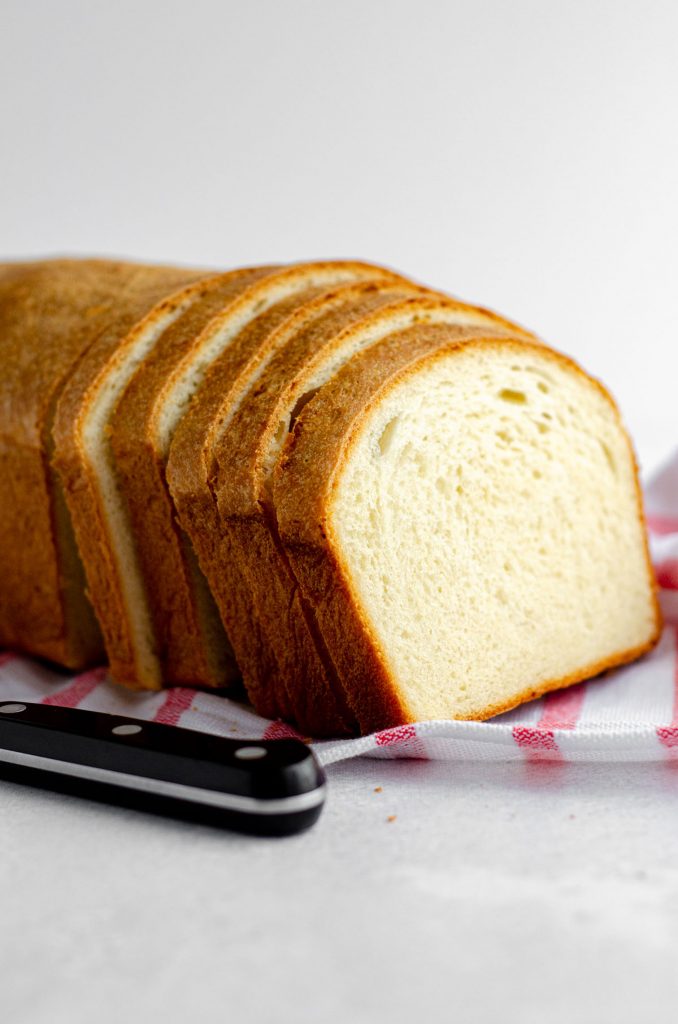
CAN I USE THIS RECIPE FOR SANDWICH BREAD?
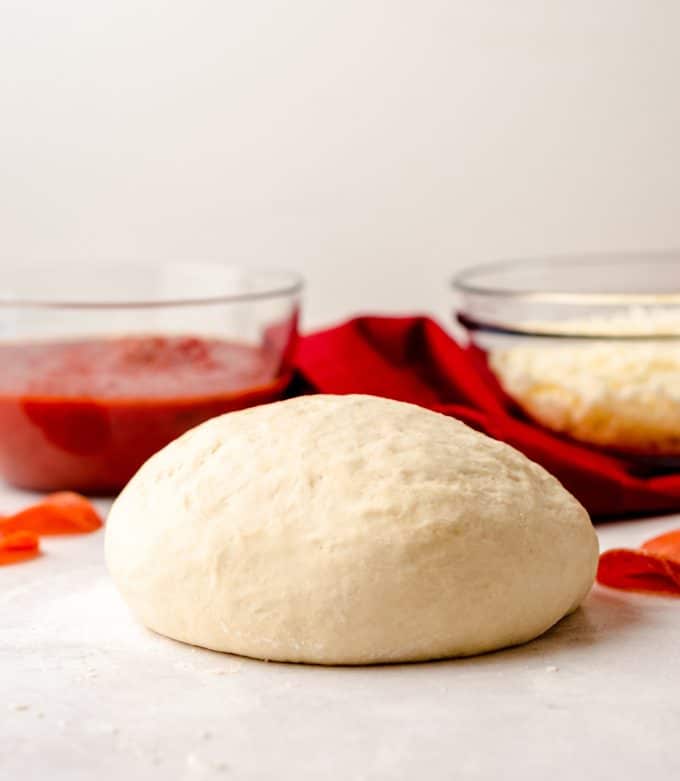
This dough is not ideal for a big loaf of bread, so I encourage you to use my sandwich bread, which is a slightly leaner dough (no eggs, and you can use non-dairy butter and milk to keep it vegan). And for pizza? Use my homemade pizza dough.
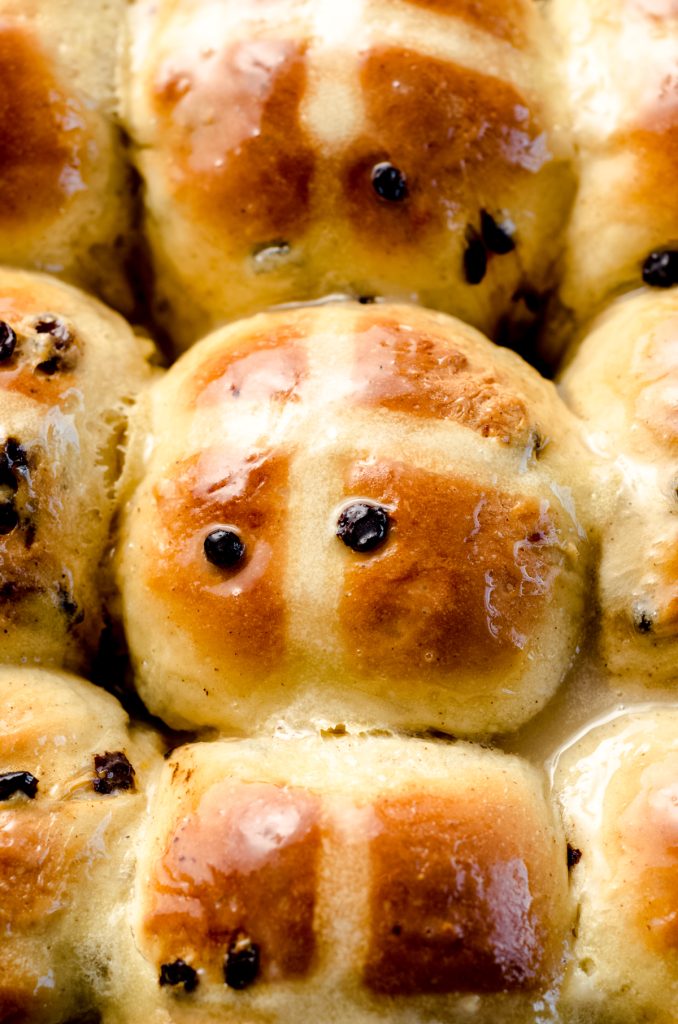
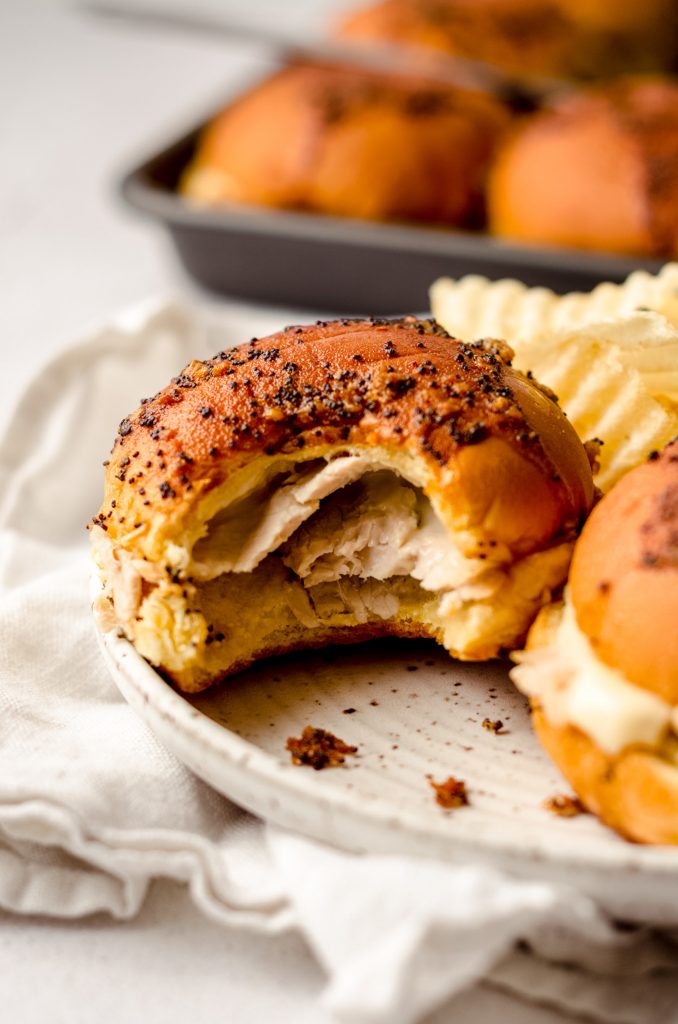
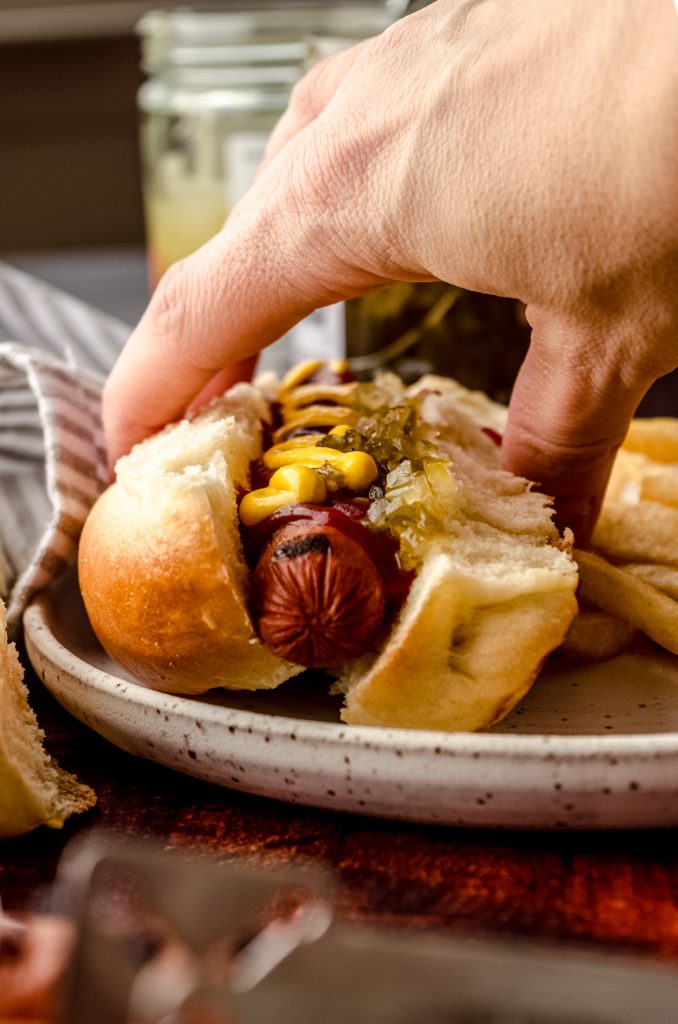
Don’t miss my hot cross buns recipe, which is this same easy recipe with raisins and that signature flour cross on top. Love homemade bread? Use these sliders with my baked turkey and cheese sliders or make your own hot dog buns!
More Favorites from Fresh April Flours

Easy Yeast Rolls Recipe
Ingredients
ROLLS
- 1 cup (240mL) warm milk I prefer whole; aim for 110ºF (43ºC)
- 3 Tablespoons (38g) granulated sugar
- 2 and ¼ teaspoons (7g) dry active yeast or one packet; not instant or rapid rise
- 6 Tablespoons (85g) unsalted butter melted and allowed to cool
- 2 large eggs room temperature
- 1 and ¼ teaspoon salt
- 4 and ½ cups (540g) all-purpose flour be sure to measure properly
EGG WASH
- 1 large egg1
- 1 Tablespoon water
Instructions
- In the bowl of a stand mixer or a large bowl (if you want to use your hands), whisk together the warm milk and sugar. Sprinkle the yeast over the mixture, then whisk again to combine. Allow the mixture to sit for 5-10 minutes to proof.1 cup (240mL) warm milk, 3 Tablespoons (38g) granulated sugar, 2 and ¼ teaspoons (7g) dry active yeast
- Once the yeast is proofed, add the melted butter, eggs, and salt, then whisk together.6 Tablespoons (85g) unsalted butter, 2 large eggs, 1 and ¼ teaspoon salt
- Add the flour to the mixture, fit the mixer with the dough hook (or use a wooden or silicone spatula) and blend until a soft dough forms. It may still be shaggy, but it should pull away from the sides of the bowl fairly easily.4 and ½ cups (540g) all-purpose flour
- Turn out dough on a floured surface and knead for about 8-10 minutes, adding flour about 1 Tablespoon at a time if the dough is too sticky, until smooth and elastic. Your dough should resemble the surface texture of PlayDoh when it is done. Alternatively, you can continue to knead the dough with the dough hook, but I prefer to do this with my hands so I can really feel the elasticity.
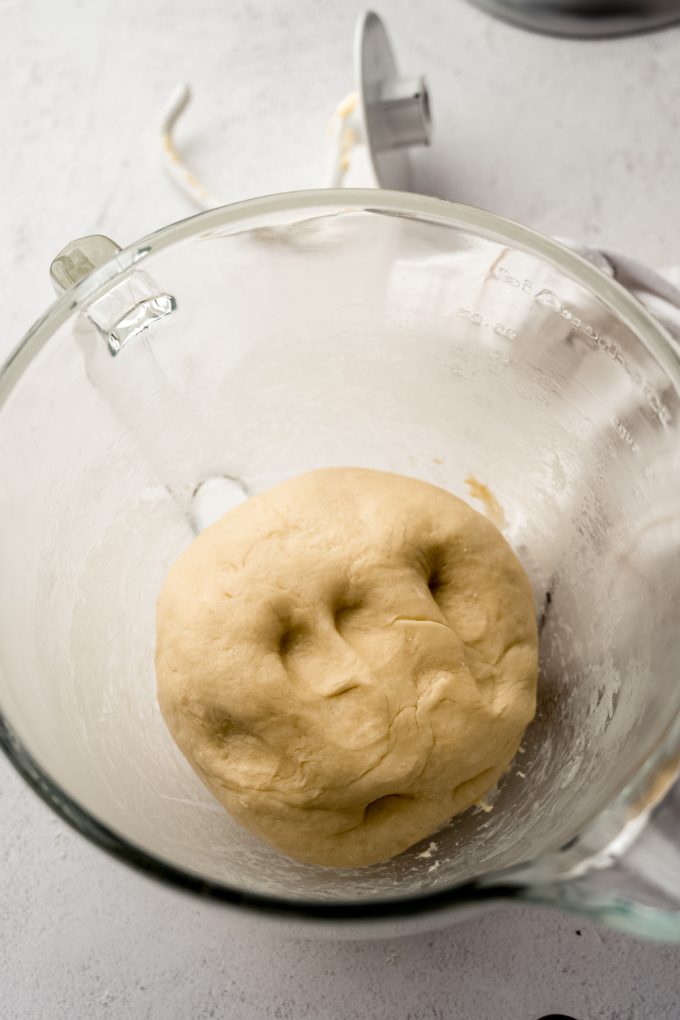
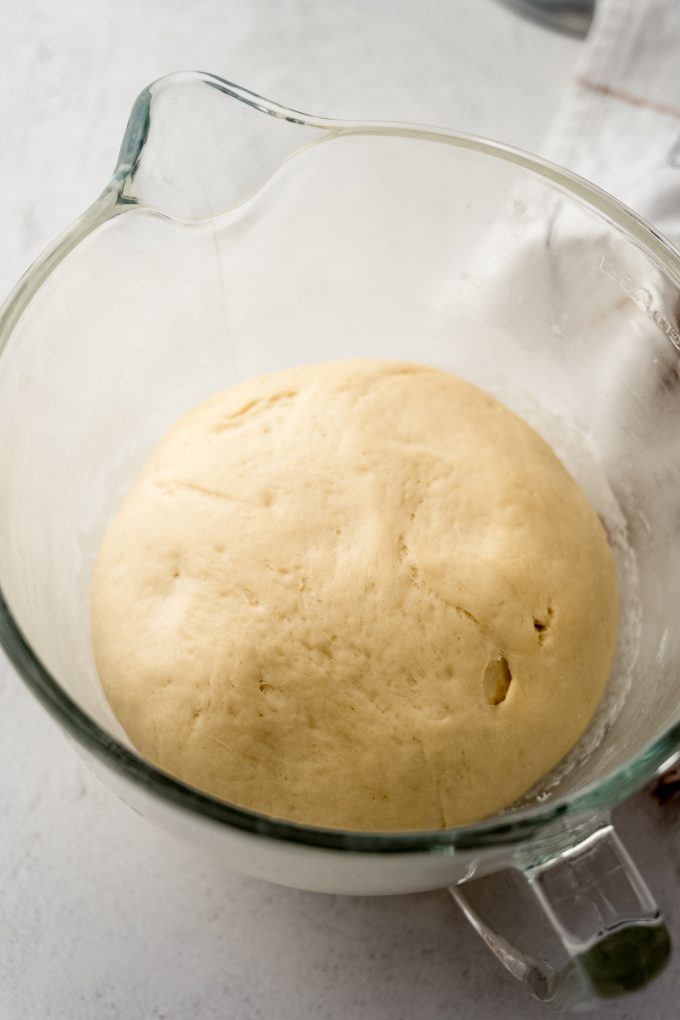
- Place the dough in an oiled bowl, turning it over to coat, then cover with a kitchen towel and allow it to rise until it has doubled in size, about 60-90 minutes.
- After the dough has risen, punch down the dough to deflate, then turn dough out onto a lightly floured surface. Pat the dough into a 12" long rectangle or log, then cut into 12 equal pieces.
- Spray a 9" x 13" baking dish with nonstick spray. Set aside.
- Shape each piece of dough into a ball by patting the dough into a small square, then pulling each corner into the center to create a pouch. Pinch the corners together to make a seal. Place formed roll into the prepared pan, spacing them out evenly (4 rows of 3).
- Cover the rolls with a kitchen towel and allow to rise at room temperature for 1 hour.
- Arrange a rack in the middle of the oven, then preheat the oven to 375ºF (190ºC). Whisk together the egg and water (or butter, see note #1), then brush the rolls with the egg wash. Bake rolls for 25-30 minutes, or until golden brown on top. Rolls freeze well, up to 3 months. Thaw in refrigerator overnight.1 large egg1, 1 Tablespoon water
Video
Notes
- Egg wash: I have also brushed these rolls with melted butter before baking and then again after baking for an extra buttery taste. If you would like to utilize this method, omit the egg wash and use 4 Tablespoons of melted butter.
- To make ahead: lay plastic wrap directly on the shaped rolls and refrigerate them for up to 18 hours. Remove from the refrigerator 2 hours before you want to serve them. Let them rise at room temperature for 1 and ½ hours before baking them, then proceed with step 10.
- Halve this recipe: this recipe halves beautifully. Roll into a 6″ log instead of 12″ and cut into 6 pieces. Rise and bake times are the same, though you may need a smaller pan (I usually use a pie plate for 6 rolls).
- Working with yeast: for a comprehensive look at working with yeast in a recipe, see my post about how to bake with yeast.
Nutrition Disclosure
All nutritional values are approximate and provided to the reader as a courtesy. Changing ingredients and/or quantities will alter the estimated nutritional calculations.
This yeast roll recipe was truly so easy to follow! I swapped out bread flour for all purpose flour and they came out so tender and flaky! I’m freezing half the batch for a later use and can’t wait to have warm yeasty rolls on a rainy day!
Thank you so much, Hannah!
So easy to make! My kids love rolls, so I doubled the recipe and baked them on a cookie sheet. I have never put an egg wash on any of my breads, but I think I will be doing that from now on. The rolls were so pretty and it gave them a nice chewy texture to the tops.
Thank you so much, Alayna!
Can I use self rising flour in this recipe?
Hi, LuAnn– no, you will need to use all-purpose or bread flour.
These rolls are amazing. So easy to make and they turned out beautiful.
Thank you so much, Patricia!