
Homemade Hot Dog Buns
As an Amazon Associate, I earn from qualifying purchases. Read the full disclosure here.
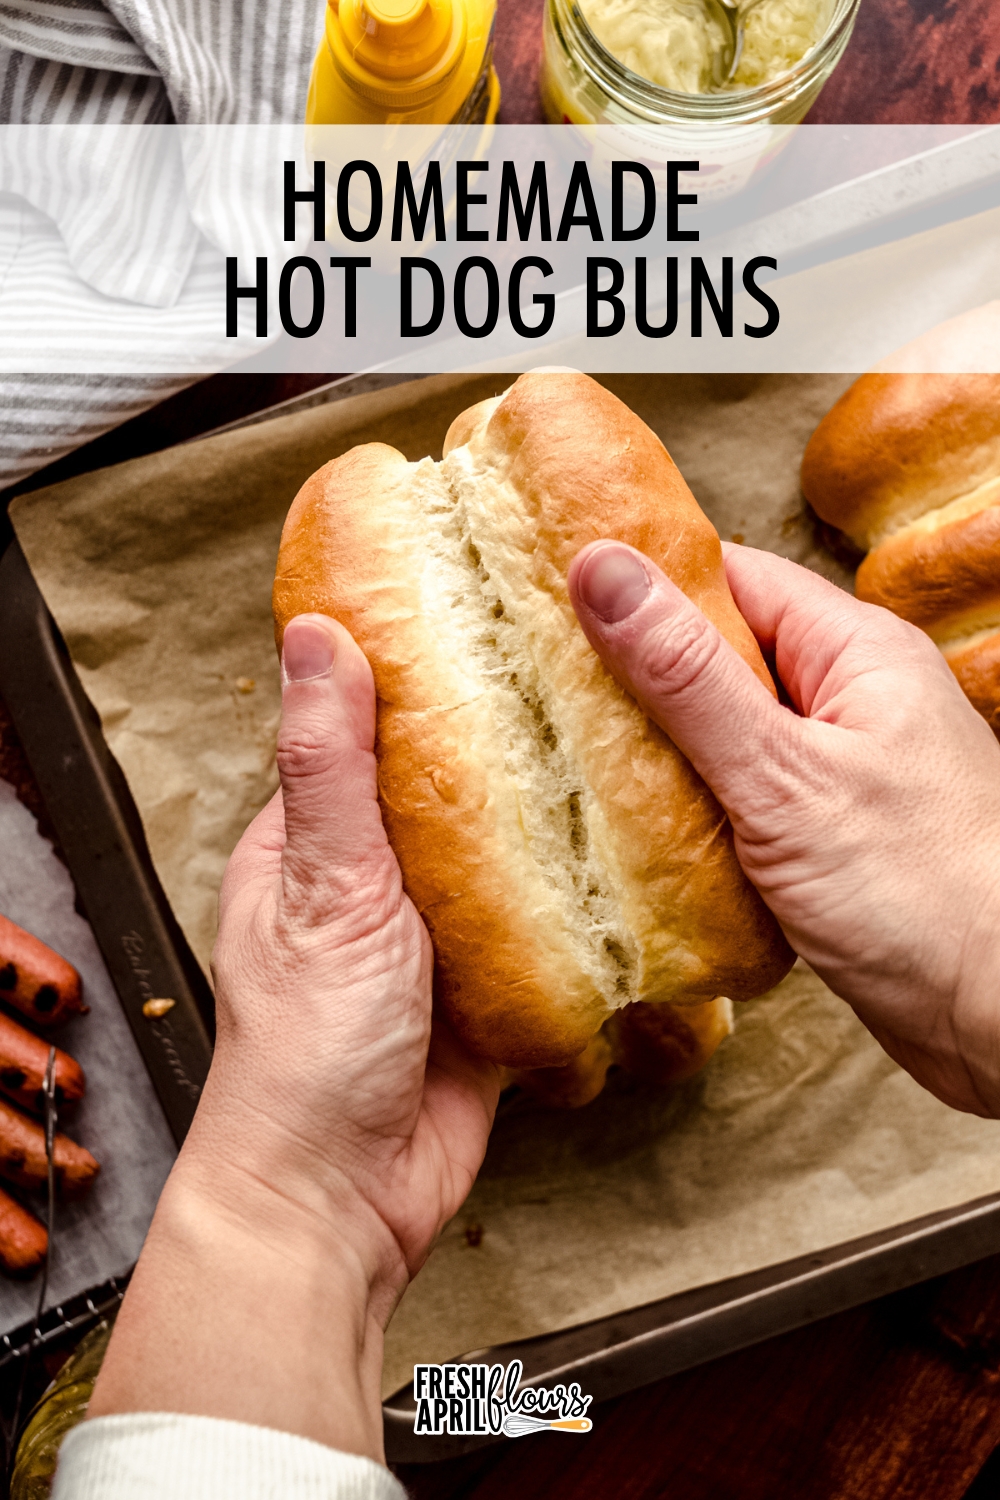
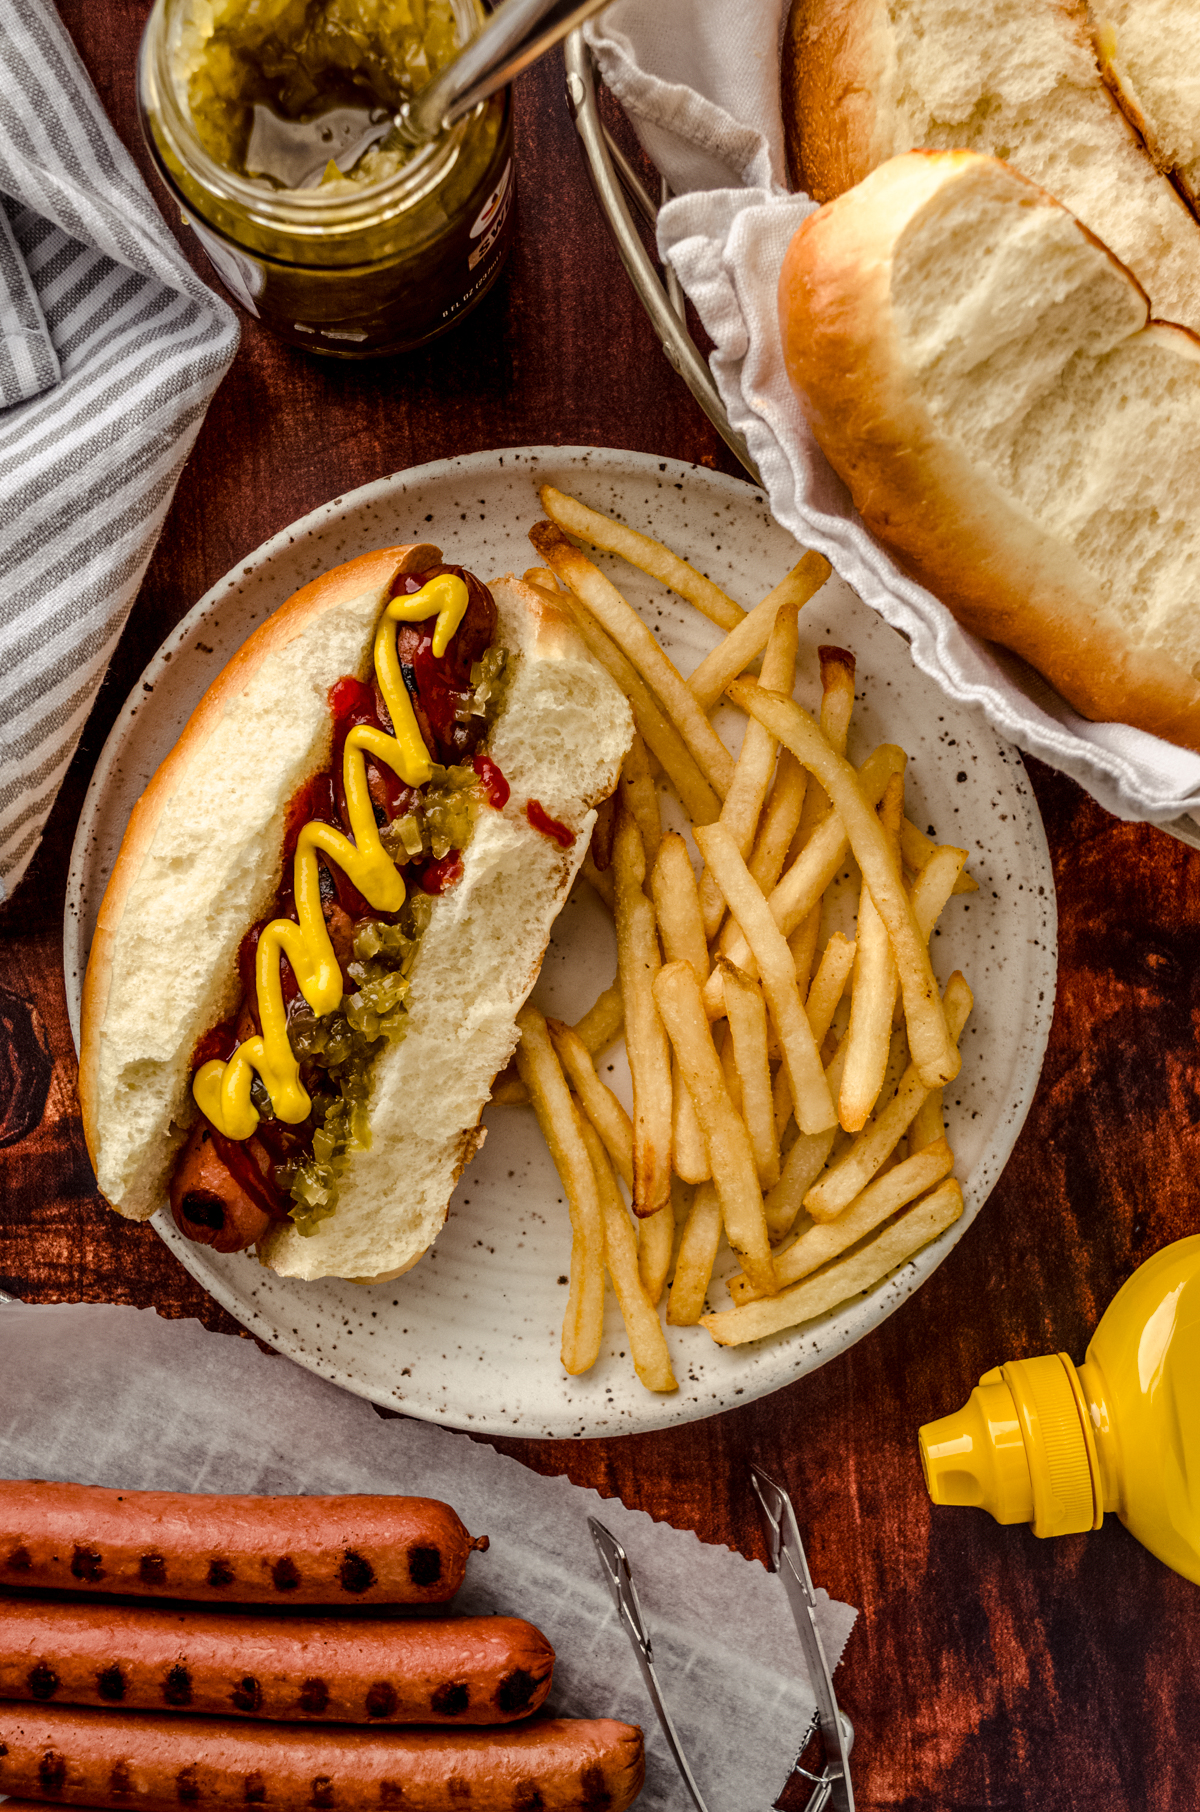
These easy homemade hot dog buns will be a new favorite addition to your cookout. This recipe makes 10 buns, so you’ll never be stuck with extra dogs ever again! Recipe also includes instructions for turning this hot dog buns recipe into homemade hamburger buns.
Why these Hot Dog Buns are better than store-bought
While the method for bringing homemade hot dog buns to fruition is, of course, not as quick as buying a bag of buns, I must say that the quality we find in the homemade version is always enough to make the whole hot dog experience top notch. As a hot dog connnoissuer, I stand by this statement.
Not only that, but as someone who loves making homemade bread, I find making these hot dog rolls is no more difficult than any other yeast bread recipe. The shaping of the dough takes some time, but believe me, the extra elbow grease is worth it.
Here are my qualms with store-bought hot dog buns:
• they can be too dense or too dry
• they disappear in your mouth
• they absorb toppings and get soggy
• they have an artificial taste
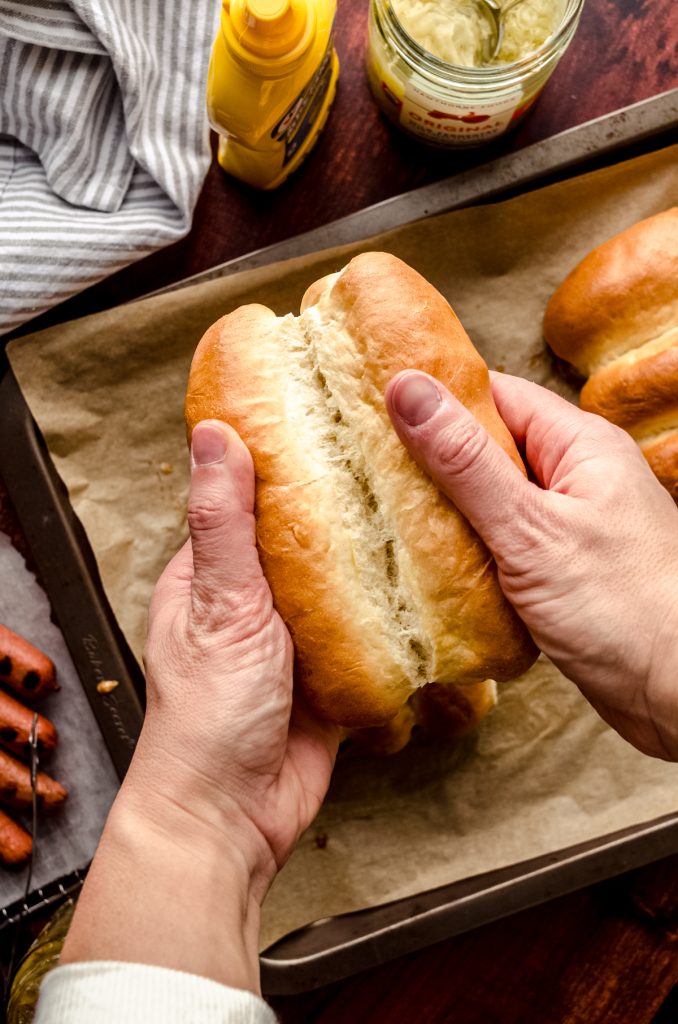
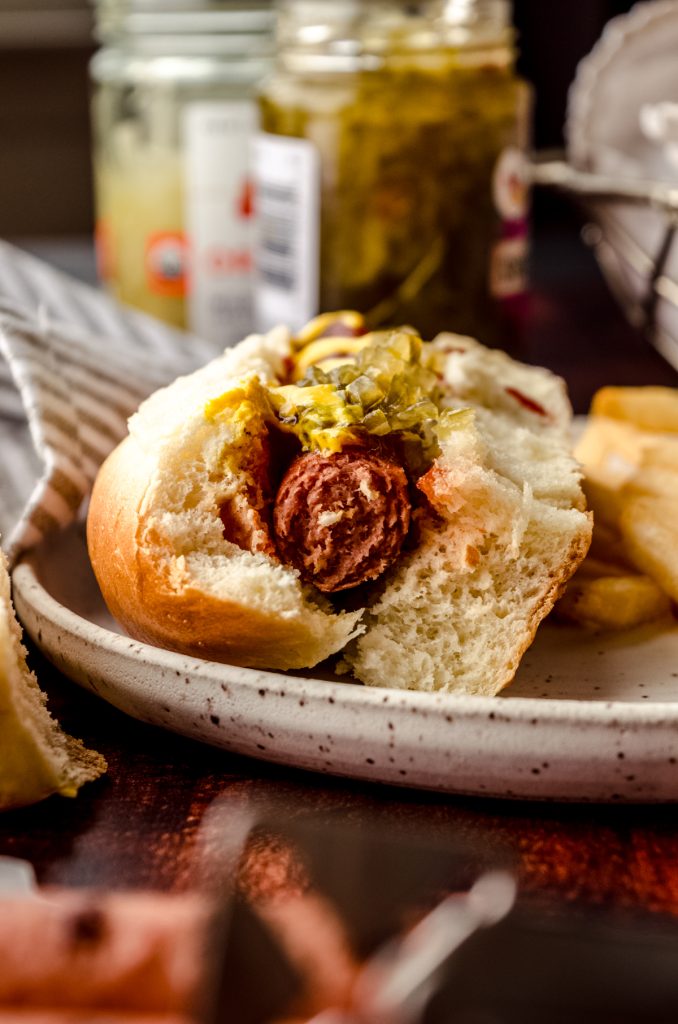
These hot dog buns are soft but not too soft that they simply collapse after that first bite. They are also so versatile in that if you’re serving extra long dogs, thicker sausages, or mini dogs, you can shape the dough to accommodate them.
BONUS POINTS: you can use this dough to make hamburger buns. See notes in the recipe card below for specifics.
Hot Dog Bun ingredients
This is an enriched yeast dough, which means we’re using milk and an egg to bring richness to the dough.
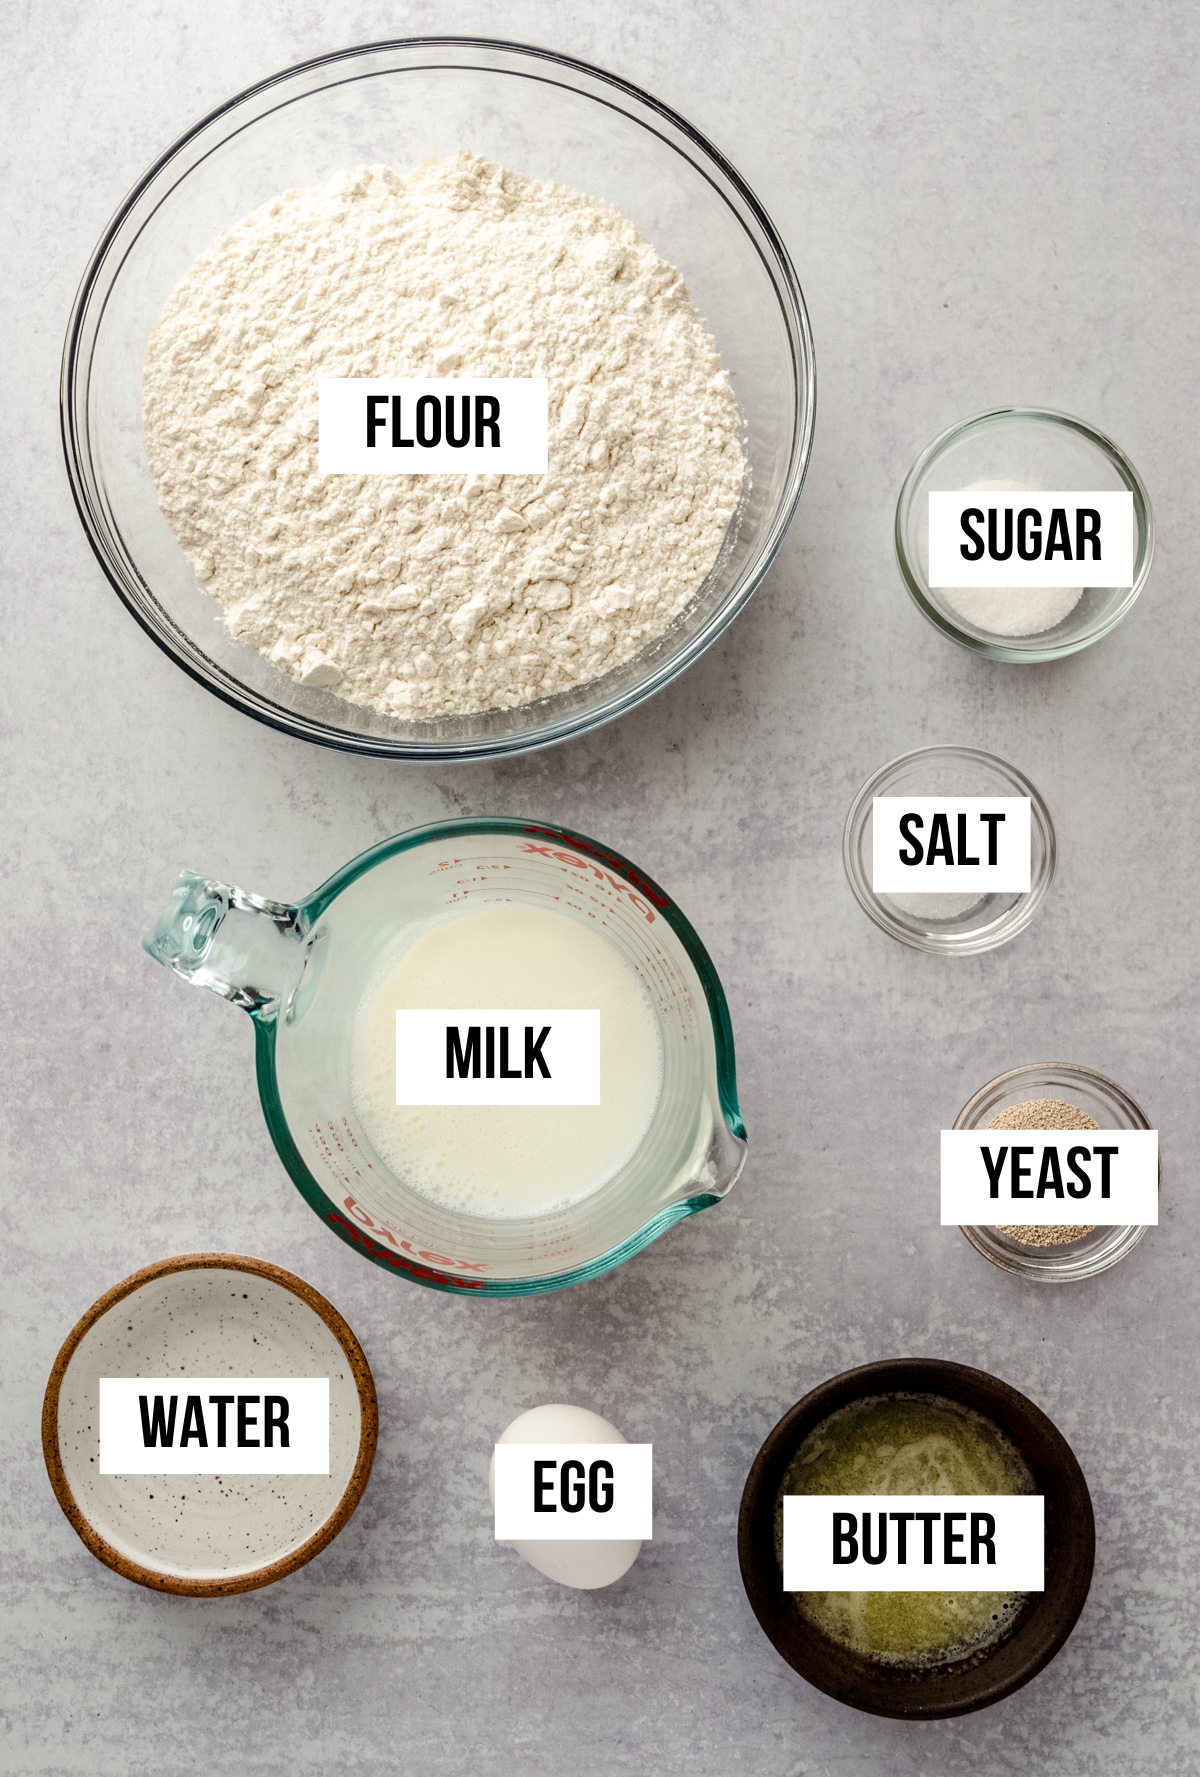
WARM WATER: we’ll use this to activate the yeast.
GRANULATED SUGAR: no, these hot dog buns will not be sweet. Just 1 Tablespoon of sugar helps the medicine go down helps feed and activate the yeast and brings a subtle balance to the overall flavor.
ACTIVE DRY YEAST: you will use a whole packet of yeast. If you’d like to use instant yeast, you do not have to activate the yeast and can just add it in with the rest of the ingredients in step #2 of the instructions.
WARM MILK: I prefer using whole milk here, but you can use any fat content you like.
UNSALTED BUTTER: you can use salted butter, just reduce the added salt to ½ teaspoon.
EGG: this is giving structure and “glue” to the dough. I prefer a bread made with egg because it has more body and a richness you don’t get without an egg.
SALT: for flavor!
FLOUR: you can use all-purpose or bread flour here. I have made these buns with both and do not prefer one over the other.
EGG WASH: this will make your buns shiny and give them a slightly crisp exterior.
HOW TO MAKE HOT DOG BUNS
STEP #1
Pour the warm water into a large bowl, or into the bowl of a stand mixer fitted with the dough hook. Pour the sugar and yeast into the water and whisk with a fork to combine, then allow the mixture to rest for about 5-10 minutes so it can activate.
STEP #2
When the yeast is active, whisk in the milk, butter, egg, and salt and mix to combine.
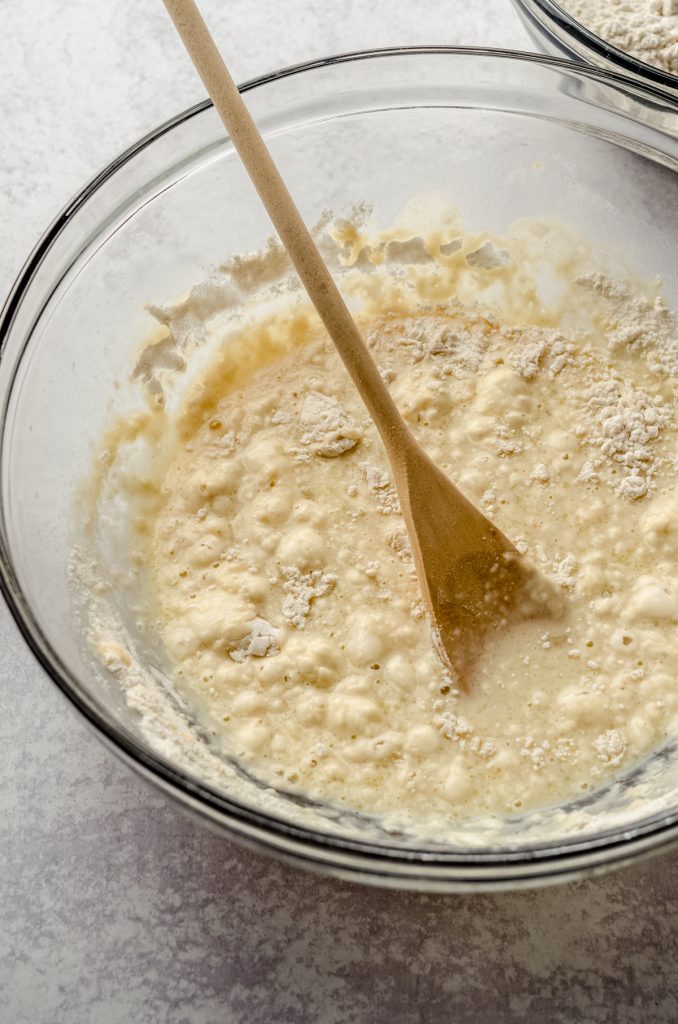
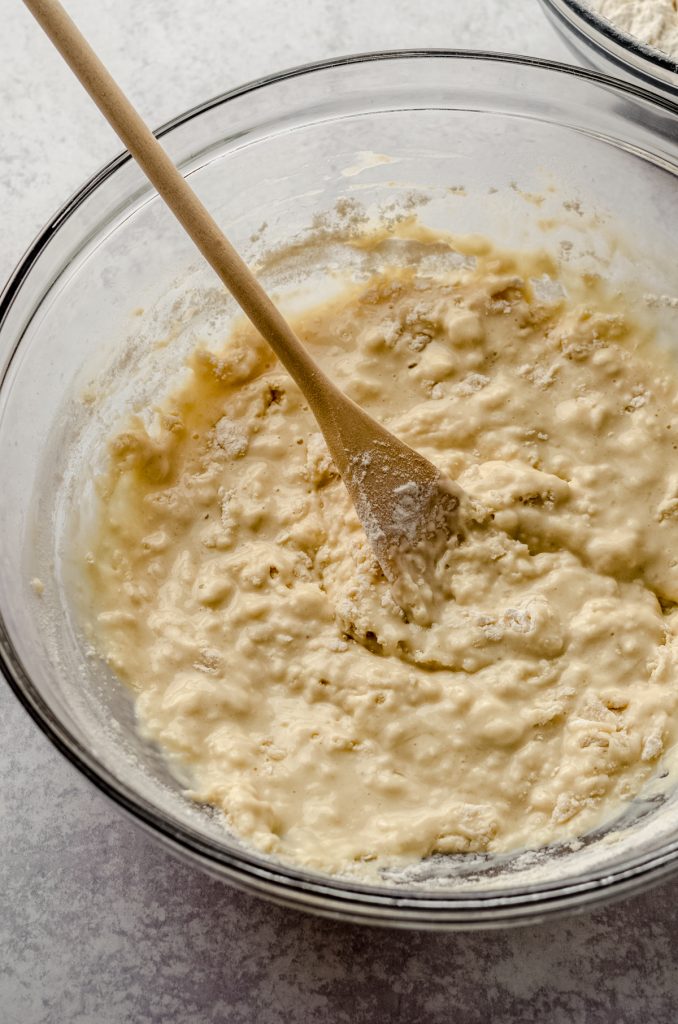
STEP #3
Gradually add the flour, about ½ cup at a time, to the mixture until the dough begins to pull away from the sides of the bowl. The dough should feel stable like PlayDoh but may be a tiny bit sticky. This is ok.

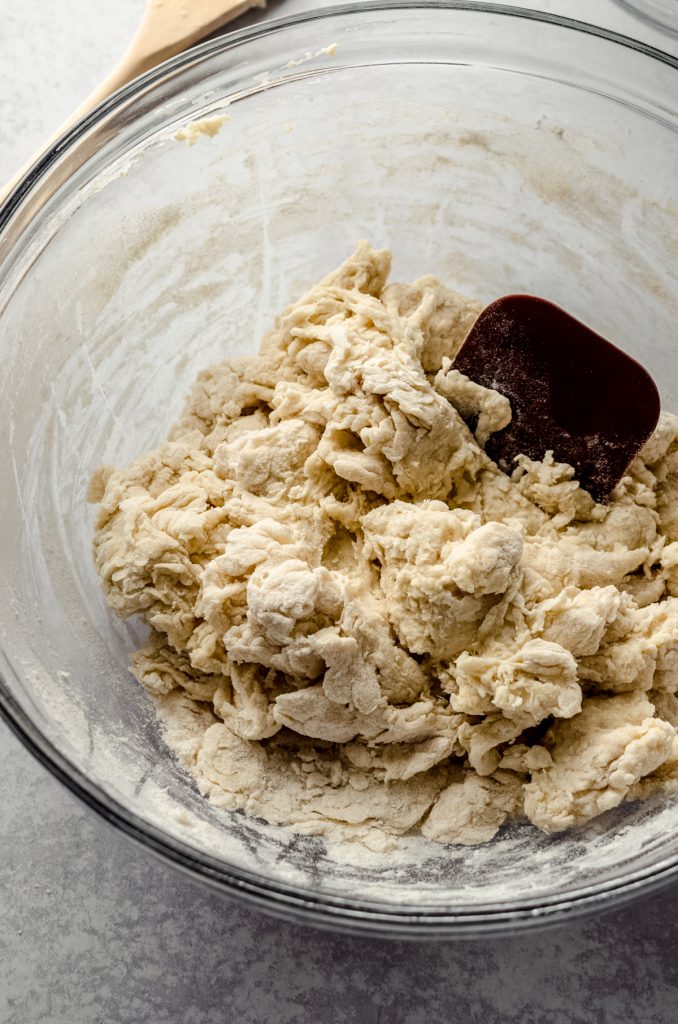
STEP #4
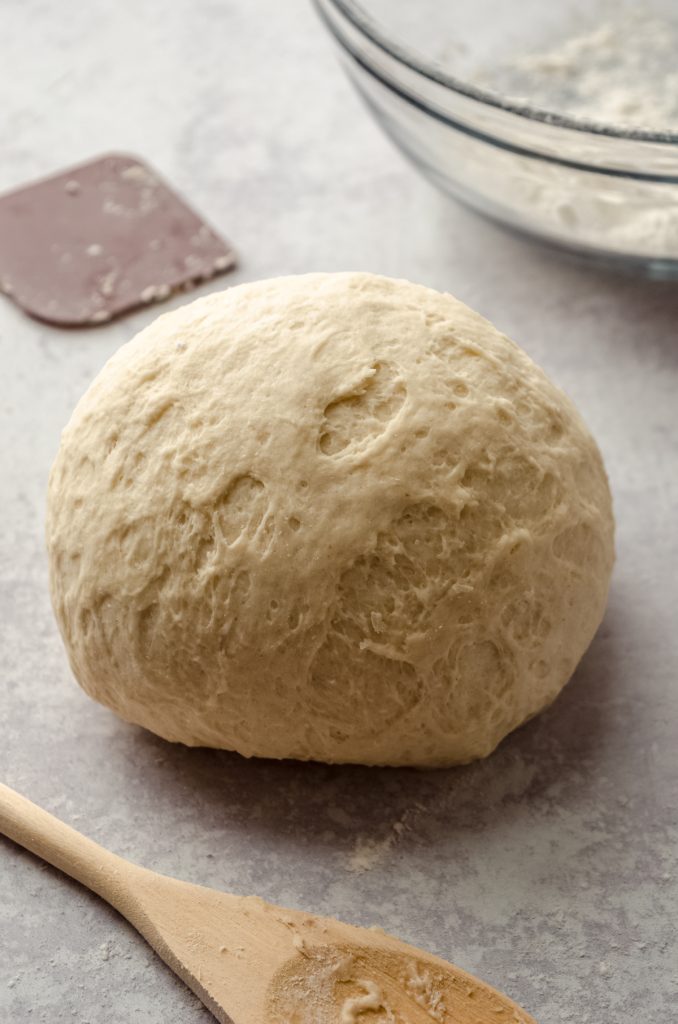
Turn the dough out onto a lightly floured surface, then knead the dough until you have a smooth, elastic dough. You might want to use a bench scraper to help you knead the dough, since it will be a little loose and maybe slightly sticky.
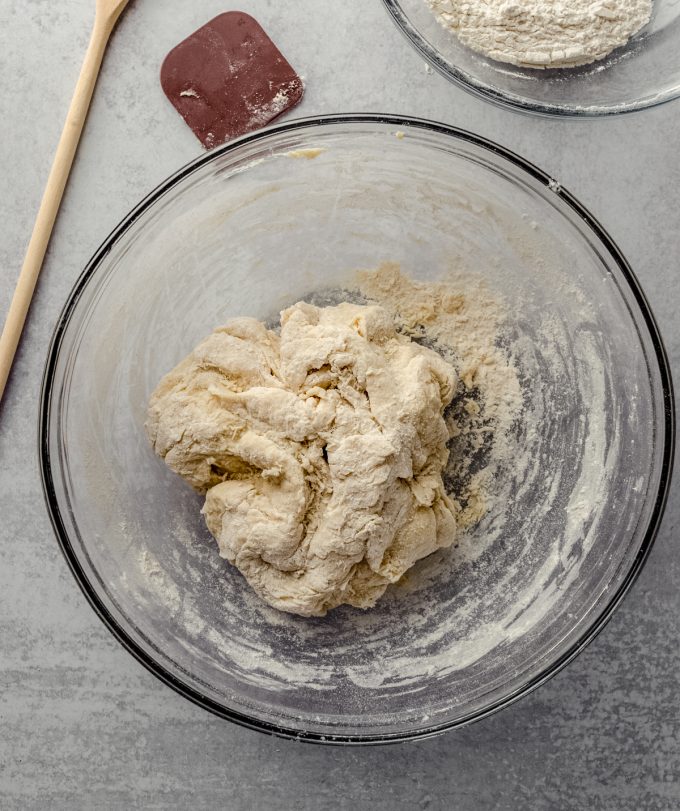
STEP #5
Knead the dough until you have a smooth, elastic dough. Because this dough is so slack, you may find that a bowl scraper or bench knife can be helpful in scooping up the dough and folding it over on itself.
STEP #6
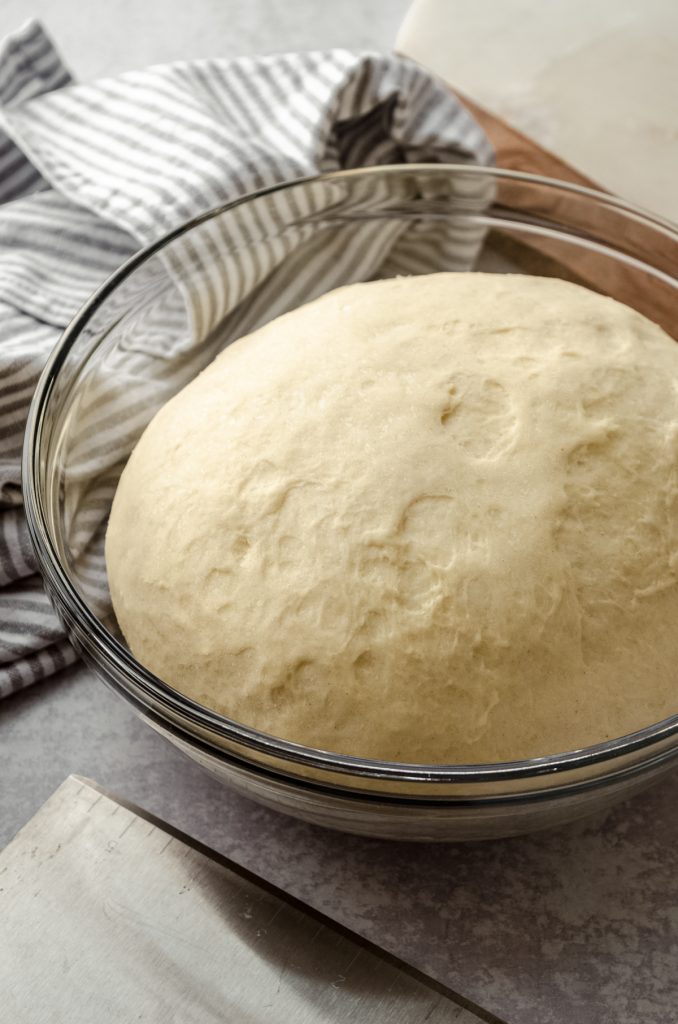
Place the dough into an oiled bowl, turning and flipping the ball of dough to coat it with the oil. Cover the bowl with a kitchen towel and allow to rise in a warm environment until about double in size, approximately 1 hour.
STEP #7
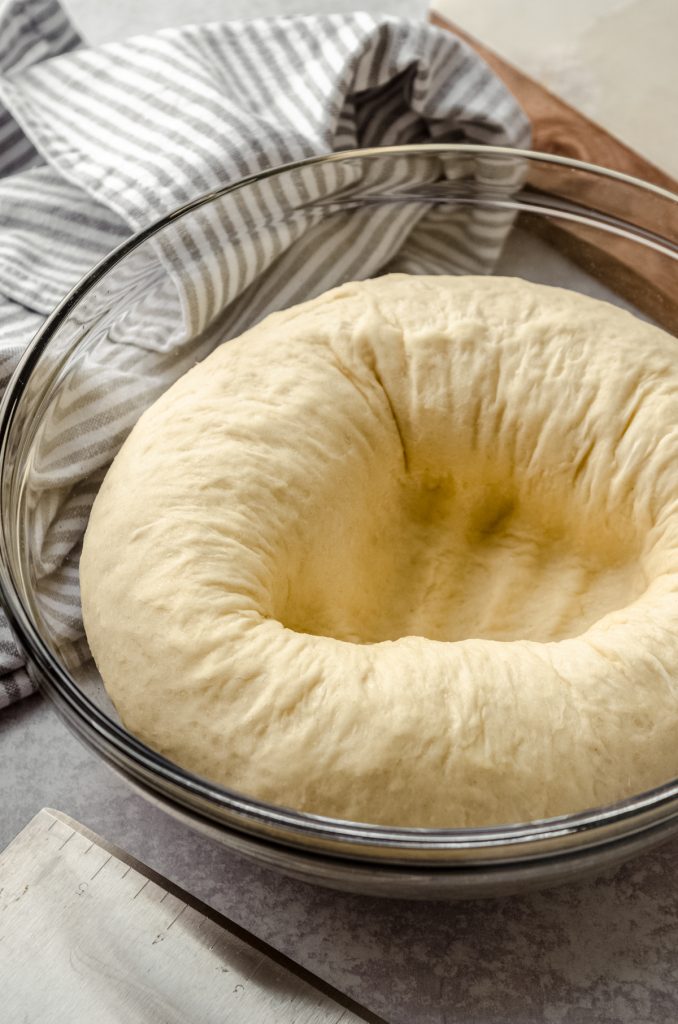
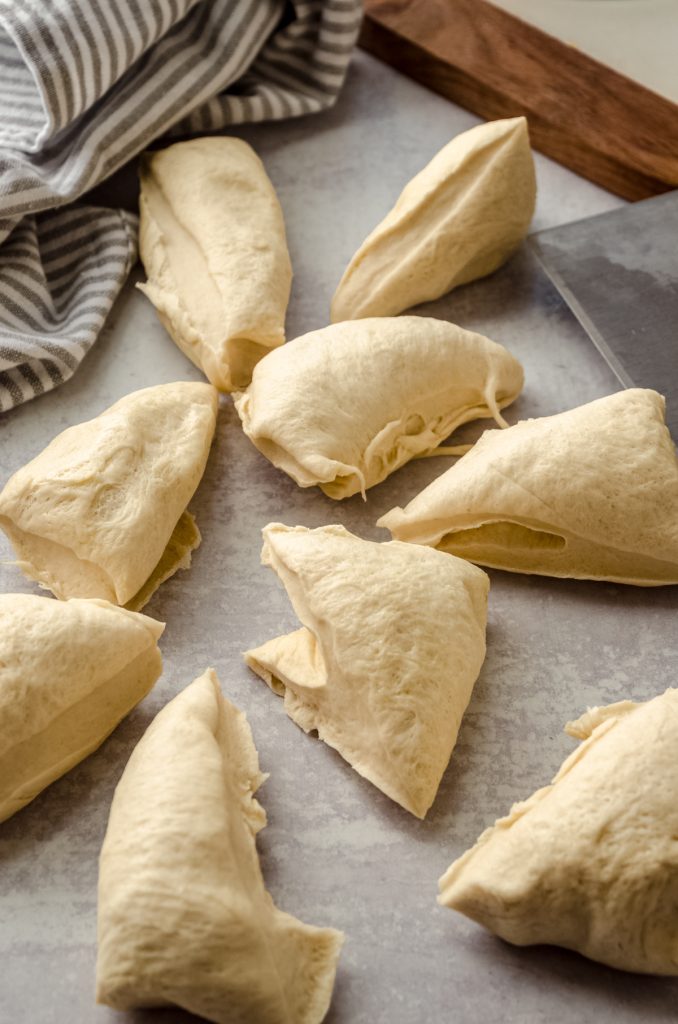
Punch the dough down, then turn out onto your work surface. Divide the dough into 10 equal pieces (I like to weigh my dough on a kitchen scale, divide by how many portions I need, then tear off chunks and push them together). Shape each piece into a ball and allow to rest for 10-15 minutes to relax the gluten. Meanwhile, line a large baking sheet with parchment paper or a silicone baking mat.
HOW TO SHAPE HOT DOG BUNS
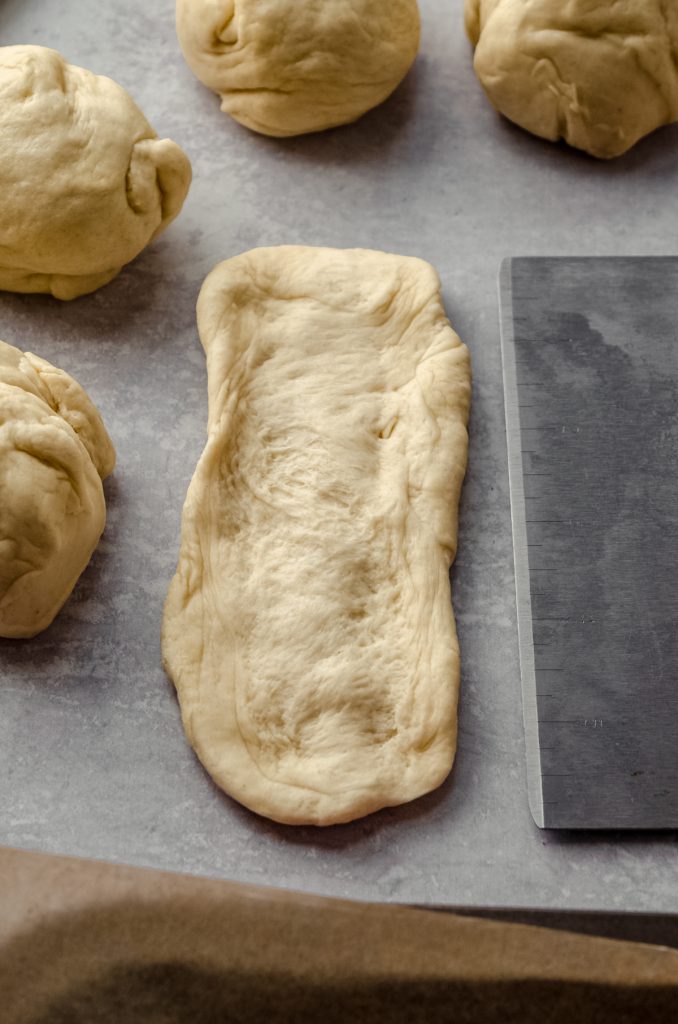
STEP #8
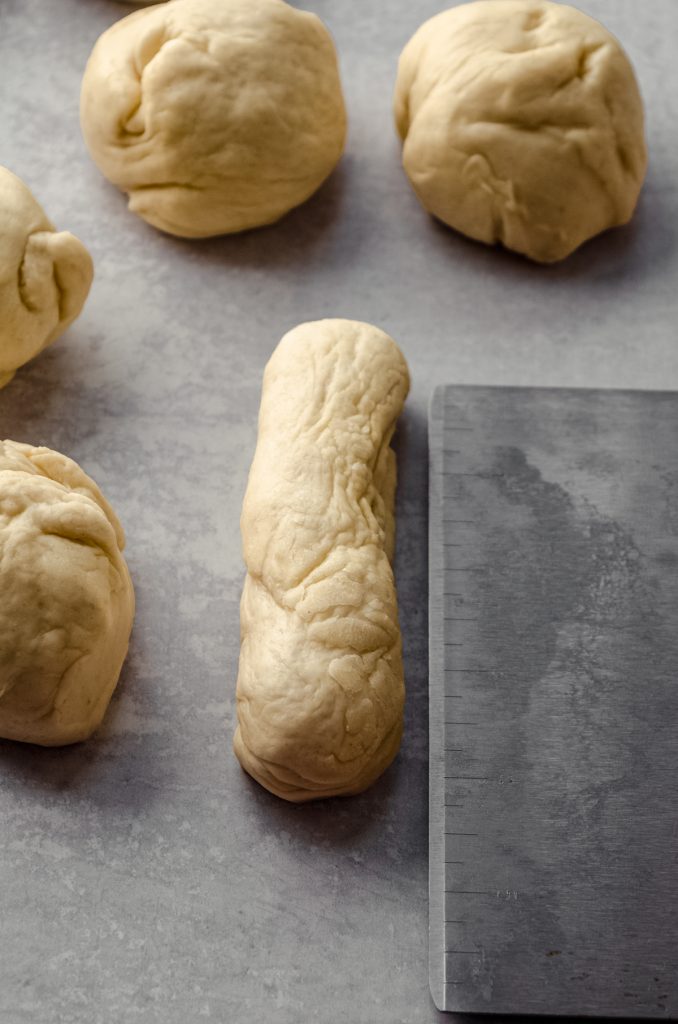
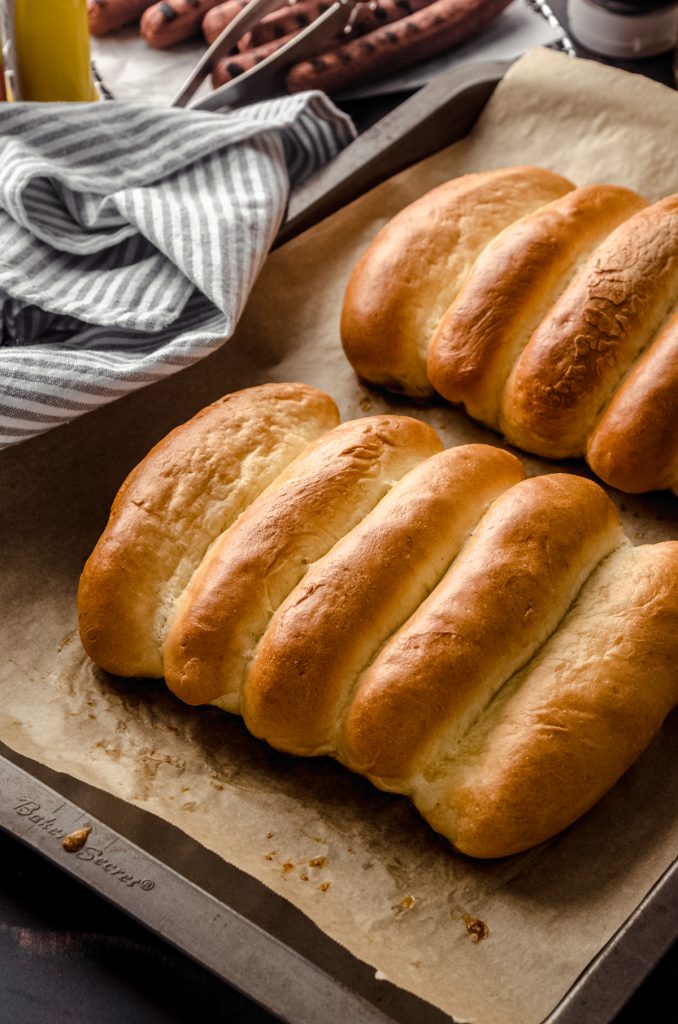
Flatten each ball into a rectangle approximately 5″ in length and 3-4″ in width (I like to use my graduated bench scraper again for this). Starting with the longer side, roll each rectangle up into a cylinder, then tuck the ends under and pinch to seal. Place shaped buns on prepared baking sheet. You can keep them separate or allow them to touch, creating “pull apart” style buns.
SUCCESS TIP
Don’t worry if the middle of the log is sinking below the height of the tucked ends. It will gain some air in the next rise and produce beautifully proportioned hot dog buns.

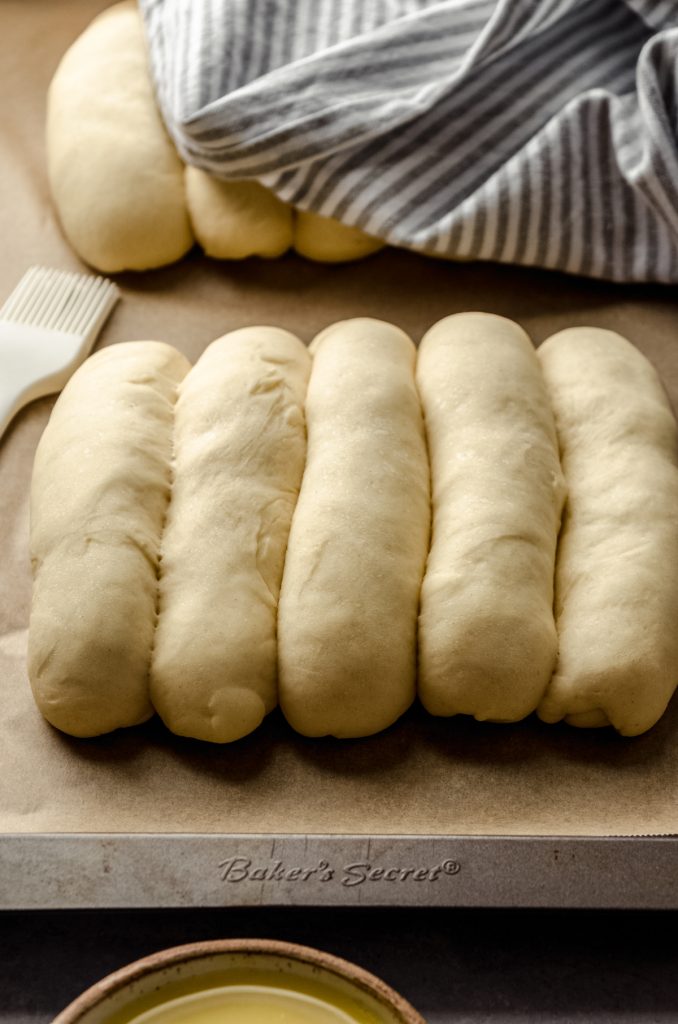
STEP #9
Cover baking sheet with a kitchen towel and allow buns to rise a second time, about 1 hour.

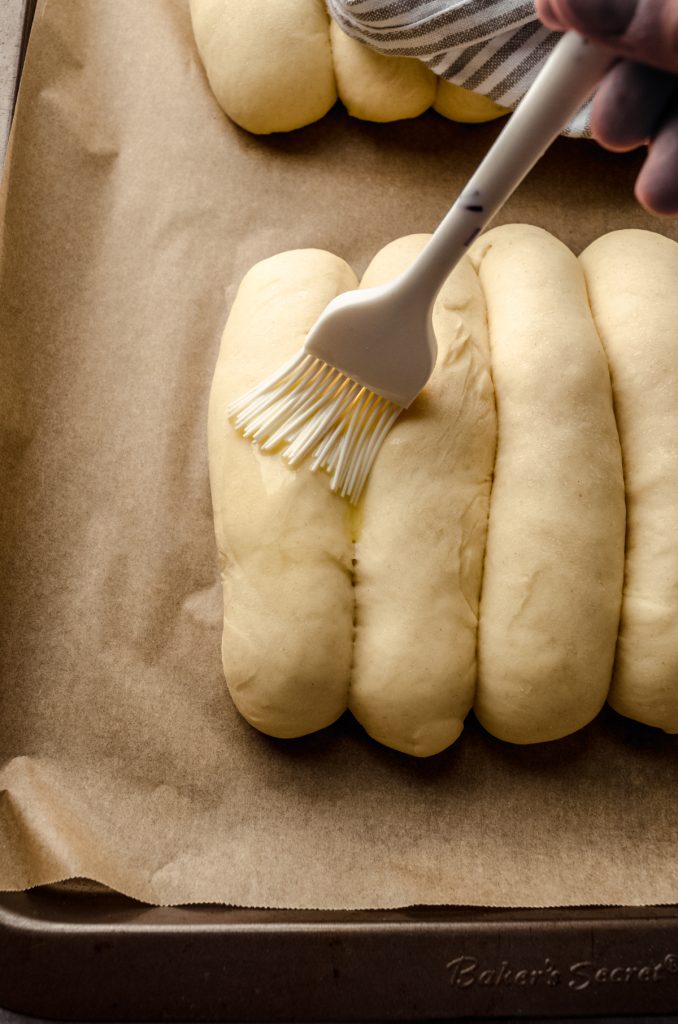
STEP #10
Preheat the oven to 400°F (204ºC). When oven is ready, lightly brush the tops of the buns with the egg wash. If you want to add seeds or seasoning, add them now, then bake the buns for 15-20 minutes.
STEP #11
When the buns are finished, remove them from the baking sheet to cool on a wire rack to prevent them from getting soggy. Slice and use as soon as they’re cool, or store them at room temperature up to 4 days. Buns freeze well, up to 3 months. Thaw in refrigerator or at room temperature.
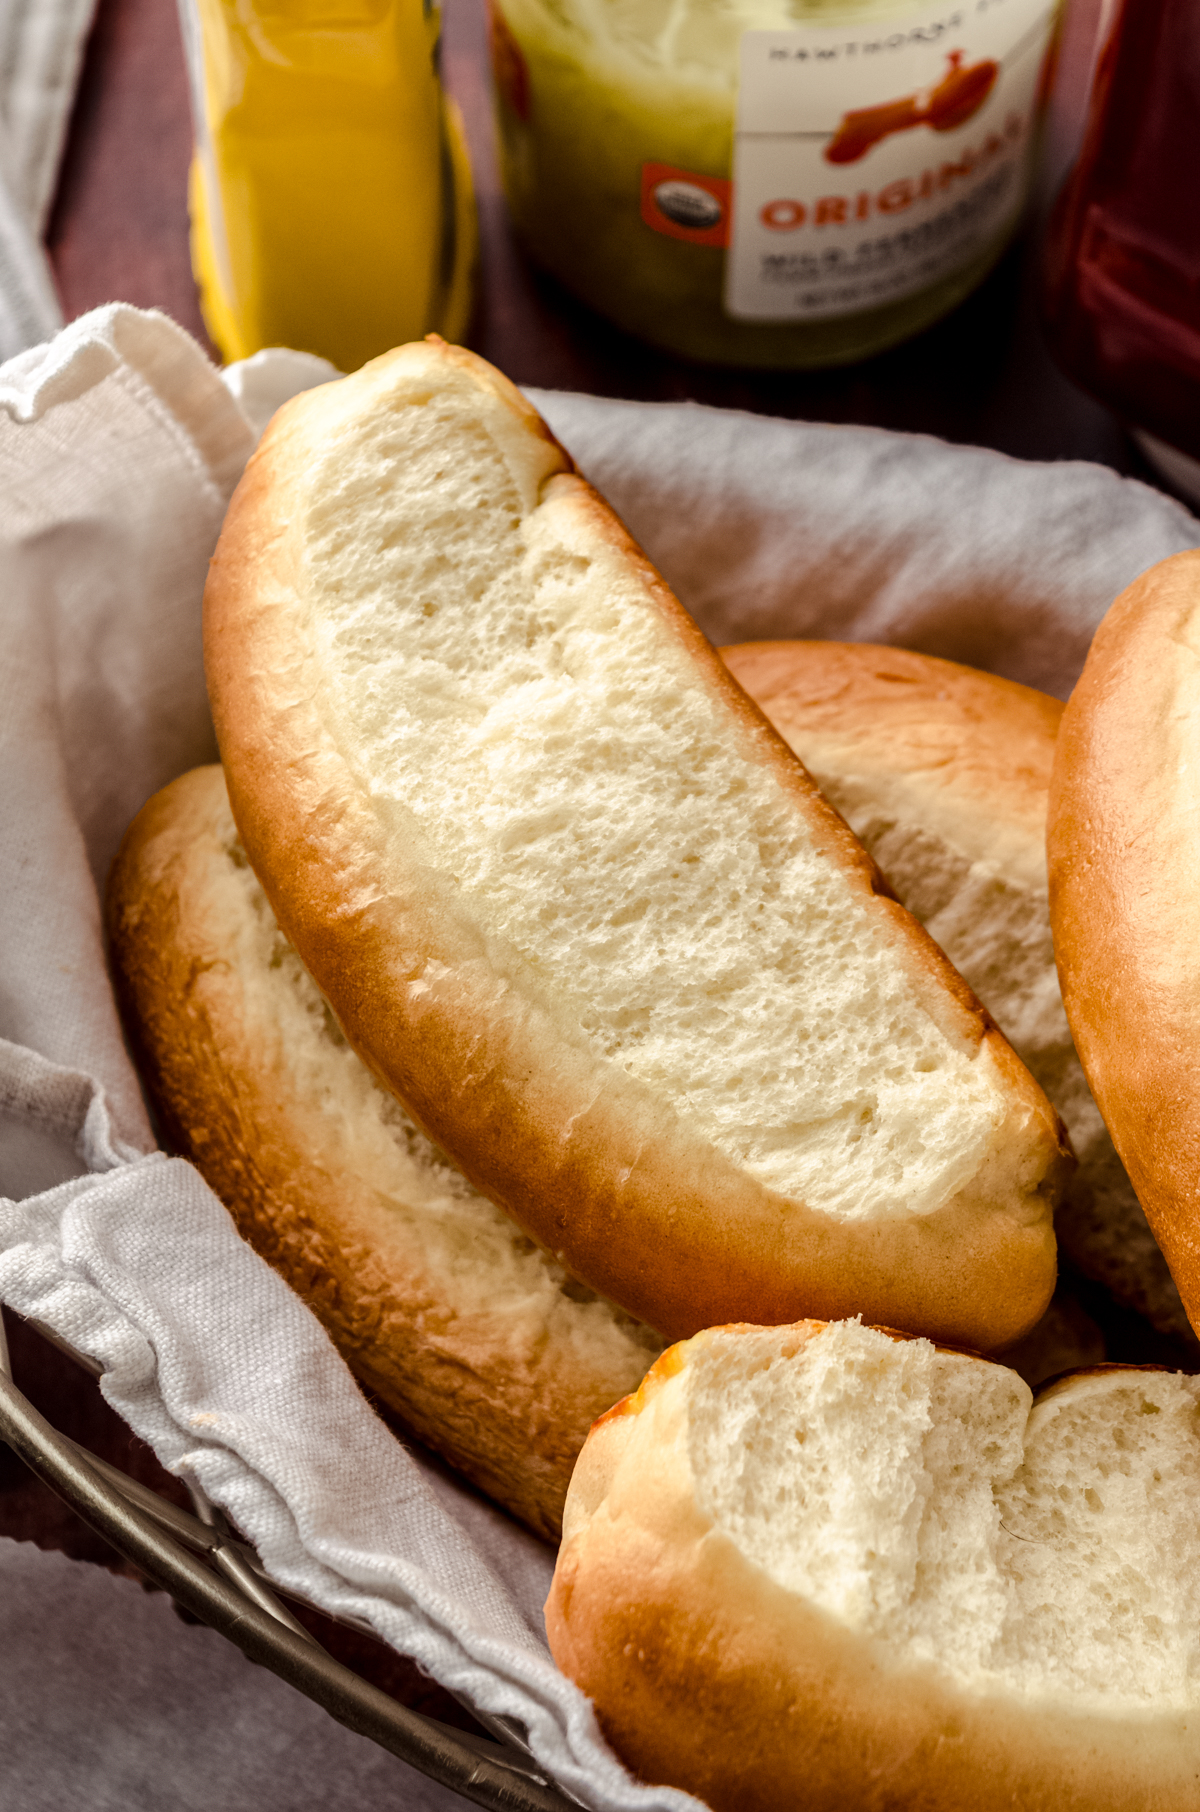
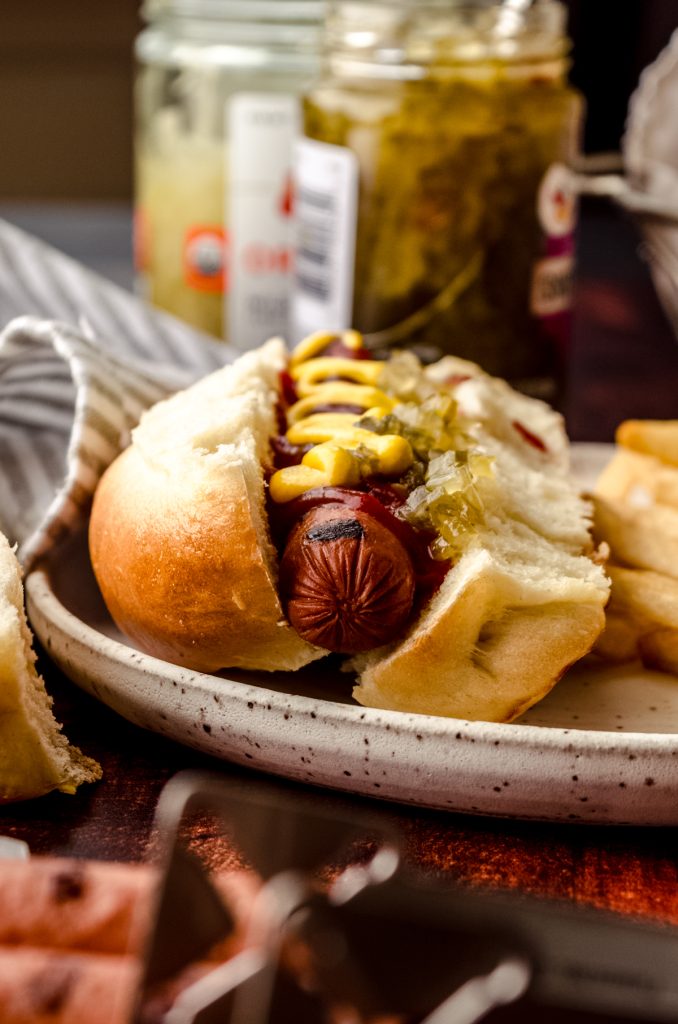
These hot dog buns are almost too nice to use with a hot dog, but it’s nice to have a quality hunk of bread next to your super tasty hot dog, rather than a thin, squishy one that almost disappears with each bite.
I know bread from scratch can sometimes feel like a chore, but these homemade buns really do take the taste and entire experience to a whole new level. And really very truly, it’s nice to find a solution to the “too many dogs, not enough buns” dilemma.
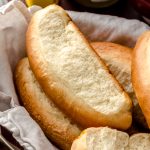
WHAT TO SERVE IN THESE PLAIN HOT DOG BUNS
Don’t limit these buns to just a place for dogs!
We also love using these buns for:
• meatball subs
• buffalo chicken meatball subs
• sausage and peppers
• Nashville-style shredded hot chicken
• filled with this delicious brisket hash
• my favorite chicken salad
• and don’t forget to make a chili dog with my award-winning buffalo chicken chili
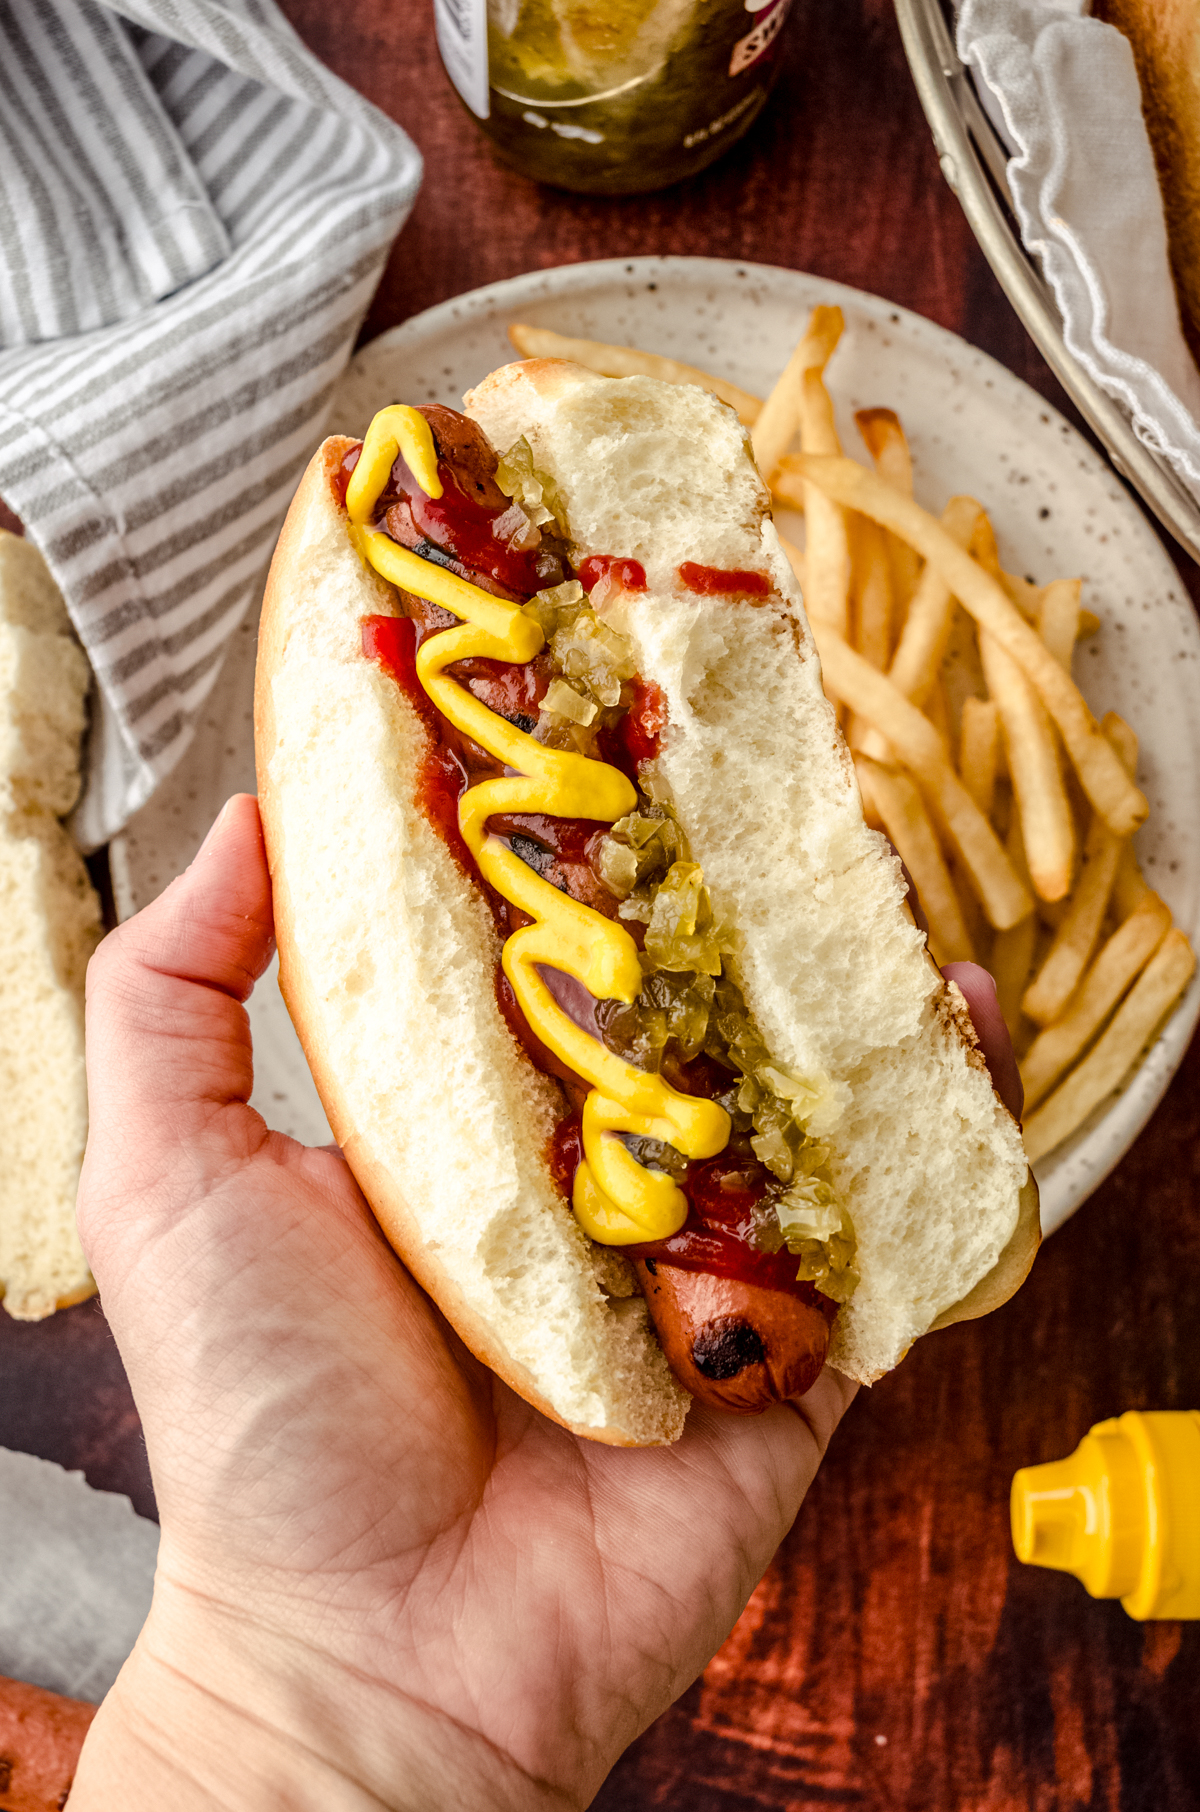
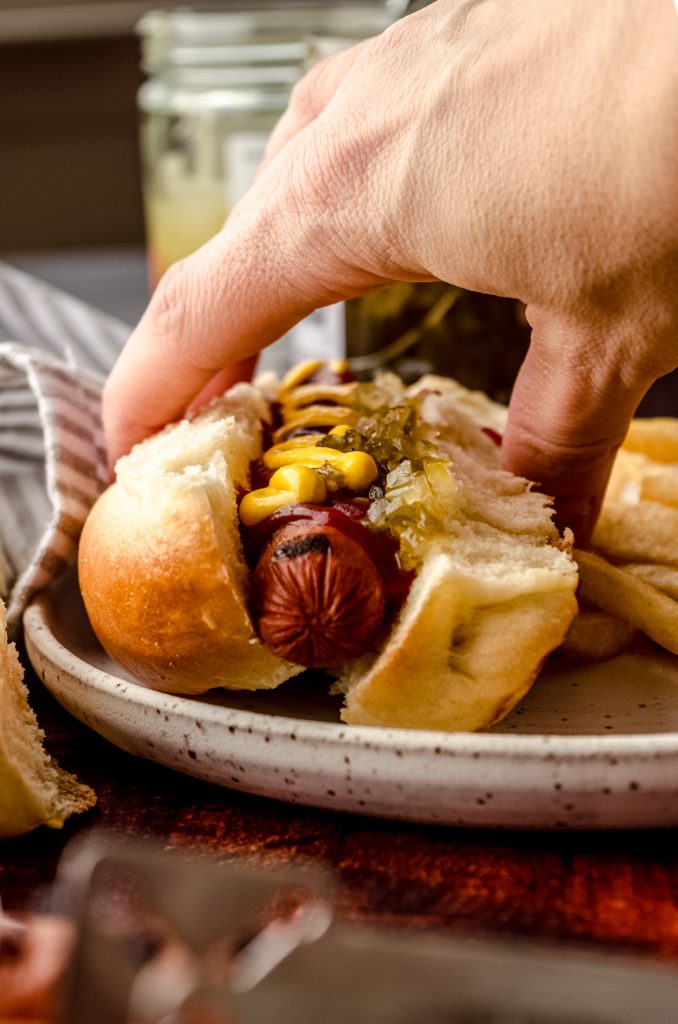
These are always a hit with anything we put on them, which is nice because we don’t ever feel like we are using a hot dog bun as a last resort for a sandwich. Which is just a sad sandwich. These buns are sure to be a favorite for dogs and other fillings alike– I guarantee it!
HOT DOG BUNS FAQs
Homemade Hot Dog Buns Recipe
Ingredients
- ¼ cup (60g) warm water
- 1 Tablespoon (12g) granulated sugar
- 1 packet (7g) active dry yeast or 2 and ¼ teaspoons
- ¾ cups (180mL) warm milk
- 1 Tablespoon (14g) unsalted butter melted
- 1 large egg lightly beaten
- 1 teaspoon salt
- 3 to 3 and ½ cups (360-420g) all-purpose or (381-445g) bread flour be sure to measure properly
- egg wash: 1 egg beaten with 1 teaspoon water
Instructions
- Pour the warm water into a large bowl, or into the bowl of a stand mixer fitted with the dough hook. Pour the sugar and yeast into the water and whisk with a fork to combine. Allow to rest 5-10 minutes to activate.¼ cup (60g) warm water, 1 Tablespoon (12g) granulated sugar, 1 packet (7g) active dry yeast
- When the yeast is active, whisk in the milk, butter, egg, and salt and mix to combine.¾ cups (180mL) warm milk, 1 Tablespoon (14g) unsalted butter, 1 large egg, 1 teaspoon salt
- Gradually add the flour, about ½ cup at a time, to the mixture until the dough begins to pull away from the sides of the bowl. The dough should feel stable like PlayDoh but may be a tiny bit sticky. This is ok.3 to 3 and ½ cups (360-420g) all-purpose or (381-445g) bread flour
- Turn the dough out onto a lightly floured surface, then knead the dough until you have a smooth, elastic dough. You might want to use a bench scraper to help you knead the dough, since it will be a little loose and maybe slightly sticky.
- Knead until you have a smooth, elastic dough. Because this dough is so slack, you may find that a bowl scraper or bench knife can be helpful in scooping up the dough and folding it over on itself.
- Place the dough into an oiled bowl, turning and flipping the ball of dough to coat it with the oil. Cover the bowl with a kitchen towel and allow to rise in a warm environment until about double in size, approximately 1 hour.
- Punch the dough down, then turn out onto your work surface. Divide the dough into 10 equal pieces (I like to weigh my dough on a kitchen scale, divide by how many portions I need, then tear off chunks and push them together). Shape each piece into a ball and allow to rest for 10-15 minutes to relax the gluten. Meanwhile, line a large baking sheet with parchment paper or a silicone baking mat.
- Flatten each ball into a rectangle approximately 5" in length and 3-4" in width (I like to use my graduated bench scraper again for this). Starting with the longer side, roll each rectangle up into a cylinder, then tuck the ends under and pinch to seal. Place shaped buns on prepared baking sheet. You can keep them separate or allow them to touch, creating "pull apart" style buns.
- Cover baking sheet with a kitchen towel and allow buns to rise a second time, about 1 hour.
- Preheat the oven to 400°F (204ºC). When oven is ready, lightly brush the tops of the buns with the egg wash. If you want to add seeds or seasoning, add them now, then bake the buns for 15-20 minutes.egg wash: 1 egg beaten with 1 teaspoon water
- When the buns are finished, remove them from the baking sheet to cool on a wire rack to prevent them from getting soggy. Slice and use as soon as they're cool, or store them at room temperature up to 4 days. Buns freeze well, up to 3 months. Thaw in refrigerator or at room temperature.
Notes
- Turn these into hamburger buns: instead of flattening the dough into rectangles, simply flatten into discs 3 and ½ to 4″ in diameter.
- To make ahead: lay plastic wrap directly on the shaped buns and refrigerate up to 18 hours. Remove from the refrigerator 2 hours before you want to serve them. Let them rise at room temperature for 1 and ½ hours before baking them, then proceed with step 10.
- Par-bake the buns: parbaking is a great solution for preparing buns ahead of time and my favorite method for saving yeast bread for later. Follow the recipe all the way to the baking step, then remove hot dog buns from the oven about 10 minutes before they are fully baked. Allow to cool completely to room temperature, then store in an airtight container or bag for up to 3 months. Bake frozen for the remaining 10 minutes.
Nutrition Disclosure
All nutritional values are approximate and provided to the reader as a courtesy. Changing ingredients and/or quantities will alter the estimated nutritional calculations.
We just love homemade bread and I couldn’t wait to try your hot dog buns recipe. They were so much fun to make and I had the perfect sized buns for brats!
Yes, totally! Thanks for giving them a try!
Thank you so much!
Such a great roll recipe! I made hamburger buns as suggested, but will definitely make hot dog buns the next time. These are worth the time.
Thanks so much, Katja!
We love this recipe!!! Thank you from my entire clan. Easy and so delicious.
Thanks, Krista! So glad you enjoyed it!
Absolutely incredible recipe. I’ve made these twice. Once for big Maxwell Street Polish sausages. Made 5 big buns. Then again for garlic bread sticks which I made 20 of. Better than Olive Garden. Thank you for the recipe
Thank you so much, Vasko! I’ve never thought to turn them into breadsticks– that’s a great idea!
This recipe is fantastic. The dough was great to work with and my hot dog buns actually came out looking like a hot dog bun. Taste is fantastic and fluffy texture. I am so glad I found your recipe.
Thanks so much, Phyllis! So glad you enjoyed them.
Worked perfectly. Very tasty. I used honey instead of sugar and would do half again as much salt next time. Otherwise I followed the recipe and they came out perfect.
Thanks so much!
Followed recipe exactly, and these turned out perfect the very first time! Texture is soft, but sturdy like you’d want for a hotdog bun. And, needless to say, absolutely delicious! I made 5 hotdog buns and 5 hamburger buns with sesame seeds just to try this recipe before a cookout this weekend. Definitely hanging on to this one.
Thank you so much! 🙂
Easy to follow recipe. Tried twice so far, and were perfect each time, these are now my go to recipe.
Not sure if it was a compliment or not, but my daughter was convinced that they were shop bought from our local artisan bakery!
Thanks so much, Julie! I think that is totally a compliment, and I’ll take it, too! 🙂
Followed the recipe exactly. Every word and detail, they did not turn out like hotdog buns at all, more like breadsticks. The crumb was not correct for a hotdog bun and they taste like water and nothing. I’m shocked by how bad the taste, texture and shape is for something claiming to be hot dog buns. Incredible waste of the last of my flour
Hey, Cari– I believe you, and also very positive reviews exist. Thanks for giving it a try!
Amazing! Everyone loved these. The dough was soft and great to work with, I doubled the recipe and made 16 buns for a birthday party
Thanks so much, Miranda!