
Easy Homemade Pizza Dough
As an Amazon Associate, I earn from qualifying purchases. Read the full disclosure here.
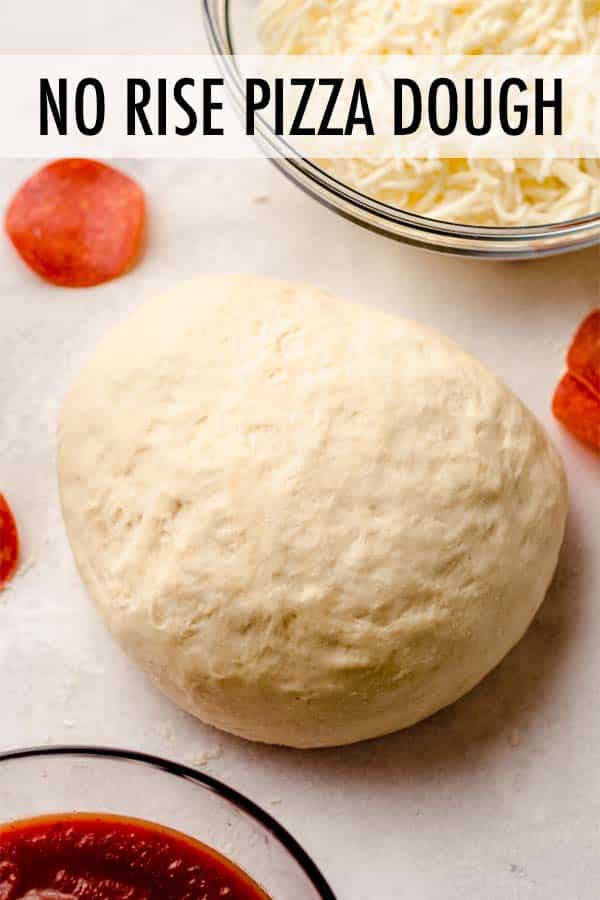
This easy homemade pizza dough recipe requires no rising time and is ready for all your favorite toppings in under 30 minutes. Recipe includes instructions for preparing ahead of time or freezing to use at a later time.
If you’ve been here for any amount of time, you know that I love me a good yeast bread recipe. I love getting my hands all up in the dough, creating something from seemingly nothing, and using yeast to give life to flour.
I talk to readers all the time who are intimidated by yeast bread, and I get it. Kneading, rising, punching, rising again, shaping… It can feel overwhelming and hard to tackle if you’ve never done it before.
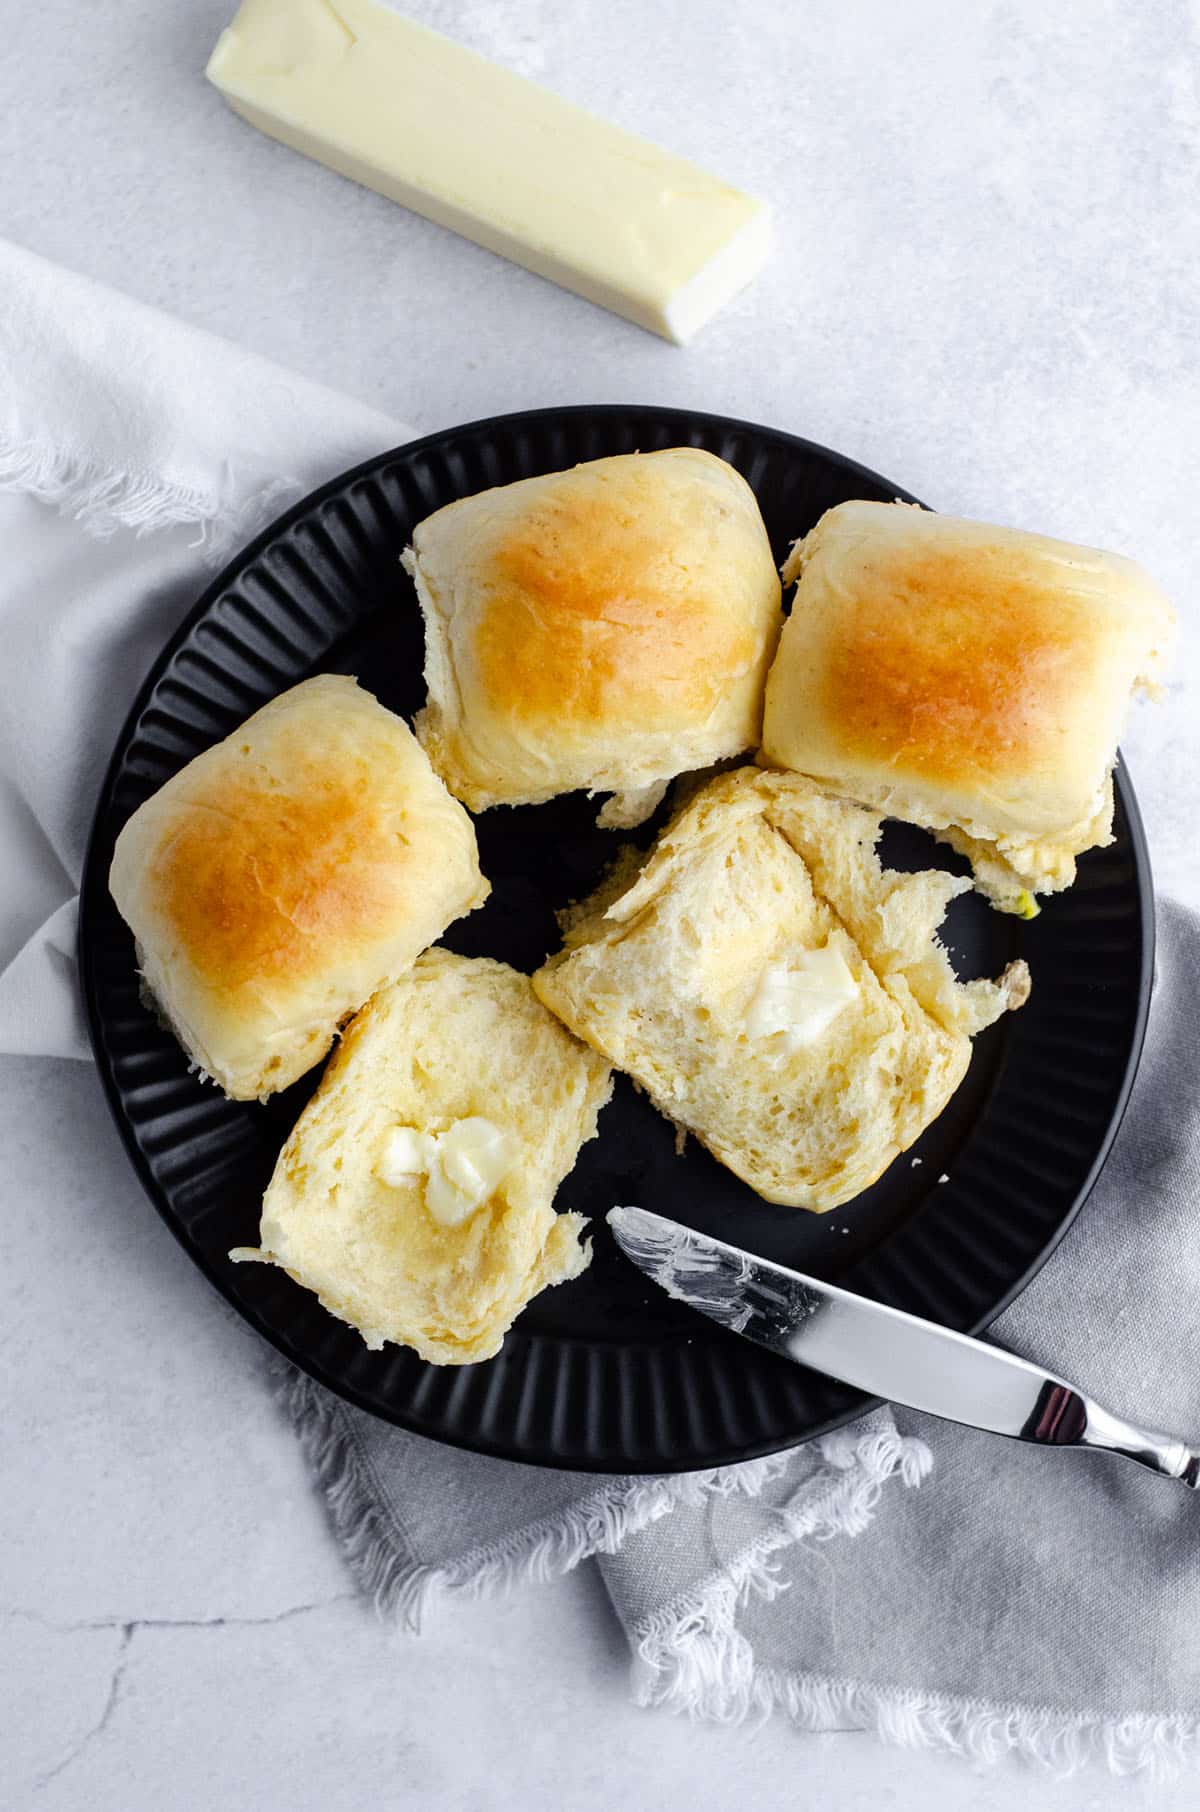
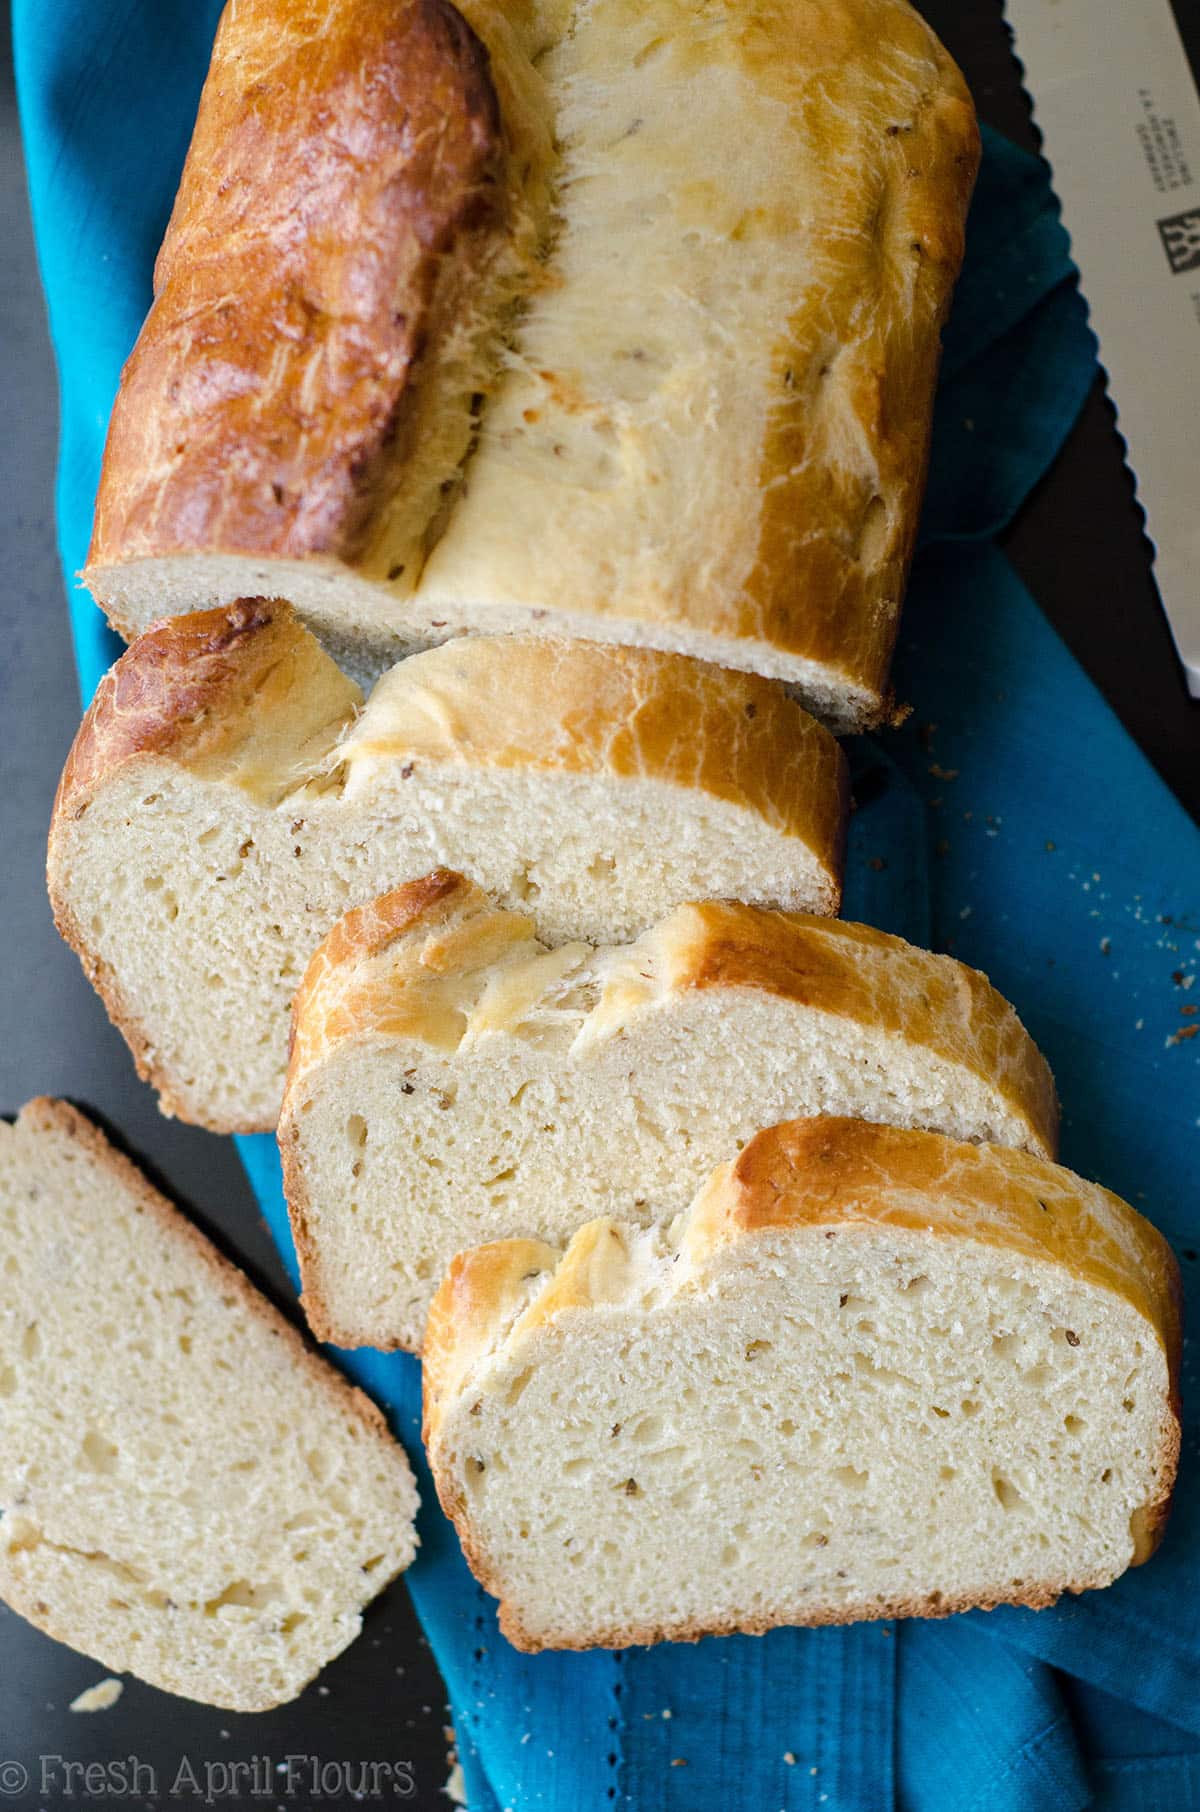
If you’re looking for homemade yeast bread recipes that are simple, check out my easy yeast rolls (for beginners) or Italian anise bread. Those are great recipes for people who are looking to just get their feet wet. Lots of pictures, instructions, and guidance going on there.
WHY I LOVE THIS PIZZA DOUGH
If you’re looking for a pizza dough recipe that is really simple and gives you a tender, chewy crust without a lot of fuss, this is it.
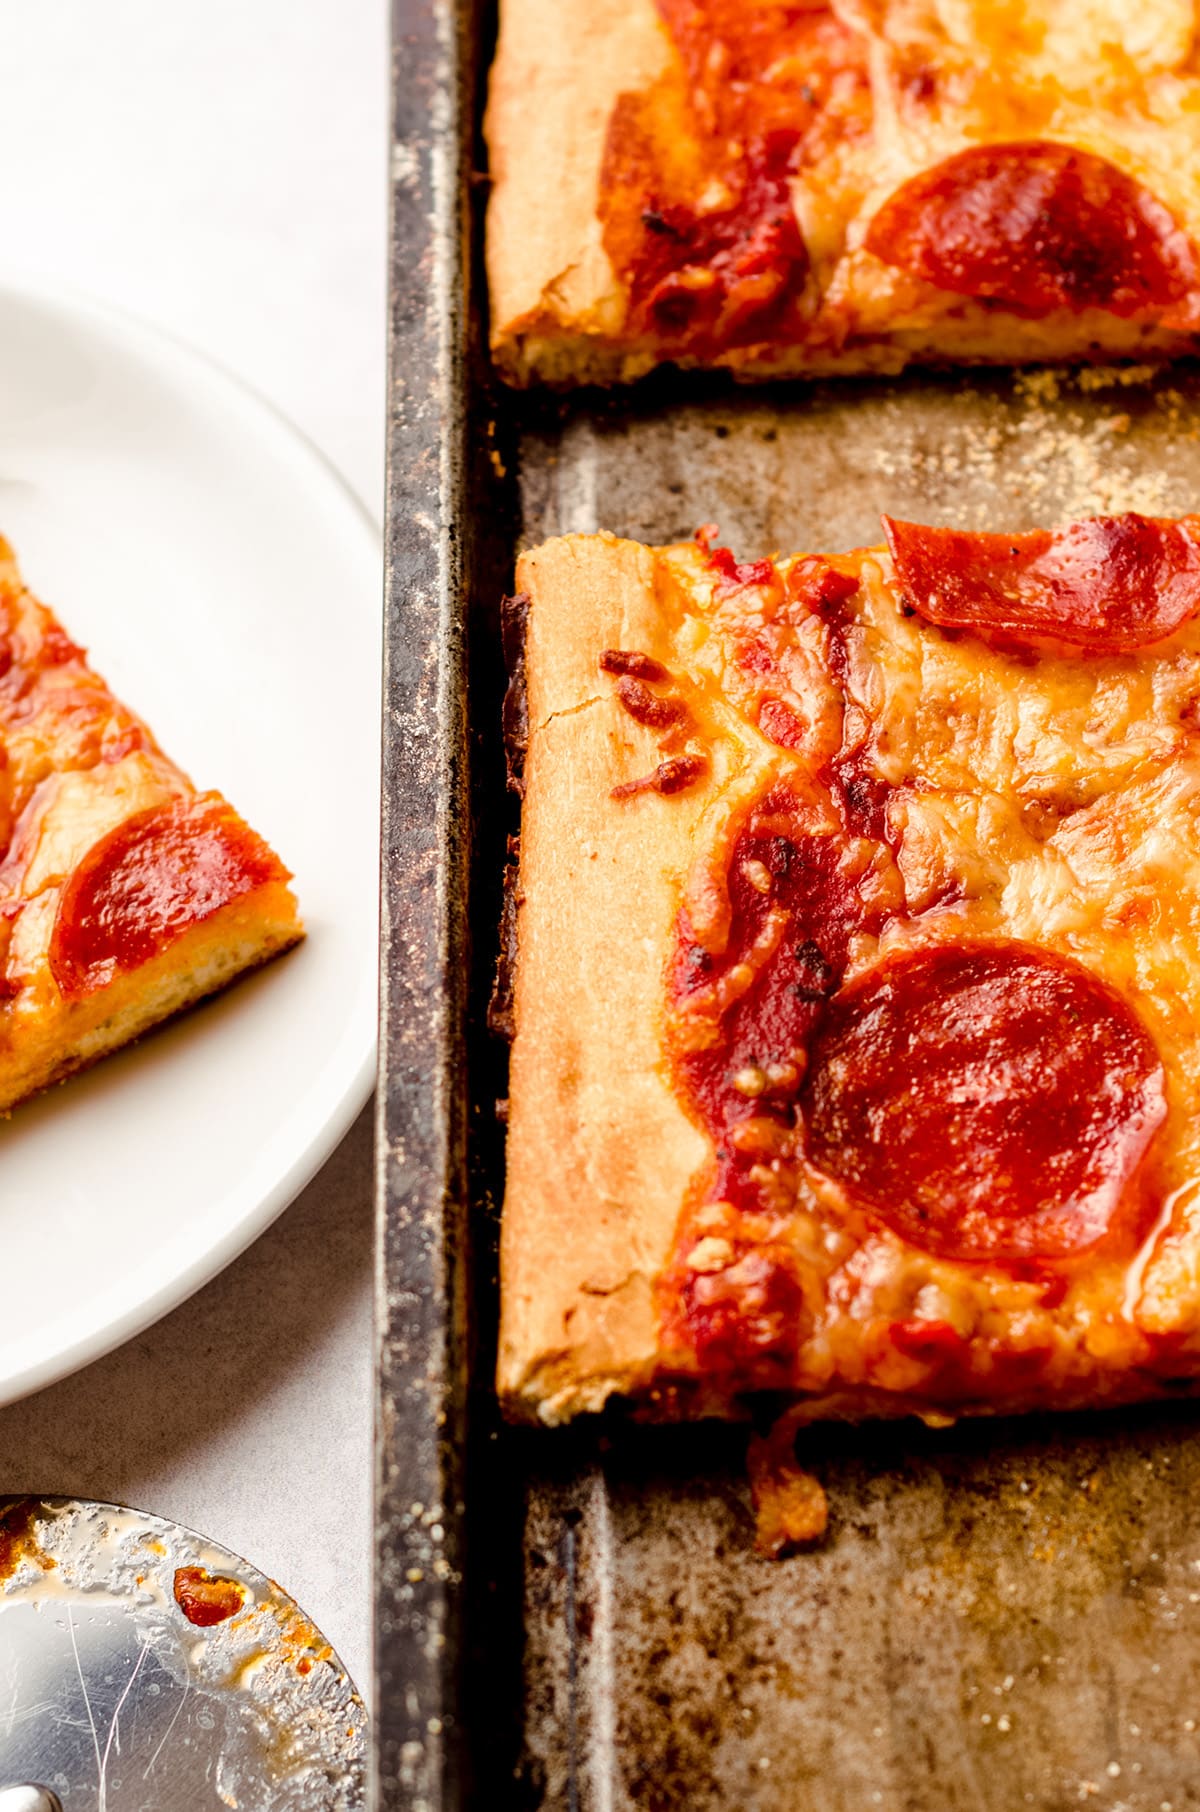
I am always so impressed with the texture of the final crust, and as a sometimes-a-crust-person-because-it-has-to-be-just-right kind of gal, I do love this pizza crust a lot.
It just gets better as leftovers are reheated (in an oven or toaster oven, to be specific) and it has just the right amount of crunch without breaking your teeth (that crust is the worst).
The really cool thing about this easy pizza dough recipe is that while it is a yeast bread, it is actually really simple, because it requires no rise time.
Uhh… What?
I know. It’s crazy.
But the thing is, pizza dough recipes are designed to be simple because the end result doesn’t have to be lifted and fluffy like homemade sandwich bread or cinnamon rolls.
We’ll get to how making pizza dough is so simple in a bit, but let’s talk about what you’ll need for my simple pizza dough recipe.
Easy Pizza Dough Ingredients
This list of pizza dough ingredients is really short. You’ll need yeast, a little sugar, all-purpose flour, olive oil, and salt.
You’ll also need some cornmeal for putting the pizza dough onto a baking sheet or pizza stone, but it’s not actually going into the dough.
And did you notice that there are no butter nor eggs involved? So this pizza dough recipe is completely vegan and ready for all of your favorite vegan pizza toppings.
How to Make Easy Homemade Pizza Dough
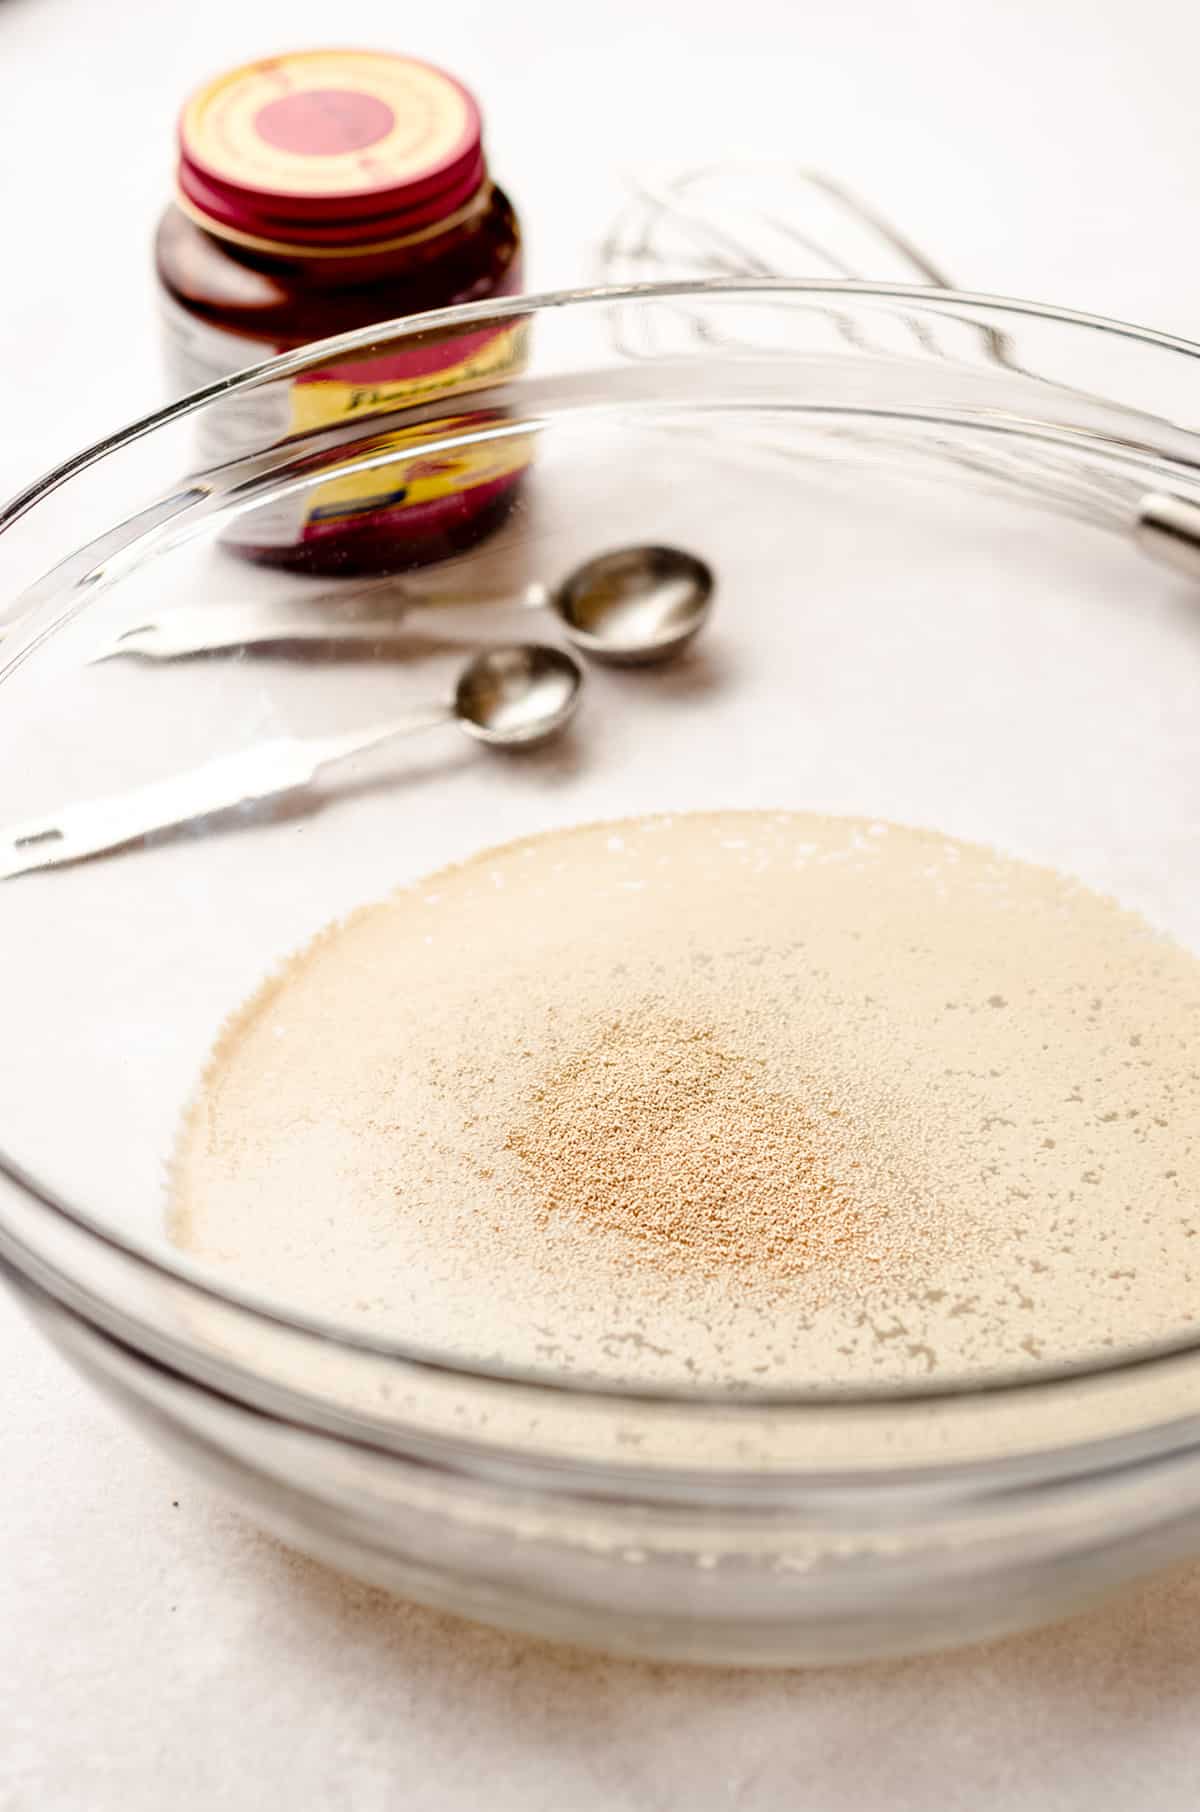
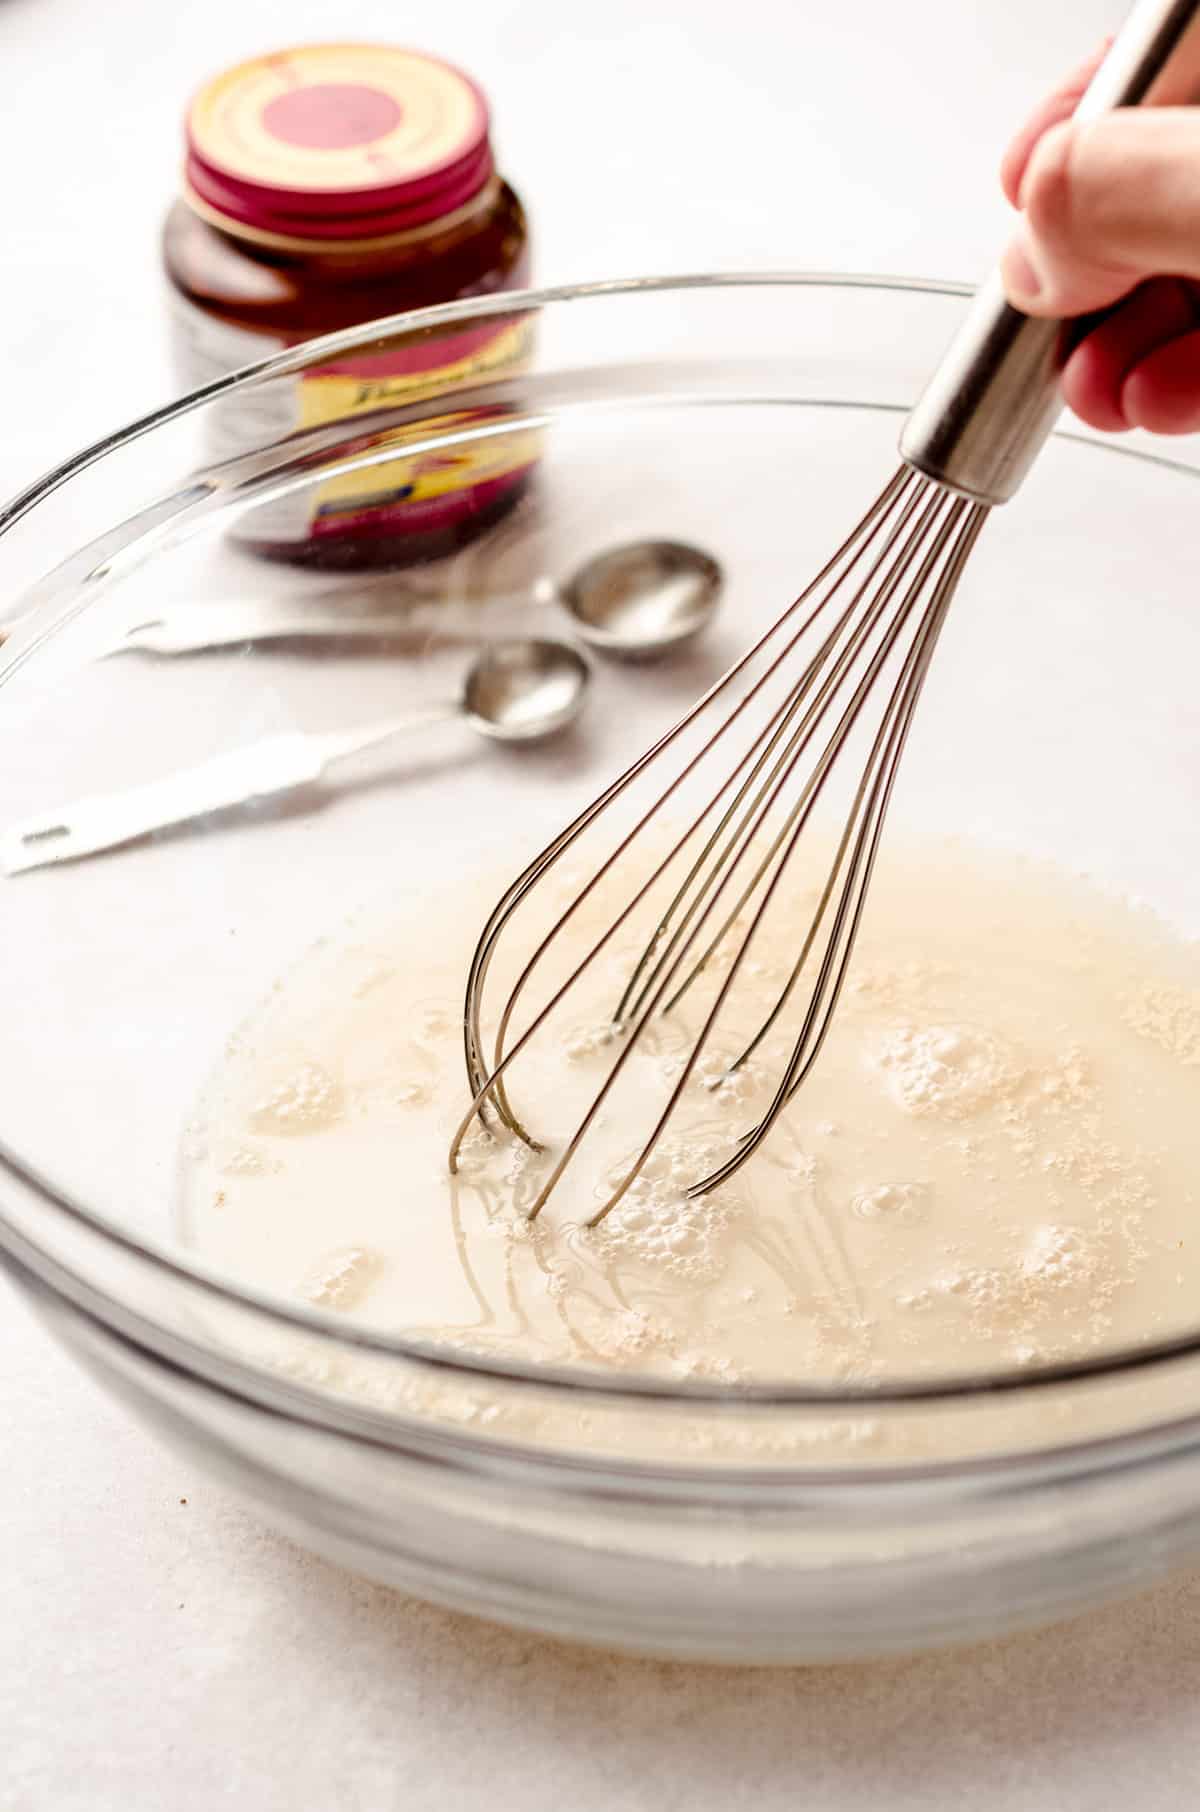
Just like any yeasted bread, you’ll start by proofing the yeast with some warm water.
We’re looking for water that is about 110ºF (45ºC). I like to use my instant read thermometer to check to make sure it’s where I want it to be, but if you don’t have one of those, just test the water with your wrist.
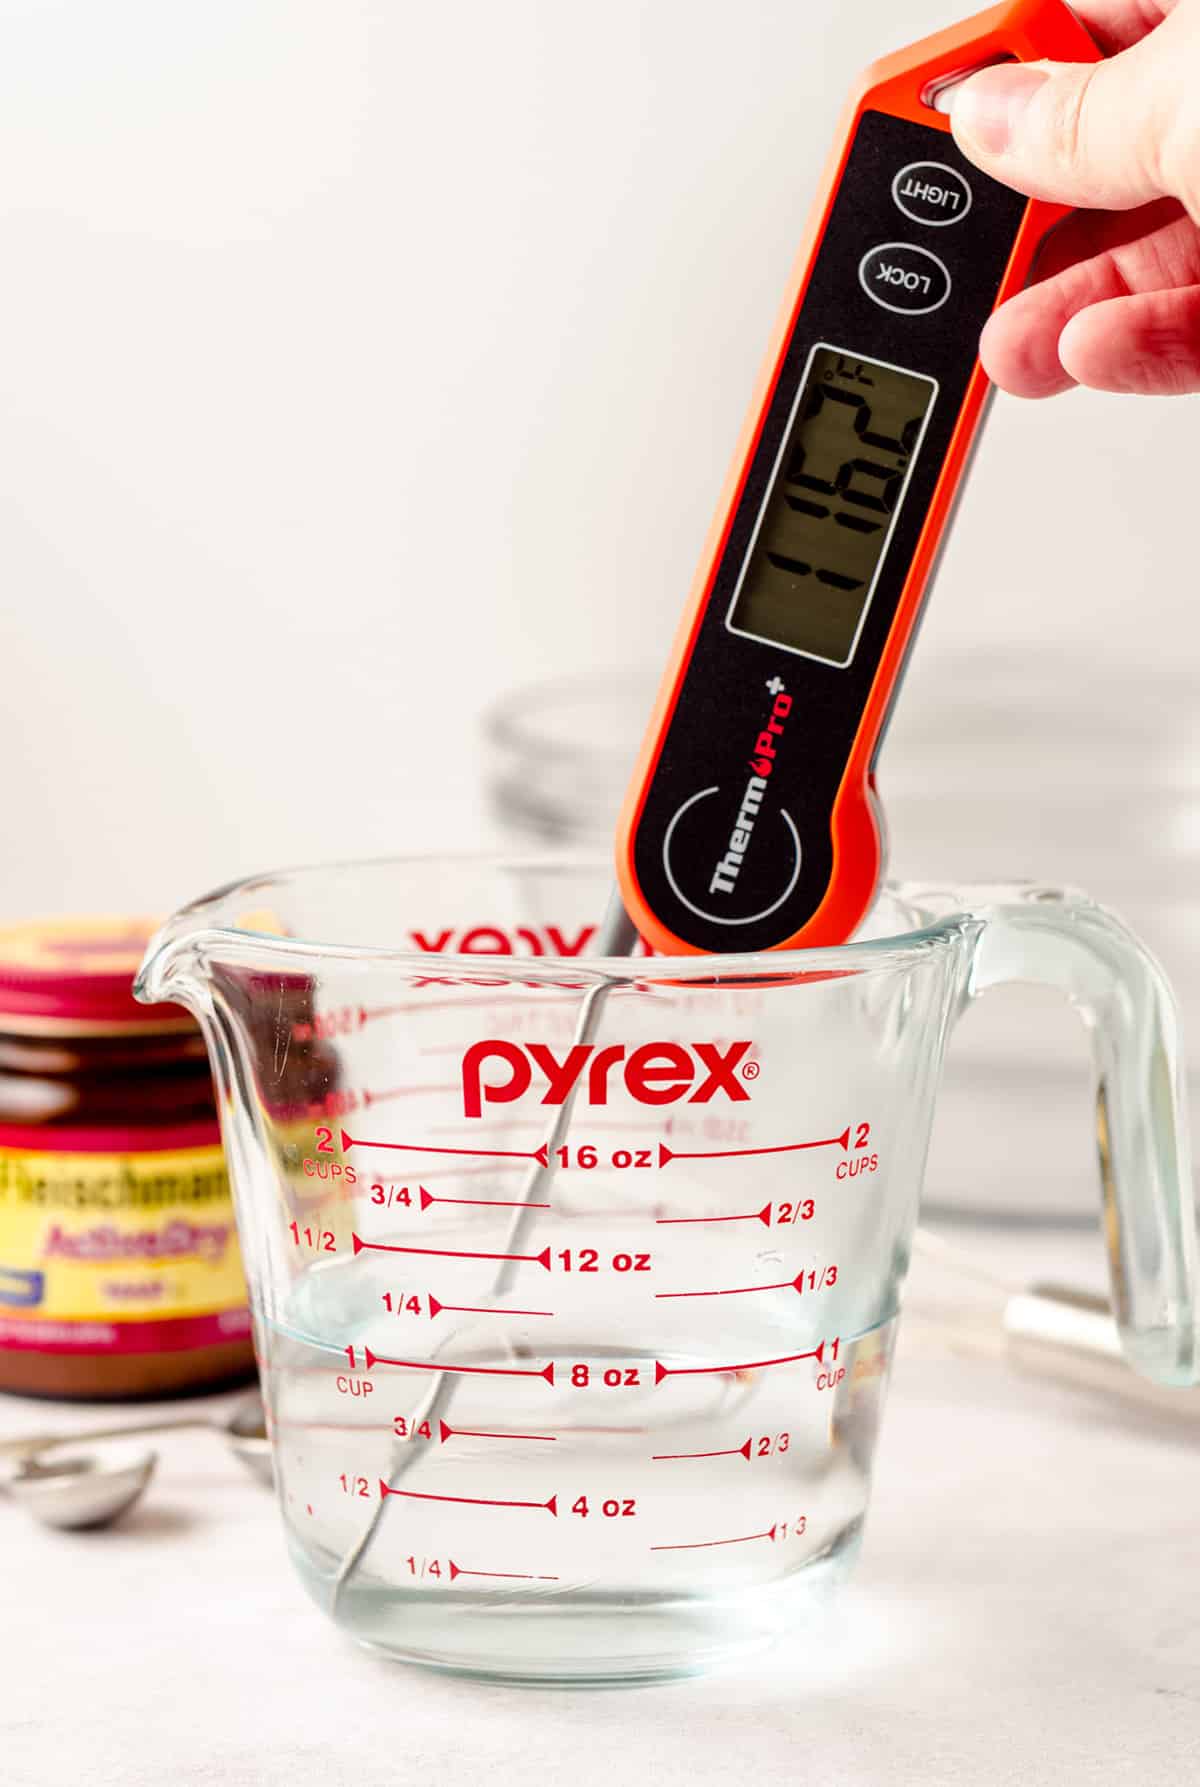
Put your wrist under the stream of water coming from the tap. If you can feel the temperature of the water (either cold or warm), it’s not quite right.
Adjust the temperature until the water feels about the same temperature as your wrist. Then you’re all set!
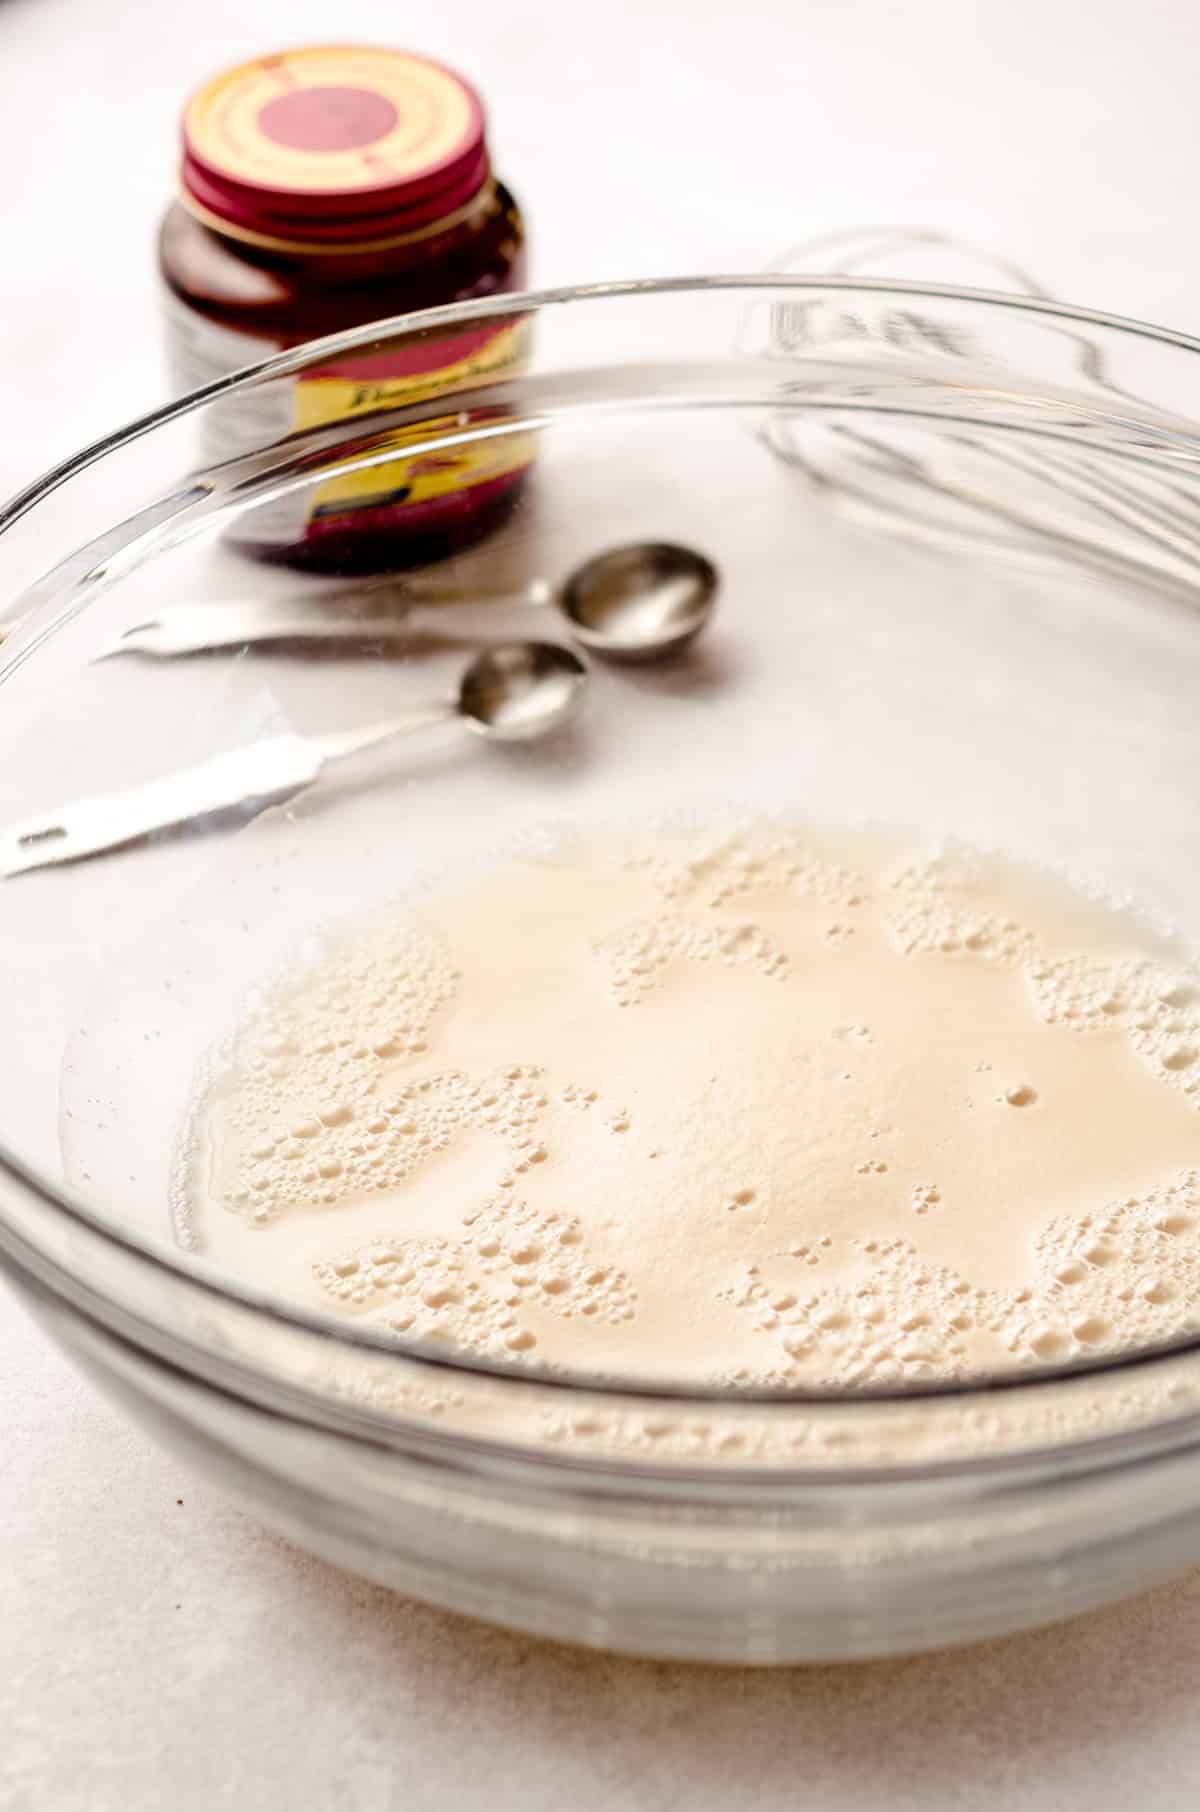
You’ll also add the sugar to the water with the yeast so it has something to start to feed on. Whisk that all together, and then let it rest and activate for about 5-10 minutes.
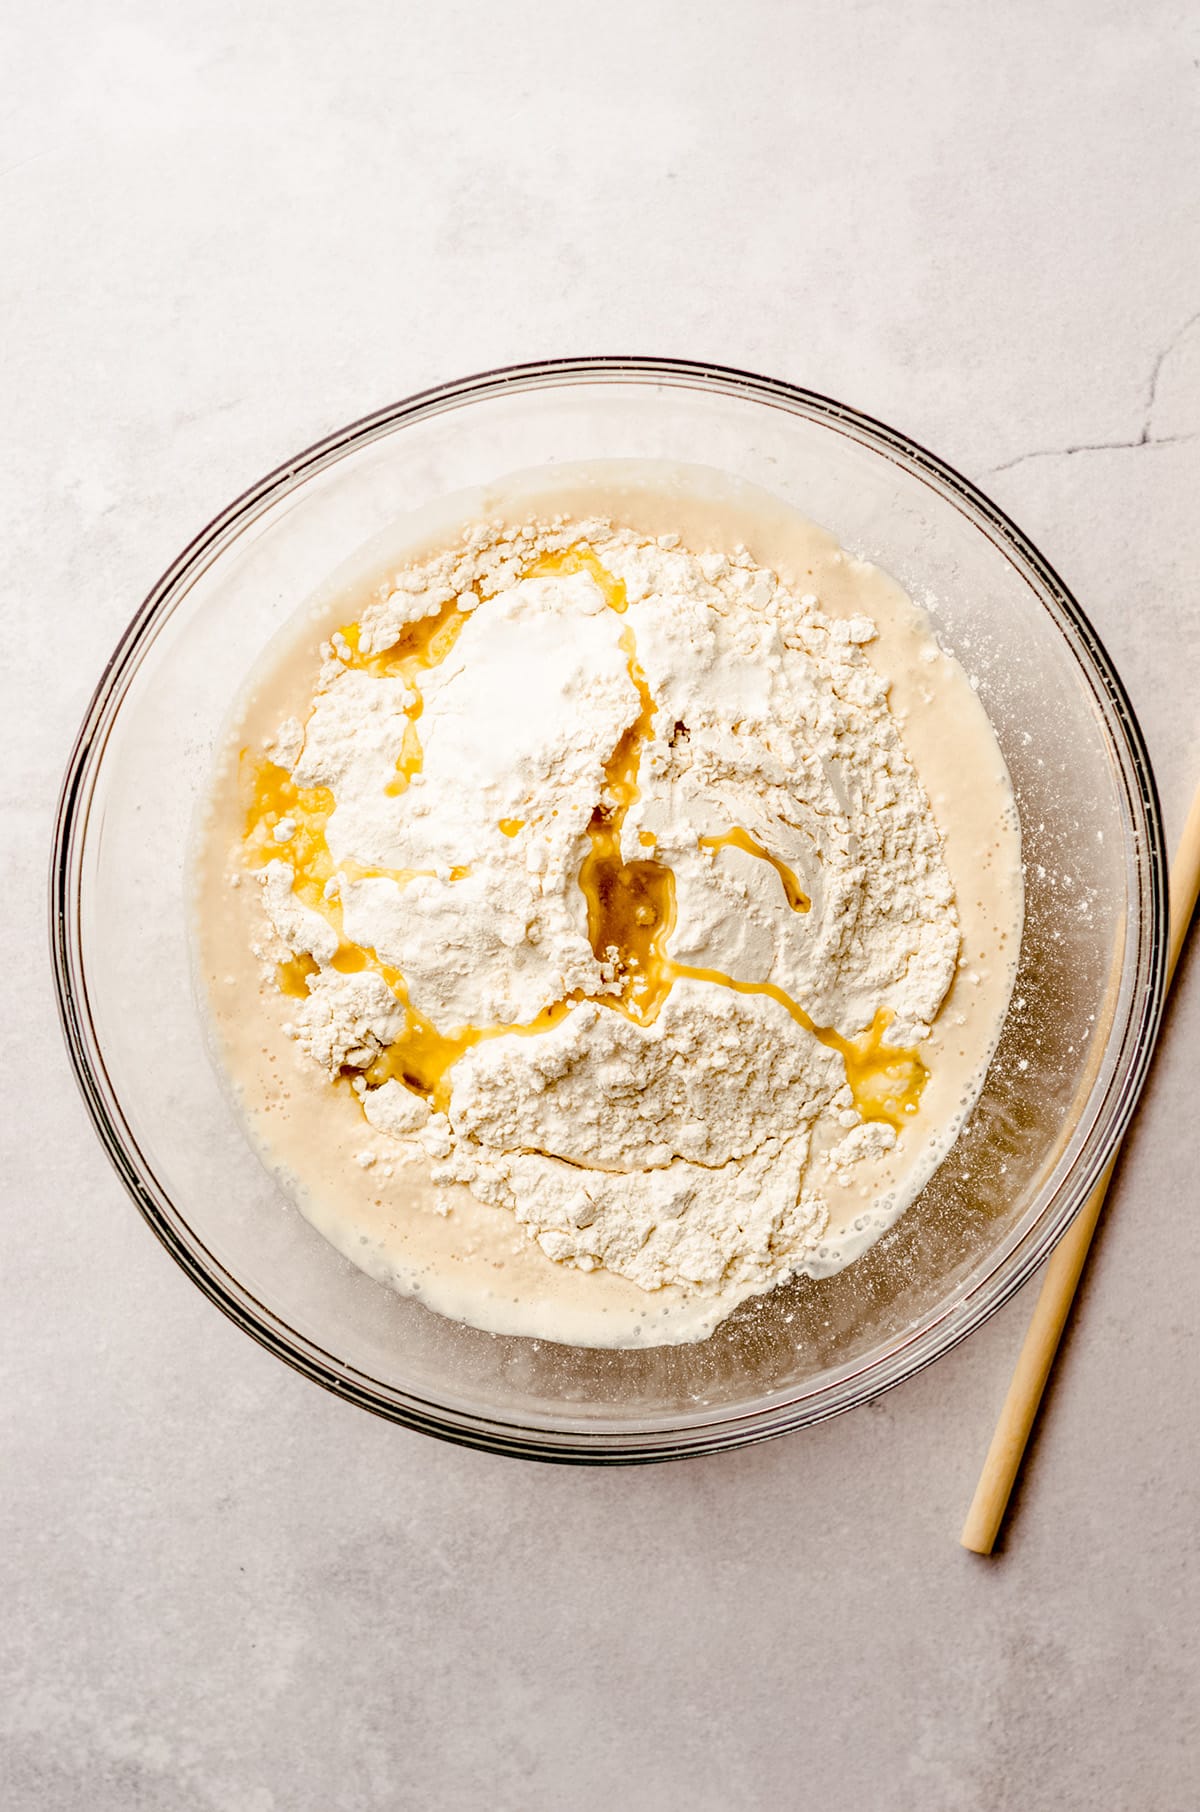
When your yeast is good and active, add the remaining ingredients, then stir it all together. You can also use your stand mixer with the dough hook attachment, but I much prefer using my hands to make yeast bread.
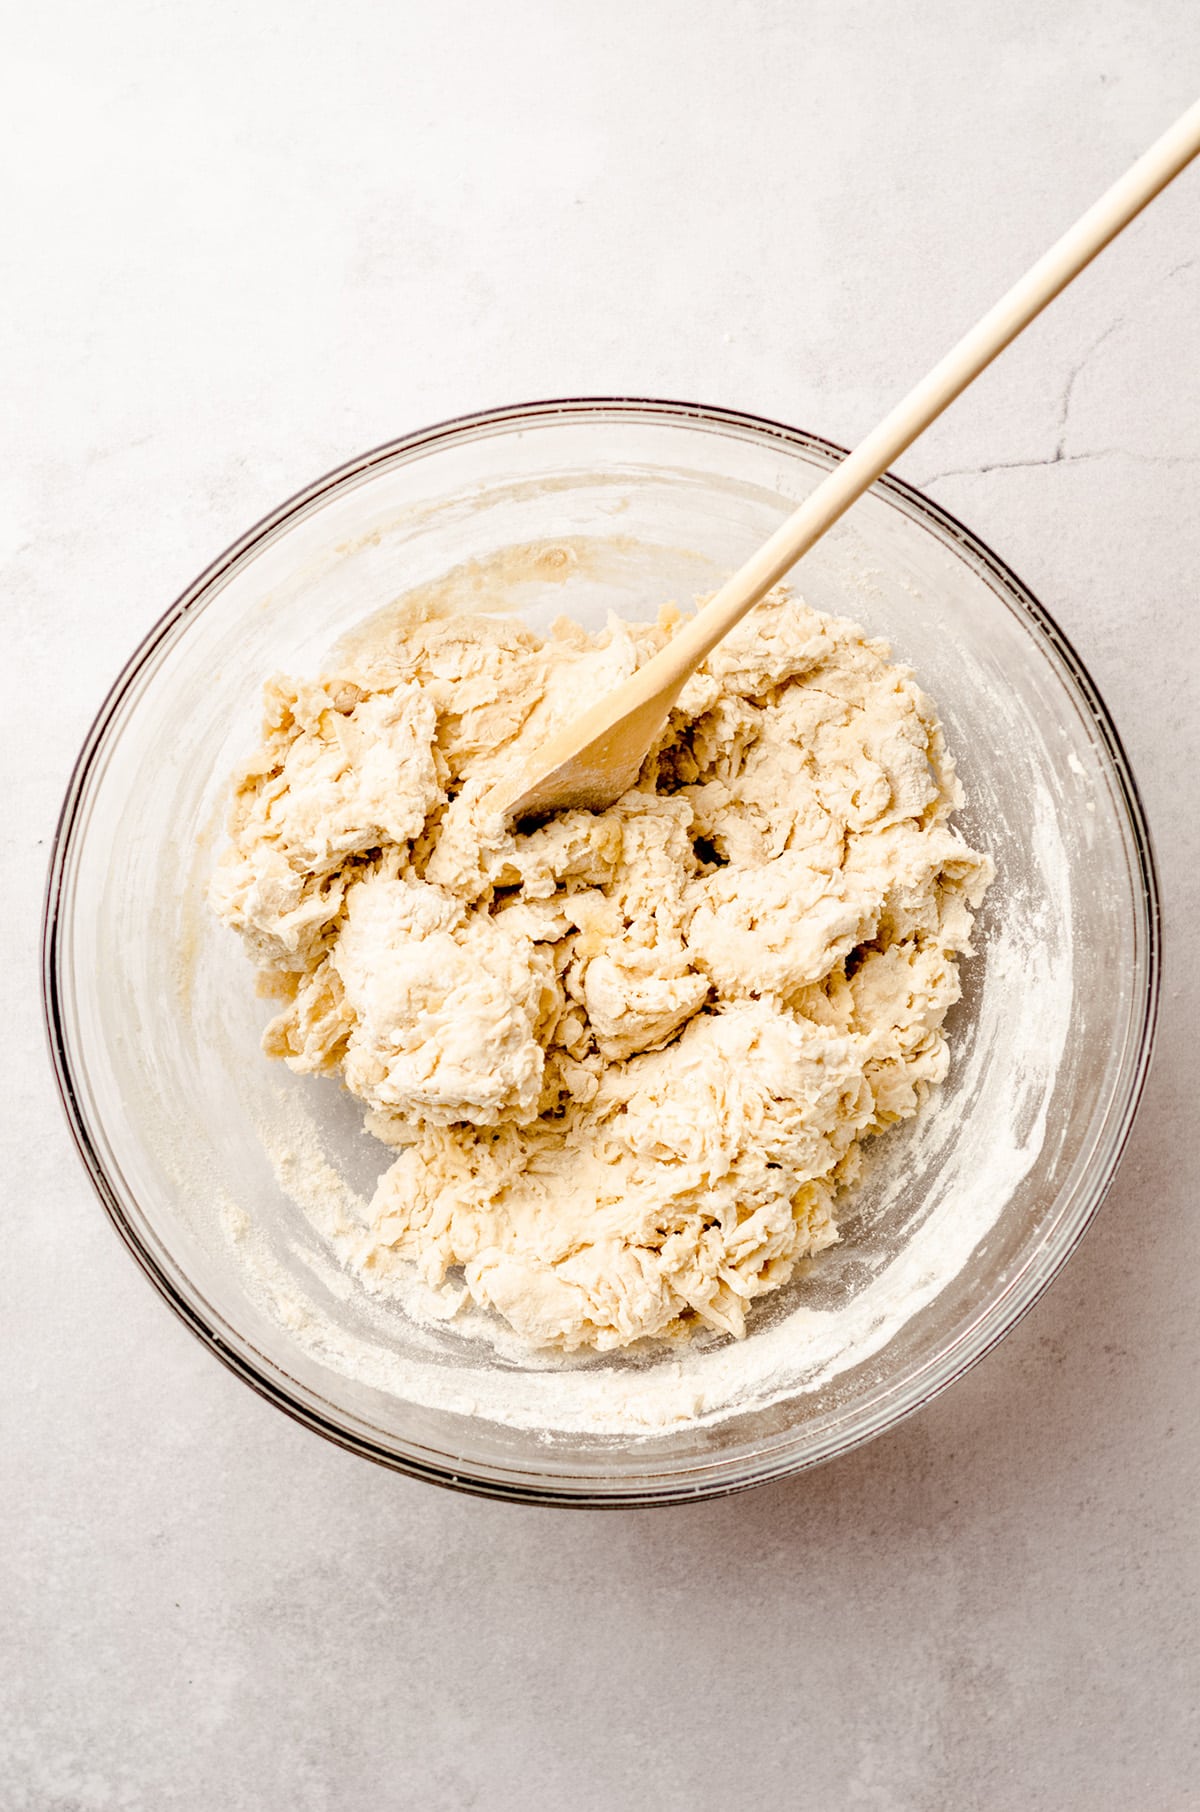
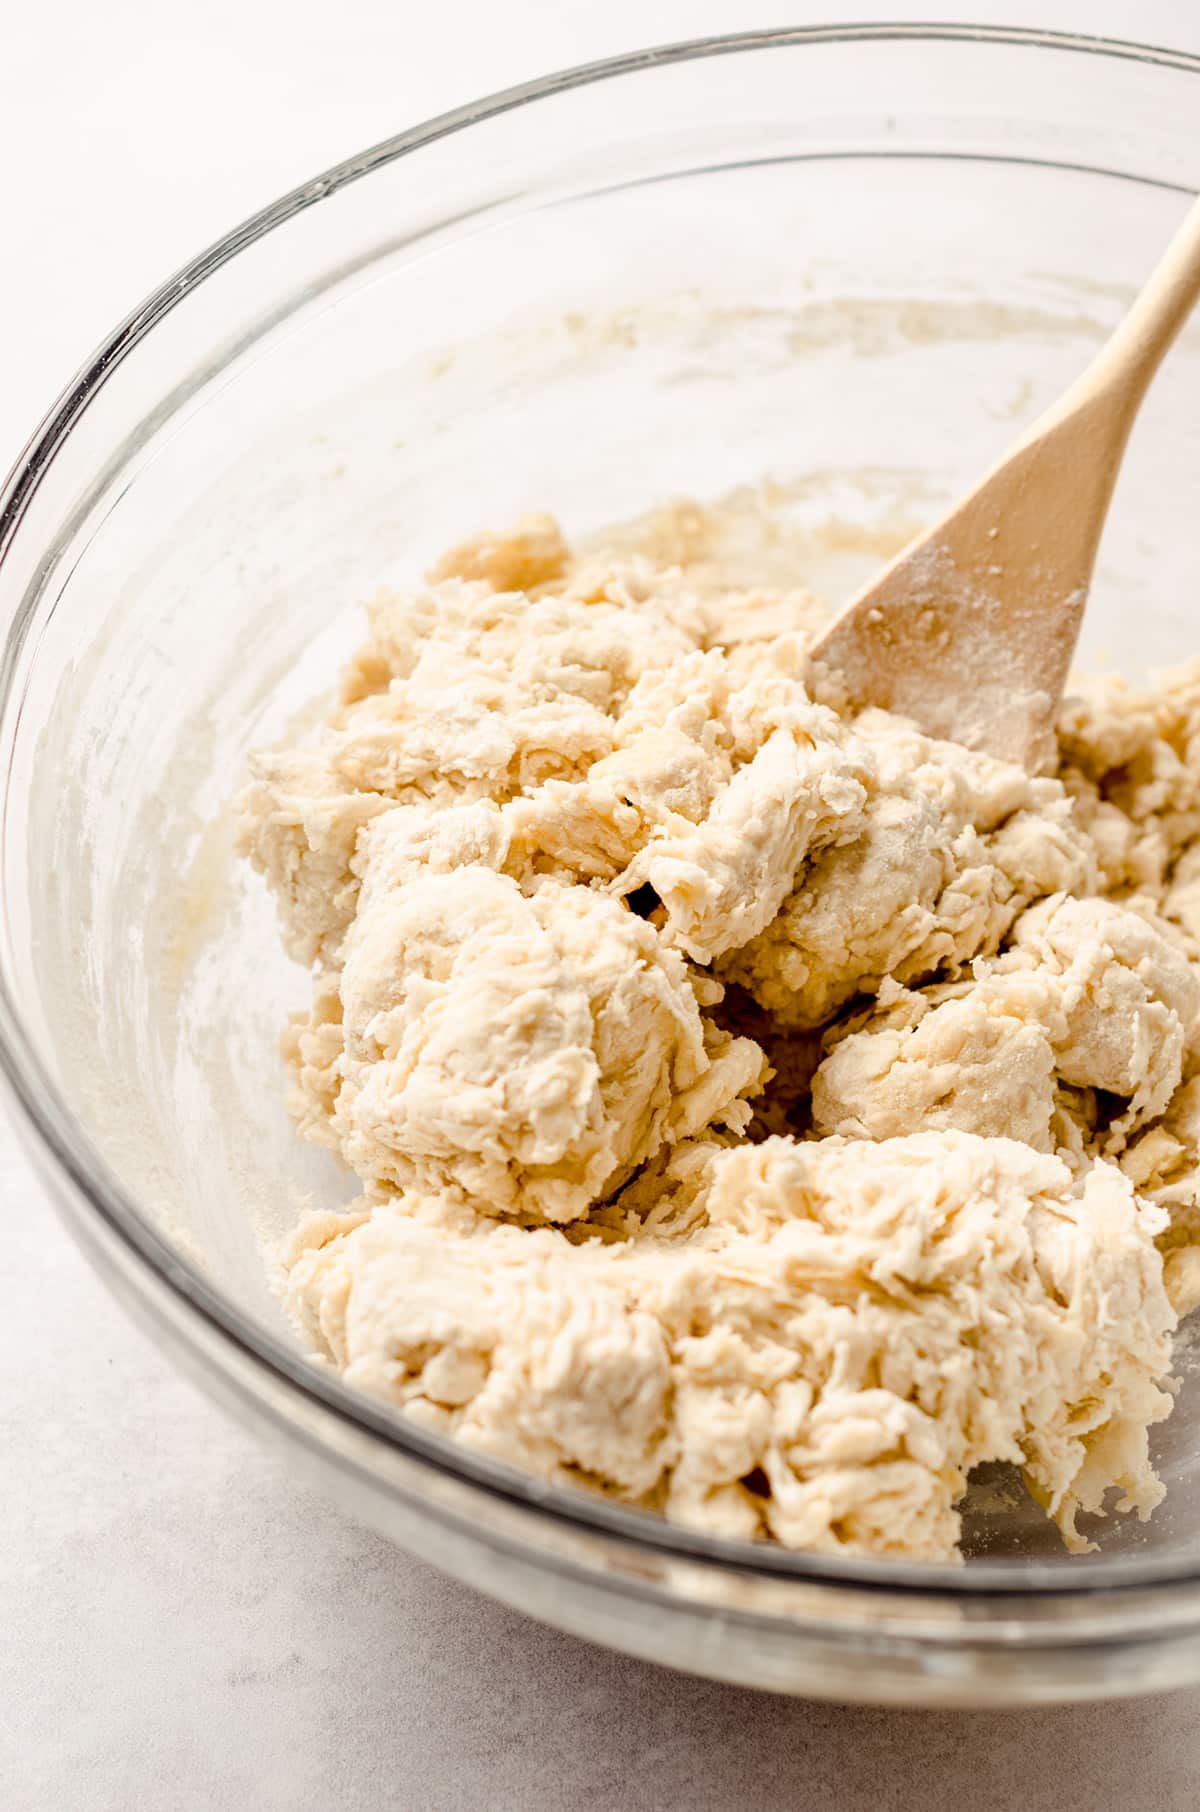
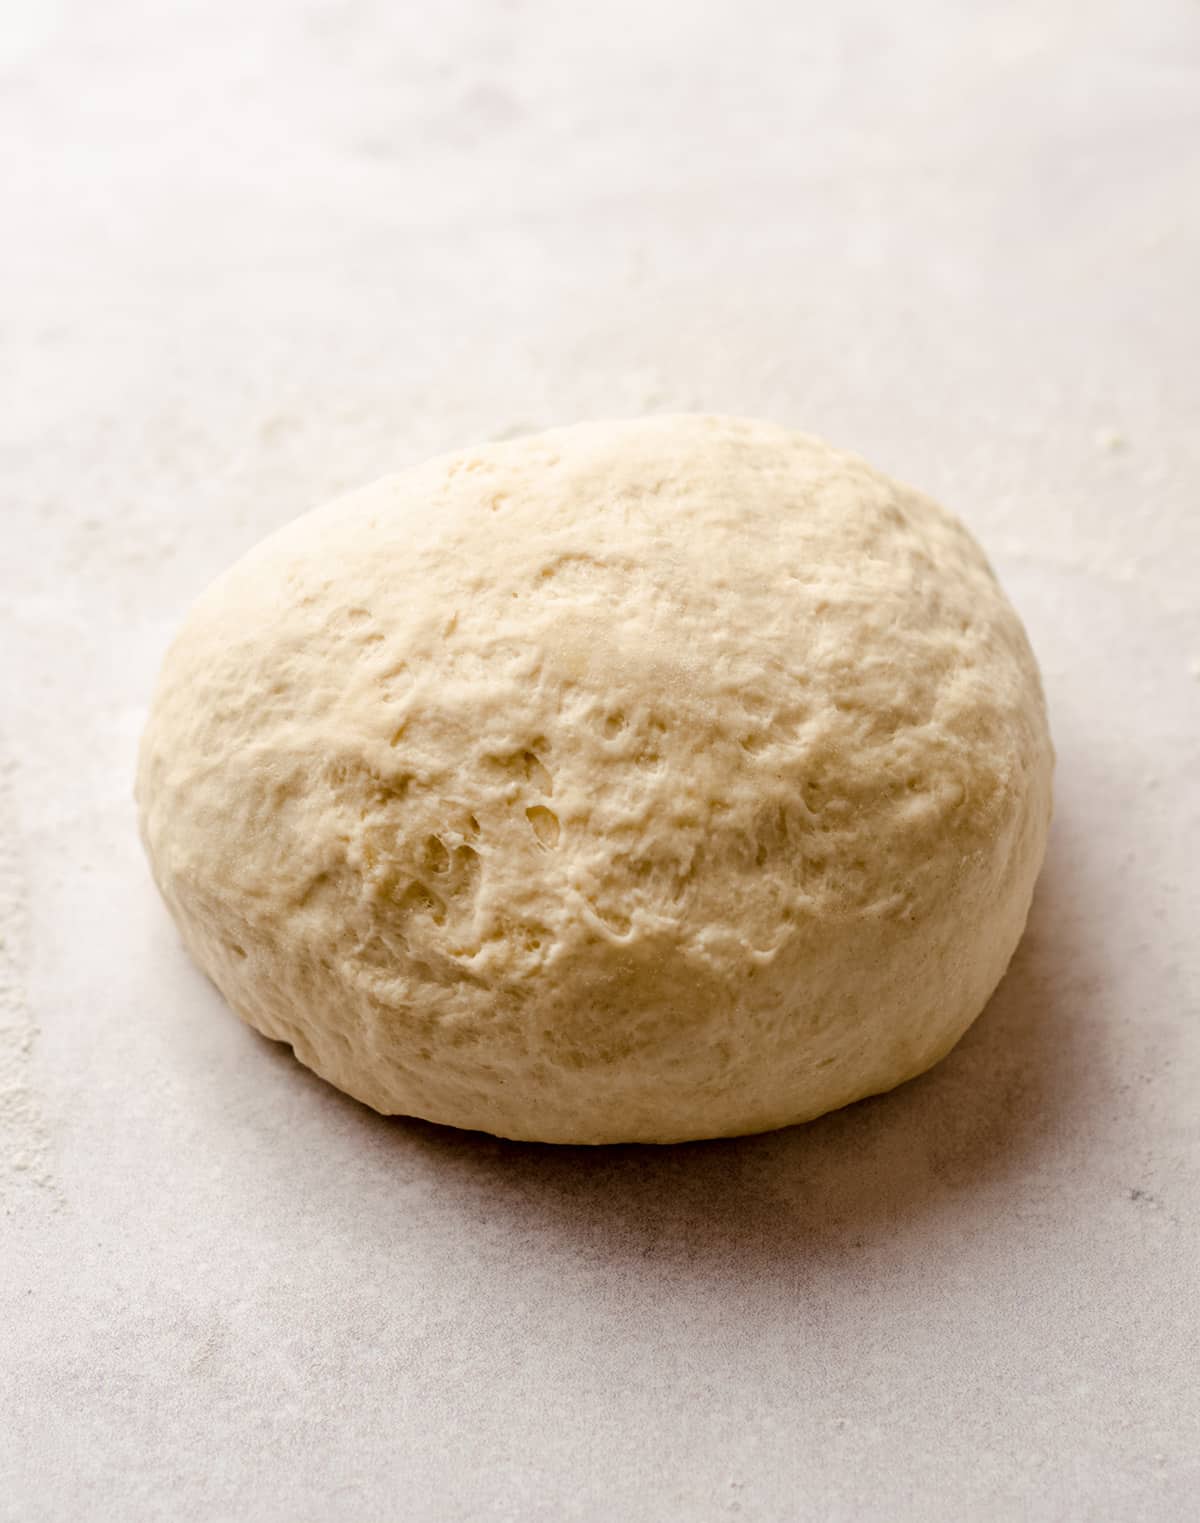
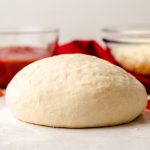
Once the dough starts to look shaggy, turn it out onto a floured surface and knead it for a few minutes until it is smooth. You don’t want it to be too sticky, but you do want it to have some stick. I like to equate it to the texture of PlayDoh.
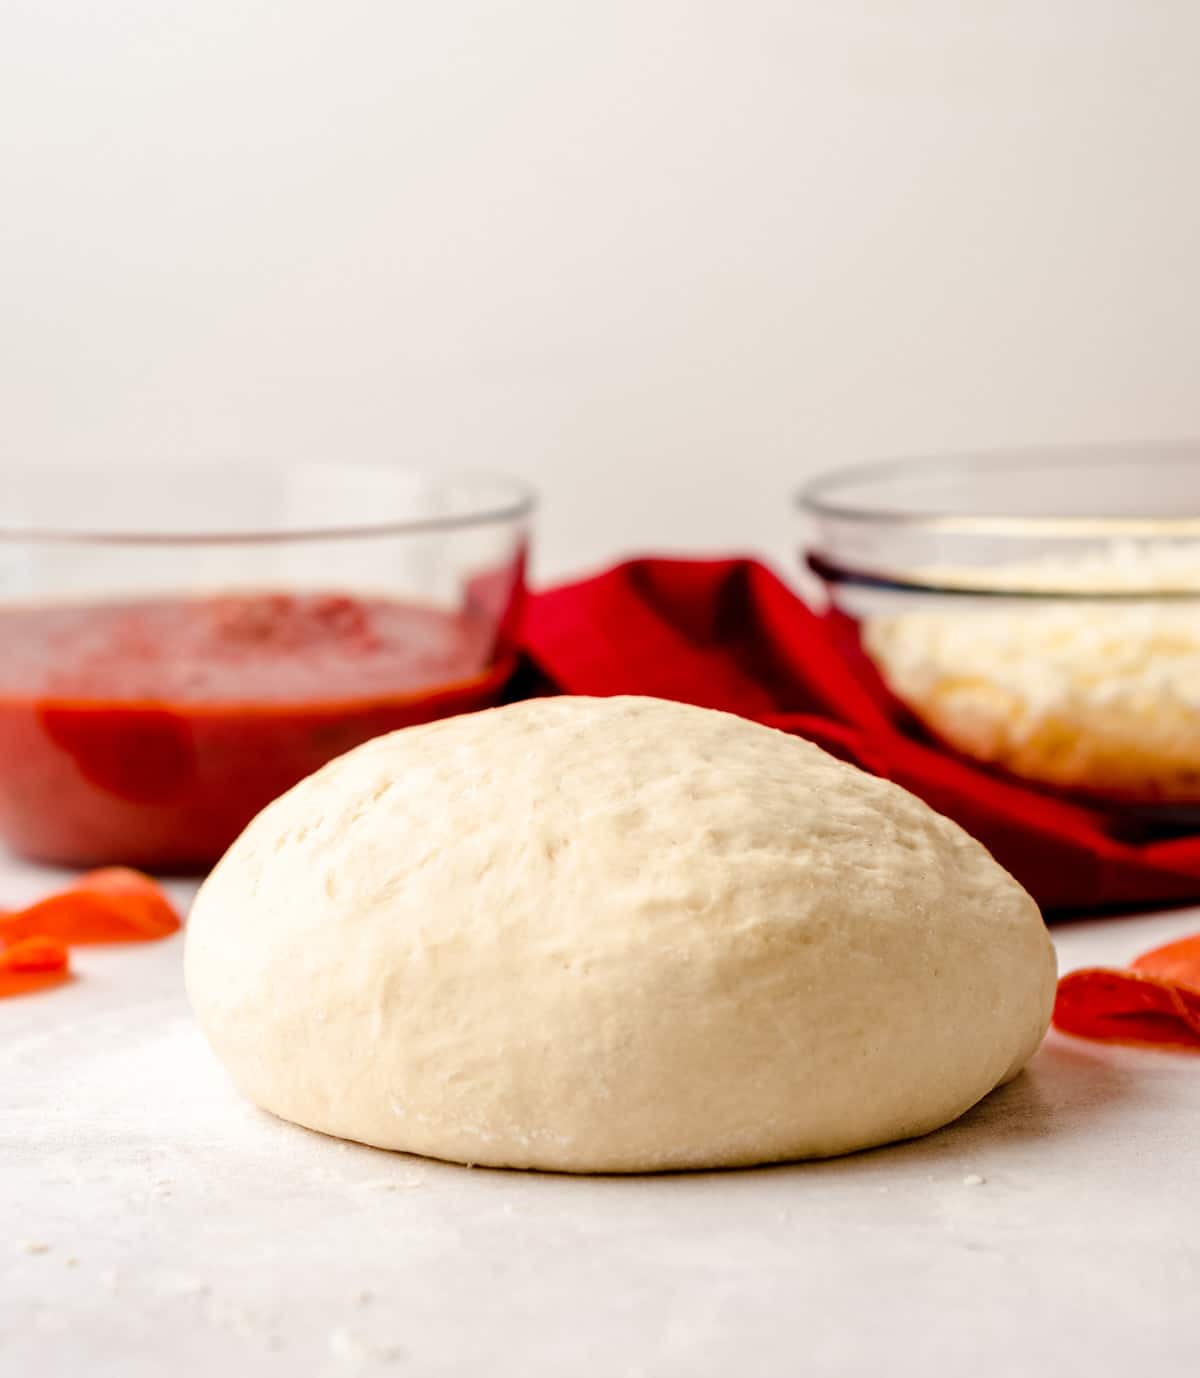
Once you’re happy with the texture of your pizza dough, allow it to rest for 10 minutes.
RESTING ALLOWS THE GLUTEN TO RELAX
While your pizza dough is resting, the gluten structure will also be resting and relaxing, which will allow you to shape it when it comes time to use it.
If you went right into shaping the dough before letting it rest, it would be hard to shape and would resist your pushing and shaping.
Resting also allows it to rise just enough to give it some lift. As I mentioned, we don’t need pizza dough to be as lifted as traditional yeast breads, but we do need it to have a bit in order to create that tender, chewy pizza crust texture we all love.

Easy Pizza Dough Recipe Variations
You can add whatever herbs and spices you wish to this pizza dough and of course, use whatever toppings you prefer when you turn it into one big pie!
Ways to Use This Easy Pizza Dough Recipe
When your homemade pizza dough is ready to use, you have a few options. You can use it right away, use it later, freeze it, pre-bake it to use it another time, or make a frozen pizza.
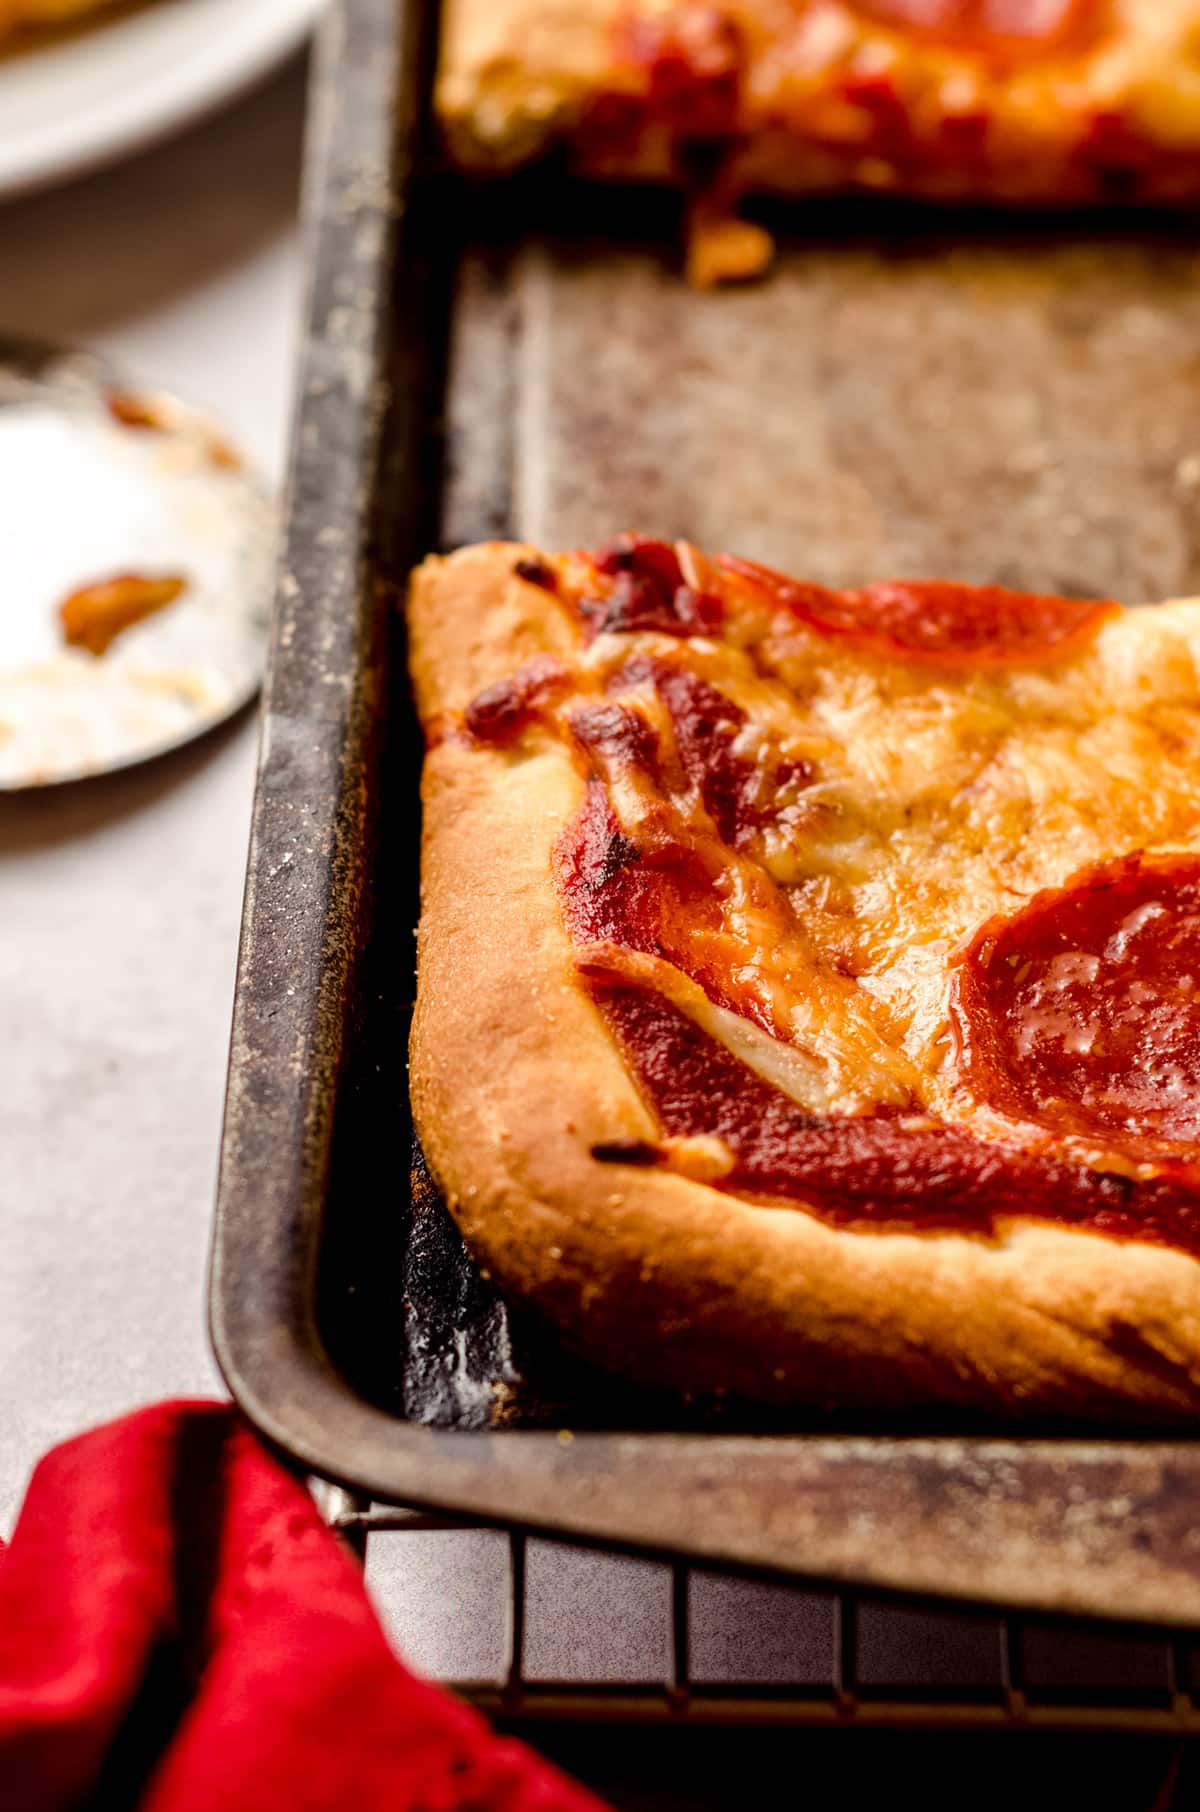
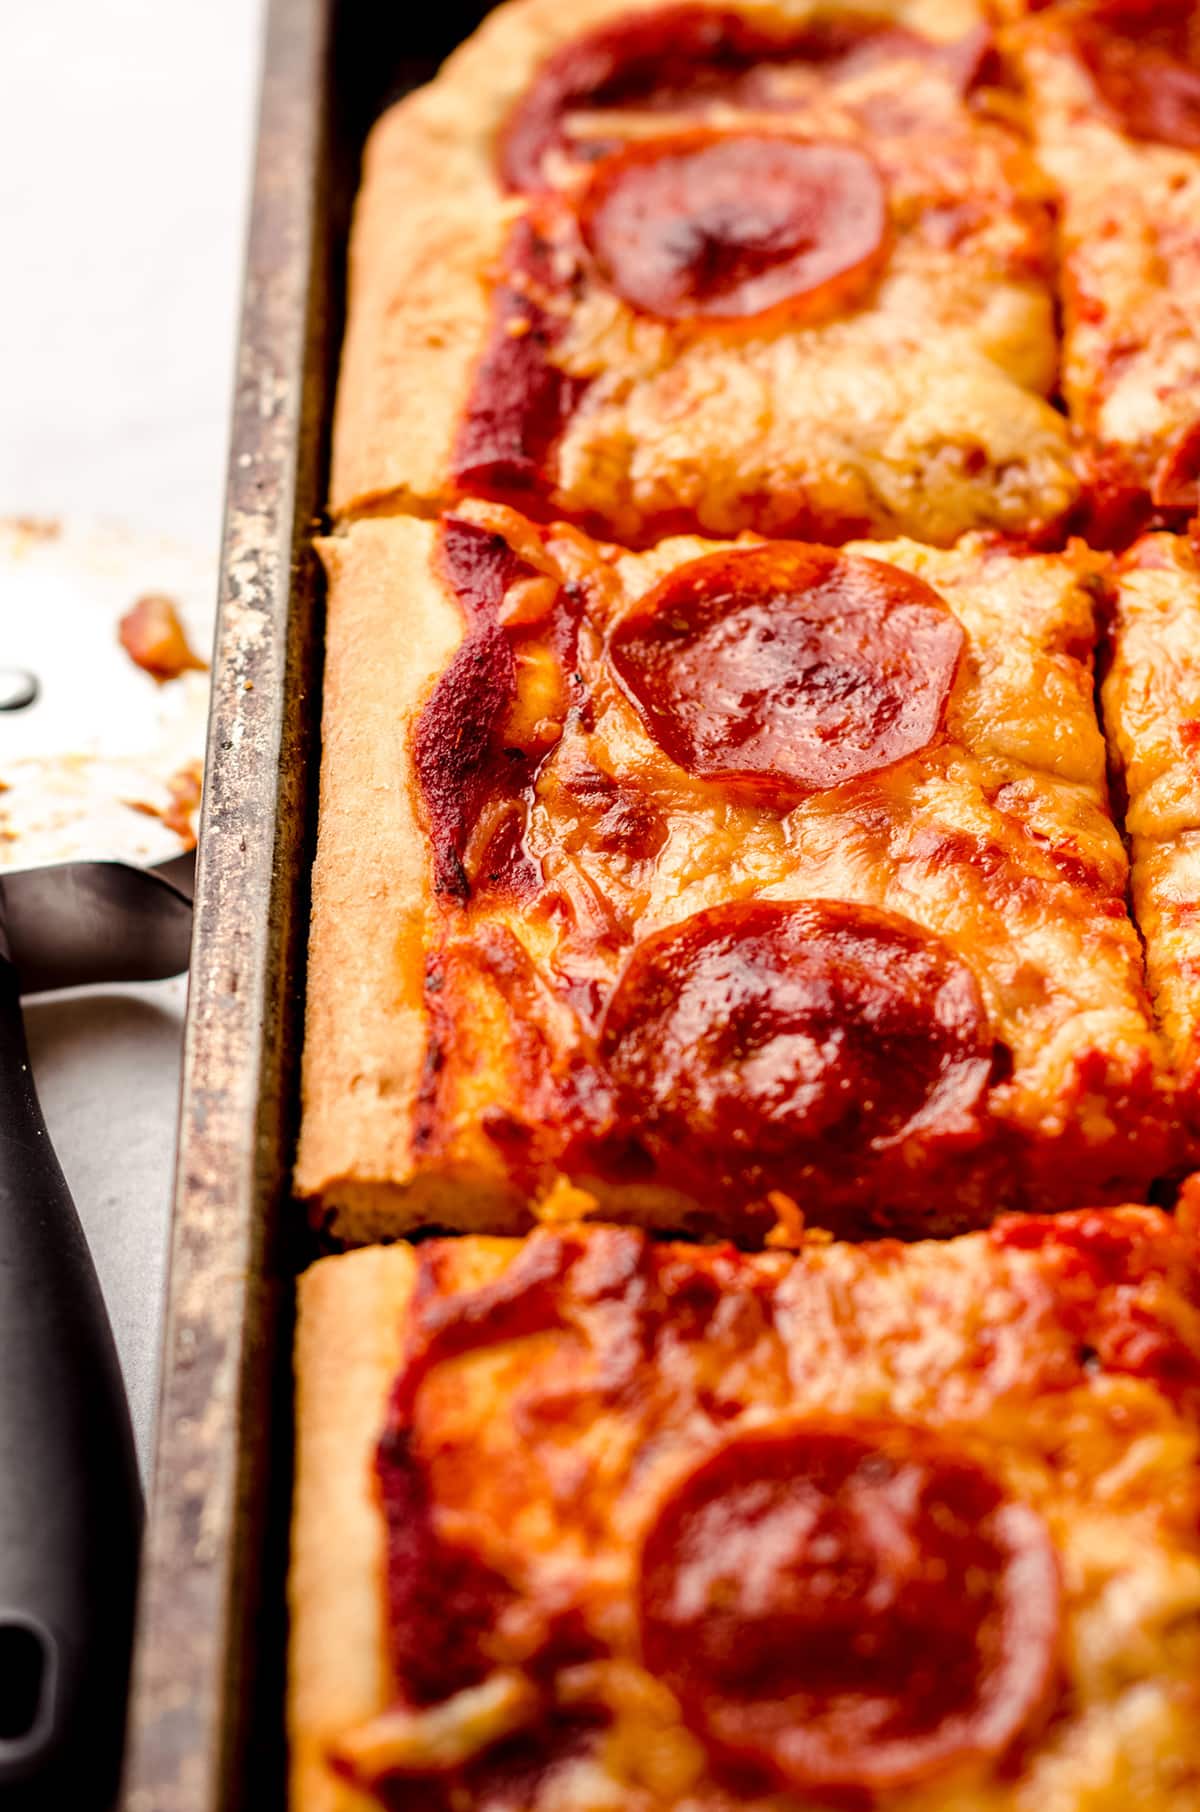
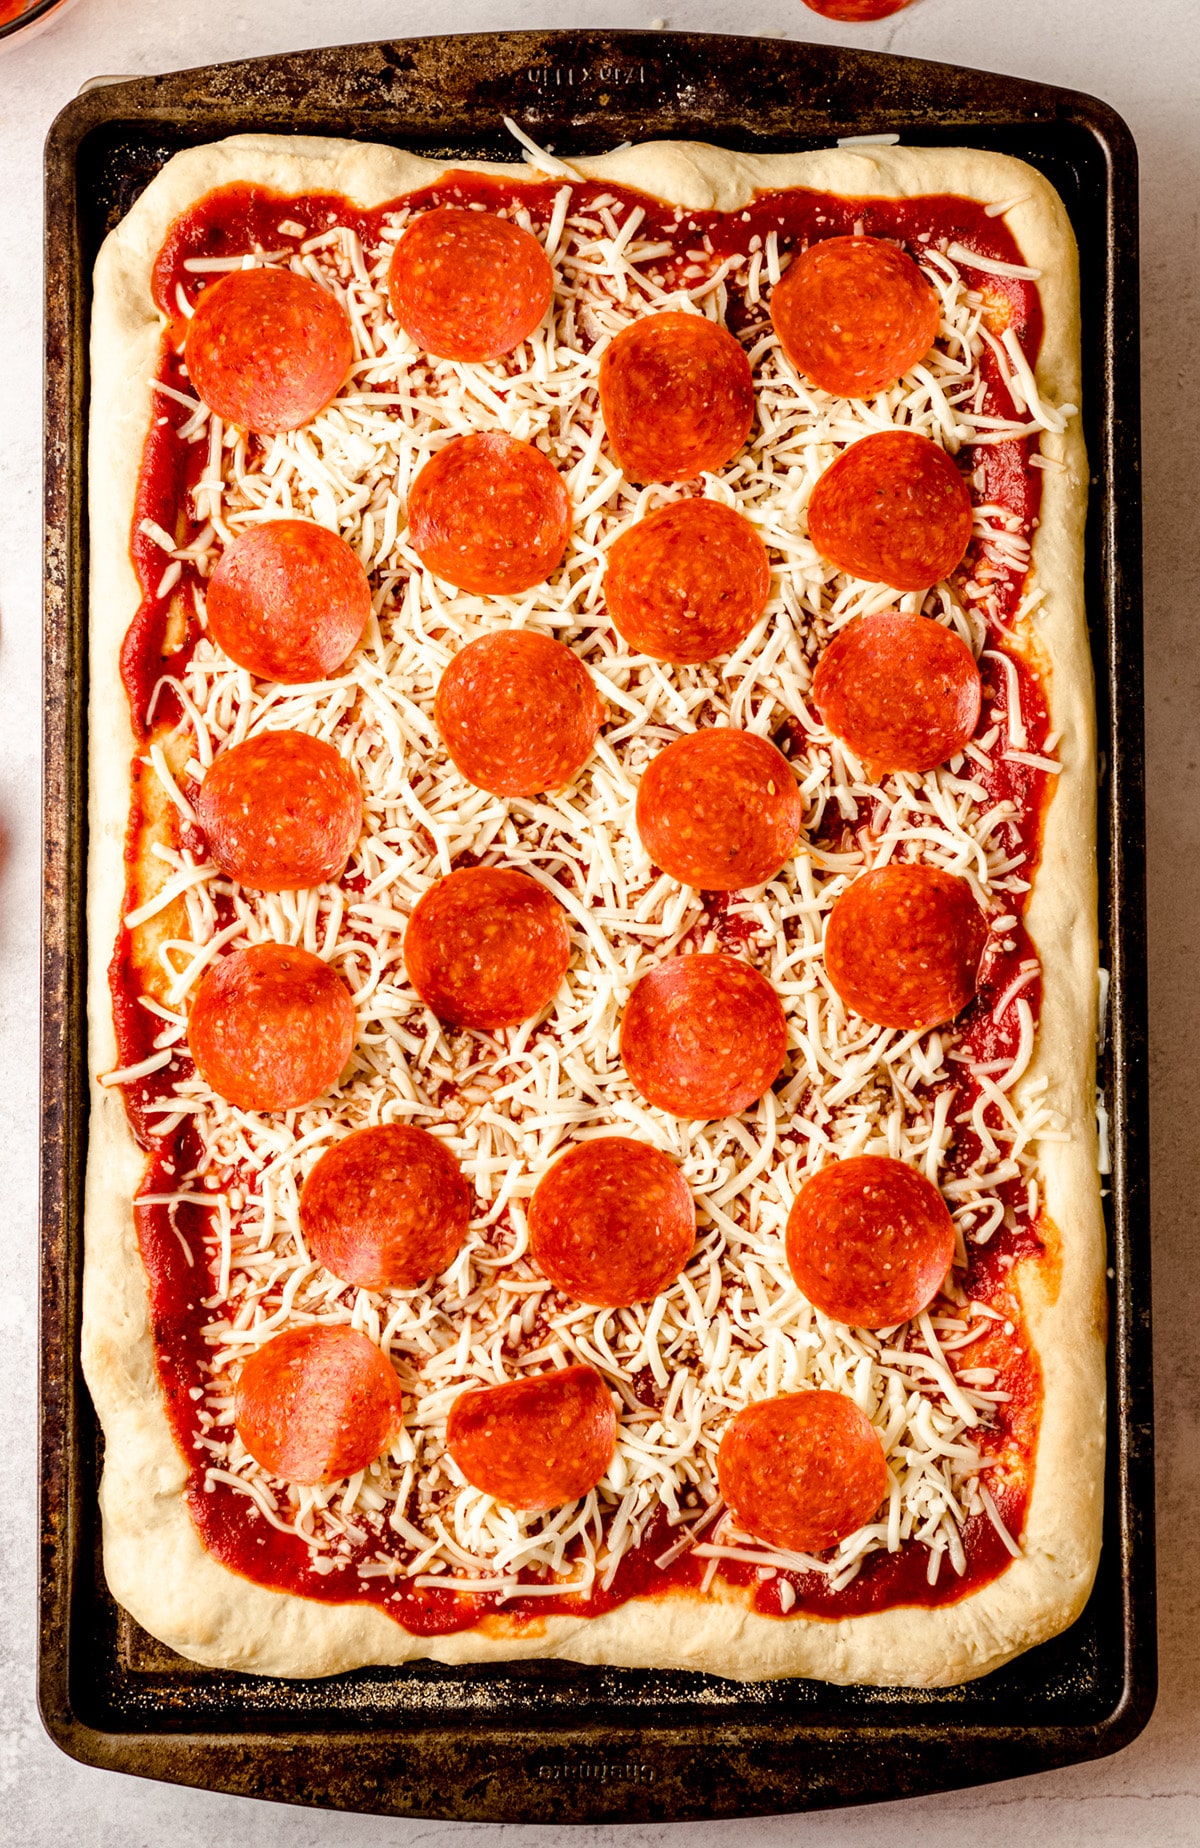
If you’re going to use it right away, I highly recommend using my sheet pan pizza recipe. So easy! Otherwise, choose your favorite method for making homemade pizza and enjoy!
USE RIGHT AWAY
If you’re going to use it right away, lightly dust a large sheet pan or pizza stone with cornmeal and set it aside.
Use your hands to pat and flatten the dough and start shaping it to the size of your sheet pan or pizza stone. Transfer the dough to the prepared sheet pan or pizza stone, then finish shaping it. If dough is too stretchy and not keeping its shape, allow to rest for 5 minutes then continue shaping.
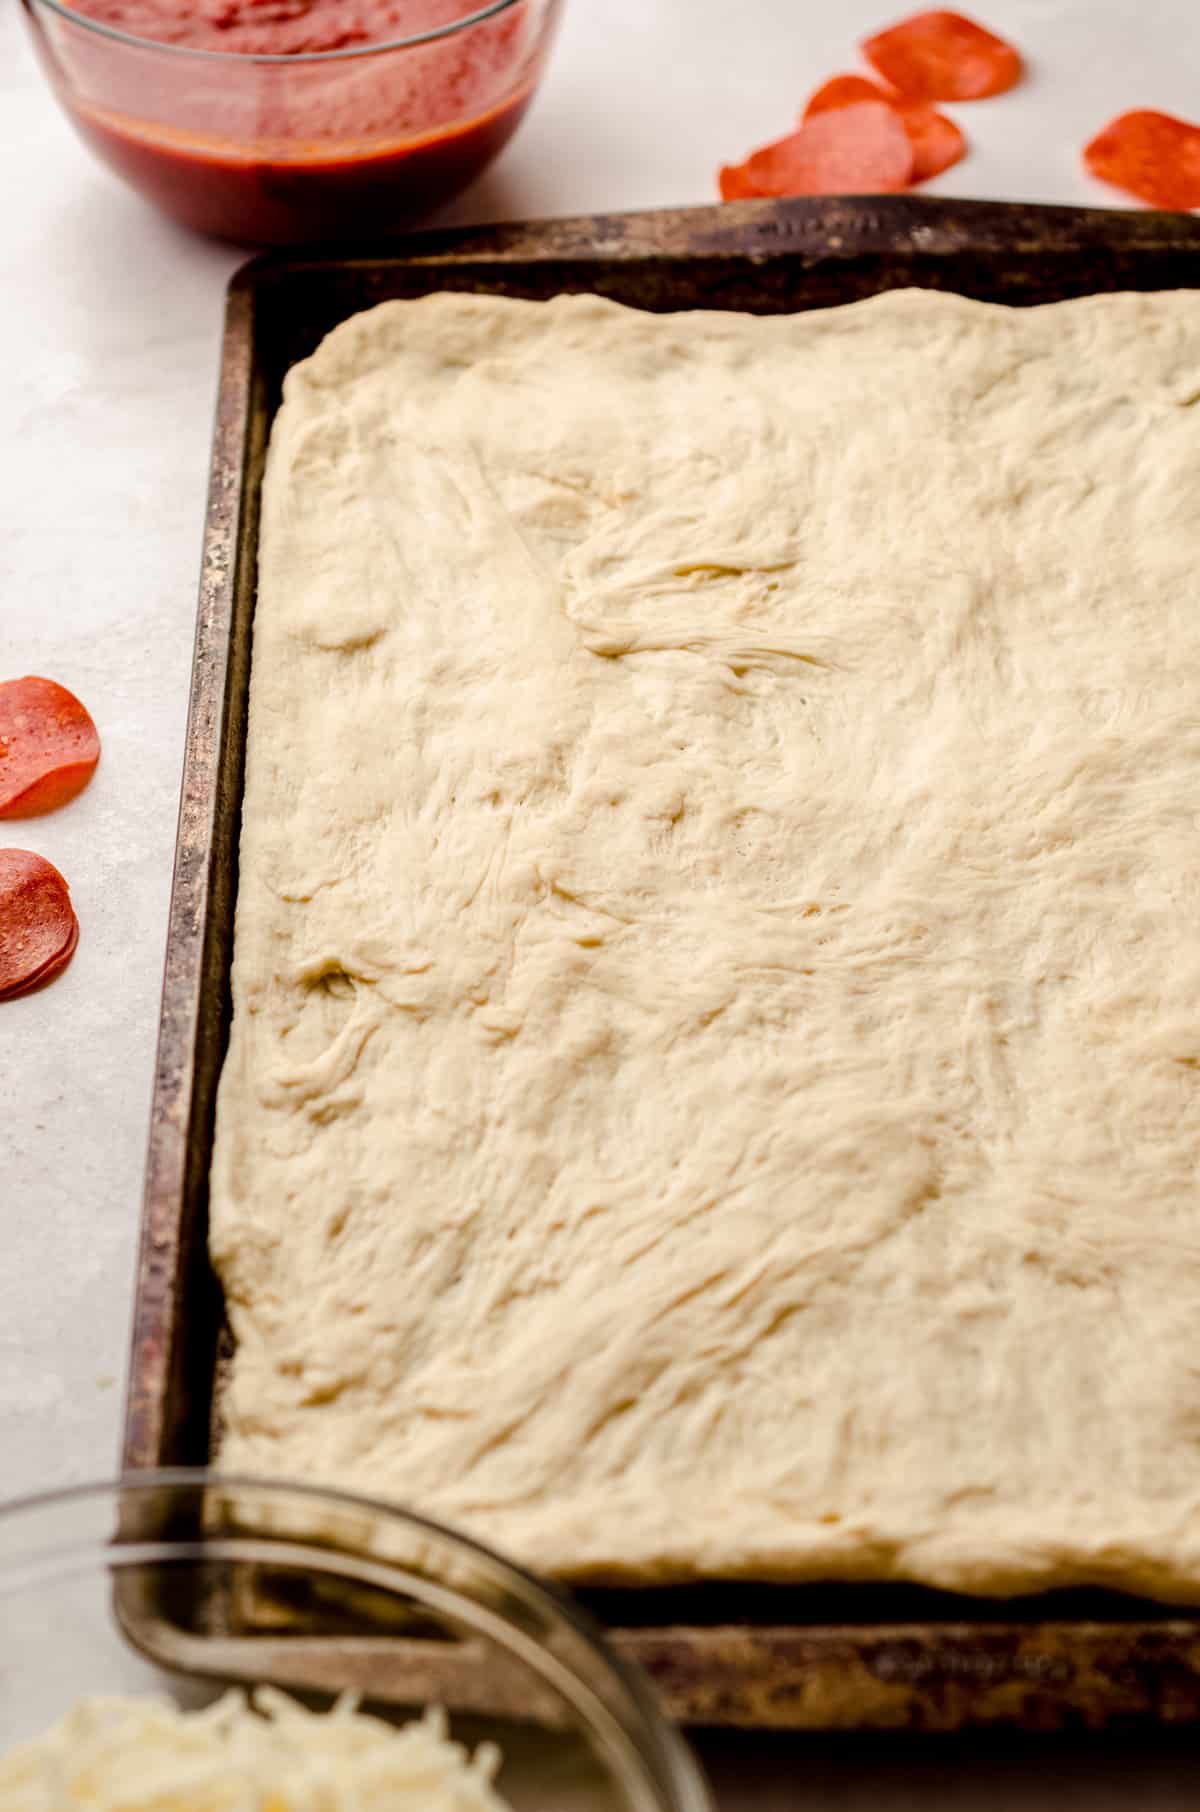
Score the dough with a fork, then place crust in the oven to pre-bake for 10 minutes.
Remove from the oven, score again, then spread sauce, cheese, and toppings as desired. Bake for an additional 15 minutes or until cheese has melted and crust is browned to your liking.
USE IT LATER
Store finished dough in a bowl covered tightly with a damp towel and plastic wrap. Keep it in the refrigerator up to 12 hours. Remove from refrigerator when you are ready to use and proceed with preheating the oven.
FREEZE IT
To freeze dough for pizza another time, wrap the ball of dough in plastic then place in an airtight container and freeze up to 2 months. Thaw in the refrigerator then proceed with your pizza recipe.
PRE-BAKE IT FOR ANOTHER TIME
Not quite ready to use your pizza dough but want to streamline the process on another day?
Simply follow my recipe through scoring and pre-baking the crust, then wrap tightly and freeze up to 2 months. Thaw in the refrigerator then proceed with your recipe.
MAKE A FROZEN PIZZA
I LOVE this idea, and it’s so much better than buying a frozen pizza from the grocery store.
Follow my recipe through almost the entire recipe, stopping before the final bake. Freeze your topped pizza on a sheet pan or pizza stone until hard, then wrap tightly and freeze up to 2 months. Bake frozen for 16-18 minutes.
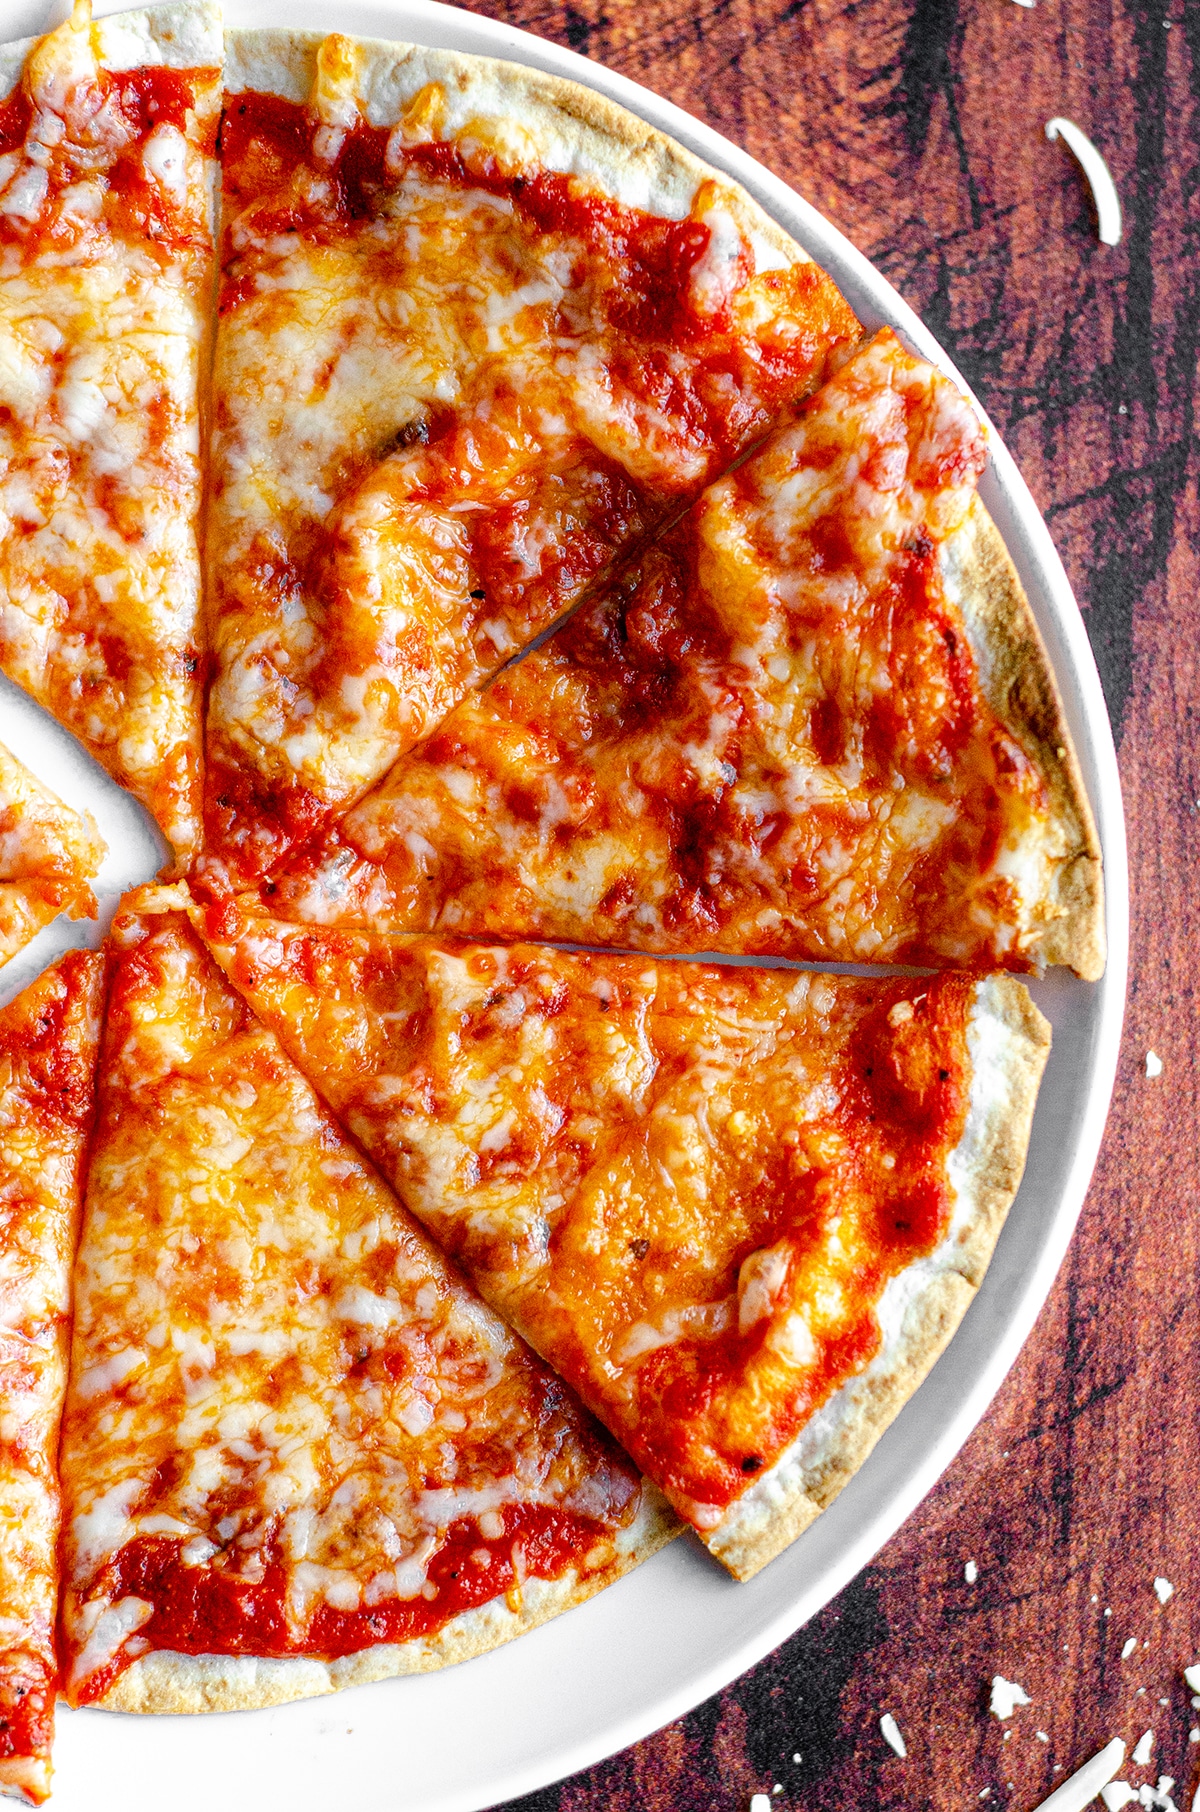
USE HOMEMADE PIZZA DOUGH FOR INDIVIDUAL PIZZAS
The best part about this recipe of pizza dough? You can split it into up to 6 pieces to make individual personal pizzas. Just follow the recipe as written, pre-baking for 5 minutes, then final baking for 5-8 minutes or brown to your liking.

Don’t forget to grab my homemade pizza recipe (made on a baking sheet– so simple!) or use your favorite toppings to create your best Friday night treat!
Homemade Pizza Dough Recipe
Ingredients
- 1 cup (240mL) warm water about 110ªF (45ºC)
- 2 and ¼ teaspoon (7g) dry active yeast or one package
- 1 Tablespoon (12g) granulated sugar
- 3 cups (360g) all-purpose flour
- 2 Tablespoons (30mL) olive oil
- 1 teaspoon salt
- cornmeal as needed
Instructions
- In a large mixing bowl, whisk together the warm water, yeast, and sugar until combined. Set aside and allow yeast to activate for 5-10 minutes.1 cup (240mL) warm water, 2 and ¼ teaspoon (7g) dry active yeast, 1 Tablespoon (12g) granulated sugar
- When yeast is active and foamy, add the flour, olive oil, and salt. Stir with a large spatula or wooden spoon until dough starts to come together, looks shaggy, and is no longer wet.3 cups (360g) all-purpose flour, 2 Tablespoons (30mL) olive oil, 1 teaspoon salt
- Turn dough out onto a lightly floured surface and knead the dough until it is smooth. Dust with more flour and knead into dough if it is too sticky, about ½ Tablespoon at a time. Allow pizza dough to rest for 10 minutes.
- Place an oven rack at the lowest position. Preheat oven to 450ºF (232ºC).
- Lightly dust a large sheet pan (13" x 18") or pizza stone with cornmeal. Set aside.cornmeal
- Use your hands to pat and flatten the dough and start shaping it to the size of your sheet pan or pizza stone. Transfer the dough to the prepared sheet pan or pizza stone, then finish shaping it. If dough is too stretchy and not keeping its shape, allow to rest for 5 minutes then continue shaping.
- Score the dough with a fork, then place crust in the oven to pre-bake for 10 minutes. Remove from the oven, score again, then spread sauce, cheese, and toppings as desired. Bake for an additional 15 minutes or until cheese has melted and crust is browned to your liking. You can also use this recipe with my sheet pan pizza.
Notes
- To make ahead: store finished dough in a bowl covered tightly with a damp towel and plastic wrap. Keep it in the refrigerator up to 12 hours. Remove from refrigerator when you are ready to use and proceed with step 4.
- To freeze this dough: wrap ball of dough in plastic then place in an airtight container and freeze up to 2 months. Thaw in the refrigerator.
- To freeze a pre-baked crust: follow the recipe through the first part of step 7. Wrap tightly and freeze up to 2 months. Thaw in the refrigerator then proceed with your recipe.
- To make a frozen pizza: follow the recipe through almost the entire recipe, stopping before the final bake. Freeze on sheet pan or pizza stone until hard, then wrap tightly and freeze up to 2 months. Bake frozen for 16-18 minutes.
- To make individual pizzas: split this pizza dough into up to 6 pieces to make personal pizzas. Follow the recipe as written, pre-baking for 5 minutes, then final baking for 5-8 minutes or brown to your liking.
Nutrition Disclosure
All nutritional values are approximate and provided to the reader as a courtesy. Changing ingredients and/or quantities will alter the estimated nutritional calculations.
This was so easy and worked great for our Friday night pizza bar! We made 4 personal pizzas out of it and everyone picked their own toppings. It was a fun new way to do our favorite tradition! Thanks for the recipe.
I love this! Thanks, Ashley!
Really simple and I love that I didn’t have to let it rise. We made your sheet pan pizza and added pepperoni and sausage crumbles.
Awesome, Nattalie! Thanks so much 🙂
Highly recommend for anyone who is intimidated by yeast… that’s me! Super easy to follow directions, came out great. Lifesaver on a Friday night.
Thank you so much, Emily! I’m so glad to hear this 🙂
LOVED IT. Was really simple to make and the leftovers crisped up in the toaster oven beautifully just like you said. Thanks!
Thanks so much, Monica!
If using a 17×11 sheet pan.. how much more would bake time vary?
Hi, Miranda– probably not much different. Let me know how it works out!
Your recipe for pizza dough sounds good and easy. I’m wondering about trying to cook it using the BBQ as it’s way too hot in our cottage at this time on year to use the oven. I’m just not sure what temperature to cook it at on the BBQ. Any suggestions?
Hi, Linda– I’ve never used the grill to bake bread, but I’m sure it would work lovely! I don’t know much about using this method so I’m not sure how to guide you. Let me know if you try it!
We do this all the time! We have a two burner propane grill. We set it around 400. I use a metal pizza pan with a little oil and corn meal on it to get a super crispy crust. I start the timer at 8 minutes and go from there. You might need to rotate it to cook evenly. I would say it takes about 12 minutes – depending on the number of toppings.
Thanks for your reply, Rachel 🙂
I’m trying your recipe this week! We’ve lived in East Goshen forever & finding a good pizza that doesn’t cost a fortune (its flour, yeast & water!) is our every Friday night dilemma. Our search may be found in our kitchen with your help!
Hey, neighbor! Our favorite is Bravo, but I do understand everyone is different. I think you’ll enjoy this crust– crisp and chewy! Please do let me know 🙂
Yes, Bravo Paoli is good! Trying your crust Friday night.
I wish I could add a picture! Pizza dough was quite impressive!! Taste was really good as was the rise. In fact, I didn’t count on my rise so I made the crust a little thicker. Well, it turned out thicker than a Sicilian! I doubled the recipe (by accident – attention was with Judge Judy) so I will thin it out for tomorrow’s dinner. Whats your go-to for pizza cheese? I’ve been using the pre-sliced mozz with fresh grated parm & I’m slowly disliking it.
Thanks, April!
I wish I could add a picture! Pizza dough was quite impressive!! Taste was really good as was the rise. In fact, I didn’t count on my rise so I made the crust a little thicker. Well, it turned out thicker than a Sicilian! I doubled the recipe (by accident – attention was with Judge Judy) so I will thin it out for tomorrow’s dinner. Whats your go-to for pizza cheese? I’ve been using the pre-sliced mozz with fresh grated parm & I’m slowly disliking it.
Thanks, Lynn!
Ohhhh, I love this report, Tina! I like to use fresh mozzarella and shred it myself. It’s the gooiest and pull-iest. And a shake of grated Parm, but you can get as fancy or as simple with that as you prefer. I’m so happy you liked it! Can I tell all of West Chester now? 😆
Absolutely, tell ’em! Your dough recipe was as good as any $20 pie around here except Bravo 😉 ! I grate BelGioioso parm, asiago & shred mozzarella too. Still can’t get that pizzeria taste. I’ll try Luigi & Giovanni’s in N.Sq for a drier mozz. Thanks for sharing, Lynn!
Let me know when you find one, Tina! I’m invested now! 🙂
The perfect dough. I made it for the May 2025 Bake-a-long, sheet pan pizza, served it to four hungry boys for lunch and it was gone in a flash!
Thank you, Rachel!