
Homemade Sandwich Bread
As an Amazon Associate, I earn from qualifying purchases. Read the full disclosure here.
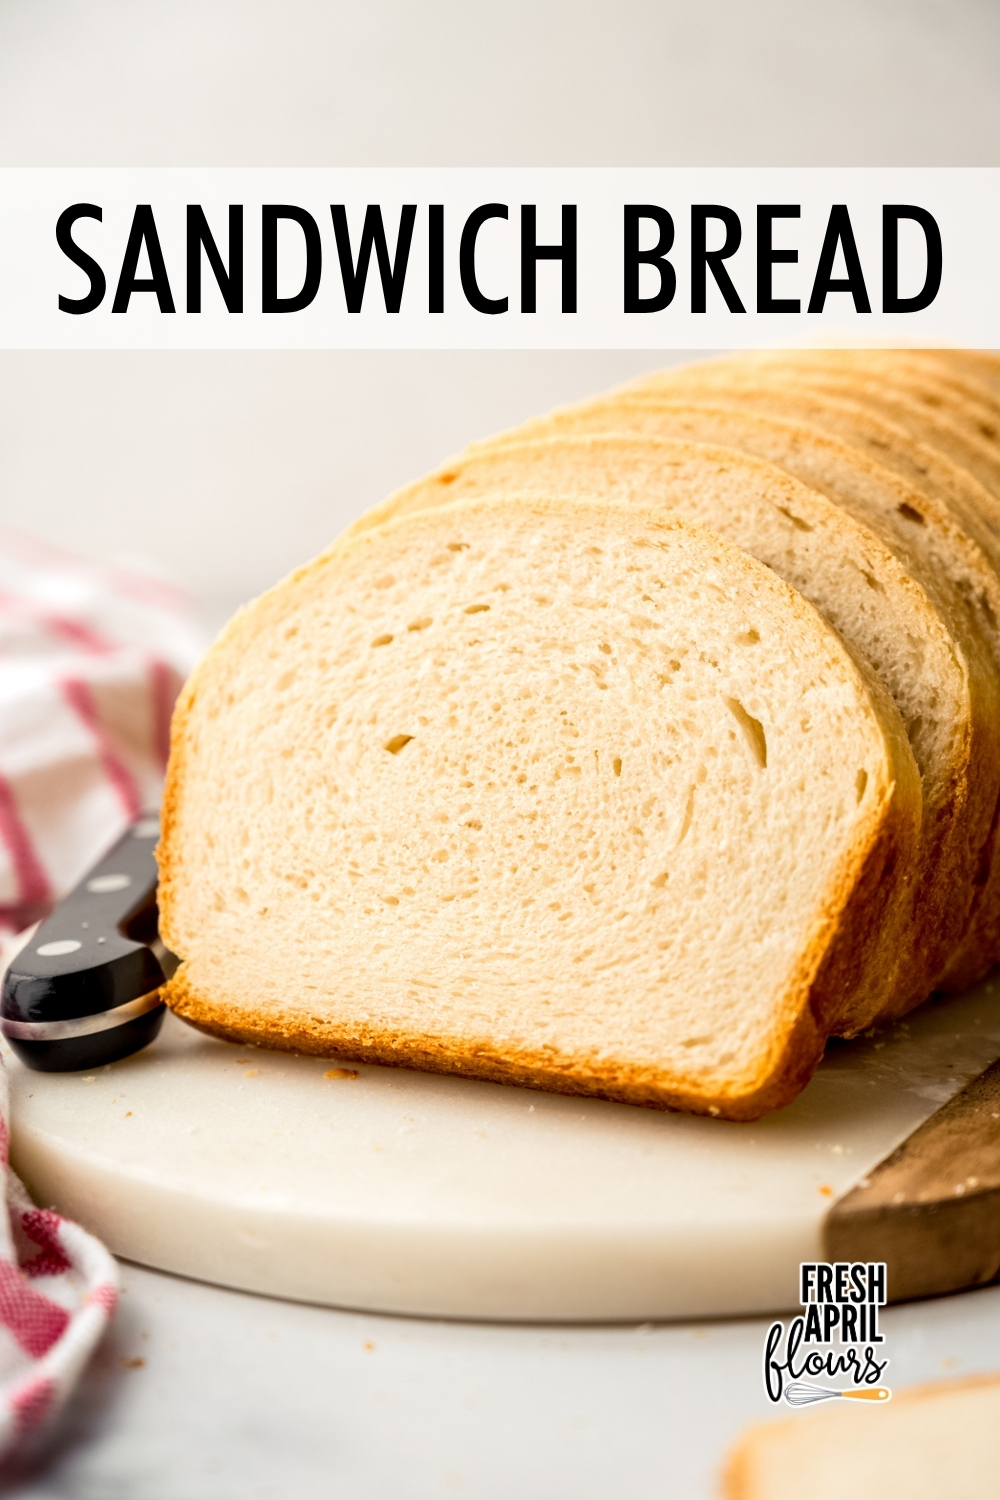
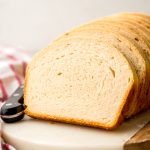
Only 7 simple ingredients stand between you and a fluffy loaf of homemade sandwich bread. This simple bread is chewy on the inside with a crisp crust that’s perfect for eating as is or toasting to perfection. Follow my easy step-by-step instructions and photos and reference my guide for baking with yeast for a loaf that is pillowy soft on the inside with a perfectly chewy crust. Recipe yields one standard loaf of bread.
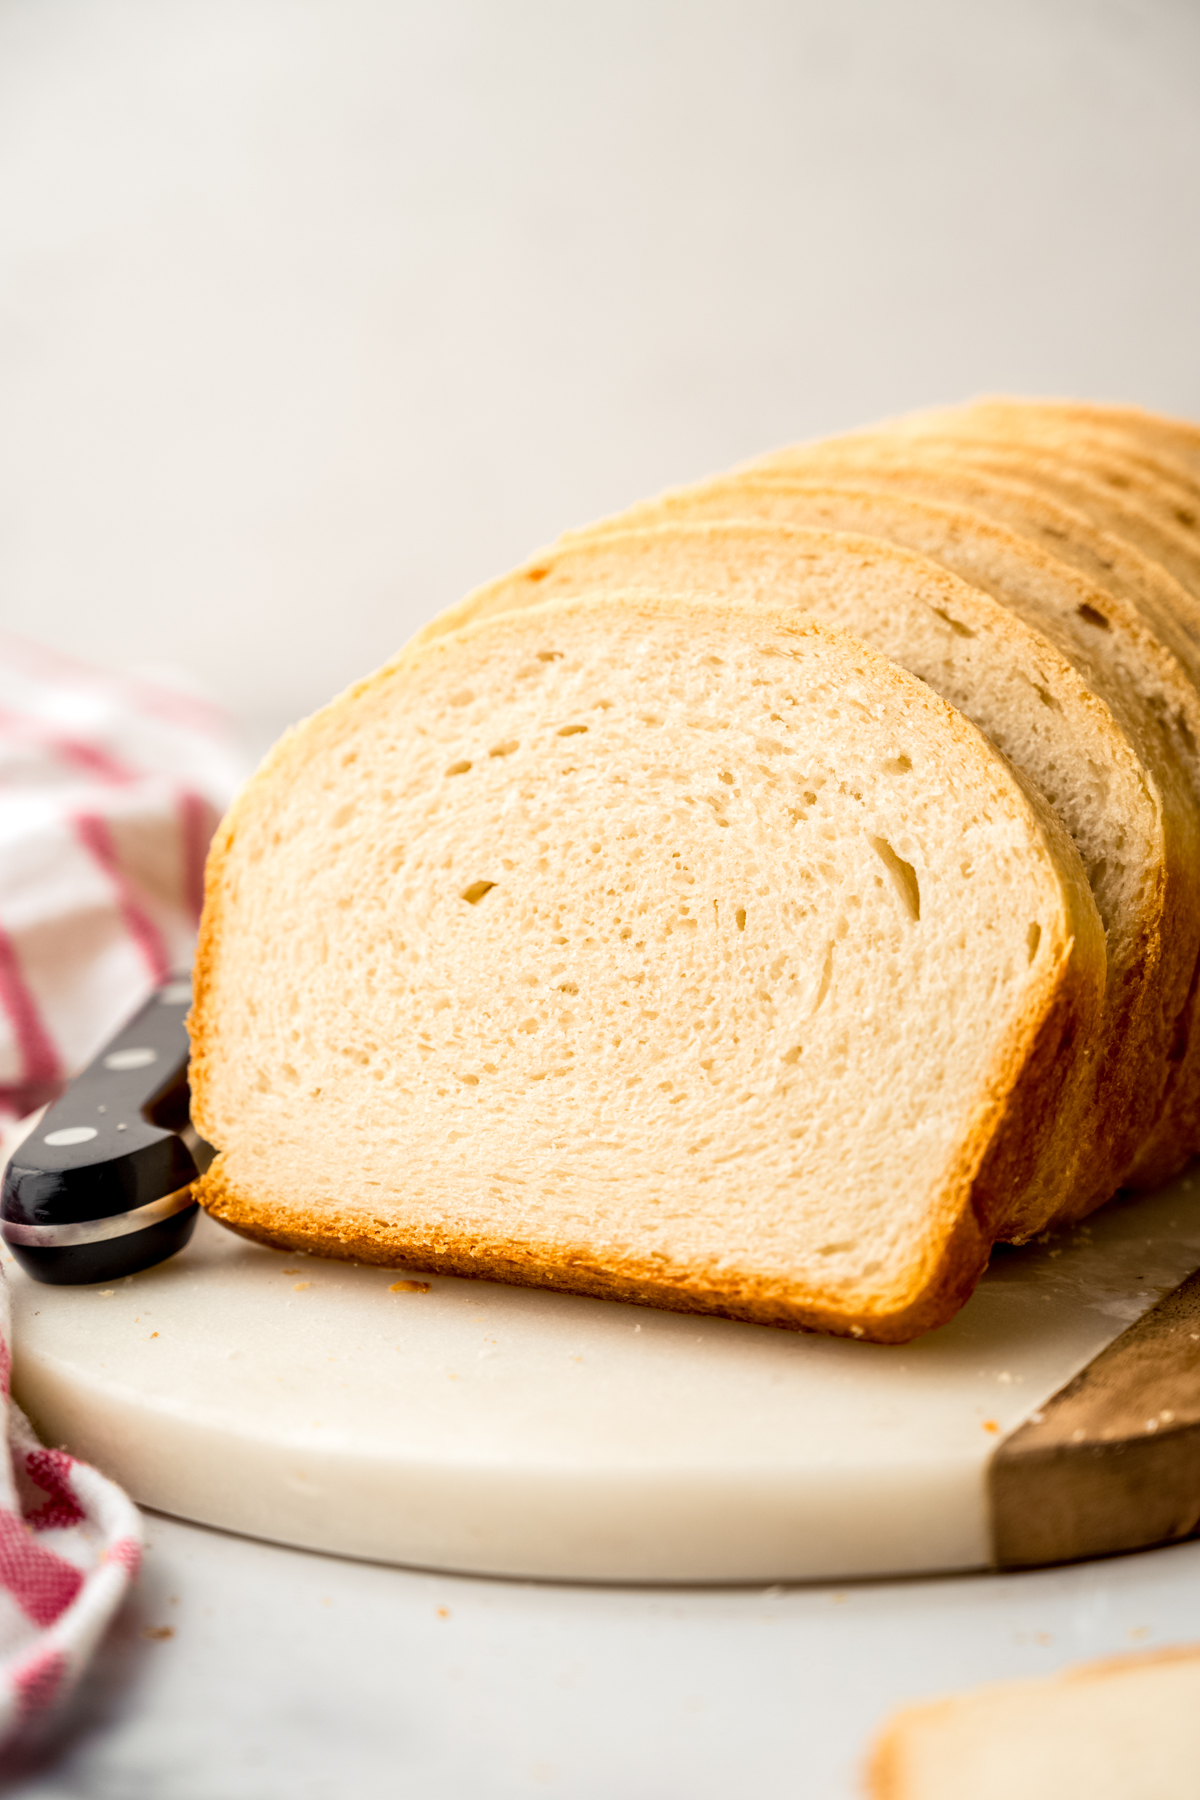
Homemade Sandwich Bread: The Recipe That WILL Ruin Store-Bought Bread For You FOREVER
I know, I know, “homemade sandwich bread” sounds like a big weekend project that ends with you Googling “why didn’t my bread rise?” It’s not. It’s the recipe that will finally make you trust yeast, and it may be the reason you never pay for another loaf in the bag ever again.
This homemade loaf uses seven simple ingredients and doesn’t require any fancy equipment. It also tastes so good with everything from your favorite sandwich fillings between them, grilled with melted cheese, or toasted with butter.
Not convinced it’s that easy? Well, it is. This is honestly the recipe I’d hand my own kid on their first day of baking with yeast (or this basic yeast roll one). It’s no-fuss, forgiving, and reliable. And you’re going to love it enough to use it over and over again.
Why This Recipe Works (Baker Brain Meets SCIENCE Brain)
I spent years getting paid to play with chemical reactions and bake, first as an actual scientist then as a professional cake decorator. So when I tell you why a recipe works, I’m not guessing– I’m nerding out– and you (and your tastebuds) get to reap the benefits.
The short version: bread flour has more protein than all-purpose flour, which means more gluten development, which means a softer, more structured crumb and that satisfying chew on the crust.
Oooooh, science!
But don’t panic: you can use all-purpose flour if that’s what’s in your pantry. I’ll never judge a baker for using what they have on hand! But if soft, pillowy, bakery-style bread is the goal, bread flour is doing real work here and it’s worth a separate purchase.
How to Make Sandwich Bread
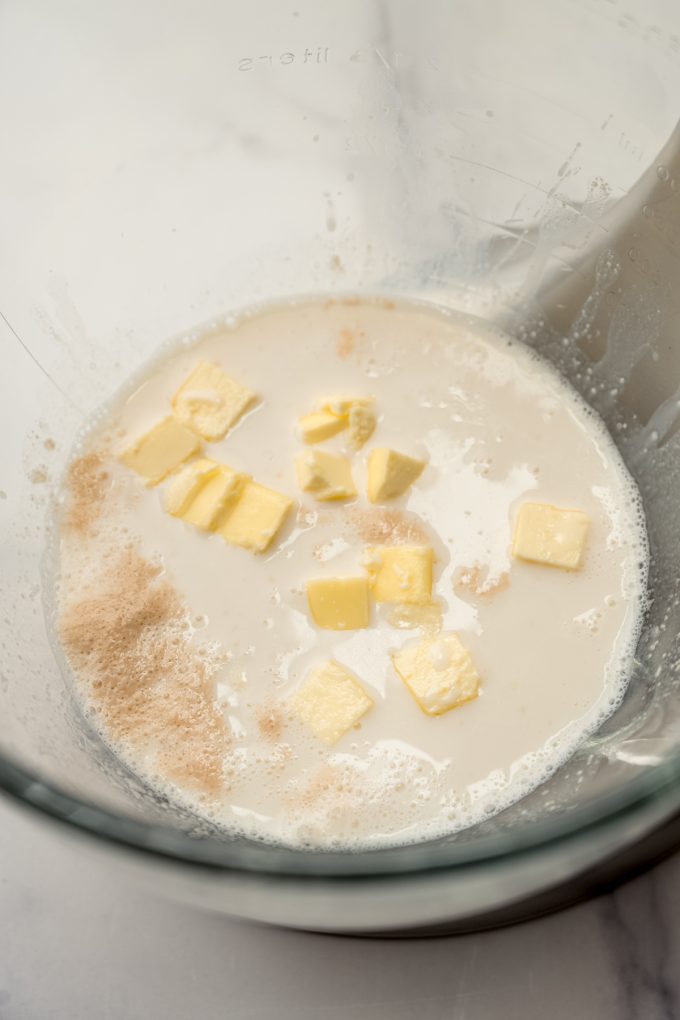
Activate the yeast: warm water, yeast, sugar, and a quick stir. Let this mixture sit for 5-10 minutes until it gets bubbly and foamy.
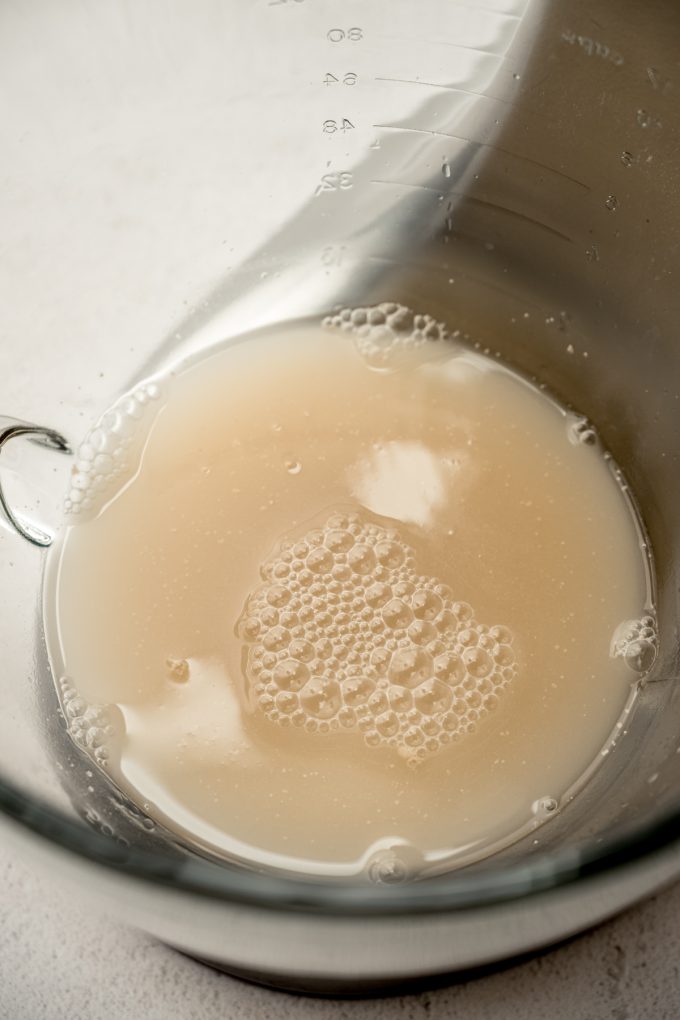
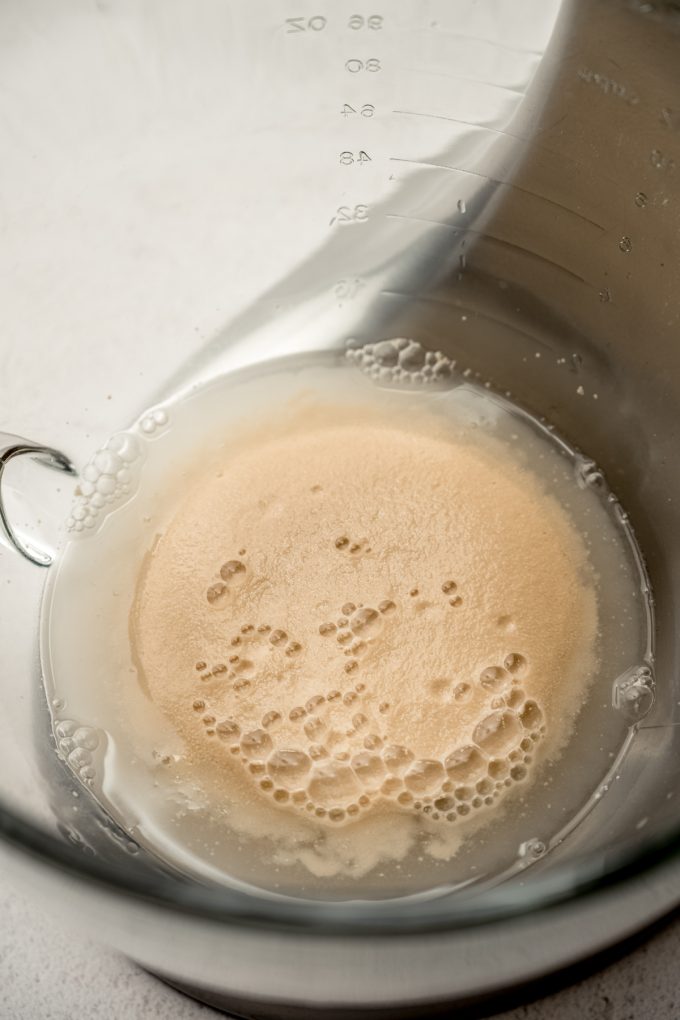
Add the remaining ingredients: in your stand mixer (or a big bowl if you’re using elbow grease), combine your activated yeast mixture with the warm milk, salt, cubed butter, and (approximately) 2 cups of flour. Mix everything together until combined, then get to work on bringing the dough together.
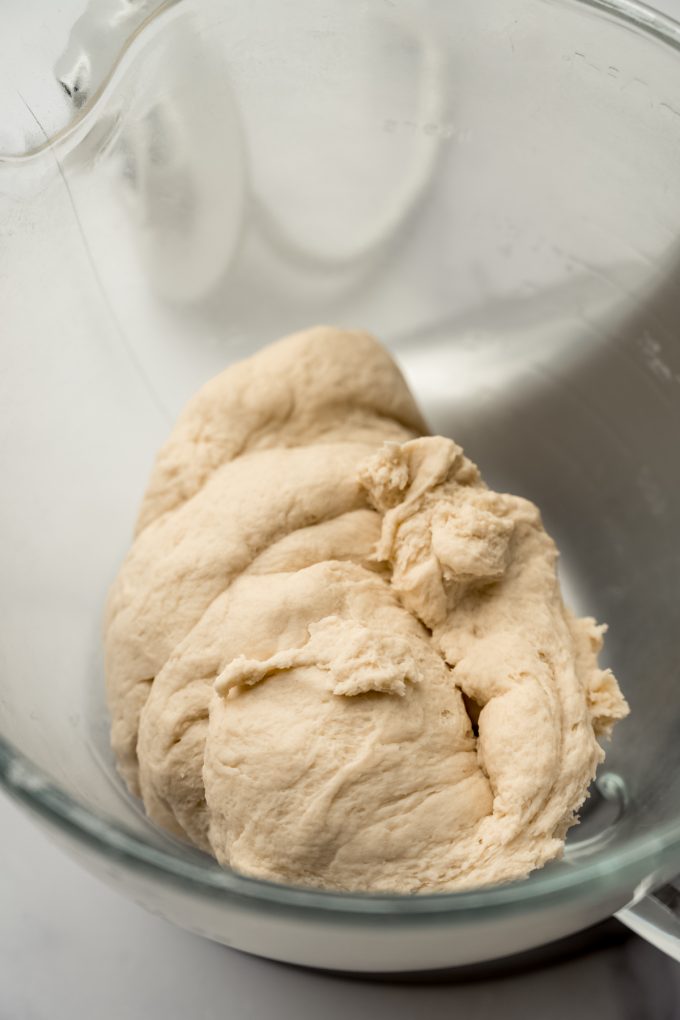
Create the dough: attach the dough hook (or keep mixing everything by hand with a wooden spoon or spatula) and blend everything together on low, adding the remaining flour gradually. You’re looking for a soft and tacky final texture– think fresh Play-Doh. Keep mixing until the dough pulls away from the sides of the bowl and forms a smooth ball. You can also do this by hand (totally your preference).
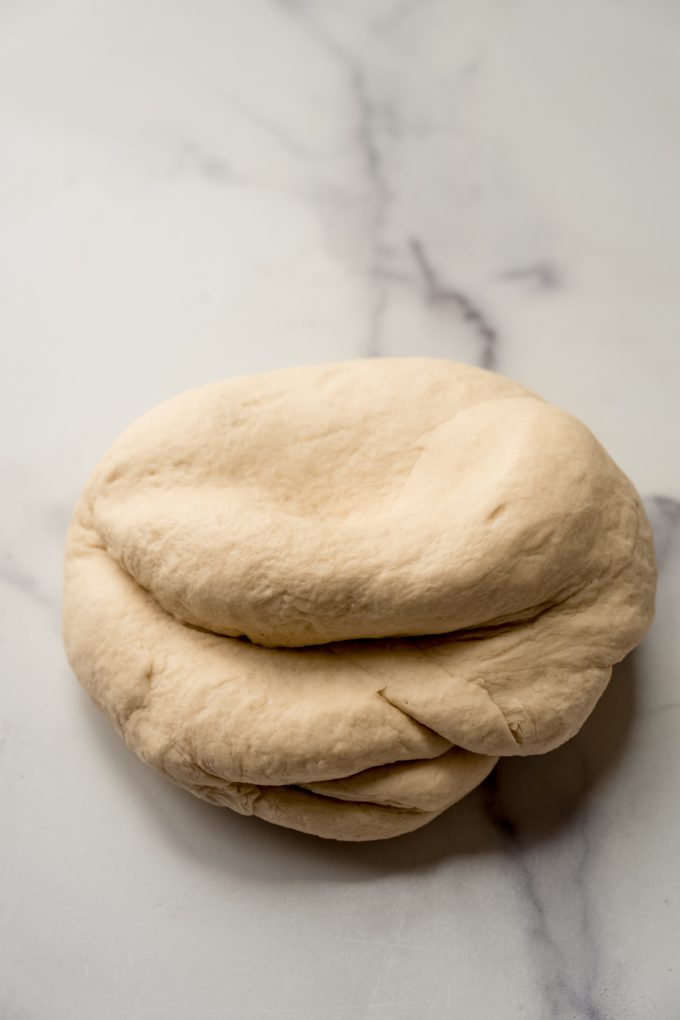
First rise: flip your dough ball around in a lightly oiled bowl so it’s coated all over, cover it with a kitchen towel, and tuck it somewhere warm. Let it rise until doubled, about an hour. You can use the top of the fridge, near a sunny window or heating vent, inside the oven with just the light on, or my favorite way which is in the recipe notes.
Shape the loaf: once the bread has risen, turn it out onto a floured surface and gently press it into a 9″ x 12″ rectangle. Again, be gentle, even if you decide to use a rolling pin.
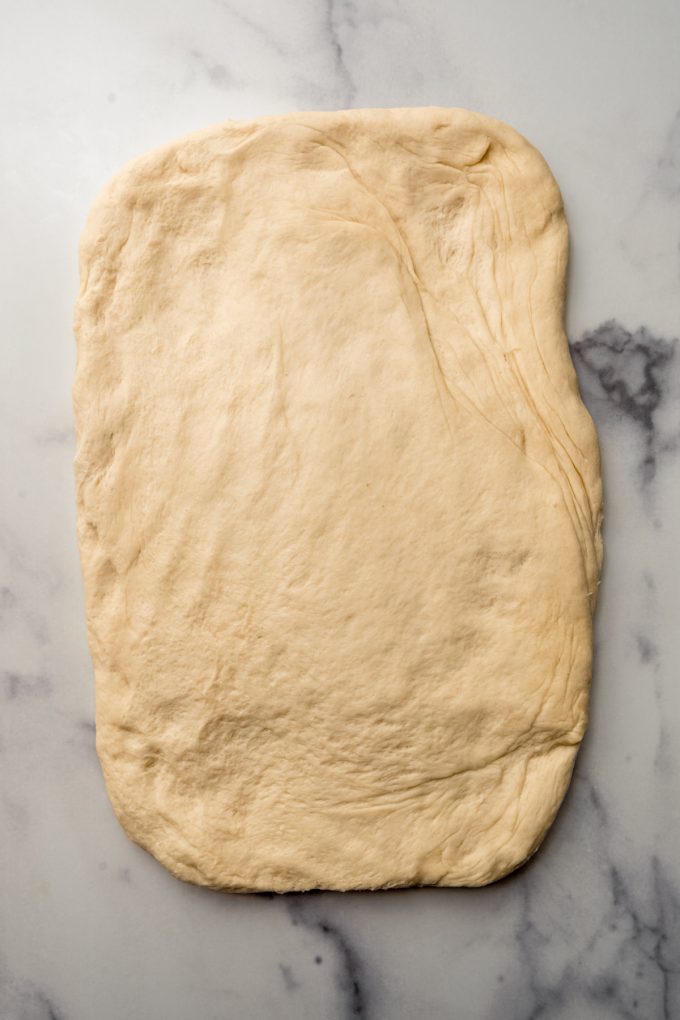
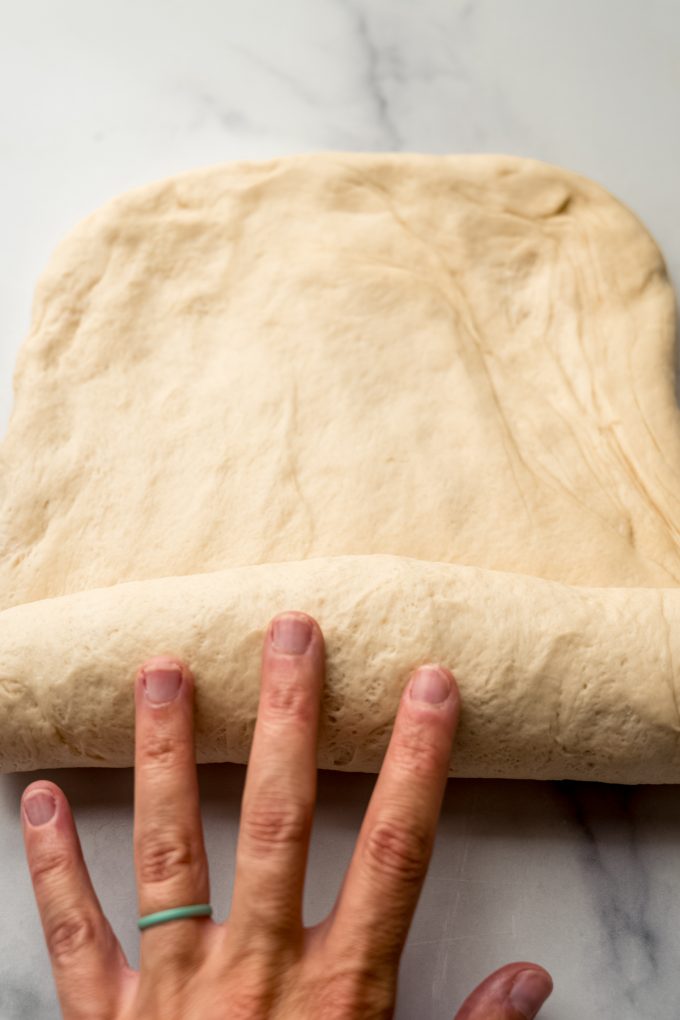
Roll, tuck, and rise again: starting at the short end, roll the dough into a tight log. Pinch the seam closed, tuck the ends under, and settle it into your greased loaf pan. Cover loosely and let it rise again until doubled, about 45 minutes to an hour. This is the rise that will give you that classic tall sandwich bread shape.
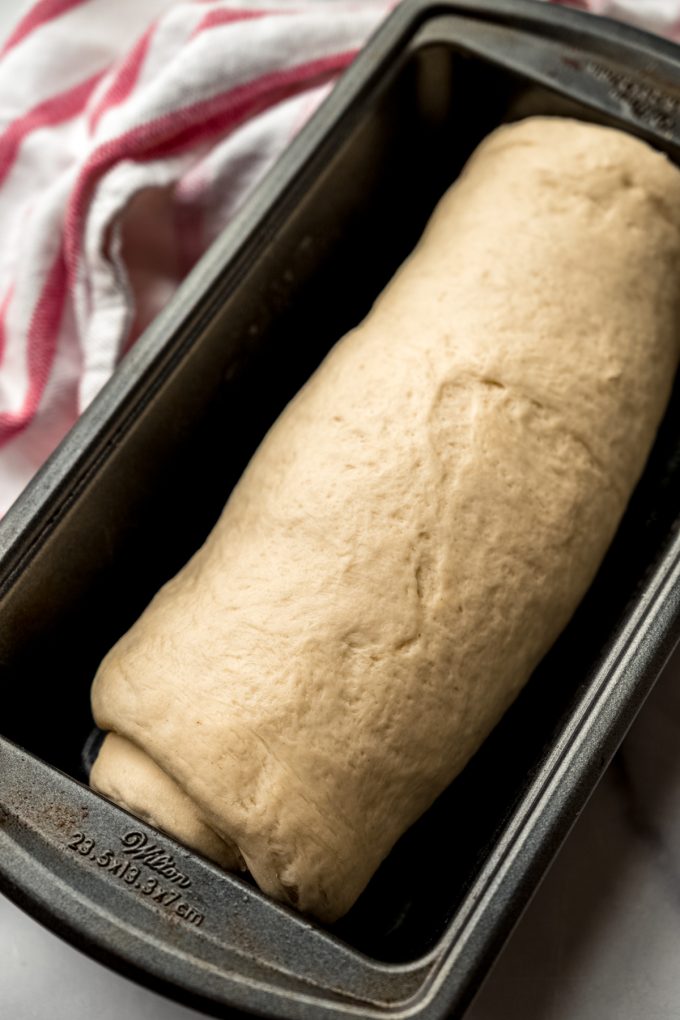
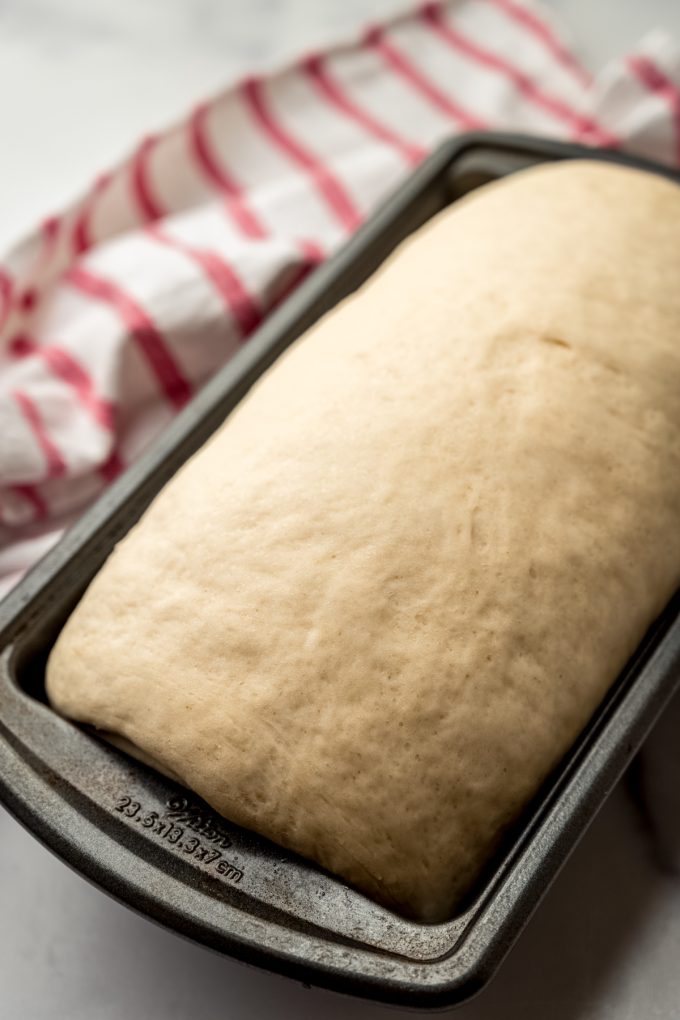
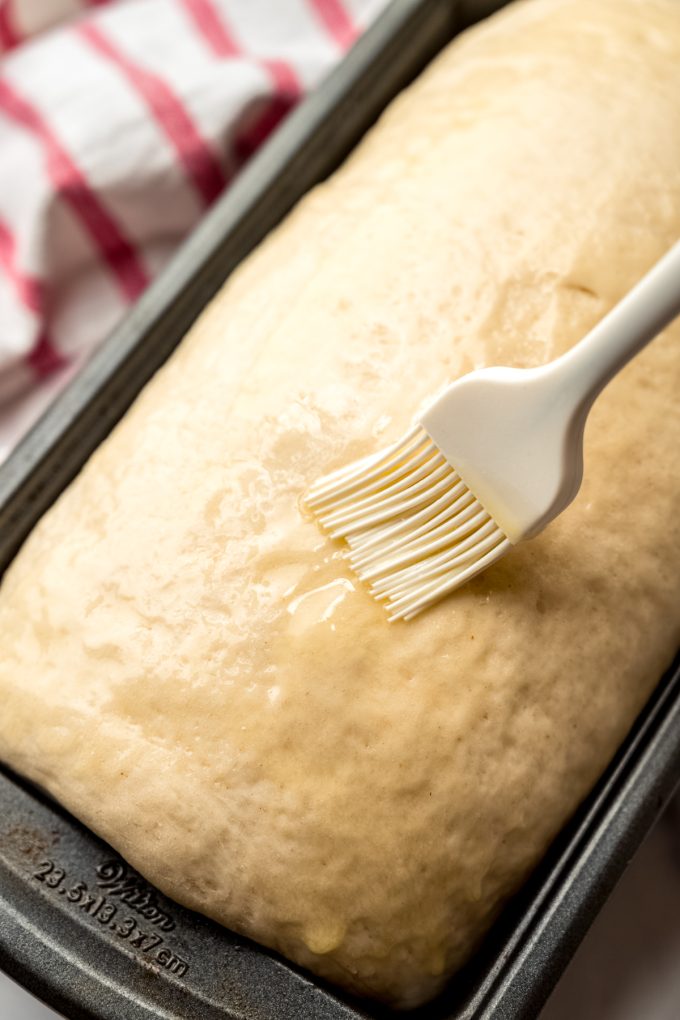
Brush + bake: once the loaf is fully risen, brush the top of it with melted butter. This is what gives you that golden, bakery-soft crust. Be sure you rotate the loaf halfway through baking for even color. You’ll know it’s done when it’s deep golden brown and sounds hollow when you tap the top.
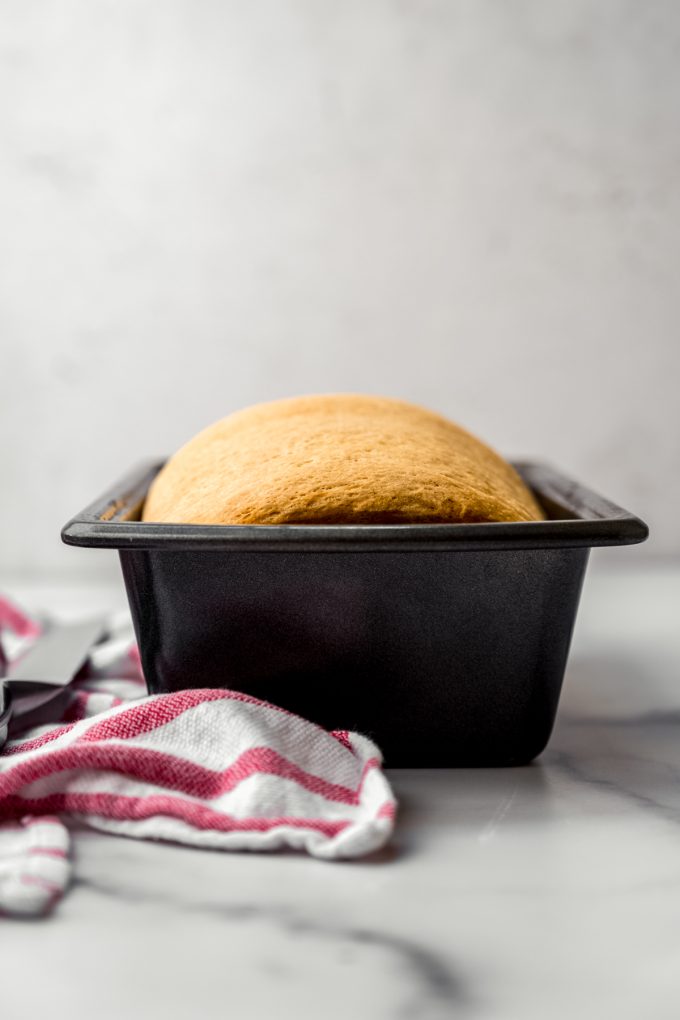
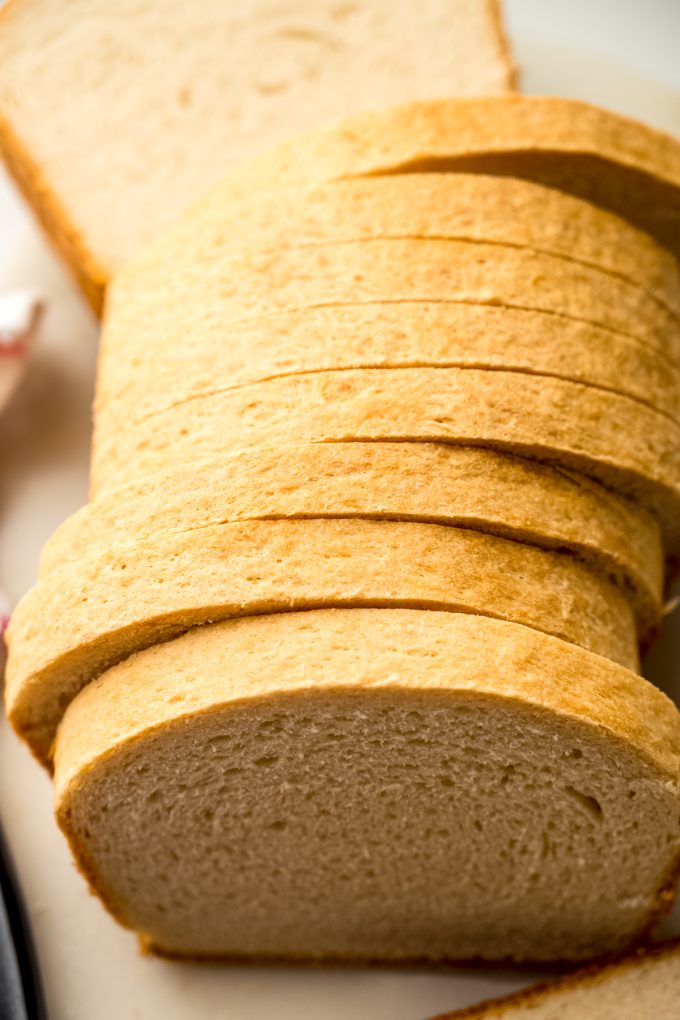
Allow it to cool: allow the loaf to cool in the pan for 10 minutes, then turn it out onto a wire rack to cool completely before slicing. I know, I know, the waiting is excruciating. But slicing hot bread steams away all that moisture you just worked for so give it the time it deserves and don’t slice it until it’s all the way cool.
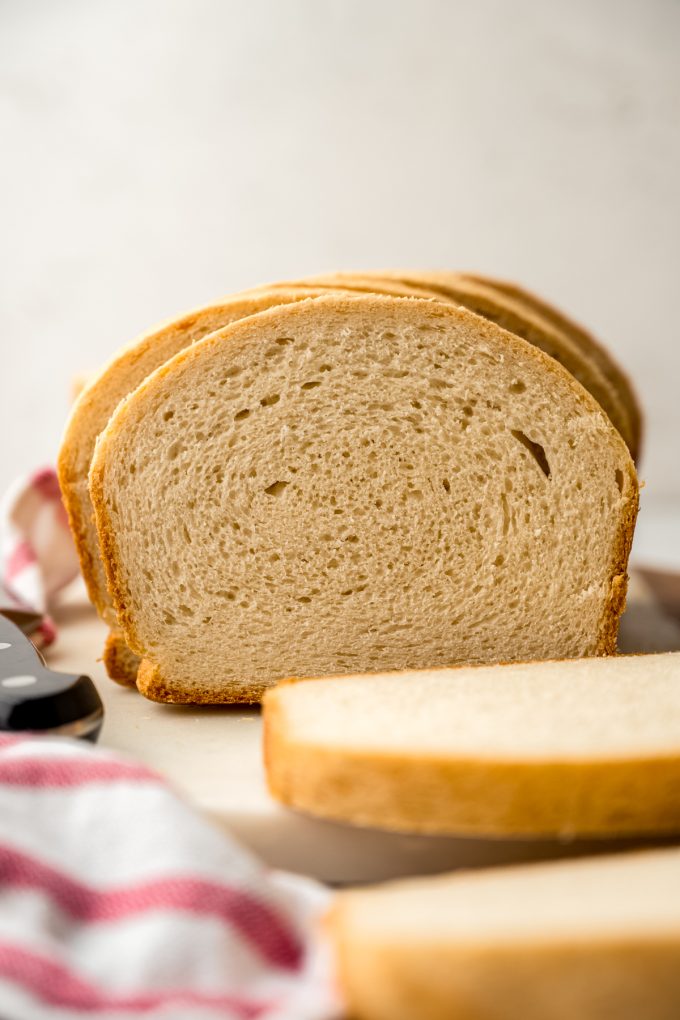
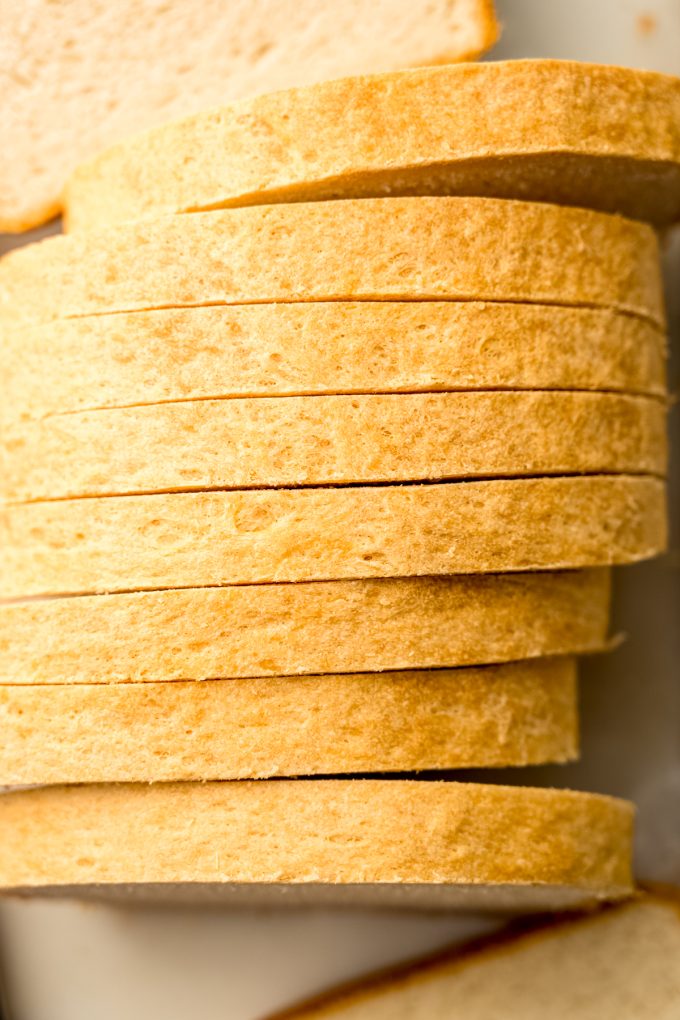
A Few Notes From Someone Who HAs Baked a Lot of Bread
Don’t slice it hot: I said it above but I’m saying it again because it’s the #1 way people sabotage their own perfect loaf.
Bread vs all-purpose flour: remember that bread flour = softer, chewier, bakery-level results. All-purpose works in a pinch, but you want a “make it once and fall in love” situation, spring for the bread flour. You can use your bread flour to make homemade breadsticks or Italian anise bread.
Add-ins are fair game: herbs and spices are welcome here, but if you want a cinnamon raisin (or just cinnamon!) version, you’ll need a recipe built specifically for that purpose. Check out my cinnamon raisin swirl bread or herbed dinner rolls if you’re looking to branch out into bread recipes written specifically for these modifications.
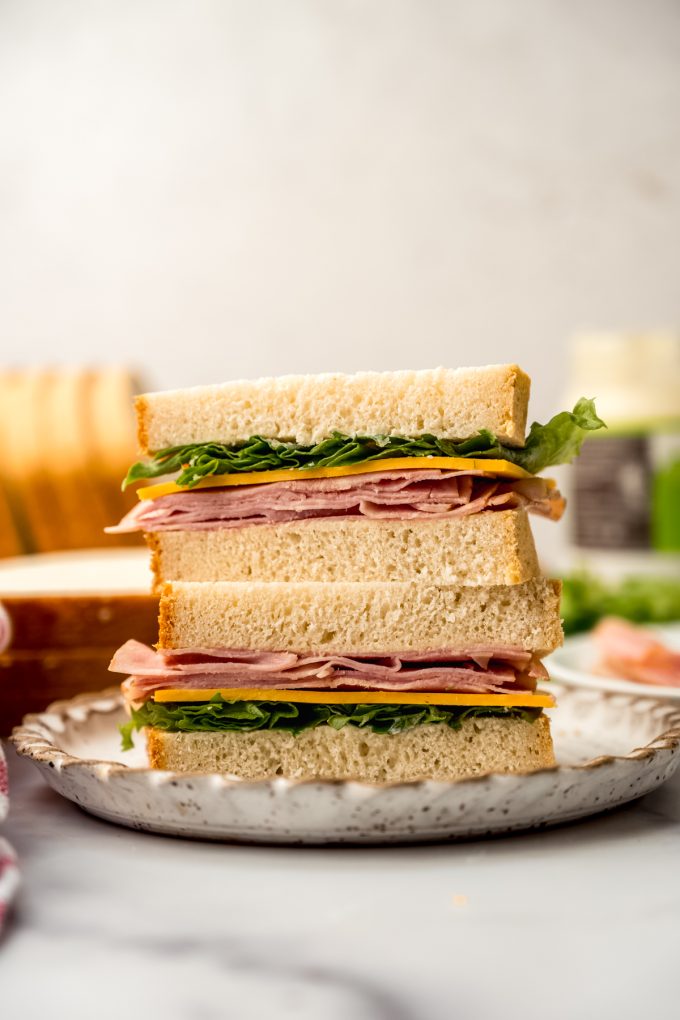
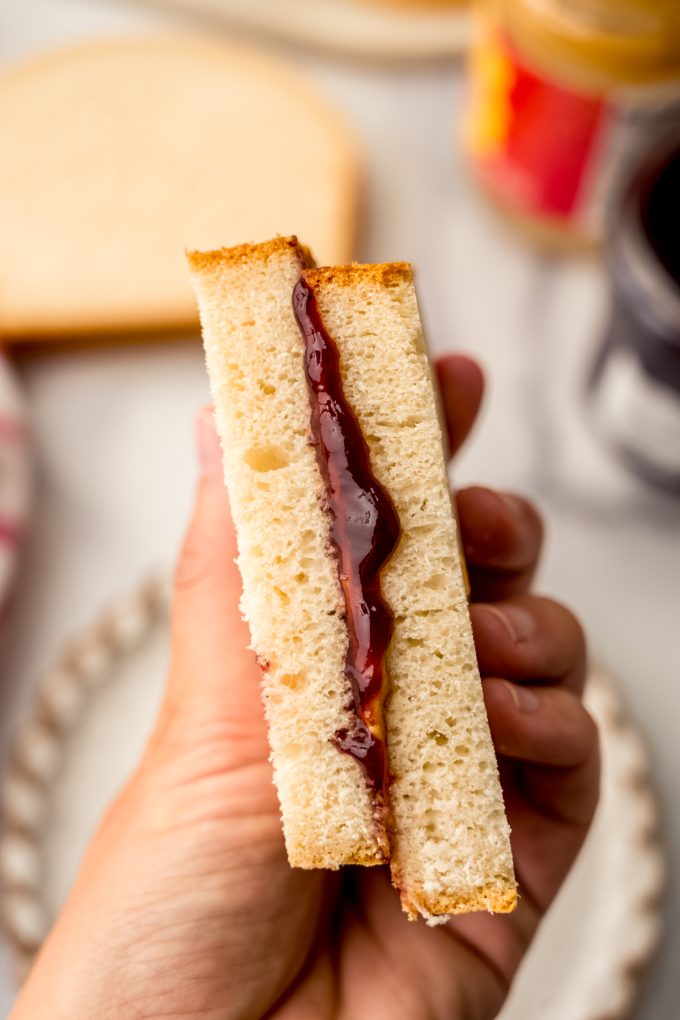
Storing Sandwich Bread
Store this sandwich bread just like you’d store any other bread– covered tightly at room temperature. You can keep it in the refrigerator if you want to extend its life.
TO FREEZE
To freeze this bread, wrap it tightly in plastic wrap or foil, then place in a bread bag or zip top bag to preserve freshness and moisture. Thaw in the refrigerator overnight or at room temperature.
If you’ve been putting off baking with yeast because it feels intimidating, this is your chance to prove yourself wrong. Go make some really, really good sandwiches, and then let me know if you’d rather go back to the store-bought stuff. I’d be shocked if you did!
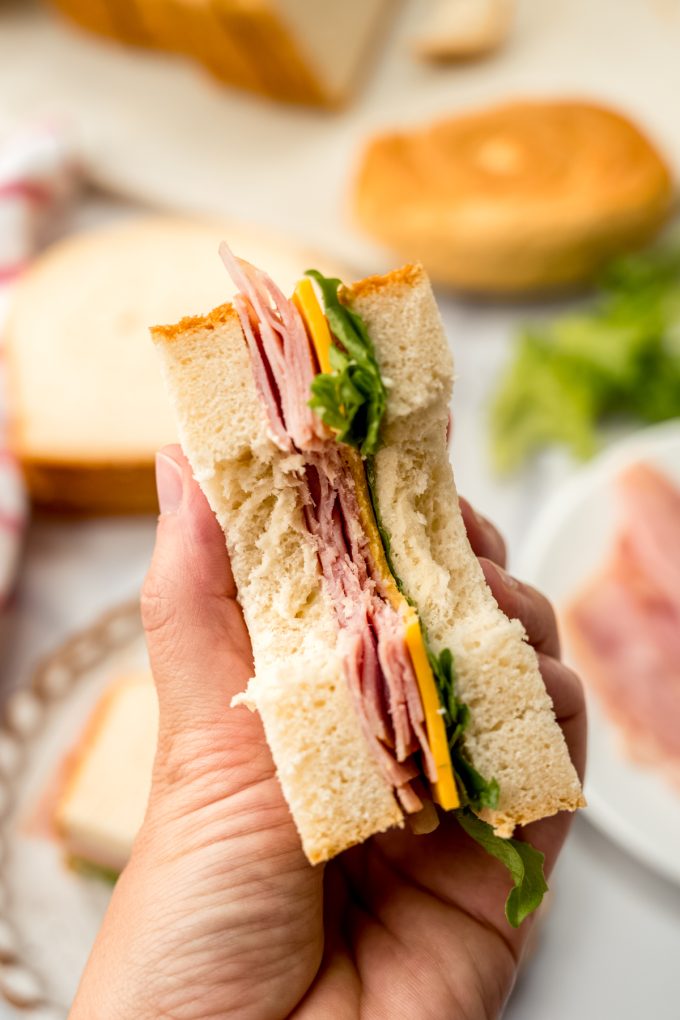
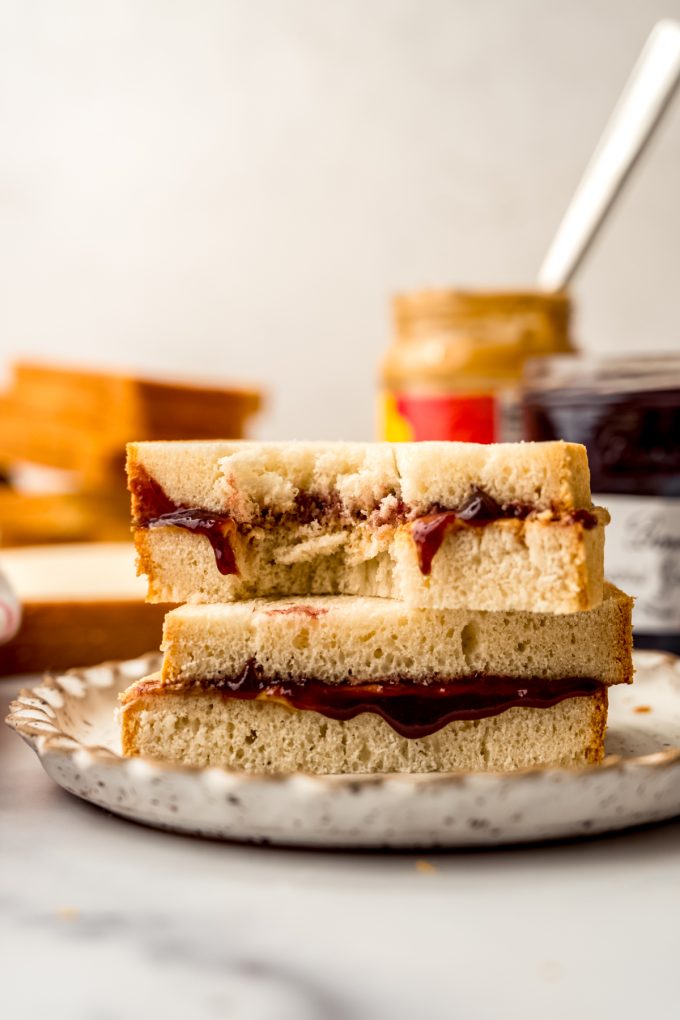
White Sandwich Bread Recipe (With Bread Flour)
Ingredients
- ¼ cup (60mL) warm water about 110ºF (43ºC)
- 2 and ¼ teaspoon (7g) active dry yeast or one packet
- 2 Tablespoons (25g) granulated sugar
- 1 and ⅓ cup (320mL) warm milk I prefer whole milk
- 1 teaspoon salt
- 3 Tablespoons (42g) unsalted butter at room temperature and cubed
- 4 and ½ to 5 cups (648-720g) bread flour1 be sure to measure properly
- 1 Tablespoon (14g) unsalted butter melted
Video
Instructions
- In the bowl of a stand mixer or large mixing bowl, combine the warm water, yeast, and sugar. Whisk together and allow to rest and activate for 5-10 minutes.¼ cup (60mL) warm water, 2 and ¼ teaspoon (7g) active dry yeast, 2 Tablespoons (25g) granulated sugar
- When the yeast is active and bubbly, add the warm milk, sugar, cubed butter, and 2 cups (approximately) of the flour and stir with a wooden spoon or rubber spatula to combine.1 and ⅓ cup (320mL) warm milk, 1 teaspoon salt, 3 Tablespoons (42g) unsalted butter, 4 and ½ to 5 cups (648-720g) bread flour1
- Attach the dough hook (or continue mixing by hand) and blend everything together on low speed. Gradually add the remaining flour until the dough is soft and tacky, but not sticky (it should feel like fresh PlayDoh). Continue to mix until a soft ball of dough forms and pulls away from the sides of the bowl. Alternatively, you can knead the dough by hand on a lightly floured surface. This will take about 5-8 minutes (quicker in the mixer, slower by hand).4 and ½ to 5 cups (648-720g) bread flour1
- Place the dough in a lightly oiled bowl and flip it over so the ball of dough is completely coated in oil. Cover the bowl lightly with a kitchen towel and set in a warm place2 to rise until doubled in size, about 1 hour.
- When the dough has risen, spray a 9" x 5" loaf pan with nonstick spray and set aside. Turn the dough out onto a lightly floured surface and gently pat and press it into a 9" x 12" rectangle. You may also use a rolling pin, but be gentle.
- Starting at the short end, roll the rectangle up into a tight log. Pinch the ends to seal and tuck the ends of the roll under the bread. Place the log into the prepared loaf pan, cover again loosely with a kitchen towel, and allow the loaf to rise until doubled in size, about 45 minutes to 1 hour.
- Position an oven rack to the middle setting and preheat the oven to 400ºF (204ºC).
- Brush the loaf with the melted butter, then bake the loaf for 30 to 35 minutes, rotating the loaf halfway through. Loaf is done with it is golden brown and makes a hollow sound when you tap on it. You can also check the internal temperature with an instant-read digital thermometer (this is my very favorite instant-read digital thermometer, and this is my favorite budget-friendly digital thermometer). Yeast bread is done when the internal temperature is 190ºF (88ºC).1 Tablespoon (14g) unsalted butter
- Remove the loaf from the oven and allow it to cool in the pan for 10 minutes, then remove it from the pan and allow it to cool completely on a wire rack before slicing. Bread can be stored in an airtight bag or wrapped tightly in plastic wrap at room temperature for up to 4 days. Bread freezes well, up to 1 month. Thaw in refrigerator before preparing.
Notes
- Bread flour: you can use all-purpose flour for this recipe, but you will get the softest texture with bread flour.
- Warm place to rise: I like to preheat my oven to 200ºF (93ºC), turn it off, and then place the bowl of dough in the oven with the door cracked.
- Working with yeast: for a comprehensive look at working with yeast in a recipe, see my post about how to bake with yeast.
Nutrition Disclosure
All nutritional values are approximate and provided to the reader as a courtesy. Changing ingredients and/or quantities will alter the estimated nutritional calculations.
You forgot to have us add the proofed yeast and water into the flour and other ingredients.
Just a note. The recipe looks really great.
Thanks, Christine! I fixed that!
Yes, they really are! Thank you, Julie!
Hi,
I want to try your recipe but need to know what size loaf pan you used?
Hi, Pam– a standard size loaf pan is 9″ x 5″. Hope that helps!
My review would be that it’s easier to make homemade bread then you would think. And it’s so much better than store-bought.
The recipe was very easy to follow and the result was delicious. I let me dough ride in the fridge overnight because I didn’t have time to do it all in one day and it came out great!
Thanks so much, Amanda! I’m so glad the delayed rise worked out well for you!
So fun to make sandwich bread at home! We have made three loaves now! Still perfecting the density but really love the taste and will keep making for sure!
Thank you so much, Sarah!
What size loaf apn?
Hi, Robin– it should be 9″ x 5″ — I updated the recipe card.
I made sandwich bread for the first time today! I can’t wait to try some with egg salad later it’s smells delicious 😋
So glad you liked it, Anna!
Thank you Lynn! So much better than store bought! I’m new at bread-baking, so I don’t understand how this recipe actually worked for me in a 5×12” pan, which is the size I have. Can you explain it? Also, next time I bake it, will increase the salt (we like salty, I guess). Will this recipe work if I also double the butter or add a bit of oil? It was just a wee bit dry. Loved it tho!! I should add that I ended up kneading my dough, as my old stand mixer failed me a bit
Hi, Loide– thanks for giving this recipe a try! The pan size is likely where your bread wound up dry. A 5×12 pan can hold more capacity so the dough spread out more than it would have in a 5×9 pan (the standard size), making it shorter in height and needing less time to bake. I suggest getting a standard size pan for next time and maybe using salted butter! Let me know how it goes if you try it again.