
Perfect Pumpkin Pie
As an Amazon Associate, I earn from qualifying purchases. Read the full disclosure here.
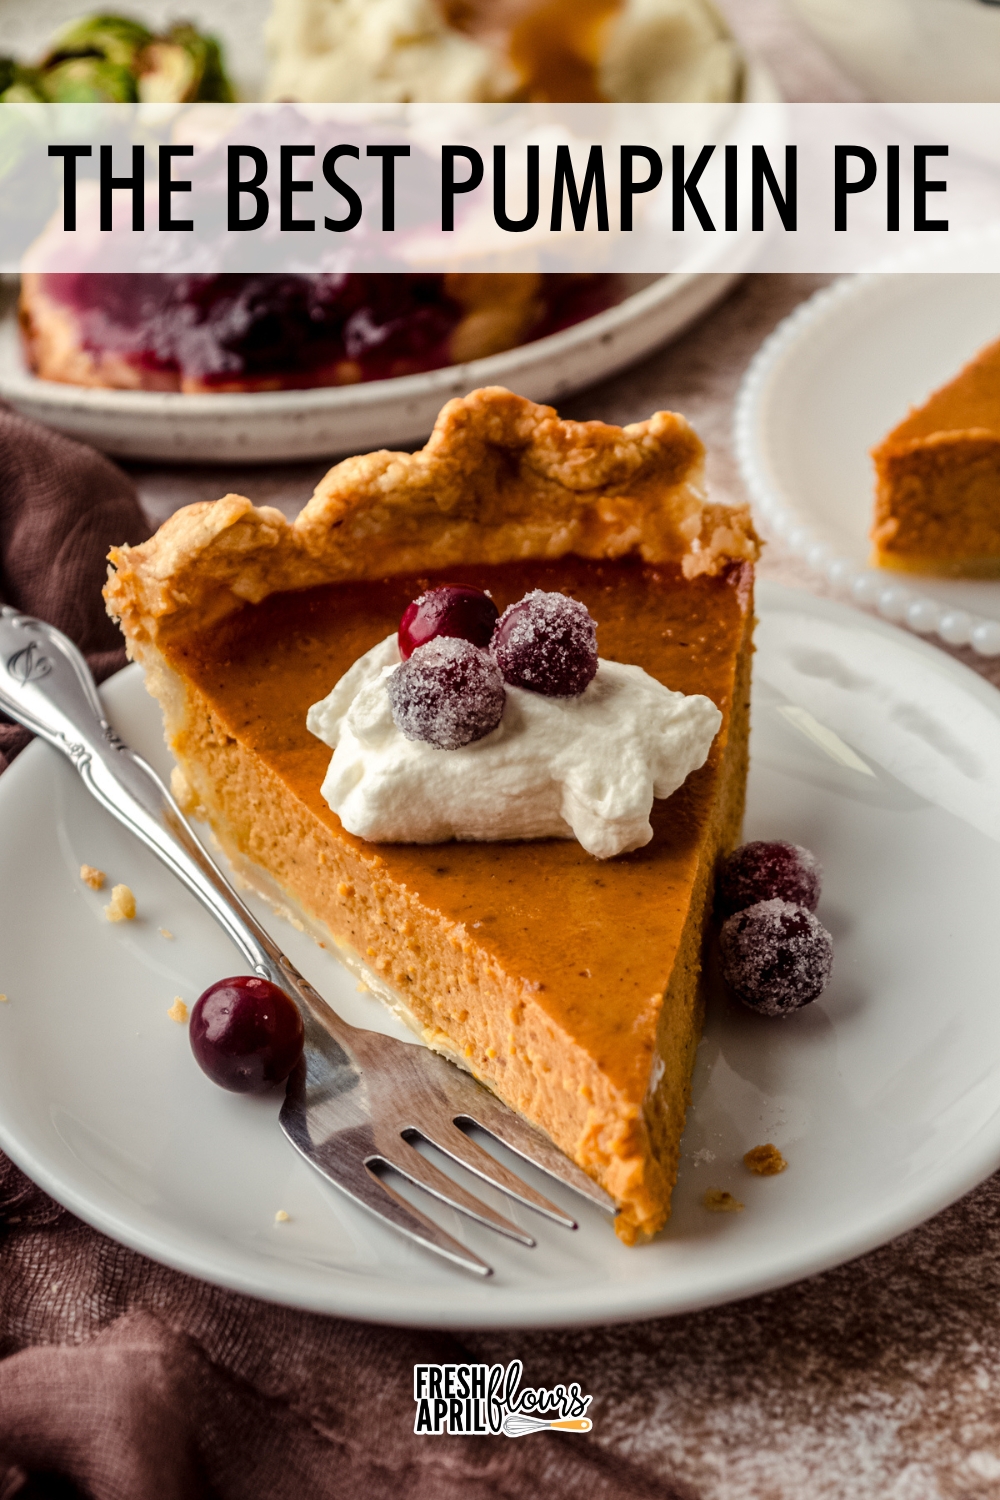
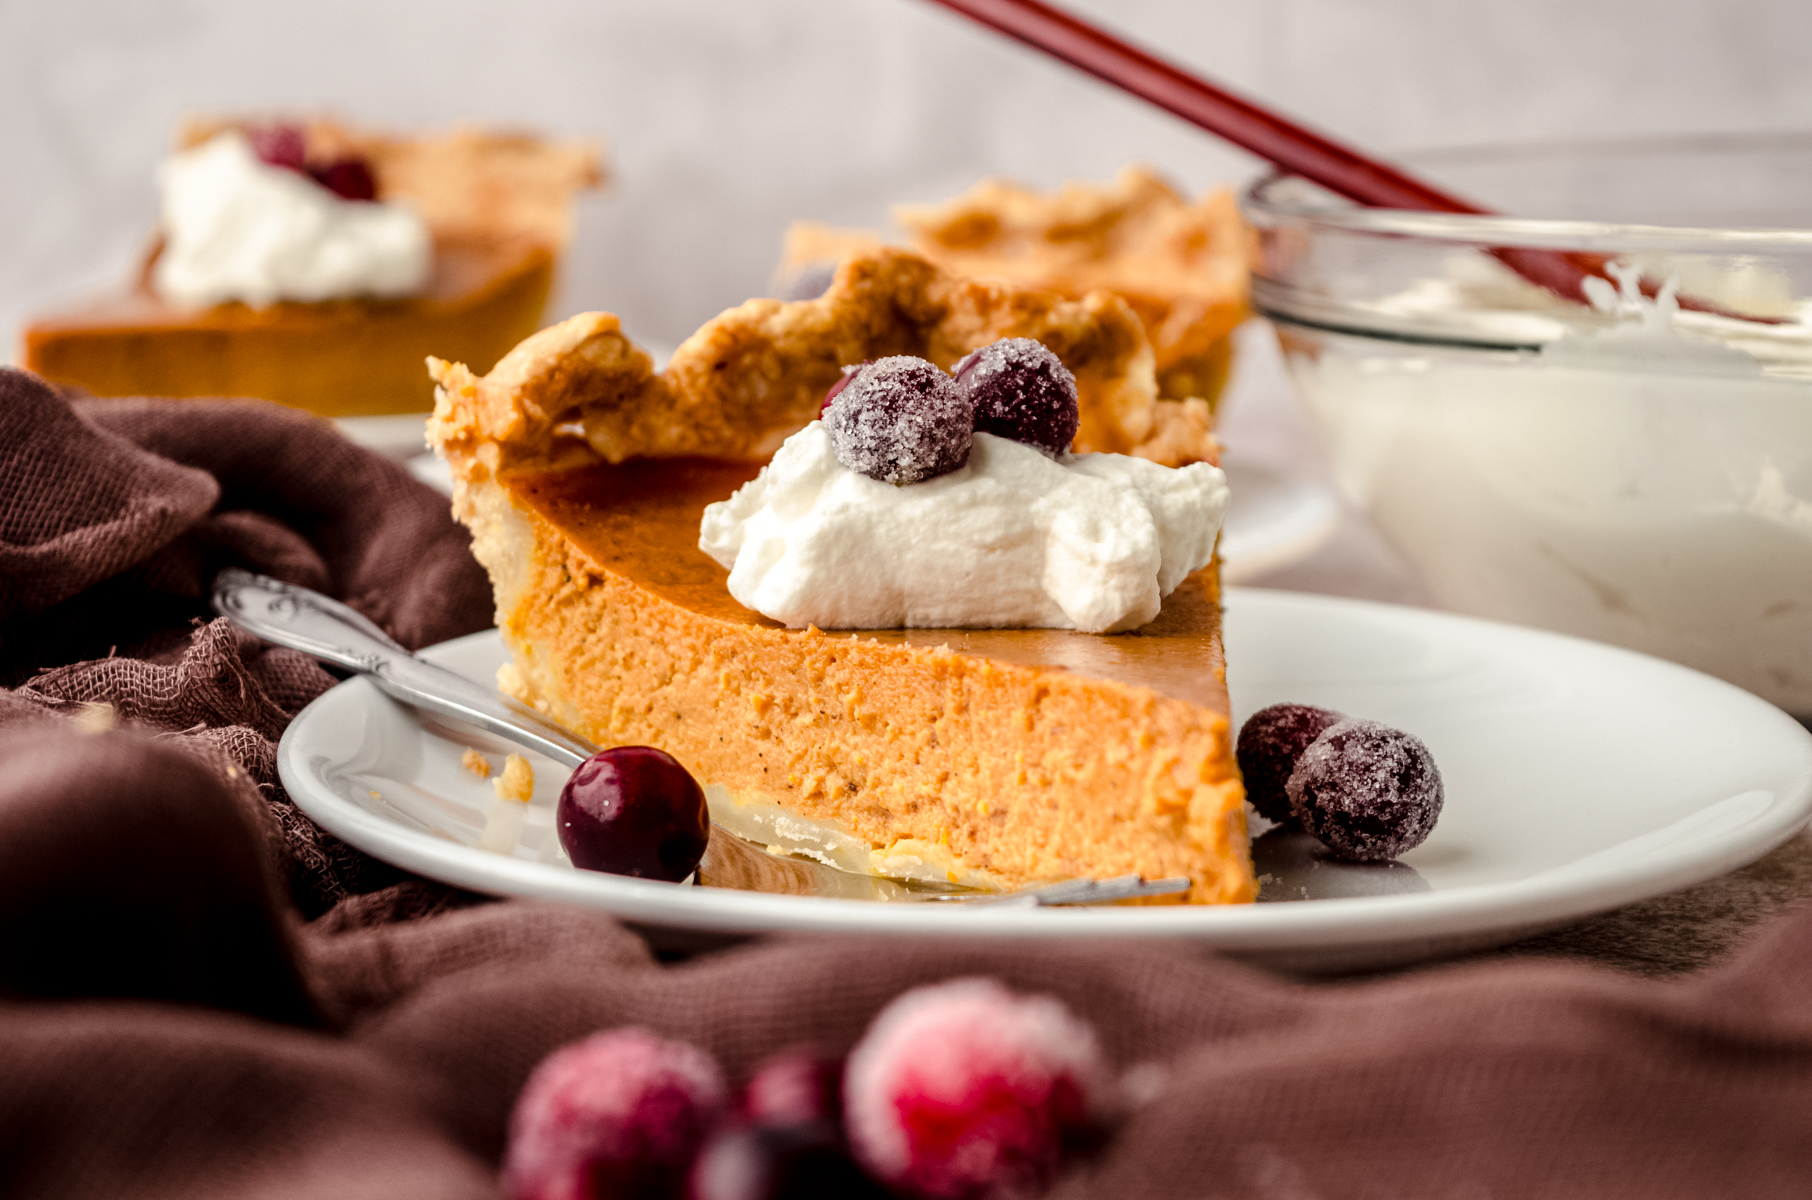
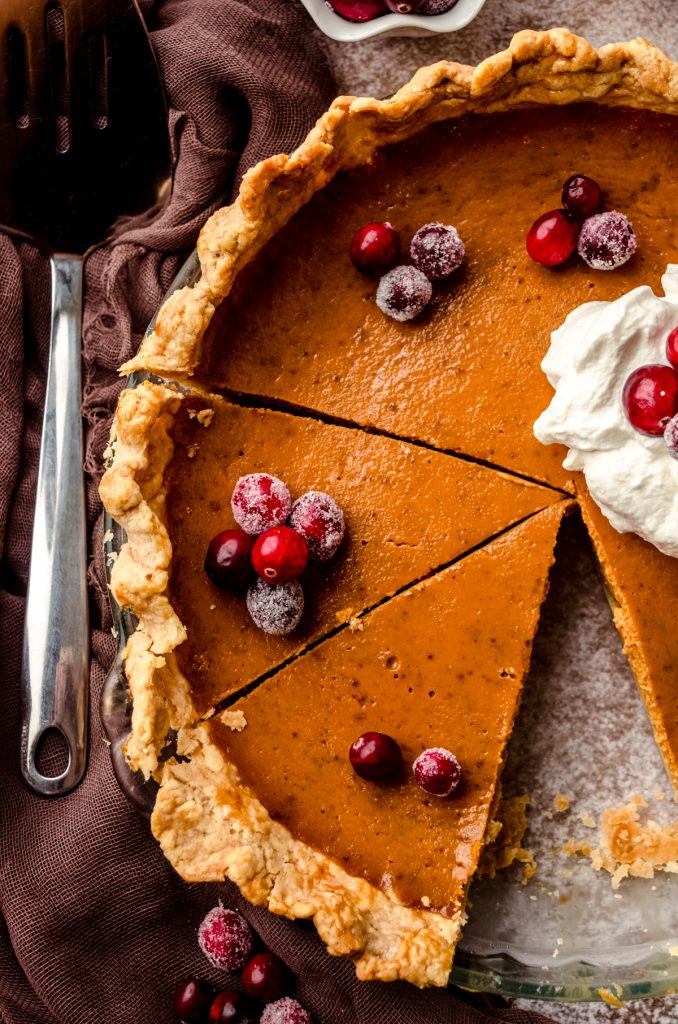
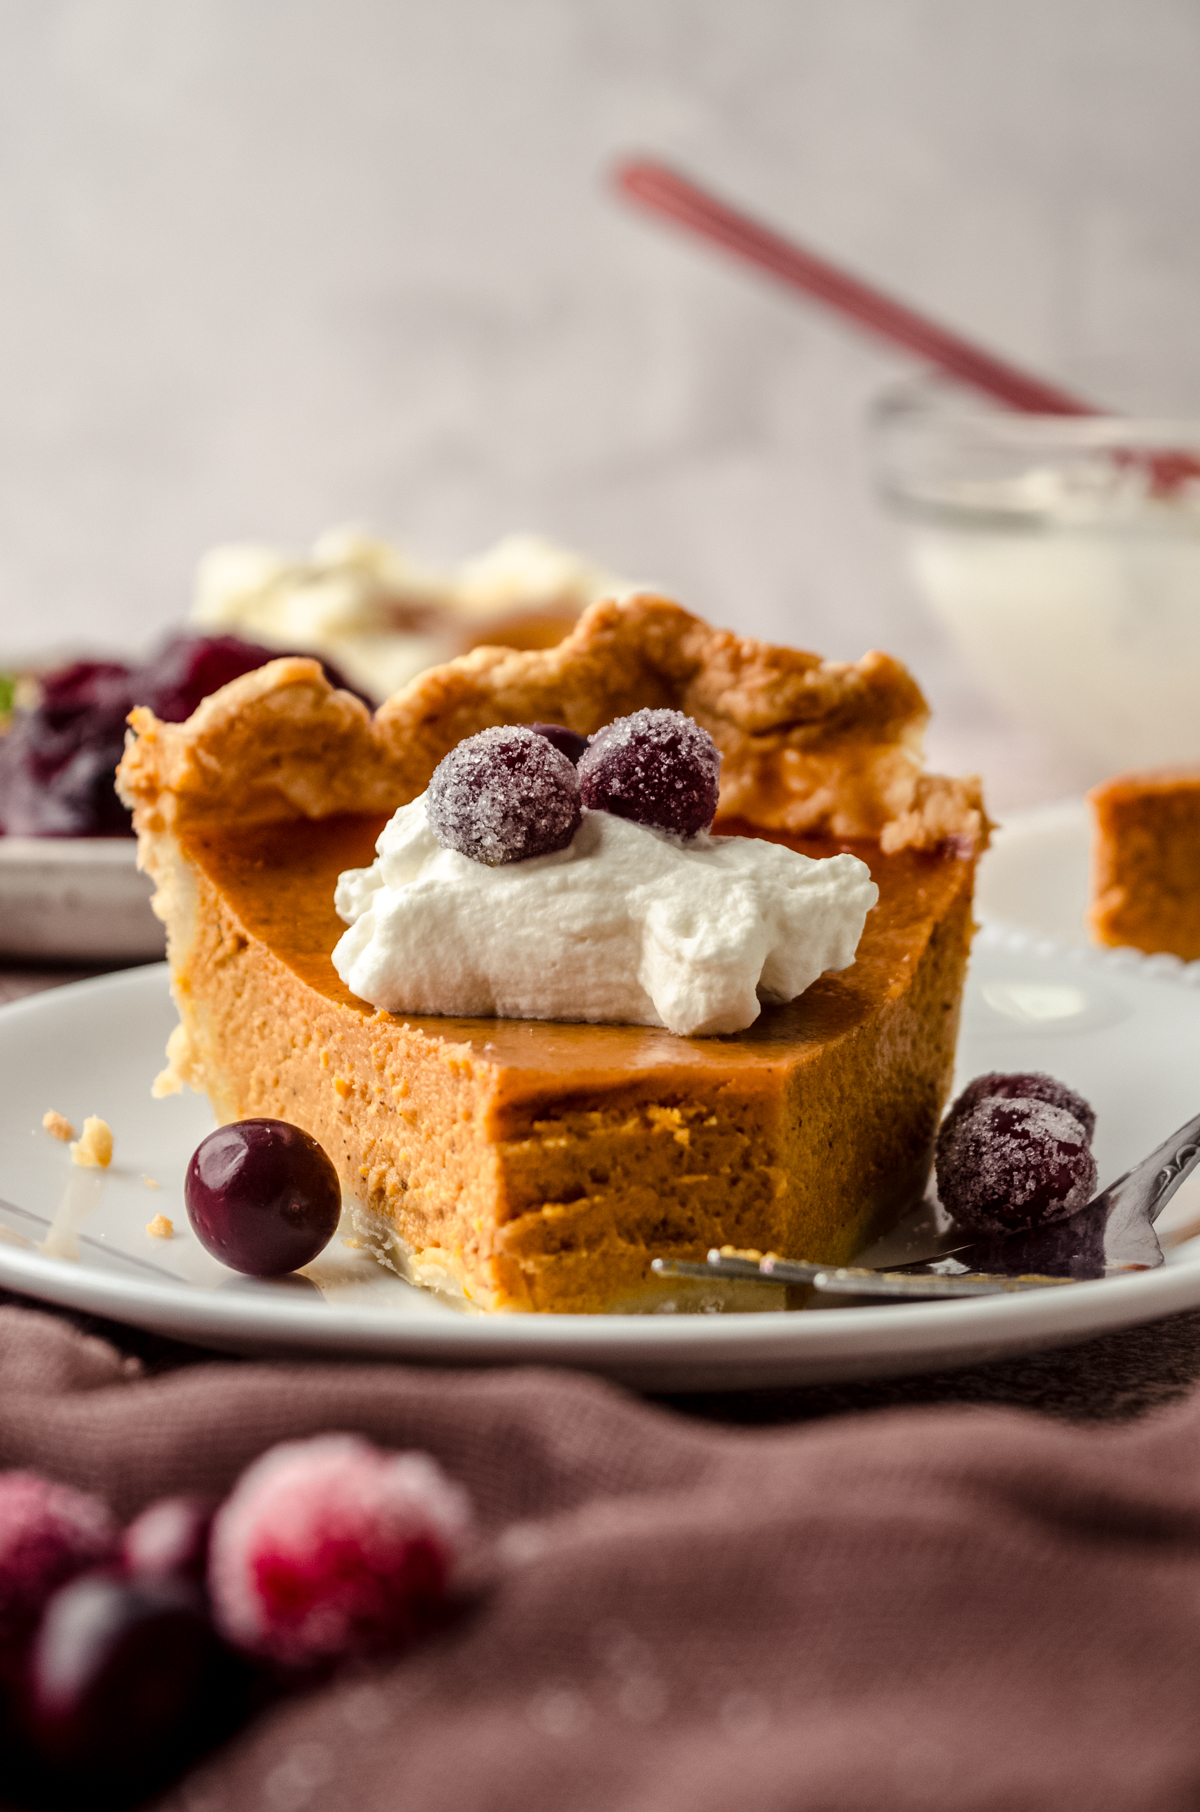
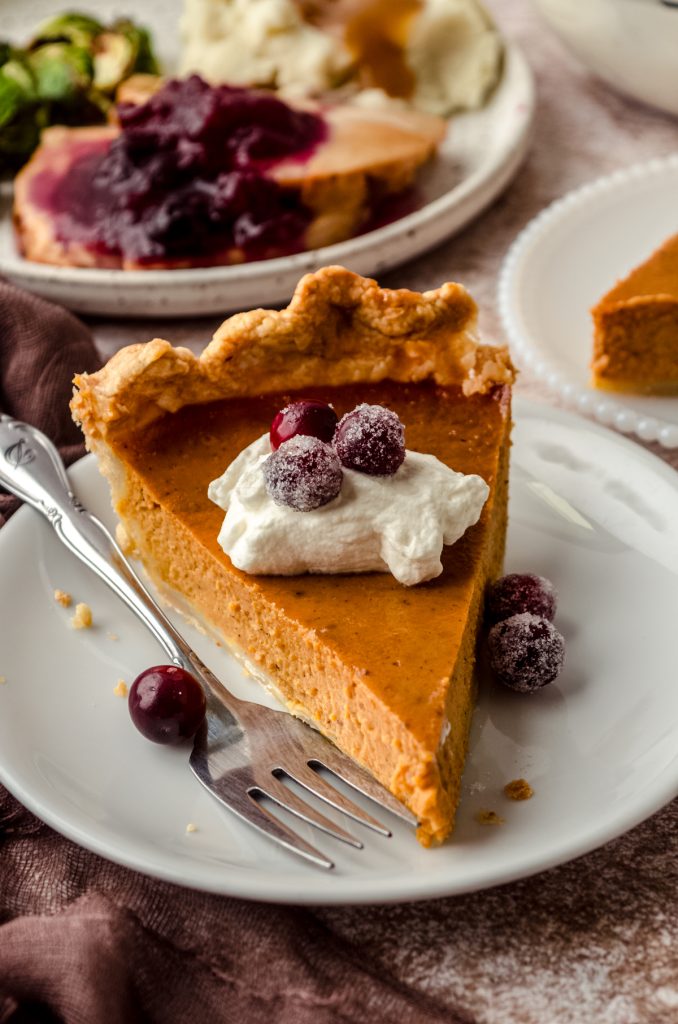
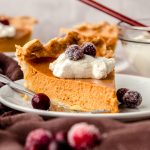
This simple recipe for my very favorite pumpkin pie is bursting with flavor thanks to a few surprise ingredients. Its texture is rich and smooth, and tastes even better baked in my favorite homemade pie crust. Top with fresh whipped cream (or pumpkin spice whipped cream) and sugared cranberries for a show-stopping pie!

THIS BELOVED PIE HAS STOOD THE TEST OF TIME
Back in 2010, when I first started baking from scratch, I wanted to contribute the pumpkin pie to our family’s Thanksgiving meal. The pumpkin pie I grew up eating was nothing to write home about, as it always used a store-bought crust and the standard recipe from the can of Libby pumpkin puree.
When I started experimenting with what I liked in pumpkin pie, I found that Ina Garten’s pumpkin pie recipe was the one I loved the most (I’ll get there), and I’ve never looked back.
While there is certainly nothing wrong with the recipe from Libby’s printed right on the can, I can assure you that with my carefully chosen ingredients and proven history with dozens and dozens of taste testers, both biased and unbiased because FAMILY, this is the best pumpkin pie recipe you’ll ever try.
Even my husband, who actually doesn’t like pumpkin pie at all, will eat a slice of mine every year. The man who thinks the best way to eat pumpkin pie is to throw it in the trash. Because he loves it that much. And I think you will, too!

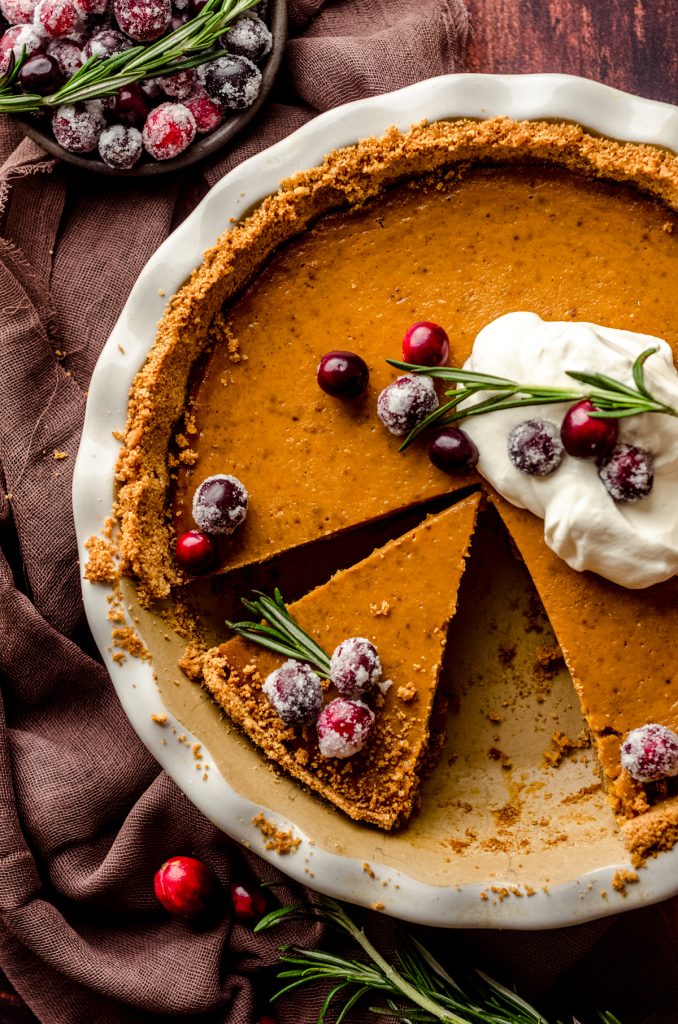
Skip the traditional crust and make it in a graham cracker crust (pictured below– same filling, different crust).
How to make Pumpkin Pie from Scratch
This pie is easy, but it does take some planning ahead. See my “success tips” below before starting, especially if you’ve never made a pumpkin pie before.
There are a few key components to this glorious pie:
• my buttery, flaky homemade pie crust as the base
• a rich and decadent filling made extra flavorful with surprise ingredients
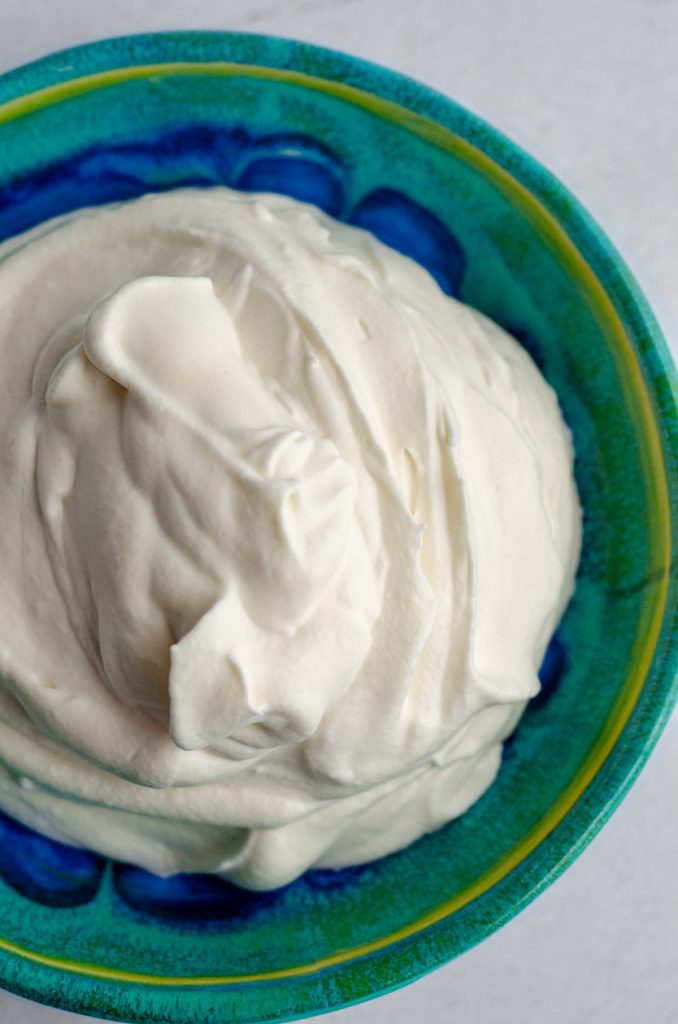
• homemade whipped cream or a pumpkin spice whipped cream to seal the deal
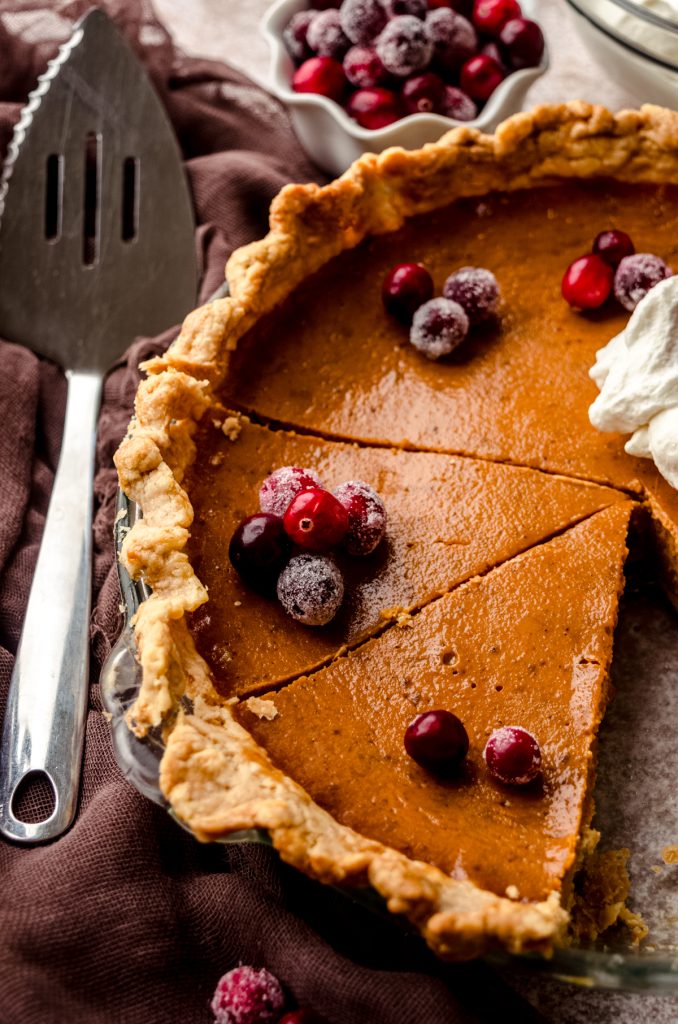
• and optional but highly encouraged sugared cranberries for garnish
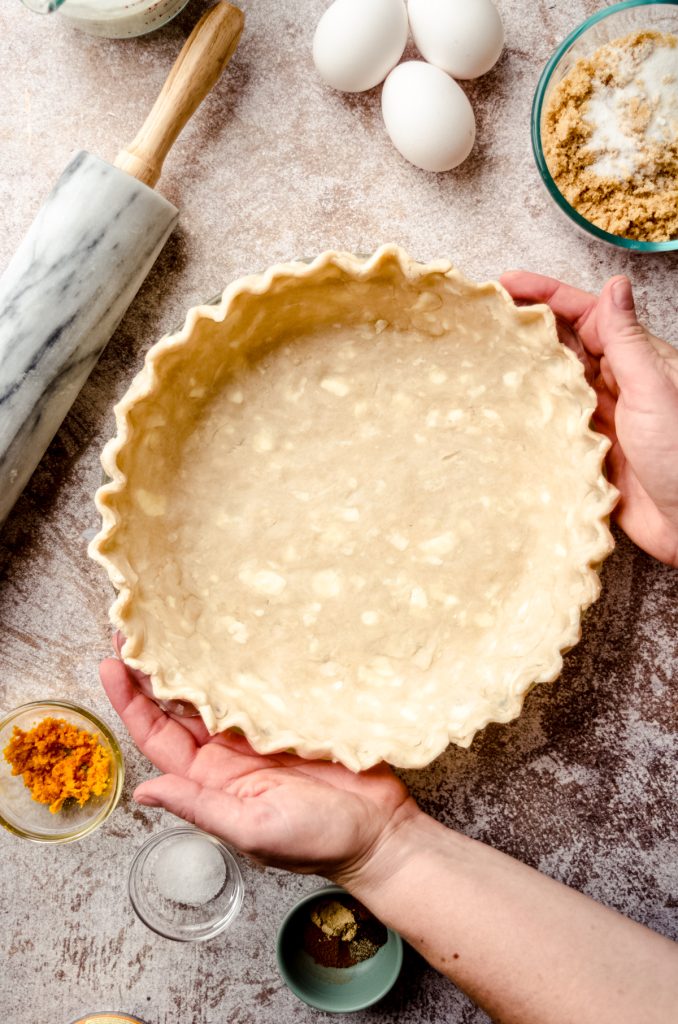
START WITH MY POPULAR BUTTERY, FLAKY CRUST
Have you made my homemade pie crust before? It gets excellent reviews, and it’s super simple. If you’re too intimidated, store-bought is just fine. But please please please, try the homemade kind someday! There’s just nothing else like it.
My pie crust recipe uses a mix of shortening and butter so you get a tender, flaky pie crust with lots of smooth, buttery taste. It’s easy to make.

The recipe makes two crusts, so you can either halve it or use the second one for decorative cut-out shapes on the crust. This is a totally optional step but those cute leaves are a fun accent to the pie!
You can also use the other half of the pie crust recipe to make pie crust cookies or pecan pie tarts.
Since we’re making a heavy custard pie, we’re going to start this whole thing by blind baking the crust to insure doneness on the underside of the pie.
WHAT’S BLIND BAKING?
Blind baking is sort of “flash baking” your crust to give it a head start on doneness. When a custard-like filling goes into a crust, that crust can get super soggy if it’s not given that head start.
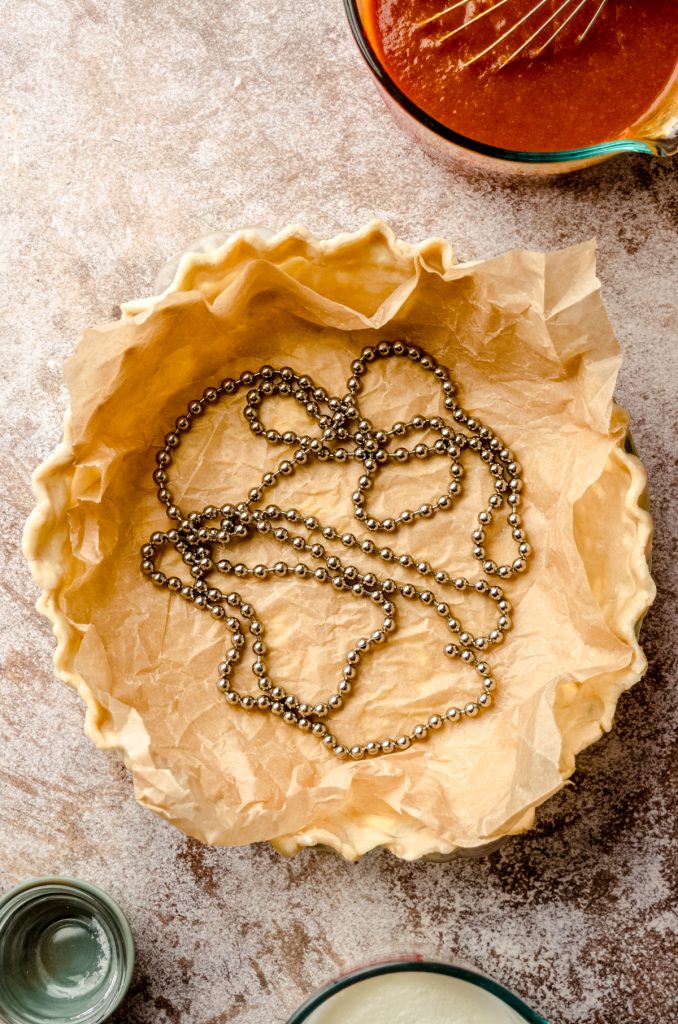
Use pie weights, dry beans, or my favorite, a pie chain, to prevent the crust from bubbling up with air pockets. Don’t worry about any marks the weights might leave. They won’t matter under all that pumpkin goodness.
NOT YOUR AVERAGE FILLING
There are hundreds of pumpkin pie recipes out there, but this filling stands out from the rest. Most people I’ve served it to have given me the “what is in that?” reaction, and comment that my pie is unlike any they’ve ever tried before.
Of course, my family requests my version of pumpkin pie every year, and I’ve turned skeptics into believers every time a new guest shows up.
MY SPECIAL INGREDIENTS
Here’s where Ina’s recipe comes into play: she uses fresh orange zest in the filling, which I honestly was skeptical of at first, but one bite of this pie and I was in absolute love. It’s bold and fruity and a perfect complement to the earthy taste of pumpkin. It brightens up the flavor and gives it a punch of tang. I have used both dried/jarred and fresh, and prefer the taste of fresh much better.
I also use black pepper, which is something I’ve been using in my gingerbread cookies for decades. I promise that you will not be able to detect the pepper, but rather it will blend in with the other spices to create a bright and punchy spiced flavor.
OTHER KEY INGREDIENTS
HEAVY CREAM: heavy cream gives pumpkin pie its silky smooth texture. Libby’s original recipe uses evaporated milk, which is not a whole lot different than regular milk, aside from its shelf stability. Using heavy cream makes the filling creamier without weighing it down too much, and bonus points, you can use it to make your homemade whipped cream (or pumpkin spice whipped cream).
EGGS: eggs set up the pumpkin pie filling and give it a rich texture. I add one additional egg than Libby’s original recipe uses for extra thickness and richness.
BROWN SUGAR: Libby’s original recipe uses exclusively granulated sugar. Swapping some of it out for brown sugar brings a little extra moisture and a deeper molasses-y sweetness.
HOW TO AVOID CRACKS IN PUMPKIN PIE
Sometimes, cracks are unavoidable. In fact, I’ve made this pie dozens and dozens of times, and sometimes, I still get a small crack or two.
My best defense against a ginormous crack is to leave the pie like this until the oven is cool:
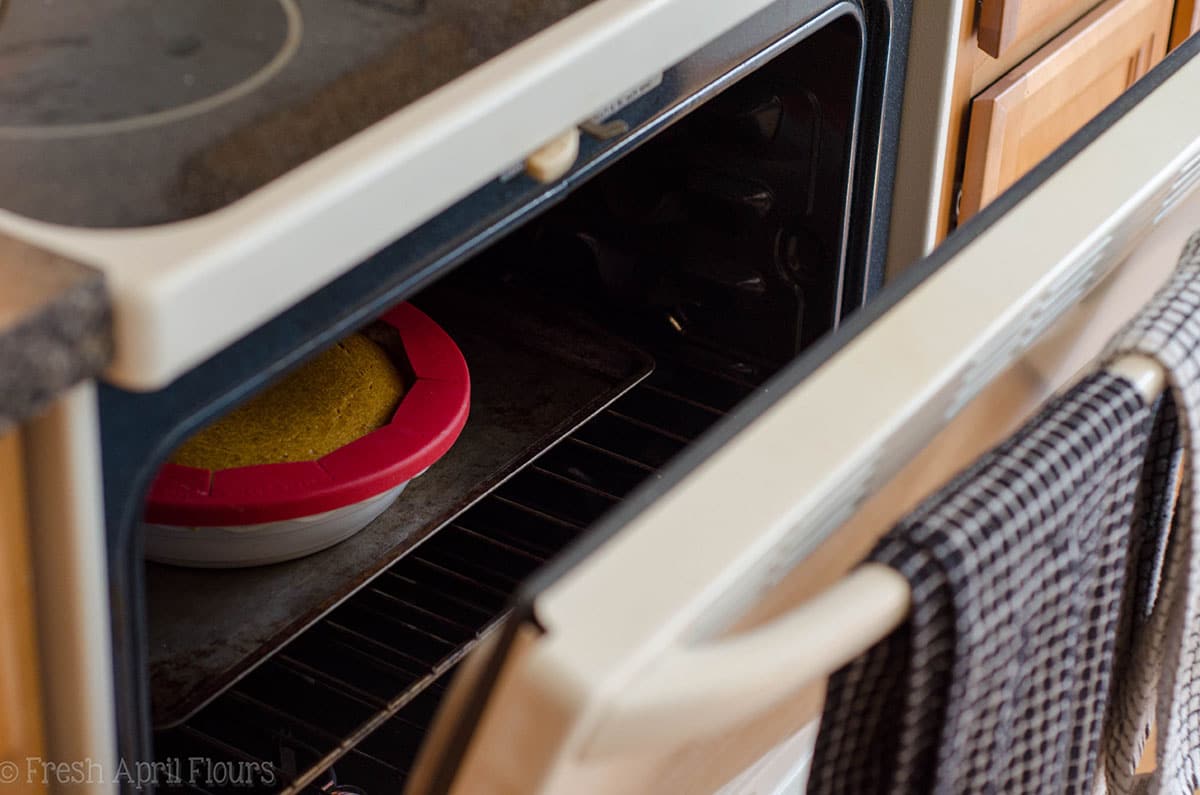
This is the method used during cheesecake baking to help keep the top intact. It works well with this pumpkin pie, but like I said, prepare for (but don’t necessarily expect ) a crack or two.
Also, be sure you aren’t overbaking the pie, as this can dry out the filling and pull it away from the sides of the crust, causing it to shrink and crack.
PUMPKIN PIE SUCCESS TIPS
BE SURE YOUR PIE CRUST IS READY TO GO: this will take some planning ahead as your crust will need at least 2 hours to chill enough to use, though I prefer chilling overnight or up to 5 days before using.
BLIND BAKE THE CRUST: blind baking helps give your crust a head start. Be sure you’re carefully pulling the parchment or foil off of the pie crust after it’s been parbaked, but don’t panic if the crust rips a bit! Just press it back together with your fingers. It will get “glued” back together with the pumpkin filling.
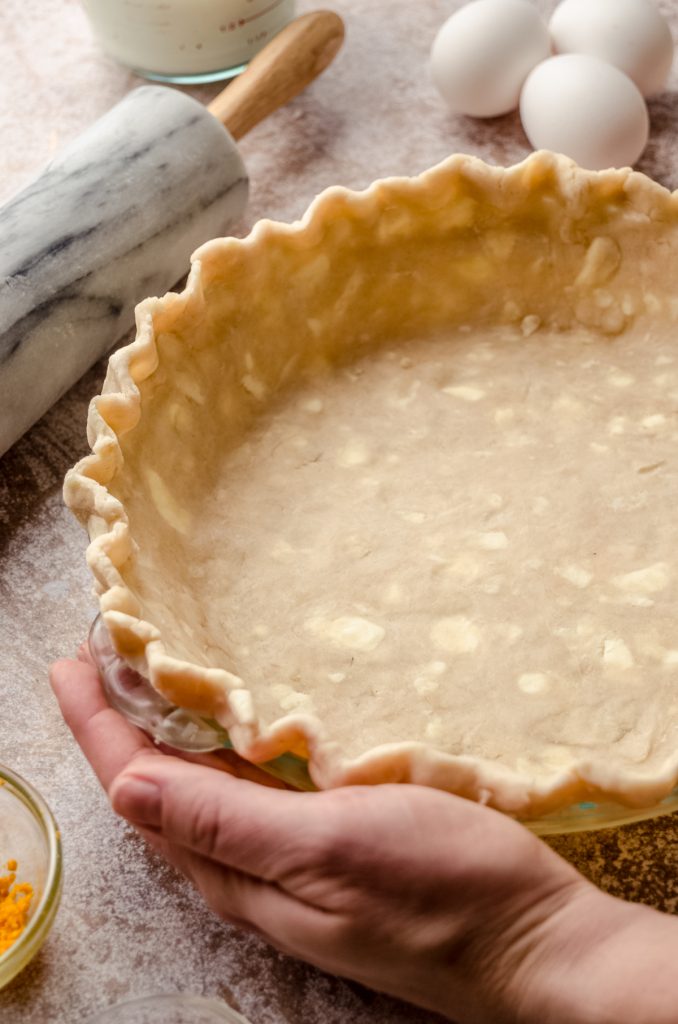
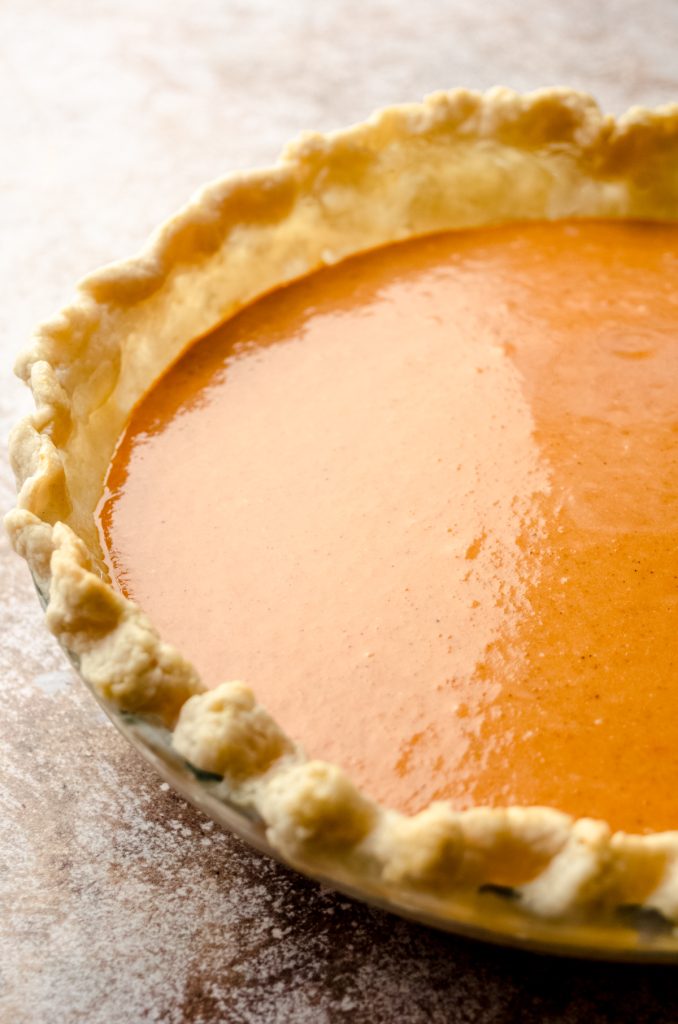
USE A GLASS PIE PLATE: though my favorite pie plate is ceramic, I find a lot of people who are just starting out with pie baking prefer to keep an eye on the bottom of the pie to insure doneness. The more pie you make, the more you will be comfortable with bake times that get you your desired doneness on the bottom of your pies, especially if you make the same pie often!
BAKE THE PIE ON A BAKING SHEET: since the crust in this recipe for the best pumpkin pie is quite buttery, I like to bake my pie on a baking sheet to avoid butter dripping onto the floor of my oven. It’s important to keep in mind, though, that this puts a barrier between the pie and the heat, so keep an eye on the doneness of the bottom of your pie (see above success tip). Personally, I like a slightly underdone bottom crust, which has been a controversial topic on Instagram over the years, so consider removing the baking sheet for the last 15-20 minutes of bake time to insure the highest doneness of your pastry.
BAKE IN THE LOWER THIRD OF THE OVEN: another way to insure success with the doneness of your pie crust is to bake it as close as possible to the heat source. Again, I like a little bit of an underdone bottom, so I use the position just above the very bottom. If you like a very done and flaky bottom, bake on the lowest rack.
DON’T OVERBAKE THE PIE: one of the biggest culprits of a crack in a pie is overbaking the pie, as it can dry out the filling, causing it to shink and/or pull away from the crust. Look for a filling that still jiggles just a touch. If you like to be exact like I do, check for an internal temperature of at least 175°F (79°C) with an instant read thermometer. This is my very favorite instant-read digital thermometer, and this is my favorite budget-friendly digital thermometer. You can cover the hole with some whipped cream!
MAKE AHEAD & STORAGE INSTRUCTIONS
MAKE AHEAD: I highly recommend making this pie ahead of time, as it takes a few hours to cool down and set up. While it will need at least 4 hours of refrigeration before serving, I prefer to chill it overnight. To save yourself some time, you can prepare the pie plate up to 1 day in advance, being sure to cover it completely so the crust doesn’t dry out. Store in the refrigerator until you are ready to pour in the filling. You can also make the filling up to 1 day ahead of time. Simply pour into the parbaked crust straight from the refrigerator.
SHORT TERM STORAGE (REFRIGERATOR): homemade pumpkin pie does not use preservatives, therefore cannot spend as much time at room temperature as a store-bought one can. You can leave this pie out for about 2 hours before it will need to go back in the refrigerator. Leftover pumpkin pie will stay fresh in the refrigerator for about 5 days. Be sure your pie is completely cool before covering and storing it.
LONG TERM STORAGE (FREEZER): your fully baked pumpkin pie can be frozen for up to 3 months. Allow it to cool completely, then cover it with a layer of plastic wrap and then a layer of aluminum foil. You can skip the foil and pop into a large zip-top bag, if you prefer. Thaw pie in the refrigerator overnight.
RECOMMENDED TOOLS
Use a pastry blender for making the pie crust.
This is my favorite ceramic pie plate, but if you’re new to pies, a glass one will help you see the crust browning on the sides and bottom for better monitoring of doneness.
This is my favorite rolling pin. It has held up for years with frequent use.
Use a zester for the orange peel.
This is my favorite pastry brush.
Using a pie shield will help keep the pie crust from burning. You can always use foil if you want to skip another tool, but if you bake a lot of pies, I recommend having a proper shield on hand.
Pumpkin Pie Recipe from Scratch FAQs

Fair warning: there is a very good chance this pie will be the star of your Thanksgiving show. The filling is rich and decadent, and the flavor is so intense you’ll find yourself taking slow bites just to find all those individual spices.
Pumpkin pie often gets overlooked as just a run-of-the-mill, must-have dessert, but I can guarantee that if you bring this pie to your Thanksgiving spread, you’ll be everyone’s new favorite family member.
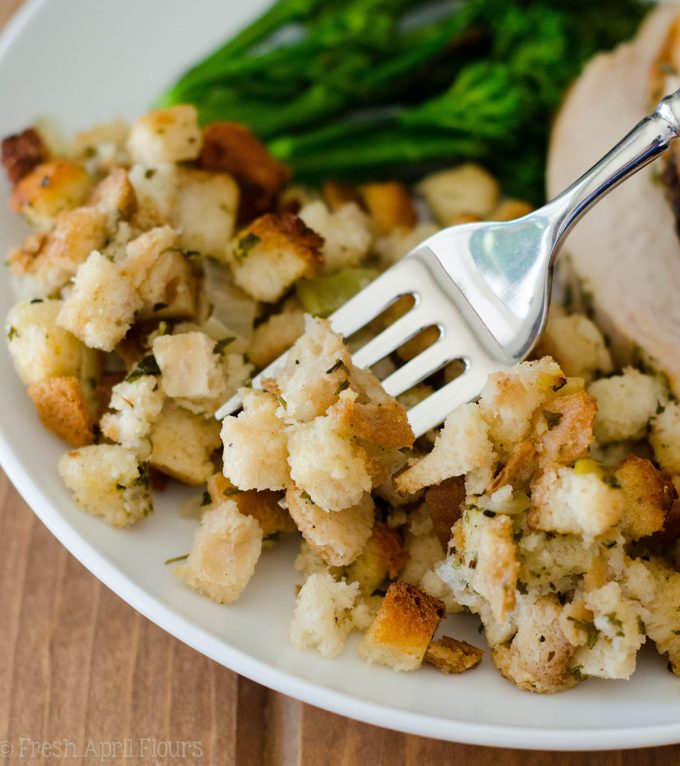
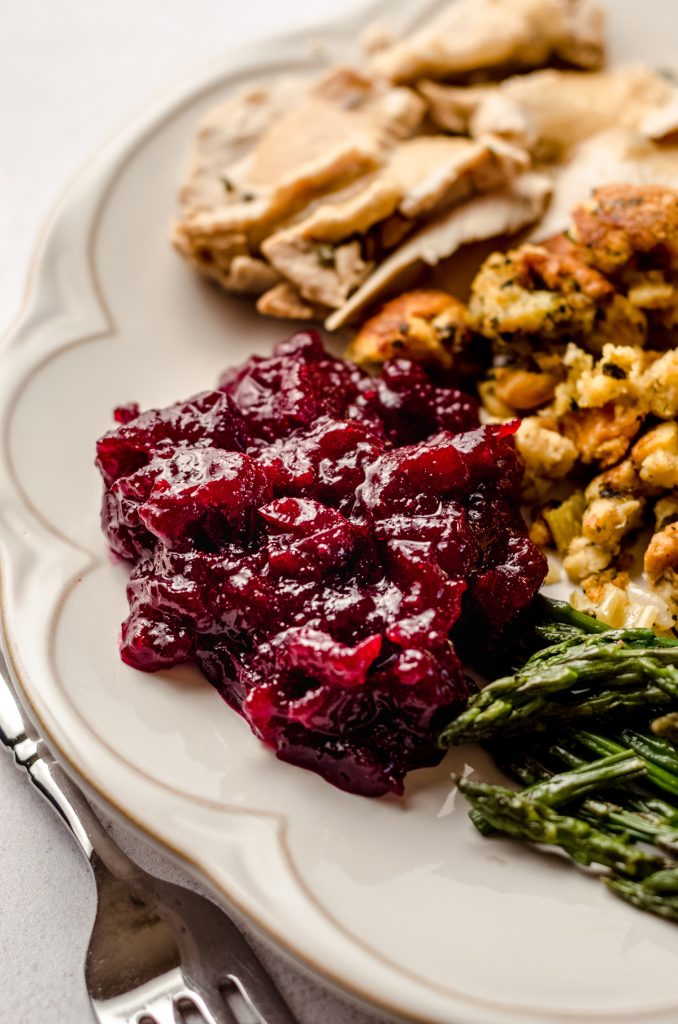
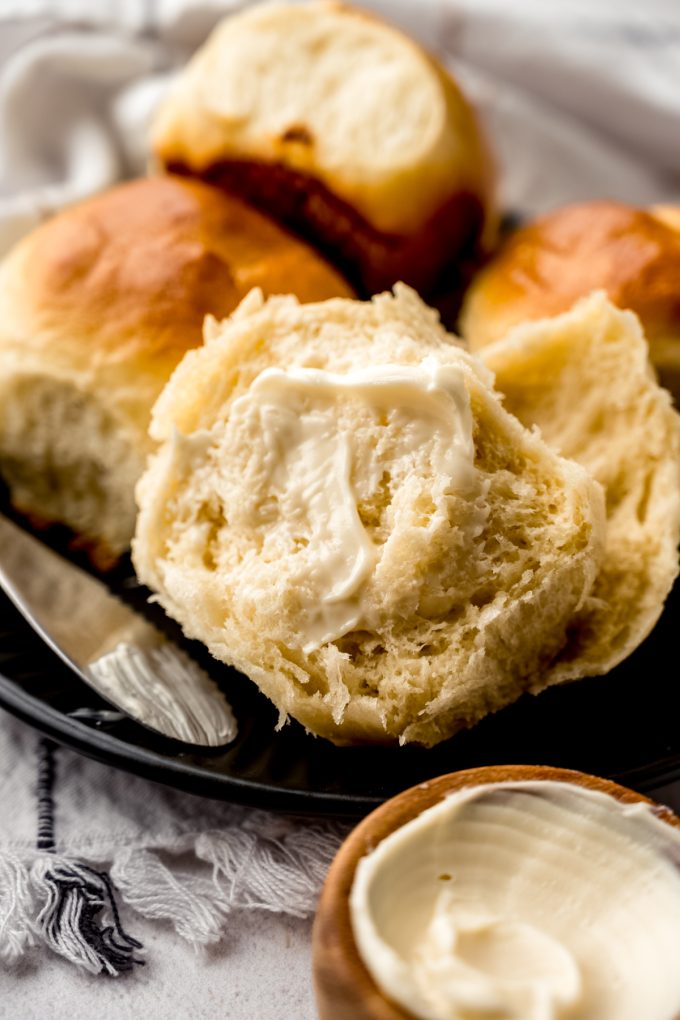
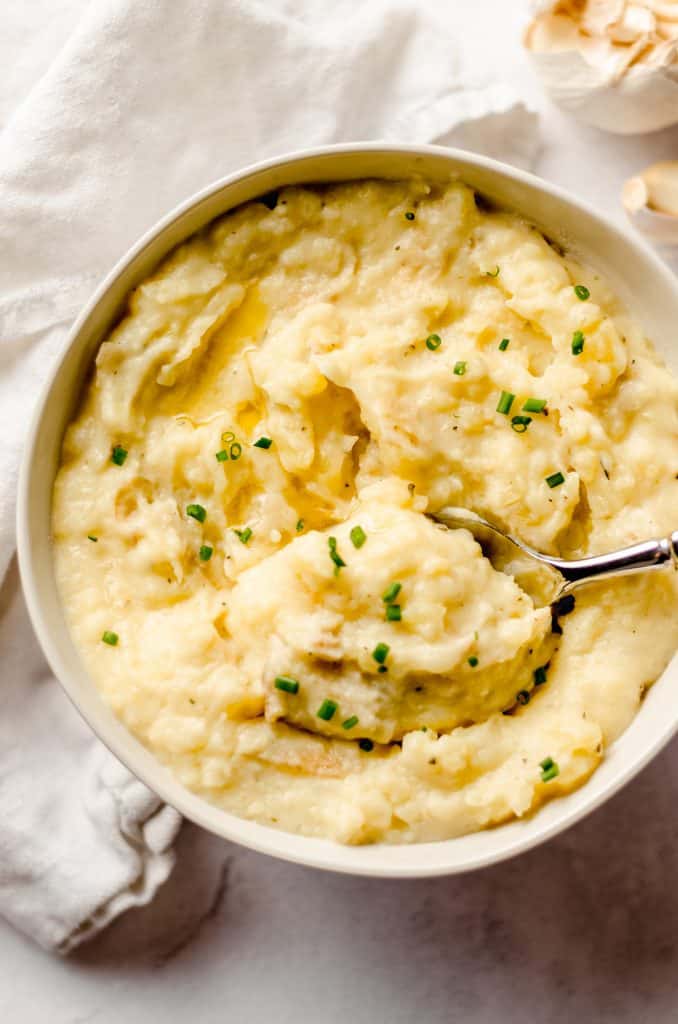
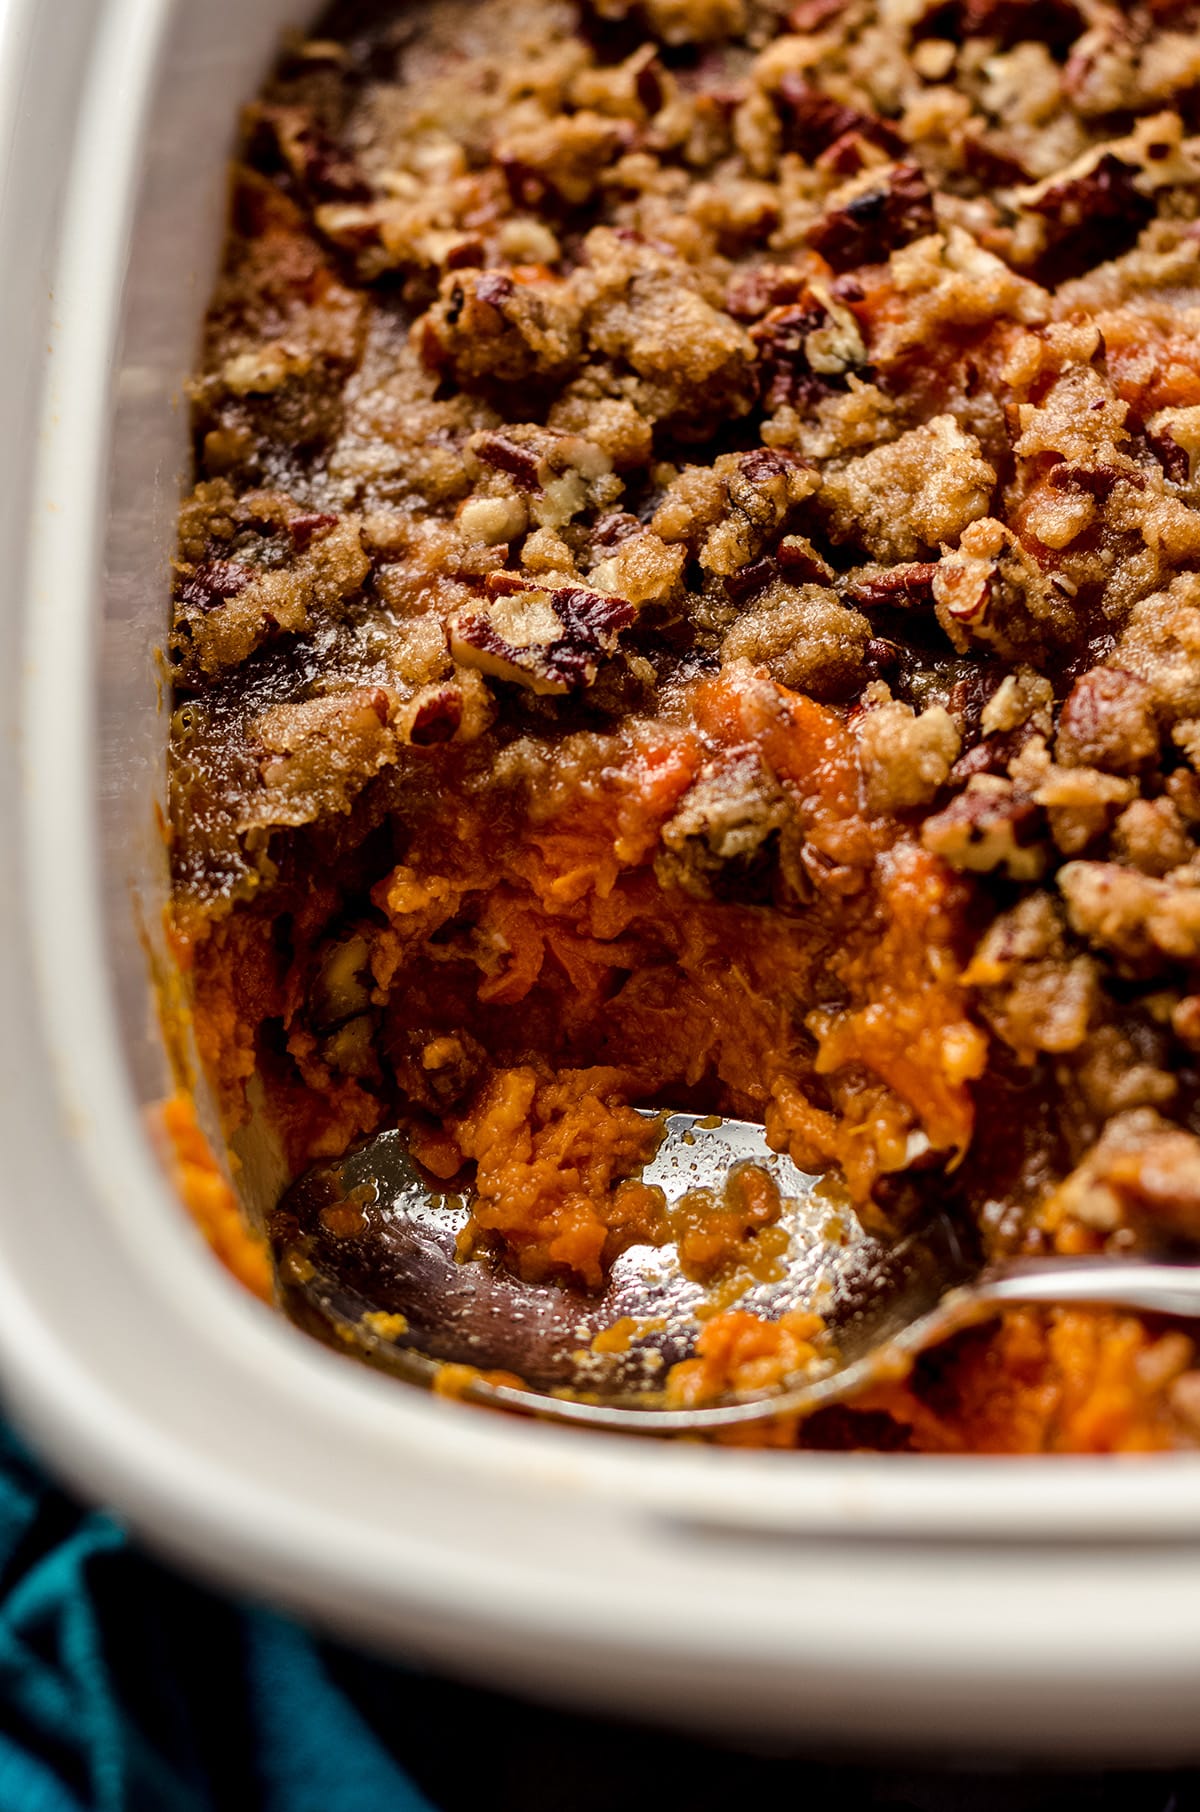
Round out the rest of your Thanksgiving sides: traditional bread stuffing, spiced cranberry sauce, easy yeast rolls, Instant Pot garlic mashed potatoes, sweet potato crunch, and whipped cream!
Perfect Pumpkin Pie Recipe
Ingredients
- homemade pie crust makes 2 crusts: see recipe notes1
- EGG WASH: 1 large egg beaten with 1 teaspoon heavy cream
- 1 15-ounce can (425g) pumpkin purée not pumpkin pie filling
- ½ cup (100g) firmly packed light brown sugar
- ¼ cup (50g) granulated sugar
- ½ teaspoon salt
- ½ teaspoon ground cinnamon
- ¼ teaspoon ground ginger
- ¼ teaspoon ground nutmeg
- ⅛ teaspoon ground cloves
- ⅛ teaspoon ground black pepper
- 2 teaspoons grated orange zest2 optional
- 3 large eggs lightly beaten
- 1 cup (240mL) heavy cream
Instructions
- I highly recommend reading all of the "success tips" in the post before proceeding, especially if you've never made pumpkin pie before.
- Prepare my homemade pie crust through step 4.homemade pie crust
- Arrange a rack in the oven to the lower third position in the oven (the very bottom or one slot above). Preheat the oven to 375ºF (191ºC).
- On a floured work surface, roll out one disc of chilled pie dough. Turn the dough about one quarter of a turn after every few rolls until dough is in a circle approximately 12" in diameter.
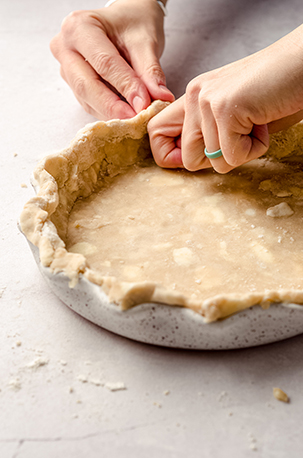
- Carefully place the dough into a 9" x 2" pie dish. Use your fingers to tuck it in and make it smooth. If you need to trim the edges, use a small paring knife to do so. Flute the edges with your pointer finger knuckle of one hand and thumb and pointer finger of the other. If your crust has gotten especially warm from touching it, pop it in the refrigerator for 15 minutes to firm up.
- Brush the crust lightly with the egg + cream wash. Prick the crust a few times with a fork, then line the crust with parchment paper and dried beans or a pie chain/pie weights. Bake the crust for 15 minutes, until golden brown. While the crust bakes, prepare the pie filling.EGG WASH: 1 large egg beaten with 1 teaspoon heavy cream
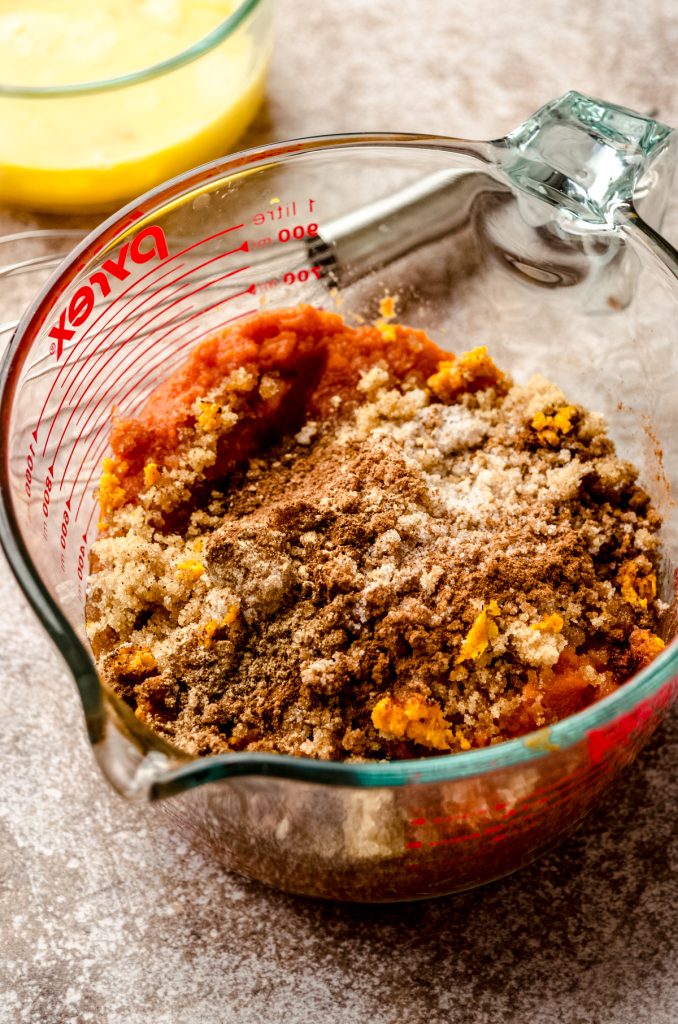
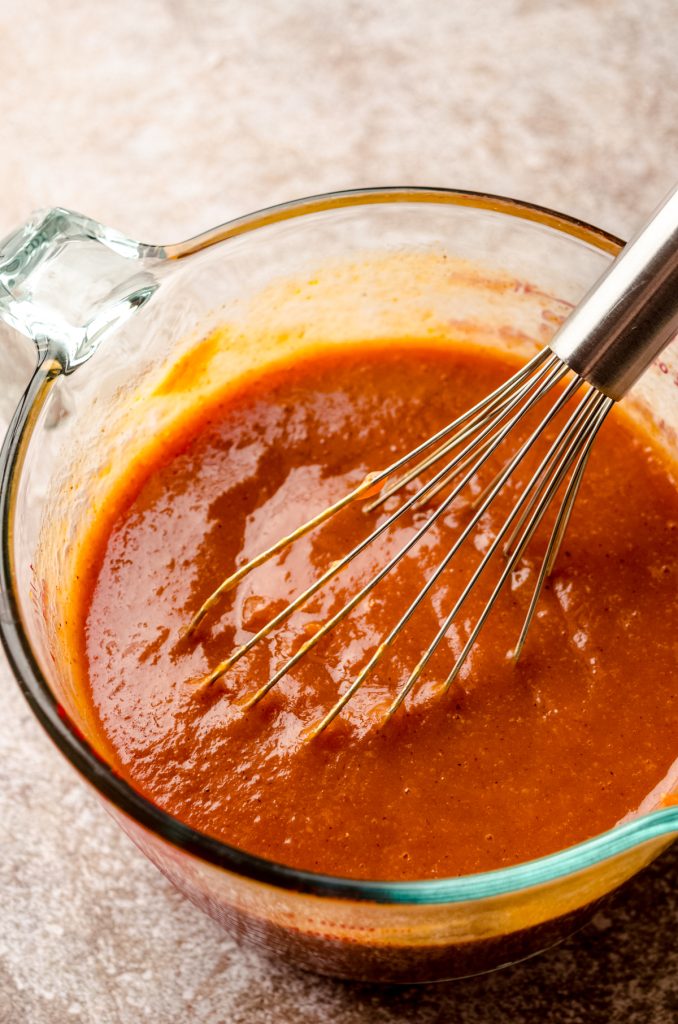
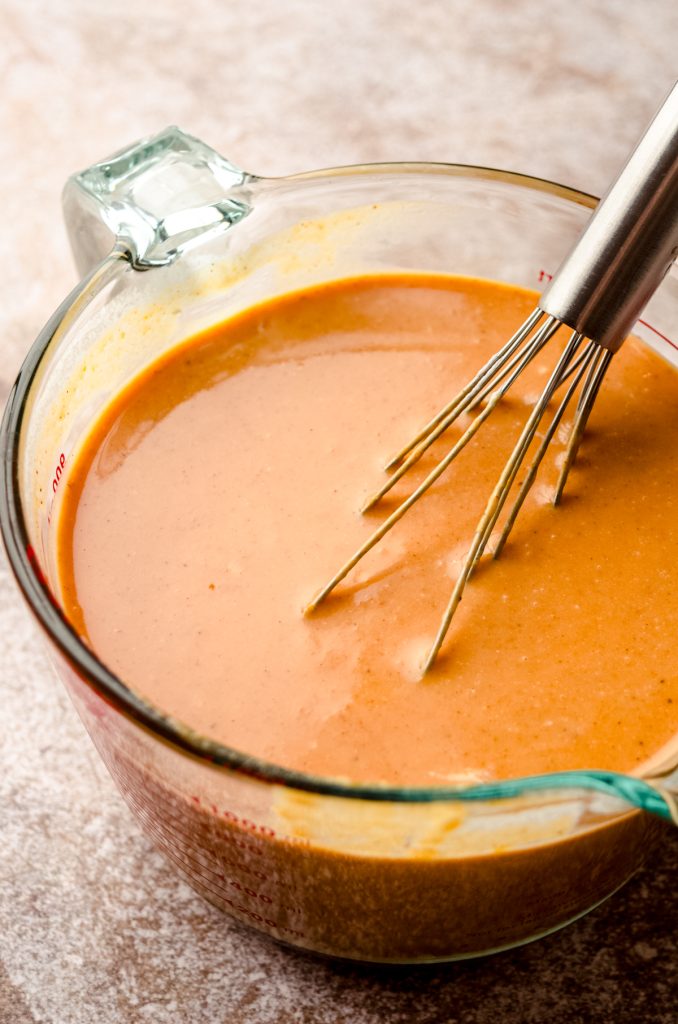
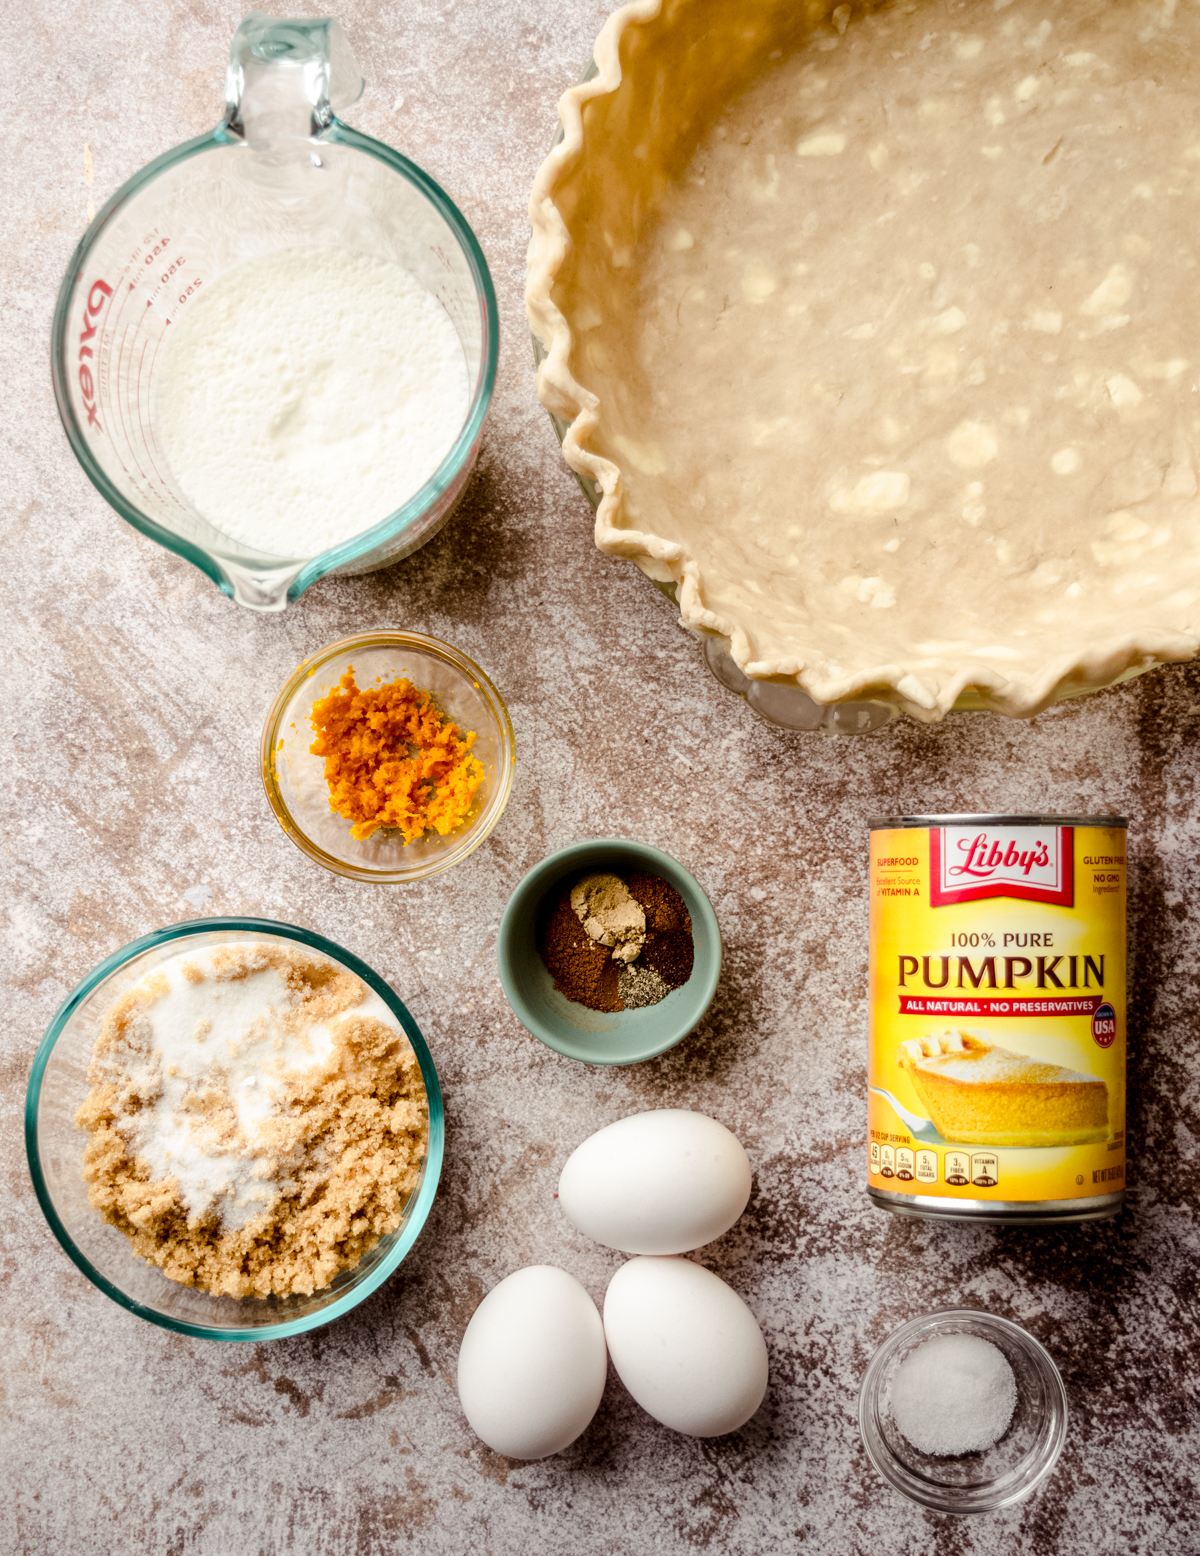
- In a medium size bowl, whisk together the pumpkin, brown sugar, granulated sugar, salt, cinnamon, ginger, nutmeg, cloves, black pepper, orange zest (if using), and eggs. Whisk in the cream until everything is incorporated.1 15-ounce can (425g) pumpkin purée, ½ cup (100g) firmly packed light brown sugar, ¼ cup (50g) granulated sugar, ½ teaspoon salt, ½ teaspoon ground cinnamon, ¼ teaspoon ground ginger, ¼ teaspoon ground nutmeg, ⅛ teaspoon ground cloves, ⅛ teaspoon ground black pepper, 2 teaspoons grated orange zest2, 3 large eggs, 1 cup (240mL) heavy cream
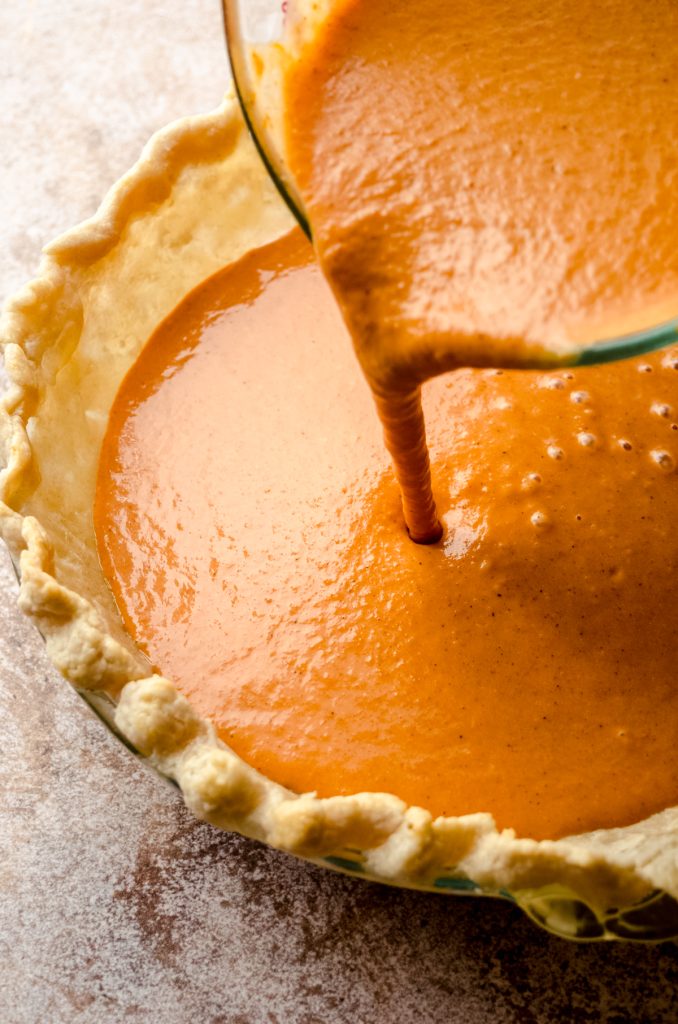
- When the crust is finished pre-baking, remove from the oven, then carefully remove the pie weights and parchment, taking care not to rip the crust.
- Pour the filling into the baked pie crust, reduce the oven temperature to 350ºF (177ºC), place pie dish on a large baking sheet, and place a pie shield (or foil) around the crust to prevent burning.
- Place the baking sheet with the pie on it in the oven and bake the pie for 60-68 minutes, removing the shield for the last 10-15 minutes or so of baking. The filing is done3 when it jiggles just a tiny bit when the baking sheet is bumped. You may also see a circle of what looks like unbaked filling in the center. This is ok. Turn off the oven and crack the door, allowing the pie to cool inside the warm oven for about 20 minutes. The top of the pie may still crack a bit, and this is fine.
- After the oven has cooled down, transfer baked pie to a wire cooling rack to cool completely. I prefer a chilled pumpkin pie, so chilling at least 4 hours (or ideally overnight) before serving is ideal. Serve with homemade whipped cream, pumpkin spice whipped cream, and sugared cranberries. Leftovers stay fresh covered tightly in the refrigerator up to 5 days. Pie can be frozen, up to 3 months. Wrap tightly in plastic wrap and place in a plastic zip top bag. Thaw in refrigerator overnight.
Notes
- Pie crust recipe makes 2 crusts: so you can use 1 for the pie and 1 for cut-out leaves, if you wish. On a floured work surface, roll out the second pie crust, about ⅛” thickness. Use cookie cutters to cut into desired shapes (these are my favorite fall minis!). Brush each lightly with the beaten egg + cream wash and dust with cinnamon sugar (optional). If you’d like to make leaf veins, use a very sharp knife. Place cut pieces a large baking sheet lined with parchment paper or silicone baking mat and bake at 350°F (177ºC) for 10-12 minutes, until lightly browned. Remove from oven and set aside to cool before using to decorate pie. Make pie crust cookies with the scraps.
- Orange zest: you may use fresh or jarred orange zest. I have used both and prefer the stronger flavor of fresh.
- Check the pie is done: If you like to be exact like I do, check for an internal temperature of at least 175°F (79°C) with an instant read thermometer. This is my very favorite instant-read digital thermometer, and this is my favorite budget-friendly digital thermometer. You can cover the hole with some whipped cream!
Nutrition Disclosure
All nutritional values are approximate and provided to the reader as a courtesy. Changing ingredients and/or quantities will alter the estimated nutritional calculations.
Wow Lynn! Such a pretty pretty pie! It looks perrrrrfect. Pinning!!
Thanks, Jess! That means a lot coming from the queen of beautiful cakes herself!!
I LOVE this recipe! I’ve been making it for years and everyone always loves it. It’s pretty easy and there’s so much flavor. My favorite!!
Thank you, Sam! 🙂
I cannot tell you how delicious this pie is! I normally don’t enjoy pumpkin pie, but made this for a family gathering. The entire family LOVED IT! They could not stop raving. Delicious- and I enjoyed it too. When I say the best pumpkin pie ever, I mean it!
Thank you so much, Lizzy! That truly means a lot to me.
This pie was delicious and got lots of yums around our Thanksgiving table
Thank you so much, Vanessa!