Classic Pumpkin Pie
As an Amazon Associate, I earn from qualifying purchases. Read the full disclosure here.
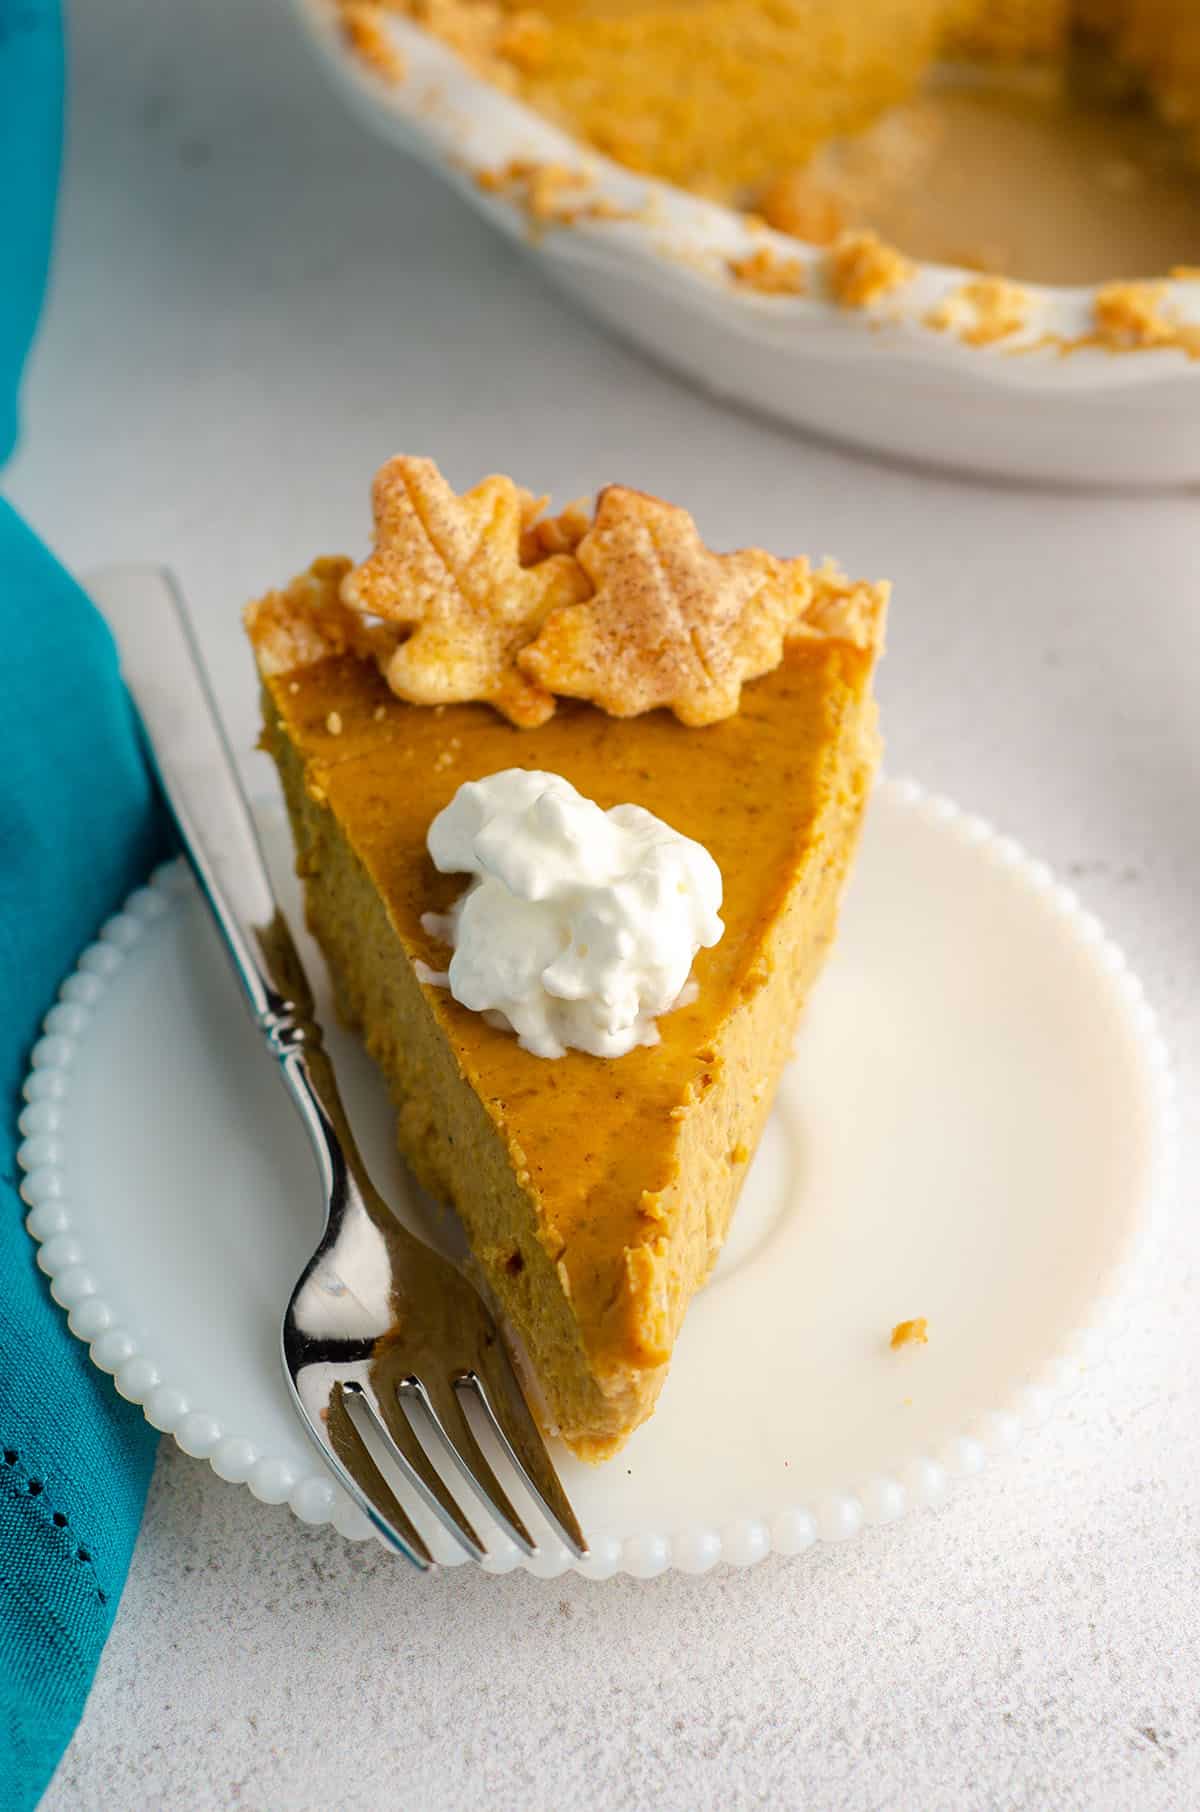
A simple recipe for my go-to pumpkin pie. Bursting with flavor thanks to a few surprise ingredients, rich, smooth, and made even better baked in my favorite homemade pie crust.
Oh, heyyy, week of Halloween. When did you get here?? Wasn’t it just Labor Day and 80 degrees?
Actually, it was just close to 80 degrees last week here in southeastern PA, because WHY NOT throw the people of Pennsylvania who are expecting crunchy leaves and cool crisp air for a huge loop?
I was just reminded a few weeks ago that on Halloween in 2011, it snowed here.
Yeah. Snow. In October. Mother Nature always keeping us on our toes!
No matter your weather, we can all agree on one thing: it is most certainly still fall and by absolutely no means Christmas.
Because yeah… I see you, Christmas candy, in your aisles in the grocery store. I see you, Christmas trees and ornaments, lining the shelves of my favorite craft stores.
And I definitely see you, Christmas cookies, that have been taking up space on my kitchen counter and my photo editing program for the last month and a half (oh, just #foodbloggerlife?).
But no. No no no. I have not even gone Trick-Or-Treating nor had my Thanksgiving dinner yet, so please, keep your Christmas carols away from me for now.
I have some turkey and stuffing to eat, and I will not allow the Christmas caroling to start until my last crumb of pumpkin pie is gone.
Which, honestly, won’t take long at all. But I can guarantee you it won’t be before Black Friday begins.
Over 4 years ago, I originally shared this classic pumpkin pie, because it had been my go-to for years, and still is my go-to every Thanksgiving.
When I first made it and photographed it back in 2016, Matt had never actually tried it. He is (or at least was) a self-proclaimed pumpkin hater, but he took one bite of that pie after I was done taking pictures and said it was the best pumpkin pie he’d ever had.
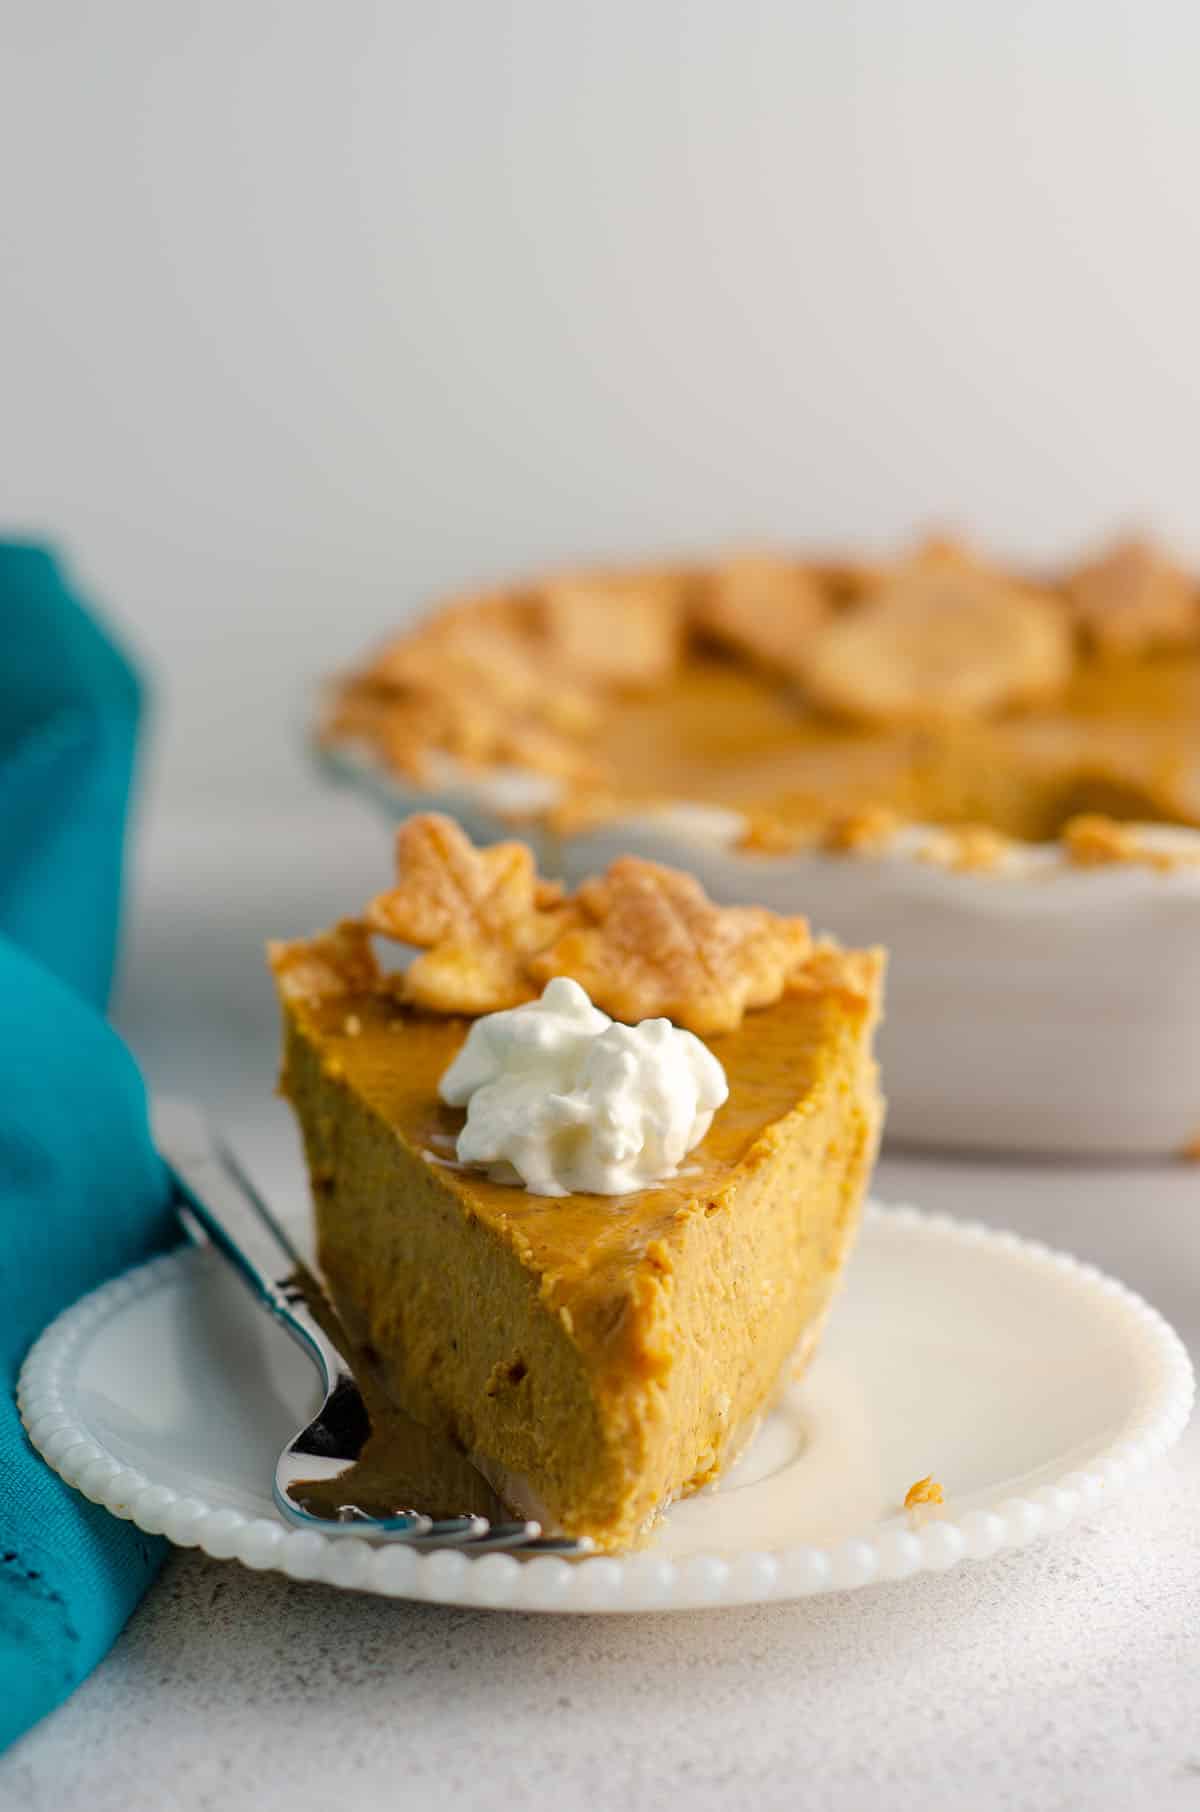
And then he asked for more.
When I heard those glorious words come out of his mouth, I could barely speak! My husband? The guy who thinks the best way to eat pumpkin pie is to throw it in the trash? Wants more?!
Surely, this recipe for a pumpkin pie really is as good as I think it is.
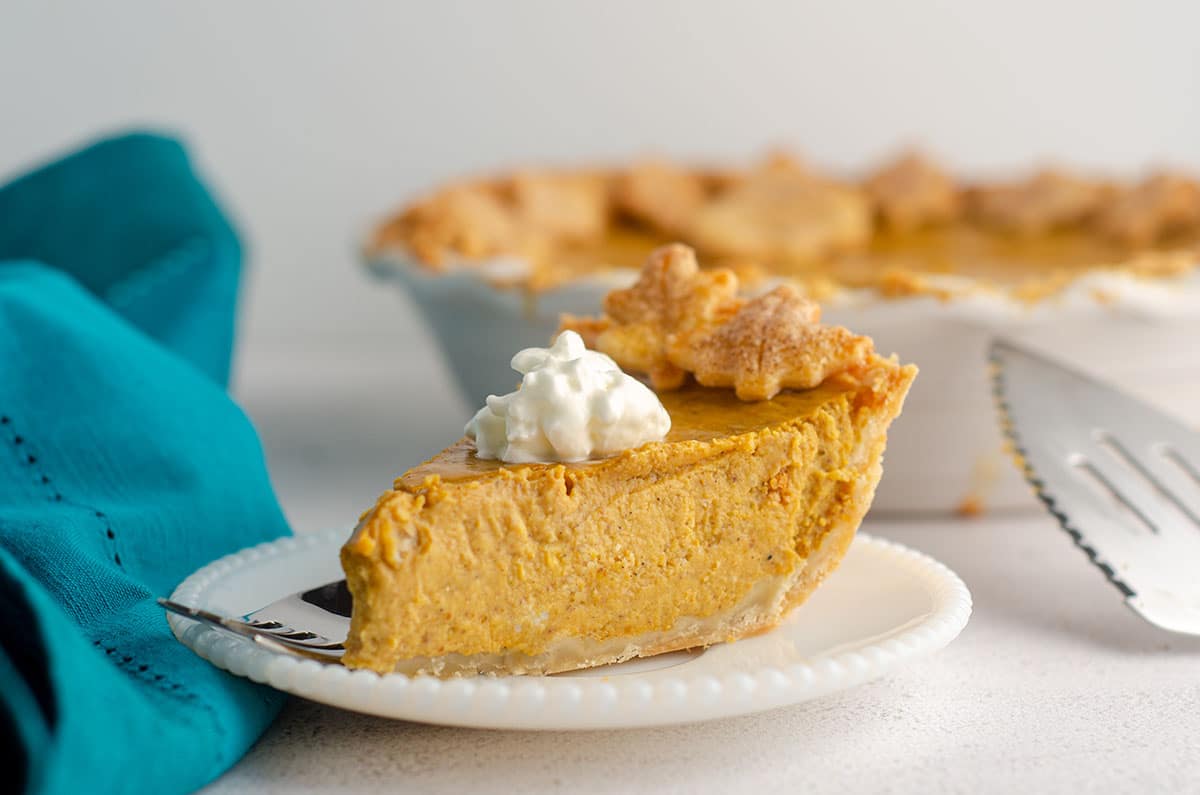
HOW TO MAKE PUMPKIN PIE
There are a few key components to this glorious pumpkin pie:
•my buttery, flaky homemade pie crust as the base
•a rich and decadent filling made extra flavorful with surprise ingredients
•homemade whipped cream or a pumpkin spice whipped cream to seal the deal
Have you made my homemade pie crust before? It gets excellent reviews, and it’s super simple. If you’re too intimidated, store-bought is just fine. But please please please, try the homemade kind someday! There’s just nothing else like it!!
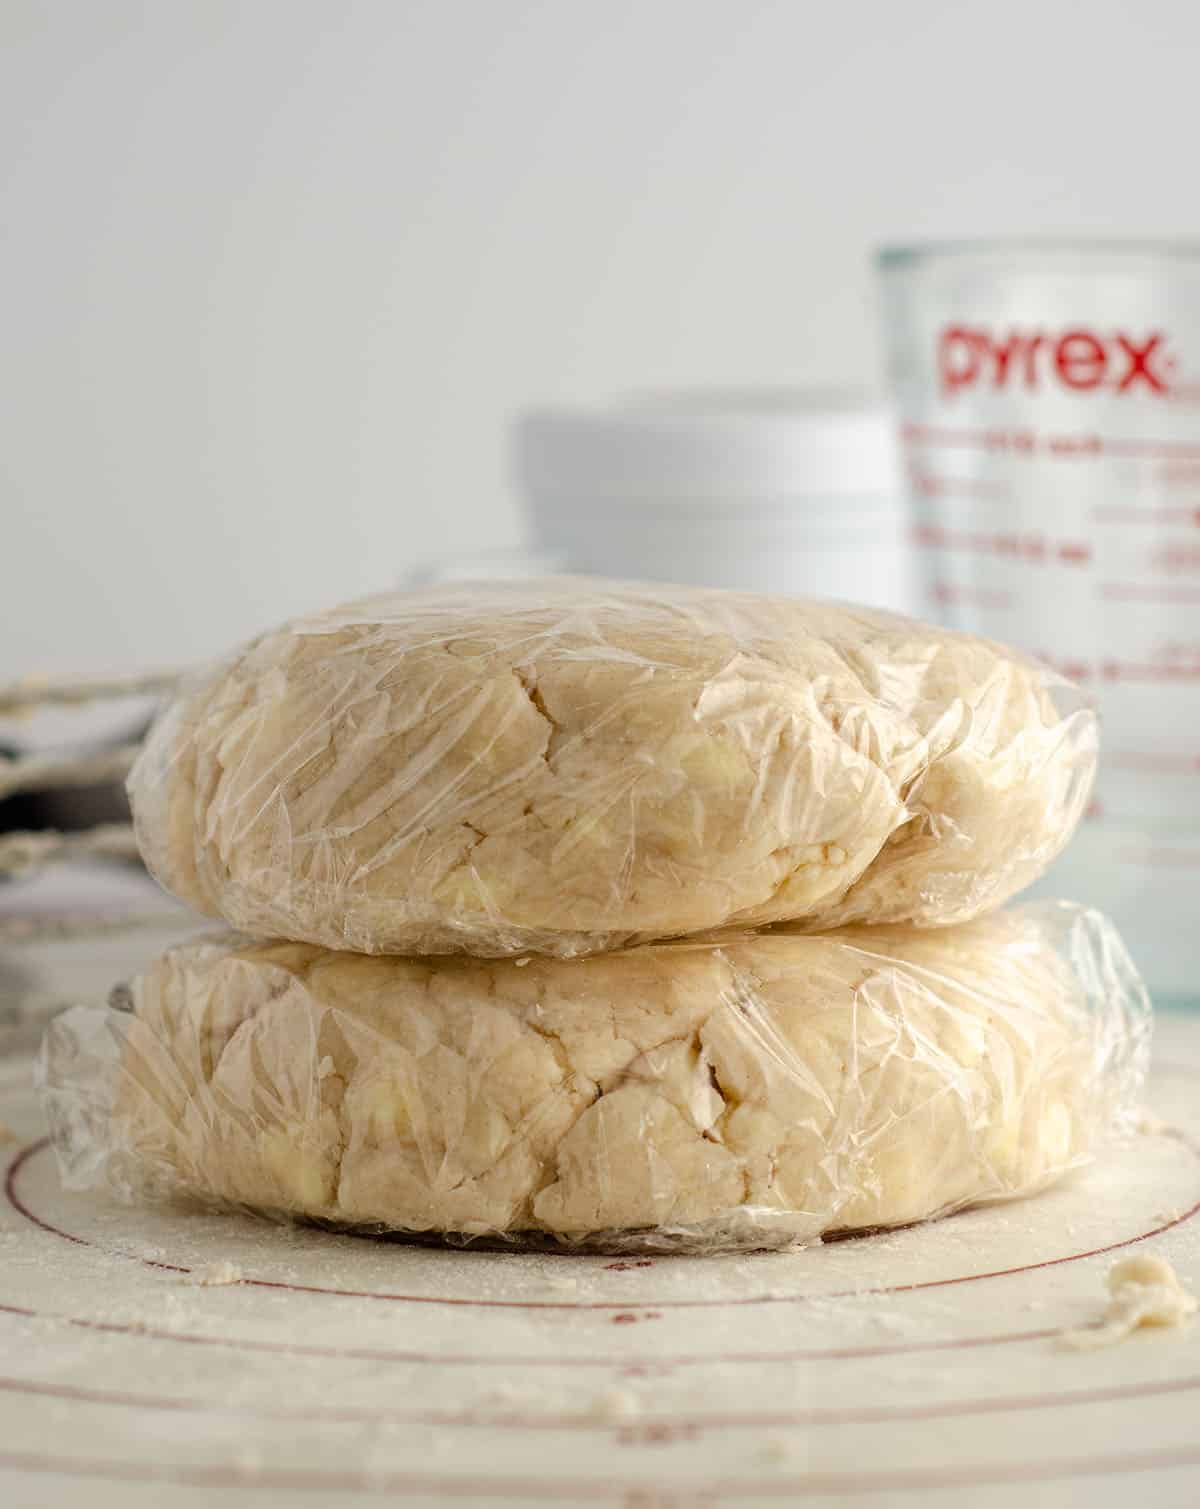
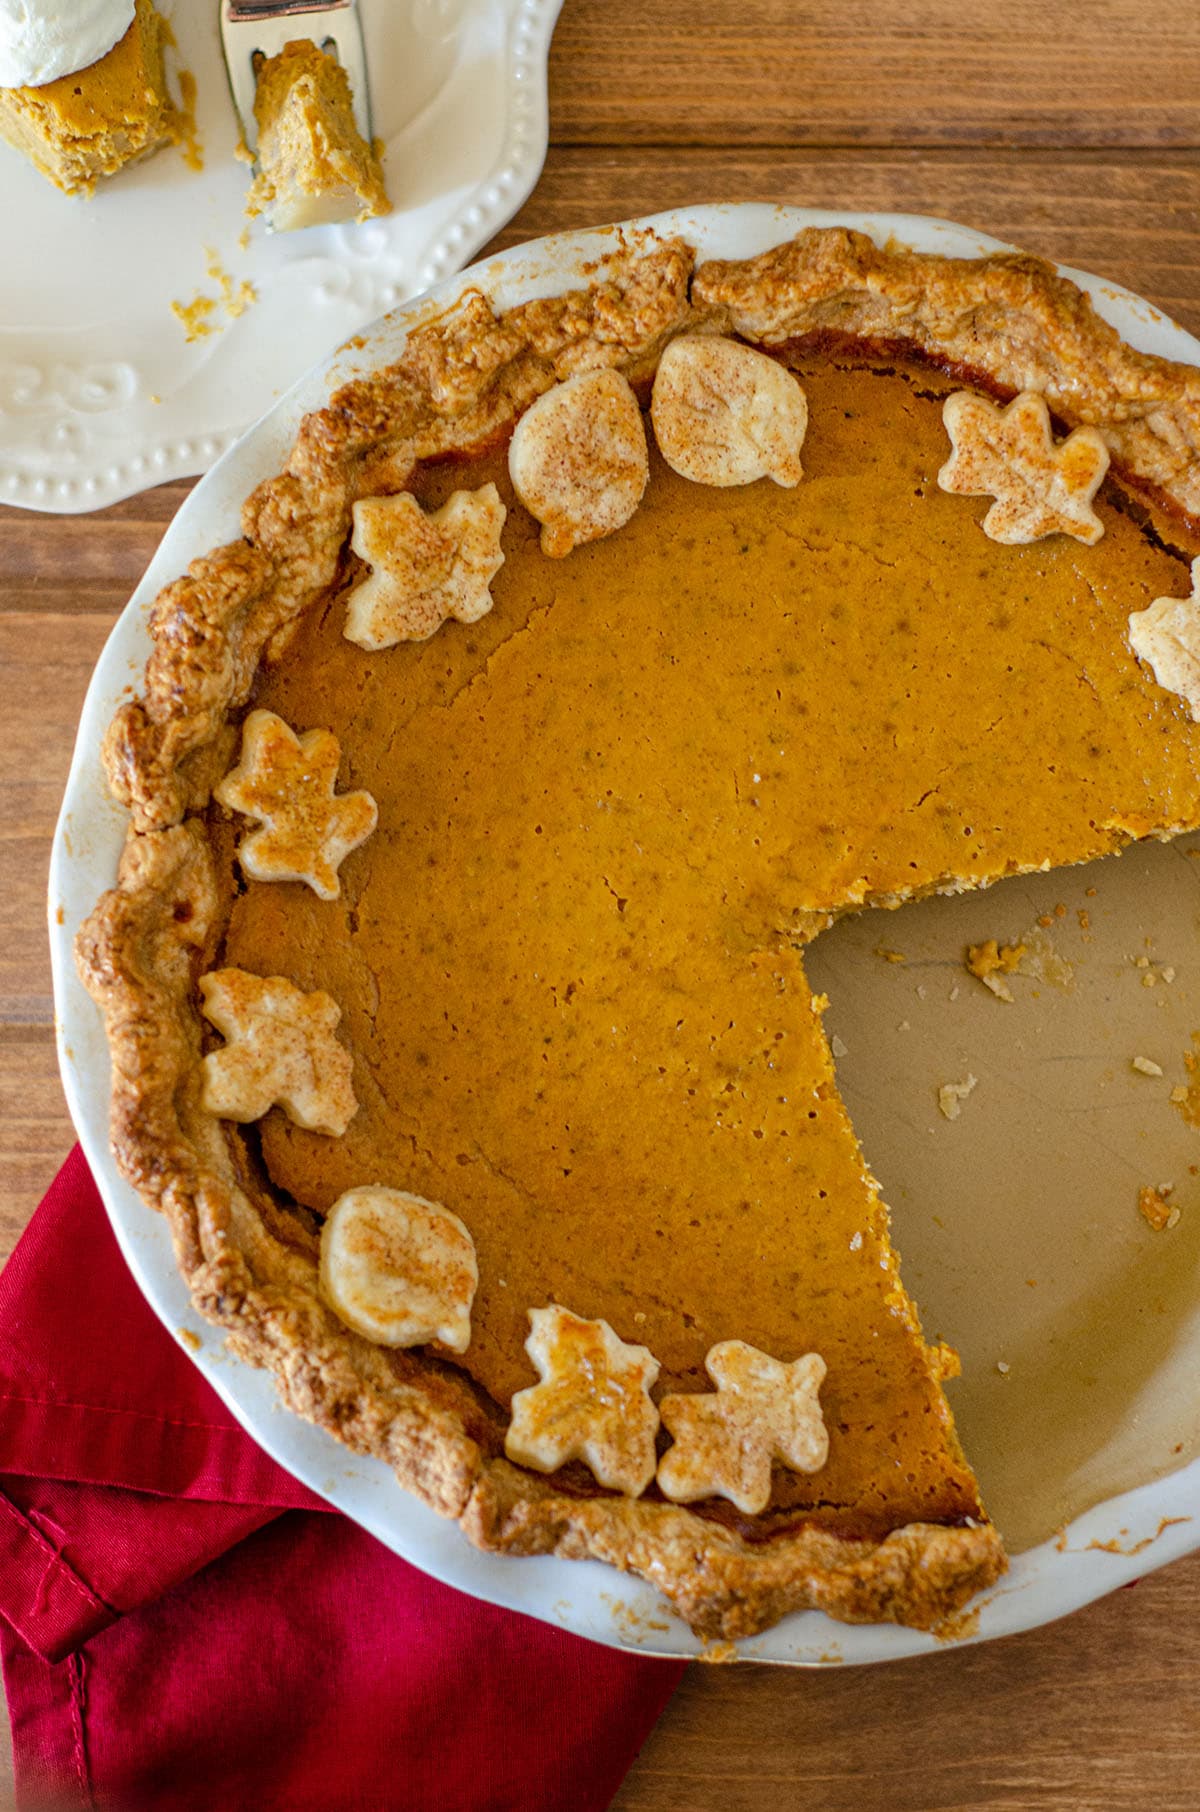
My pie crust recipe makes two crusts, and you can use the second one for the cut-out shapes on the crust. This is a totally optional step, but heyyyy, cute leaves!
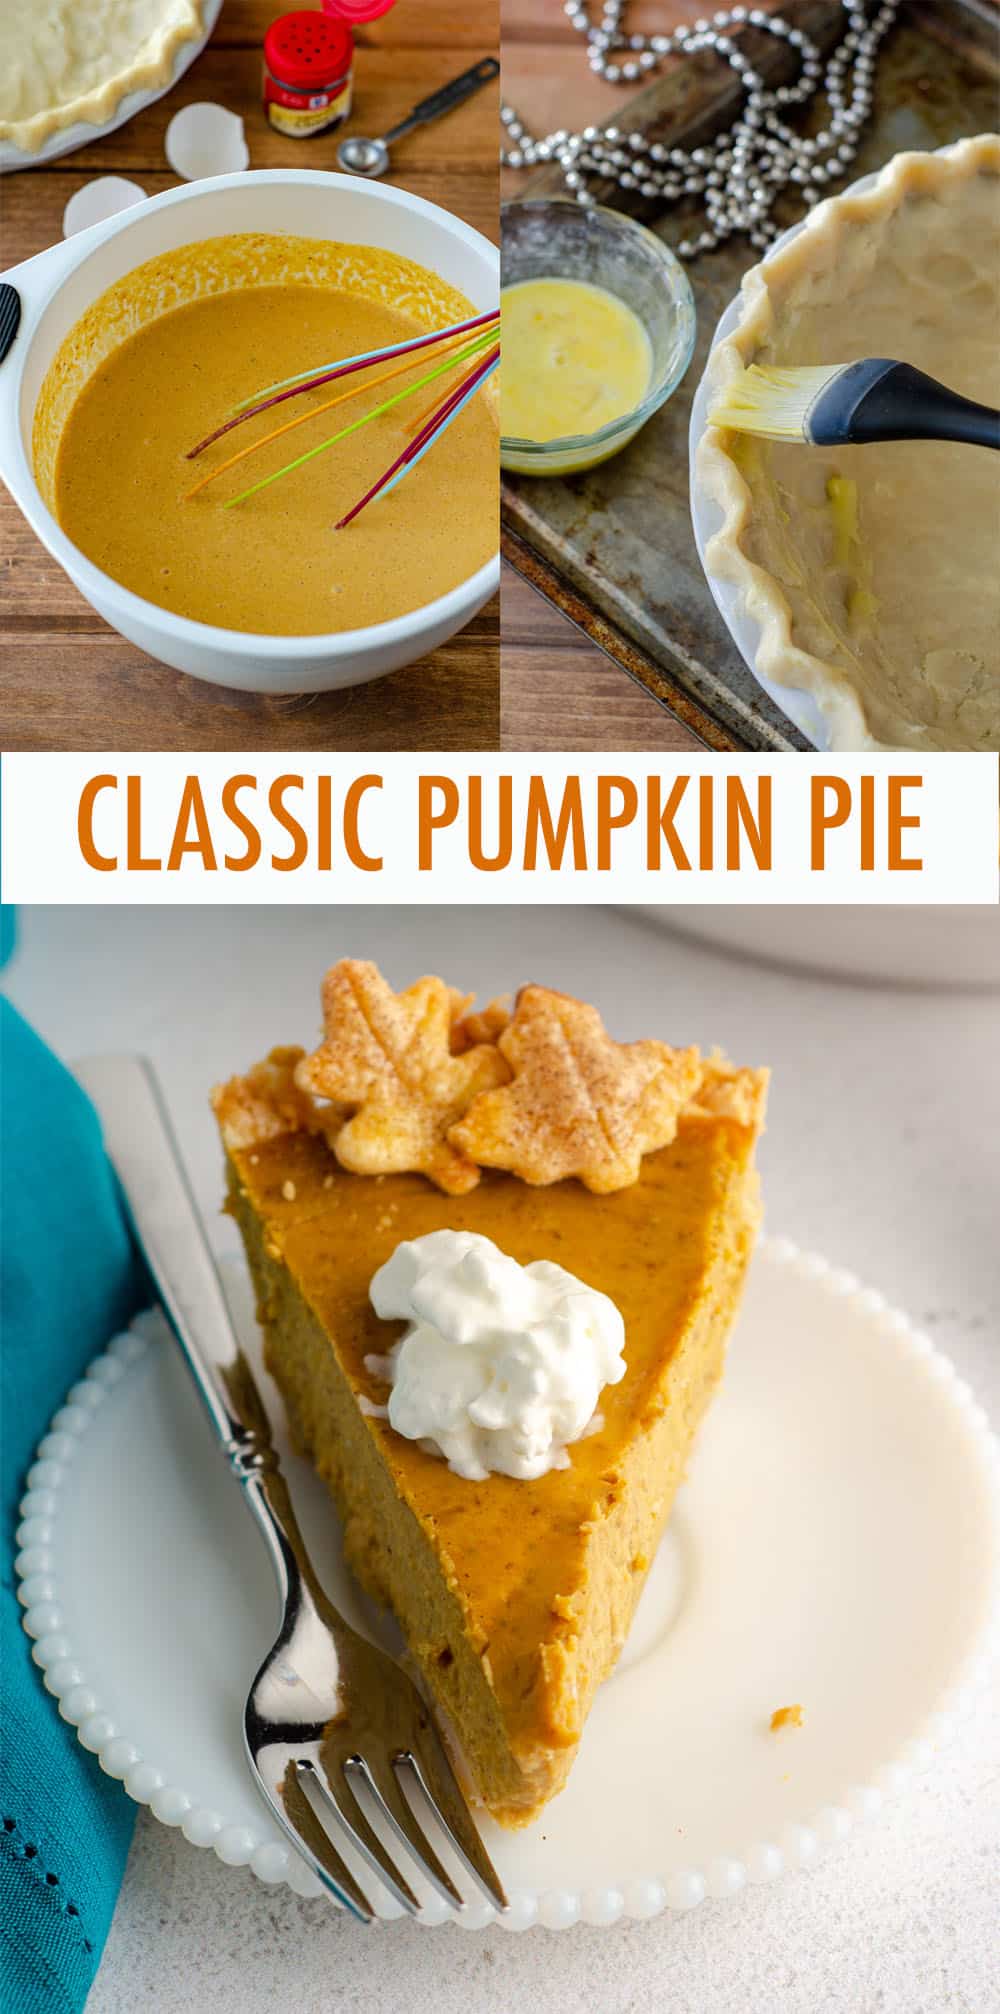
You’ll brush the pie crust with an egg wash (and the cut-out pieces too, if you’re using them!) to give it an extra shine and then blind bake it for about 12 minutes.
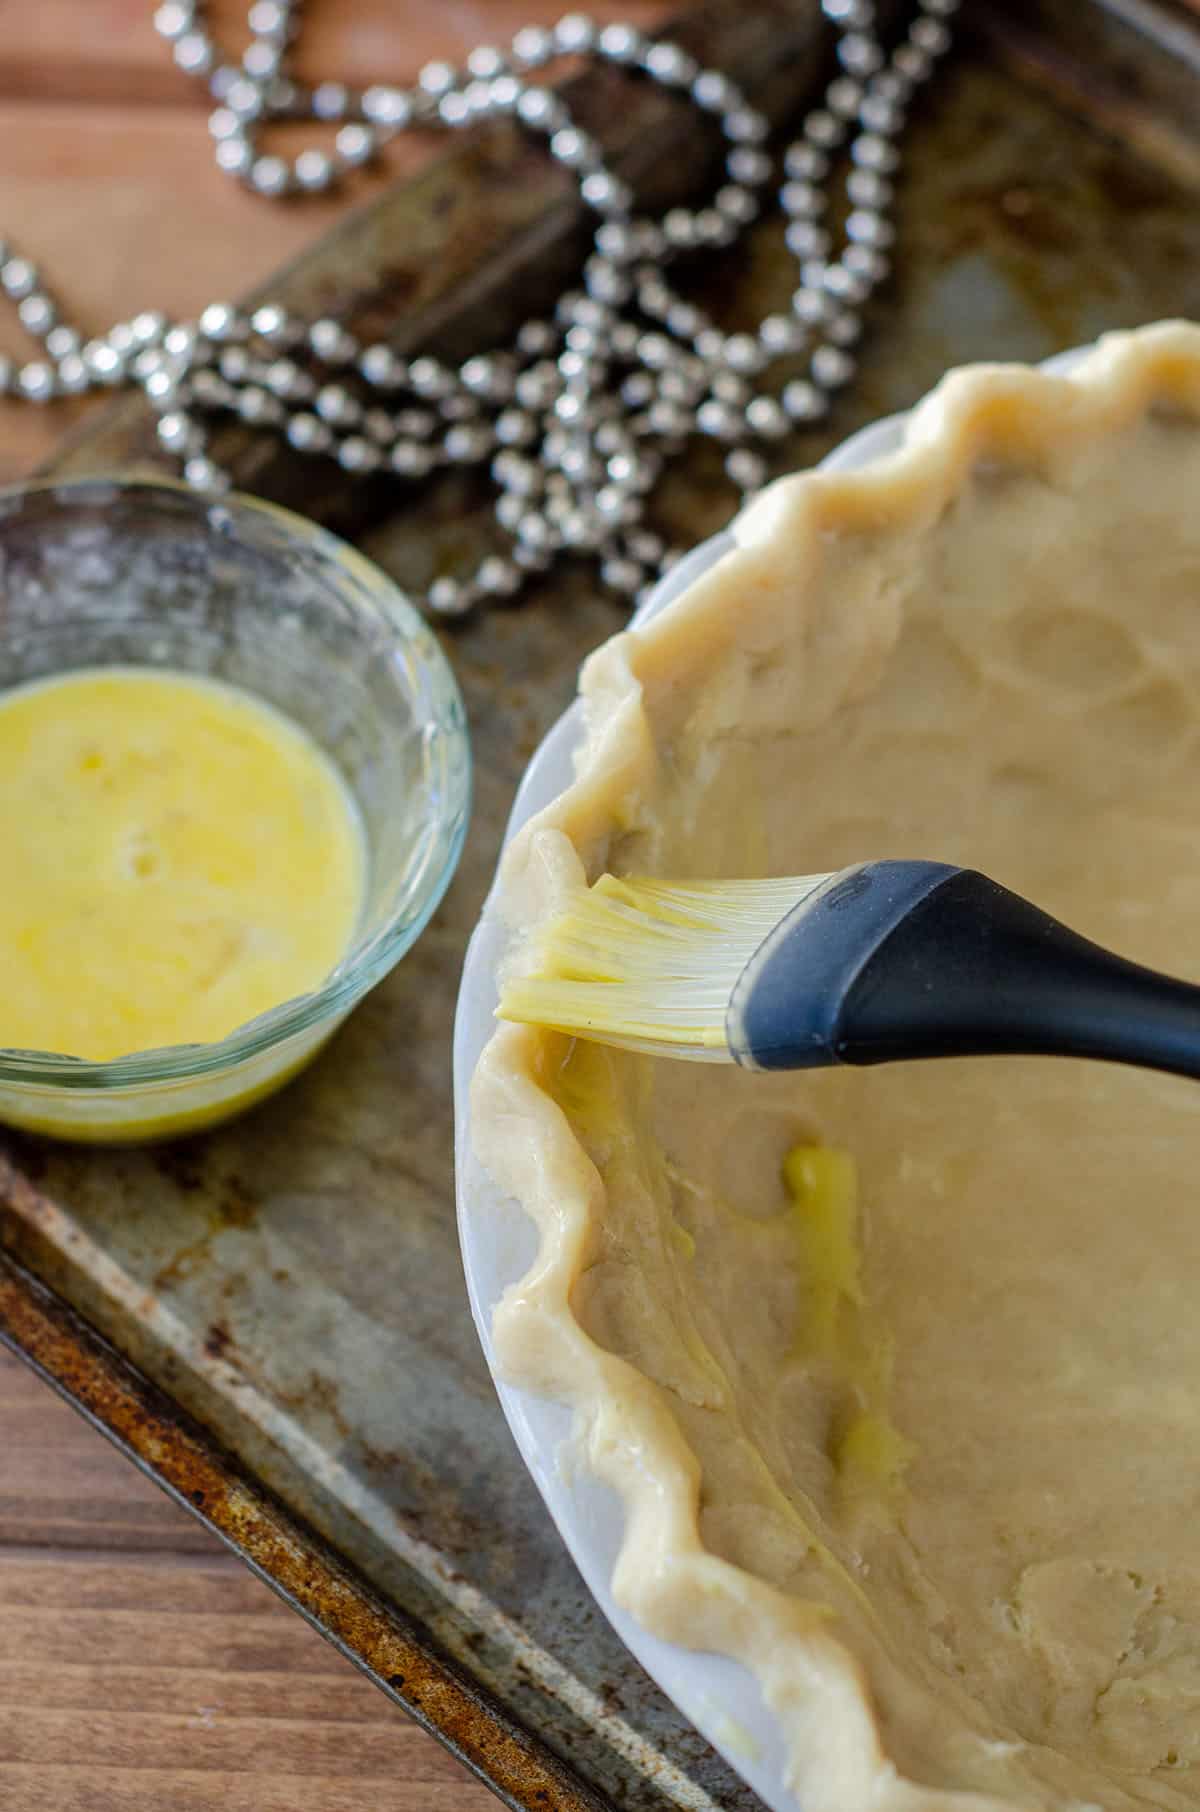
WHAT’S BLIND BAKING?
Blind baking is sort of “flash baking” your crust to give it a head start on doneness. When a custard-like filling goes into a crust, that crust can get super soggy if it’s not given that head start.
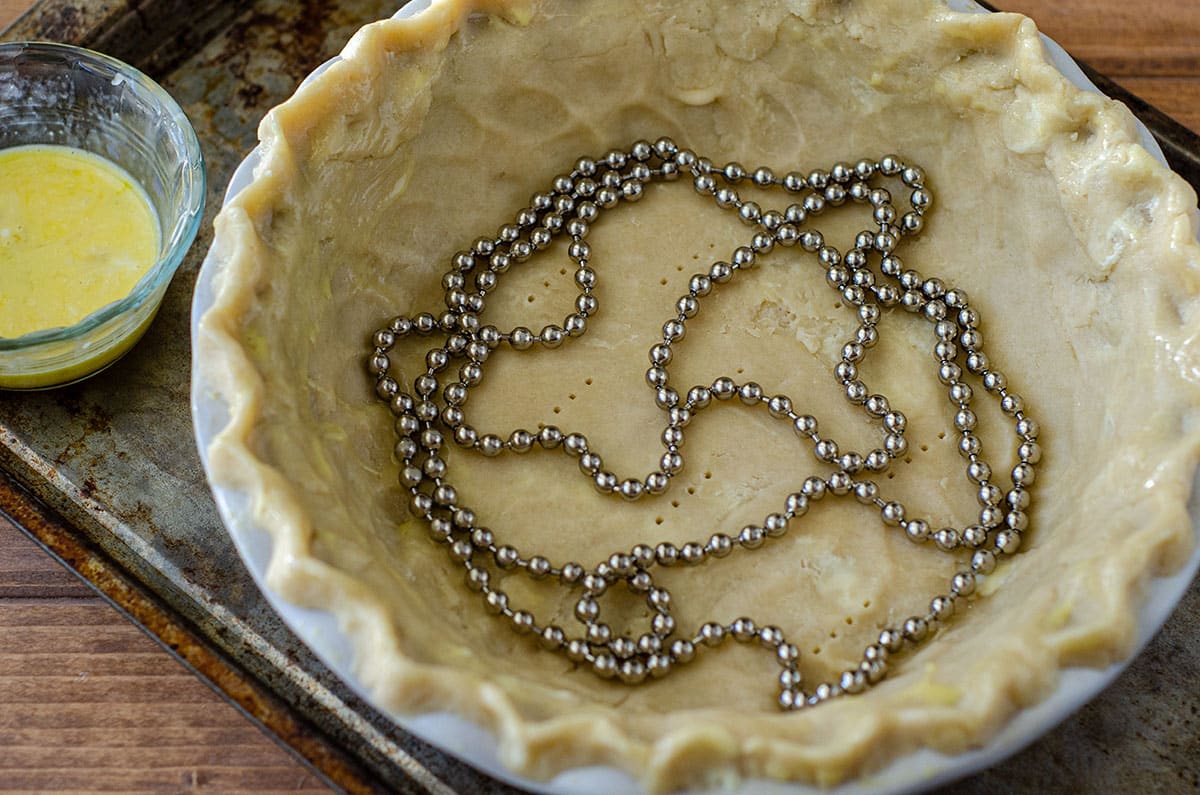
Use pie weights, dry beans, or my favorite, a pie chain, to prevent the crust from bubbling up with air pockets. Don’t worry about the marks the weights leave. They won’t matter under all that pumpkin goodness!
If you’d really rather avoid the marks, crunch up some parchment paper and line the crust with it first.
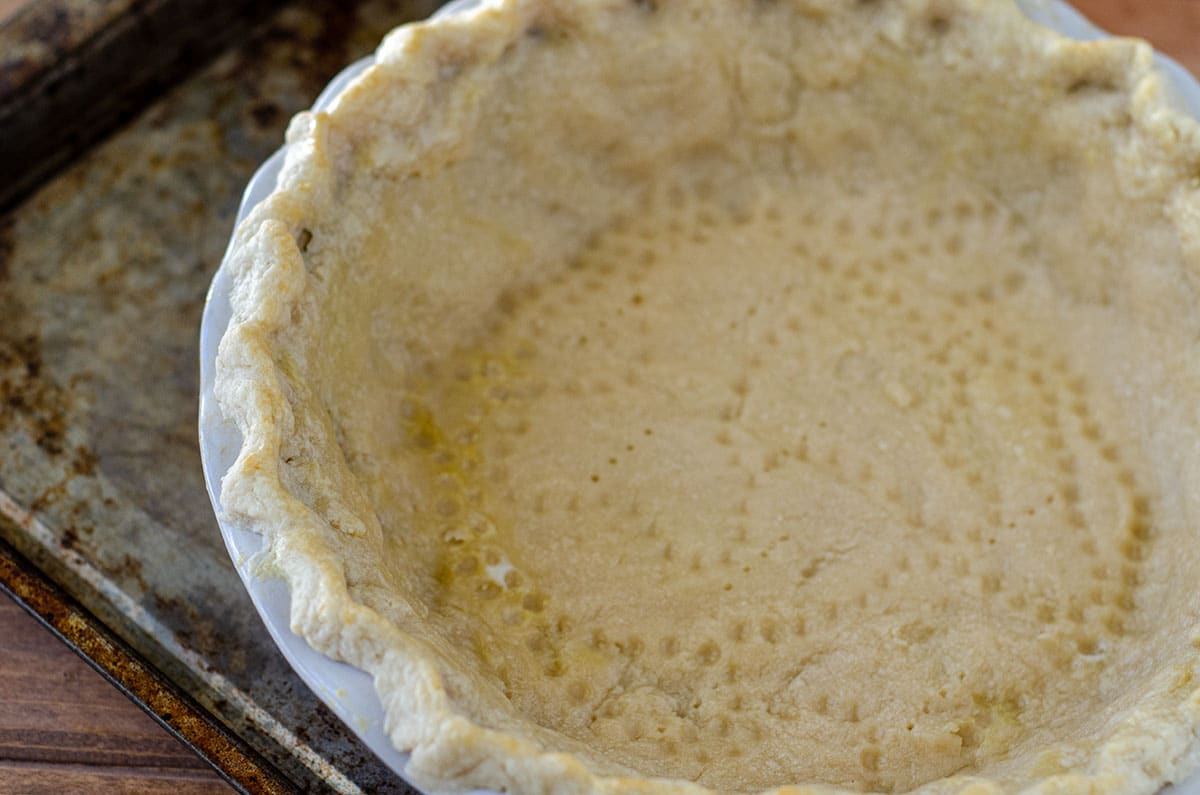
Now, the filling. Ohhhh, that filling!!
Simple: a can of pumpkin, a whole slew of spices, some eggs, and some heavy cream. That’s it.
But my kickers?
A little bit of black pepper and also orange peel. Yes, that’s right. Black pepper (like in my spiced gingerbread cookies) and orange peel (like in my honey walnut cookie sticks).
Believe me, they take a recipe for pumpkin pie from great to amazing.
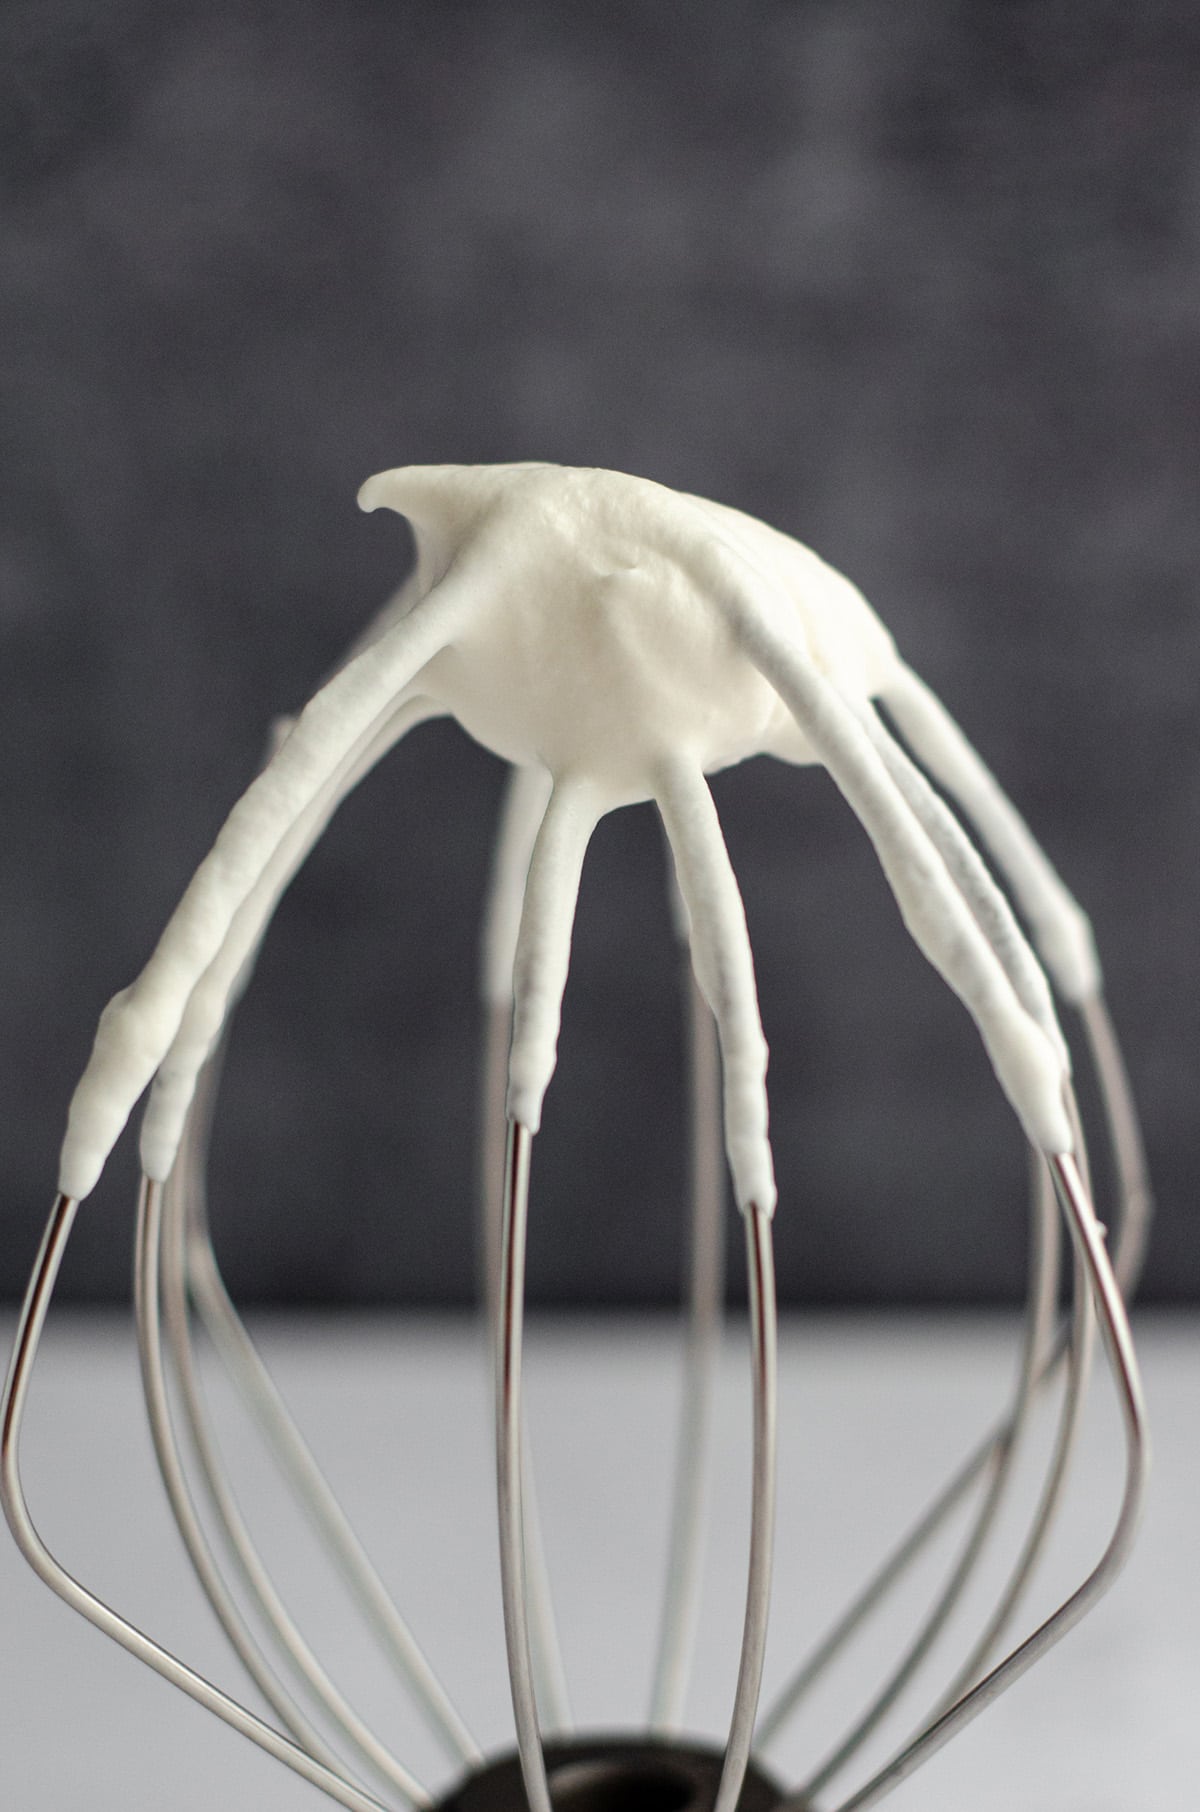
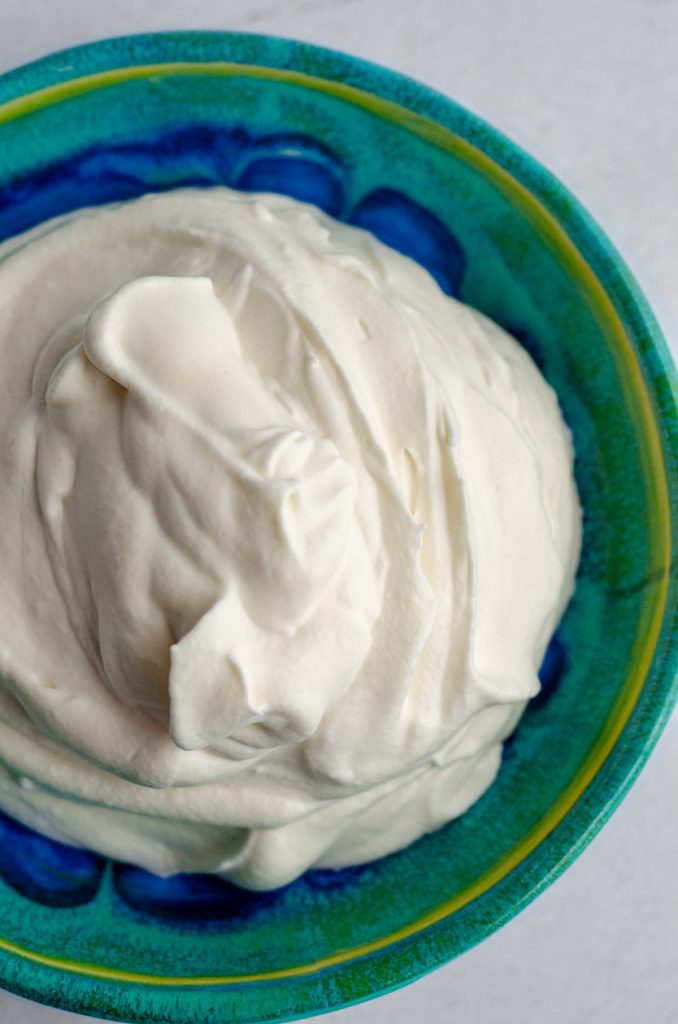
And then, of course, homemade whipped cream. Because it is everything. Please, no CoolWhip. Vomit.
Now, about the way this pie sometimes looks after it’s done baking… Sigh. I typically get some cracks in my middle of my pie. It’s super rare that I don’t.
I’ve tried several things, and it never quite seems to work. This specific pie wasn’t the biggest crack I’ve ever seen, but it was still there.
Thank you, little pie crust pumpkin. You make me feel less sad about the “X” in the middle of my glorious pie.
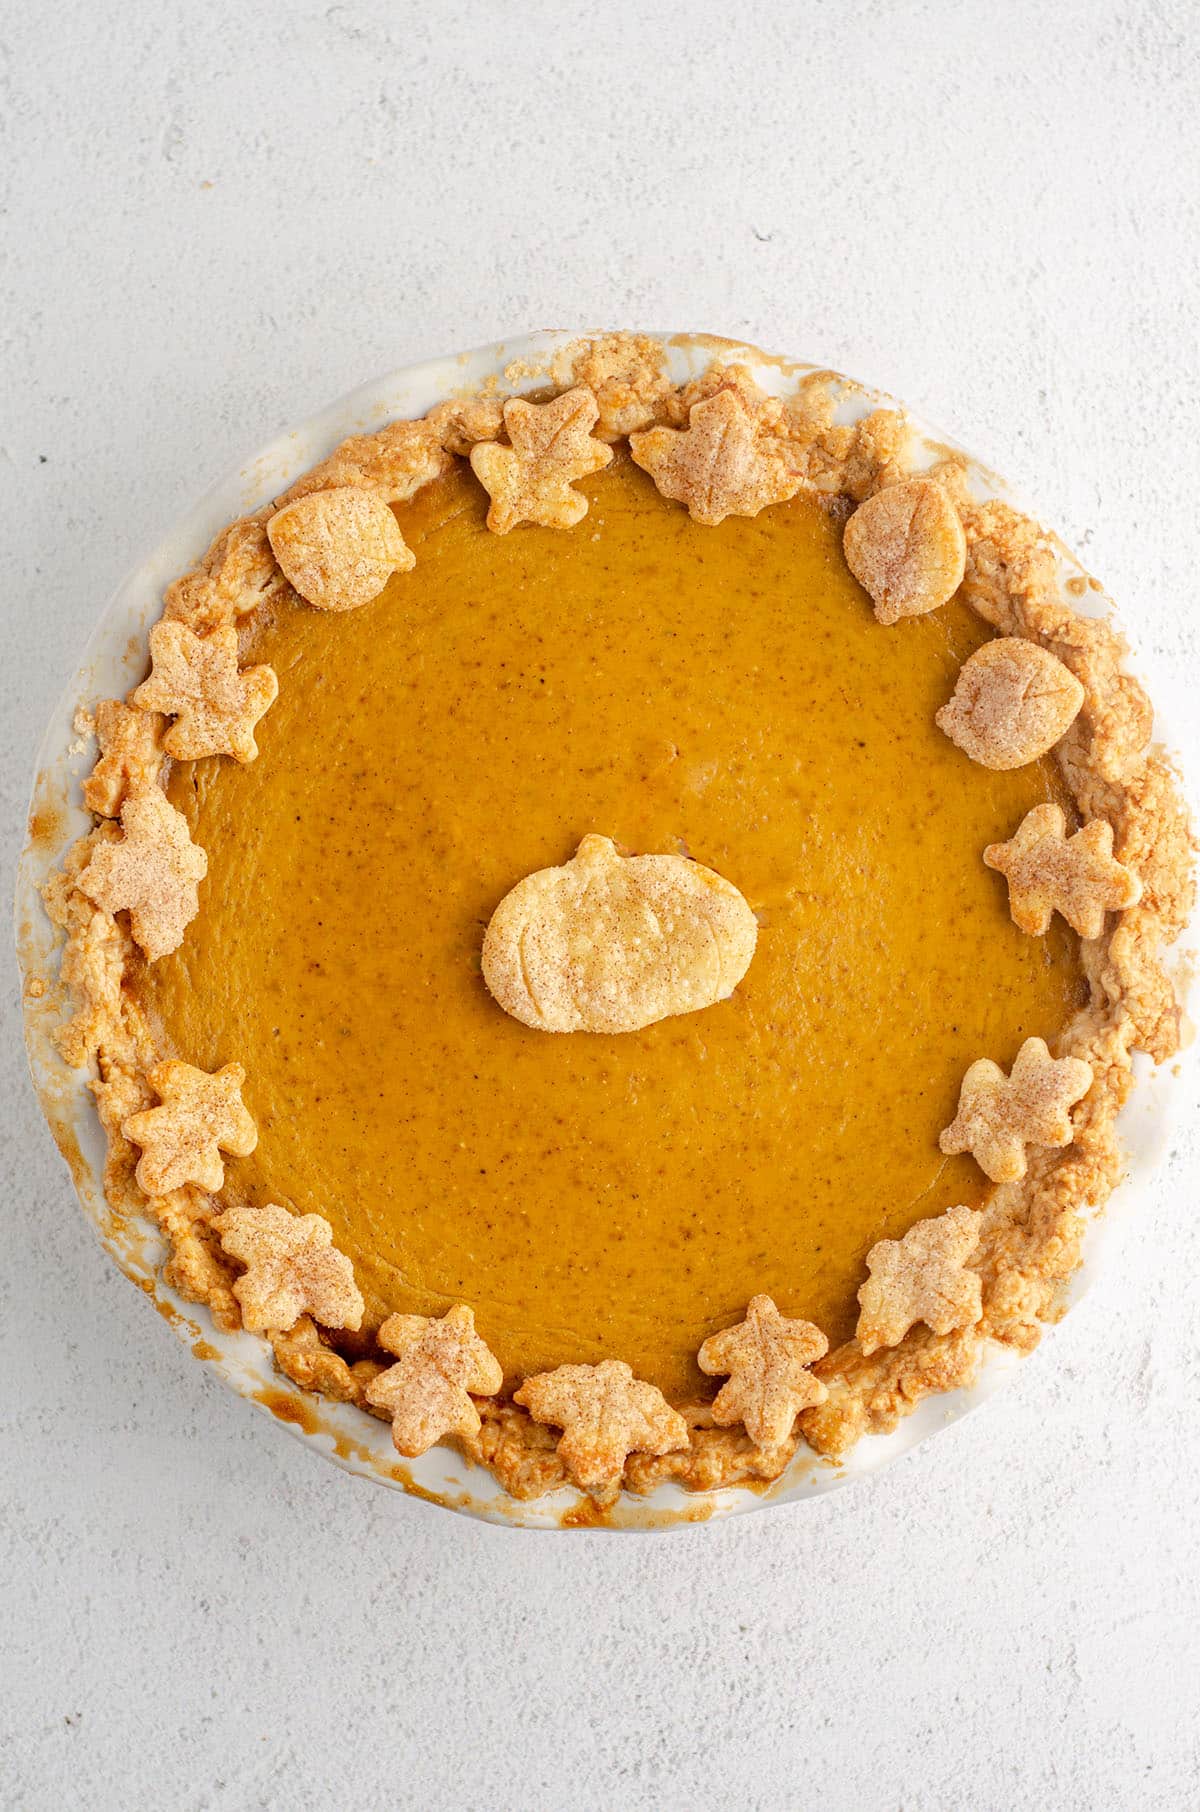
I assure you that regardless of looks, the taste of this traditional pumpkin pie recipe is unbeatable.
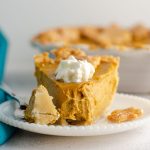
Besides, have you seen this pie sliced? I mean, all the googly heart eyes!
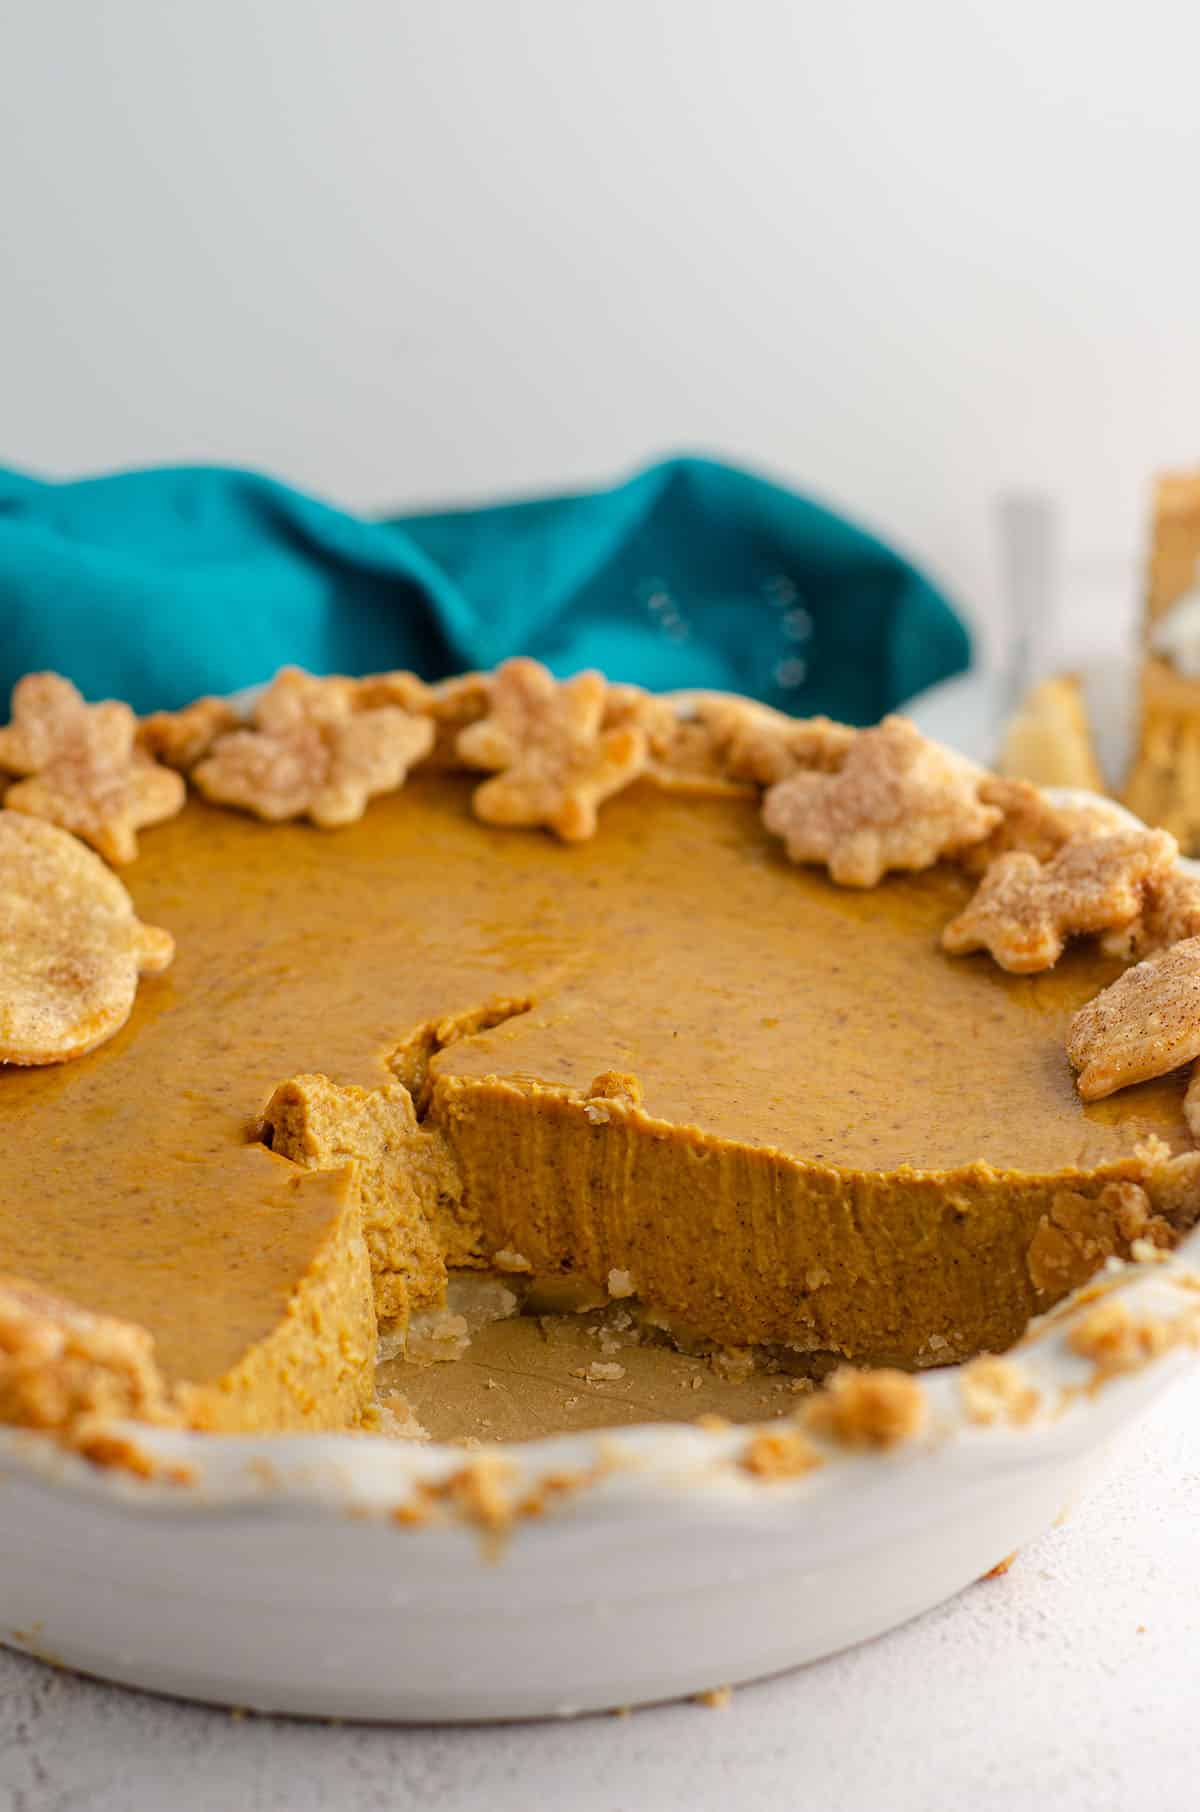
It’s possible that to prevent this pie from cracking on the top, you could fill the crust a little less full before baking. But that would mean a little bit of filling that would either be a waste of ingredients to throw out or a waste of time to bake into little mini pies.
You be the judge of how you’d like to move forward with that!
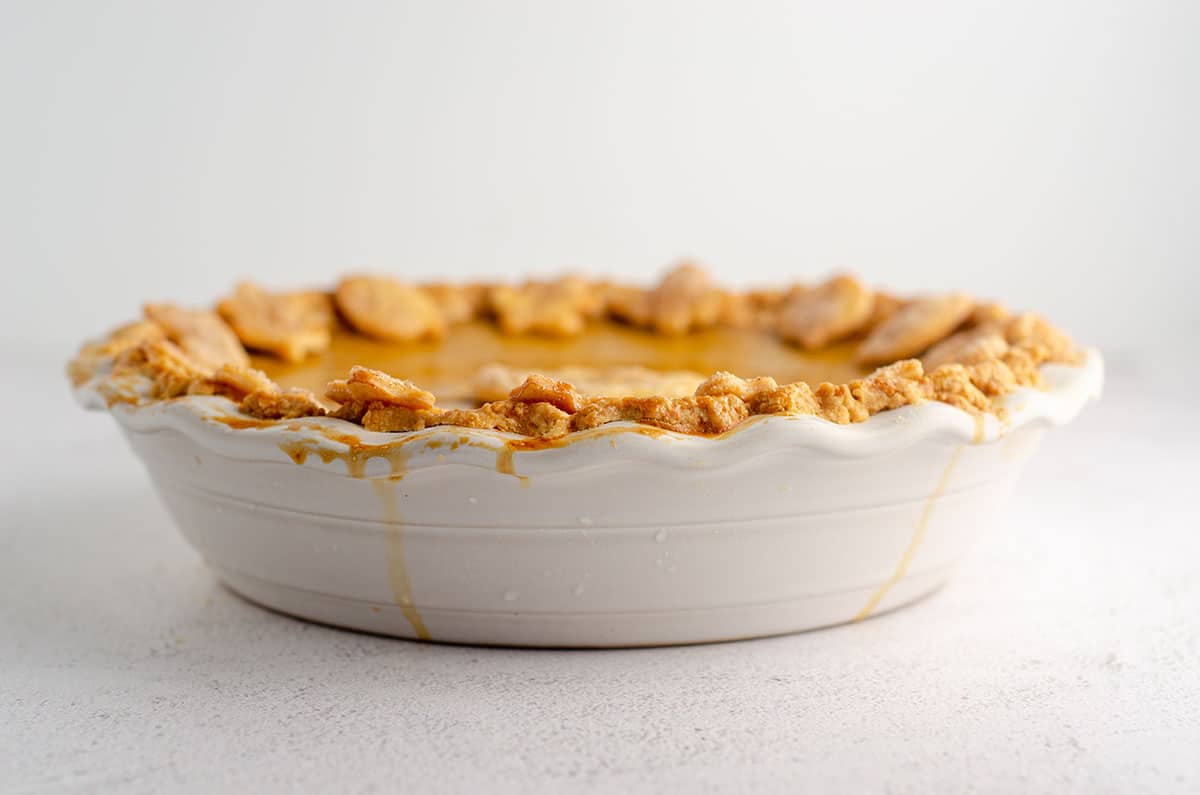
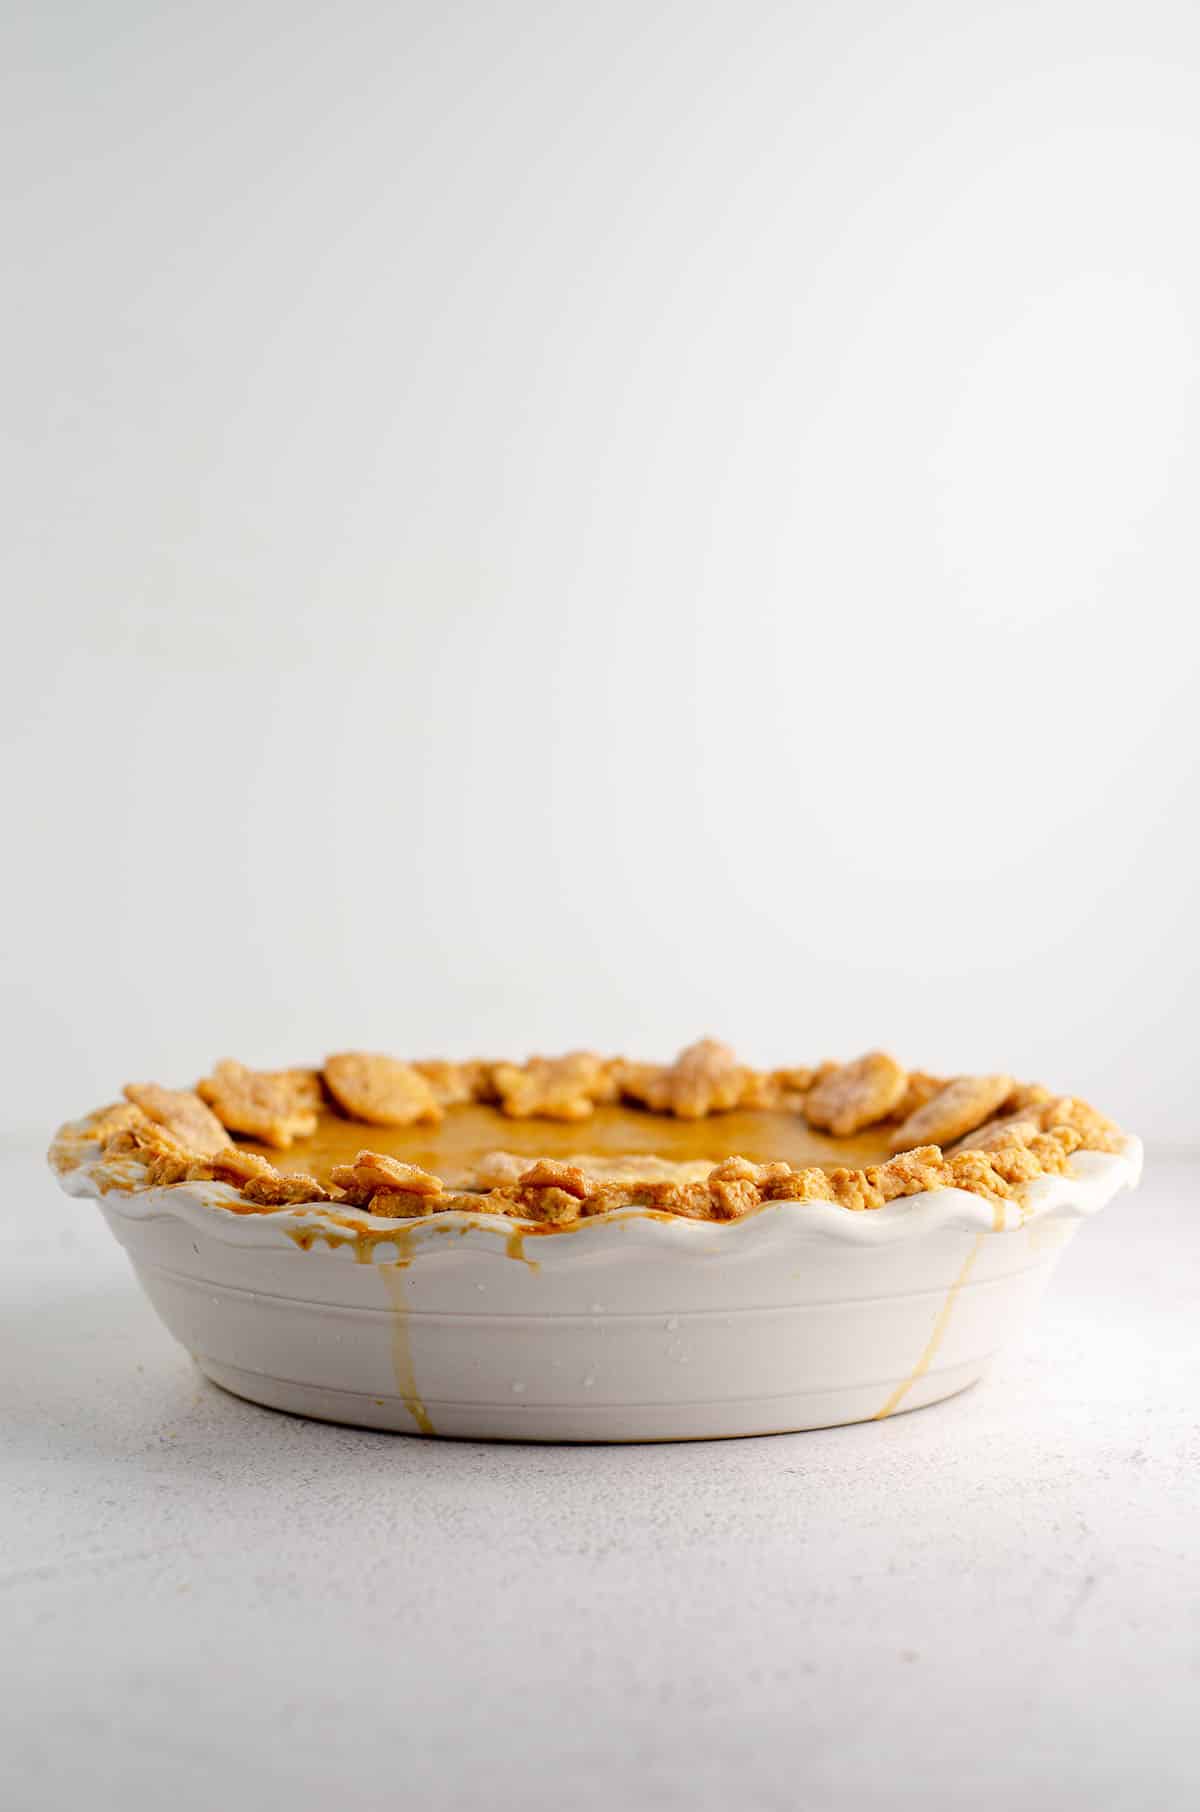
My best defense against a ginormous crack is to leave the pie like this until the oven is cool:
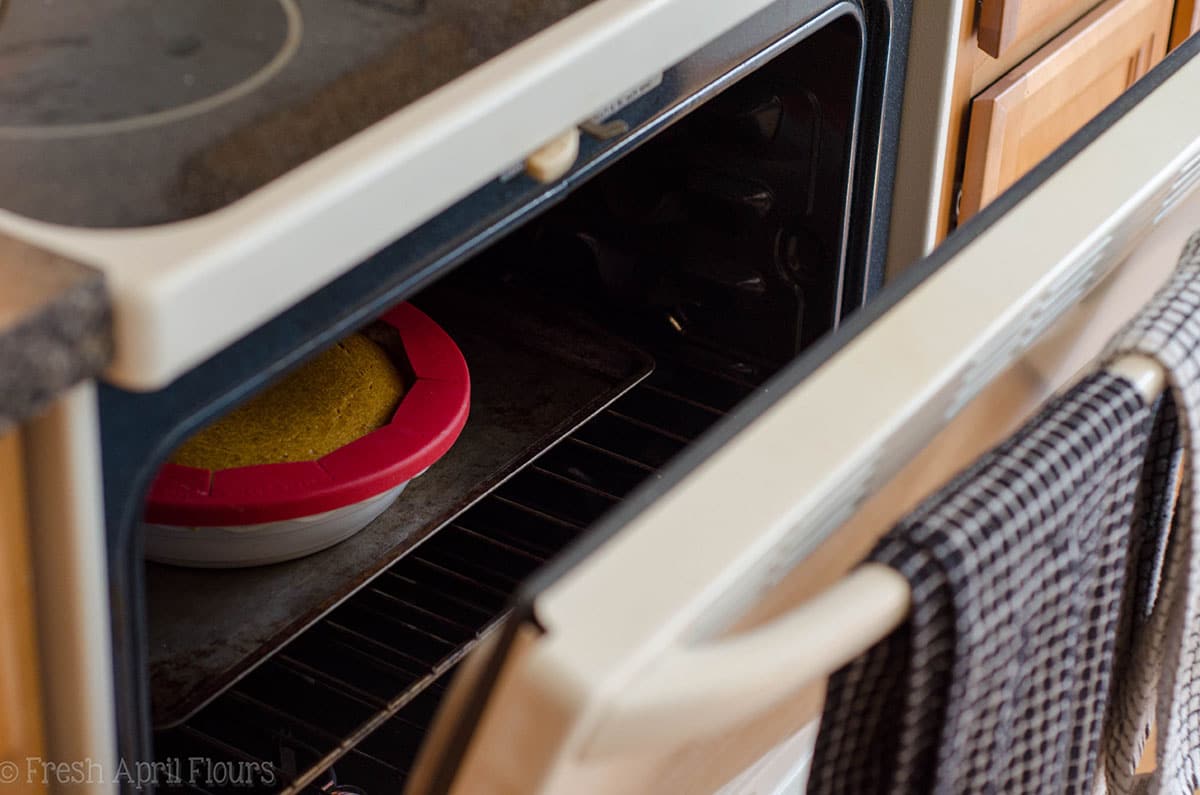
This is the method used during cheesecake baking to help keep the top intact. It works well with this pumpkin pie, but like I said, prepare for a crack or two.
Once this pie is cool, there’s a good chance it will be the star of your Thanksgiving show. The filling is rich and decadent, and the flavor is so intense you’ll find yourself taking slow bites just to find all those individual spices.
Pumpkin pie often gets overlooked as just a run-of-the-mill, must-have dessert, but I can guarantee that if you bring this pie to your Thanksgiving spread, you’ll be everyone’s new favorite family member.
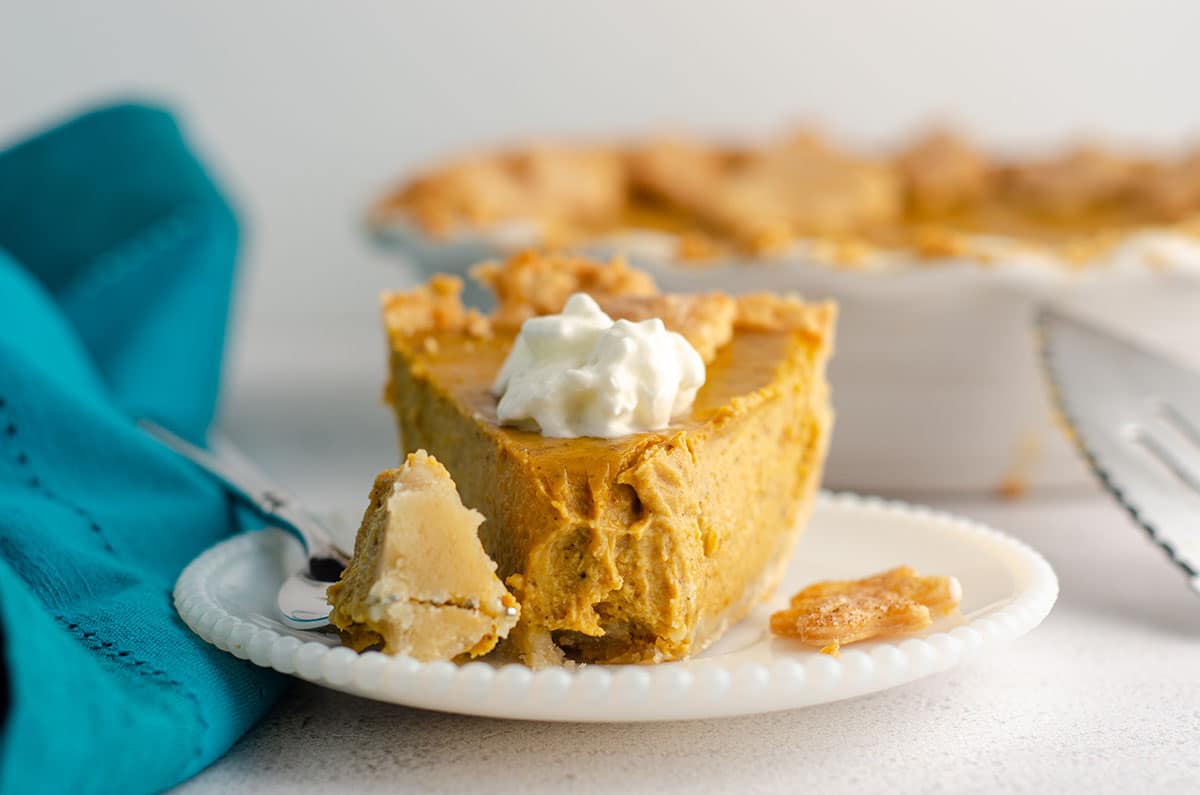
Especially if you don’t speak of any of that Christmas business while you’re slicing up the one last hurrah pumpkin season gets!
Round out the rest of your Thanksgiving sides!
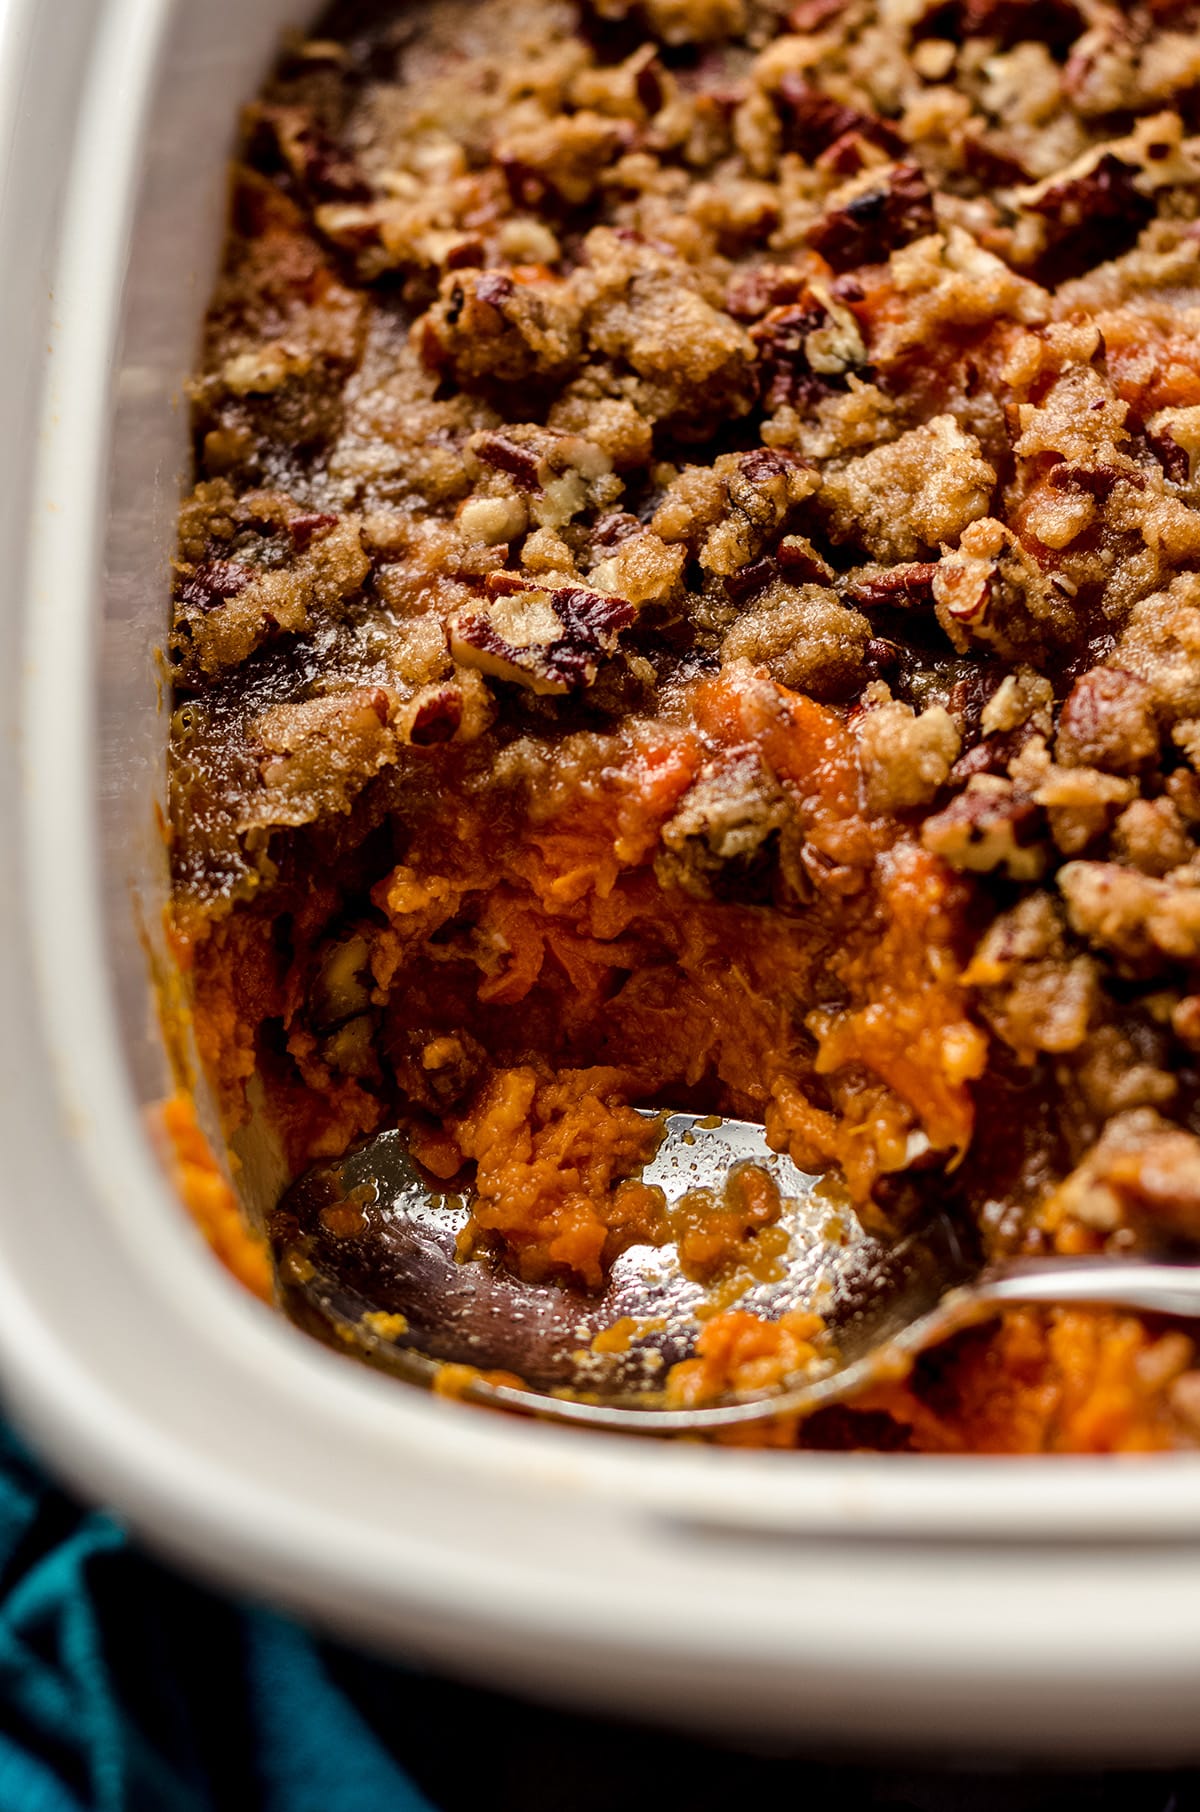
Traditional bread stuffing, spiced cranberry sauce, easy yeast rolls, Instant Pot garlic mashed potatoes, sweet potato crunch, and whipped cream!
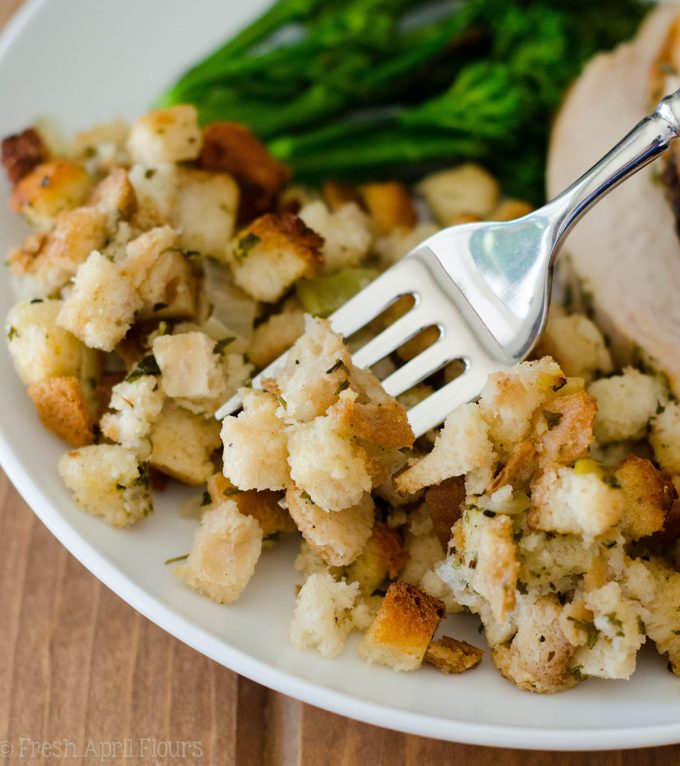
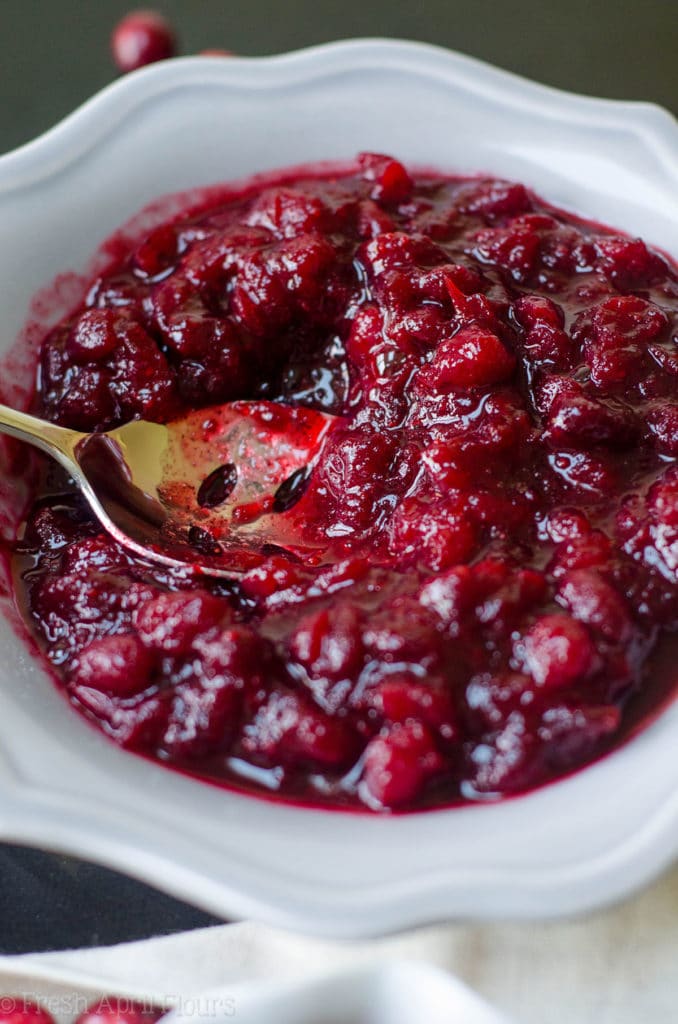
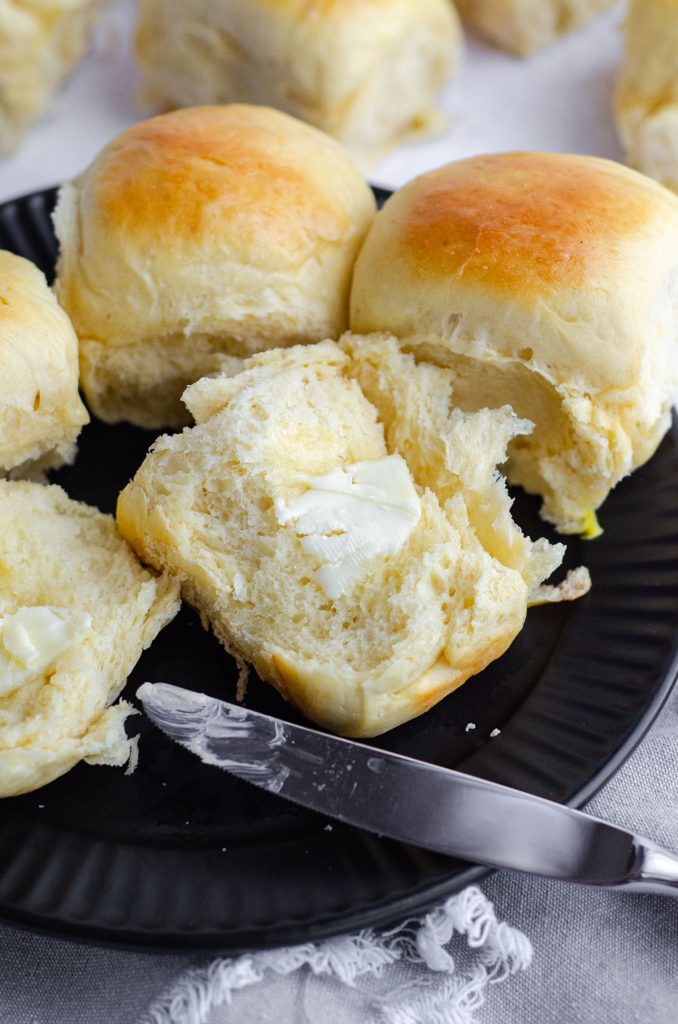
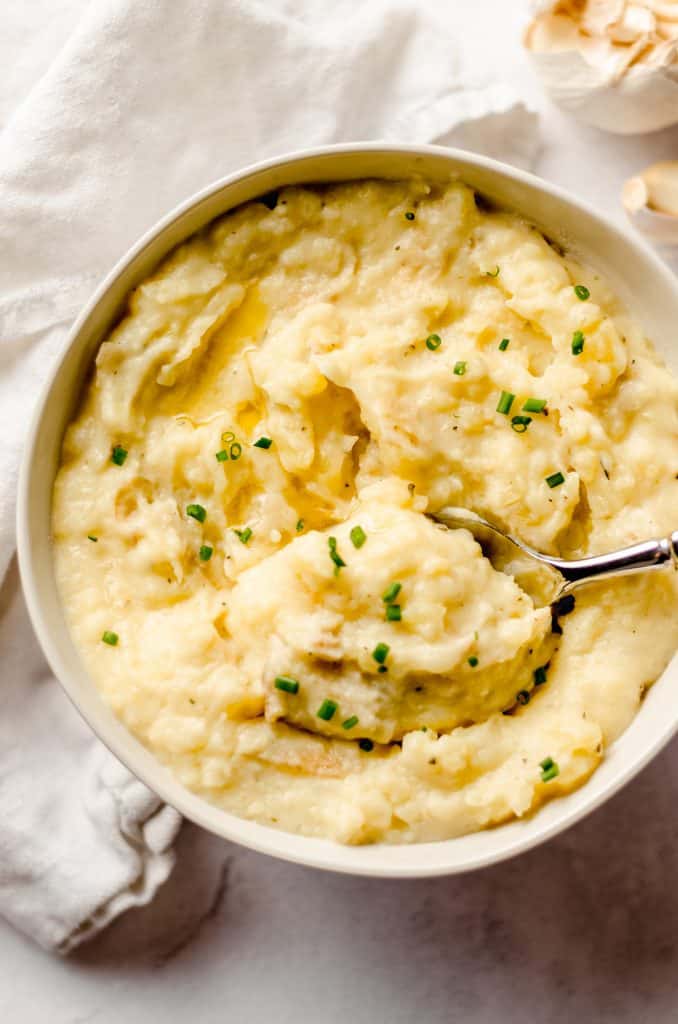
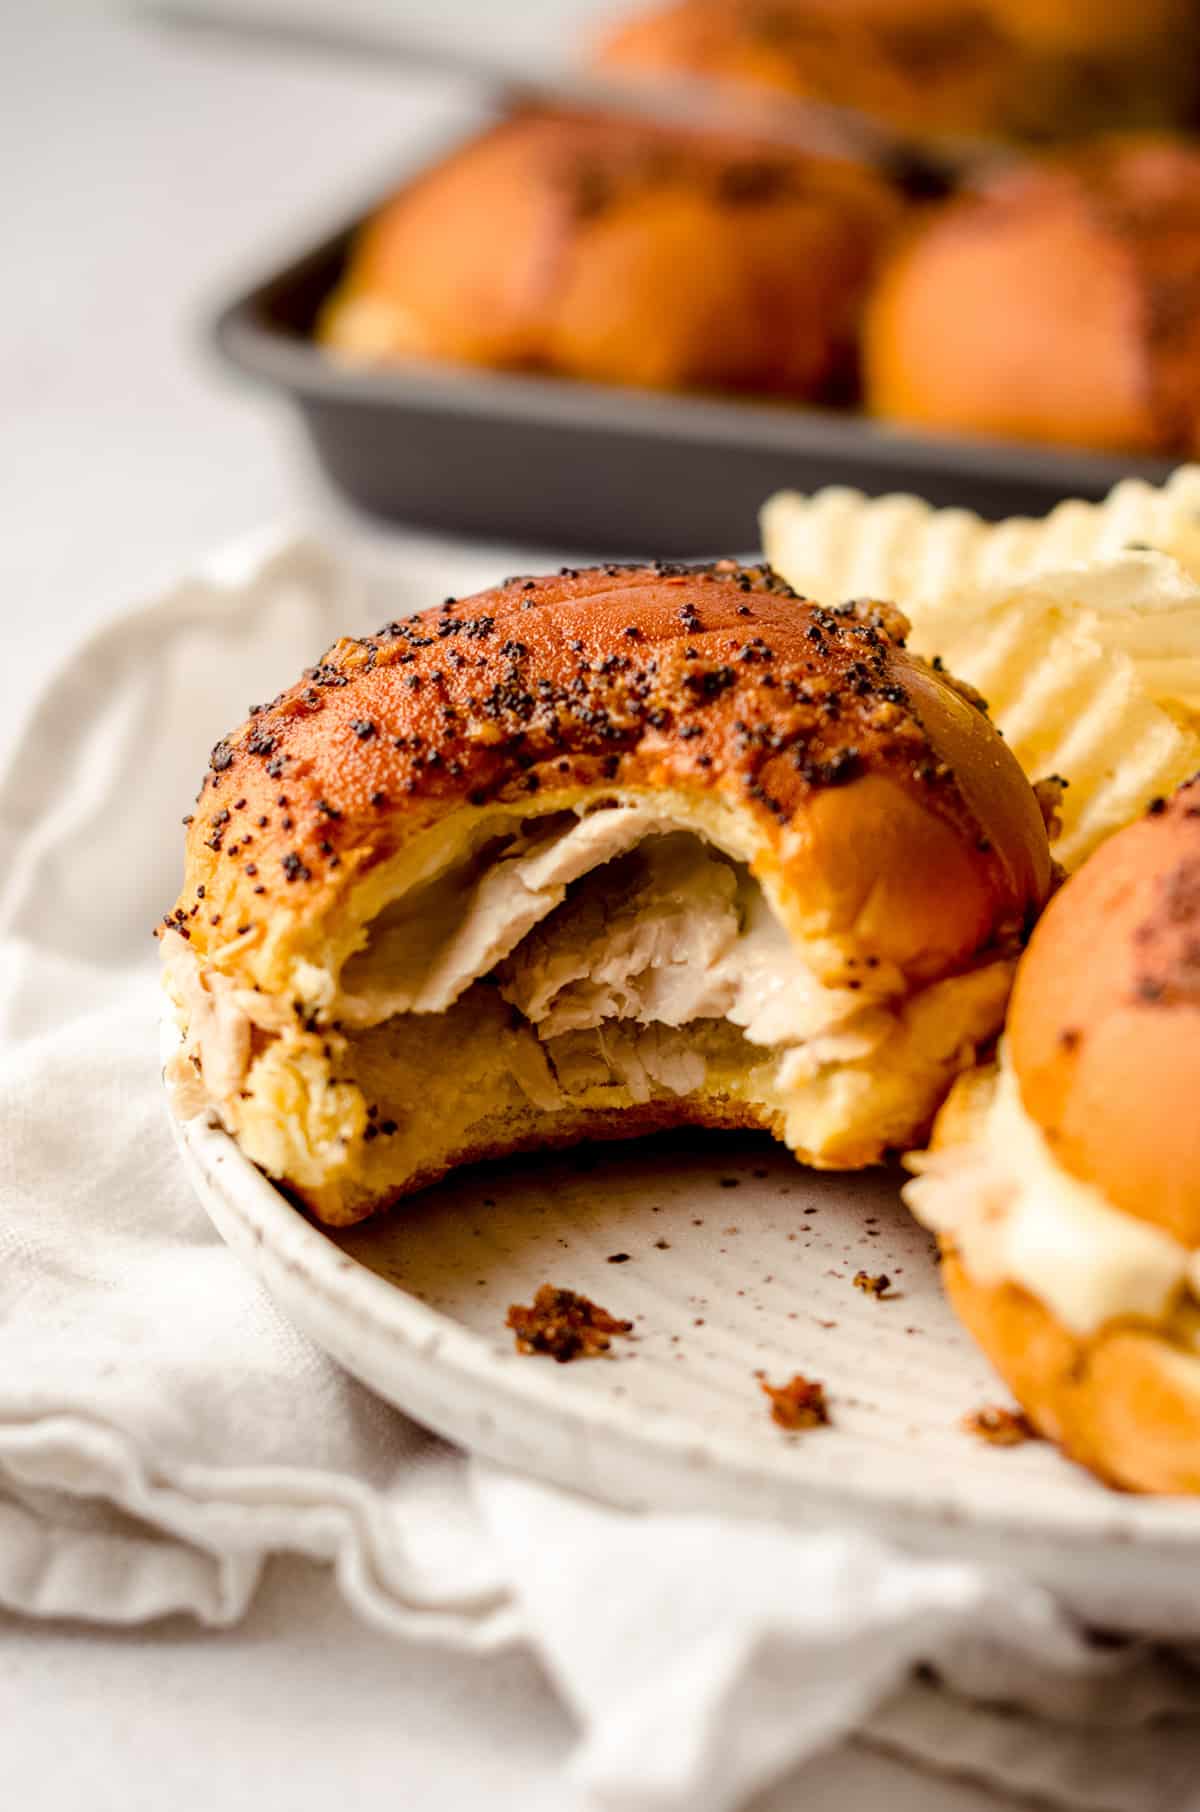
And don’t forget to make some turkey and cheese sliders with your leftover turkey!
Classic Pumpkin Pie
Ingredients
- homemade pie crust makes 2 crusts: see recipe notes1
- 1 15-ounce can (425g) pumpkin purée not pie filling
- ½ cup (100g) lightly packed light brown sugar
- ¼ cup (50g) granulated sugar
- ½ teaspoon salt
- ½ teaspoon ground cinnamon
- ¼ teaspoon ground ginger
- ¼ teaspoon ground nutmeg
- ⅛ teaspoon ground cloves
- ⅛ teaspoon ground black pepper
- 2 teaspoons grated orange zest2 optional
- 3 large eggs lightly beaten
- 1 cup (240mL) heavy cream
- EGG WASH: 1 large egg beaten with 1 teaspoon heavy cream
Instructions
- Prepare my homemade pie crust through step 4.
- Arrange a rack in the oven to the middle position. Preheat the oven to 375ºF (191ºC).
- On a floured work surface, roll out one disc of chilled pie dough. Turn the dough about one quarter of a turn after every few rolls until dough is in a circle approximately 12" in diameter.
- Carefully place the dough into a 9" x 2" pie dish. Use your fingers to tuck it in and make it smooth. If you need to trim the edges, use a small paring knife to do so. Flute the edges with your pointer finger knuckle of one hand and thumb and pointer finger of the other.
- Brush the crust lightly with the egg + cream wash. Prick the crust a few times with a fork, then line the crust with parchment paper and dried beans or a pie chain/pie weights. Bake the crust for 12 minutes, until golden brown. While the crust bakes, prepare the pie filling.
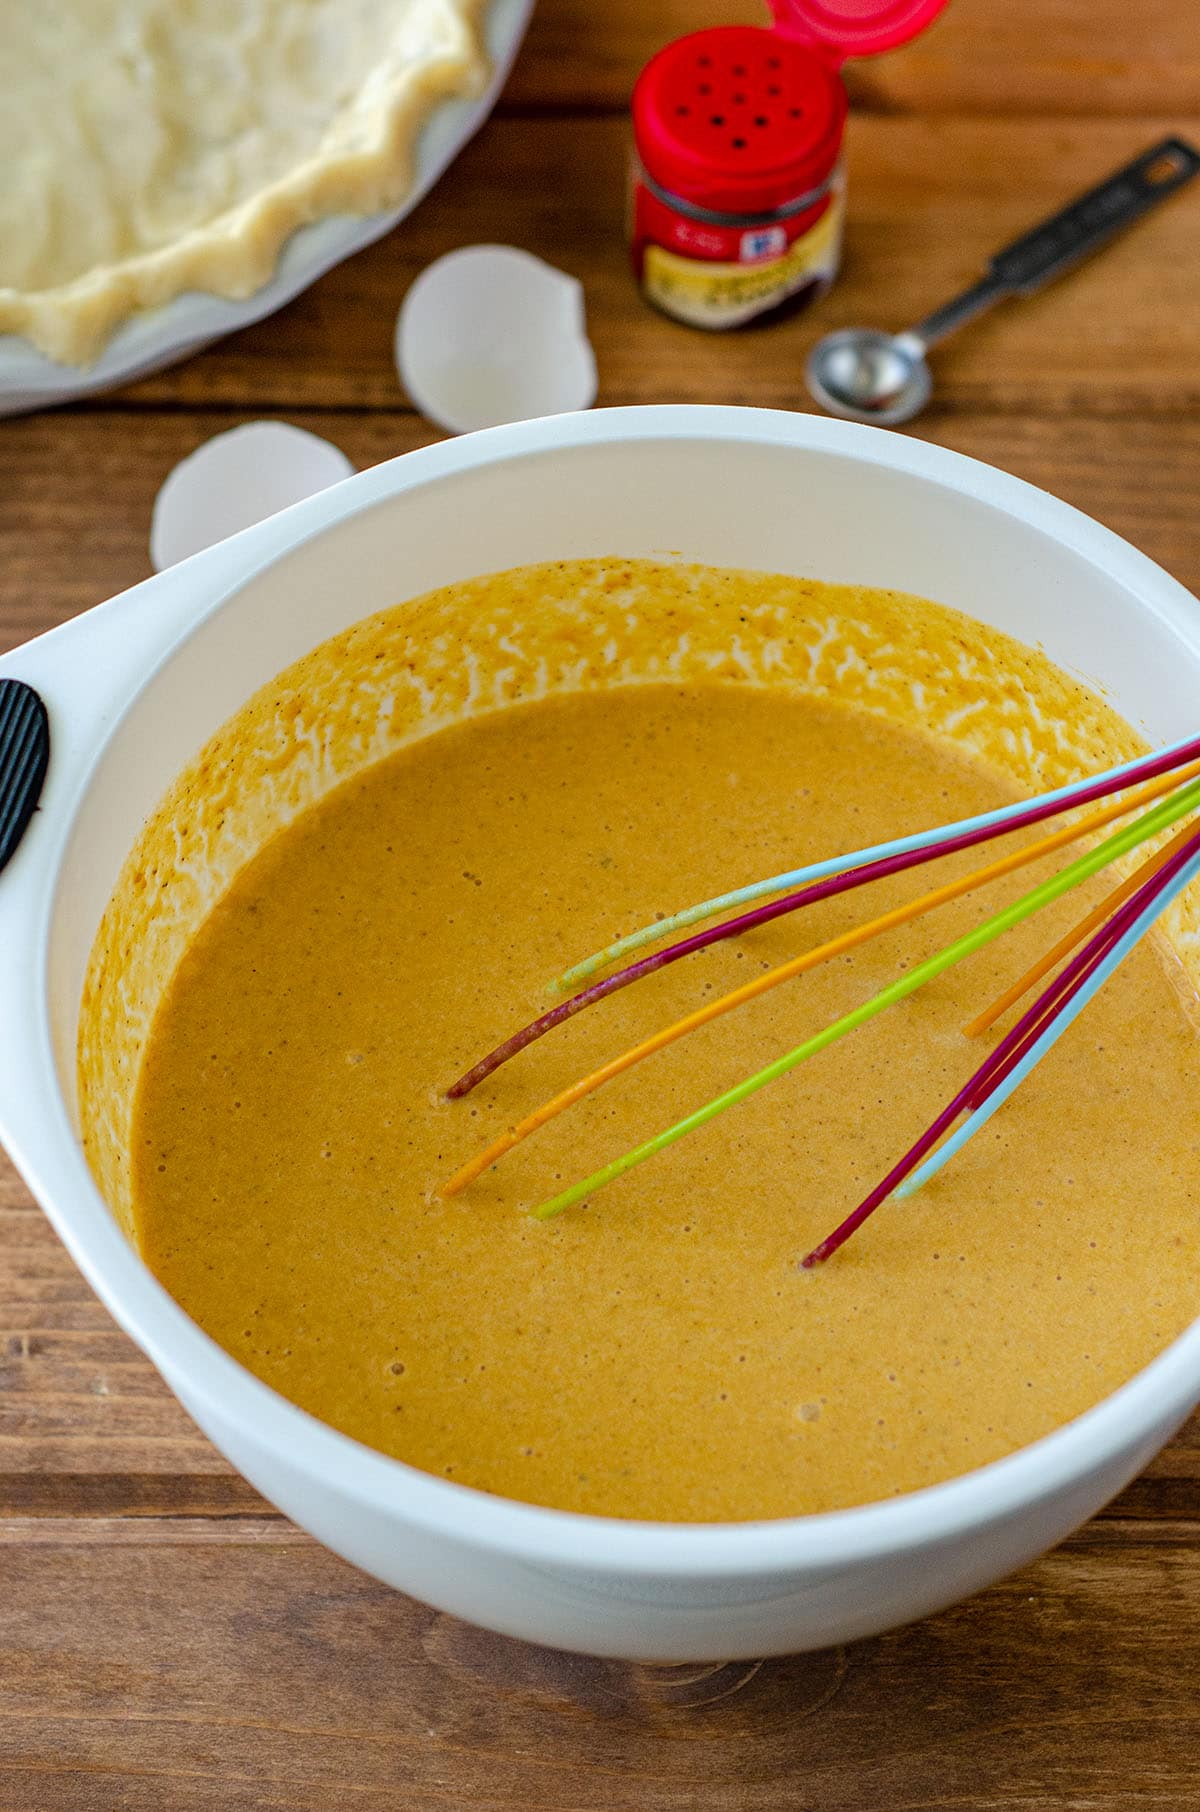
- In a medium size bowl, whisk together the pumpkin, brown sugar, granulated sugar, salt, cinnamon, ginger, nutmeg, cloves, black pepper, orange zest (if using), and eggs. Whisk in the cream until everything is incorporated.
- Pour the filling into the baked pie crust, reduce the oven temperature to 350ºF (177ºC), place pie dish on a large baking sheet, and bake pie for 60-68 minutes. The filing is done when it jiggles just a tiny bit when the baking sheet is bumped. You may also see a circle of what looks like unbaked filling in the center. This is ok. Turn off the oven and crack the door, allowing the pie to cool inside the warm oven for about 20 minutes. The top of the pie will most likely still crack a bit, and this is fine.
- After the oven has cooled down, transfer baked pie to a wire cooling rack to cool completely. I prefer a chilled pumpkin pie, so chilling at least 4 hours (or ideally overnight) before serving is ideal. Serve with homemade whipped cream, pumpkin spice whipped cream, and sugared cranberries. Leftovers stay fresh covered tightly in the refrigerator up to 5 days. Pie can be frozen, up to 3 months. Wrap tightly in plastic wrap and place in a plastic zip top bag. Thaw in refrigerator overnight.
Notes
- Pie crust recipe makes 2 crusts: so you can use 1 for the pie and 1 for cut-out leaves, if you wish. On a floured work surface, roll out the second pie crust, about 1/8″ thickness. Use cookie cutters to cut into desired shapes (these are my favorite fall minis!). Brush each lightly with the beaten egg + cream wash and dust with cinnamon sugar (optional). If you’d like to make leaf veins, use a very sharp knife. Place cut pieces a large baking sheet lined with parchment paper or silicone baking mat and bake at 350°F for 10-12 minutes, until lightly browned. Remove from oven and set aside to cool before using to decorate pie. Make pie crust cookies with the scraps.
- Orange zest: you may use fresh or jarred orange zest. I have used both.
Nutrition Disclosure
All nutritional values are approximate and provided to the reader as a courtesy. Changing ingredients and/or quantities will alter the estimated nutritional calculations.

Wow Lynn! Such a pretty pretty pie! It looks perrrrrfect. Pinning!!
Thanks, Jess! That means a lot coming from the queen of beautiful cakes herself!!
I LOVE this recipe! I’ve been making it for years and everyone always loves it. It’s pretty easy and there’s so much flavor. My favorite!!
Thank you, Sam! 🙂