
Herbed Dinner Rolls

As an Amazon Associate, I earn from qualifying purchases. Read the full disclosure here.
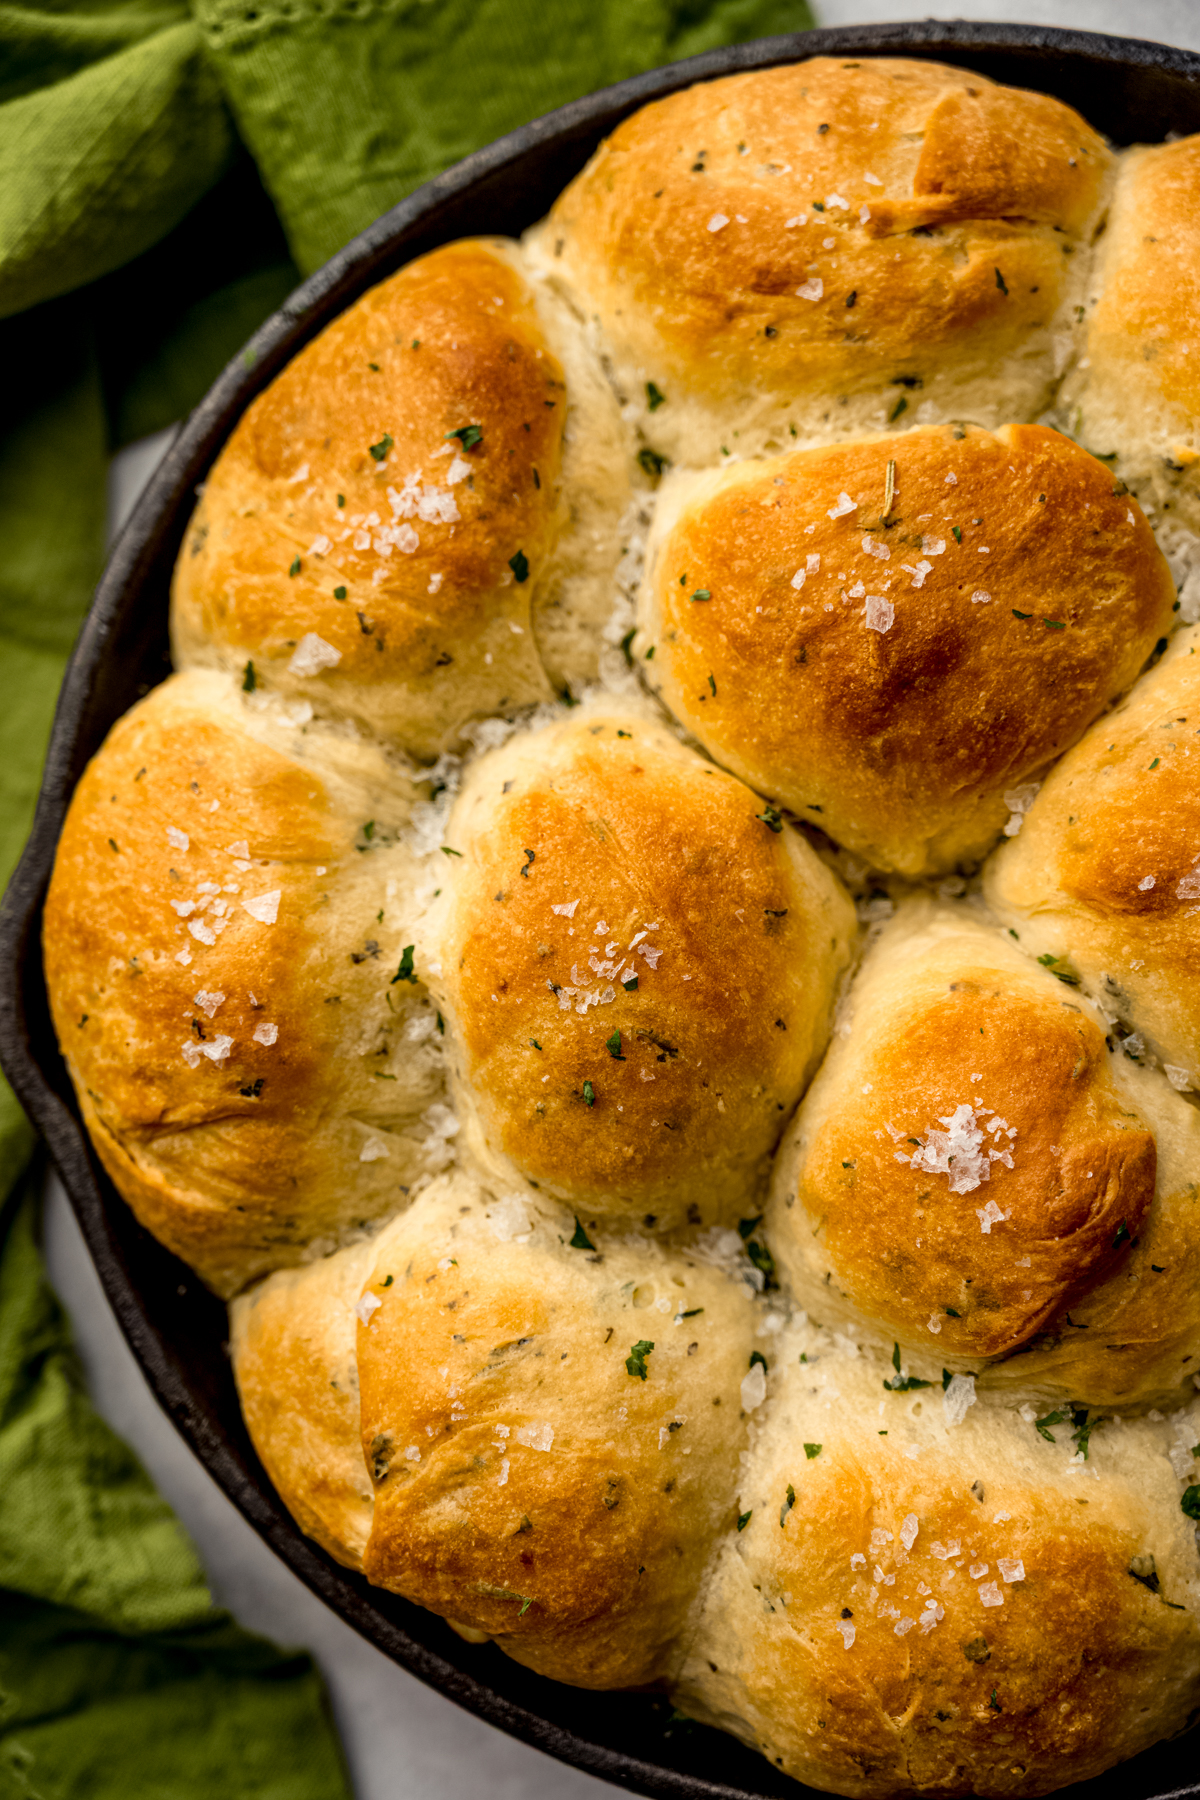
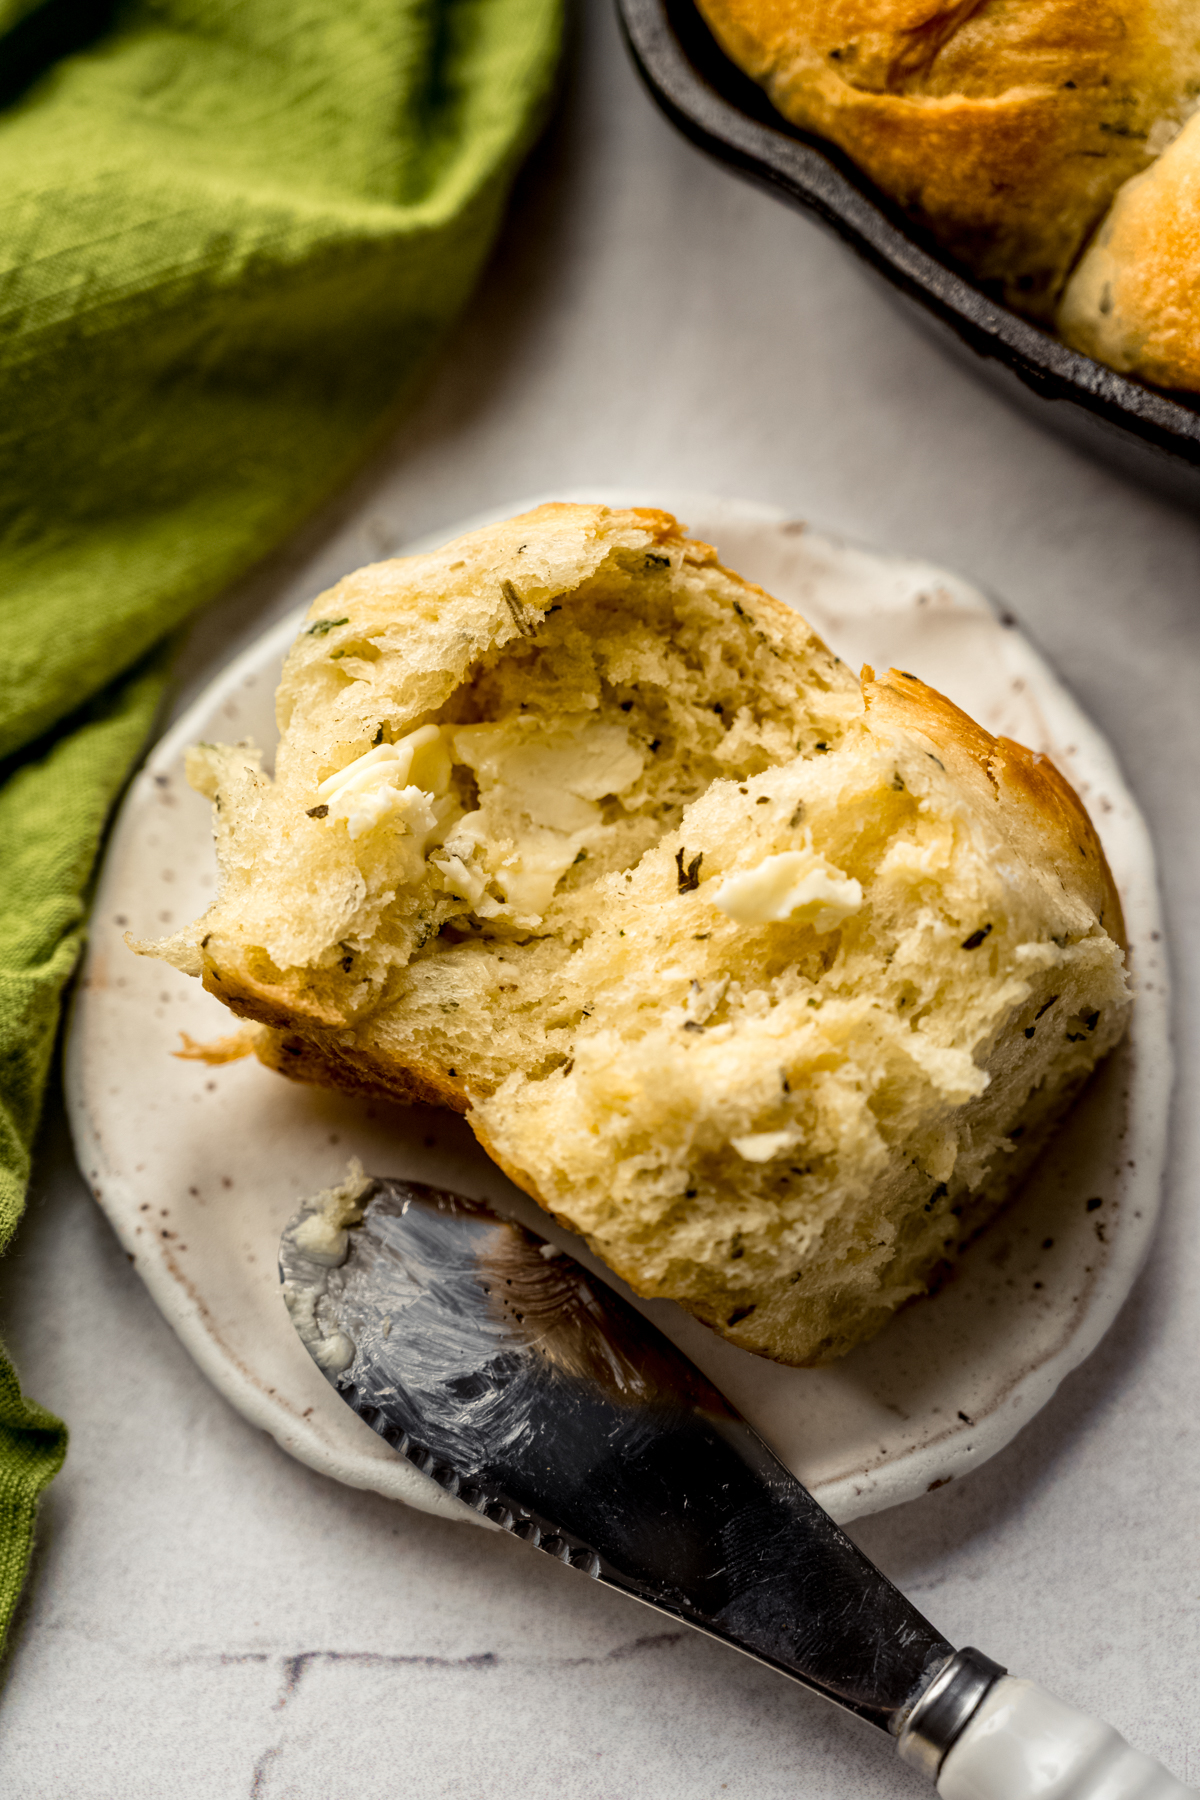
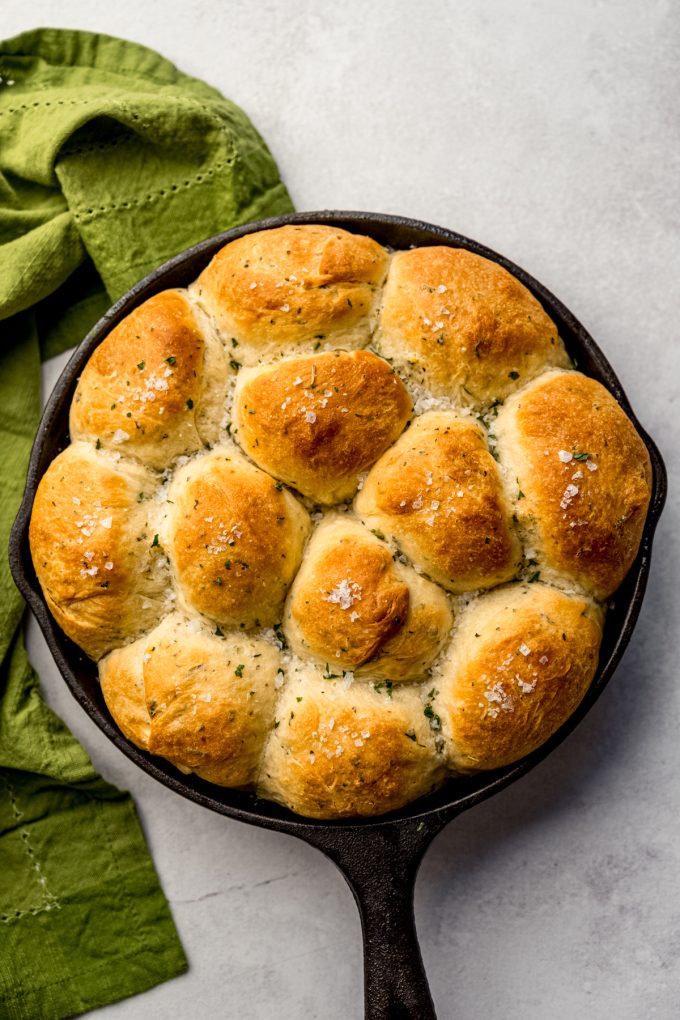
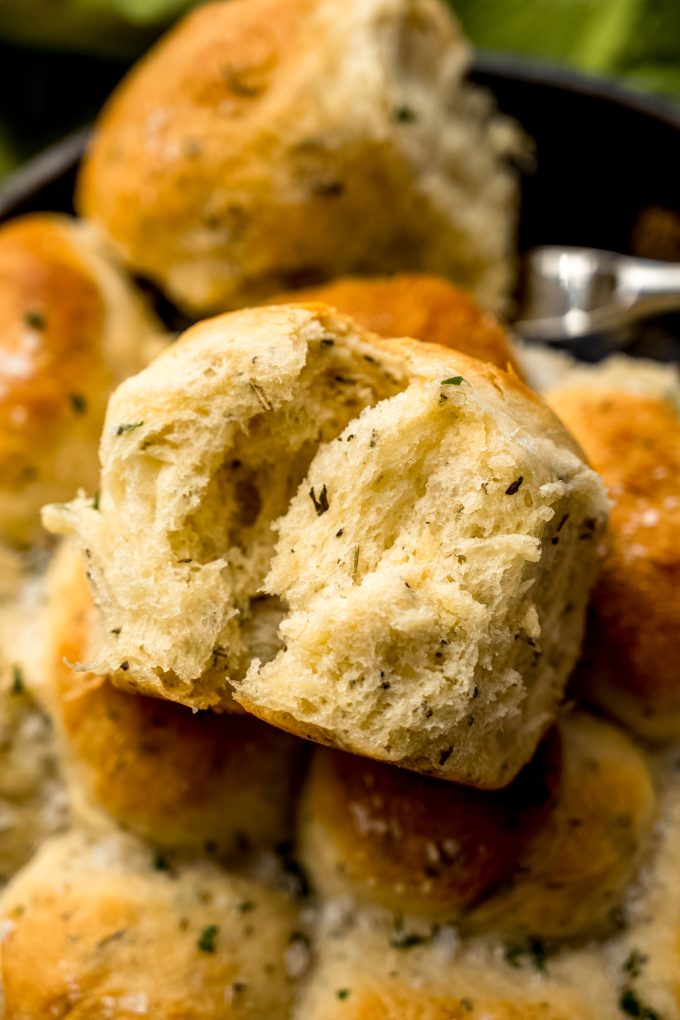
These soft, tender herbed dinner rolls take my favorite classic yeast rolls to the next level with rosemary, basil, parsley, and garlic. Brushed with melted butter and topped with flaky sea salt, they’re an easy, flavorful upgrade to traditional rolls. See my post about baking with yeast for answers to all of your common FAQs.
HOMEMADE DINNER ROLLS: UPGRADED
If you’ve spent any amount of time in my corner of the internet as a long-time (or maybe even short-time!) reader, you know that yeast bread is one of my favorite things to make, eat, and share with you. When someone who is “afraid of yeast” nails a yeast bread recipe from my index, I swell with pride!
When I wanted to add an herbed roll to my collection, I knew I didn’t have to stray far from my easy yeast roll recipe. That recipe is reliable, easy for beginners, and produces a soft and tender roll that rivals rolls from the bakery.
With a couple tweaks of amounts of ingredients and building room for fresh herbs, we’re left with an aromatic dinner roll that not only pleases the nose but also the tastebuds all at once. These herbed rolls are easy enough to whip up for a regular weeknight dinner but also a little extra so they feel special for a more formal meal like a holiday.
HERE’S WHY WE LOVE THESE ROLLS (AND YOU WILL, TOO)
Aside from being mega easy to make, here are some additional reasons our family loves these rolls and why you will want to keep this recipe in your rotation, too:
Incredible flavor: herby, flavorful bread is one of my favorite things. My pesto pull-apart bread is a personal frequent repeat, and this caprese focaccia and my grandmother’s parmesan parsley bread are equally flavorful and beloved recipes.
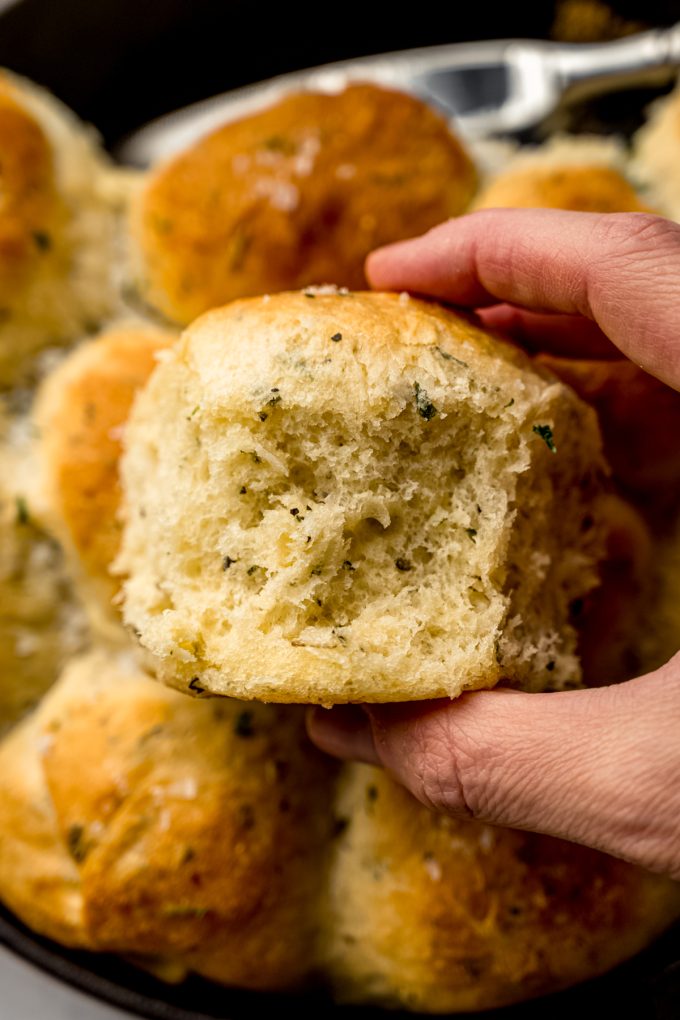
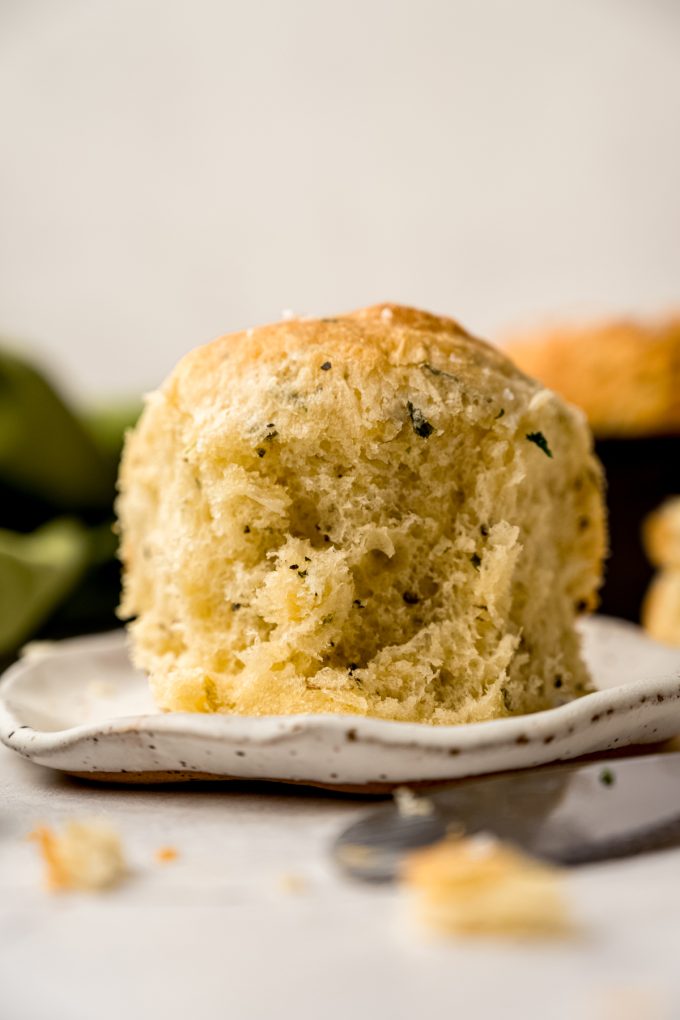
Unbeatable texture: these rolls are what I imagine it would be like biting into a cloud. But one that is infused with all the best flavors. Imagine what that rain would taste like…
Can be made ahead: need to budget your time? No problem! These rolls can hang out in the refrigerator or freezer for short or long term storage so you can bake them when you’re ready. Be sure to visit the recipe notes for details.
KEY INGREDIENTS
Since the bread dough doesn’t require any unexpected ingredients, let’s talk briefly about the herbs and spices going into these rolls as well as the preferred types of those expected ingredients.
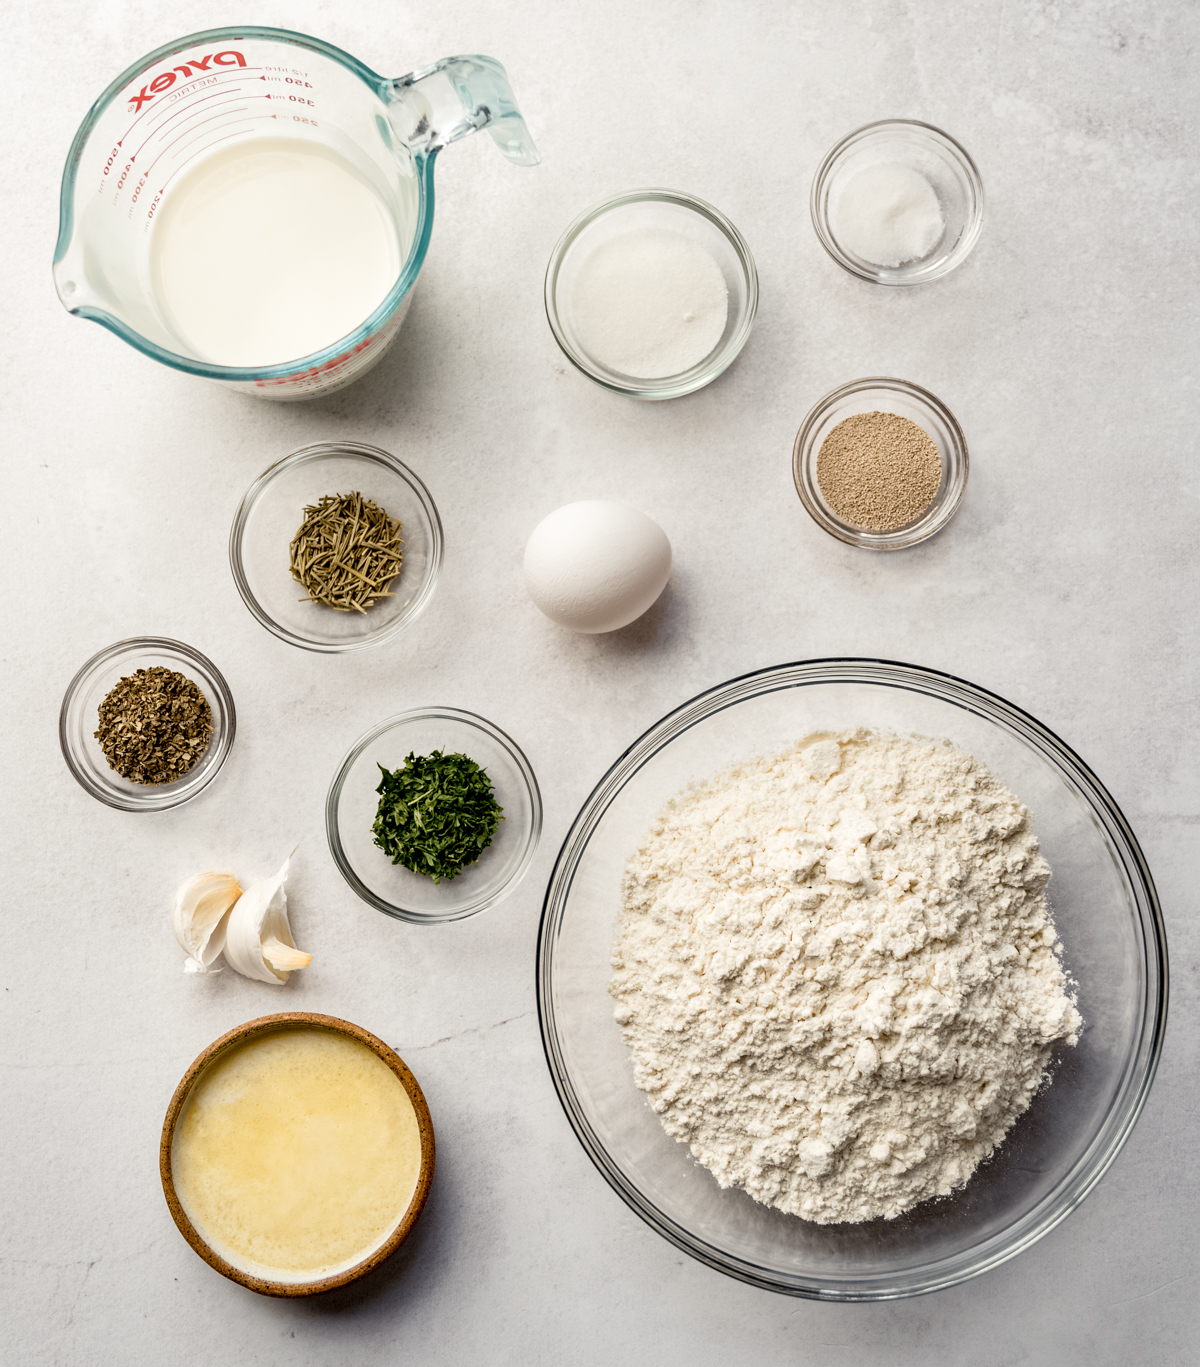
This is an enriched dough, which means using milk, butter, and and egg. I recommend whole milk for the richest texture, though this recipe will work with a lower fat milk and even a nondairy milk.
We’re working with dried rosemary, dried basil, dried parsley, and fresh minced garlic. If you’d prefer to use garlic powder, you can do that instead of using fresh.
This bread works great with all-purpose flour, but if you prefer using bread flour, you can use that without any changes to the recipe. The bread flour may lend a little extra softness and chew, but personally, I always use all-purpose unless I’m making bagels.
STEP-BY-STEP: HOW TO MAKE HERBED SKILLET DINNER ROLLS
I have all the pictures and a video to help you through this bread-making process. If at any time you need some extra guidance, see my post about baking with yeast for answers to all of your common FAQs. From start to finish, you’ll need nearly 3 hours, but I have thorough notes below about how to make these ahead of time (for both the short and long term).
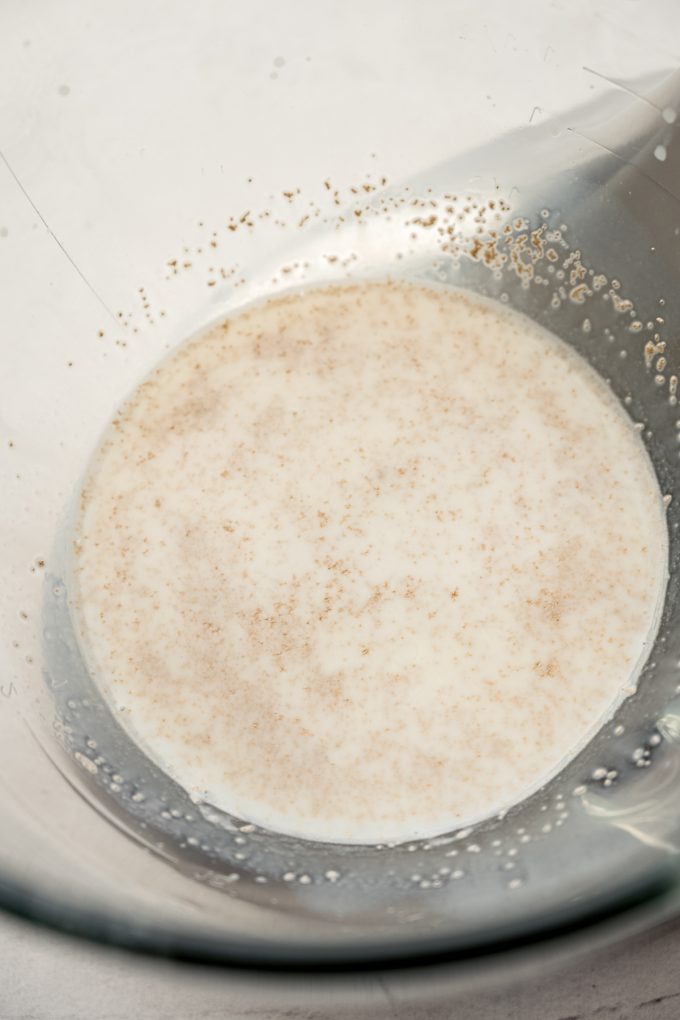
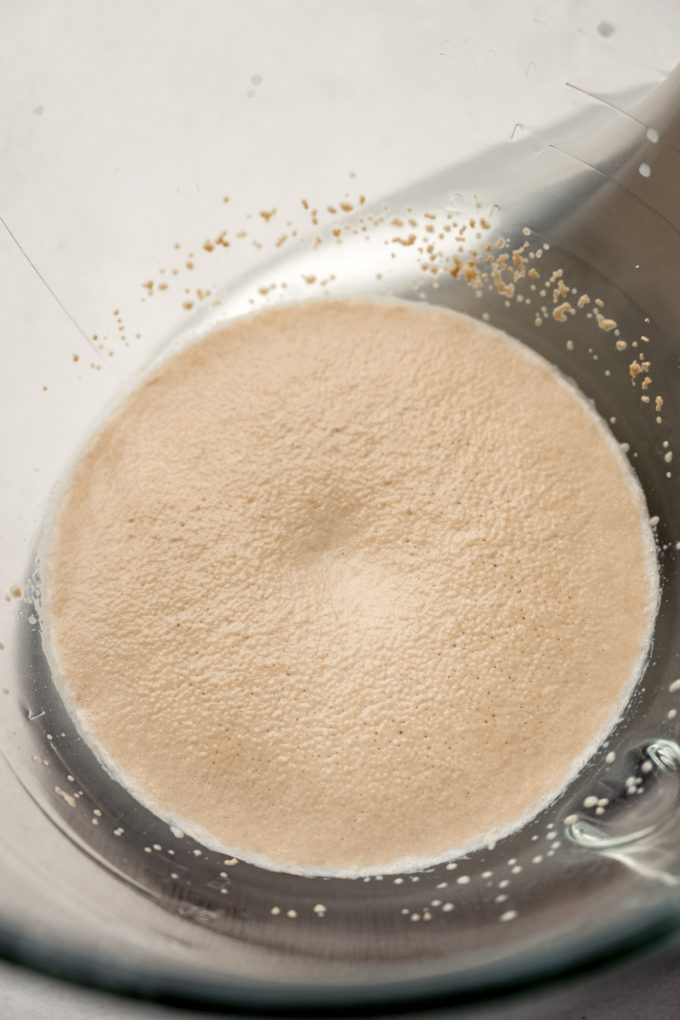
STEP #1: like all yeast bread recipes, we’ll start by activating the yeast. Adding the yeast to the warm milk with the sugar will ensure the yeast is cozy and fed. Whisk or stir everything together and allow it to sit for 5-10 minutes to proof.
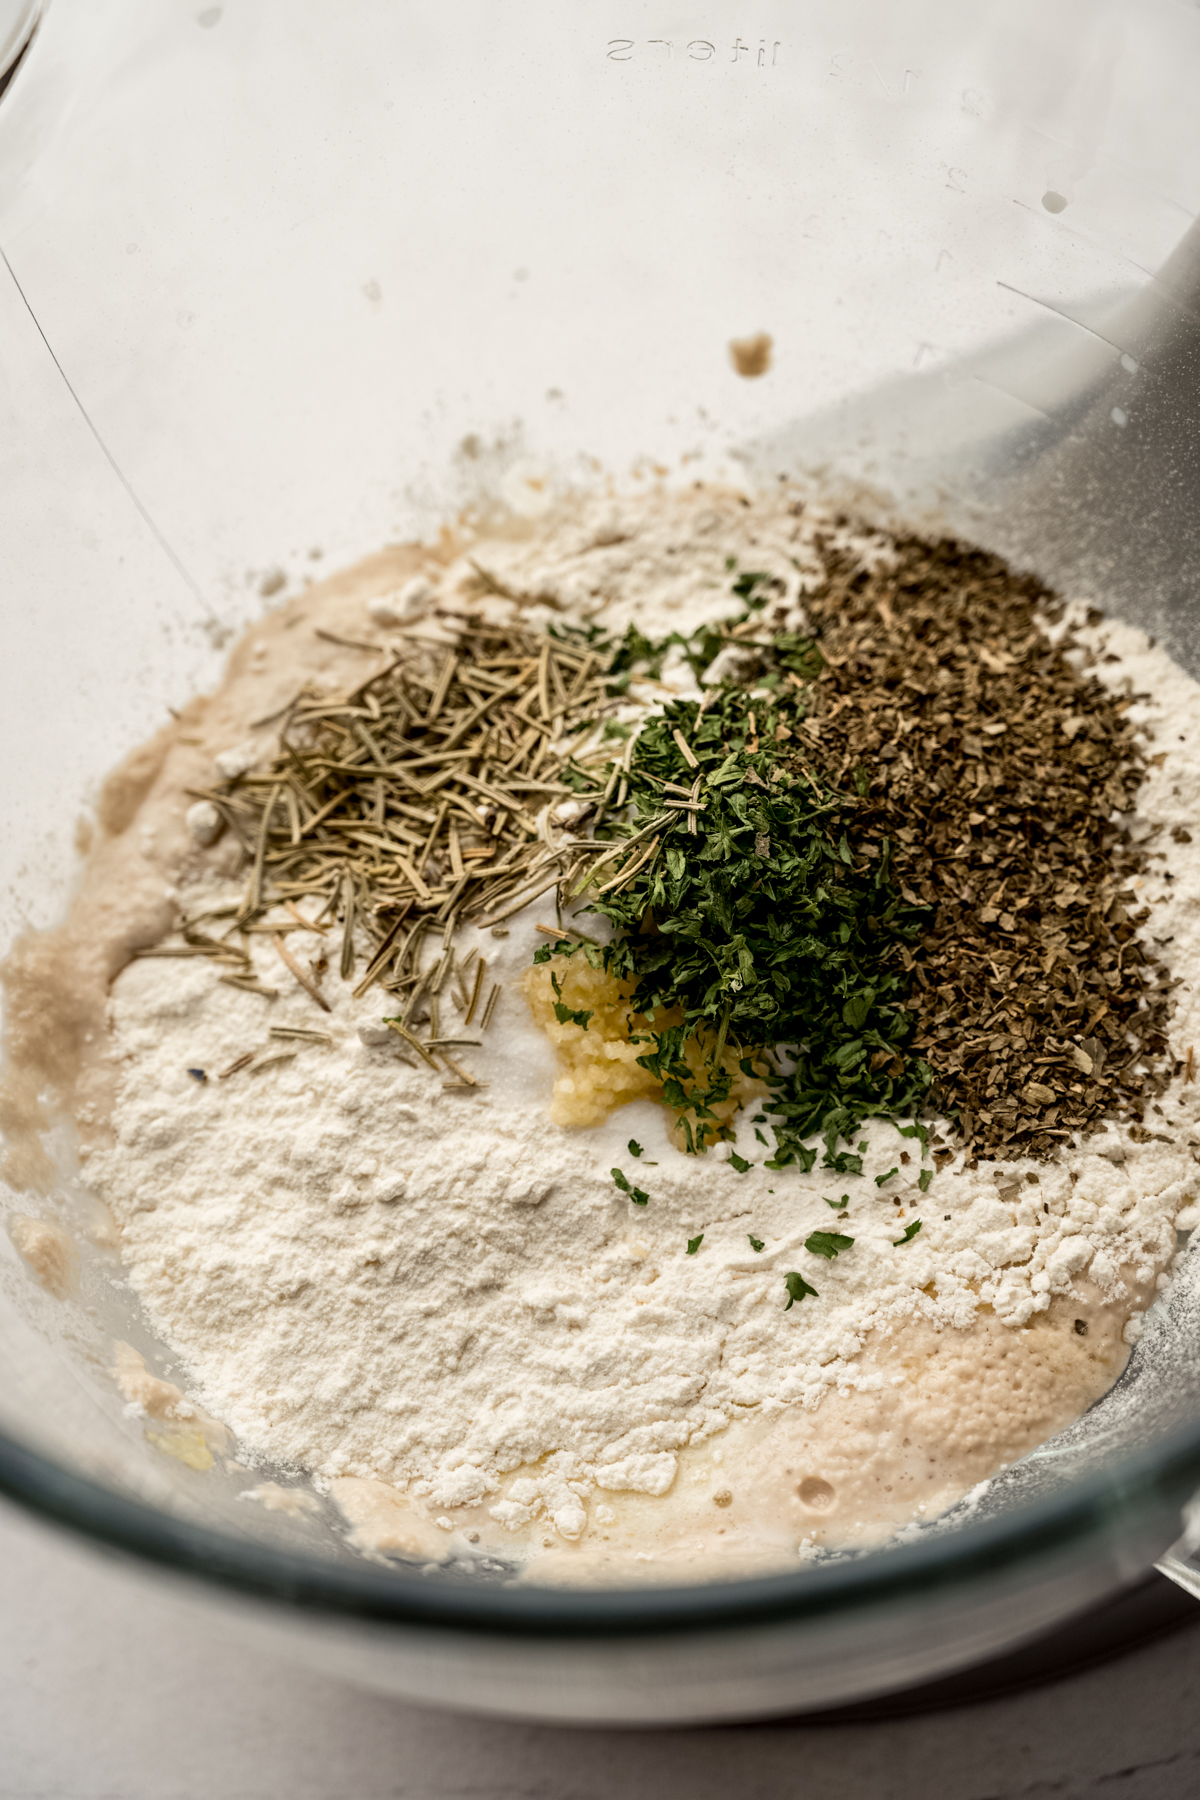
STEP #2: once the yeast is proofed, add the melted butter, egg, rosemary, basil, parsley, garlic, and salt, then add all of the flour.
STEP #3: fit your mixer with the dough hook (or use a wooden or silicone spatula) and blend until a soft dough forms. It may still be shaggy, but it should pull away from the sides of the bowl fairly easily.
KNEAD THE DOUGH
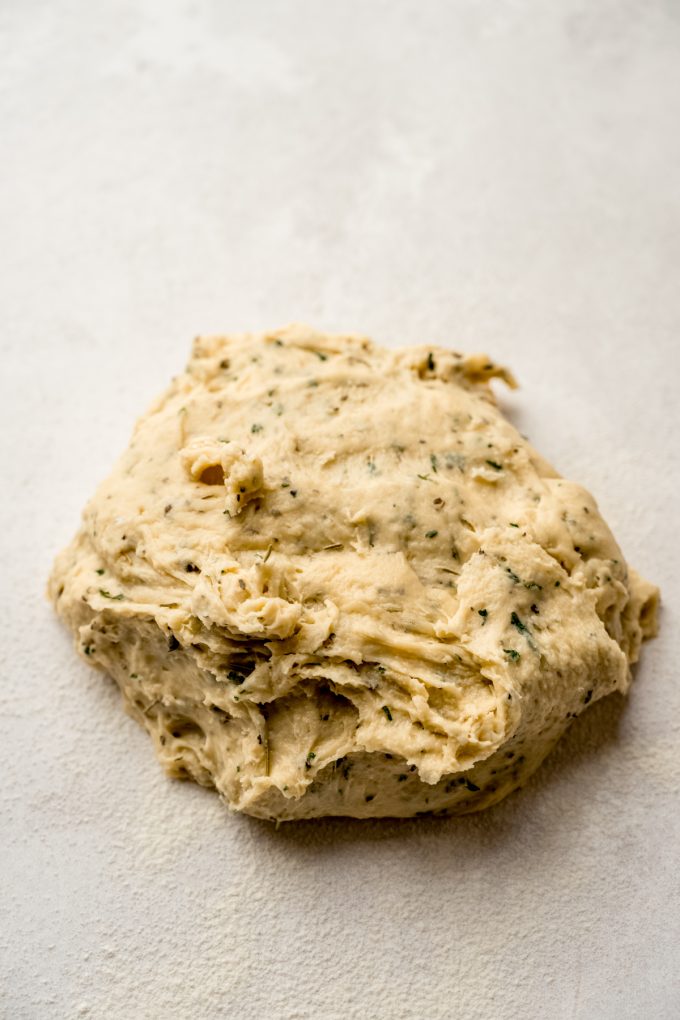
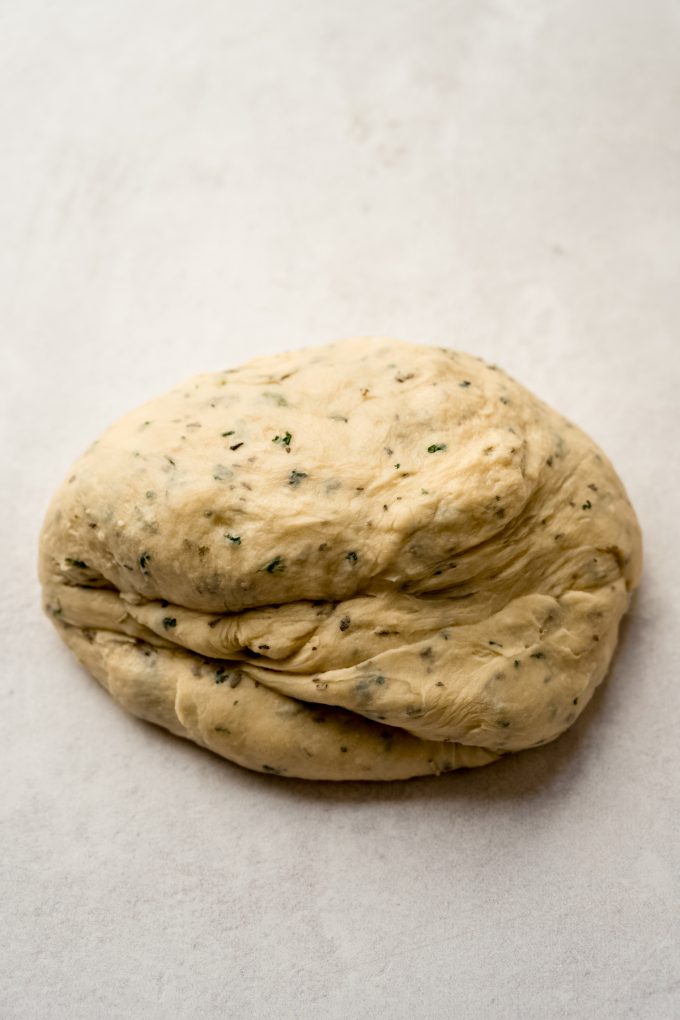
STEP #4: turn out dough on a floured surface and knead for about 8-10 minutes, adding flour about 1 Tablespoon at a time if the dough is too sticky, until smooth and elastic. Your dough should resemble the surface texture of PlayDoh when it is done. Alternatively, you can continue to knead the dough with the dough hook, but I prefer to do this with my hands so I can really feel the elasticity.
SHAPE THE HERBED ROLLS
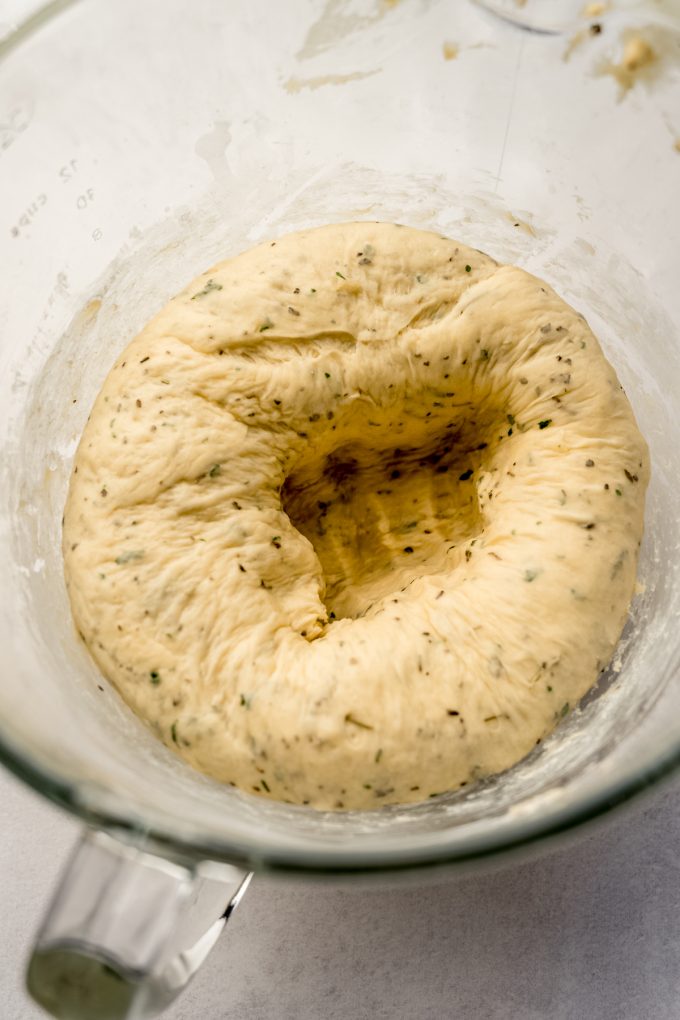
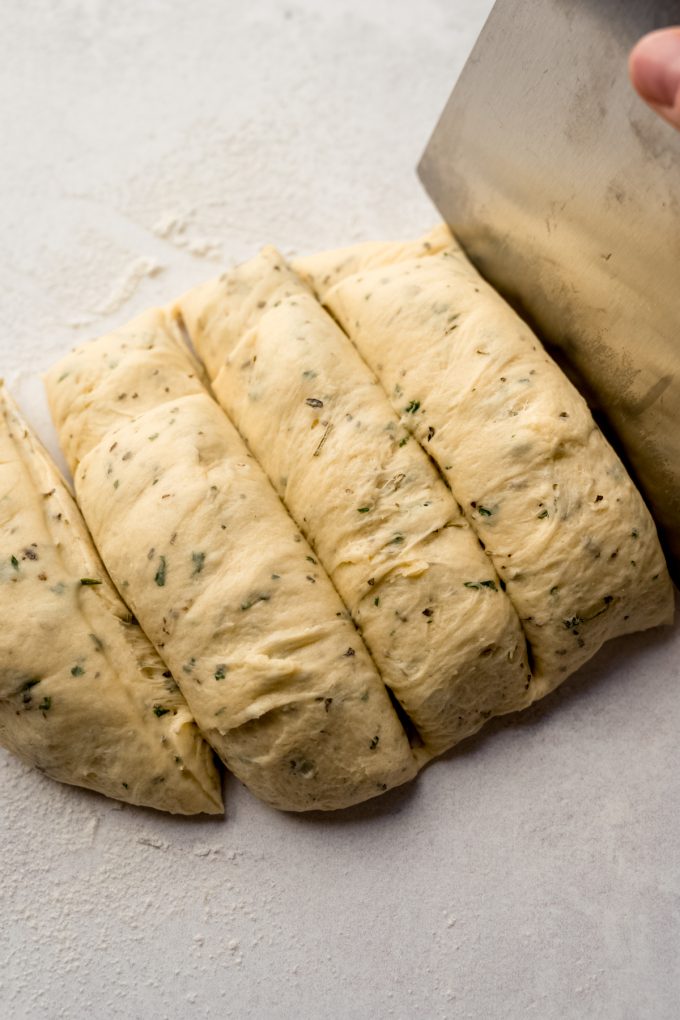
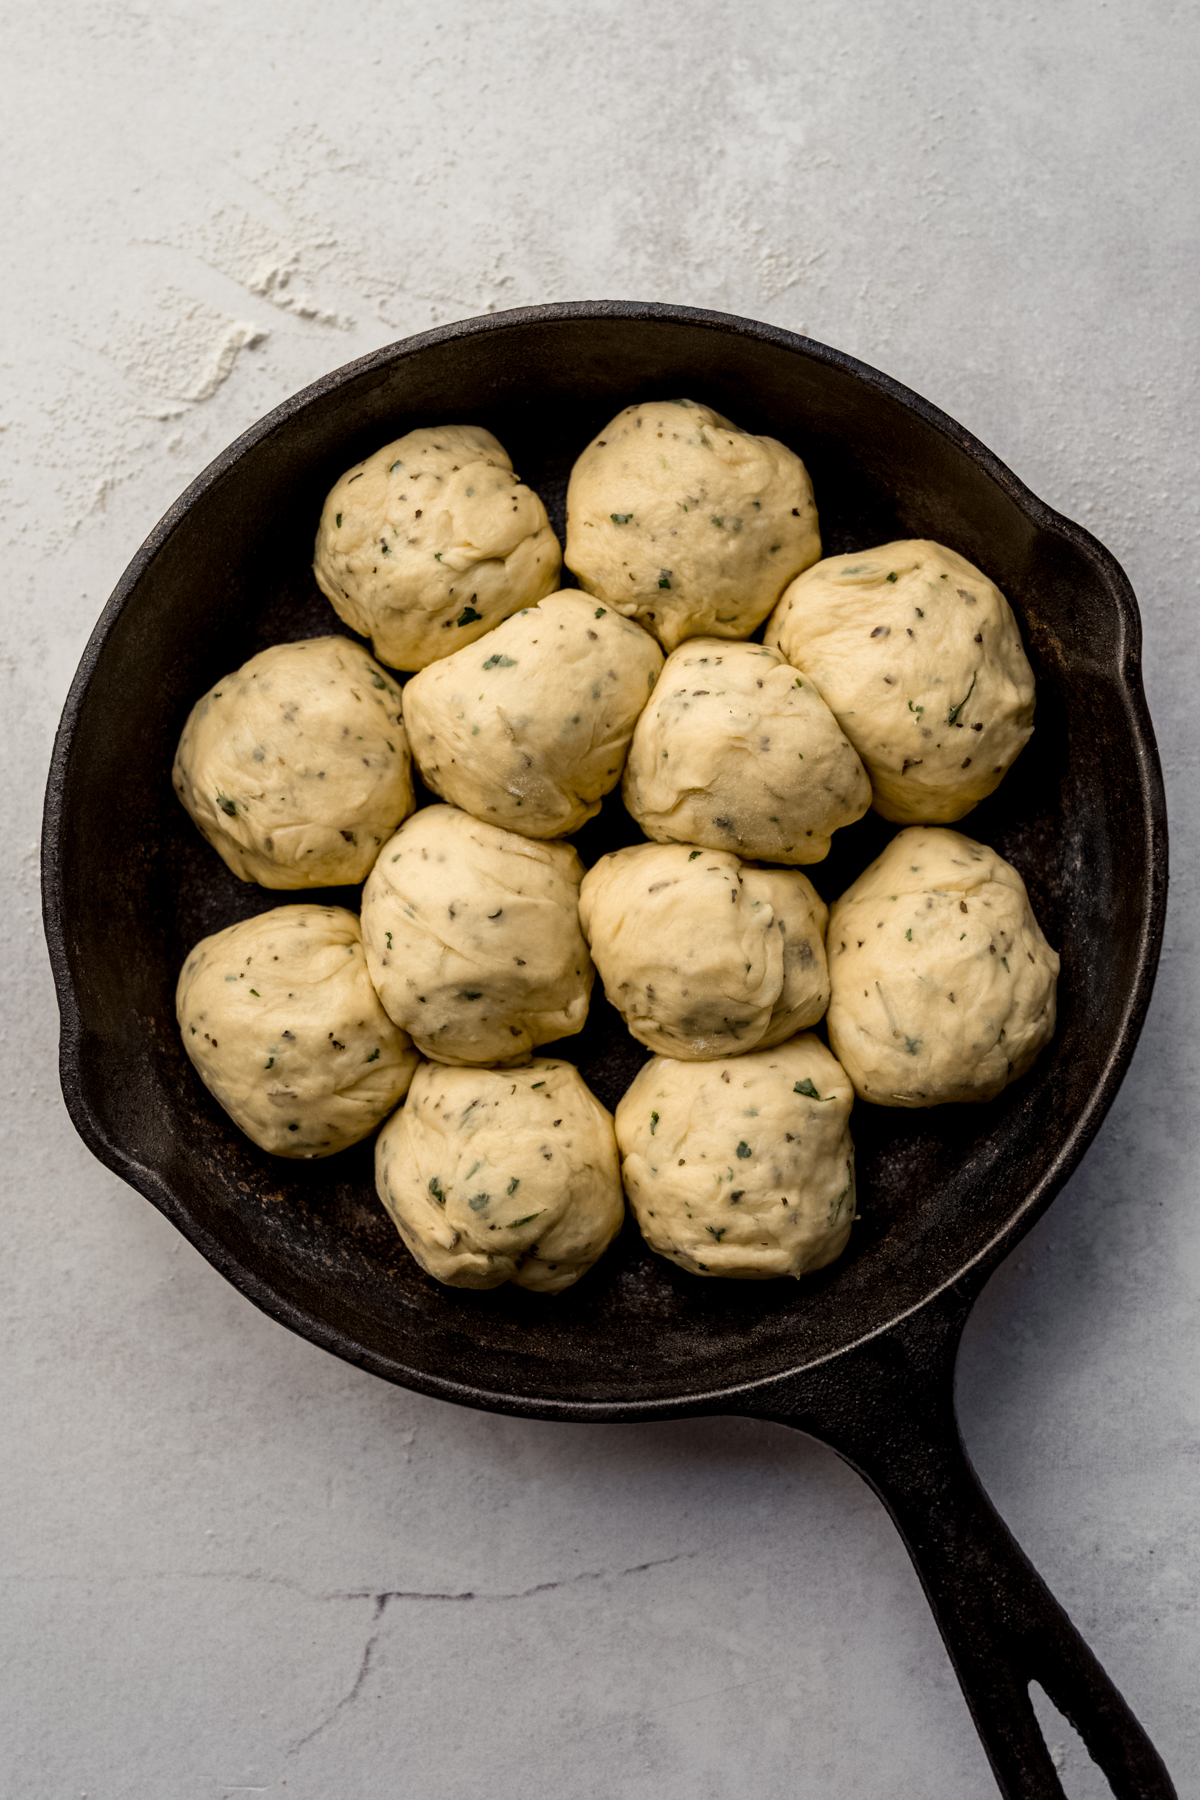
STEP #5: after the dough has risen, punch down the dough to deflate, then turn dough out onto a lightly floured surface. Pat the dough into a 12″ long rectangle or log, then cut into 12 equal pieces.
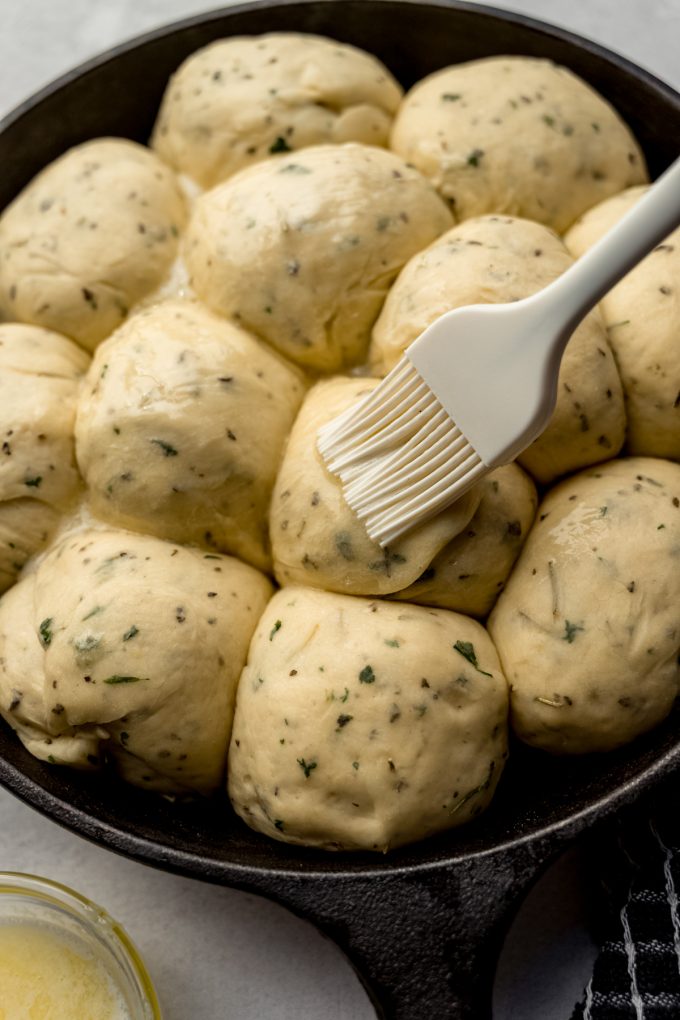
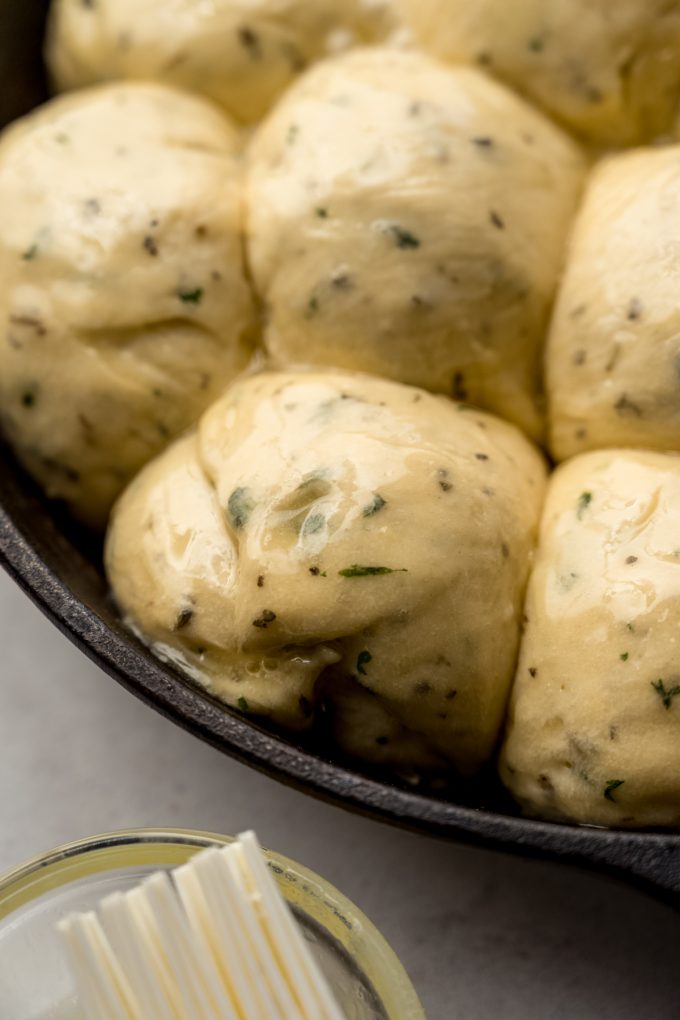
STEP #6: shape each piece of dough into a ball by using your hands to gently pinch and roll the dough. Place formed rolls into the prepared skillet or pan, then cover them with a kitchen towel. Allow the rolls to rise at room temperature for about 1 hour.
BAKE THE ROLLS
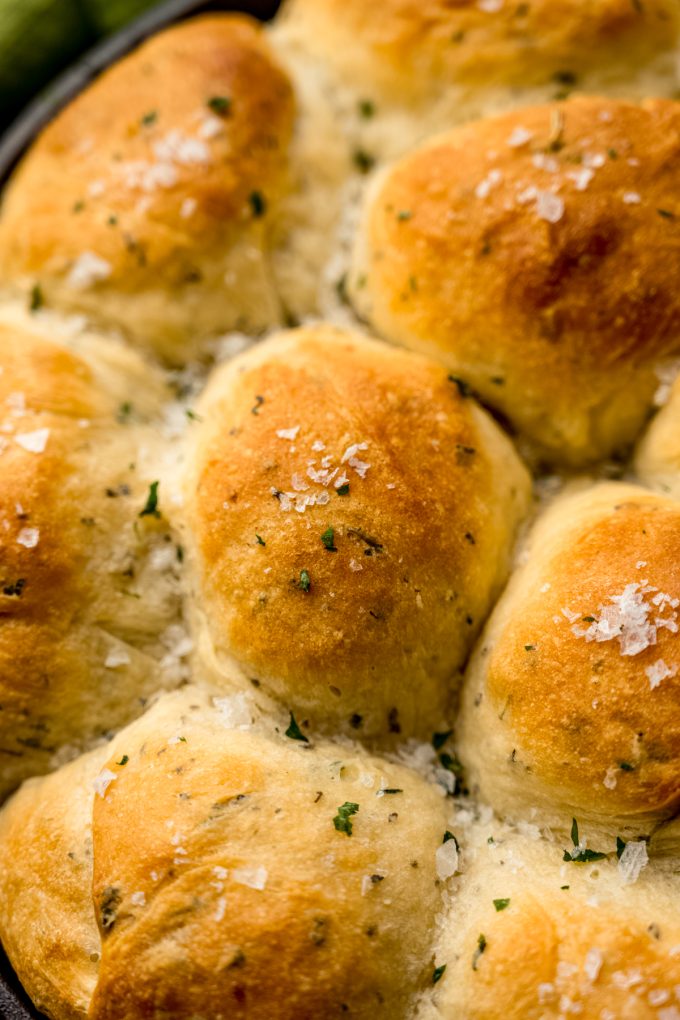
STEP #7: brush the rolls with about half of the melted butter, then bake the rolls in the preheated oven until golden brown on top. Brush with the remaining half of the additional melted butter and give them a solid sprinkle of flaky salt.
DO I HAVE TO USE A SKILLET?
You absolutely to not have to use a skillet if you either don’t have one or just don’t want to! These rolls fit nicely into a 9″ x 13″ baking dish. The skillet gives the rolls a little extra crispness on the bottoms, but that’s just an added bonus. They’ll still bake up perfectly soft in a different dish.
How to make HERBED Rolls Ahead OF TIME
Once all of the rolls are in the skillet or pan, you have the option of allowing them to rise in the refrigerator to bake at a later time or at room temperature to bake after their second rise.
You can think of the fridge as a “pause” button any time you’re making bread. The active yeast will rest and pause its activity, and while it isn’t indefinite, you can leave these rolls in the fridge to rest for up to 18 hours.
This is a great dinner roll recipe for a day when you would rather just do the work the night before and bake your homemade dinner rolls right before, well, dinner, or a holiday where you can prep one more thing ahead of time to reduce the amount of work you have to do on the actual holiday.
THESE ARE TRULY A STAND-OUT ROLL RECIPE
These rolls have an irresistible crunch to them thanks to the salt on top. Each roll centers is pillowy soft, and they are most enjoyable fresh and warm from the oven.
These rolls make a great pairing with herby turkey tenderloin, a pasta dish with my family’s famous meat sauce, a simple baked ziti, or cozy sausage tortellini soup. Use your herbed dinner rolls as a side dish or the vehicle for meatball sliders!

Herbed Dinner Rolls Recipe
Ingredients
ROLLS
- ¾ cup (180mL) warm milk I prefer whole; aim for 110ºF (43ºC)
- 2 Tablespoons (25g) granulated sugar
- 2 and ¼ teaspoons (7g) dry active yeast or one packet; not instant or rapid rise
- ¼ cup (57g) unsalted butter melted and allowed to cool
- 1 large egg room temperature
- 2 teaspoons dried rosemary
- 2 teaspoons dried basil leaves
- 2 teaspoons dried parsley
- 2 cloves garlic1 minced
- 1 teaspoon salt
- 2 and ¾ to 3 and ¼ cups (330-390g) all-purpose flour be sure to measure properly
BUTTER TOPPING
- 2 Tablespoons (28g) unsalted butter melted
- flaky sea salt
Instructions
- In the bowl of a stand mixer or a large bowl (if you want to use your hands), whisk together the warm milk and sugar. Sprinkle the yeast over the mixture, then whisk again to combine. Allow the mixture to sit for 5-10 minutes to proof.¾ cup (180mL) warm milk, 2 Tablespoons (25g) granulated sugar, 2 and ¼ teaspoons (7g) dry active yeast
- Once the yeast is proofed, add the melted butter, egg, rosemary, basil, parsley, garlic, and salt, then add all of the flour.¼ cup (57g) unsalted butter, 1 large egg, 2 teaspoons dried rosemary, 2 teaspoons dried basil leaves, 2 teaspoons dried parsley, 1 teaspoon salt, 2 cloves garlic1
- Fit the mixer with the dough hook (or use a wooden or silicone spatula) and blend until a soft dough forms. It may still be shaggy, but it should pull away from the sides of the bowl fairly easily.2 and ¾ to 3 and ¼ cups (330-390g) all-purpose flour
- Turn out dough on a floured surface and knead for about 8-10 minutes, adding flour about 1 Tablespoon at a time if the dough is too sticky, until smooth and elastic. Your dough should resemble the surface texture of PlayDoh when it is done. Alternatively, you can continue to knead the dough with the dough hook, but I prefer to do this with my hands so I can really feel the elasticity.
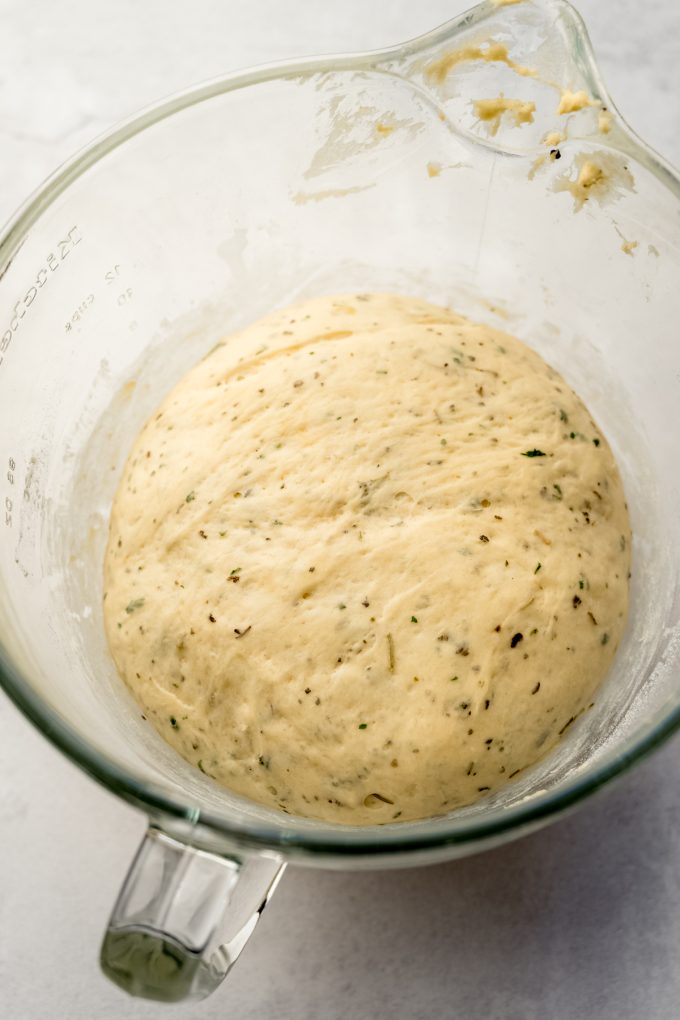
- Place the dough in an oiled bowl, turning it over to coat, then cover with a kitchen towel and allow it to rise until it has doubled in size, about 60-90 minutes.
- After the dough has risen, punch down the dough to deflate, then turn dough out onto a lightly floured surface. Pat the dough into a 12" long rectangle or log, then cut into 12 equal pieces.
- Spray a 9-10" cast iron skillet2 with nonstick spray. Set aside.
- Shape each piece of dough into a ball by patting the dough into a small square, then pulling each corner into the center to create a pouch. Pinch the corners together to make a seal. Place formed roll into the prepared skillet, spacing them out evenly.
- Cover the rolls with a kitchen towel and allow to rise at room temperature for 1 hour.
- Arrange a rack in the middle of the oven, then preheat the oven to 375ºF (190ºC). Brush the rolls with about half of the melted butter.2 Tablespoons (28g) unsalted butter
- Bake the rolls for 23-27 minutes or until golden brown on top. If you notice the tops browning too quickly, tent the skillet loosely with foil. Remove from the oven, brush warm rolls with remaining half of the melted butter, and sprinkle the tops with sea salt. Allow rolls to cool for a few minutes before serving. Store leftovers at room temperature up to 3 days, or in the refrigerator up to 1 week. Rolls freeze well, up to 3 months. Thaw at room temperature.flaky sea salt, 2 Tablespoons (28g) unsalted butter
Video
Notes
- Garlic: you can use 1 teaspoon of garlic powder, if preferred.
- Skillet: you can also use a baking pan. I suggest a 9″ x 13″ dish.
- To make ahead: lay plastic wrap directly on the shaped rolls and refrigerate them for up to 18 hours. Remove from the refrigerator 2 hours before you want to serve them. Let them rise at room temperature for 1 and ½ hours before baking them.
- Working with yeast: for a comprehensive look at working with yeast in a recipe, see my post about how to bake with yeast.
Nutrition Disclosure
All nutritional values are approximate and provided to the reader as a courtesy. Changing ingredients and/or quantities will alter the estimated nutritional calculations.
Made these last night and they were perfection (like gum from Jill Goodacre). My favorite part was the slightest hint of sweetness.
Hahahahaha, thank you so much for this review!