Eva’s Parmesan Parsley Bread
As an Amazon Associate, I earn from qualifying purchases. Read the full disclosure here.
A quick and easy (no rising!) yeast bread filled with tangy Parmesan and slightly bitter parsley.
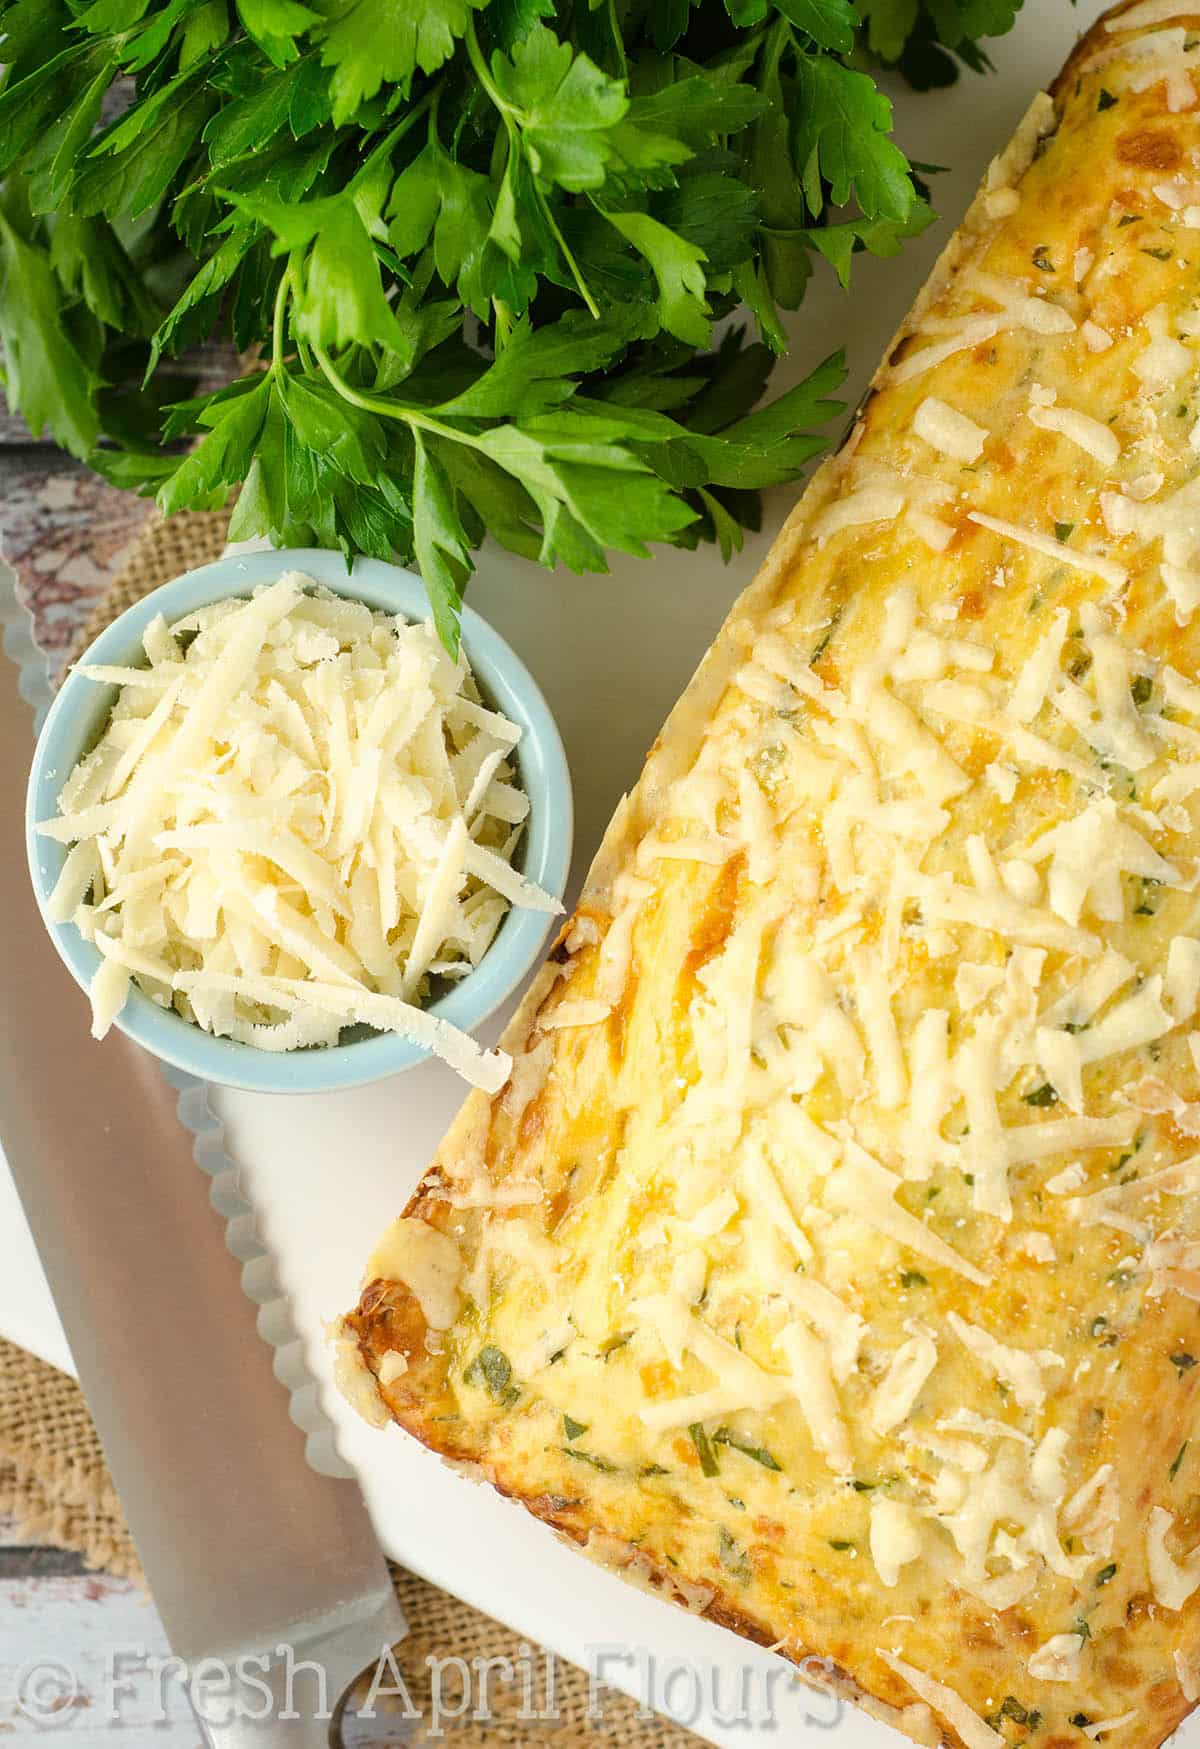
So… I meant to share this recipe with you back in April. Yep, April, when my family and I celebrated/remembered what would have been my paternal grandmother’s 100th birthday.
Buuuuut life got a little crazy (hello cookbook, celebrating year 2, my BIL’s wedding, a killer vacation, all the other weddings we went to this year, and turning 30!) and I just didn’t have as much time to stop and make a yeast bread as I would have liked to.
Last weekend, we finally had zero plans, so it was time to flour up my baking station and get to work on Eva’s savory bread.
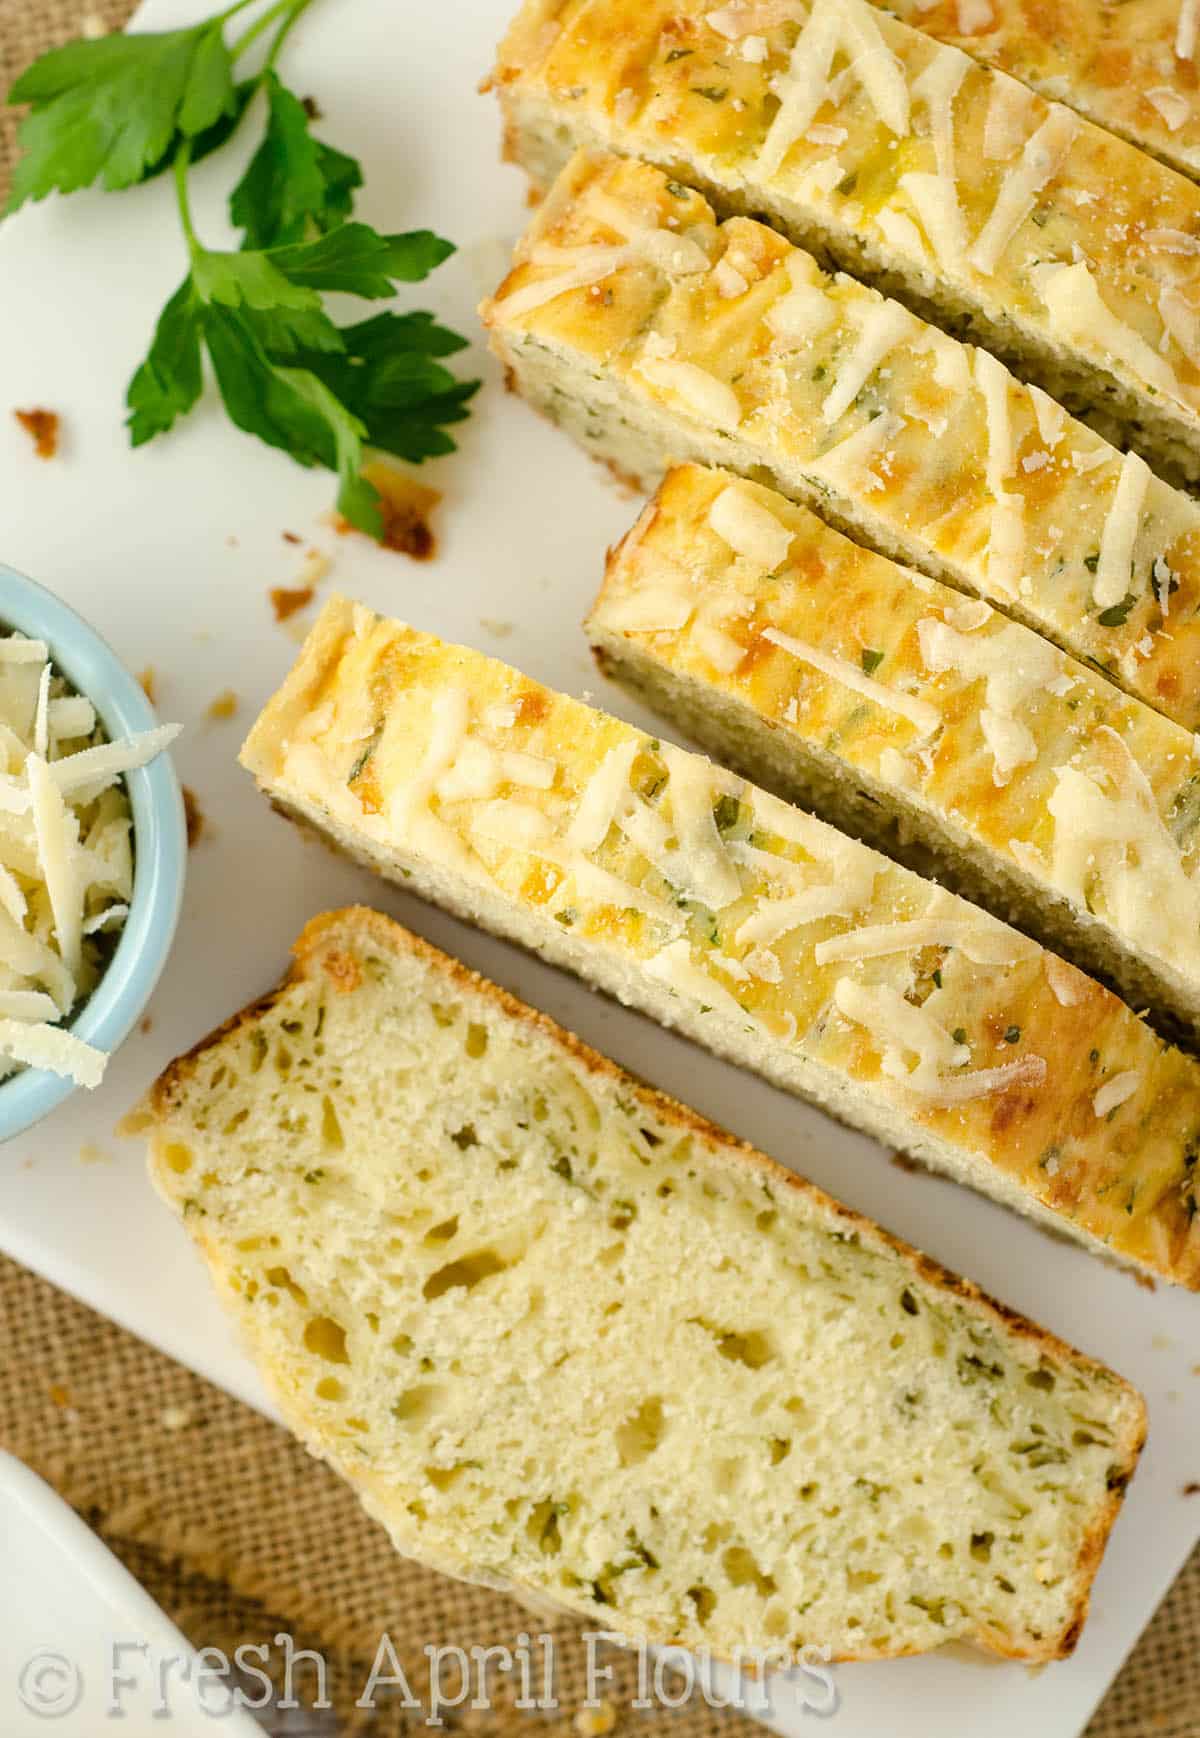
I speak about Eva, my paternal grandmother, in my Italian anise bread recipe post, and mention that she had 3 different types of “Easter pizza.” A sweet one with anise (that’s the one in that recipe) and two savory ones– one with ricotta, and then this one, with Parmesan and parsley.
Another reason it took me so long to get this recipe to you is that it took me 3 tries to get it right. The first time was pretty much just to figure out what in the world the recipe said.
The second time, I had a better idea of what was going on, but the method was still not perfect.
Third time wound up being the charm and it’s ready to share with you, my wonderful readers!
If you’re already shying away because this is a yeast bread, do not be scared. This is not your typical yeast bread, as in there is no rising time at all. That’s right– no rising time.
The first time I made this bread, I let it rise, as stated in my grandmother’s recipe. I came back to my covered loaf after an hour and it had… Not risen at all.
I scratched my head and baked it anyway, thinking that my yeast was probably bad (even though it had proofed* just fine). The bread came out of the oven beautifully puffy and baked up just like it should have been!
So the second time, I didn’t let it rise at all. I just baked it right away. And it turned out exactly the same.
This bread is magic, I think. I’m not questioning it. So neither should you. Just go with it…
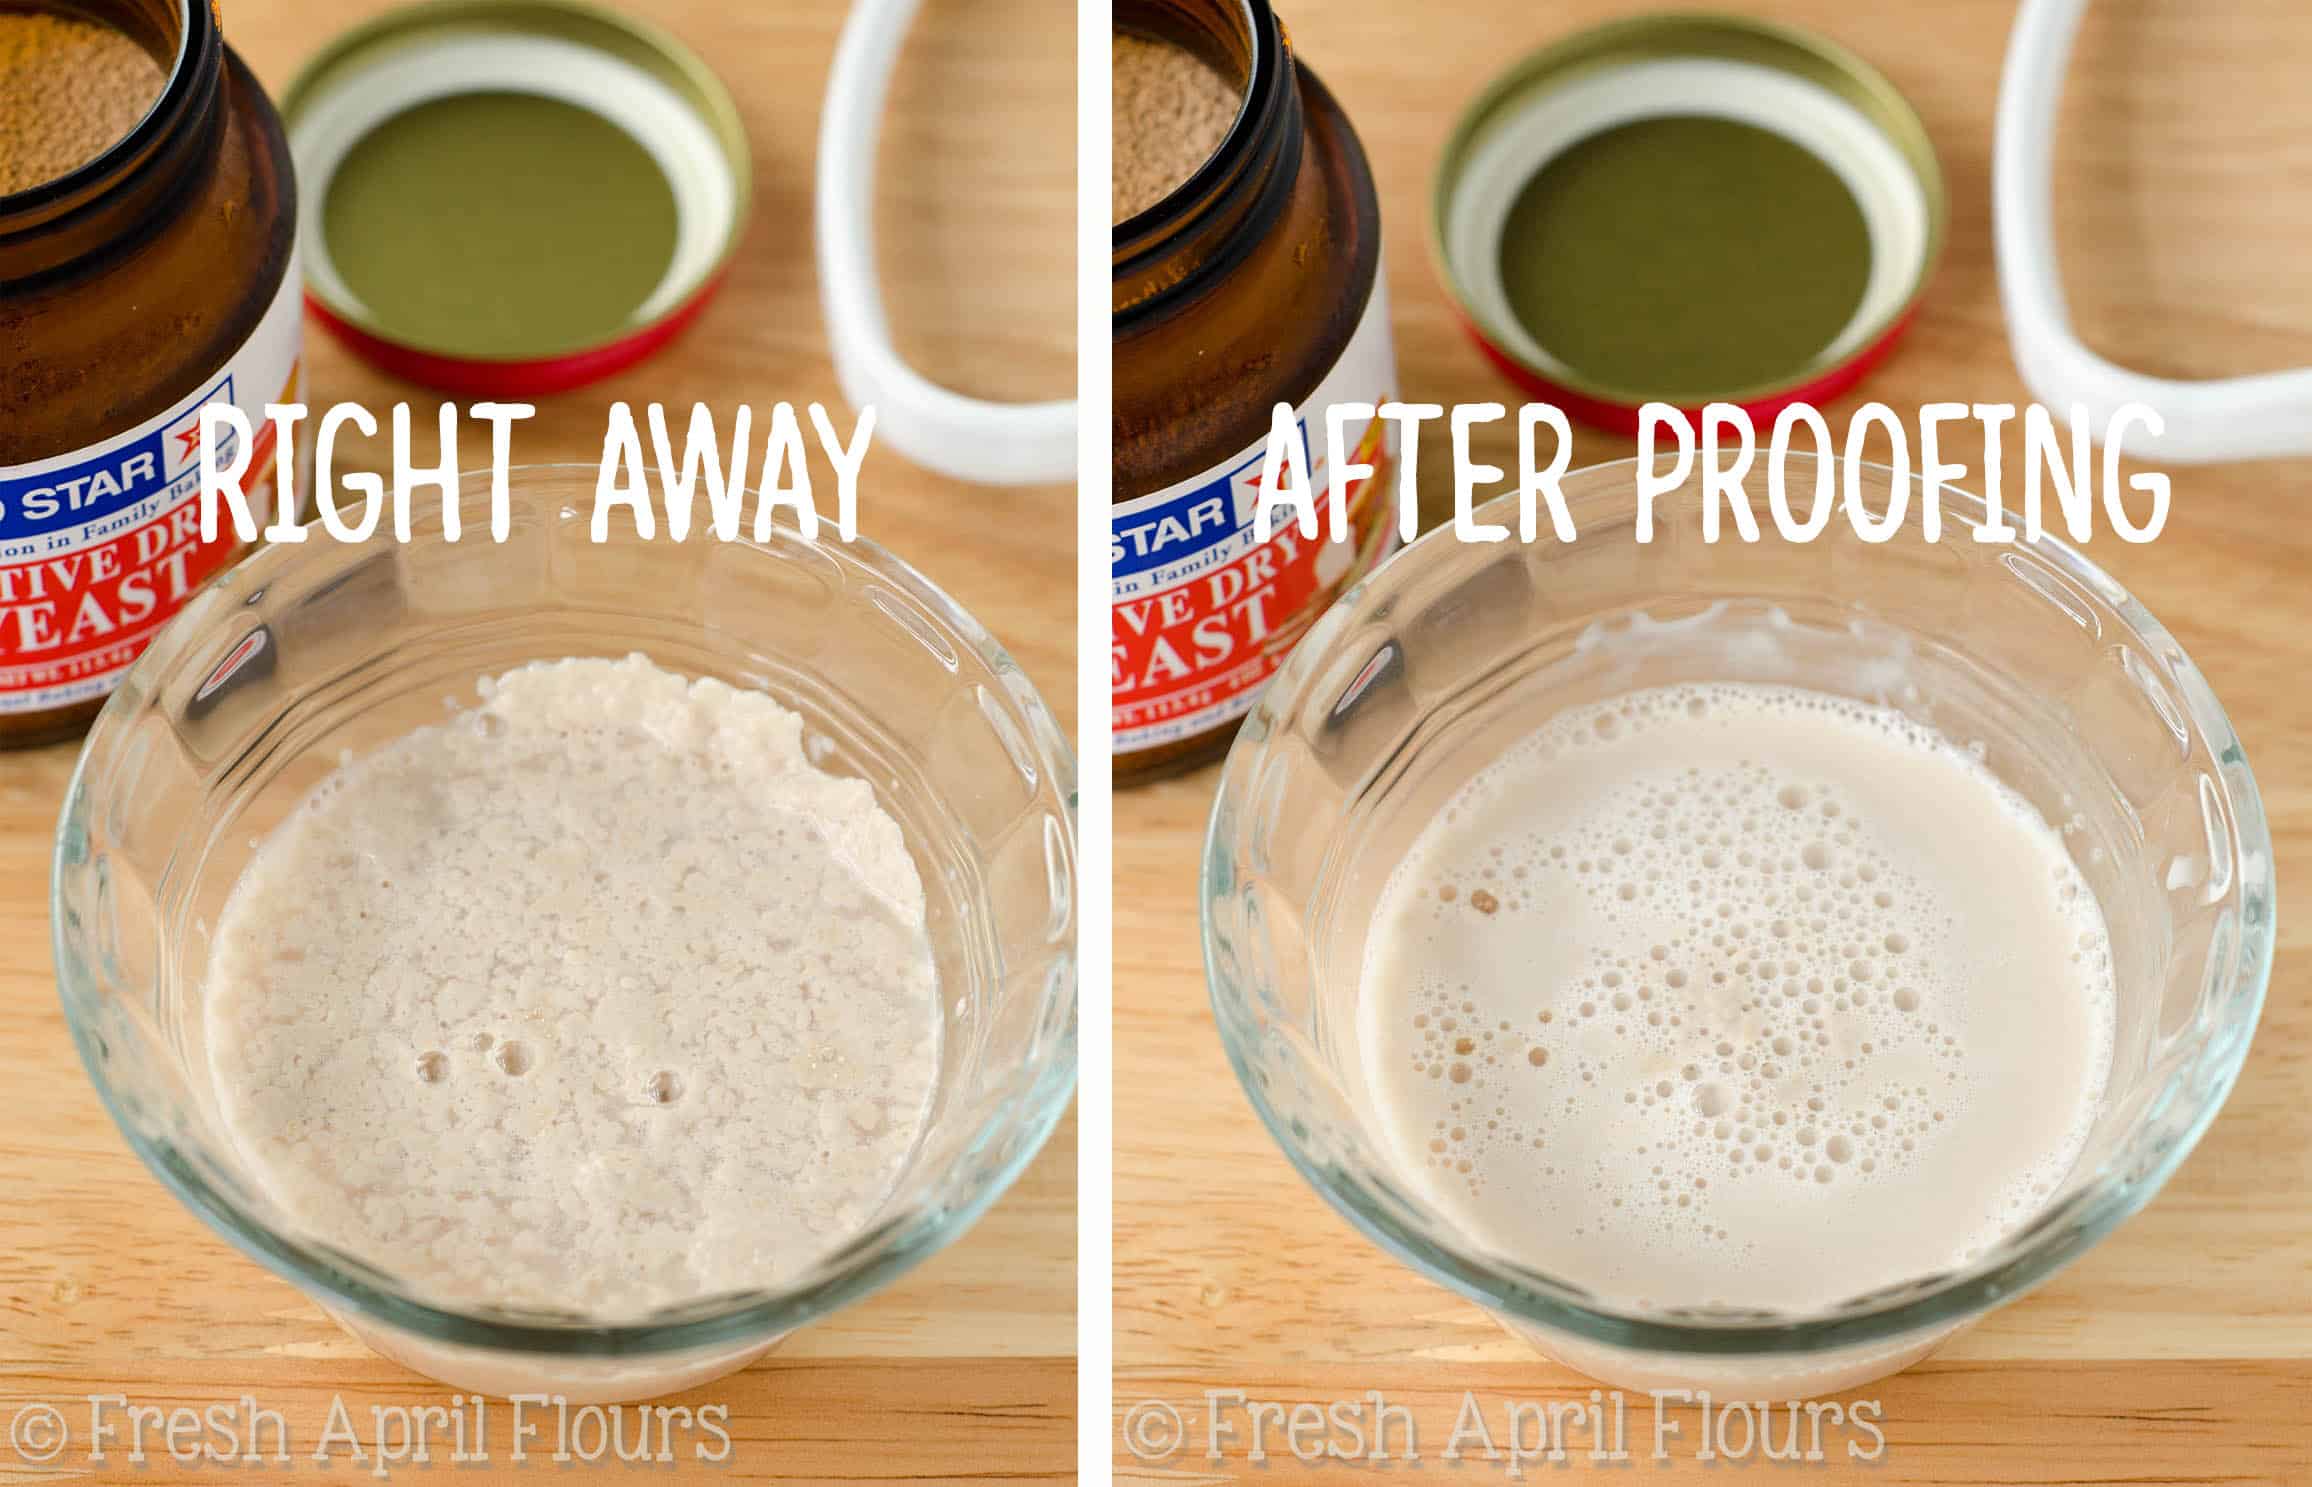
*If you’re wondering what proofing is, you’re about to get a nice little lesson in yeast. Proofing yeast is simply the act of “proving” that your yeast is active and able to give rise to your bread.
WHAT IS YEAST AND WHAT DOES IT DO?
Yeast is a living fungus that is inactive until it comes in contact with warm water. When yeast is combined with sugar in a bread dough, it begins to feed off of the sugar, releasing carbon dioxide, causing the dough to rise.
As the dough rises, the gluten in the flour develops and helps to create the stretchy texture of the inside of bread.
Mmmm, science.
To proof yeast, put it in a small bowl with warm water. To obtain the right temperature of water, run your wrist in the stream of tap water, adjusting the temperature until you can no longer feel the temperature of the water on your wrist (you will feel it if it is too hot or too cold).
Stir it up with a fork until it is dissolved, wait about 5-10 minutes and watch for bubbles to form. If you see the bubbles, your yeast is ready to use!
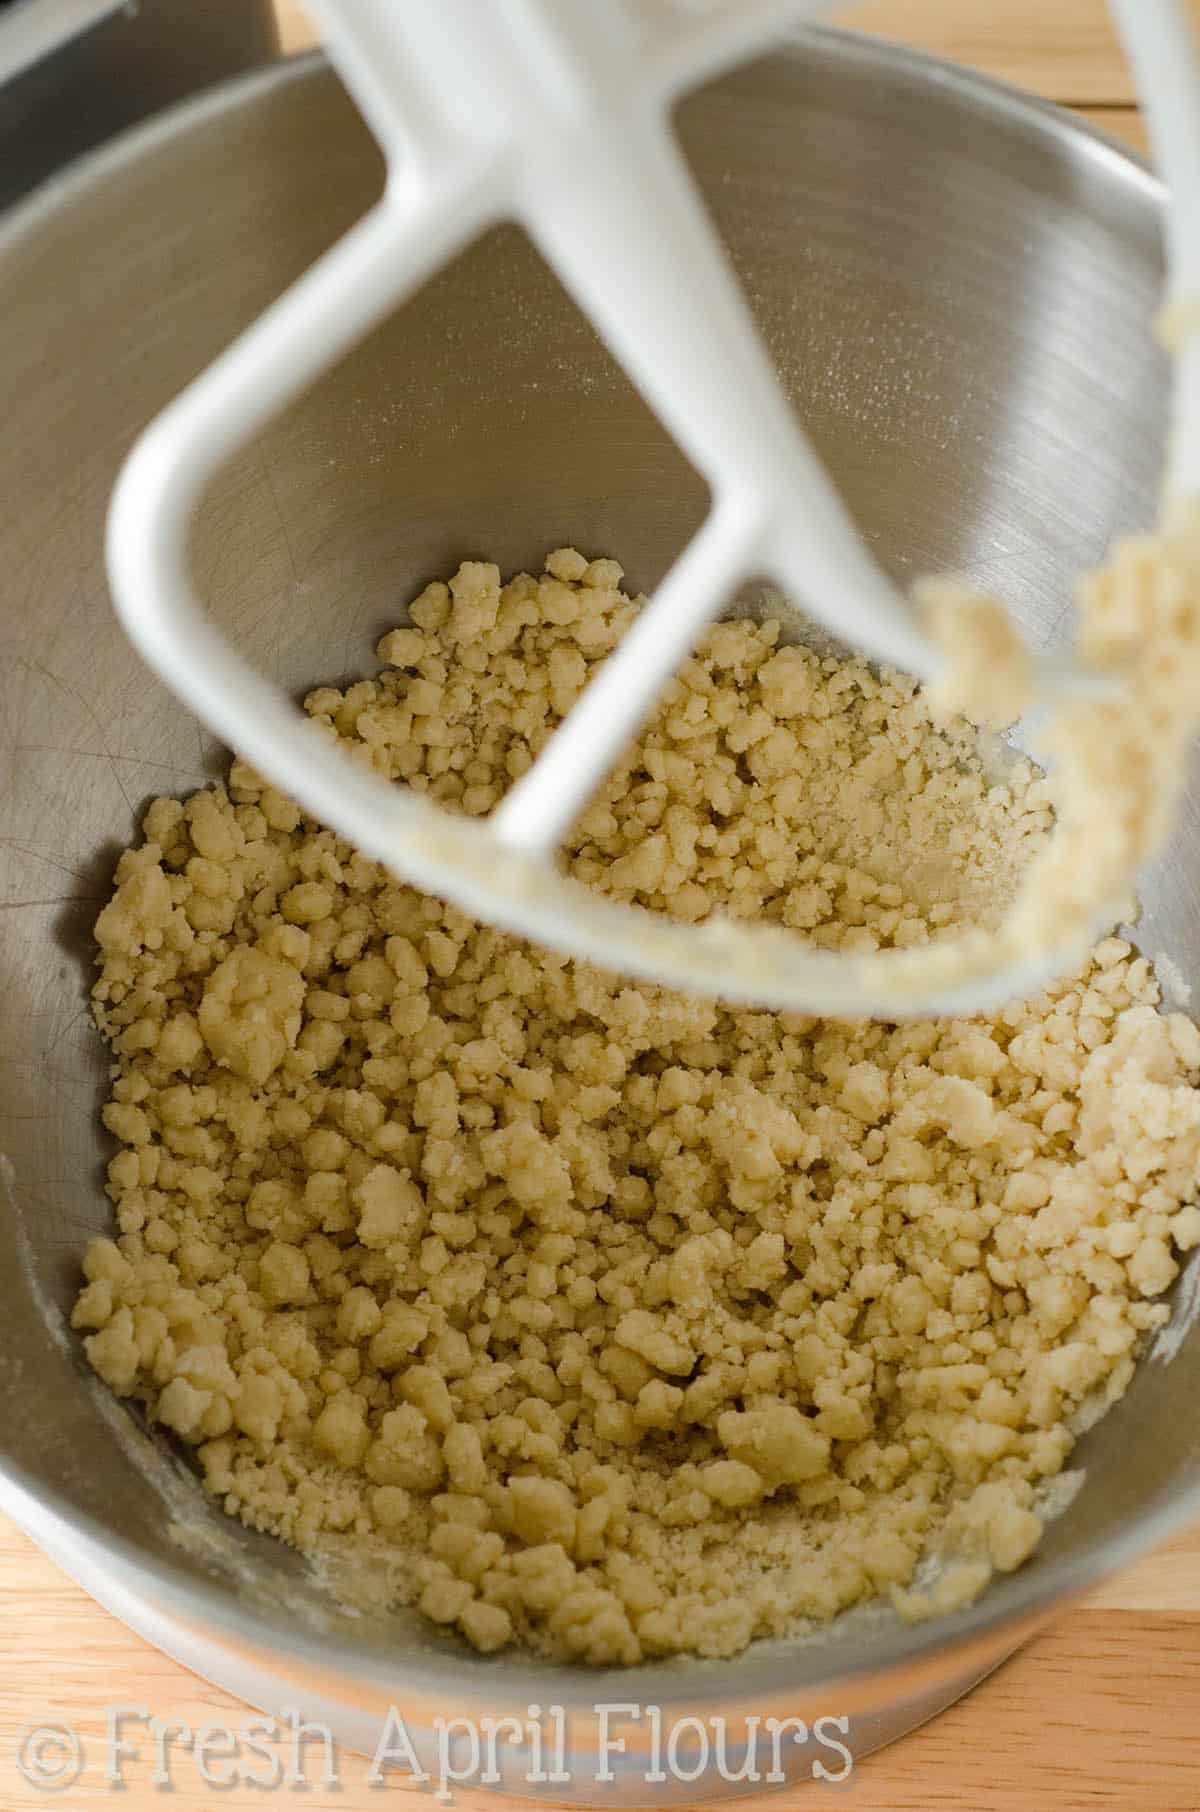
Once your yeast is ready to go, the bread itself is pretty straightforward. You’ll start by combining melted butter, flour (all purpose is just fine here– you can use bread flour if you’d like, but it’s not necessary), a little sugar, and some salt.
You should wind up with a coarse and crumbly mixture.
Next, you’ll add the wet ingredients (the yeast, some warm milk, and a beaten egg) and turn your mixer on to medium high. The mixture will start out pretty wet, but will gain some elasticity as it mixes.
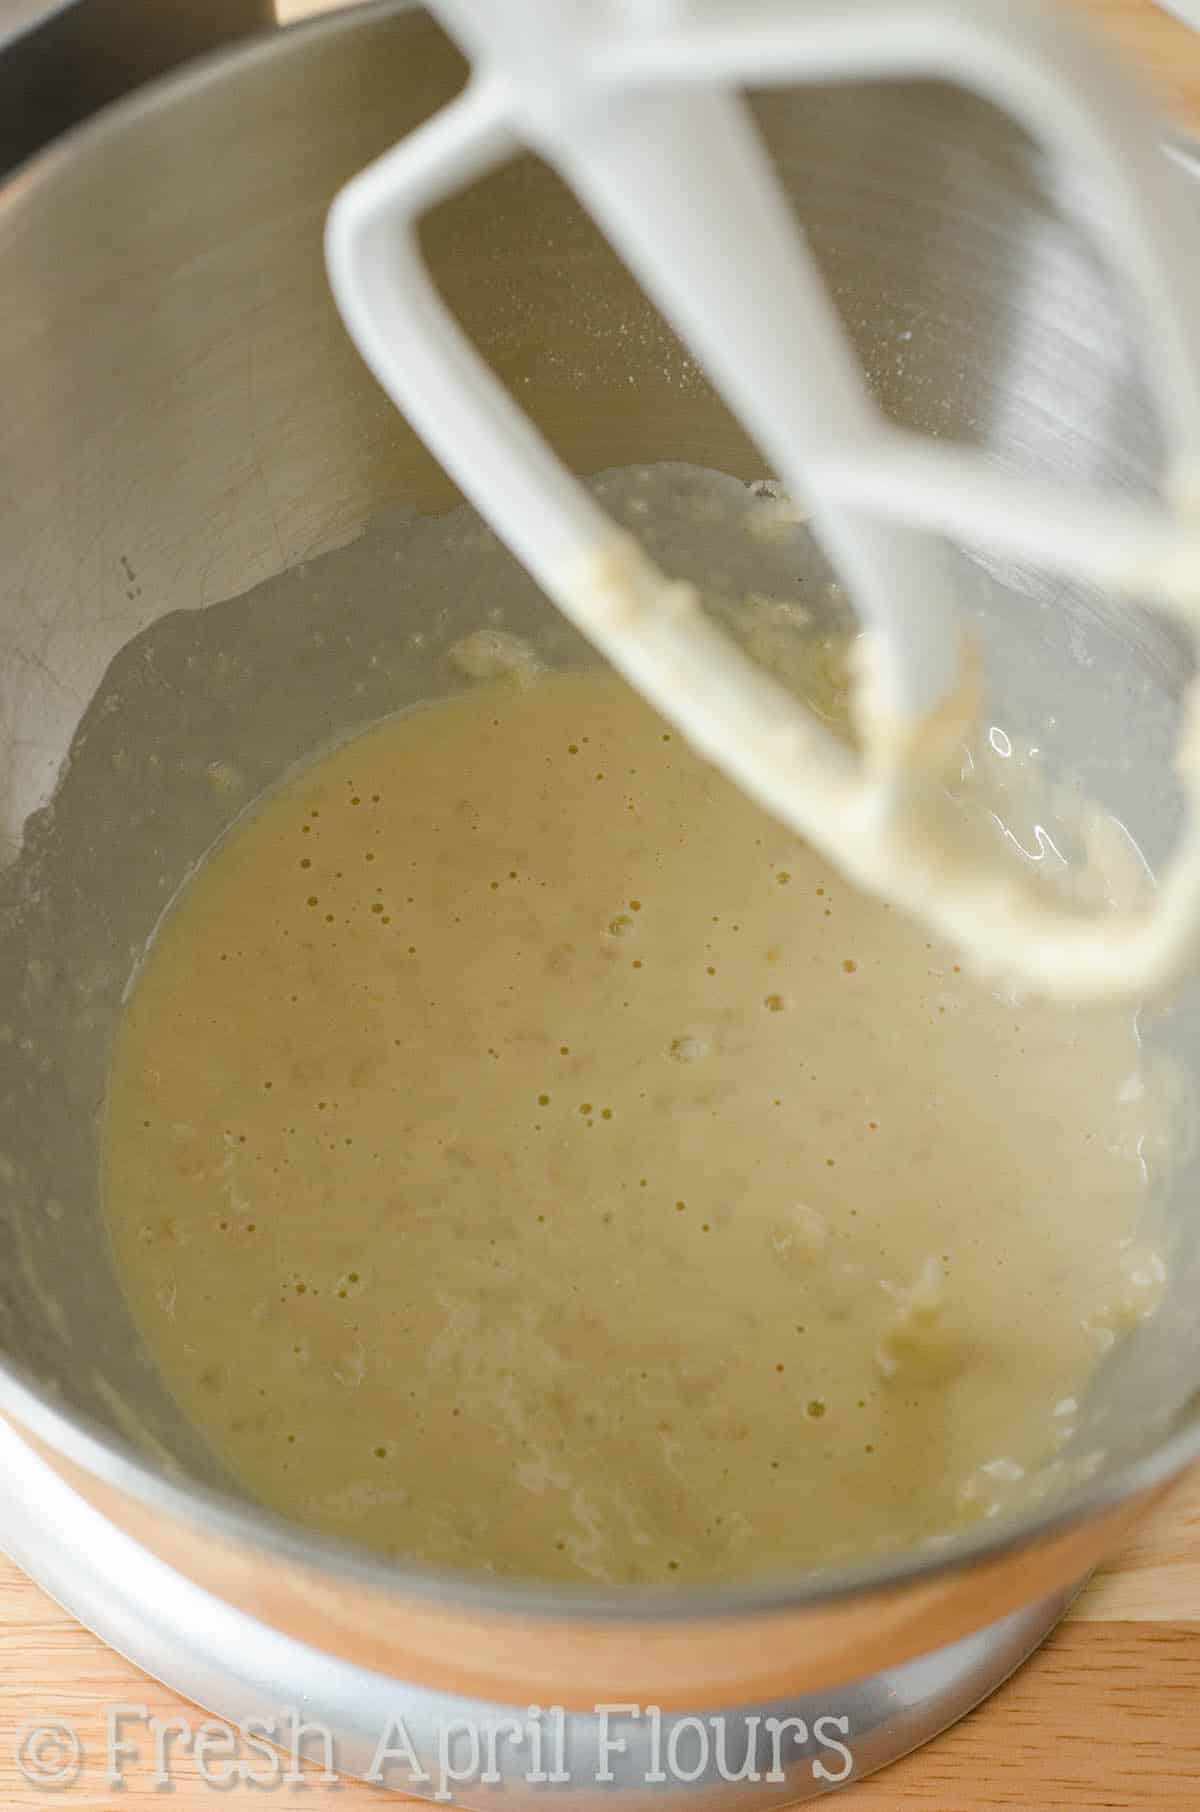
This is the point in the process at which it has been necessary for me to add a little more flour. One time I did not have to, the other two, I did. Use your best judgment.
It should shred from the paddle easily when you pull the paddle out of the bowl. If it doesn’t, add flour one Tablespoon at a time until it does.
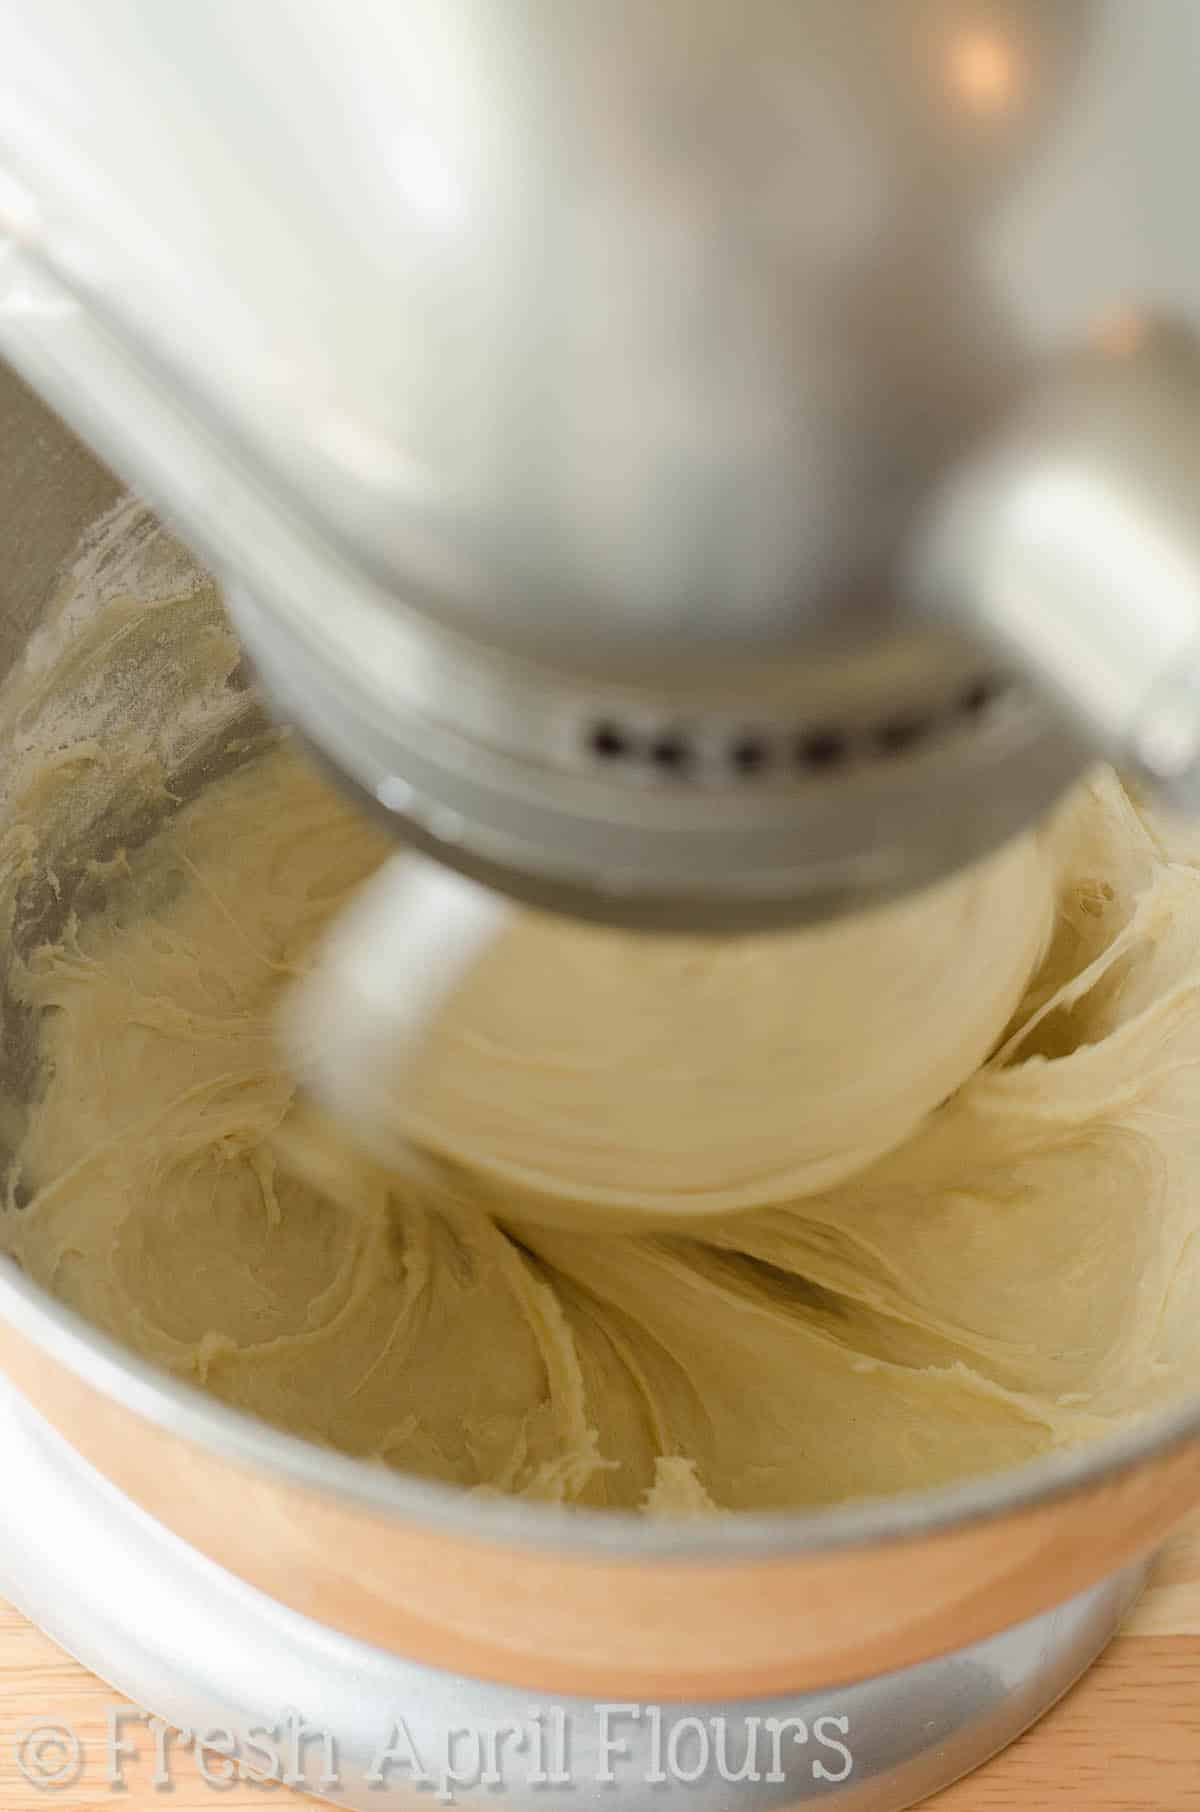
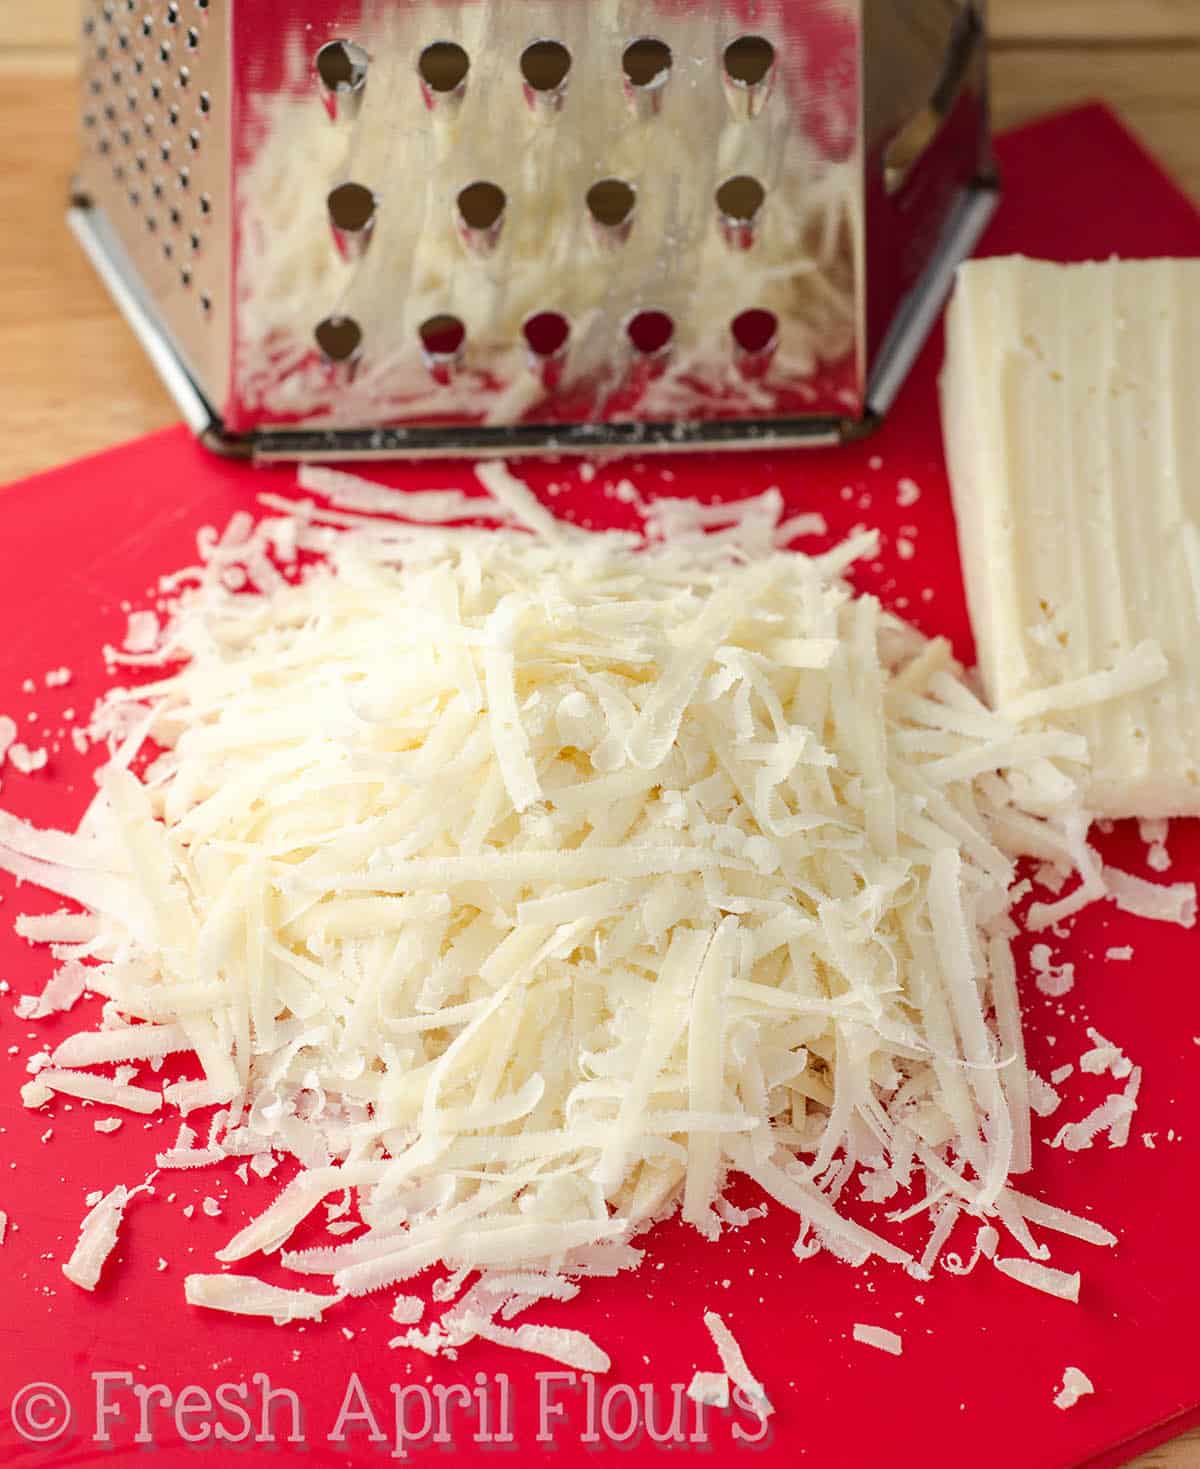
Once it’s nice and elastic, stir in the Parmesan and the parsley. PS– we are using fresh-off-the-block Parmesan here. Not “shaker cheese.” The shreddy good stuff.
When the Parmesan and parsley are thoroughly combined into the dough, the dough should be heavy and elastic. In a matter of about 30 seconds, the dough fell off of my paddle on its own (photo below). It should come off cleanly and almost “snap” if you pull it off.
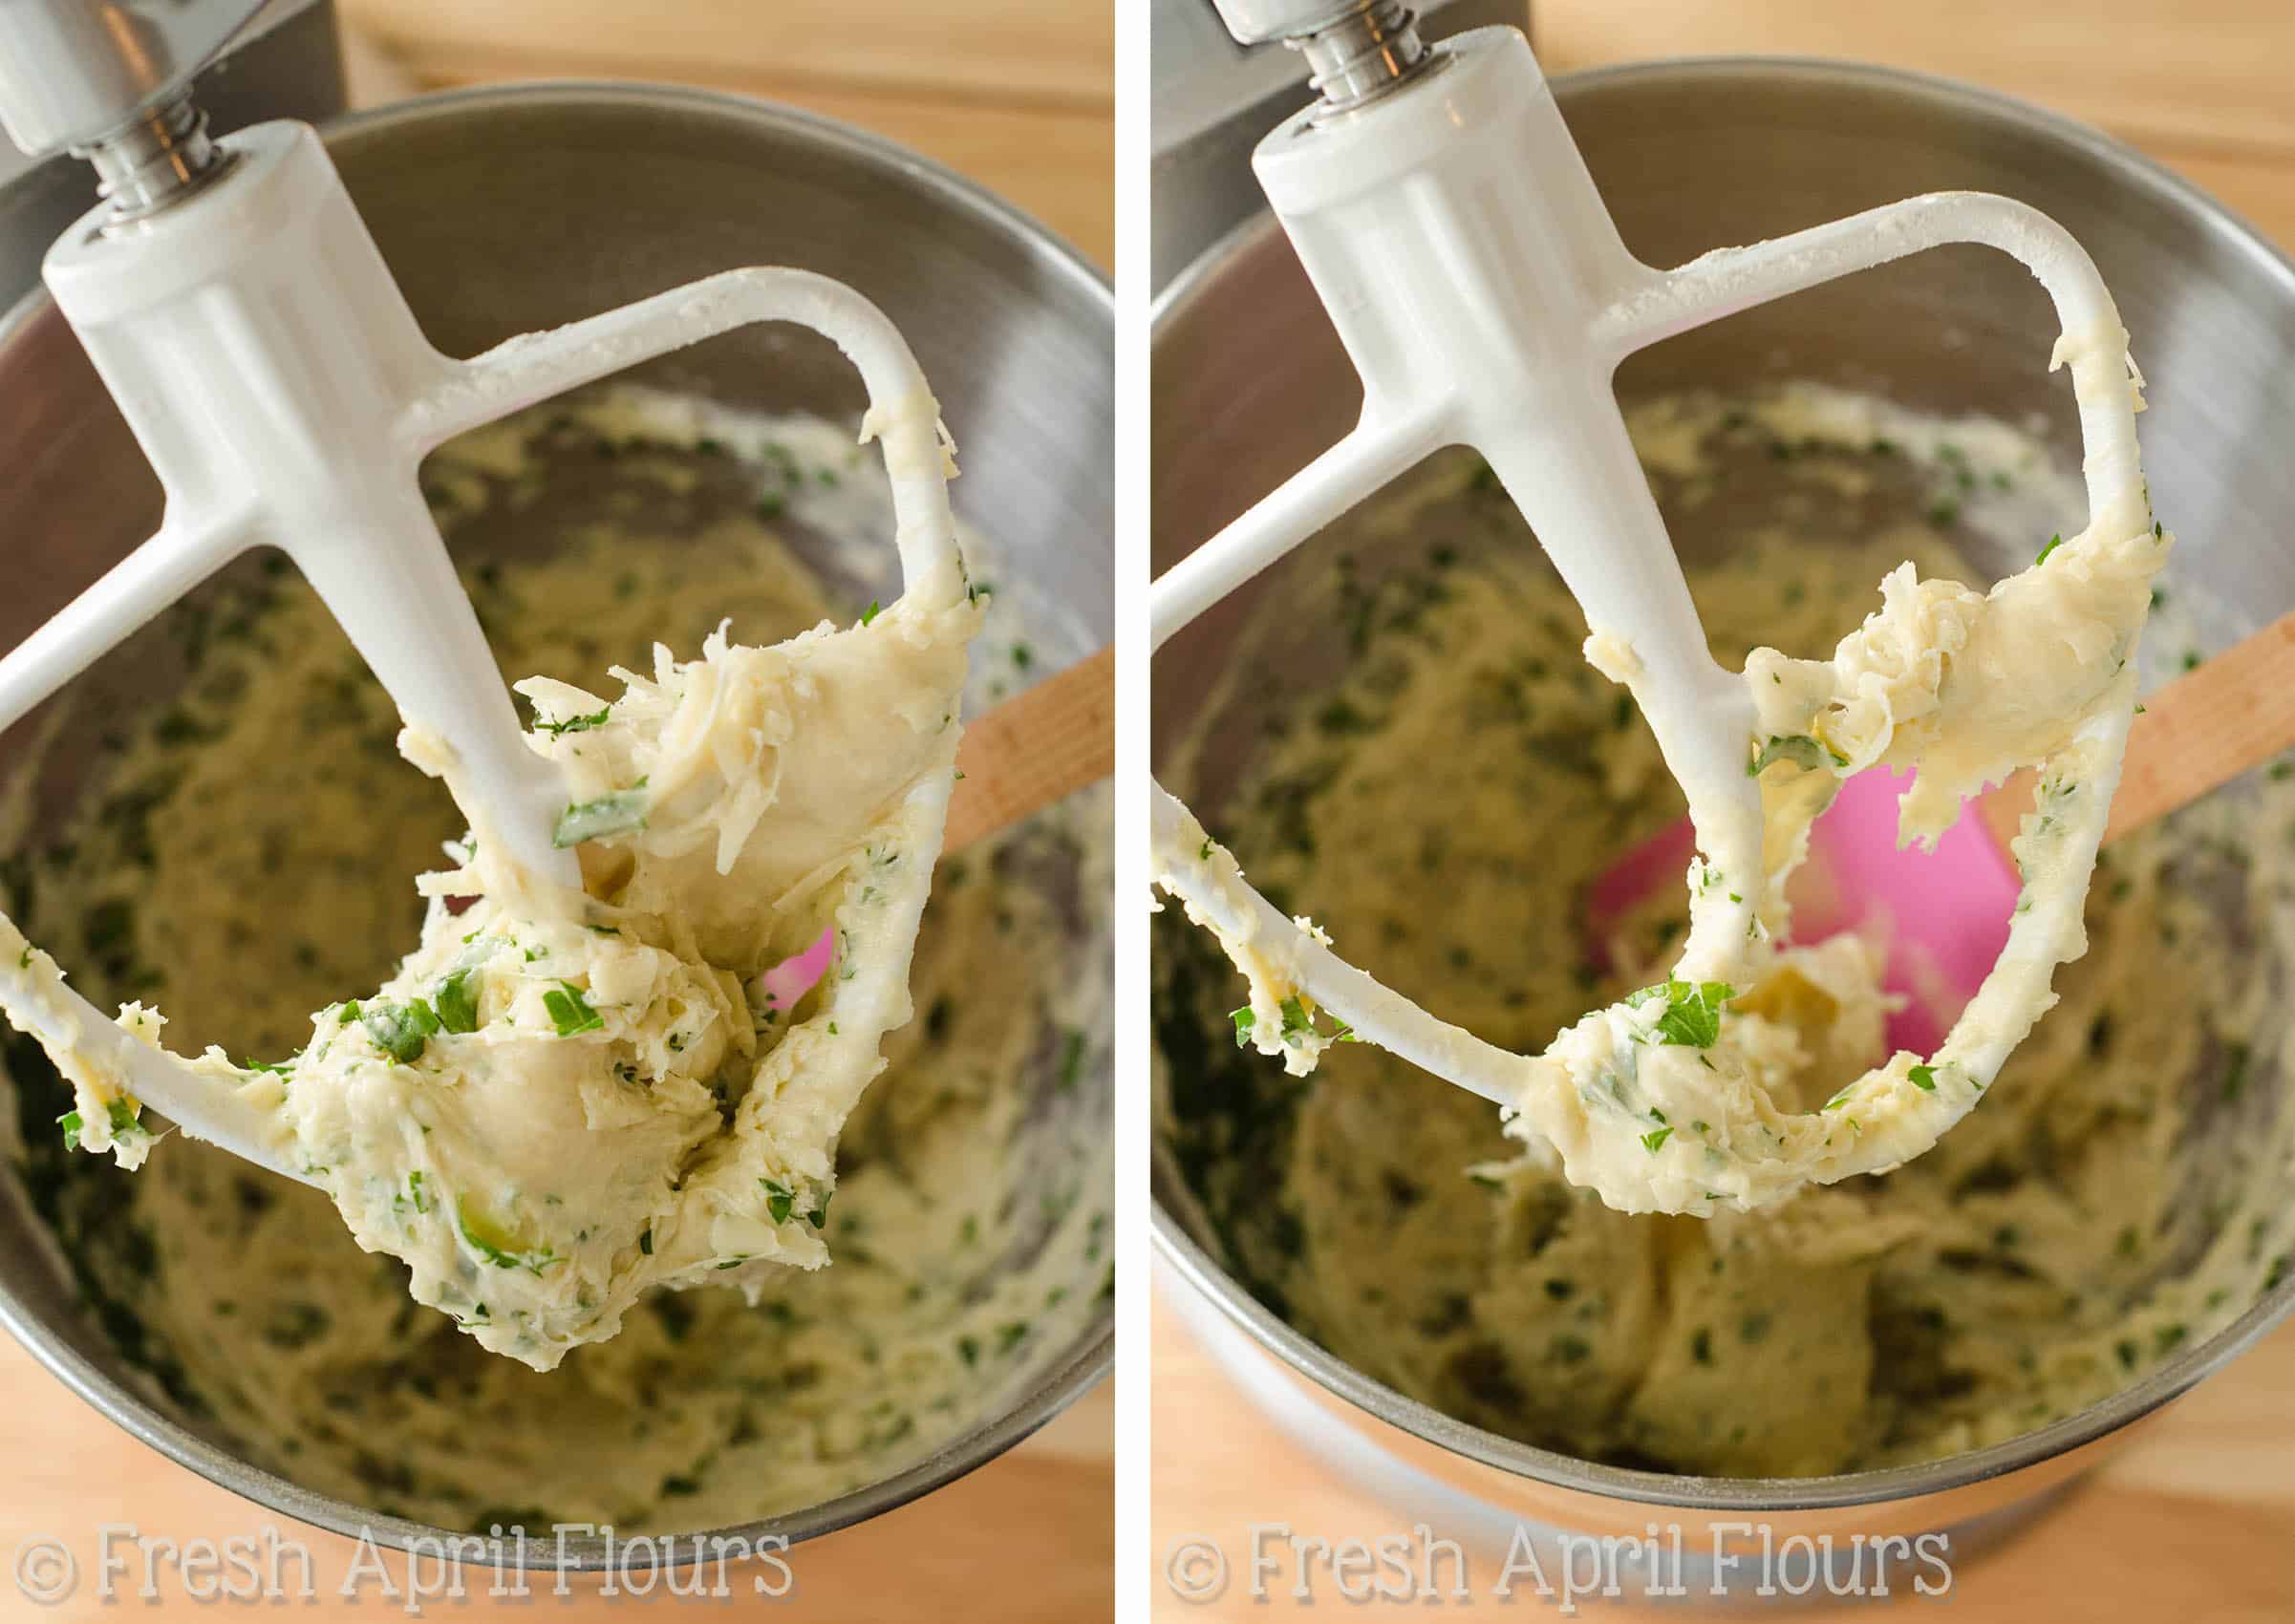
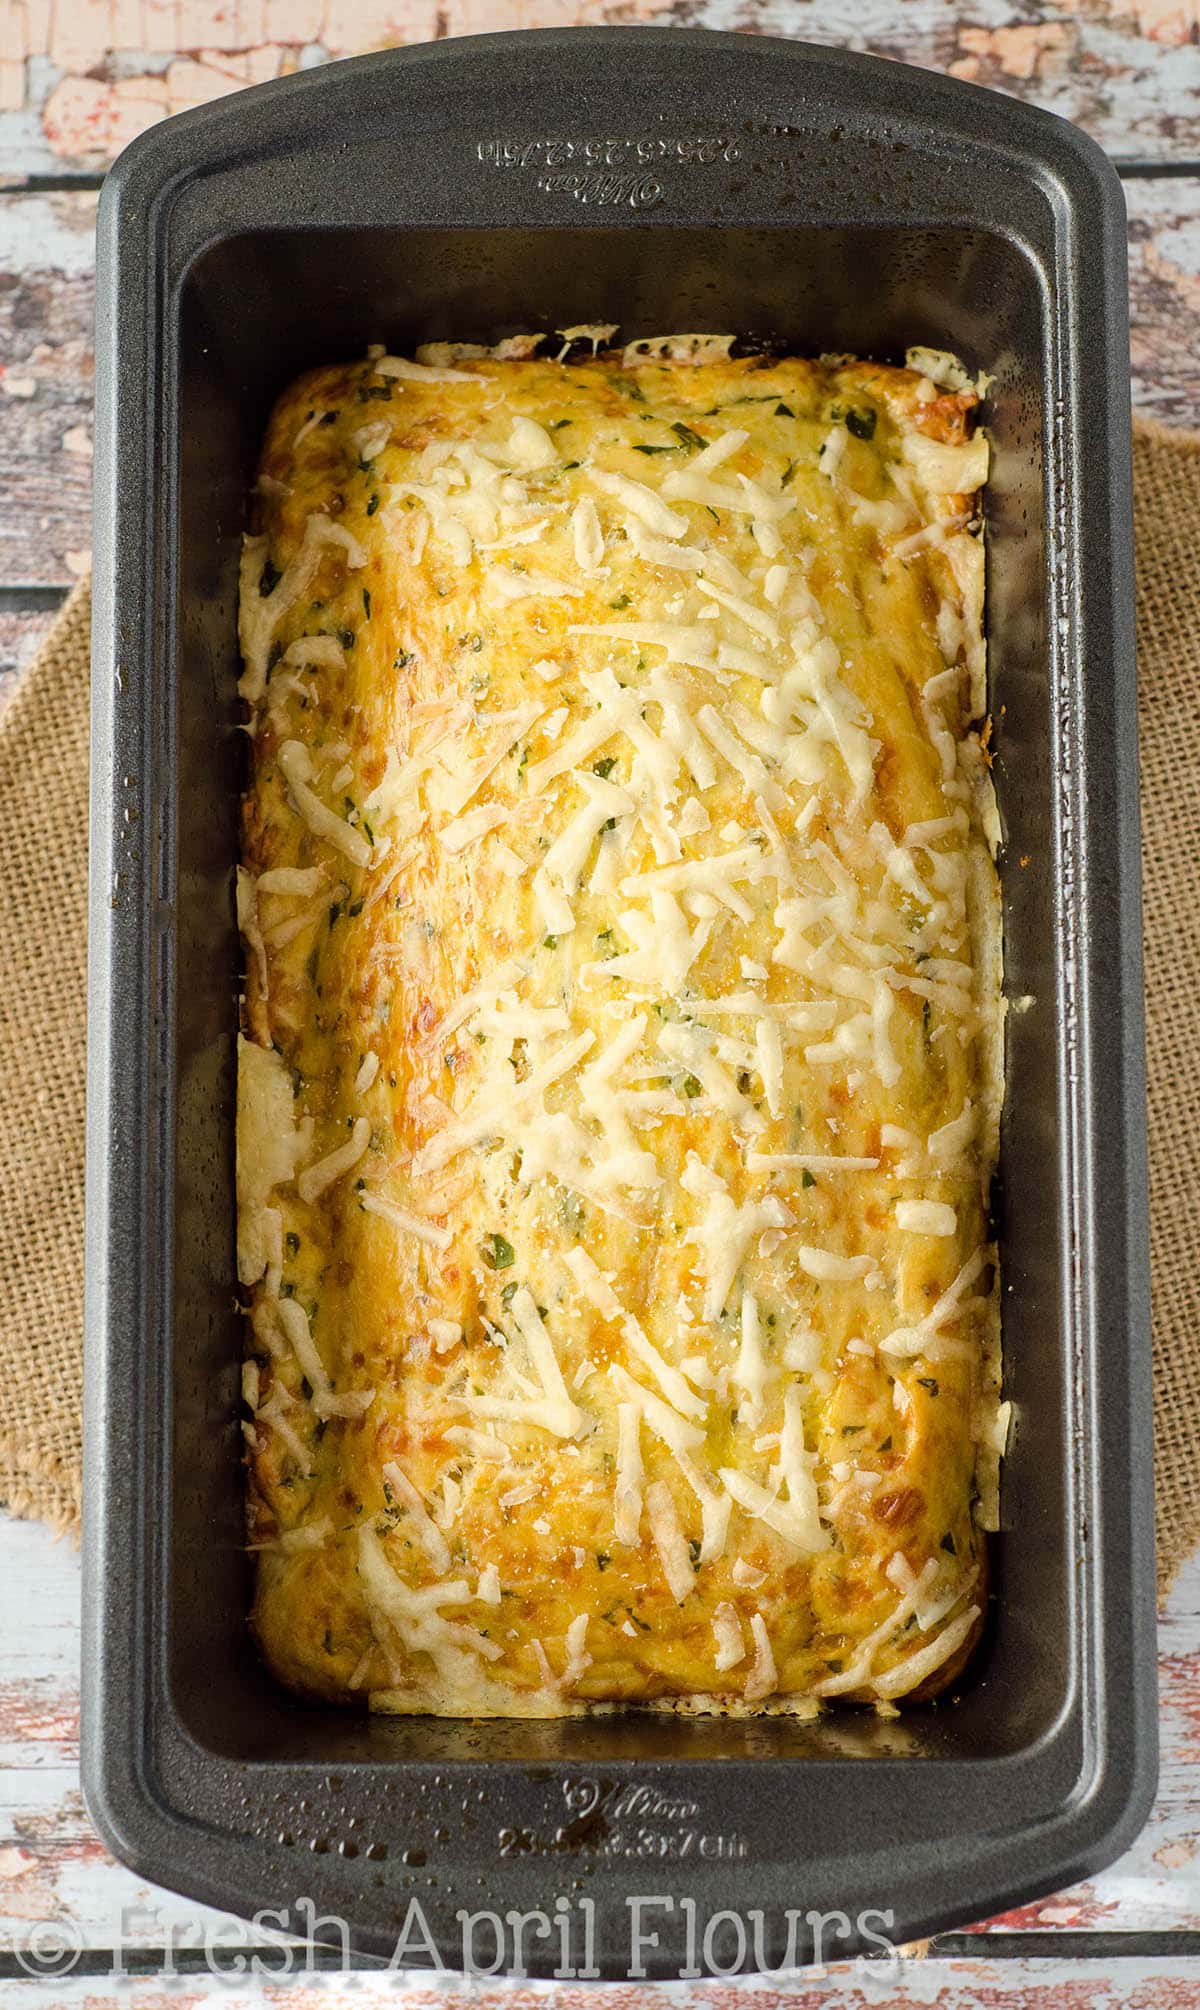
Turn the dough out into a loaf pan, spread it out with your hands as evenly as you can, and add the egg wash. You can add some more fresh Parmesan right away or wait, like I did, until there are about 10 minutes left on the timer for the bread. The longer it’s on there, the crispier it will get.
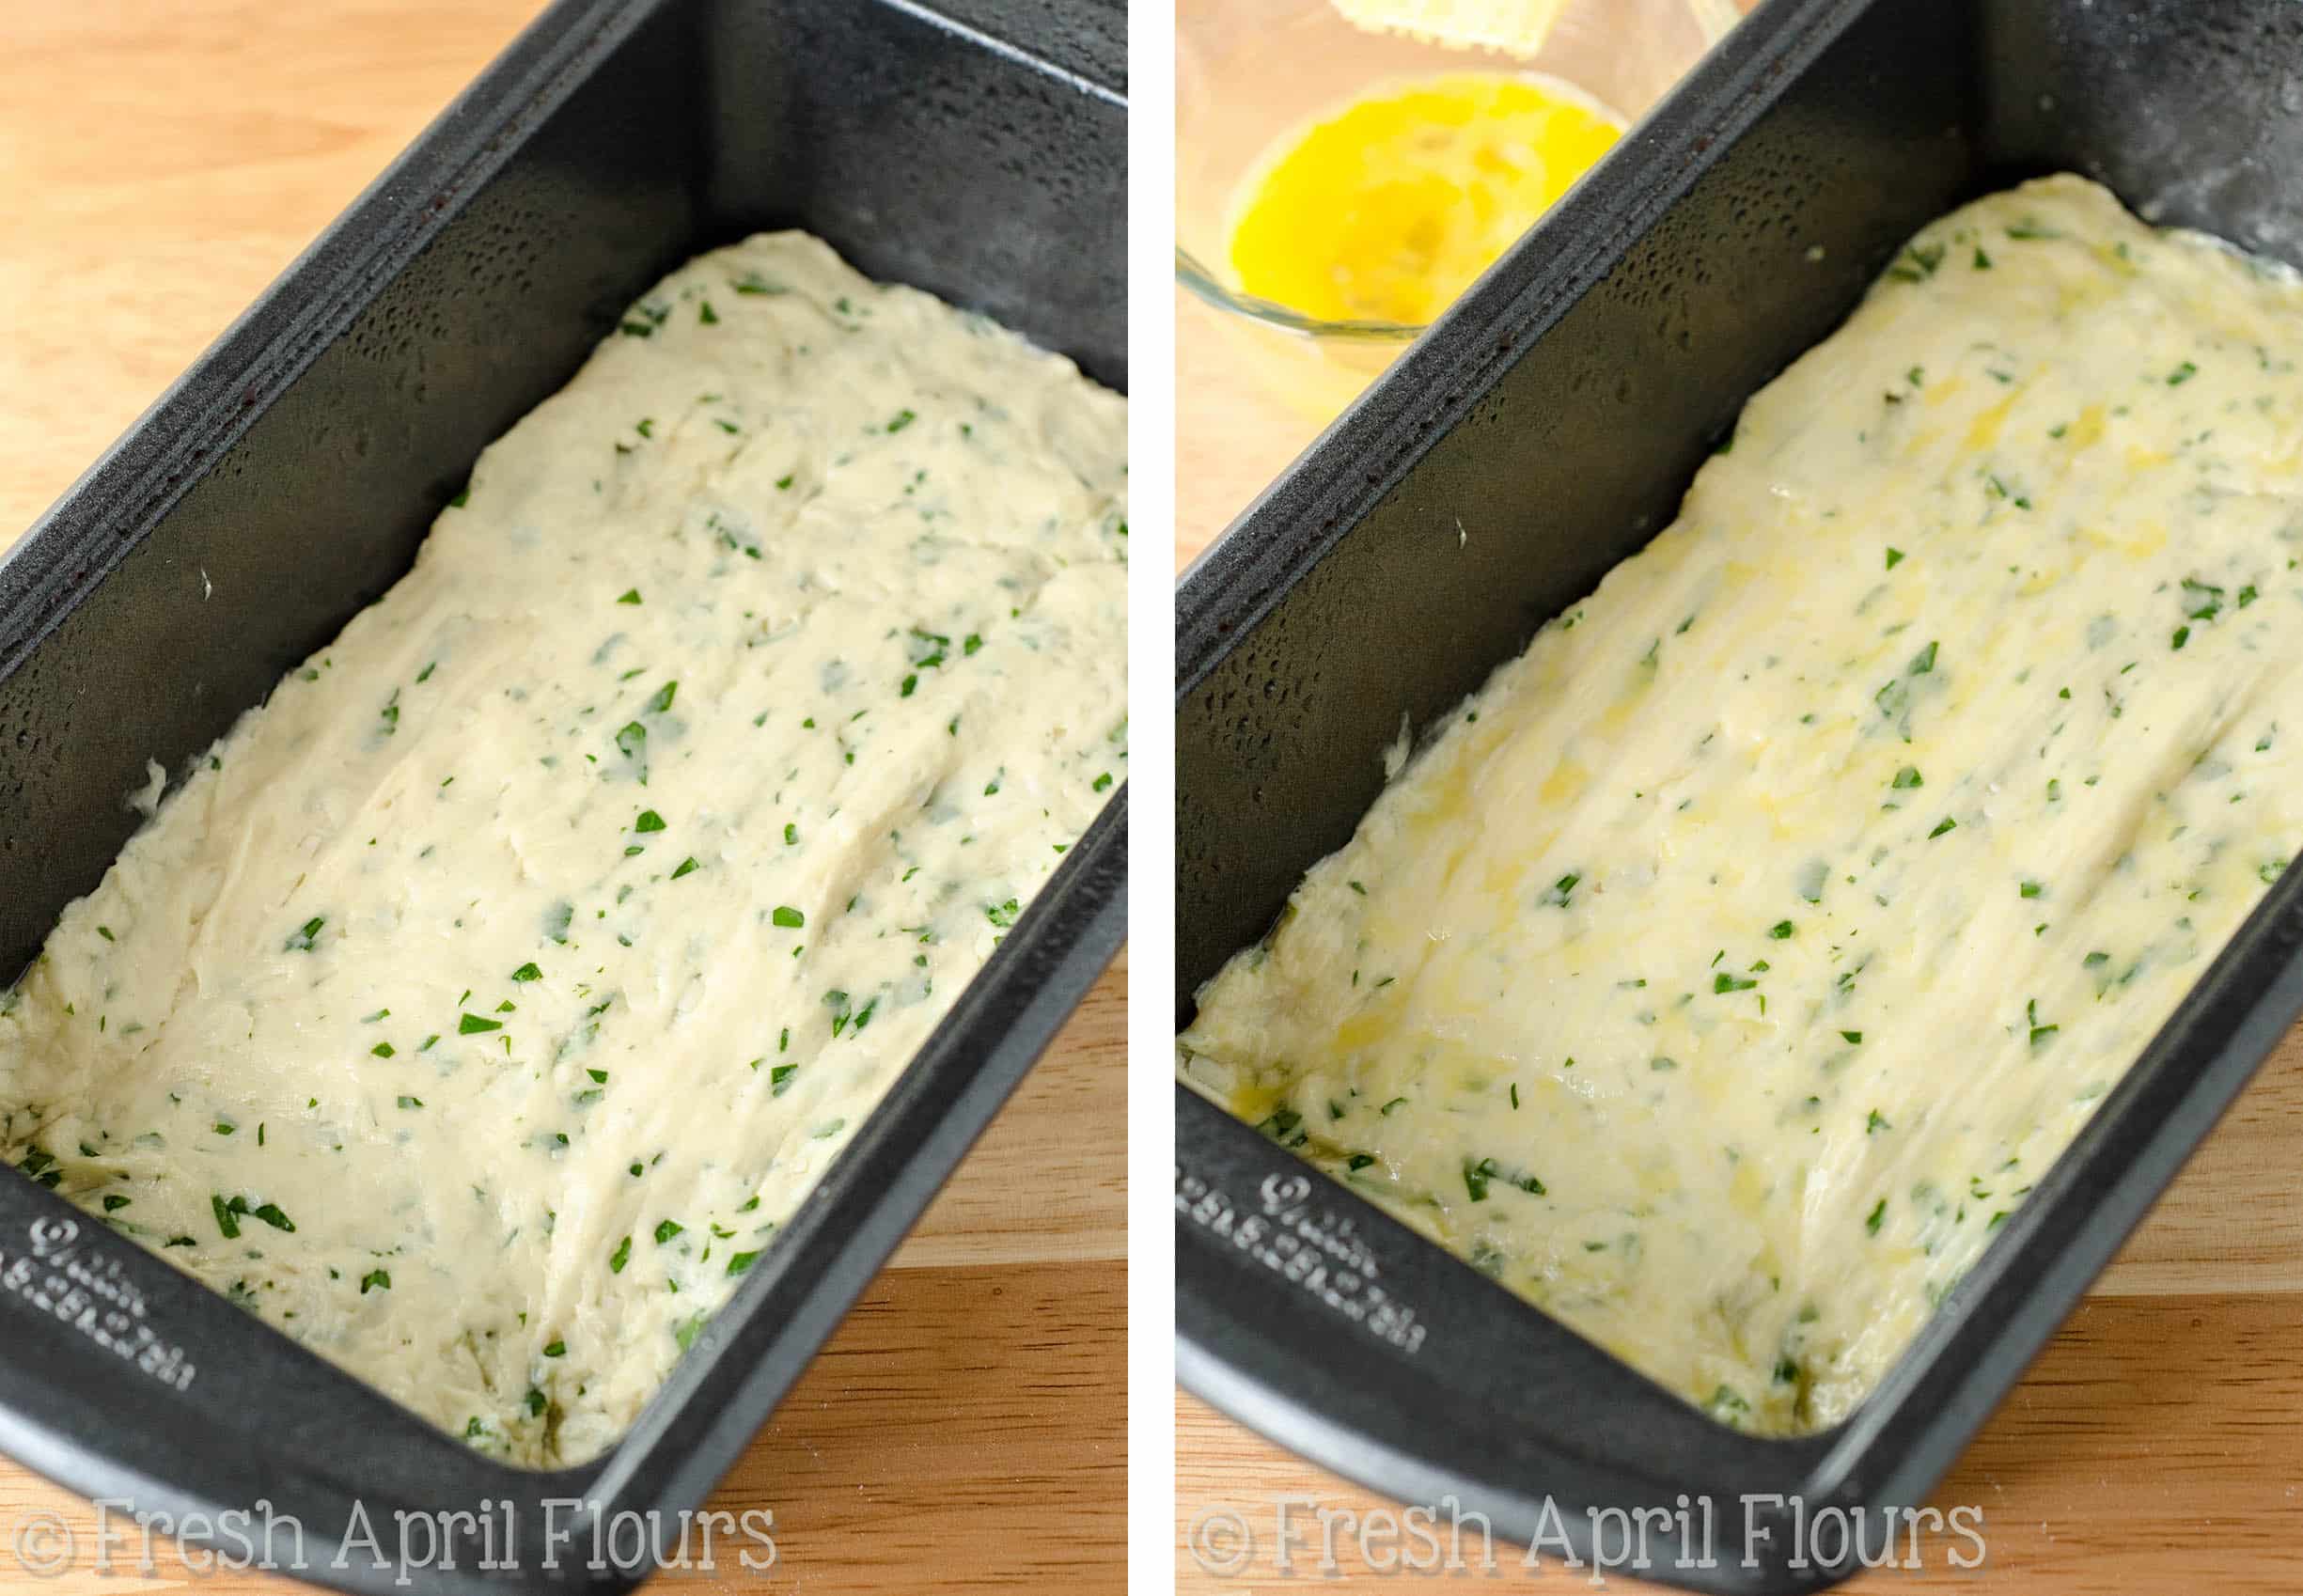
The smell of this bread as it bakes is absolutely wonderful. The potent aroma of the Parmesan comes through clearly and mixes with the already lovely smell of warm yeast bread. Your mouth will be watering by the time it comes out of the oven.
If you slice it while it’s still a bit warm, you’ll be in for quite a treat. Of course, it’s still just as tasty at room temperature, but the cheese sure does have a different texture when it’s the slightest bit warm.
Enjoy on its own or along side your favorite meal. Spread a little butter on your slice and dig in to one of the most unique yeast breads you’ve ever made! Make Eva proud by bringing a little bit of her into your kitchen.
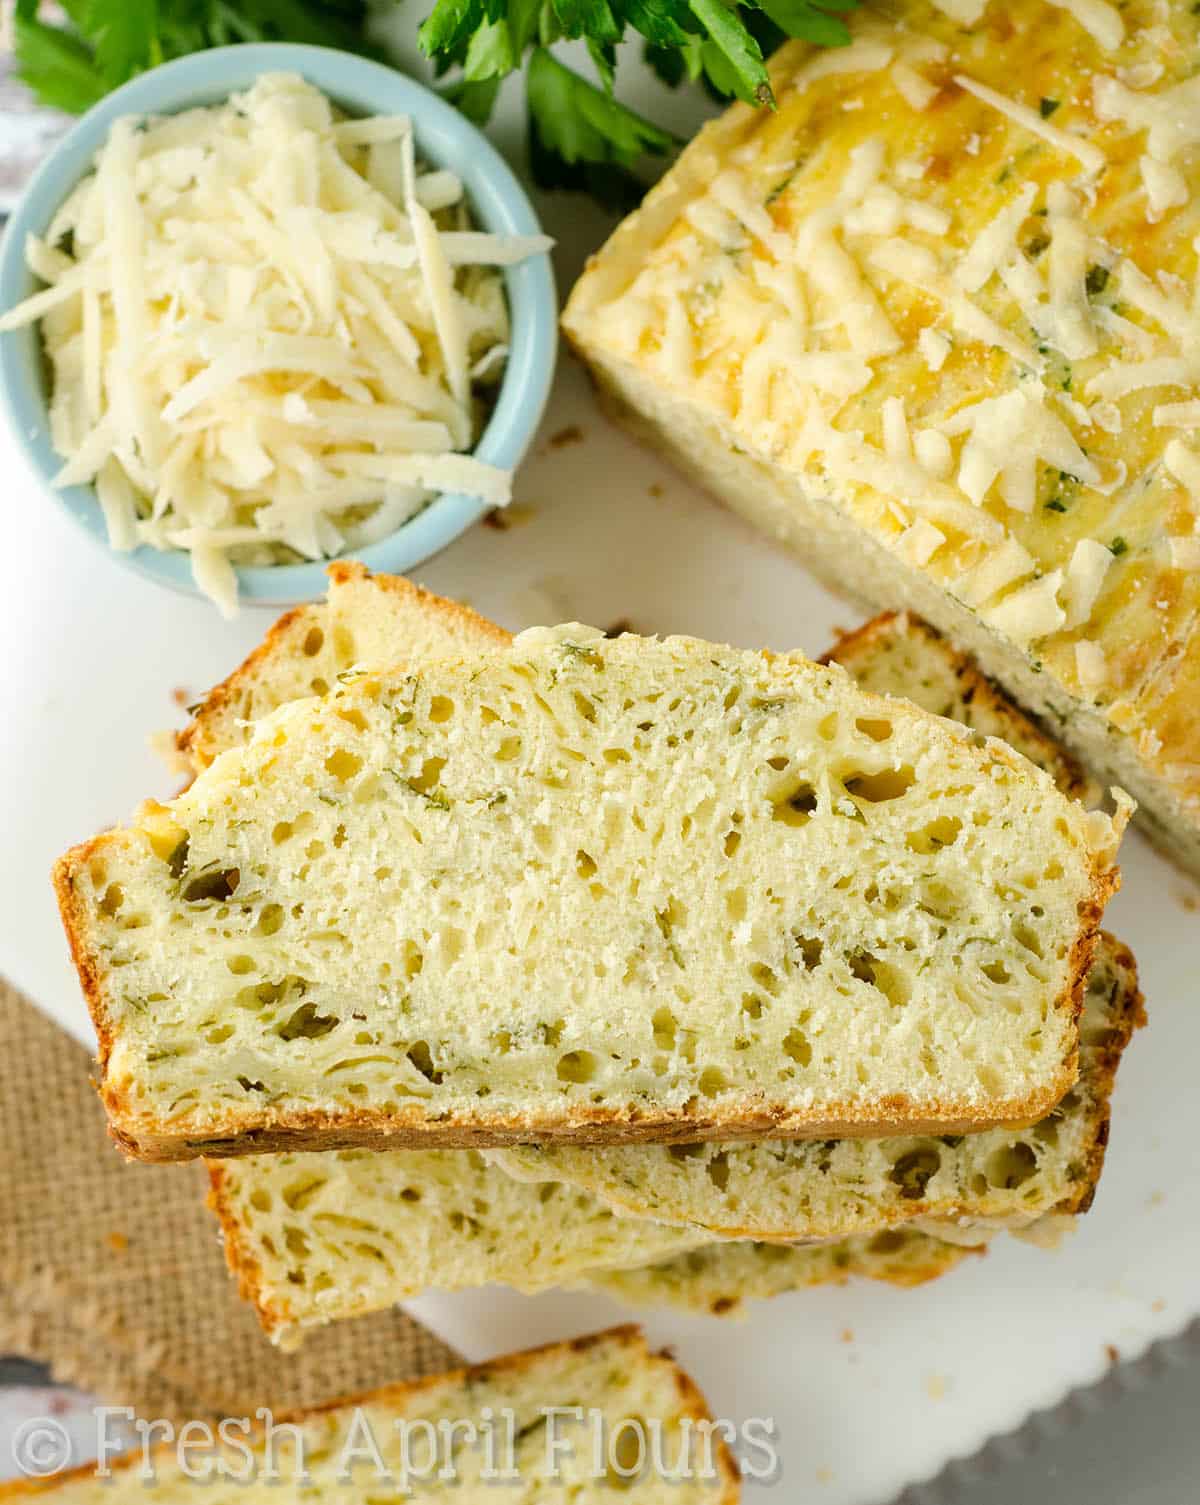
From my family to yours… Salute!
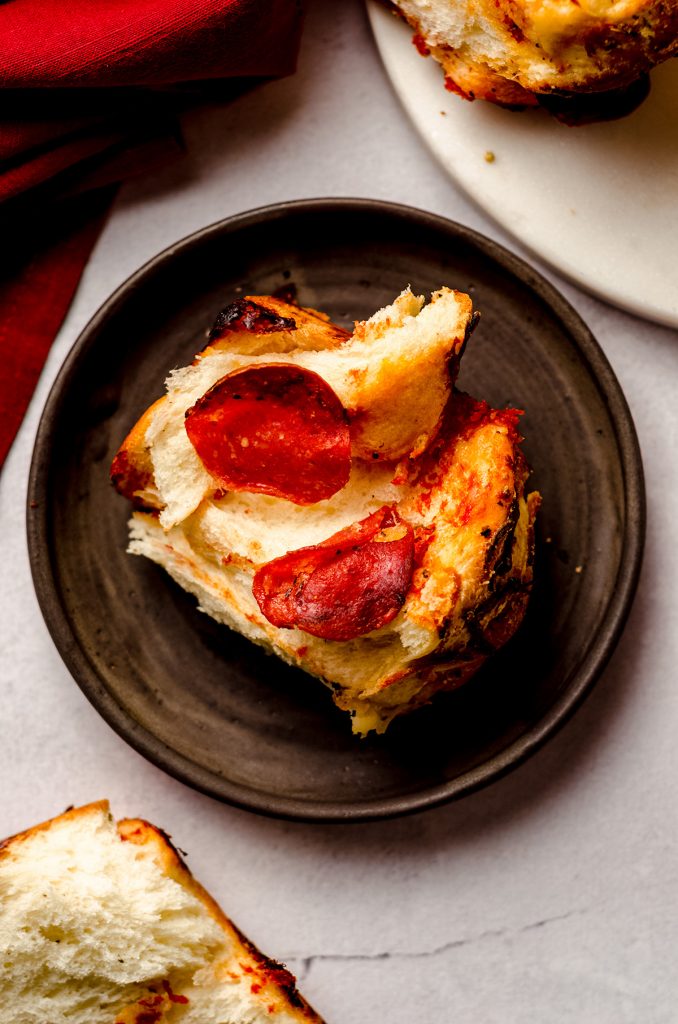
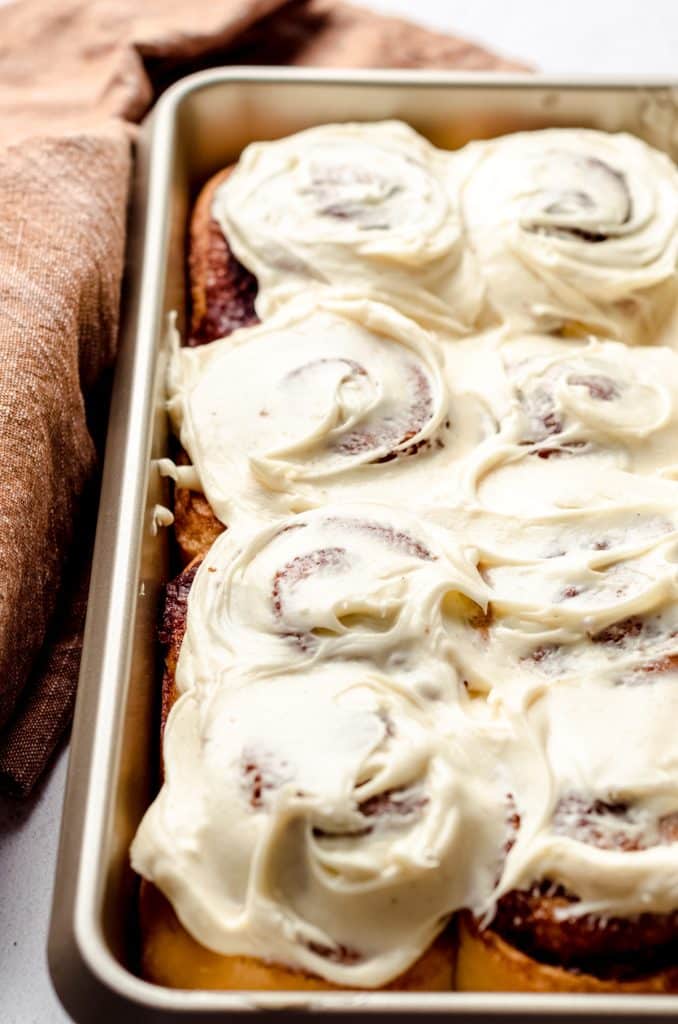
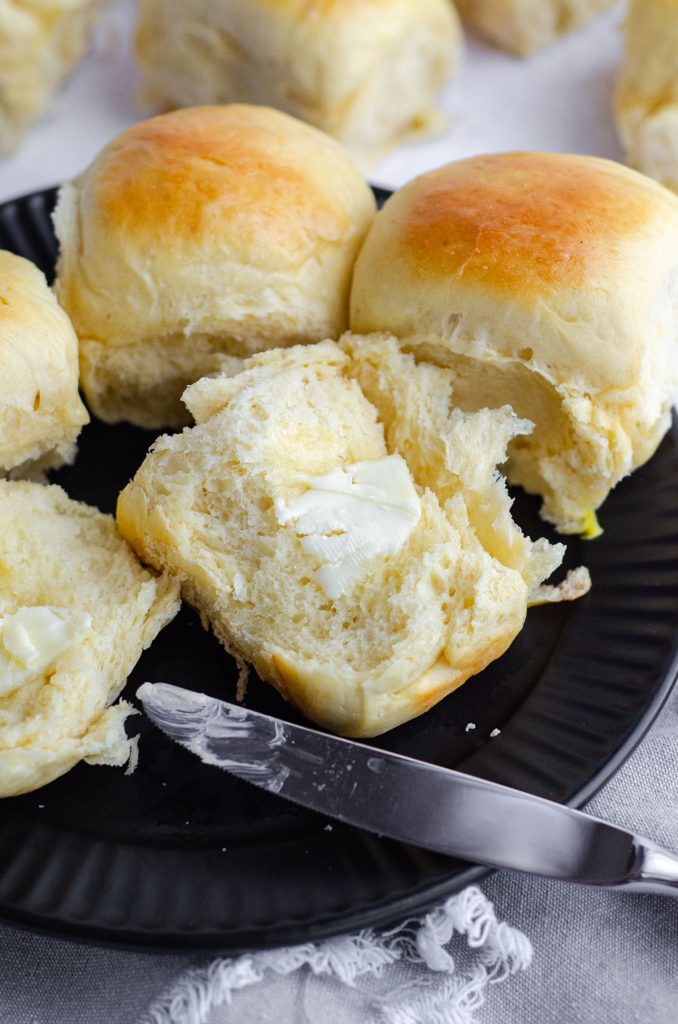
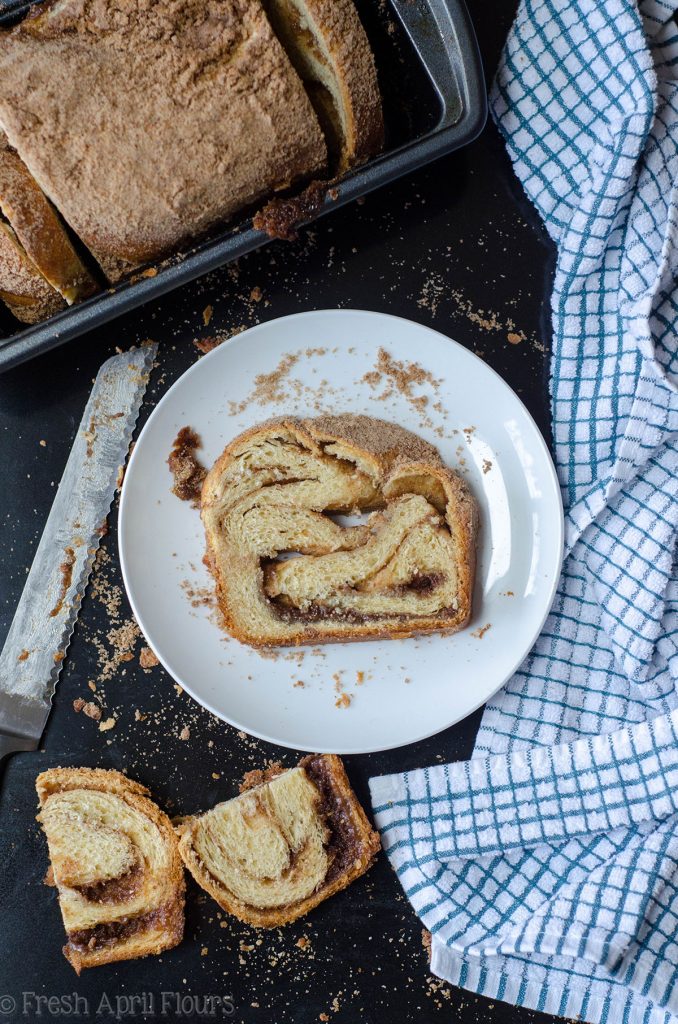
We LOVE bread around here. Try any of these bread recipes next: pizza pull-apart bread, homemade cinnamon rolls, easy yeast rolls, and cinnamon babka.
Parmesan Parsley Bread
Ingredients
- 6 Tablespoons (85g) unsalted butter melted and cooled slightly
- 1 package (7g) dry active yeast 2 and ¼ teaspoons
- ¼ cup (60mL) warm water
- 1 and ¾ to 2 cups (210 to 240g) all-purpose flour be sure to measure properly
- 1 Tablespoon (12.5g) granulated sugar
- ½ teaspoon salt
- ¼ cup (60mL) warm milk any
- 1 egg lightly beaten
- 3 ounces freshly grated Parmesan cheese, plus more for sprinkling on loaf approximately 1 and ¼ cups
- ¼ cup finely chopped parsley
- 1 egg beaten with 1 Tablespoon water
Instructions
- Preheat the oven to 350ºF(177ºC). Spray a loaf pan with non-stick spray. Set aside.
- In a small bowl, melt the butter and set aside to cool.6 Tablespoons (85g) unsalted butter
- In another small bowl, combine yeast and warm water. To obtain the right temperature of water, run your wrist in the stream of tap water, adjusting the temperature until you can no longer feel the temperature of the water on your wrist (you will feel it if it is too hot or too cold). Stir with a fork until dissolved.1 package (7g) dry active yeast, ¼ cup (60mL) warm water
- Combine flour (start with 1 and 3/4 cups), sugar, and salt in a large bowl (if using a handheld mixer) or the bowl of a stand mixer fitted with the paddle attachment. Add the cooled melted butter and mix on medium speed until coarse and crumbly.1 and ¾ to 2 cups (210 to 240g) all-purpose flour, 1 Tablespoon (12.5g) granulated sugar, ½ teaspoon salt
- Add the yeast, warm milk, and lightly beaten egg. Turn the mixer to medium speed and beat for one minute. Mixture will be quite wet at first. Increase mixer speed to high and beat an additional 2-3 minutes or until dough becomes elastic. If it does not start to look elastic and pull away from beaters after 3 minutes, add more flour one Tablespoon at a time until it does. Beat in Parmesan and parsley on medium speed until evenly dispersed.¼ cup (60mL) warm milk, 1 egg, 3 ounces freshly grated Parmesan cheese, plus more for sprinkling on loaf, ¼ cup finely chopped parsley
- Turn dough out into prepared loaf pan and spread out evenly with your hands. Brush with egg wash. Bake loaf for 25-30 minutes or until golden brown on top. When there are 10 minutes left in the baking time, sprinkle with more Parmesan cheese. You may also sprinkle cheese on at beginning of baking time, if desired. Cheese will be crispier and browner if you do. Remove from oven and allow to cool on a wire rack. Slice and serve while still slightly warm or completely cool. Bread stays fresh covered or wrapped at room temperature up to 5 days or in the refrigerator up to one week. Loaf freezes well– up to 2 months. Thaw in refrigerator overnight.1 egg beaten with 1 Tablespoon water
Nutrition Disclosure
All nutritional values are approximate and provided to the reader as a courtesy. Changing ingredients and/or quantities will alter the estimated nutritional calculations.


Love cheesy bread and really love how this one comes together! Looks perfect to me!
Oh my goodness this looks INCREDIBLE! That Eva character sure knew her stuff 😉 I think I might have to try a gluten-free version of this. It just looks TOO GOOD.
IT IS SO GOOD. Crispy cheese + bread. I mean… How can you go wrong?!
This bread looks delicious, Lynn! Loving how quickly the bread comes can be made! Excited to give this recipe a try!
Thanks, Jess! Let me know if you try it!
Oh recipes that are passes down from grandmas are always the best. This cheesy bread looks delicious! And no rise time? Even better!
Right?! Grandmas really know what’s up! Thanks, Jess!
Perfect timing! I have a whole bunch of parsley sitting in my fridge just waiting to be used! I’m going to make Eva proud and bake me up some GF DeAngelis style bread to have with butter for a weekend breakfast treat 🙂
Family recipes are always the best!
Let me know if you try it, Amy! I’m sure Eva would be super proud!
My paternal grandma’s name was Eva too! She passed away 3 years ago; she would have been 96 this year. Thanks for sharing, it made me smile 🙂
Aww, yay for Evas! I’m glad it made you smile, Trisha! 🙂
Recipes from grandmas are great! I have several recipes from my grandma including Perogies, cinnamon buns and doughnuts!???????? This looks awesome btw!????
Grandmas really are the best 🙂 I love passed down recipes!