
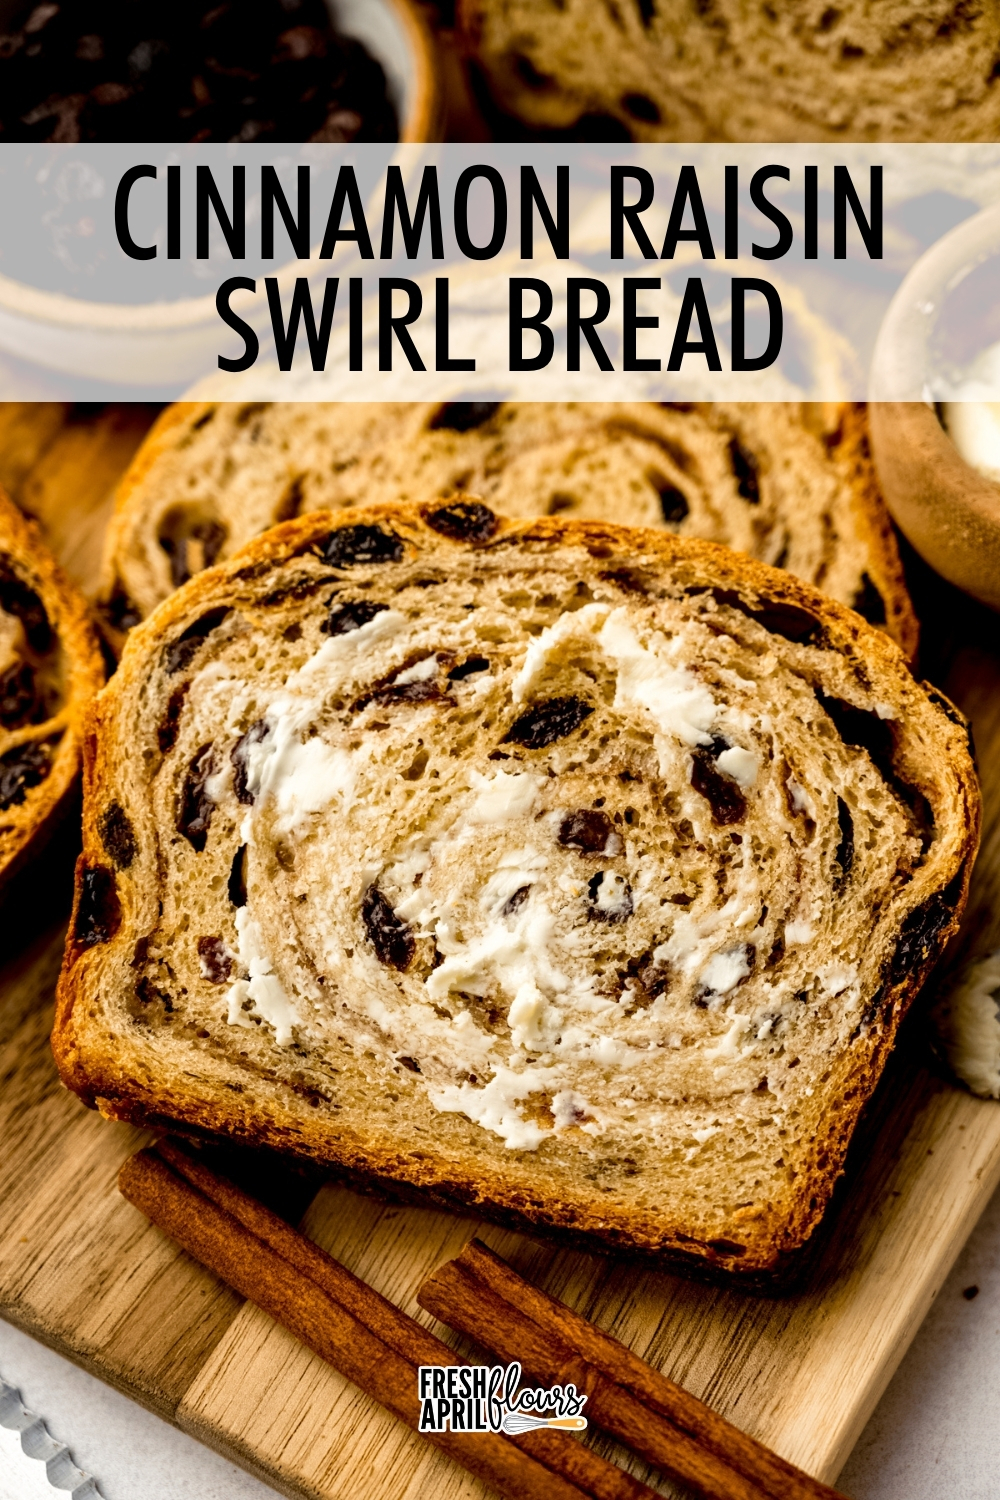
Cinnamon Raisin Bread
As an Amazon Associate, I earn from qualifying purchases. Read the full disclosure here.
Learn how to make soft, perfectly swirled cinnamon raisin bread that won’t fall apart when you slice it. This reliable, beginner-friendly recipe expands on basic yeast bread techniques for consistent, bakery-worthy results. See my post about baking with yeast for answers to all of your common FAQs.
THIS CINNAMON RAISIN BREAD IS THE PERFECT “NEXT STEP”
Once you feel comfortable with a basic yeast dough– whether that’s a simple sandwich loaf or soft dinner rolls— you’ve officially unlocked a whole new category of baking. From there, it’s a short jump to shaped breads like cinnamon rolls, and a much bigger leap to something like babka.
Cinnamon raisin bread is nestled right in the middle of that spectrum.
The dough itself is familiar and approachable, but the addition of raisins and a cinnamon swirl introduces a few new variables that make this bread an excellent next-level skill builder. The shaping is similar to cinnamon rolls, but instead of individual spirals, you’re creating a single, tightly rolled loaf where structure really matters.
That’s where most bakers run into trouble– and where this recipe shines.
This cinnamon raisin bread took me several rounds of testing, note-taking, and small but meaningful tweaks to both ingredient ratios and technique. My goal was simple: to give you a bread that feels like a natural progression from a basic loaf, while setting you up for success the very first time you make it.
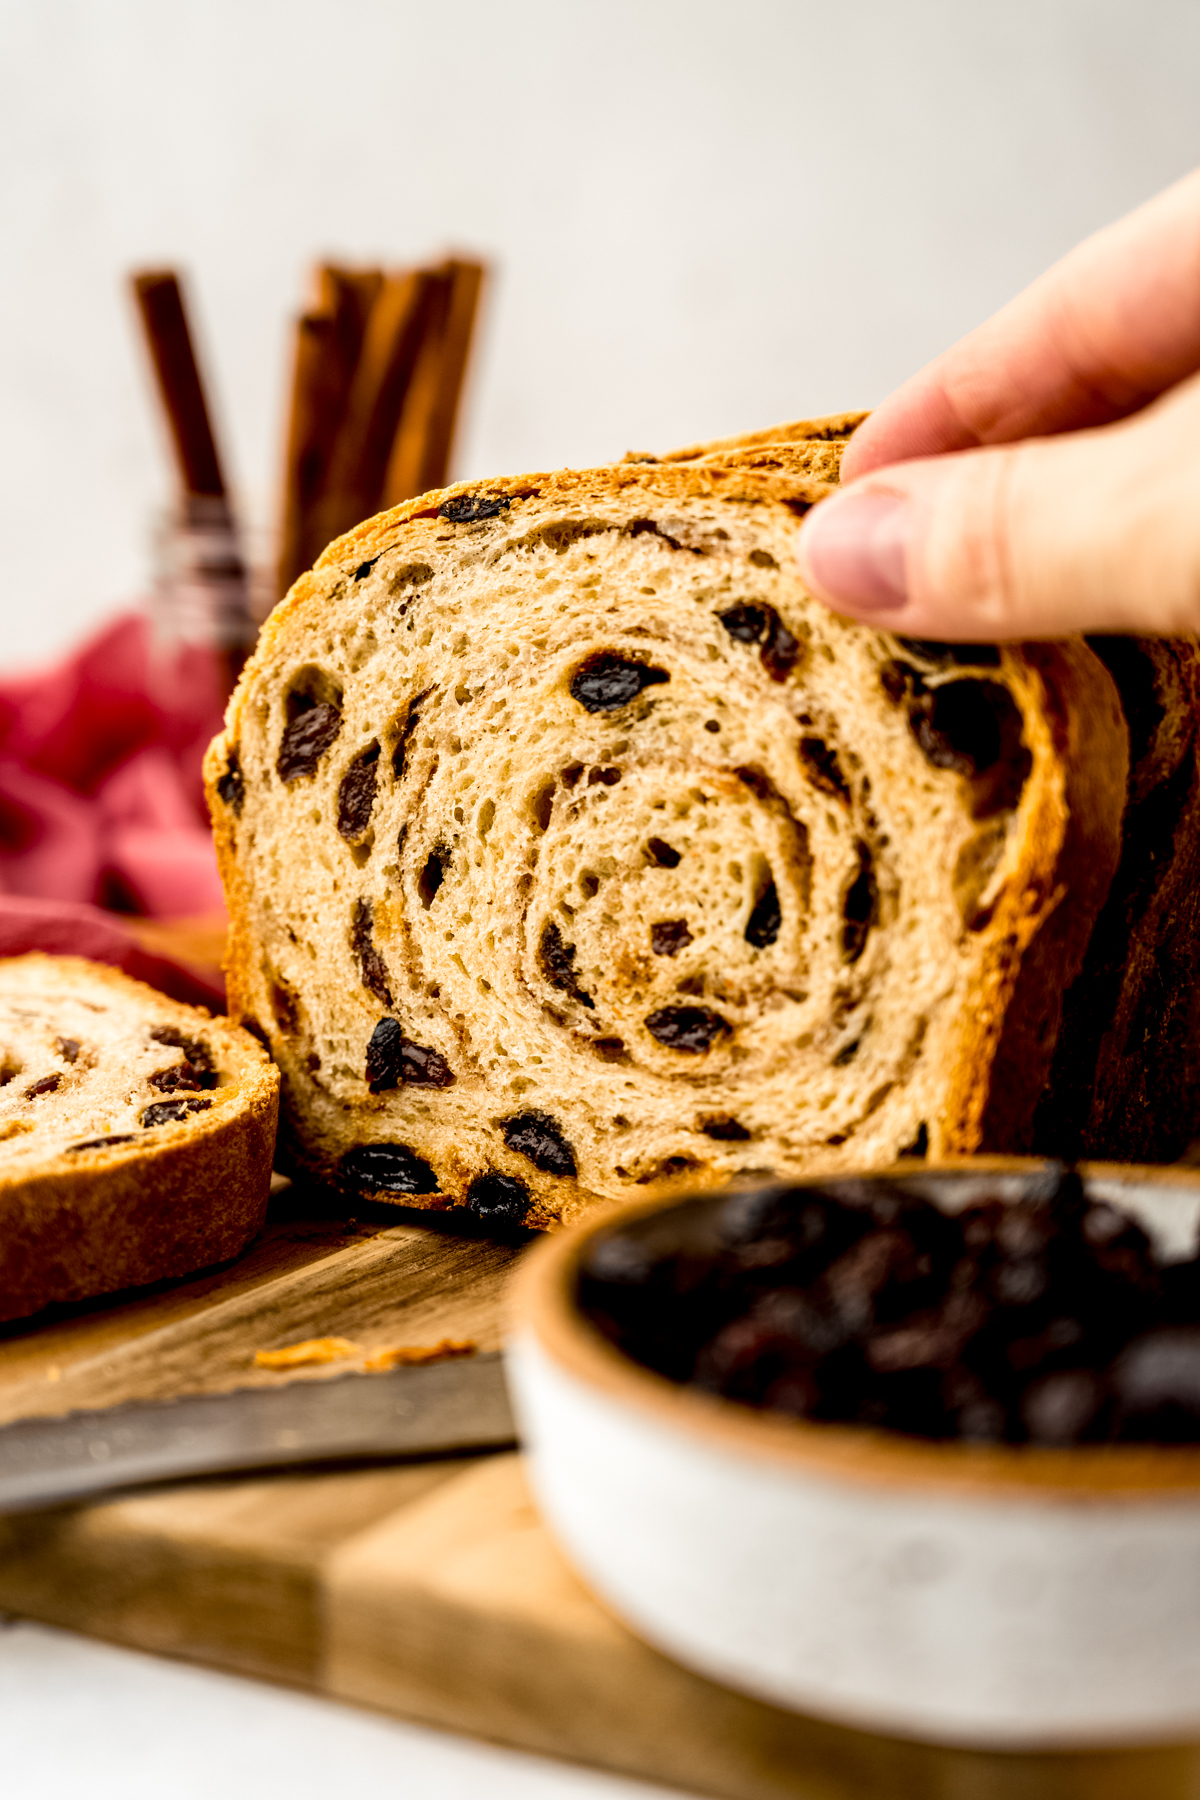
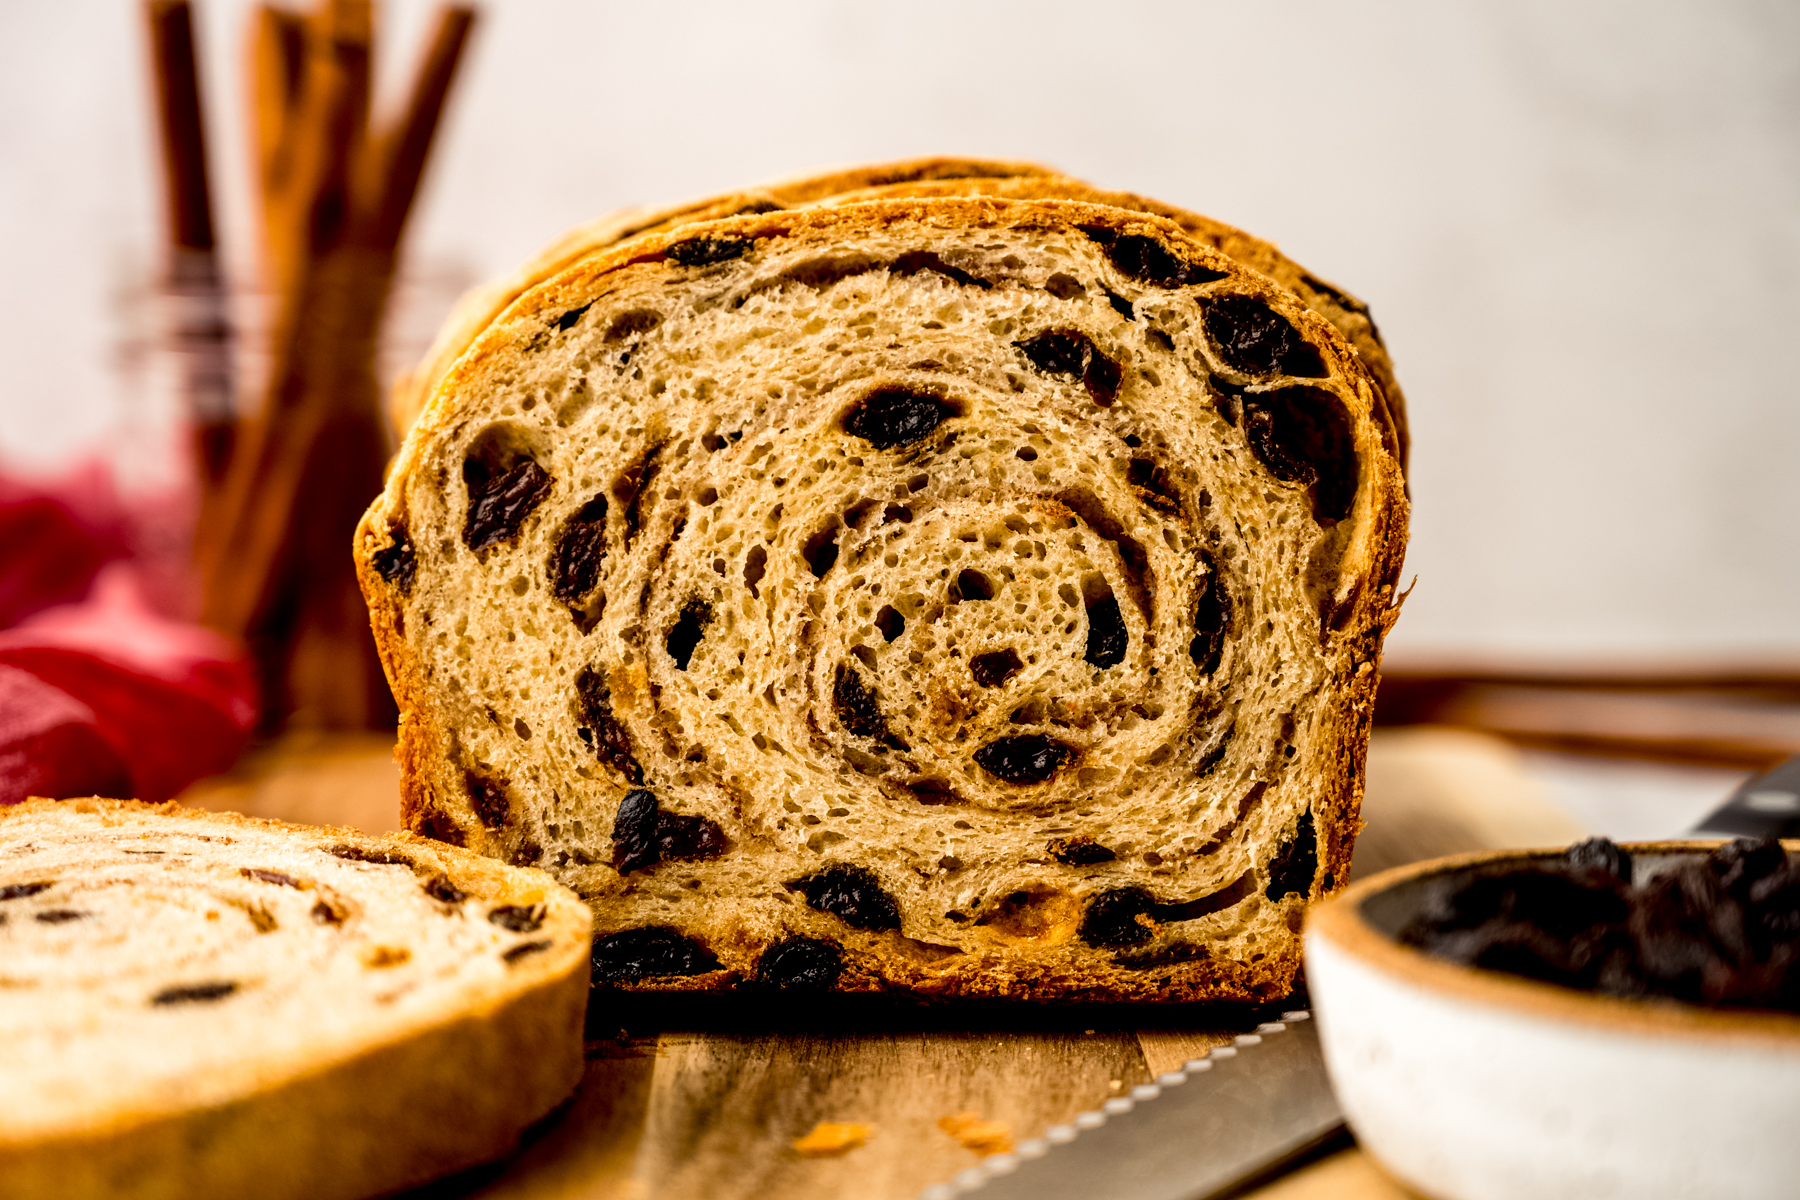
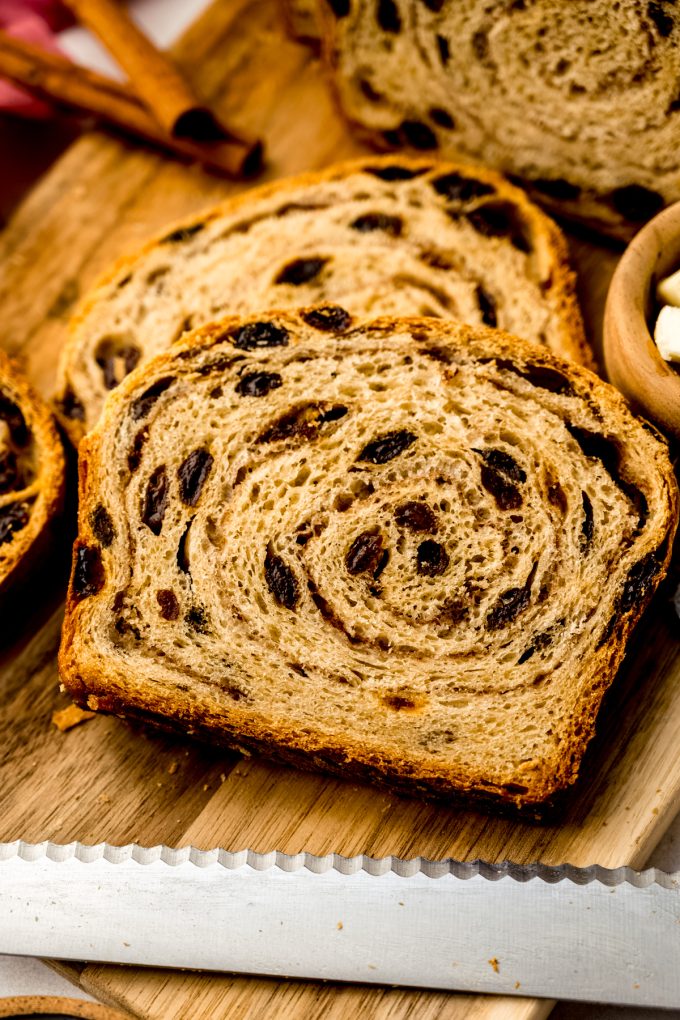
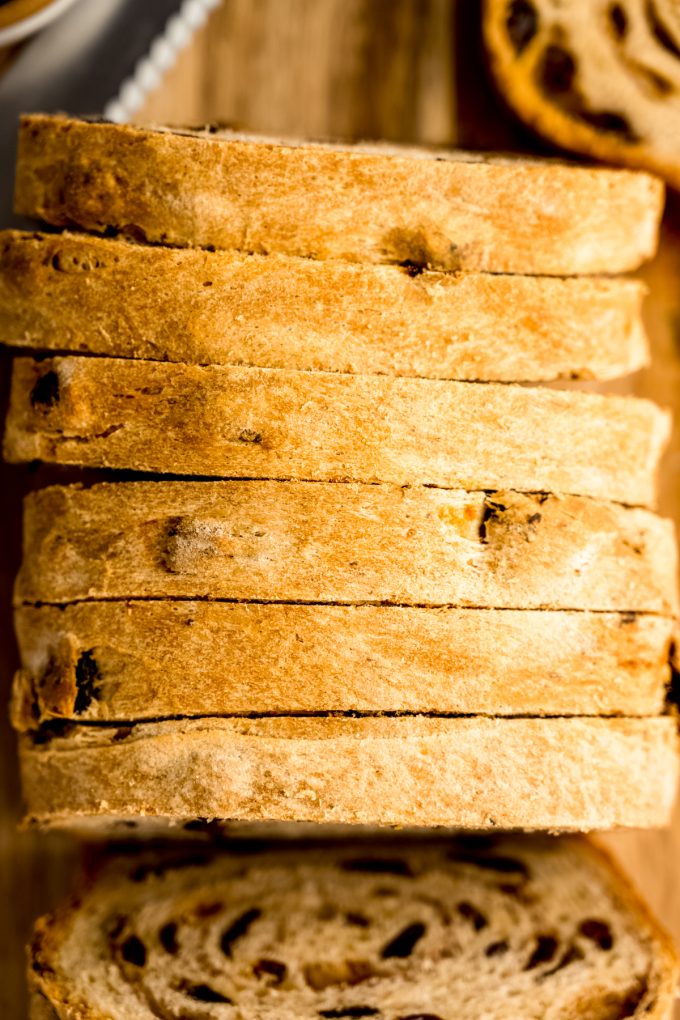
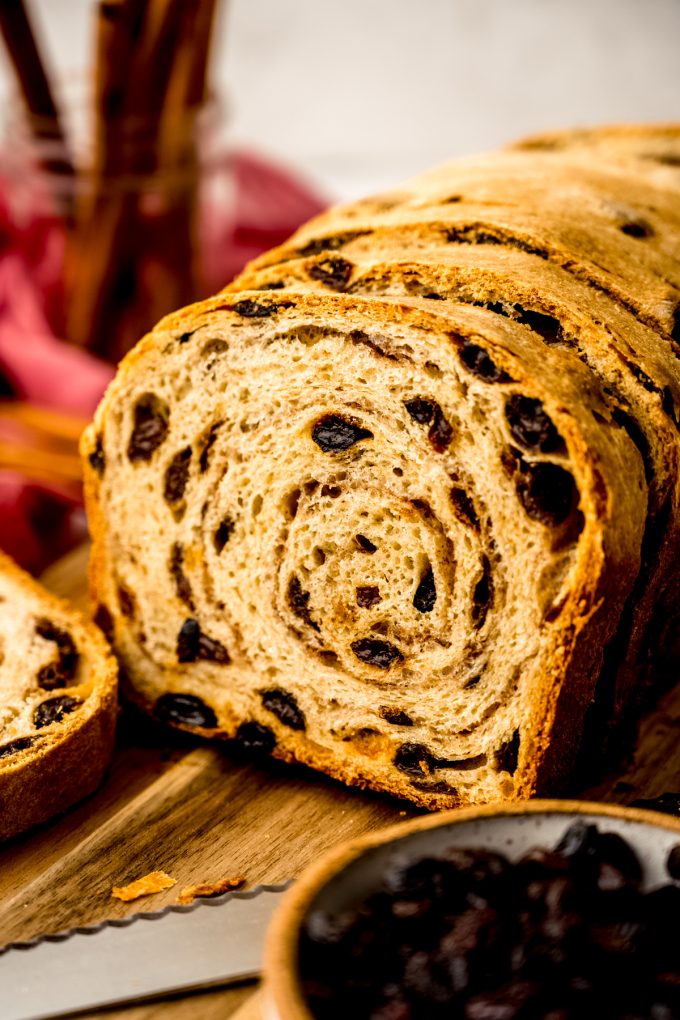
The result is a soft, beautifully swirled loaf that slices cleanly, toasts perfectly, and holds together the way cinnamon raisin bread should.
The “Why” Behind a Perfectly Swirled Loaf
If you’ve ever made cinnamon swirl bread that looked gorgeous going into the oven but fell apart the moment you sliced it, you’re not alone (and you were me on the first round of testing). Gapping, unraveling, and swirls that separate from the loaf are incredibly common and very frustrating.
The biggest reason? It all lies in what goes into the swirl.
Unlike cinnamon rolls, where the layers are meant to be pulled apart, a swirled loaf is sliced straight through the spiral. That means the cinnamon layers need to bond to the dough, not slide against it.
Fat in the swirl, most notably butter, would work against you here in this cinnamon raisin bread. Butter acts as a lubricant, and lubricated dough simply doesn’t stick to itself well. When the loaf expands and then gets sliced, those layers pull apart instead of staying beautifully fused.
This is why we lubricate layers in cinnamon rolls, biscuits, and pie dough. Sliding = flakes and falling apart (in a good way). Very encouraged with those bakes!
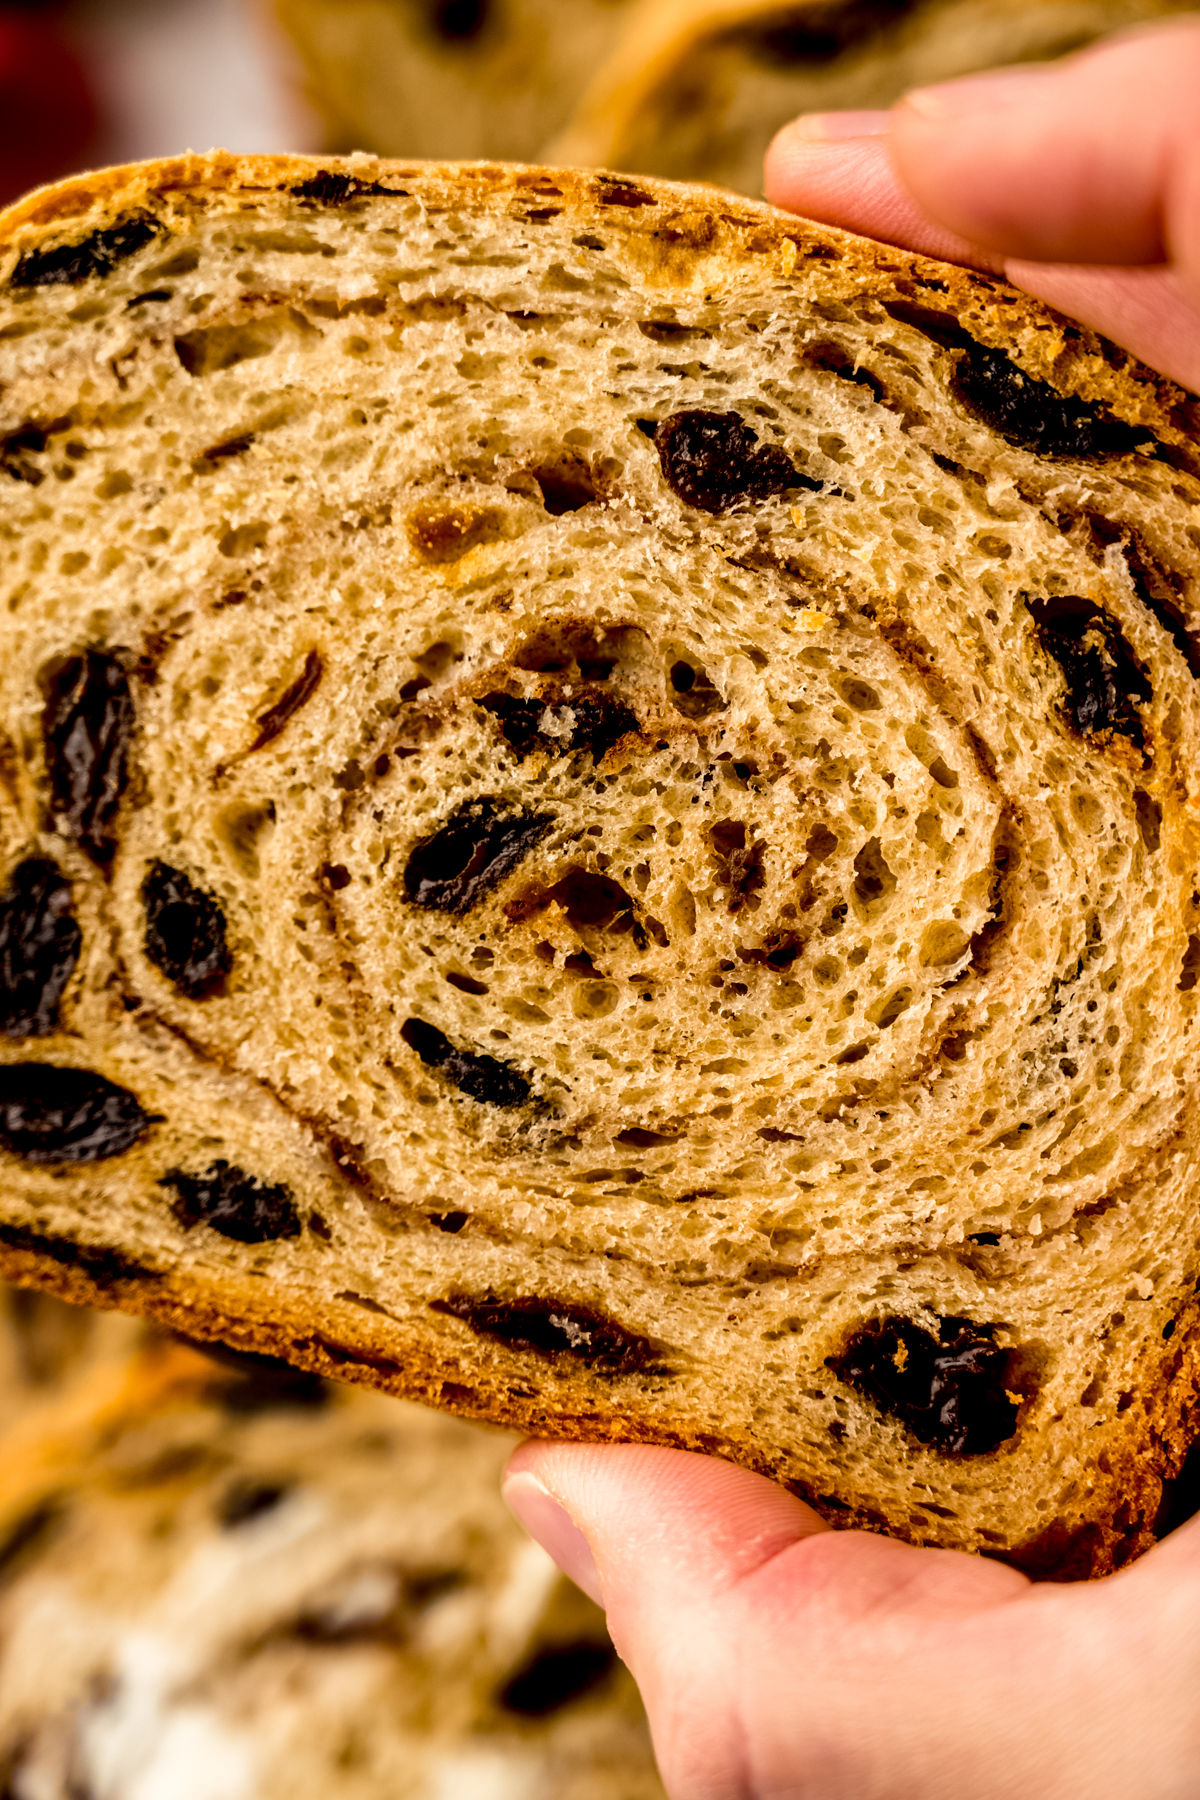
In this recipe, the swirl is designed to adhere to the dough, not fight it. That’s why the loaf stays intact even when sliced thin– no gaps, no crumbling, just clean layers all the way through.
The dough itself is intentionally lean (I talk about the difference between lean and enriched in my guide to baking with yeast). There are no eggs and just enough butter to provide tenderness and flavor without weighing things down. Whole milk does a lot of heavy lifting here: it adds subtle sweetness, encourages browning thanks to natural milk sugars, and creates a softer crumb than water alone ever could.
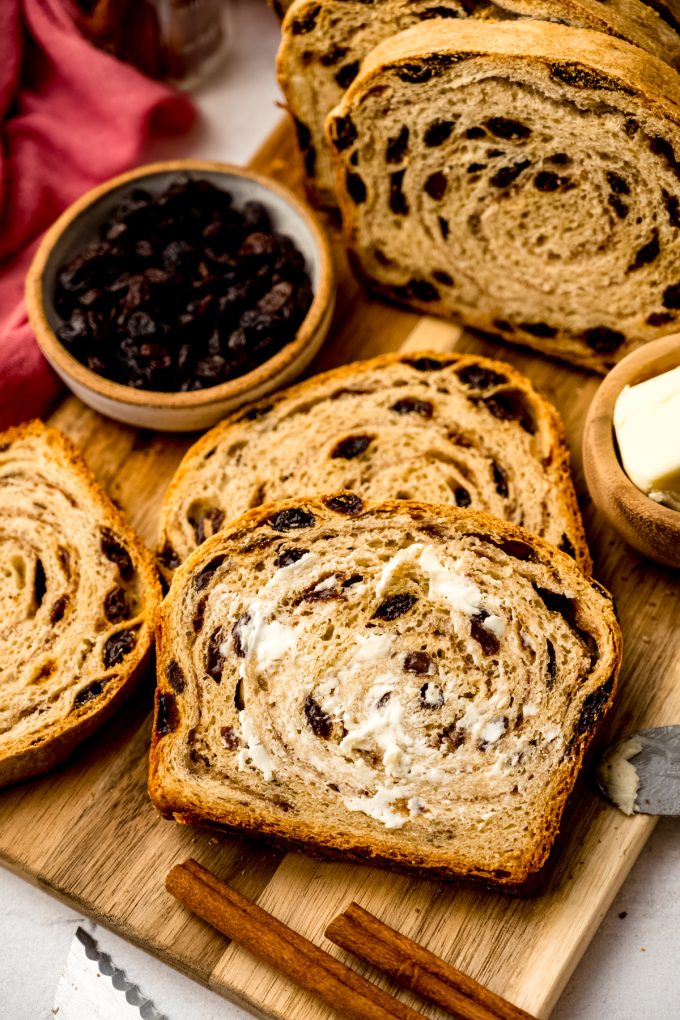
The raisins are treated with just as much intention– notes I took from my chewy oatmeal raisin cookies and my hot cross buns. Hydrating them before adding them to the dough keeps them plump and juicy, and, just as importantly, prevents them from pulling moisture out of the bread as it bakes and cools. That one small step makes a noticeable difference in how long the loaf stays soft.
Every choice in this recipe– from the method for the raisins to the way the swirl is built– serves a purpose. The end result is a cinnamon raisin bread that surprises people not because it’s flashy, but because it works. It slices cleanly, holds together for toast and sandwiches, and delivers consistent results without requiring advanced techniques.
Once you understand the “why” behind this loaf, you’re not just making cinnamon raisin bread– you’re building confidence for every swirled and shaped bread that comes next.
CINNAMON RAISIN SWIRL BREAD INGREDIENTS
Here is a list of ingredients you will need and what their purpose serves. For exact ingredients amounts and how to prepare each of them, scroll down to the recipe card.
RAISINS: if you don’t like them, you can omit them without changing anything else in the recipe except a slightly shorter bake time. You can also use any dried fruit you prefer like currants, cranberries, dates, or cherries– just be sure you’re still soaking them!
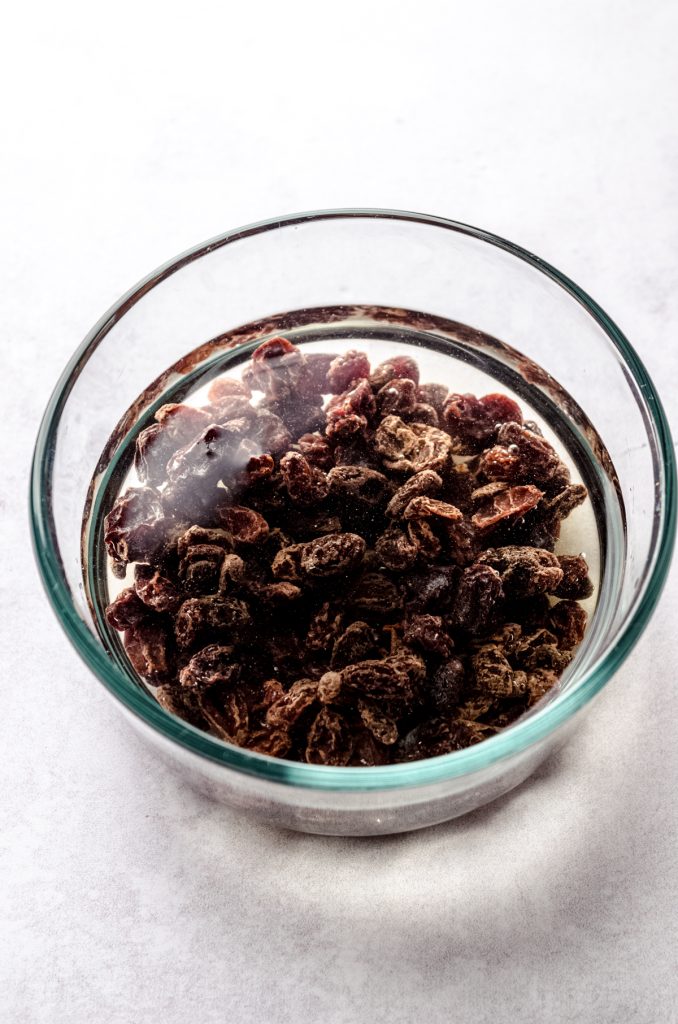
HOT WATER: we’re using water to hydrate the raisins as well as activate the yeast. Don’t skip soaking the raisins, even if your raisins seem to be really plump. If they’re as hydrated as possible, they won’t feel the need to steal any moisture from the dough.
DRY ACTIVE YEAST: you can make this recipe with instant yeast, just skip the activation step and add it in with the rest of the wet ingredients. You’ll get the best rise, though, with dry active.
GRANULATED SUGAR: we’ll use this to feed the yeast during activation and sweeten the dough just a touch.
MELTED BUTTER: we’ll use 4 Tablespoons in the dough and the remaining Tablespoon to brush on the outside of the loaf before baking. In cinnamon rolls, I add the butter softened and in chunks, which helps create layers. Since we want to keep this roll tight and together, it all goes in at the same time and melted to encourage a smooth and tender dough.
MILK: milk lends some natural and subtle sweetness and encourages browning during baking (brown = flavor). I prefer whole milk here.
CINNAMON: yes, cinnamon can inhibit yeast growth, but we’re using juuuuust a touch enough to add cinnamon flavor to the dough without squashing the activity of the yeast. Whenever I add cinnamon to yeast dough, I try to give it a little boost during rising. Check the notes section of the recipe card for details about that.
SALT: never leave it out of baking! Salt helps the cinnamon and raisins shine and gives the bread some balance of flavor.
ALL-PURPOSE FLOUR: all-purpose is just fine in this recipe, but if you have bread flour, you can use that for a little extra touch of tenderness.
STEP-BY-STEP: HOW TO MAKE CINNAMON RAISIN BREAD
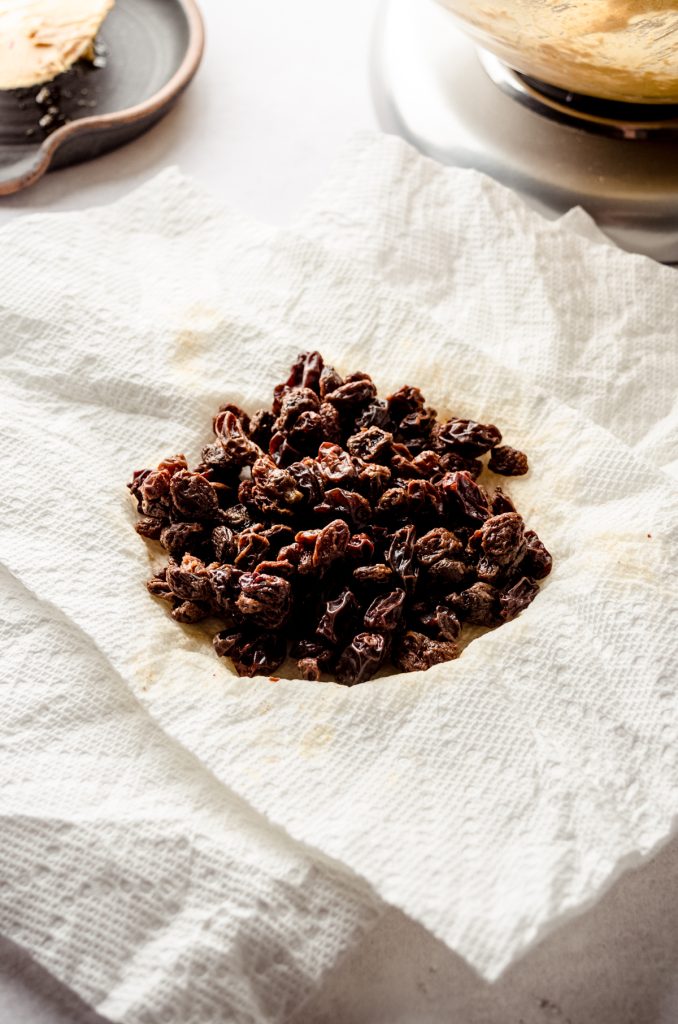
Soak the raisins: cover the raisins and hot to boiling water and allow them to soak for 10-15 minutes. You can proceed with the recipe or wait until the raisins are done soaking. Remove them from the water and place them on a clean kitchen towel or paper towels and blot them dry. They can air out a bit until you need them.
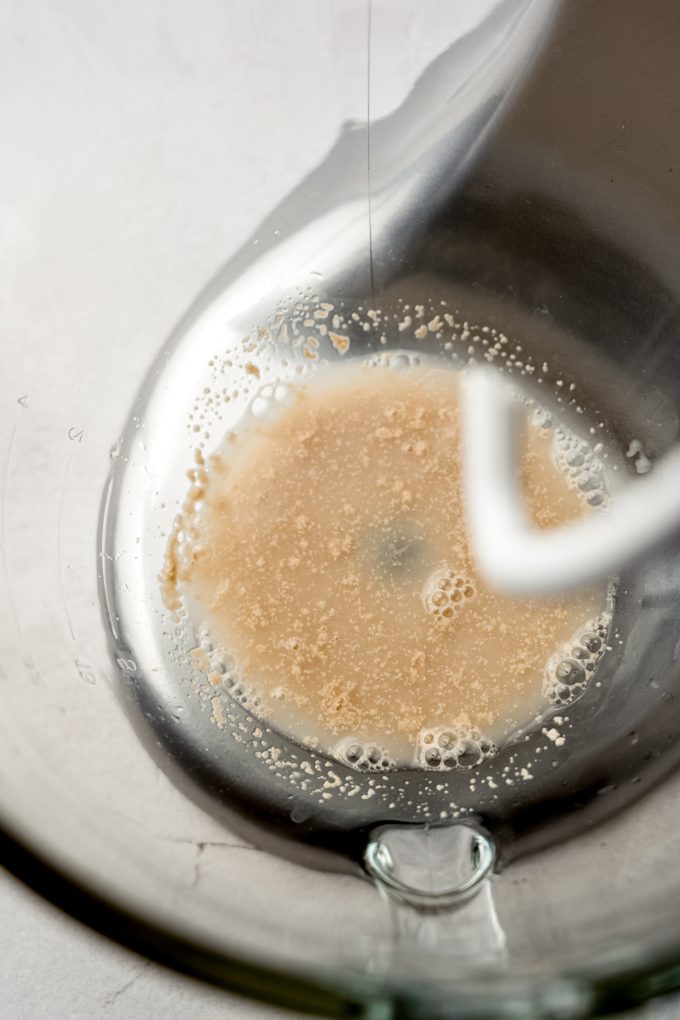
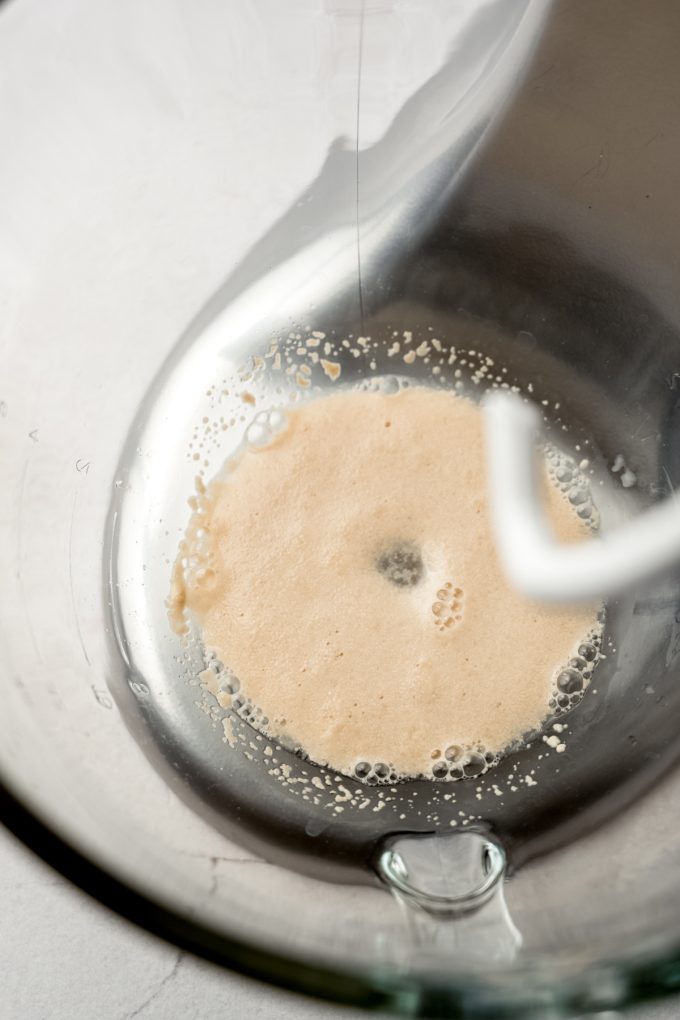
Activate the yeast: add the warm water, yeast, and granulated sugar to the bowl you are using (either a large mixing bowl if you’re doing this by hand or the bowl of a stand mixer). Allow the mixture to rest and activate for about 10 minutes.
Add the rest of the dough ingredients + blend: once the yeast is bubbly and active, add ¼ cup of the melted butter, milk, cinnamon, salt, and 2 cups of the flour (this doesn’t need to be exact, just eyeball about half of it). Start to blend everything together, then gradually add the remaining flour until you have added all of it.
Add the raisins: when you’ve added all of the flour, add the raisins and continue to blend until the dough has mostly come together. It may still be shaggy, but it should pull away from the sides of the bowl fairly easily.
Knead the dough: turn the dough out onto a floured surface and knead for about 8-10 minutes, adding flour about 1 Tablespoon at a time if the dough is too sticky, until it is smooth and elastic. The dough should resemble the surface texture of PlayDoh when it is done.
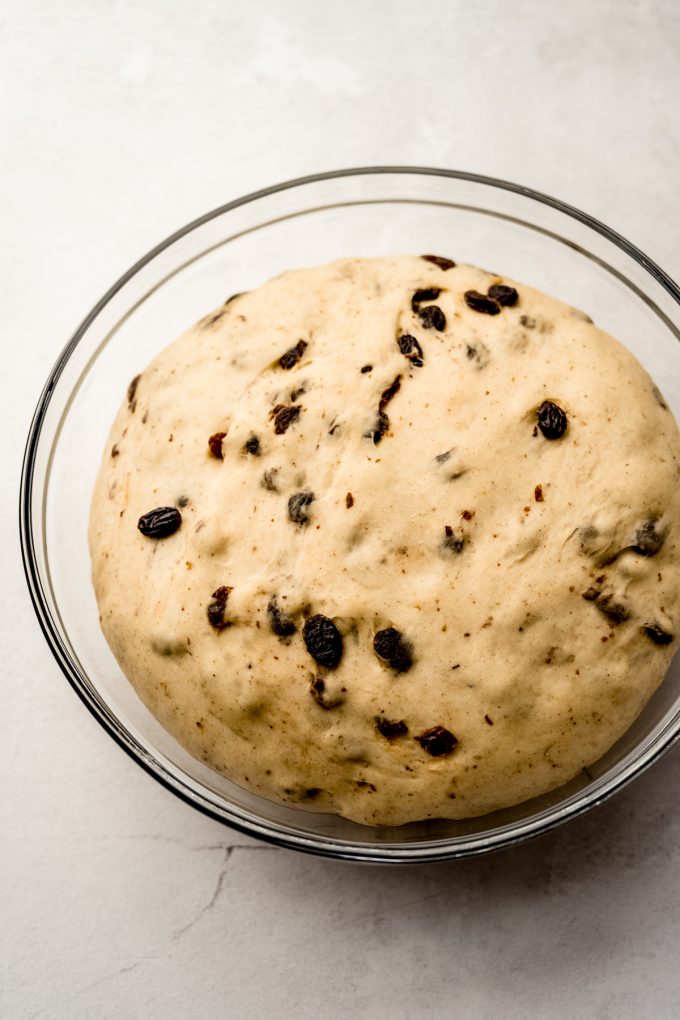
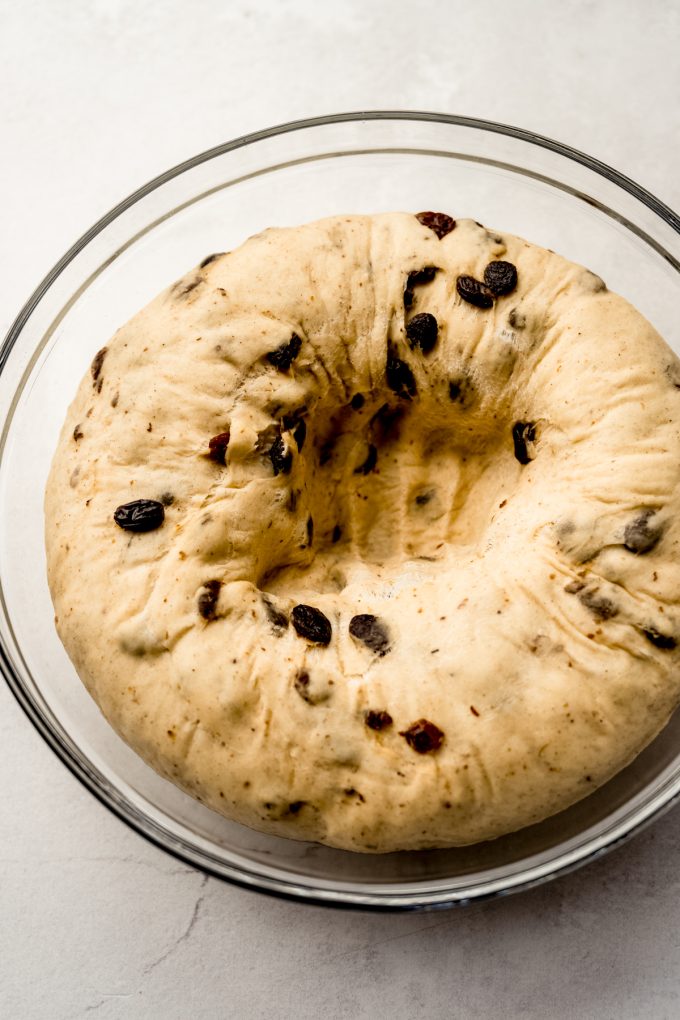
Here’s the first rise: once the dough is fully kneaded, place it in an oiled bowl, then cover it with a kitchen towel and allow to rise in a warm environment until it doubles in size. This should take about 1 and ½ to 2 hours.
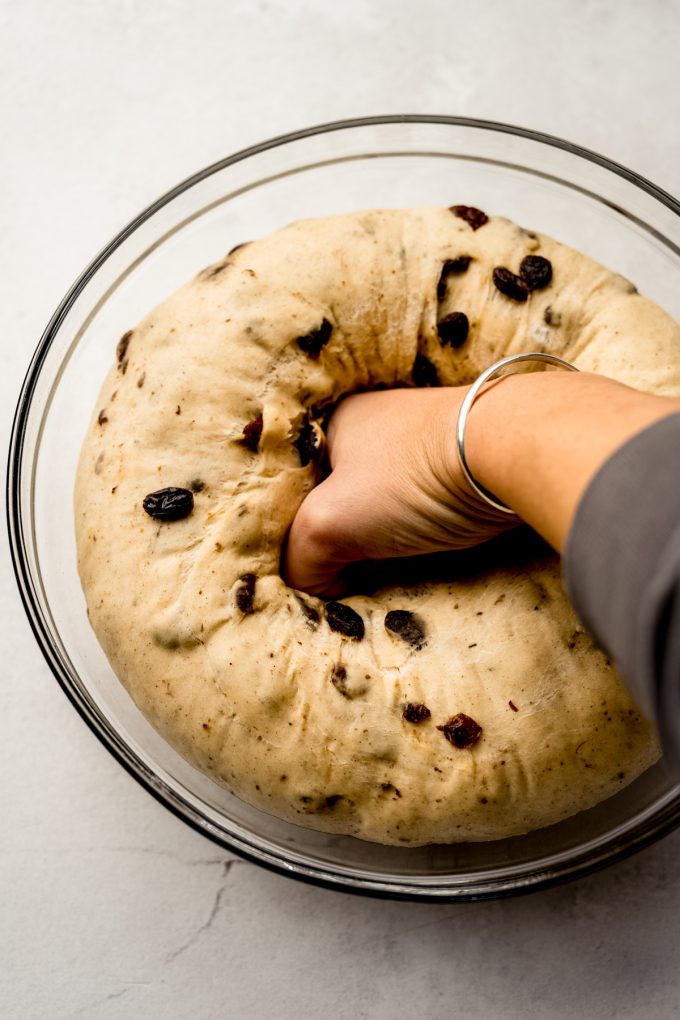
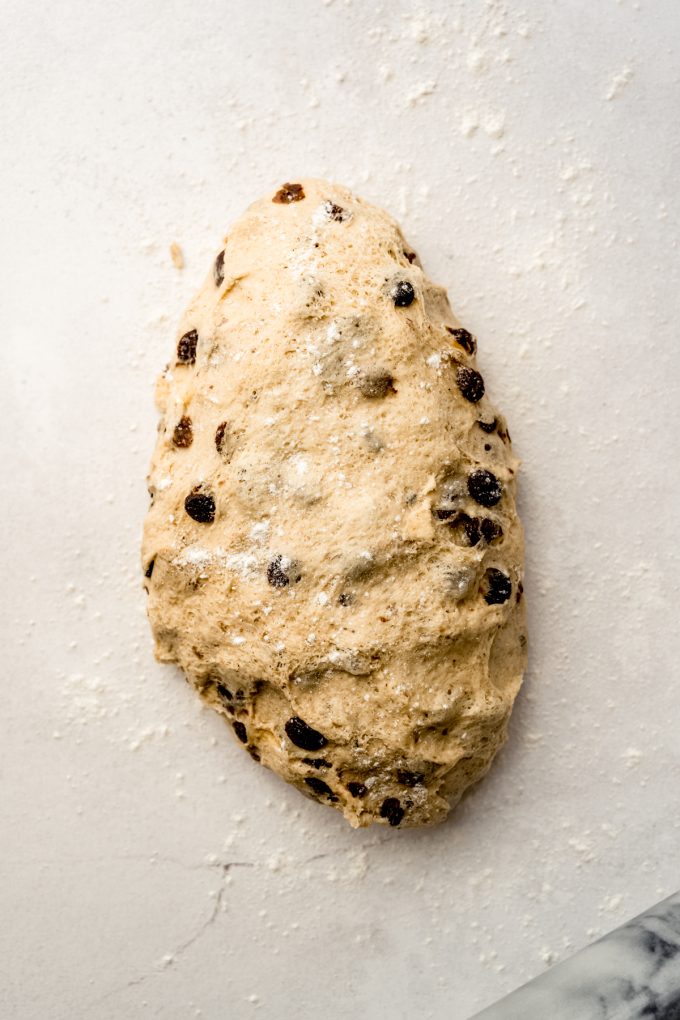
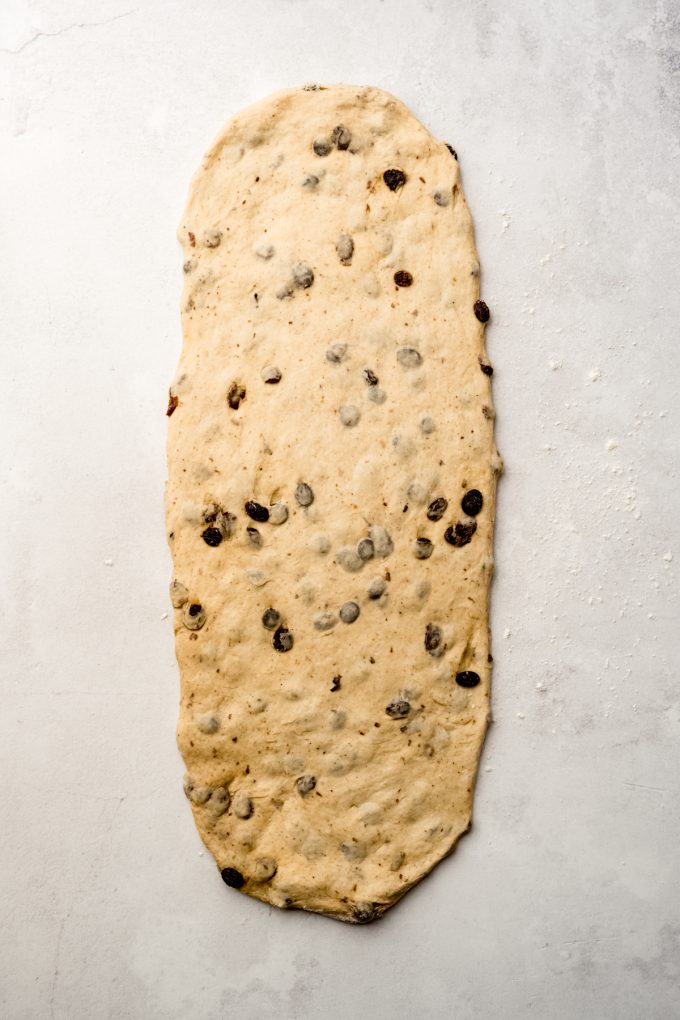
Shape the dough: after the dough rises, gently punch it down, then turn it out onto a lightly floured surface. Pat and press the dough into an 8″ x 20″ rectangle, using a rolling pin when necessary, but taking care to continue being gentle.
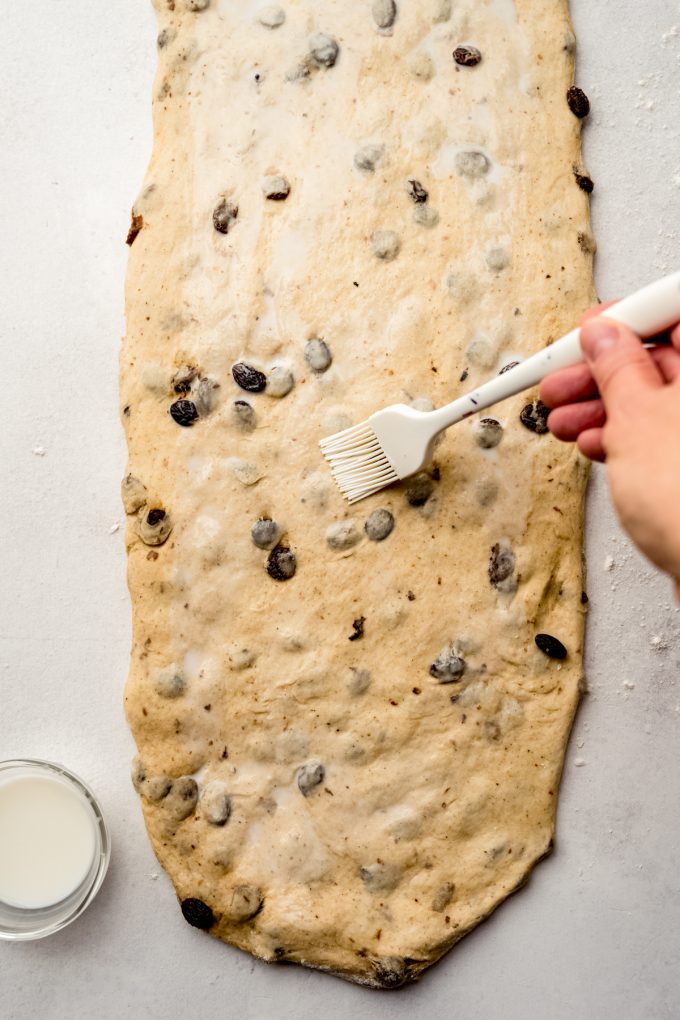
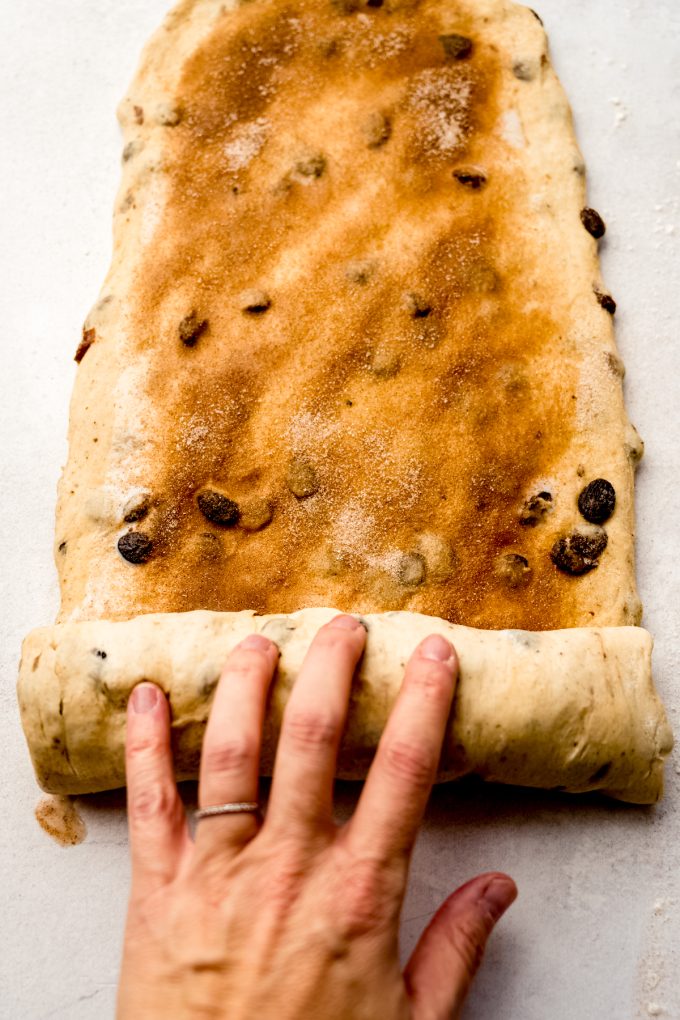
Brush with milk: brush the rectangle with the milk, going almost all the way to the edges but leaving a small border (about ½”). Sprinkle the cinnamon-sugar filling evenly over the milk on the rectangle until you have used all of the filling.

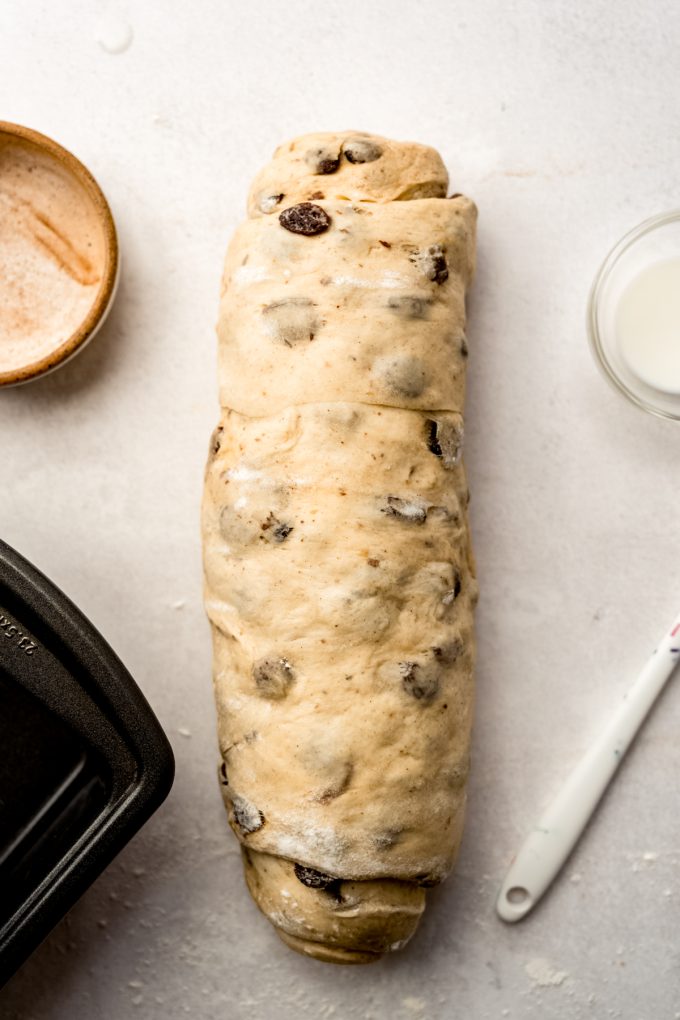
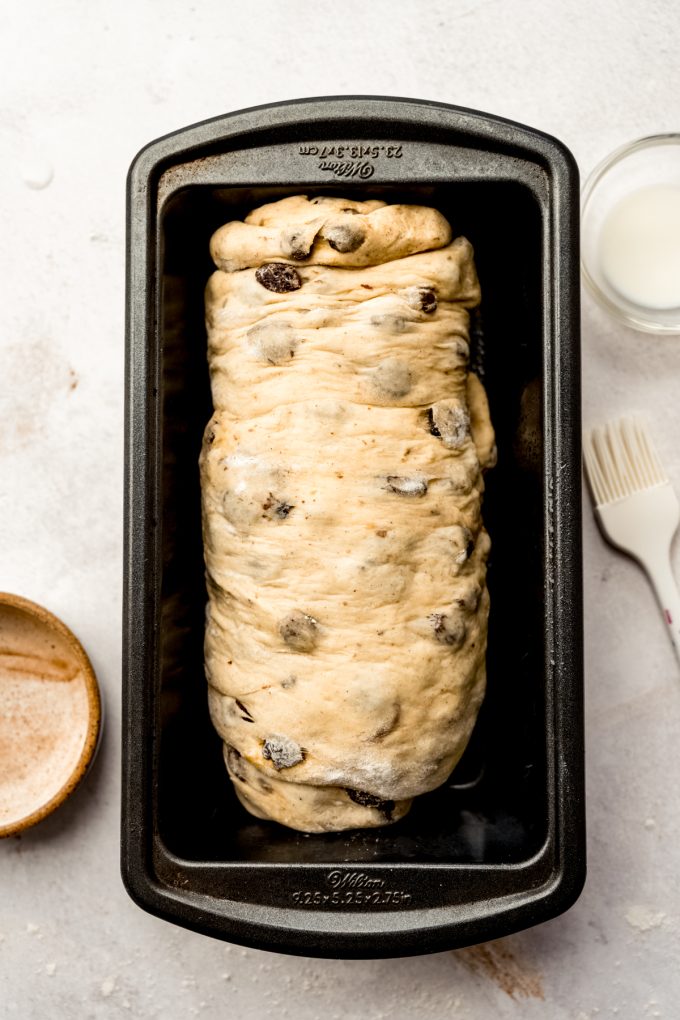
Roll it up into a tight log + give a 2nd rise: starting at one of the short ends, roll the rectangle up into a tight log. Place the log into the prepared loaf pan, seam side down, then cover it loosely with a kitchen towel and allow to rise for 45 minutes to 1 hour.
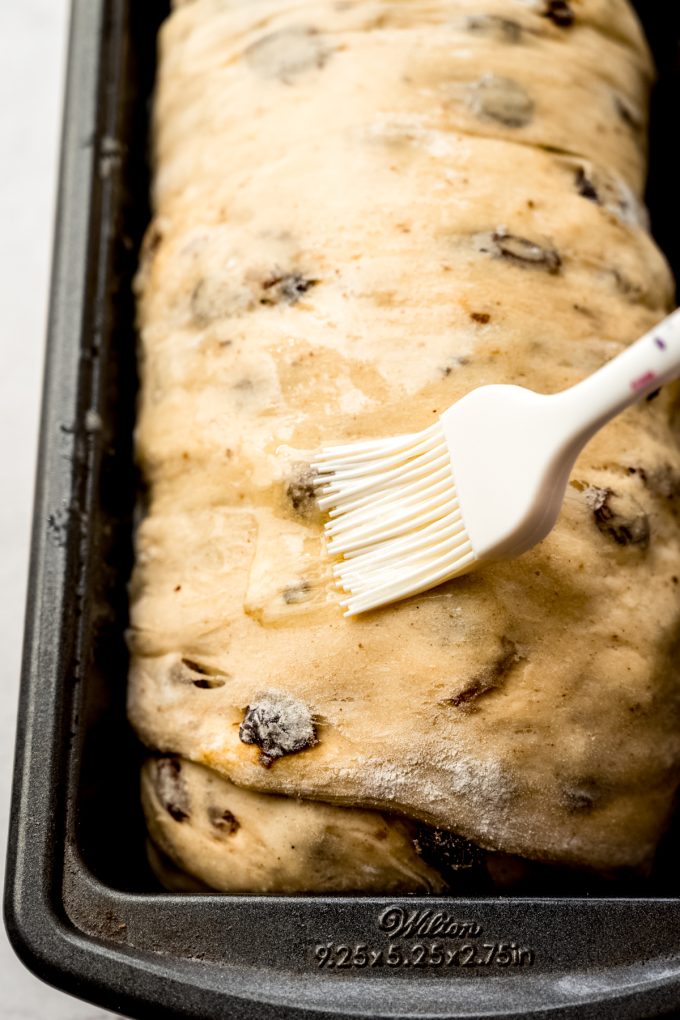
Bake the loaf: once the loaf has risen in its shaped state, brush with the remaining melted butter, then bake. I prefer to check the internal temperature with an instant-read digital thermometer (this is my very favorite instant-read digital thermometer, and this is my favorite budget-friendly digital thermometer). Yeast bread is done when the internal temperature is 190ºF (88ºC).
CAN I MAKE THIS BREAD WITHOUT RAISINS?
Yes, you can absolutely make this bread without the raisins. Reduce baking time by about 10 minutes.
CAN I USE A DIFFERENT DRIED FRUIT IN THIS BREAD?
Yes! You can use dried cherries, golden raisins, dates, anything that’s dried! Just be sure you’re still soaking them as instructed in the recipe.
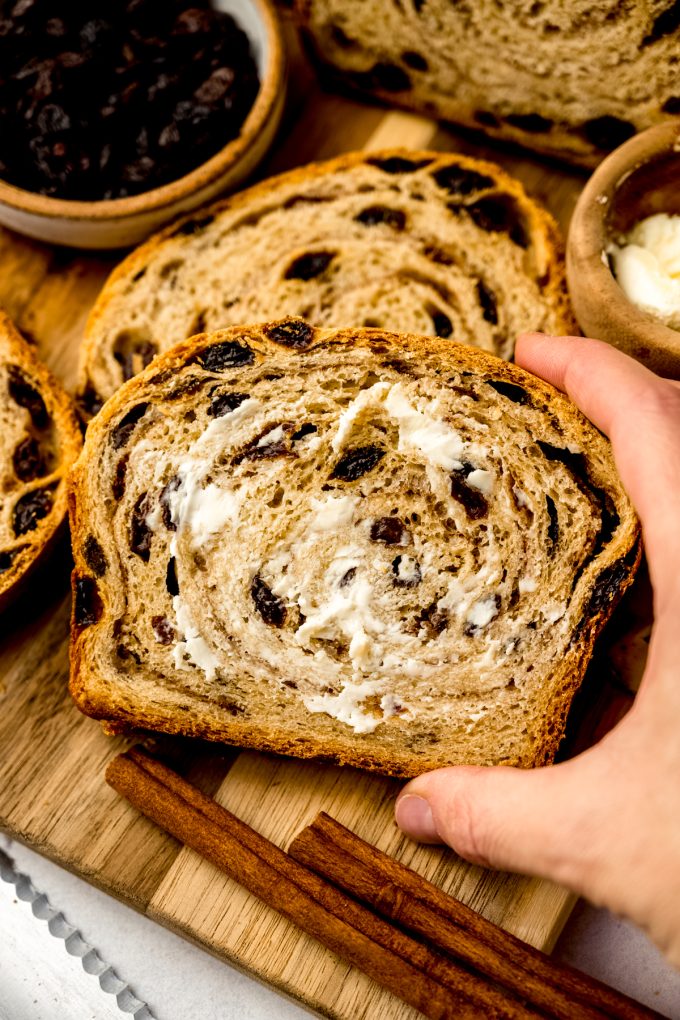
SLICE, TOAST, AND ENJOY
You will absolutely love how nicely this bread slices! It’s perfect for toasting and spreading with butter or cream cheese (my personal favorite!) or for making a sandwich. Have you ever made a breakfast sandwich with cinnamon raisin bread? It’s a great sweet/savory breakfast option.
My favorite part of this bread is how the outside bakes up crusty and chewy while the inside stays incredibly soft. That contrast is what makes it feel like the full yeast bread experience, and one you’ll be excited to make again and again.
MORE RECIPES FOR CINNAMON RAISIN LOVERS
Homemade Cinnamon Raisin Bread Recipe
Ingredients
BREAD
- 1 and ½ cups (240g) raisins plus hot to boiling water for soaking (see step #1)
- ¼ cup (60mL) warm water about 110ºF (43ºC)
- 2 and ¼ teaspoon (7g) active dry yeast or one packet
- 2 Tablespoons (25g) granulated sugar
- 5 Tablespoons (71g) unsalted butter divided and melted
- 1 cup (240mL) warm milk I prefer whole milk
- 1 teaspoon ground cinnamon
- 1 teaspoon salt
- 4 cups (480g) all-purpose flour be sure to measure properly
FILLING
- 2 Tablespoons (30mL) milk
- ¼ cup (50g) granulated sugar
- 2 teaspoons ground cinnamon
Instructions
BREAD
- Place the raisins in a medium size bowl, then add hot to boiling water until the raisins are covered. Allow raisins to soak for 10-15 minutes. You can proceed with the recipe or wait until the raisins are done soaking.1 and ½ cups (240g) raisins
- Whenever the raisins are done soaking, remove them from the water and place them on a clean kitchen towel. Blot them dry and allow them to air out a bit until you need them.
- To a large bowl (if using a wooden spoon or silicone spatula) or the bowl of a stand mixer, add the warm water (you can use some of the leftover raisin water, if you want). Sprinkle the yeast on top of the water, add the granulated sugar, then whisk or stir with a fork and allow to rest and activate for about 10 minutes.¼ cup (60mL) warm water, 2 and ¼ teaspoon (7g) active dry yeast, 2 Tablespoons (25g) granulated sugar
- Meanwhile, melt ¼ cup of the butter, reserving the remaining Tablespoon for later. Allow it to cool off a bit while you wait for the yeast mixture to be ready.5 Tablespoons (71g) unsalted butter
- Once the yeast is bubbly and active, add the ¼ cup of melted butter, milk, cinnamon, salt, and 2 cups of the flour (this doesn't need to be exact, just eyeball about half of it).1 cup (240mL) warm milk, 1 teaspoon salt, 4 cups (480g) all-purpose flour, 1 teaspoon ground cinnamon
- If using a stand mixer, fit it with the hook attachment and begin to mix the dough on low speed. If you are using a bowl and wooden spoon or spatula, stir the mixture together. Gradually add the remaining flour.
- Once all of the flour is added, add the raisins and continue to blend until dough has mostly come together. It may still be shaggy, but it should pull away from the sides of the bowl fairly easily.
- Turn out dough on a floured surface and knead for about 8-10 minutes, adding flour about 1 Tablespoon at a time if the dough is too sticky, until smooth and elastic. Your dough should resemble the surface texture of PlayDoh when it is done.
- Once your dough is fully kneaded, place it in an oiled bowl, flipping it over so the oiled side is up. Cover the bowl with a kitchen towel and allow to rise in a warm environment1 until double in size, about 1 and ½ to 2 hours.
FILLING
- When the dough has risen, spray a 9" x 5" loaf pan with nonstick spray and set it aside. Gently punch down the dough, then turn it out onto a lightly floured surface.
- Gently pat and press the dough into an 8" x 20" rectangle, using a rolling pin when necessary, but taking care to continue being gentle. You do not need to rush this step.
- Using a pastry brush, brush the rectangle with the milk, going almost all the way to the edges but leaving a small border (about ½").2 Tablespoons (30mL) milk
- In a small bowl, combine the granulated sugar and ground cinnamon and whisk or stir until the cinnamon is evenly distributed. Sprinkle the cinnamon-sugar filling evenly over the milk on the rectangle until you have used all of the filling.¼ cup (50g) granulated sugar, 2 teaspoons ground cinnamon
- Starting at one of the short ends, roll the rectangle up into a tight log. Place the log into the prepared loaf pan, seam side down. Cover loosely with a kitchen towel and allow to rise for 45 minutes to 1 hour.
- Position an oven rack to the lower third position and preheat the oven to 400ºF (204ºC).
- Brush the loaf with the remaining Tablespoon of melted butter, then bake for 55-60 minutes, rotating the loaf halfway through and tenting with foil if it's browning too much for your liking. Loaf is done when it is golden brown and makes a hollow sound when you tap on it. You can also check the internal temperature with an instant-read digital thermometer (this is my very favorite instant-read digital thermometer, and this is my favorite budget-friendly digital thermometer). Yeast bread is done when the internal temperature is 190ºF (88ºC).
- Remove from the oven and allow to cool in the pan for 10 minutes. Remove loaf from the pan and allow to cool completely on a wire rack before slicing. Bread can be stored in an airtight bag or wrapped tightly in plastic wrap at room temperature for up to 4 days. Bread freezes well, up to 3 months. Thaw in refrigerator before consuming.
Video
Notes
- Rise in a warm environment: I like to preheat the oven to 200ºF (93ºC), turn it off, then place my rising dough inside with the door cracked.
- Make this bread without raisins: yes, you can make this bread without the raisins. Reduce baking time by about 10 minutes.
- Working with yeast: for a comprehensive look at working with yeast in a recipe, see my post about how to bake with yeast.
Nutrition Disclosure
All nutritional values are approximate and provided to the reader as a courtesy. Changing ingredients and/or quantities will alter the estimated nutritional calculations.
Easy to follow and fun to make. Mine was a little dark, but oh SO GOOD!!
So glad you enjoyed it!
This turned out amazing, next going to make it ahead and use it for french toast 🙂
Thank you so much, Tianna! 🙂 Did you want to enter into the Bake Along?? If so, email me a picture so I can get you entered– lynn@freshaprilflours.com
Delicious!! Mine got pretty dark (400° seemed high to me), so I tented it for the last 1/3 of the baking time. The flavor is super & the texture of the soaked raisins is exactly what you want. Yay for breakfast for the week!
So glad you liked it, Katja! And thanks for the mention about the browning– you’re not the first person to report that, though my experience was different. I did do a version at 350, but it took so long to be done due to the raisins that I felt the bread was drier than I preferred. Regardless, I’ve adjusted some language in the recipe to help guide desired results. Thank you for making it!
I loved this recipe! I’m at altitude (7000′) and I didn’t make any changes and it turned out well. Only complaint is it’s darker and crispier on the outside than I’d like, but the inside is perfect. I baked it in an aluminum bread pan and tented halfway through with foil to slow the browning. Any ideas to keep it from browning, or if that just how it’s supposed to be?
Hi, Therese– thanks so much for your feedback! In my own testing, it did not brown over my liking (you can see my browning level in the photos), but of course, everyone’s preference AND OVEN is different. I have updated the instructions to reflect making choices to guide the browning level for folks making it here on out, such as lowering the rack to the bottom third of the oven and/or tenting. In my testing, a lower temperature meant a longer bake time which dried out the inside too much. So a lower rack at the 400ºF temp PLUS tenting, if desired, should do the trick.
She had me at “won’t fall apart” and this method did not disappoint! Definitely the best swirl I’ve ever had on this kind of bread!
Thank you so much, Melissa!
This recipe is so easy to follow and it’s easy to achieve that beautiful swirl. And I’m glad there are plenty of raisins!
Thanks so much, Jana! 🙂
I really liked this recipe even though I’m not the biggest fan of raisins; so that says how good it is! It’s sweet like a cinnamon roll, without all the extra sugar. I sliced it up and we’re going to use it in the morning for French toast, though everyone had to try a slice first while it was warm (and everyone approved!).
I love this so much, Kristin! Thank you!
The Cinnamon Raisin Bread was delicious! I’ve made yeast bread before so I was familiar with the steps, but your instructions were perfect for anyone wanting to make it. I will definitely make this again!
Thank you so much, Nadine! I’m so glad you liked the bread.
This sounds wonderful!
Any adjustments to recipe if I were to double it?
Hi, Julie– I would only double this if I were doing it by hand, because this amount of dough might overwork a stand mixer. I’d definitely split it into two loaves. Let me know if you try it!