
Homemade Mini Slider Rolls
As an Amazon Associate, I earn from qualifying purchases. Read the full disclosure here.
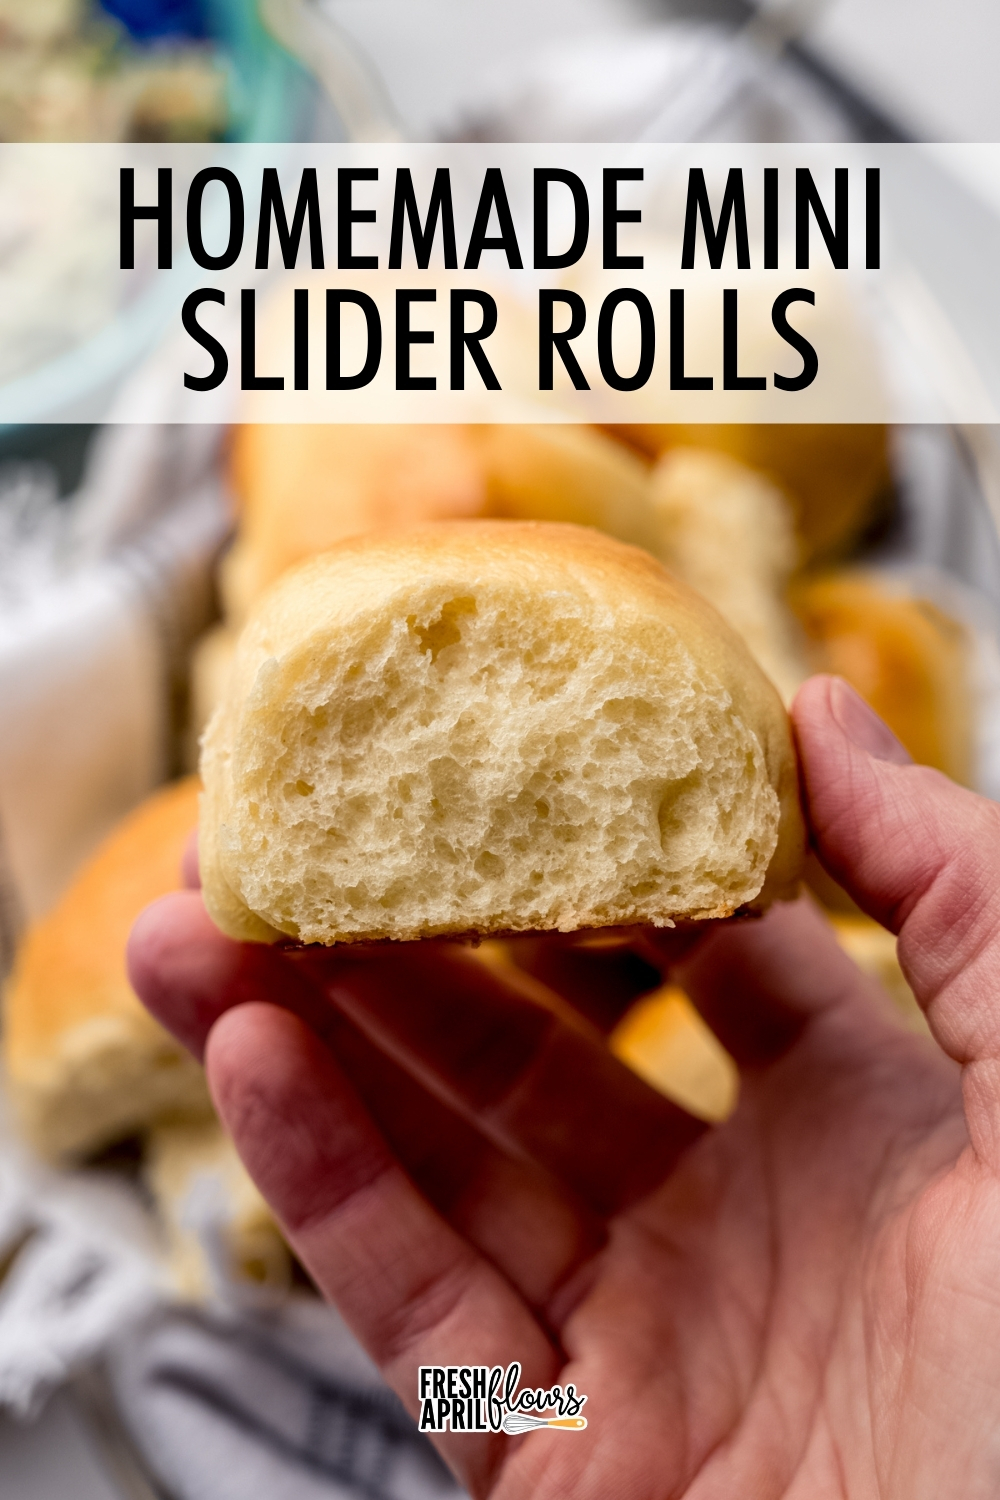
These soft and fluffy mini slider rolls are made with my trusted yeast roll dough. They’re perfect for sliders, mini sandwiches, and party spreads. This recipe is very beginner-friendly and always a hit. See my post about baking with yeast for answers to all of your common FAQs.
THIS IS A DOUGH YOU ALREADY LOVE
The name of the game around my recipe collection is that if it’s not broken, let’s not break it. Like my cheesecake base that serves as the starting point for well over a dozen cheesecake variations, my brownie base finding lots of ways to build on a theme, and a small batch cinnamon roll that was used to build my entire monthly series of cinnamon rolls in 2025.
What can I say? I like reliability.
These mini slider rolls are no different, and they’re made from the same soft, enriched dough as my easy yeast rolls which are a staple in not only my kitchen but so many of my readers’ kitchens. And for good reason!
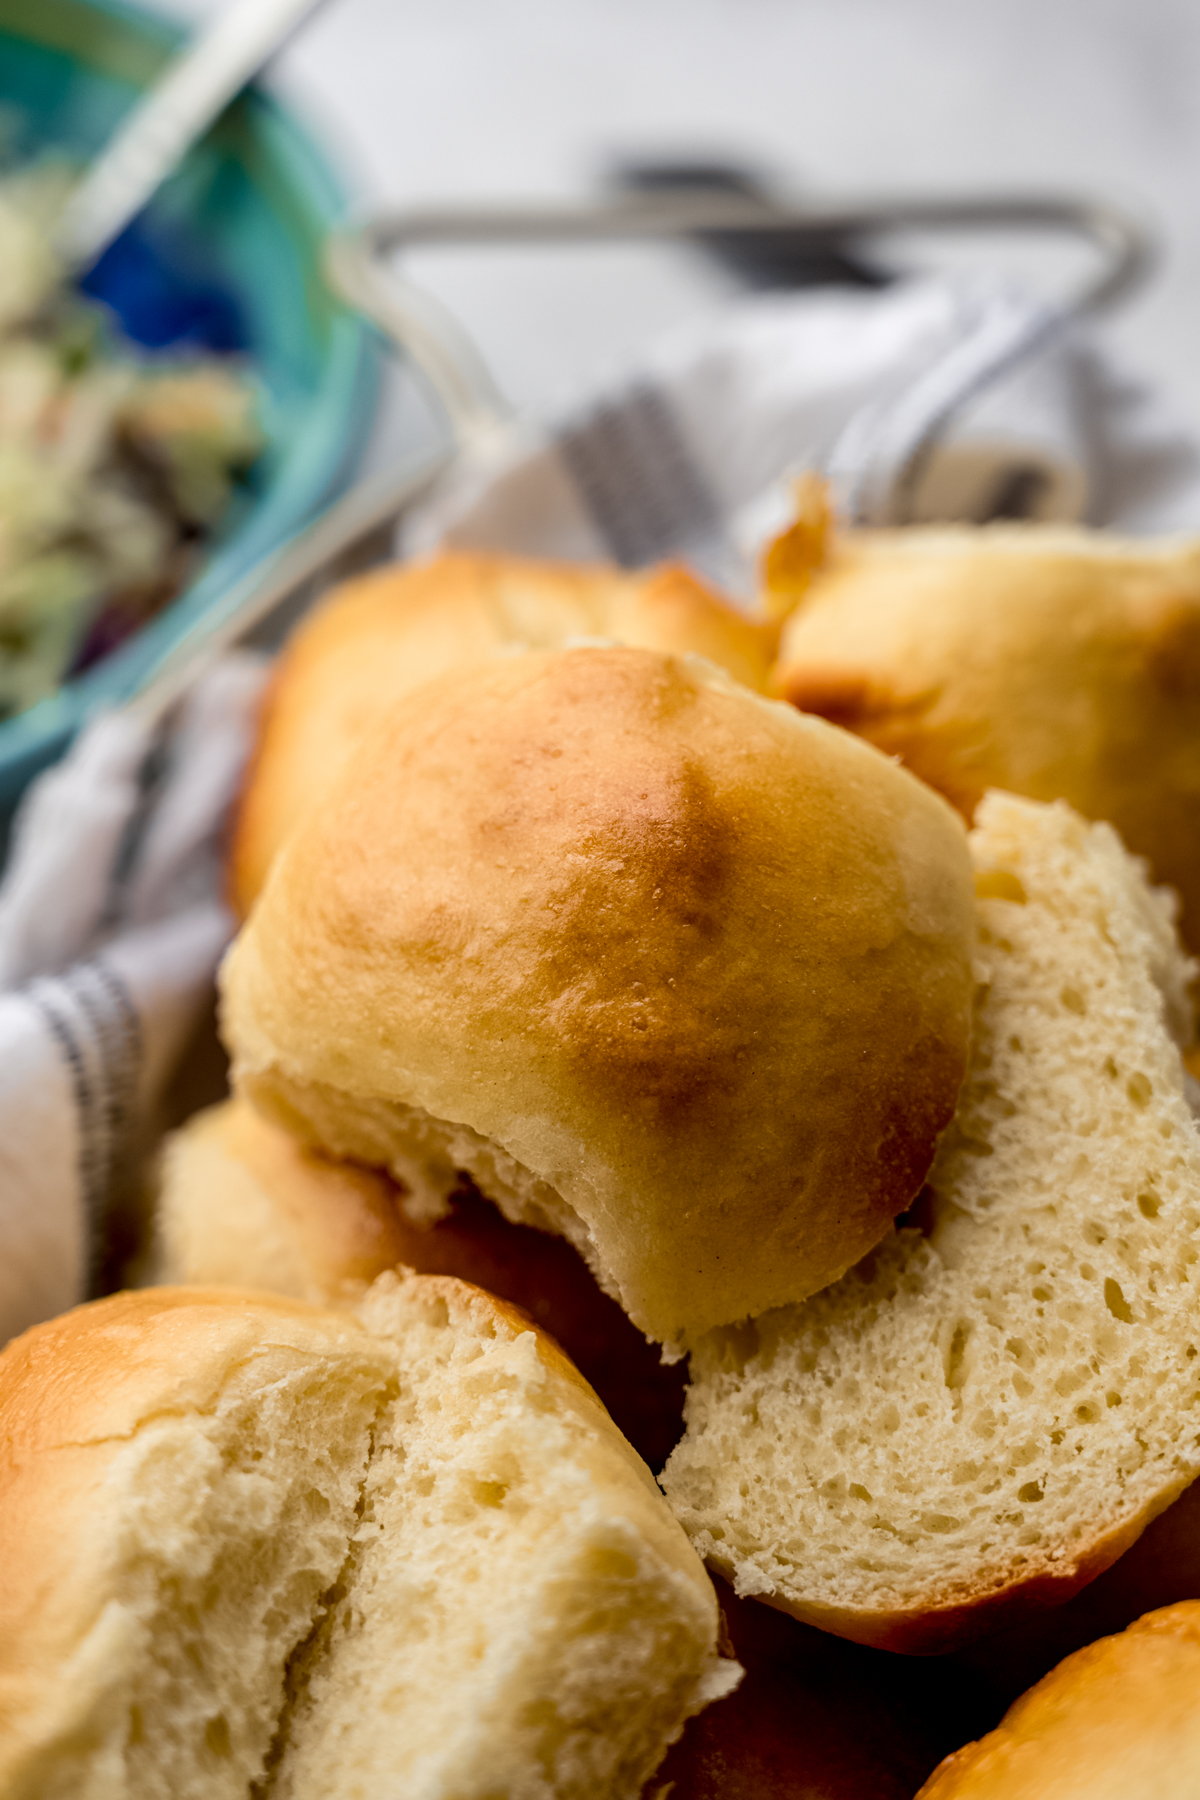
Those rolls are soft, fluffy, versatile, easy to make, hard to mess up, easily made ahead, highly-rated… The list goes on and on. So when I wanted to bring you a slider sized roll, I knew just where to start.
The recipe you see here for these slider rolls is a scaled down version of that beloved recipe. We’re simply cutting that recipe in half, shaping the rolls a bit smaller, and giving them a shorter bake time to ensure they’re the same pillowy texture so many have come to love. Perhaps the best part is that they’re still considered to have a beginner-friendly method, now they’re just cuter (duh) and faster to portion.
Plus… You don’t have to do the halving math! I already did it for you.
HOW BIG ARE THESE SLIDER ROLLS?
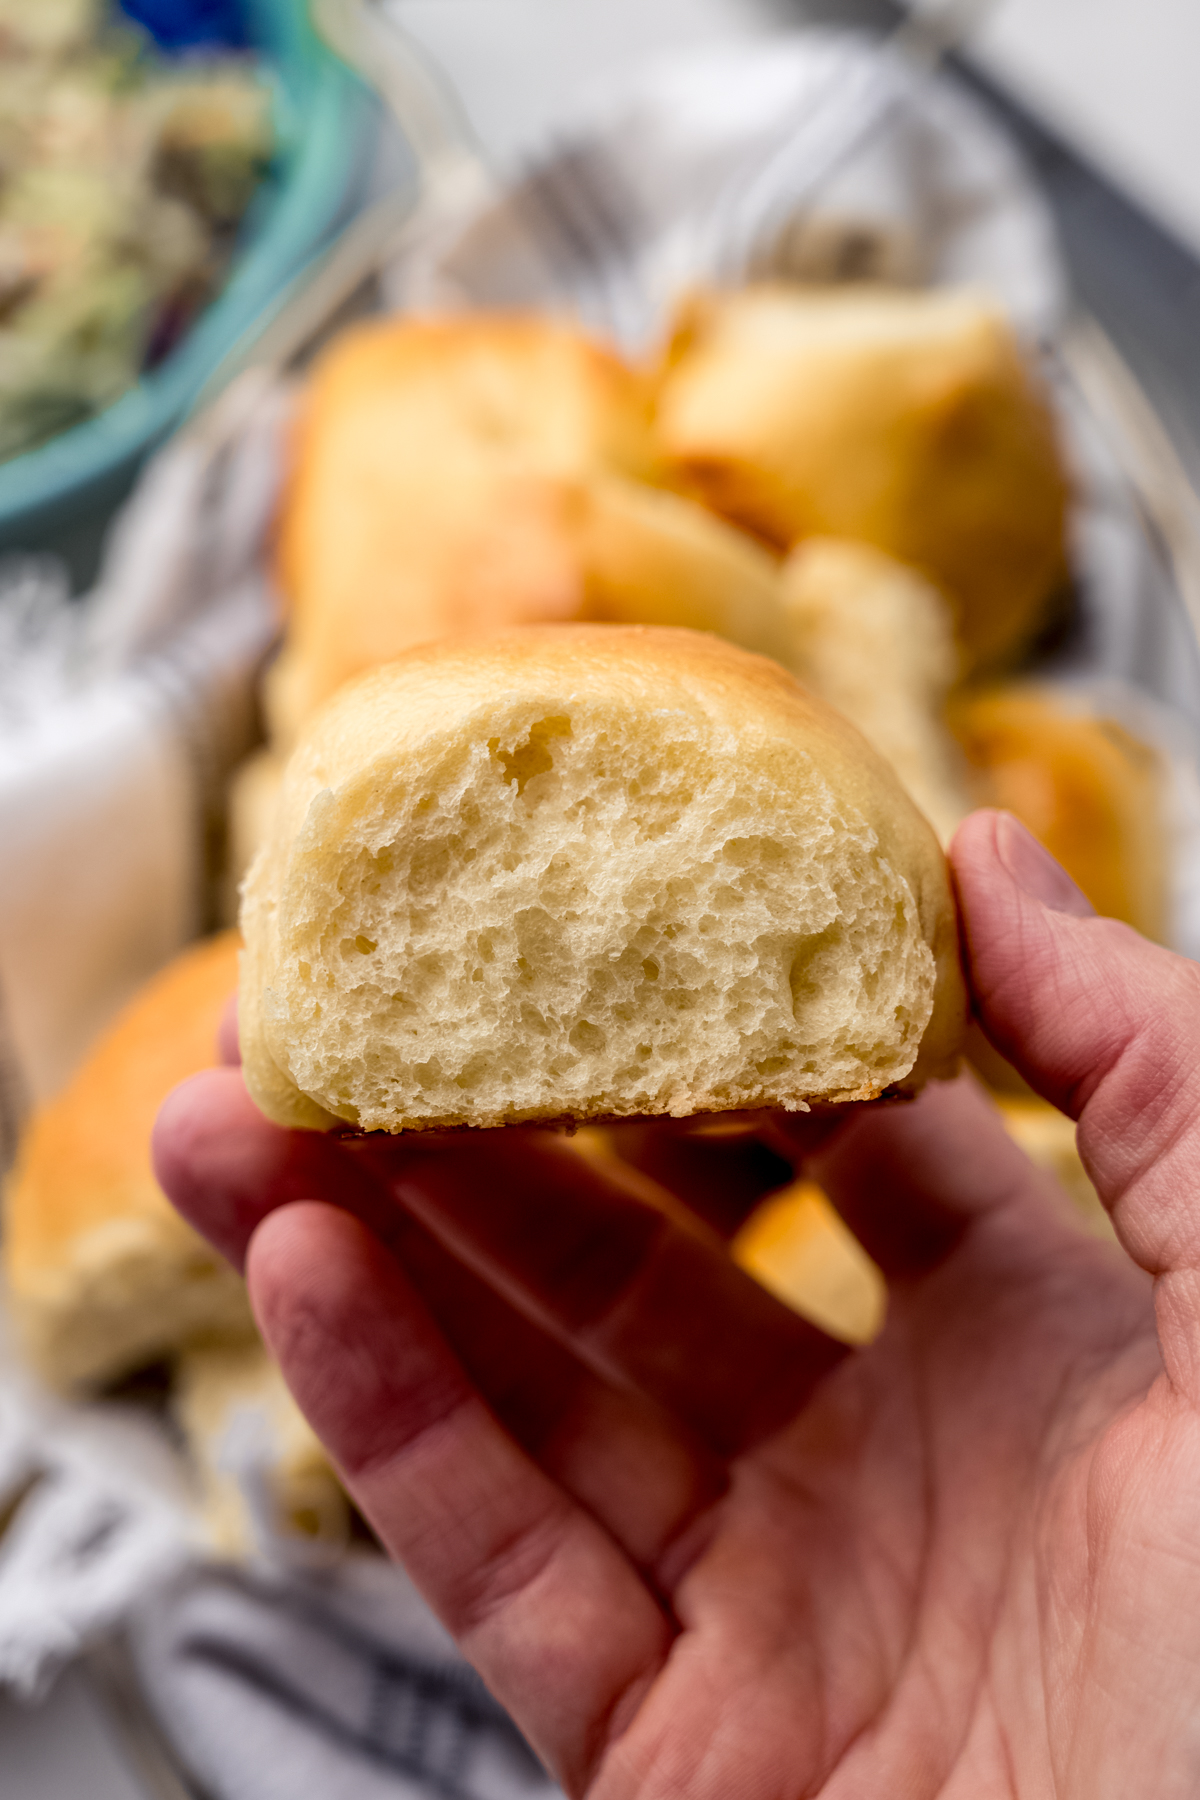
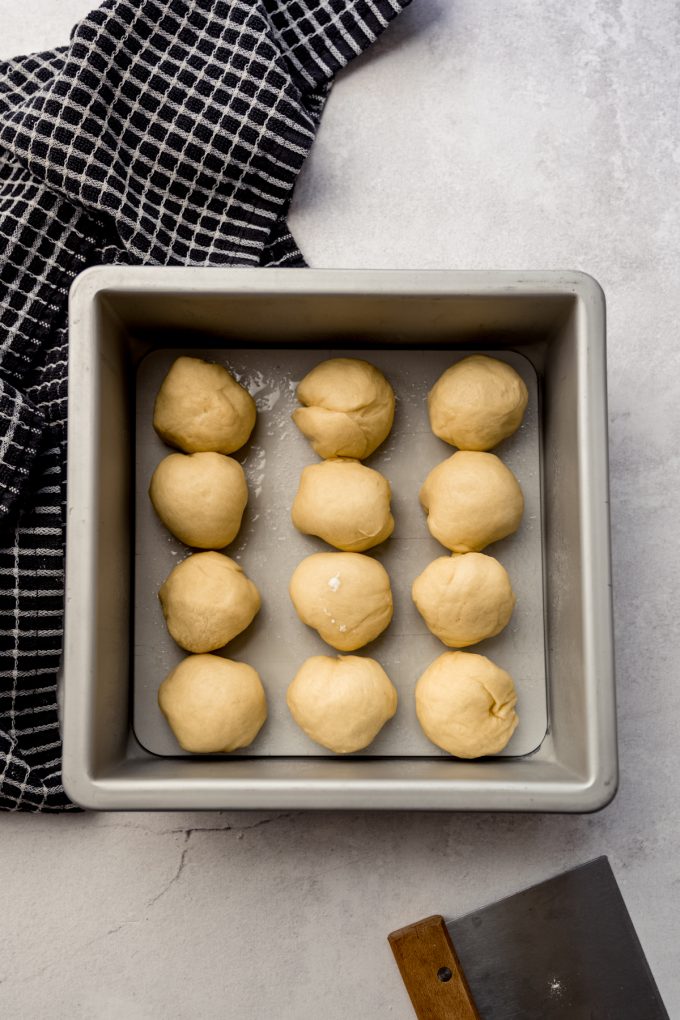
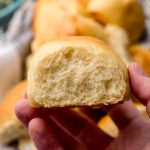
While your rolls will conform to the size of your pan, I can tell you these rolls will be about 2″ in diameter (as opposed to the approximately 3″ larger version). I bake the larger ones in a 9″ x 13″ pan and the slider version in an 8″ square pan.
Here are the OGs on the right, the sliders on the right.


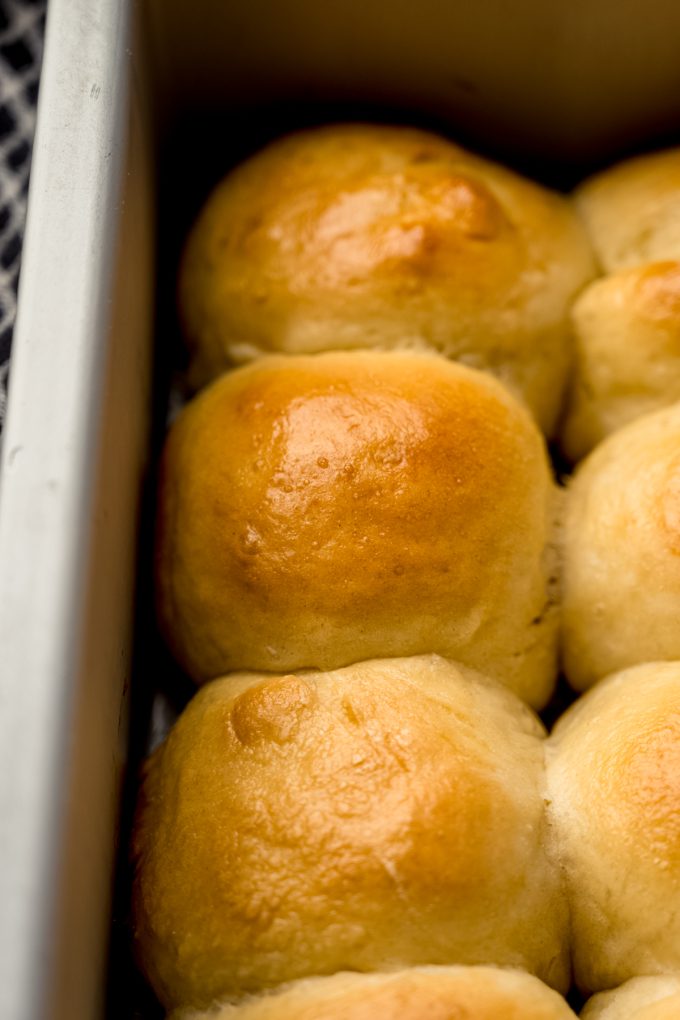
While in theory, you could use any size baking dish you want to bake these rolls, baking the dough balls that are touching encourages them to rise upward rather than outward, which results in taller, softer, and more tender rolls. This method also minimizes the crust on the sides, so that the rolls create a tender, pull-apart texture with soft sides all around.
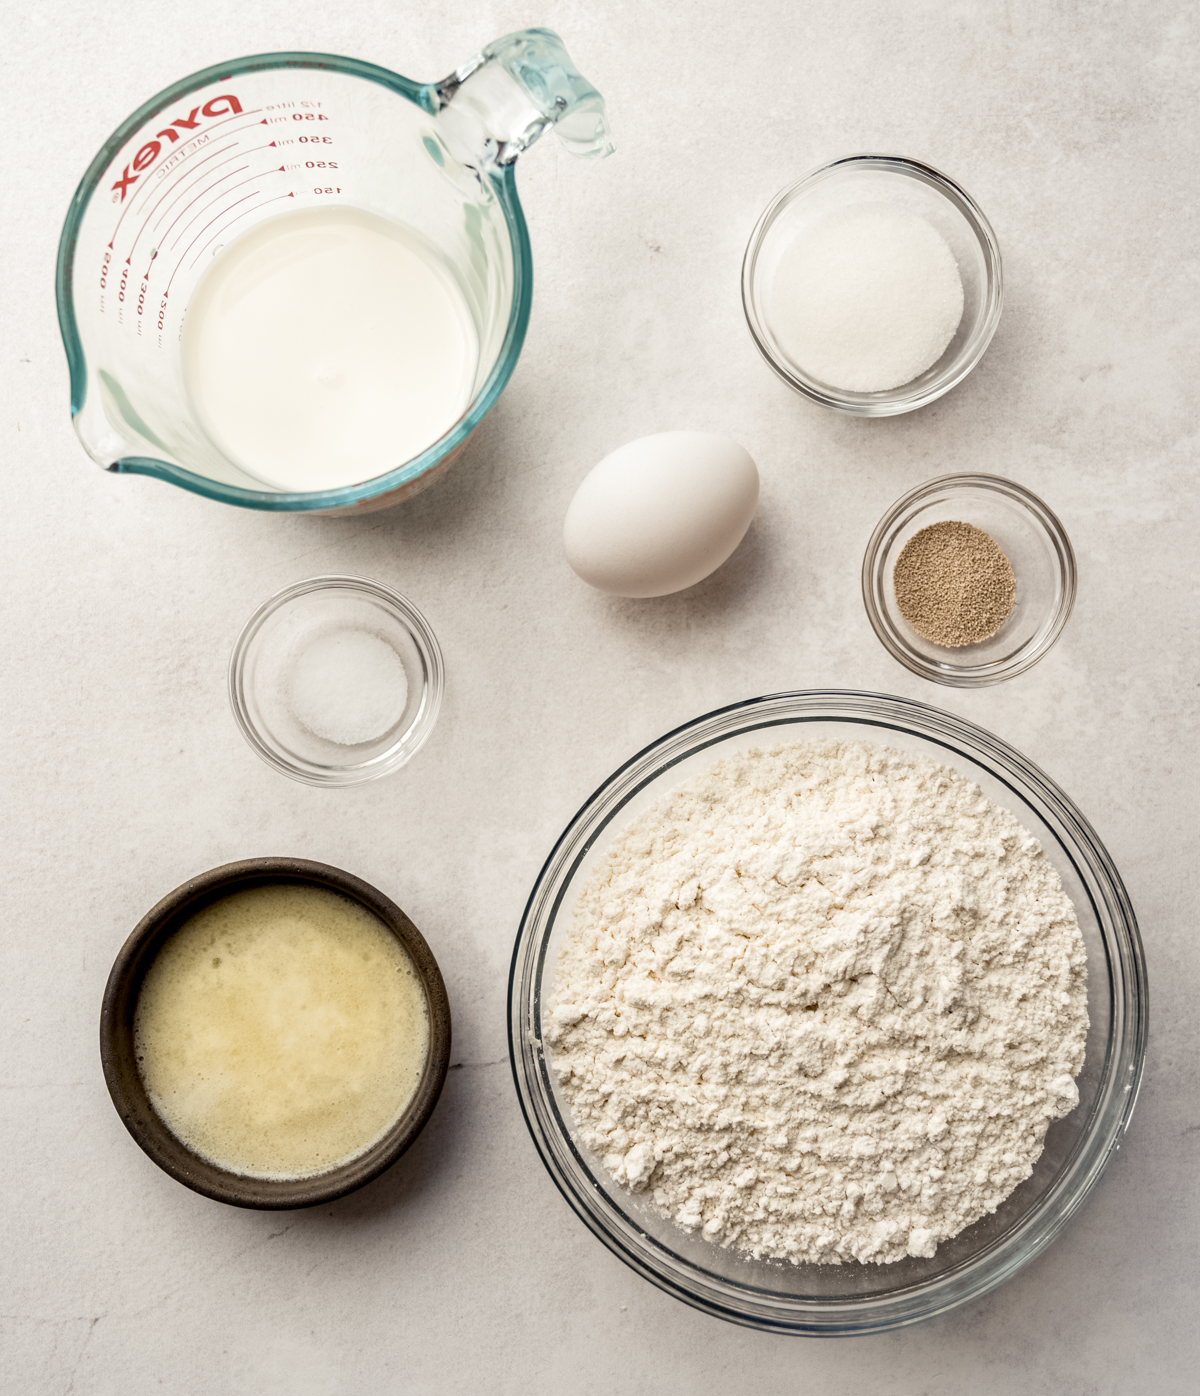
SLIDER ROLL INGREDIENTS
You just need 7 ingredients to make these rolls. Since this is an enriched dough, it utilizes milk, eggs, and butter to bring the richness, tender interior, and pillowy texture we love so much about yeast bread.
DRY ACTIVE YEAST: you will want ½ of one packet, or 1 and ⅛ teaspoons. Do not use instant or rapid rise yeast.
MILK: we’ll use milk for a creamy, fatty base (I prefer using whole) and GRANULATED SUGAR to activate the yeast.
UNSALTED BUTTER: you’ll use this melted, which makes the process go quickly.
EGGS: two eggs make this dough rich and eggy, but in a delicious way.
SALT: yeast bread will be bland without salt.
ALL-PURPOSE FLOUR: these yeast rolls will be nice and fluffy, even without bread flour. If you’d like to use bread flour, by all means do that! You do not need to adjust anything in the recipe.

My best success tip: measuring your flour correctly (by weight) is the key to avoiding a dense dough, which results in dry, heavy rolls.
How to make MINI SLIDER Rolls
From start to finish, you’ll need nearly 3 hours for this recipe. See my copious notes below about how to make these ahead of time (for both the short and long term).
Keep in mind that some of the process photos in this post are from the larger batch of rolls, so if, for example, your bowl doesn’t look as full, that’s likely why.
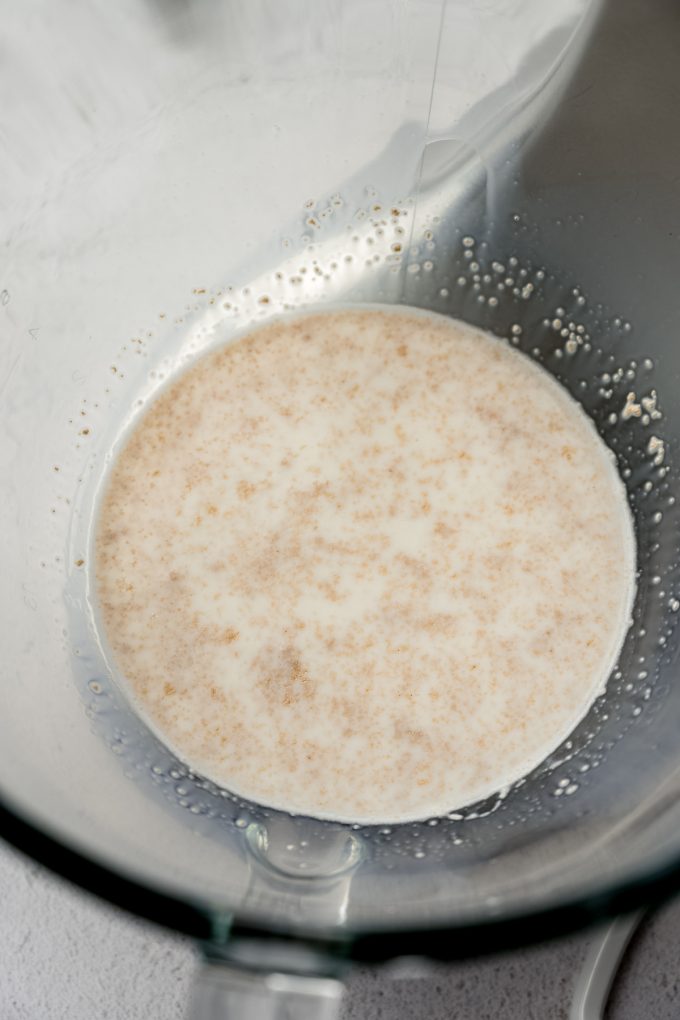
Activate the yeast: adding the yeast to the warm milk with the sugar will ensure the yeast is cozy and fed, the start of a delicious and perfect yeast roll. Stir everything together and allow it to sit for 5-10 minutes to proof.
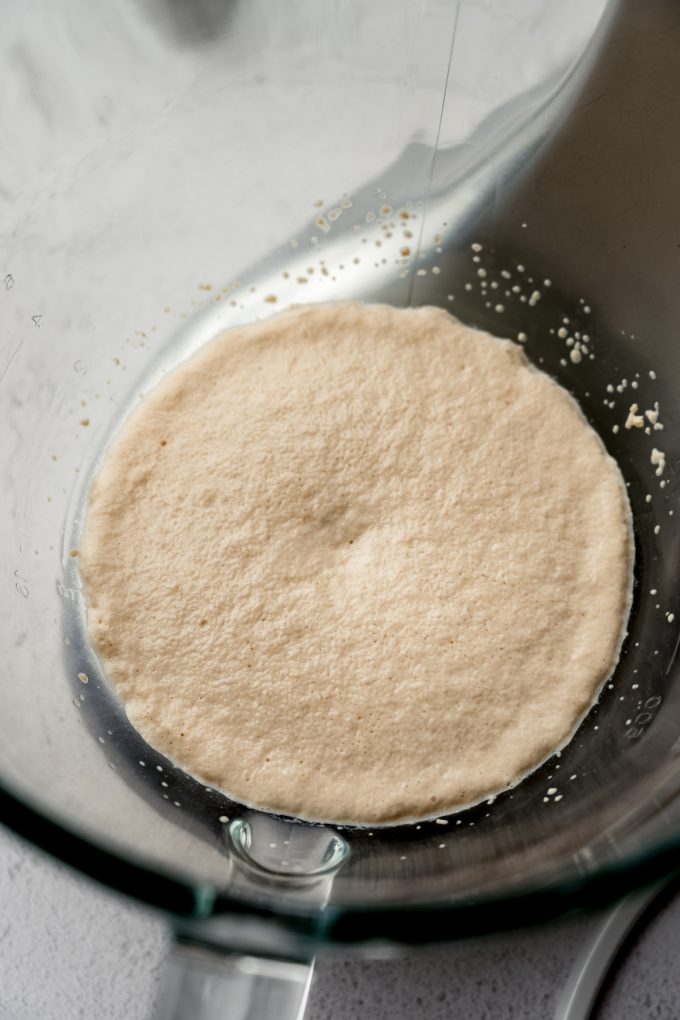
Add the rest of the wet ingredients: once the yeast is proofed, add the melted butter, eggs, and salt, then whisk that all together.
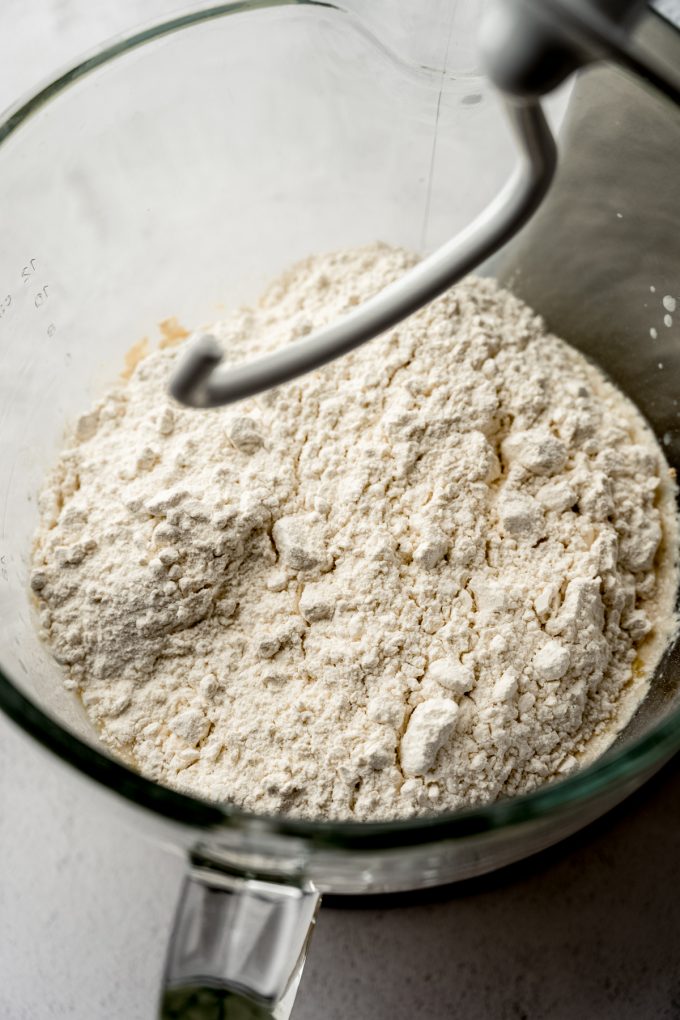
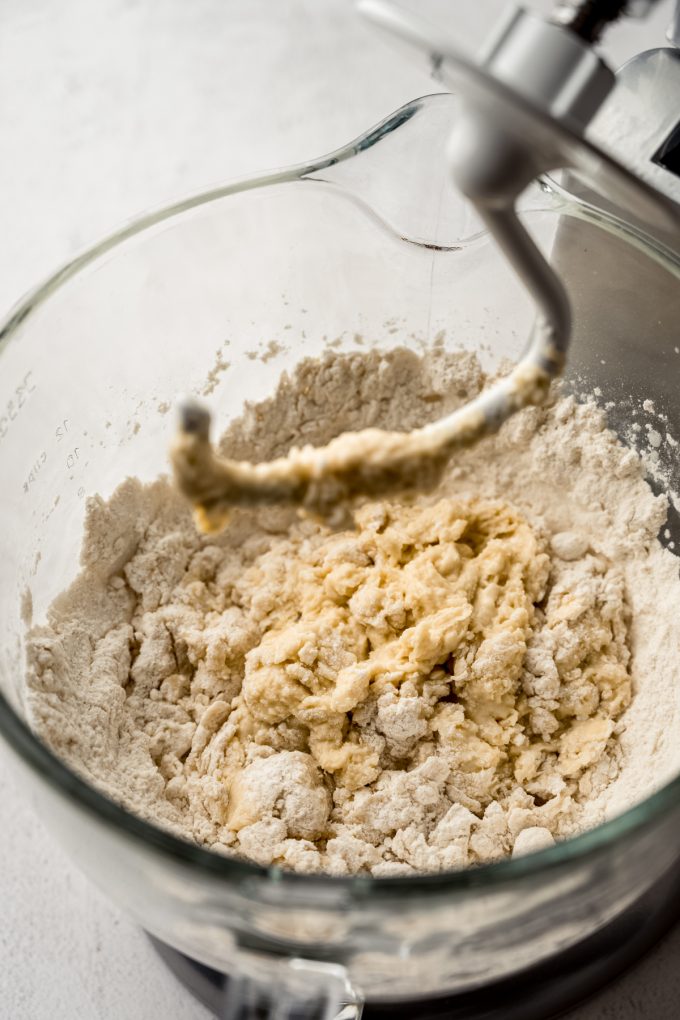
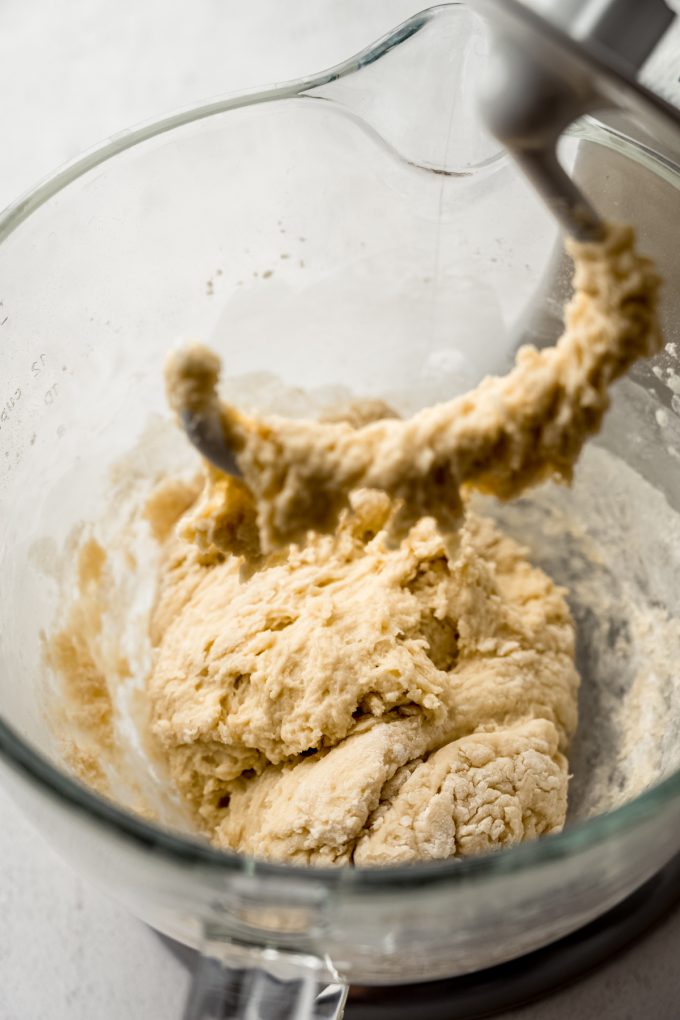
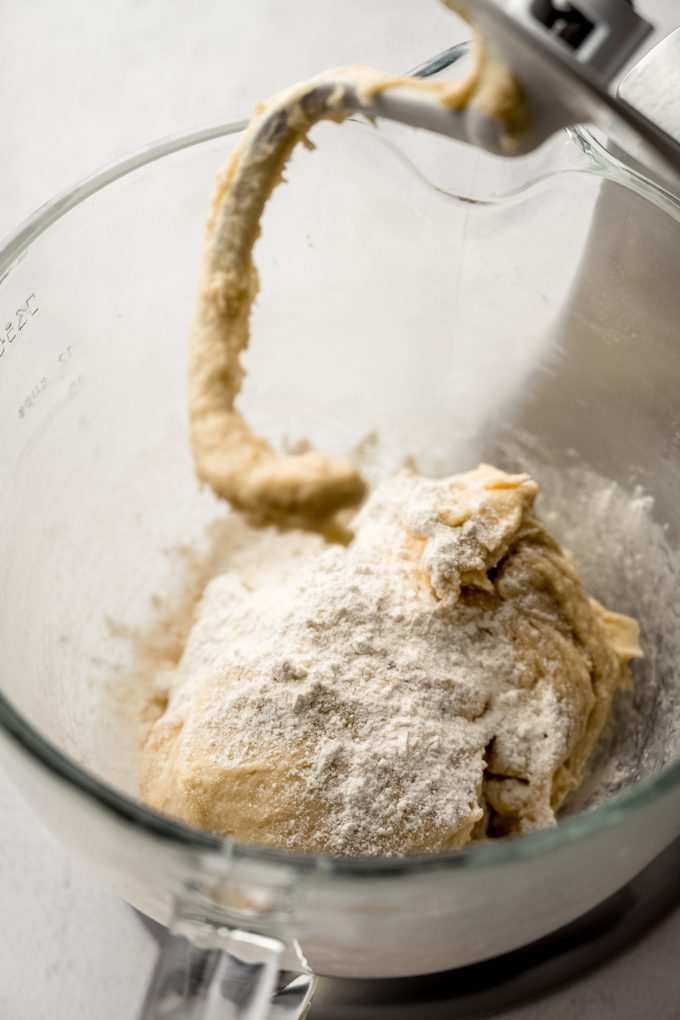
Start adding the flour: add the flour to the mixture, fit your mixer with the dough hook (or use a wooden or silicone spatula) and blend until a soft dough forms. It may still be shaggy, but it should pull away from the sides of the bowl fairly easily.
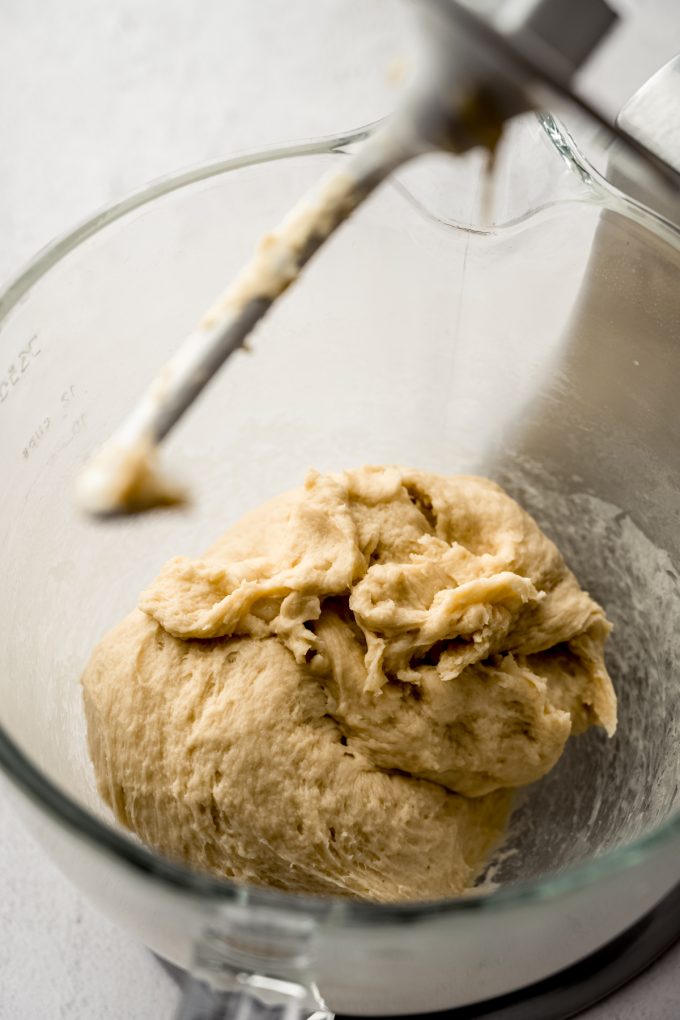
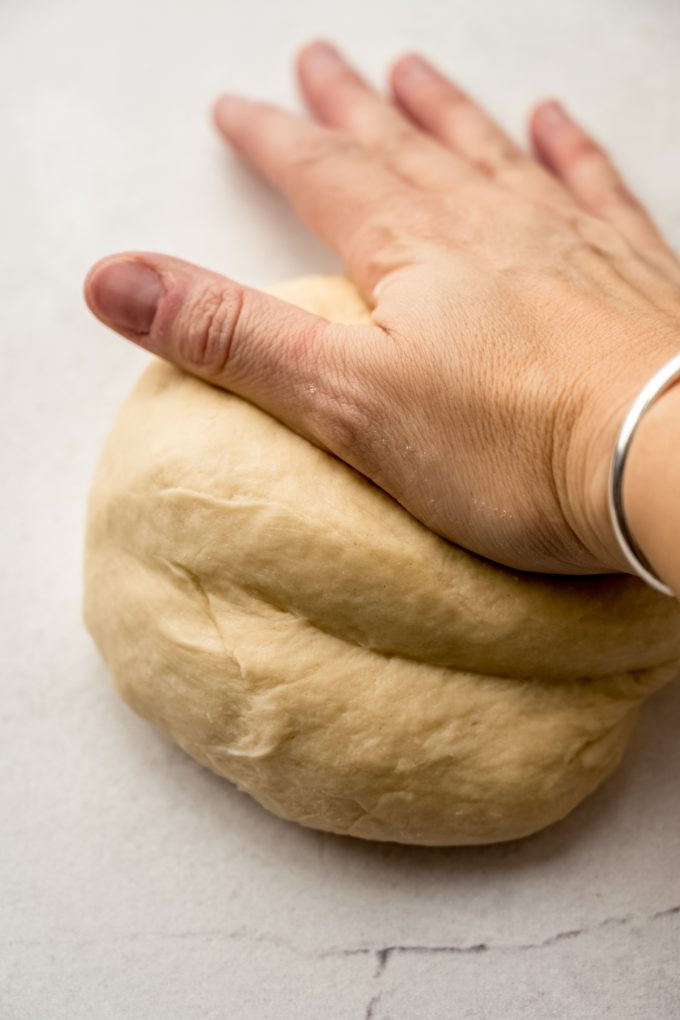
Knead the dough + let it rise: turn out dough on a floured surface and knead it for about 8-10 minutes, adding flour about 1 Tablespoon at a time if the dough is too sticky, until it is smooth and elastic. Your dough should resemble the surface texture of PlayDoh when it is done. Alternatively, you can continue to knead the dough with the dough hook, but I prefer to do this with my hands so I can really feel the elasticity.
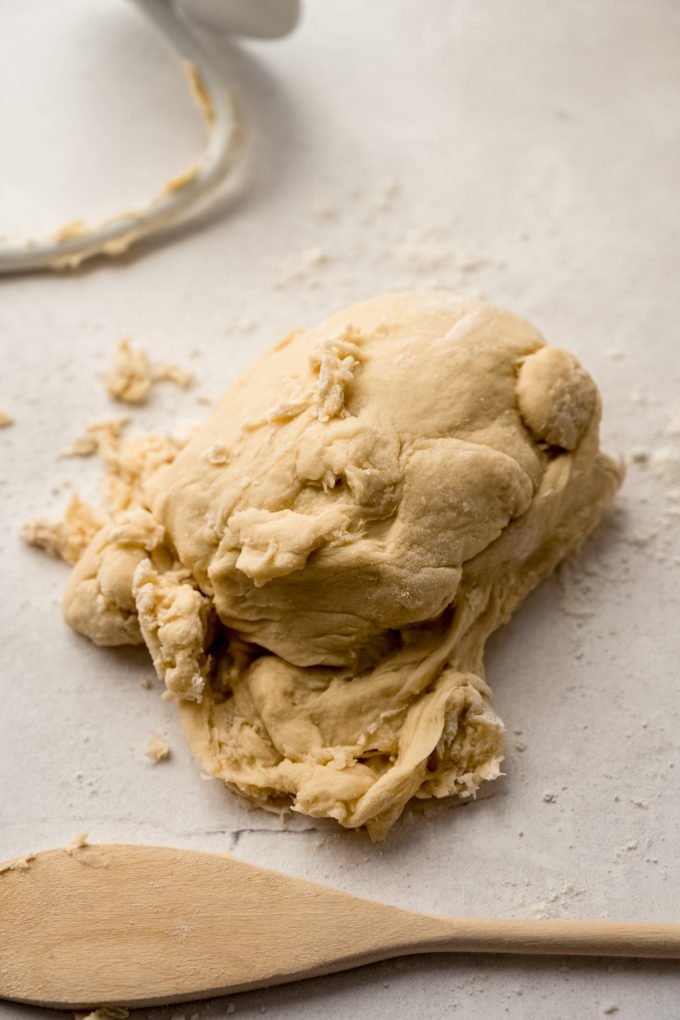
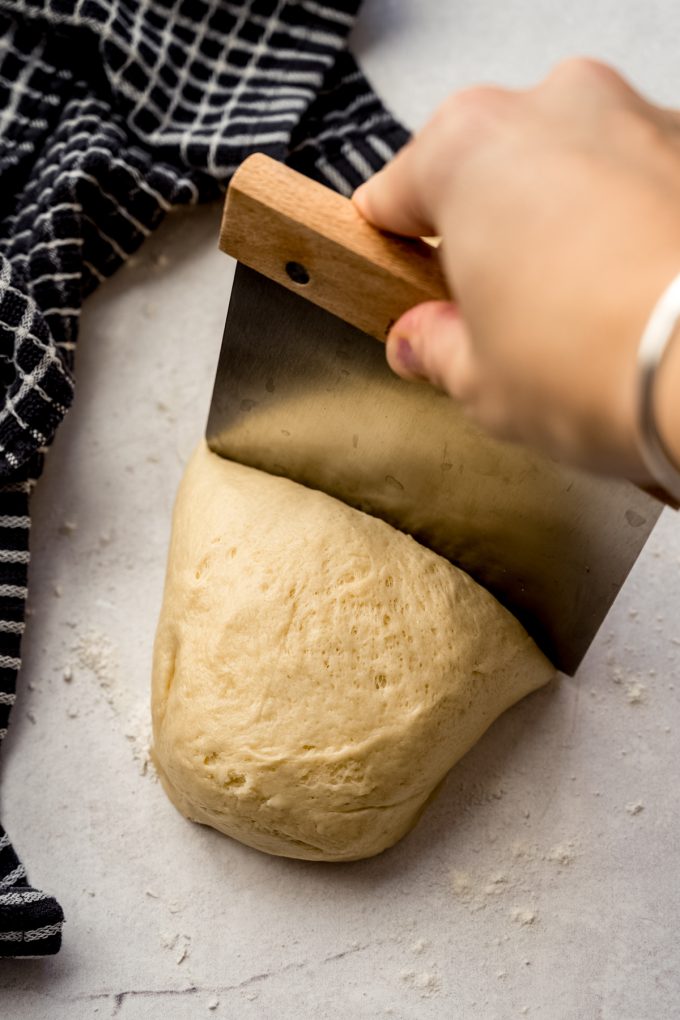
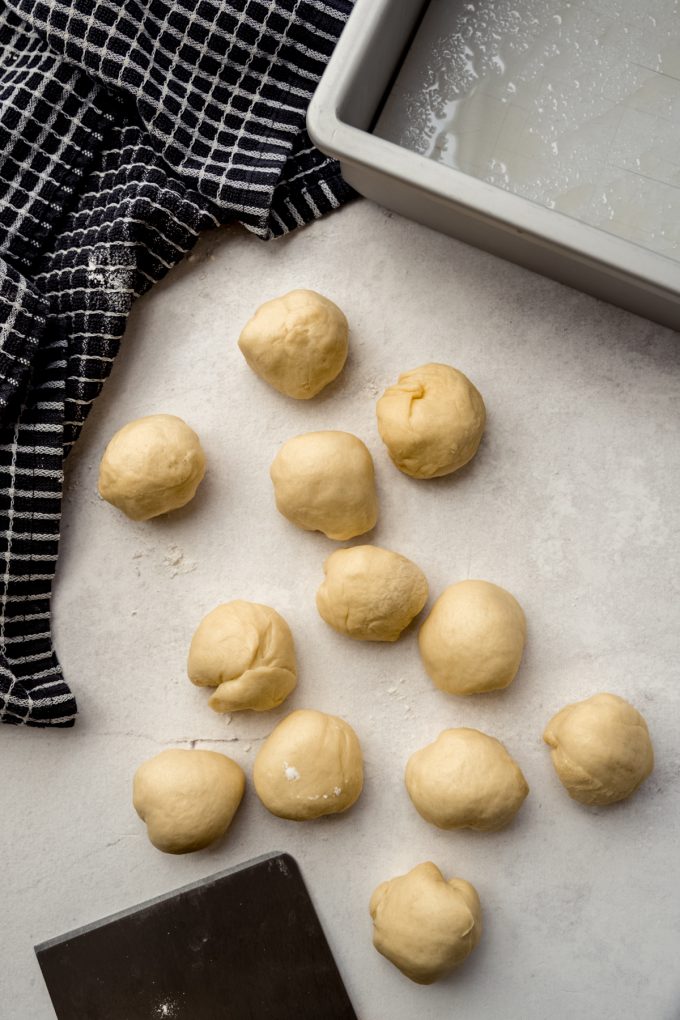
Portion the rolls: after the dough has risen, punch down the dough to deflate, then turn dough out onto a lightly floured surface. Pat the dough into a 6″ long rectangle or log, then portion into 12 equal pieces.
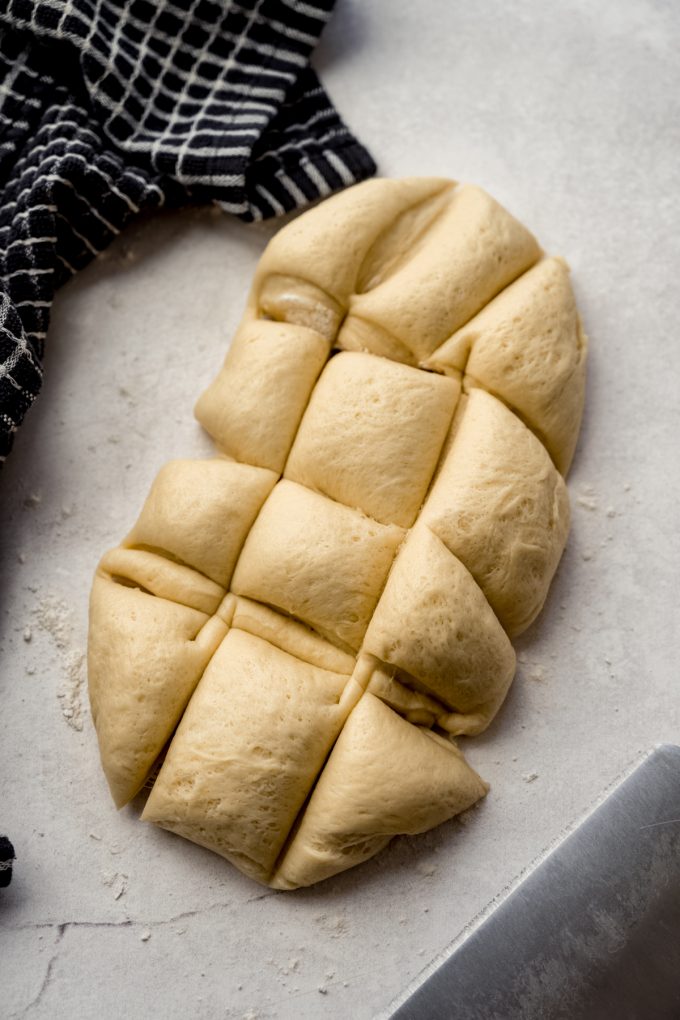
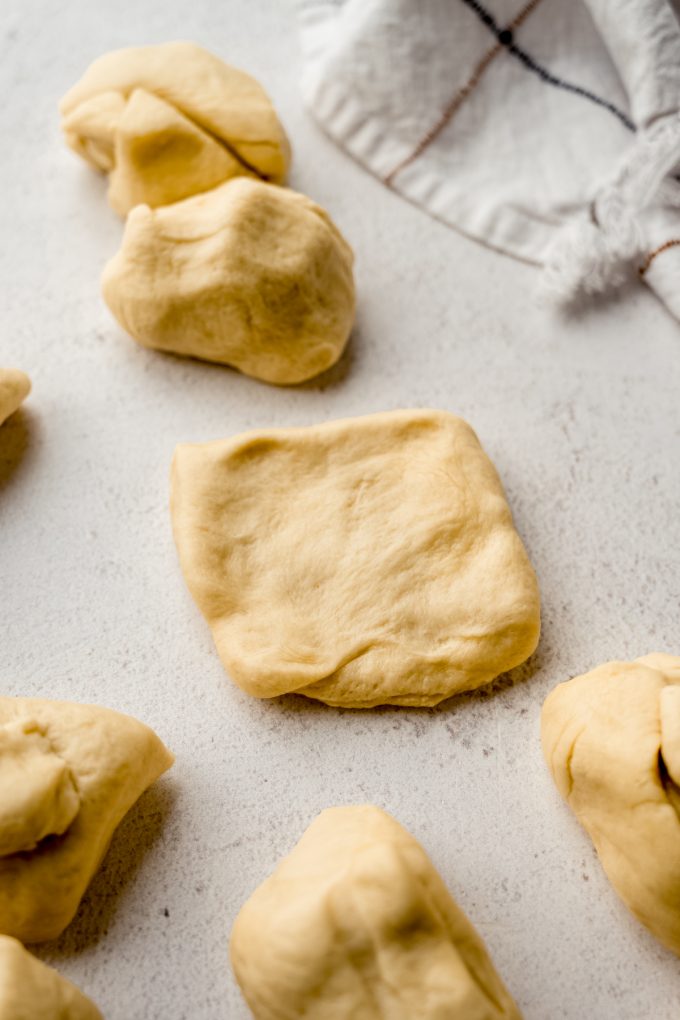
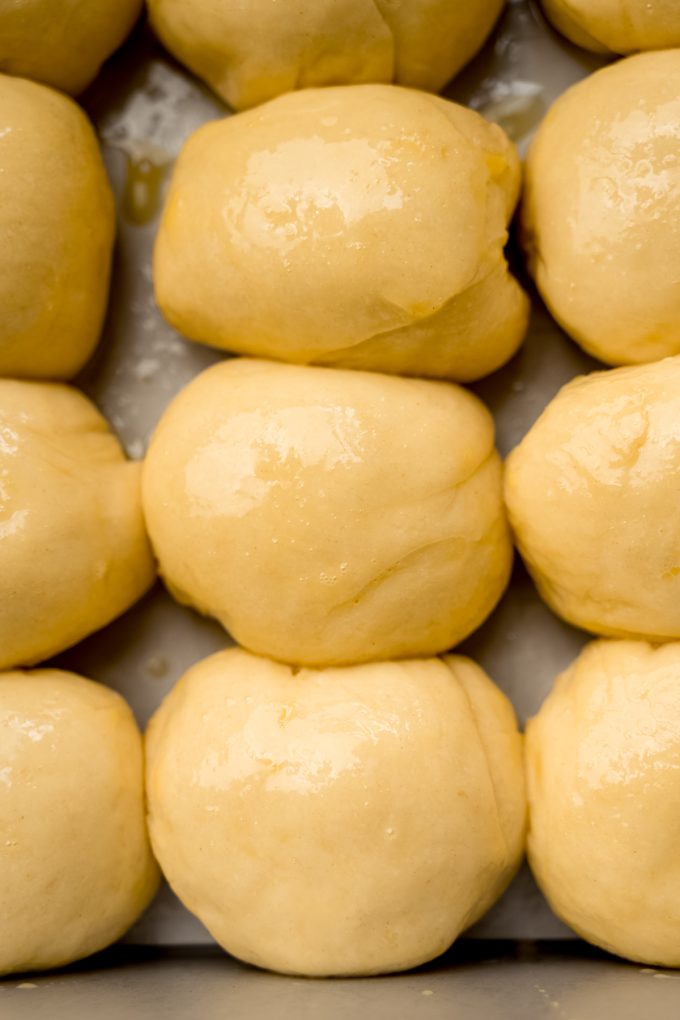
Shape the rolls: shape each piece of dough into a ball by patting the dough into a small square, then pulling each corner into the center to create a pouch. Pinch the corners together to make a seal. Place formed roll into the prepared pan, spacing them out evenly (4 rows of 3).

Give the rolls a second rise: cover the rolls with a kitchen towel and allow them to rise at room temperature for 1 hour.
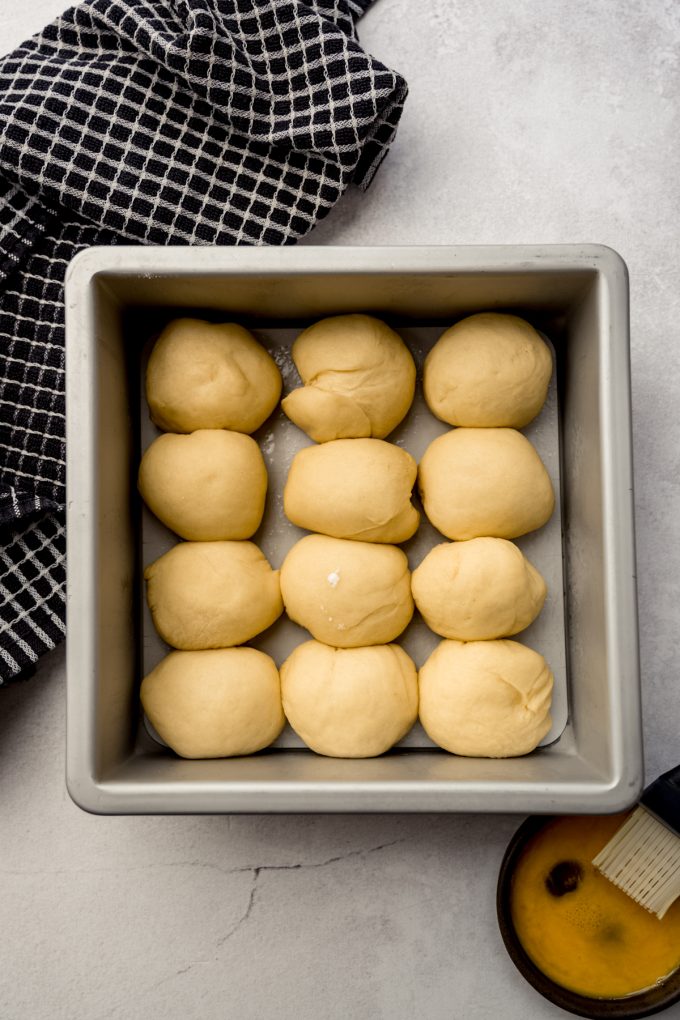
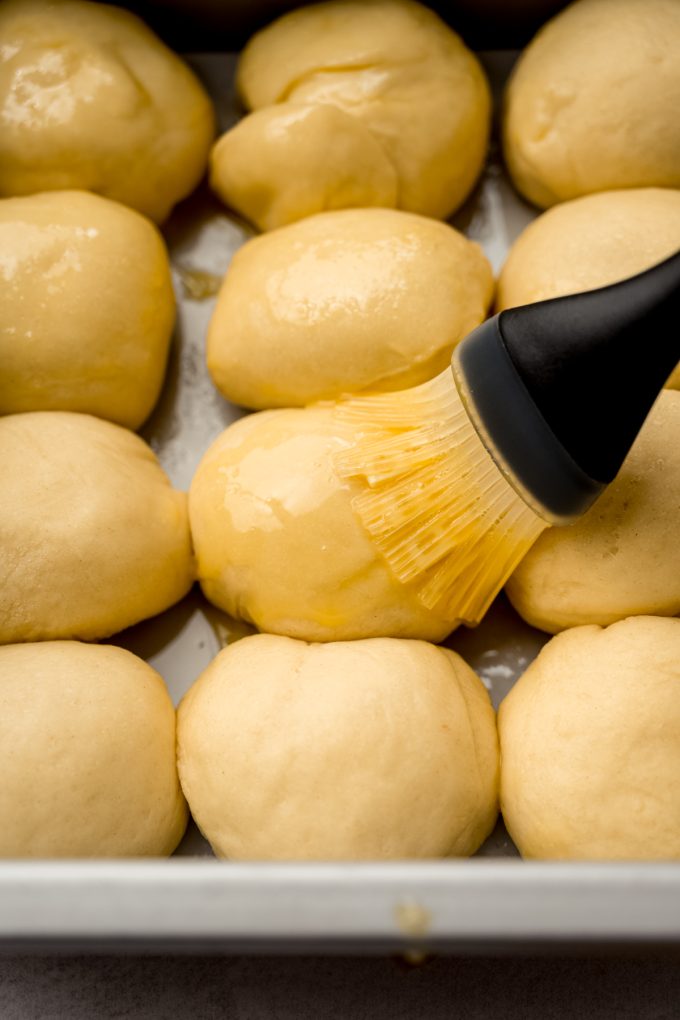
Egg wash + bake: brush the rolls with an egg wash OR melted butter (my preference), then bake the rolls in the preheated oven until golden brown on top, then brush again with melted butter, if desired.
How to make SLIDER Rolls Ahead OF TIME
Once the rolls are shaped and in the pan, you can either let them complete their second rise at room temperature and bake them right away OR you can cover them and place them in the refrigerator to bake later.
Think of the fridge as a “pause button” for yeast dough. The yeast activity slows wayyyyy down, allowing you to prep the rolls ahead of time without overproofing the dough. You can refrigerate the shaped slider rolls for up to 18 hours, so when you’re ready to bake, simply remove them from the fridge and brush with egg wash or melted butter just before they go into the oven.
This make-ahead option is especially helpful if you want to do the bulk of the work the night before and bake fresh slider rolls right before serving. It’s also a lifesaver for holidays, parties, or any time you’re trying to get one more thing off your to-do list before the main event.
HOW TO SERVE MINI SLIDER ROLLS
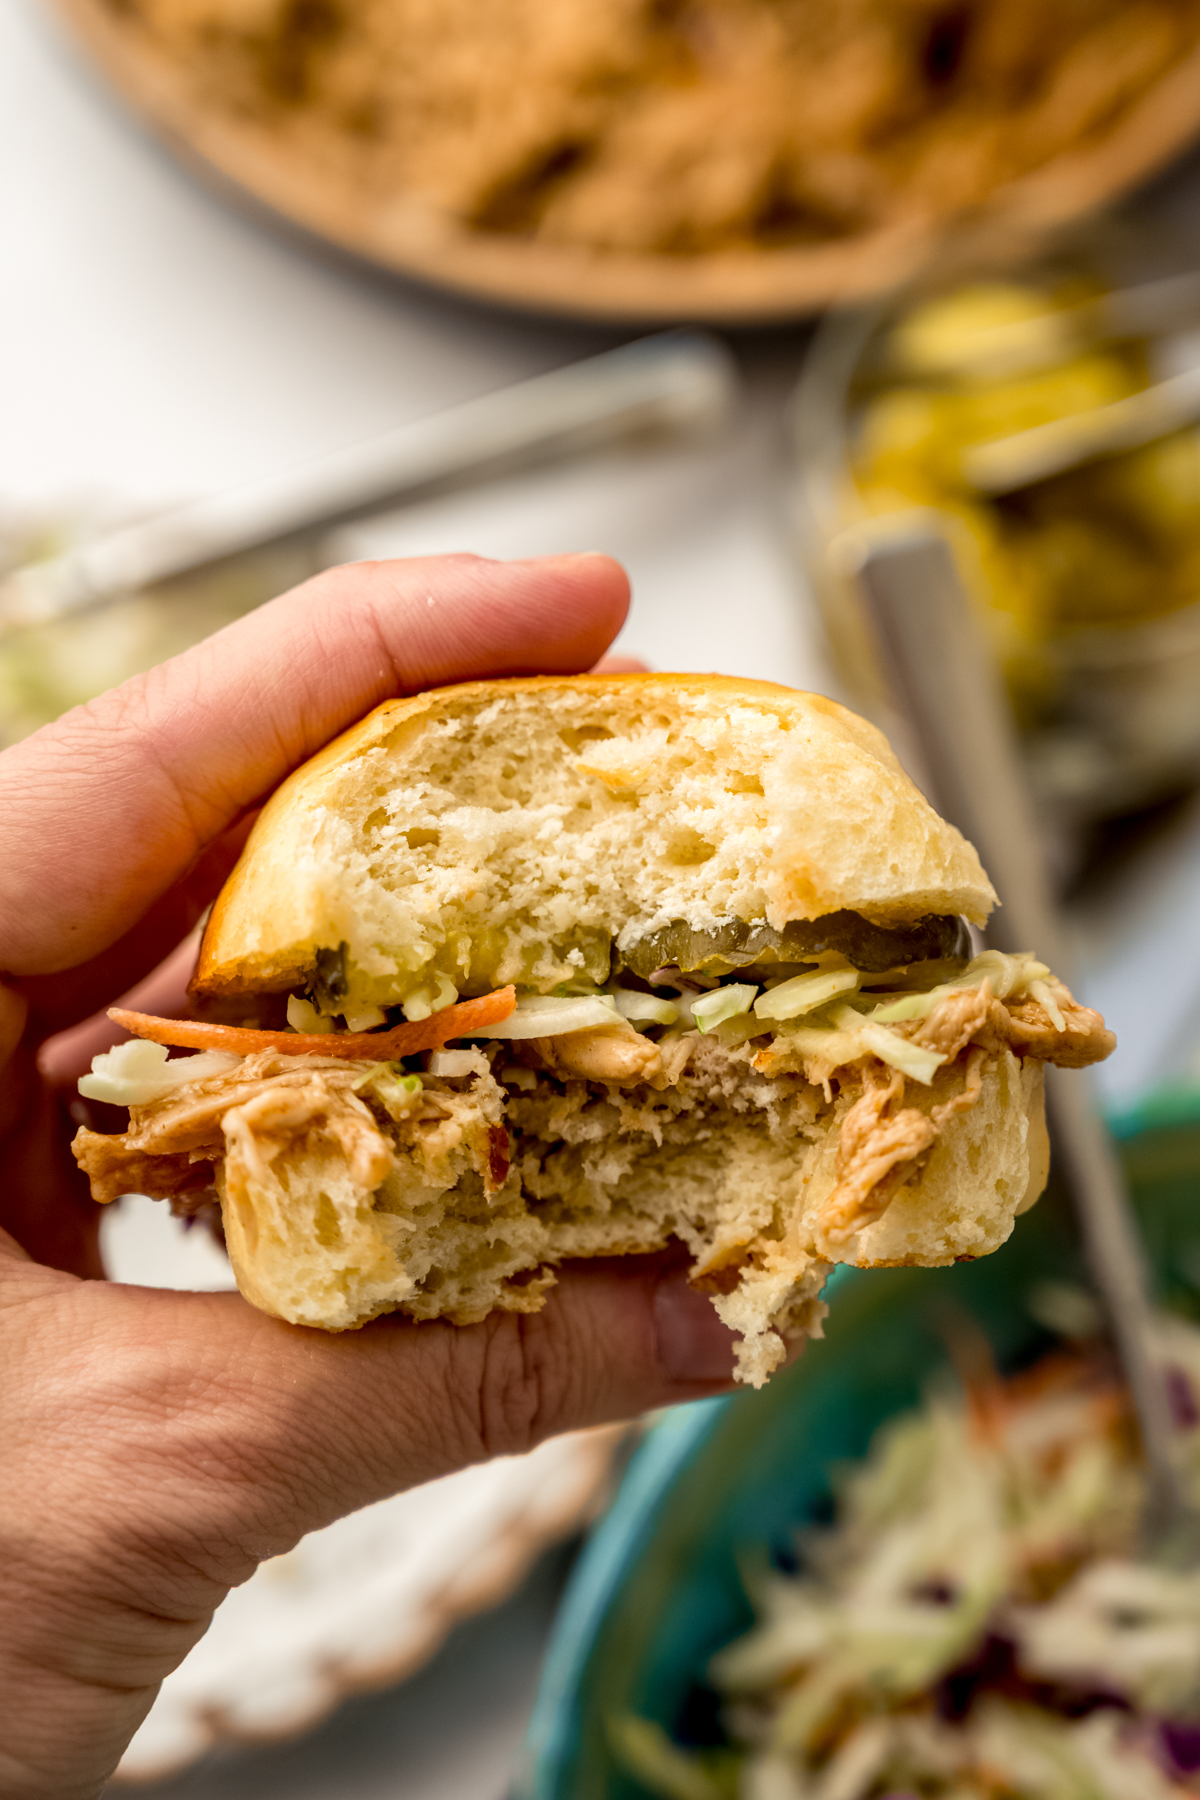
While I probably don’t have to guide you in how to eat your delicious rolls, they are pictured here with my hot chicken. They would also work well in my baked turkey and cheese slider recipe or stuffed with my turkey meatballs or buffalo chicken meatballs.
HOW TO FREEZE SLIDER ROLLS
These rolls freeze well, for up to 3 months. Wrap them tightly in plastic wrap and thaw them in the refrigerator or at room temperature before serving. To freeze unbaked rolls, freeze after shaping them then allow the pan to rise at room temperature for 1-2 hours before baking.
HOMEMADE SLIDER Roll FAQs
Homemade Mini Slider Rolls Recipe
Ingredients
ROLLS
- ½ cup (120mL) warm milk I prefer whole; aim for 110ºF (43ºC)
- 1 and ½ Tablespoons (19g) granulated sugar
- 1 and ⅛ teaspoons (3.5g) dry active yeast or ½ of one packet; not instant or rapid rise
- 3 Tablespoons (42g) unsalted butter melted and allowed to cool
- 1 large egg room temperature
- ¾ teaspoon salt
- 2 to 2 and ½ cups (240-270g) all-purpose flour be sure to measure properly
EGG WASH
- 1 large egg1
- 1 Tablespoon water
Instructions
- In the bowl of a stand mixer or a large bowl (if you want to use your hands), whisk together the warm milk and sugar. Sprinkle the yeast over the mixture, then whisk again to combine. Allow the mixture to sit for 5-10 minutes to proof.½ cup (120mL) warm milk, 1 and ½ Tablespoons (19g) granulated sugar, 1 and ⅛ teaspoons (3.5g) dry active yeast
- Once the yeast is proofed, add the melted butter, egg, and salt, then whisk together.3 Tablespoons (42g) unsalted butter, 1 large egg, ¾ teaspoon salt
- Add the flour to the mixture, fit the mixer with the dough hook (or use a wooden or silicone spatula) and blend until a soft dough forms. It may still be shaggy, but it should pull away from the sides of the bowl fairly easily.2 to 2 and ½ cups (240-270g) all-purpose flour
- Turn out dough on a floured surface and knead for about 8-10 minutes, adding flour about 1 Tablespoon at a time if the dough is too sticky, until smooth and elastic. Your dough should resemble the surface texture of PlayDoh when it is done. Alternatively, you can continue to knead the dough with the dough hook, but I prefer to do this with my hands so I can really feel the elasticity.
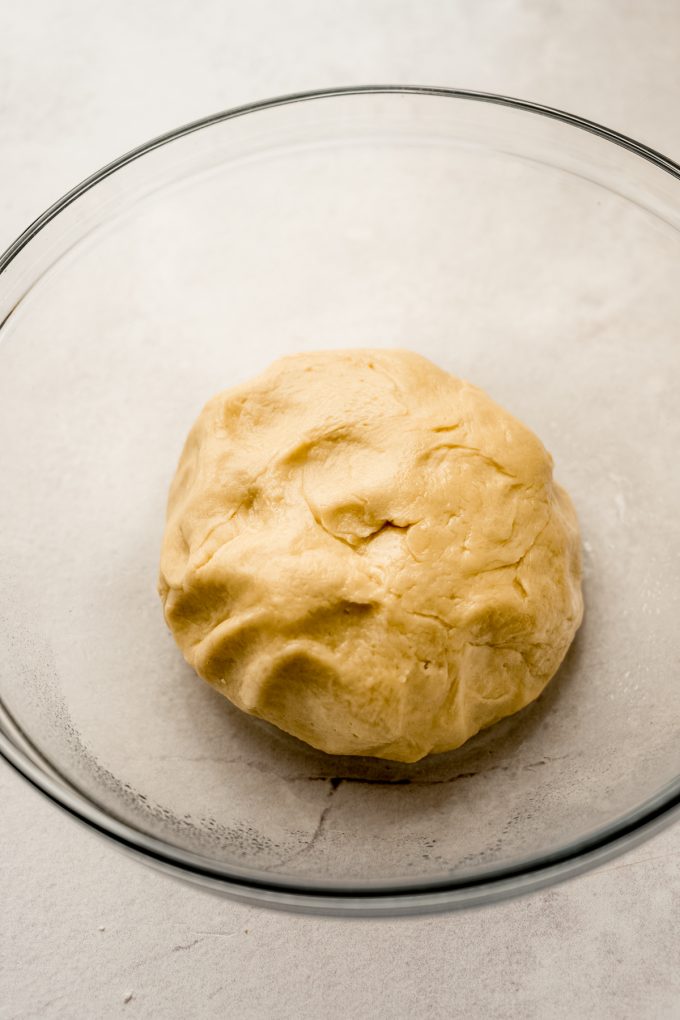
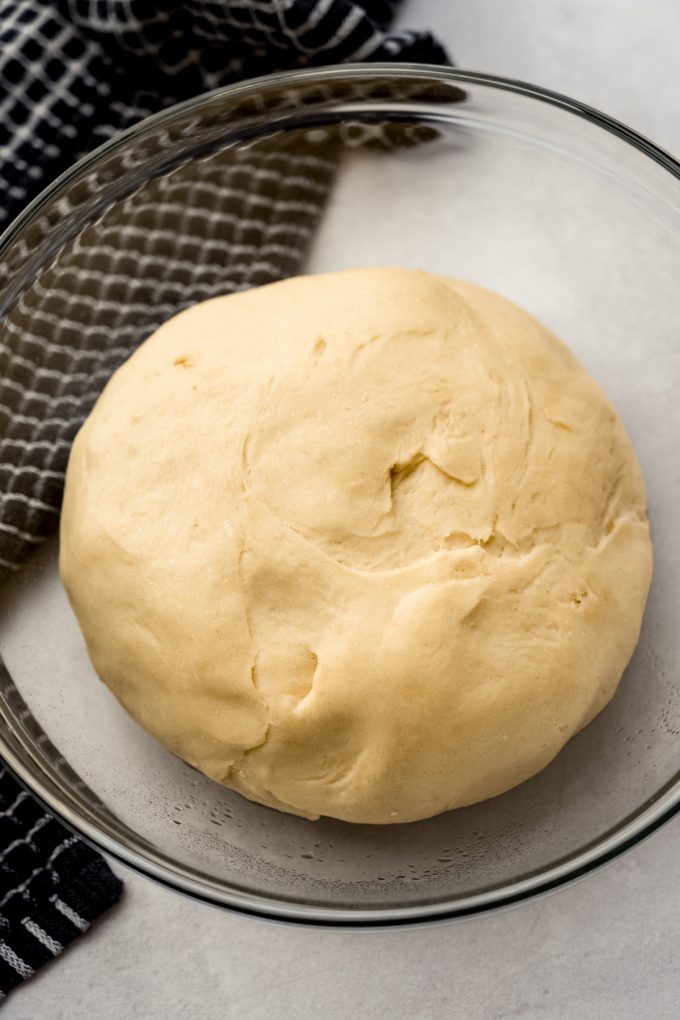
- Place the dough in an oiled bowl, turning it over to coat, then cover with a kitchen towel and allow it to rise until it has doubled in size, about 60-90 minutes.
- After the dough has risen, punch down the dough to deflate, then turn dough out onto a lightly floured surface. Pat the dough into a 12" long rectangle or log, then cut into 12 equal pieces.
- Spray a 9" x 13" baking dish with nonstick spray. Set aside.
- Shape each piece of dough into a ball by patting the dough into a small square, then pulling each corner into the center to create a pouch. Pinch the corners together to make a seal. Place formed roll into the prepared pan, spacing them out evenly (4 rows of 3).
- Cover the rolls with a kitchen towel and allow to rise at room temperature for 1 hour.
- Arrange a rack in the middle of the oven, then preheat the oven to 375ºF (190ºC). Whisk together the egg and water (or butter, see note #1), then brush the rolls with the egg wash. Bake rolls for 18-22 minutes, or until golden brown on top. Rolls freeze well, up to 3 months. Thaw in refrigerator overnight.1 large egg1, 1 Tablespoon water
Video
Notes
- Egg wash: I have also brushed these rolls with melted butter before baking and then again after baking for an extra buttery taste. If you would like to utilize this method, omit the egg wash and use 4 Tablespoons of melted butter.
- To make ahead: lay plastic wrap directly on the shaped rolls and refrigerate them for up to 18 hours. Remove from the refrigerator 2 hours before you want to serve them. Let them rise at room temperature for 1 and ½ hours before baking them, then proceed with step 10.
- Working with yeast: for a comprehensive look at working with yeast in a recipe, see my post about how to bake with yeast.
Nutrition Disclosure
All nutritional values are approximate and provided to the reader as a courtesy. Changing ingredients and/or quantities will alter the estimated nutritional calculations.