
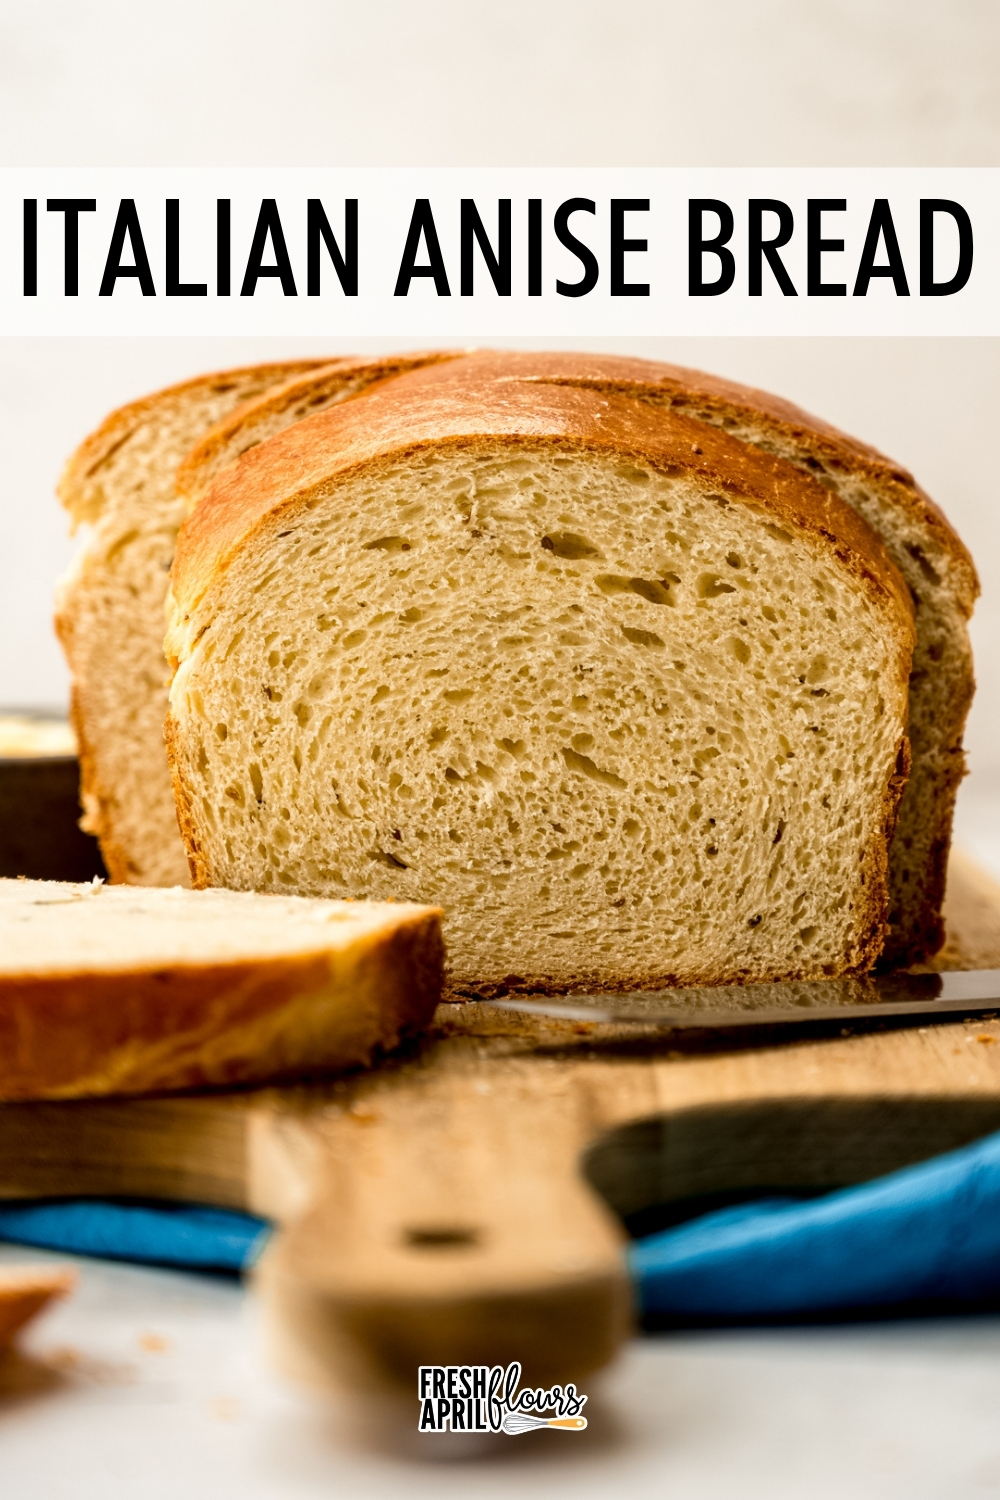
Italian Anise Bread
As an Amazon Associate, I earn from qualifying purchases. Read the full disclosure here.
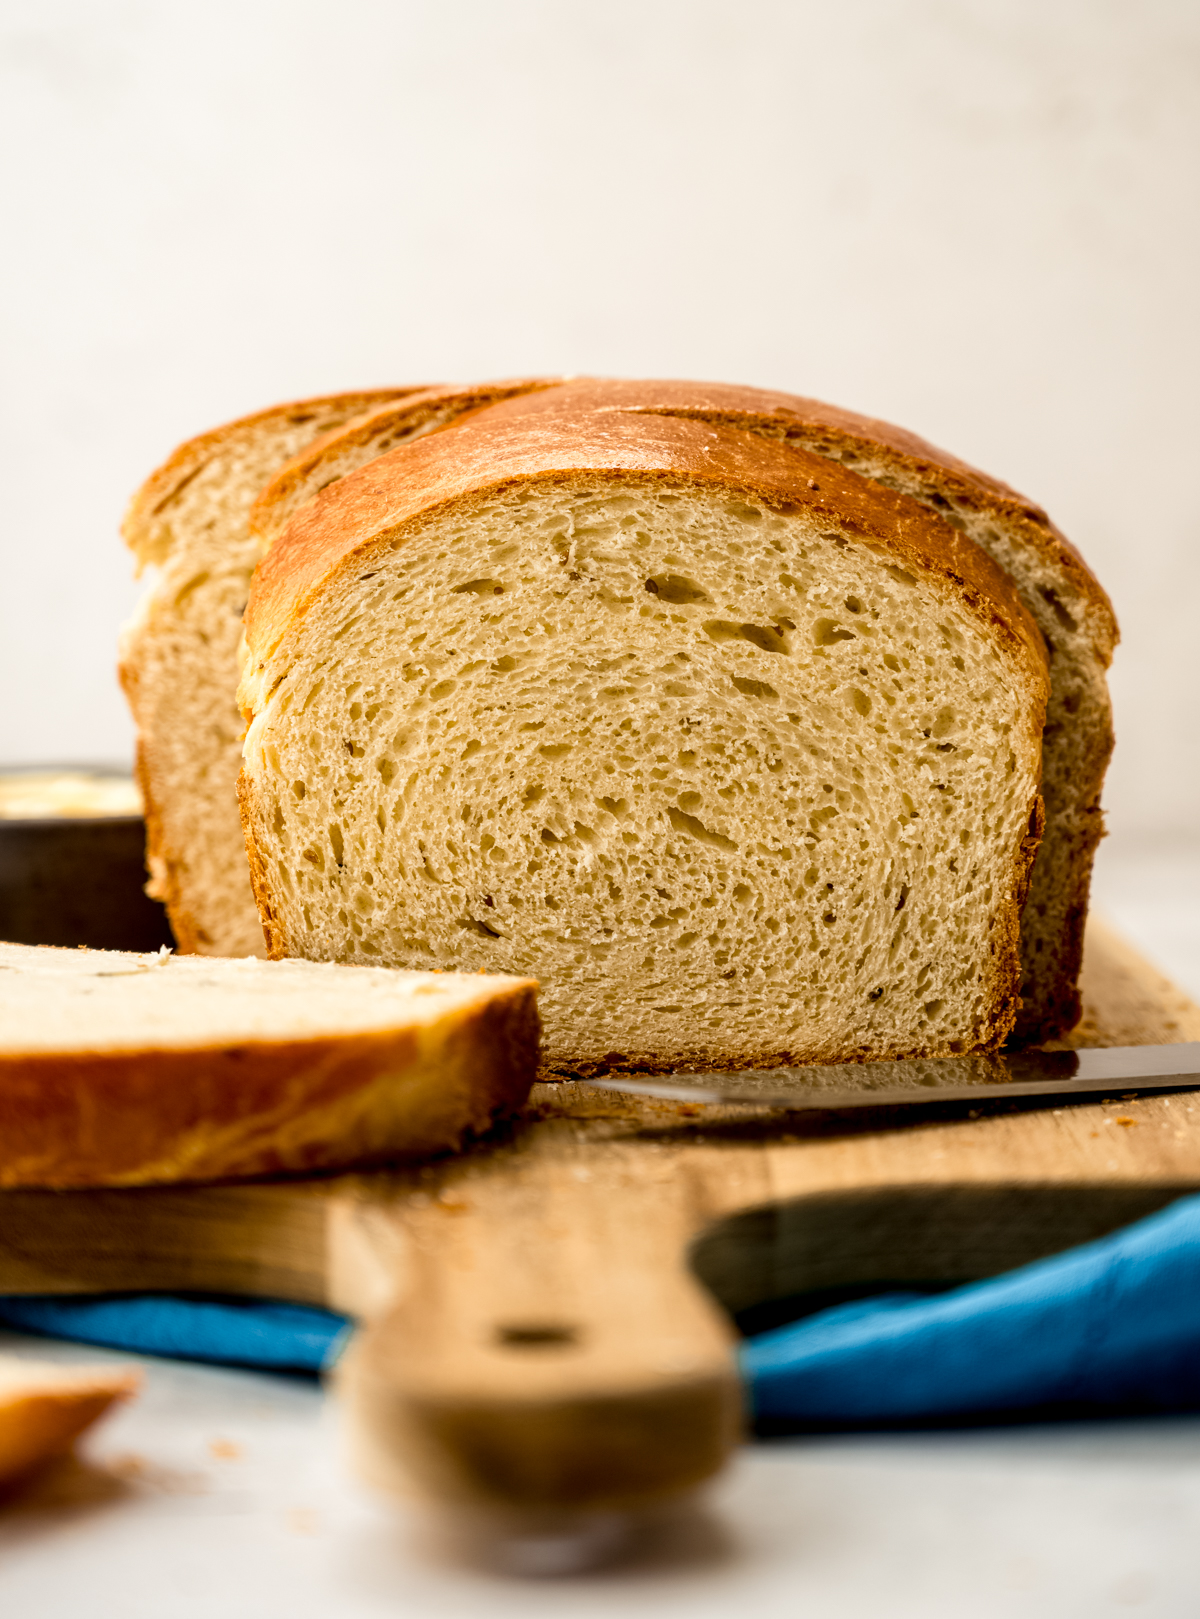
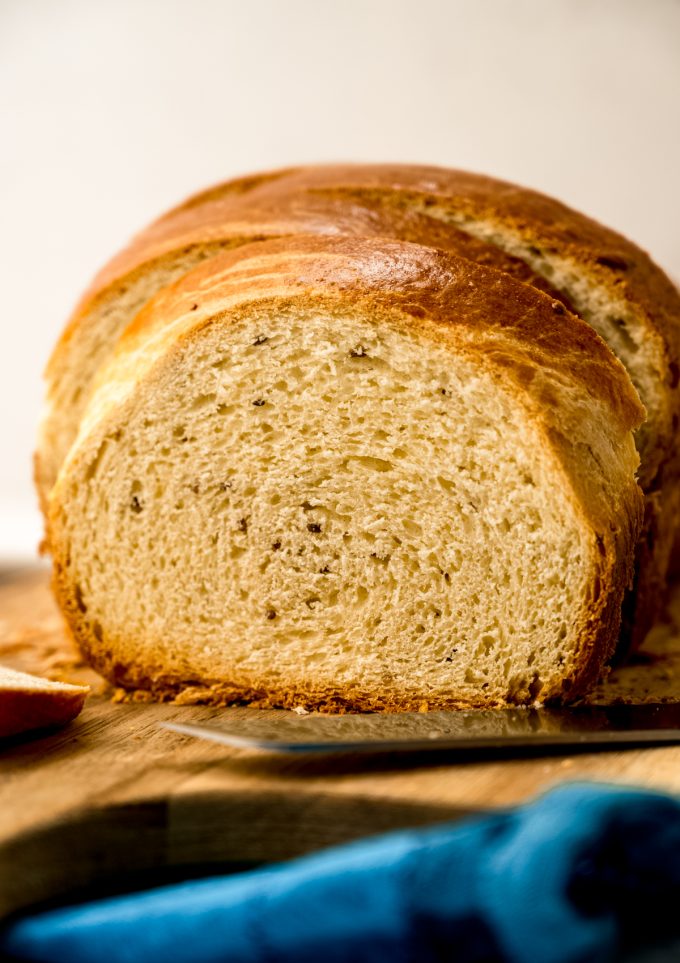
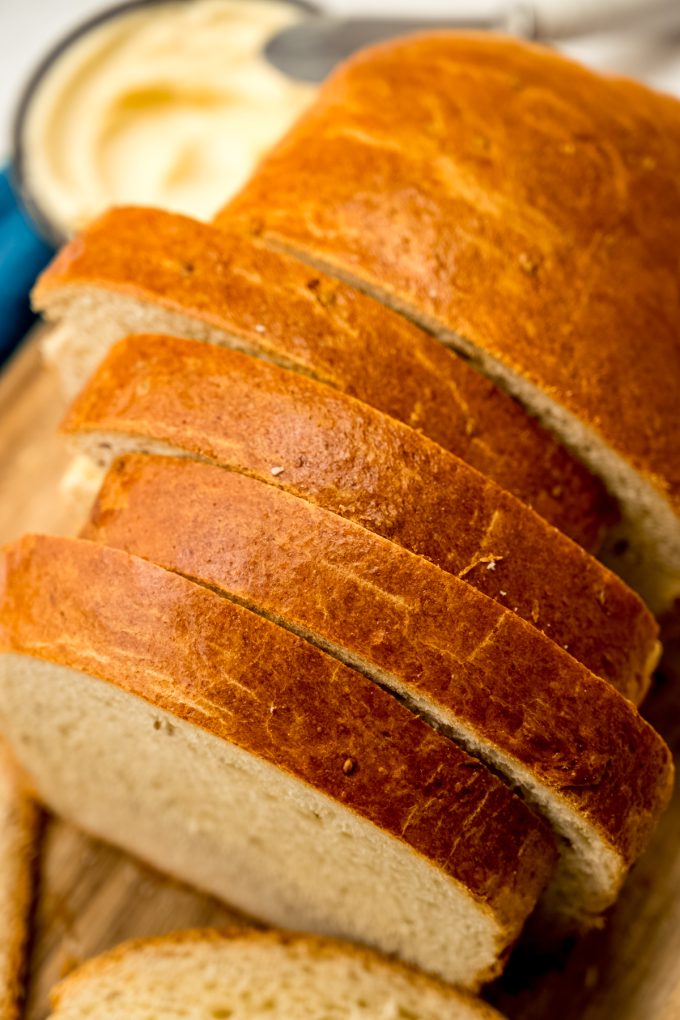
A lightly sweetened yeast bread with a tender crumb, flavored with anise extract and dotted with anise seeds– this is a recipe that has been in my family for generations.
THIS WAS MY FIRST HEIRLOOM RECIPE
Some recipes are more than just recipes. They are the thread that connects us to the people who came before us, to kitchens that no longer exist, and to hands that are no longer here to knead the dough. This Italian anise bread is one of those recipes for me.
This was the very first bread I ever learned to make. It came from my grandmother Eva (the one who also brought us this bread and these cookies), who was born in Italy. Her mother brought this recipe with her across an ocean and through decades of American life without ever losing a single thing that makes it special.
In my family, we call it Easter Pizza– not because it resembles pizza in any way, but because that is simply what it has always been called, and some things you just don’t question. We made it every Easter without fail, but I’ll tell you right now: this bread is too good to limit to one season. We make it year-round, and you should, too!
This bread was the very first thing I published on April 13, 2014, so this is now the third iteration of this post. It’s the version I am the most proud of, and it’s been a privilege to watch the photos and the information shared over more than a decade evolve just as I have– I was once just a girl sharing recipes online, and now doing so is my full time job, one that I wake up every day grateful to have.
I even have a video to go along with it now in case visuals are more helpful to you than just words and pictures.
The recipe itself hasn’t changed since it arrive from Italy, except that I scaled it down to produce one loaf instead of two. This gives you a little more flexibility and proper application in more modern kitchens, but doubling the recipe back up is completely simple if you want to fill your kitchen with the smell of two loaves… Which is never a bad idea.
A NOTE ON THE ANISE
If your first instinct when you see the word “anise” is to think of black licorice and immediately close the tab– stay with me. I understand the hesitation. I genuinely dislike black licorice myself. But the anise in this bread is something else entirely.
The flavor here comes from two sources: anise extract and anise seed. Together, they produce something that is warm, subtly sweet, and gently spiced– present enough to be the defining character of the bread, but never sharp or overpowering.
It is the kind of flavor that makes people take a second slice before they’ve finished the first, and then ask you what’s in it because they can’t quite place it. These are not pantry staples for most people, but once you have them, you’ll find yourself coming back to this recipe again and again.
A NOTE ON THE FLOUR
The recipe calls for bread flour, and if you have it, use it! It produces a slightly softer, more supple crumb that is really beautiful in this loaf. That said, all-purpose flour works perfectly well here, and I genuinely do not have a strong preference between the two. I have made this bread with bread flour, with all-purpose, and with a combination of both, and every version has been delicious. Just use what you have or prefer.
A WORD ABOUT YEAST BREAD
If you are new to yeast breads, I have a full guide on working with yeast that I’d encourage you to read before you start. The short version: plan for time. This dough has two rises– the first in the bowl, the second in the pan– and that patience is exactly what gives the bread its pillowy, tender interior. It is not a difficult process, but it rewards those who don’t rush it.
SHAPING THE LOAF
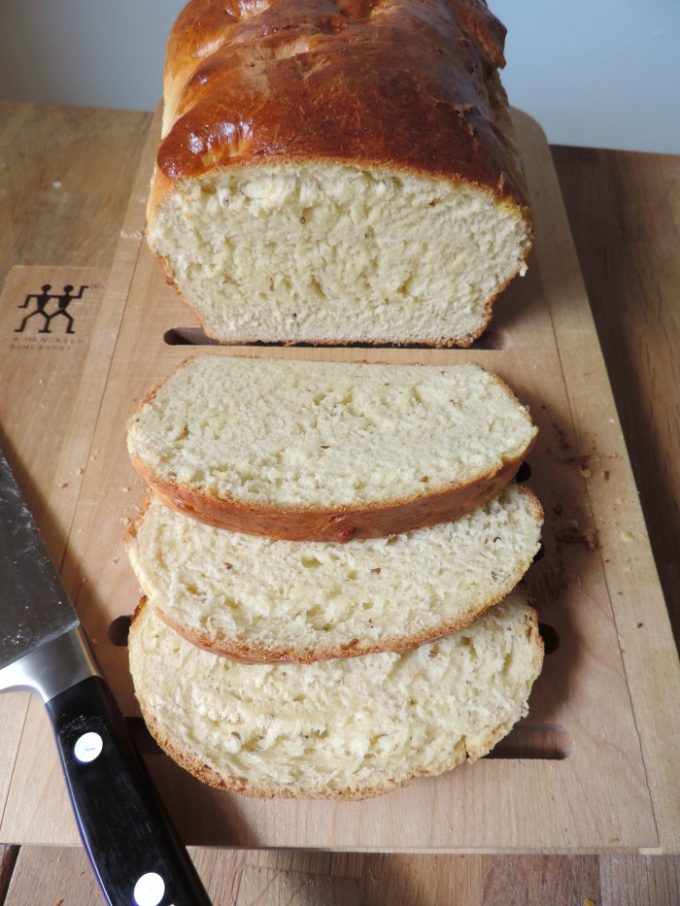
In the instructions, I walk you through rolling the dough out and shaping it much like you would a loaf of sandwich bread or cinnamon rolls, a method that produces a neat, even loaf with a uniform rise. But I want you to know that is not how Eva did it.
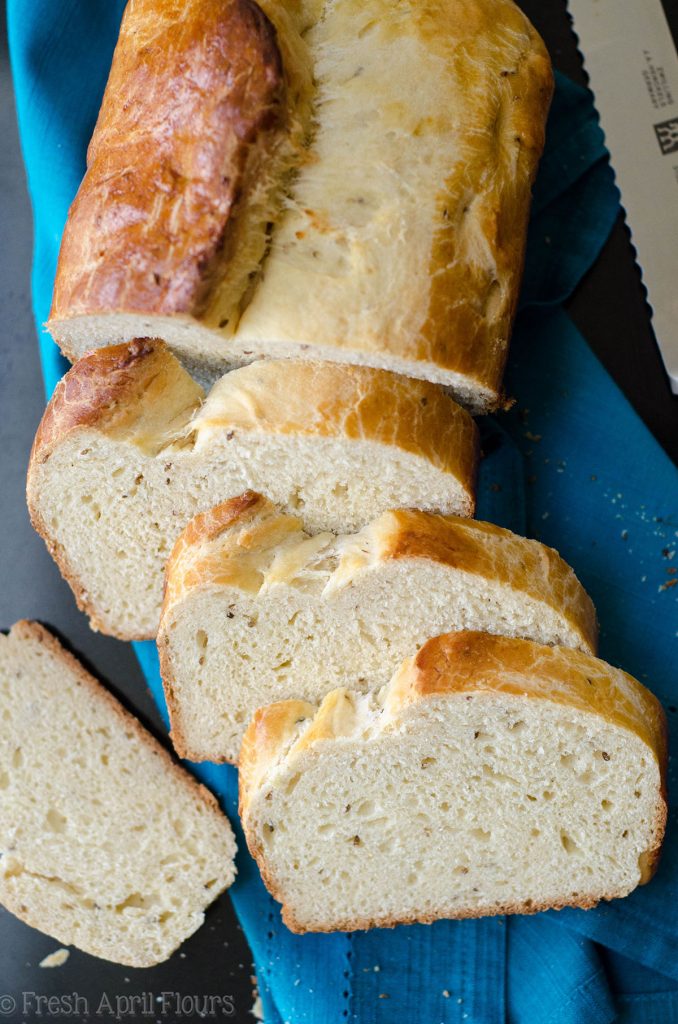
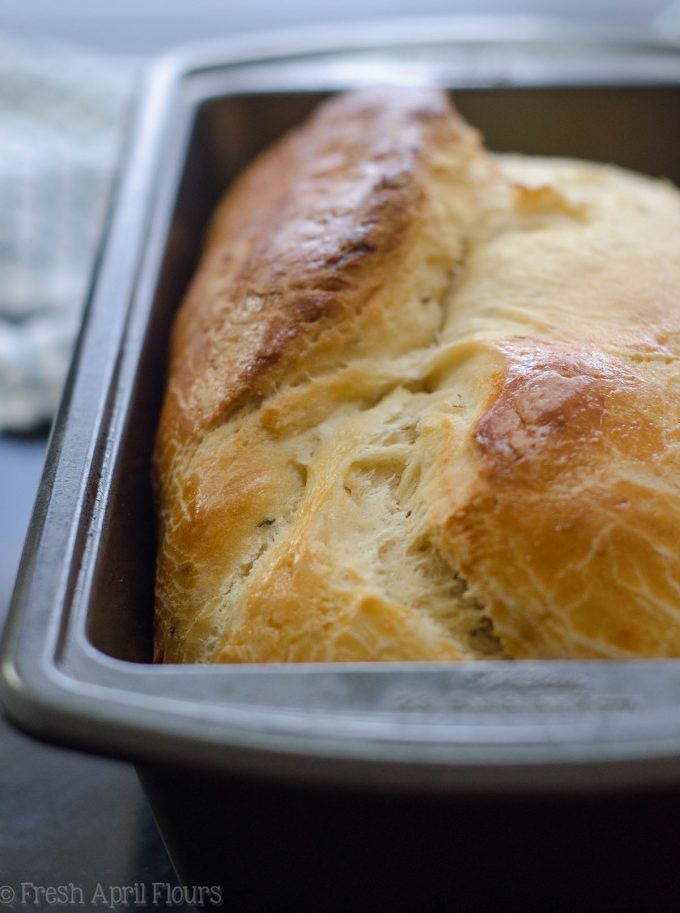
She would punch the dough down, gather it up, and drop it into the pan. That was it. The result was rustic and imperfect and completely wonderful, sometimes with an “ear” forming along the top as it baked, a little flourish that comes with the unpredictability of hand-shaped bread.
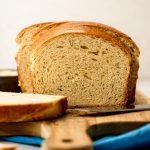
If you look through the photos in this post, you’ll see both styles represented, since I have a mix of older and newer images. There is truly no wrong choice! The loaf you make the easy way and the loaf you make the careful way will taste exactly the same.
The second rise takes place in your loaf pan. After you’ve punched down your dough initially, you’ll knead it a tiny bit, shape it into a loaf, and let it rise in the pan.
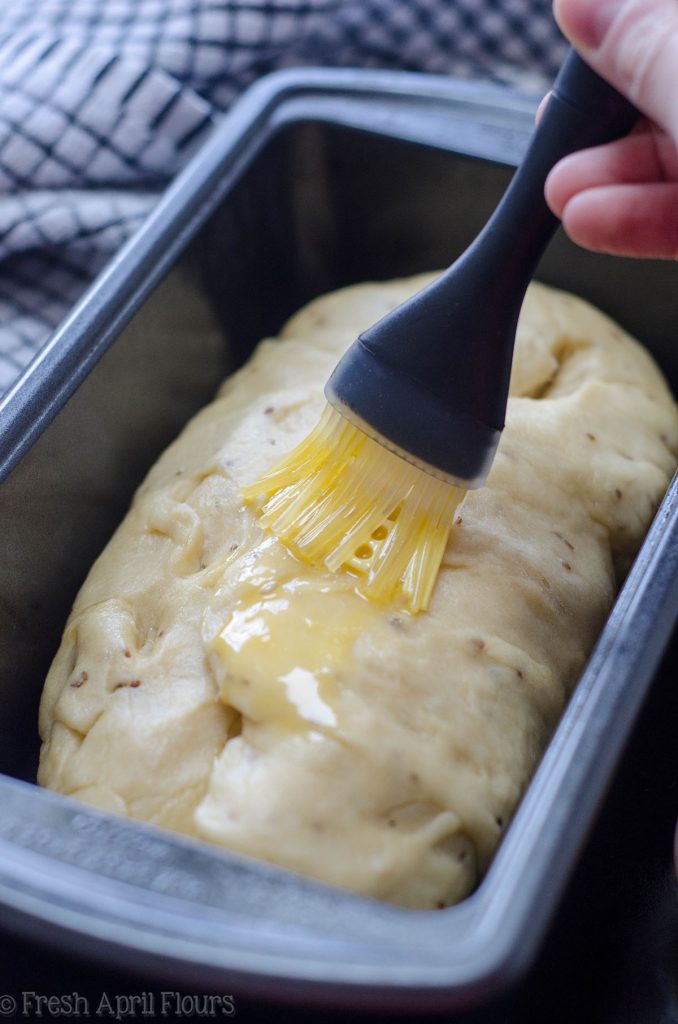
After an hour, it will be ready for an egg wash and then go into the oven!

This bread has survived a lifetime and then some. It crossed an ocean, fed generations of my family, and found its way onto my grandmother’s Easter table year after year until it became something we could not imagine the holiday without. Now it lives here, and every time someone bakes it, a little piece of that history carries forward.
If you make this bread, you’re carrying on my family’s story, and that genuinely means something to me.

For more recipes that have been passed down through my family, see my collection below. I hope one of them finds a place on your table, too.
Anise Bread Recipe
Ingredients
- ¼ cup (60mL) warm water
- ⅓ cup (67g) granuated sugar
- 2 and ¼ teaspoons (7g) dry active yeast or 1 packet
- ½ cup (120mL) warm milk I prefer whole milk
- ¾ teaspoon salt
- ½ cup (113g) unsalted butter melted
- 1 heaping teaspoon anise seed
- 2 teaspoons anise extract
- 2 large eggs room temperature
- 3 and ½ to 4 cups (420-480g) bread flour1 be sure to measure properly
- egg wash: 1 large egg + 1 Tablespoon of water
Instructions
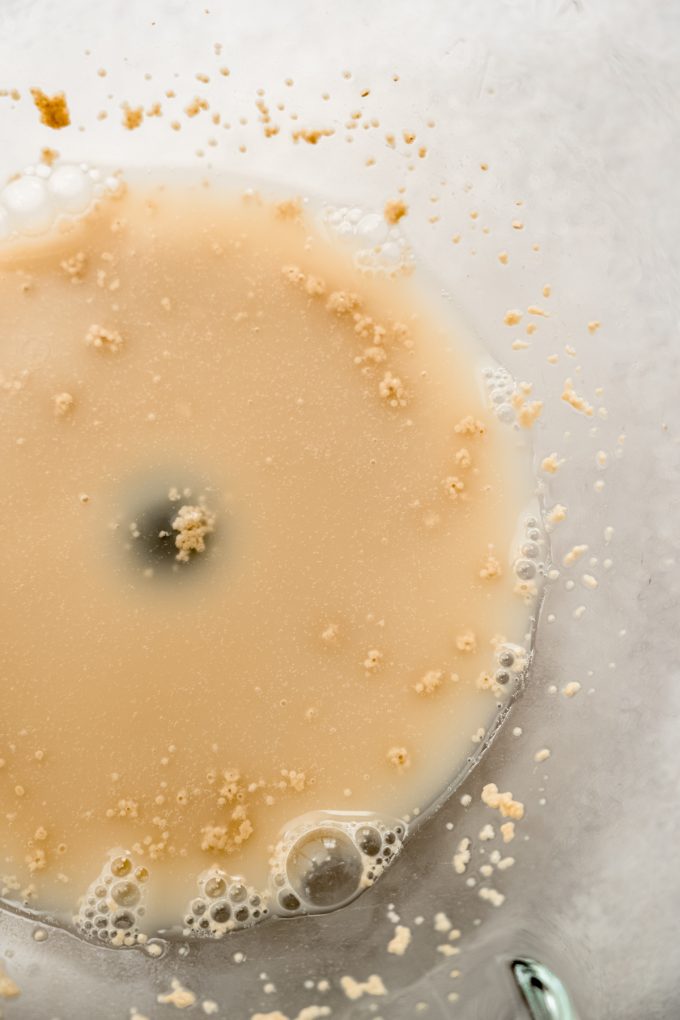
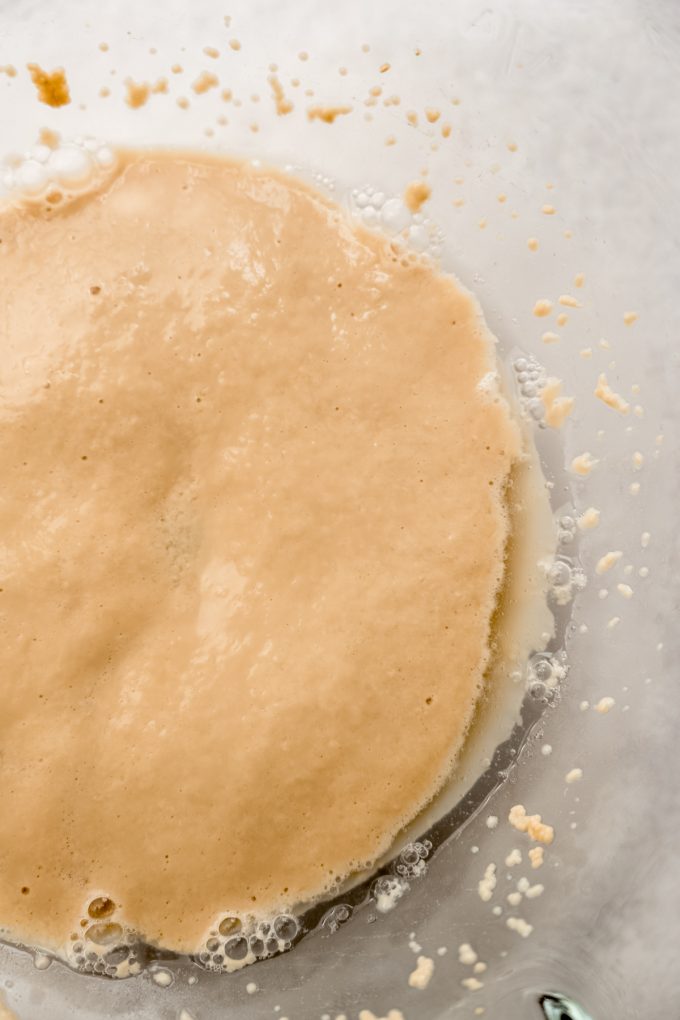
- Add the warm water water to the bowl of a stand mixer or a large bowl (if you are going to use a wooden spoon or silicone spatula). Add the granulated sugar and yeast, then whisk or stir the mixture and let it rest for 5-10 minutes to allow the yeast to activate.¼ cup (60mL) warm water, 2 and ¼ teaspoons (7g) dry active yeast, ⅓ cup (67g) granuated sugar
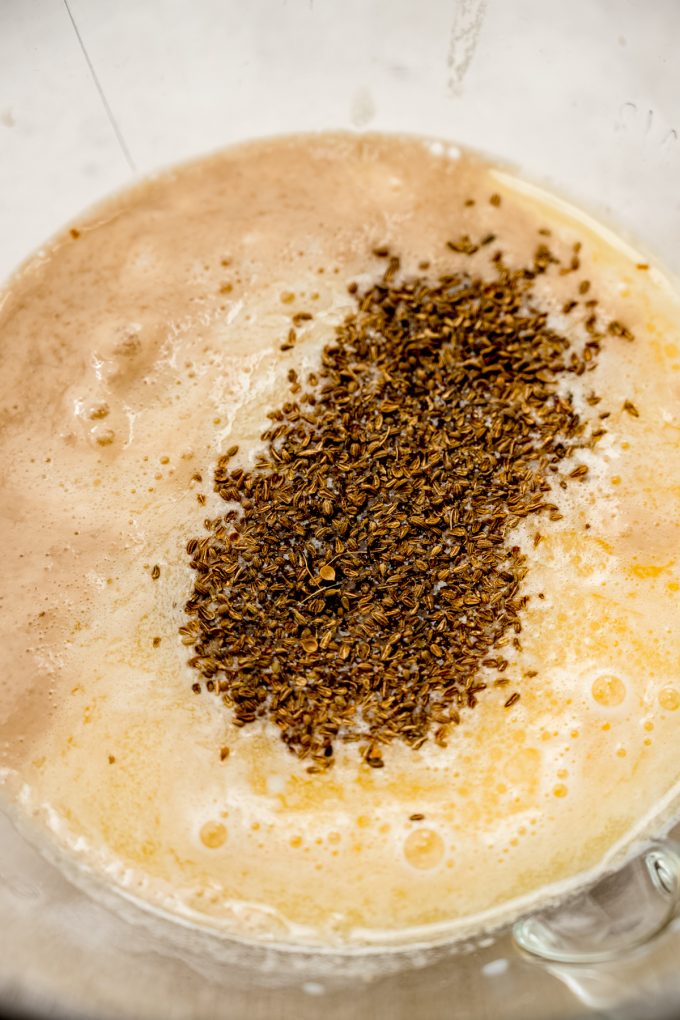
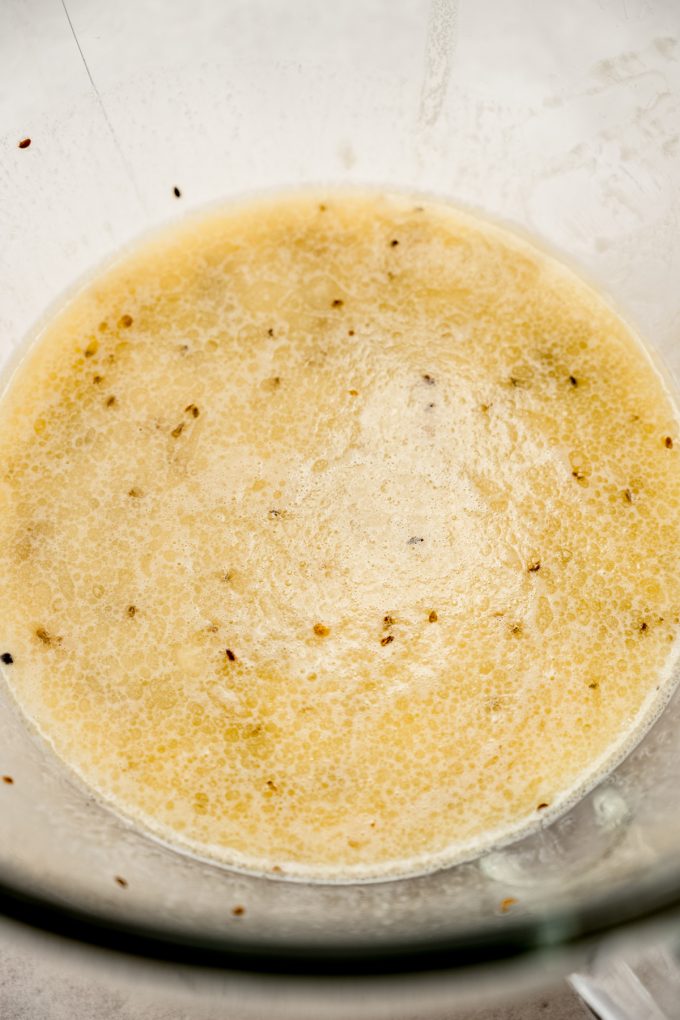
- When the yeast is bubbly, add the milk, salt, anise seed, anise extract, melted butter, and eggs. Whisk or stir to combine.½ cup (120mL) warm milk, ¾ teaspoon salt, ½ cup (113g) unsalted butter, 1 heaping teaspoon anise seed, 2 teaspoons anise extract, 2 large eggs
- Gradually stir in the flour. If you are using a stand mixer, use your dough hook. If mixing by hand, continue to use a wooden spoon or spatula. Add flour until your dough is soft enough to handle, usually when it can easily pull away from the sides of your bowl.3 and ½ to 4 cups (420-480g) bread flour1
- Allow the dough to continue mixing, or kneading, for 8-10 minutes. You can also do this by hand on a lightly floured surface. If you are kneading by hand and the dough is too sticky, add only 1 teaspoon of dough at a time and keep kneading. The dough is finished kneading and ready to rise when it is slightly tacky and soft (it will remind you of fresh PlayDoh)
- Spray your bowl with non-stick spray or oil and place the dough ball into the bottom of the bowl. Flip the dough ball over to coat the top, and then cover the bowl with a lid or towel and place in a warm environment. I like to heat my oven to 200ºF (93ºC), turn it off, then leave the door cracked with the bowl inside. Allow dough to rise until double in size, about 2 hours.
- When the dough has risen, spray a 9" x 5" loaf pan with nonstick spray and set aside. Turn the dough out onto a lightly floured surface. Gently pat and press2 the dough into a 9" x 12" rectangle. You may also use a rolling pin, but be gentle.
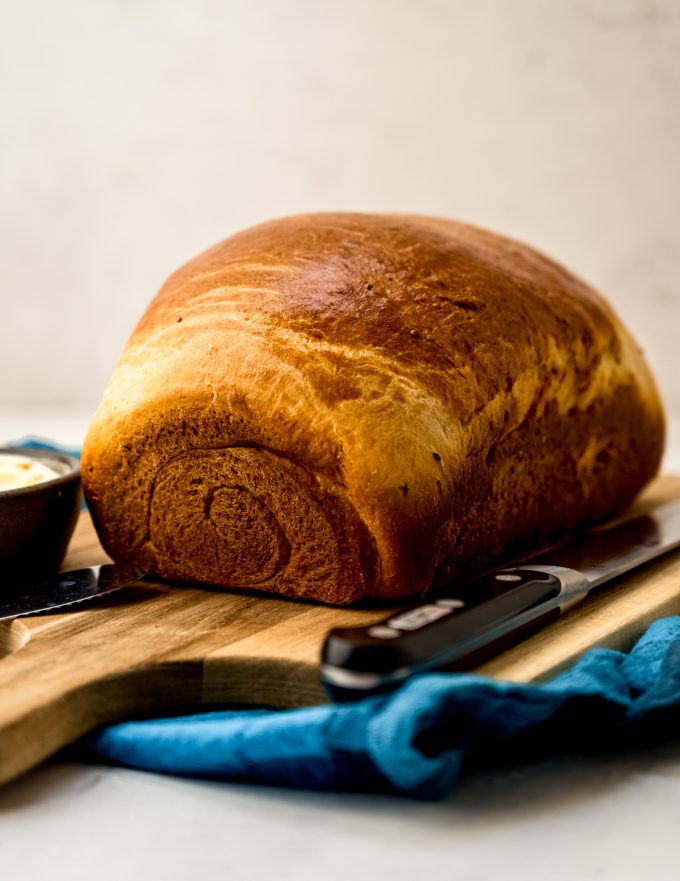
- Starting at the short end, roll the rectangle up into a tight log. Pinch the ends to seal and tuck the ends of the roll under the bread. Place into prepared loaf pan, and cover again loosely with a kitchen towel and allow to rise until doubled in size, about 45 minutes to 1 hour.
- When you are ready to bake the bread, set the rack to the middle position in your oven and preheat it to 350ºF (177ºC).
- Using a pastry brush, brush the loaf with the egg wash. Bake the loaf for 36-40 minutes. Loaf is done when the top is golden brown and tapping on the top of bottom of the loaf produces a hollow sound. Loaf stays fresh covered at room temperature up to 1 week. Loaf may be frozen, wrapped tightly, up to 3 months. Thaw to room temperature before serving.egg wash: 1 large egg + 1 Tablespoon of water
Video
Notes
- Bread flour: this is not absolutely imperative to this bread. I’ve used bread flour and all-purpose flour interchangeably, and I enjoy both textures. Bread flour will make your bread slightly softer, but all-purpose will work perfectly fine if you don’t have bread flour on hand.
- Shaping the dough: for a more rustic look, you can simply shape the dough without rolling it up into a neat log. You can see in the post that I have pictures of both finished loaves.
- Working with yeast: for a comprehensive look at working with yeast in a recipe, see my post about how to bake with yeast.
Nutrition Disclosure
All nutritional values are approximate and provided to the reader as a courtesy. Changing ingredients and/or quantities will alter the estimated nutritional calculations.
UK tsp is 5 g… where is there a 2.5g spoon?! I’m assuming it’s a mistake? But our dried yeast doesn’t come in 7g packs either? It’s delicious bread though! Thank you
Hi, Camilla– there is no 2.5g spoon, that’s measured by weight. So, you’d use 7.5g of yeast, weighed with a kitchen scale.