Oreo Ice Cream Cake Recipe
As an Amazon Associate, I earn from qualifying purchases. Read the full disclosure here.
Make your own easy layered ice cream cake at home with store-bought ice cream, gooey hot fudge, creamy whipped cream topping, and plenty of Oreos in each bite.
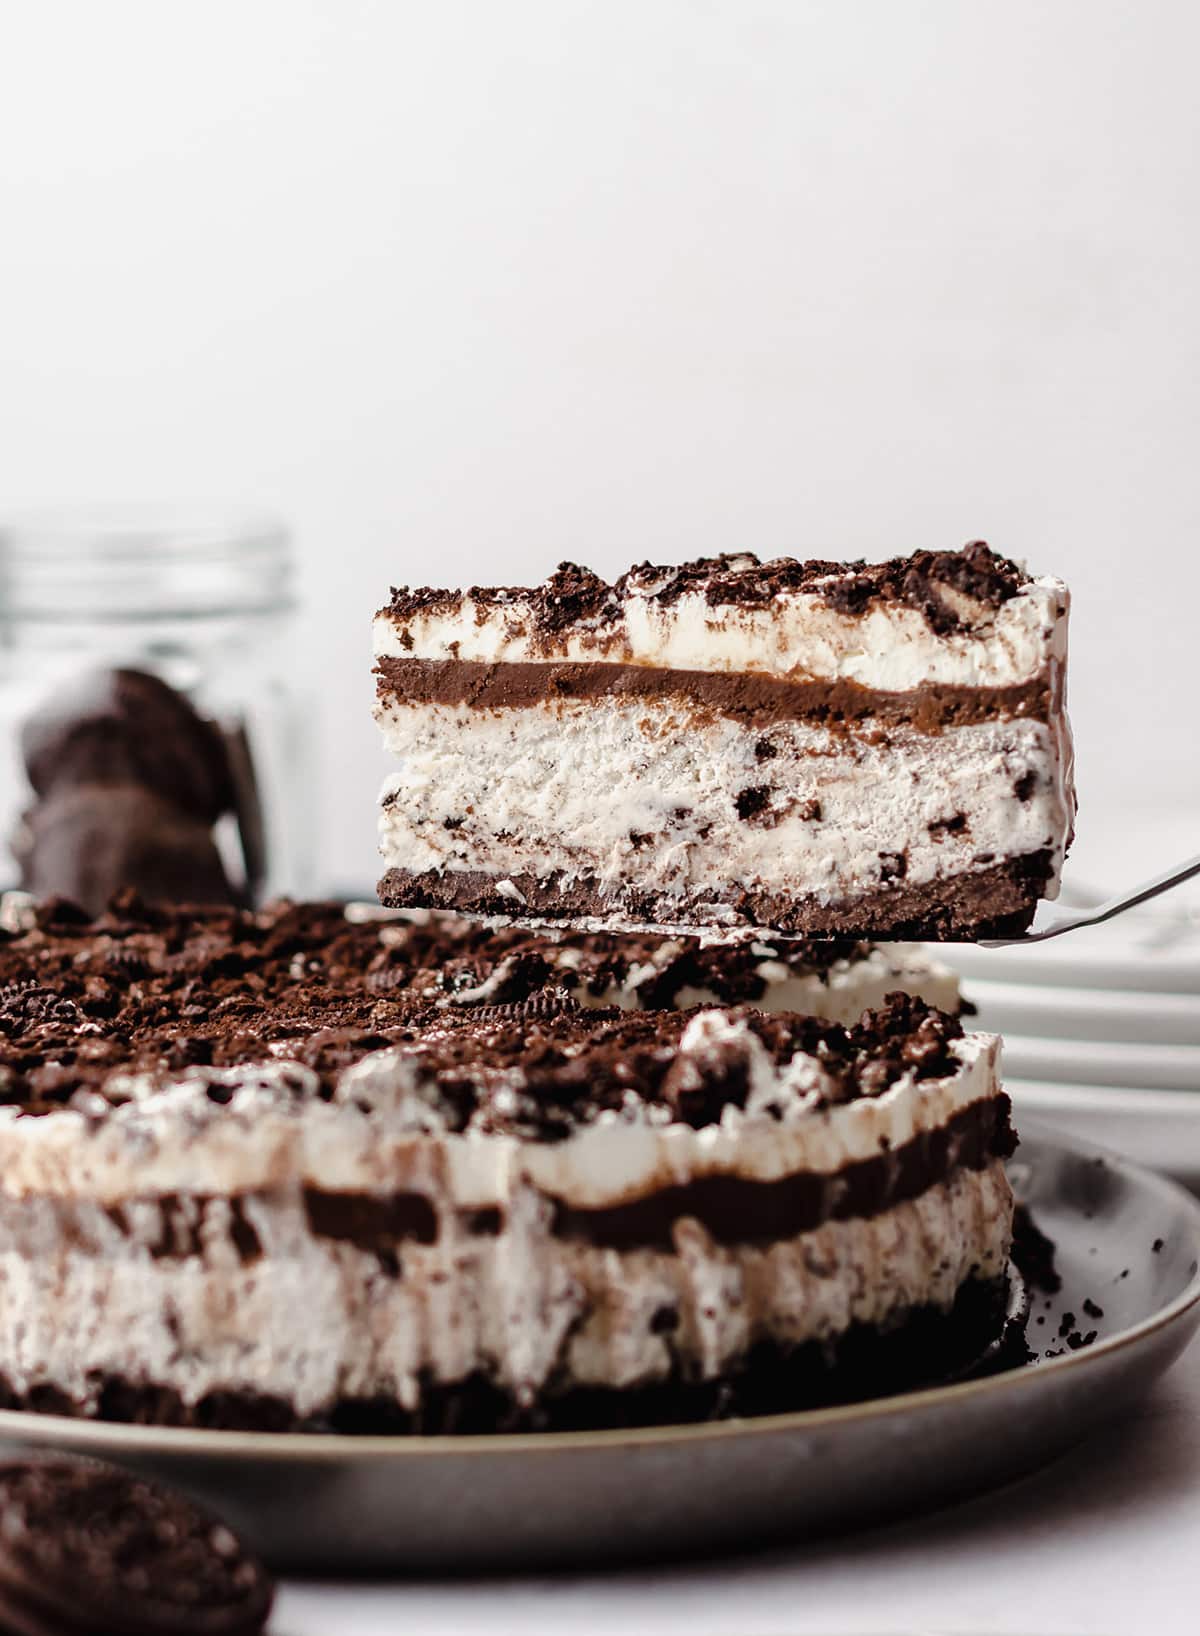
Easy Ice Cream Cookies and Cream Cake Recipe
There is nothing you can say to convince me that ice cream cakes aren’t pretty much the best invention of all time. I mean, cake and ice cream is a killer combo as is, but put them together? Out of this world!
When we’re talking about summer desserts, it really is the no bake recipes and ice cream cakes holding it down, am I right? Who wants to spend all day cooped up inside baking multiple layers of cakes, or sheets upon sheets of cookies.
Well, I mean, I obviously do because A) it’s my job, and B) air conditioning. But if air conditioning were out of the question? Absolutely not!
But even with a constant flow of chilly air coming into my kitchen, I still want to keep it pretty simple in the baking department. After all, electricity does cost money and I’m not about to get a four-figure bill please and thanks.
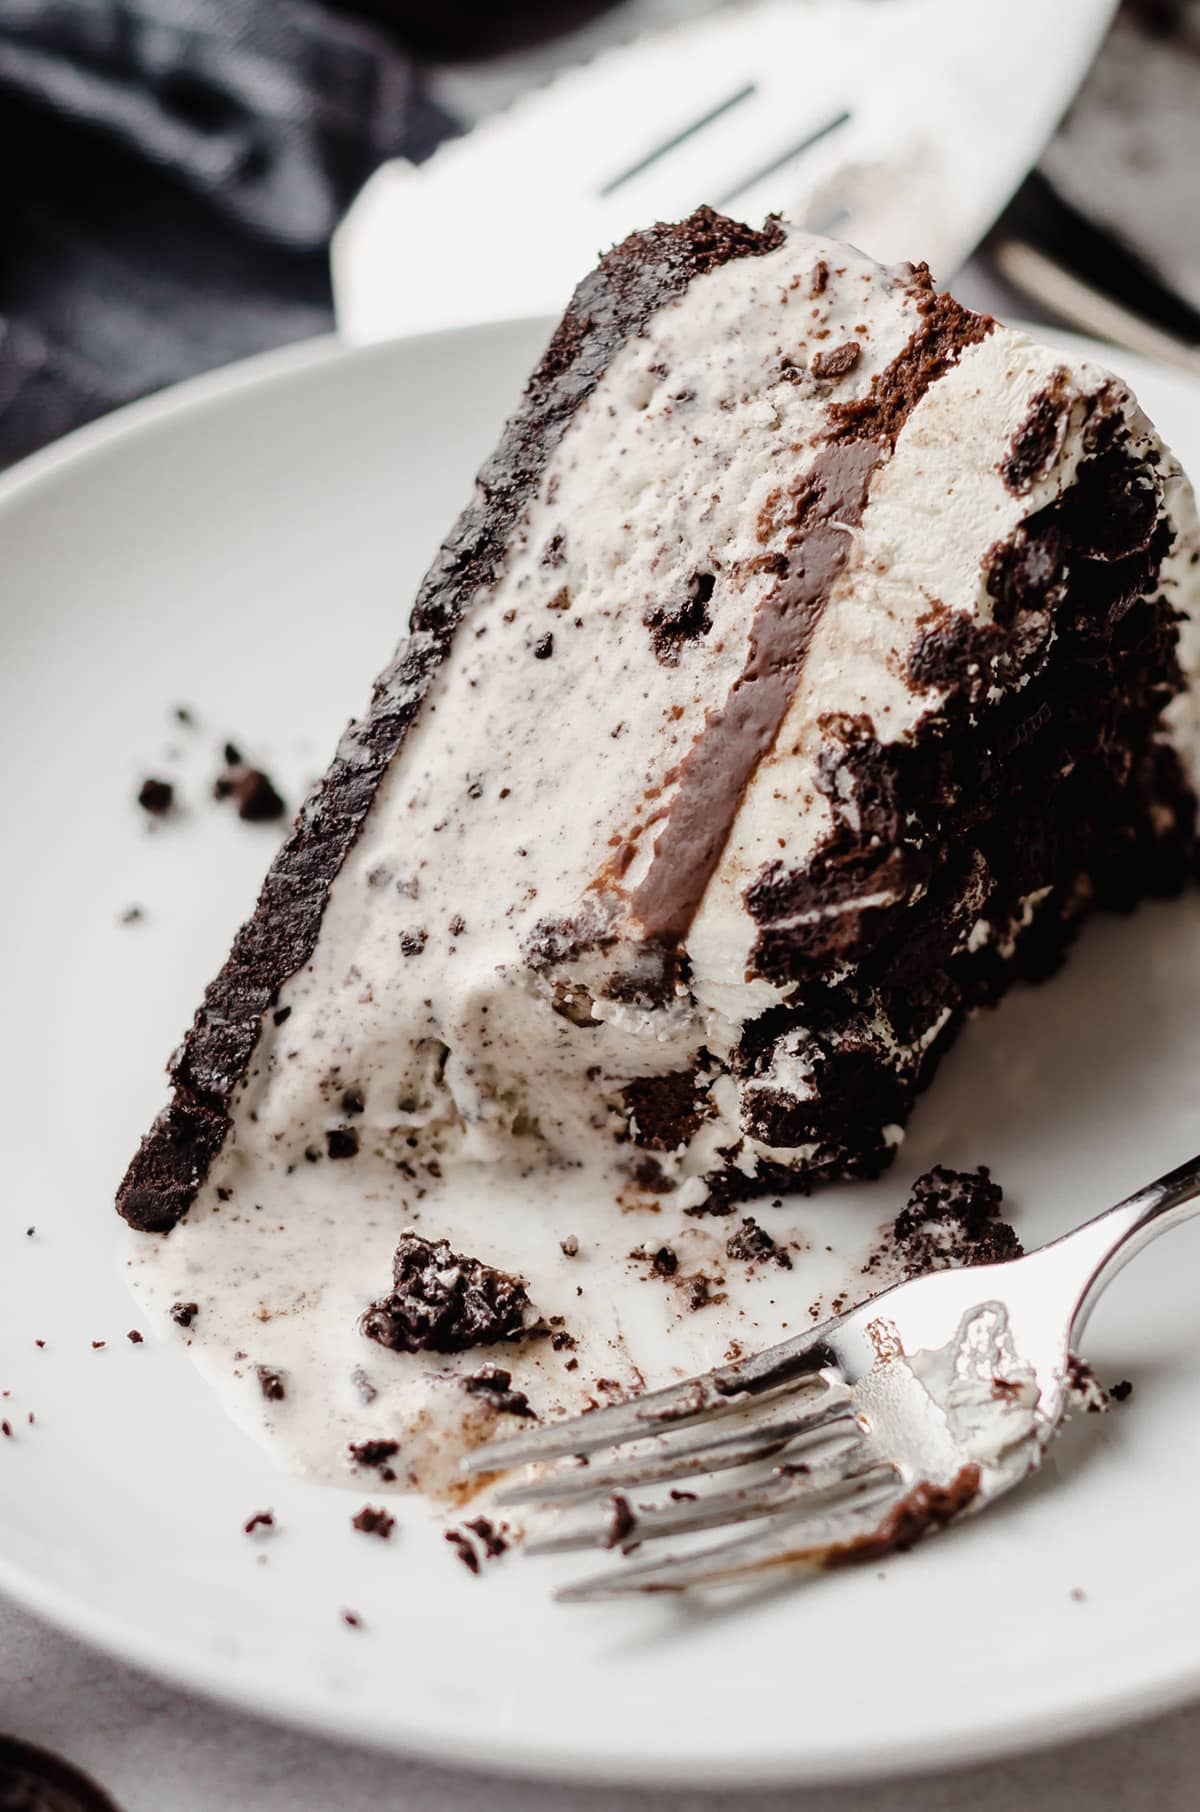
And so when I need to make a cake for a birthday, a potluck, or just for fun, I can’t help but consider the delicious goodness of an ice cream cake. After all, it’s easy to make using mostly store bought ingredients, AND it requires zero oven time. Sounds good to me!
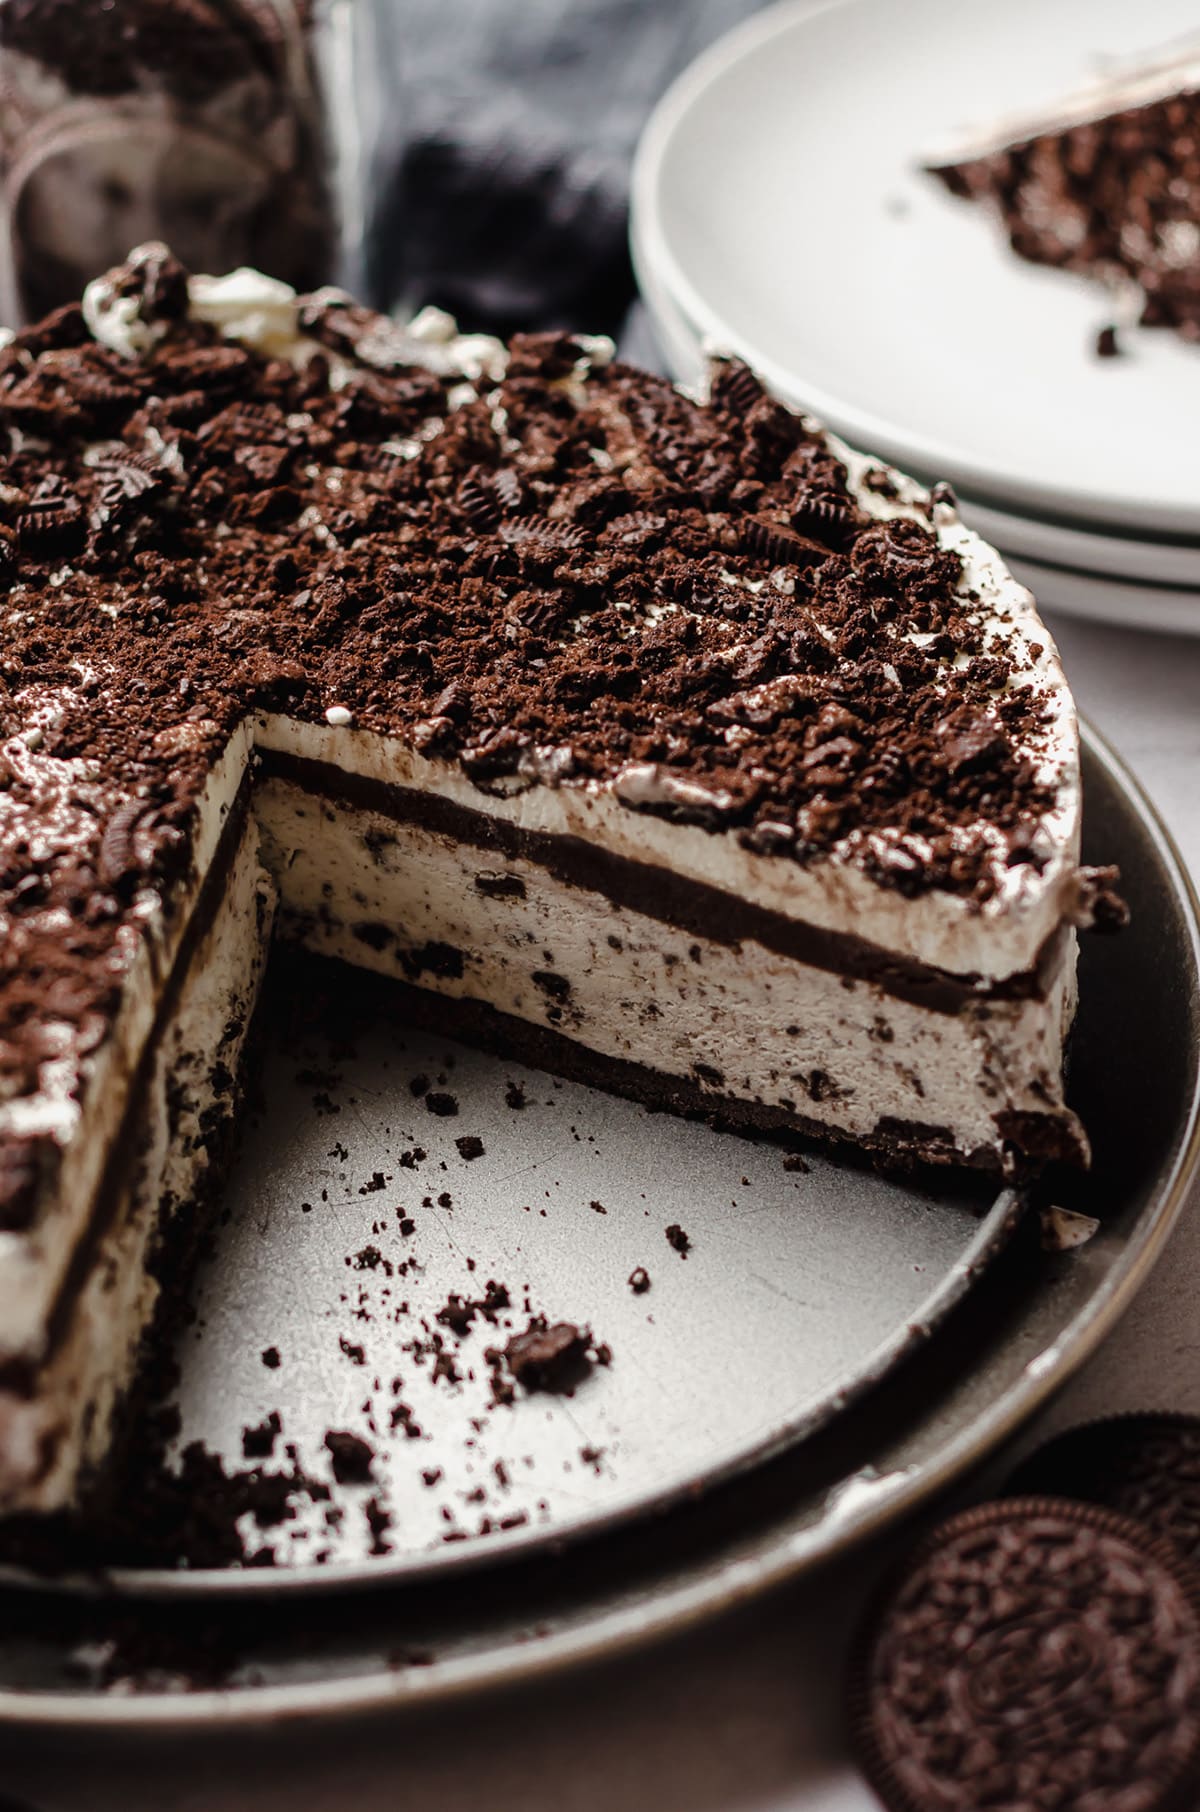
This cookies and cream ice cream cake is pretty much the ultimate ice cream cake recipe because it uses a favorite of mine: Oreo cookies. Not only do they form the crust, but they also come into play in the ice cream filling AND the cake topping. It’s all about the Oreos and I’m here for it.
If you’re an Oreo lover too, you HAVE to try some of my favorite Oreo themed desserts. My favorites include this no bake Oreo pie, yummy cookies and cream cookies, Butterfinger pie, and these mini cookies and cream cupcakes. They all have one delicious thing in common: they feature the most perfect packaged cookie every created.
Oreo Ice Cream Cake ingredients
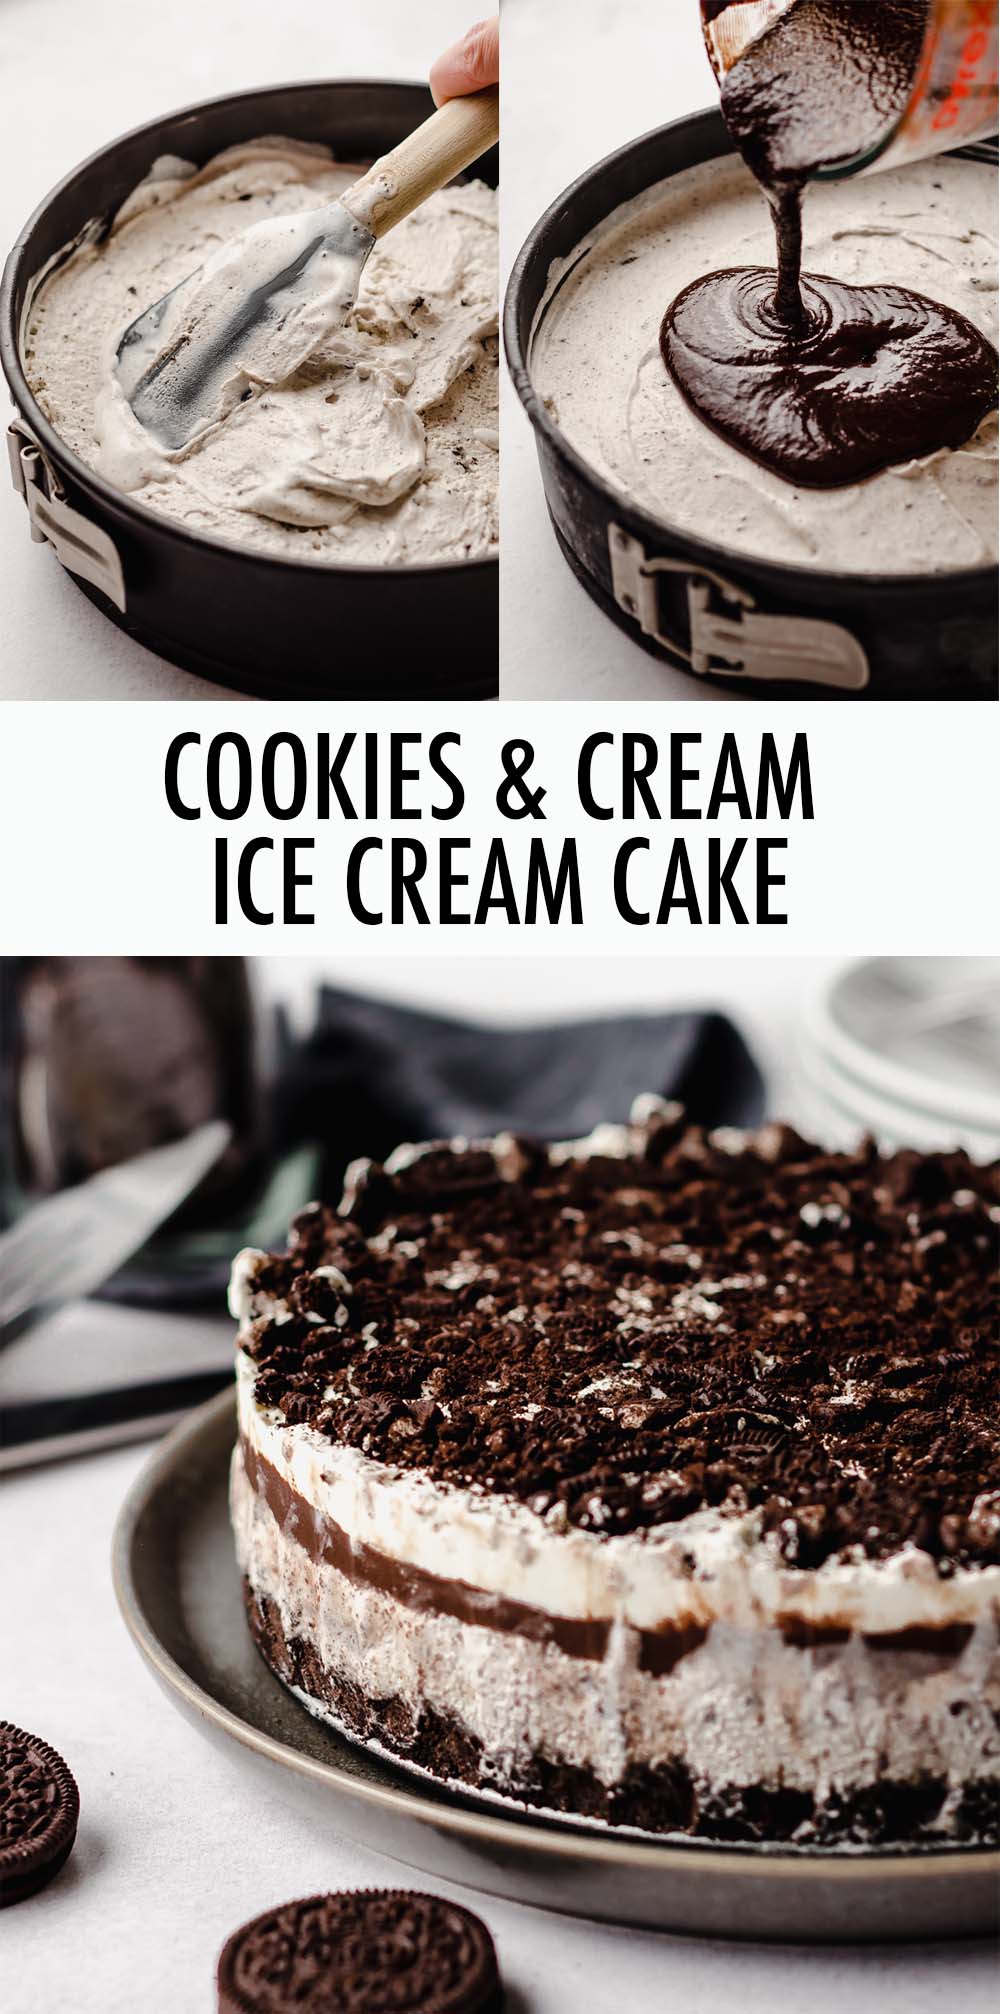
This easy recipe for cookies and cream ice cream cake has 4 basic elements: the Oreo cookie crust, the ice cream layer, the hot fudge layer, and the whipped cream layer (along with some chopped cookies).
Each of these layers keeps it pretty simple when it comes to ingredients, and make great use out of store bought items like Oreo cookies, ice cream, and hot fudge (although I have a homemade recipe for that if you prefer).
OREO CRUST
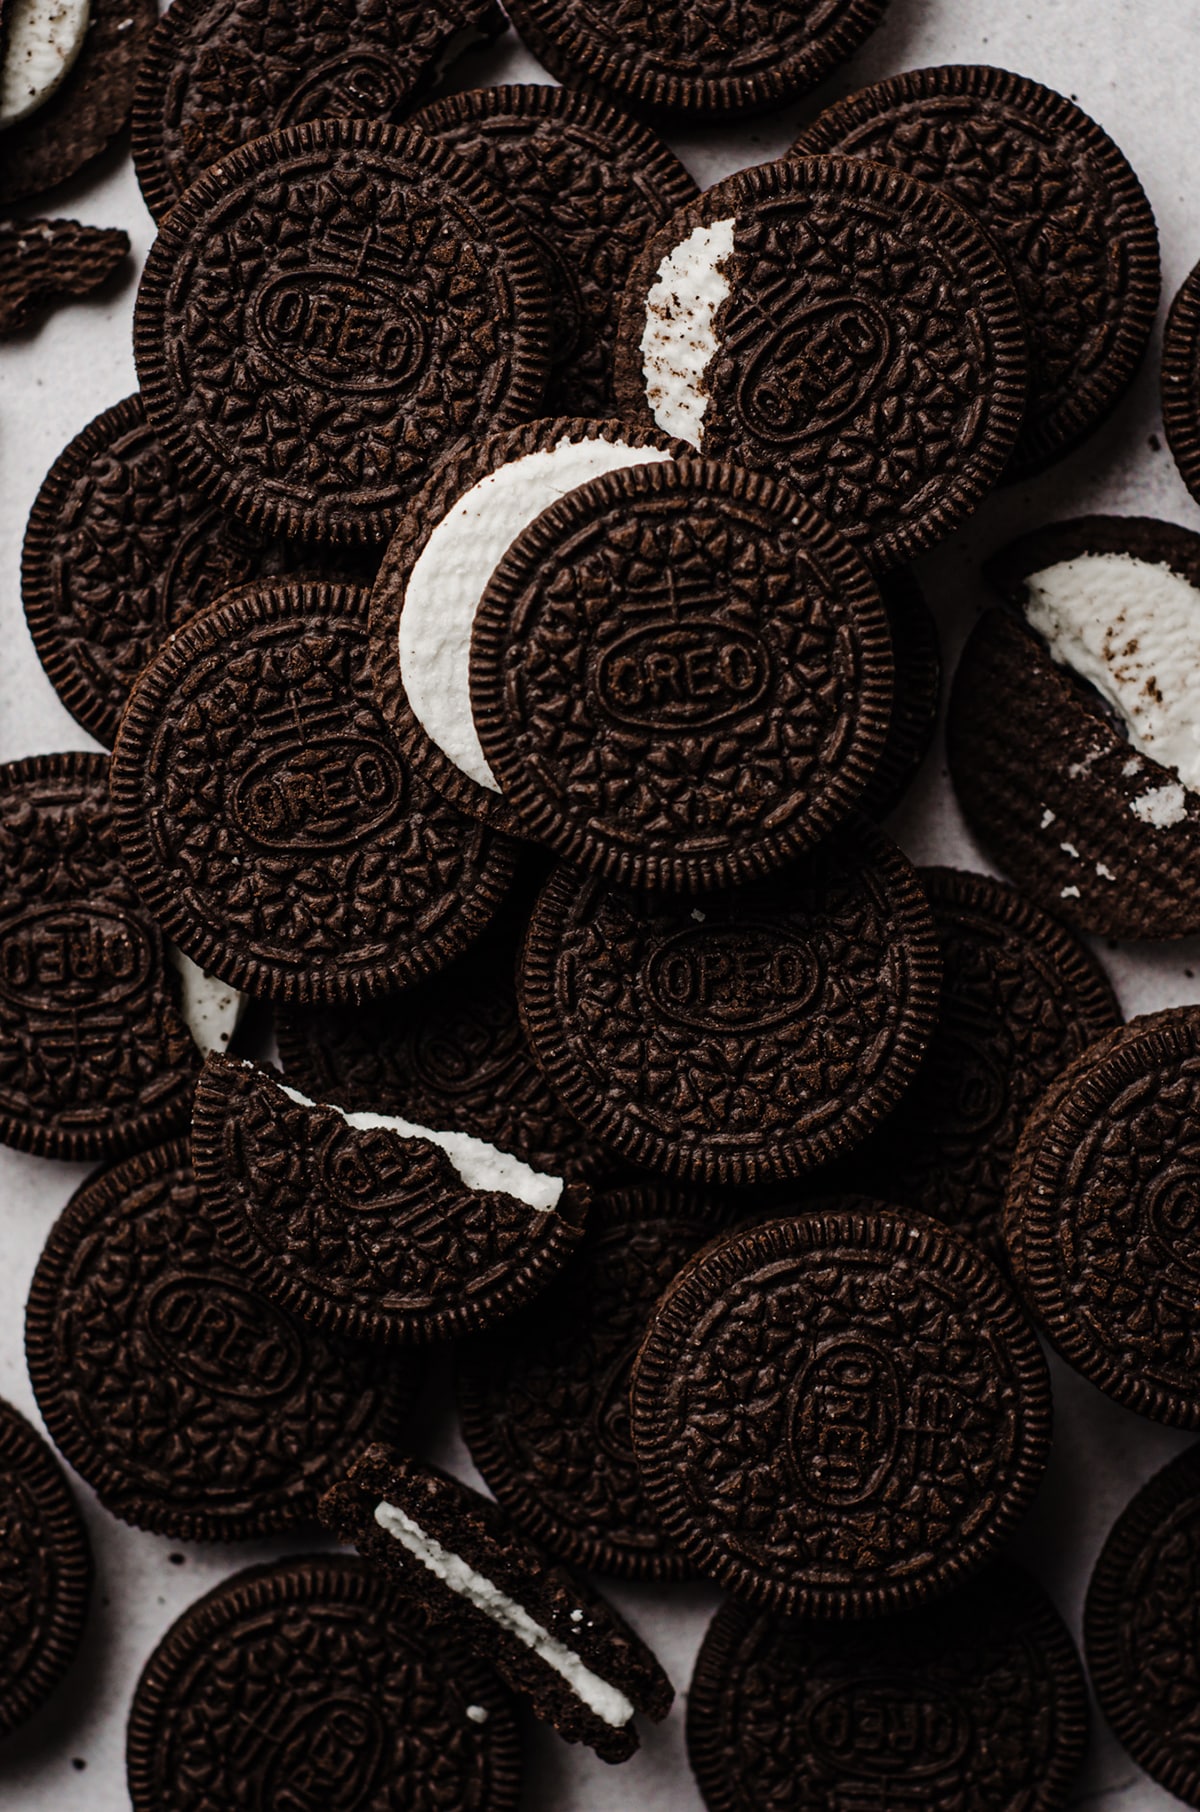
For the Oreo crust, you’ll need just 2 ingredients. Talk about easy!
The first ingredient is Oreos (obviously) and the other is melted butter. That’s it. So easy. No sweetening needed, since the cookies themselves are plenty sweet and the cream filling acts as a delicious “glue” to hold it all together.
Pure perfection.
COOKIES AND CREAM ICE CREAM LAYER
For the ice cream layer, you’ll need just one ingredient: cookies and cream ice cream. You can use whatever brand you like best, but you’ll need the equivalent of 1 and ½ quarts (also known as a half gallon) of ice cream.
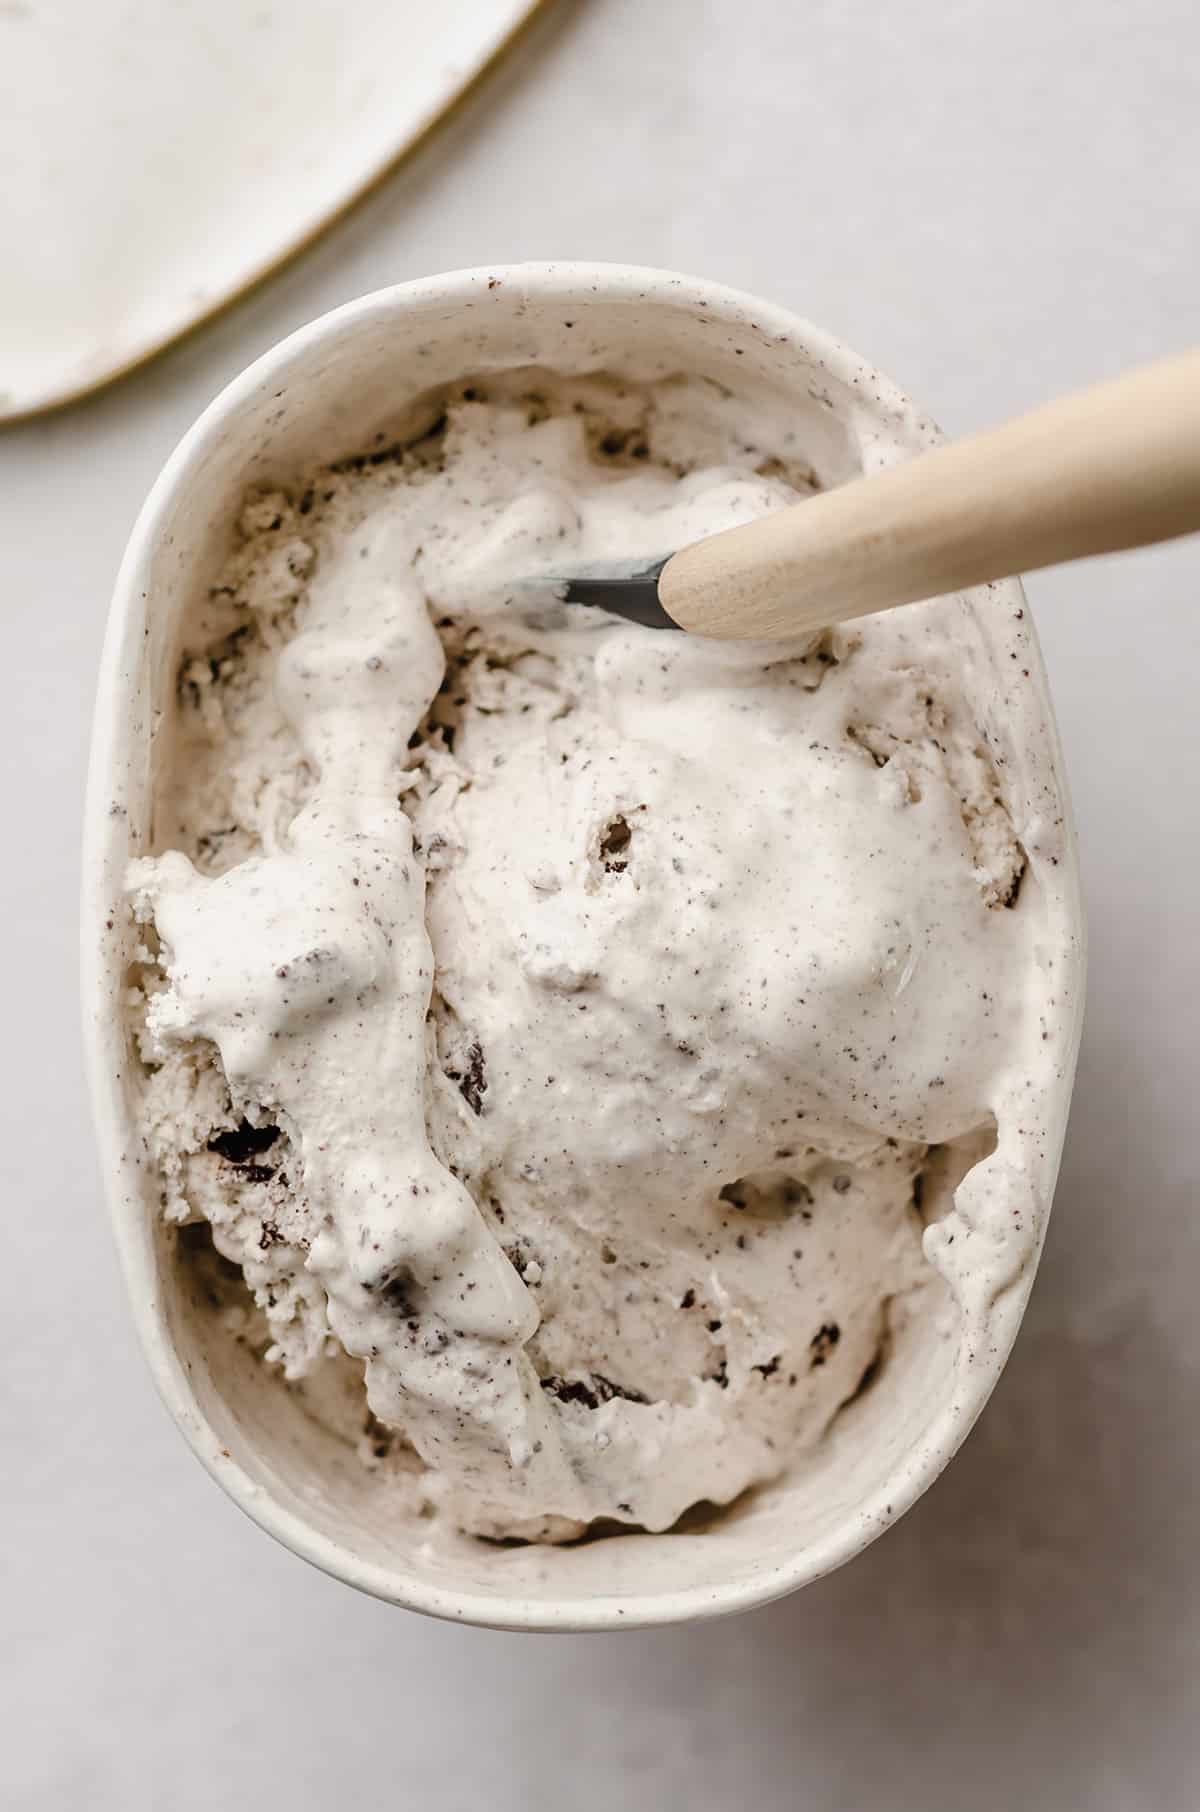
Premium ice creams (think Häagen-Dazs) tend to be a little on the firm side since their cream content is high and their air content is low, so they can create very dense ice cream cakes. For that reason, I recommend something middle of the road as far as price and quality goes.
HOT FUDGE LAYER
Every good ice cream cake features a fudgy, chocolatey layer of some sort, right? Well, this one is no different!
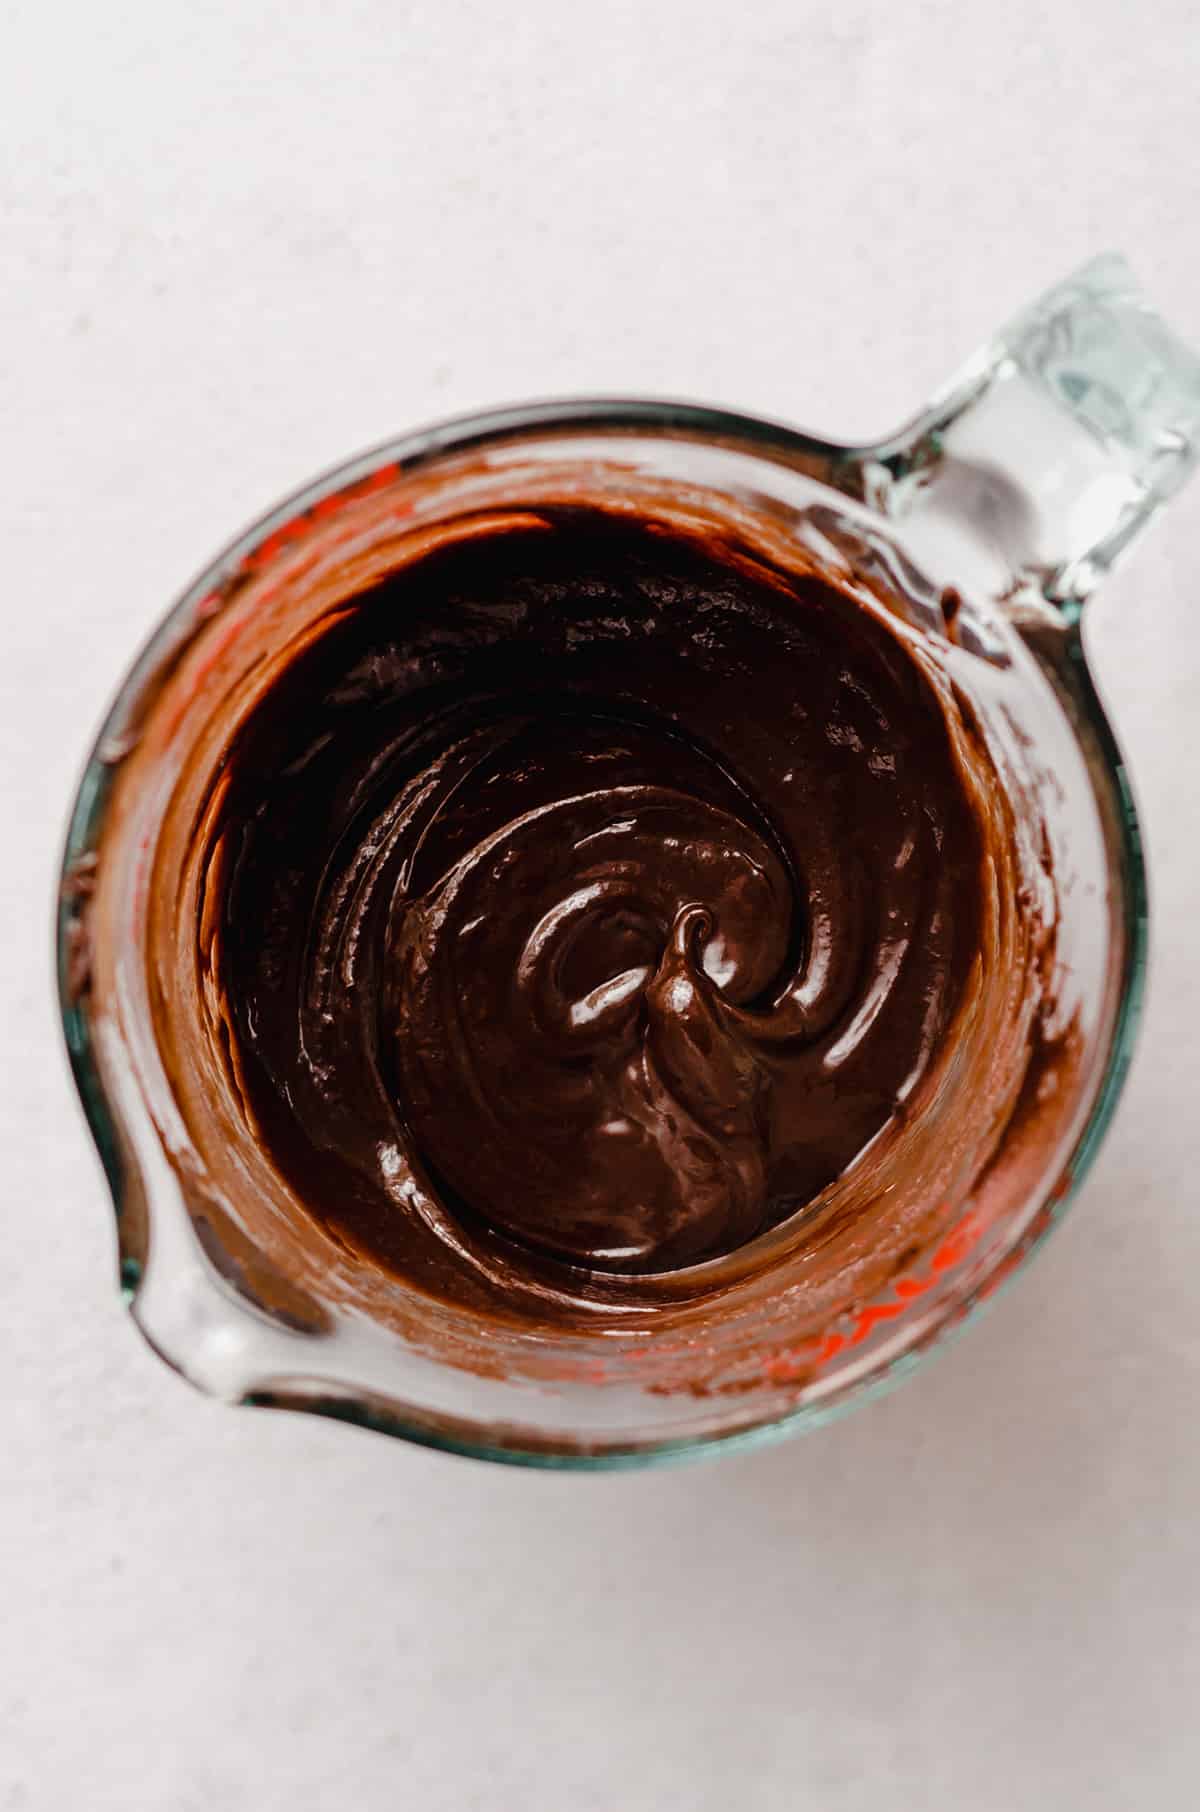
It’s easiest to go with store bought, but if you love making all of your elements from scratch, I highly encourage you to try out my homemade hot fudge recipe. You’ll need about 1 cup, and you can save the rest for topping bowls of ice cream or just eating with a spoon for a midnight treat.
WHIPPED CREAM TOPPING
Finally, you’ll top your homemade ice cream cake with an airy, heavenly whipped cream topping. My homemade whipped cream uses heavy cream, powdered sugar, and vanilla extract.
It’s a 3 ingredient recipe that works out perfectly every time.
Then, we’ll top the cookies and cream cake with some coarsely chopped Oreos just for funsies (and flavor obviously). You’ll need about 8 cookies for topping, and they don’t need to be perfectly cut into equal sized pieces.
In this case, you can throw perfection out the window and go a little crazy (well, keep it pretty tame– you certainly don’t want to lose a finger!).
How do you make an Ice Cream Cake?
The most beautiful thing about making homemade ice cream cake is how simple it is. For the amount that you pay to purchase one, you’d think they were really difficult to make.
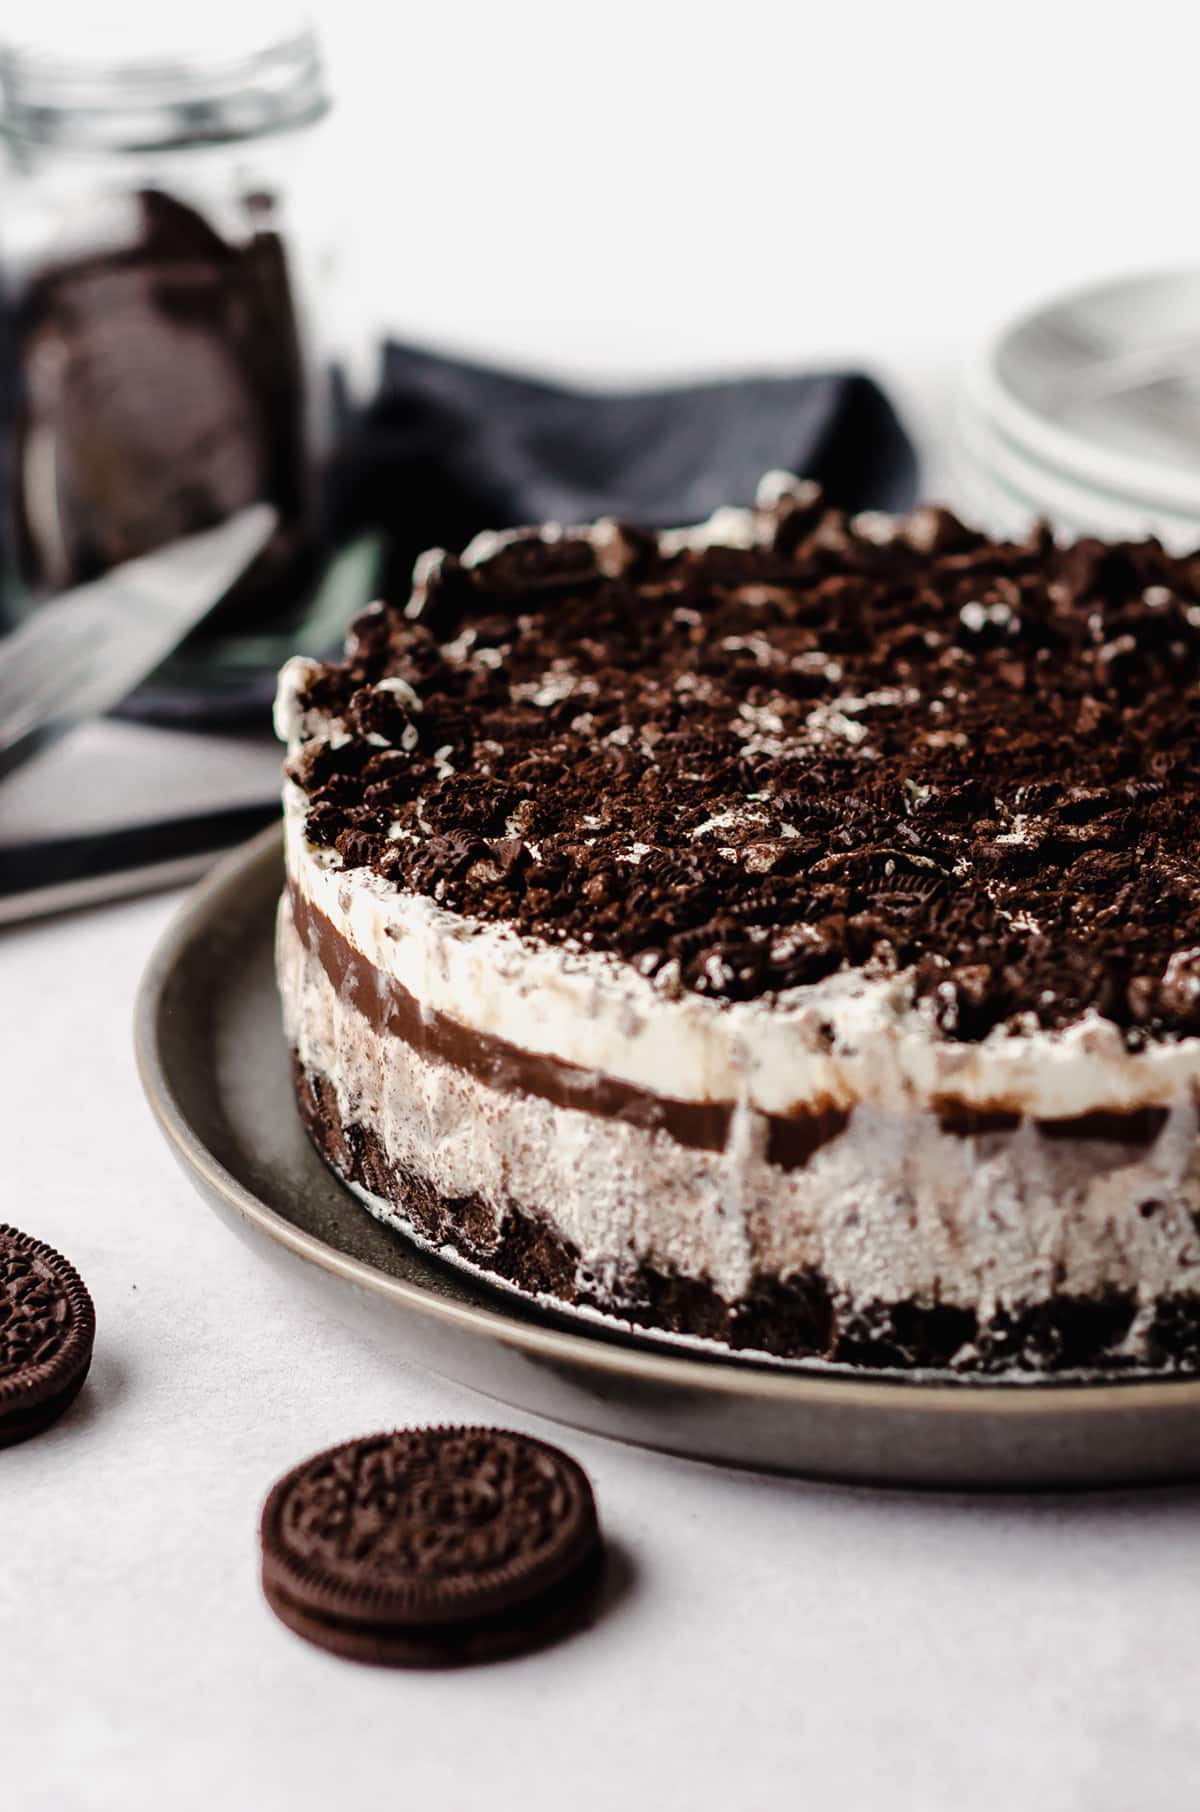
The truth is, it’s actually quite easy. Other than waiting enough time between layers, homemade ice cream cake has to be one of the easiest recipes I’ve ever made. Give it a try and let me know how it went for you!
USE A SPRINGFORM PAN
Probably the most important tip I can give you in regards to making ice cream cakes is to use a springform pan.
Springform pans are the style we typically see used with cheesecakes, but they come in handy for a variety of cakes and desserts.
Ice cream cakes are one of those things that we want to see. Those gorgeous layers of cookie crumbs, ice cream, and fudge are just so beautiful, it only makes sense to let them shine.
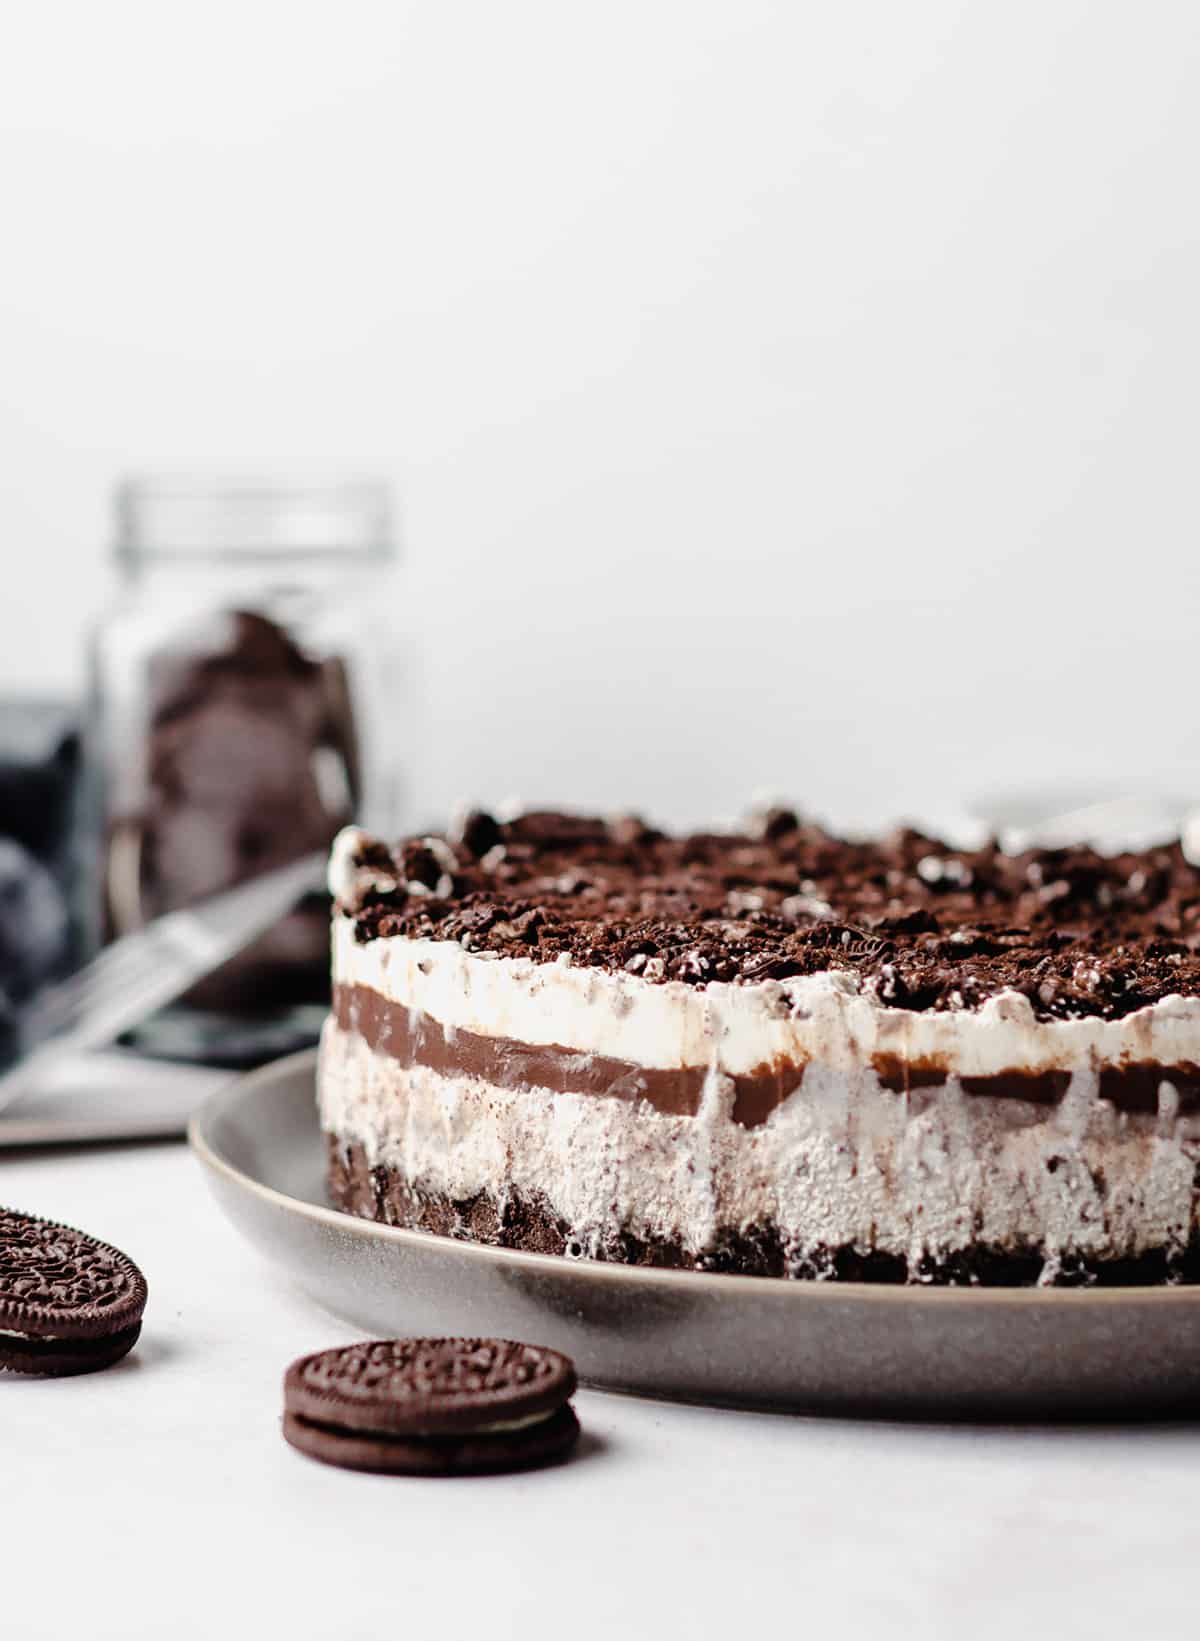
So in order to do that, I recommend using a springform pan. That way, the sides can be removed and you can easily have the entire cake on display. Not only this, it makes slicing WAY easier than a traditional cake pan.
For this recipe, you’ll want to use a springform pan that is 9″ or 10″ in diameter, as that will be the size that will best accommodate the multiple layers.
MAKE THE CRUST
If you want a detailed guide with step-by-step photos, please check out my post on how to make an Oreo crust. It’s a pretty simple concept though, and if you’re experienced with cookie crusts at all you should be all set to go!
STEP #1: To get started, add your Oreo cookies (24 cookies) to the bowl of a food processor or high powered blender. Process the Oreos into fine crumbs.
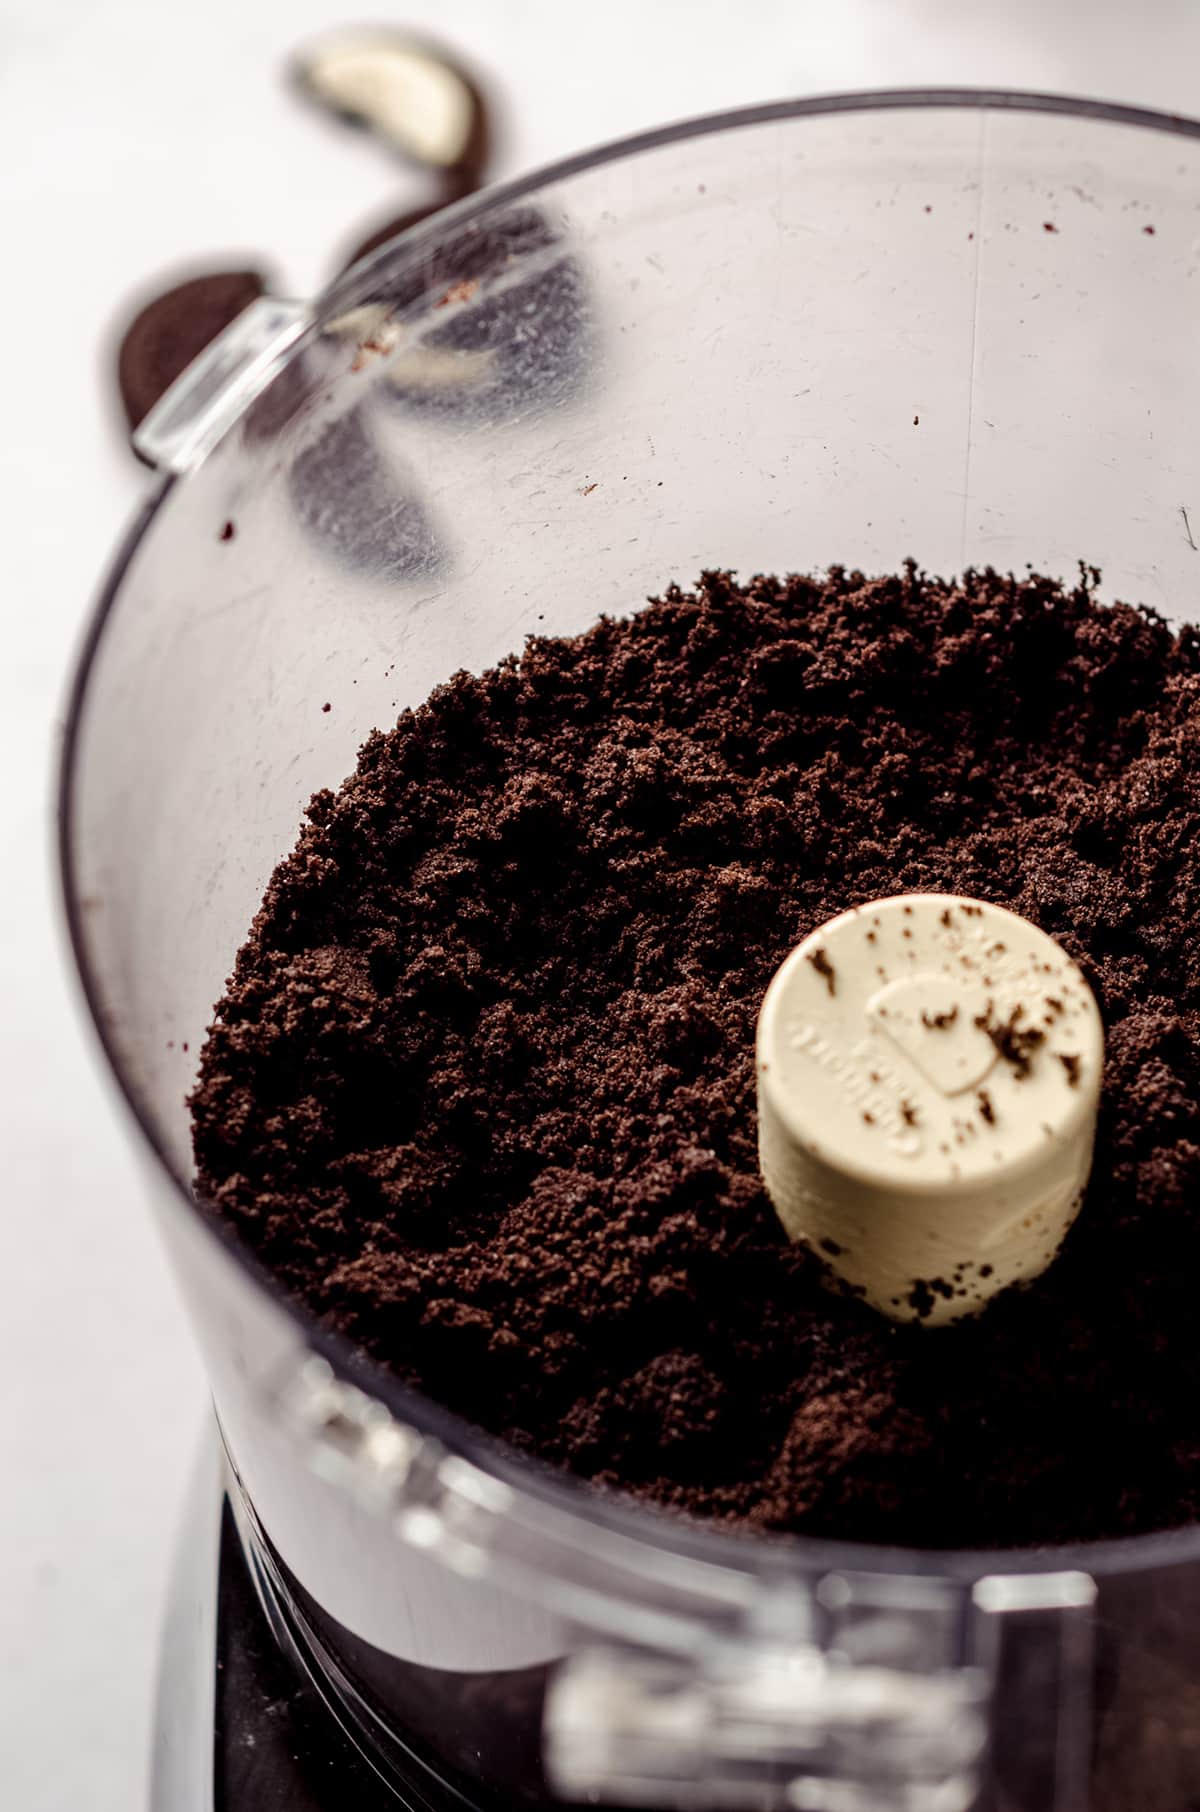
STEP #2: Turn the food processor (or blender) off and add in the melted butter. Pulse everything together a few times until it’s blended together.
STEP #3: If you don’t have a food processor, you can use store bought Oreo crumbs OR crush them with a freezer bag and a heavy rolling pin. Then, stir everything together in a bowl.
STEP #4: Add the crumbs to the bottom of your springform pan. Spread it out nice and evenly and press down lightly with your fingers.
STEP #5: Once this is done, go in with the bottom of a flat measuring cup and tamp the crust down so it is compact and tight inside of the pan.
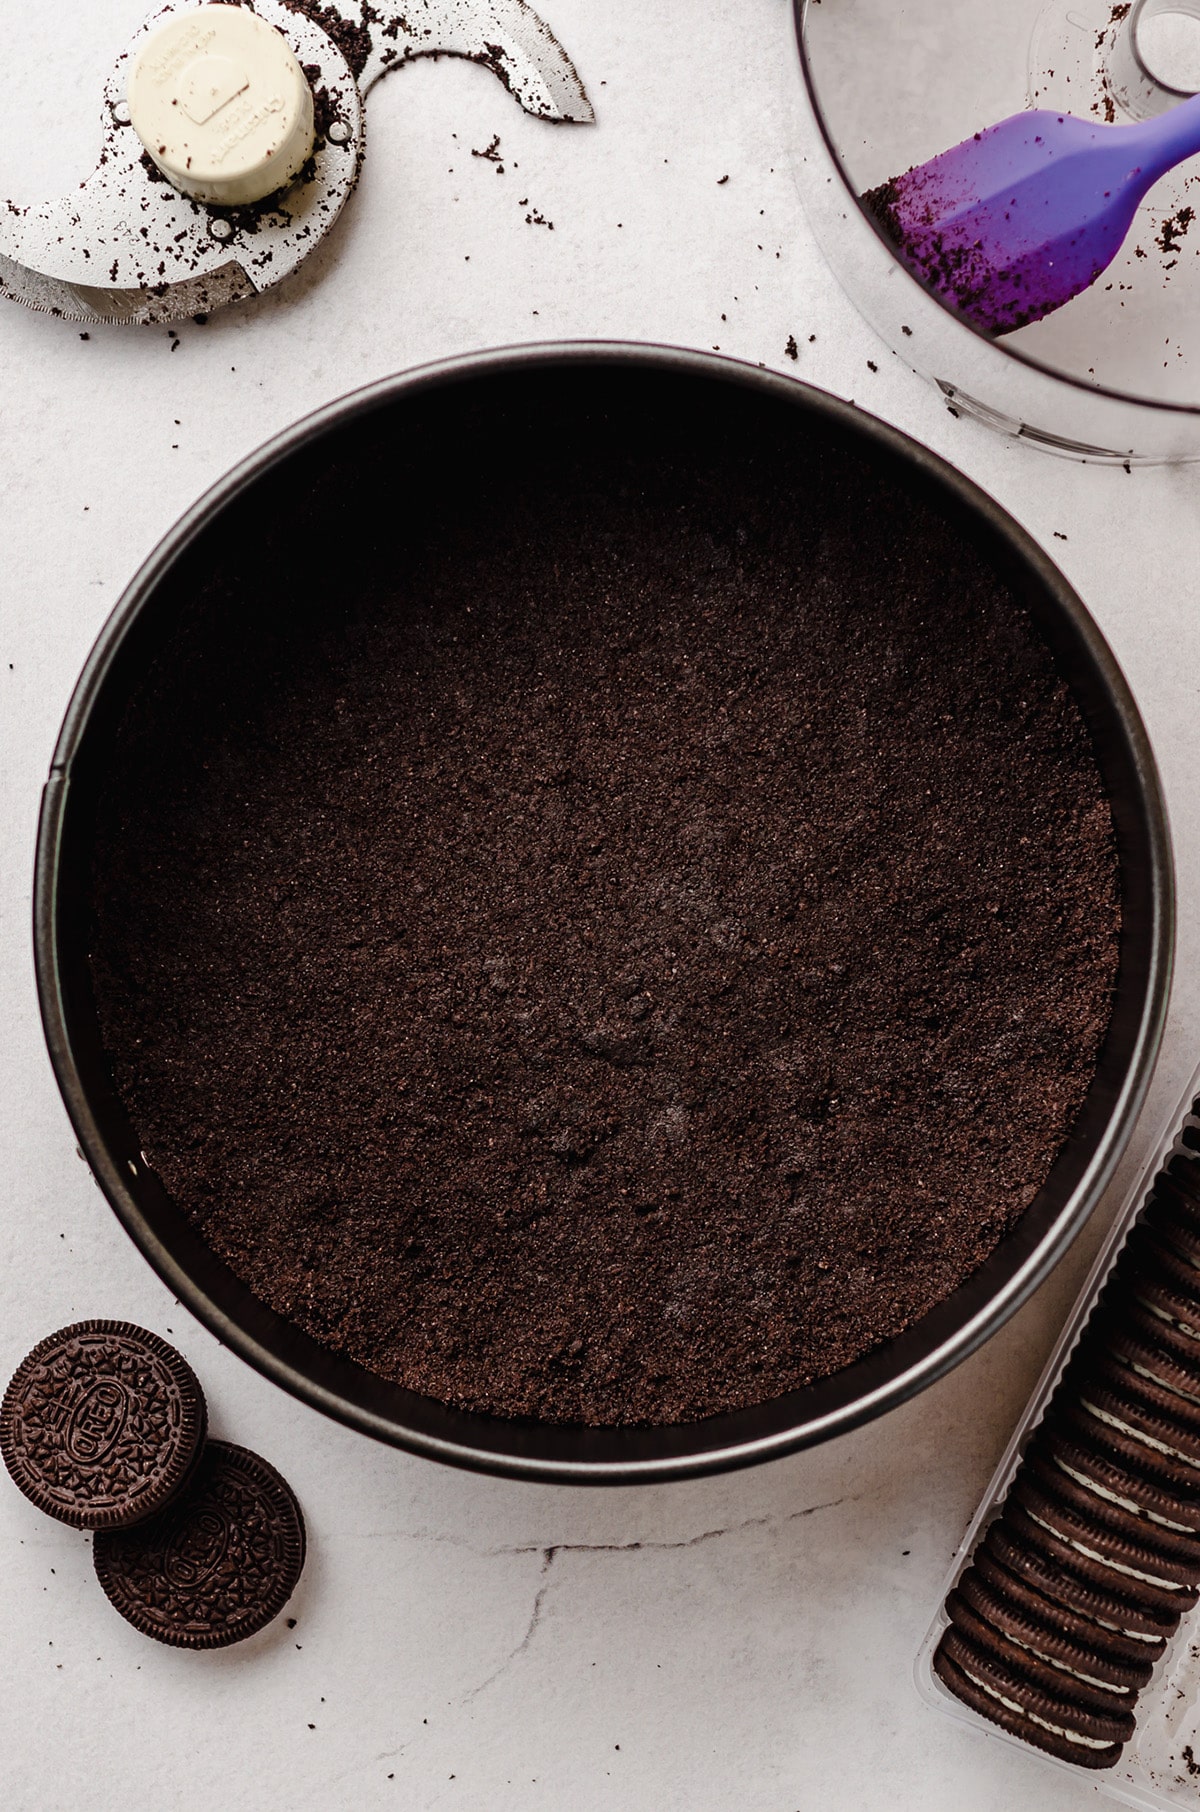
STEP #6: Chill your formed crust (and the pan) in the refrigerator or freezer for 30 minutes.
ADD THE SOFTENED ICE CREAM
STEP #7: After your Oreo crust has been chilling for 10-15 minutes or so, you can go ahead and set your cookies and cream ice cream on the counter to soften up a little bit.
STEP #8: After 15-20 minutes on the counter, it should be soft enough to spread easily inside the chilled Oreo crust. If it’s still a bit stiff, give it a few more minutes and try again.
STEP #9: Once the ice cream stirs very easily, mix it up well with a silicone spatula and spread it in an even layer on top of the Oreo crust.
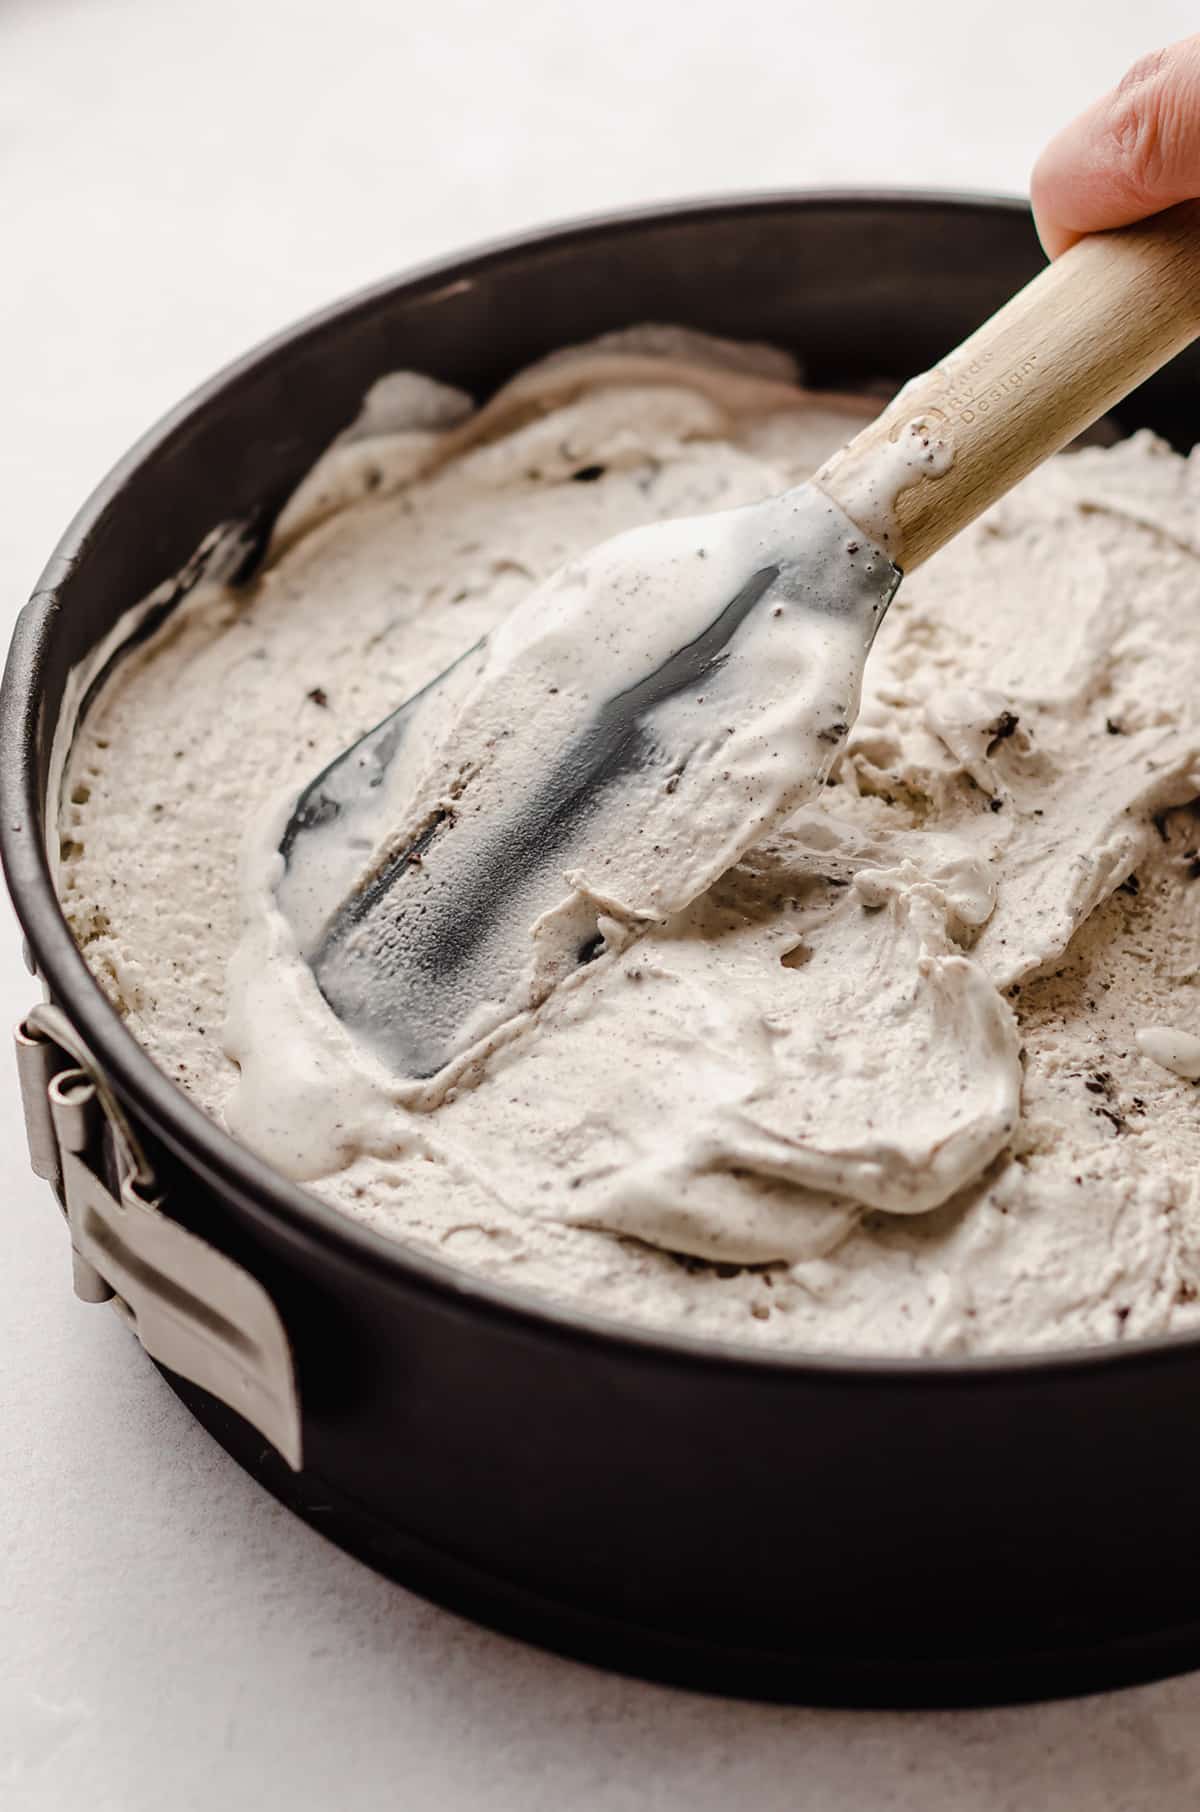
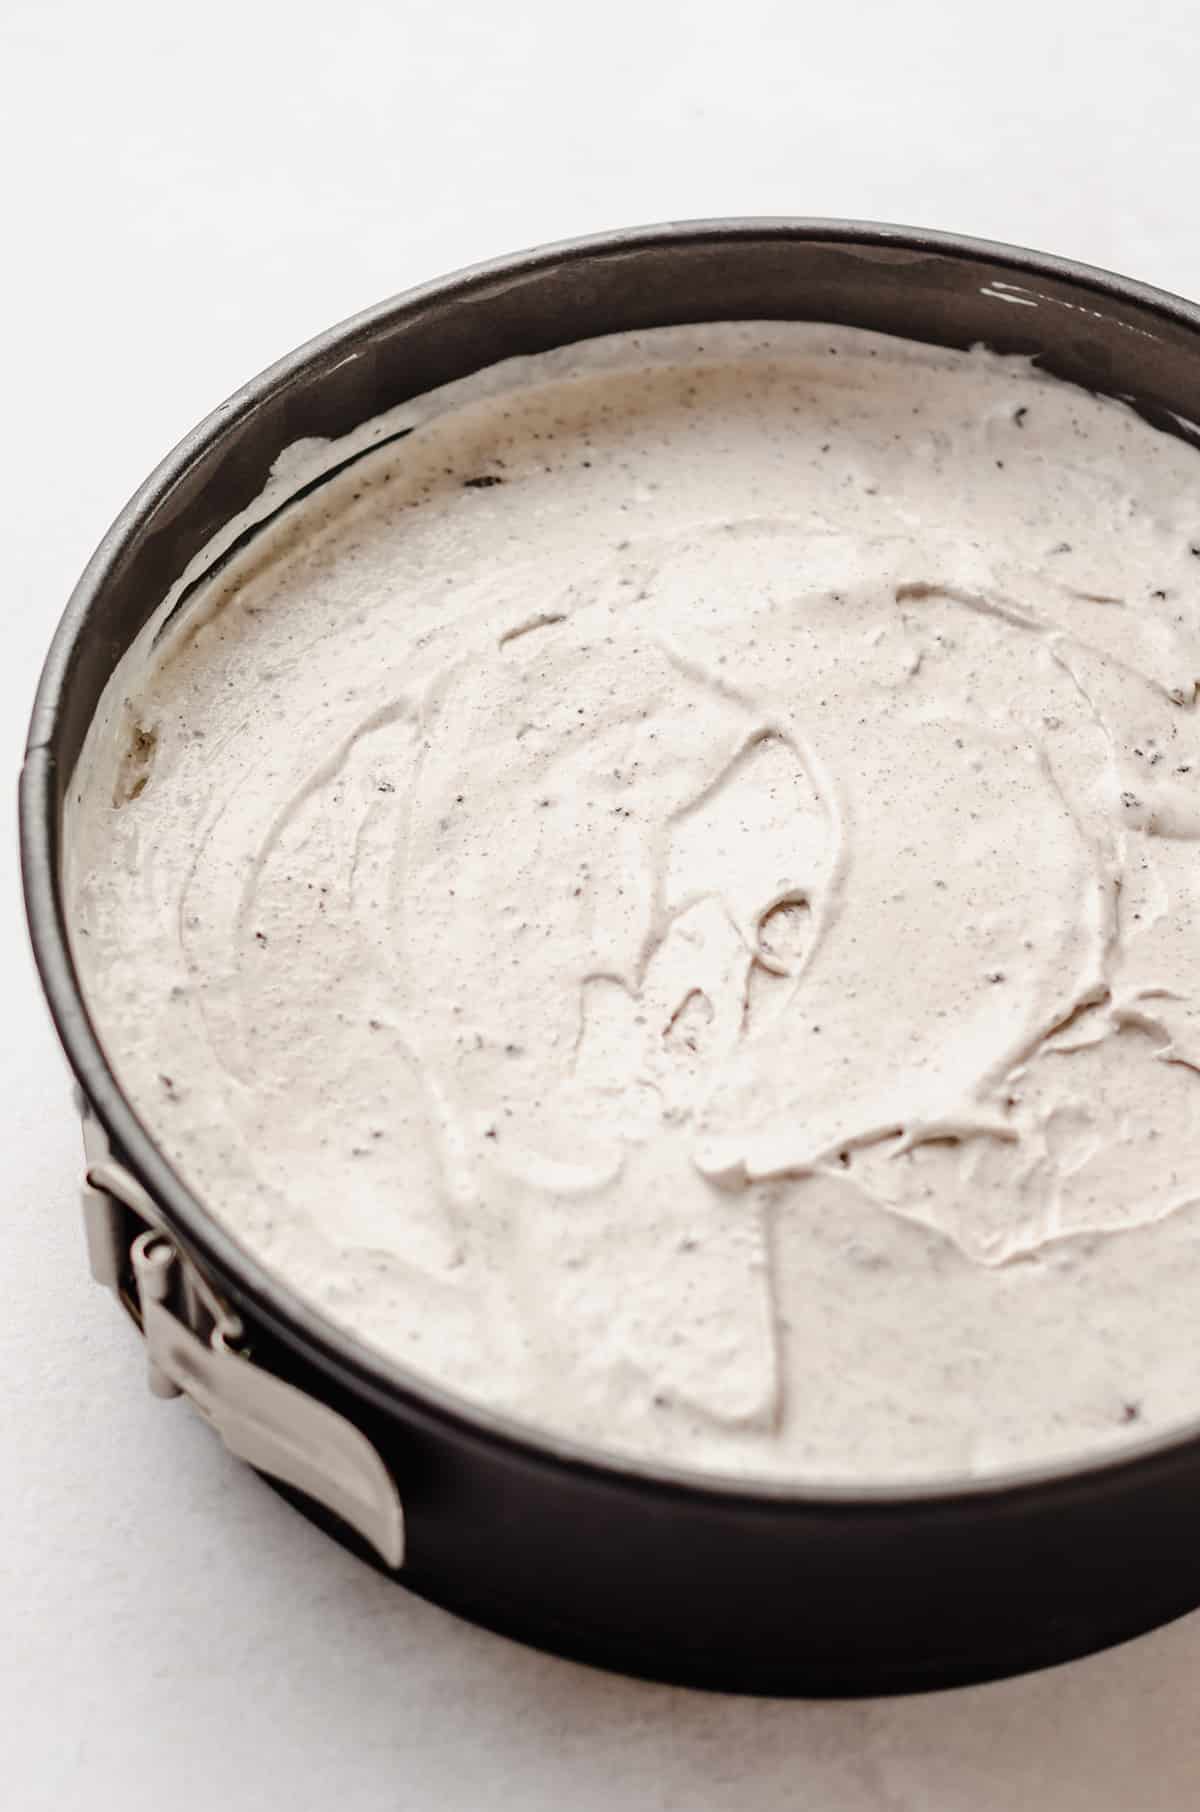
STEP #10: Move the ice cream filled springform pan to the freezer and chill for at least 1 hour before going forward with the next step: the hot fudge layer.
ADD THE WARM HOT FUDGE
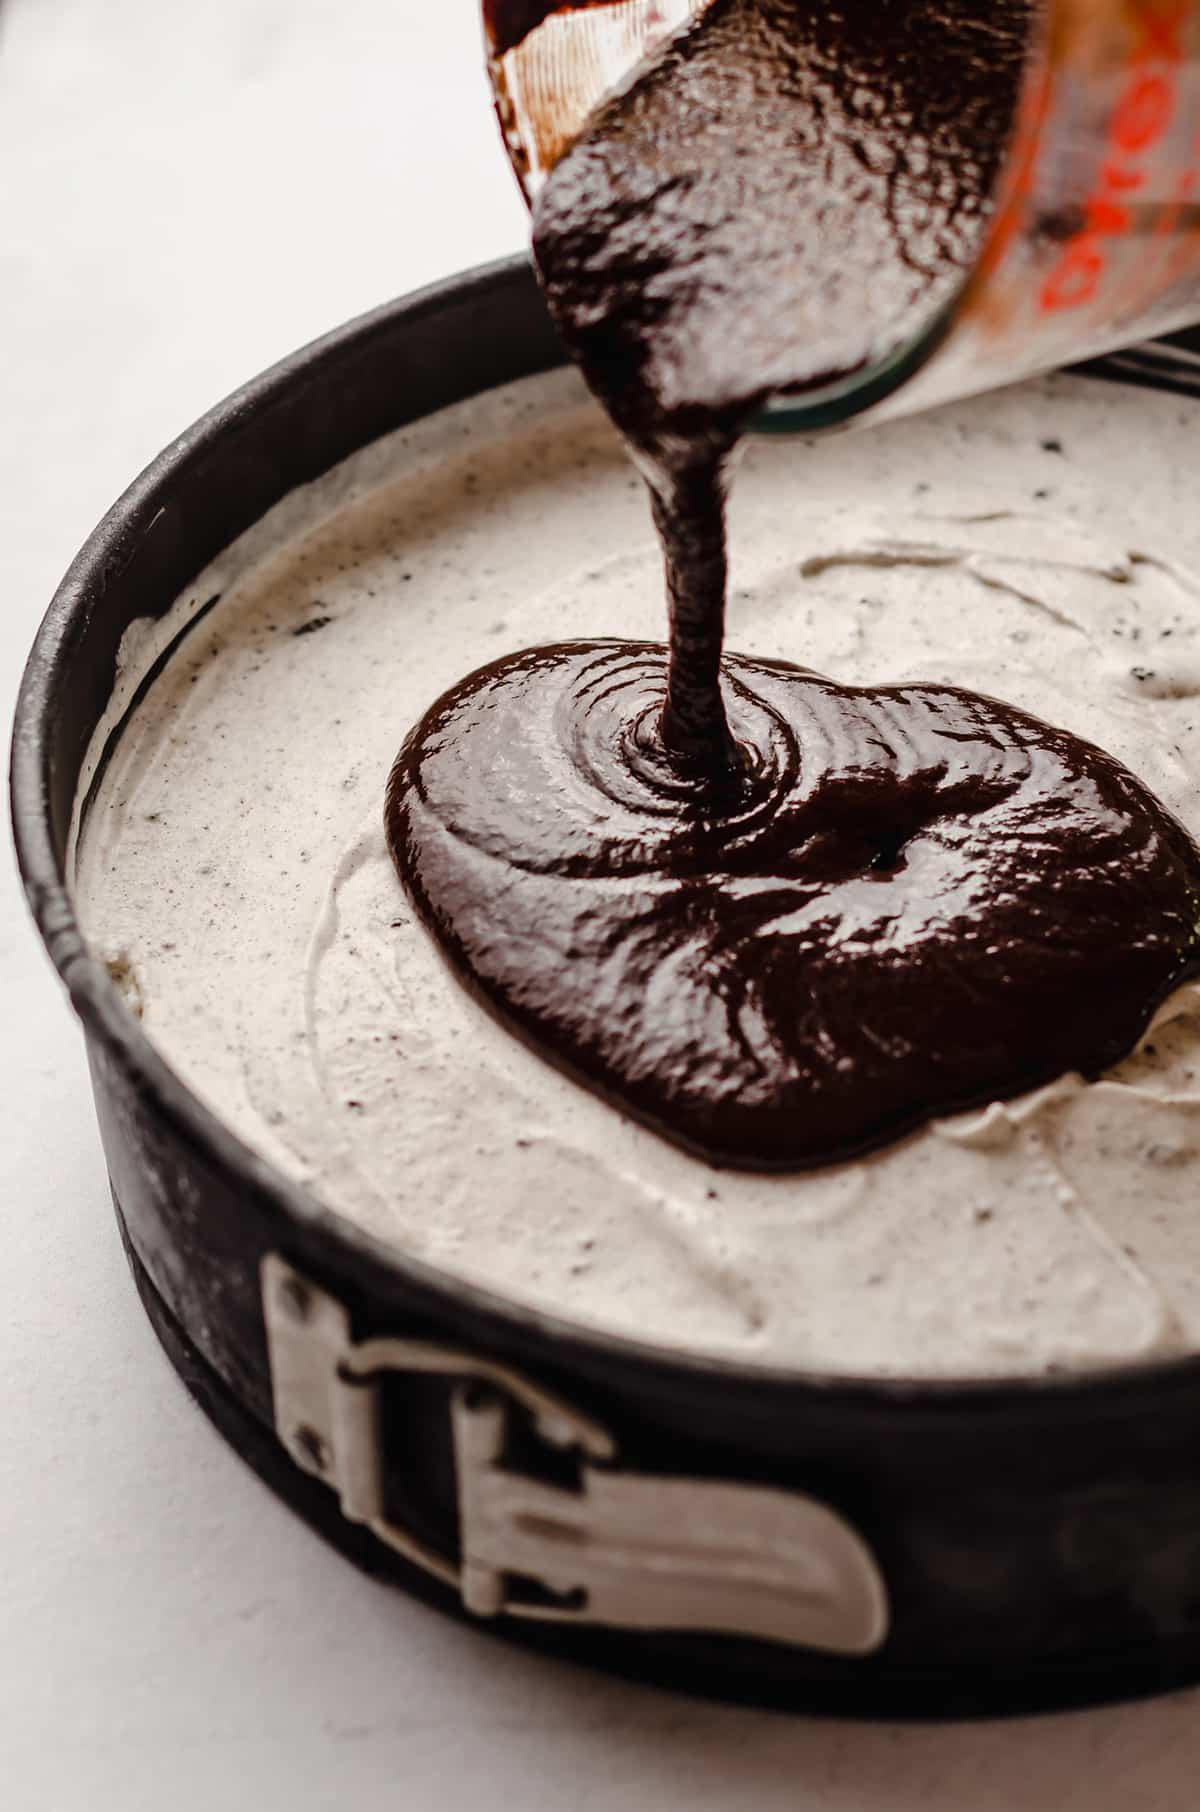
STEP #11: Once the cookies and cream ice cream layer has chilled in the freezer for at least an hour, warm the hot fudge sauce just until it is pourable, but not too hot if that makes sense (we’re going for Goldilocks, here).
STEP #12: The idea is that it needs to be warm enough to pour, but we don’t want it to melt the ice cream and muddy the beautiful, separate layers.
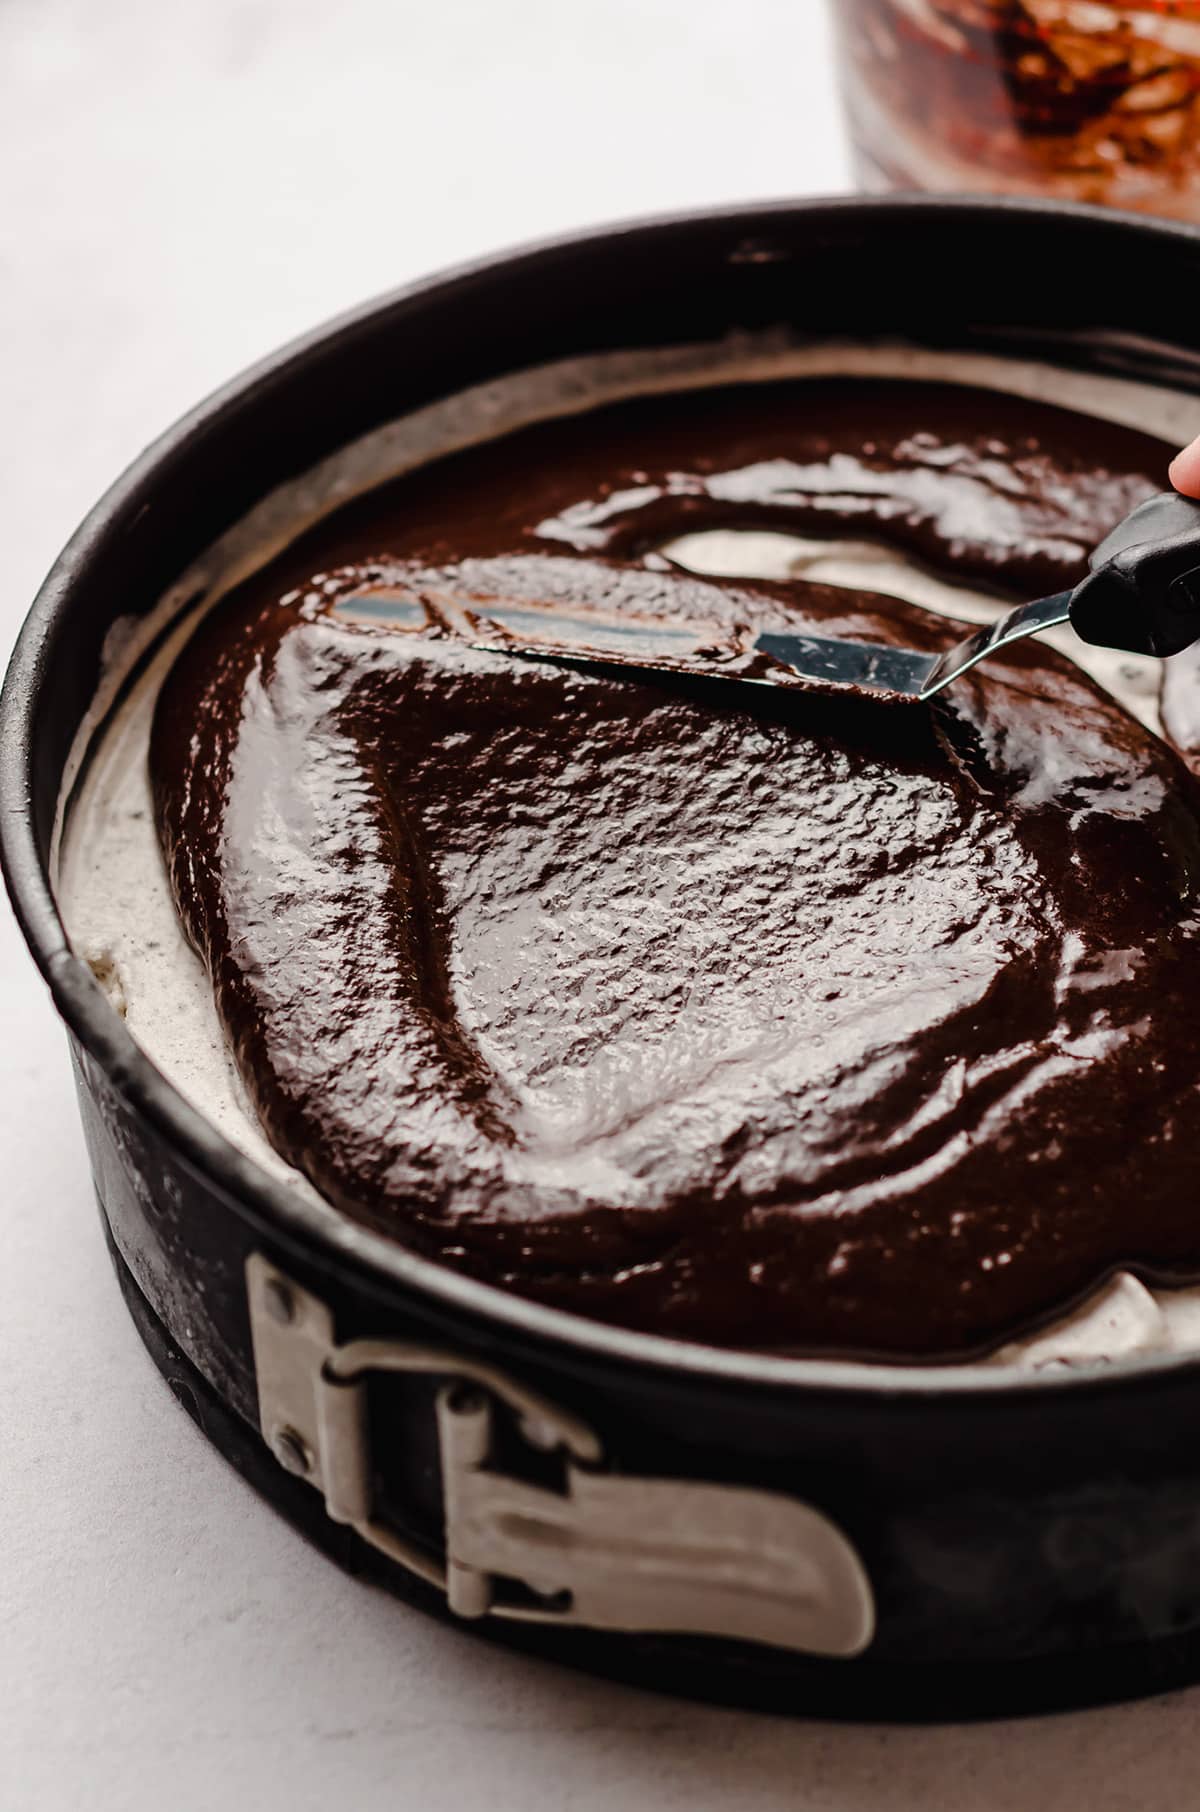
STEP #13: Spread the hot fudge sauce over the chilled ice cream, then spread it in an even layer with a rubber or offset spatula.
STEP #14: Place the cake in the freezer to chill for at least another 30 minutes, or until the fudge is solid and no longer tacky to touch.
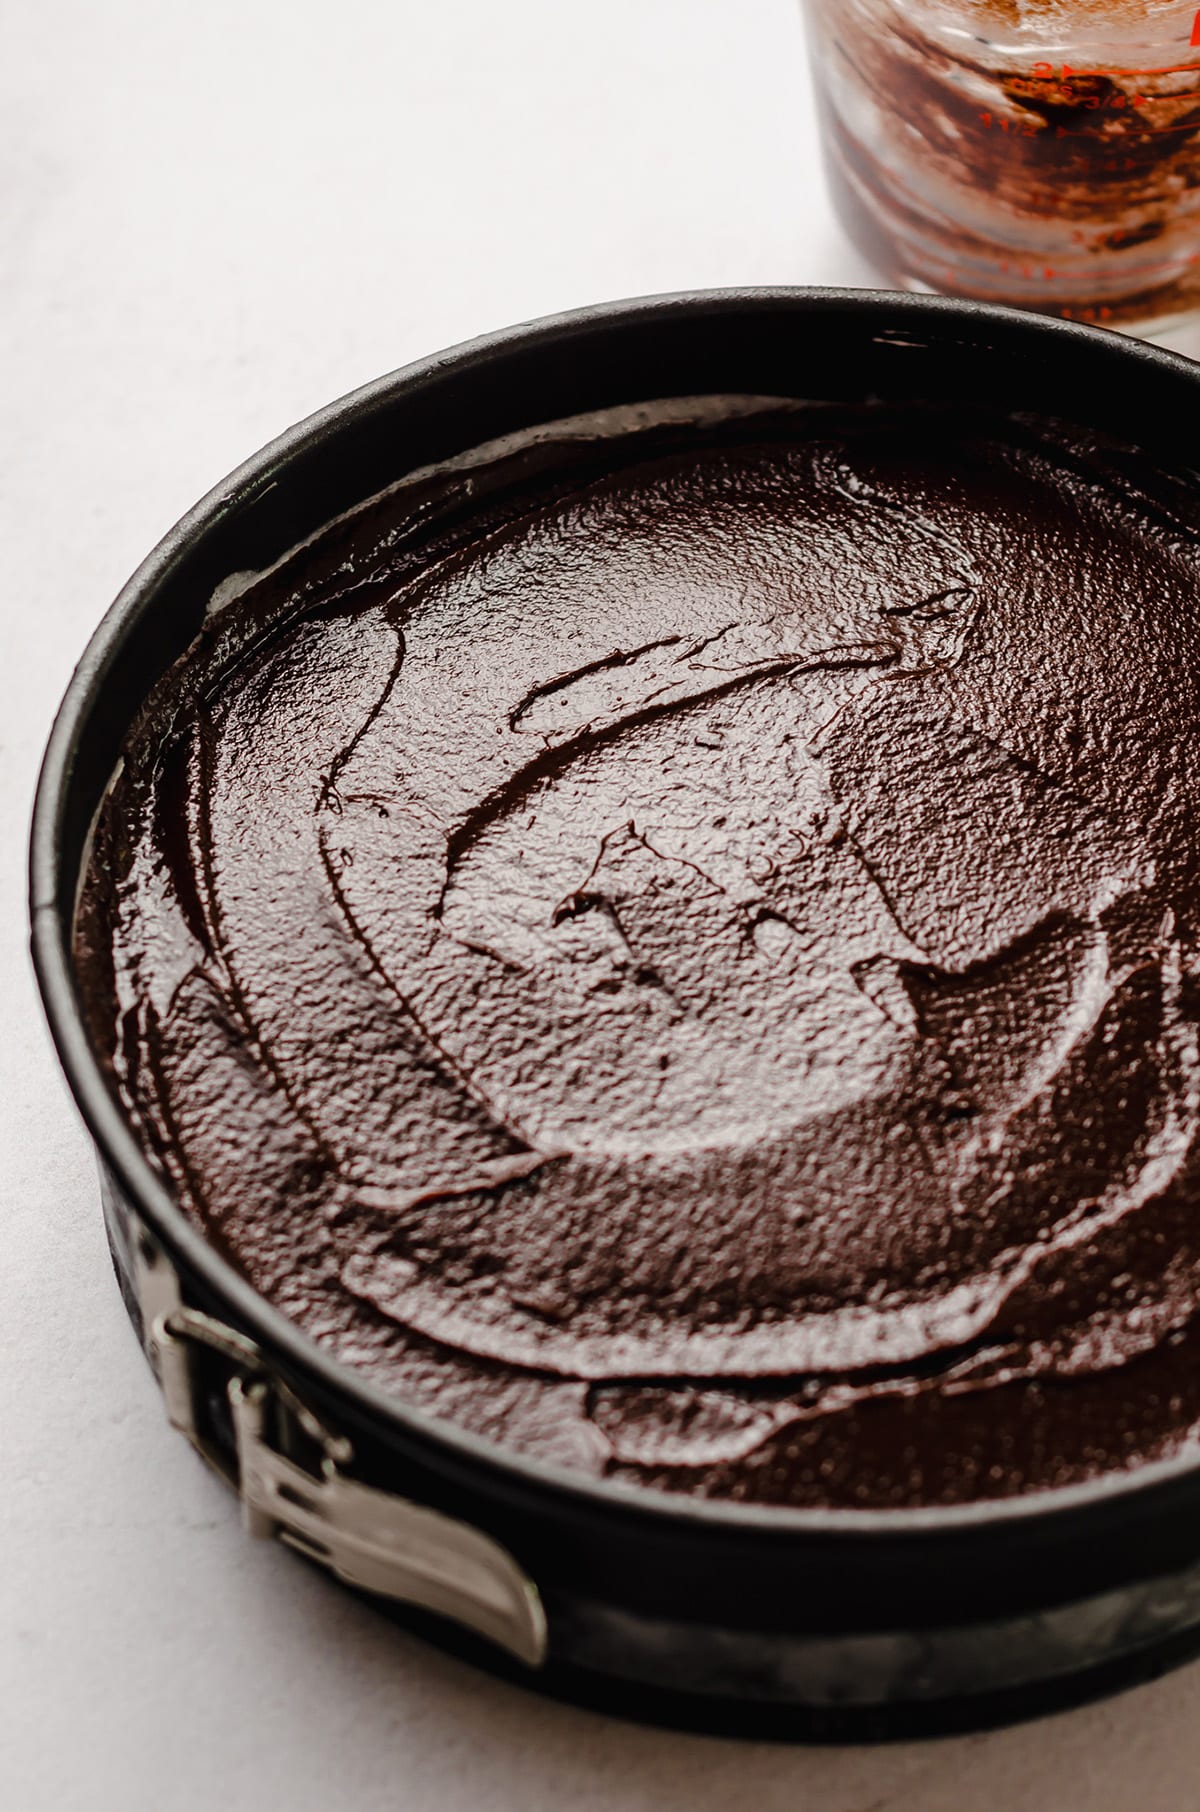
ADD THE WHIPPED TOPPING AND CHOPPED OREOS
STEP #15: Once the hot fudge layer has chilled for at least 30 minutes and is set, it’s time to prepare the whipped cream layer. I go into detail in my homemade whipped cream post, so if you’ve never made your own whipped cream before, I’d recommend starting there.
STEP #16: But, the process is pretty simple. Just add the heavy whipping cream, sugar, and vanilla extract into the bowl of a stand mixer fitted with the whisk attachment.
STEP #17: Turn the mixer to medium speed and whip everything together. It will start to get bubbly and frothy, and then start to thicken around the 3 minute mark.
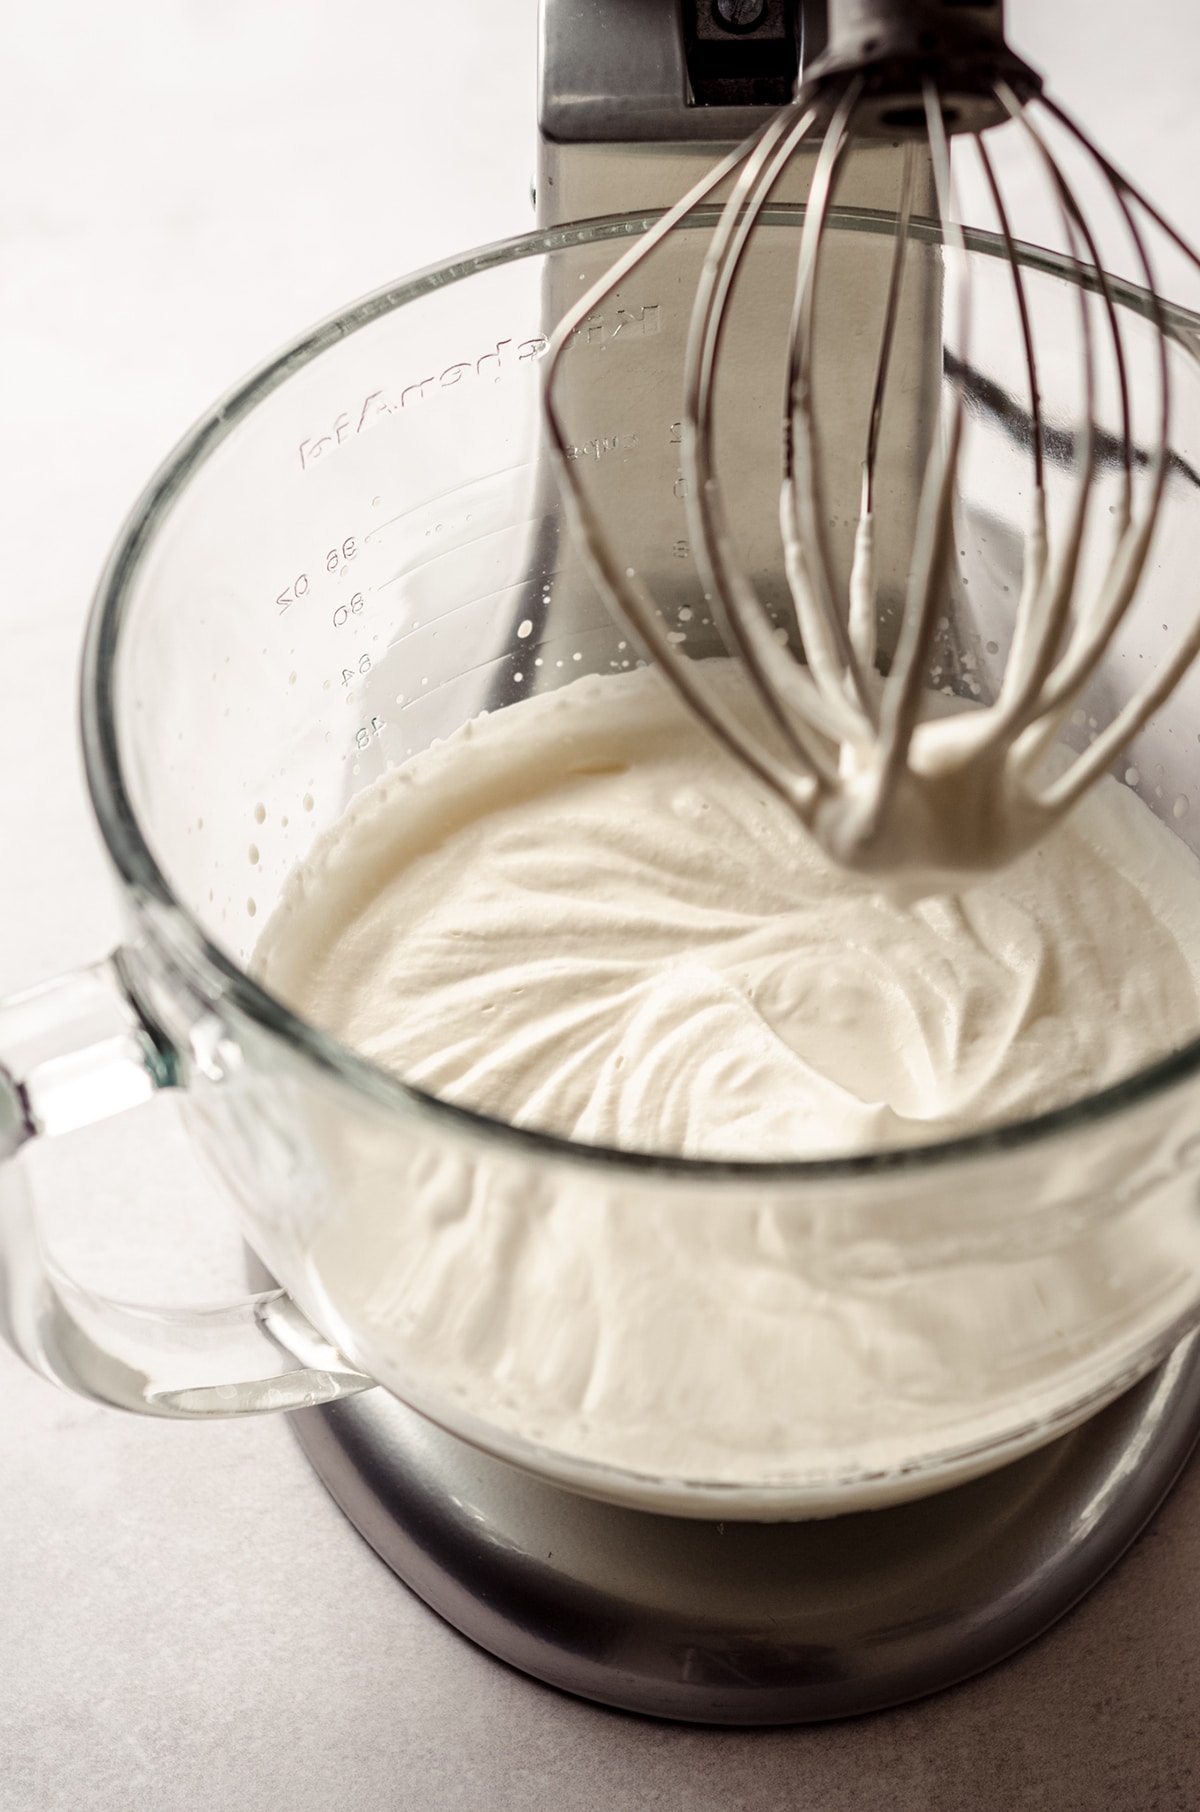
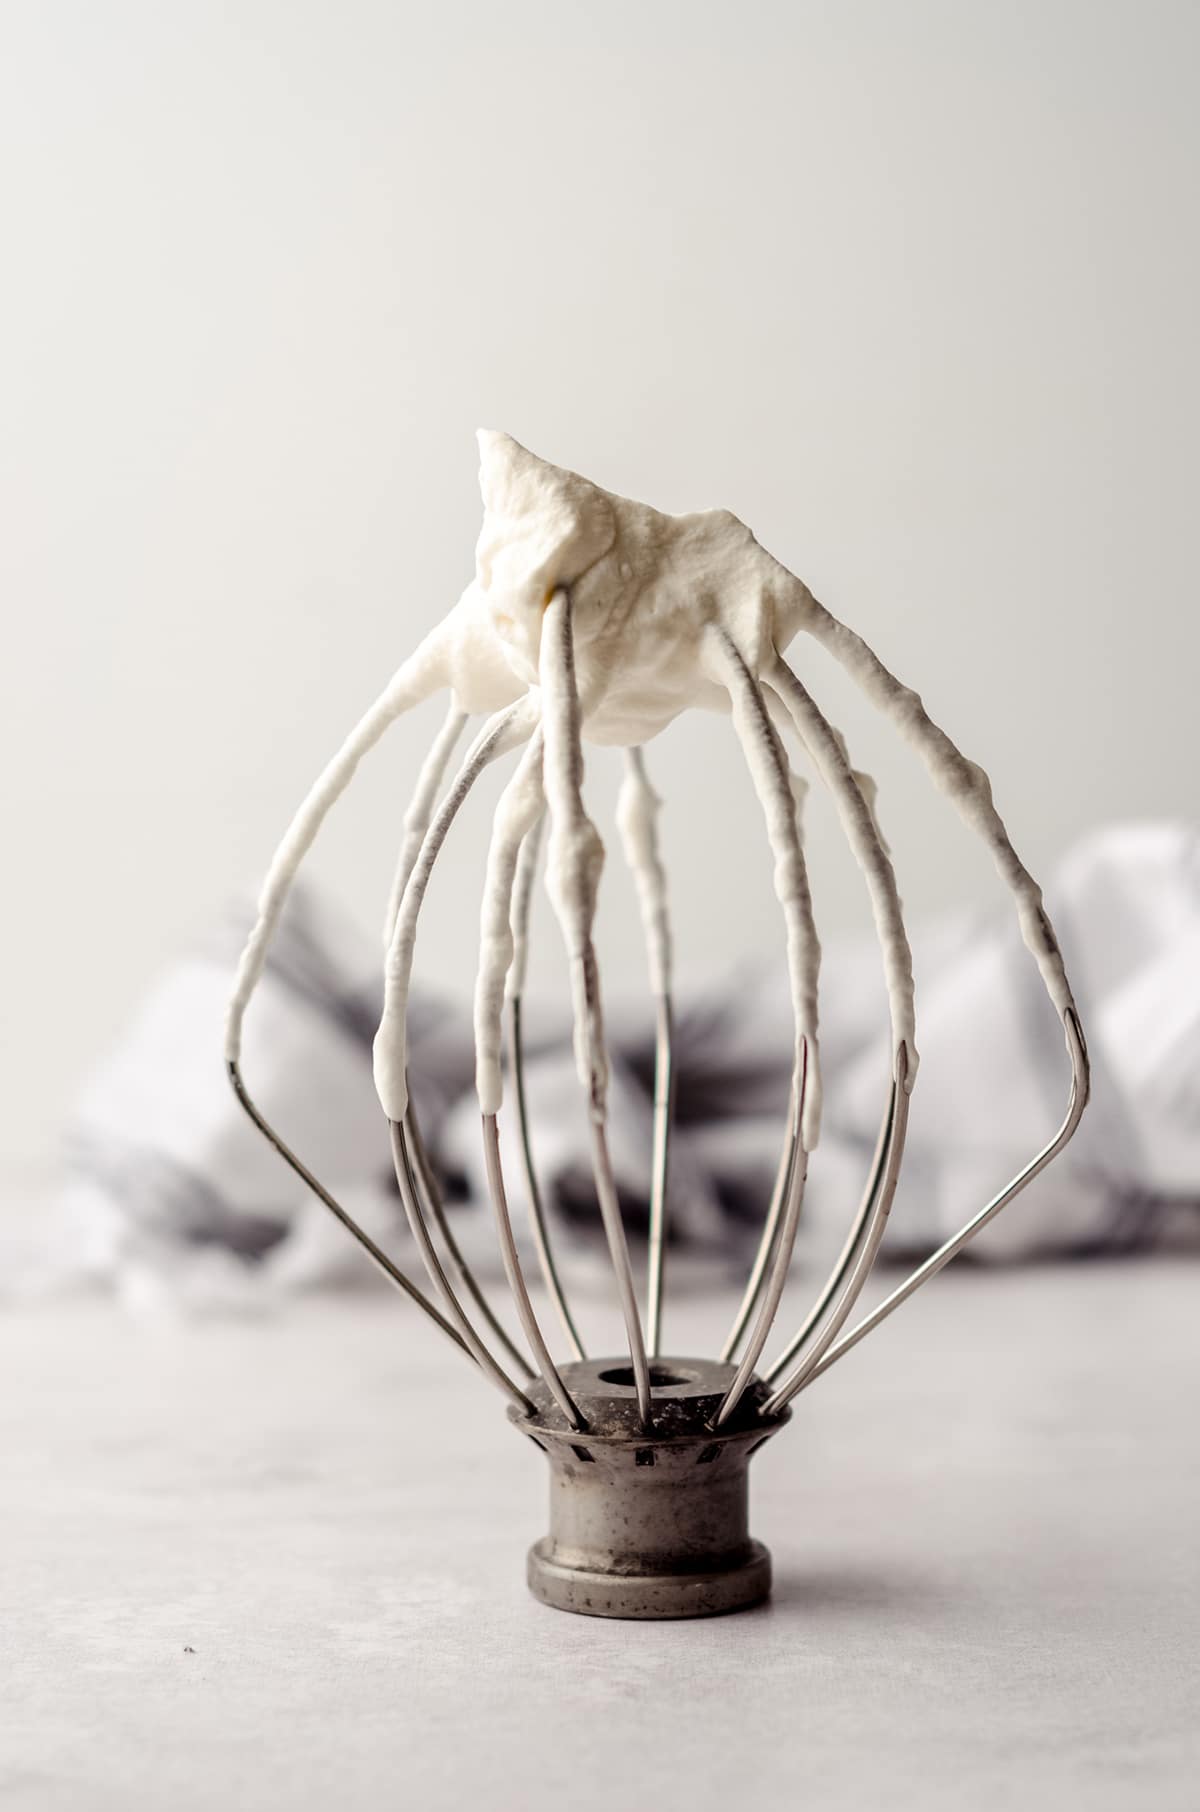
STEP #18: Once the cream has become very thick (you can see the trail of the whisk), increase the speed to medium high and beat for an additional 30 seconds to 1 minute. After this, it should look super airy and have formed stiff peaks.
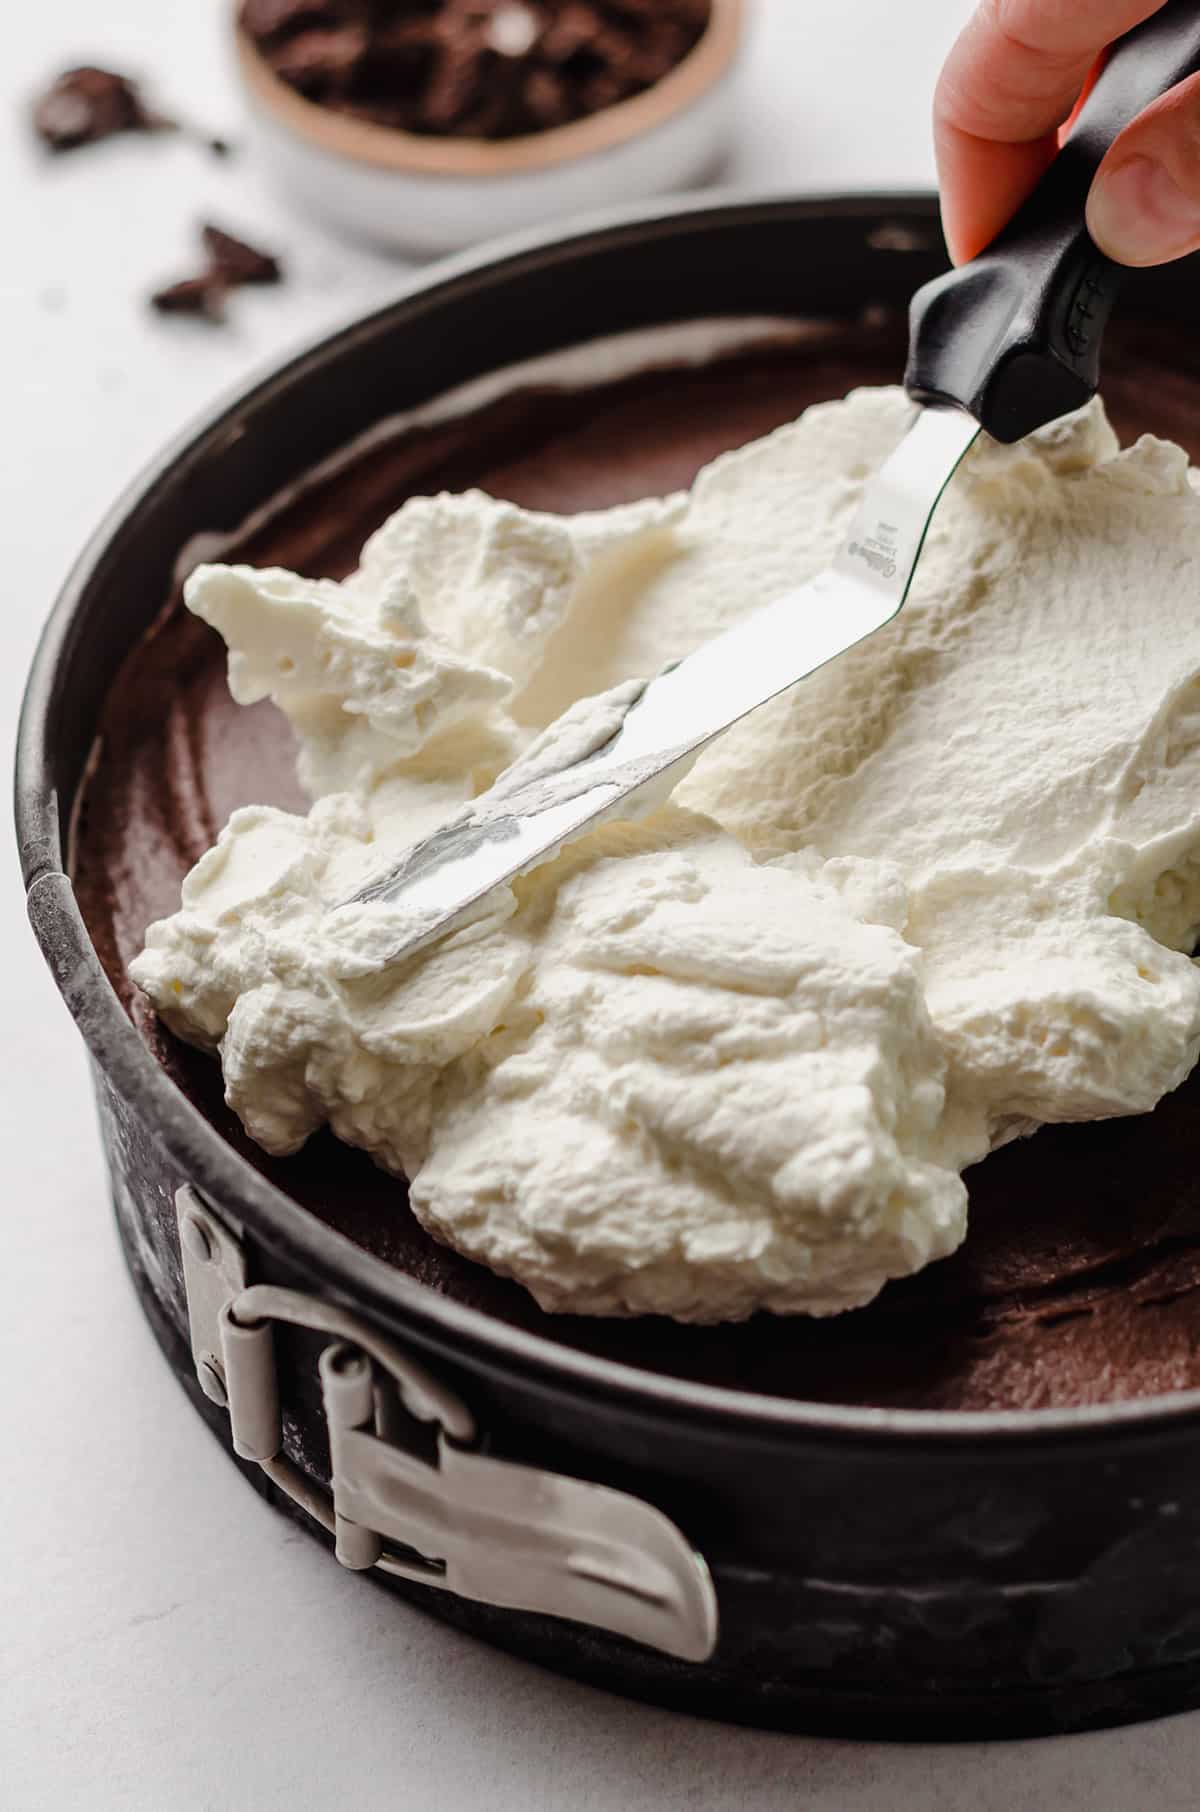
STEP #19: Once the whipped cream forms stiff peaks, use an offset spatula to smooth the whipped cream on top of the set hot fudge layer.
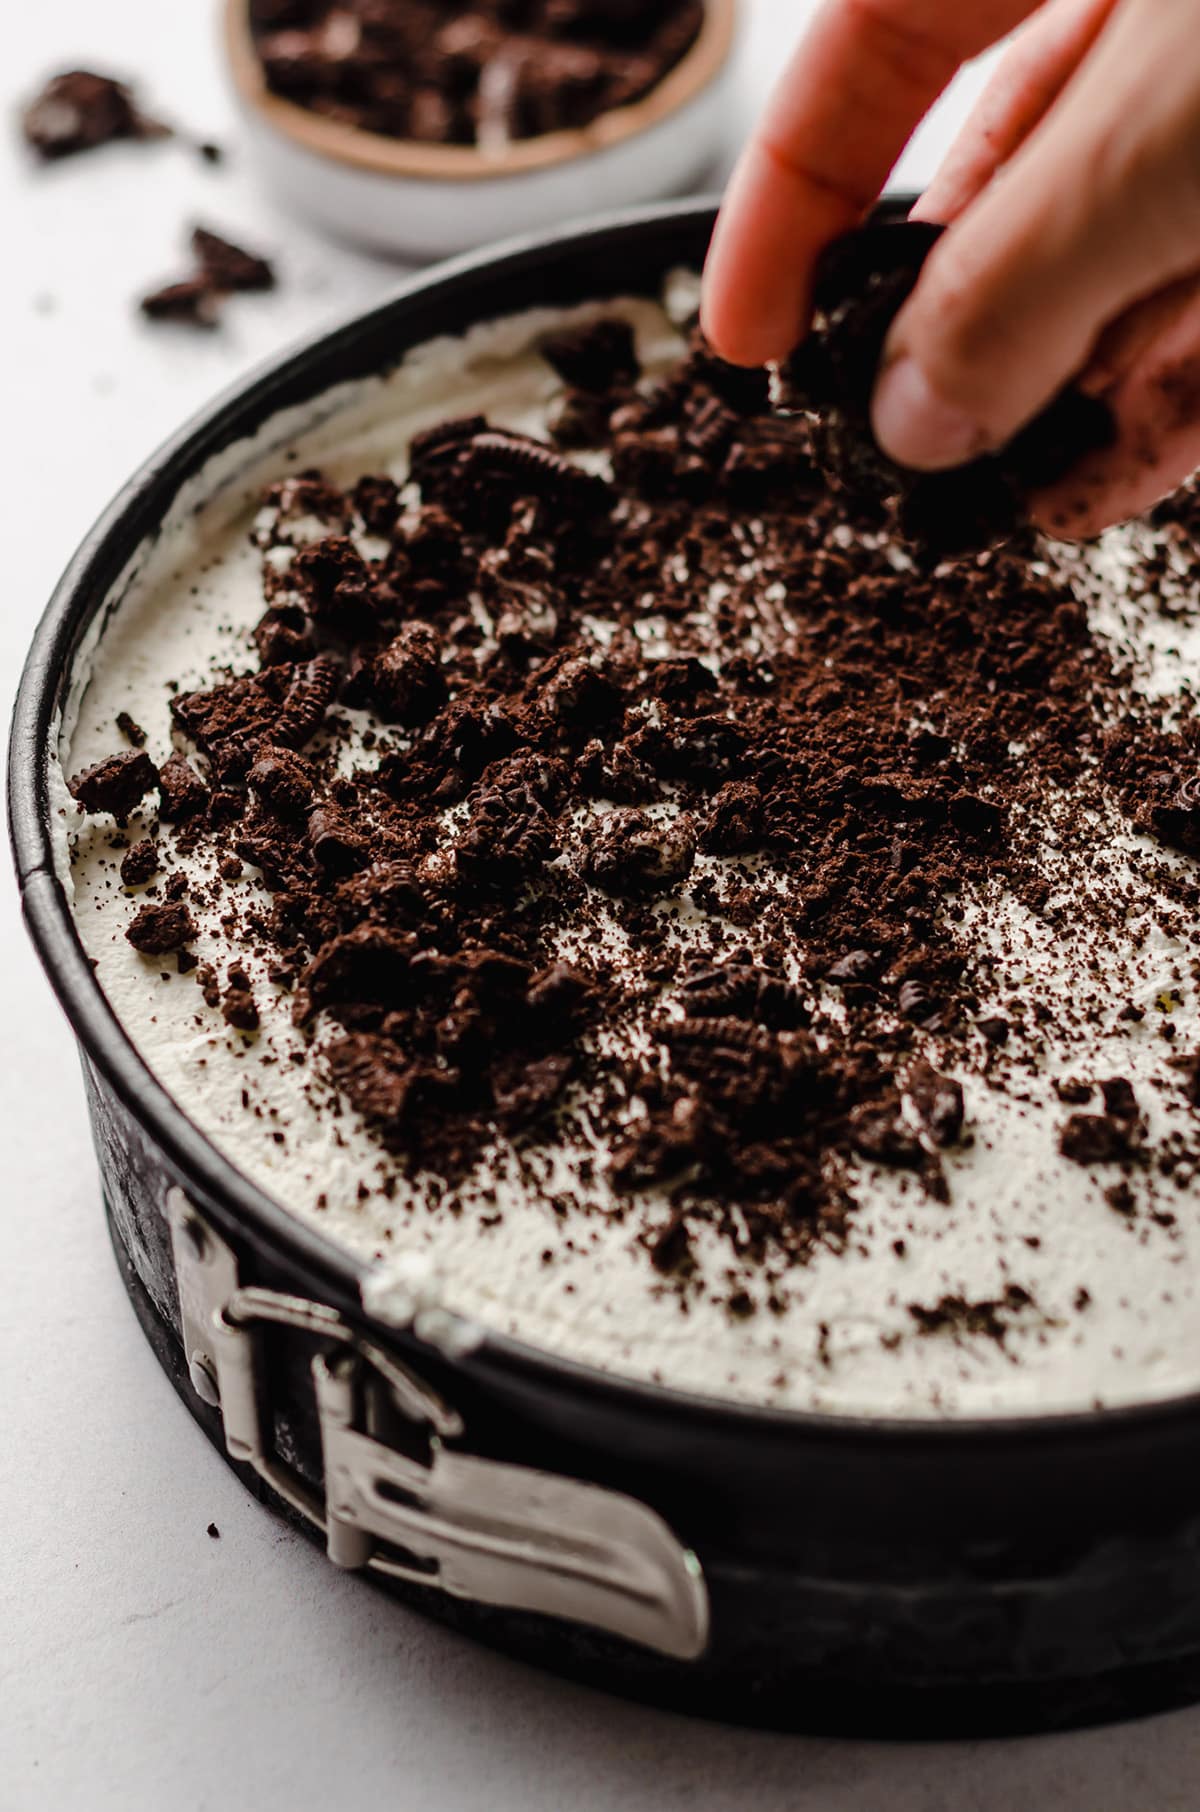
STEP #20: Then, chop 8 of your Oreo cookies and sprinkle them on top of the whipped cream layer. Press down gently with your hand to sink them into the whipped cream topping and secure them into place.
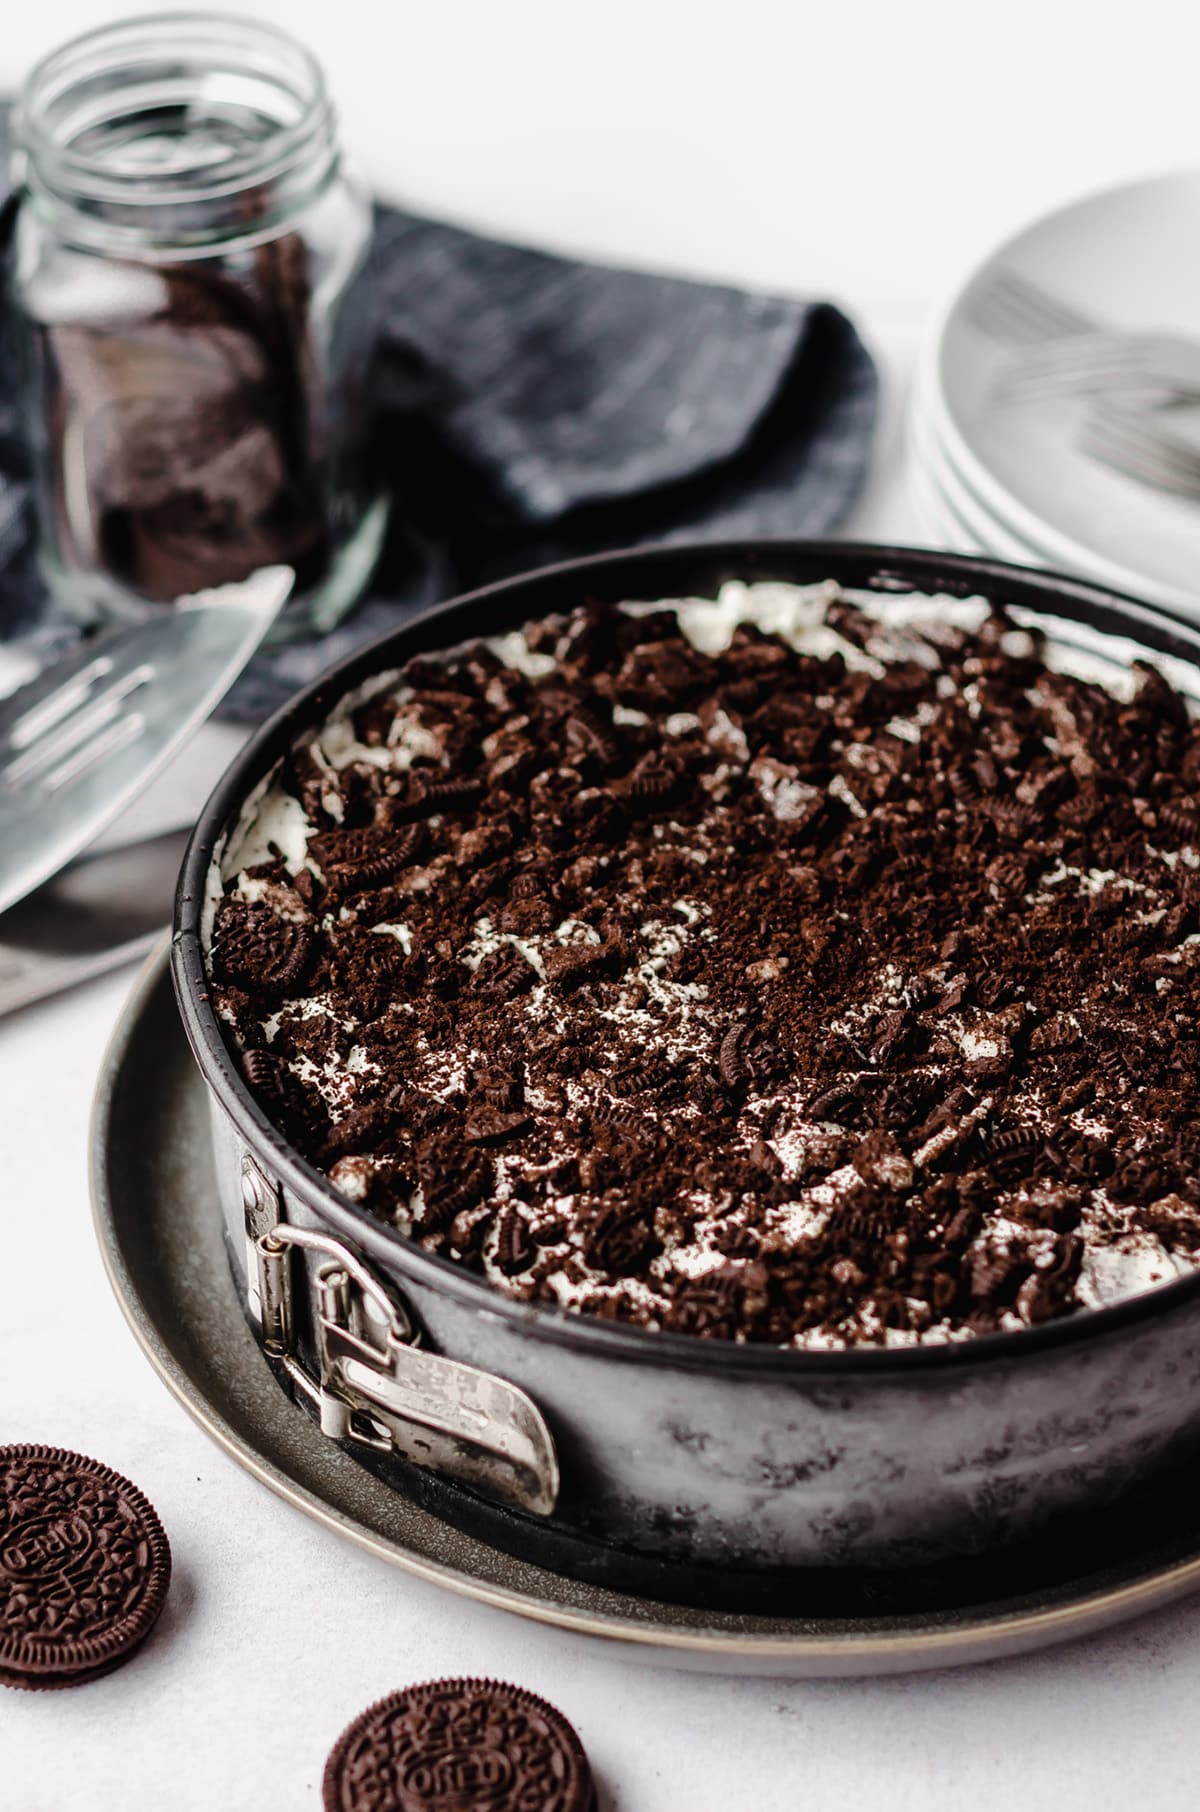
FREEZE THE WHOLE ICE CREAM CAKE
STEP #21: Place the finished ice cream cake in the freezer for at least 4-6 hours to firm and chill, although overnight is ideal.
STEP #22: You can cover it with a light layer of foil or plastic wrap if you want to protect it from any rouge frozen goods sliding into your cake during the freezing process, but if you have a neat or nearly empty freezer you can leave it uncovered.
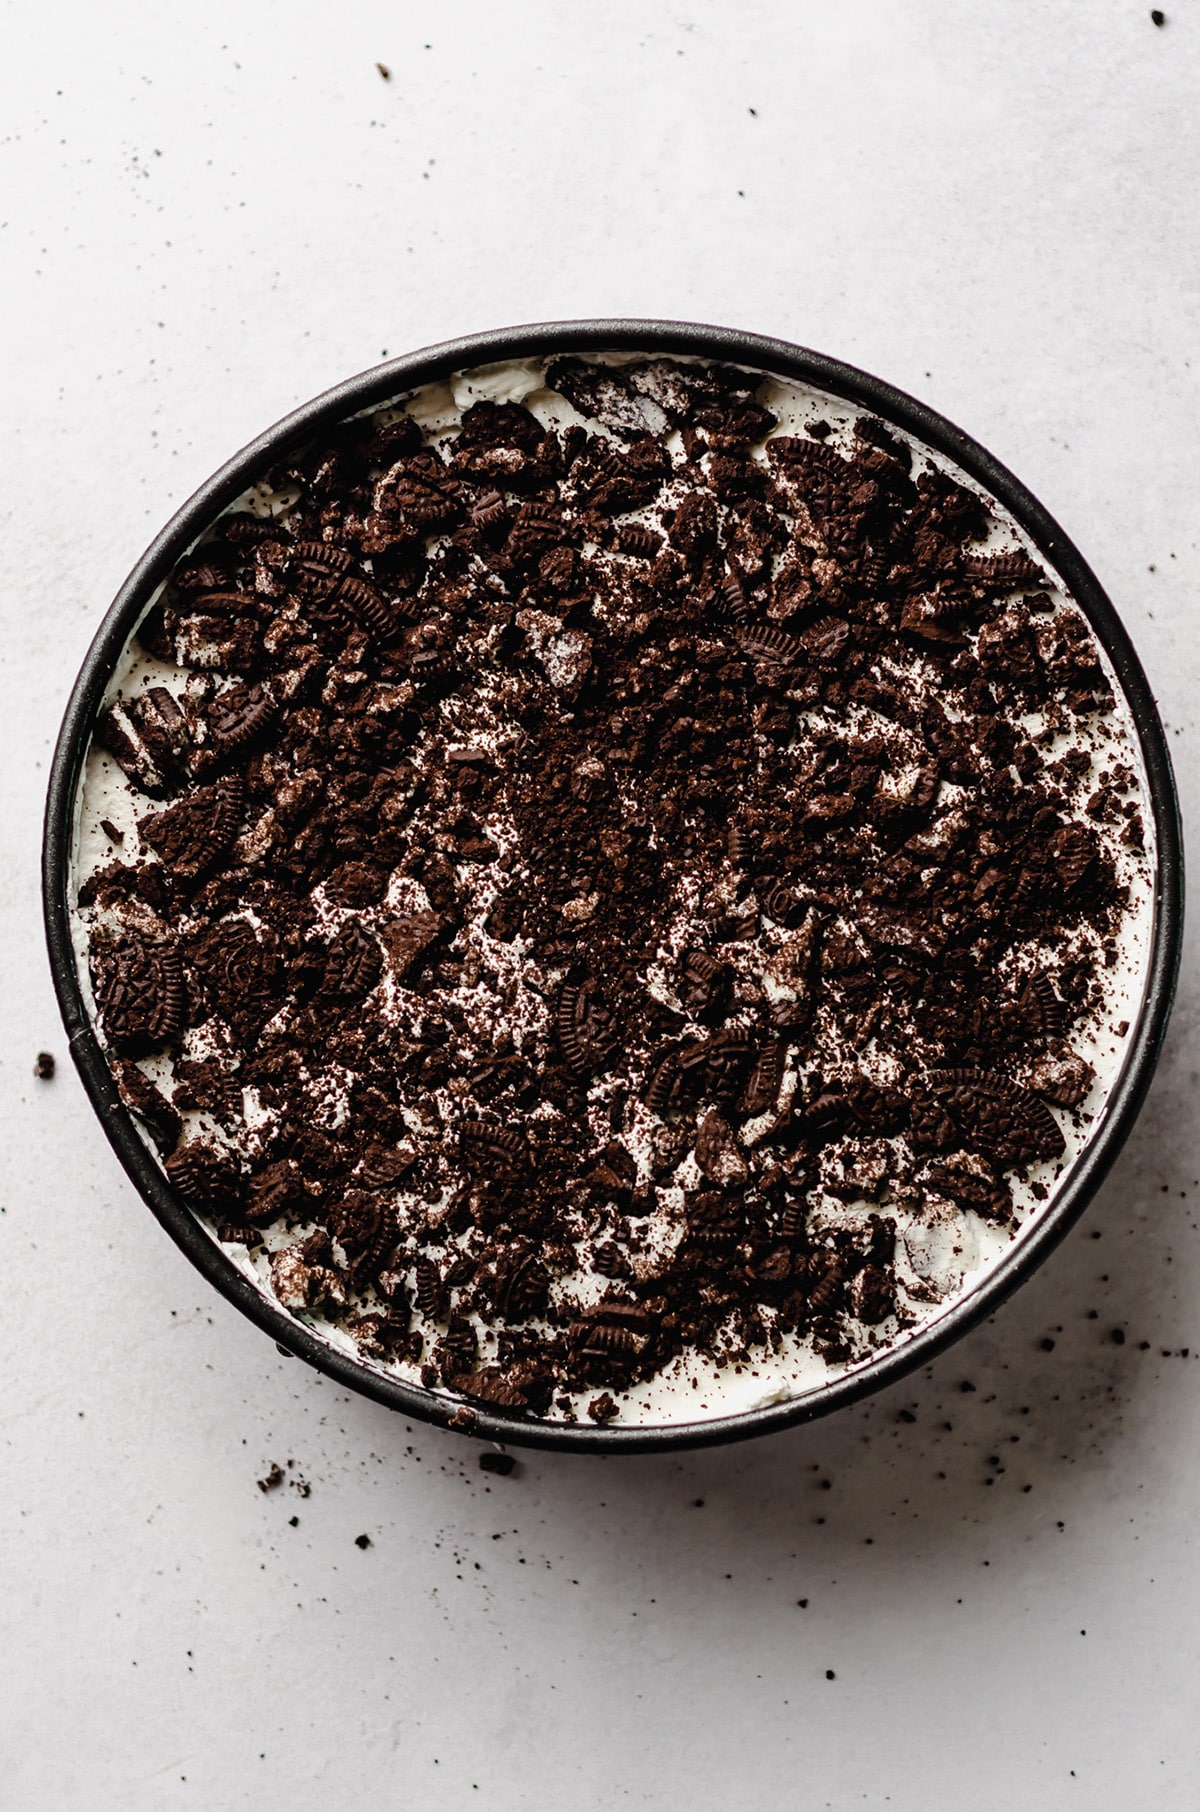
How to cut Oreo Ice Cream Cake
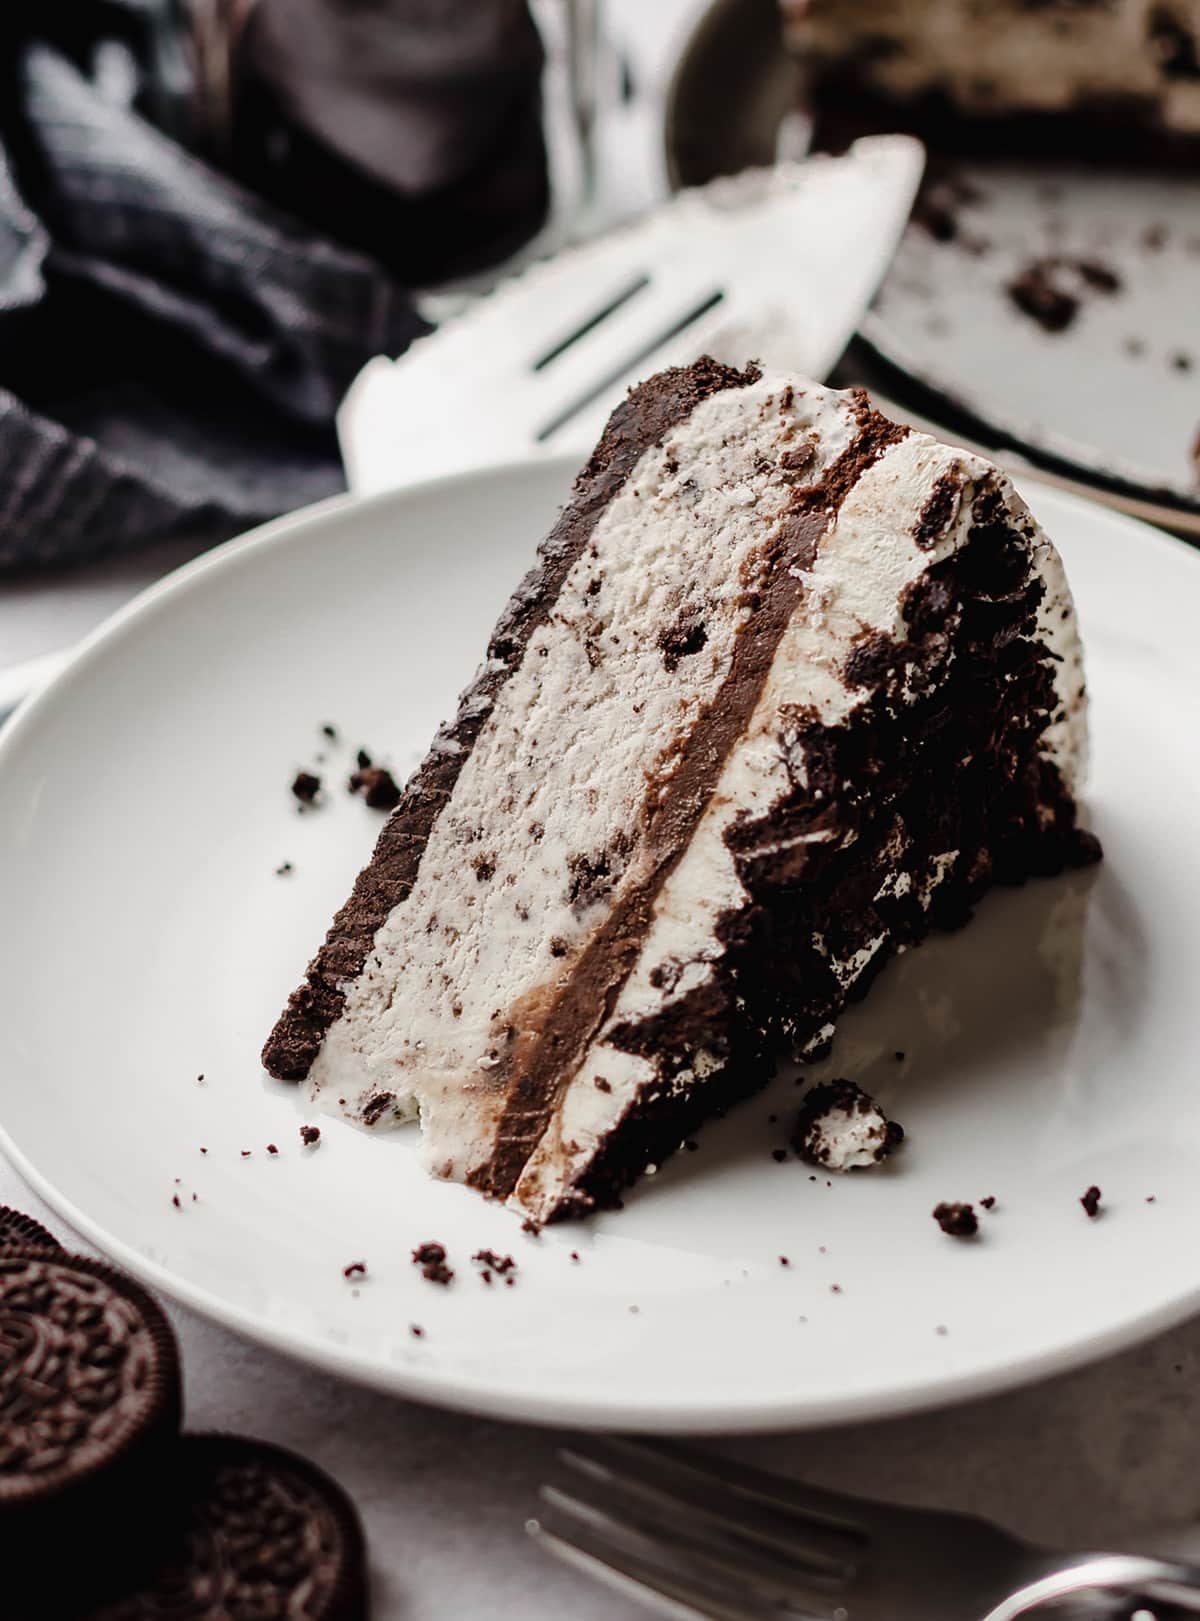
Once you’re ready to serve your Oreo cookie-filled cake, allow it to sit at room temperature for 15-20 minutes to soften up a bit. This will make it SO much easier to cut through.
Then, run a butterknife under hot water and dry it off. Run the warm knife around the sides of the cake to release it from the springform pan, and then gently remove the outer ring.
To cut the cake into slices, run a large and very sharp knife (like a chef’s knife) under hot water, then dry it off with a clean towel. Slice the cake into wedges, and remove with a cake server.
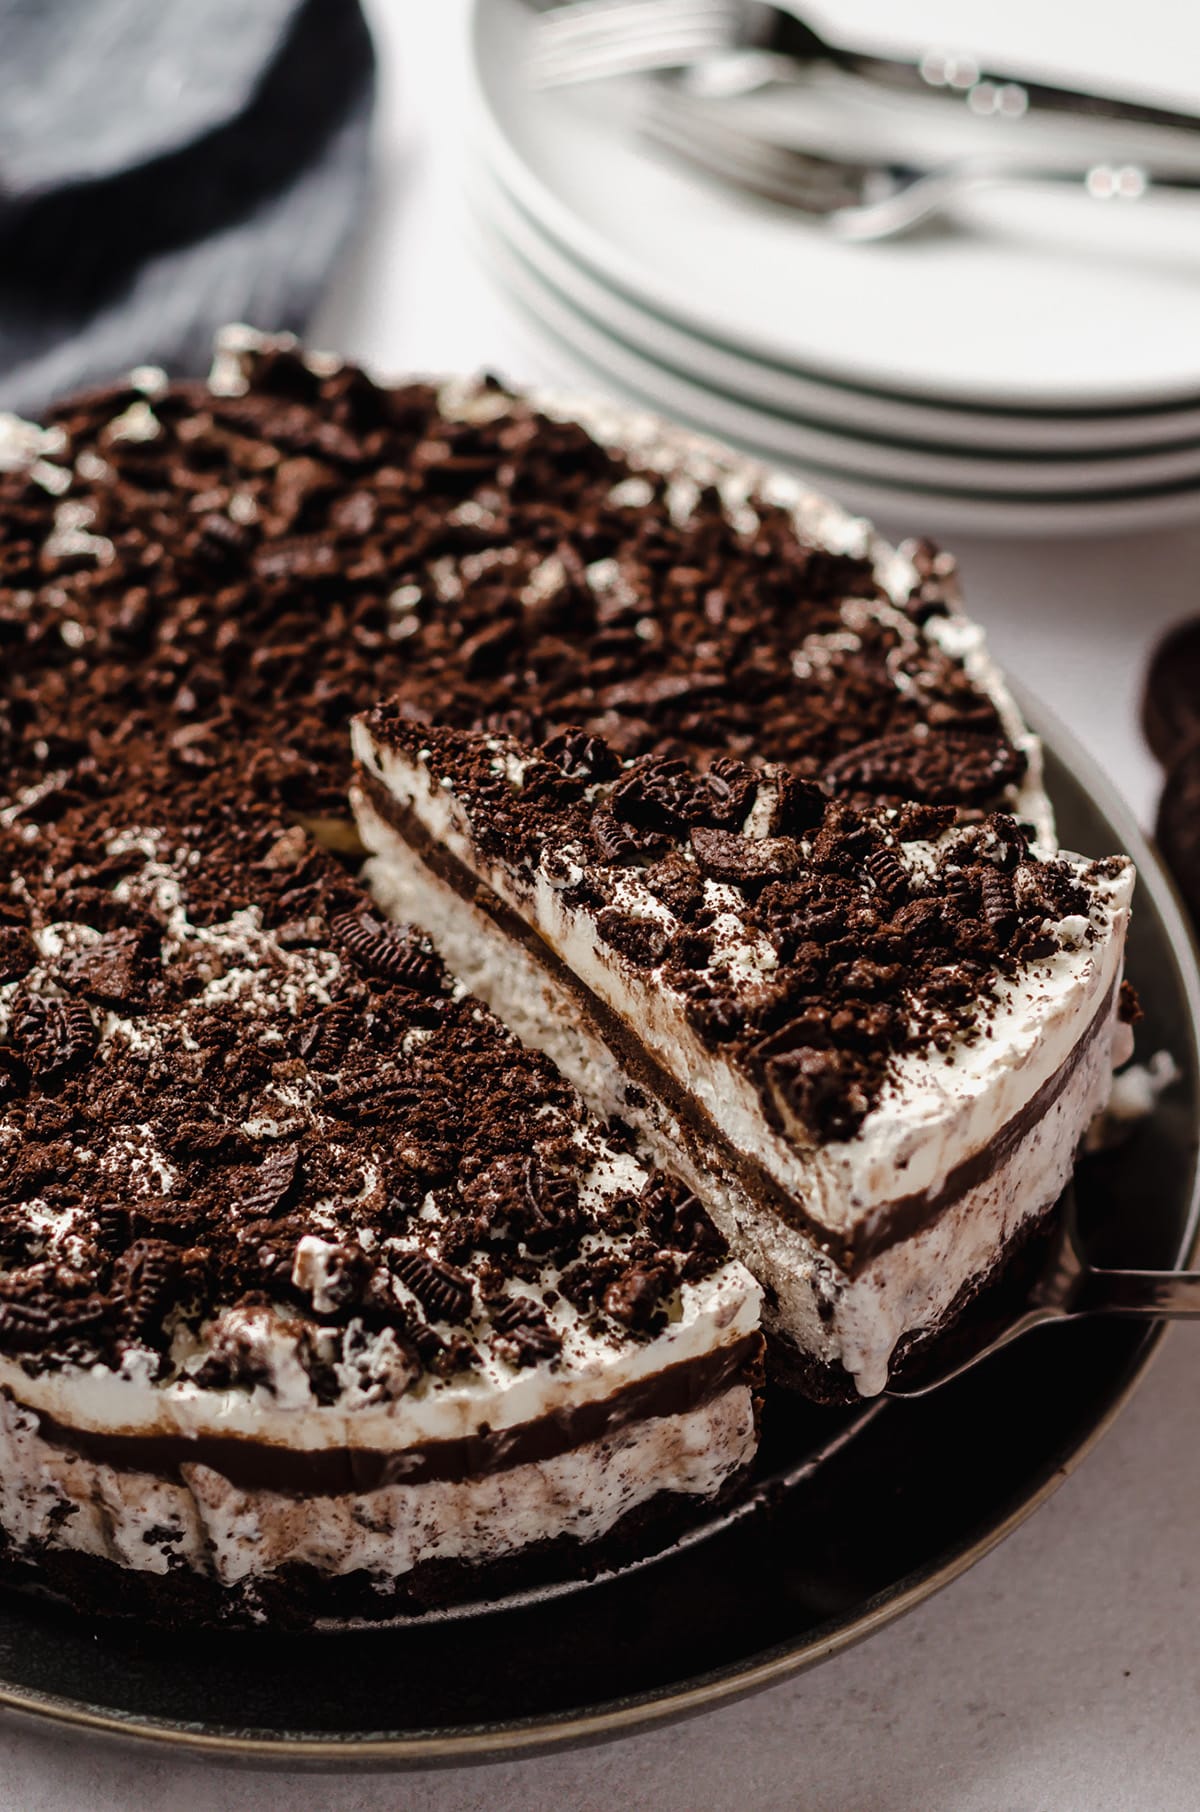
How to Store Cookies and Cream Ice Cream Cake
If you have any leftover ice cream cake, keep all remaining slices together and cover tightly. Freeze. Allow to thaw for 10-15 minutes before slicing and serving. A double wrapping of plastic wrap and foil will help keep the cake fresher for longer.
HOW LONG DOES ICE CREAM CAKE LAST IN THE FREEZER?
Ice cream cake will last up to 3 months, as long as ice crystals haven’t formed and freezer burn has not set in.
Oreo Ice Cream Cake FAQs
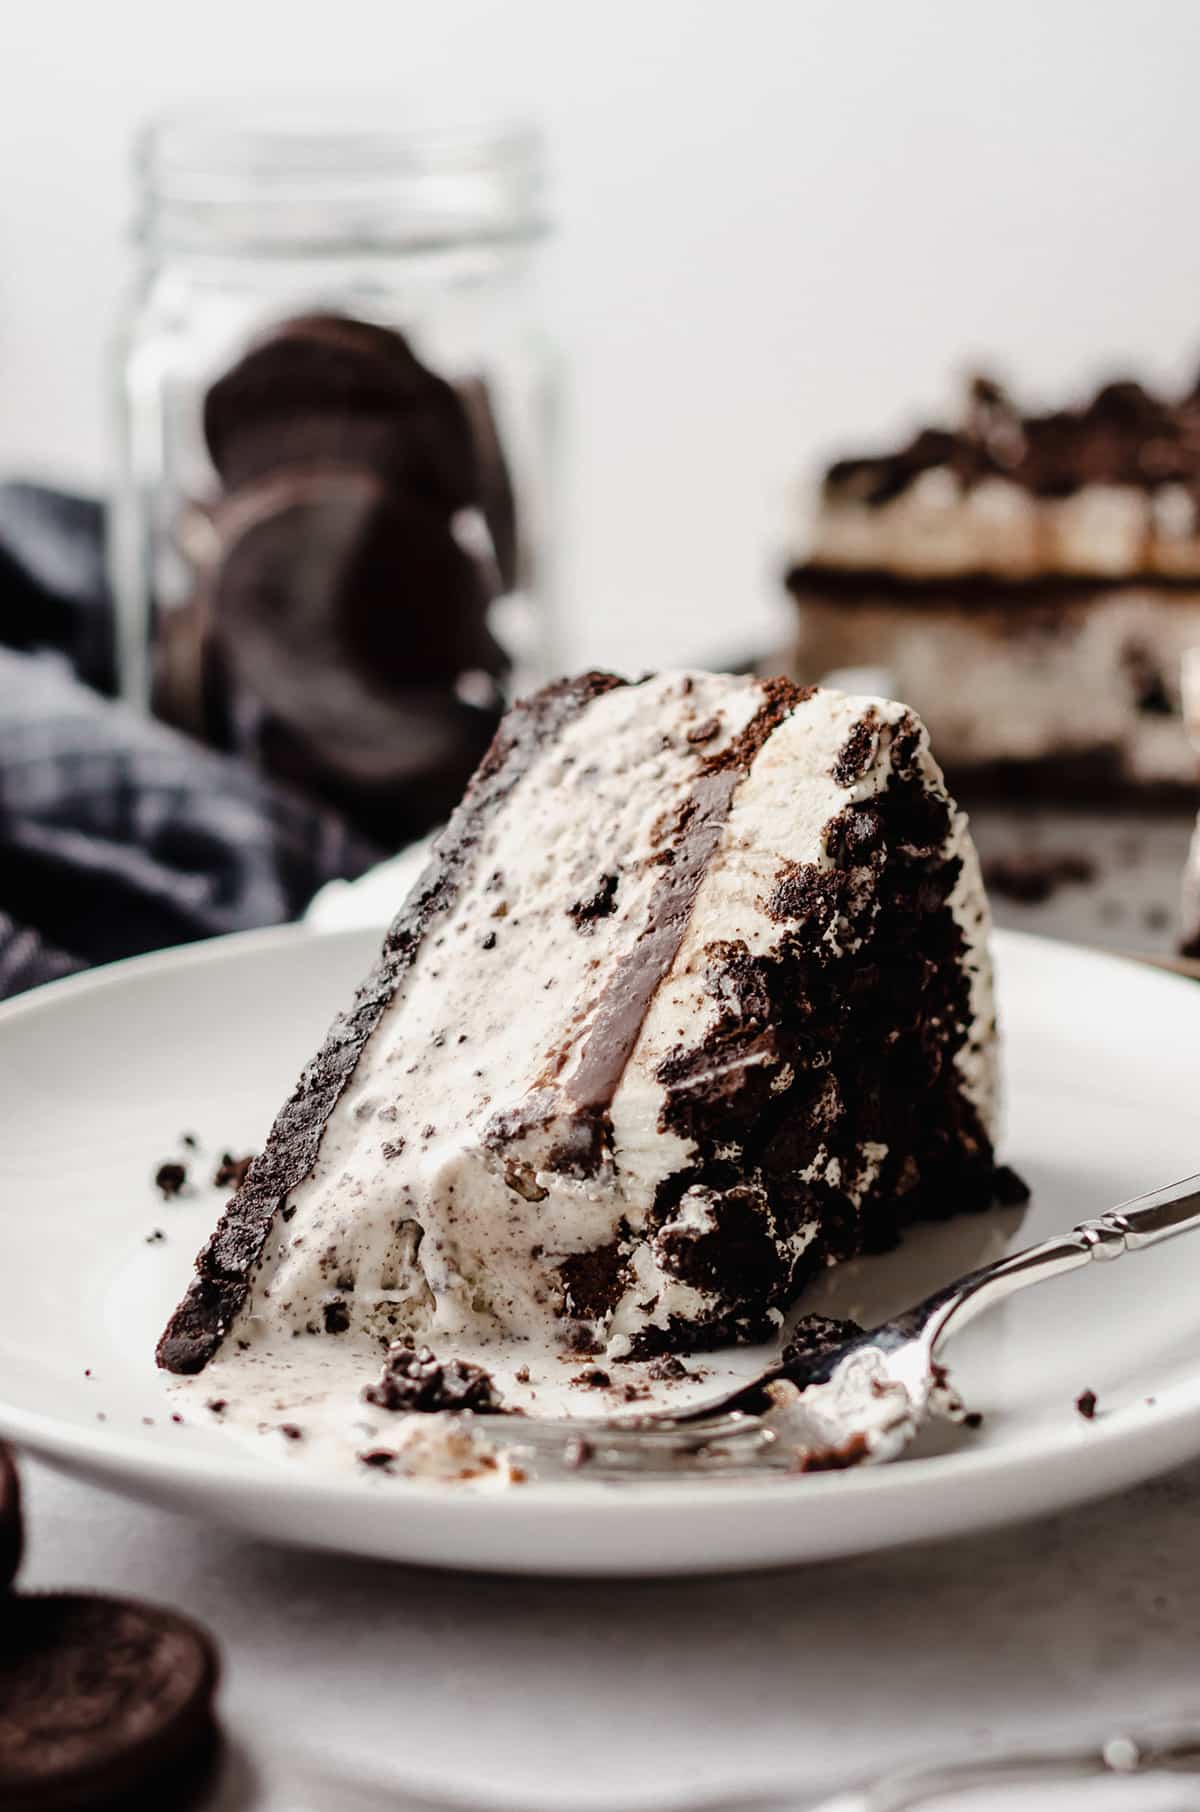
Now that you’ve tried this Oreo-packed cookies and cream ice cream cake, you’re probably wondering what chilly creations to try next.
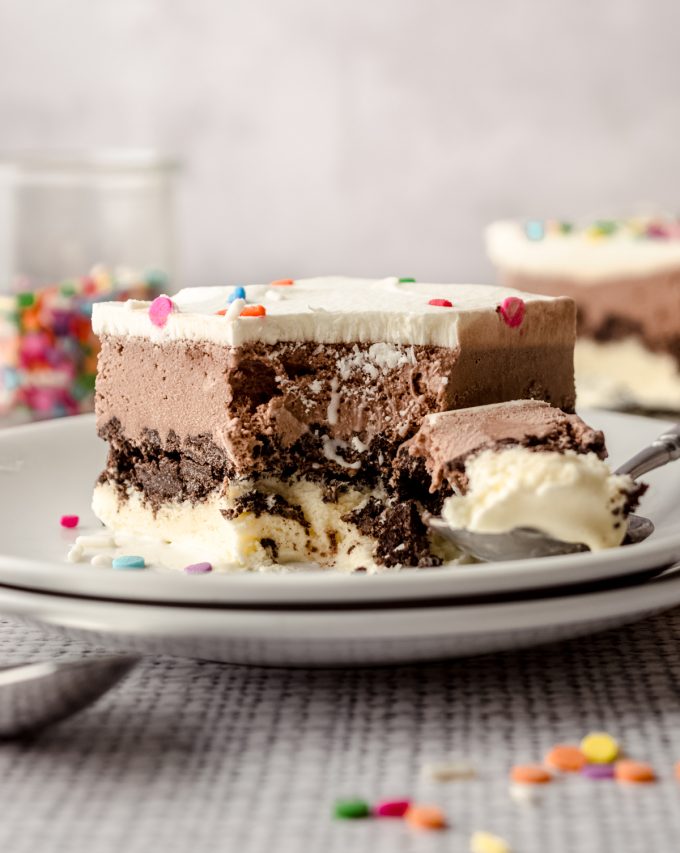
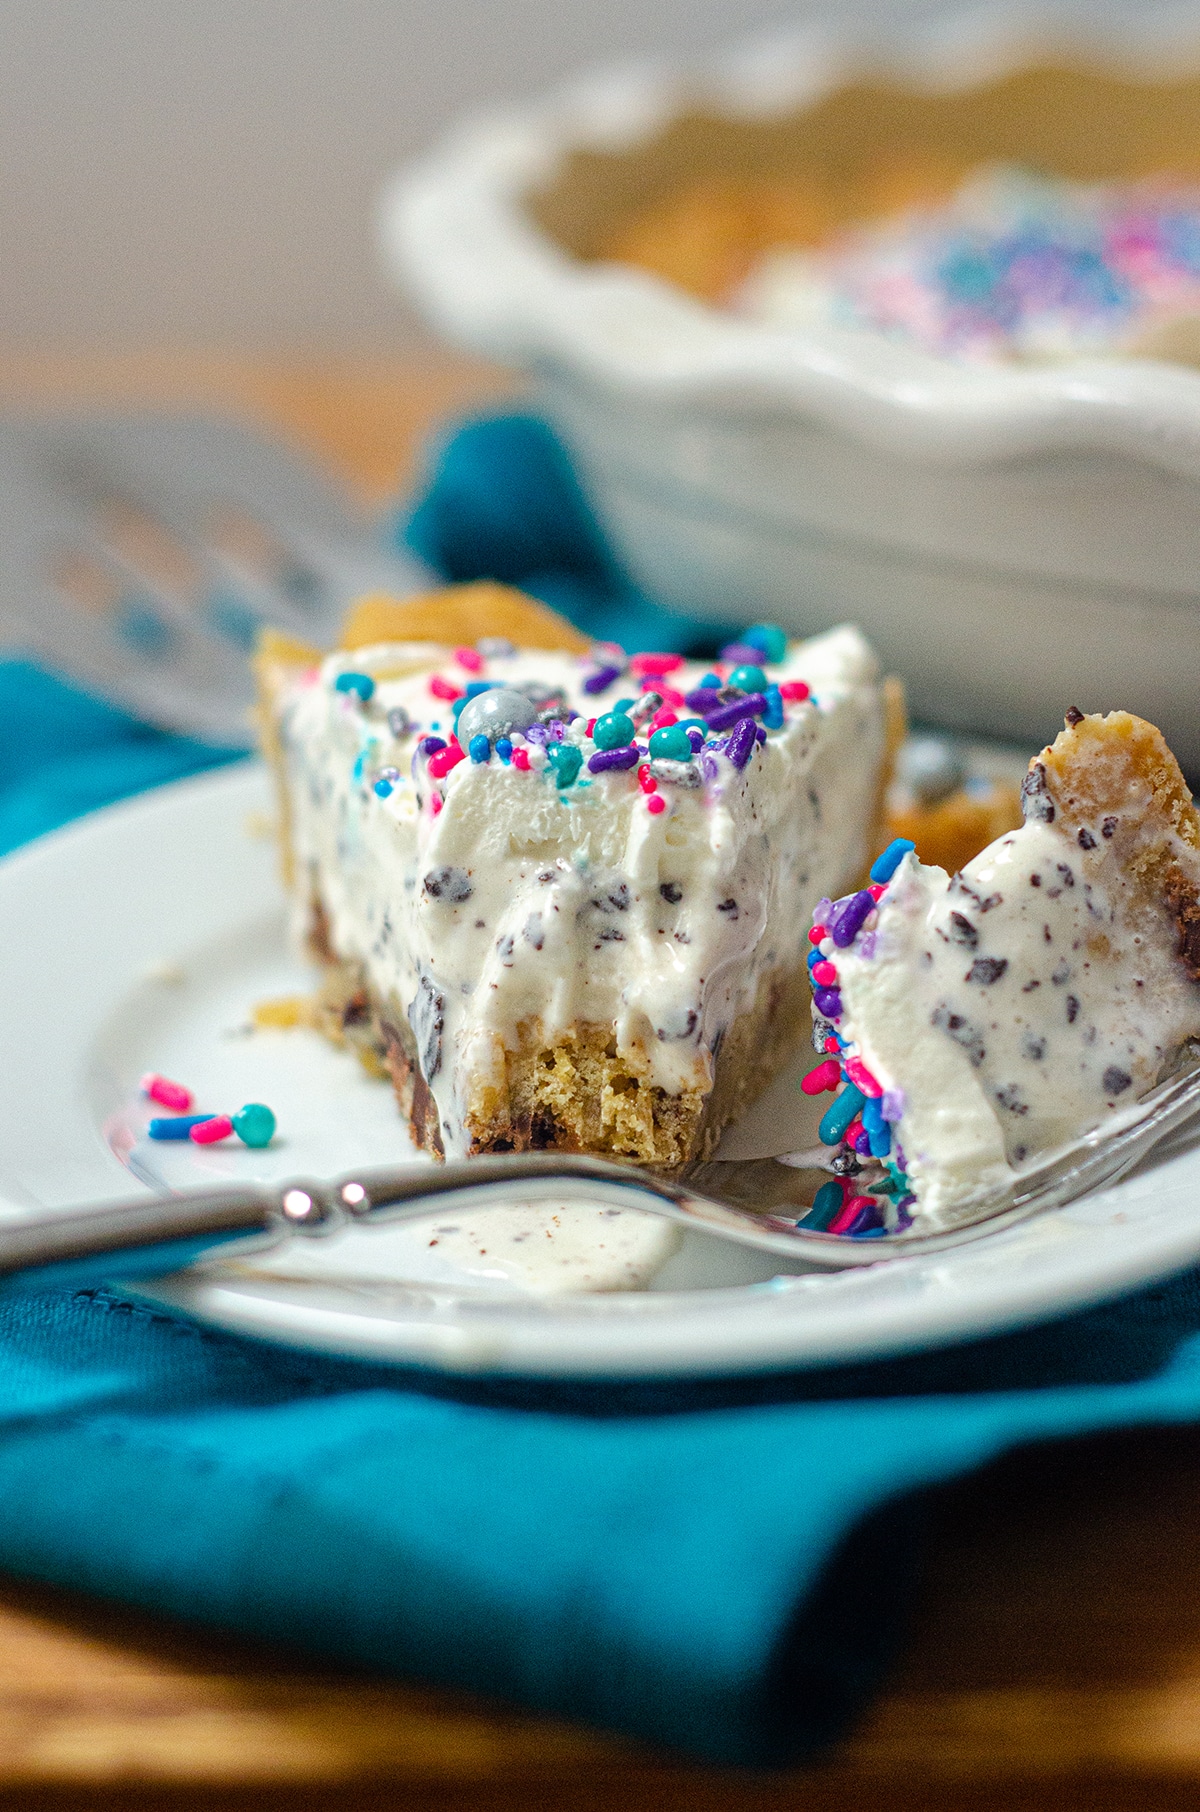
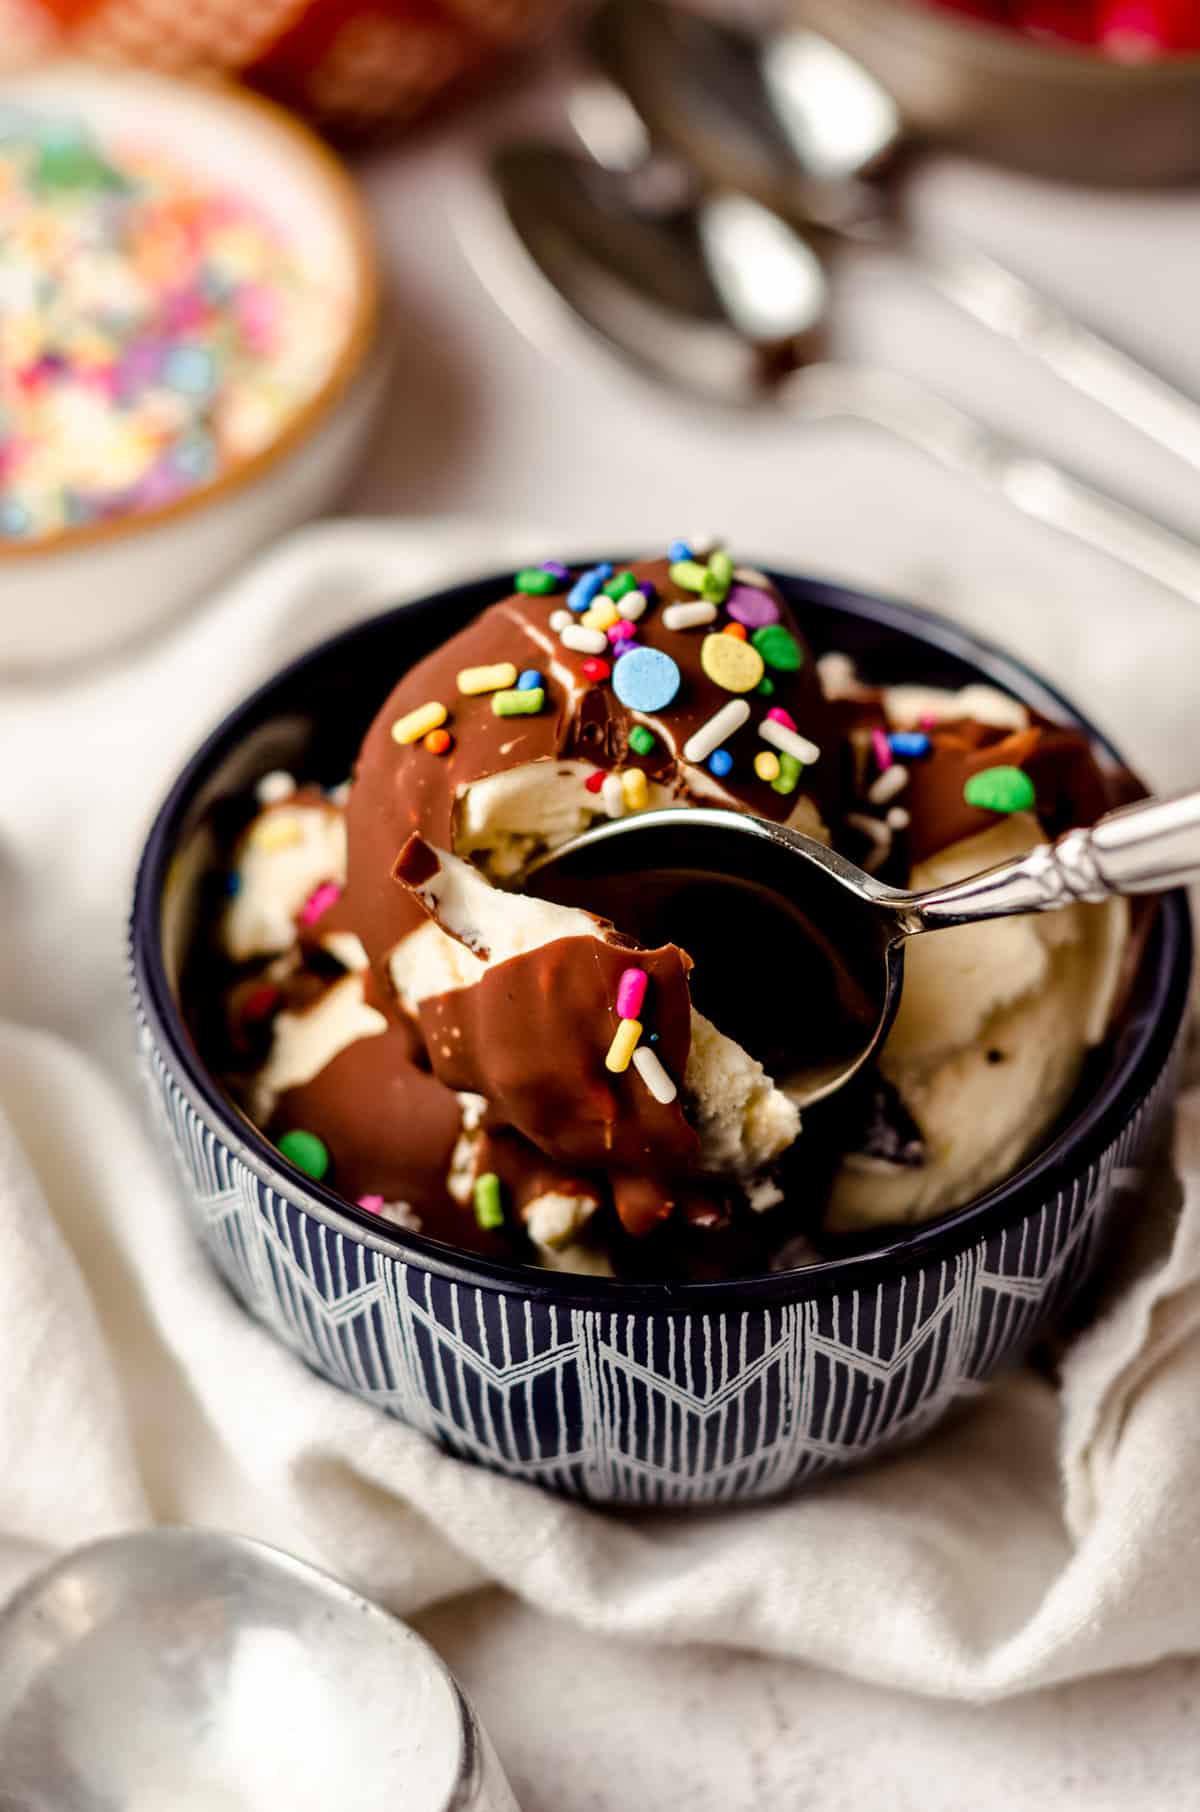
Good news: I’ve got you covered (duh)! You just HAVE to try my ice cream sheet cake, chocolate chip cookie dough ice cream pie, homemade peach ice cream, OR my recipe for homemade Magic Shell for adding to a bowl of your favorite ice cream.
Oreo Cookie Ice Cream Cake
Ingredients
OREO CRUST
- 24 Oreos crushed
- 4 Tablespoons (67g) unsalted butter melted
FILLING
- 1 and ½ quarts (1.41L) cookies and cream ice cream also known as a "half gallon"
- 10 ounces (300g) hot fudge about 1 cup; store bought is fine
TOPPING
- ½ cup (120mL) heavy cream
- ½ Tablespoon powdered sugar
- ½ teaspoon vanilla extract
- 8 Oreos coarsely chopped
Instructions
OREO CRUST
- Use a food processor or blender1 to process Oreos into a fine crumb.
- Turn the processor or blender off, add the butter, then pulse a few times until everything is blended well. Alternatively, you can add the Oreo crumbs to a bowl and mix the butter in with a large spatula. Mixture will be coarse and crumbly.
- Use your hands to press the mixture evenly into the bottom and slightly up the sides of a 9" springform pan. Once it is evenly spread into the pan, use the bottom of a flat measuring cup to make the crust tight and compact in the pan. Crust will be thick. Chill in the refrigerator or freezer for 30 minutes.
FILLING
- When there is about 15-20 minutes left for your Oreo crust, set out your cookies and cream ice cream.
- When you are able to stir the ice cream fairly easily, mix it up well and then pour it into the chilled Oreo crust. Chill in the freezer for at least 1 hour.
- Warm the hot fudge sauce until it is pourable but not too hot. Pour the hot fudge evenly over the chilled ice cream, then spread evenly with a rubber or offset spatula. Chill in the freezer for at least 30 minutes.
TOPPING
- When the hot fudge layer is set, prepare the homemade whipped cream2. Pour the heavy whipping cream, sugar, and vanilla extract into the bowl of a stand mixer fitted with the whisk attachment.
- Turn the mixer to medium speed. The mixture will start to get frothy and bubbly. After about 2 to 3 minutes, the mixture will start to thicken. Once mixture is visibly thick (you will be able to see the trail of the whisk), increase the speed to medium-high and beat for an additional 30 seconds to 1 minute. At this point, your whipped cream should start to look "billowy" and the trails from your whisk will be quite distinct.
- Pull the whisk out of the bowl and check that the whipped cream in the bowl has formed what are called "stiff peaks." This is just a fancy term for "the whipped cream stays standing up when you pull something out of it."
- Use a spatula to smooth the whipped cream topping over the firm hot fudge layer, then sprinkle the chopped Oreos evenly over the whipped cream layer, pressing down gently on the pieces to secure them in place. Place ice cream cake in the freezer for 4-6 hours (or ideally overnight).
- When you are ready to serve the cake, allow to sit at room temperature for about 15-20 minutes. Run a warm butter knife around the sides of the cake to release it from the springform pan, then remove the outer ring. Use a very sharp knife to slice the cake (I find a knife run under hot water and then dried off works best here). Cover leftovers and store in the freezer up to 1 month.
Notes
- Crushed Oreos: I find it easiest to put the Oreos into a food processor than to do this step by hand.
- Homemade whipped cream: if you need some visuals on making whipped cream, see this post on homemade whipped cream as a guide. You can also use Cool Whip if you prefer. Use 1 cup of thawed topping.
Nutrition Disclosure
All nutritional values are approximate and provided to the reader as a courtesy. Changing ingredients and/or quantities will alter the estimated nutritional calculations.


This ice cream cake is so easy and delicious! My son can’t have red food dye which makes buying DQ cakes difficult. We tried this recipe and it was so good! Can’t wait to play around with different flavors of ice cream!
Thanks so much, Sara! I’m so glad this will be helpful for you.
So good! I didn’t do the fudge, I added some magic shell of top! Big hit with our guests
Thanks so much for your review, Joni!
This was SO GOODDD.
Thanks, Indy!
Making the ice cream cake in a spring form pan
Can I remove the cake from the bottom of the spring form pan to put on a dish . What would I use to do this . Would the crust keep its shape .
Hi, Marlene– you can do this, but it’s a little tricky! I suggest lining the springform pan with parchment if you’d like it to be standalone. Let me know how it turns out!