
Easy Apple Galette
As an Amazon Associate, I earn from qualifying purchases. Read the full disclosure here.
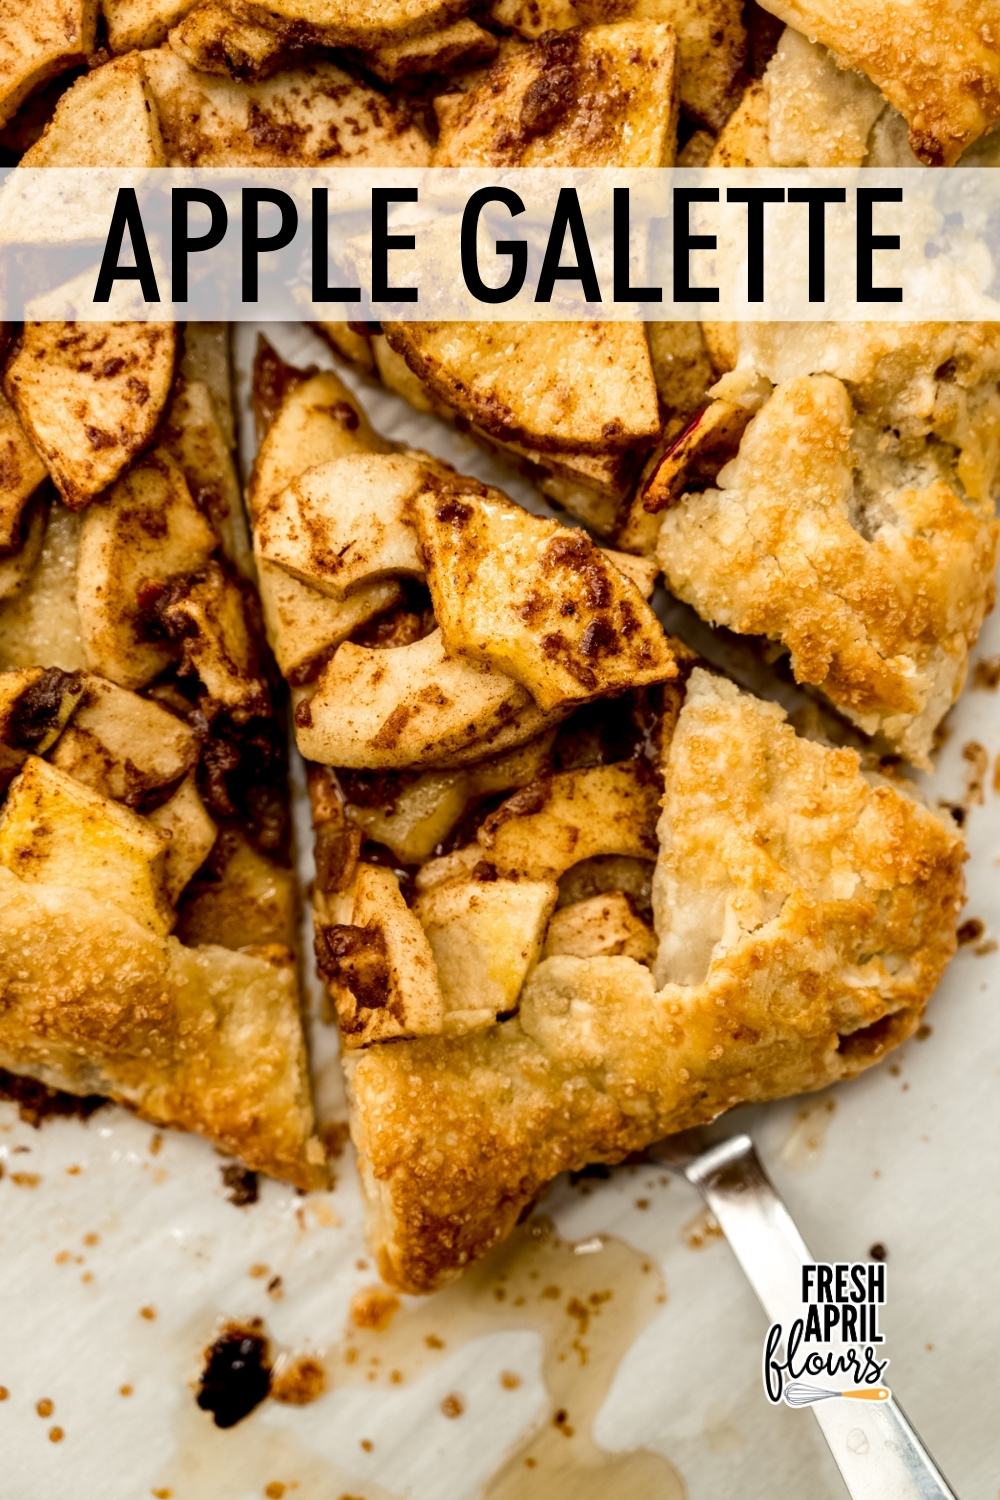
Tender and warmly spiced apples wrapped in a flaky, buttery homemade pie dough. Serve with ice cream, salted caramel sauce, or homemade whipped cream for a rustic pie-like experience.
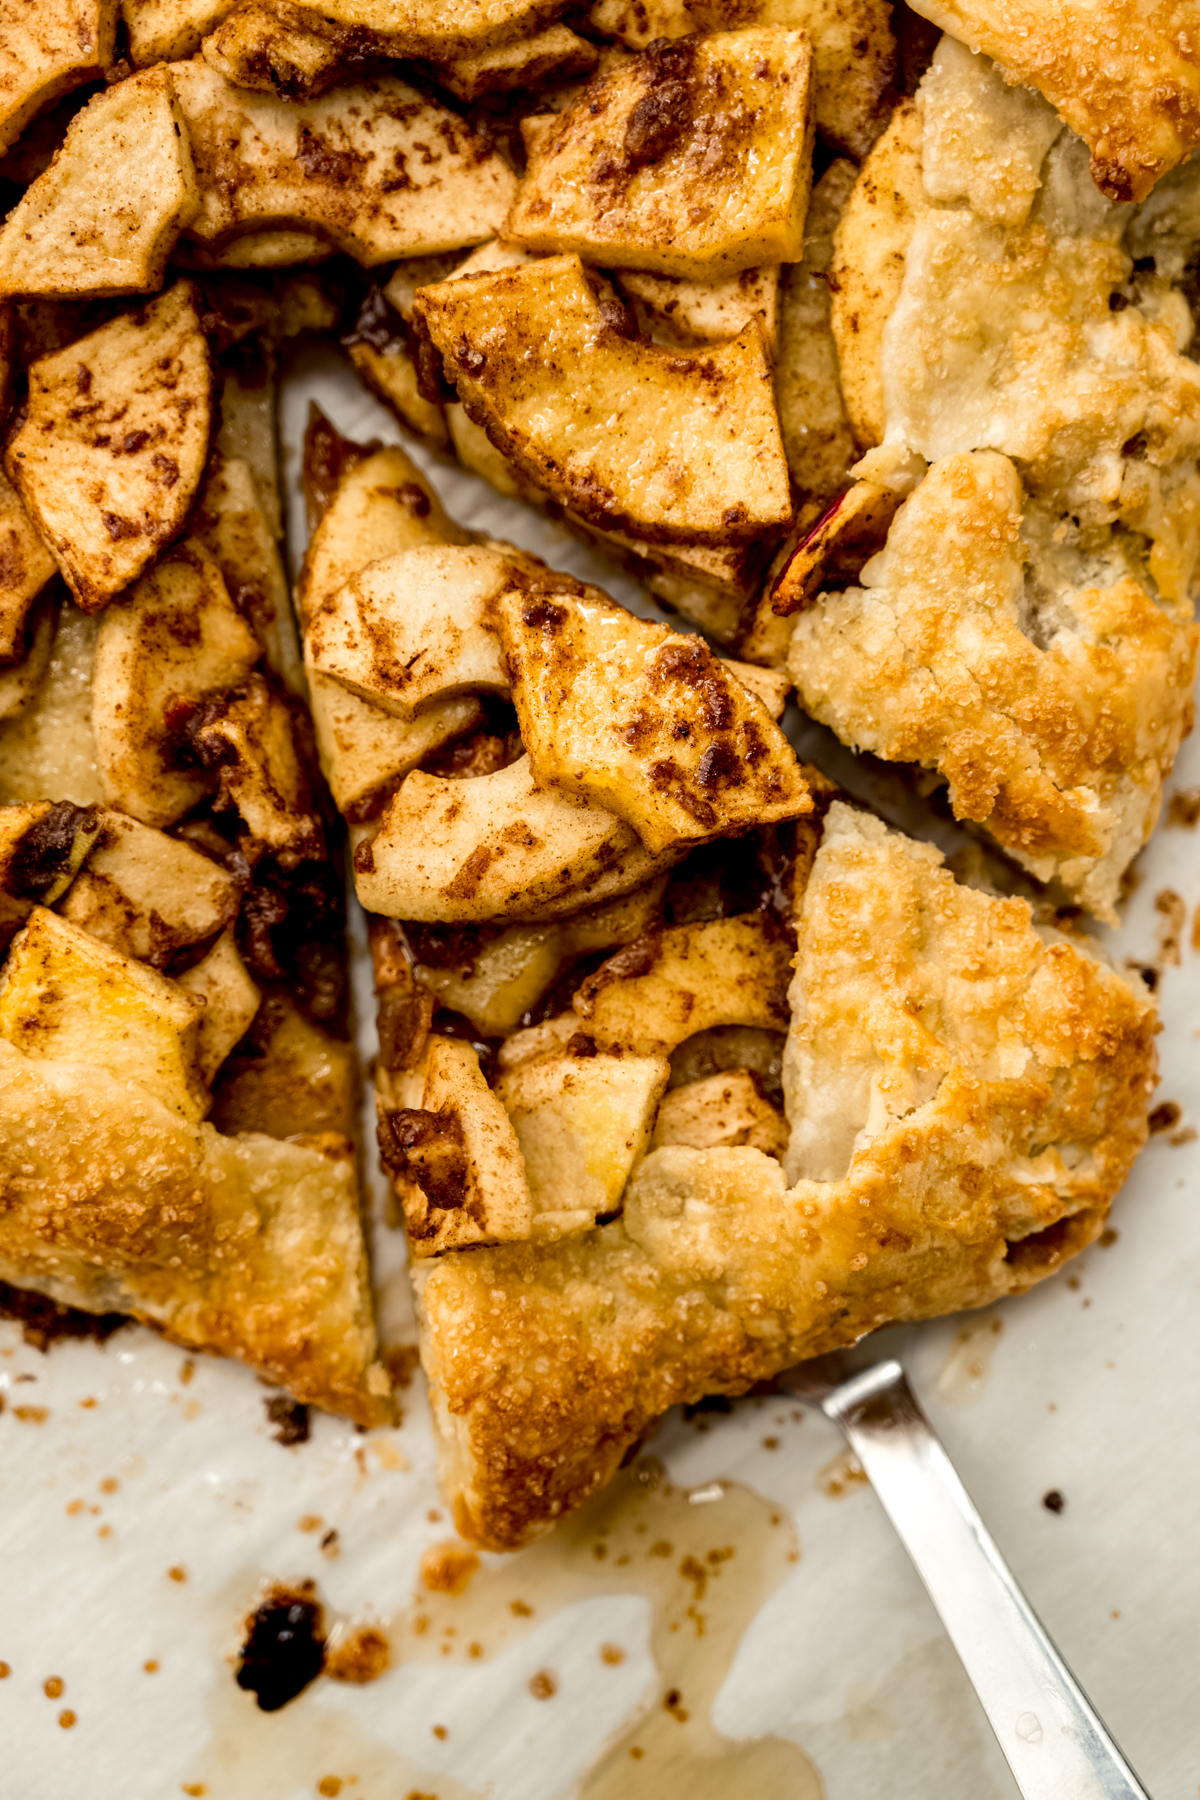
THE “LAZY” VERSION OF MY FAVORITE APPLE PIE
Pie crust intimidation is real, and if the thought of rolling out dough for a full homemade pie crust— let alone assembling a classic apple pie— makes you want to close this tab, start here instead. An apple galette gives you all of the buttery, flaky payoff of pie with none of the fuss.
Think of it as pie with the training wheels off, in a good way! No lattice work to fuss over, no crimped edges to perfect, and nothing to trim. You just fold, bake, and let it be a little rustic. It comes together faster than a traditional pie, sets up quicker once it’s out of the oven, and gives you that same homemade feeling without giving up your whole afternoon.
THE BEAUTY OF A GALETTE
Instead of a pie dish, all a galette needs is a sheet pan. You roll the dough out, pile the fruit in the middle, and fold the edges over however they land– no rules! Imperfect is the whole point here: a slightly wonky, rustic shape is a feature, not a flaw, which makes galettes such a forgiving way for nervous bakers to dip a toe into pie-making.
Honestly, if you’ve ever shaped anything out of PlayDoh or clay, you already have the skills you need for this.
THE CRUST: SIMPLE TO MAKE AND USE
The crust for this galette is the same one you’ve seen over and over on my site. It’s buttery, flaky, and made with simple ingredients like flour, butter, vegetable shortening, and water. You’ll see that my pie dough recipe makes two discs, but you’ll only need one for this galette. You can either save the second disc for another recipe (pecan pie tarts! Sfratti!) or simply halve the recipe from the jump.
The dough can be made at least an hour ahead of time and up to a couple of days in advance, but it does need time to chill before shaping. Be sure you’re accommodating that time in your prep!
CAN I USE PREMADE PIE DOUGH?
You can absolutely use premade pie dough for this galette, which will cut down significantly on your prep time. While I’m always an advocate for making all components from scratch, there’s no judgement here if you want to make your life easier. Just be sure your dough is thawed before you start.
WHAT KIND OF APPLES SHOULD I USE?
Whenever I make an apple recipe, I always like to use half Granny Smith and half of a sweeter variety. You can pick any apple you want here, but I usually go with Honeycrisp. Truly any sweeter variety is fine, so pick what you prefer or what’s available. The combination of the tart Granny Smith and a sweeter variety brings complex apple flavor and complementary textures.
HOW TO MAKE THIS EASY APPLE GALETTE
In the following outline of the detailed instructions you’ll find in the recipe card, I’ll cover making the pie dough as if we’re starting from scratch for everything, but I highly recommend making the dough well in advance so you can just pick up from rolling out the dough and making the filling components.
MAKE THE PIE DOUGH
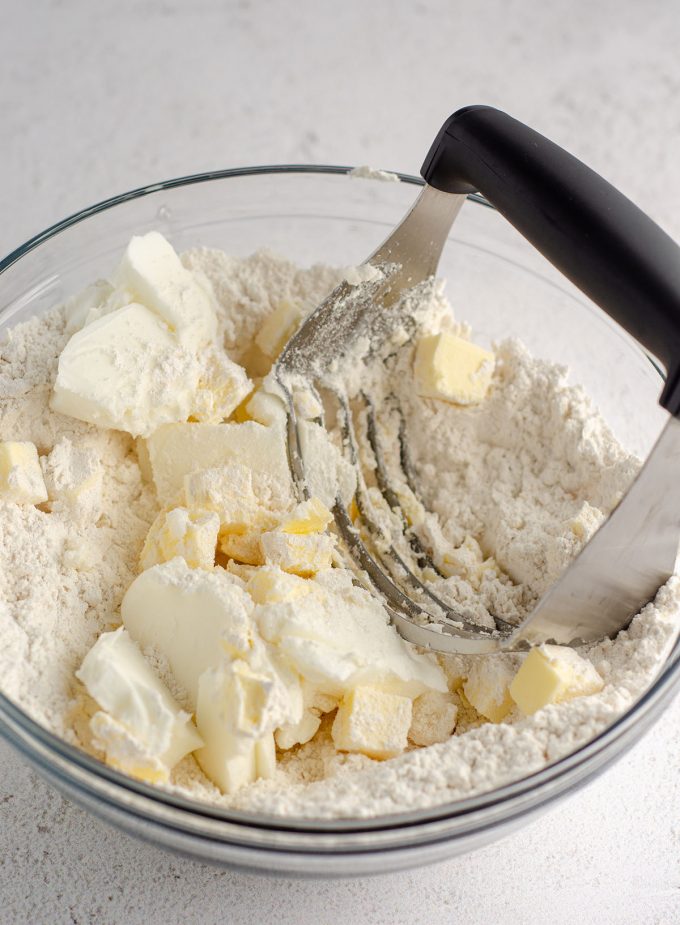
This is very simple! Whisk together the flour, sugar, and salt, then blend in the cold cubed butter and shortening until you have mostly shredded and created some smaller bits. A few larger chunks is fine, but a mostly shaggy dough is what you’re looking for.
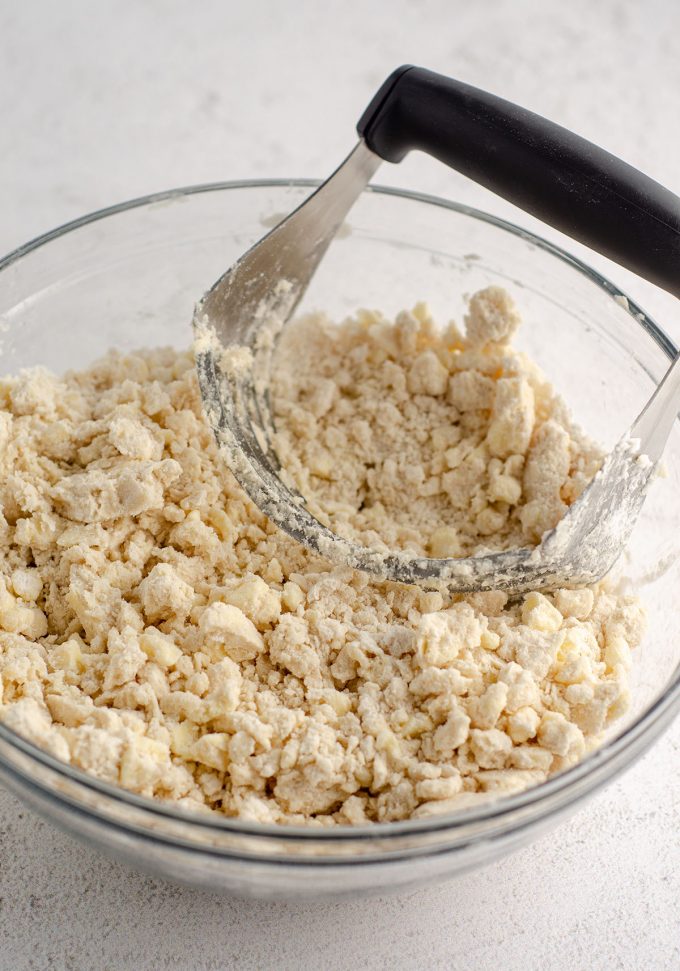
Add the ice water to the dough 1 Tablespoon at a time, stirring with a rubber spatula or wooden spoon after each addition, and then stop adding water when the dough begins to form large clumps.
Transfer dough to a floured work surface, being sure to add all of the bits of dough and extra flour. Using floured hands, fold the dough into itself until the extra bits and flour are fully incorporated. Form the dough it into a ball then flatten it into a 1″ thick disc, wrap the disc tightly in plastic wrap, and refrigerate for at least 1-2 hours.
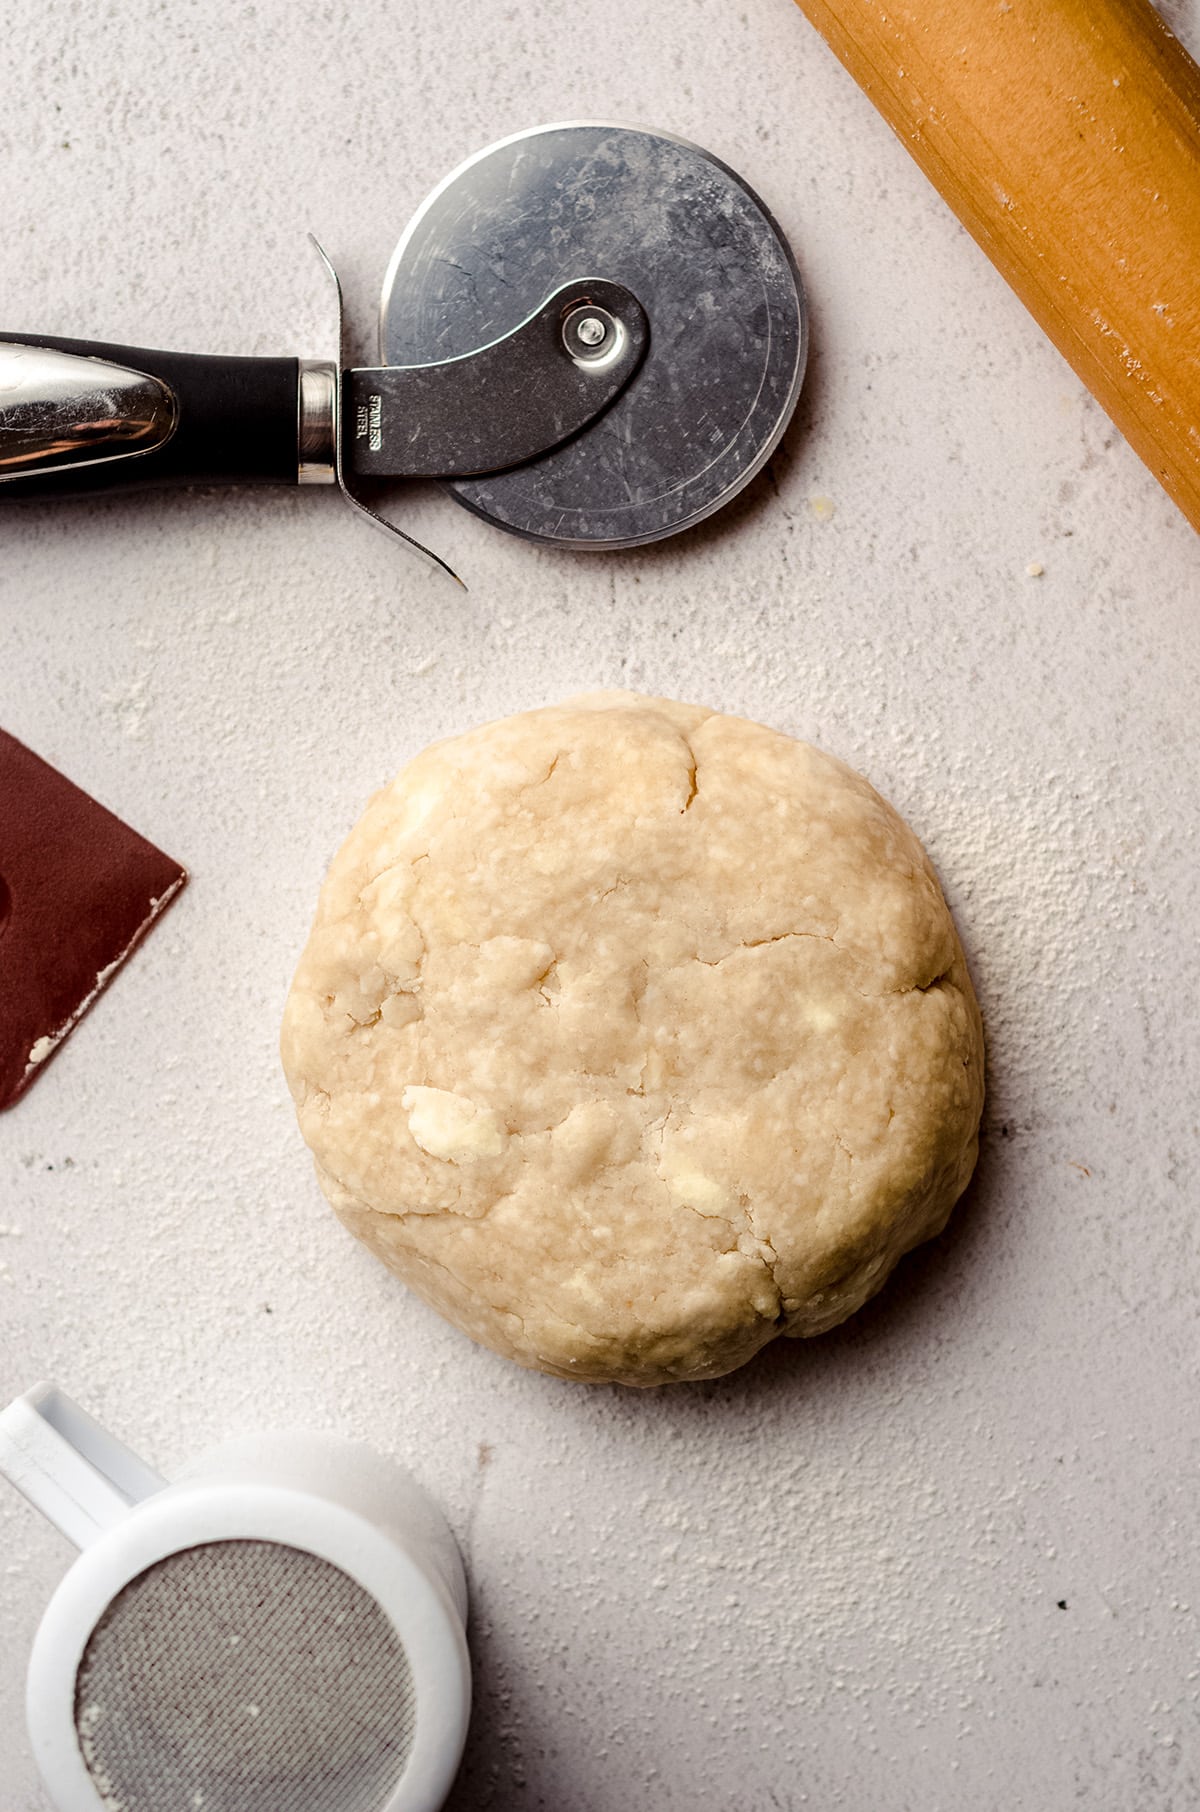

If you want detailed steps and visuals for making this pie dough, visit my pie dough tutorial.
ROLL OUT THE PIE DOUGH
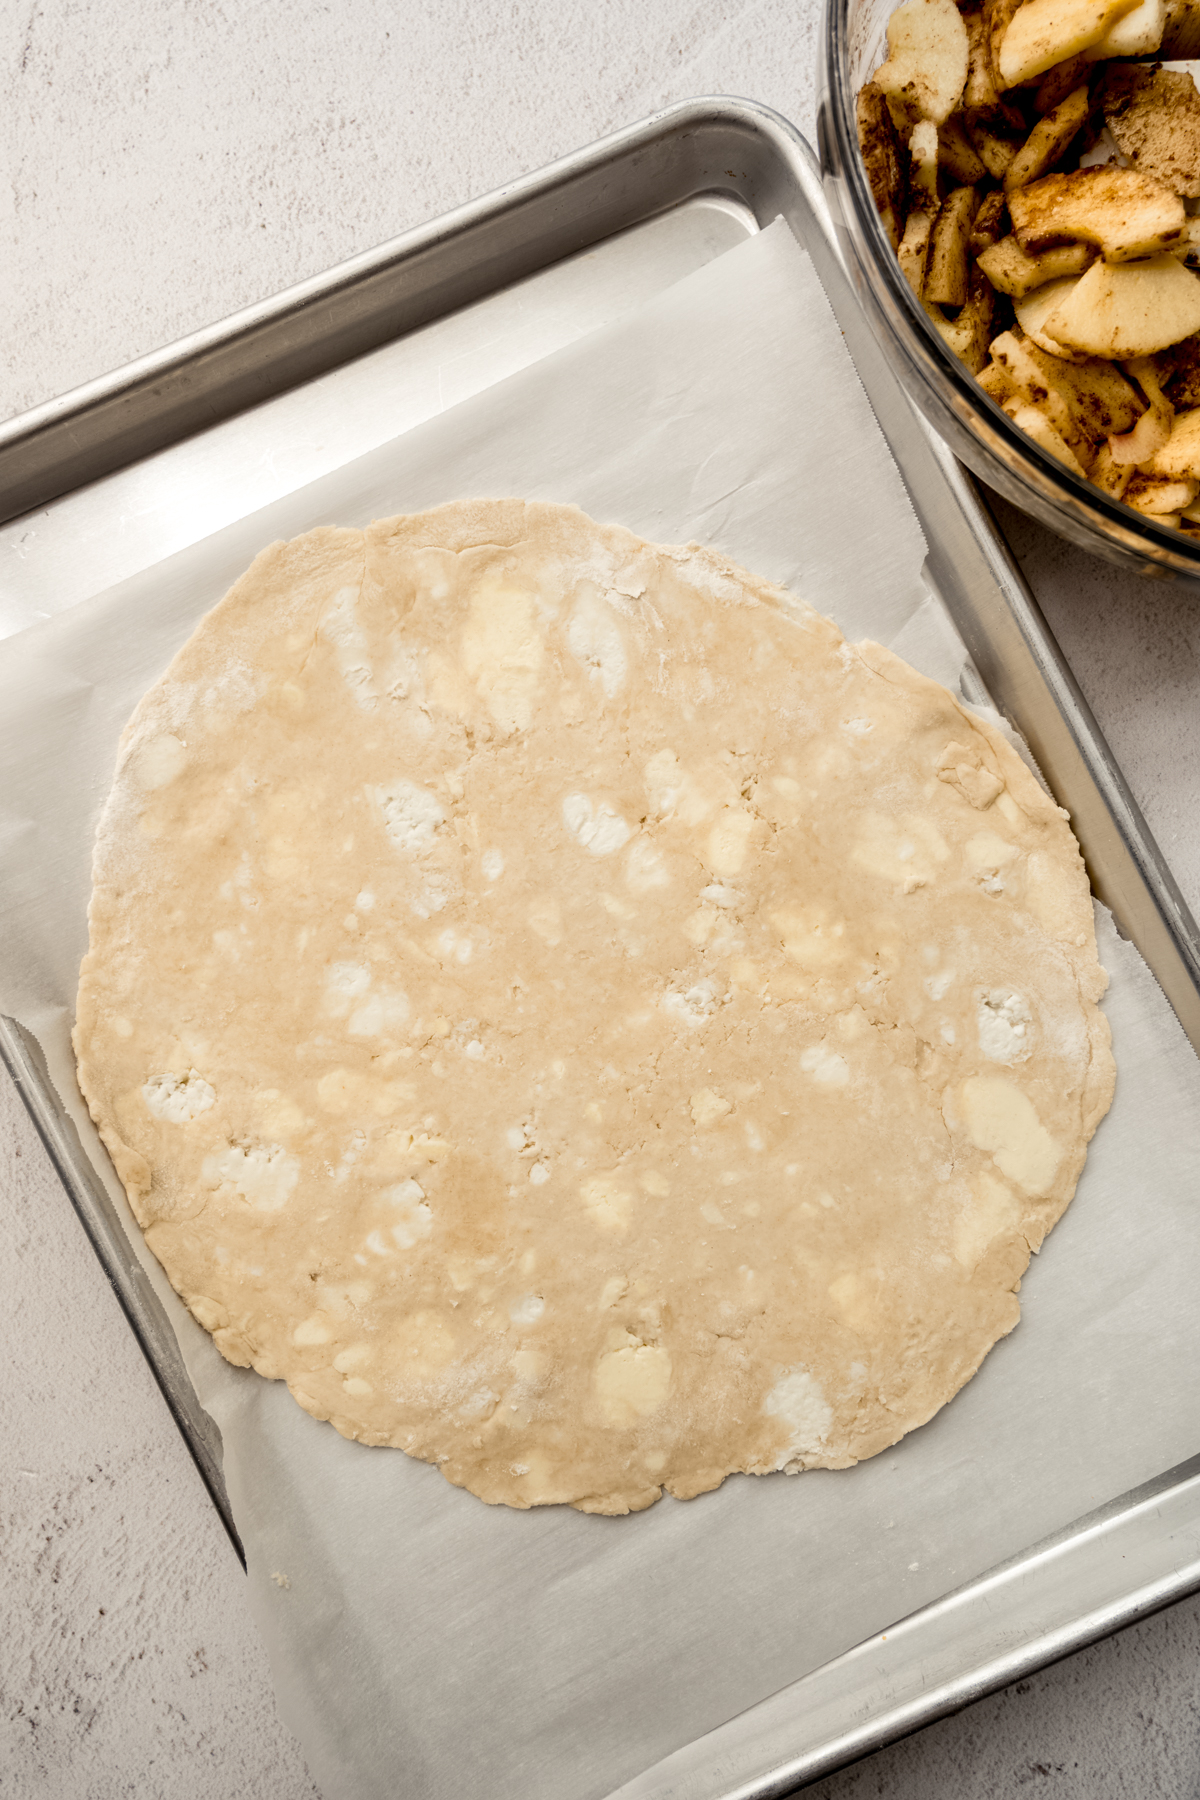
Time to shape the dough (and trust that “shape” is doing very loose work here)! Roll it out and let it settle into whatever form it naturally takes– chasing a perfect circle will only stress you out for no reason. The one thing that does matter is size, and you should aim for at least 12″ across.
I like rolling directly on a piece of parchment paper, which makes it easy to just slide the whole thing onto a baking sheet when it’s time to bake. A pizza stone or round baking pan works well too, if you have one.
Once it’s shaped, pop the dough in the fridge to chill while you get the filling together.
MAKE THE APPLE FILLING
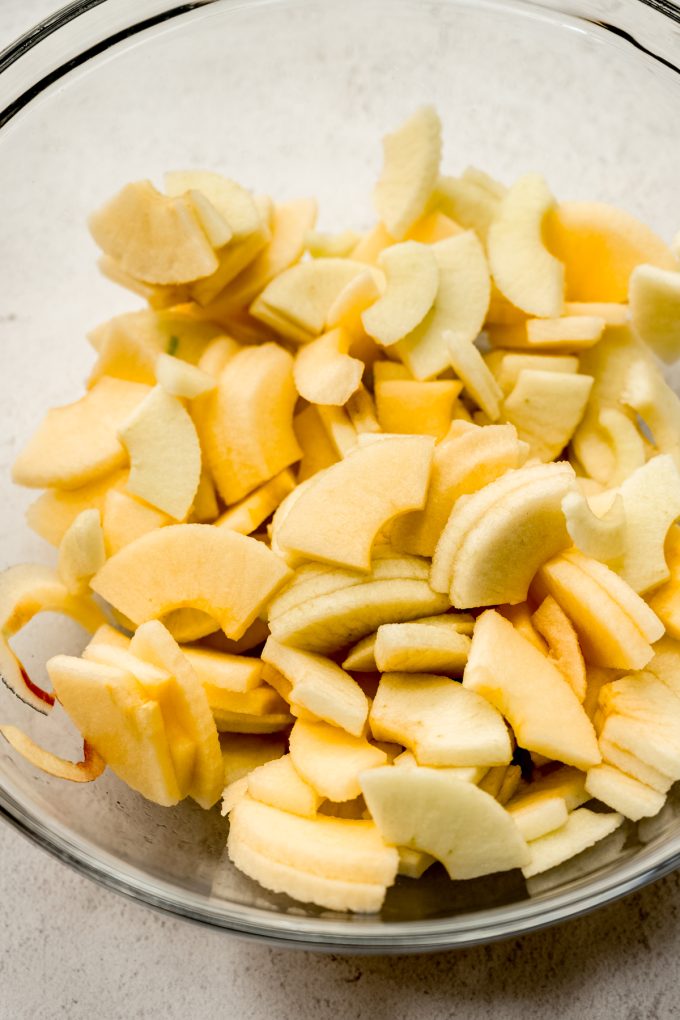
The apple filling is truly just ingredients tossed together, so it’s also very simple. I like to do the filling before I even roll out the dough so it has time to “marinate,” but you really can do this at any time because the filling will have to sit for a bit regardless.
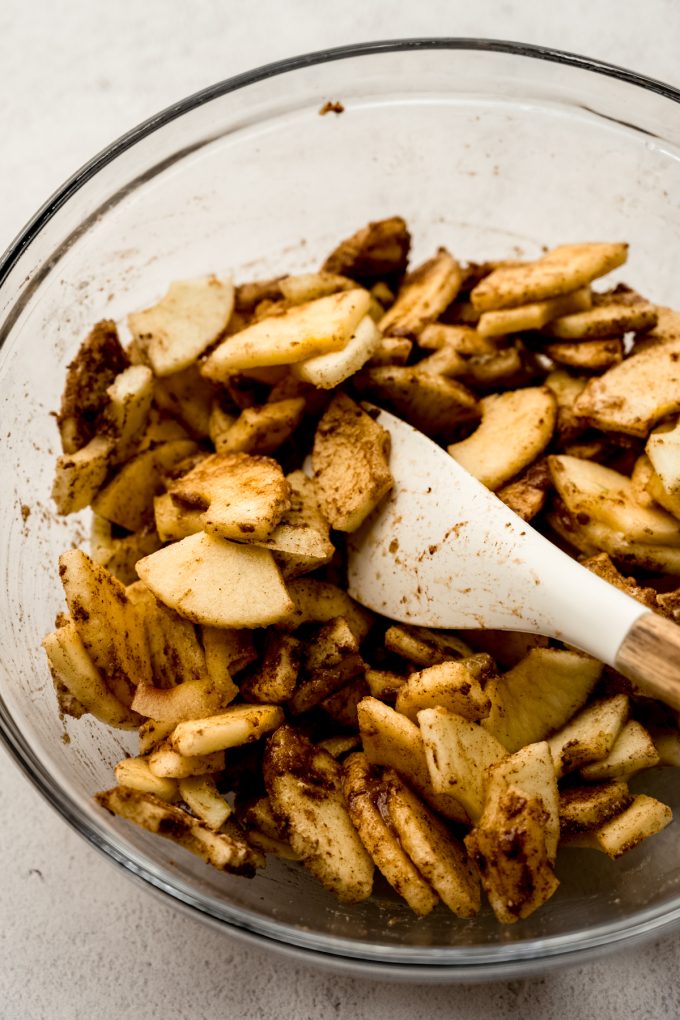
FILL THE PIE DOUGH
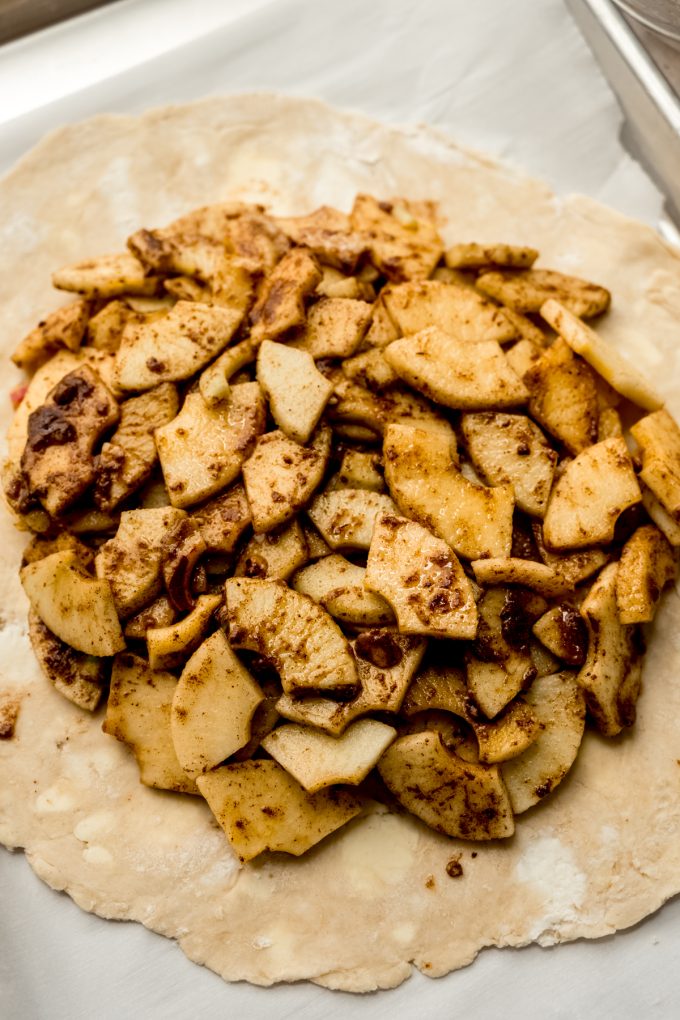
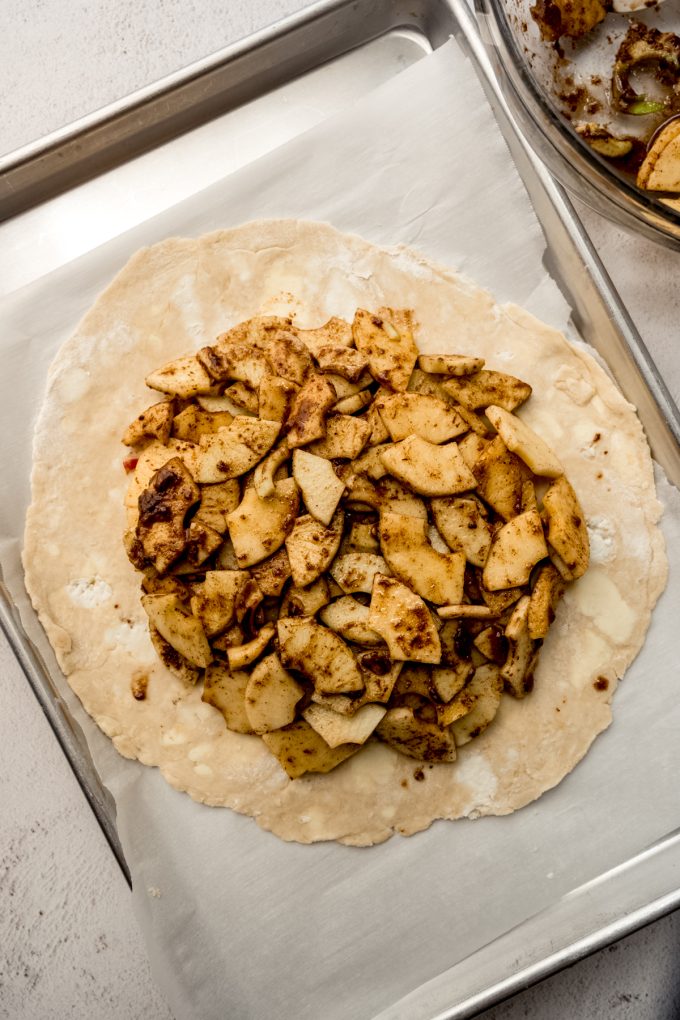
Once the rolled out dough has had a little time to chill, add the coated apples to the circle, leaving at least a 2″ border around the edge. This is the part you will fold up over the filling, so make sure you have enough to work with!
You can haphazardly fill the pie dough with the apples, or arrange slices so that they look a little more intentional. If you’re leaning into the former, be sure the collection is even so the border can do its thing as easily as possible.
FOLD UP THE DOUGH EDGES
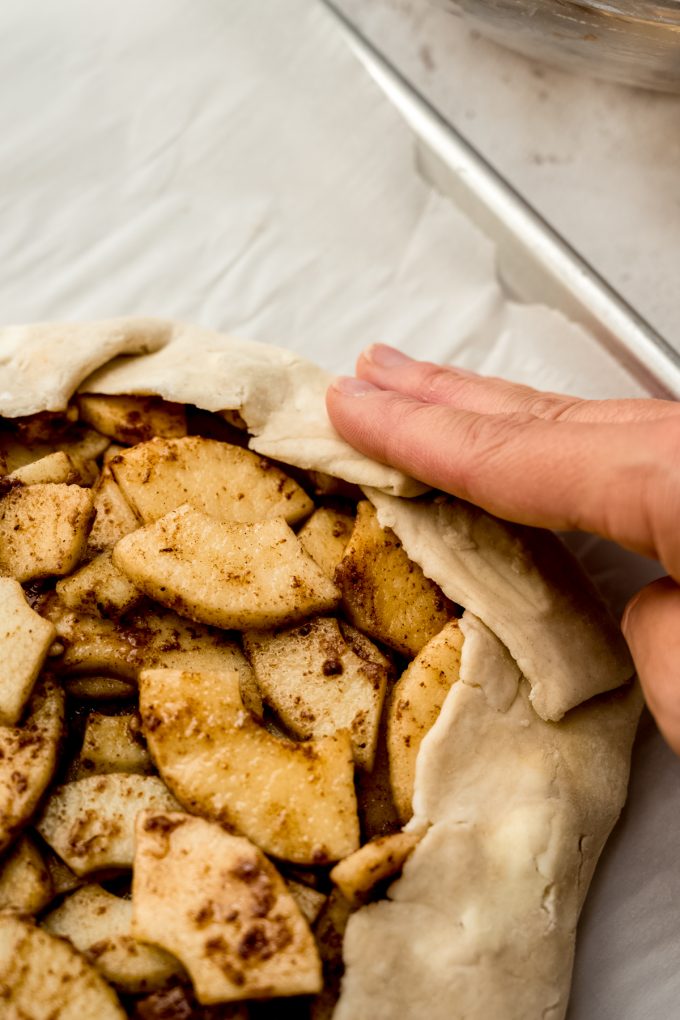
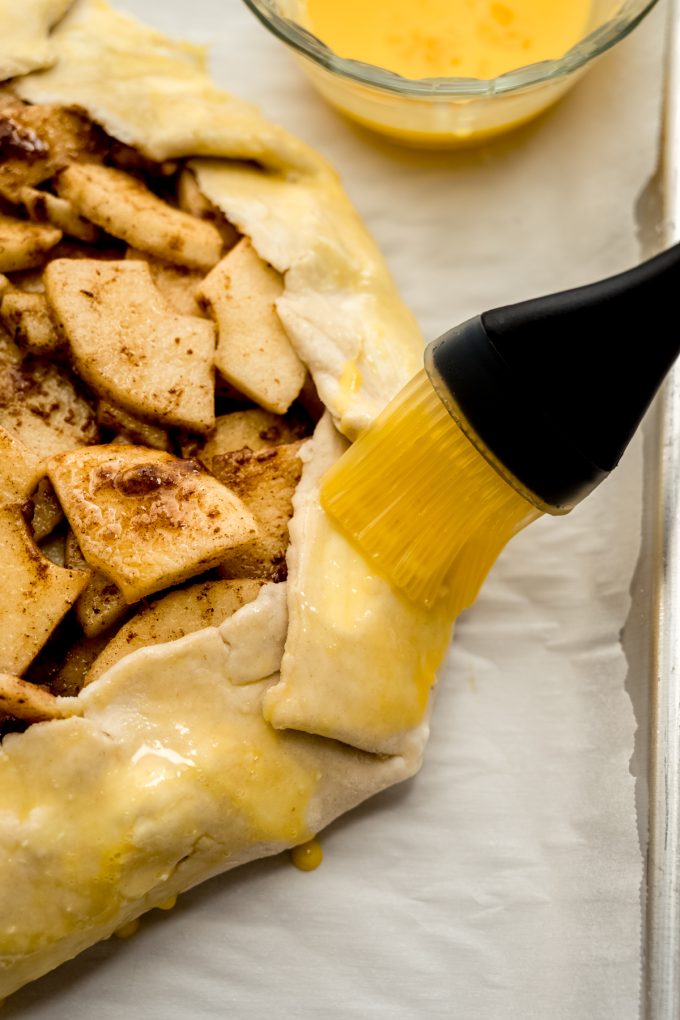
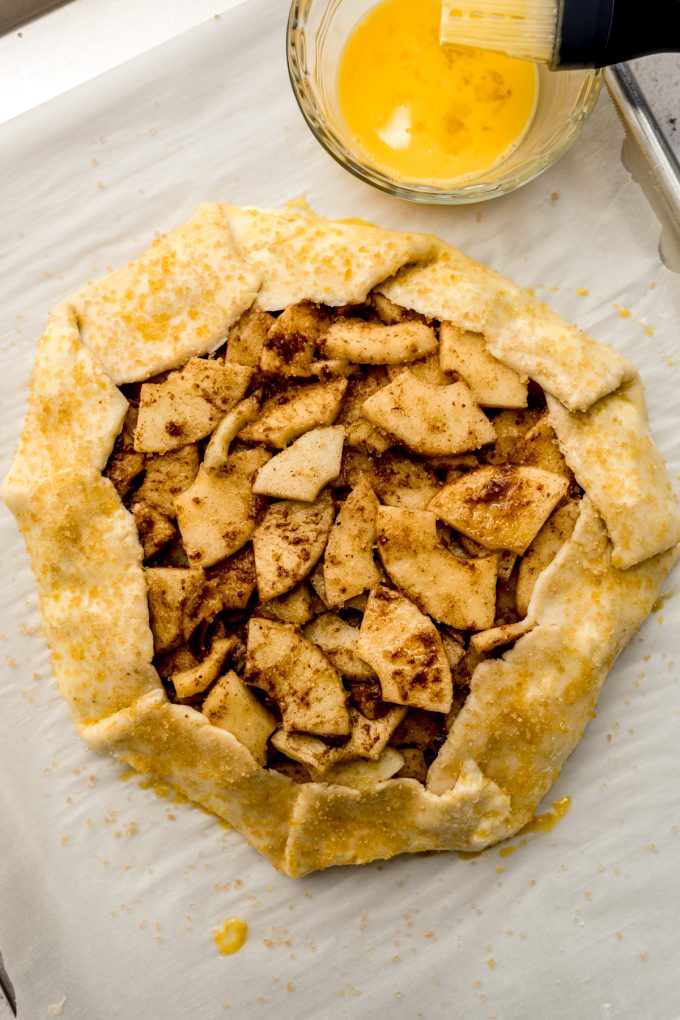
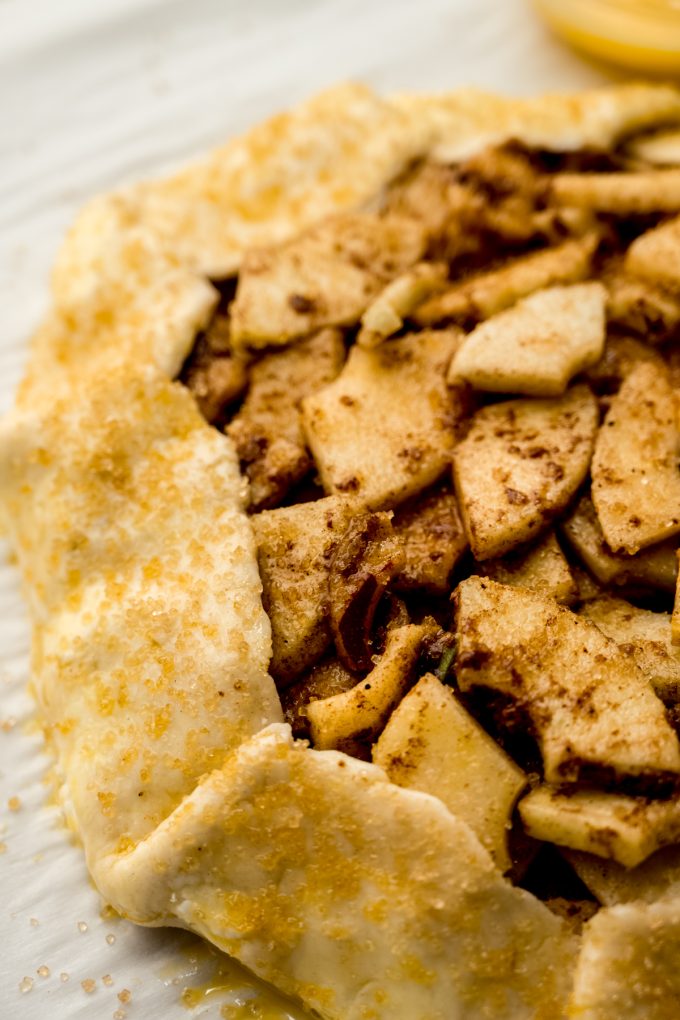
Definitely don’t overthink this– just fold up the sides and let them fall where they may. Some may crease, others may just lay nicely. If you’re having trouble with any of the folds not staying, you can dab the dough with a little water to create a place for it to stick. A simple egg wash and a sprinkle of coarse sugar seals the deal and brings another layer of interesting texture to the whole dessert.
SUCCESS TIPS
One important thing to keep in mind with galettes is that very much unlike pies, they don’t love being overfilled. If you pile the fruit too high, the crust won’t bake through properly and can end up mushy and flimsy. To avoid that, keep the filling flat and compact.
Once the galette is shaped, a quick chill in the refrigerator for about 20 minutes helps it hold its shape in the oven. I usually do this while the oven preheats.
CAN I MAKE THIS AHEAD OF TIME?
Yes, you can make this apple galette ahead of time, and you have a few options!
Make the components ahead of time (short term): whenever I need a pie dough, I always make it at least a day ahead of time. The dough will need at least 1-2 hours to sit in the refrigerator before it’s ready to be rolled out in step #1. It will chill again once rolled out, but it will not roll out nicely without being chilled initially. The apple filling can chill in the refrigerator for up to 1 day if it’s covered tightly.
Make the whole galette ahead of time, short term: the shaped galette will need to chill in the refrigerator for at least 20 minutes so it maintains its shape in the oven, but you can chill it for up to 8 hours. Be sure it is covered tightly if you’re chilling it longer than 1 hour so the pie dough doesn’t dry out.
Make the whole galette ahead of time, long term: a fully shaped galette freezes well, up to 3 months. You will want to thaw it completely before baking it, which you can do in the refrigerator overnight. Bake it cold from the fridge when you are ready.
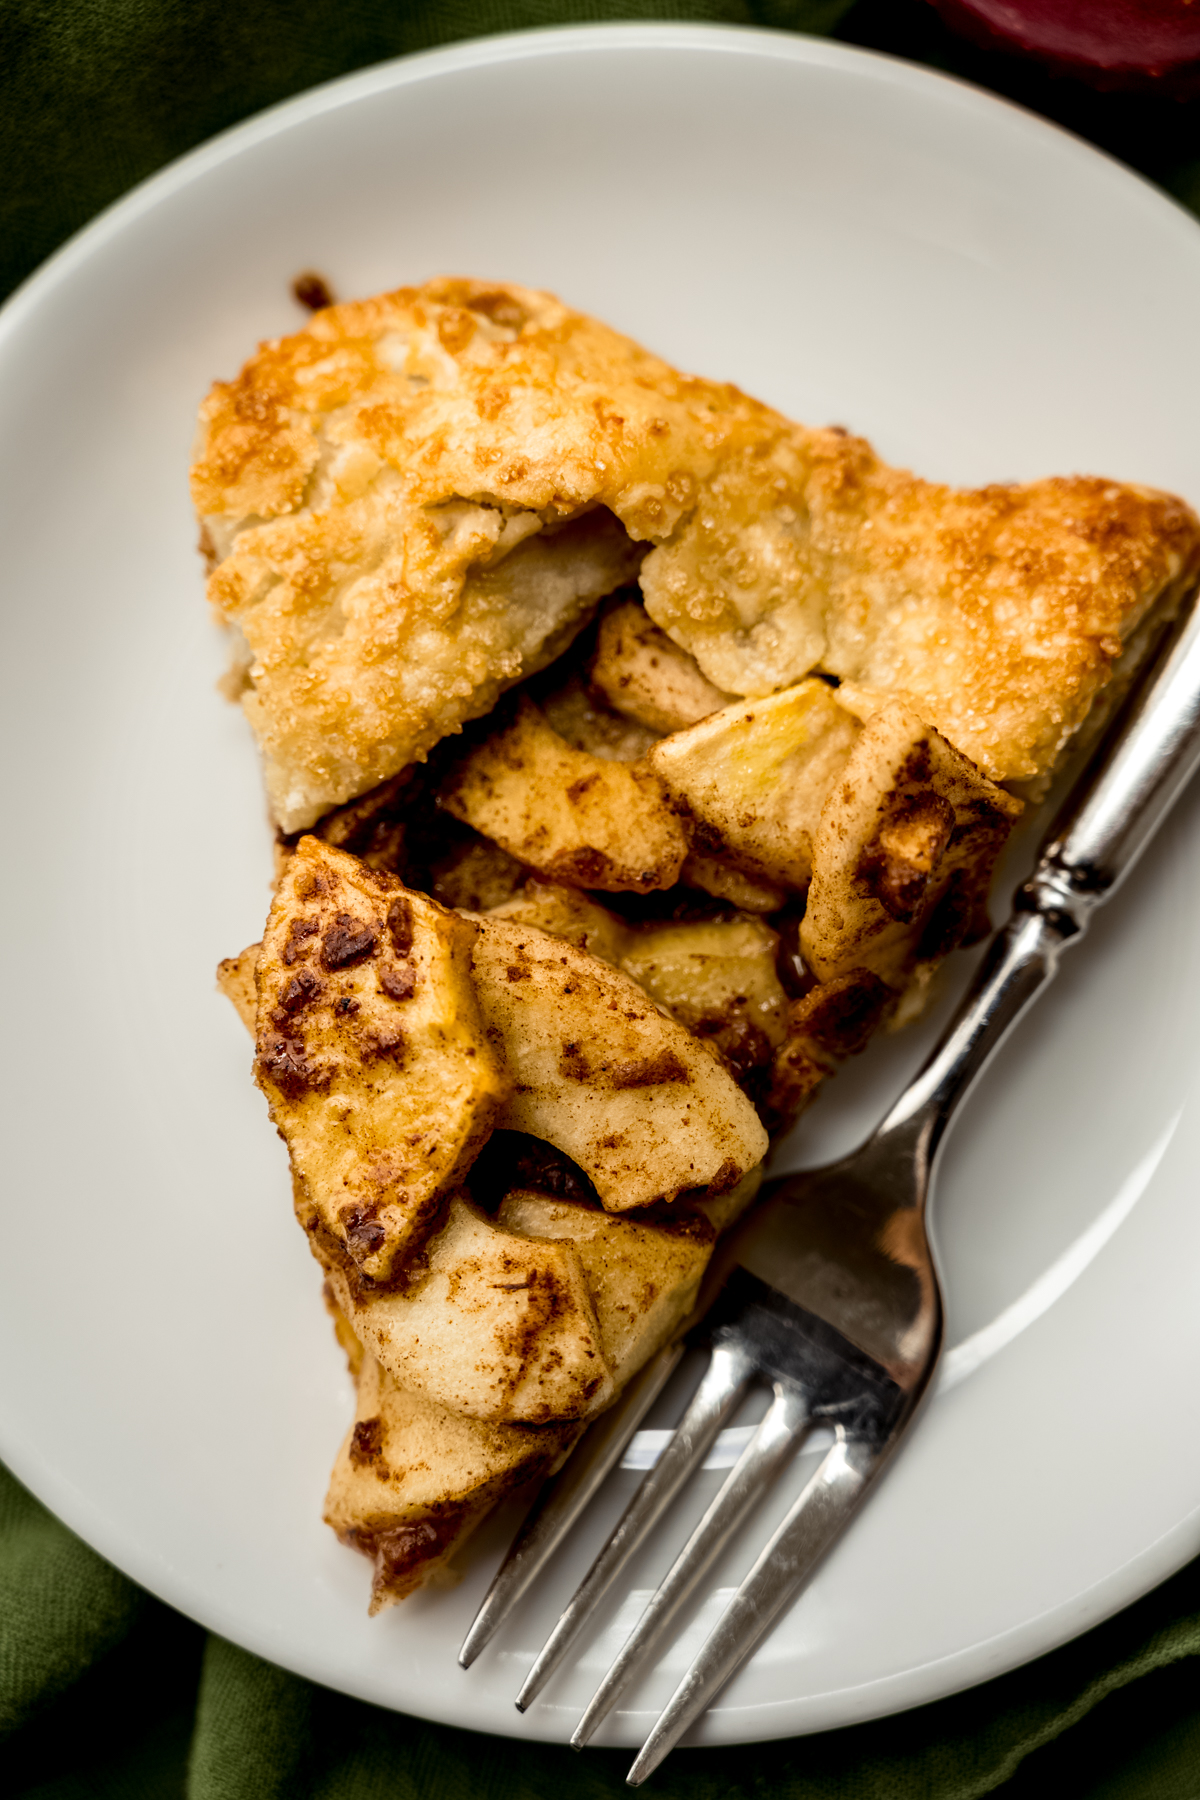
YOU’LL CHOOSE A GALETTE AGAIN AND AGAIN (AS YOU SHOULD!)
This apple galette hits every mark you’d want. It’s easy to pull off, it’s low effort, and it’s the kind of thing that looks far more impressive than the work it actually took. People love to call galettes “lazy pies,” and honestly, that nickname is totally warranted. But the great part is that you still end up with a gorgeous, bakery-worthy dessert for a fraction of the effort.
And that’s the beauty of galettes: forgiving, adaptable, and welcoming to bakers at every level. All the best parts of pie (flaky crust! fruity filling!) minus the pie dish and minus the wait. It bakes faster, cools faster than a traditional apple pie, and needs only about 15 minutes to rest before you’re slicing in.
This apple galette is proof that “homemade” and “complicated” don’t have to go together. It’s the kind of dessert that earns big, wide-eyed reactions like you spent all day on it, when really, you barely broke a sweat. Go you!
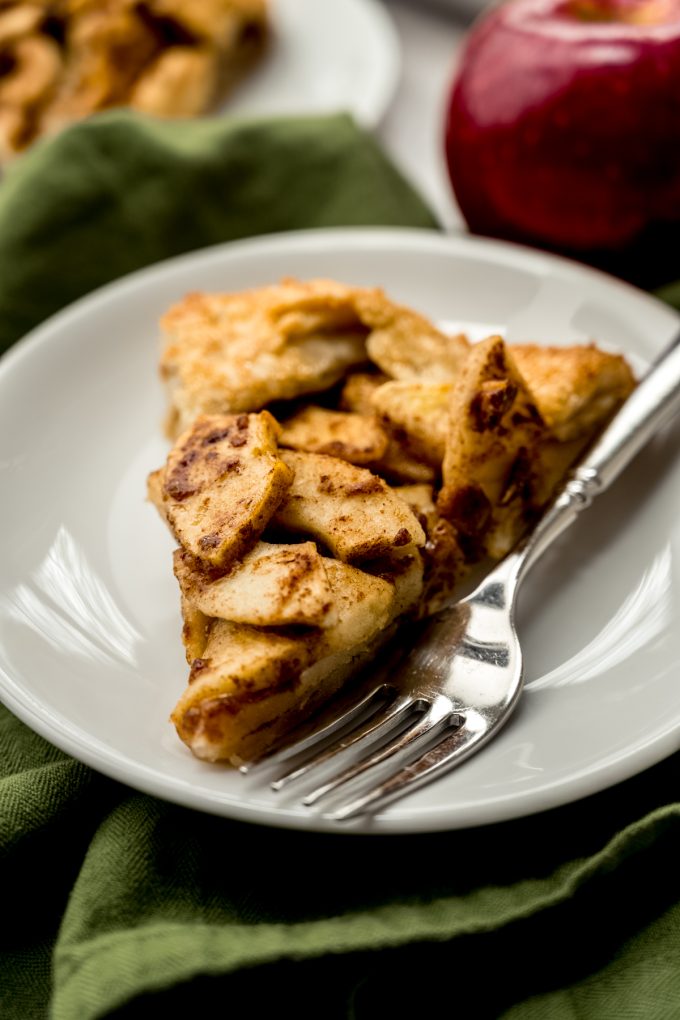
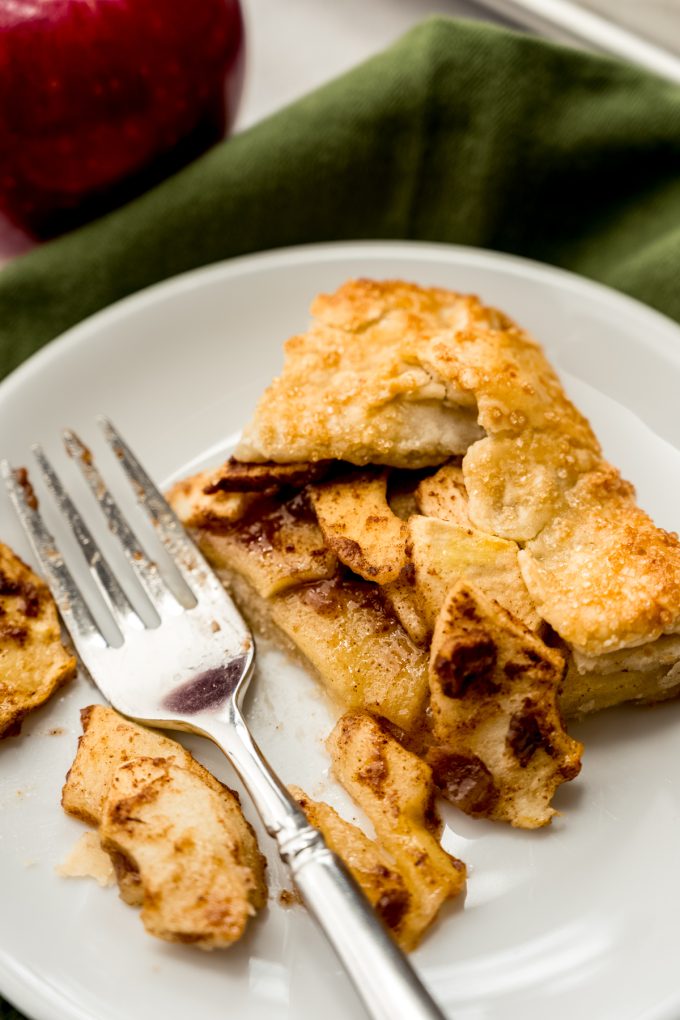

Easy Apple Galette Recipe
Ingredients
PIE DOUGH
- ½ recipe homemade pie crust1 chilled
APPLE FILLING
- 4 medium to large fresh apples2 peeled, cored, and sliced3
- ¼ cup (50g) firmly packed light brown sugar
- 2 Tablespoons (15g) all-purpose flour
- 2 teaspoons fresh lemon juice
- 1 and ½ teaspoons ground cinnamon
- ¼ teaspoon ground nutmeg
- EGG WASH: 1 large egg beaten
- coarse sugar optional
Video
Instructions
PIE DOUGH
- Before you begin: be sure your pie crust is chilled (homemade) or thawed (frozen).½ recipe homemade pie crust1
- On a lightly floured baking mat or piece of parchment paper, roll the dough into a 12" circle. Transfer the mat or paper to a baking sheet and chill in the refrigerator for at least 15 minutes, or until you need it.
APPLE FILLING
- Combine the apples, brown sugar, flour, lemon juice, cinnamon, and nutmeg together in a large bowl.4 medium to large fresh apples2, ¼ cup (50g) firmly packed light brown sugar, 2 Tablespoons (15g) all-purpose flour, 2 teaspoons fresh lemon juice, ¼ teaspoon ground nutmeg, 1 and ½ teaspoons ground cinnamon
- Stir everything together until it is well-combined and everything is evenly coated. Cover the filling and let it sit until the dough is ready.
ASSEMBLE & BAKE
- Remove the chilled pie dough from the refrigerator.
- Arrange the apples (and any juices from the bottom of the bowl) evenly into the center of the dough, leaving a 2–3" border around everything. If desired, you can place the apple slices neatly, if you're going for a more aesthetic look. Otherwise, spooning everything on and spreading it out evenly is totally fine.
- Gently fold the edges of the dough up over the filling, overlapping the dough as necessary and pressing gently to seal the edges. The dough will stick to itself and "glue" itself into place, but if you are having trouble with it sticking, you can use a tiny bit of water to make it stick together.
- Brush the crust edges generously with egg wash and sprinkle the crust with coarse sugar, if desired.EGG WASH: 1 large egg, coarse sugar
- Once the border of the galette is securely in place, chill it in the refrigerator while the oven preheats (next step). You will want it to chill for at least 20 minutes, but it can be chilled for up to 8 hours. If you are chilling it longer than 1 hour, cover it tightly so it doesn't dry out.
- Arrange a rack in the middle of the oven, then preheat it to 400°F (204°C).
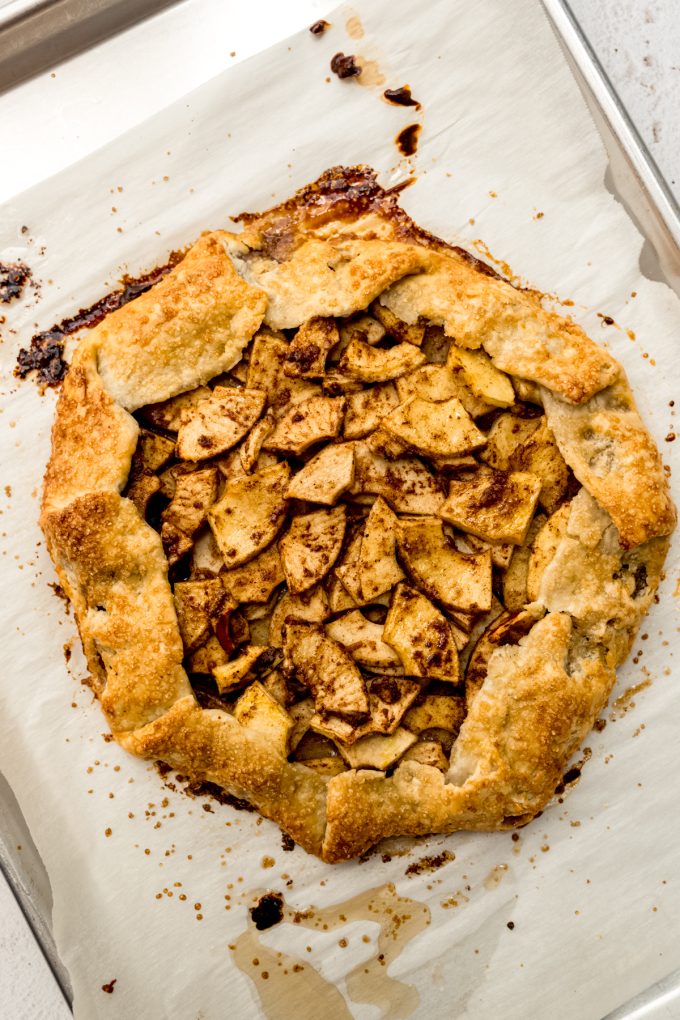
- Bake the galette until the filling is bubbly and the crust is golden brown, about 35-37 minutes. Allow it to cool on the baking sheet for 15 minutes before slicing and serving. Serve with salted caramel sauce, ice cream, or homemade whipped cream. Store leftover galette covered tightly in the refrigerator for up to 4 days. Baked galette freezes well, up to 3 months. Thaw in the refrigerator and warm as needed. Unbaked galette freezes well, wrapped tightly, up to 3 months. Thaw in the refrigerator, then bake as directed.
Notes
- Pie crust: my pie dough recipe, as written, makes two discs. You can either halve it and use that or save the other disc for another recipe. Frozen store bought pie crust is also fine– you will only need one (a package usually has two). Thaw overnight in refrigerator before use.
- Apples: I like to use half Granny Smith apples and then half of a sweeter variety of apples when I make anything with an apple filling. For this recipe, I used Honeycrisp.
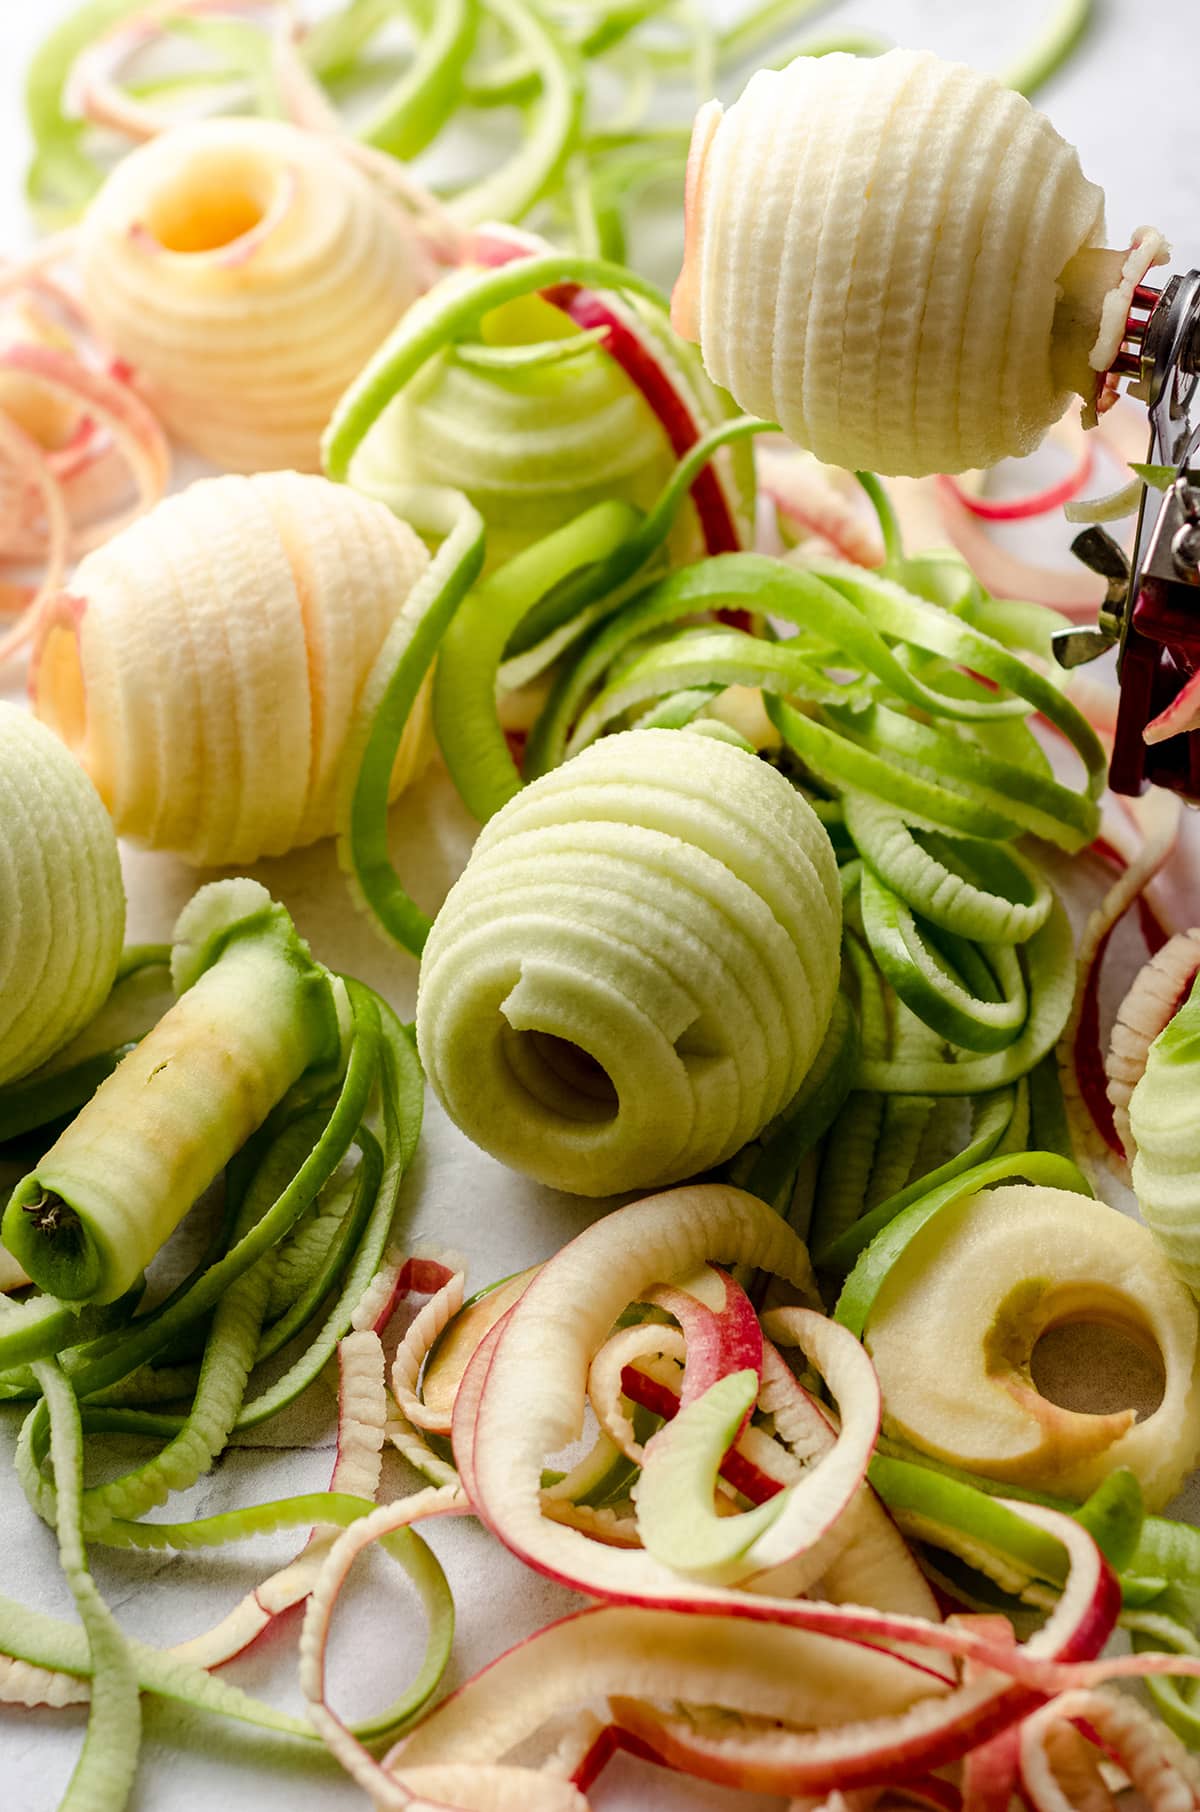
- Apple preparation: I use my apple peeler and then cut each spiraled apple into 4 sections. You’re looking for ¼-inch thick pieces, which the peeler will produce. This is a bit trickier by hand but still doable.
- Make ahead: a thawed pie dough can stay covered tightly in the refrigerator for up to 3 days. I don’t recommend leaving a rolled-out dough in the refrigerator longer than about 4 hours. Be sure it is covered tightly so it doesn’t try out. Blackberry filling and whipped feta can be left in the refrigerator covered tightly for up to 1 day.
Nutrition Disclosure
All nutritional values are approximate and provided to the reader as a courtesy. Changing ingredients and/or quantities will alter the estimated nutritional calculations.
This is going to be the first of many Apple Galette’s I make this apple season. We so enjoyed biting into this galette as it is lighter than an apple pie. The spices are perfect and the apples were just the right amount of softness.
I’m so glad you enjoyed it, Carol! 🙂
It was so good! My family loved it!
Thank you so much, Chantelle!
This recipe was so delicious and easy to make! My 8 and 10 year olds were able to make it without difficulty! The flavor is 💯
Thank you so much, Jen! I’m so glad everyone enjoyed themselves 🙂