
No Knead Bread
As an Amazon Associate, I earn from qualifying purchases. Read the full disclosure here.
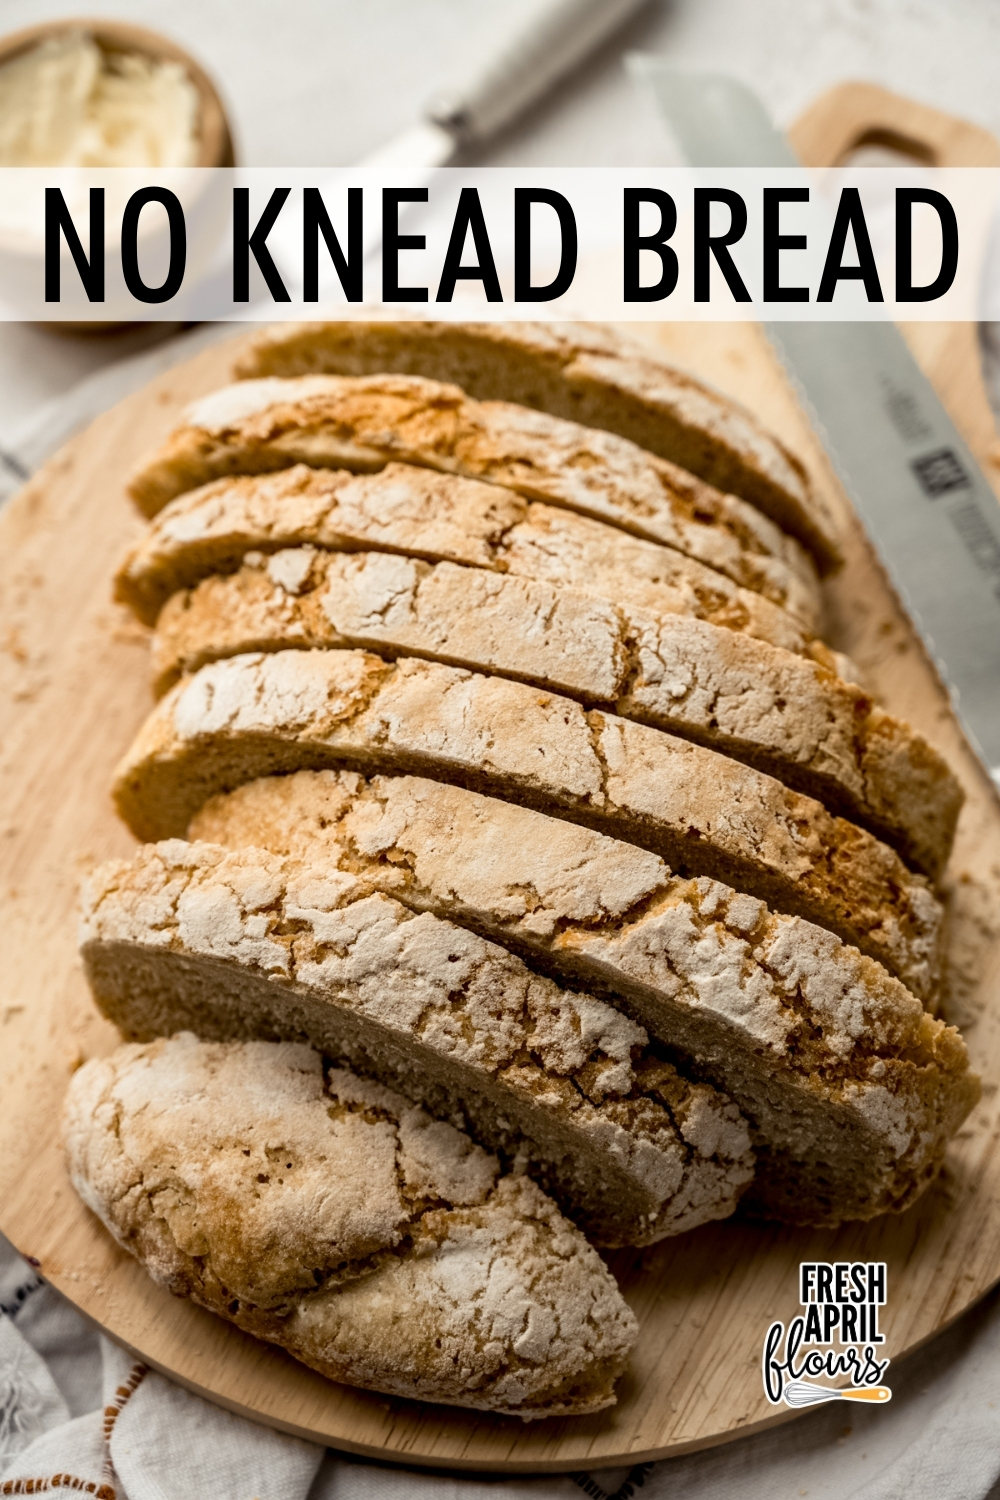
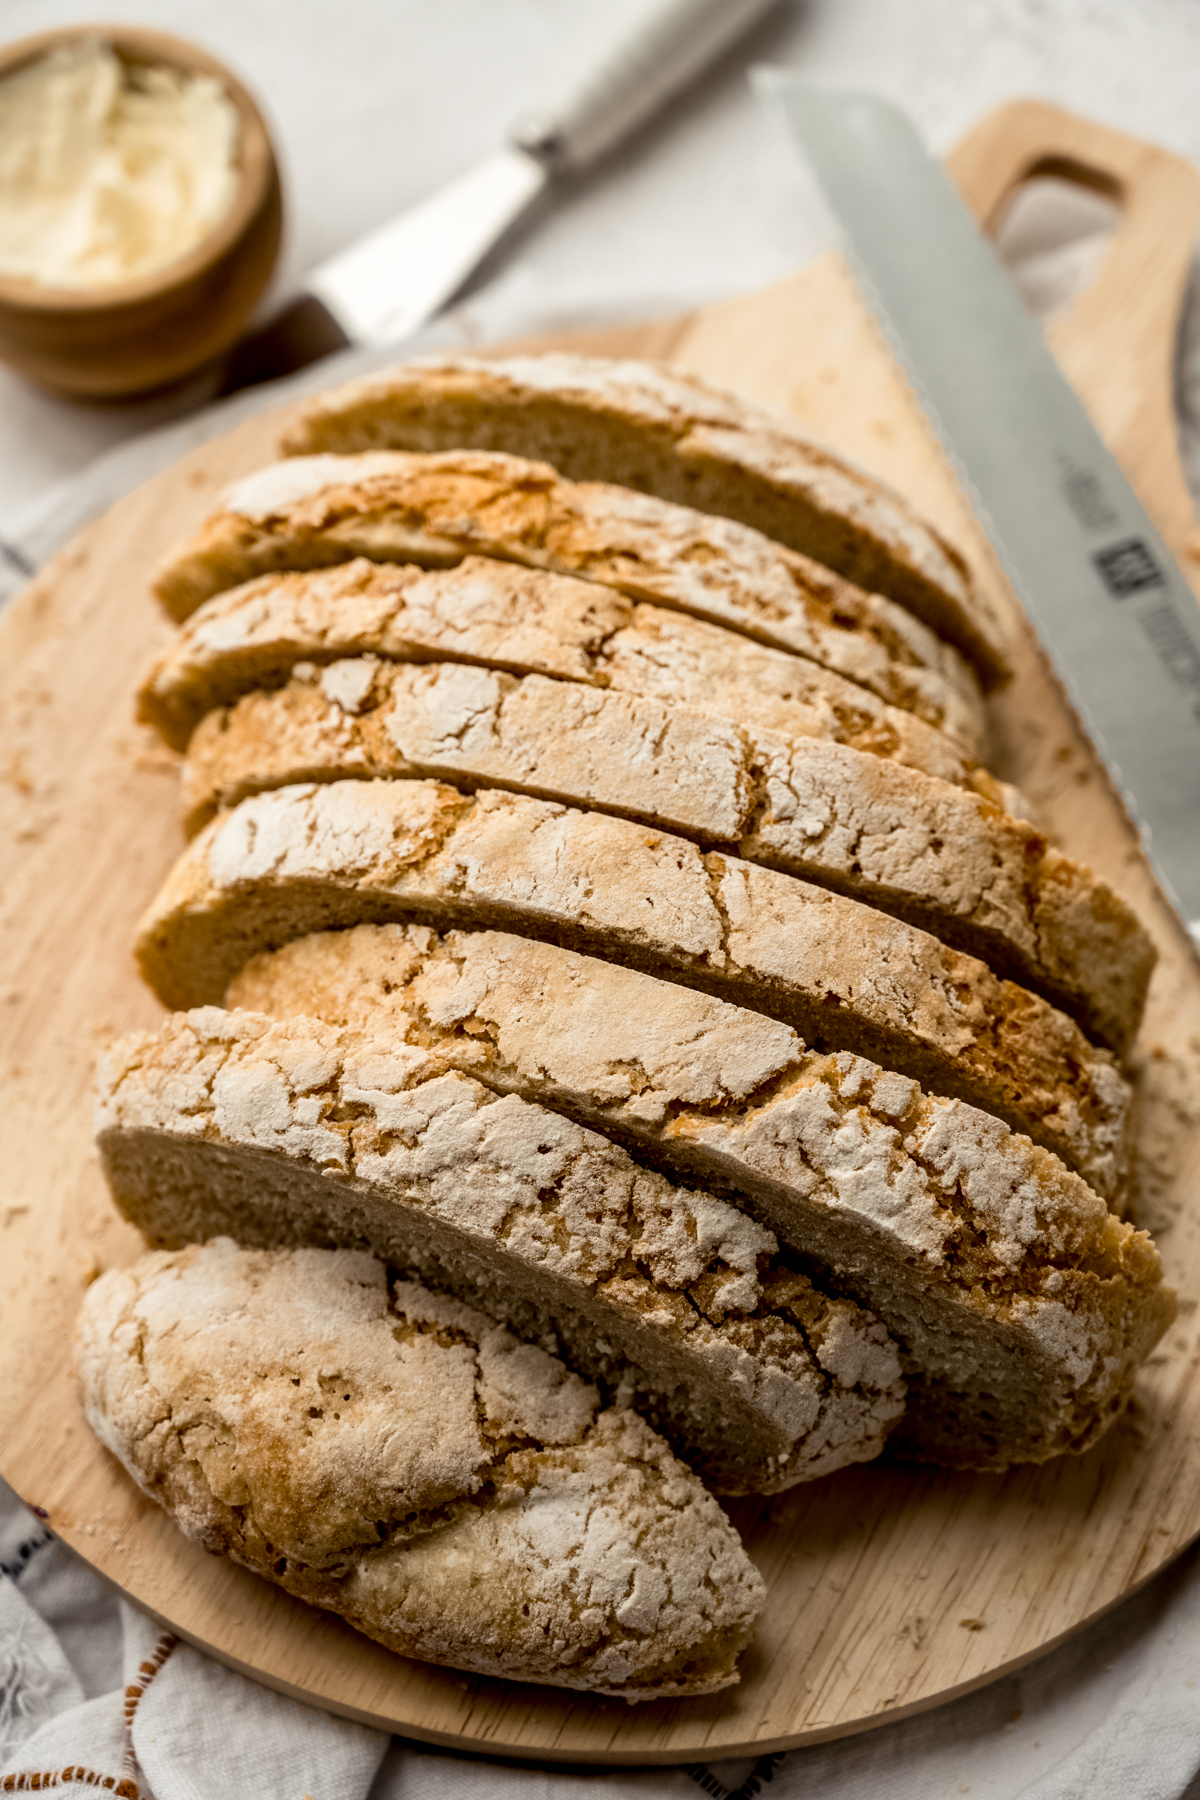
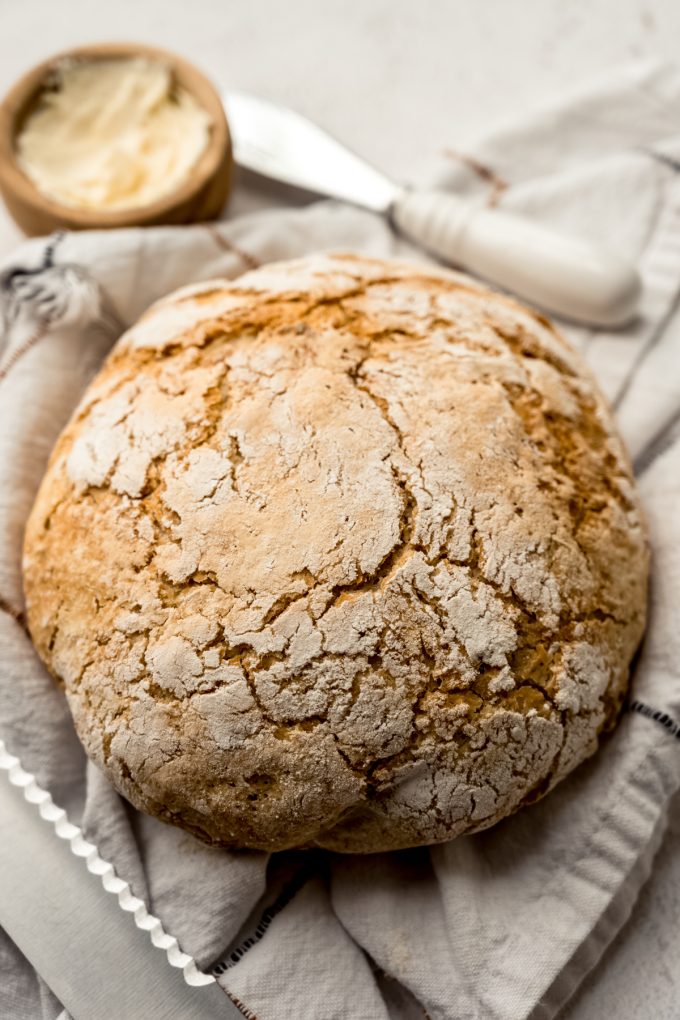
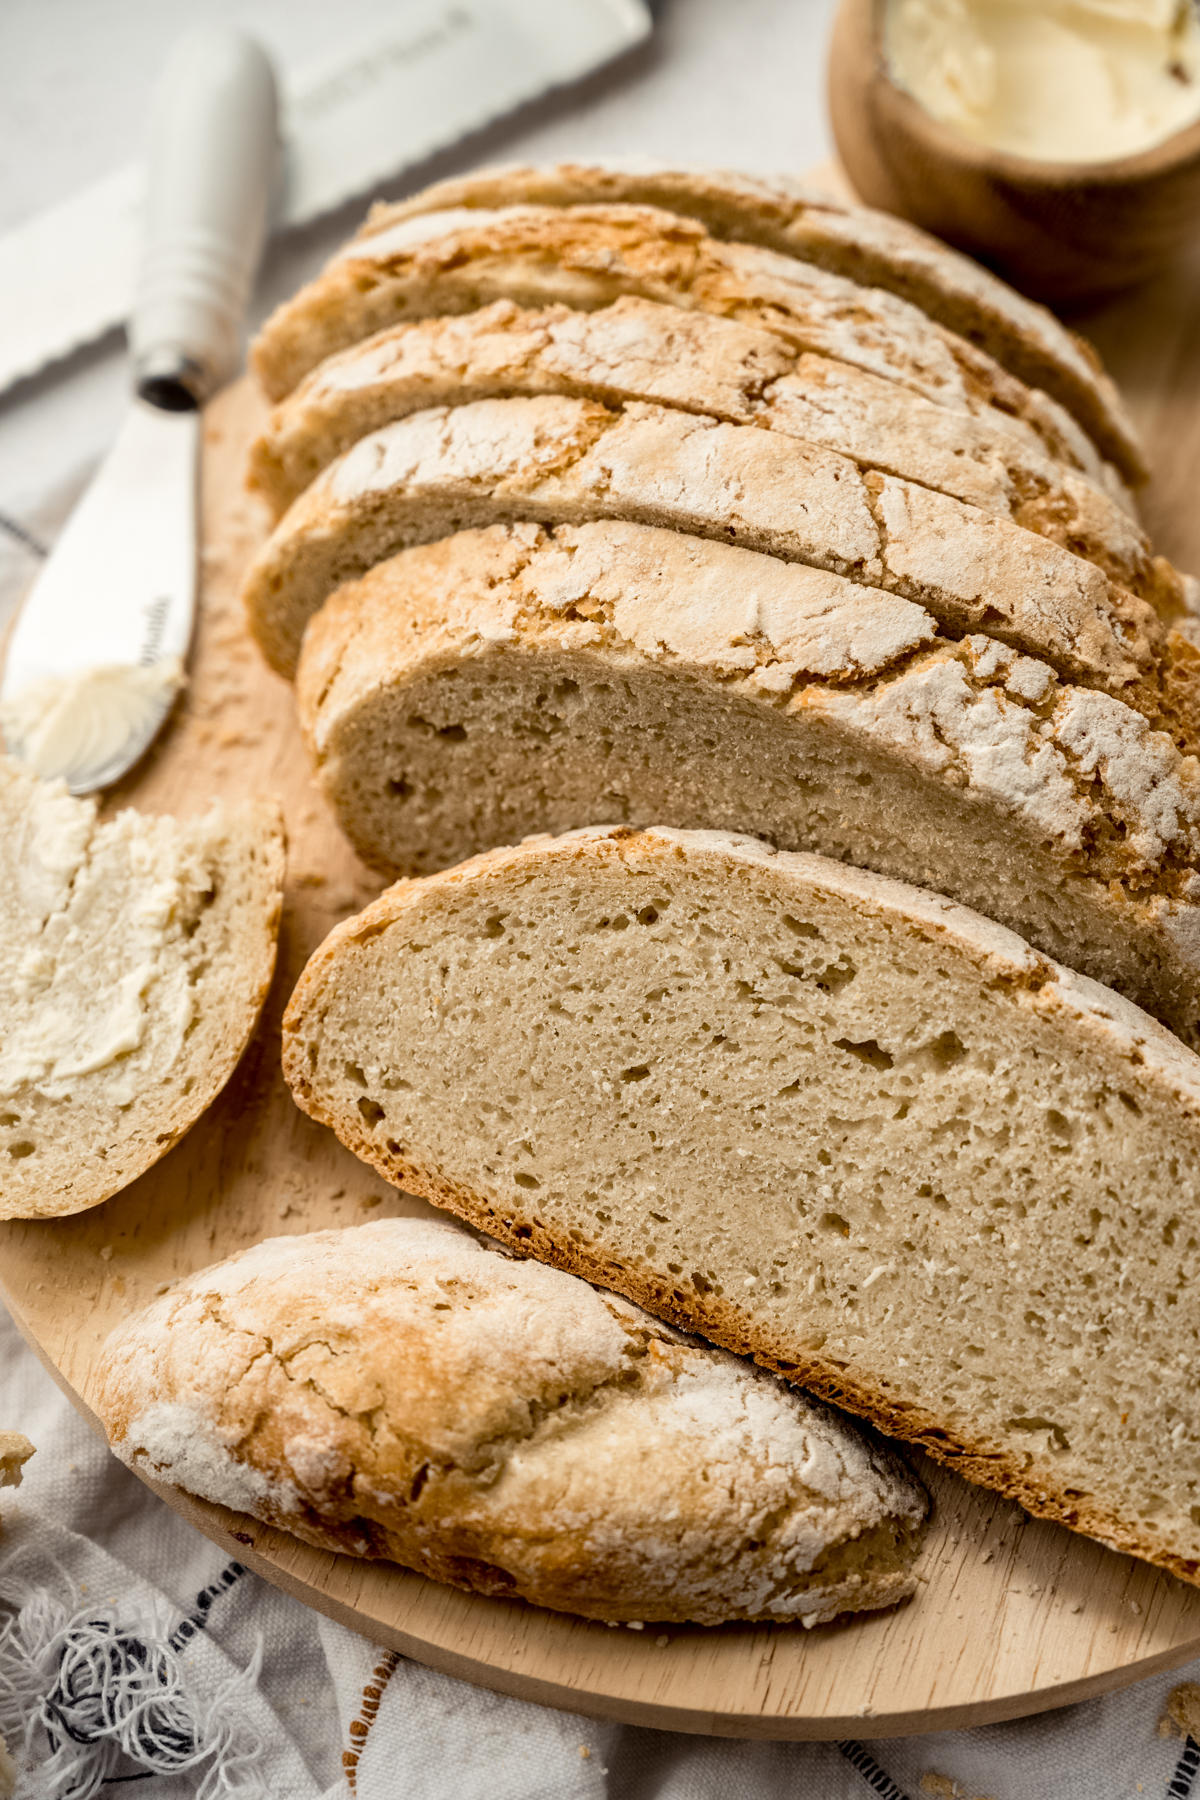
This no knead bread recipe proves you don’t need any special skills to get a crusty, chewy loaf of bread. The simple method and minimal hands-on time make this recipe perfect for beginners and masters alike.
AN EASY BREAD THAT’S ACTUALLY EASY
If you’ve been around here any length of time, you know I pride myself on turning yeast-phobes into yeast pros with easy breads like my easy yeast rolls and white sandwich bread. If you can believe it, things are about to get even easier, especially for those of you who hear “yeast bread” and get slightly panicky over having to knead.
Because, yes, “no knead bread” is exactly what it sounds like: a yeasted bread dough that can come together without ever needing to be kneaded (what?). In fact, the hardest part of this whole process is waiting for your oven to warm up for 30 minutes (yes, we’re doing that and we’ll talk about why in a bit).
At this point, you may be thinking “but is it really that easy?” Yes, it really is. This isn’t like folks who are experts at macarons or croissants claiming “it’s easy!” knowing full well it’s actually a finicky process and may be easy only after putting in hours and hours of reps of practice.
This is actually easy. As in if you can measure (with a scale for accuracy always!), mix, and muscle your Dutch oven or other lidded oven-safe pot from its storage place, you can make a crusty-on-the-outside, chewy-on-the-inside loaf of bread that’s perfect for dipping into soup or toasting and spreading with butter without ever having to learn how to properly knead a dough.
WHY DON’T I NEED TO KNEAD THIS BREAD?
Believe it or not, you can technically turn any bread recipe into a no knead recipe, though I don’t suggest doing that unless you really know what you’re doing. Think about a sourdough bread: there’s not a whole lot of kneading involved, and time replaces muscle in order to develop the gluten network.
This no knead bread recipe has two rest times– the first is 1 hour and the second is 30 minutes. This isn’t very atypical from a traditionally kneaded bread, but because we’re not kneading it, the final texture will be pretty different from a kneaded dough.
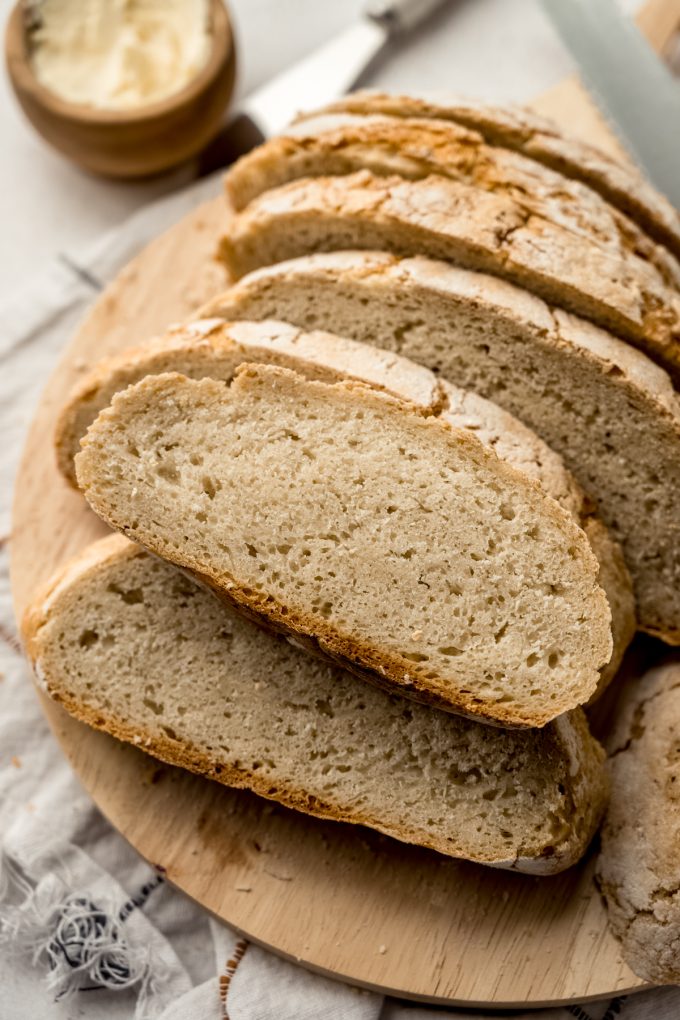
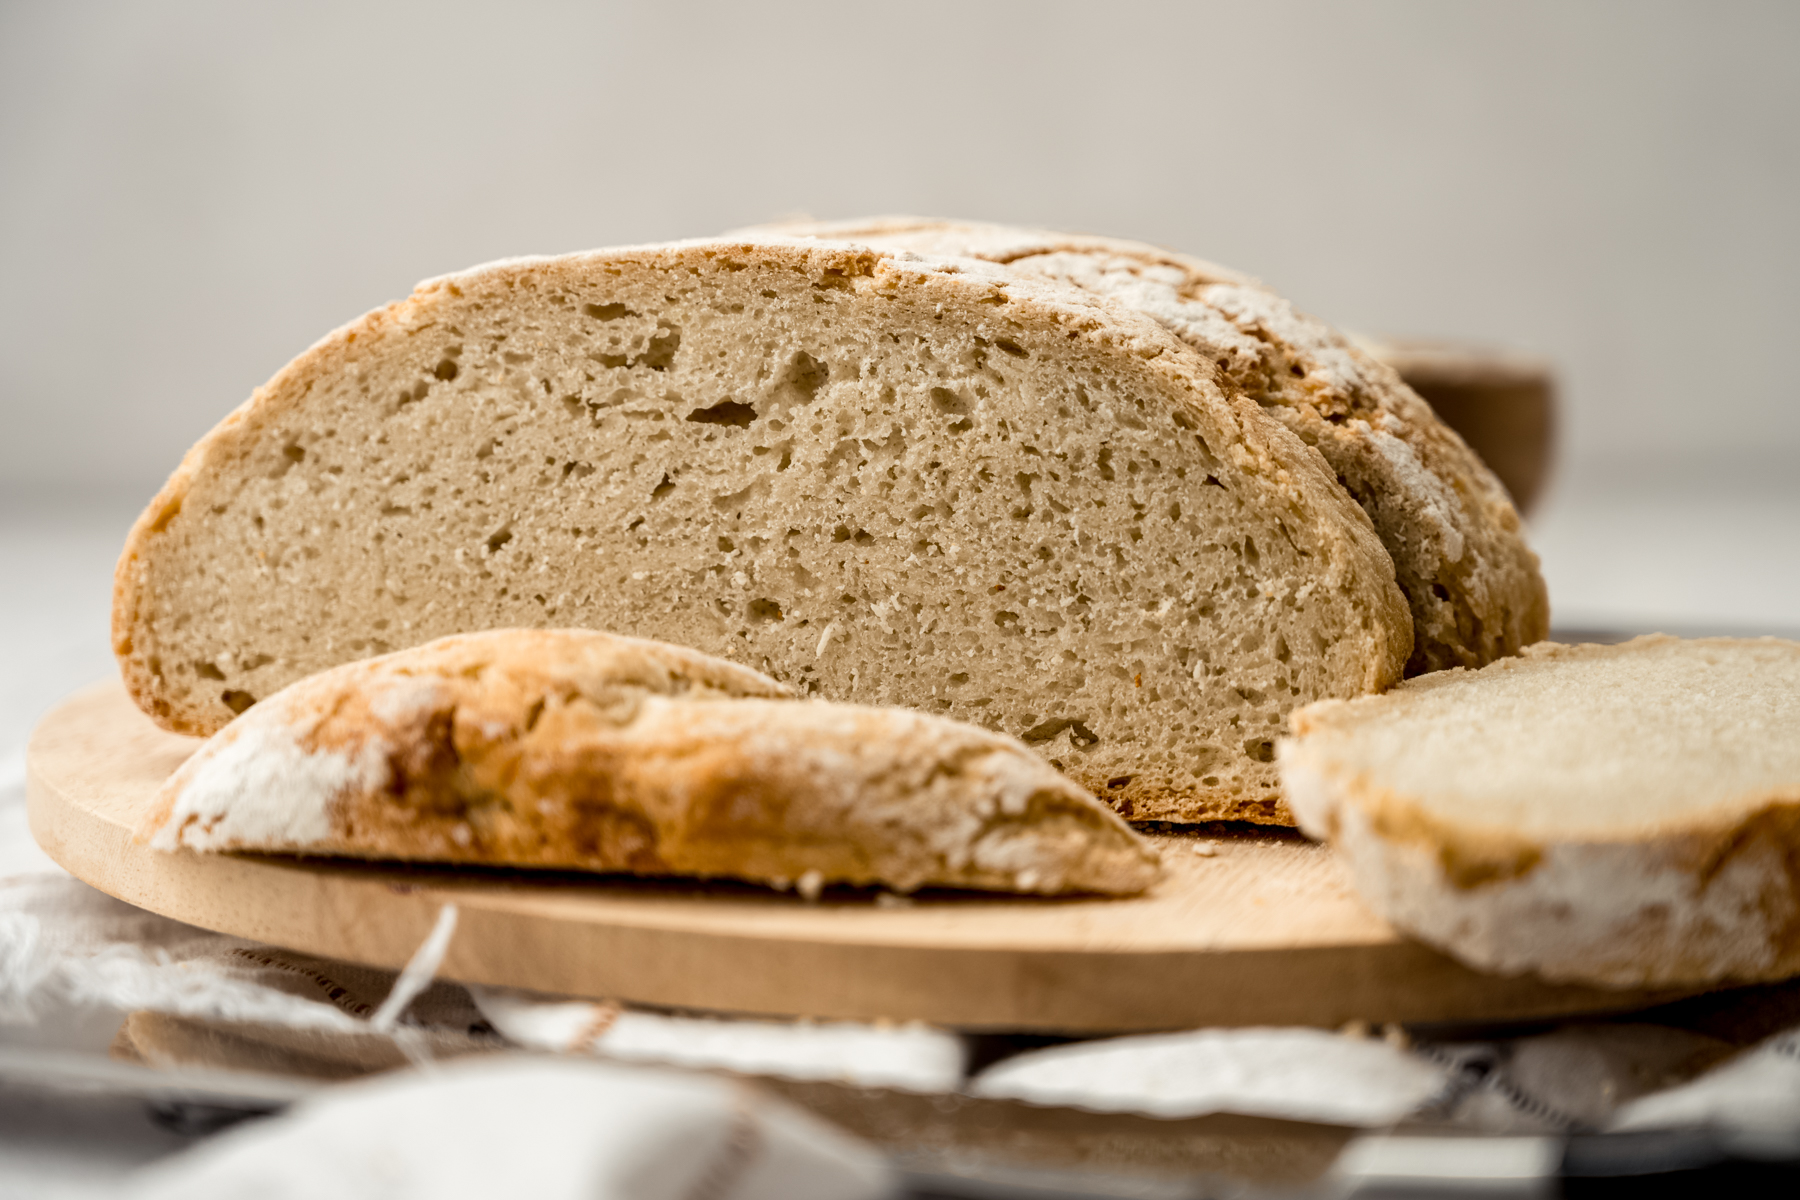
However! The cool thing is that yeast + flour + water do a lot of work on their own and there will still be a gluten network developing inside that loaf. The result is a chewy loaf just with small air pockets and there is nothing “fluffy” about it. Think of this bread as more of a rustic and crusty situation.
GRAB THESE 5 INGREDIENTS
You don’t need anything fancy for this recipe, and if you’re looking to flavor it, that’s super simple (check out the variations section below). Grab your all-purpose flour, yeast, salt, sugar, and warm water and let’s get to not kneading!
HOW TO MAKE NO KNEAD BREAD
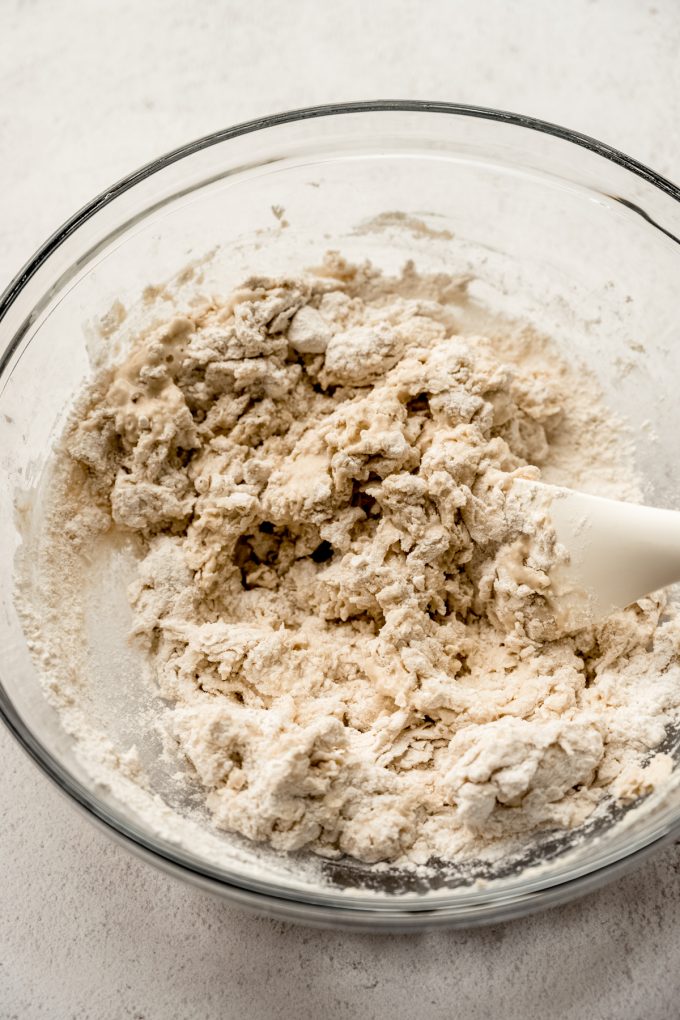
Mix the dough: whisk together the flour, yeast, salt, and sugar until combined, then add the warm water and stir everything together. Stop mixing when the dough is evenly mixed and there are no more large flour streaks or pockets. The dough will be loose and shaggy, which is exactly what you want.
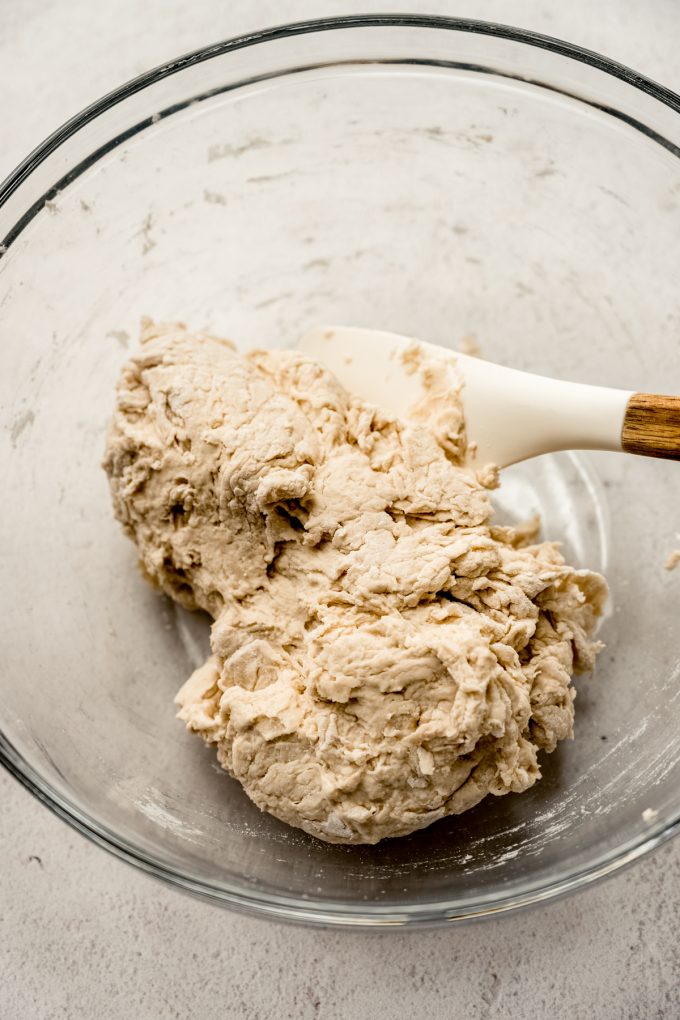
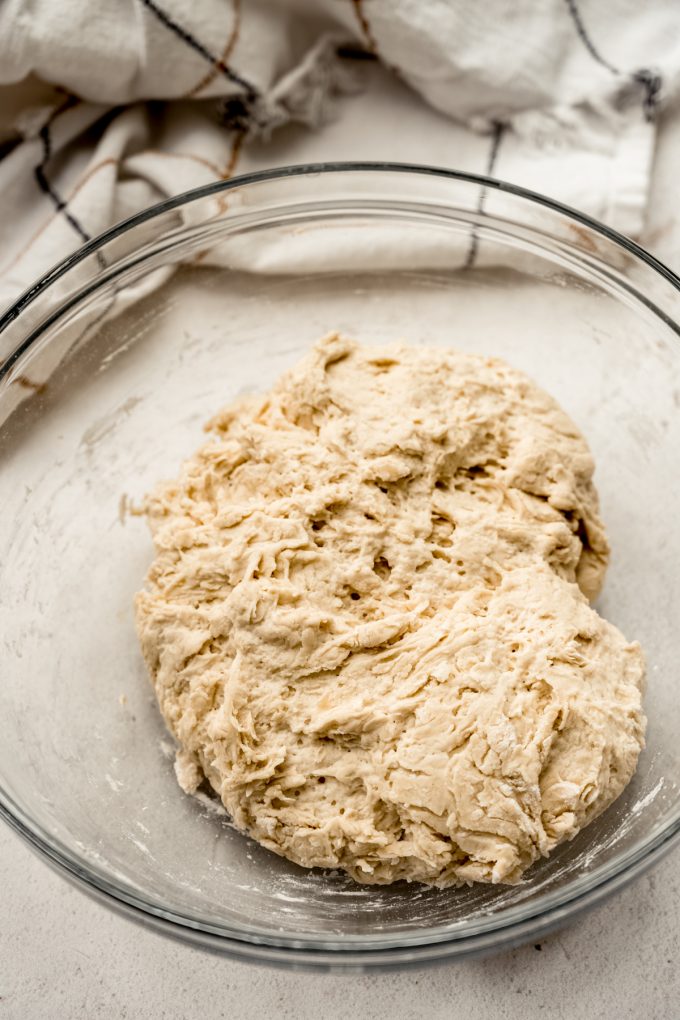
Let the dough rest: cover the bowl and allow the dough to rest at room temperature for 1 hour.
Shape the dough: dump the dough out of the bowl onto a floured surface, flour your hands, then fold the dough on top of itself by pulling the outer edges up and into the center of the dough a few times. The dough will become tighter as you do this and should start to form a round ball. Lightly flour the top of the dough ball, then carefully flip it upside down onto a piece of parchment paper. The smooth side will now be on top. Use your hands to shape the ball into an even circle, then lightly flour the top of the dough ball. Loosely cover the dough again.
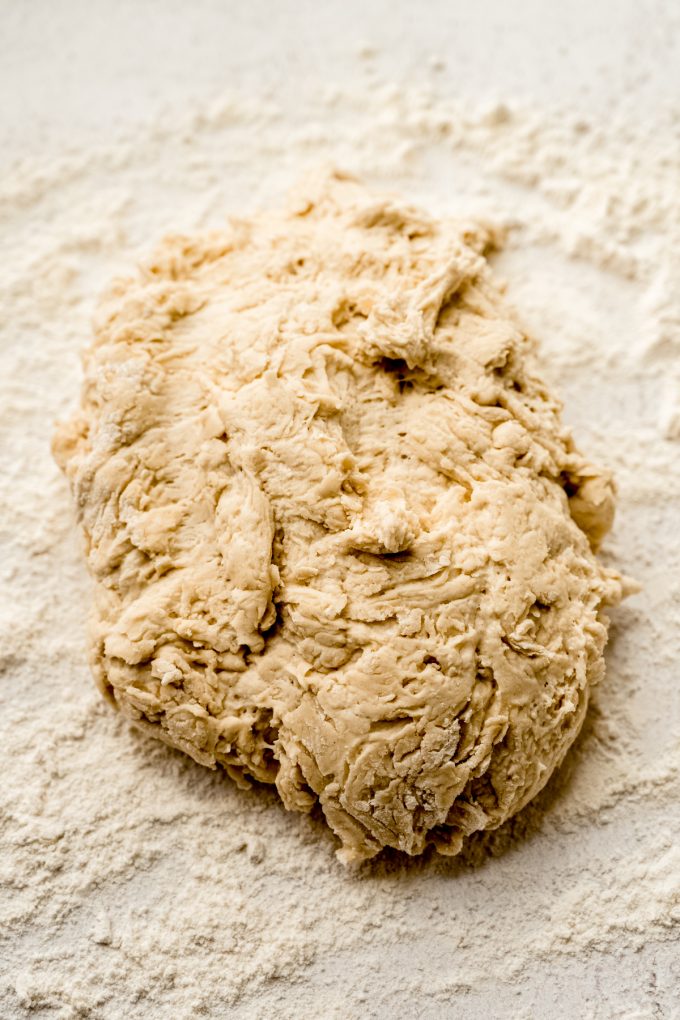
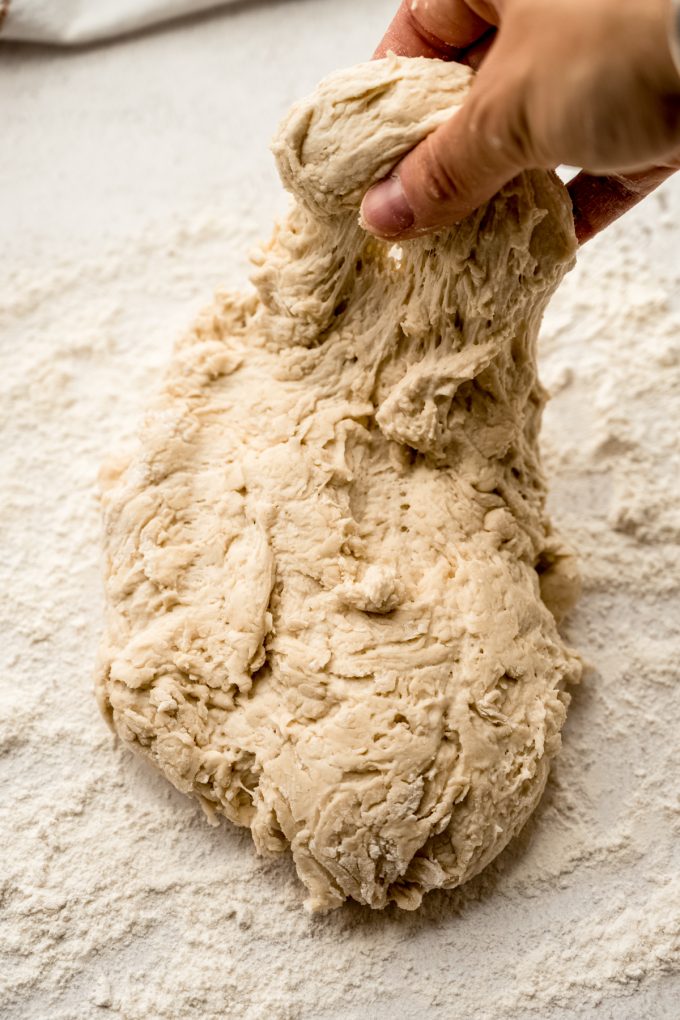
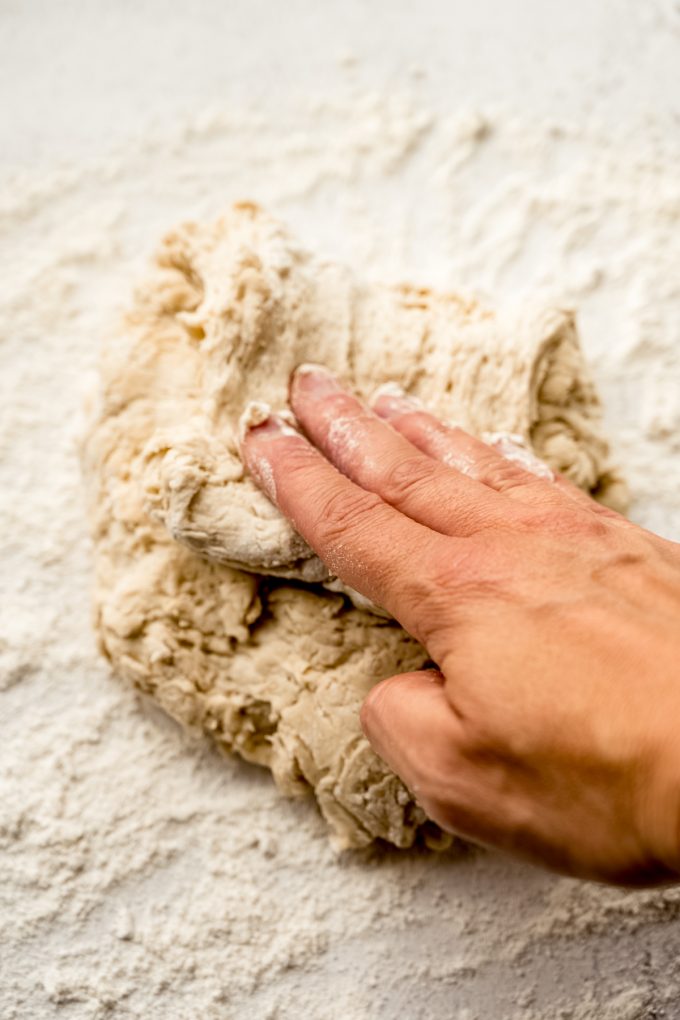
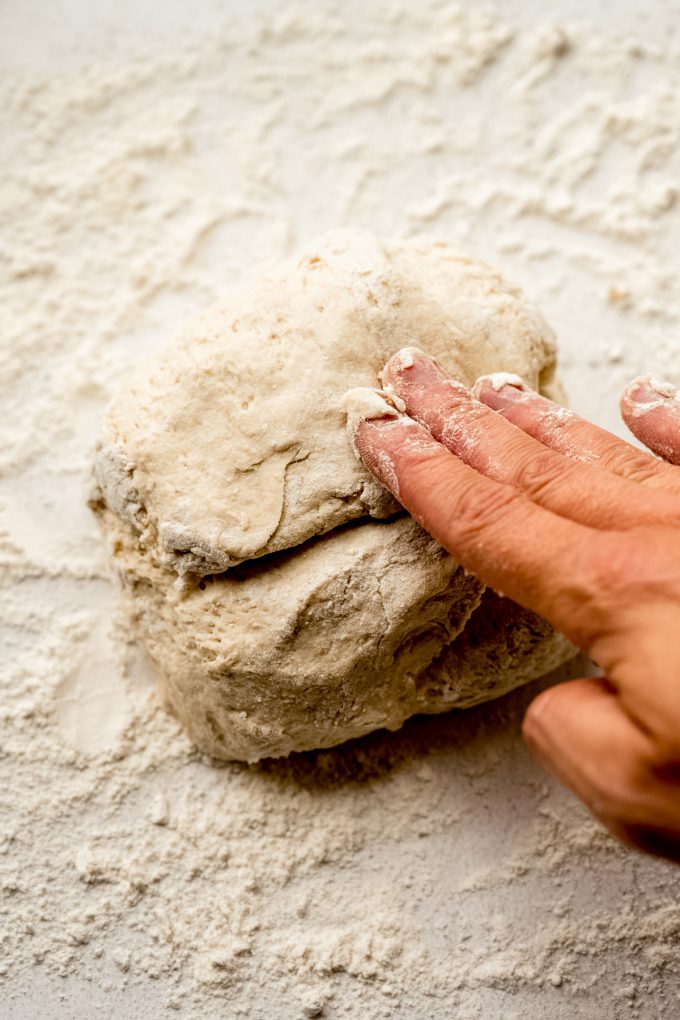
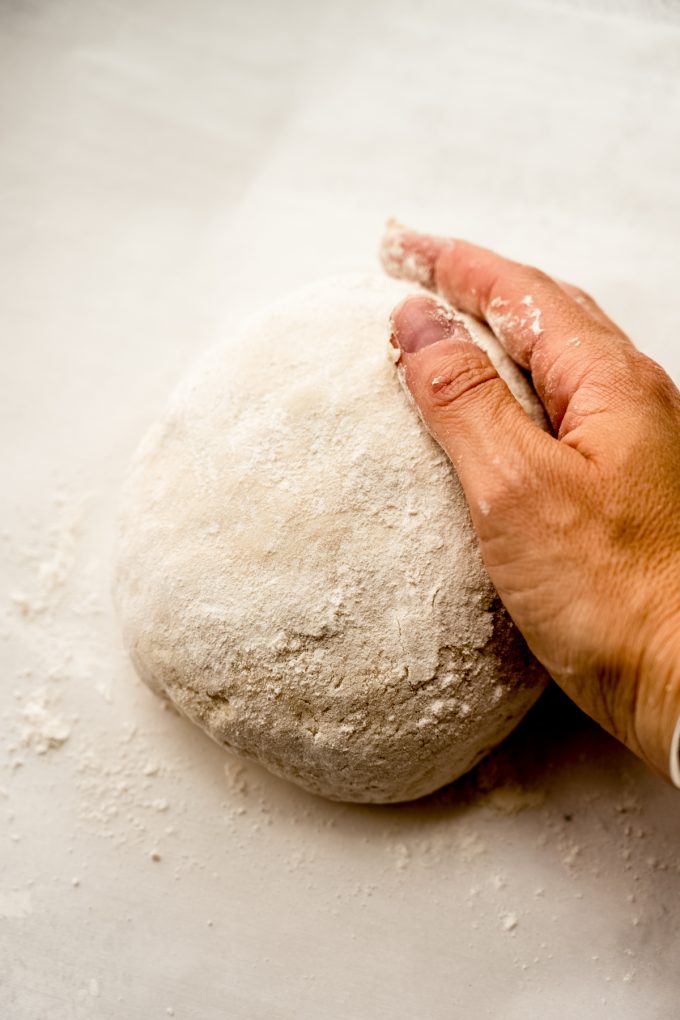
Let the dough rest + preheat the oven: while the dough rests for 30 minutes, you’ll let the oven preheat so it’s nice and hot. Place a Dutch oven on a rack in the middle position, then set the temperature to. Wait 30 minutes for the oven to fully heat (do not rush this timeline).

Why are preheating the Dutch oven as well?
The hot pot traps the dough’s natural moisture which generates steam. This allows the outside of the loaf to expand before a crisp crust forms.
Transfer the dough to the Dutch oven: use oven mitts to very carefully remove the hot Dutch oven from the oven, then use the edges of the parchment as “handles” to carefully transfer the dough ball (along with the parchment) to the Dutch oven. Replace the lid and bake!
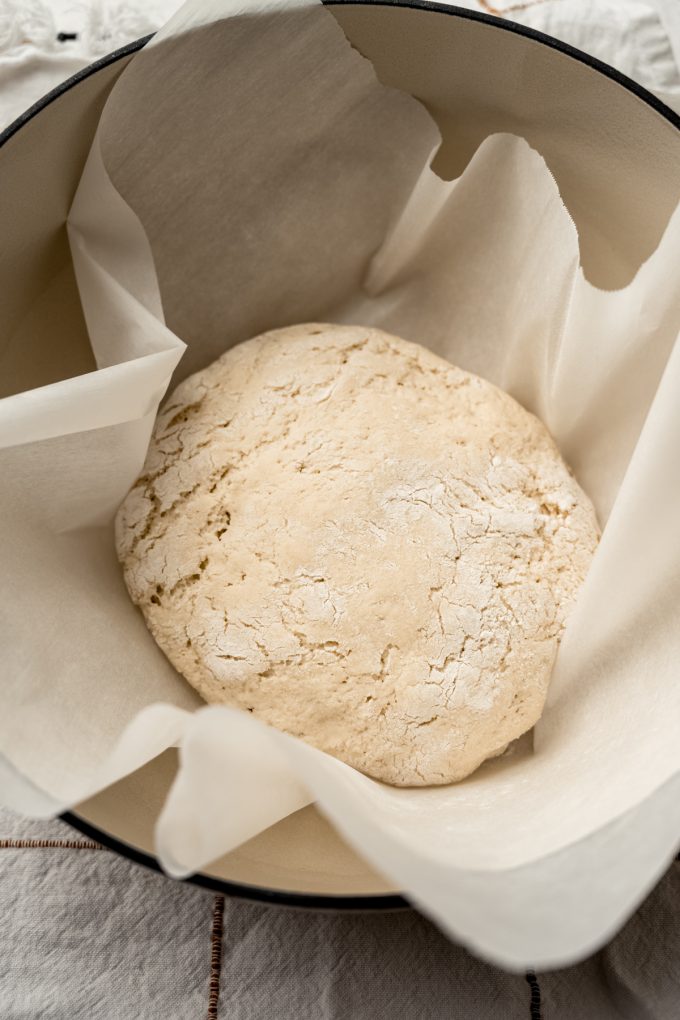
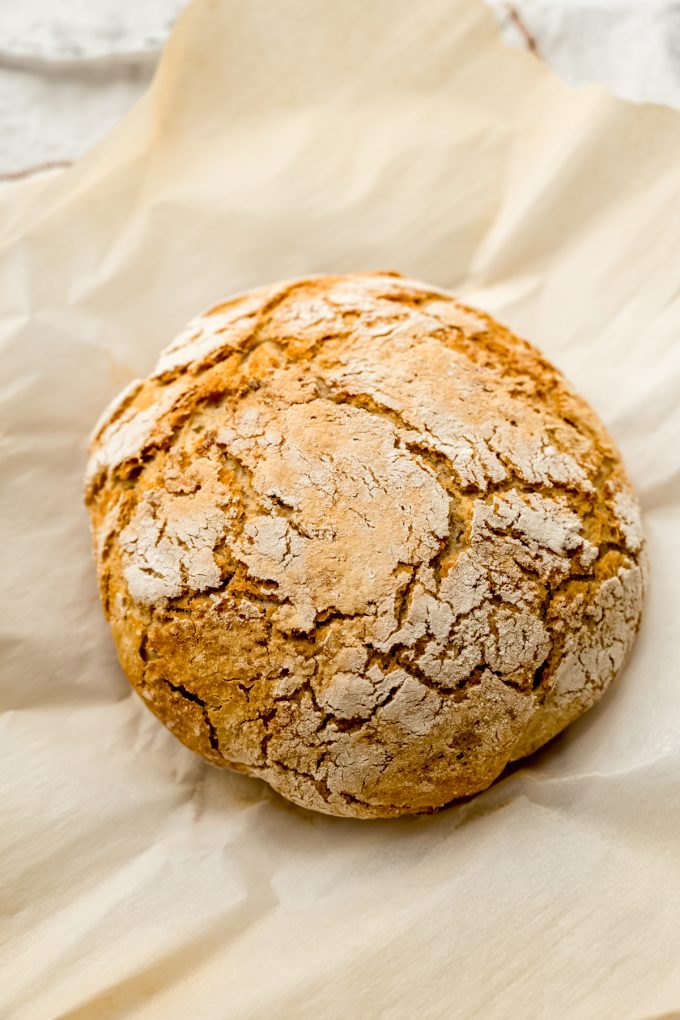
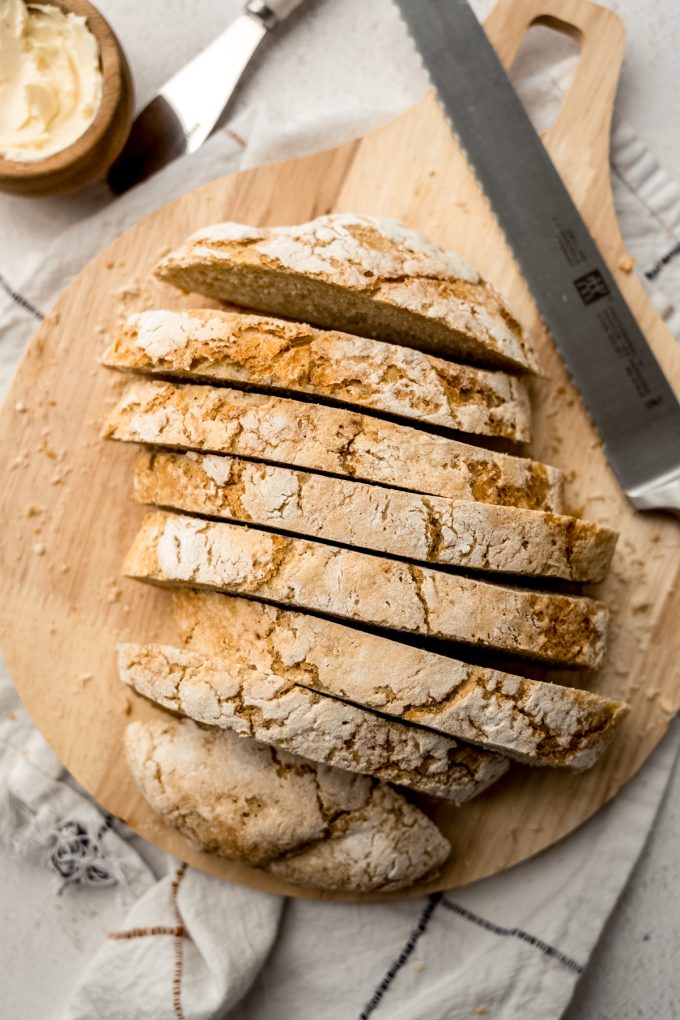
Let the loaf cool: remove the Dutch oven from the oven, remove the lid, then carefully lift the bread out of the Dutch oven with the “handles” of the parchment paper again. Transfer the bread to a wire rack to cool for at least 30 minutes before slicing.
VARIATIONS
Want to use a different kind of flour? You can absolutely use bread flour to give it a little more softness and tenderness.
Want to use whole wheat flour? You absolutely can, just know the final loaf will be a little denser and slightly bitter, which is always expected with whole wheat flour. You could also consider a half-and-half combo.
Want to add some fresh or dried herbs? Go for it. Just add them in at the beginning of the recipe since there won’t be any kneading to get everything evenly dispersed.
WHAT IF I DON’T HAVE A DUTCH OVEN?
No Dutch oven, no problem! You can use any oven-safe, deep, lidded dish. If you still don’t have one of those, you’ll just need to recreate the environment your bread wants.
Baking the bread in a lidded pot creates steam which is what gives you a crusty crust. That means that you can place the rounded dough on a baking sheet lined with parchment and a dish of hot water. Preheat the oven for the recommended 30 minutes, but don’t put the baking sheet in the oven.
Once the oven is hot enough, boil a kettle of water, then place a shallow metal baking pan or cast iron skillet on the bottom rack (do not use glass). Quickly but carefully pour about 3 cups of boiling water into the dish then shut the oven quickly. This traps the moisture inside the oven and mimics the steamy environment of the Dutch oven.
CAN I LET THIS DOUGH REST FOR LONGER THAN 1 HOUR?
Why, yes, you can! And you’ll find the bread has an even crustier crust and a slightly softer interior. If you have the time and/or the desire, you can rest the dough for up to 18 hours. You’ll just want to make sure it’s refrigerated during this time. You can proceed with the rest of the recipe as instructed without making any changes.
BEGINNERS AND EXPERTS ALIKE WILL LOVE THIS BREAD
Despite its ease of method, this no knead bread is no less than something that takes a little more elbow grease. Beginners will love it for its simplicity, and veteran bread makers will love that it produces an ultra crust and rustic loaf with the option to cold-proof it for an extended period of time.
It’s the perfect texture for dipping into soup or toasting with butter and jam to serve with coffee or tea. It’s also one of those recipes you’ll keep in your rotation for those times you just want a simple homemade bread you can have going on in the background. The hands-off approach is great for more involved main dishes like chili and you can time things perfectly with an extended rise time if you want everything done at the same time.
Easy and flexible? Now that’s my kind of bread recipe!
Easy No Knead Bread Recipe
Ingredients
- 3 cups (360g) all-purpose flour be sure to measure properly
- 2 and ¼ teaspoon (7g) dry active yeast
- 2 teaspoons salt
- 1 teaspoon granulated sugar
- 1 cup (240mL) warm water aim for 110ºF (43ºC)
Video
Instructions
- In a large bowl, whisk together the flour, yeast, salt, and sugar until combined. Add the warm water and stir everything together with a wooden spoon or silicone spatula until the dough is evenly mixed and there are no more large flour streaks or pockets. The dough will be loose and shaggy. This is ok.3 cups (360g) all-purpose flour, 2 and ¼ teaspoon (7g) dry active yeast, 2 teaspoons salt, 1 teaspoon granulated sugar, 1 cup (240mL) warm water
- Cover the bowl with a clean kitchen towel or plastic wrap and allow the dough to rest at room temperature for 1 hour1.
- Generously flour a work surface, then dump the dough out of the bowl onto the surface. Flour your hands, then fold the dough on top of itself by pulling the outer edges up and into the center of the dough a few times. The dough will become tighter as you do this and should start to form a round ball.
- Lightly flour the top of the dough ball, then carefully flip it upside down onto a piece of parchment paper. The smooth side will now be on top.
- Use your hands to shape the ball into an even circle, then lightly flour the top of the dough ball. Loosely cover the dough with a clean kitchen towel again while you heat the oven for 30 minutes.
- Arrange a rack in the center of the oven, place a Dutch oven2 on the rack, then set the temperature to 450°F (232ºC). Wait 30 minutes for the oven to fully heat (do not rush this timeline).
- Use oven mitts to very carefully remove the hot Dutch oven from the oven. Use the edges of the parchment as "handles" to carefully transfer the dough ball (along with the parchment) to the Dutch oven. Place the lid onto the Dutch oven and bake the bread covered for 30 minutes. Remove the lid, then bake the bread for an additional 15-20 minutes, or until the bread reaches your desired level of color.
- Remove the Dutch oven from the oven, remove the lid, then carefully lift the bread out of the Dutch oven with the "handles" of the parchment paper again. Transfer the bread to a wire rack to cool for at least 30 minutes before slicing. Leftovers should be wrapped very tightly. Be sure the loaf is completely cool before wrapping it up. Store at room temperature up to 5 days. Loaf freezes well, up to 3 months. Thaw at room temperature.
Notes
- Rest time: if you have the time or the desire, you can let this loaf proof in the refrigerator for up to 18 hours. This will soften the interior a little more and also produce a crustier crust. Don’t worry– the bread is still perfectly delicious if you make it as written.
- Dutch oven: if you don’t have a Dutch oven, that’s ok! You can use any deep, oven-safe, lidded casserole dish.
- Whole wheat flour: you can use whole wheat flour without making any changes to the recipe. You should expect a slightly denser interior with fewer air pockets, as well as a slightly bitter taste (all expected when using whole wheat flour).
- Add herbs: you can use whatever herbs you wish in this bread. Add them in with the dry ingredients.
Nutrition Disclosure
All nutritional values are approximate and provided to the reader as a courtesy. Changing ingredients and/or quantities will alter the estimated nutritional calculations.