
How to Make a Butterfinger Cake
As an Amazon Associate, I earn from qualifying purchases. Read the full disclosure here.
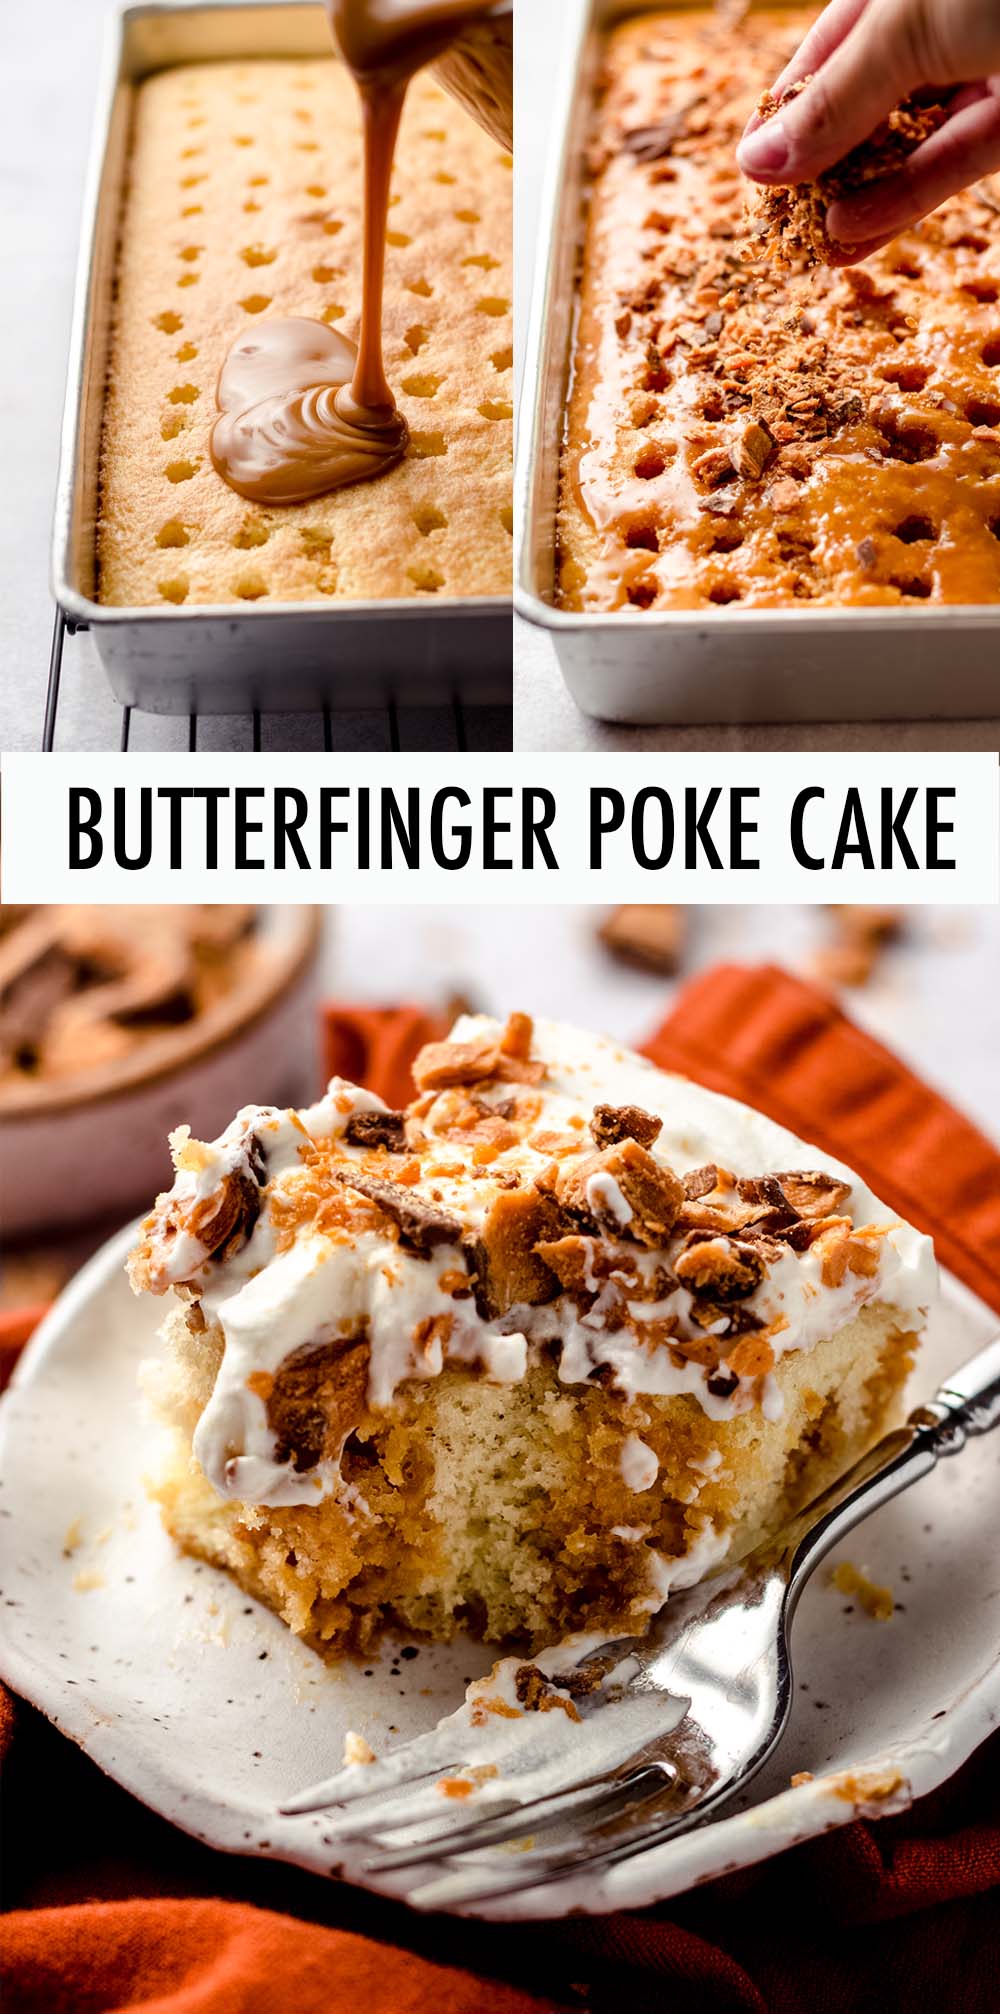
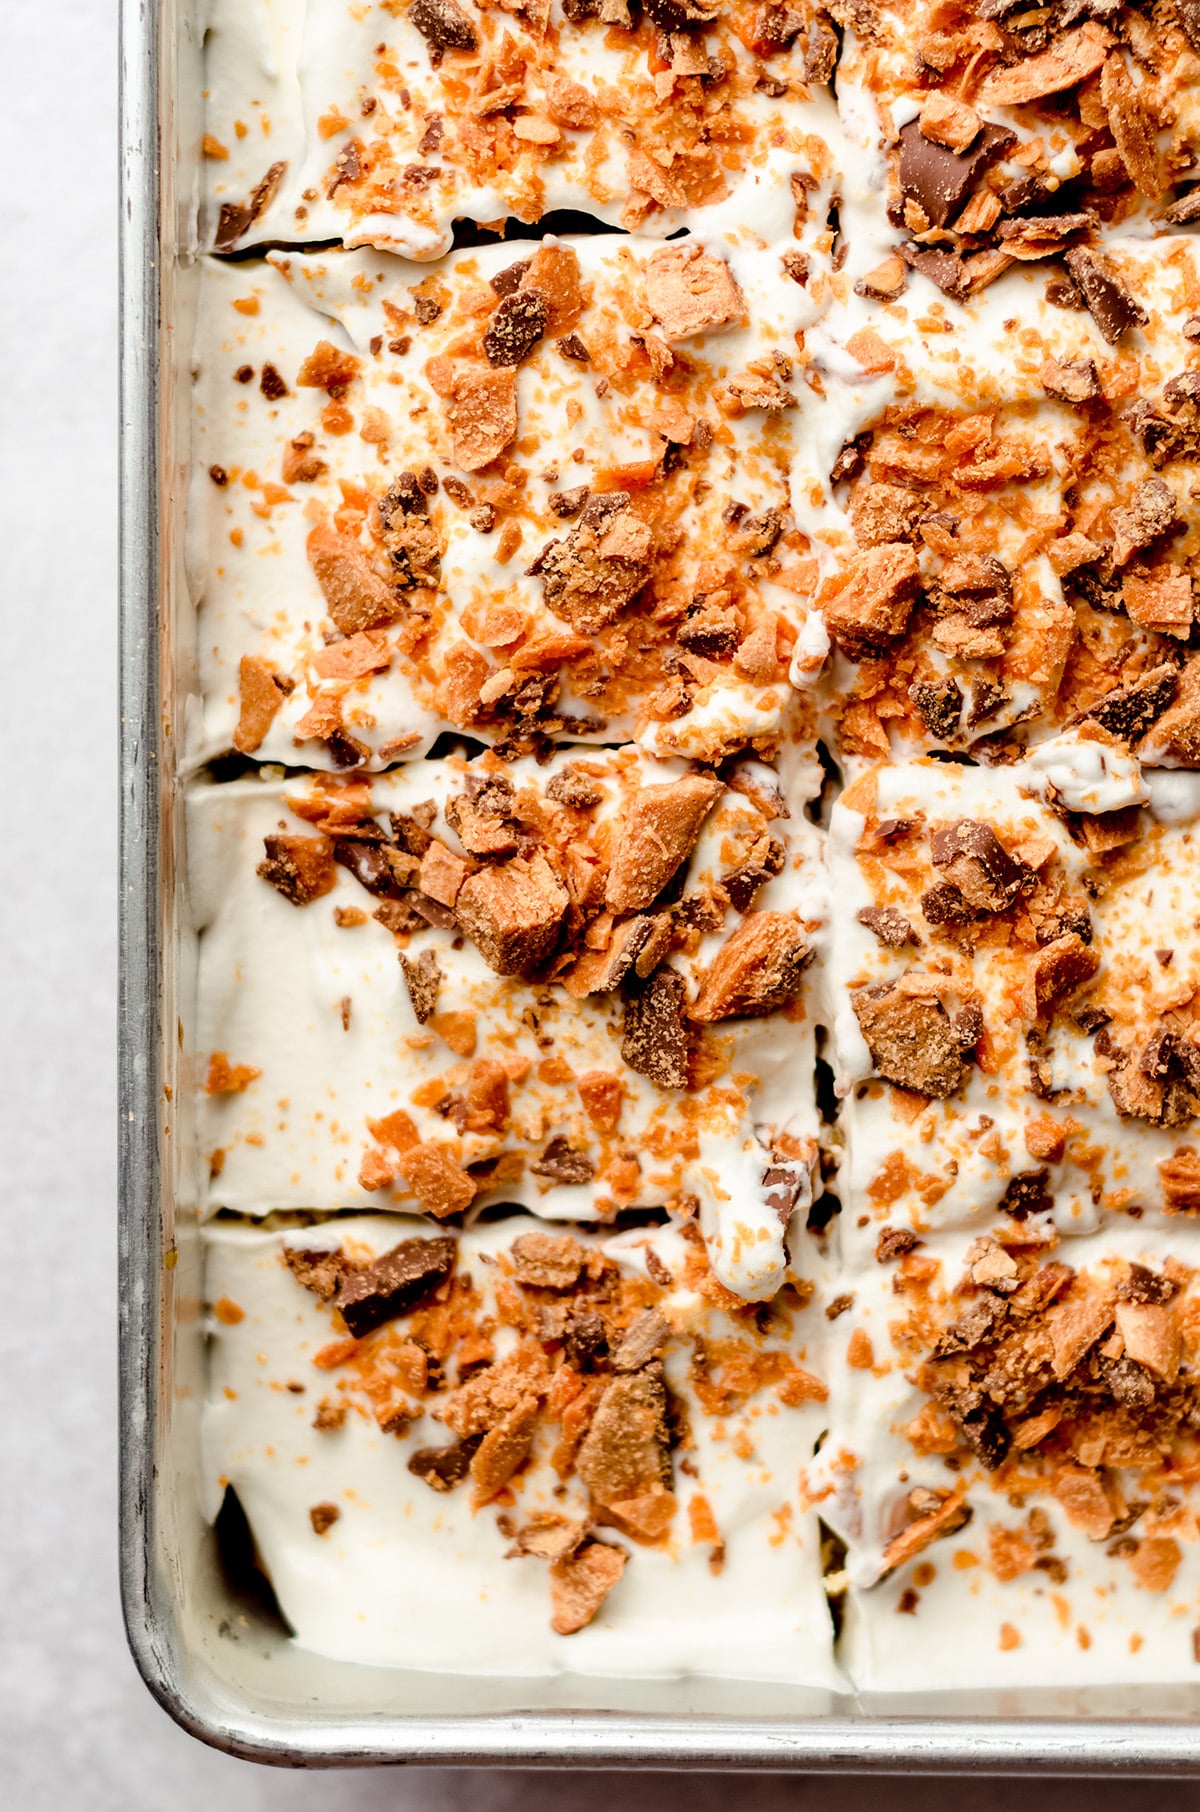
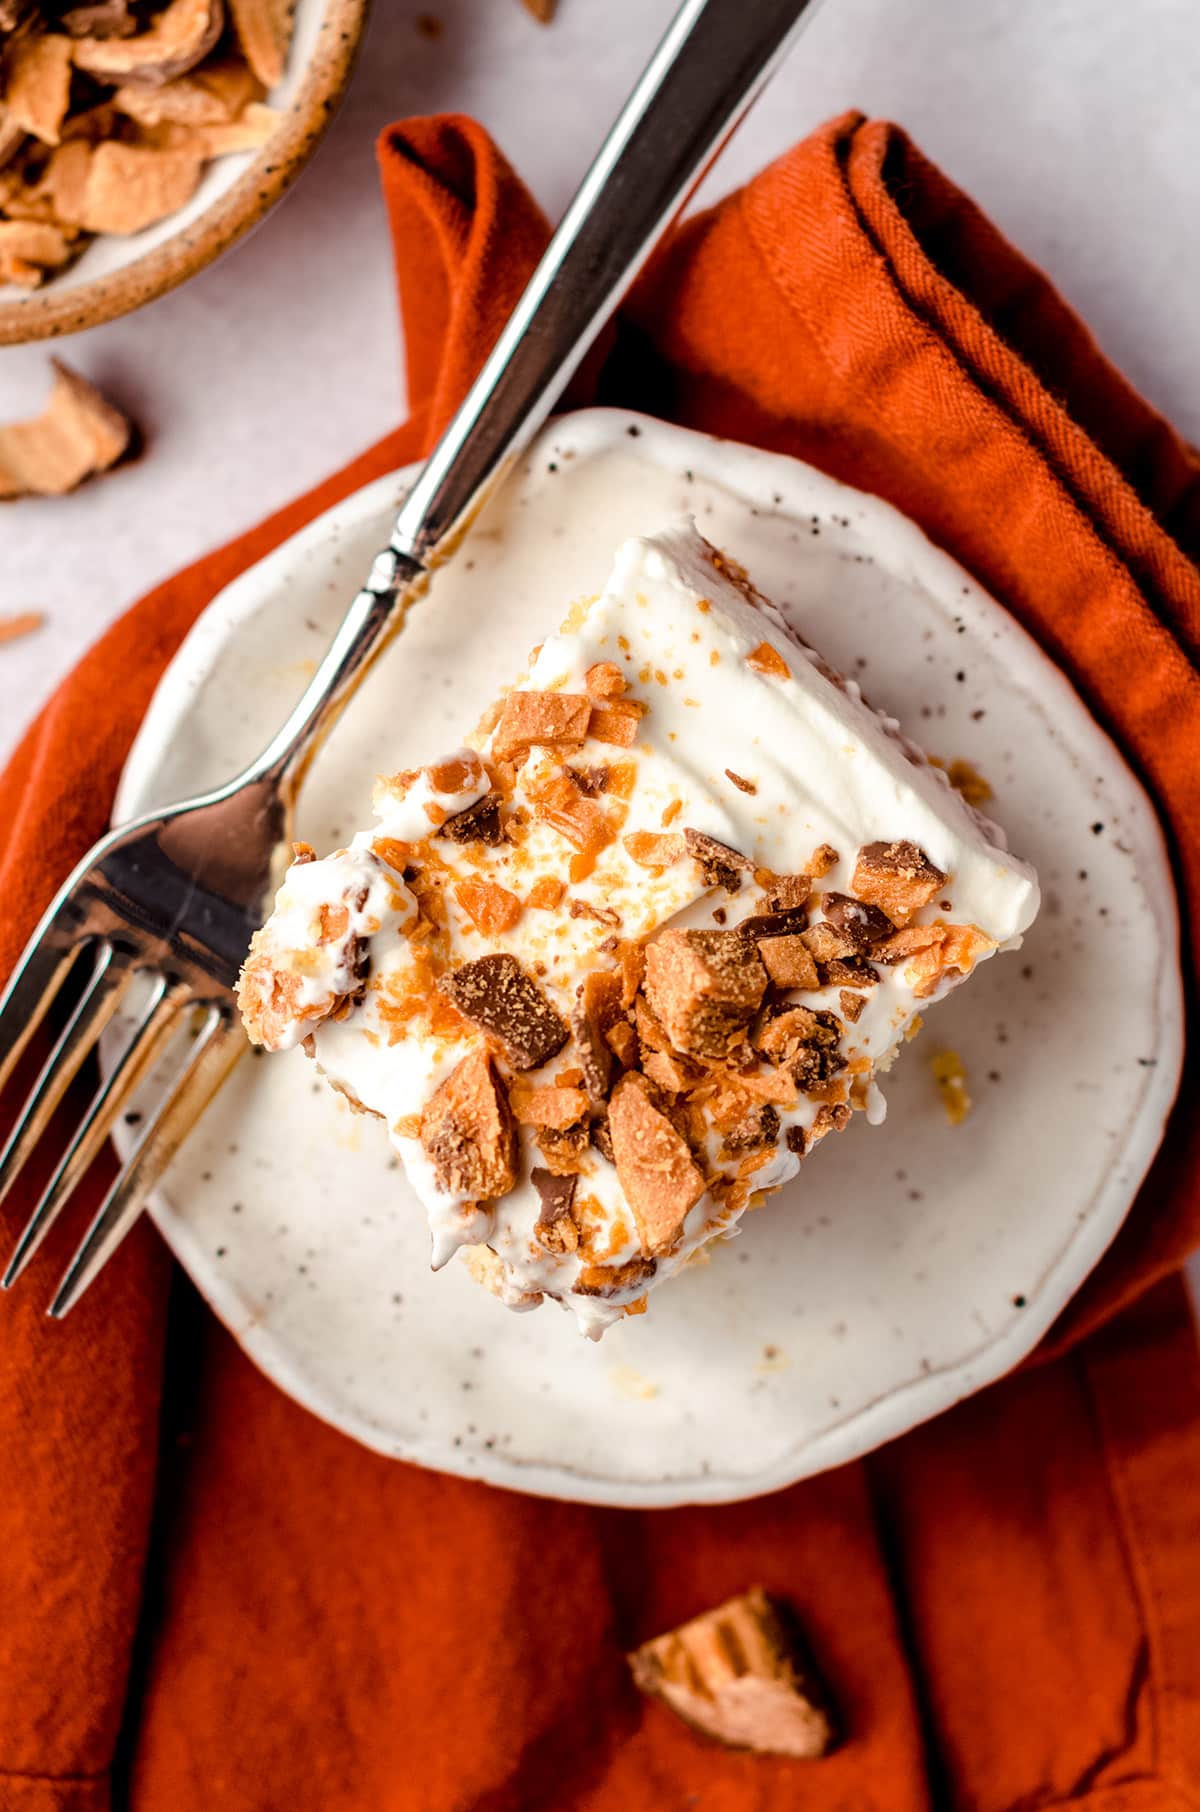
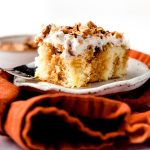
This easy poke cake recipe starts with a yellow box mix that, once baked, gets soaked in a sweetened condensed milk and caramel sauce topping. Top the cake with a simple whipped topping that gets sandwiched between two layers of chopped Butterfinger bars, and you have yourself an easy Butterfinger cake!
Today is a SUPER FUN day on my site, as I’m participating in a little blog hop called Freaky Friday! Michaela from An Affair From The Heart put together this event where one blogger makes a recipe from another assigned blogger’s site.
For this round of Freaky Friday, I was assigned Brandi from Aunt Bee’s Recipes, and while I definitely clicked around her site and drooled over many easy dinner ideas to add to my collection (like these chicken fajita sliders and caramelized onion and cream cheese chicken enchiladas), I ultimately landed on this Butterfinger poke cake because after I made friends with my first poke cake recipe, I knew it was a fun recipe to have in my cake recipe collection because seriously, poke cakes are so much fun.
WHAT IS A POKE CAKE?
If you’ve never heard of a “poke cake” you might be thinking to yourself what a silly name for a cake. But the truth is that it describes exactly what this style of cake entails– poking!
A poke cake is a style of cake that is liberally “poked” with the end of a wooden spoon or chopstick to create holes all over the baked cake surface.
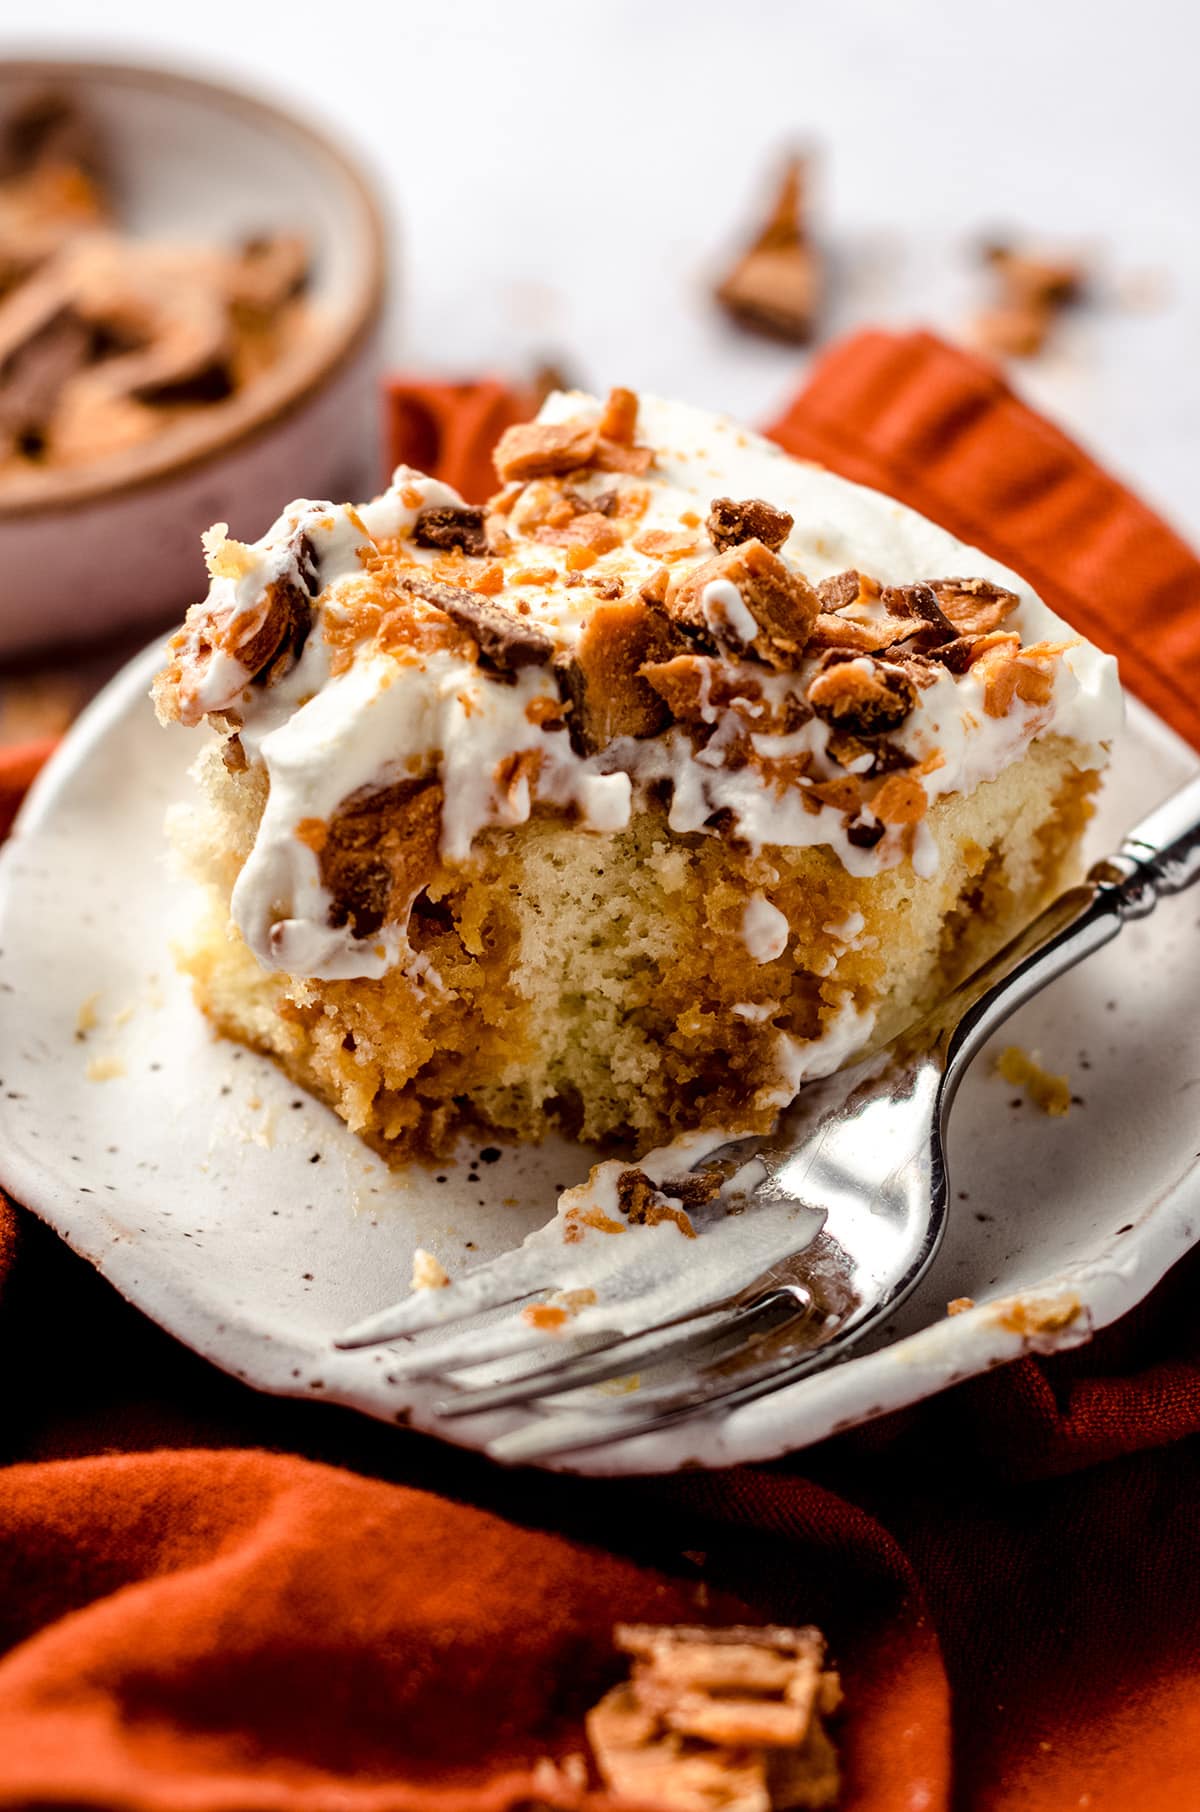
Then, a soaking mixture of some sort (often Jell-O or pudding) is drizzled on top of the cake, seeping into the holes. This creates a beautiful stripe or marbling pattern inside of the cut cake, and fills each slice with something gooey (or jiggly as is the cake for Jell-O based recipes like my strawberry poke cake).
Finally, the cake is topped off with a light and airy whipped topping, and often times garnished with chopped candy, fruit, or chocolate.
Why you’ll love this Butterfinger Poke Cake Recipe
Poke cakes are SO simple, which is what makes them so popular. Since they start with a basic cake, you can utilize a box mix or a scratch cake and jazz it up with the rest of the ingredients. Poke cakes make for a quick treat if you’re short or time or want to serve something a little more interesting than a basic sheet cake. And since they’re so moist, they make great leftovers!
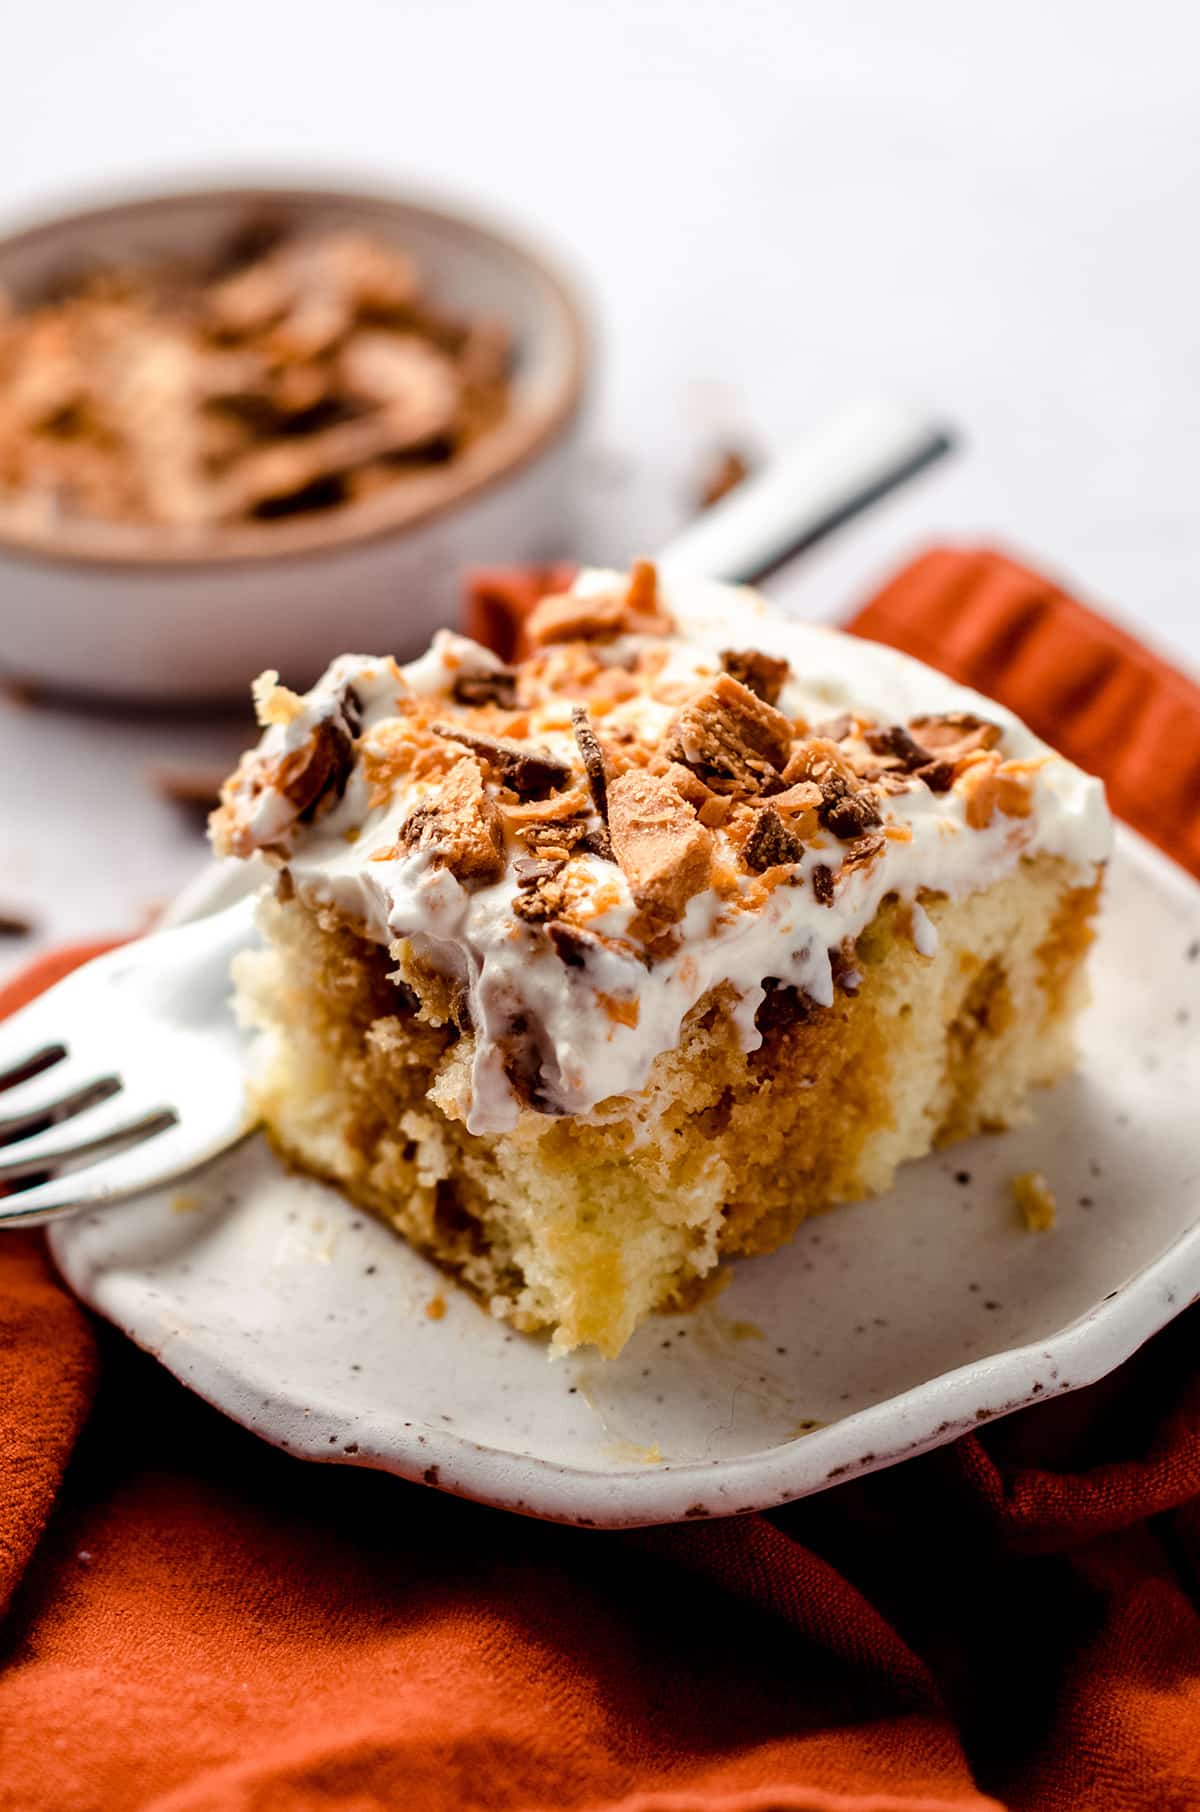
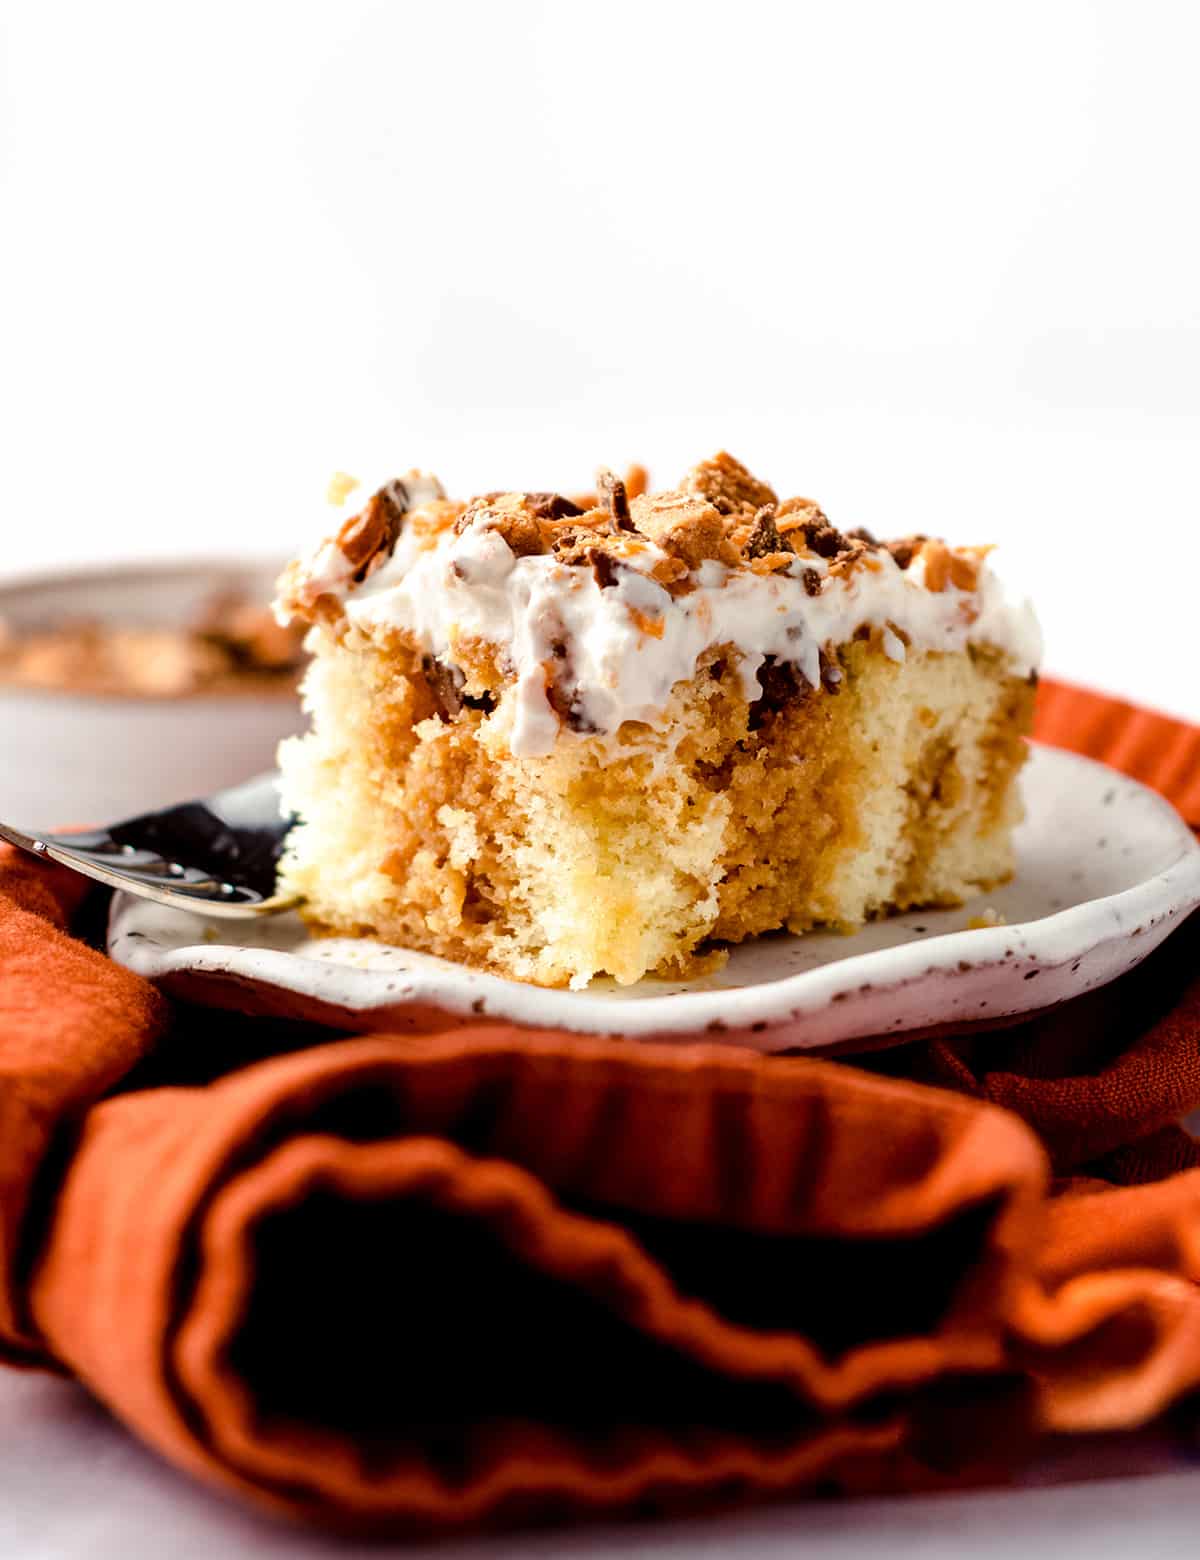
This Butterfinger poke cake uses a sweetened condensed milk and caramel based filling, and is finished with a layer of whipped cream sandwiched between two layers of chopped Butterfinger bars. It’s the stuff dreams are made of!
Butterfinger Cake ingredients
While I did use Brandi’s recipe as the basic outline of this recipe for Butterfinger poke cake, I took a few opportunities to include some of my favorite scratch components to get the job done, namely my homemade salted caramel sauce and homemade whipped cream.
But don’t worry– Brandi’s original shortcuts are still alive and well in the recipe card, so you can go from ingredients to mouthful in no time flat.
CAKE
Like the vast majority of poke cake recipes, this one starts with a trusty box of yellow cake mix. This makes the recipe so easy to pull together, and yields a nice crumb every single time.
Although I’m a cake baker myself, and make pretty much everything from scratch when it comes to baking, I can’t deny how convenient a box cake mix is. And thanks to food science (yay!) it’s pretty much foolproof and perfect for beginner bakers.
For this Butterfinger poke cake, you’ll need one standard size box of yellow cake mix. You can use whatever brand you like best, or just whatever you have available. Just make sure to include the ingredients listed on the box or any adjustments you want to make (like swapping butter for oil and milk for water).
If you want to go the homemade route (like I did for my strawberry poke cake) you could totally use my white sheet cake recipe instead. Just bake it according to the recipe instructions, and pick up at the poking (and drizzling) part of this one.
SOAKING MIXTURE
The best part of poke cakes is easily whatever the soaking mixture happens to be. This one is particularly decadent, with both salted caramel sauce and sweetened condensed milk in the ingredient list.
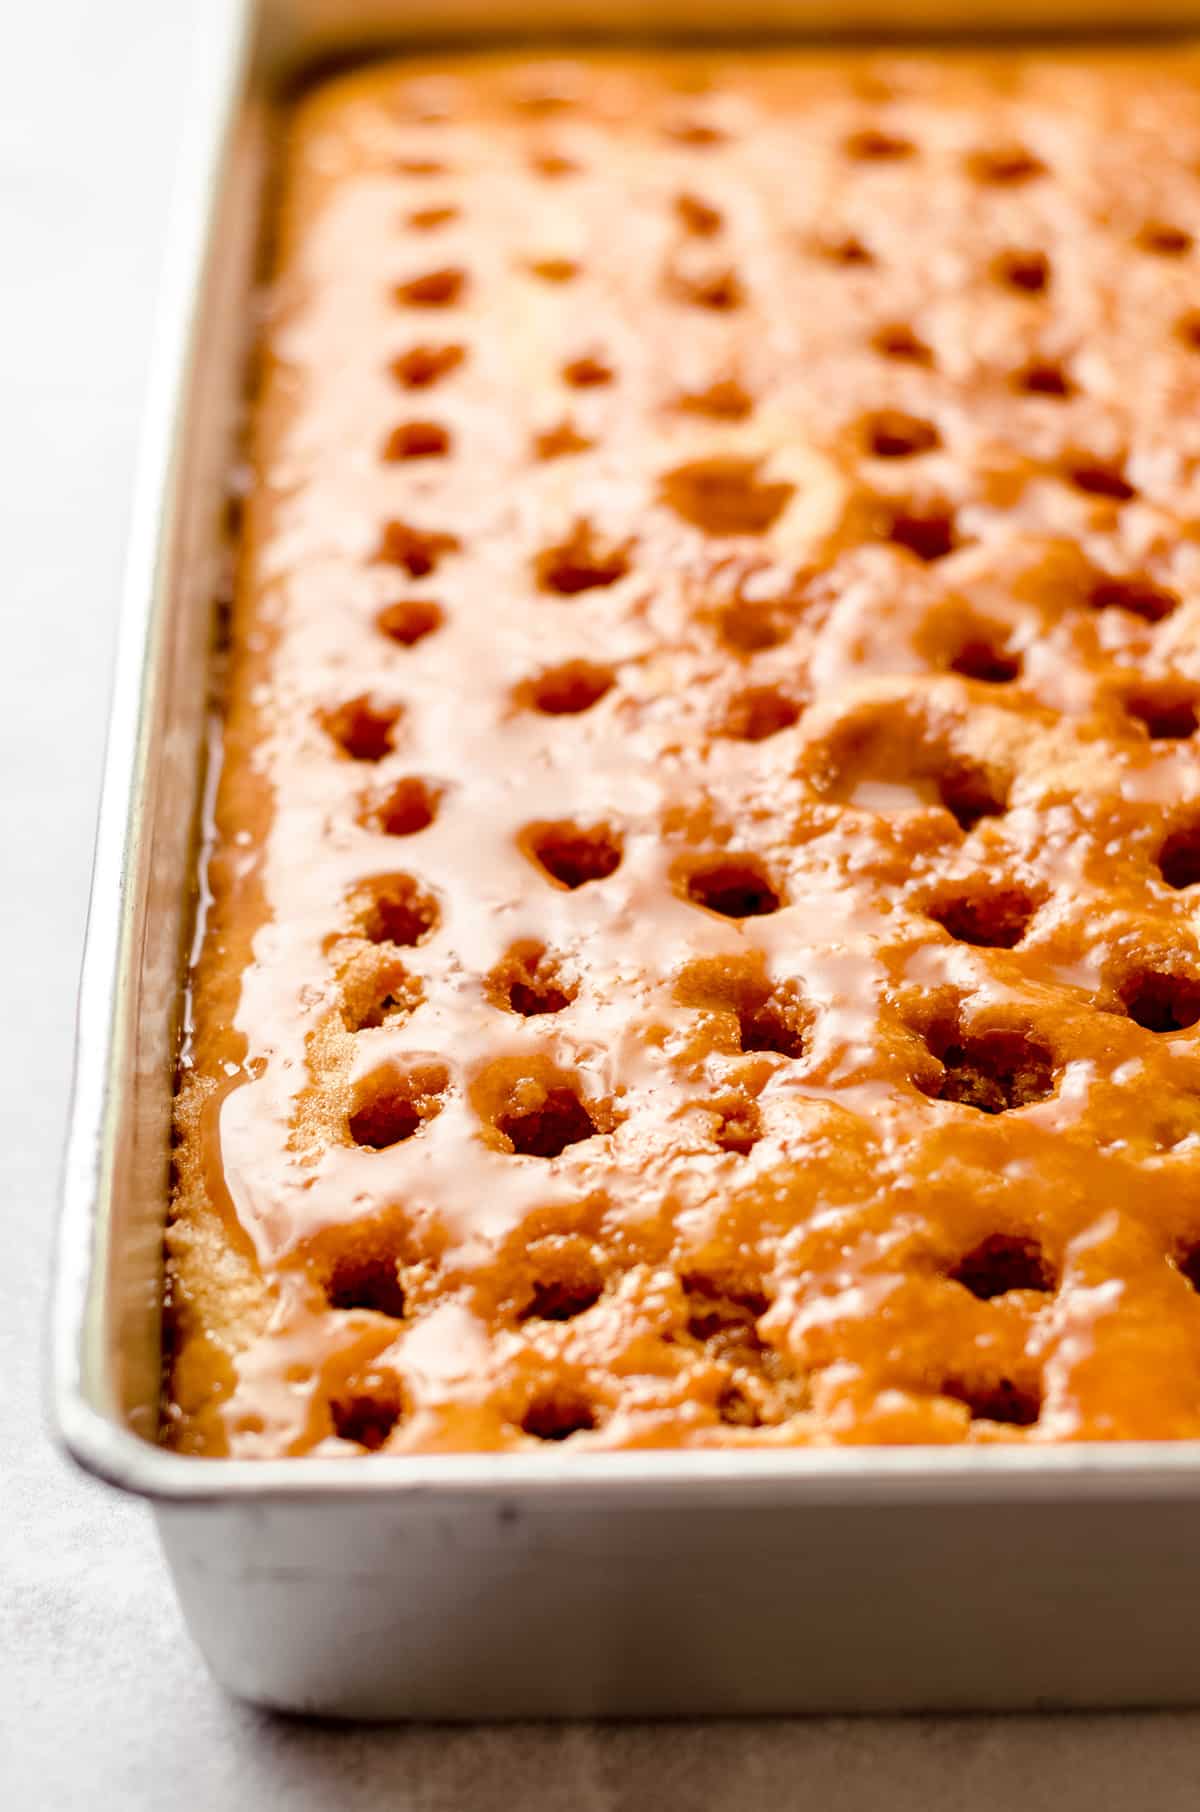
Once the two heavenly, swoon-worthy ingredients are full combined, you drizzle them all over the surface of the cake and watch it seep down into the holes that were poked throughout the surface.
This ensures that every bite of your Butterfinger poke cake has the dreamy, caramel-y infusion of sweetened condensed milk and salted caramel sauce.
What’s not to love about that?
WHIPPED TOPPING
For topping the cake, I like to use a variation of my homemade whipped cream recipe. This is a standard in my kitchen and I use it with soooo many of my baked goodies.
The original recipe calls for Cool Whip, so if you prefer you can absolutely go that route! I just prefer the taste of homemade and it’s totally easy to whip up (literally), so that’s what I went with for topping this easy cake recipe.
Besides, I was already shaving off a ton of time and work by using a box mix, so why not? You do you for your poke cake, boo. No shame in the pre-made game here.
CRUSHED BUTTERFINGER CANDY
Can you have a “Butterfinger” poke cake without Butterfingers? Absolutely not!
So I had to do the responsible thing and go out and buy a bag of fun sized Butterfinger candy bars. Fun sized bars are my preference because they have a better chocolate to peanut candy ratio for crushing.
You could totally use 4 regular sized bars if you like, but I find you get more chocolate bits with the fun sized version.
PLUS, they are “fun” sized, meaning both crushing and eating them is going to be loads of fun. Because the package says so.
How to Make a Butterfinger Cake
The cake is basically comprised of 5 simple steps: baking the cake, poking the holes, soaking the cake with caramel and condensed milk, adding candy, and a final topping of whipped cream and (more) candy.
For such a delicious, decadent cake it’s a pretty simple process, although it requires just a bit more time due to chilling. But as for as hands on time? A cake like this can’t be beat!
STEP #1: BAKE THE CAKE
To get started, spray a 9″ x 13″ baking dish or rectangular cake pan with cooking spray OR my homemade cake release.
Then prepare the cake batter as instructed on the packaging of your box of yellow cake mix. Pour the prepared batter into the pan and bake as directed.
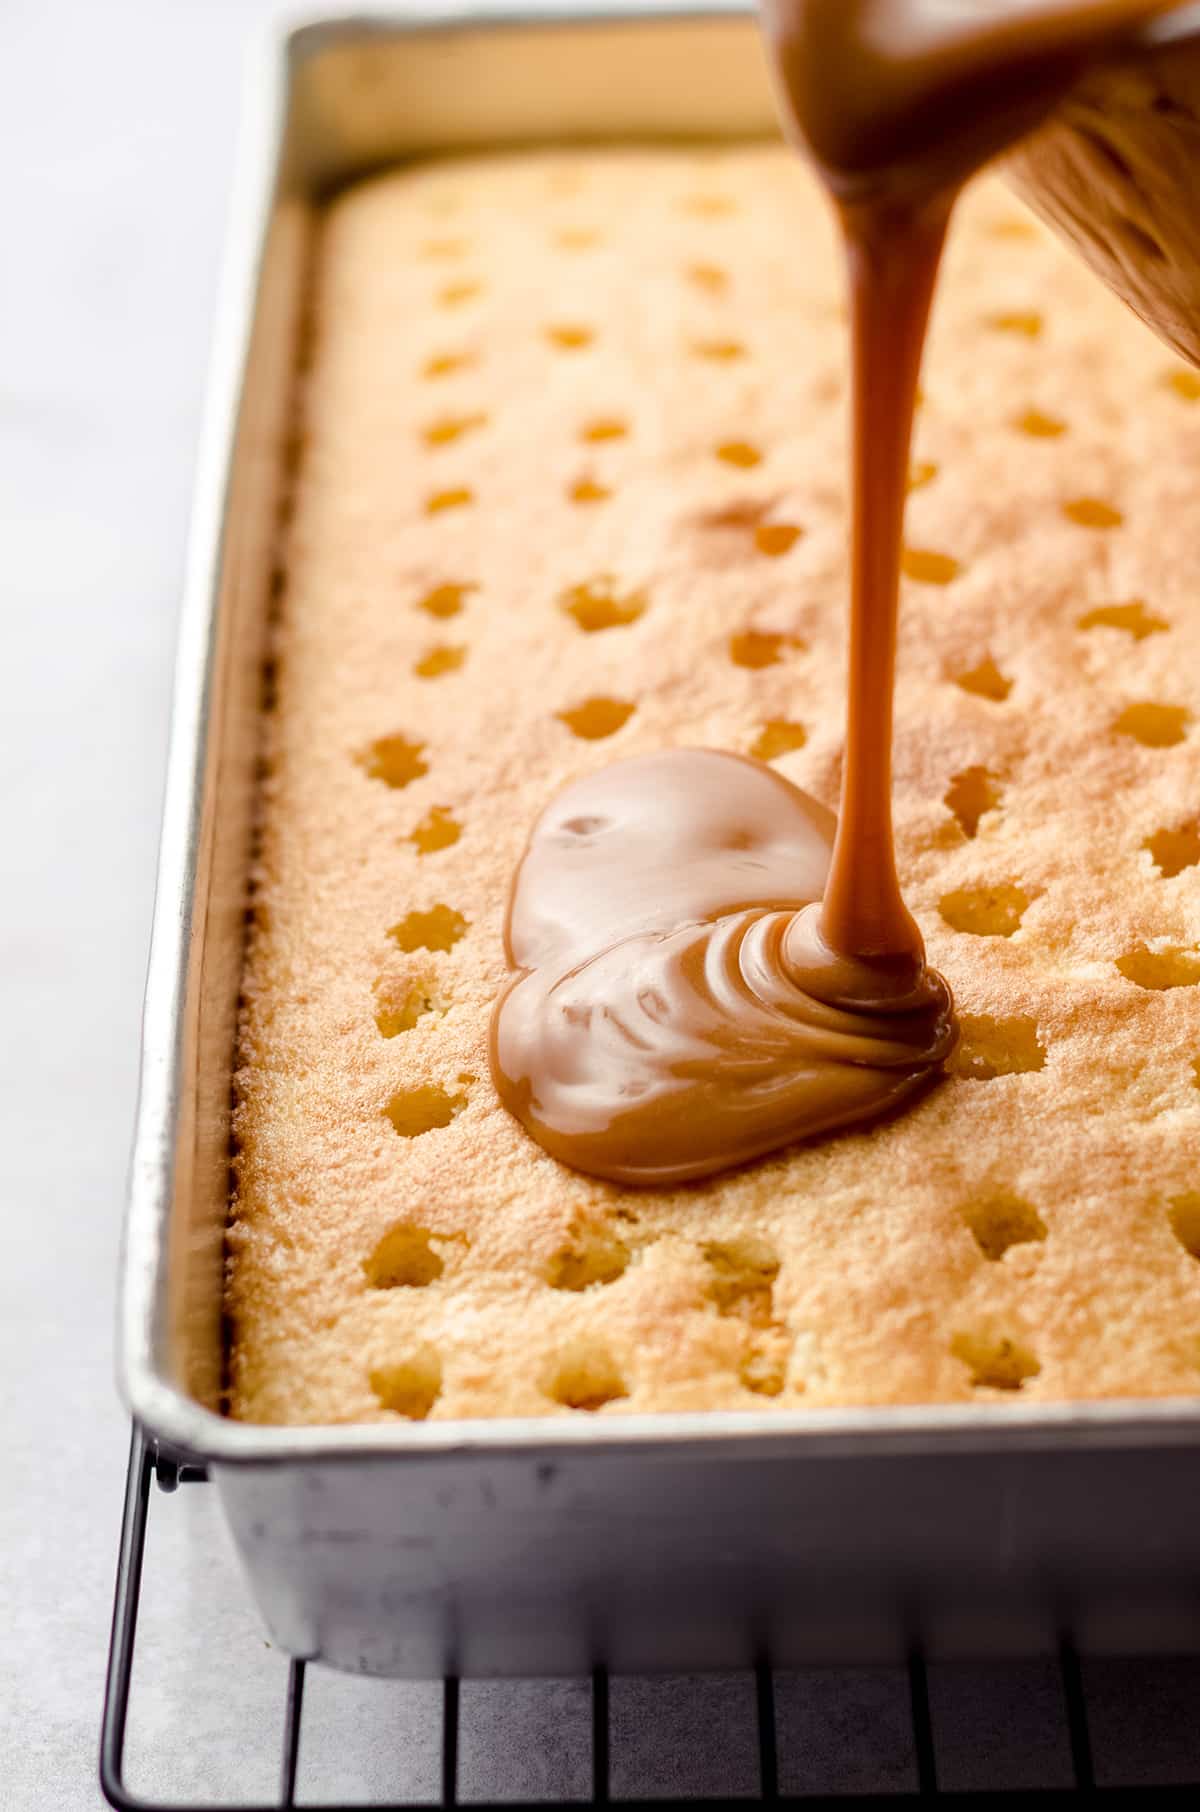
STEP #2: POKE HOLES
Once the cake has finished baking, remove it from the oven. Then go ahead and use the end of a wooden spoon or spatula to poke holes all over the cake, yes, while it is still hot.
You want the holes to be spaced out about ¼” to ½” to avoid mashing the cake up, but they don’t have to be perfectly lined up or in any sort of pattern.
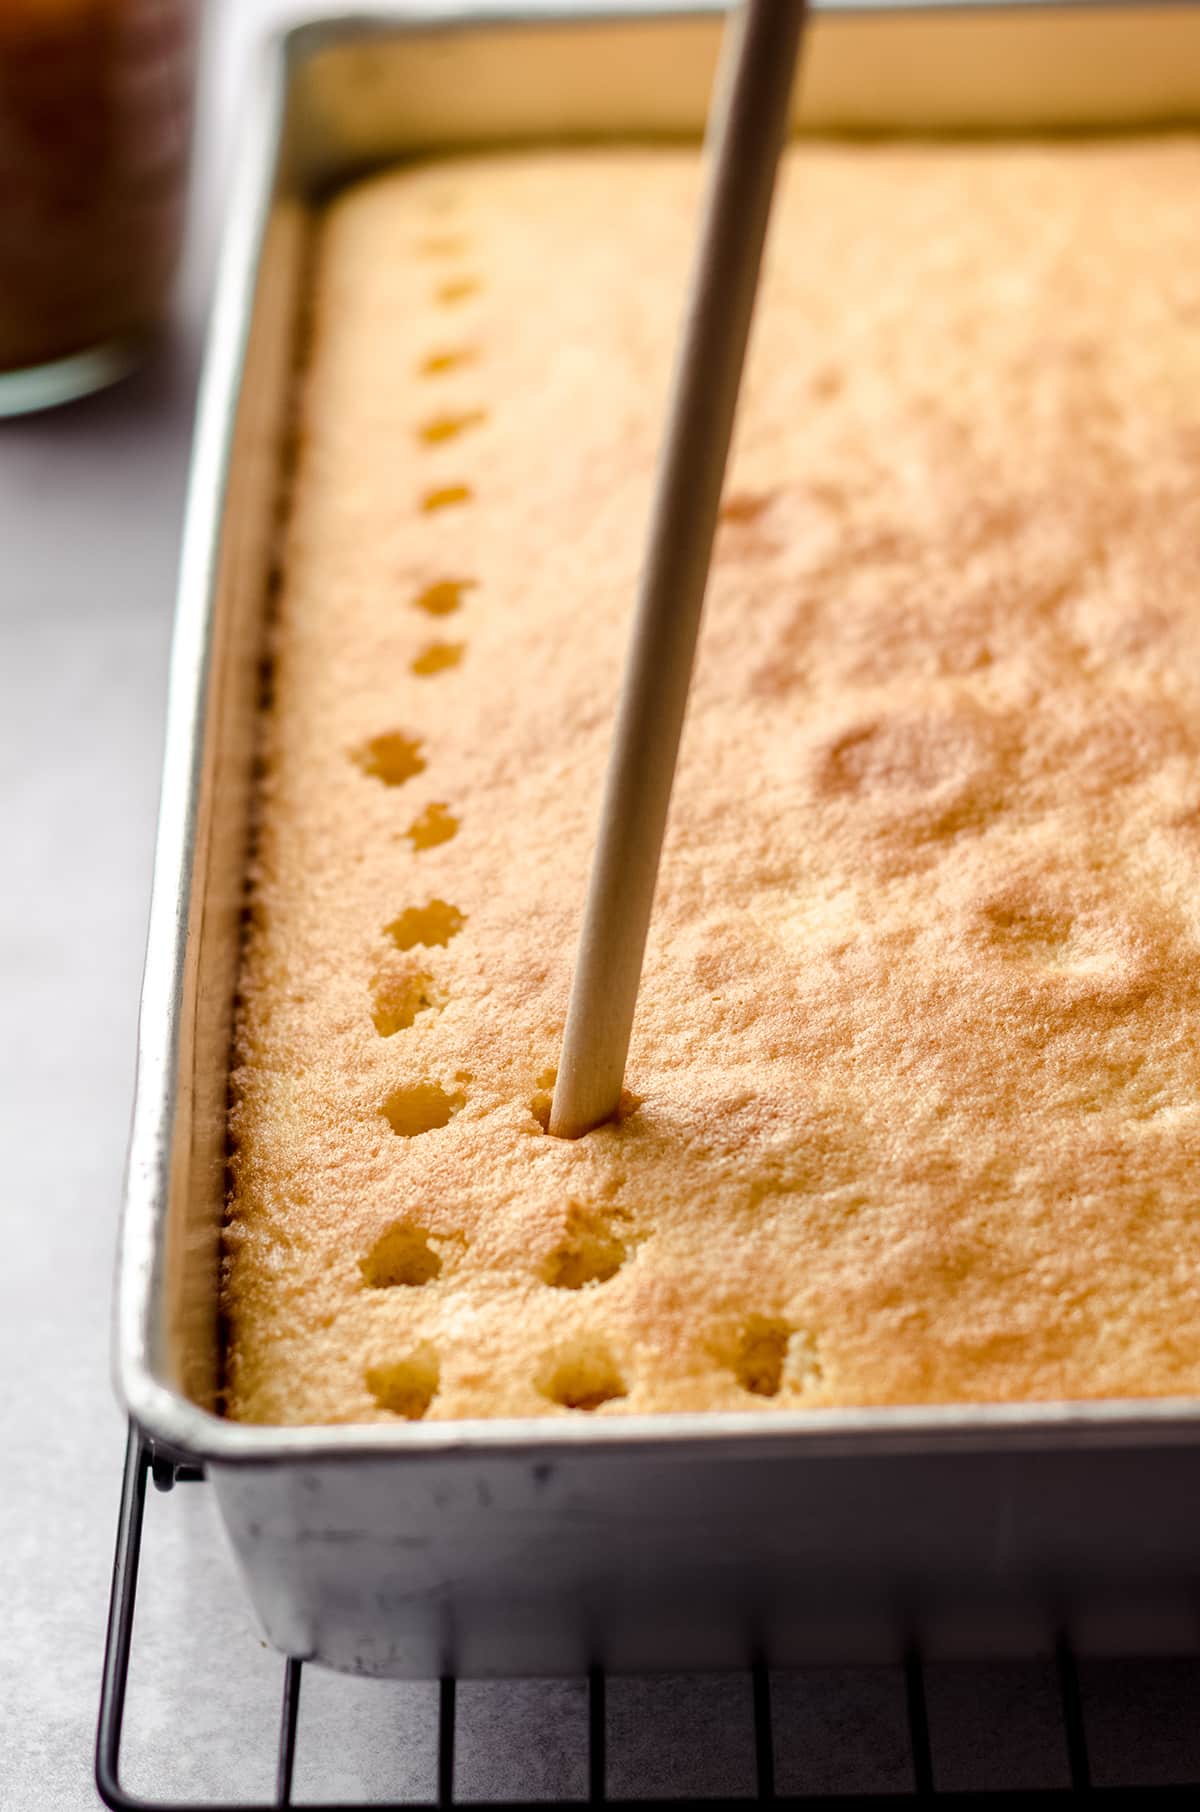
Many poke cakes call for using a chopstick, but you want the size of your poking utensil to be a bit wider than that. This gives the thicker sauce a chance to seep into the cake.
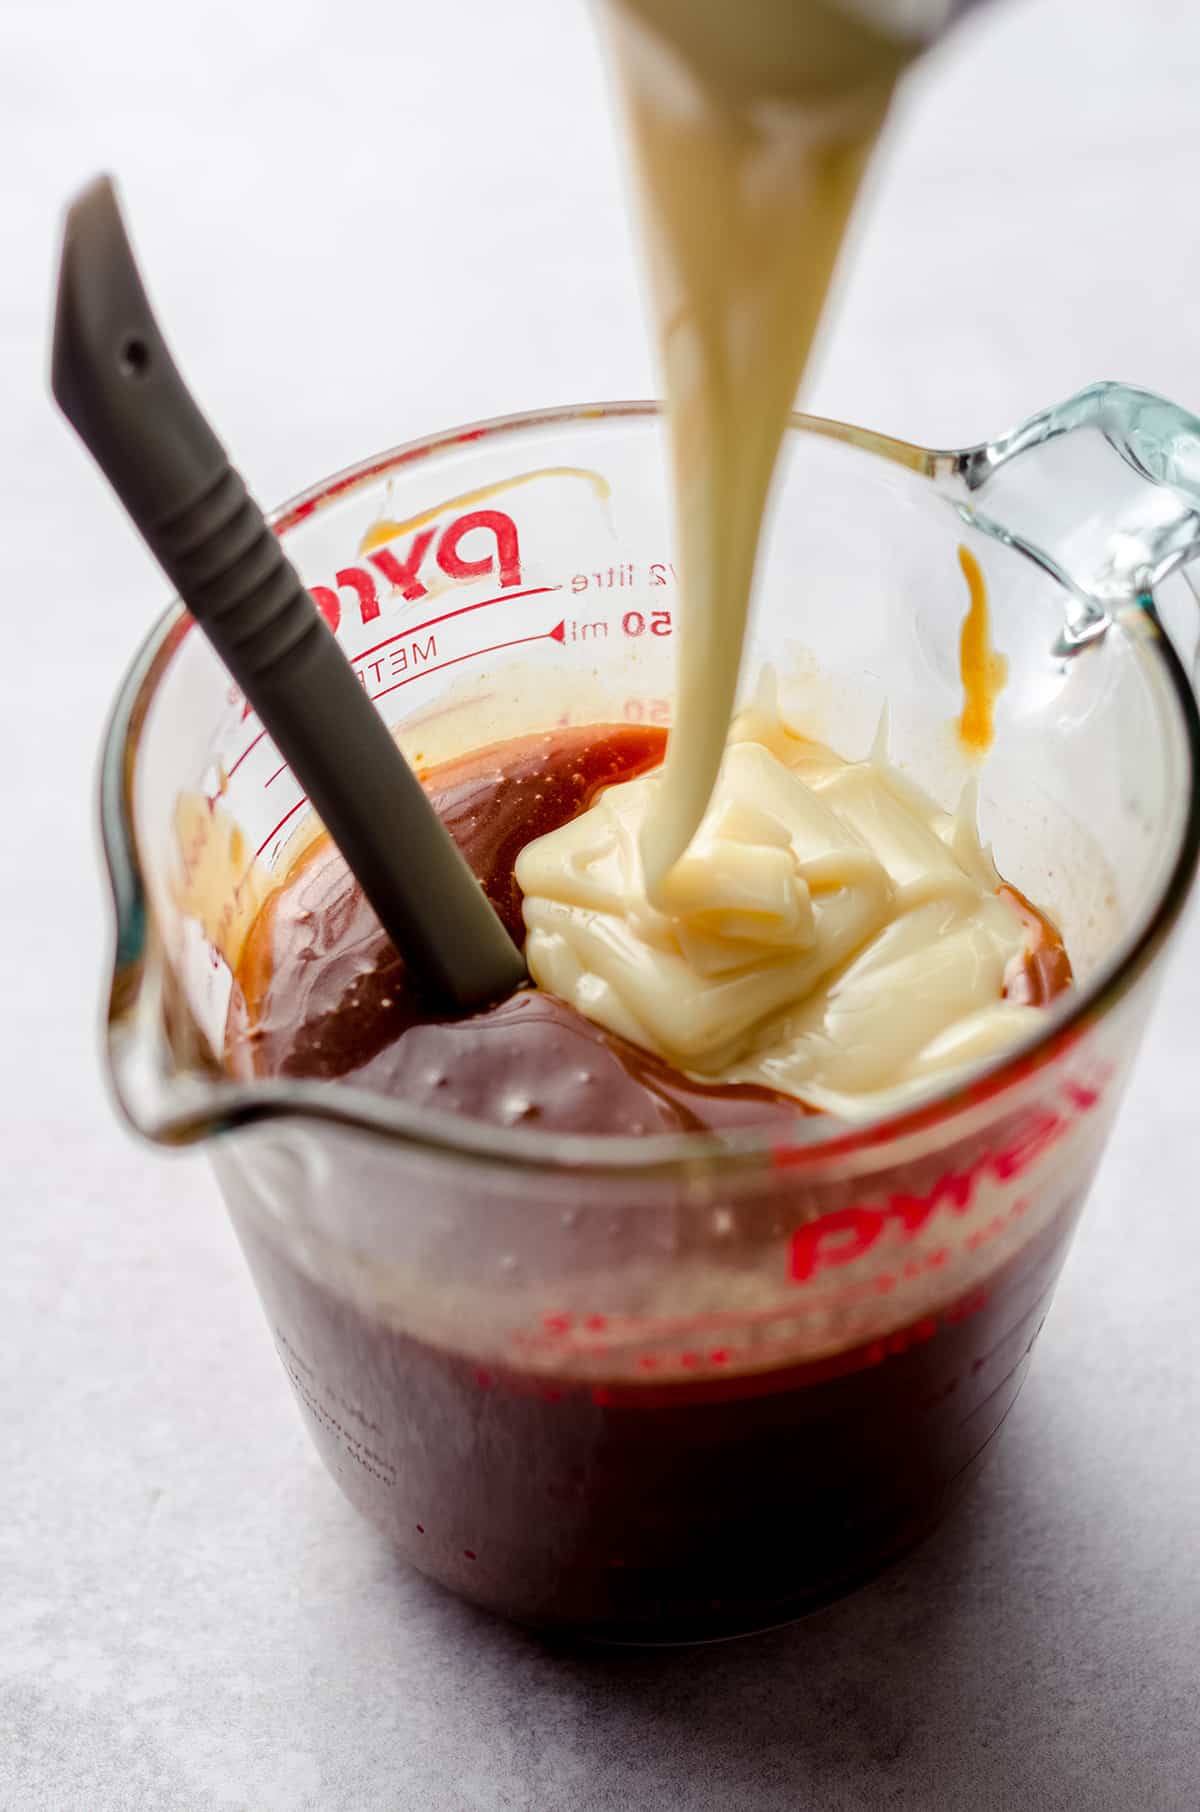
STEP #3: POUR SOAKING MIXTURE
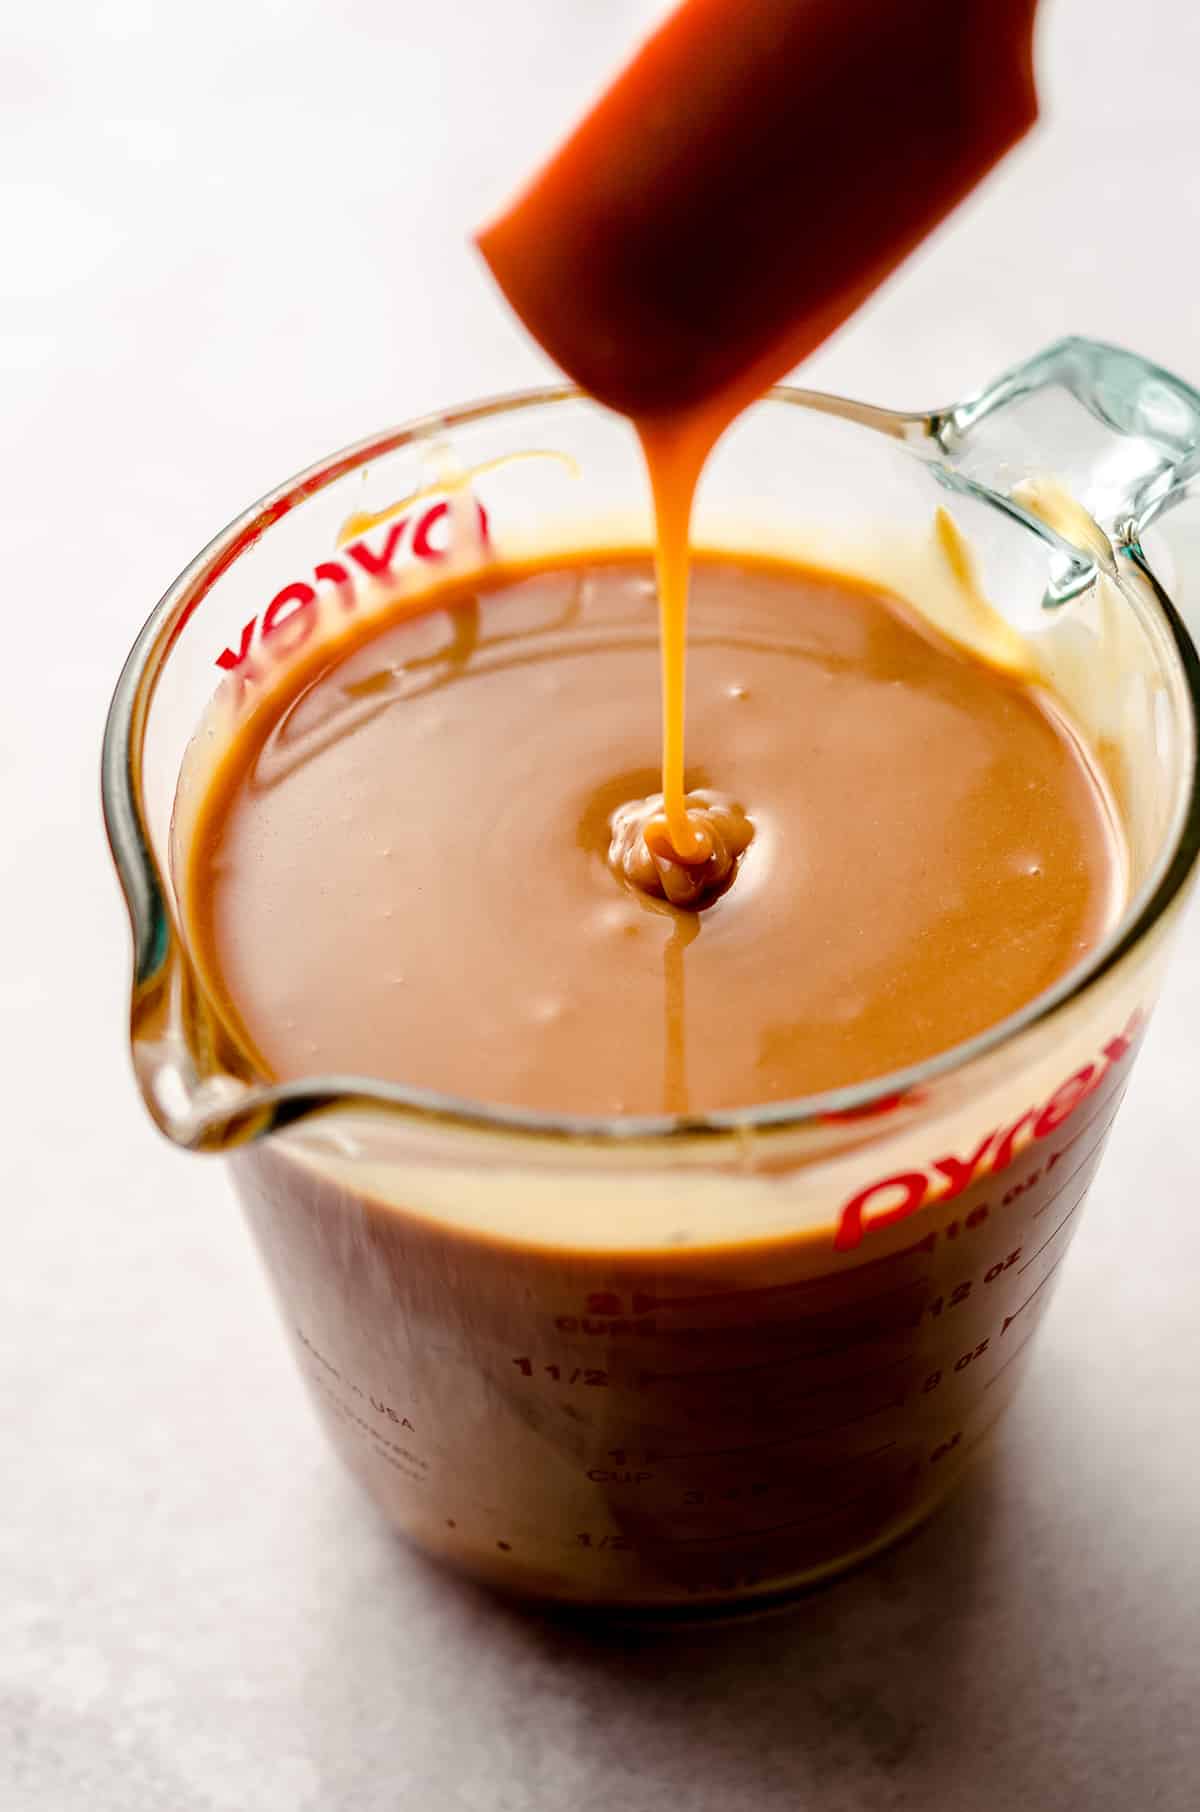
Either while the cake is baking or shortly after it comes out of the oven, prepare your soaking mixture. This is a combination of sweetened condensed milk and salted caramel sauce.
Just add one to the other in a glass measuring cup OR a bowl with a pouring spout, and stir until it is uniform in color and there are no more streaks.
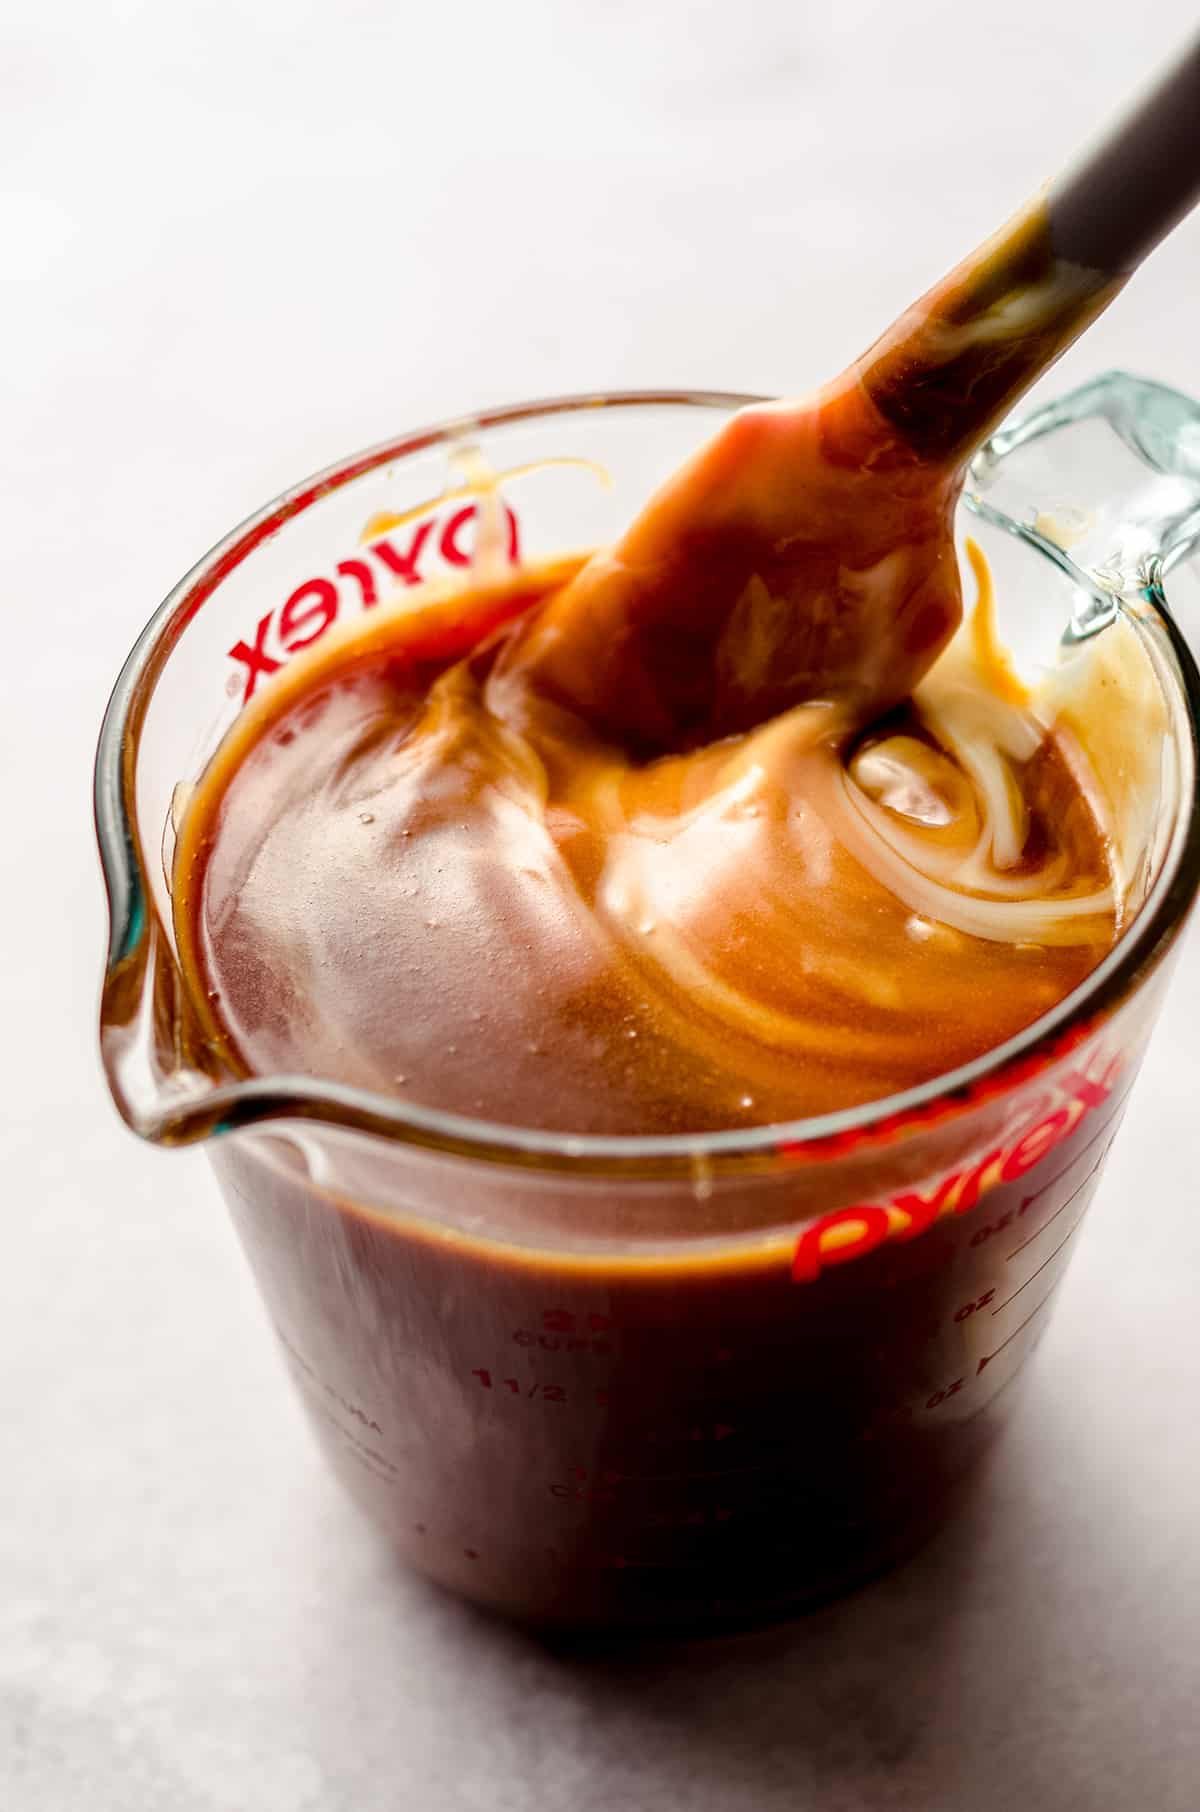
Once your cake has been sufficiently poked (this is a good time to let out some of those little frustrations) and your soaking sauce has been made, it’s time for drizzling.
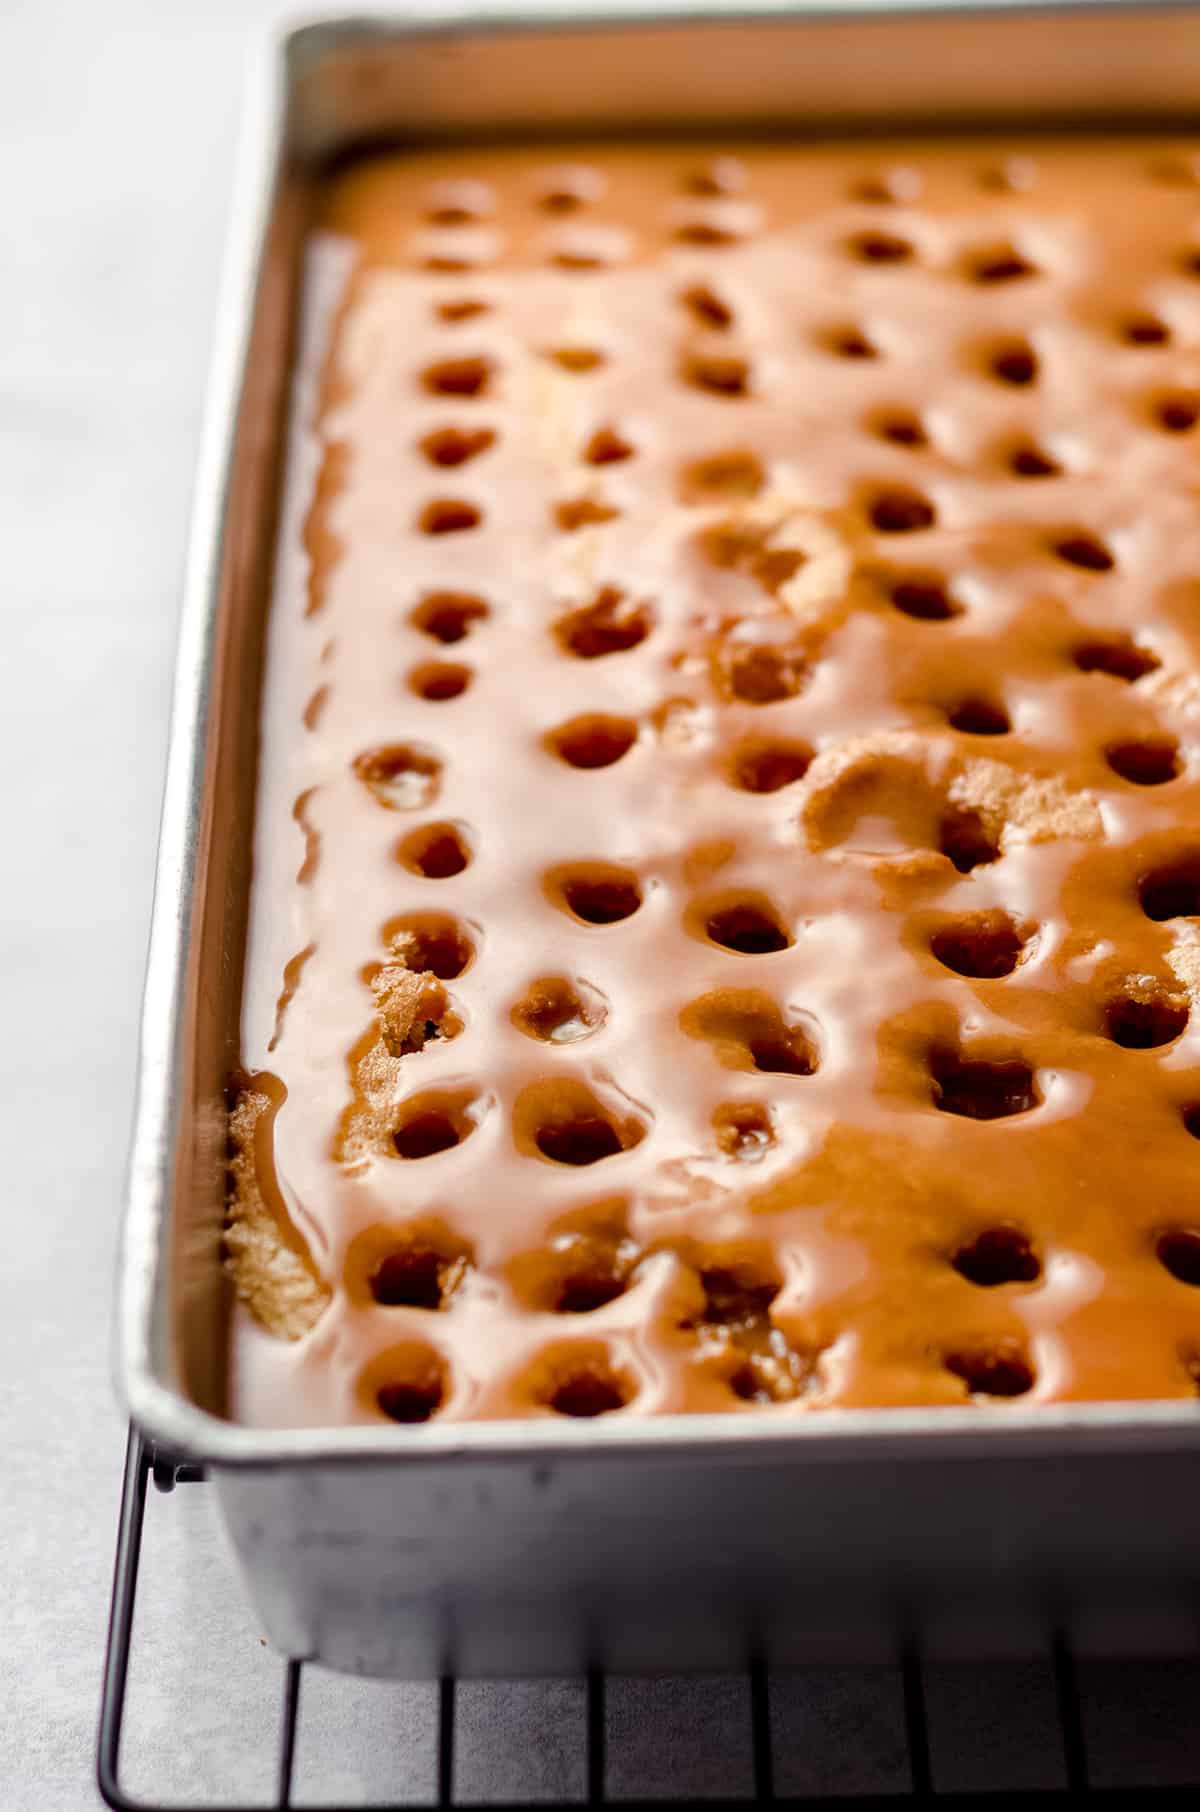
Slowly pour the caramel-y mixture all over the cake as evenly as possible, covering all of the holes and making sure to pour to the edges (we don’t want to leave them out!).
Then allow your cake to cool completely at room temperature, soaking up all that sweet, saucy goodness.
STEP #4: TOP WITH CHOPPED CANDY
Once the cake is completely cooled down, sprinkle about half of the chopped Butterfinger bars on top of the cake in an even layer.
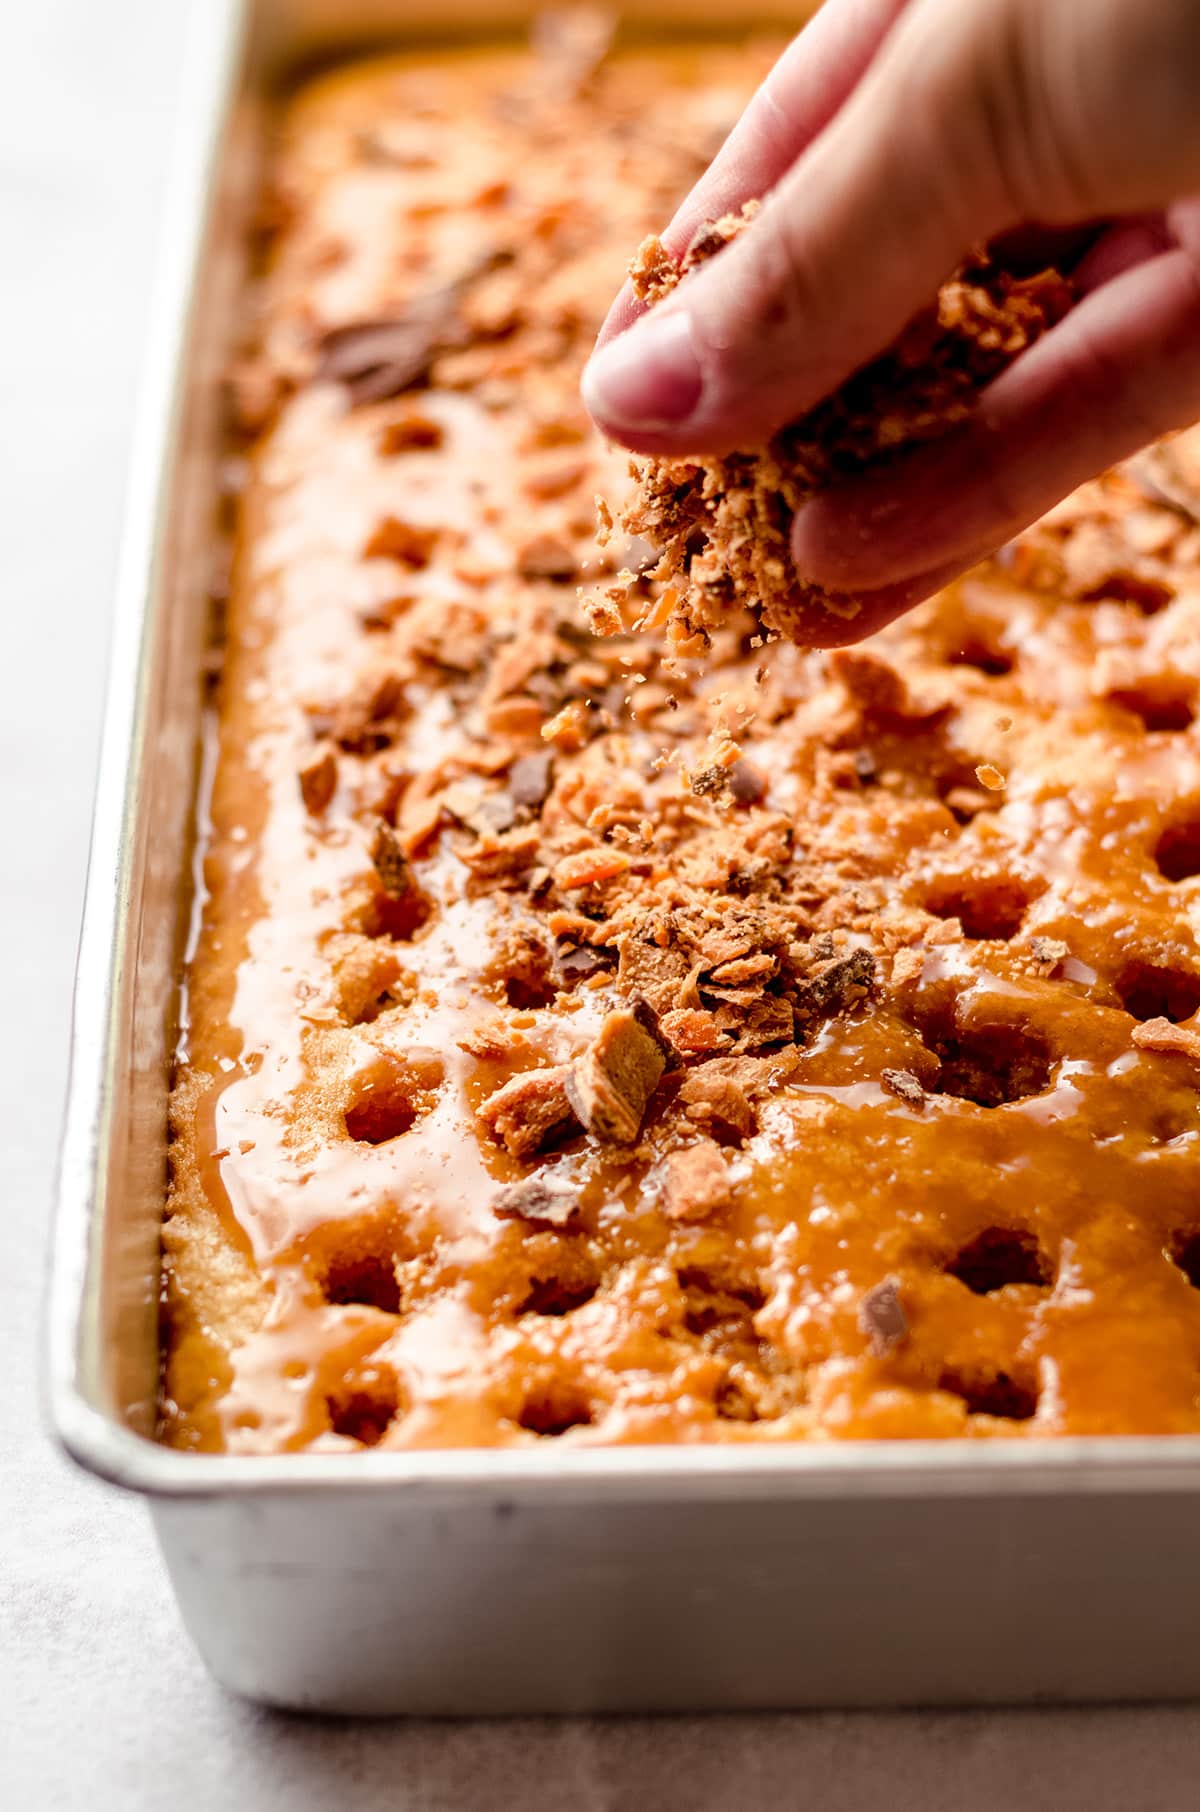
You can either chop the candy with a knife, or you can give it a good crushing in a zip-top bag with a rolling pin. You could also do it the boring (yet so much easier) way: a food processor. It’s totally up to you.
If you like larger chunks, go with the chopping method. If you like it a little more broken down, go the rolling pin or food processor route.
Whatever you do though, don’t turn it into the powder. You still want to be able to see the distinction between the peanut candy and the chocolate (plus, hellooooooo, texture!).
STEP #5: CHILL
Once half of your crushed candy bars has been layered on top of the cake, go ahead and cover it with a layer of plastic wrap and chill in the refrigerator for at least 2 hours. You can chill all the way up to overnight if needed for practical reasons, which is about 8-9 hours typically.
If you’re making your Butterfinger cake in advance, just allow it to chill and top it with the whipped cream and remaining crushed Butterfingers just before you’re ready to serve.
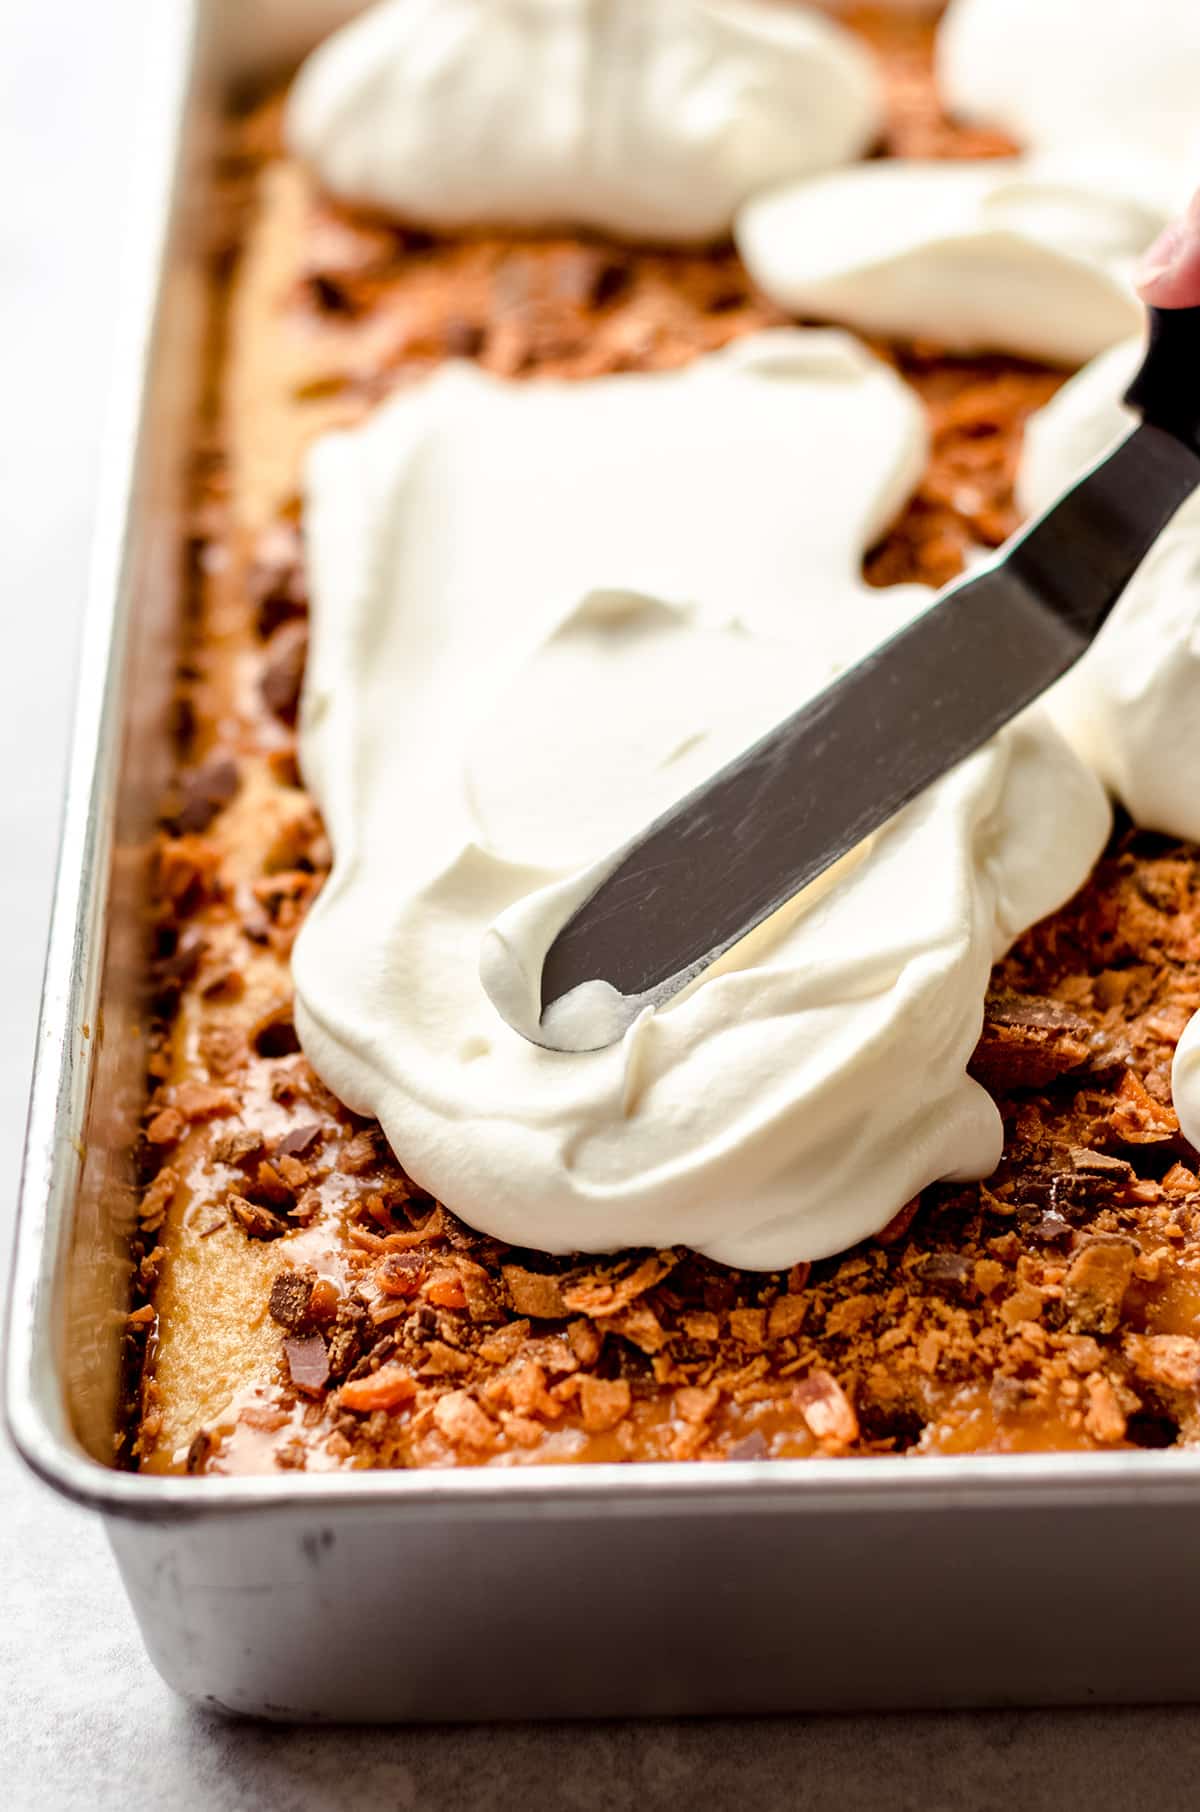
STEP #6: ADD WHIPPED TOPPING & MORE CHOPPED CANDY
Once the cake has chilled for at least 2 hours, you’re ready to add the toppings.
Like I mentioned, I like to use homemade whipped cream, but you could totally use a container of frozen whipped topping if you prefer that.
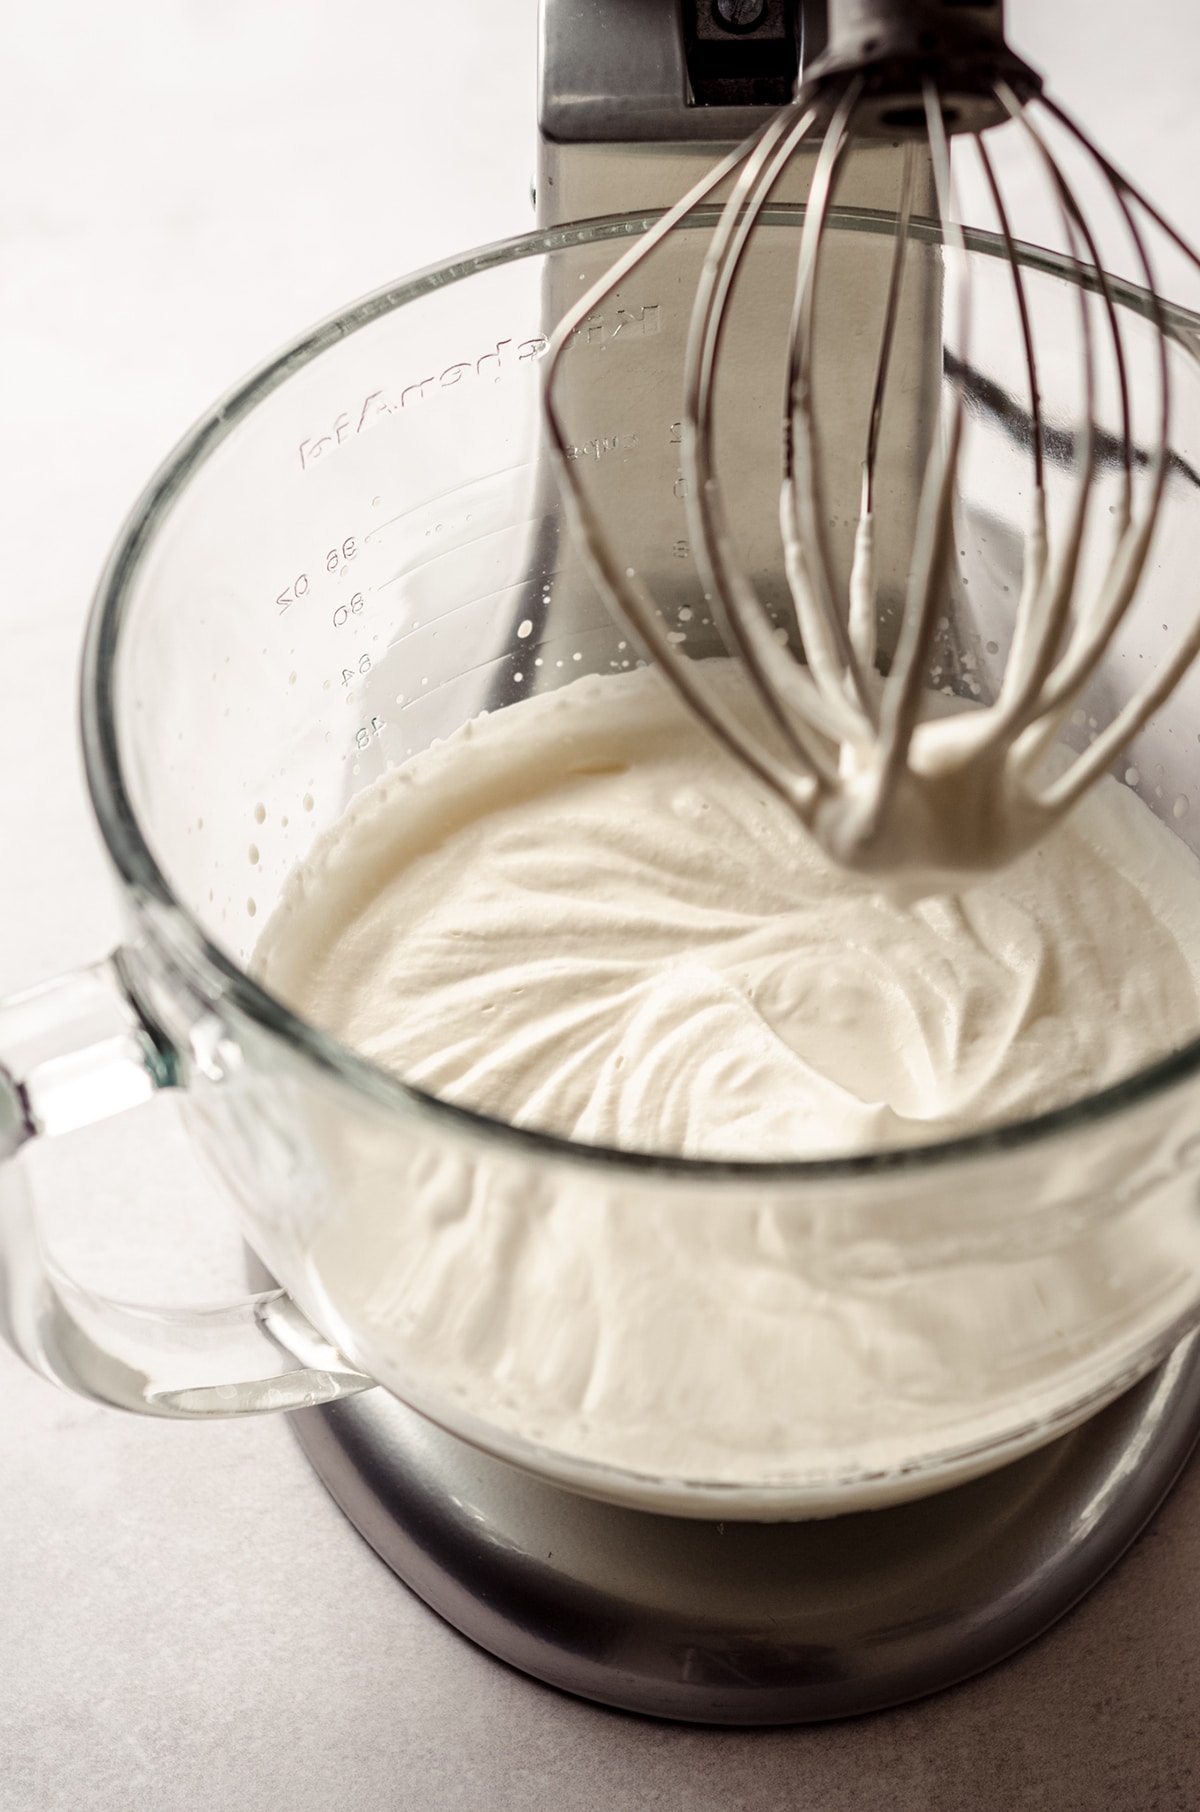
To make the whipped cream, just add heavy cream, sugar and vanilla into the bowl of a stand mixer fitted with the whisk attachment. Turn the mixer to medium-high speed and whip until medium peaks form, which takes about 4-5 minutes.
If you want super detailed instructions, please check out my homemade whipped cream post which covers ALL of the things and will set you up for whipped cream success.
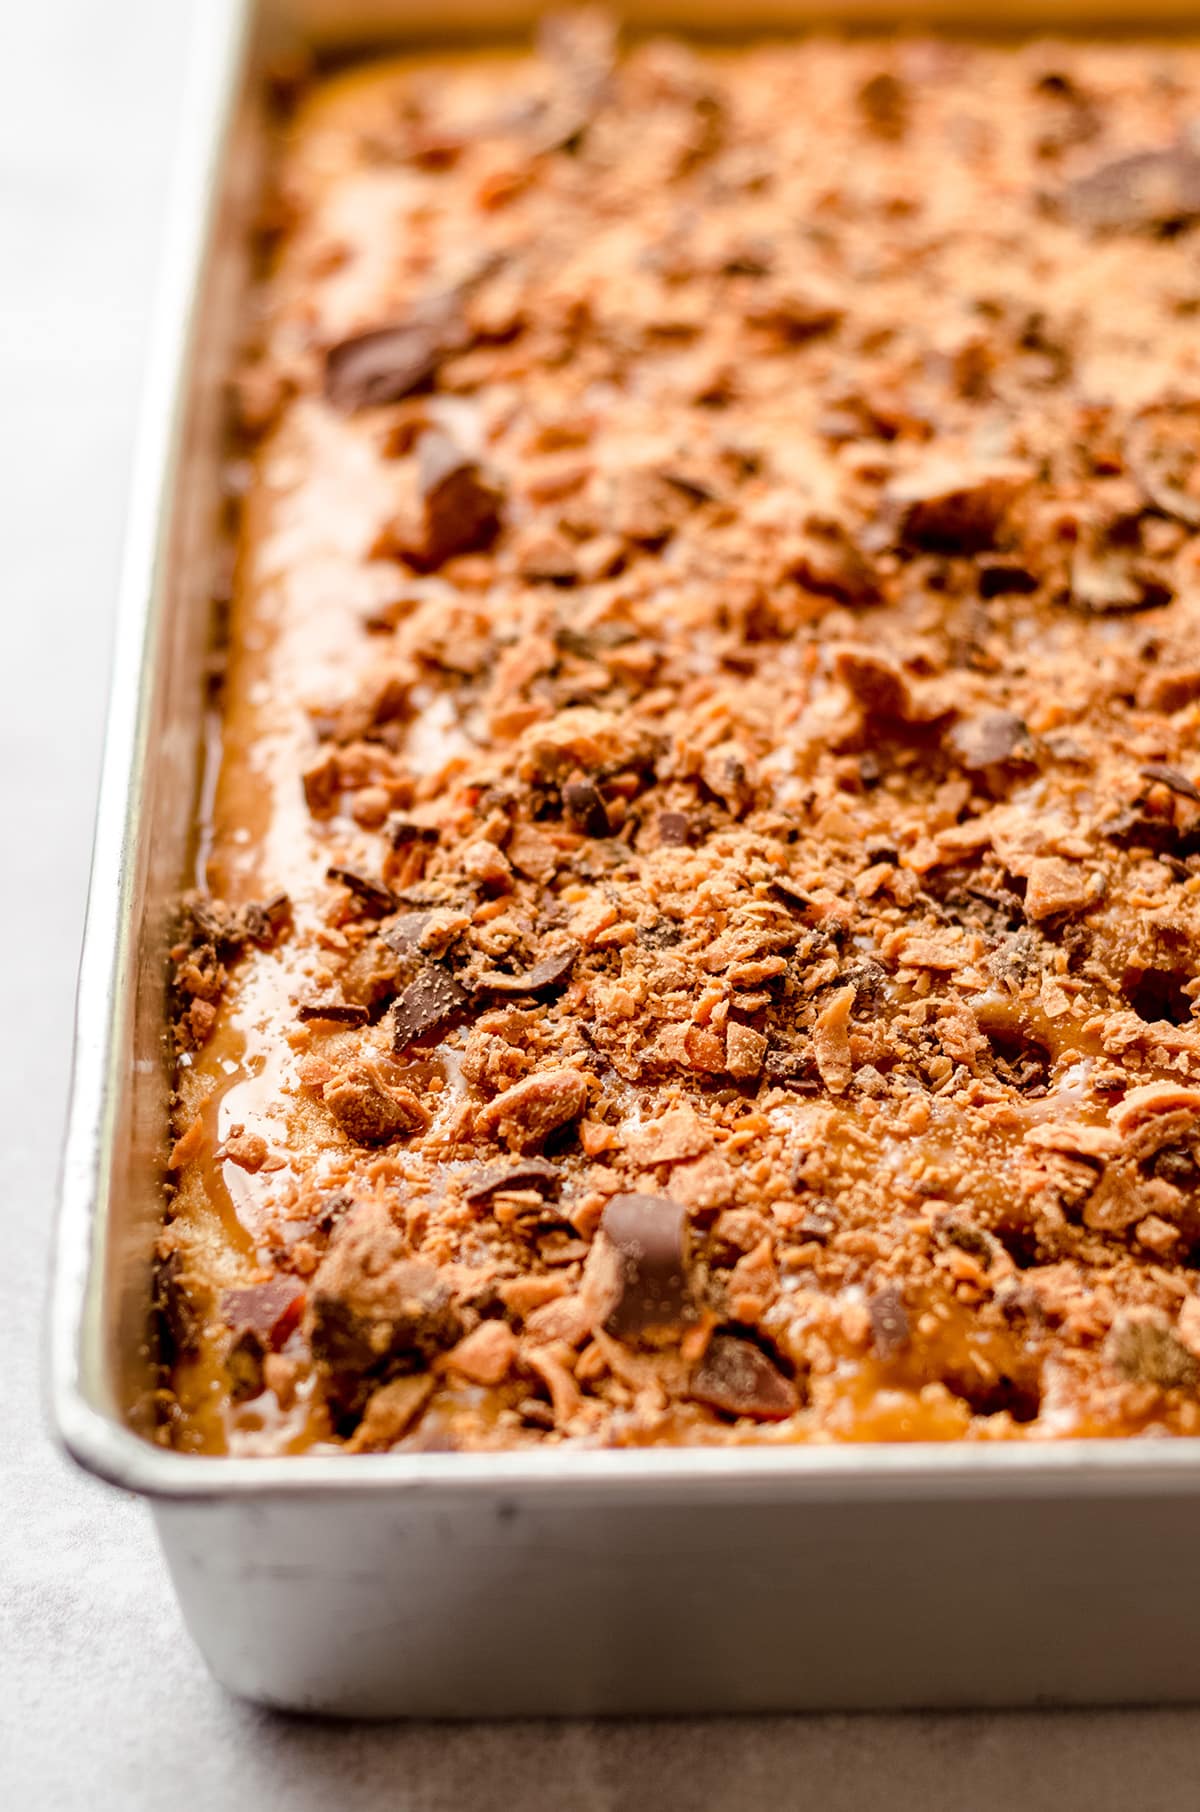
Spread the chilled cake with whipped cream (or Cool Whip if preferred), aiming to get it as even as possible. I like to use an offset spatula to get the best coverage, but as long as it’s even and you push the topping into the corners you should be fine using a regular rubber spatula.
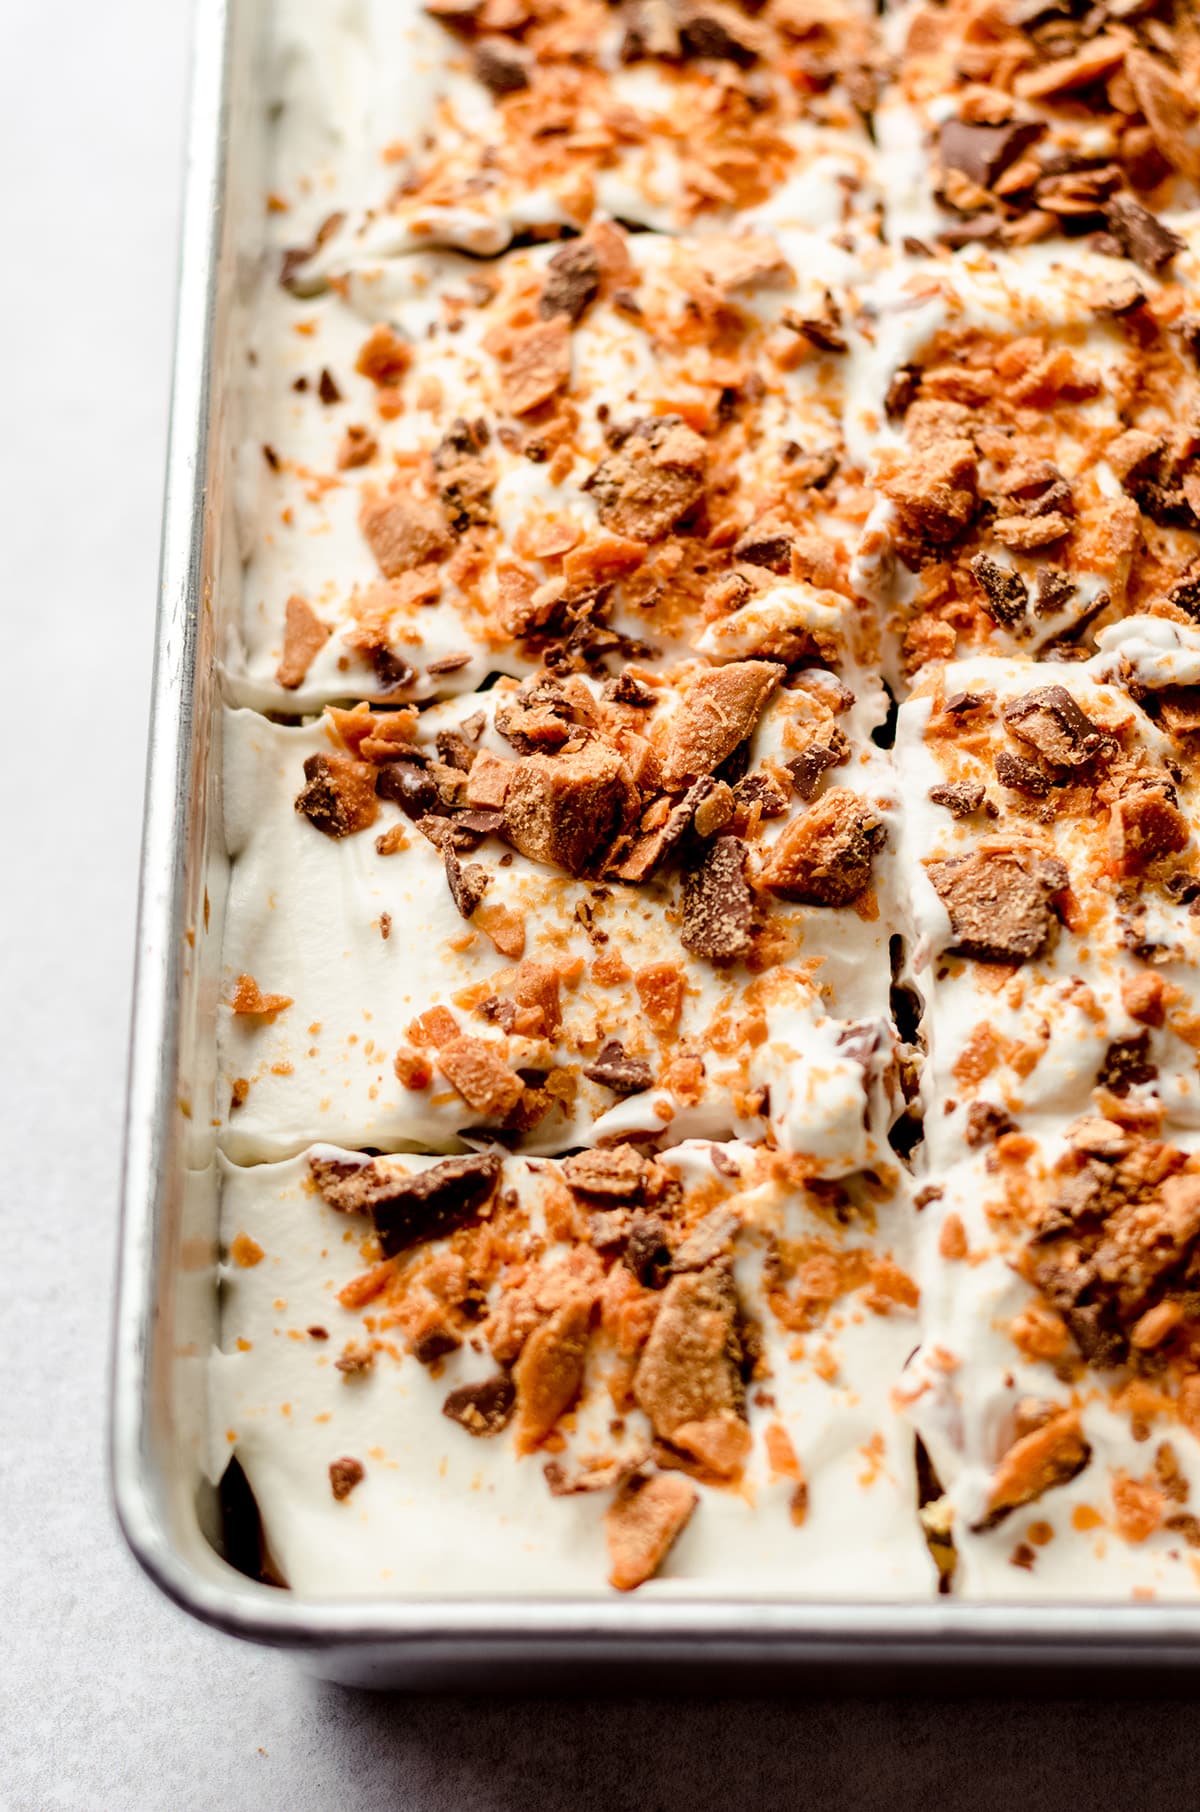
Once the whipped cream is in place, sprinkle the remaining chopped Butterfinger bars all over the surface of the cake.
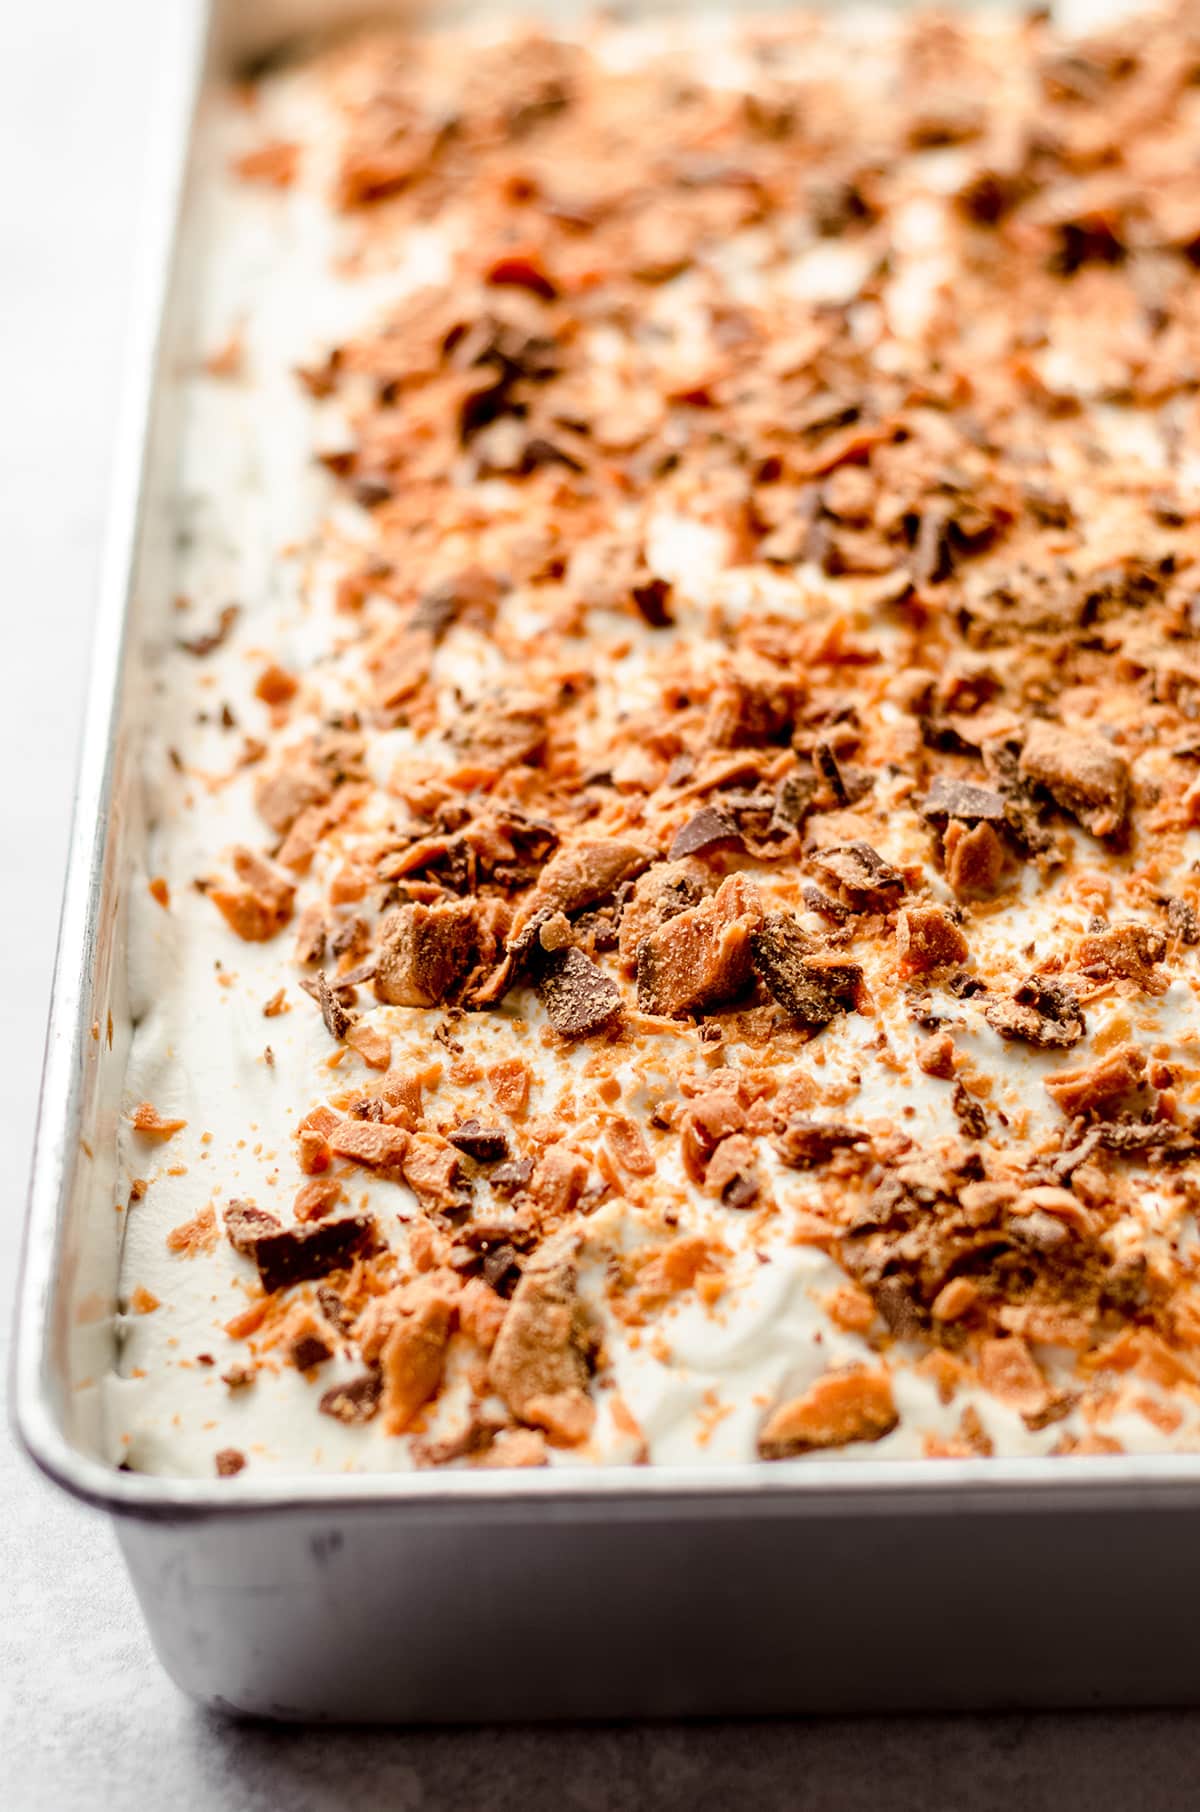
Slice and serve right away, OR chill again briefly in the fridge until ready to serve.
How to store this Recipe for Butterfinger Cake
Your leftover Butterfinger poke cake will store in the fridge for up to 4 days as long as it’s well covered.
The Butterfinger pieces will start to lose their crunch, but they are perfectly fine to eat. Just keep that in mind if you’re making ahead for guests or a party– you might want to leave off the whipped cream and Butterfinger topping until you’re ready to serve.
The cake itself will freeze well for up to 3 months if tightly wrapped. Just make sure to leave off the chopped Butterfingers and whipped topping– these components don’t freeze well.
Thaw your frozen cake in the refrigerator overnight or until completely thawed. Add the chopped Butterfingers and whipped topping just before serving.
Butterfinger Poke Cake FAQs
This cake from Brandi’s site was so fun to add to my cake collection, and I’m so glad I was able to connect with someone I’d never met (nor “met”) before. The internet is full of so many talented folks who share their incredible recipes with the world, and I’m totally eyeing up Brandi’s red velvet cheesecake cake and cookie butter cheesecake (OH MY GOD) for funsies.
And let it also be known, if you’re in need of a casserole, she has you covered for that one, too.
See all of our 2022 Freaky Friday Fall Edition Recipes
Hosted by – An Affair from the Heart- An Affair from the Heart – Pepperoni Pizza Bread
- Aunt Bee’s Recipes – Easy Chicken Tortilla Soup
- The Culinary Compass – Butternut Squash Soup with Coconut Milk
- Devour Dinner – Instant Pot Chicken and Wild Rice
- Family Around the Table – White Chocolate Pumpkin Spice Martini
- Feast + West – Bourbon Caramel Sauce
- Home Cooked Harvest – Cinnamon Swirl Pancakes
- Hostess at Heart – The BEST Pumpkin Pie Recipe
- Kathryn’s Kitchen Blog – Soft Pumpkin Chocolate Chip Cookies
- Life Currents – French Onion Bruschetta
- Off the Eaten Path – Jalapeño Cream Cheese Dip
- The Speckled Palate – German Pancake
- Sue Bee Homemaker – Pumpkin Cheesecake Bites
- Take Two Tapas – Crockpot Pizza Dip
- The Wimpy Vegetarian – Air Fryer Brussels Sprouts
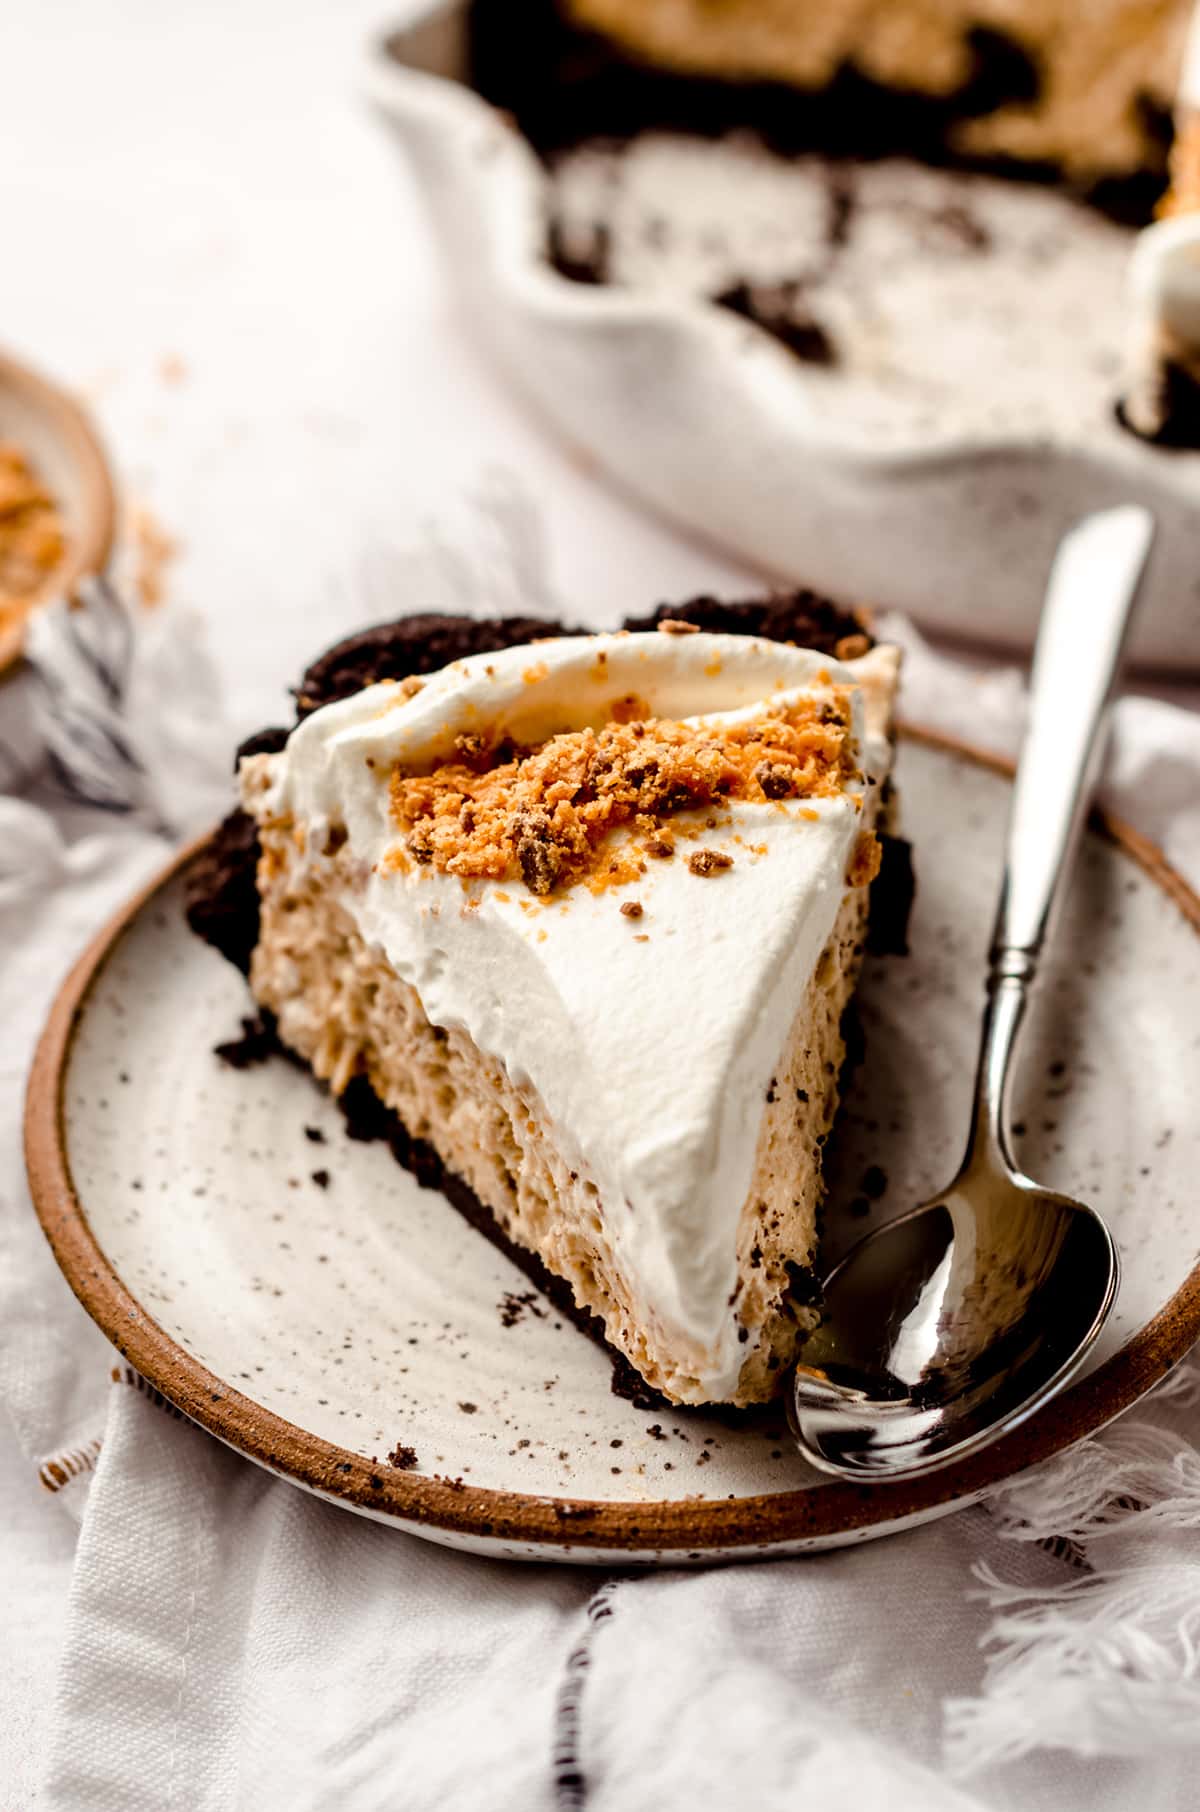
If you love this Butterfinger poke cake, you’ll love these recipes, too: Butterfinger pie, peanut butter Rolo cookies, or my candy bar blondies as a place to use any leftover Butterfinger pieces!
Butterfinger Poke Cake Recipe
Ingredients
- 1 box yellow cake mix1
- 1-14 ounce can sweetened condensed milk
- 12 ounces salted caramel sauce2
- 8 ounces heavy whipping cream3
- 2 Tablespoons granulated sugar3
- 1 and ½ teaspoons vanilla extract3
- 12 fun sized Butterfinger candy bars4 coarsely chopped
Instructions
- Spray a 9" x 13" baking dish with non-stick spray (or use homemade cake release). Set aside.
- Prepare the cake batter as per the instructions and ingredients1 on the box, pour into the prepared pan, and bake as directed.1 box yellow cake mix1
- While the cake is baking, pour the sweetened condensed milk and caramel sauce into a medium size bowl or large glass measuring cup with a spout. Stir until color is uniform and there are no more streaks. Set aside.1-14 ounce can sweetened condensed milk, 12 ounces salted caramel sauce2
- Remove the cake from the oven and, while it is still hot, use the handle of a wooden spoon or spatula (you're looking for something a little larger than the size of an eraser) to poke holes in the cake. They do not have to be perfect or in any particular pattern, but try to space them out about ¼" to ½" between each poke.
- Slowly pour the condensed milk/caramel mixture evenly over the cake, covering all of the holes and pouring to the edges. Allow the cake to cool completely at room temperature.
- When the cake is completely cool, sprinkle half of the chopped Butterfinger bars evenly on top of the cake. Cover and chill the cake in the refrigerator at least 2 hours or up to overnight before topping with whipped cream.12 fun sized Butterfinger candy bars4
- When you are ready to top the cake, pour the heavy cream, sugar, and vanilla extract into the bowl. Turn the mixer to medium-high speed and whip until medium peaks form (about 4-5 minutes). For more detailed instructions on this step, see my homemade whipped cream post.8 ounces heavy whipping cream3, 2 Tablespoons granulated sugar3, 1 and ½ teaspoons vanilla extract3
- Spread the whipped cream (or Cool Whip3) evenly over the top of the chilled cake, then sprinkle with the remaining chopped Butterfinger bars. Serve right away or chill again in the fridge until ready to serve. Store leftovers covered in the refrigerator up for up to 4 days. Butterfinger pieces will start to wilt and lose their crunch, which is totally fine and safe to eat, just something to note. Cake freezes well, up to 3 months. Do not add chopped Butterfingers or whipped topping. Thaw in refrigerator. Add whipped topping and chopped Butterfingers just before serving.
Notes
- Yellow cake mix: keep in mind that you will also need the ingredients listed on the box to make the cake. The original recipe mentions using melted butter in place of the vegetable oil as well as milk in place of water. Feel free to make, none, one, or both of these adjustments.
- Salted caramel sauce: I always prefer to use my own homemade salted caramel sauce, but the original recipe uses store-bought sauce. Either is fine.
- Heavy cream/granulated sugar/vanilla extract: you’ll use these 3 ingredients to make homemade whipped cream. You can also substitute this topping with 12 ounces of thawed Cool Whip.
- Butterfinger bars: the original recipe calls for 4 large, full size Butterfinger bars. Three (3) fun size Butterfinger bars is the equivalent of 2 full size bars, so you will need 6 fun size for the whole cake in this recipe. If you have or can only find mini Butterfinger bars (the bite-size ones), use 20 total of those.
Nutrition Disclosure
All nutritional values are approximate and provided to the reader as a courtesy. Changing ingredients and/or quantities will alter the estimated nutritional calculations.
Thanks so much, Michaela!
This cake is gorgeous and I am going to run out and buy all of these ingredients so I can make it immediately!
Thanks so much, Tristin! We loved it!
Lynn. I am DROOLING over this cake and just how perfect it is! I’m a sucker for an easy cake like this and this combination of flavors is calling my name! I love a Butterfinger!
Seriously, it was a NO BRAINER!
This looks amazing. I can see why you picked this recipe. I would love to make this for a birthday cake!
Right? It was so easy!
Thanks so much, Kathryn!
I’m drooling over this recipe. YUM! Butterfingers have always been my jam. Can’t wait to try it out.
You have to try it!!
They’re SO GOOD! Thanks, Sue 🙂
Right? It’s SO good!
You’ve combined 2 of my favorite things! Cake + Butterfingers! This looks so delicious, and perfect for when the kids come to visit!
I aim to please! 🙂
Yes! All of the flavors of one of my favorite candy bars in a cake!
Yessss! All of it!
Between the salted caramel topping and Butterfingers, I’m hooked! This might be a few fav!
There is so much goodness happening here!
Butterfinger is my favorite candy so I am all over this yummy cake!
It’s the best!!
This cake is so so gorgeous! I love anything butterfinger and this turned out so well. I can’t wait to make it again.
Thanks so much, Susannah!
You are calling my name with this! I used to sneak butterfingers into the movies when I was younger as they are my fave!!
Haha, they’re SO GOOD!
Our all time favorite dessert!!!! I love that you used homemade caramel sauce and whipped cream. I bet that made it incredible.
It totally did!
I made this a couple of weeks ago and it instantly became a family favorite. I’m making it again for my daughter’s youth group Thanksgiving celebration tonight and I’m bringing it for the family Thanksgiving tomorrow. For anyone who wants a break from the traditional Thanksgiving desserts. 🙂
Thanks so much, Amber! I’m so glad it was a hit!