Berry Cake
As an Amazon Associate, I earn from qualifying purchases. Read the full disclosure here.
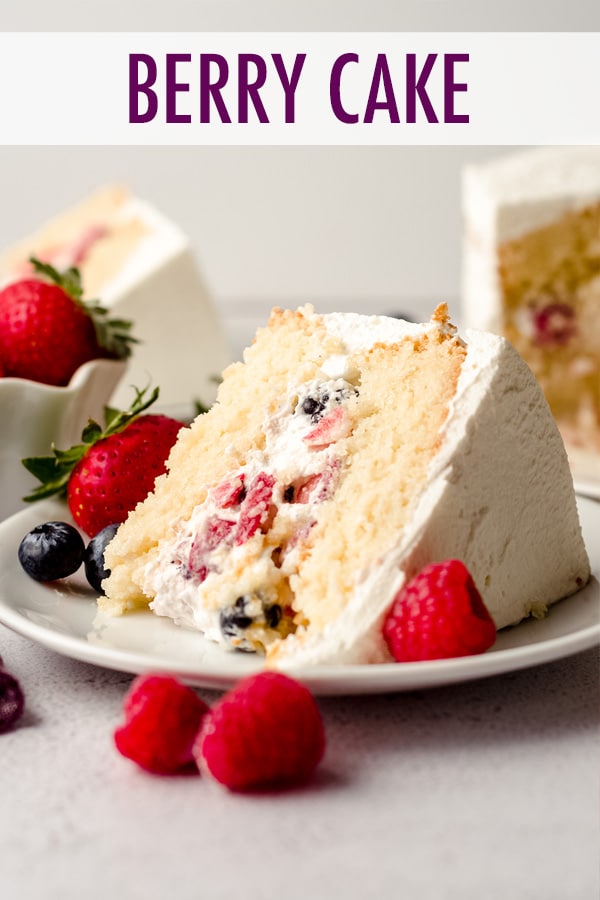
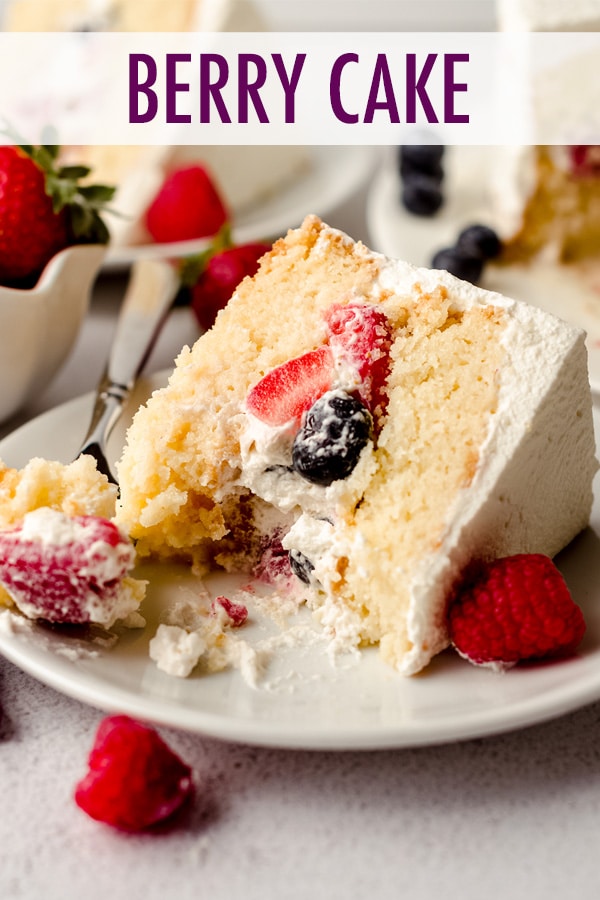
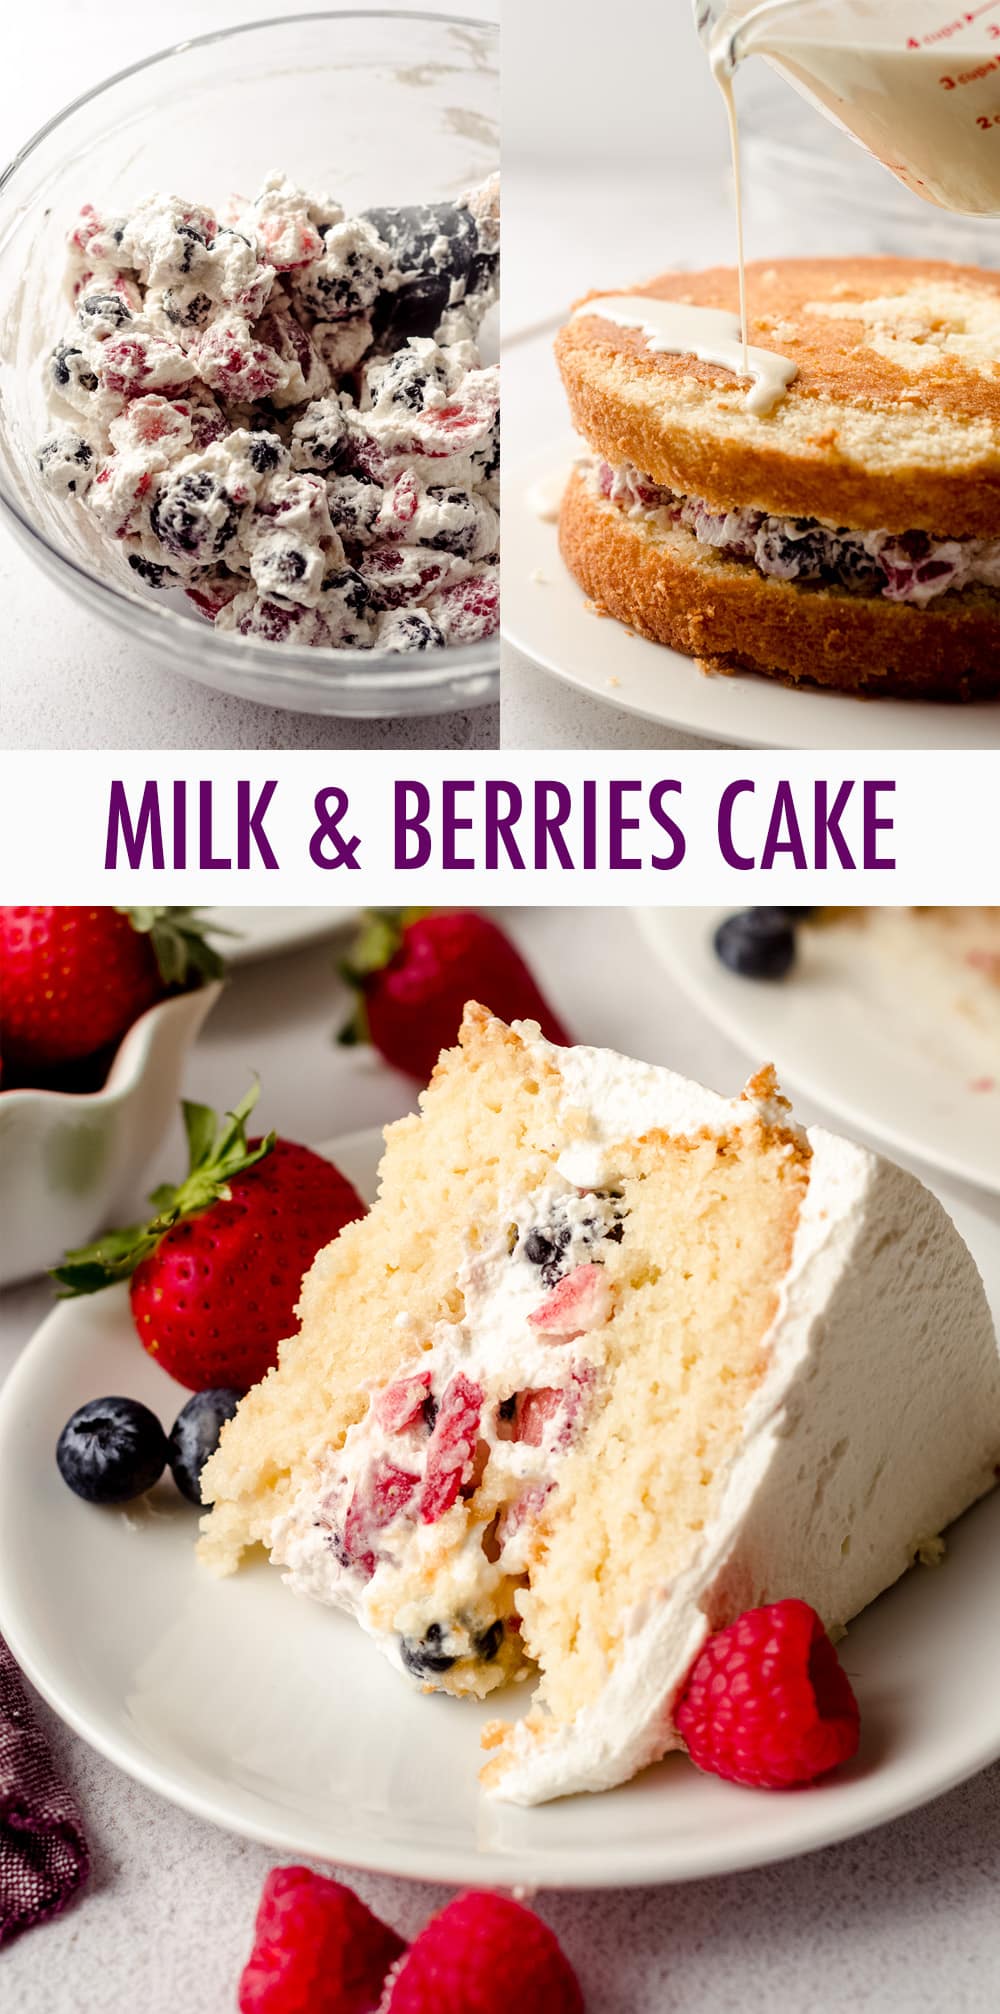
Simple white cake layers filled with a whipped cream and fresh berry filling and soaked in a tres leches syrup.
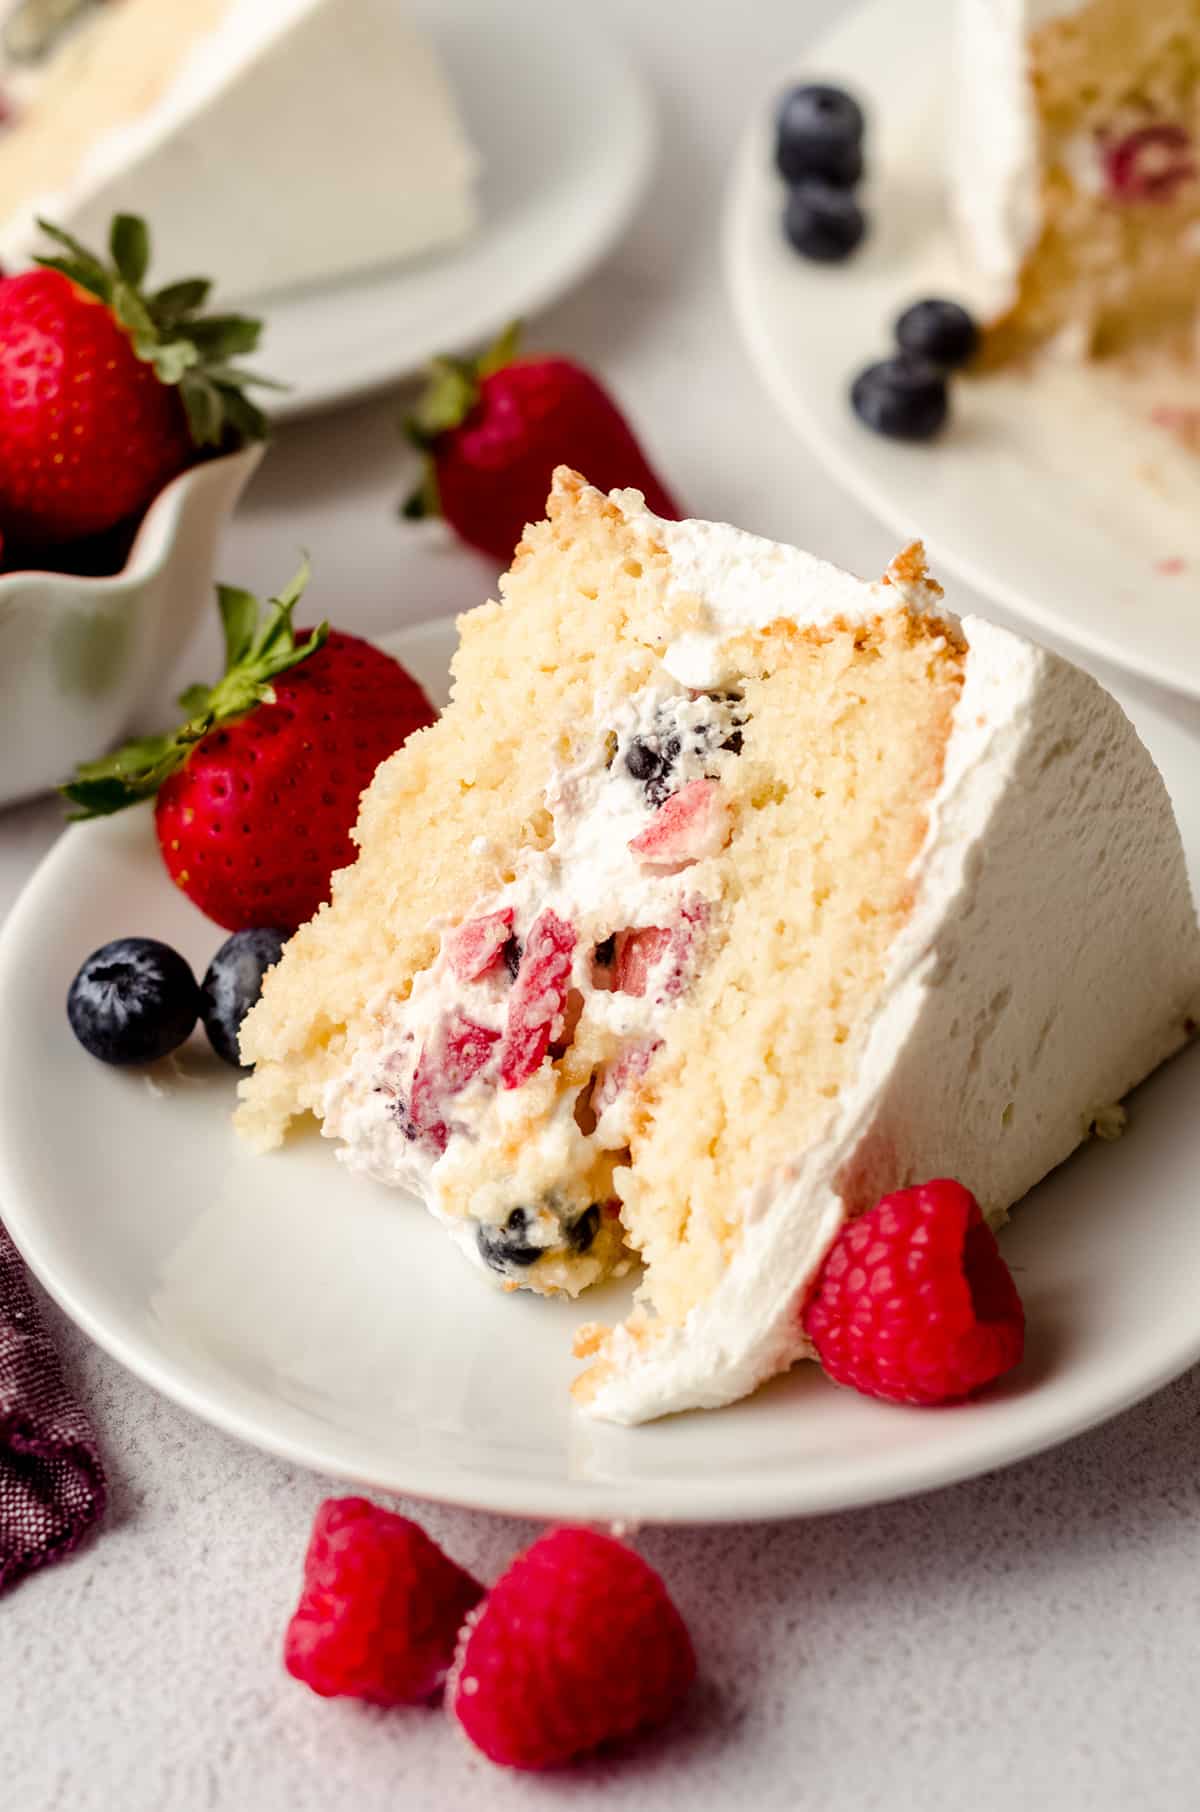
I have been on a cake kick lately, which has been great for all of you, extra great for all of my neighbors, and totally filling my cake cup since my last cake kick in 2017 (feel free to revisit my Cake of The Month series).
This particular very berry cake recipe comes to you from a winter TV binge we had this year. We found a show called Worth It, hosted by two folks who choose one food at three different price points and decide which one is the most worth it at its price.
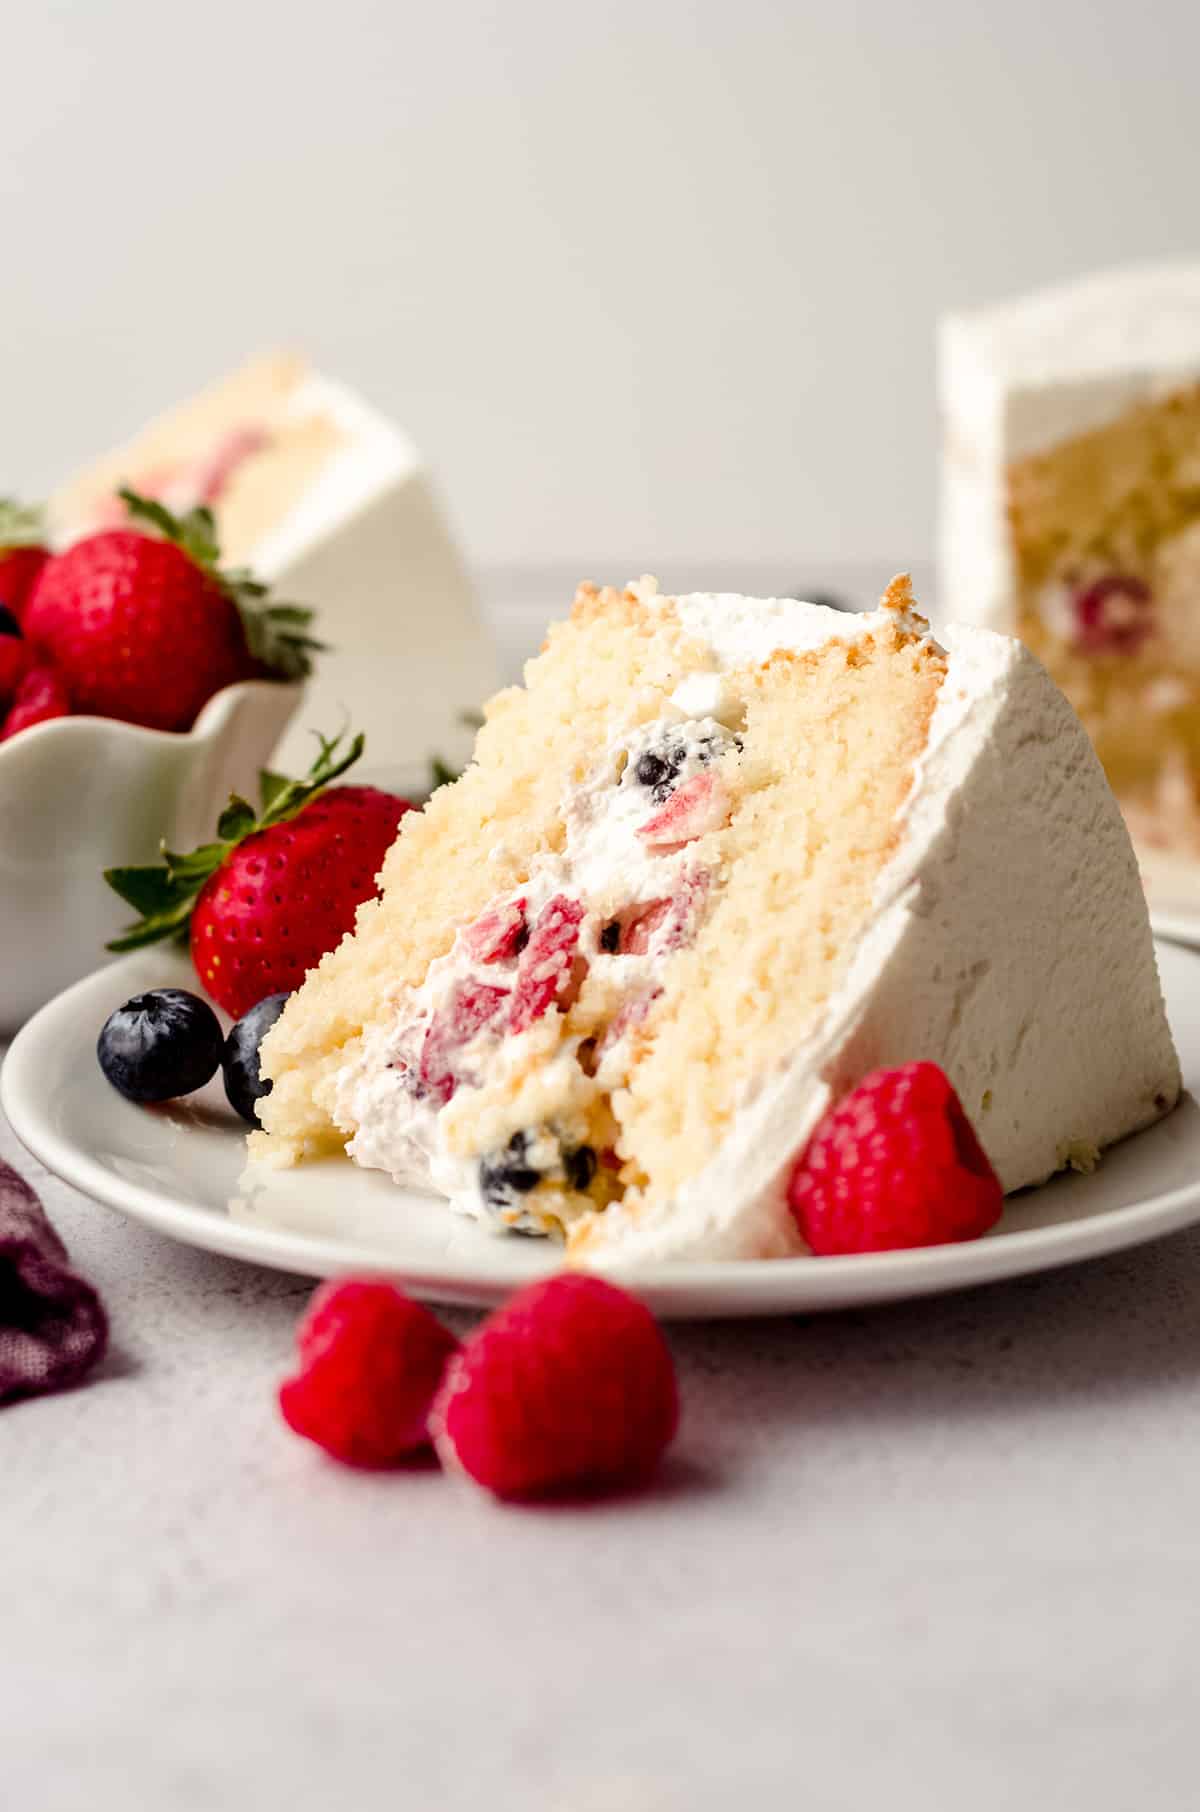
On the cake episode, they got a slice of cake that, on the surface, was a basic mixed berry cake, but upon dissection, turned out to be more of a milk and berries cake.
Lucky for me (and you!), they described the cake in detail, characterizing it as a tres leches berry cake. I distinctly remember Matt and me turning to each other and saying “oh my gosh,” and right then and there, I made a note in my phone “fresh berry cake with tres leches syrup.”
My mouth watered every time I saw this note, and I was chomping at the bit to get this berry cake all up in the blog, for myself, my taste testers, and you.
I thought long and hard about the execution of this cake and decided to keep it as simple as I could while also incorporating all of the components I wanted to include.
I will preface this fresh berry cake recipe with this: this is not a cake for beginners, but a beginner can make it happen with care and patience. Does that make sense? Probably not, but I don’t want to mislead you.
Separately, the components to this cake are quite simple. The execution can seem complicated, but let’s break it down so you know what you’re getting yourself into.
HOW TO MAKE BERRY CAKE
This cake involves:
•my go-to white layer cake (however, my yellow cake could also work, as could any tried and true vanilla, white, or yellow cake recipe you love)
•my trusted homemade whipped cream (which goes not only in the filling, but is also used to cover the cake in place of a heavy, sweet buttercream)
•a mix of fresh berries (blueberries, blackberries, strawberries, and raspberries)
•a tres leches soaking syrup (which is a combination of evaporated milk, sweetened condensed milk, and heavy whipping cream)
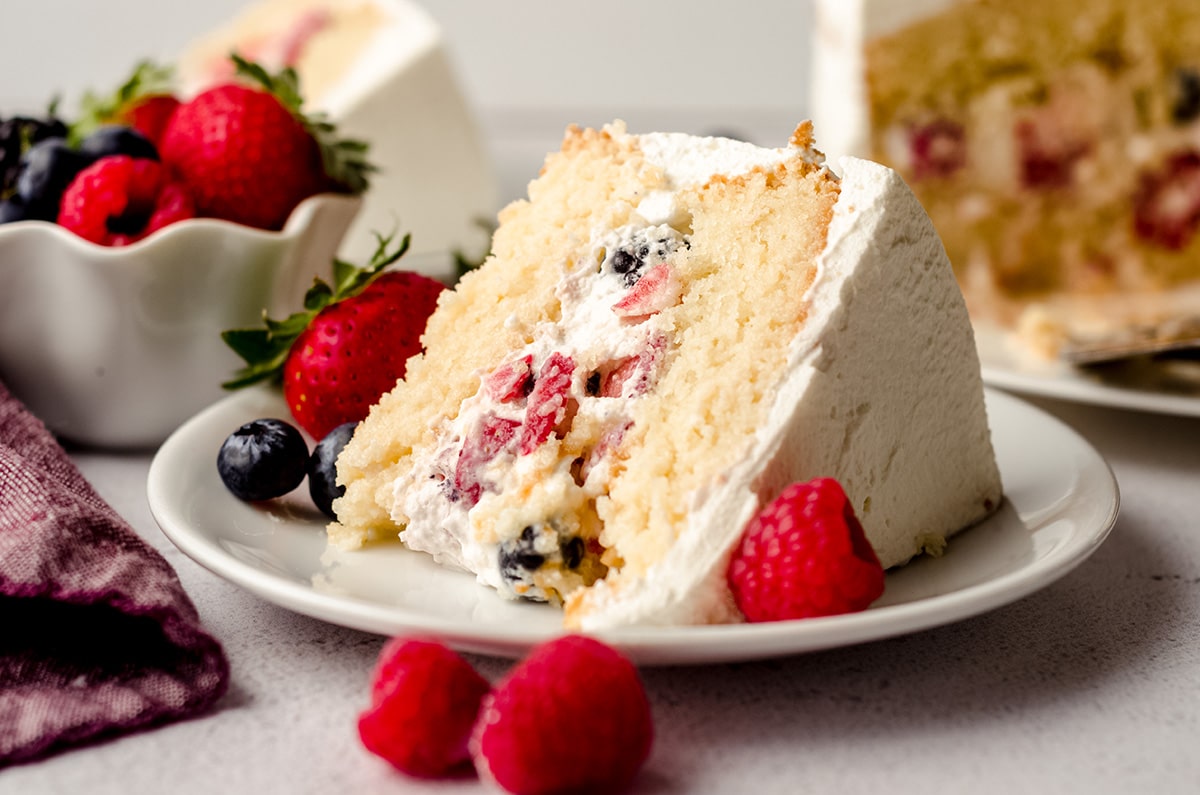
THE CAKE
This cake is my favorite white cake recipe. I have used it to make champagne layer cake, funfetti bundt cake, red, white and blue swirl bundt cake, and simple white sheet cake. It is a very simple recipe that goes really well with fruit or chocolate flavors.
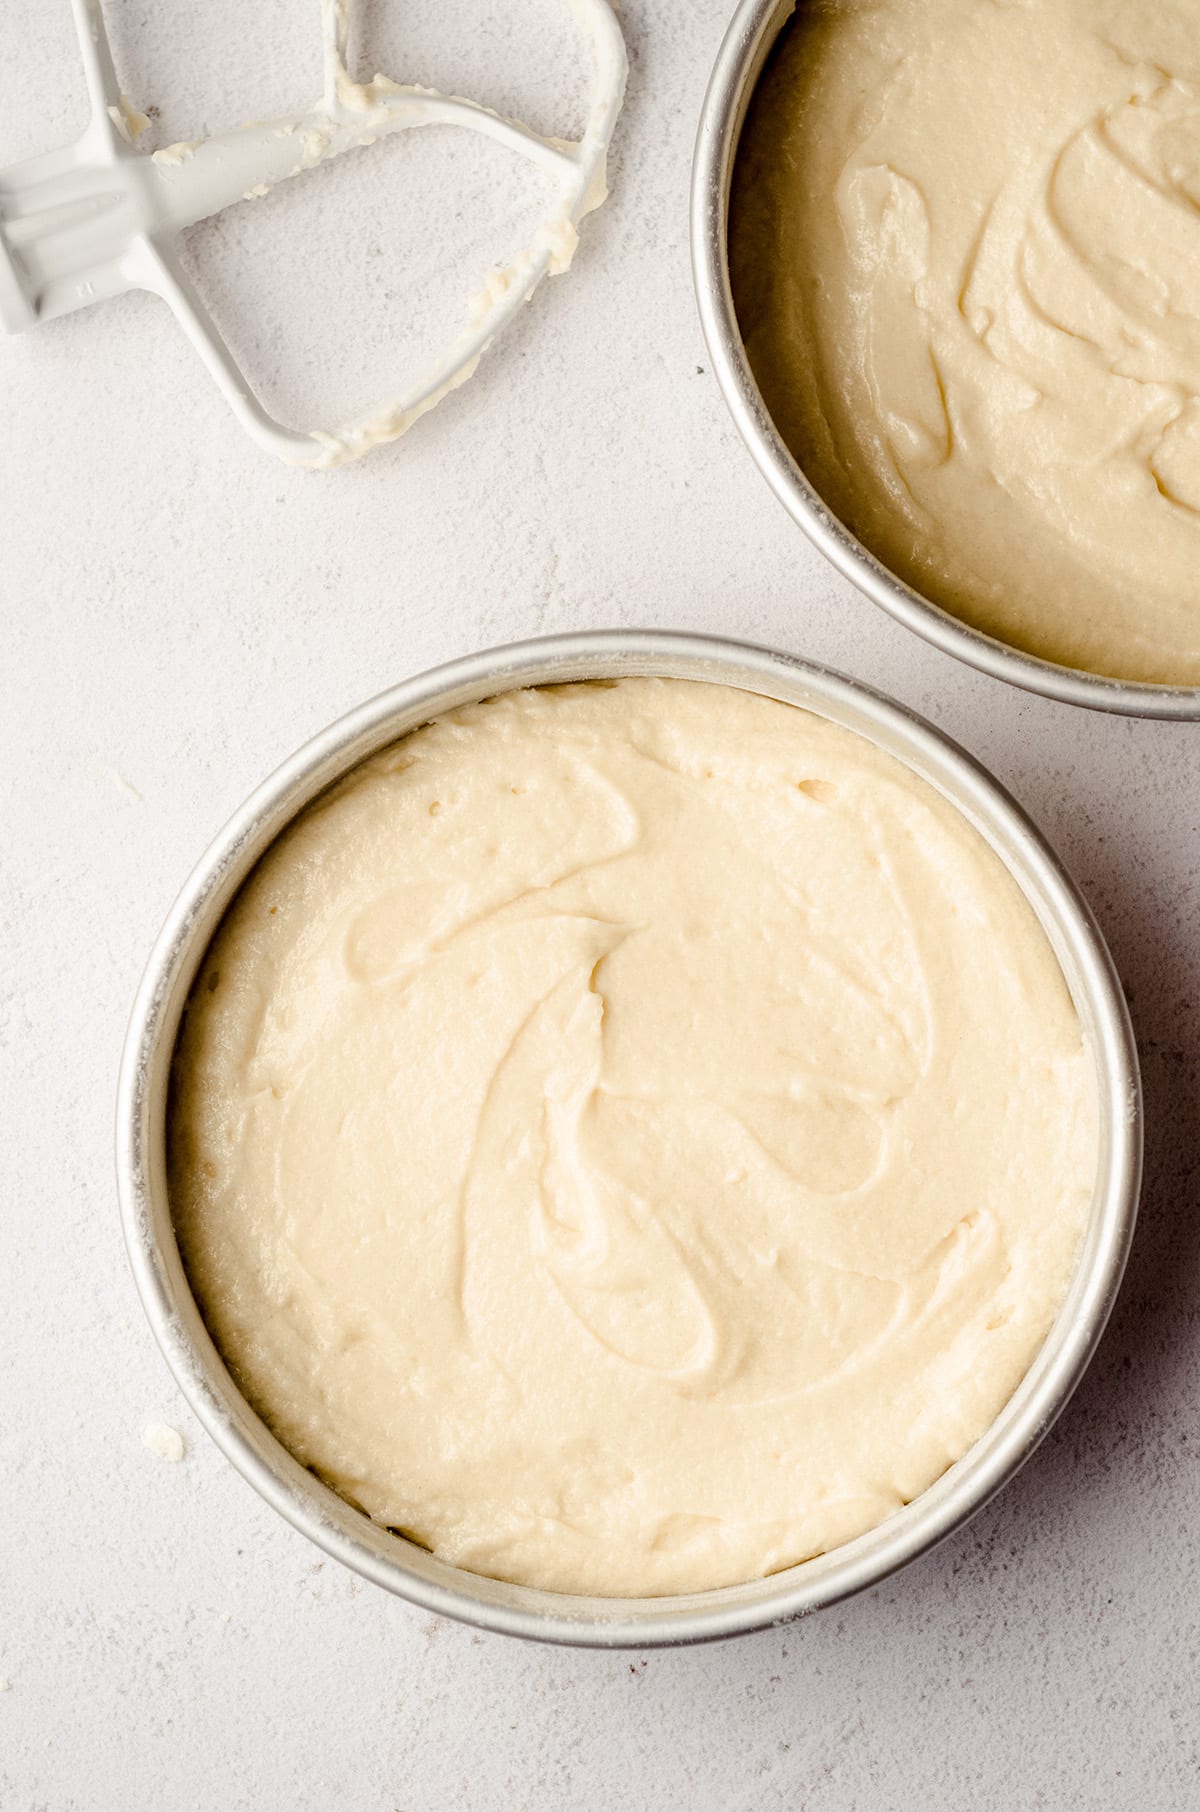
The hows and whys of this white cake base, adapted from Cook’s Illustrated, are fully explained over there in that post, if you’re interested in any of that.
Like I said, any vanilla, white, or yellow cake recipe you love works well here. Don’t feel obligated to use my recipe if you have another that works well for you!
THE WHIPPED CREAM
This homemade whipped cream is very simple. I have an entire post dedicated to how to make whipped cream from scratch, and I promise, you can do this.
You’ll be using heavy whipping cream in the cake batter as well as the tres leches syrup, so it gets all up in lots of elements of this milk and berries cake recipe.
Once made, you’ll use 1 cup of the homemade whipped cream in the berry filling. The rest you’ll use to cover the cake. I opted for this light whipped cream rather than a heavy, super sweet buttercream.
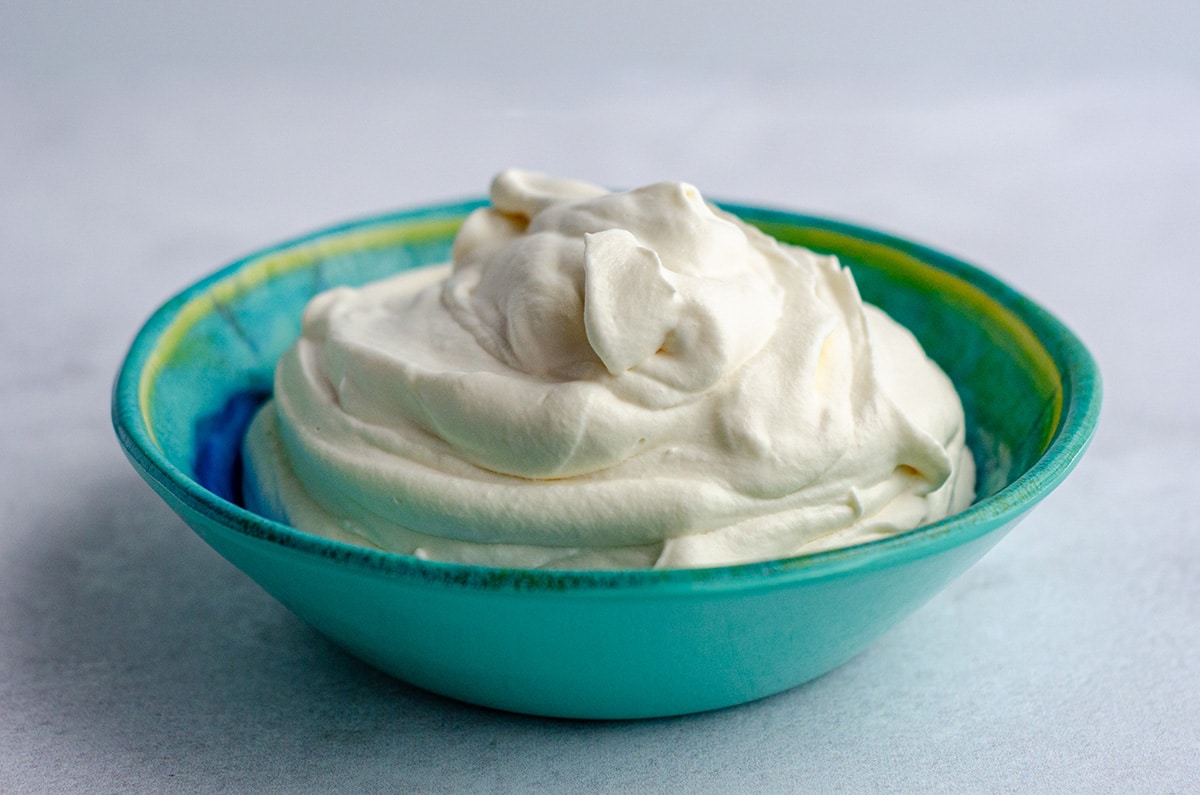
The lightly sweet and airy textured whipped cream is the perfect complement to this very heavy (in a good way!) fruit tres leches cake.
You’ll have enough of the whipped cream to pipe pretty swirls on top if you’d like, or to serve as a little extra with each slice.
THE BERRIES
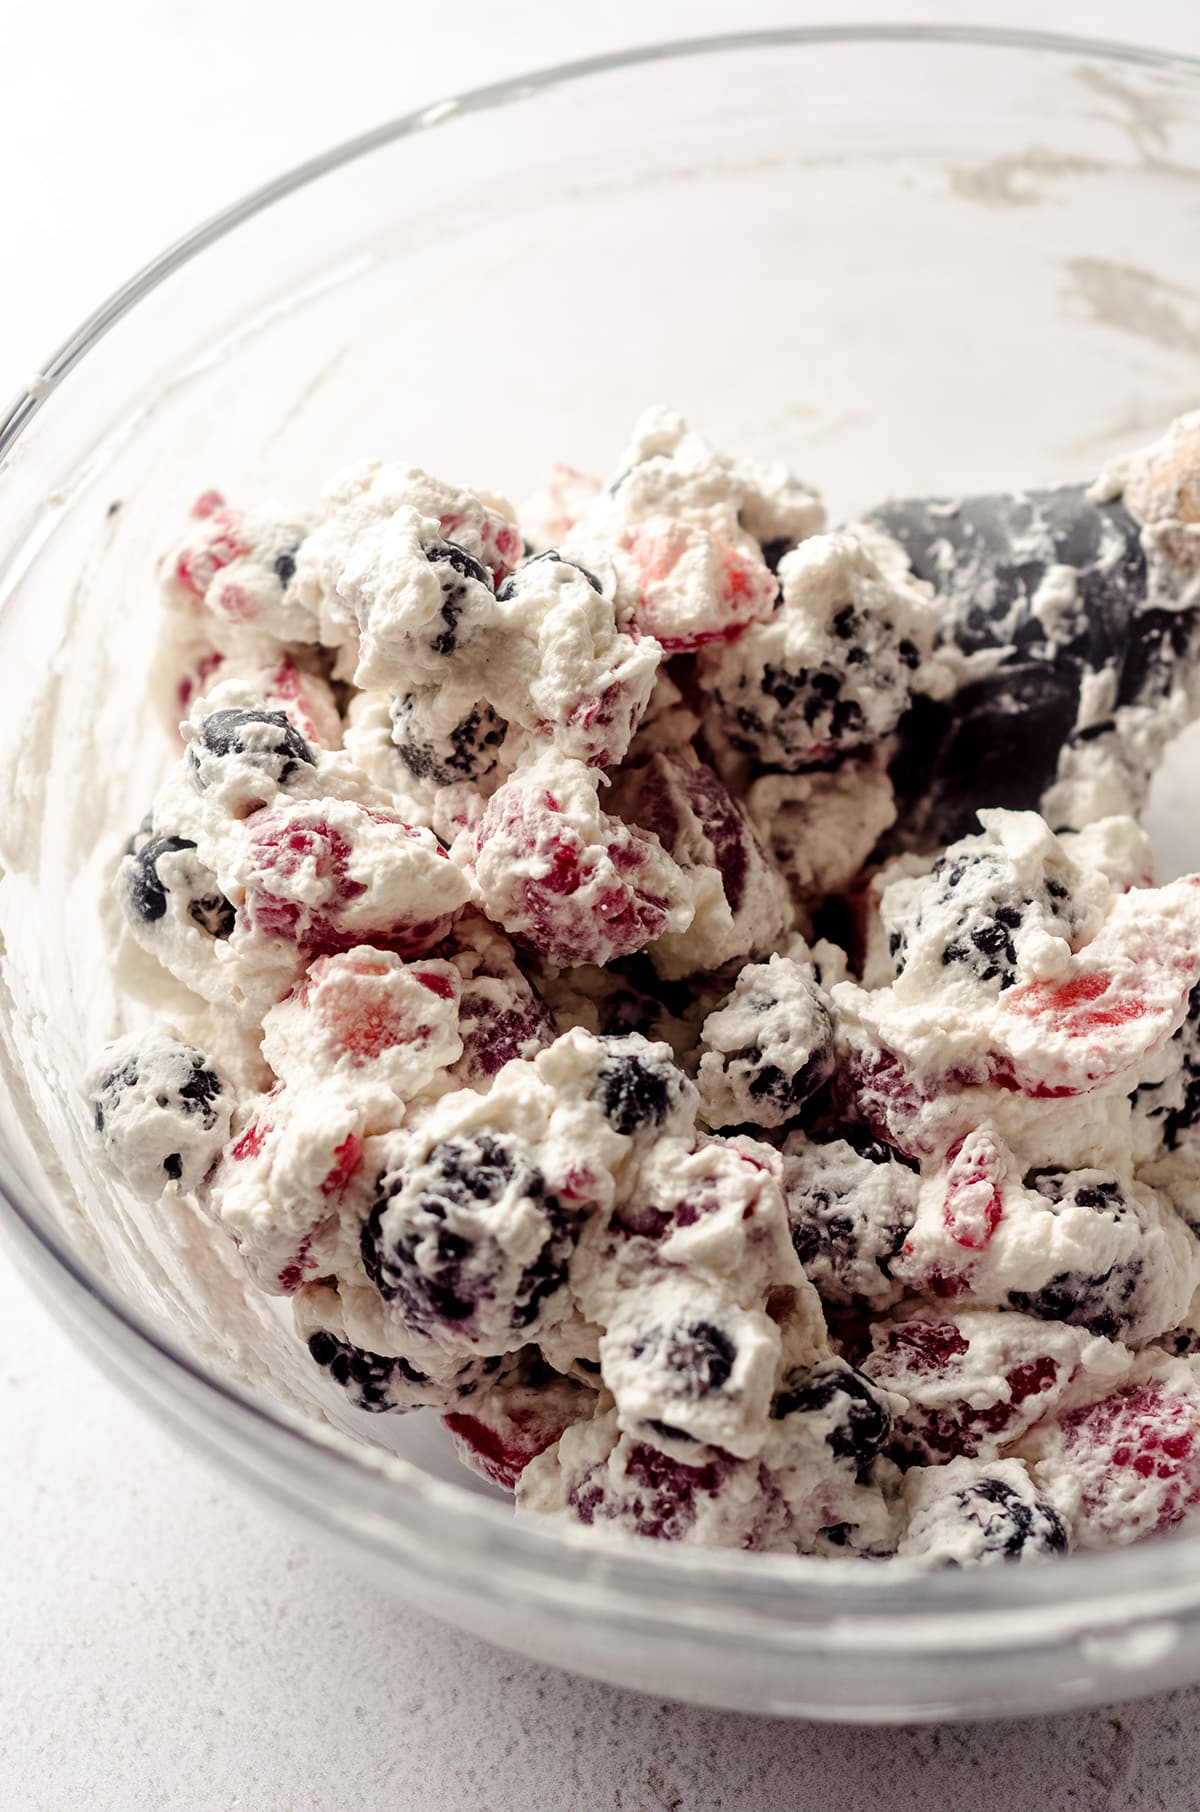
The berries for this cake are totally up to you, so if you’re into all four of these berries, you won’t be sorry. We’re working with whole blueberries, whole blackberries, quartered strawberries, and whole raspberries.
As mentioned, you’ll mix these berries with some whipped cream, and they’ll become your filling. Of course, save some extra for topping the cake!
THE TRES LECHES SYRUP
This syrup is where we get the majority of the sweetness, and why we opted for the whipped cream to cover the cake.
This is a traditional tres leches syrup, made up of evaporated milk, sweetened condensed milk, and heavy whipping cream.
You’ll combine the three milks, which, when sufficiently mixed, make a deliciously sweet and smooth soaking syrup that I think is the star of the show in this milk and berry cake.
HOW TO ASSEMBLE THIS MILK & BERRIES CAKE
The assembly of this cake is where you’ll need your patience, but I assure you, you can totally do this.
You’ll start by placing your bottom layer on a plate. Do not use a cake stand.
You’ll want to put this plate on another larger plate or large baking sheet, because some of the tres leches syrup will seep out (your cake will only be able to take on so much liquid).
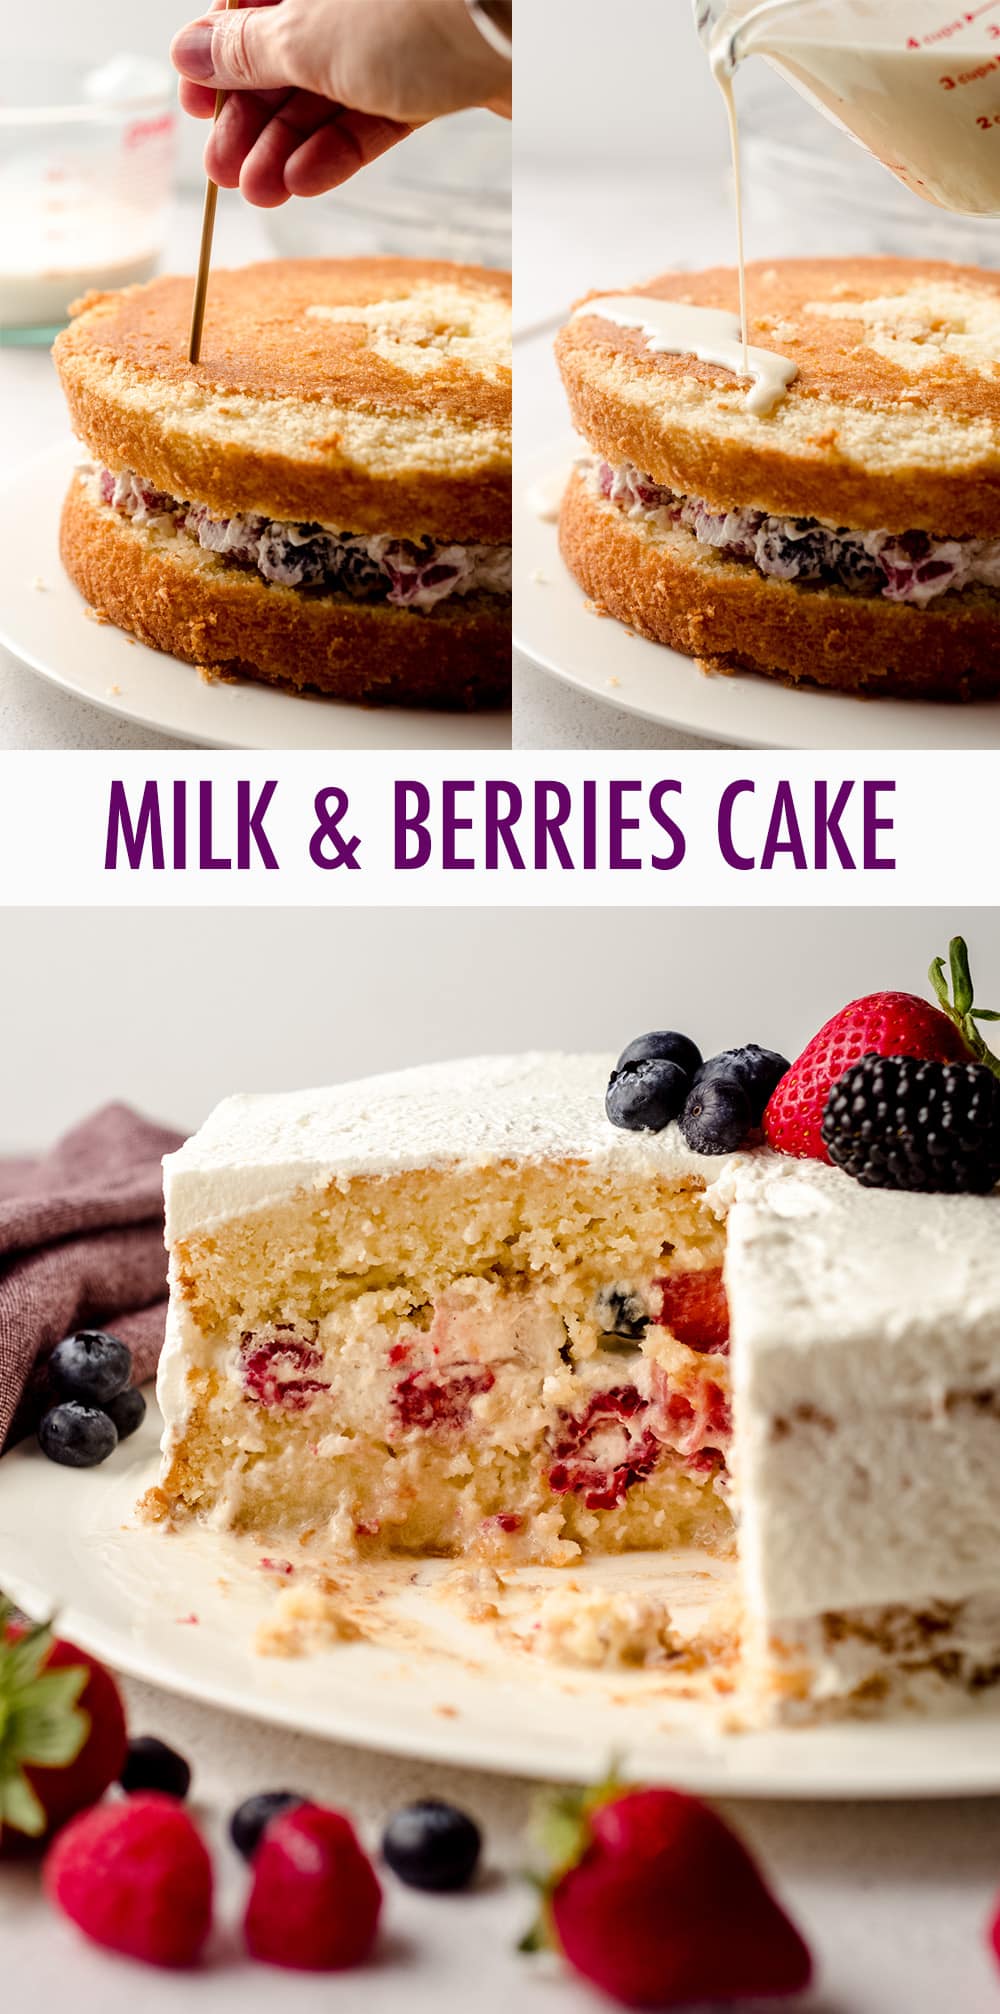
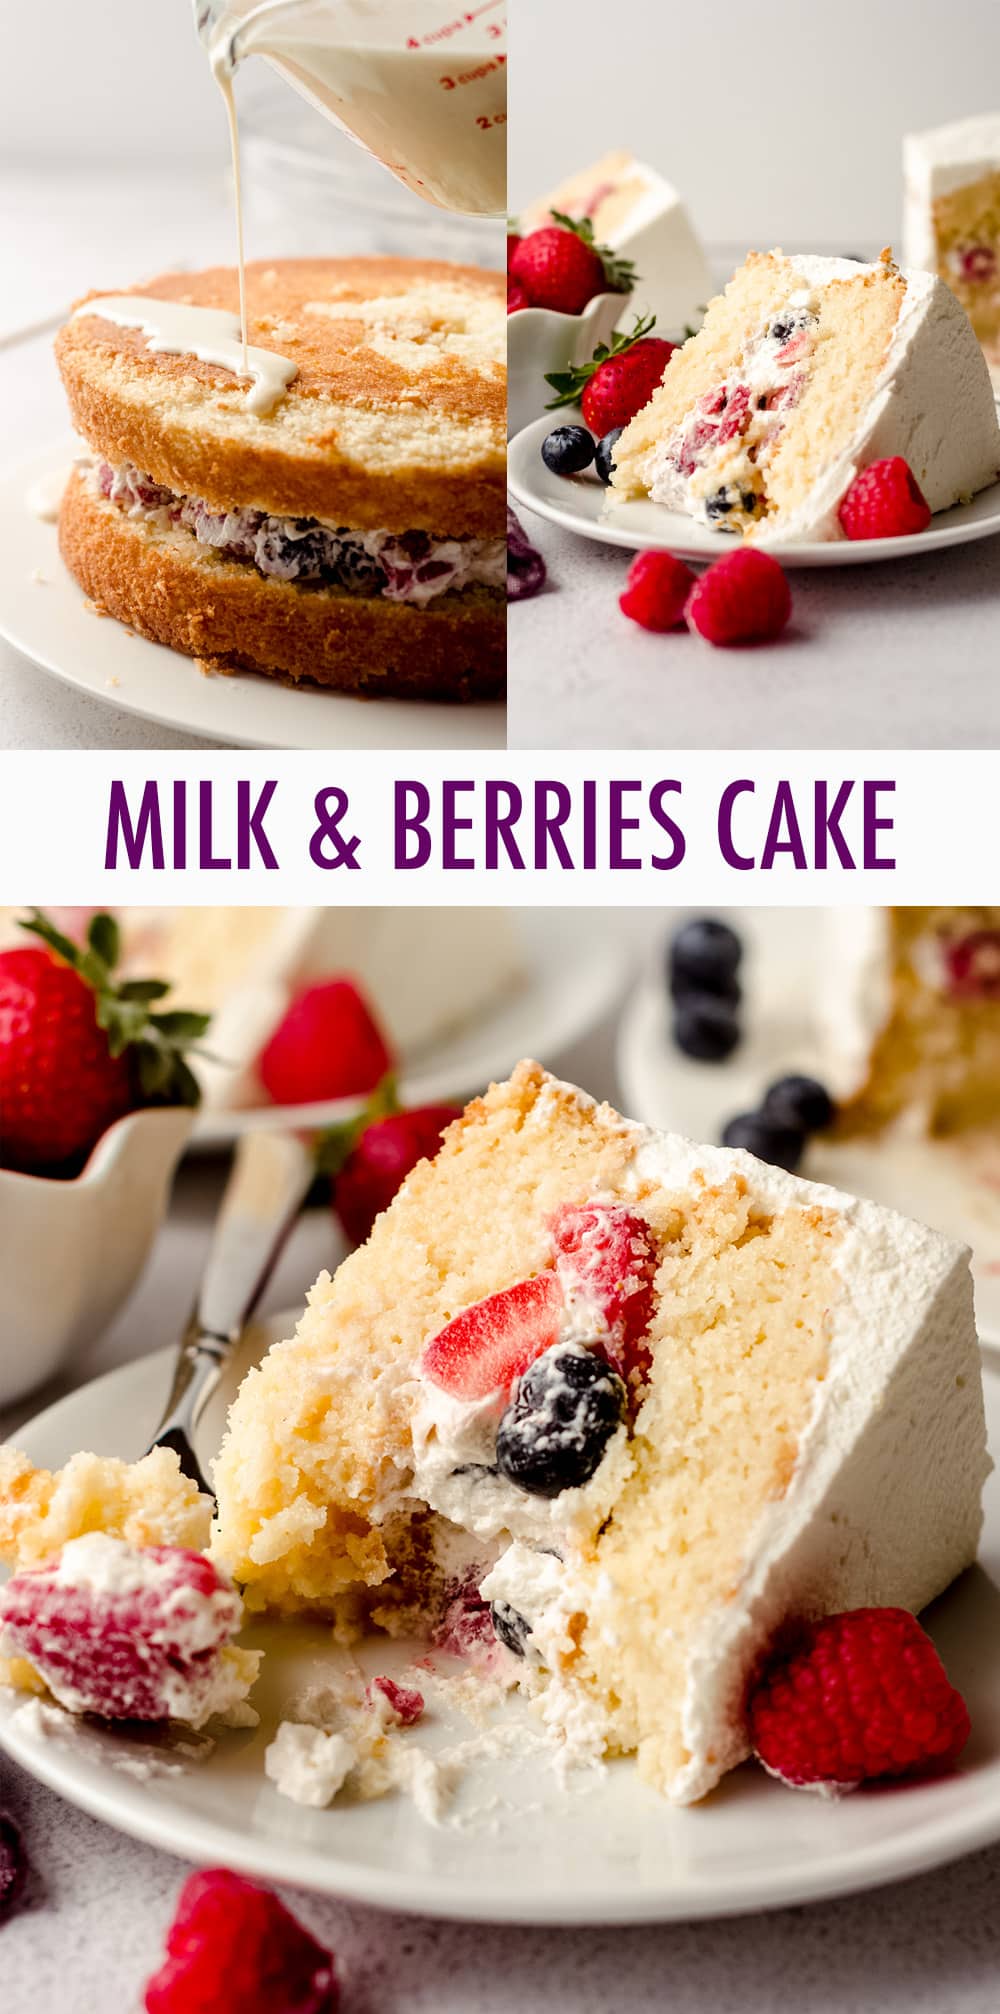
Poke holes in the cake, then slowly pour about ¾ cup of the tres leches syrup (which will be about 2 cups total) evenly onto the cake.
Allow about 10 minutes for it to fully soak in, then add your whipped cream and berries filling.
Yes, this filling is lumpy, but you’ll be able to shape it with a spatula to be as flat as you can make it.
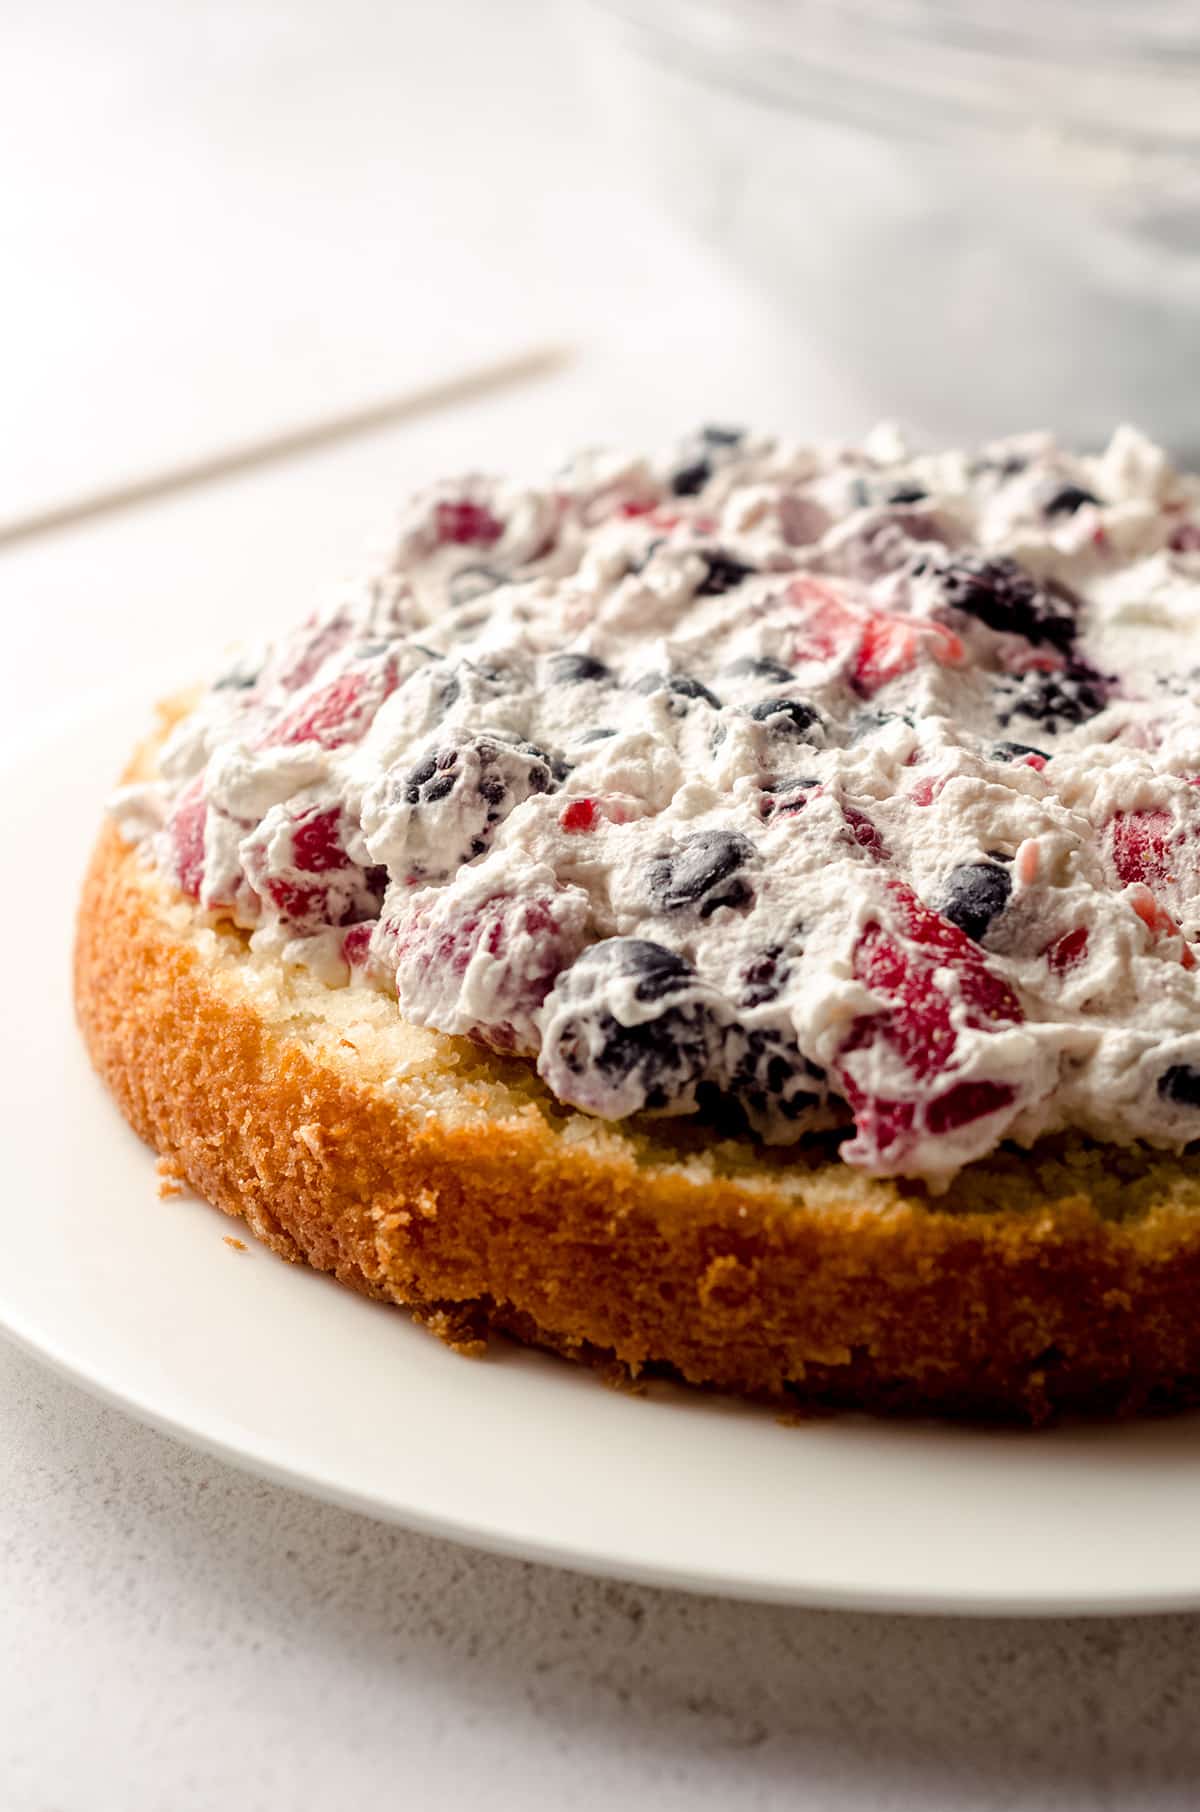
You’ll also want to keep about ½” border around the filling so that there are no berries sticking out, which will make it easier to cover the cake with the whipped cream.
After you have your berry filling in, top with the second cake layer.
And yep, you guessed it, poke more holes.
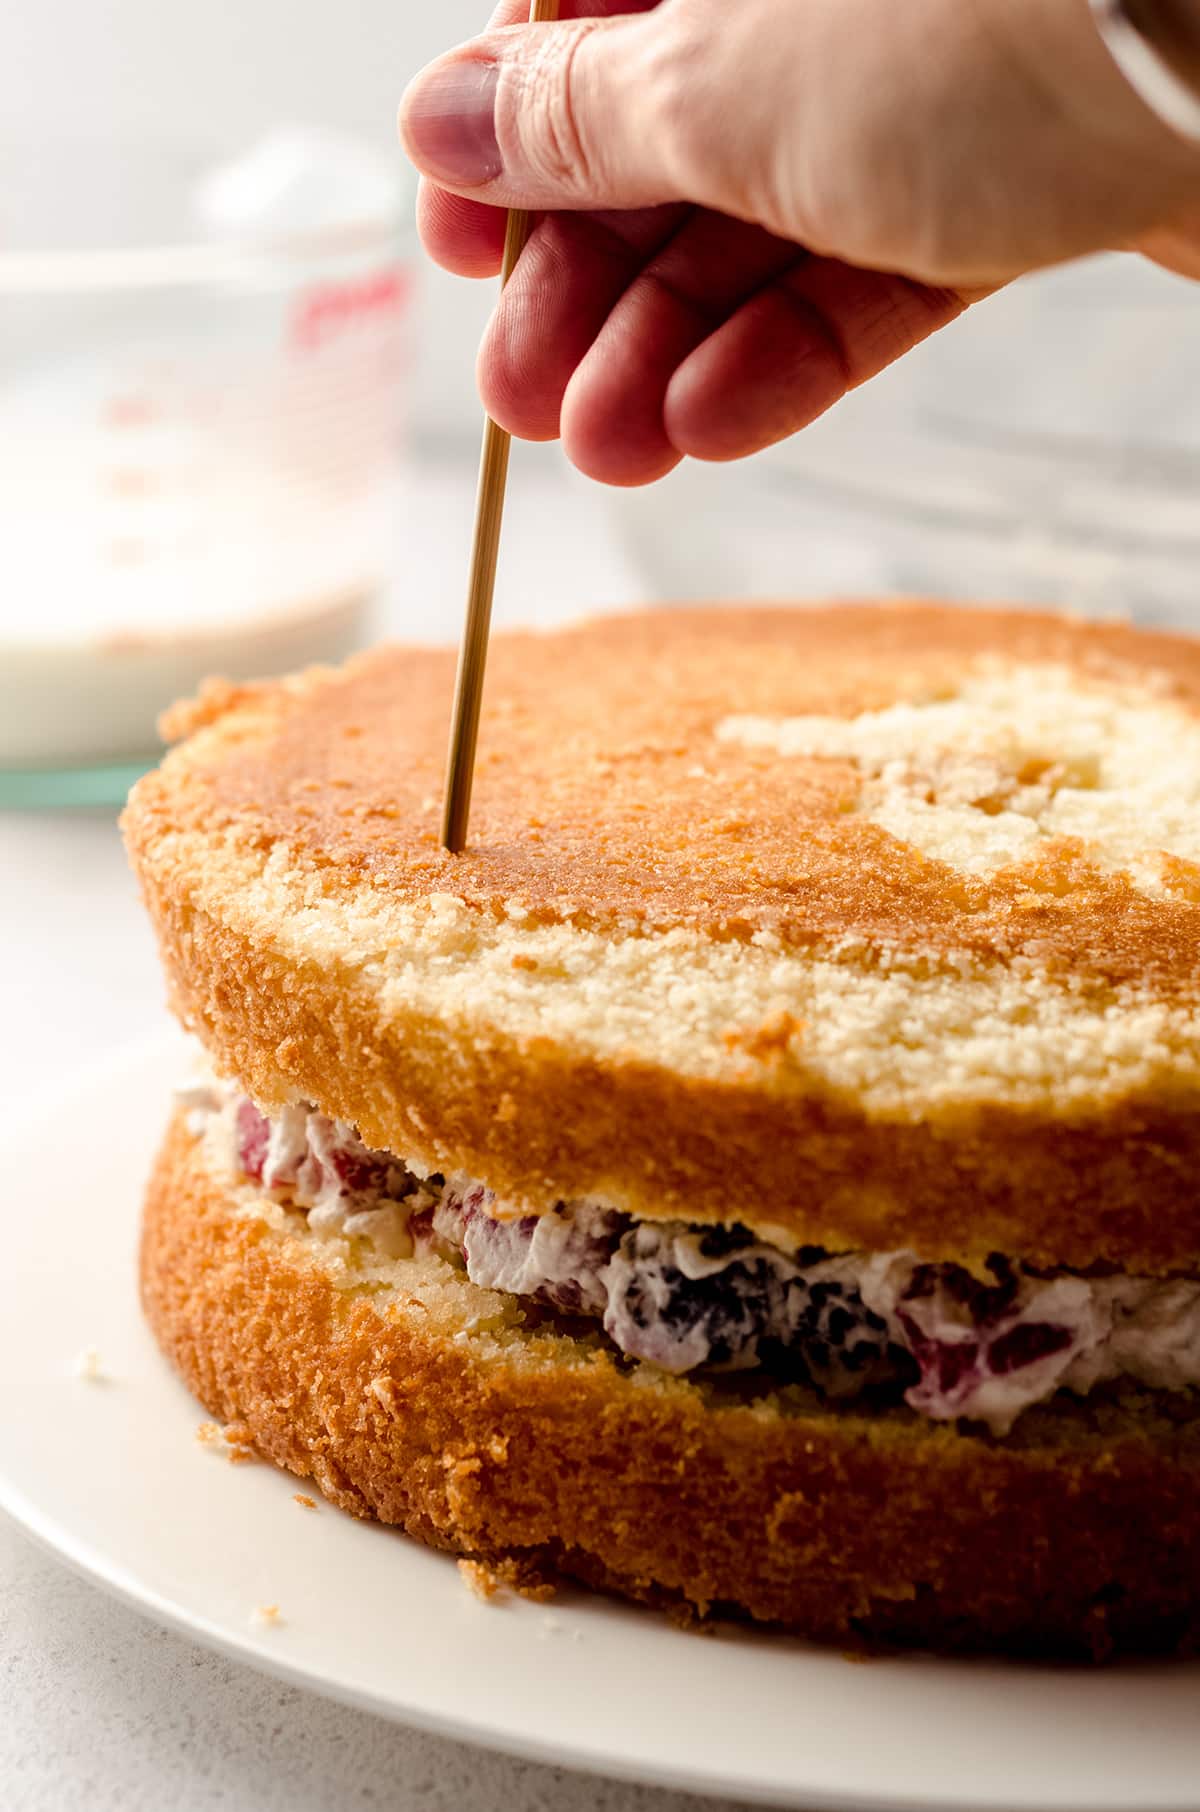
At this point, your cake is ready to take on the bulk of the tres leches syrup, but remember, practice patience.
Pour a little on, wait a couple minutes, pour on some more, then repeat. It will be fairly apparent when your cake is unable to take on more syrup, and that’s when you’ll want to stop.
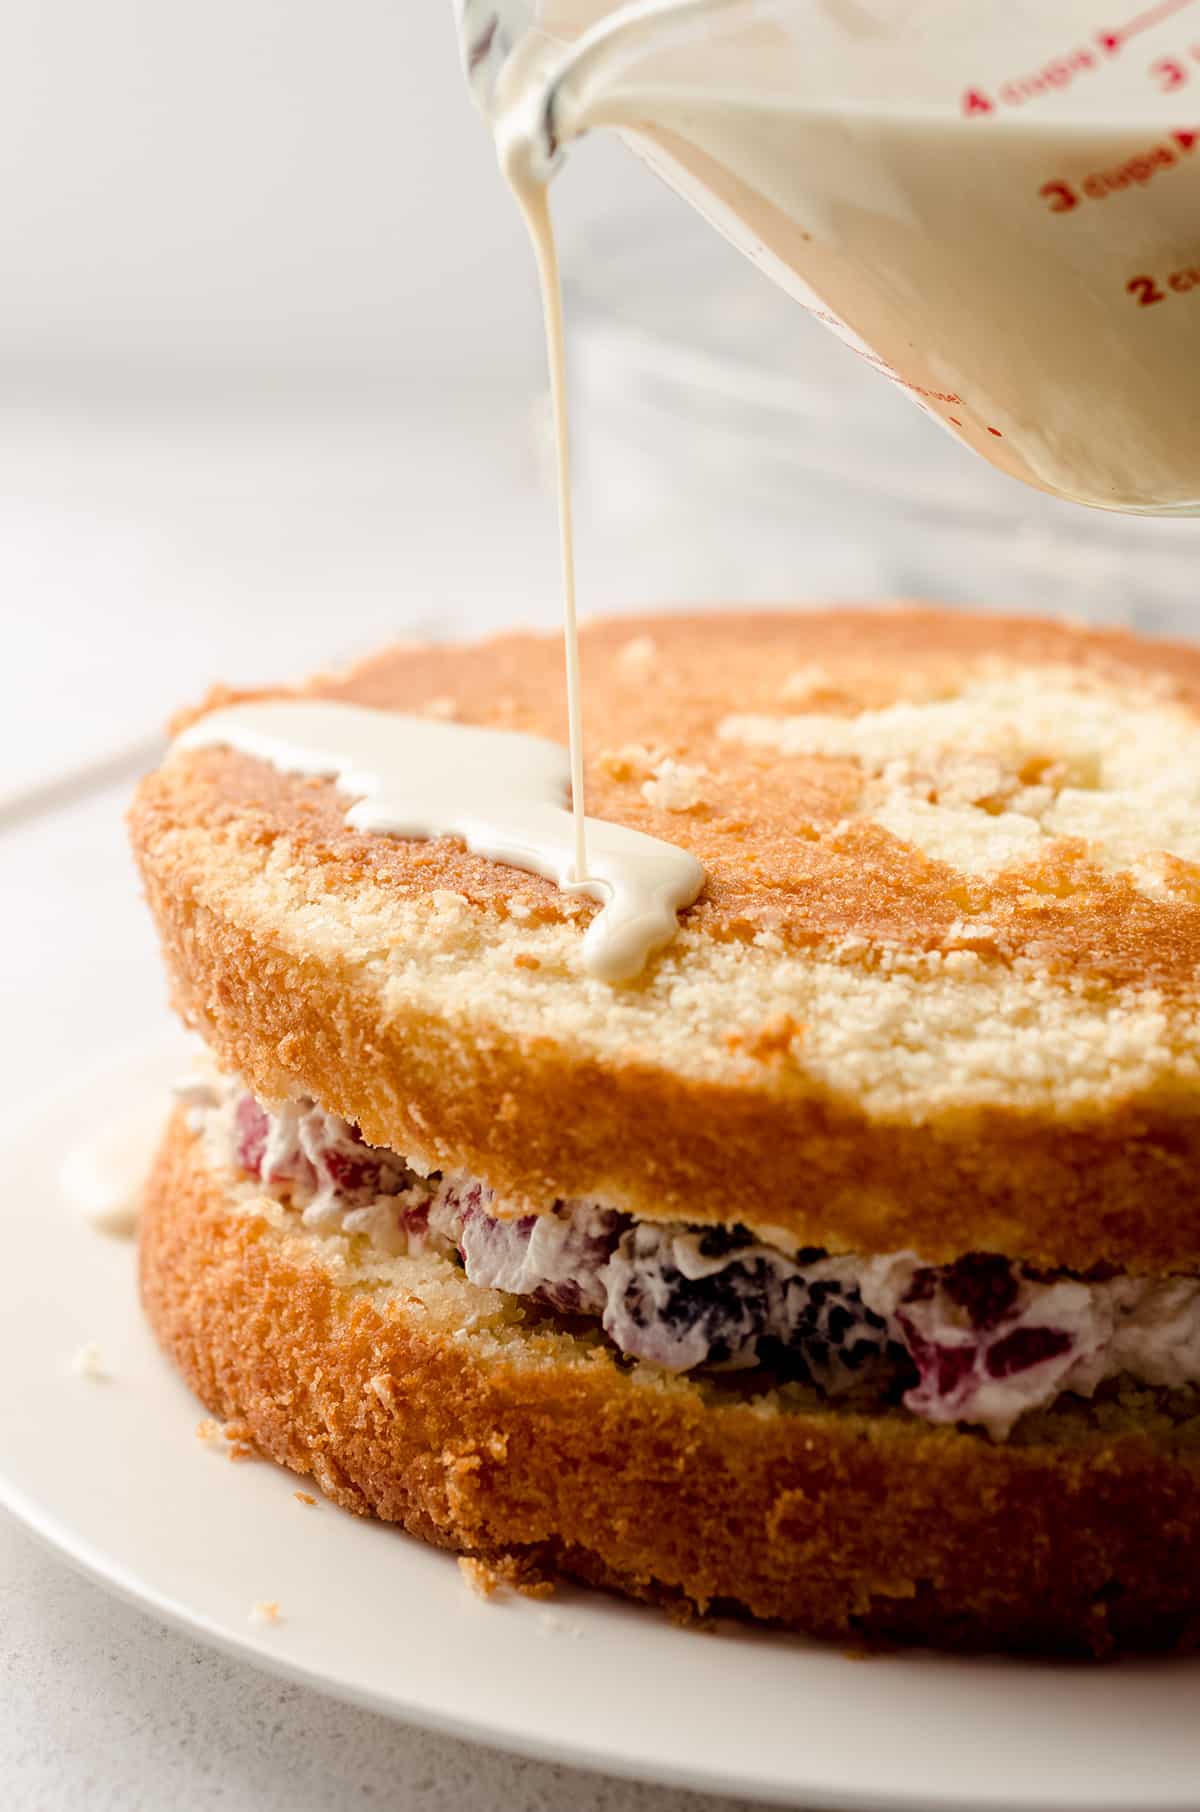
I used almost all of my tres leches syrup before my cake told me enough was enough.
Things to look for when you’re deciding whether or not to soak it more: excessive pooling of syrup at the bottom of the cake, syrup running off the top of the cake rather than soaking into the cake, or any part of your cake completely falling apart.
Once you’re happy with the amount of liquid you’ve added, allow the cake to sit for about 15 minutes, then remove any excess liquid at the base of the cake.
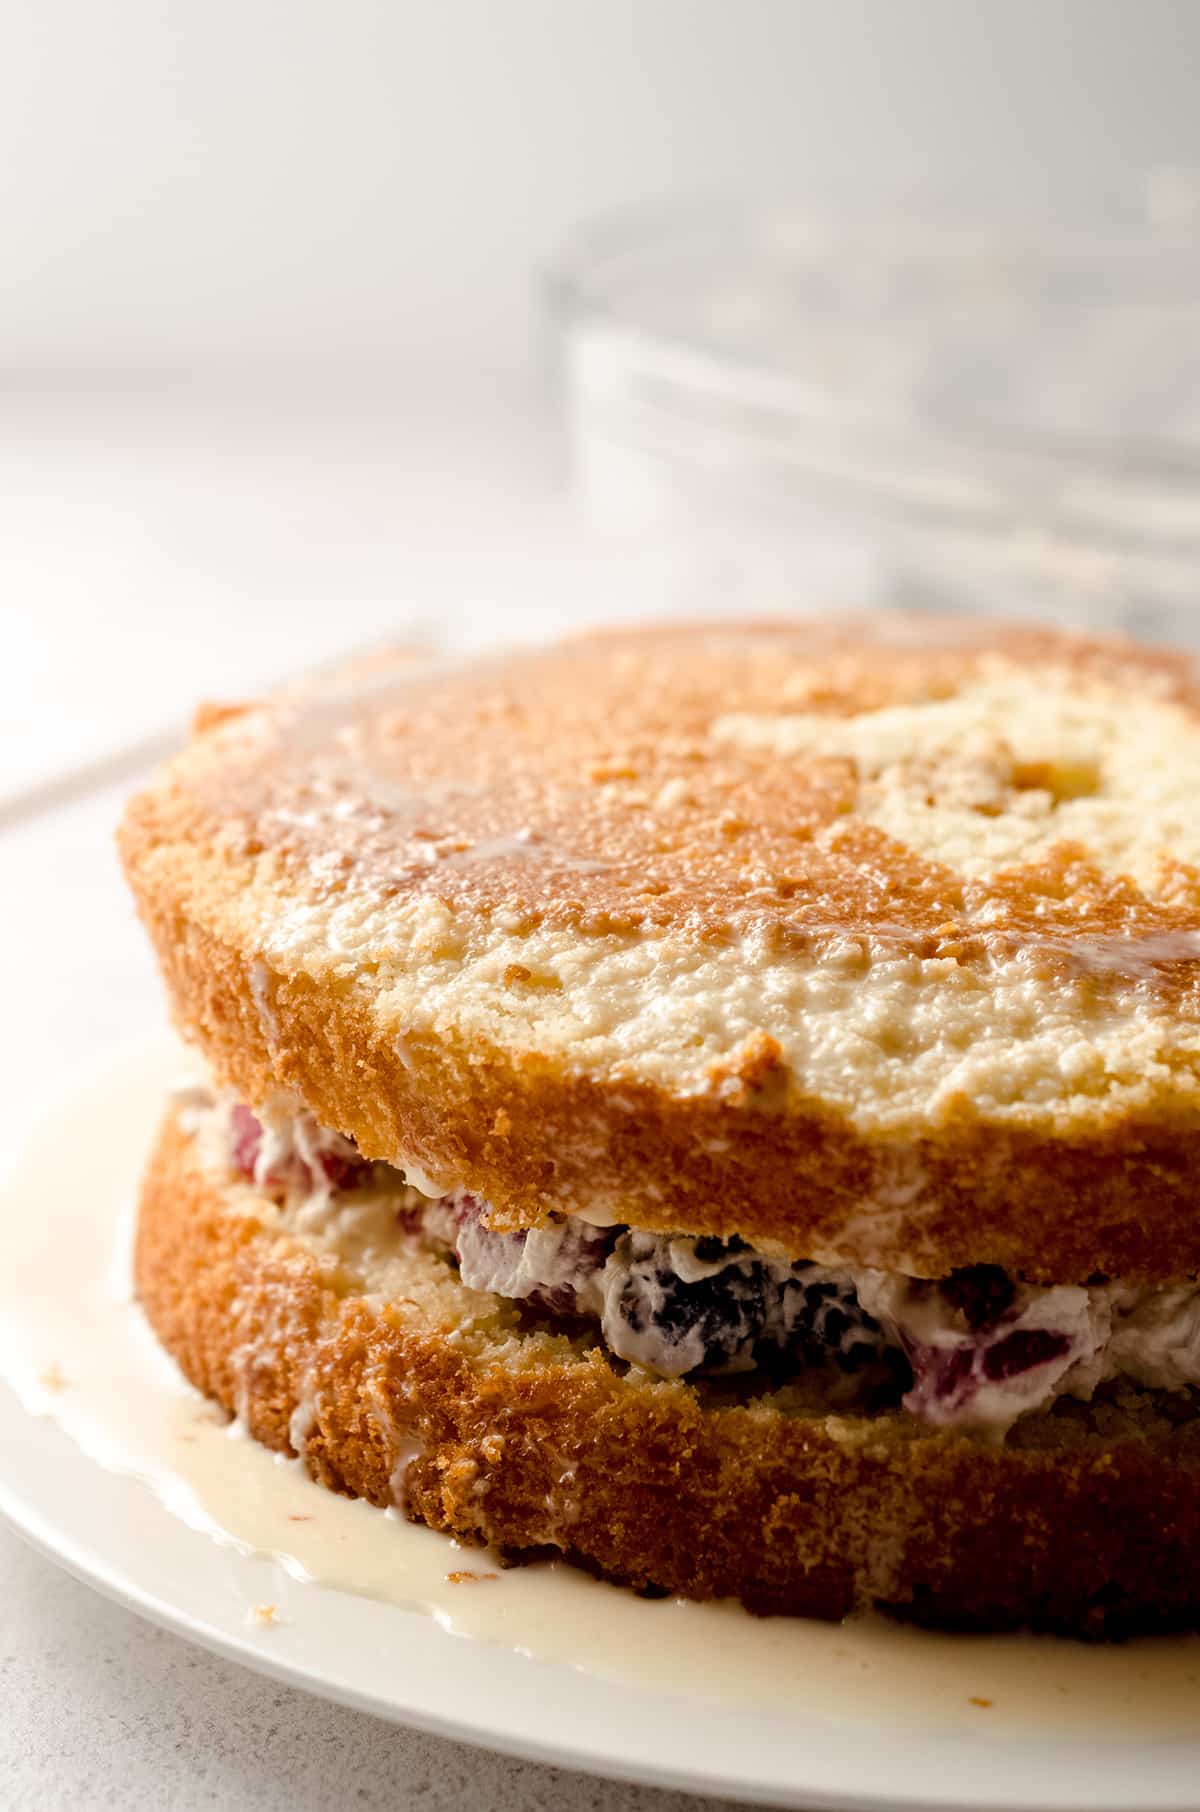
It’s totally fine if there’s a little tres leches syrup leftover, but you’ll want to remove the bulk of the syrup before coating it in the rest of the whipped cream.
I used a liquid dropper to remove the excess liquid. It worked perfectly. You can also carefully tip the plate and sort of “squeegee” the liquid off onto the plate or baking sheet under the cake.
COVER THE CAKE
Keep it simple: this is going to be a form of a naked cake, though the amount you decide to coat it is completely up to you. Feel free not to expose any cake layers underneath if you’d prefer.
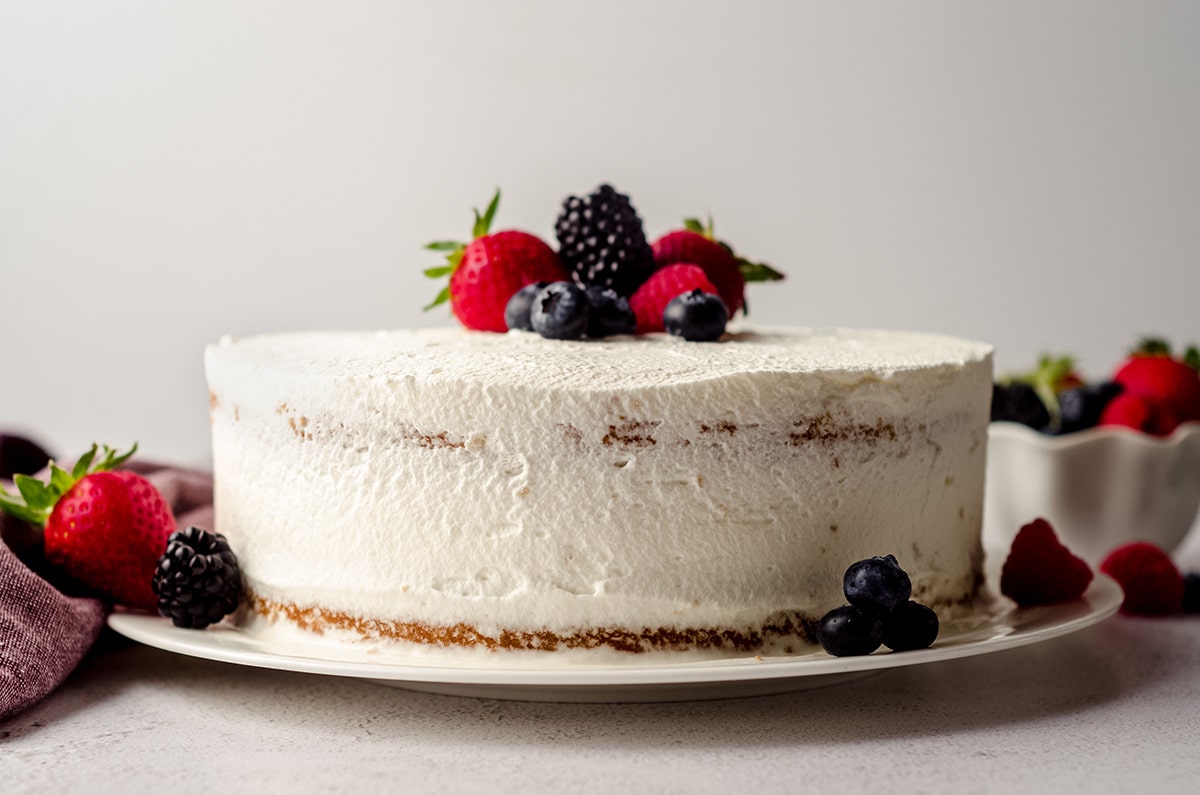
ALLOW THE CAKE TO REST
This cake will need to be refrigerated to set for about 2 hours before you slice it. This resting will allow the liquid to absorb into the cake and for all of the components inside the cake to “adhere” to each other.
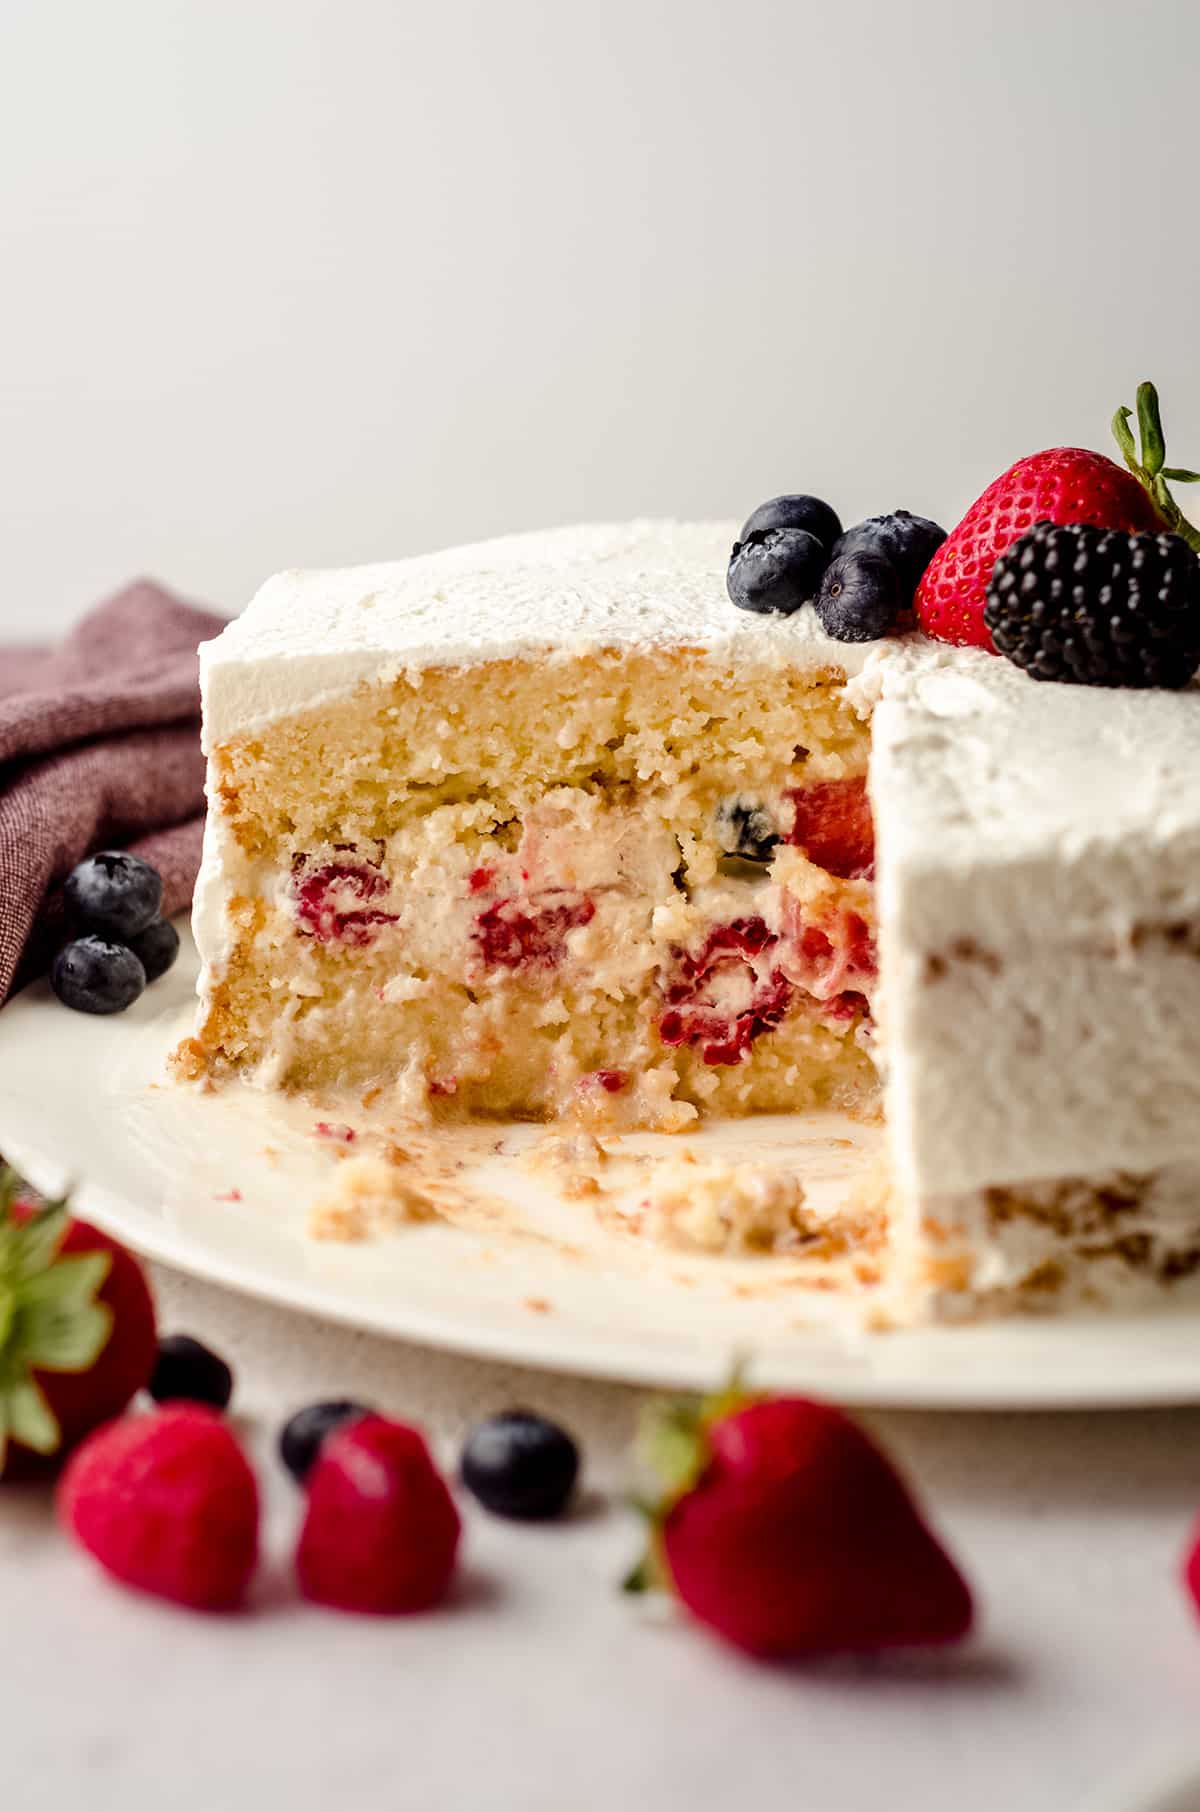
It is much easier to cut, serve, and eat after the rest. I know, it’s hard to wait… But I promise it will be worth it.
CAN YOU FREEZE BERRY CAKE?
This cake will freeze well, but be cautioned that when it thaws, it may secrete some additional moisture. Thaw it on a second plate.
We loved this cake so much. I was pleasantly surprised that it was exactly the end result I was looking for and even sounds exactly like a similar cake I found that has a serious following: Porto’s milk and berries cake.
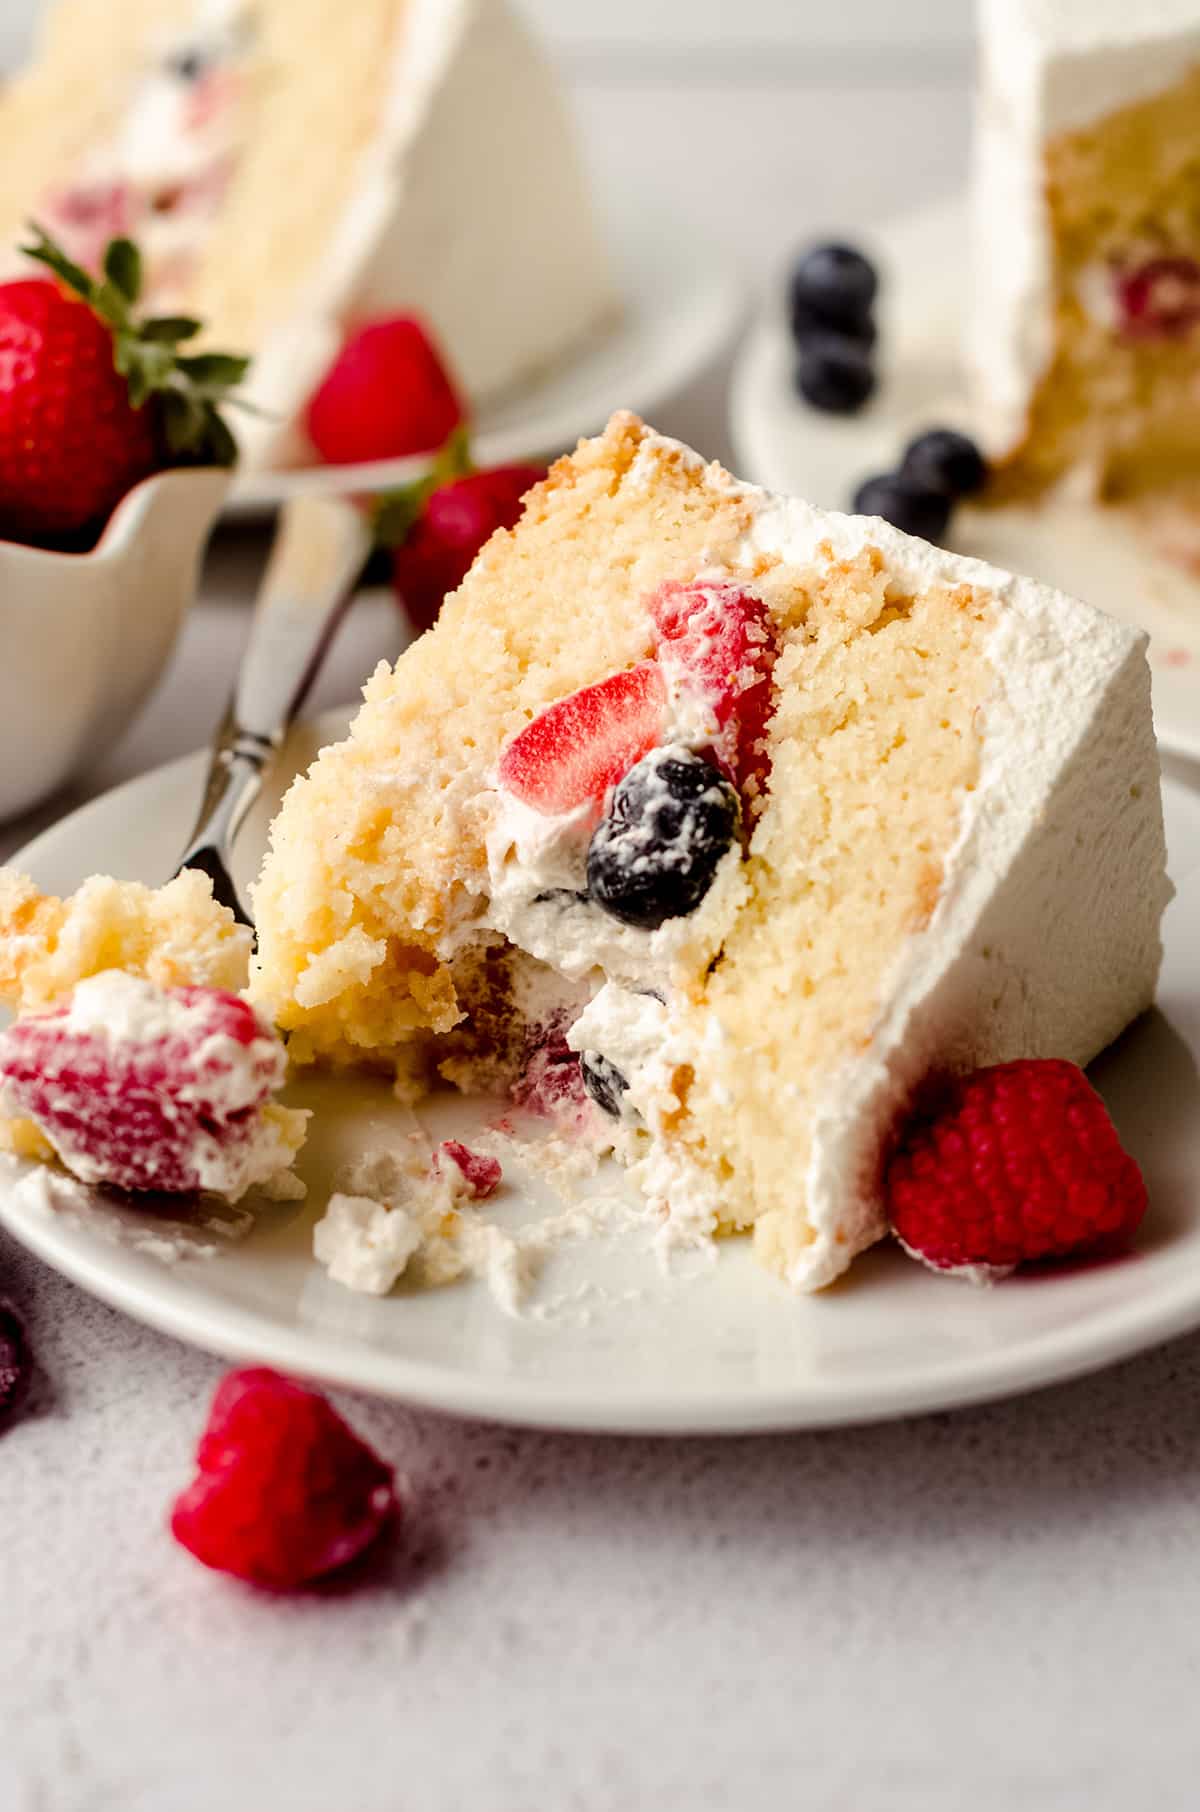
Because of the tres leches syrup, this cake becomes very heavy and dense, but in a really lovely way. The filling is light and airy, full of all of those flavorful fresh berries, and complemented by the light and airy whipped cream.
The soaking syrup gives an enjoyable mouthfeel to every bite, providing each bite of cake a little something extra, and acting almost as a built in fruit dip for the berries.
All of my taste testers were blown away by this cake, and I had a number of DMs on Insta when I shared a photo from the photoshoot.
I have a feeling many of you will be chomping at the bit to make this much like I was.
I hope those of you who do decide to put in the effort to create this delectable summer berry cake are not only proud of yourselves for conquering a slightly-more-challenging-than-easy cake but can’t wait for your next bite.
This one is a show stopper, visually and taste-wise. I truly can’t wait for you to try it. And I’m going to put in a request right now to invite me over, mmkay?
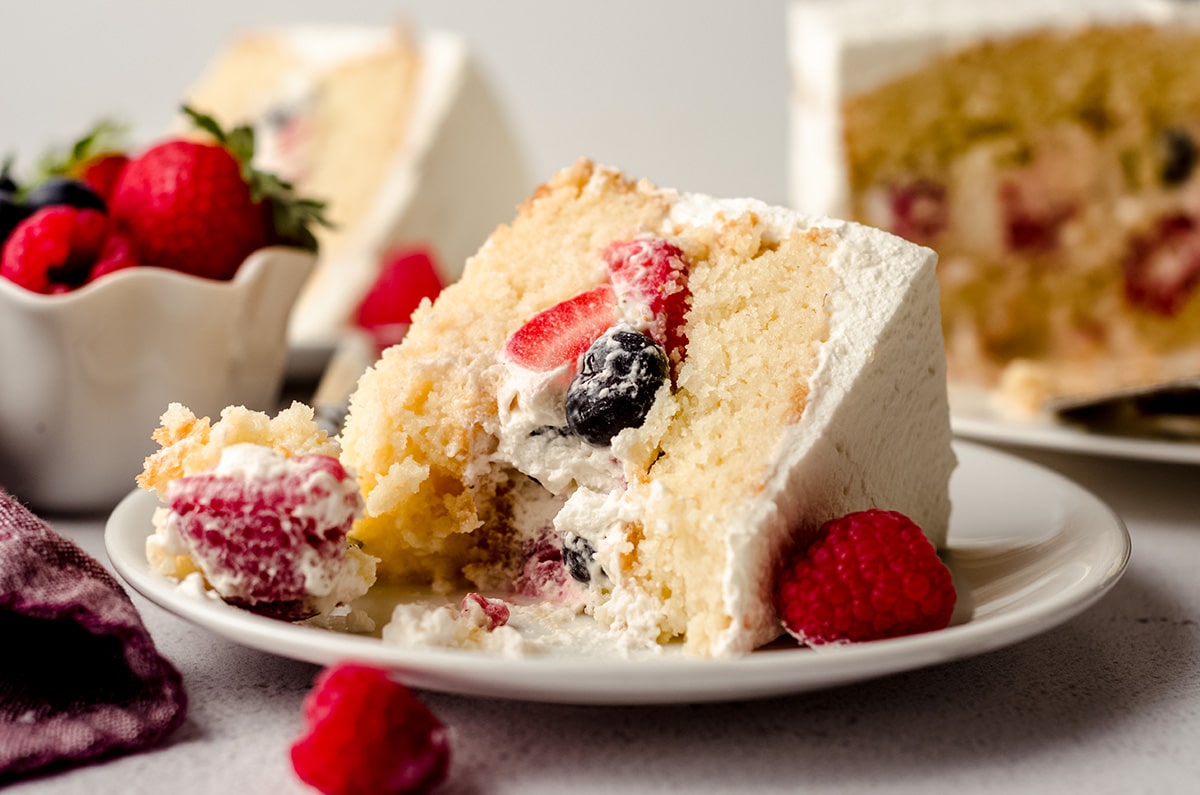
I need way more of this cake in my life. And I think you’ll agree once you polish off your first slice!
Berry Cake
Ingredients
CAKE
- 2 cups (240g) all-purpose flour be sure to measure properly
- 2 Tablespoons (15g) cornstarch
- 1 and ¾ cups (350g) granulated sugar
- 4 teaspoons baking powder
- 1 teaspoon salt
- 12 Tablespoons (171g) unsalted butter softened to room temperature1
- 1 cup (240mL) heavy whipping cream room temperature1,2
- 6 large egg whites room temperature1
- 2 and ½ teaspoons vanilla extract
WHIPPED CREAM
- 1 and ½ cups (300mL) heavy whipping cream
- 1 and ½ Tablespoons (20g) sugar3
- 1 teaspoon vanilla extract
BERRY FILLING
- ¾ cup (85g) whole blueberries about 3 ounces
- ¾ cup (85g) whole blackberries about 3 ounces
- ½ cup (113g) quartered strawberries about 4 ounces
- ½ cup (57g) whole raspberries about 2 ounces
TRES LECHES SYRUP
- 8 ounces (240mL) evaporated milk
- 8 ounces (227g) sweetened condensed milk
- ¼ cup (60mL) heavy whipping cream
Instructions
CAKE
- Place oven rack on the middle setting and preheat the oven to 350ºF (177ºC). Grease and flour (or use homemade cake release) two 8" or 9" round cake pans.
- In a large bowl with a handheld mixer or the bowl of a stand mixer fitted with the paddle attachment, combine the flour, cornstarch, sugar, baking powder, and salt. Blend ingredients together on low until completely combined. Add the room temperature butter and beat mixture on low speed until it resembles sand. Scrape down the sides and bottom of the bowl with a spatula and mix again on low for a few seconds until thoroughly combined.
- Combine the heavy cream, egg whites, and vanilla extract in a large container with a spout (like a 2-cup glass measuring cup) and mix gently with a fork until blended. With the mixer speed on medium-low, add half of the milk mixture (about 1 cup) to the crumb mixture and mix until blended. Add the remaining milk mixture to the batter and beat again on medium-low until everything is incorporated. Turn the mixer off, scrape down the sides and bottom of the bowl with a spatula, and increase mixer speed to medium. Beat the batter for about 30 seconds until batter is smooth.
- Divide batter evenly between the two prepared cake pans. Bake cakes for about 28-32 minutes or until a toothpick inserted in the center comes out clean and the tops are lightly browned. Remove from oven and allow cakes to cool in the pans completely on a wire rack before removing and assembling.
WHIPPED CREAM
- When your cake is cool enough to assemble, prepare the filling. I do not recommend preparing the filling more than 8 hours in advance.
- Pour the heavy whipping cream, sugar, and vanilla extract into the bowl of a stand mixer fitted with the whisk attachment.
- Turn the mixer to medium speed. The mixture will start to get frothy and bubbly. After about 2 to 3 minutes, the mixture will start to thicken.
- Once it is visibly thick (you will be able to see the trail of the whisk), increase the speed to medium-high and beat for an additional 30 seconds to 1 minute. At this point, your whipped cream should start to look "billowy" and the trails from your whisk will be quite distinct. Pull the whisk out of the bowl and check that the whipped cream in the bowl has formed what are called "stiff peaks." This is just a fancy term for "the whipped cream stays standing up when you pull something out of it."
- Double check that your whipped cream is done by removing the whisk and flipping it upside down. If the peak stays tall without drooping off, it’s done. If it’s still a bit droopy, put the whisk attachment back on the mixer and beat another 15 seconds on medium-high until stiff peaks form, checking after each 15 second increment. Set aside.
BERRY FILLING
- Add all the berries to a medium size bowl. Toss gently to combine.
- Add 1 cup of the homemade whipped cream, then stir gently until everything is coated. Set aside.
TRES LECHES SYRUP
- In a large container with a spout (like a 2-cup glass measuring cup), combine the evaporated milk, sweetened condensed milk, and heavy whipping cream.
- Using a spatula or a large spoon, stir the milks together until thoroughly combined. This may take a bit of time since the sweetened condensed milk is so thick, but it will thin out and make a very smooth and creamy mixture after sufficient stirring. Set aside.
ASSEMBLE THE CAKE
- Trim the cake layers to desired thickness and place one layer, cut side up, on a plate with another larger plate or baking sheet under it. I do not recommend using a cake stand for this cake.
- Poke holes all over the cake, then slowly pour about ¾ cup of the tres leches syrup evenly onto the cake later. Allow to soak for 10 minutes.
- Spoon the berry and whipped cream mixture onto the cake layer and gently spread it out into an even layer, leaving about ½" border around the filling. Place the second cake layer cut side down on top of the berry and whipped cream filling.
- Poke holes all over this cake layer, then slowly pour the remaining tres leches syrup all over the cake. It will start to puddle at the bottom of the cake, and that is ok. Take breaks between pours for a minute or two to allow the syrup to sink in. You ma not use all of your syrup– I had about ¼ cup leftover. Take it slow and you be the judge of whether or not your cake can take on more syrup.
- Once you are satisfied with the amount of syrup in your cake, allow it to sit for 15 minutes, then carefully remove any excess syrup from around the base of the cake (I used a liquid dropper).
- Cover cake with the remaining whipped cream using an offset spatula. Refrigerate the whole cake for at least 2 hours before slicing. Cake stays fresh covered in the refrigerator up to 5 days, but is best served day 1 or day 2. Cake freezes well, up to 3 months. Thaw in the refrigerator overnight.
Notes
- Room temperature ingredients: it is imperative to use room temperature ingredients in this recipe. Allow ingredients to sit out at room temperature at least 45 minutes before beginning.
- Cream: I strongly encourage using cream in this recipe. It keeps the crumb moist and dense and adds a creaminess to the overall texture of the cake.
- Sugar: you can use granulated or powdered sugar here. I have used both and find a slightly smoother whipped cream with powdered. If you want to double or triple this recipe, powdered sugar is the way to go to keep everything light and airy.
Nutrition Disclosure
All nutritional values are approximate and provided to the reader as a courtesy. Changing ingredients and/or quantities will alter the estimated nutritional calculations.


This was the best, most drlicious and beautiful cake, I’ve ever made! Thank you so much for the cake recepie and the detailed and helpful instructions!! Wow! It was so yummy and tasty and I can’t wait to make it again! Will also try more of your recipes, Lynn! 🎂🫶👌🍰
Thank you so much, Anna!
Can this be made in a 9×13 cake pan?
Hi, Sue! It can. Follow the instructions for baking listed in this funfetti sheet cake (it’s the same batter). If you keep it 1 layer: top the cake layer with whipped cream, poke holes, add berries on top, and pour the sauce over everything. If you make two layers: follow the instructions here but just as a sheet cake instead of stacked layer cake. Hope that makes sense. Let me know if you have questions!
Thank you!! It looks so delicious, I can’t WAIT to make it!!😃
How long does it take for the cakes to cool? I googled and it says it takes 2 hours for a cake to completely cool?? D;
Hi, Michelle– it will be different for everyone.
So I’m wondering… any specific reason why only egg whites? I never baked a cake like this. My problem is I don’t like to waste food, and that would mean to throw away 6 yolks and I just can’t… any suggestions how to adapt the recipe to whole eggs? Thanks
Hi, Bea! This recipe has been tested extensively to produce a very specific texture. Using whole eggs brings more fat to the recipe, which results in a completely different cake. That’s more of a yellow cake (when the yolks are included). You don’t have to throw the yolks away. We always have liquid pasteurized egg whites on hand and mix them with leftover yolks to make scrambled eggs when I make this cake. Hope that helps!
This is another great recipe. My sponge was fairly light (maybe I went wrong somewhere) but the taste is awesome and the berries just hit the spot. Will definitely make again.
Hi, Irum– I’m so glad you liked it! The sponge isn’t supposed to be super heavy, but it does become heavy as it soaks up the syrup. I’m so glad you enjoyed it 🙂
Can you make cupcakes out of this recipe? Looks amazing!
Hi, Nancy– you are not the first person to ask that! It’s always in my mind how I can turn this into a cupcake, so perhaps stay tuned someday, haha!
I loved this cake! My in-laws love a simple berry cake with whipped cream and I wanted to do something to make it a little more interesting and special. The tres leches syrup was a perfect touch. I will definitely be making it again!
Thanks so much for sharing, Katie! I’m glad it fit the bill 🙂
Hi! I’ve made this cake twice (delicious btw!!) and both times my cake has sank in the middle when taking it out of the oven. Do you know what might be the reason for this? It’s like it either raises on the edges or the middle bit sinks after cooking it. Does that make sense ? Thank you!!
Hi, Rebecca– you will want to make sure you’re not overmixing the batter, placing the cakes in the middle of the oven, and measuring your leavening agents properly. Also, be sure you’ve baked it long enough. Hope that helps!