
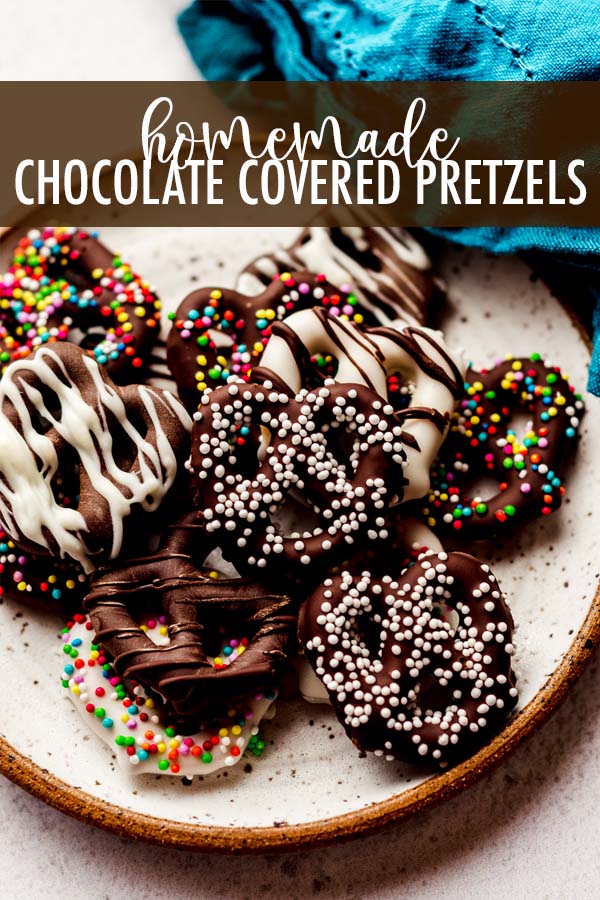
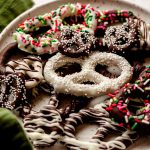
Chocolate Covered Pretzel Recipe
As an Amazon Associate, I earn from qualifying purchases. Read the full disclosure here.
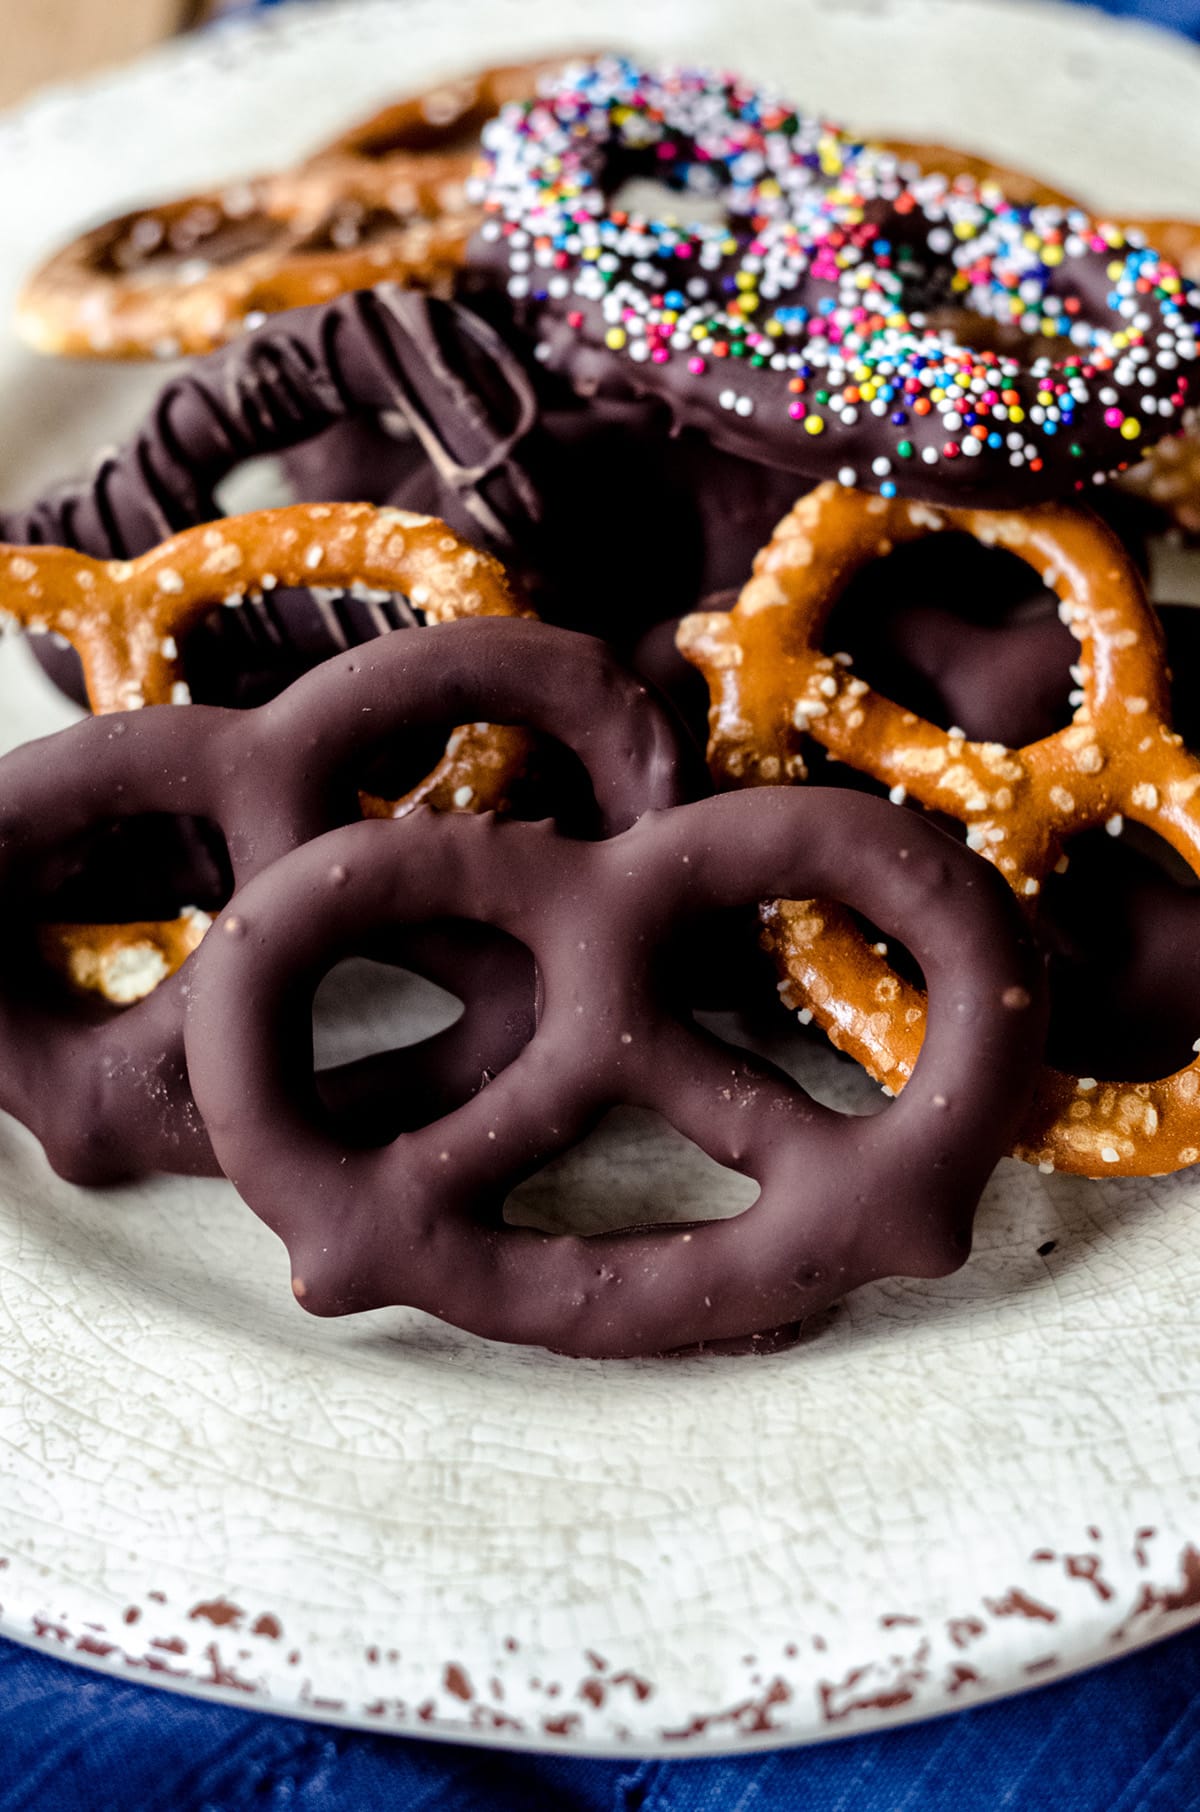
Learn how to make your own chocolate covered pretzels at home to stick in cookie trays or simply snack on!
You will love making Chocolate Covered Pretzels
I don’t know about you, but my love for chocolate pretzels runs deep.
Traditionally, I am a semi-sweet or dark chocolate kind of girl, not so much loving white chocolate (unless it’s in some funfetti sugar cookie cake or white chocolate chunk macadamia nut cookies), and of course, there’s a time and place for milk chocolate (like in my classic chocolate chip cookies— half milk/half semi-sweet!), but when it comes to pretzels dipped in chocolate… I’ll take ’em any way I can get ’em.
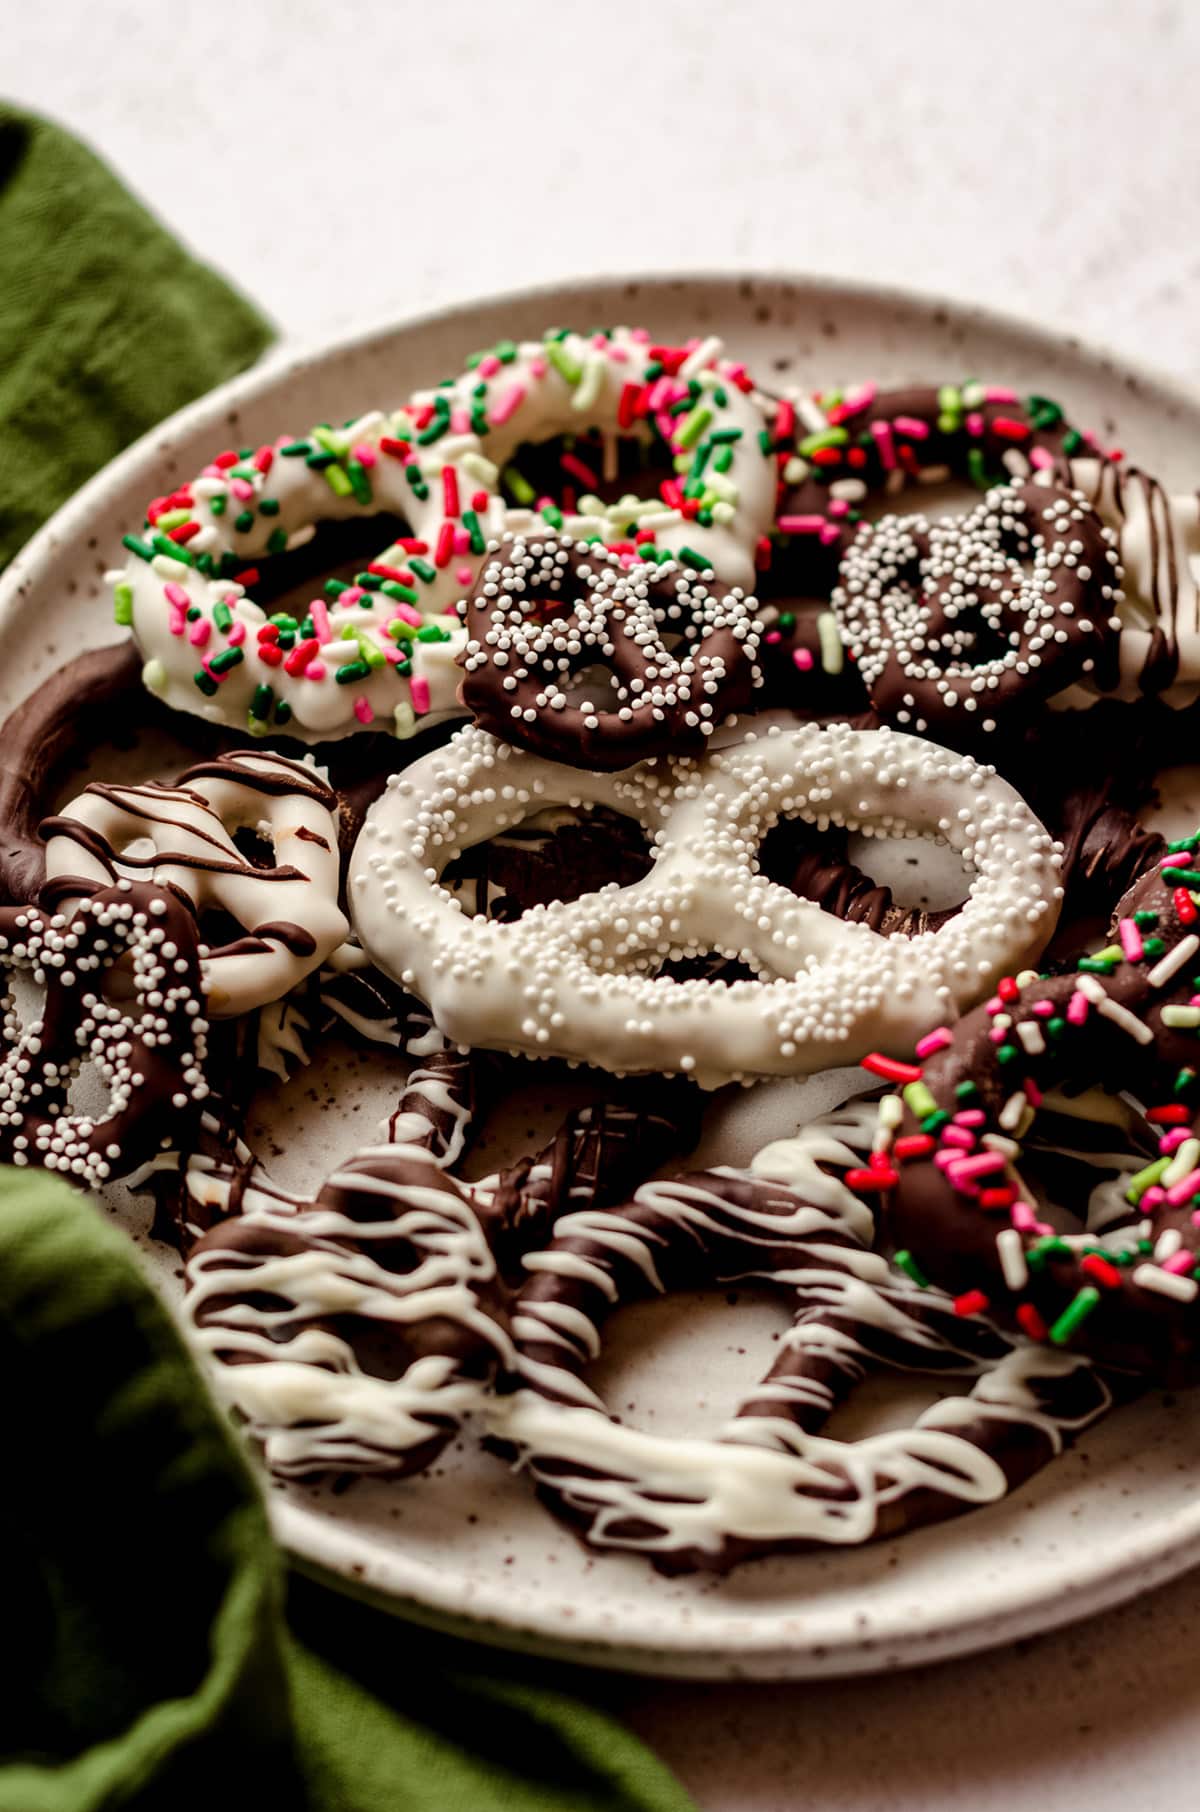
One of my favorite things about the holiday season is sharing homemade treats with friends and family, and I love putting together mouth-watering cookie trays/tins. One of my very favorite things to include in those actually is these dipped chocolate pretzels.
Because honestly, what’s a cookie tray without other treats, eh?
I love including 1 or 2 non-cookie treats in my trays/tins. It breaks up the shapes, fills in nooks and crannies, allows the recipient to eat something other than a cookie, and it’s usually a good place to go wild with the festive colors (like sprinkles!).
Typically, I like to include things like gingerbread Rice Krispies Treats, hot chocolate bombs, Rice Krispies wreaths, peppermint bark, Buckeye candy, chocolate chip cookie dough bites, and a pretzel dipped in chocolate here and there (and everywhere).
Chocolate Covered Pretzel ingredients
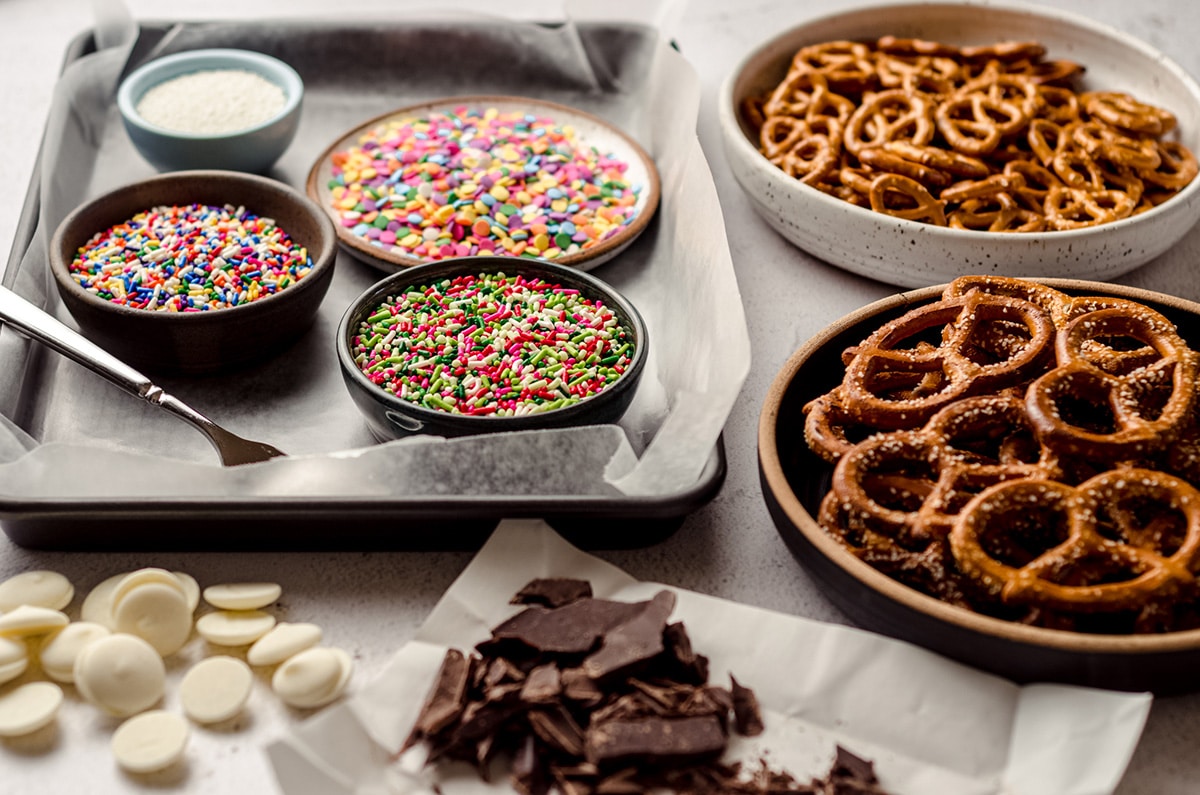
For chocolate covered pretzels, you will need:
• quality chocolate (see notes in the recipe about how to pick your chocolate)
• pretzels of any size
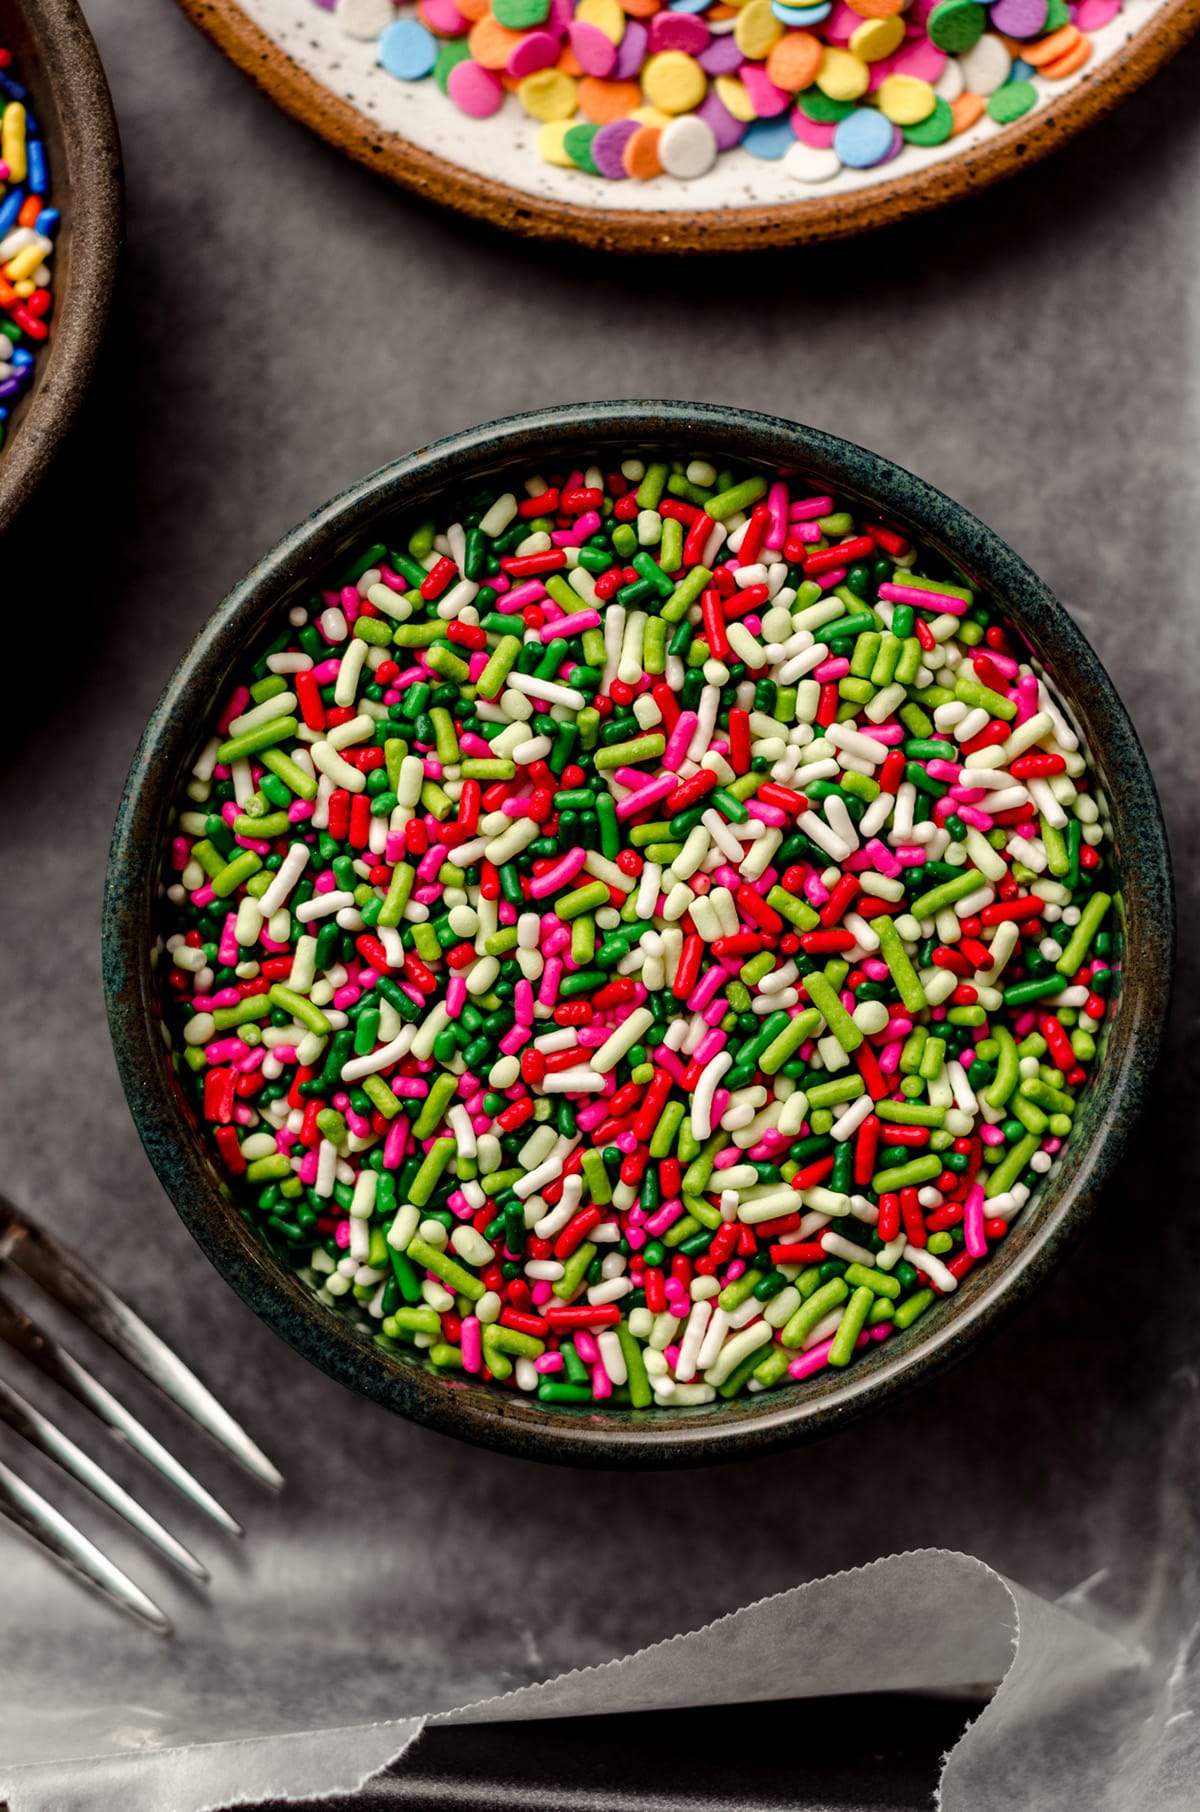
• sprinkles or other add-ons

Tips for the perfect Chocolate Covered Pretzel
Making your own chocolate dipped pretzels at home is actually as easy as dipping pretzels in chocolate (melted chocolate, of course). Truly. That easy.
But there are a lot of tips and tricks I have come across over the years that help streamline the process, produce the prettiest results, and yield the best chocolate covered pretzels imaginable that don’t come in a bag (I love you, Flipz, but we can make some pretty darn awesome ones without ya).
MAKE A PLAN
This sounds like a ridiculous first step in this pretzel dipping situation, but it is so very important.
Things you’ll want to consider:
Are you making these to gift for others? Make a list of those people. Consider their likes/dislikes and allergies/intolerances when it comes to coatings and toppings.
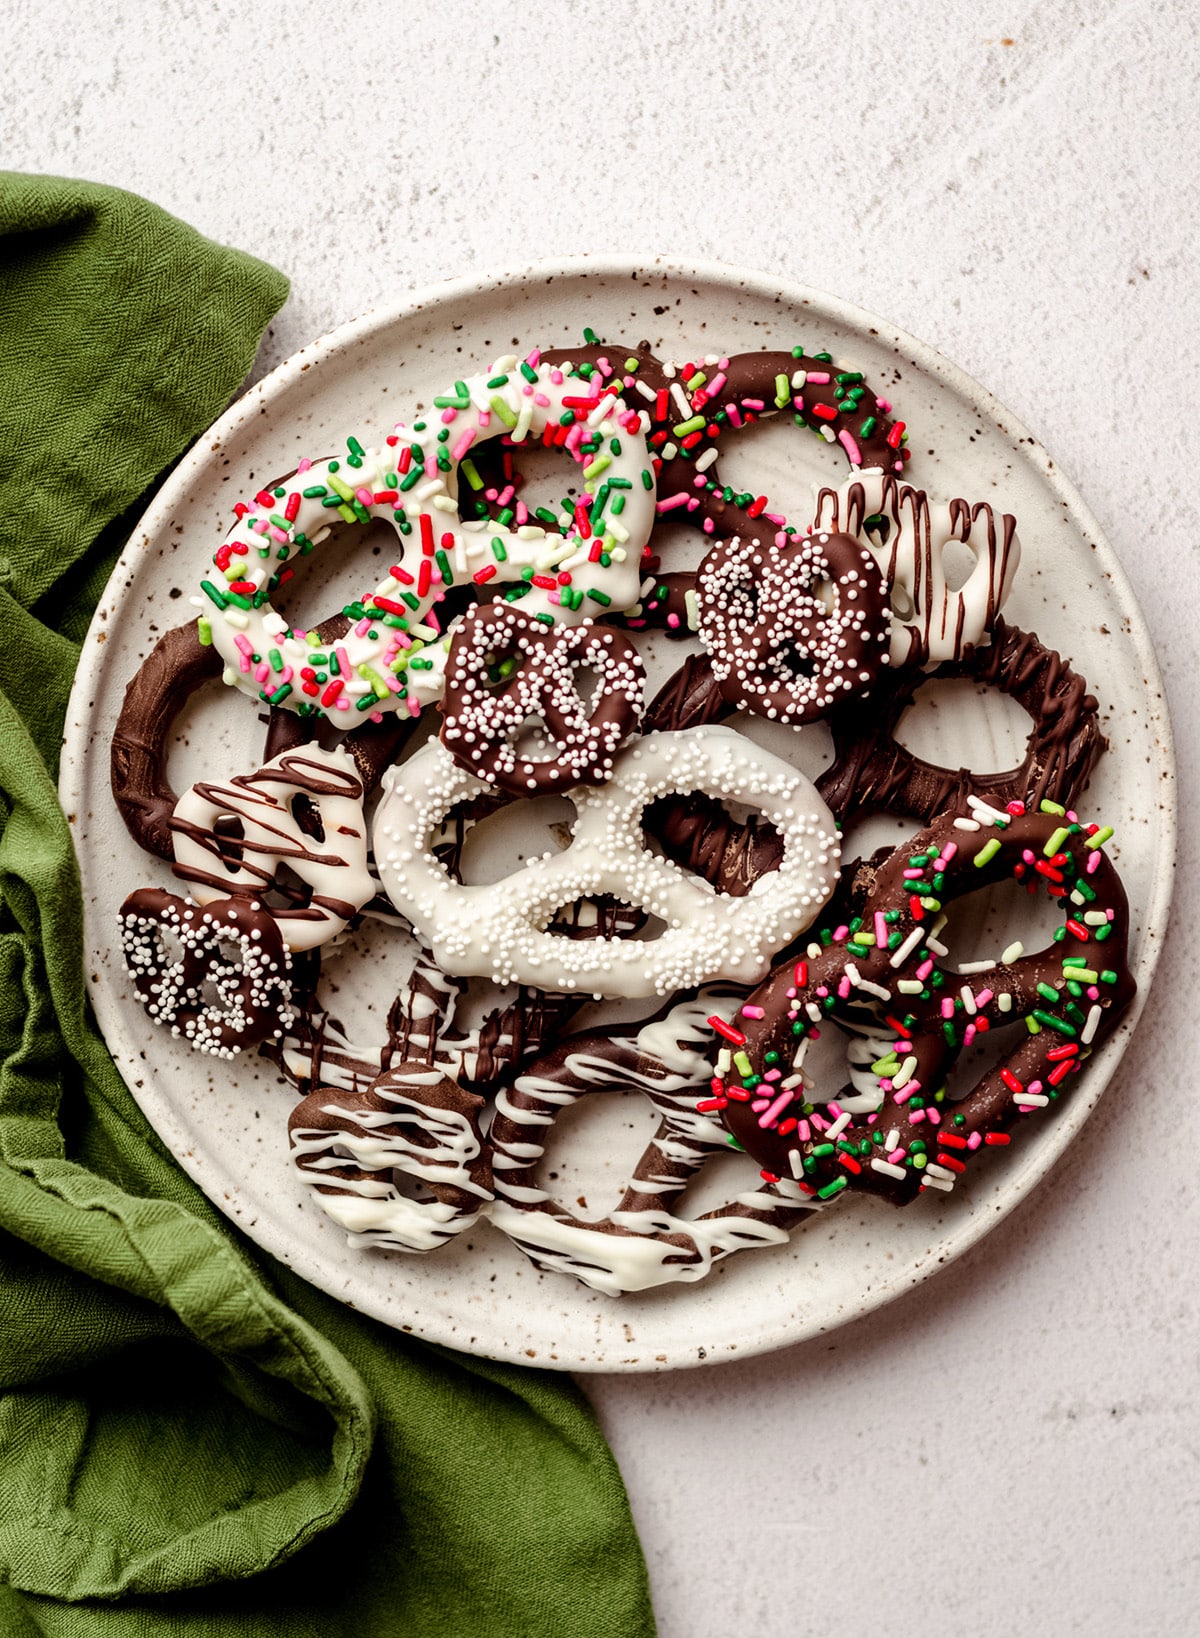
Are you making these for cookie trays/tins? Think about the “look” of your cookie collection. Do you have a lot of brown? Use white chocolate! Do you need some color? Plan to use bright sprinkles!
Are you making these for a party with a theme? Find sprinkles, candies, or candy melts in corresponding colors.
Are you making these for fun? You may be able to wing it a bit more than these other folks, but still have an idea of how many you’re aiming for.
Are you using large pretzels, mini pretzels, or pretzel rods? I like to have a variety, but if that’s intimidating, stick to one size.
How many designs are you making? You may choose to dip and set. You may choose to dip and sprinkle. You may also choose to dip, set, and decorate more. Decide what you want to do before you start moving, because melted chocolate does not wait for you to make decisions!
DON’T USE JIMMIES/SPRINKLES ON MINI PRETZELS
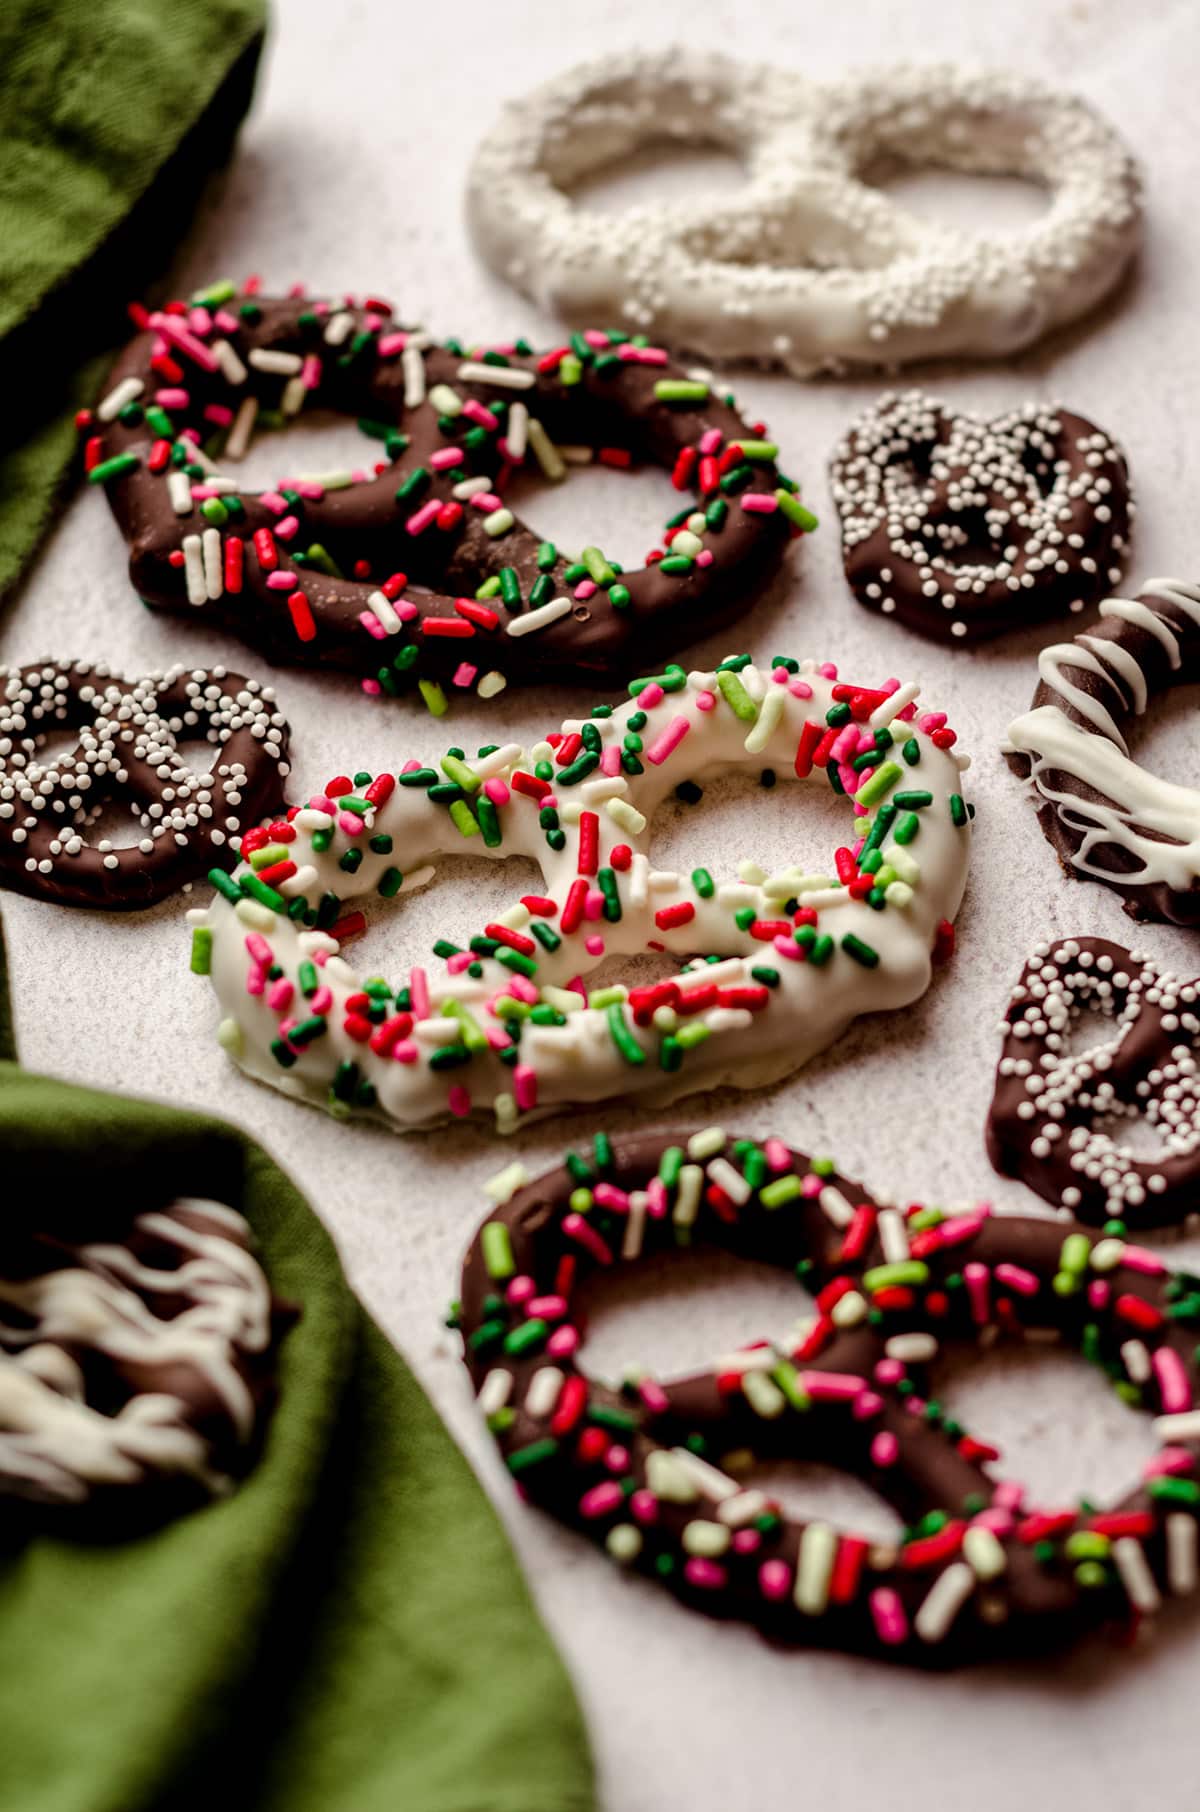
If you want to use sprinkles as decoration, I highly recommend skipping the jimmies/sprinkles if you’re just doing small/mini pretzels. They tend to take over the pretzel shape and overpower the design.
I don’t love the look of mini pretzels with big giant sprinkles on them, so I like to use sanding sugar or nonpareils for those cuties.
I will use all kinds of sprinkles on my larger pretzels, though, even the sanding sugar and nonpareils.
Feel free to also use things like crushed candy canes, crushed candies, mini m&m’s, toffee bits, etc. I love catering flavors and colors to seasons and holidays, so let the imagination go wild on this one!
FIND A LOT OF SPACE AND SPLIT IT INTO “STATIONS”
This is not an activity that is easily squeezed into a small space. You’ll need at least 3 major stations.
1) a dipping station
2) a decorating station
3) a drying/setting station
You may have another station for post-drying decorating, but you can decide that when you make your plan.
It may sound silly, but labeling sections within stations so that you know what you’re doing with your dipped pretzels is really helpful.
My sections typically look like “white chocolate with white nonpareils,” “semi-sweet chocolate plain,” “semi-sweet chocolate with white chocolate drizzle,” “milk chocolate with sprinkles,” and so on.
MISE EN PLACE
The very first thing you need to to before getting started is set everything up. This goes back to your stations, but it also means having everything you’ll need ready to go from the start.
I like to have plenty of spatulas, forks, baking sheets lined with parchment or wax paper, and bowls or containers of all of my decorations ready to go before even melting my coating.
There is nothing worse to deal with once you’ve started than having to get to a utensil or something in a drawer when your hands are almost literally dripping in chocolate.
MELT THE CHOCOLATE VERY SLOWLY
One thing that I am going to harp on here is how carefully you will need to melt your chocolate.
While melting chocolate for brownies is one thing, melting chocolate for a beautiful, polished coating is another.
As chocolate melts, the cocoa butter crystals liquefy and the chocolate becomes fluid.
If the chocolate gets too hot during the melting process, it can separate into burned, blackened cocoa particles and a pale golden liquid.
You also risk seized chocolate when you work too quickly, which is a nearly instantaneous change from a fluid state to a grainy one. You can spy seized chocolate pretty easily– it is stiff and difficult to stir.
It is best to work VERY slowly in the microwave or use a double boiler or small saucepan on the stove to melt your chocolate. This is the best method for a smooth transition from solid to liquid for your chocolate. Again, very slowly.
If you’ve worked too quickly, you might spot some white or light patches on your chocolate coating after drying. If you do– no worries! It tastes perfectly fine, so you can either leave it and not worry about it, or you can drizzle some white chocolate or colored candy melt coating on top to cover it.
ONCE YOU START, WORK CAREFULLY BUT QUICKLY
As I’m sure you know, melted chocolate begins to harden immediately as it cools.
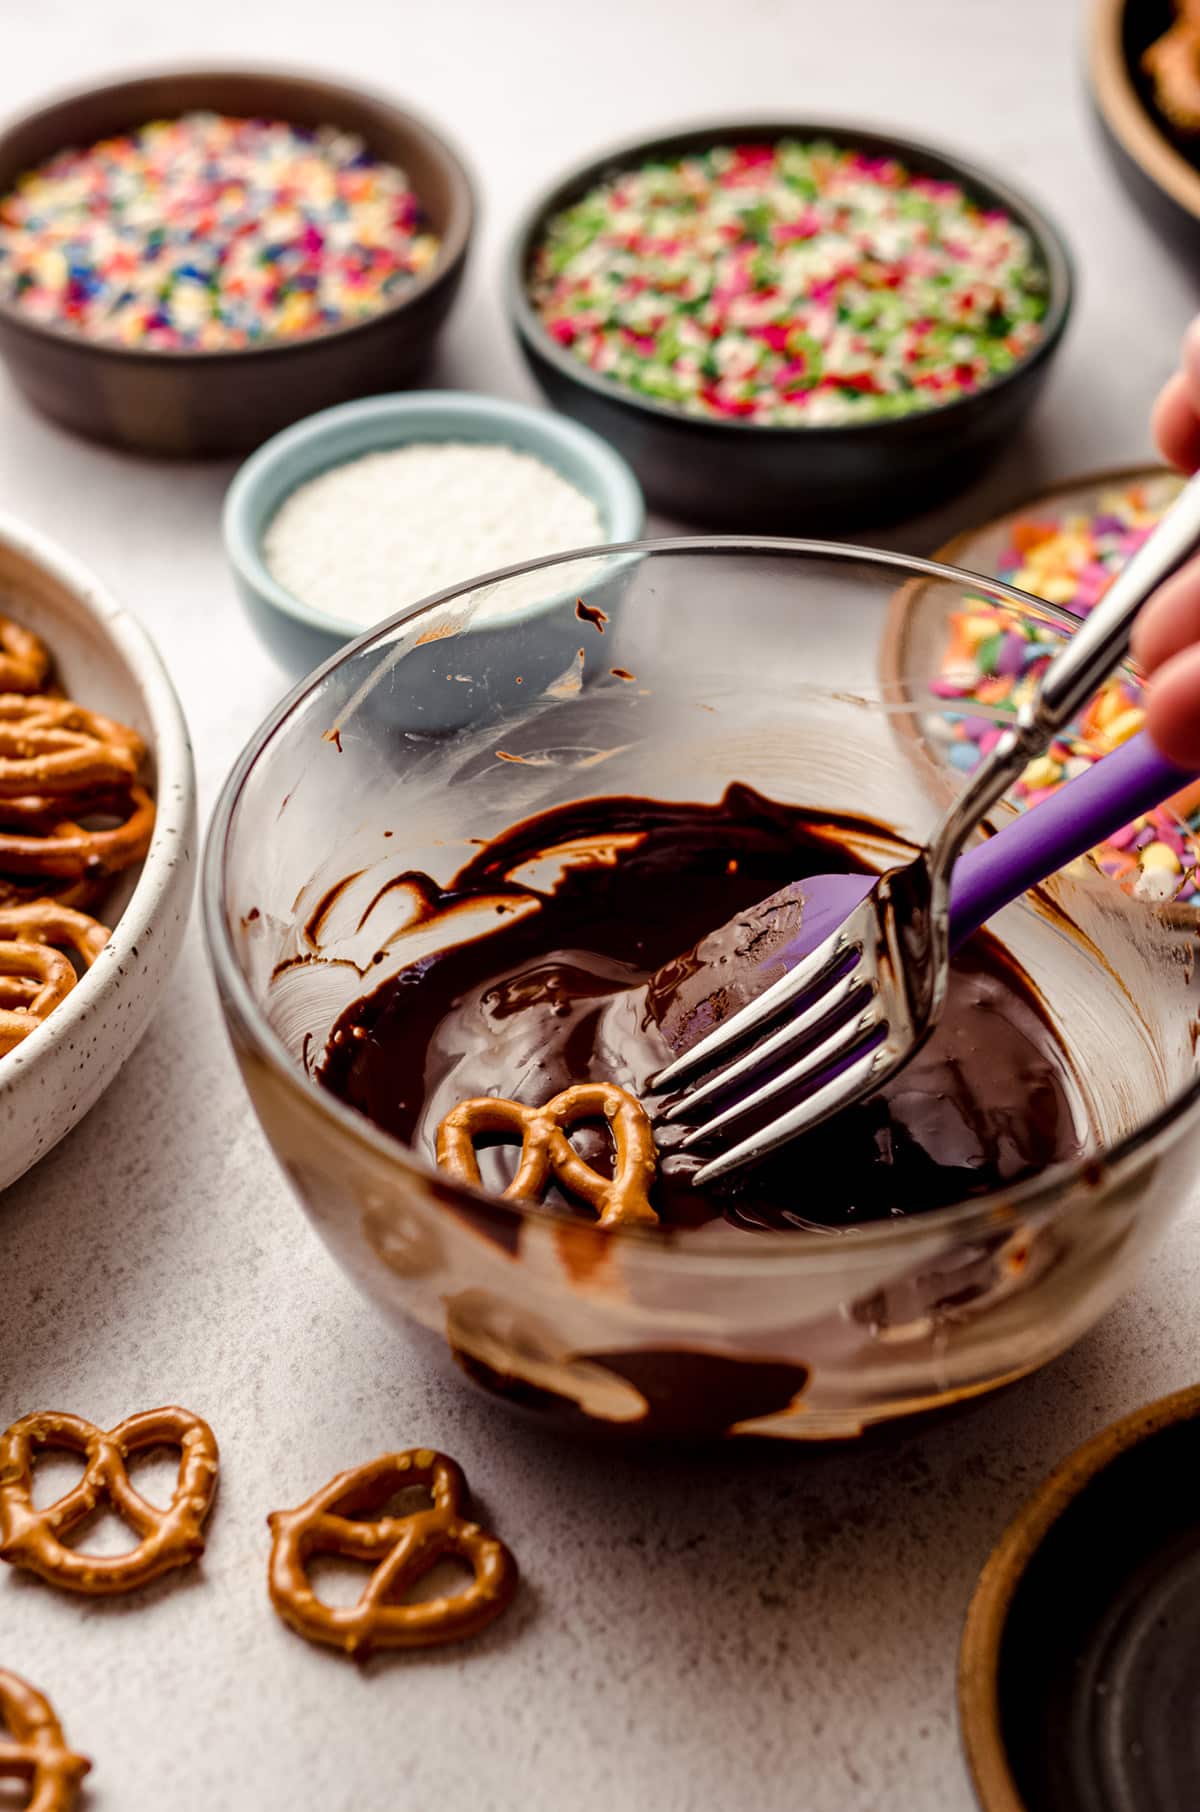
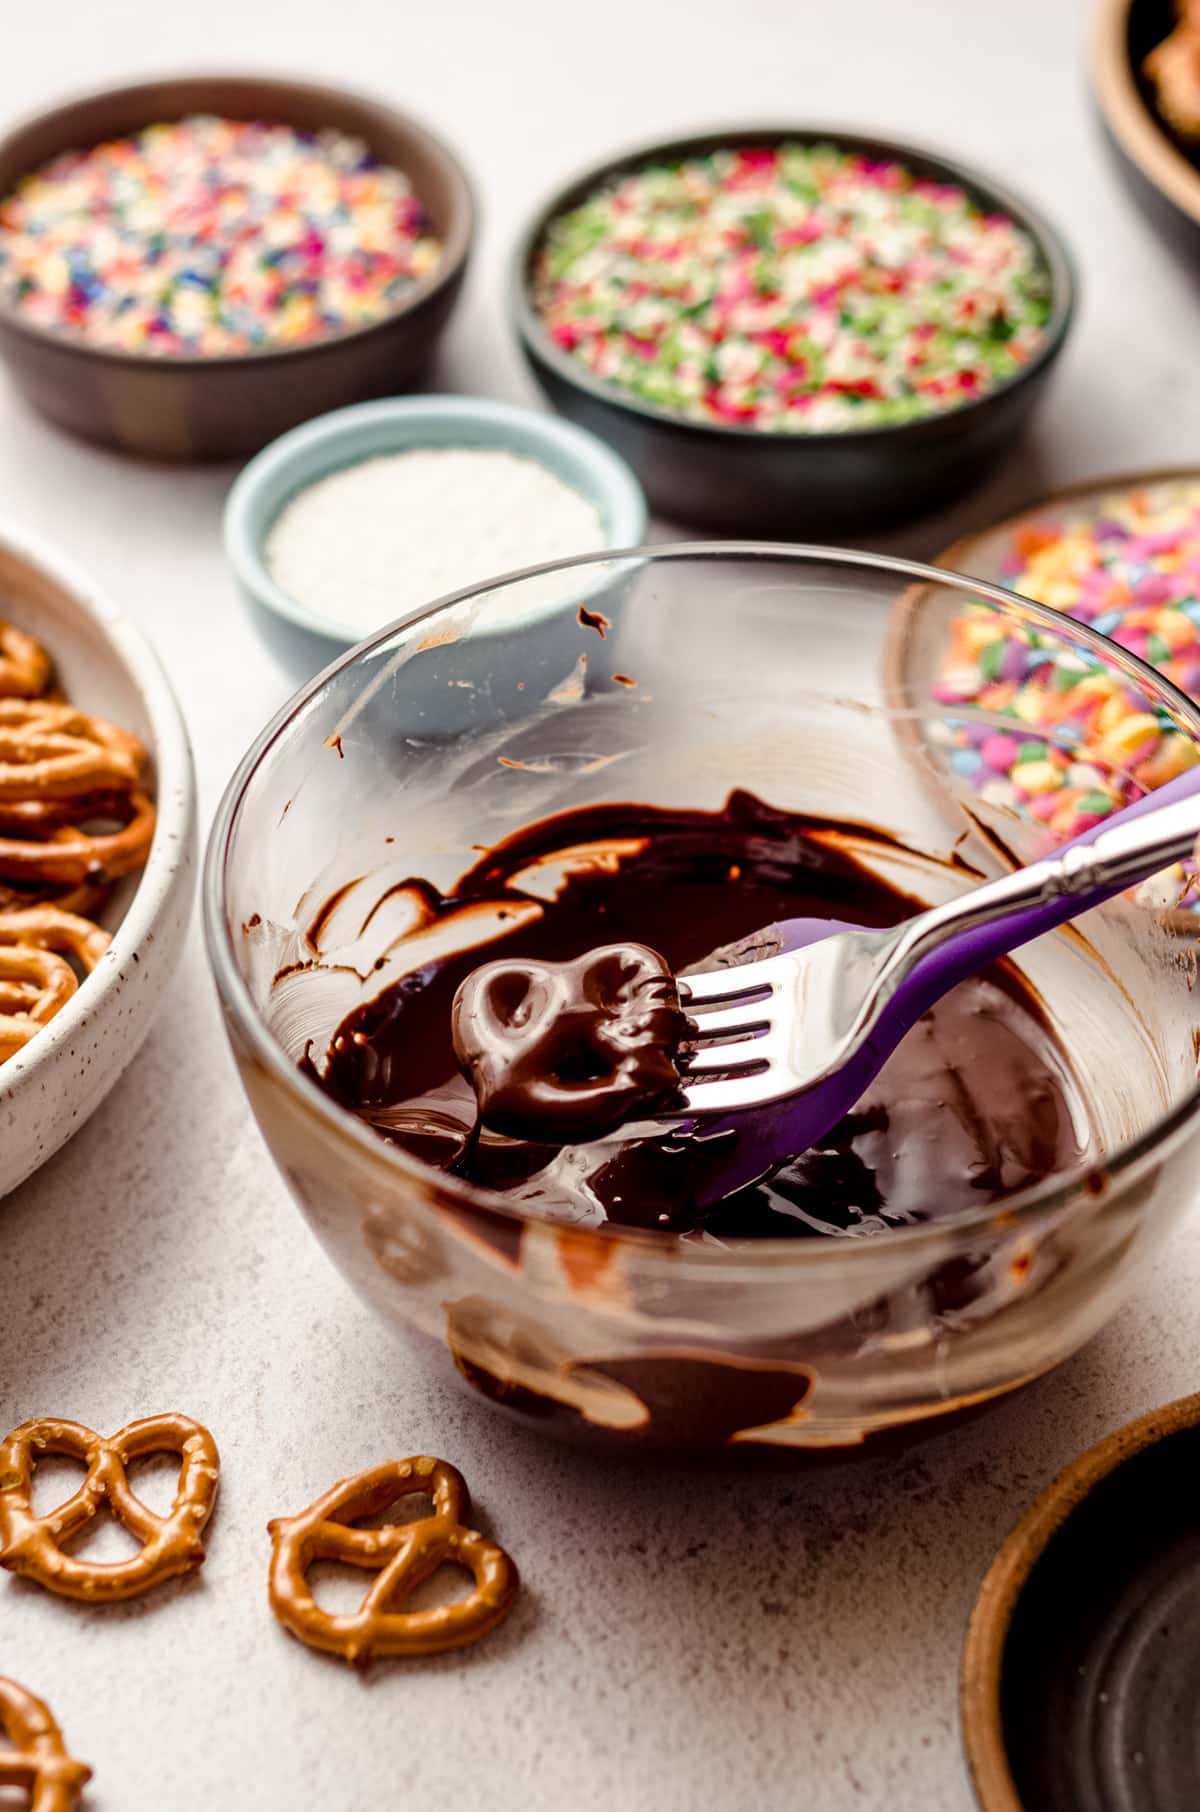
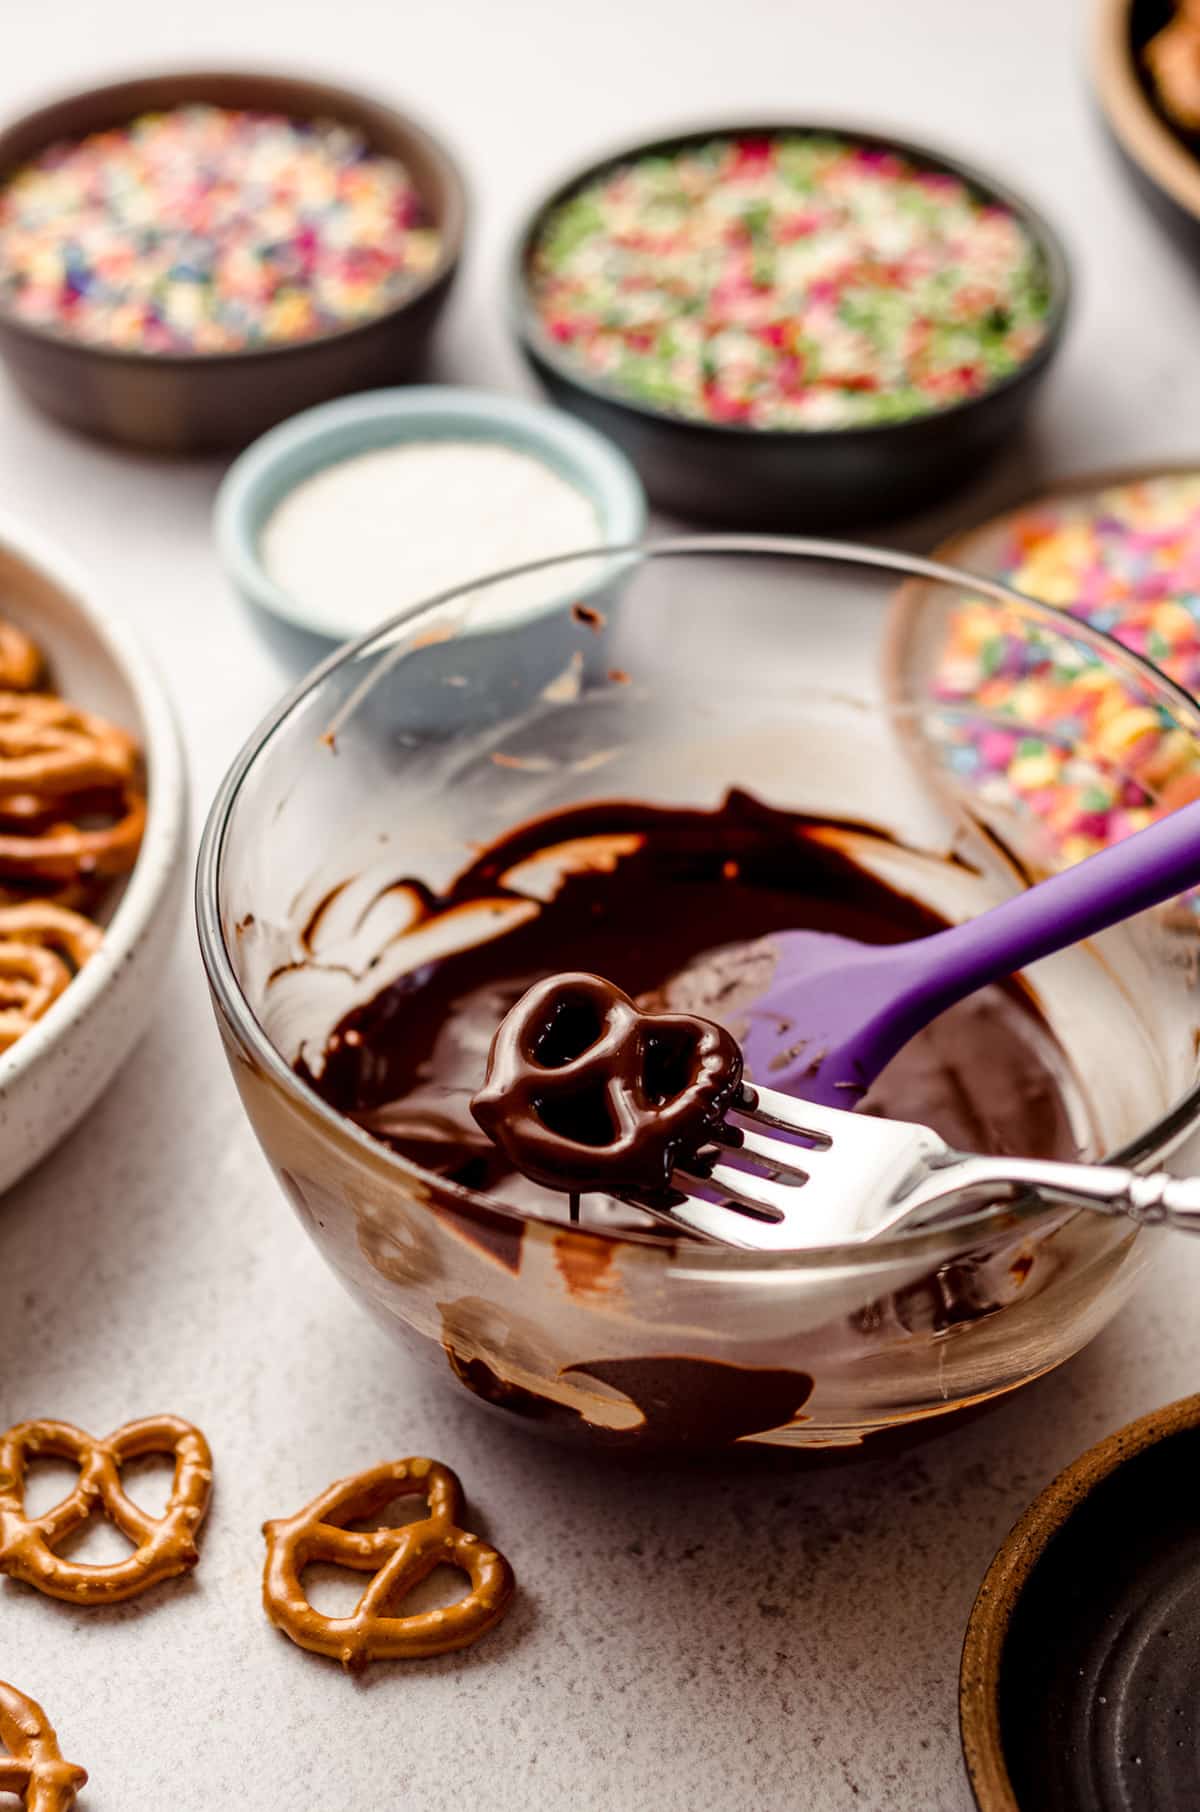
Dip your pretzel, then get it out ASAP. Let the chocolate drip off by resting and gently tapping your fork on the side of the bowl to get the extra drips off.
Gently and slowly reheat chocolate if it starts to cool down so much that it isn’t lusciously fluid anymore. It is very hard to get a smooth coating on a chocolate dipped pretzel if it isn’t silky smooth!
DO NOT REFRIGERATE TO SPEED UP THE HARDENING PROCESS
Although it might seem tempting, that drastic of a temperature change can cause cracks, blemishes, and sweating in your chocolate.
If you are using this semi-sweet/white/dark chocolate covered pretzels recipe in a warmer climate, it may take longer for your chocolate to set. Try to work in a cool, dry place in your kitchen.
ALLOW CHOCOLATE TO SET COMPLETELY BEFORE PACKAGING
It might seem obvious, but it’s important that everything is 110% set before you start touching and moving things around.
In my experience, chocolate will take longer to set than candy melts.
How to make Chocolate Covered Pretzels
Once you have all of your ingredients and stations set, you can melt that chocolate and get to work!
As I mentioned, you will want to slowly melt the chocolate in the microwave or by using a double boiler.
Do not use chocolate chips for this. You want to use quality bar chocolate like Baker’s or Ghirardelli. I also like Ghirardelli white melting wafers when I want a solid white pretzel coating.
It is important to know that white melting wafers (and also white candy melts) should only be used as the coating for pretzels and not as an embellishment.

Melting wafers and candy melts contain palm kernel oil which prevents them from bonding to other chocolate, so if you want to add a “white chocolate drizzle,” use actual white chocolate, and don’t use actual white chocolate to drizzle embellishments onto a candy melt-coated pretzel.
Got it?
Chocolate coating and chocolate embellishments (brown or white) go together and wafers/melts coating and wafers/melts embellishments go together.
DON’T UNDERESTIMATE THE POWER OF STIRRING
Your chocolate doesn’t have to all be melted for you to stir it. In fact, you should be stirring your chocolate chunks/wafers after every session in the microwave, even if it looks like nothing happened.
Stirring distributes the heat, and you’ll be surprised how much chocolate you can melt just by stirring warm, already melted chocolate with chunks of not-yet-melted chocolate in it.
The same applies to a double boiler or saucepan– stir stir stir. Distribute that heat evenly, and you’ll be on your way to a silky smooth coating.
If your chocolate is melted but not as smooth as you’d prefer, add a tiny bit of vegetable shortening to smooth it out.
HOW TO MAKE CHOCOLATE COVERED PRETZEL RODS WITHOUT A FLAT SIDE
If you want to make your chocolate pretzel rods the same all around, get a styrofoam block and press the non-coated end (or the “handle” of the pretzel) into the block to allow it to harden sitting straight up.
How to make Chocolate Pretzels with Candy Melts
You can totally bypass the chocolate portion of chocolate covered pretzels by using candy melts. I use candy melts when I make my witch finger pretzels, because it’s quicker than adding coloring to white chocolate.
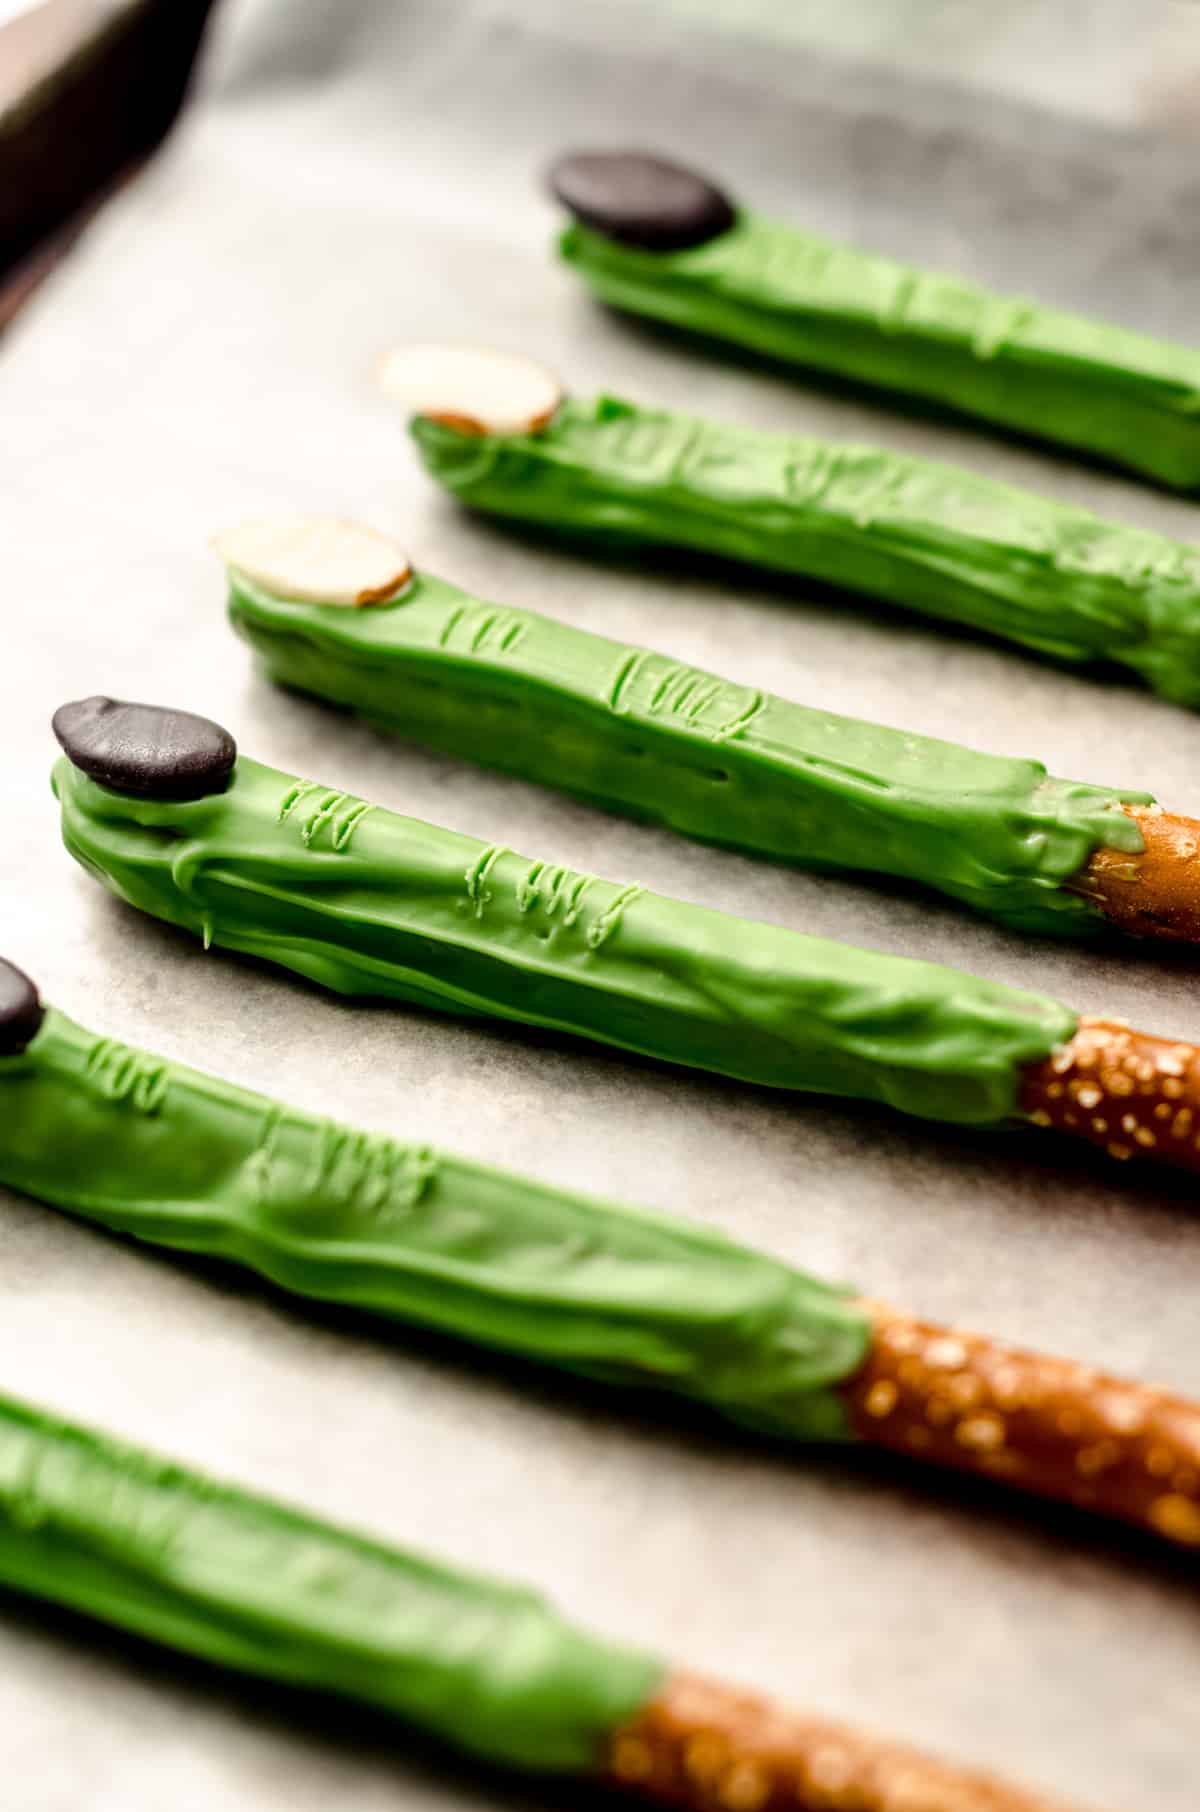
Just remember what I said above, only use candy melts if you are going to coat the pretzels and add sprinkles or candies. The ingredients in candy melts will prevent chocolate embellishments from bonding to the candy coating.
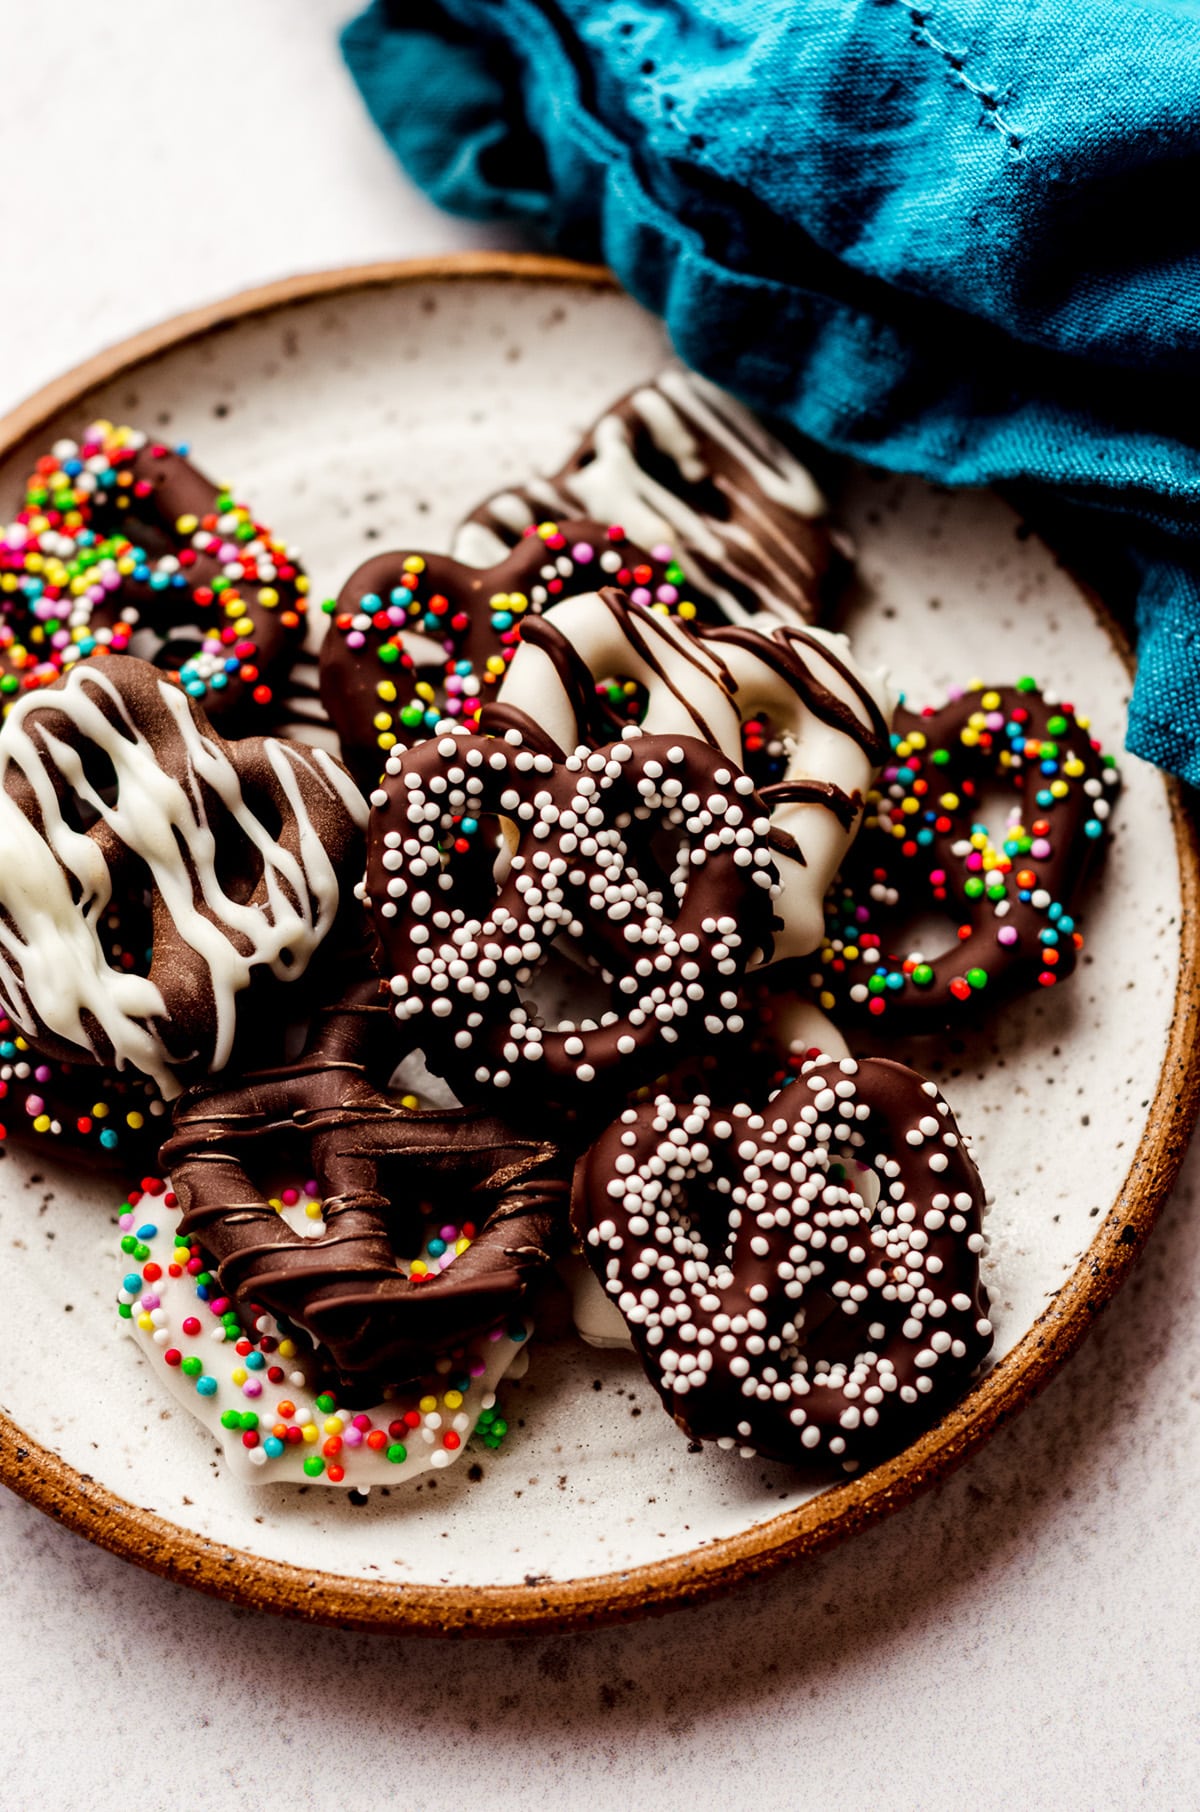
But get creative here, y’all. The design is 100% up to your imagination!
ALLOW COATING TO HARDEN BEFORE ADDING A DRIZZLE
If you do want to add a drizzle, it’s important to let the coating set completely before adding that. This will prevent colors bleeding and maintain the clear difference between the coating and the drizzle.
You may choose to add a drizzle with a piping bag, icing bottle, or just by letting the chocolate drip off of a fork or knife.
YOU CAN ALSO MAKE RODS
While the process will look a little different for chocolate dipped pretzel rods than it will smaller traditional pretzel shapes, everything else I’ve suggested already is the same.
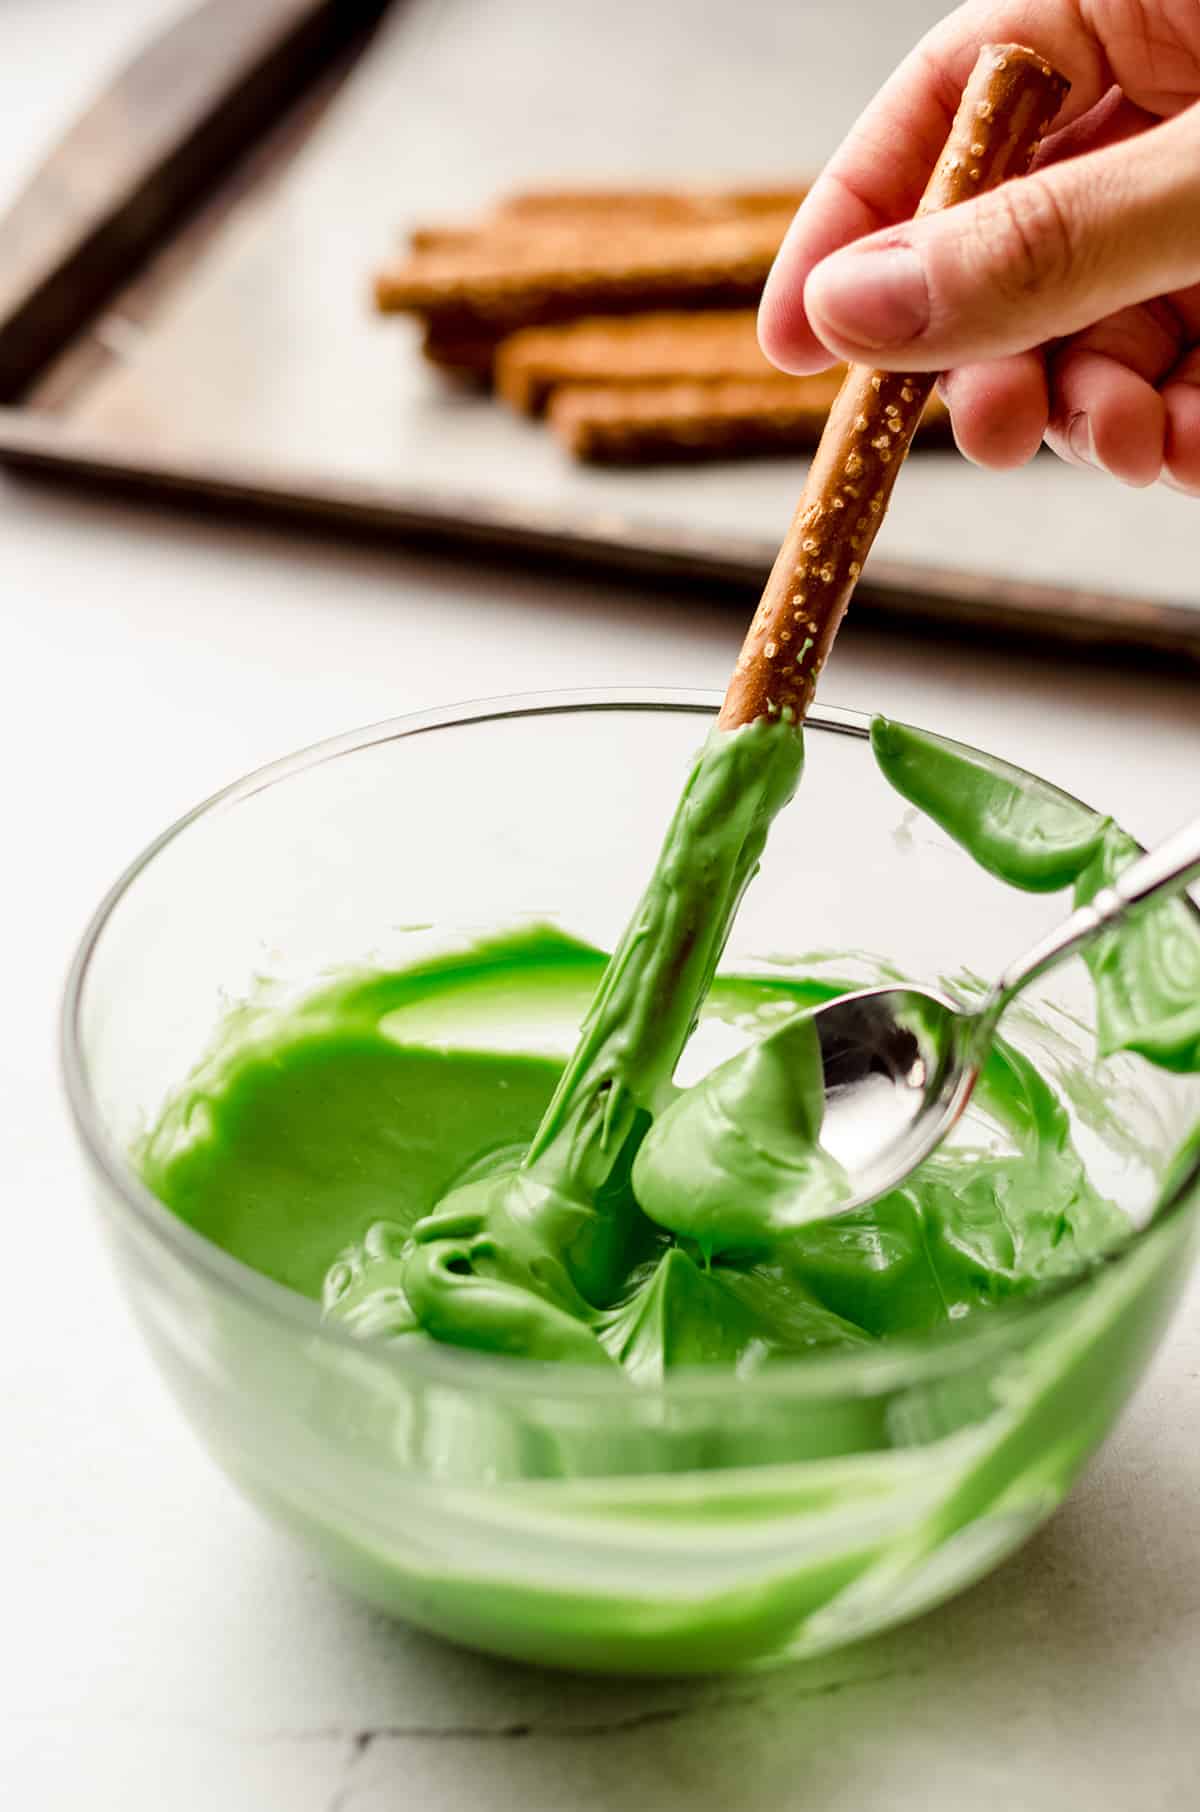
You can put your melted chocolate or candy melts into a bowl and use a spoon, or you can put it into a tall glass or cup.
How to serve and store Chocolate Covered Pretzels
Now the fun part– you have three or so options. You can either eat them right up, save them to accent your cookie trays/tins, or you can put them into little jars or containers to give as a homemade gift.
We love giving these jars to teachers with a gift card and hand written note or drawing from the kids.
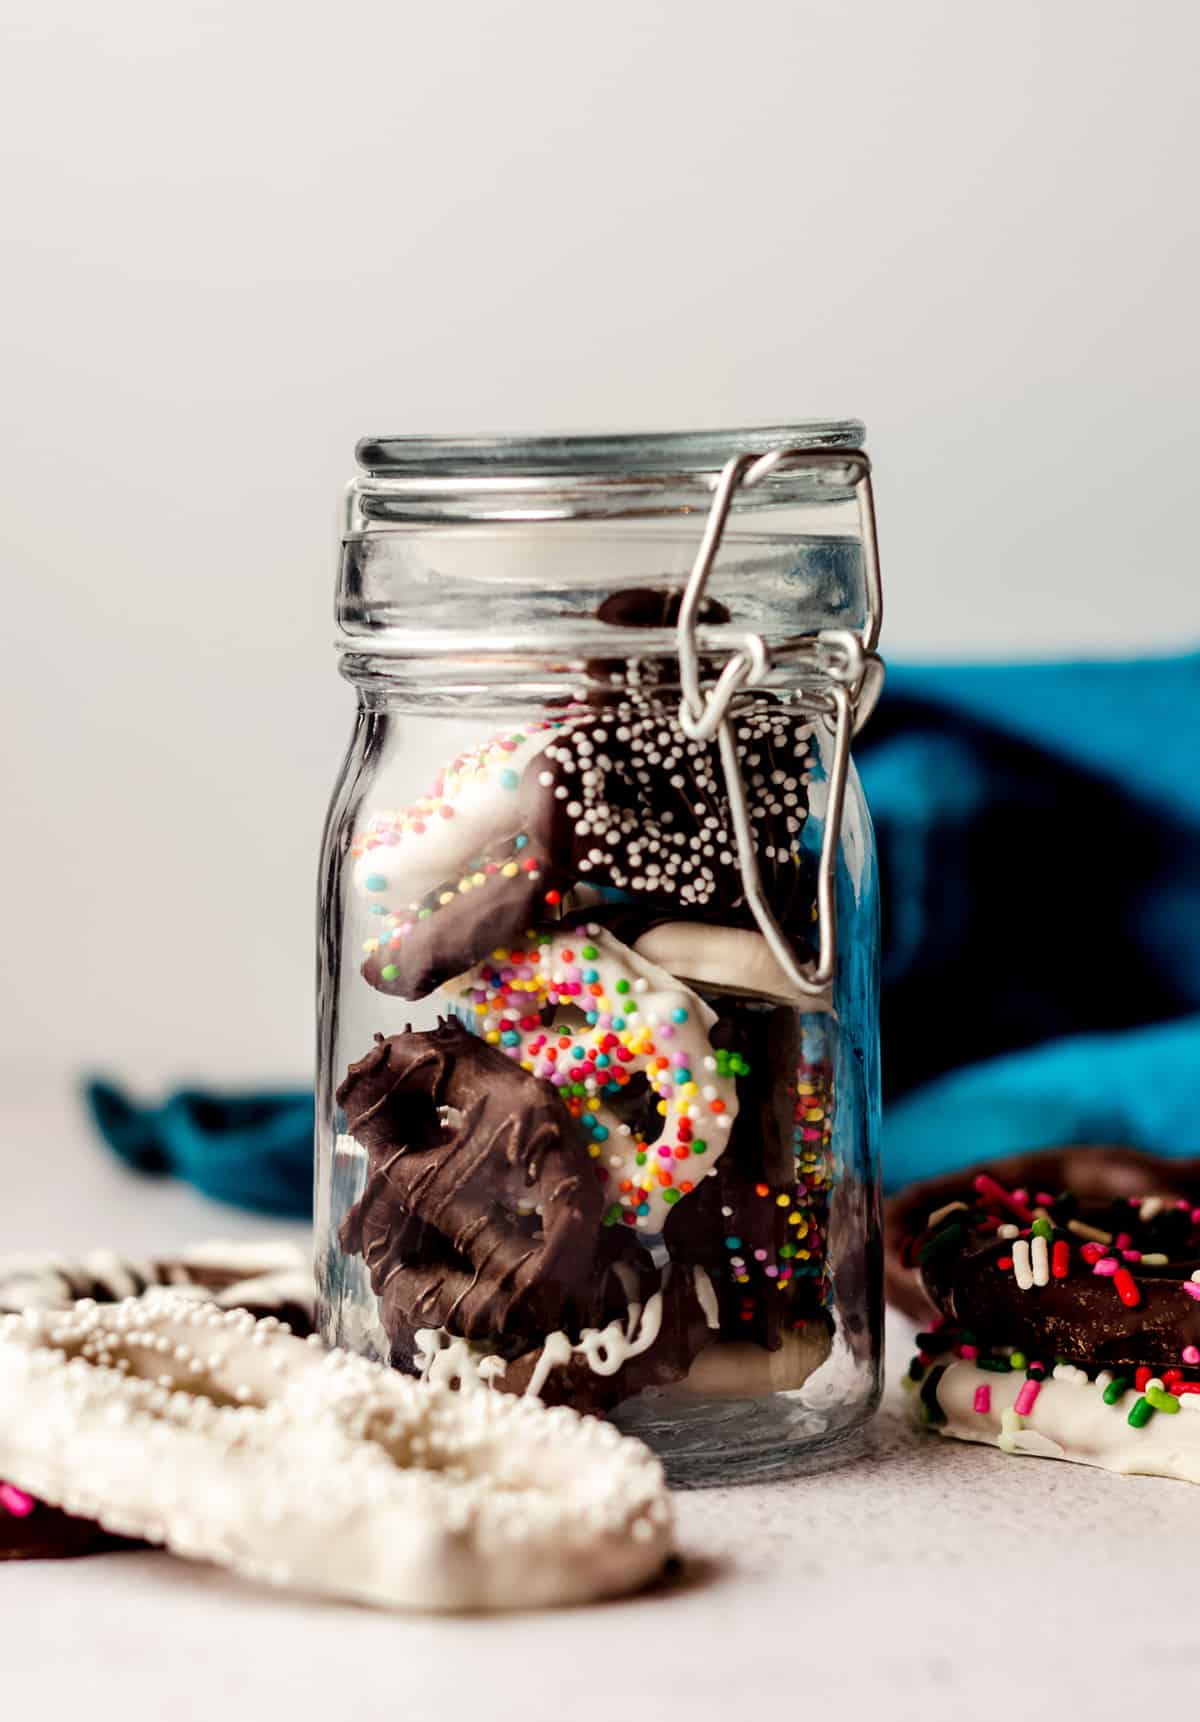
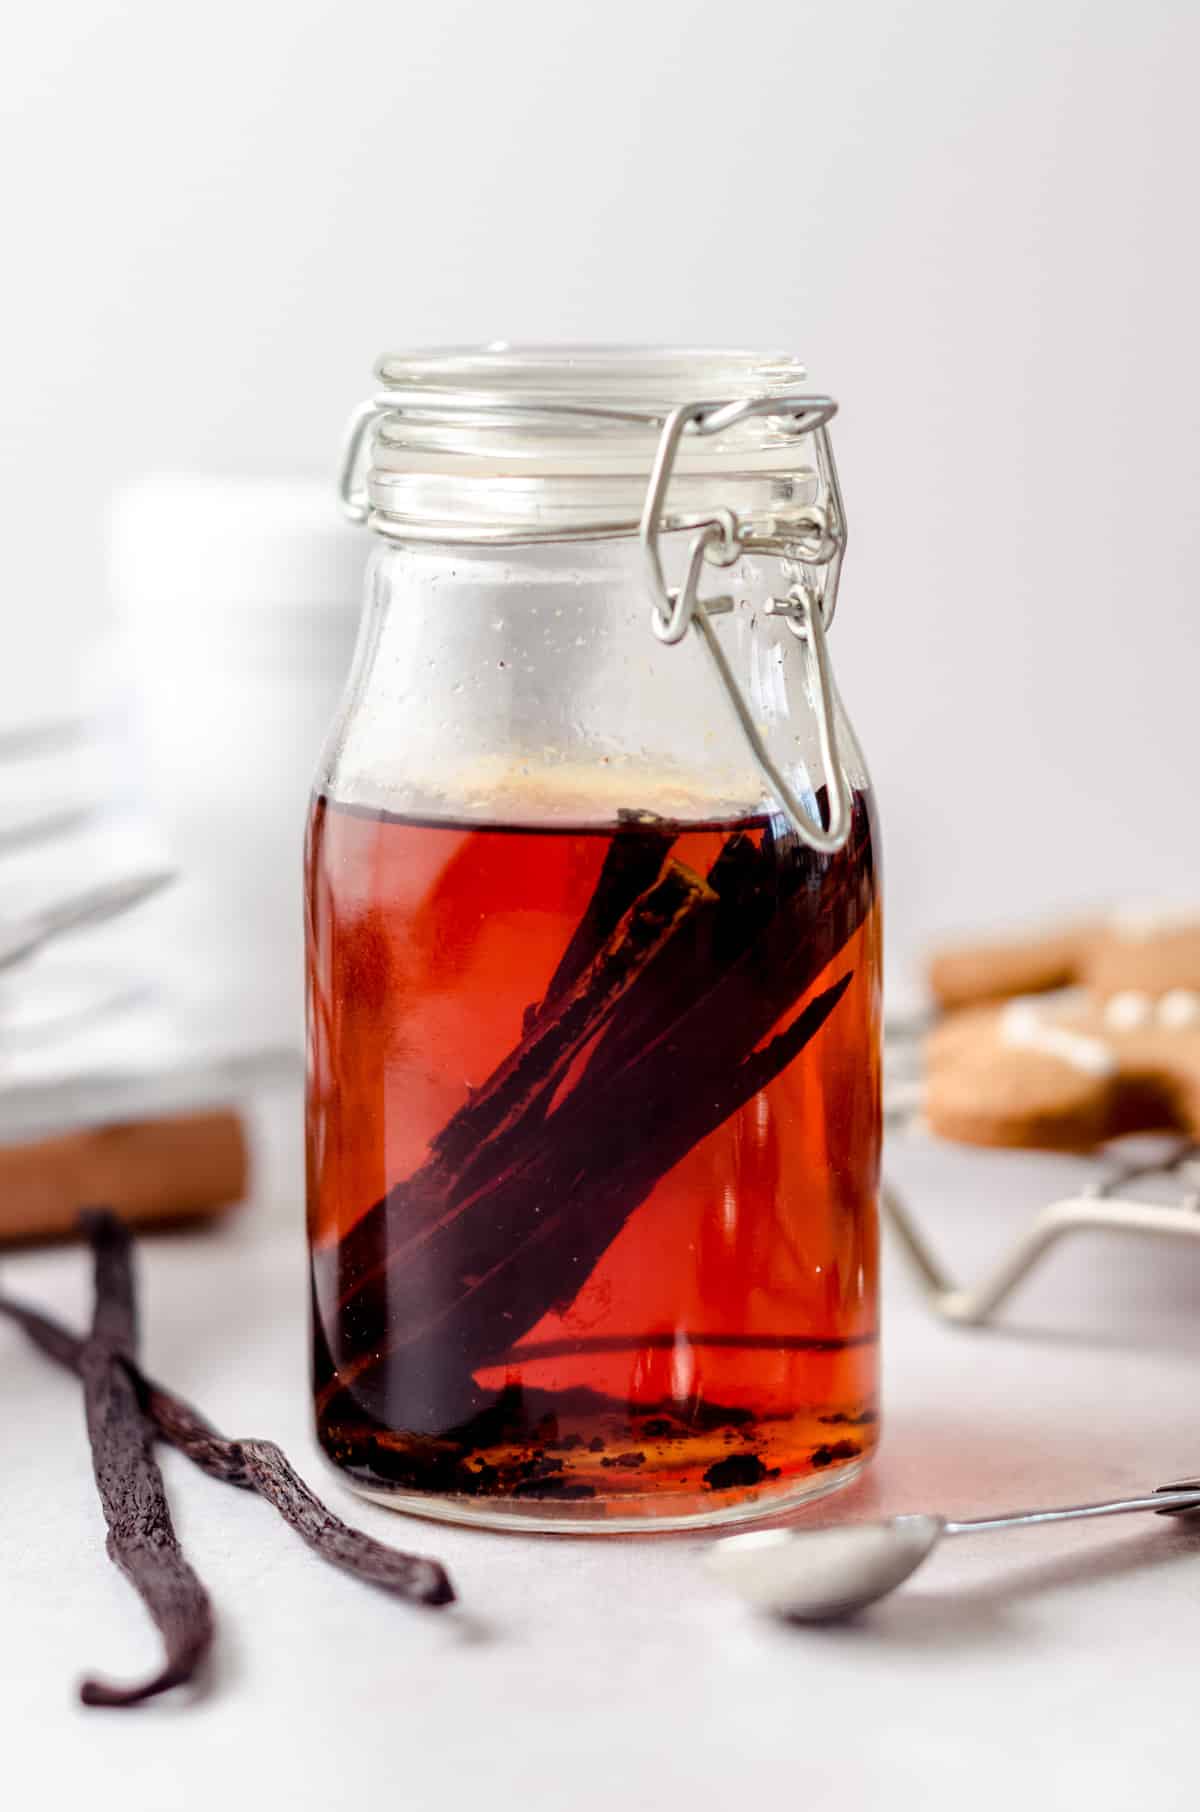
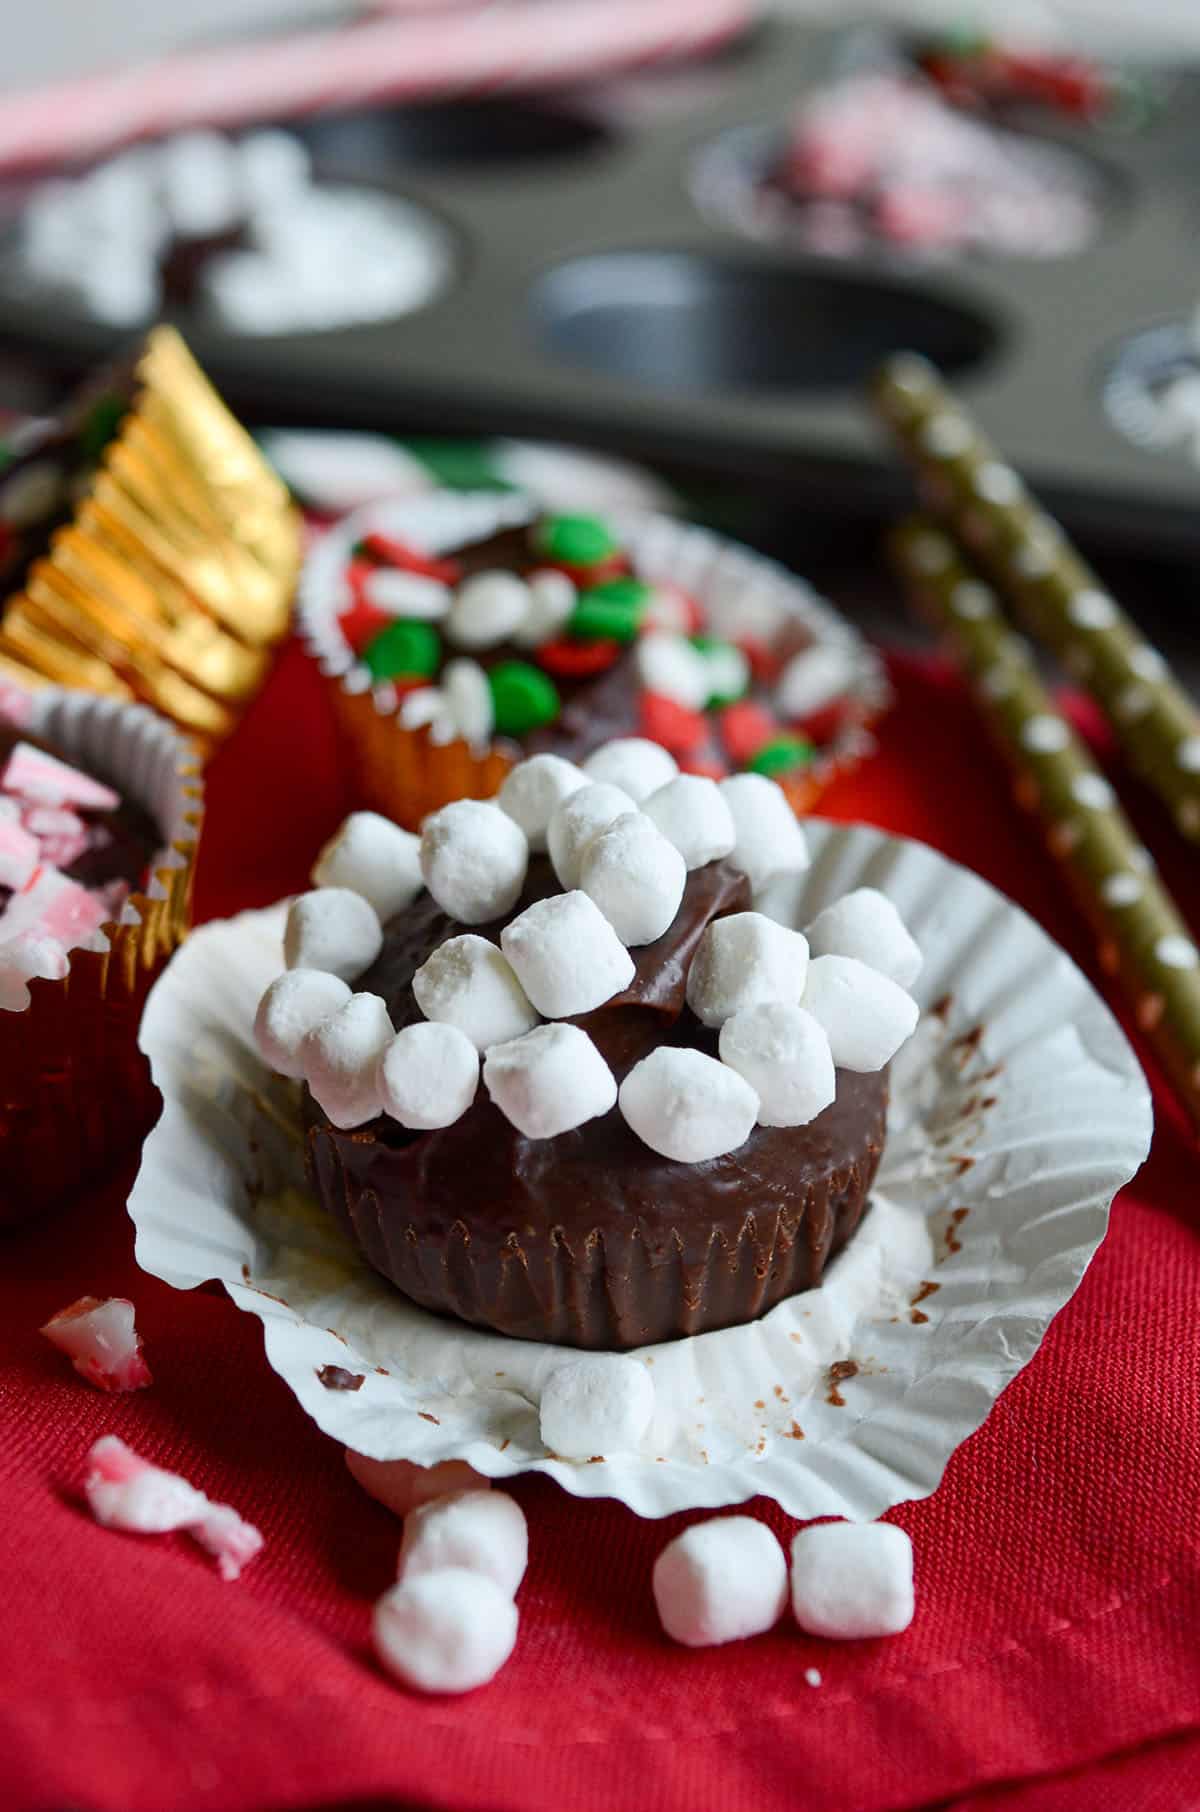
Along with jars of mini chocolate covered pretzels, we also enjoy gifting bottles of homemade vanilla extract, hot chocolate bombs, and jars of homemade (bourbon! or non-bourbon) salted caramel sauce.
HOW LONG DO CHOCOLATE COVERED PRETZELS LAST?
Chocolate covered pretzels will last quite some time. Keep in mind that if you are making rods, the exposed pretzel will start to go stale before the coated pretzels will.
HOW FAR IN ADVANCE CAN YOU MAKE CHOCOLATE COVERED PRETZELS?
You can make these chocolate covered pretzels well in advance. I try not to make them more than a week before I want to serve or gift them.
Chocolate Pretzels FAQs
Whatever you decide to do, I hope you’re feeling extra prepared to get to dipping and feel like you’re ready to execute this fun activity. It happens to be my favorite pre-holiday event, because it means I have lots of cookie baking and cookie tin assembling ahead of me.
But remember, there’s never a bad time for this chocolate covered pretzel recipe. Showers, birthdays, tailgating parties, Tuesday nights… You do you, pretzel lover.
More homemade gifts: vanilla extract, hot chocolate bombs, and bourbon salted caramel sauce.
Making Chocolate Covered Pretzels
Ingredients
- 4 ounces (113g) quality chocolate1 coarsely chopped
- 12 large classic pretzels2 approximately 2 and ½" in diameter
- sprinkles nuts, additional melted chocolate, or assorted decorations, if using
Instructions
- Line a large baking sheet with parchment paper. Set aside.
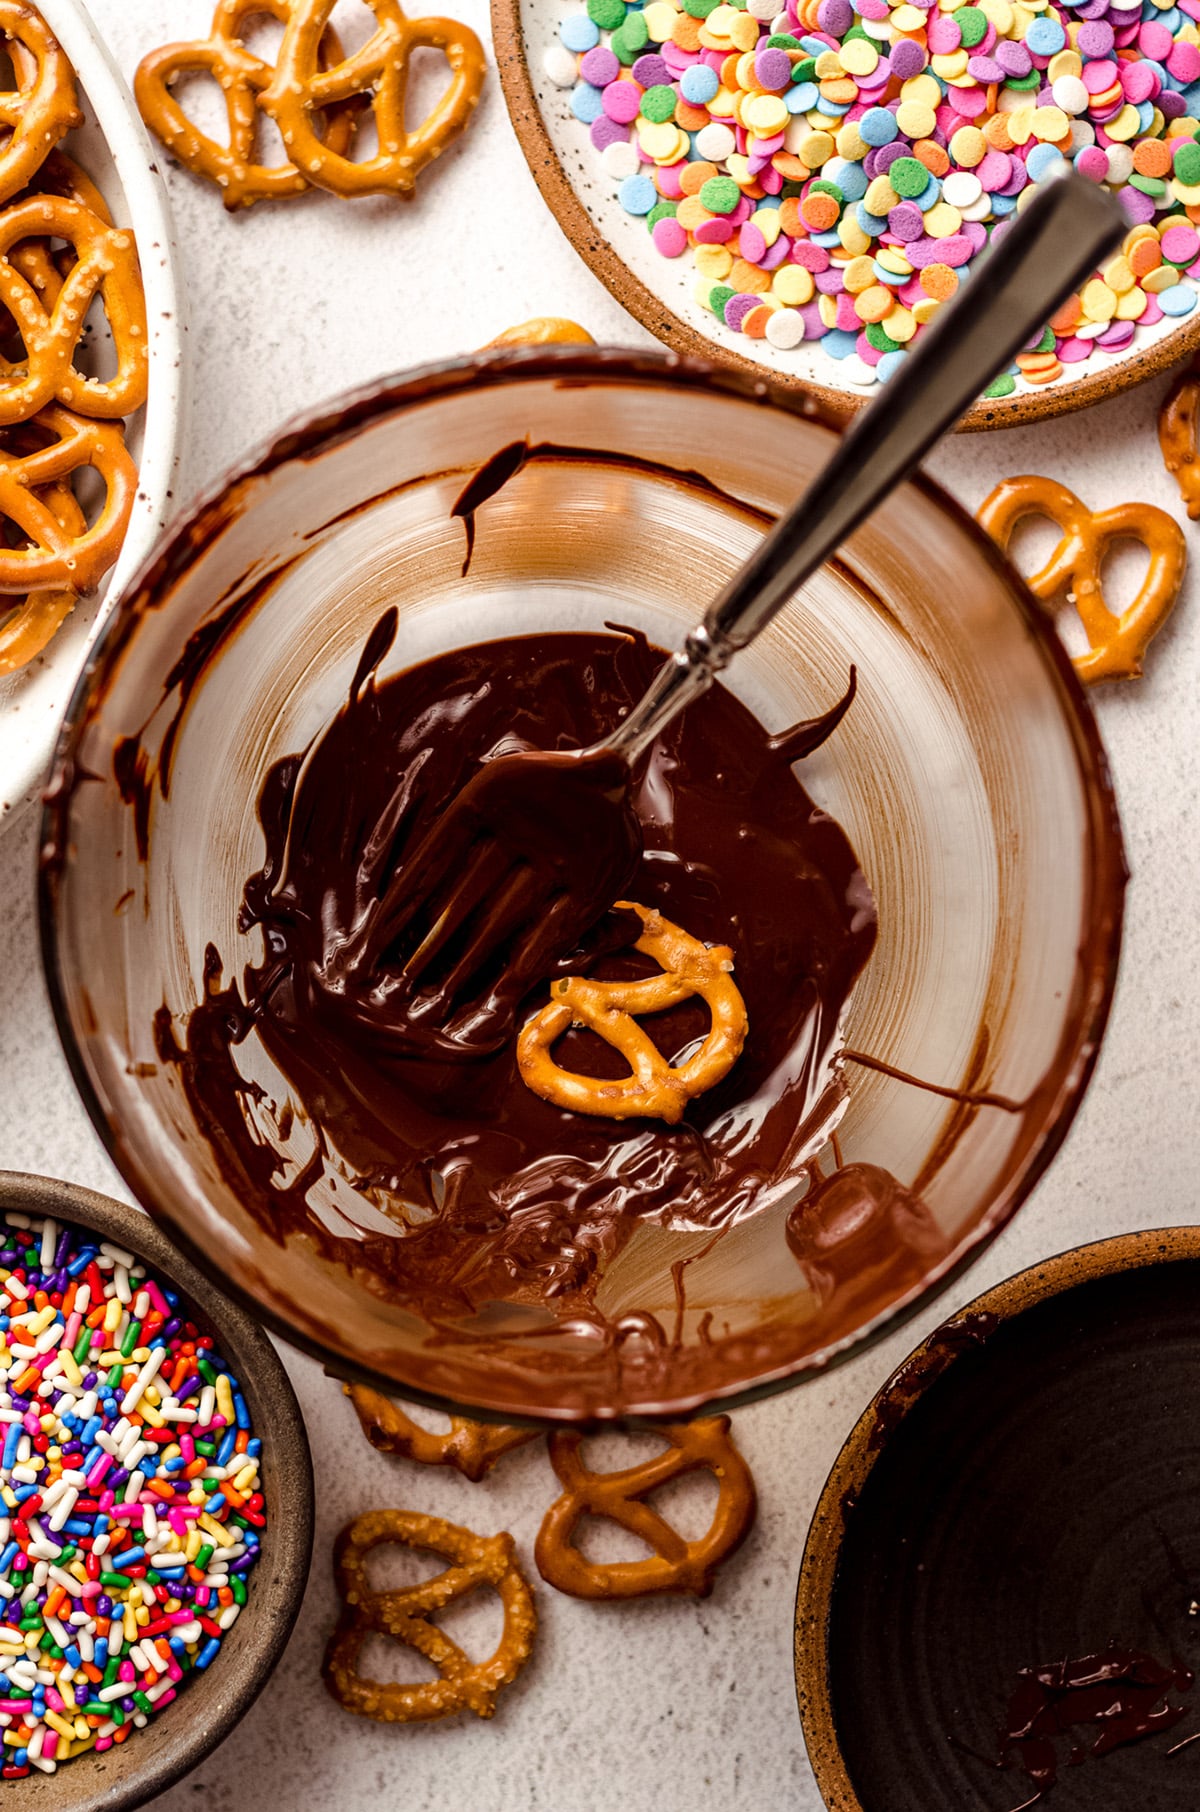
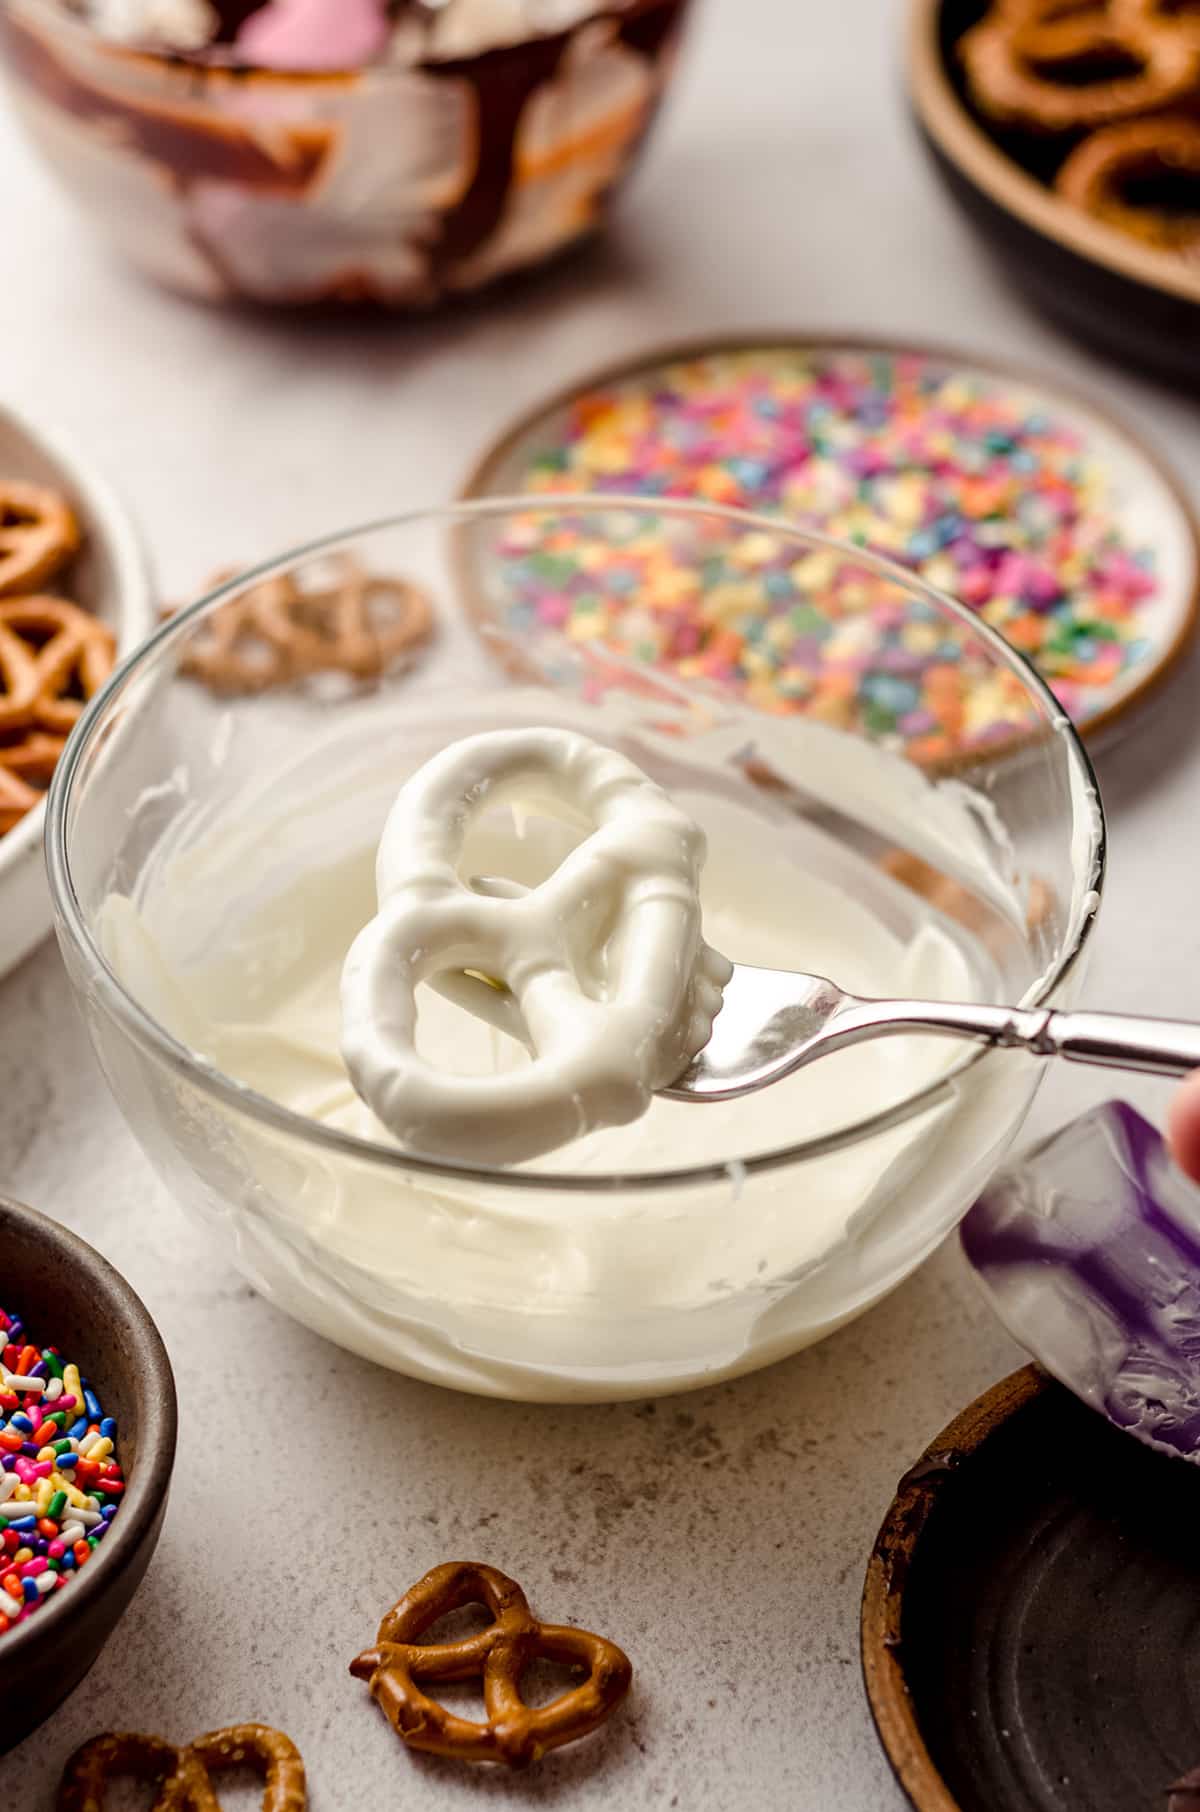
- Place the chopped chocolate3 into a small heat proof bowl. Heat in the microwave on MEDIUM for 20-30 seconds, remove, and stir very well. Heat in 10-15 second increments, on MEDIUM, stirring after each heating, until chocolate is completely smooth. You may also place the chocolate in a double boiler or in a small saucepan and melt over medium heat, stirring constantly, until smooth.4 ounces (113g) quality chocolate1
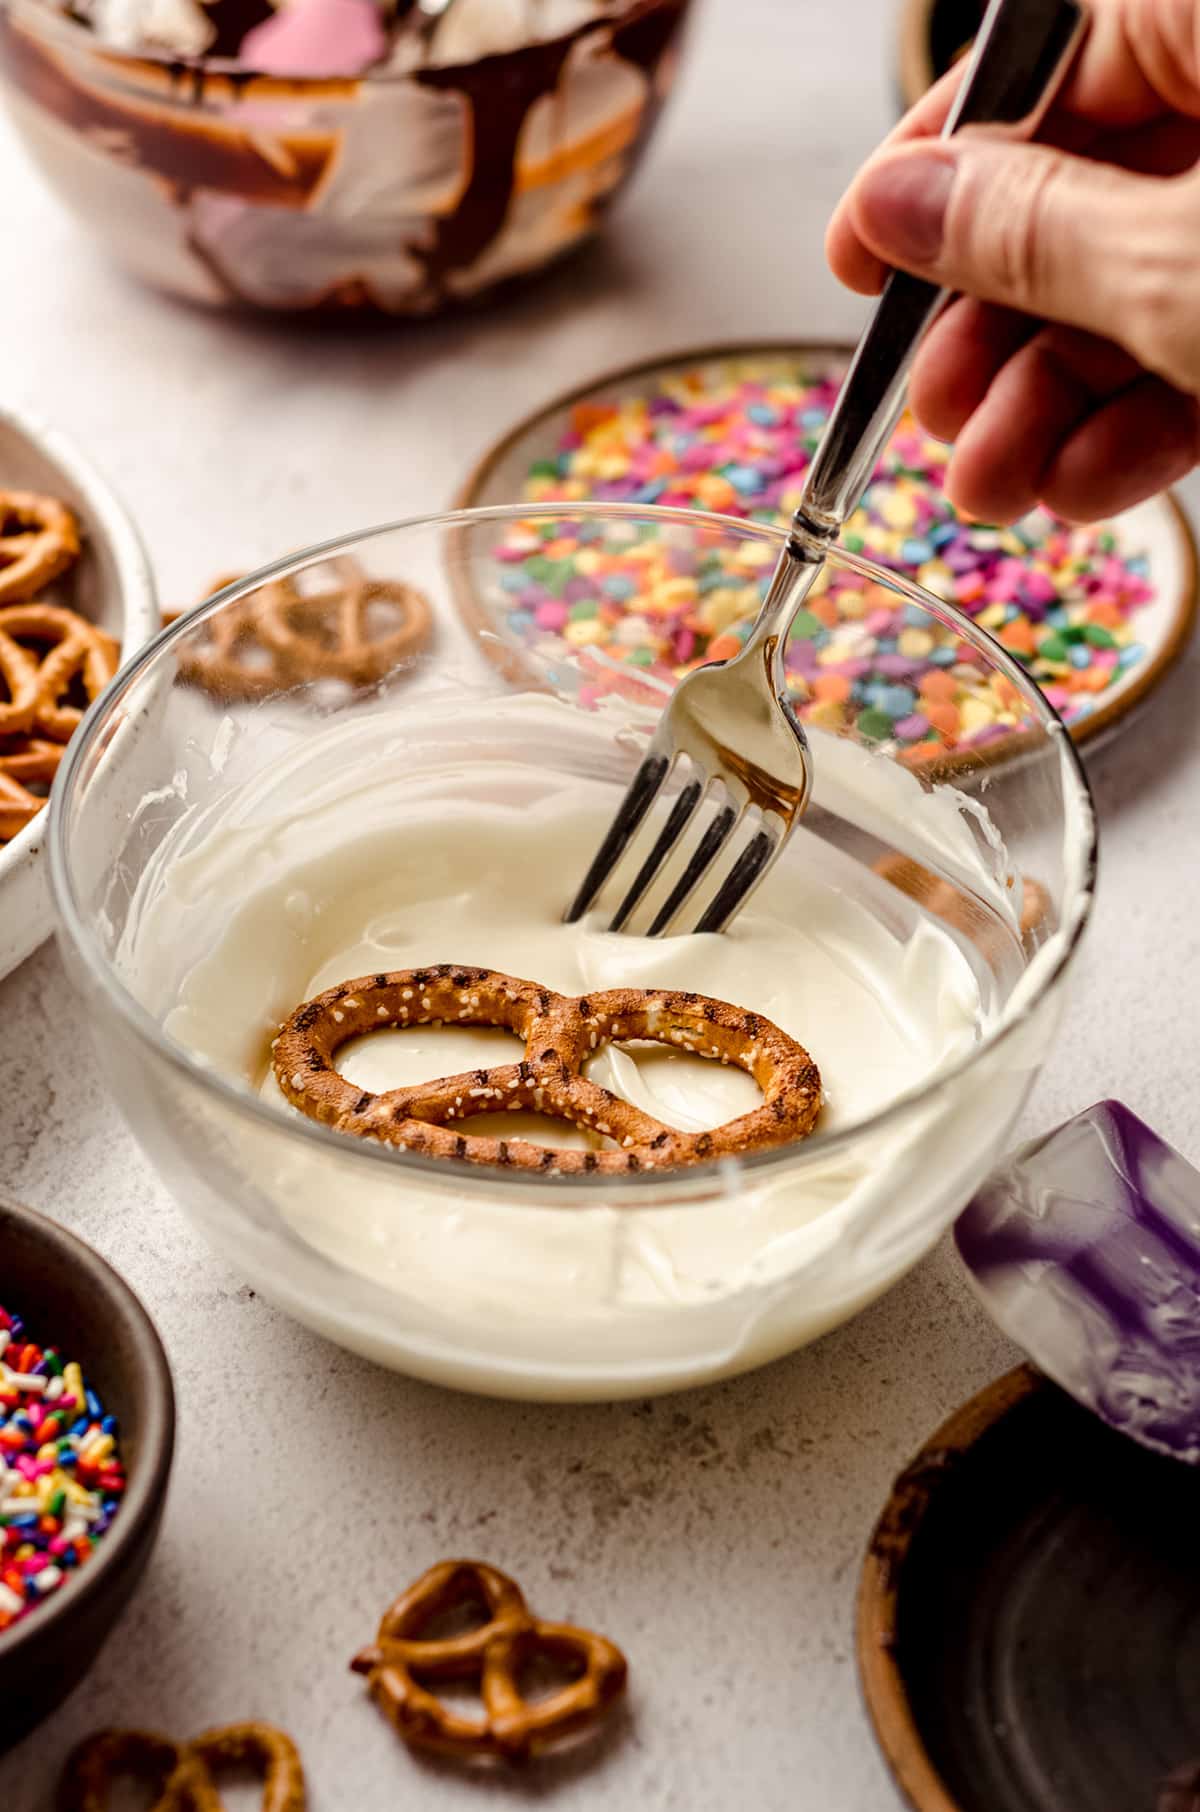
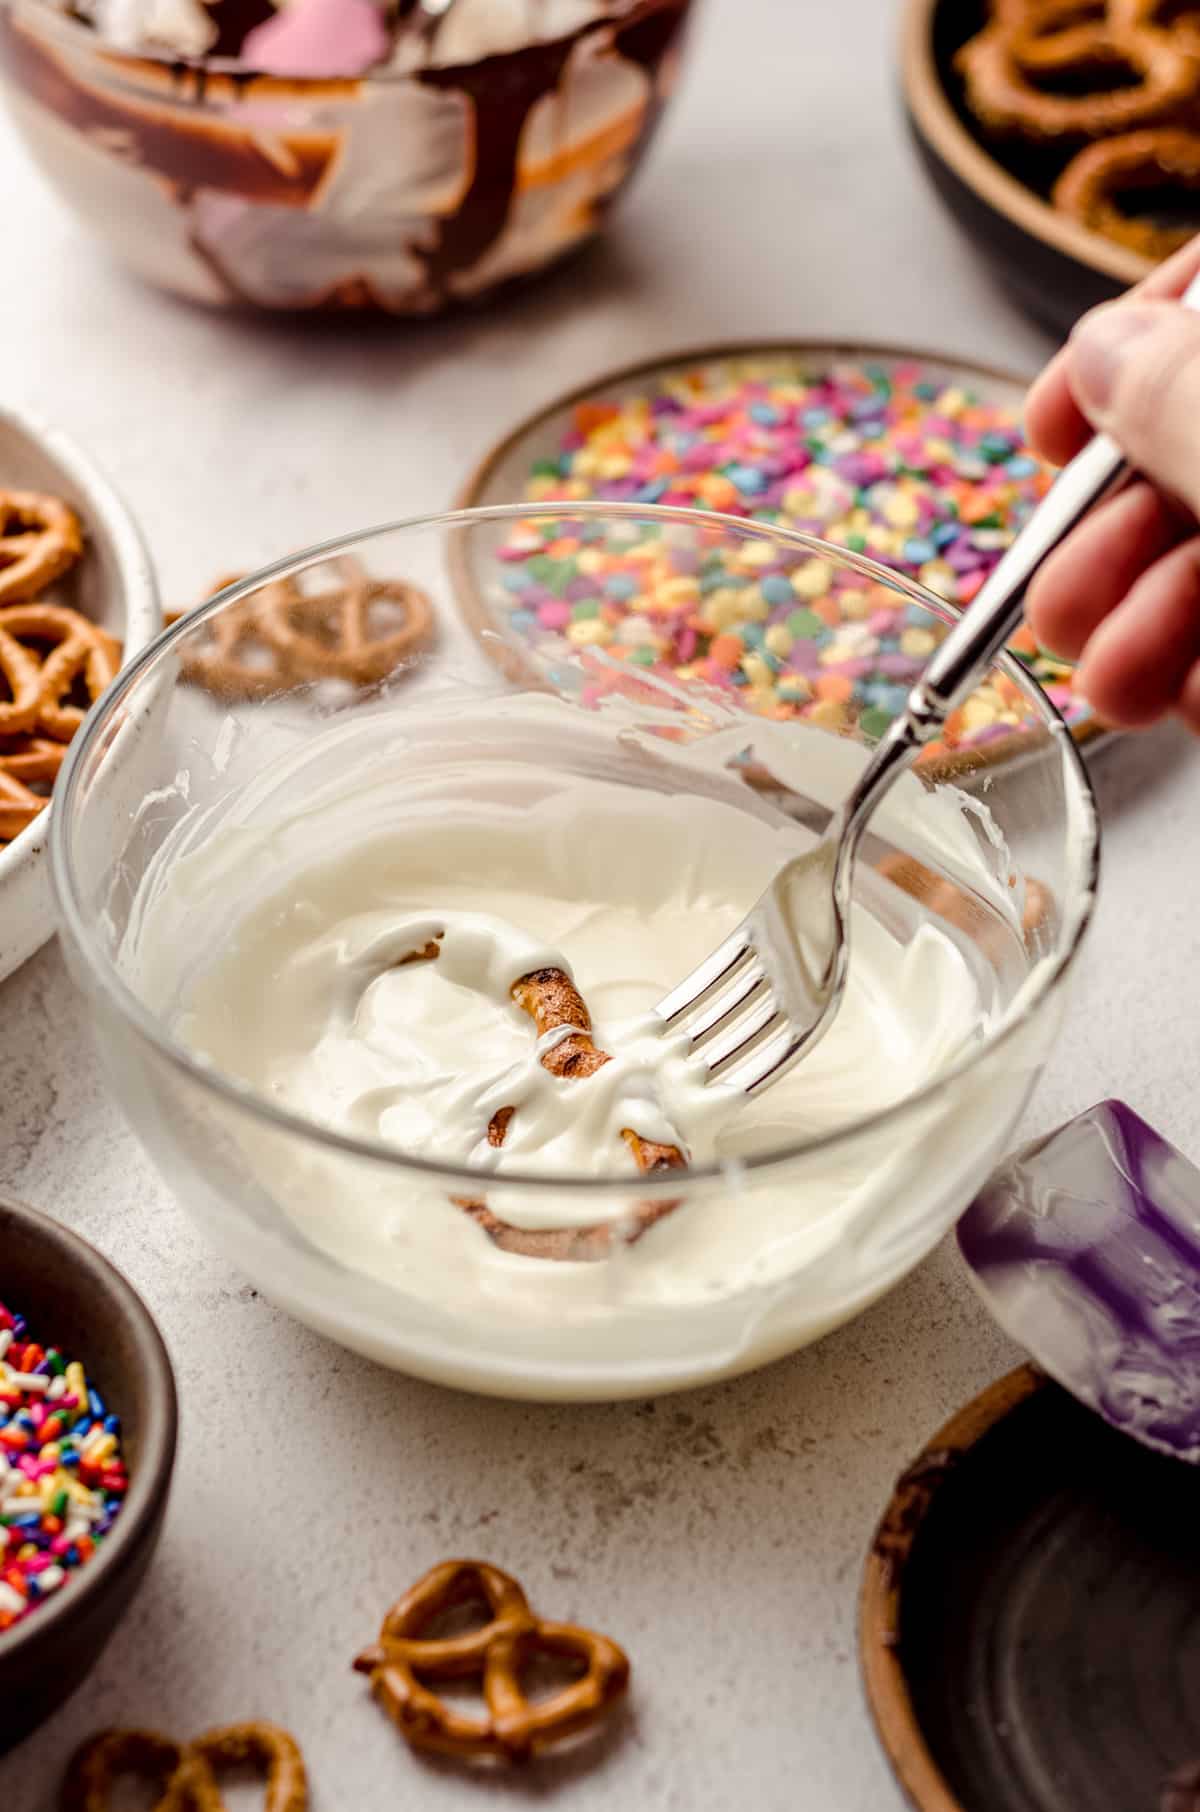
- Place a pretzel into the chocolate and, using a fork, cover the pretzel completely in chocolate. Lift pretzel out of the bowl and gently tap the fork on the lip of the bowl to remove excess chocolate.12 large classic pretzels2
- Place the pretzel on the prepared baking sheet and cover with sprinkles4 (or other decoration, if using). If you'd like to decorate the pretzel with drizzled chocolate, wait until pretzels are completely set before melting new chocolate and decorating.sprinkles
- When you are finished dipping your pretzels or you have filled a baking sheet, allow pretzels to sit at room temperature until completely set. Once chocolate is completely set, cover pretzels tightly and store at room temperature.
Notes
- Chocolate: do not use chocolate chips for these pretzels. They contain stabilizers that prevent them from melting down smoothly. You may use milk, dark, semi-sweet, or white chocolate for these pretzels. You can tint your white chocolate with food coloring if you want it a specific color (my favorite is gel coloring). If you prefer to use candy melts/melting wafers, do not mix these with any kind of chocolate. The ingredients in the melts/wafers will prevent it from bonding to chocolate.
- Pretzels: you can also use small pretzels (1 inch) or pretzel rods (any length). Four ounces of chocolate will cover approximately 12 large pretzels, 24 small pretzels, and 12 rods.
- Heating chocolate: it is important to do the melting process slowly in order to keep the finish of the cooled chocolate coating smooth and uniform in color. Take care to heat slowly and stir a lot to distribute heat evenly and often.
- Decorating pretzels: please read the post above for important, relevant information about timing, size of sprinkles, and working in stations.
Nutrition Disclosure
All nutritional values are approximate and provided to the reader as a courtesy. Changing ingredients and/or quantities will alter the estimated nutritional calculations.
These pretzels look so good! I am going to make them this week. How long will they stay fresh in an airtight container, left on the counter?
Hi, Robin– quite some time. We’ve never had an issue with them getting stale since they’re totally coated in chocolate and we eat them all within a few days anyway. Hope that helps!