
Witch Finger Pretzels
As an Amazon Associate, I earn from qualifying purchases. Read the full disclosure here.
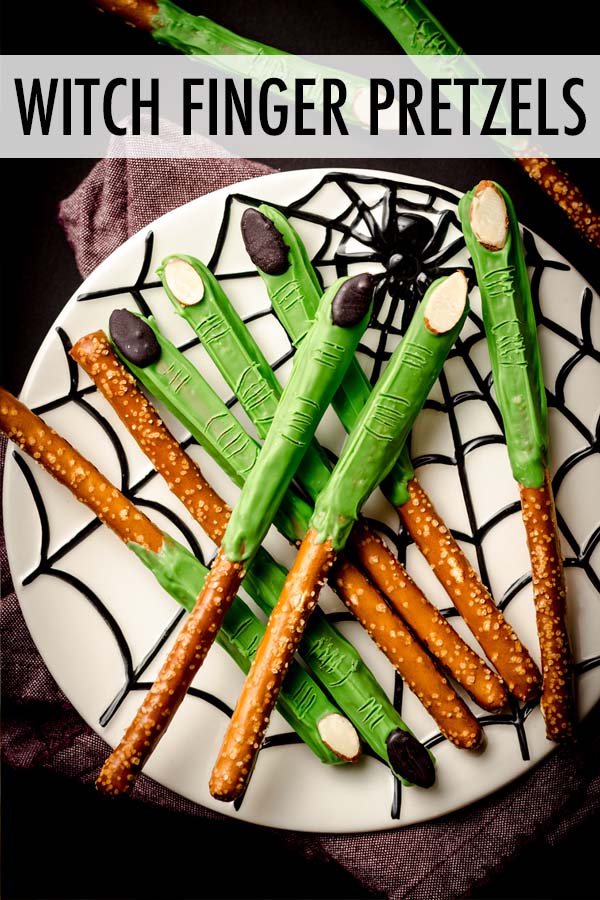
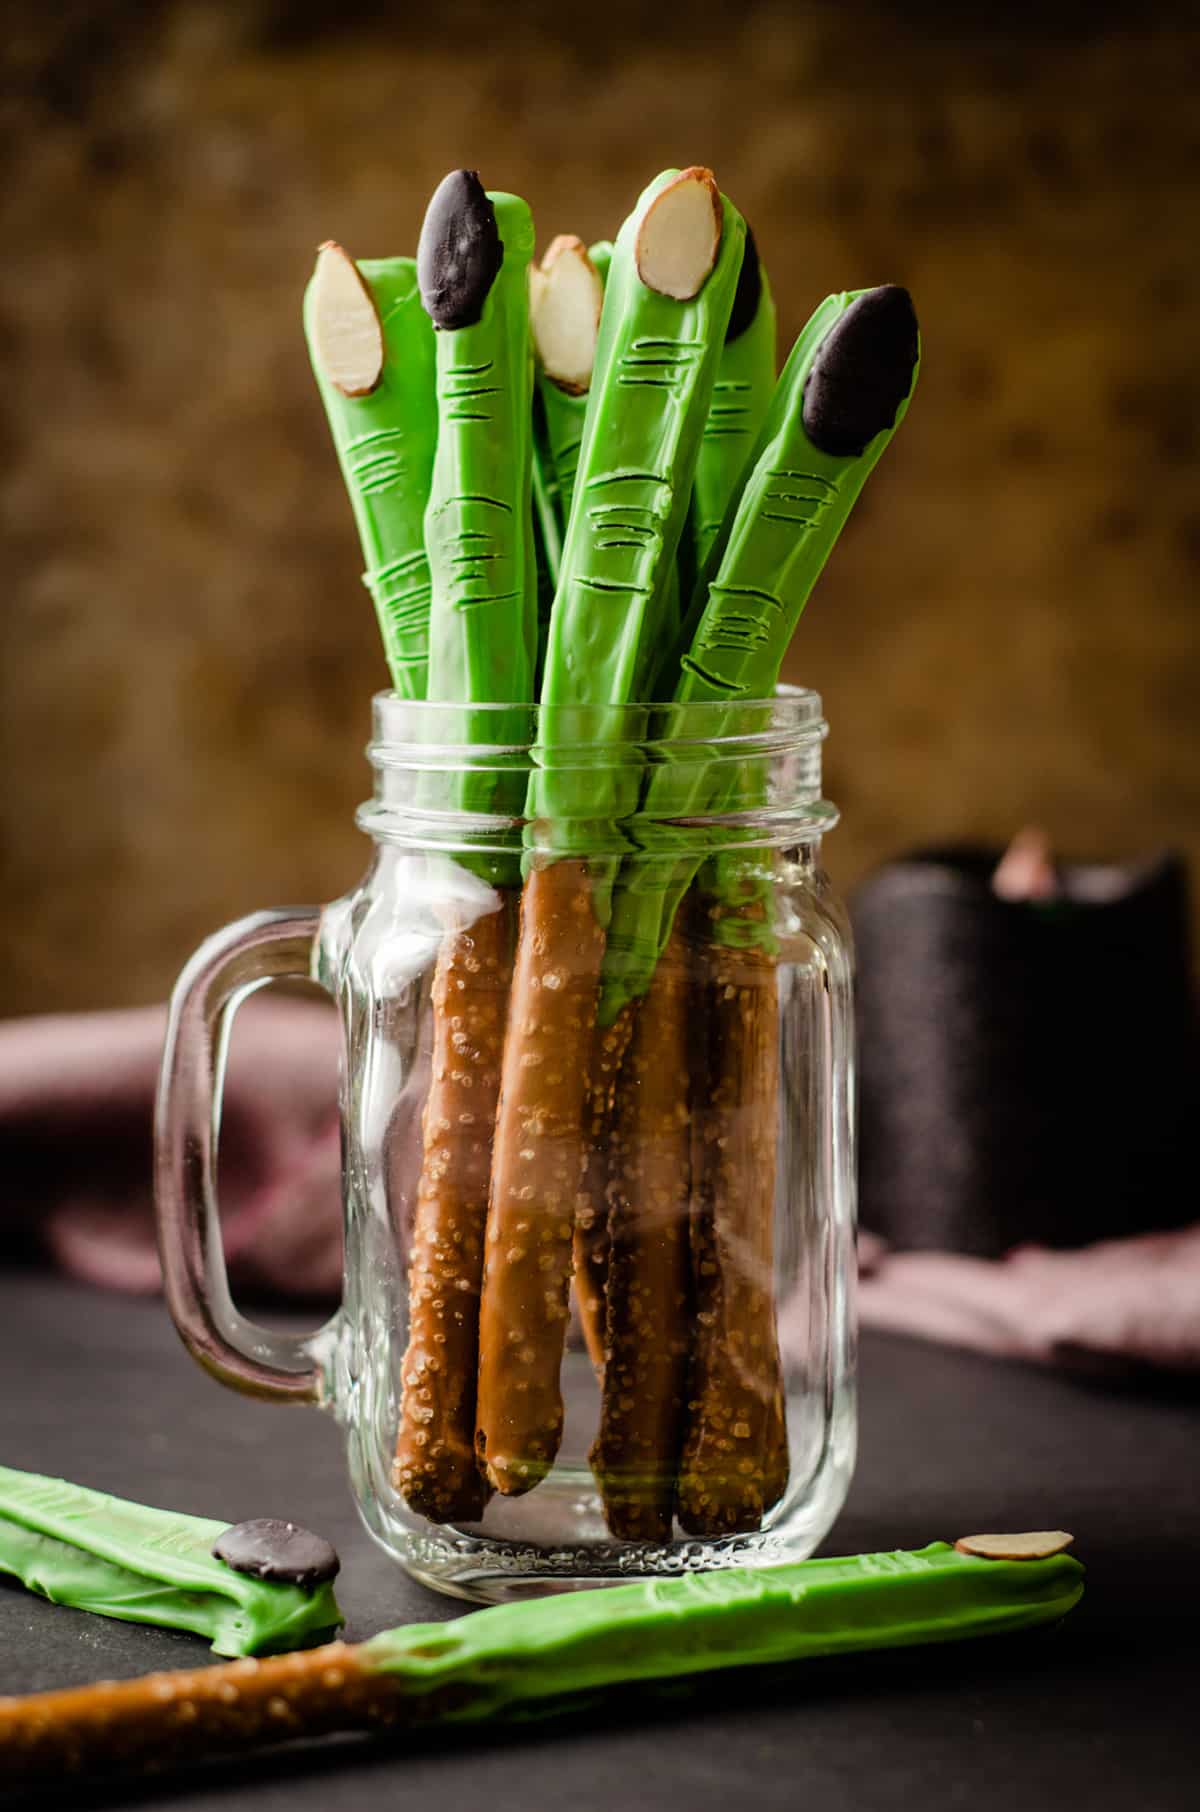
A simple and charming no-bake Halloween treat that looks like witches’ fingers and is fun for kids to both make and eat. Great for Halloween goodie bags or a party spread.
Welcome to the 4th annual #HalloweenTreatsWeek! This is a yearly Halloween blogging event that is hosted by Angie from Big Bear’s Wife. It’s a creepy and haunting week-long event filled with some amazingly wicked Halloween treats, recipes, and some frightfully fun giveaways.
Truth be told, I was never really that into Halloween before we had kids. Of course, I thought it was fun when I was little and I got to go trick-or-treating, and then when I got to college and Halloween turned into another excuse to throw a party, but as an adult, my Halloween excitement sort of fizzled.
It wasn’t until our first born, who was only 4 months old at his first Halloween, decided that at 16 months at his second Halloween that trick-or-treating was really fun.
He had only been walking for about 2 months at that time, so we took him out with a stroller knowing we’d likely wind up coming back home shortly before starting out and he wouldn’t really care too much. It was mostly for us.
And then, this toddly little dude refused to stay in the stroller and just wanted to walk as fast as he could to keep up with the big kids we went with and even though he couldn’t really say many words, he still managed to get out some form of “trick-or-treat!” when it was his time to shine.
Ever since then, he has been infatuated with skeletons and zombies and vampires and ghosts, and we listen to Halloween music literally all year long. Even when it’s Christmas time, which he also loves, we have to convince him we’ve moved on from the Monster Mash and it’s time for Jingle Bells.
You can imagine that The Nightmare Before Christmas, which we showed him and our younger son for the first time this year, was a big hit.
I am happy to say that thanks to our kids, these past couple of years of Halloween have been really fun, and I love answering the question “is it almost Halloween???” everyday since my birthday, which is exactly 5 weeks prior. I have told them they aren’t to ask if it’s Halloween until after my birthday, which is very possibly the reason they love my birthday so much.
I couldn’t help but get into the spirit this year and participate in this week of Halloween sweets with a bunch of my fellow food bloggers, and I’m really excited to add some cute and festive Halloween treats to my collection.
Also, it only made sense that a spooky treat was October’s installment of my No Bake of The Month series!
WHAT YOU NEED FOR WITCHES’ FINGERS
The ingredient list for these Halloween pretzel sticks is short, and there is a LOT of wiggle room. You can keep it simple or you can level up your pieces. It’s all up to you, your time limit, whether or not you have little/medium/big helpers, and what kind of ingredients you may or may not already have.
PRETZEL RODS
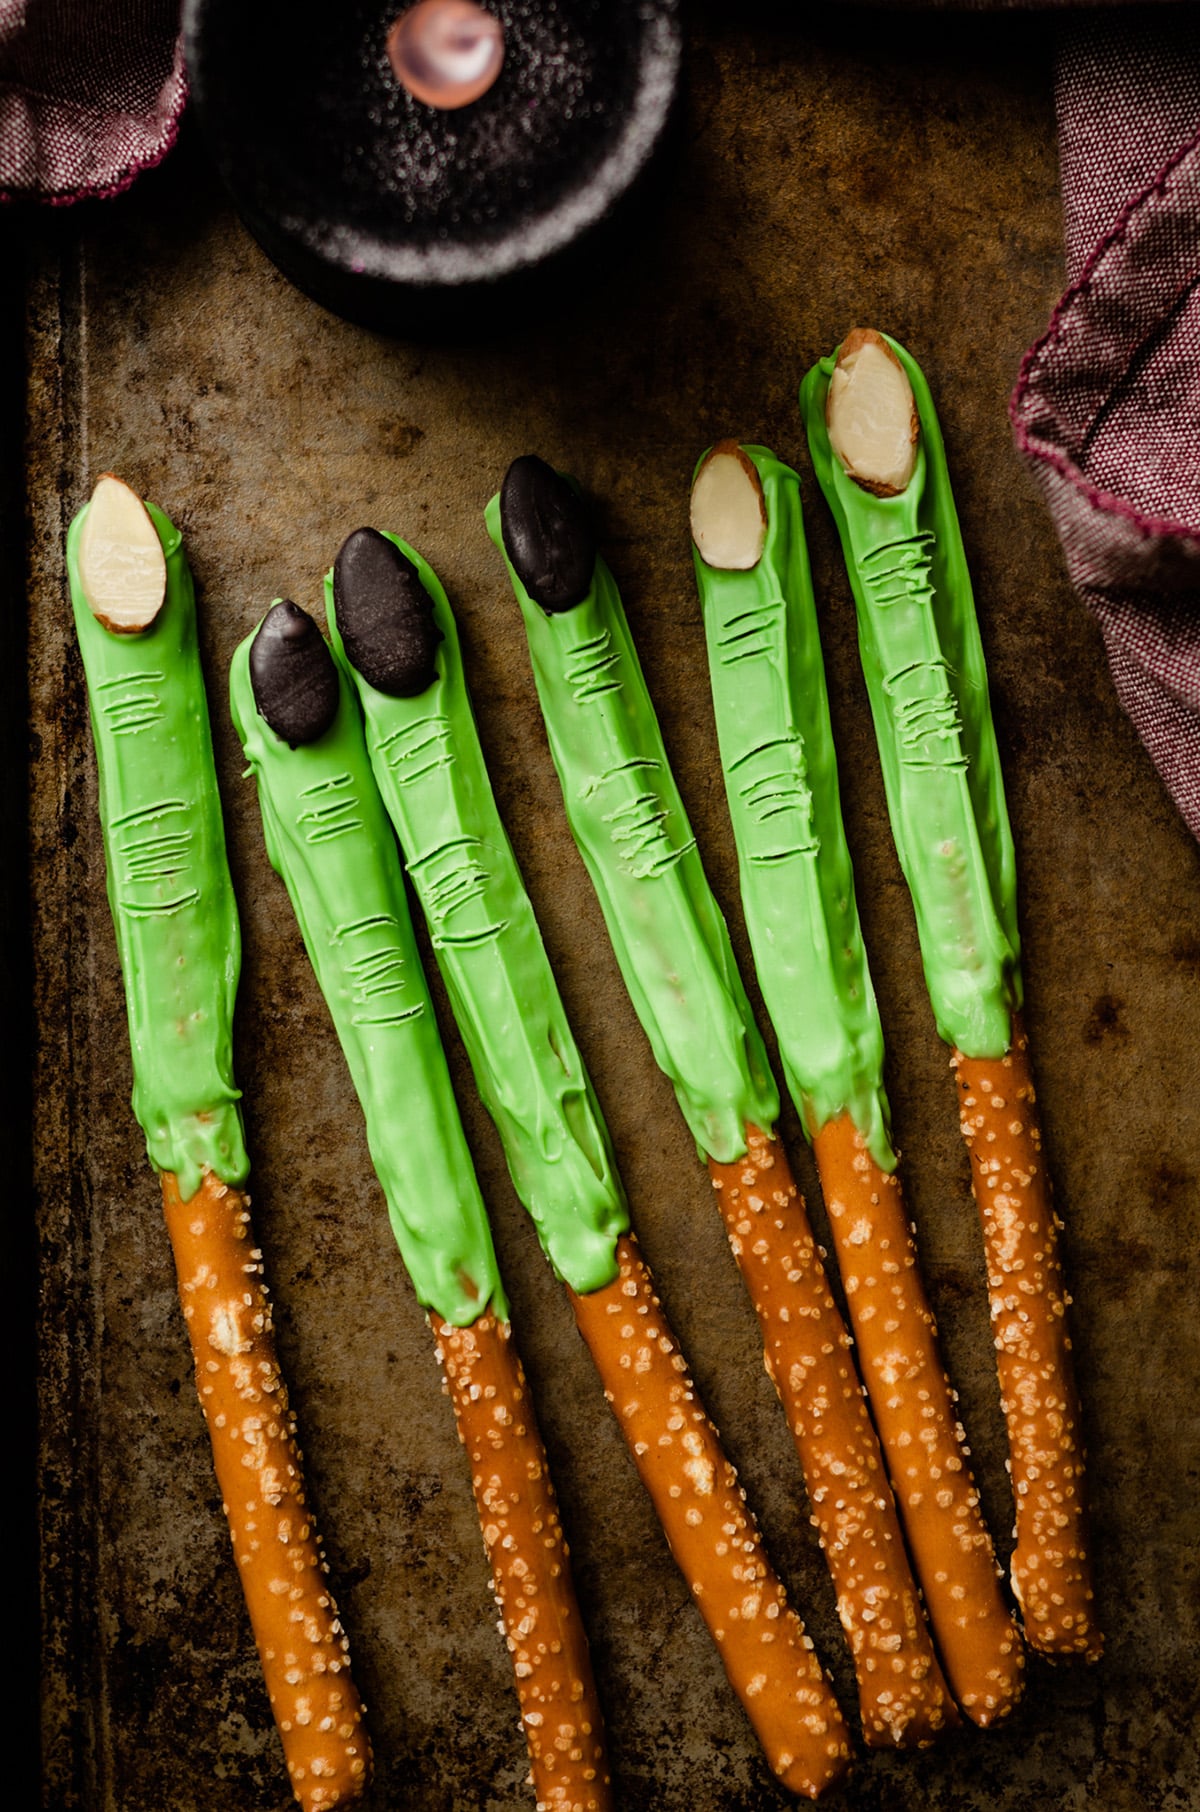
In order to make these Halloween witch fingers true to life, you want the really long pretzel rods that are about 7 to 8 inches long. Since you’ll only be putting the color on the top ½ to ⅔ of the rod, it doesn’t matter that a finger is only about 3 inches or so long. That bottom portion won’t be covered.
CAN I USE SHORTER PRETZEL RODS OR PRETZEL STICKS?
I would not use anything shorter than the large pretzel rods, otherwise the “nail” will be disproportionate and you’ll have to dip nearly the entire pretzel to make it look right. Stick to the longer ones for this.
GREEN CANDY MELTS OR WHITE CANDY MELTS/WHITE CHOCOLATE AND GREEN FOOD COLORING
In order to get these finger pretzel rods off on the right foot, we need right right color for the witch skin. I used a combination of green candy melts and a little extra food coloring to make it brighter.
I used AmeriColor electric green because the green candy melts were a little dull for me, and the electric green brightened the color up nicely.
You can also play around with a little more yellow color than blue color if you’re just using basic food coloring.
I also preferred the candy melts to white chocolate in this instance because they tend to melt a little thicker than chocolate, so there was some texture to the “skin.” This is totally your preference.
SLIVERED ALMONDS
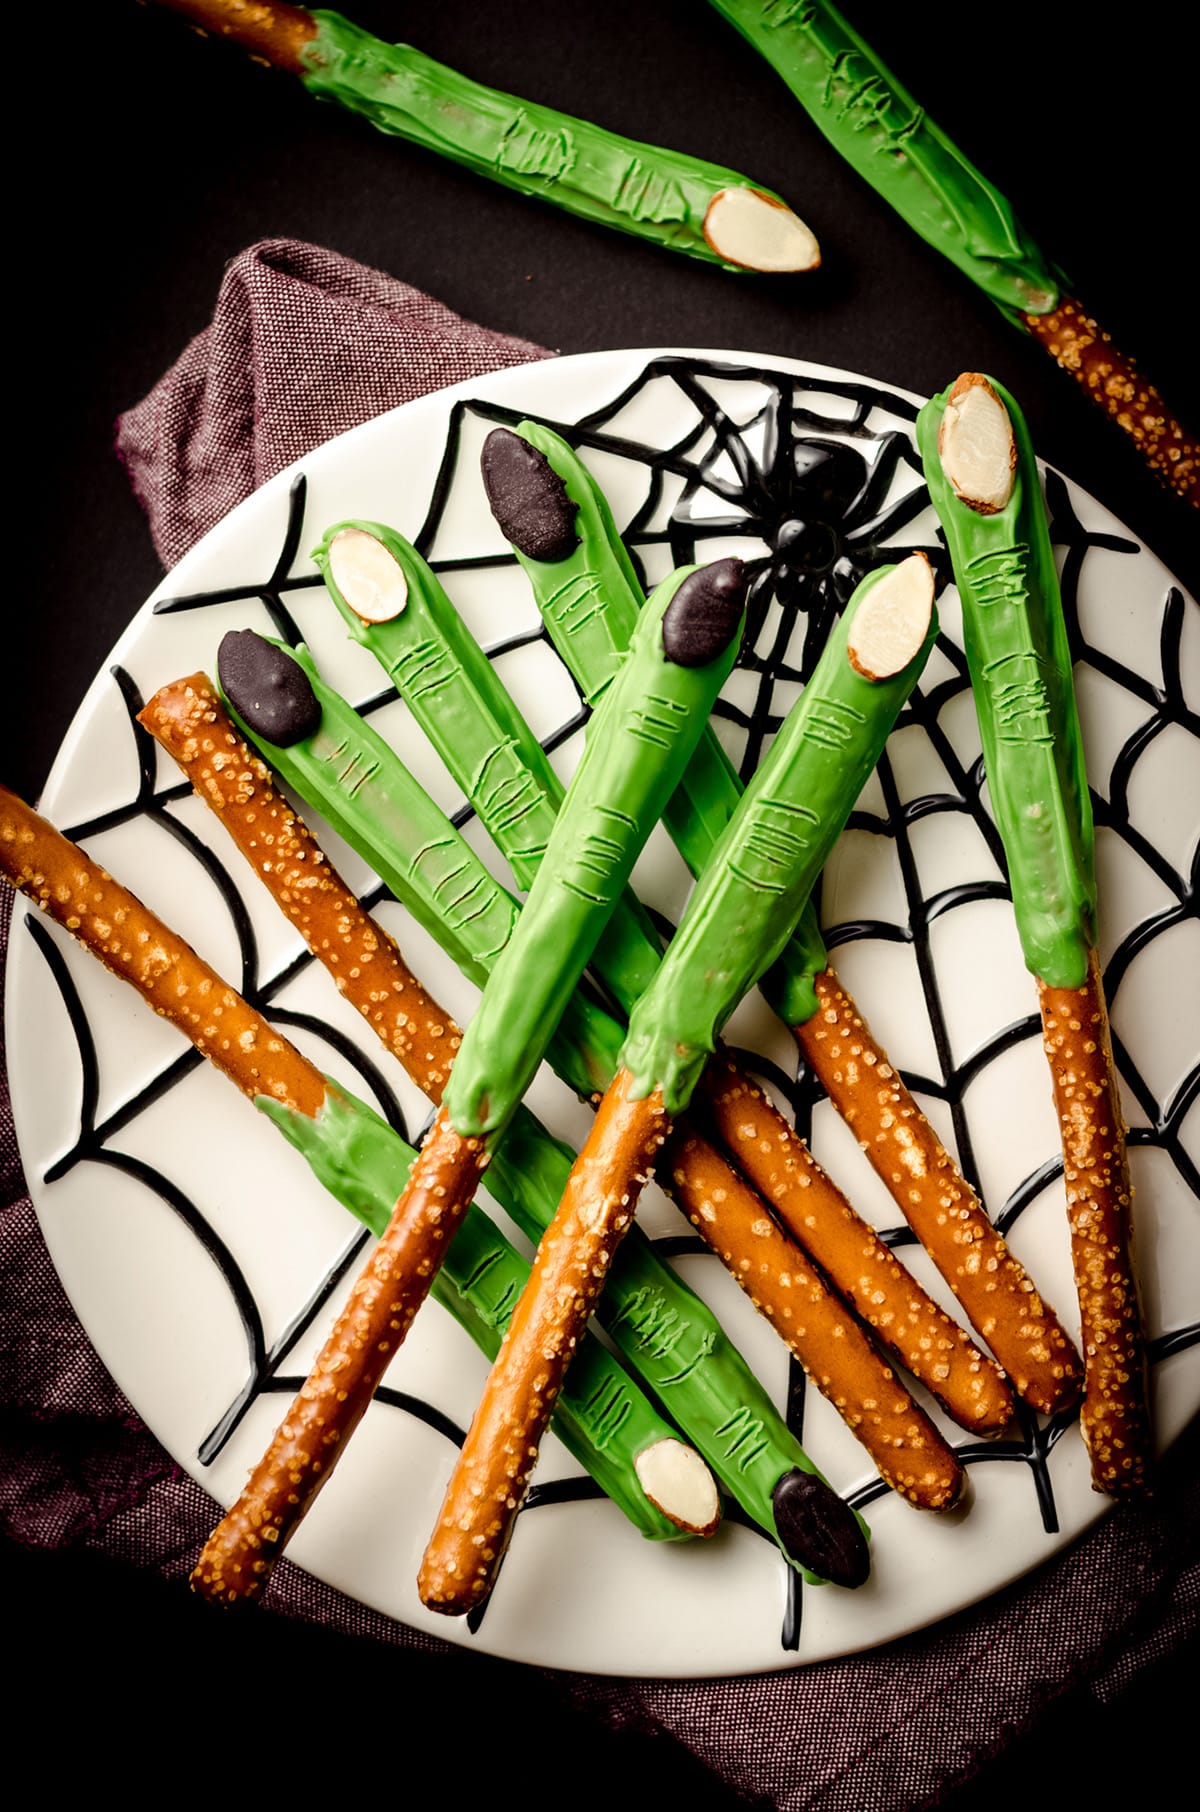
To create a “witch nail,” I used flat, slivered almonds. Some of them I left plain, which worked great for more of a craggy and crude look, but others I dipped into black candy melts.
You could also use regular semi-sweet or dark chocolate, and if you want the color to be really dark, go ahead and add some black gel color to it to get that effect.
Again, totally up to you and the look you’re going for, or maybe whether or not you’ve got little hands helping and want to get the job done faster (I feel you, friend).
You can also use whole almonds if you don’t want to use or can’t find slivered almonds. I do recommend dipping whole almonds, though, if you go that route, rather than leaving them undipped.
A TOOTHPICK
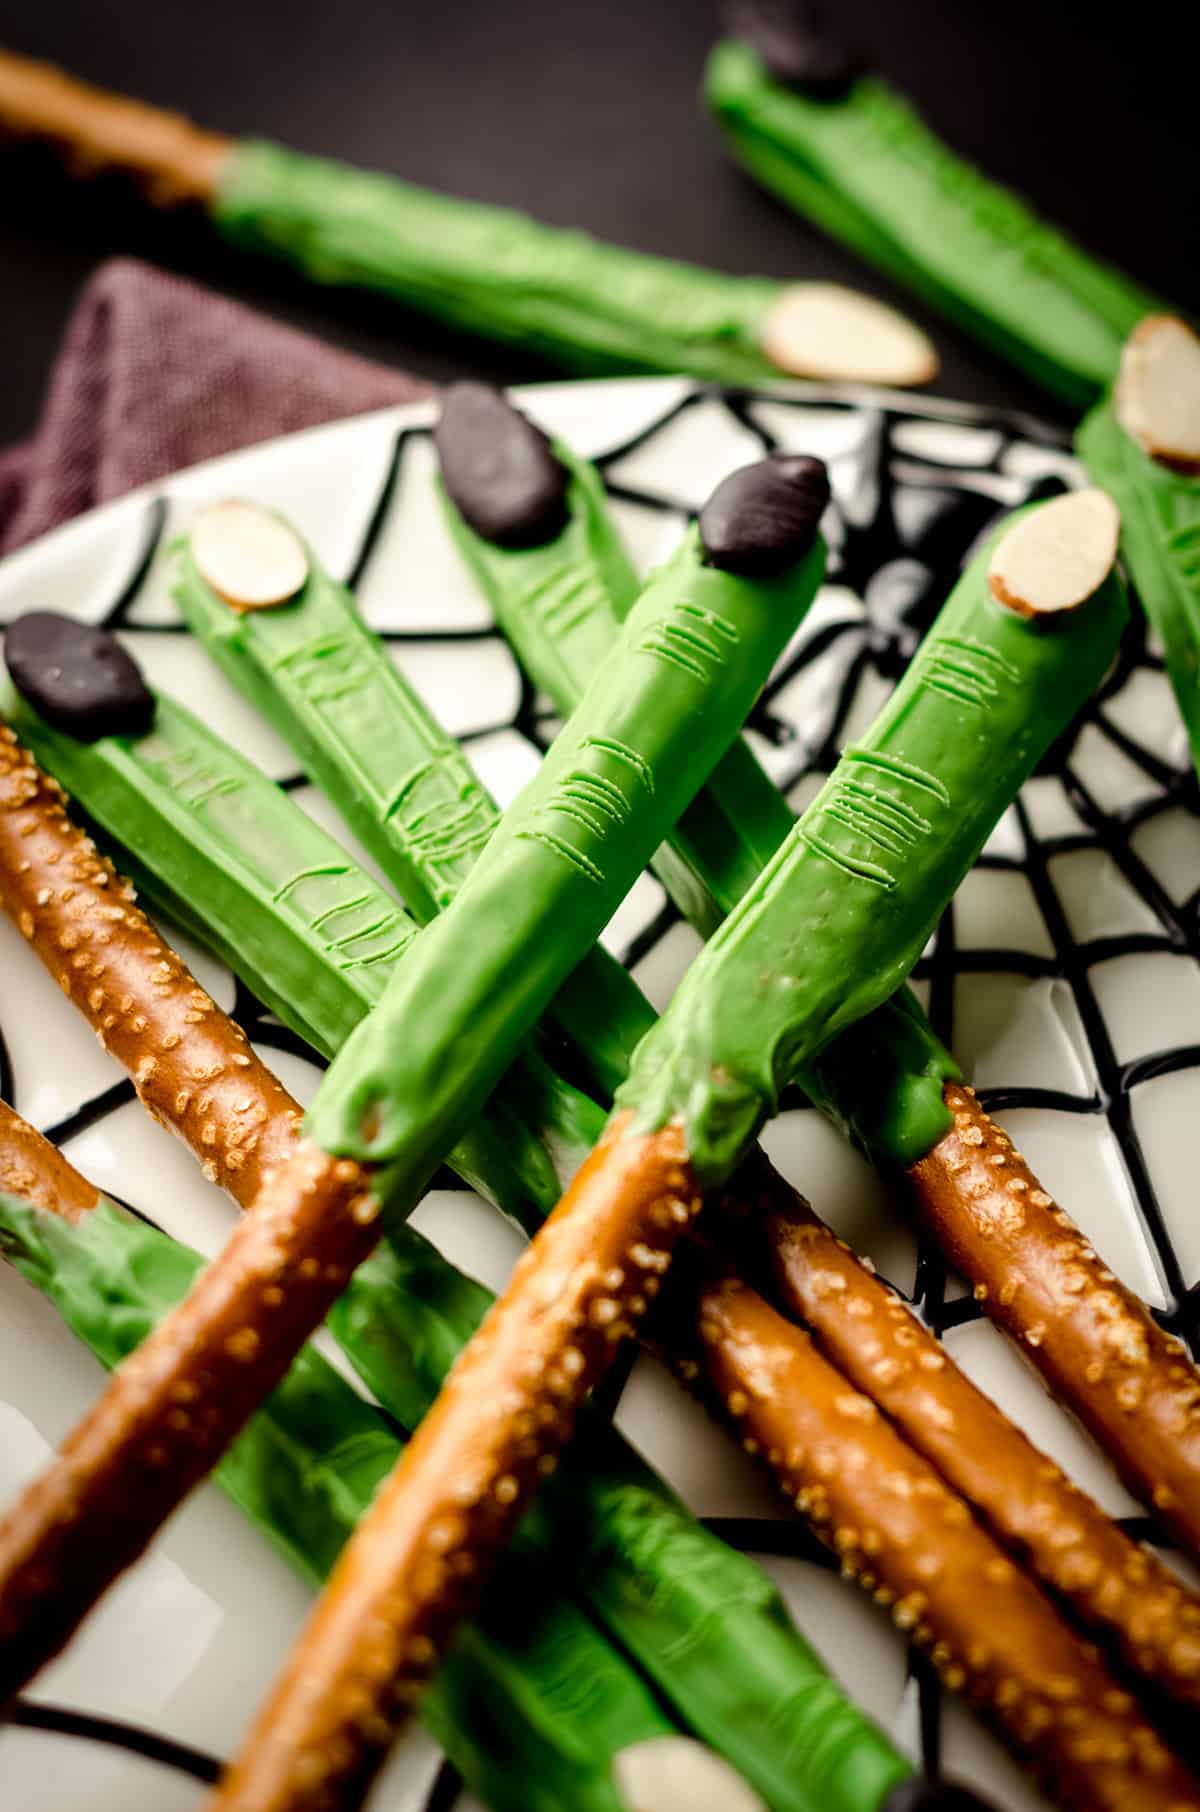
It is totally optional to add knuckle wrinkles to your witch fingers, but I think it adds a little something and makes them look more authentic. Again, leave it out if it adds too much time or kids don’t quite get it!
HOW TO MAKE WITCH FINGER PRETZELS
Depending on whether or not you’re dipping your slivered almonds, you’ll start by dipping and drying those.
If you’re not dipping almonds, just go right to dipping the pretzels.
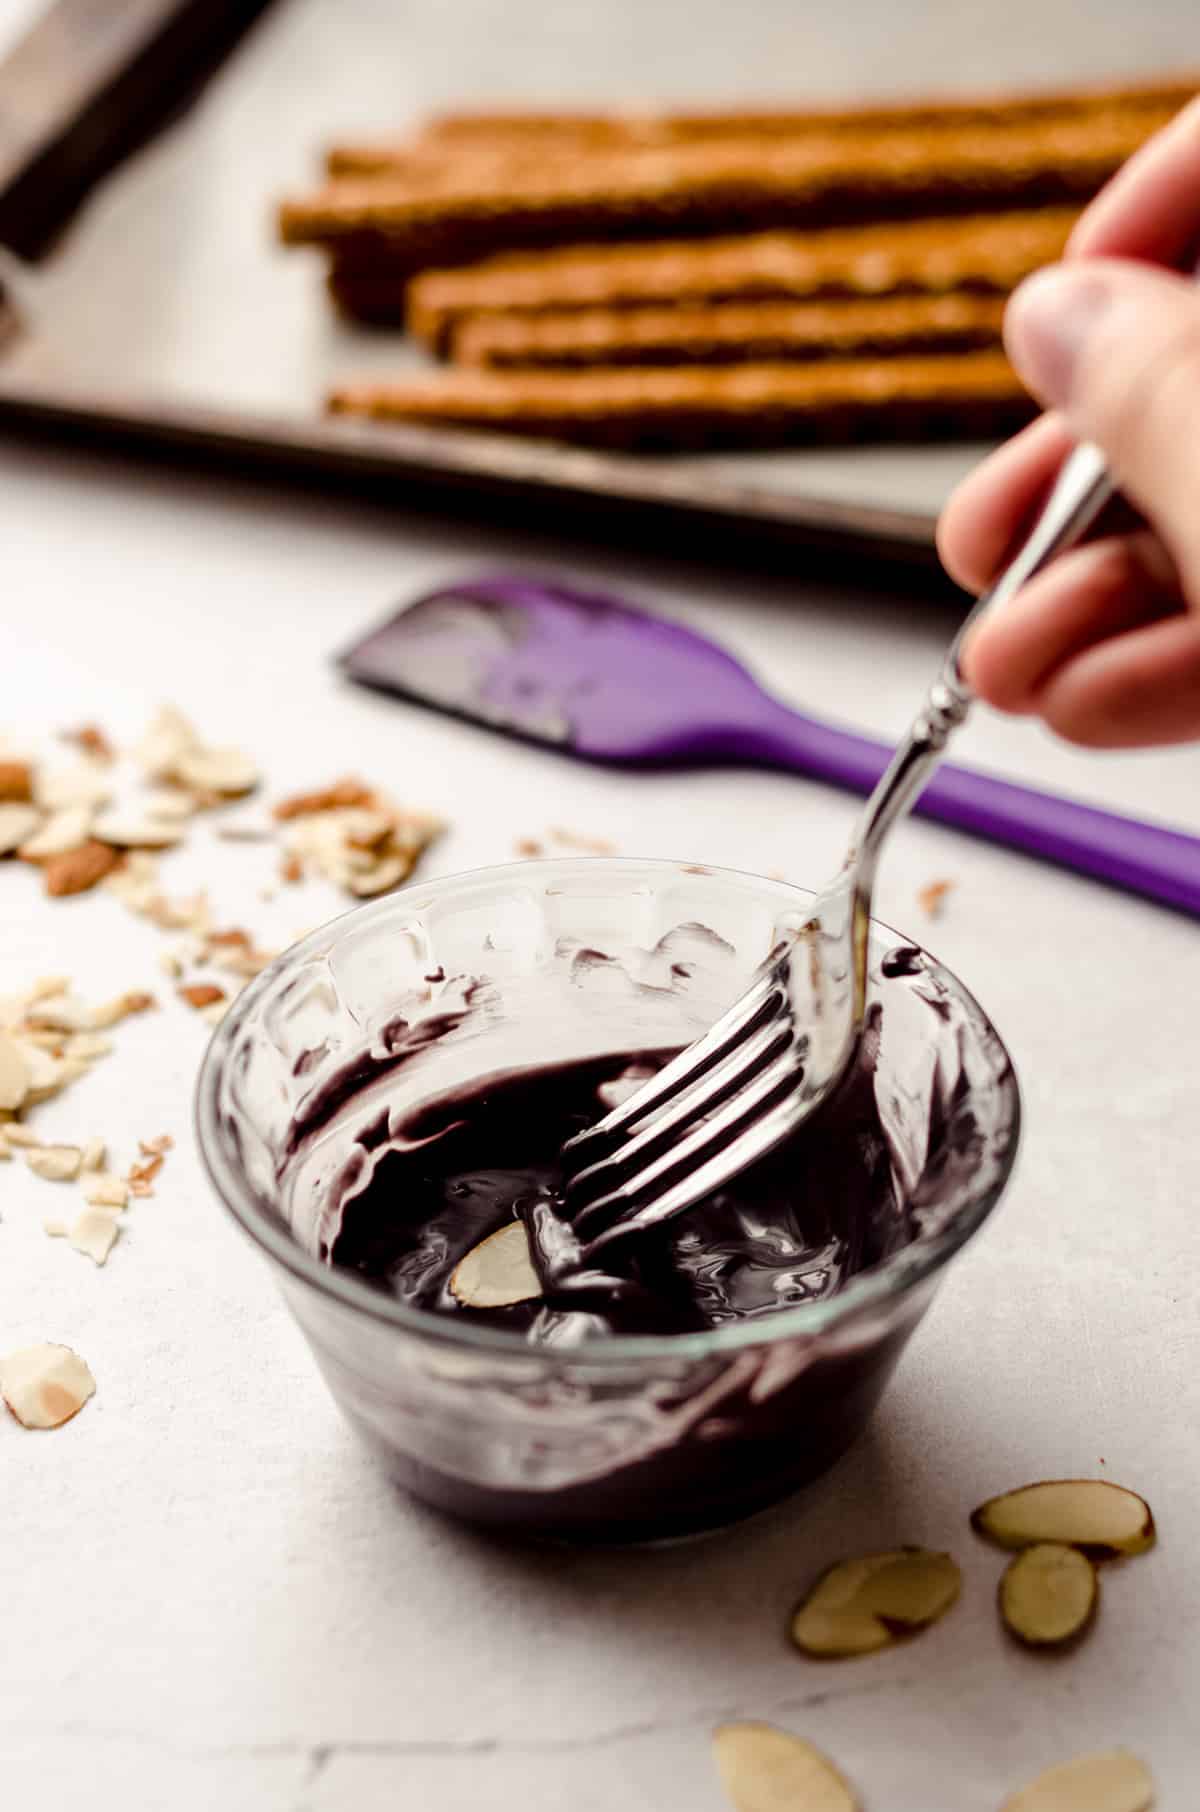
DIP THE ALMONDS
If you’re dipping almonds, melt the coating of your choice, dip the almonds, and allow them to dry. This won’t take too long since they’re small, but make sure they’re completely dry before moving onto the rods, since you’ll need to add the nails while the fingers are still wet.
(Well that was an interesting phrase…)
DIP THE PRETZELS
Once your almonds are dry, go ahead and prepare the green coating either in the microwave or on the stovetop.
You can put your melted green candy into a tall, narrow cup, or you can do what I did and put it into a bowl and use a spoon to get the coating onto the pretzel rod.
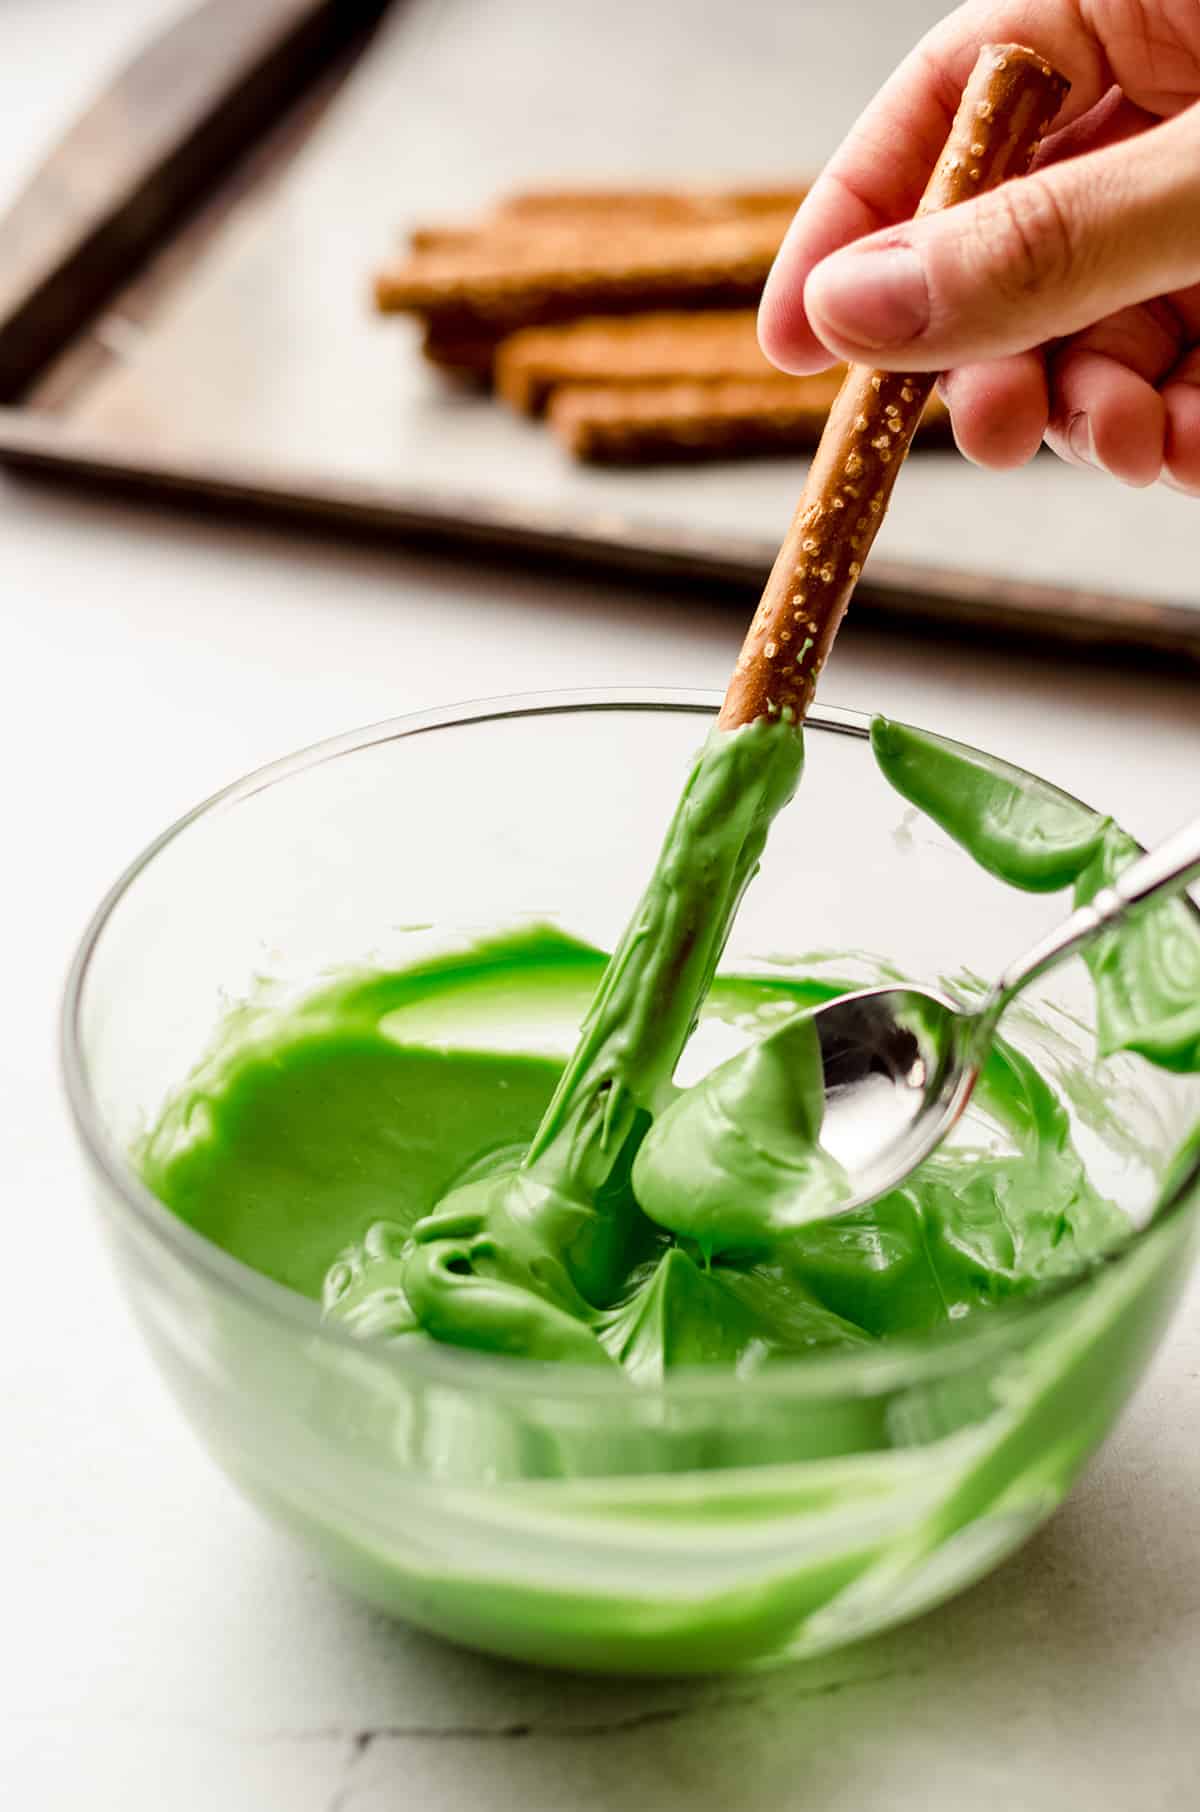
Cover about ½ to ⅔ of the pretzel rod, then lay it flat.
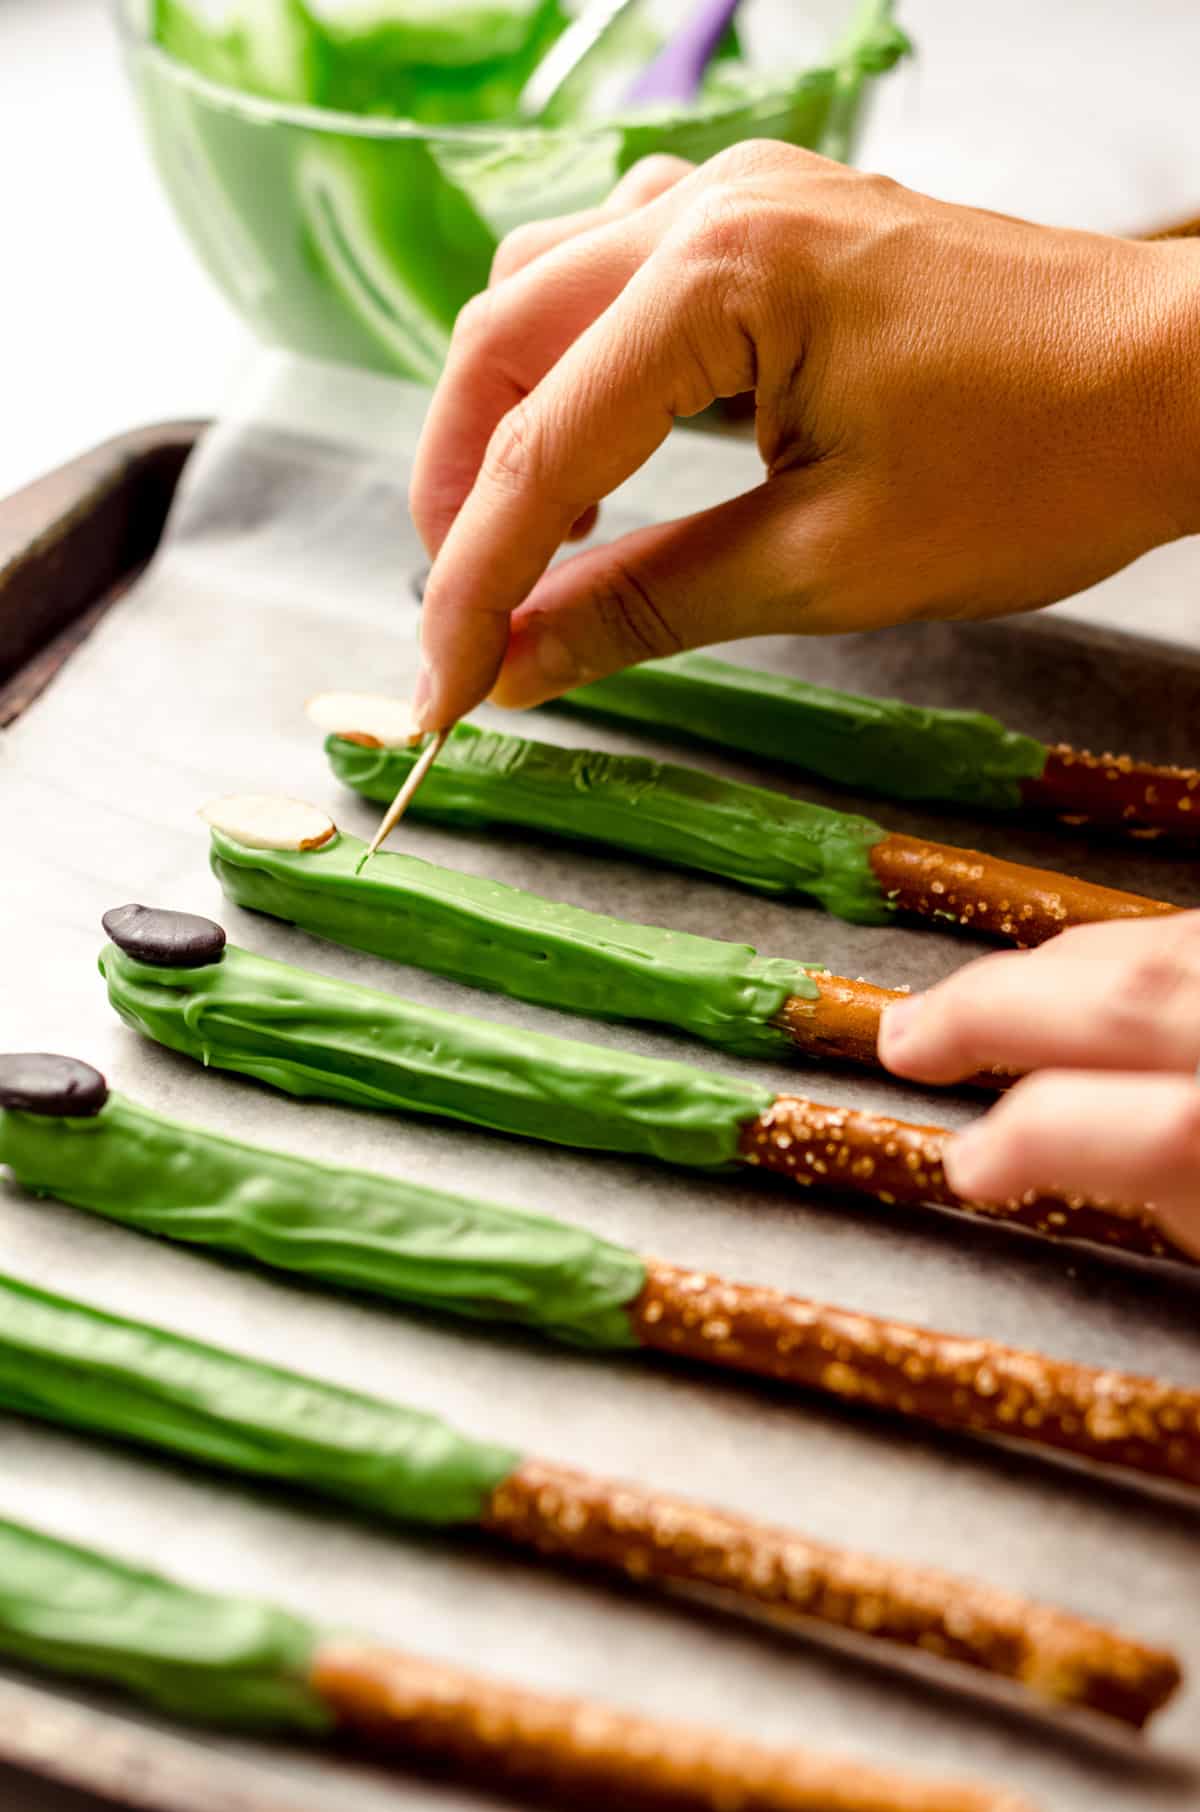
Add a nail while the coating is still very wet and press gently to secure it in place.
ADD THE KNUCKLE LINES
You want to let the green coating set a bit before adding the knuckles, and you want it to be in that sweet spot texture so the coating is between too wet and too set.
How fast this coating dries depends completely on what you used, what the temperature and/or humidity is in your house, and what the air flow is like.
I started poking at my first few witch finger pretzels after about 4 minutes to see what texture I was at, and I did need a few more minutes before I could add the lines.
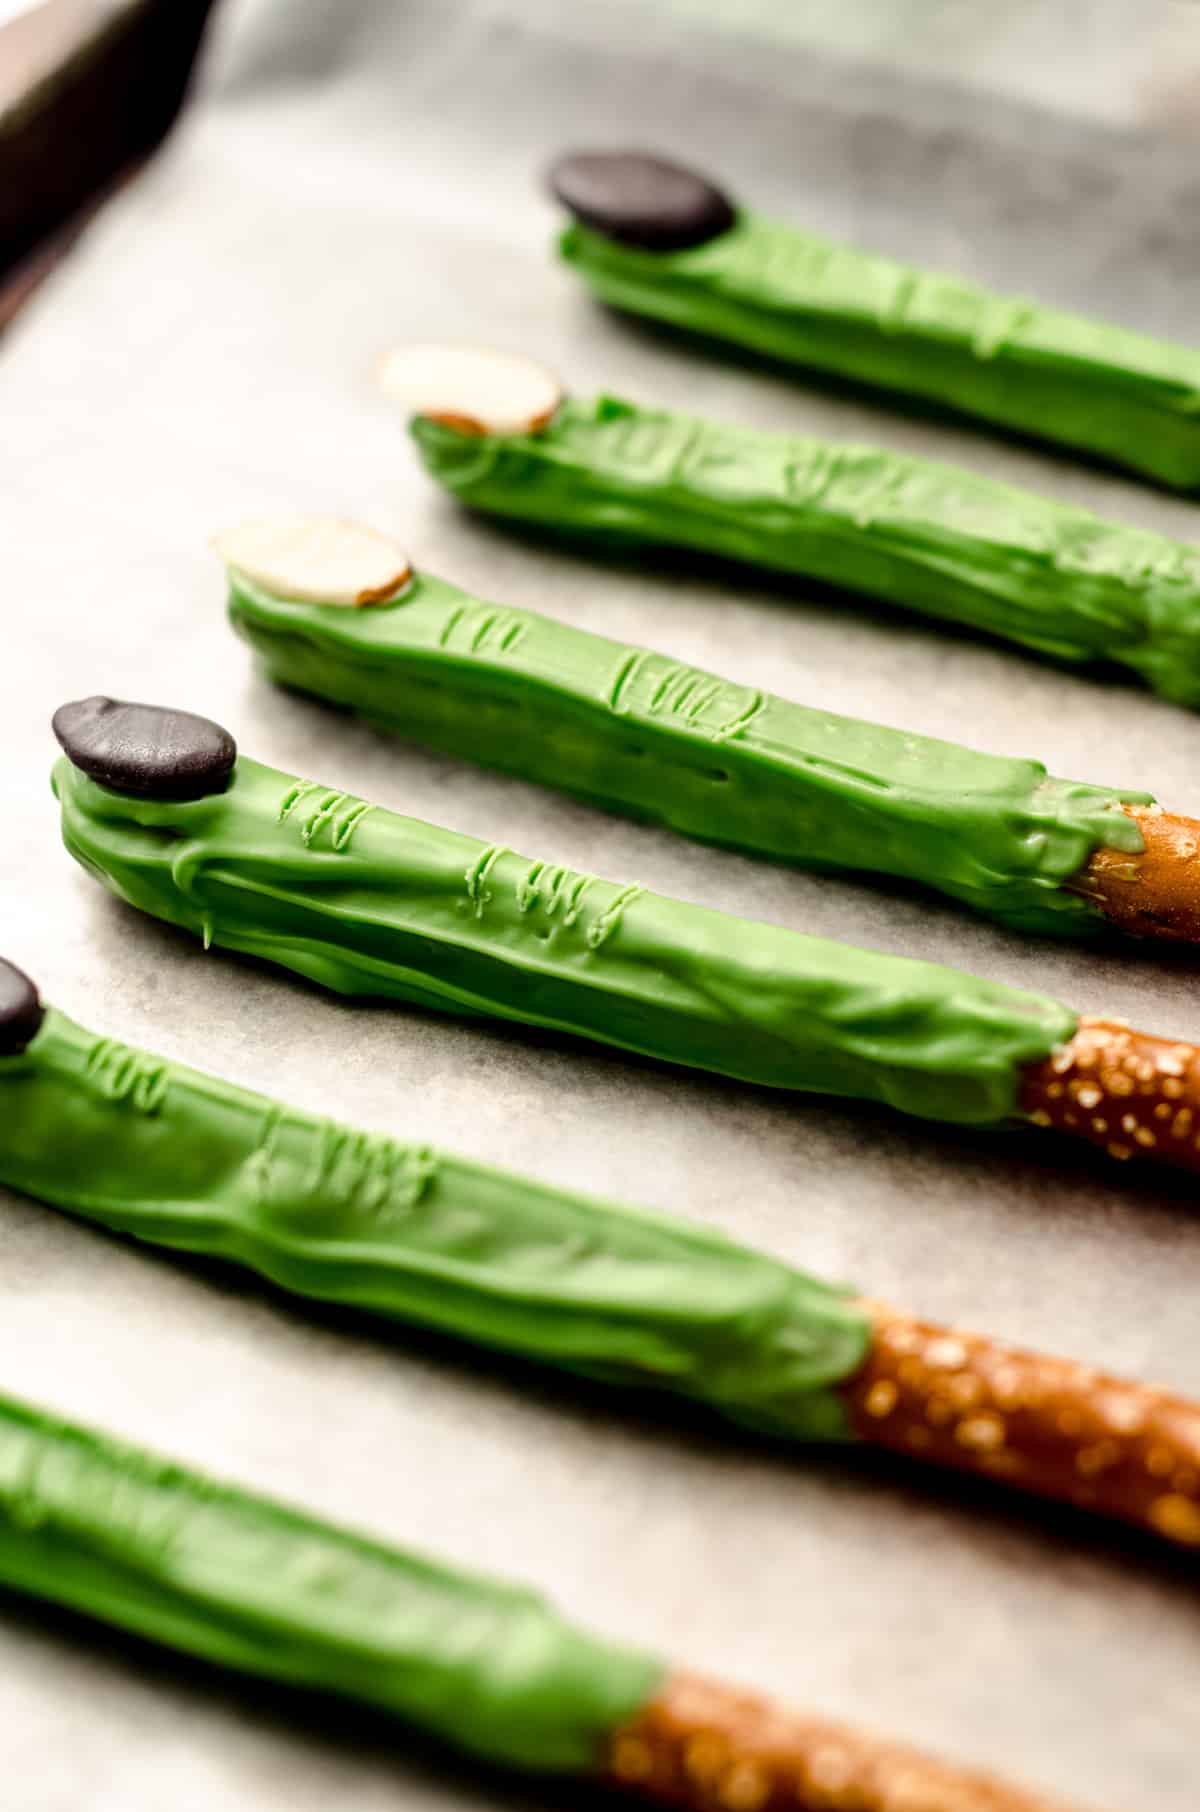
I aimed for 3 small lines just below the slivered almond and then 3 larger lines about halfway down the pretzel rod to look most authentic. I then surrounded the 3 lines with 2 larger arc lines. Get creative and do whatever looks best to you!
It shouldn’t take long for your witch fingers to dry completely, and then they’re ready to go!
HOW TO STORE WITCH FINGERS
Just like any pretzel, you don’t want these Halloween fingers to go stale. Store them in an airtight container and they’ll stay nice and crunchy for several days.
Display them in a glass jar, a witch cauldron, a pumpkin, or on a Halloween plate for some spooky presentation. They also make great additions to Halloween goodie bags for a class party (if you are allowed to use tree nuts), and kids and adults alike think they’re pretty cute.
I hope you find these witches fingers a fun addition to your spooky celebration or ghoulish food spread this year, and I’m looking forward to seeing what kind of unique spins you all put on them to make Halloween chocolate covered pretzel rods a little more interesting!

Witch Finger Pretzels
Ingredients
WITCH NAILS
- 2 ounces (57g) black candy melts1
- 12 slivered almonds2
WITCH FINGERS
- 12 large pretzel rods about 7 to 8 inches long
- 6 ounces (170g) green candy melts3
Instructions
WITCH NAILS
- Line a large baking sheet with parchment paper or a silicone baking mat. Set aside.
- Place the black candy melts into a small microwave safe bowl, then microwave on high in 20 second increments, stopping to stir after each time in the microwave, until smooth.2 ounces (57g) black candy melts1
- Using a fork, dip each slivered or whole almond one at a time into the melted candy melts, being sure to coat each completely. Use the fork to remove the almond, then place on the prepared baking sheet to harden completely before dipping the pretzel rods (this should only take about 15-20 minutes).12 slivered almonds2
WITCH FINGERS
- When your almonds are ready (you've either dipped them and let them dry or you're just using plain almonds), place the green candy melts into a medium size microwave safe bowl, then microwave on high in 20 second increments, stopping to stir after each time in the microwave, until smooth.6 ounces (170g) green candy melts3
- Using a spoon, coat each pretzel rod with the melted green coating, going about ½ to ⅔ of the way up the rod. Gently shake off any excess coating, then lay each pretzel rod flat on the prepared baking sheet.12 large pretzel rods
- As you lay each pretzel rod down, gently press an almond onto the tip of the pretzel rod where a nail would be.
- Allow the green coating to set a bit before using a toothpick to draw knuckle wrinkles on each finger, if desired. Allow witch finger pretzels to set completely before serving or storing. Pretzels stay fresh covered tightly at room temperature up to 2 weeks.
Notes
- Black candy melts: you can also use dark or semi-sweet chocolate and leave it plain, or you can add black gel coloring. It is also totally optional to dip the almonds, and you can leave them plain/as is.
- Slivered almonds: you can also use raw whole almonds.
- Green candy melts: you can also use white chocolate or white candy melts and color it green. I suggest using more yellow than blue, or coloring with electric green gel color.
Nutrition Disclosure
All nutritional values are approximate and provided to the reader as a courtesy. Changing ingredients and/or quantities will alter the estimated nutritional calculations.
Disclaimer: These posts and recipes are part of the week-long event (#HalloweenTreatsWeek) but all opinions are 100% mine. We would like to thank our amazing brand sponsor, Dixie Crystals, who provided a prize pack for our giveaways and also sent some samples and products to the #HalloweenTreatsWeek bloggers to use in their recipes.
This is a very easy recipe.
Thank you!
These are too cute! And those knuckle marks really make them!
Thanks, Jenni– I had fun!
These are adorable. I am going to pass the recipe on to my stepdaughter who LOVES Halloween, but has limited cooking/baking skills. I think even she can handle these.
Most definitely, Courtney!
These pretzels are so fun! What a terrific idea to make them into witch fingers. Perfect for kids and parties.
So fun! I think J would love helping me make these.
Absolutely!
These are creepy and cute and fun! They were so easy to make and such a delicious fall treat! Perfect to get in the Halloween mood!
Thanks so much, Rebecca!
These witch fingers look spooky and creepy and I LOVE it!
Everyone loves these at a Halloween Party! They are perfect for goodie bags!
Perfect for that!
So much fun! My 3 year old and 5 year old helped make these for my 5 year old’s Kindergarten Halloween party. We all had a blast. They’re simple enough, but so festive and tasty. I used a double boiler to melt my white almond bark and it worked perfectly.
Awesome! I love that 🙂 thanks so much, Sara!
If you have kids, you know that HALLOWEEN is a BIG DEAL. HUGE. I want to get fun and creative with my kids, but the simpler the better. This here is the most perfect Halloween edible craft. It’s easy. It’s fun. It’s super cute. And it’s super simple so your kids can actually participate. And we even took the idea and advice and ran! We got creative and made some other fun ideas. Both thumbs up!
I LOVE your variations– nicely done, Brooke!