
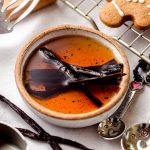
How to make Homemade Vanilla Extract
As an Amazon Associate, I earn from qualifying purchases. Read the full disclosure here.
Homemade vanilla extract is so simple. Only 2 ingredients and about 6 weeks of steeping and you’re on your way to your own high-quality flavoring!
Homemade Vanilla Extract Recipe
In recent years, vanilla extract has become more and more expensive as vanilla crops continue to be destroyed by natural disasters, commercial factories, and real estate in all different parts of the world.
It is a real problem for many reasons, and can be troublesome for the home baker who bakes as often as I do (umm, weekly, as you can imagine).
Making your own vanilla extract is actually so simple, and if you’ve never made it before, you’ll read this tutorial and start to wonder why in the world you never have.
It is so laughably easy, and seriously, if you can shake a bottle… You can make your own real vanilla extract.
So friends, let’s do this.
HOMEMADE TASTES BETTER
I find that homemade vanilla extract really takes my desserts to a whole new level. While you can get good quality vanilla extract at the store, it is much more cost-effective to make the real stuff in the comfort of your own home.
First of all, there’s just something that tastes better about homemade desserts to begin with, but when you throw homemade pure vanilla extract into the mix, we’re talking a whole different ball game.
Plus, it’s your own little blend! That puts true meaning to “personal touch” when it comes to the love-labor of a homemade dessert (I promise, it’ll turn your chocolate chip cookies into a whole new level of amazing!) or a gift to fellow home bakers.
Homemade Vanilla Extract ingredients
As I mentioned, the list of vanilla extract ingredients is a whole big TWO.
That’s right… You only need 2 things for homemade vanilla extract.
Ok, 3 if you include “a bottle” as something you need.
Oh, and 6 weeks.
Which could be one thing, or 6 things, depending on how you’re looking at this.
Ok, ok, we’re way off topic.
Vanilla.
Va-nill-a.
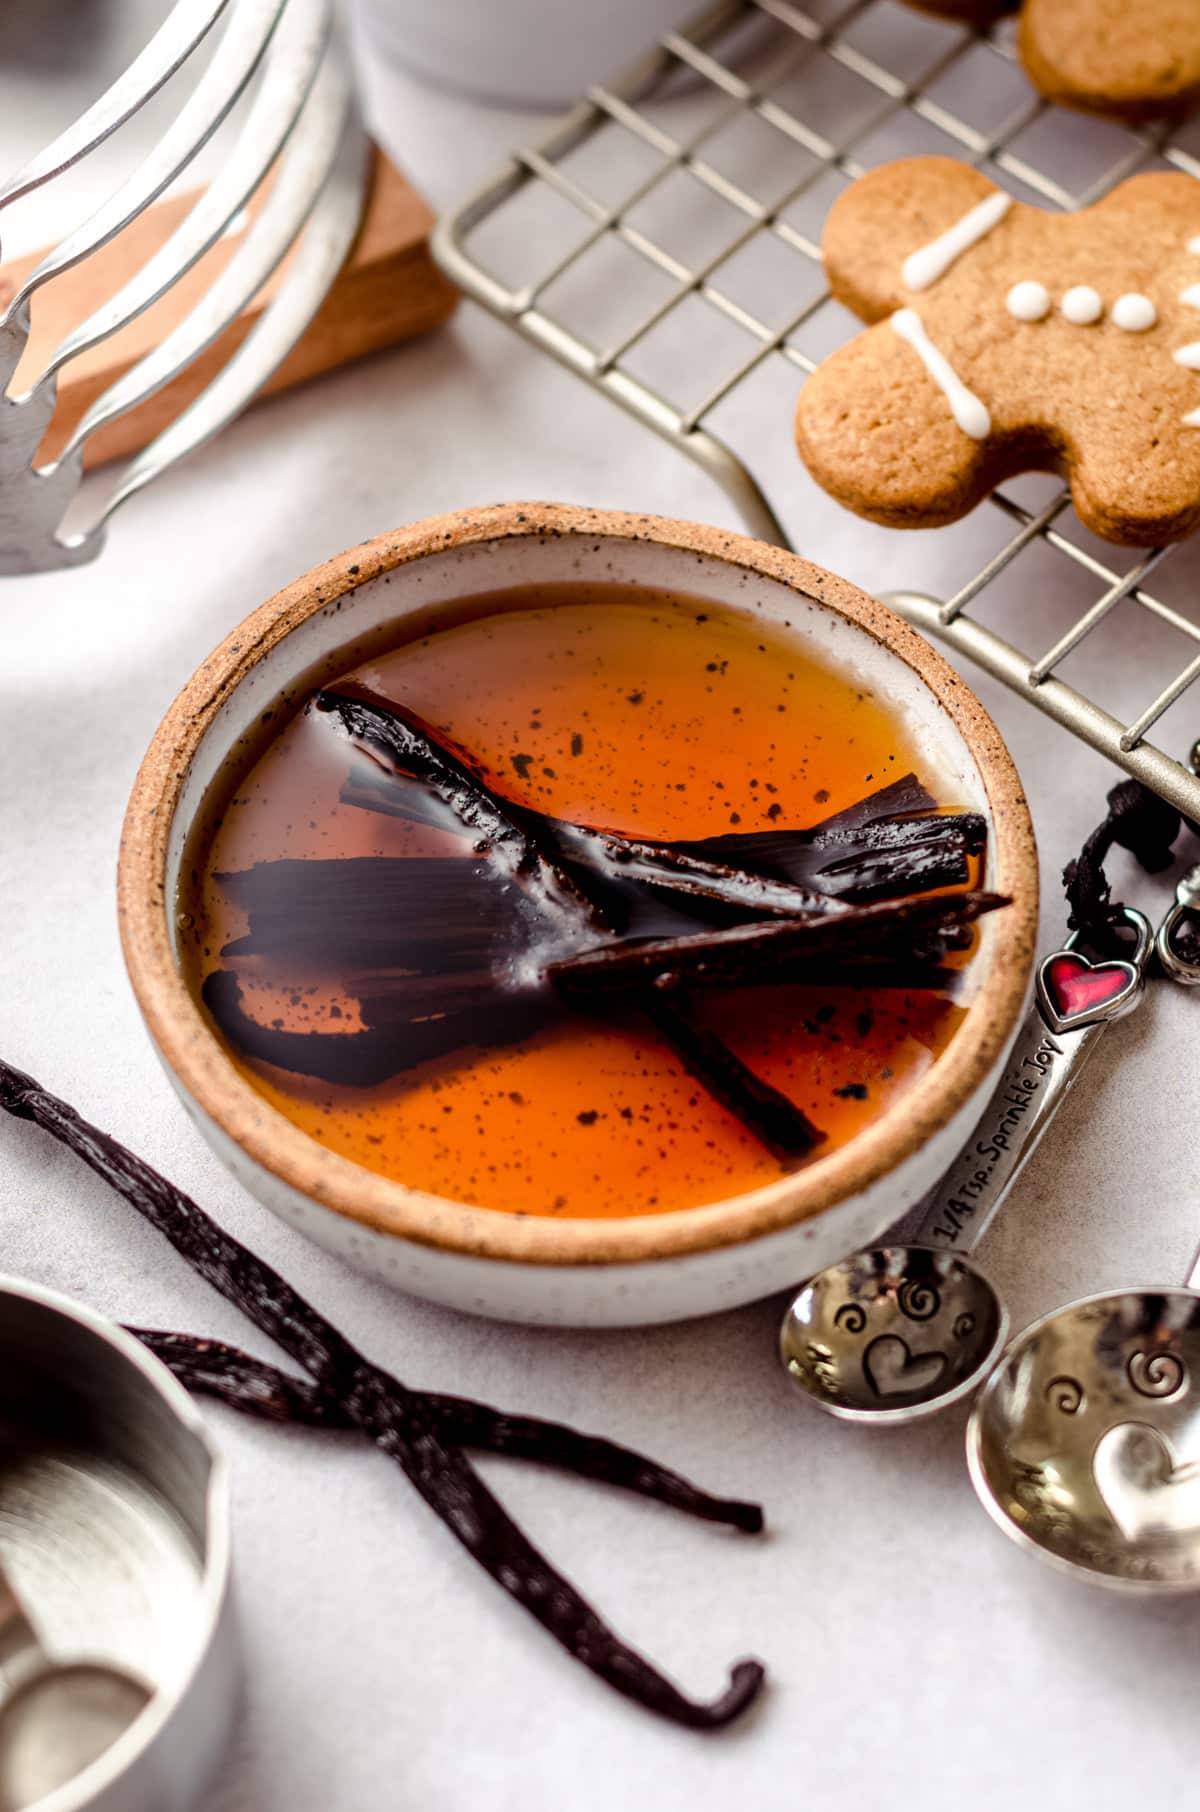
VANILLA BEANS
First, duh, you need some vanilla beans. You can get these plenty of places, but for this particular batch, I just bought McCormick’s at the grocery store. They were on sale, and I paid $9.99 for 2 of them.
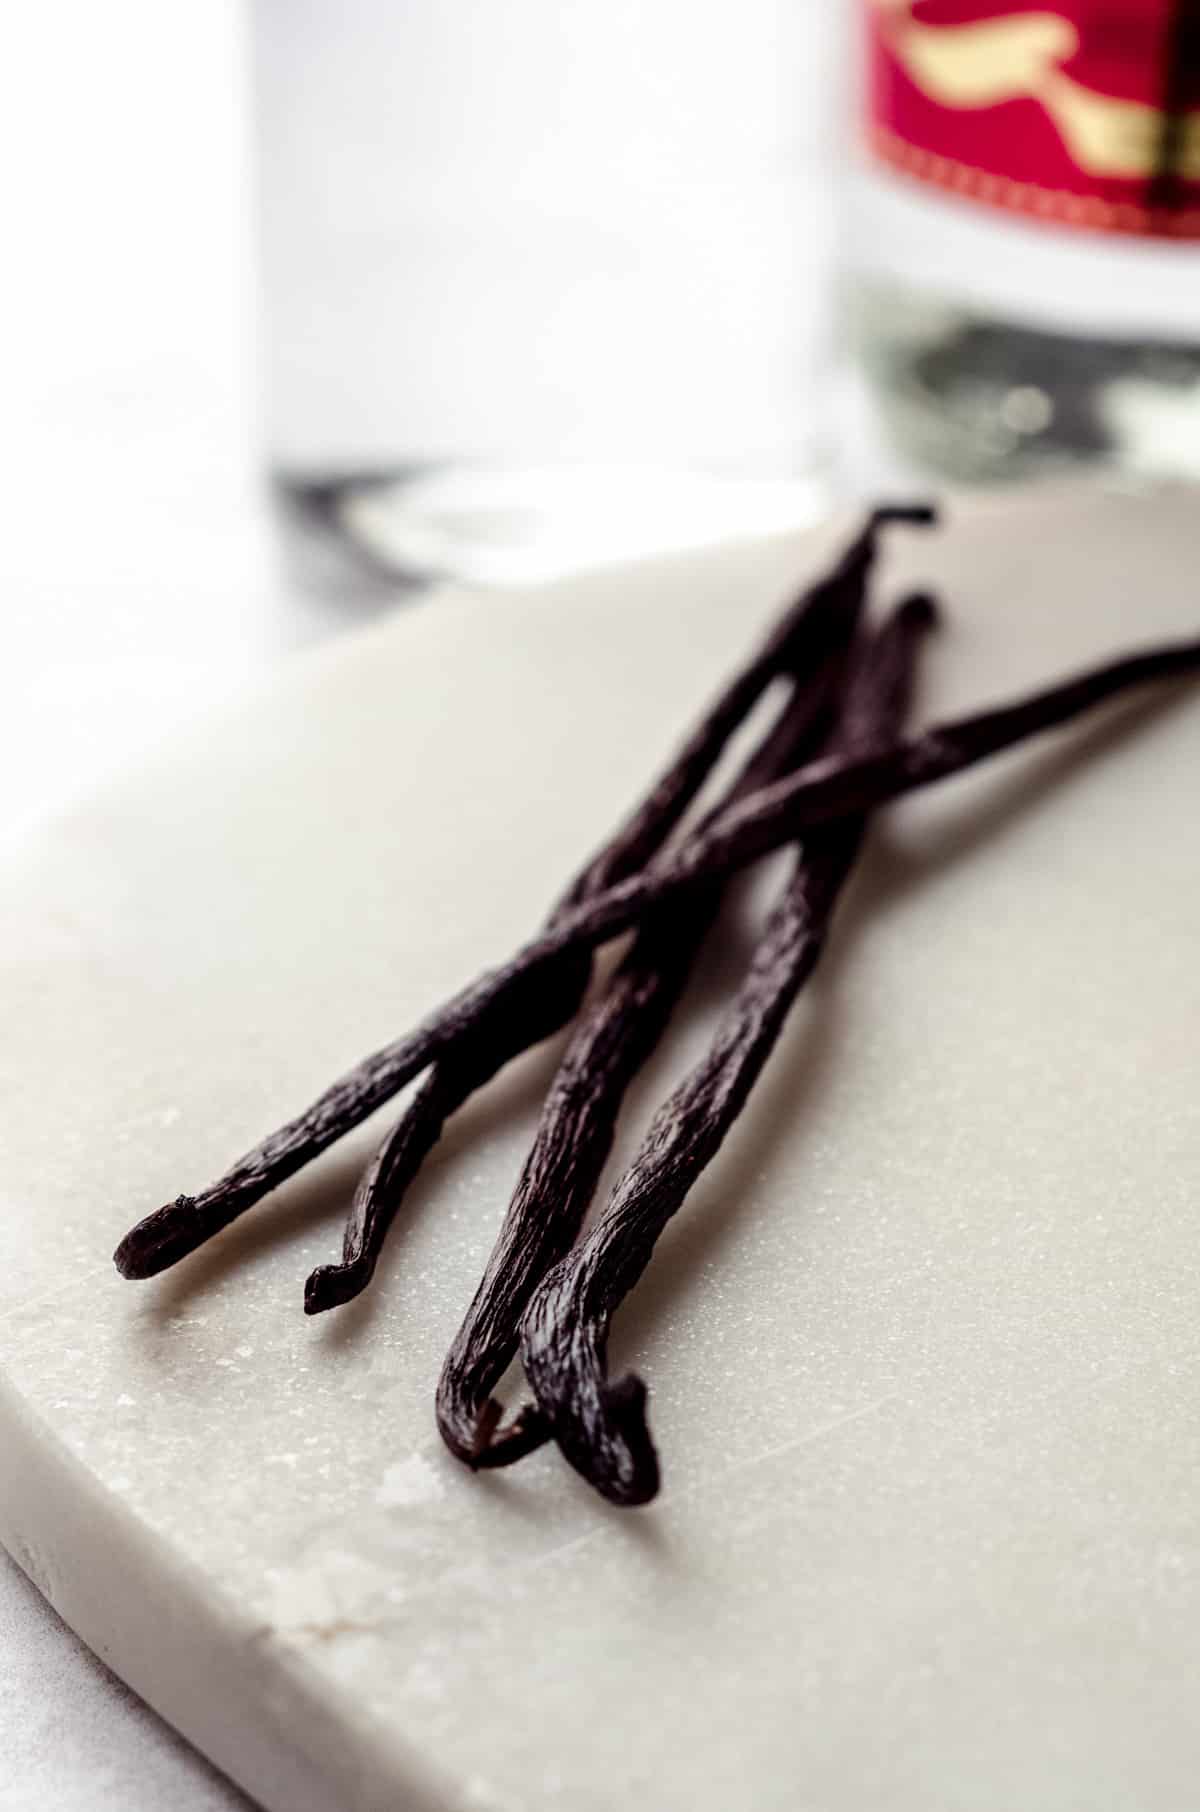
Not bad in a pinch, but not the best deal. Consider Rodelle or Beanilla if you think you’re going to want a larger quantity.
You have several vanilla bean flavors to choose from.
USE LIQUOR TO STEEP YOUR BEANS
Next, you need some kind of alcohol. My first original bottle of vanilla extract was steeped in vodka, but over the years, I have found I prefer my extract steeped in rum. You may also use brandy or bourbon.
Typically, you’ll want to use a neutral flavored alcohol, but I have used vanilla flavored liquor in the past.
Like I already mentioned, It does not need to be top shelf.
Plus, you’re probably not going to be taking shots of your own homemade vanilla, so do some squats and check out that bottom shelf selection.
BOTTLES
Next, find a bottle with a tight fitting lid. It can be whatever size you want it to be.
I suggest at least a 6 ounce bottle, but if you’re going to make a giant batch and distribute it into smaller bottles, you can choose any size, really.
Just do yourself a favor if you’re going to make one single bottle: measure how much liquid your bottle can hold before you start throwing beans and liquor together.
How to make Homemade Vanilla Extract
Are you ready for this long list of steps?
STEP #1
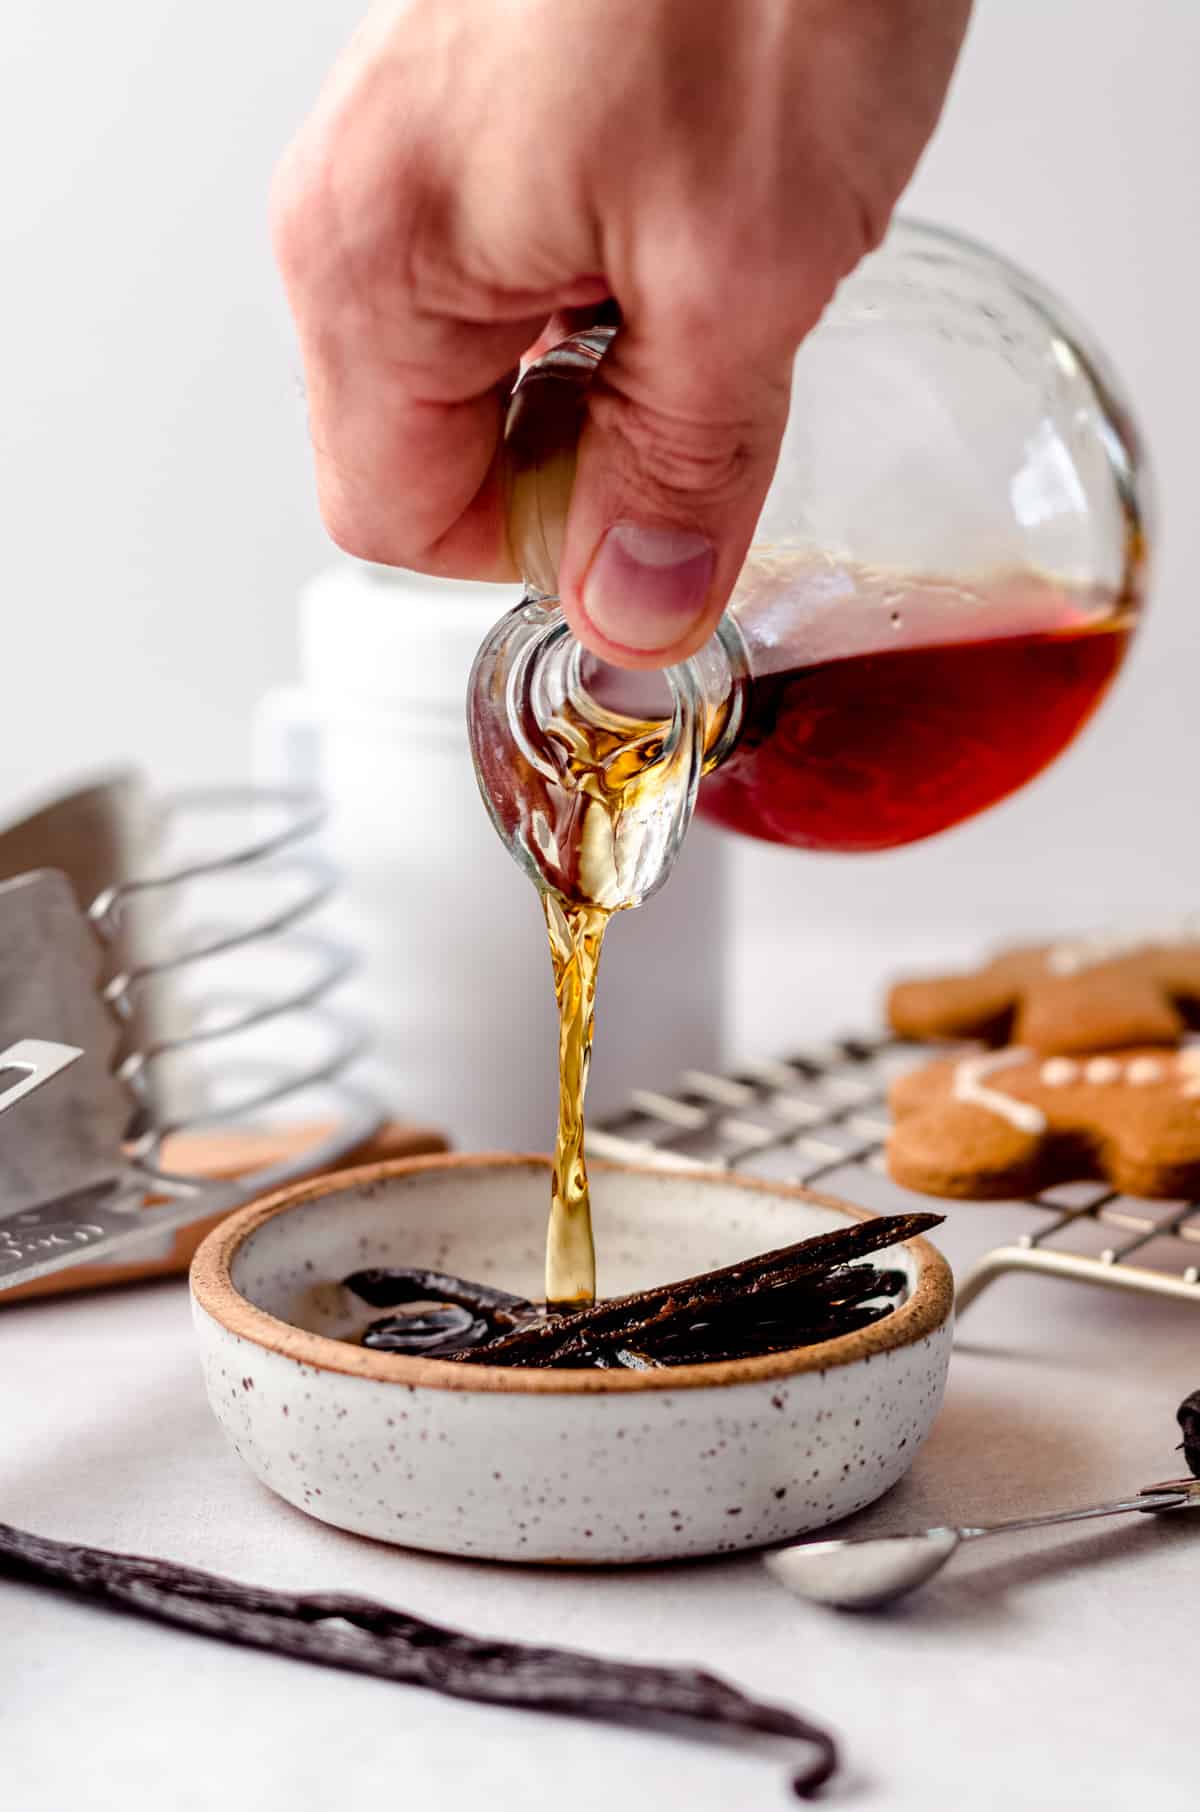
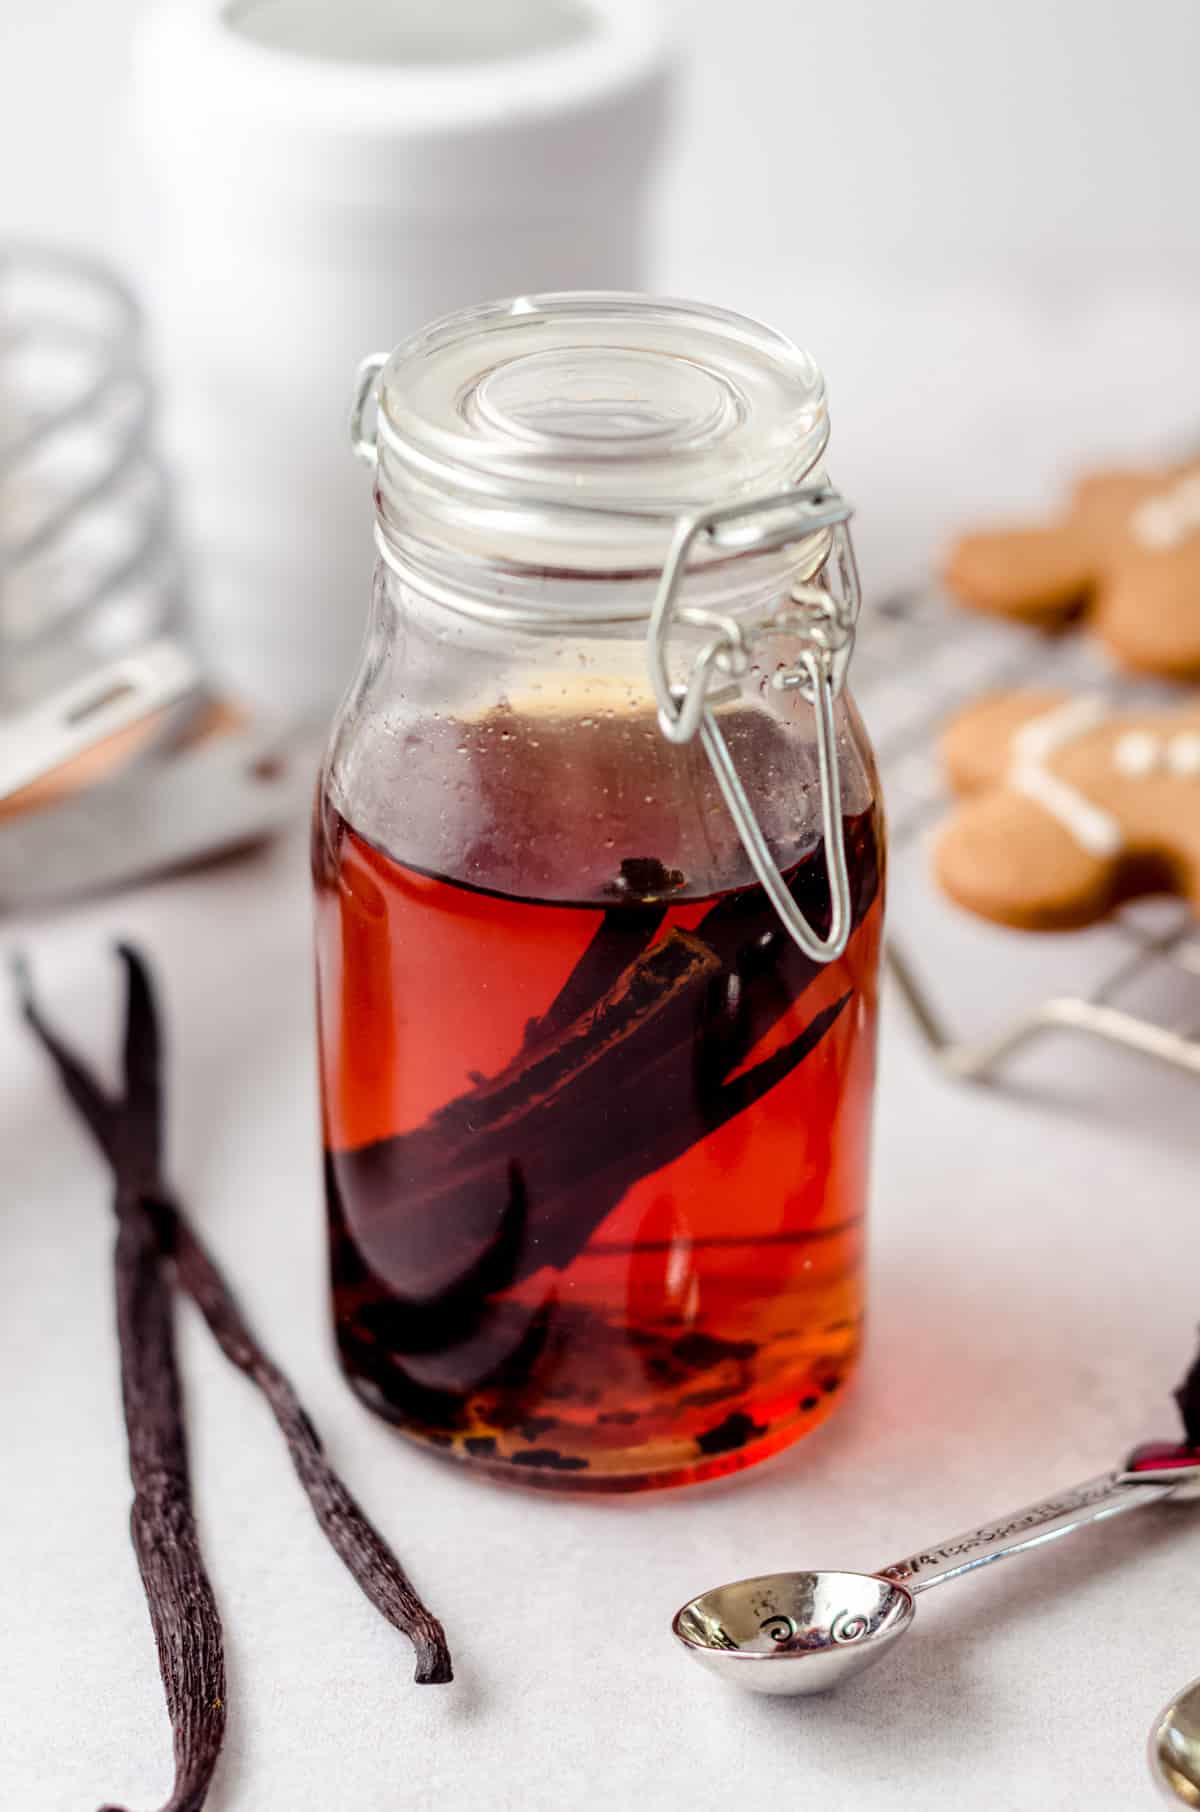
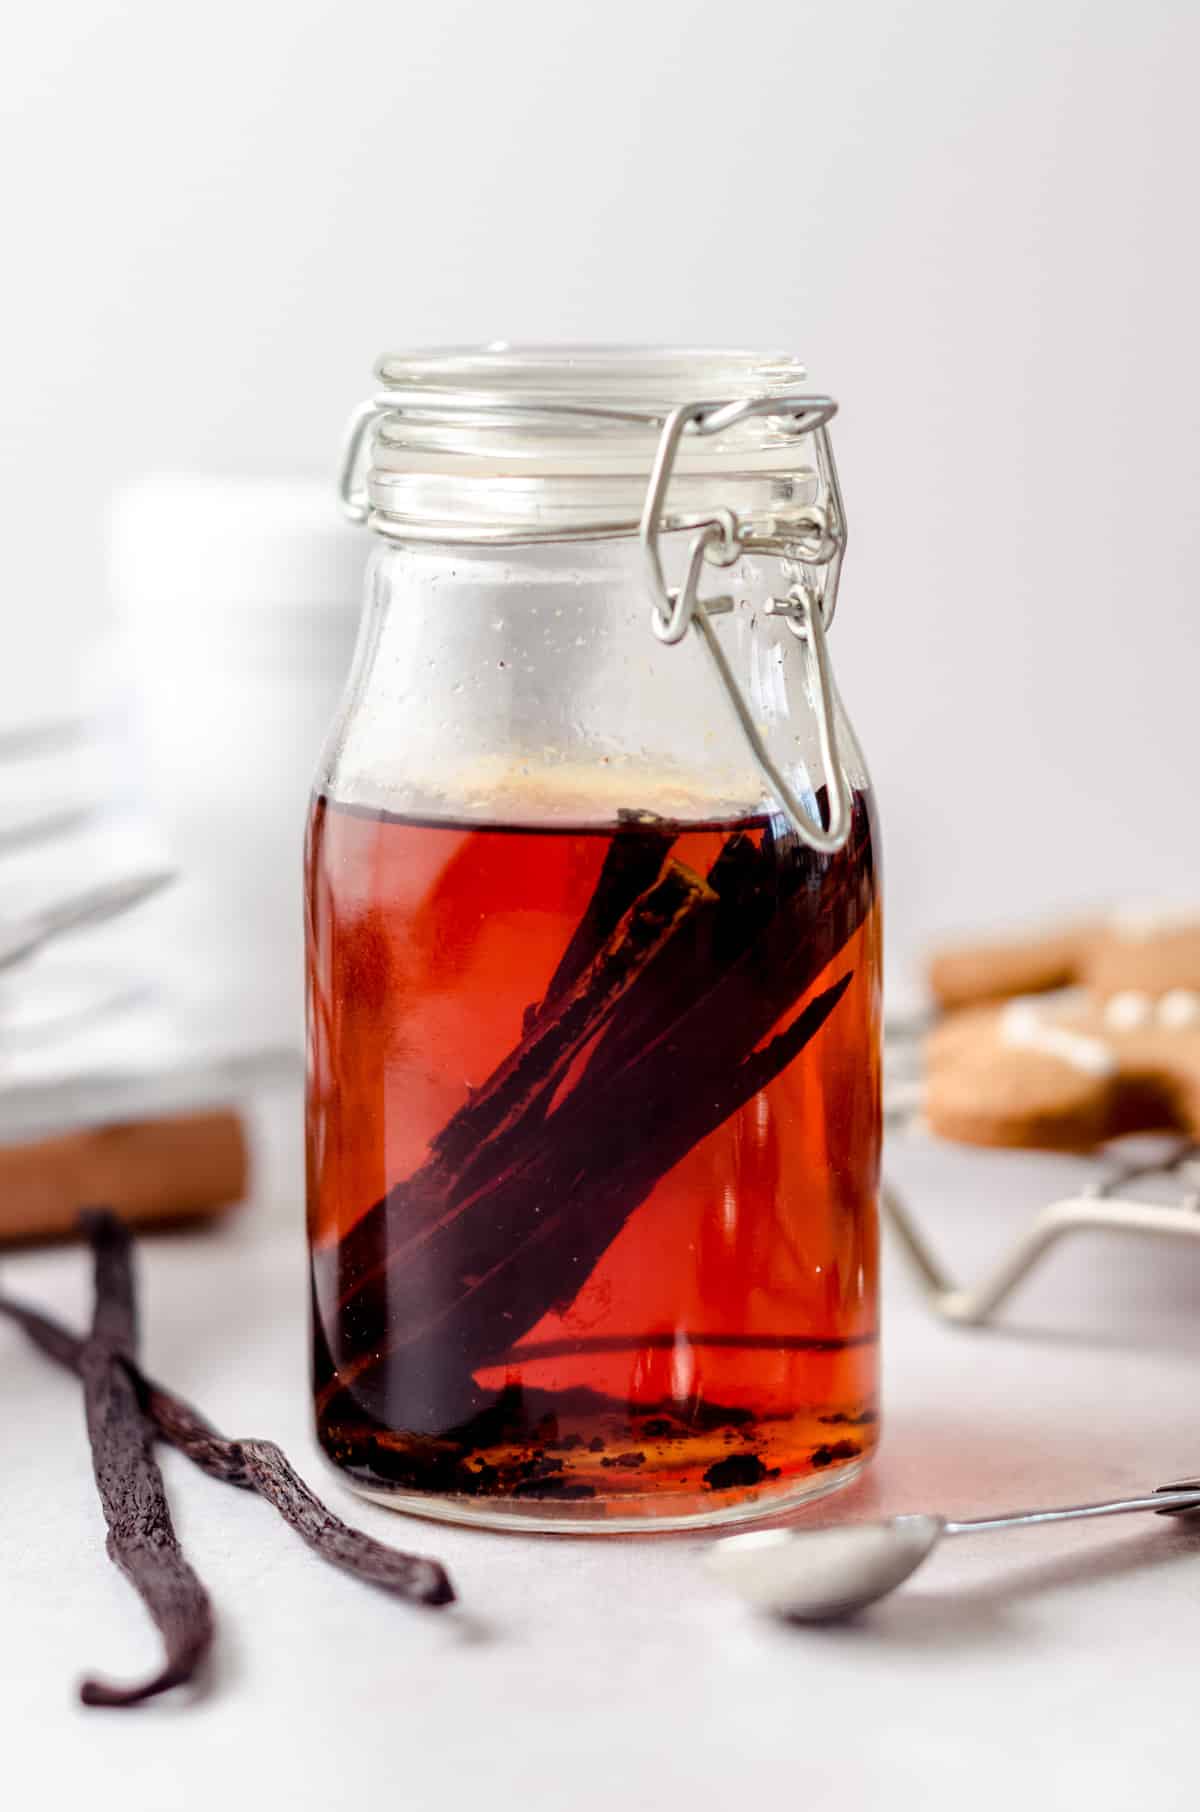
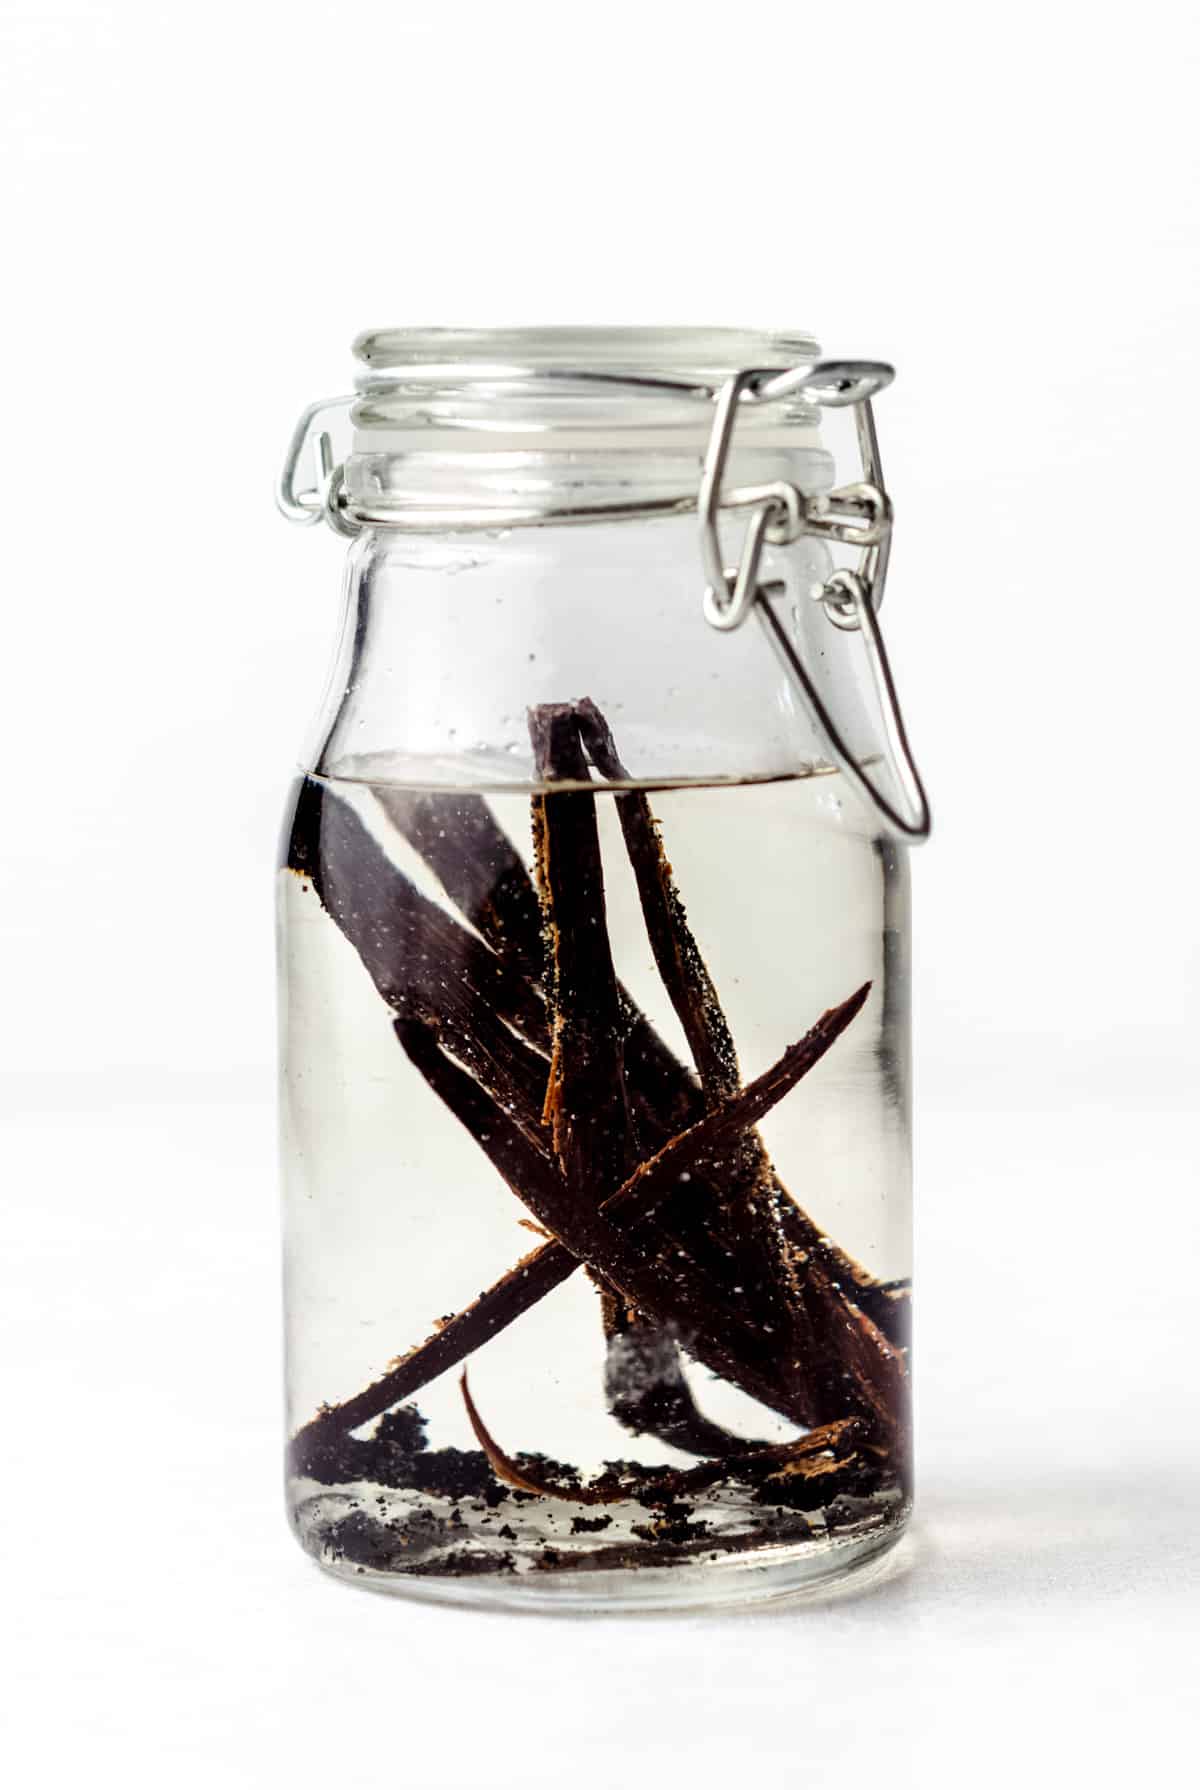
Measure out your alcohol, throw in your beans (I throw in the ends I snipped off as well), and give it a nice shake to get things going.
STEP #2
Then… Put it in a cool, dark place and… Wait.
STEP #3
After 1 week, shake it up.
STEP #4
Then wait another week and shake again.
STEP #5
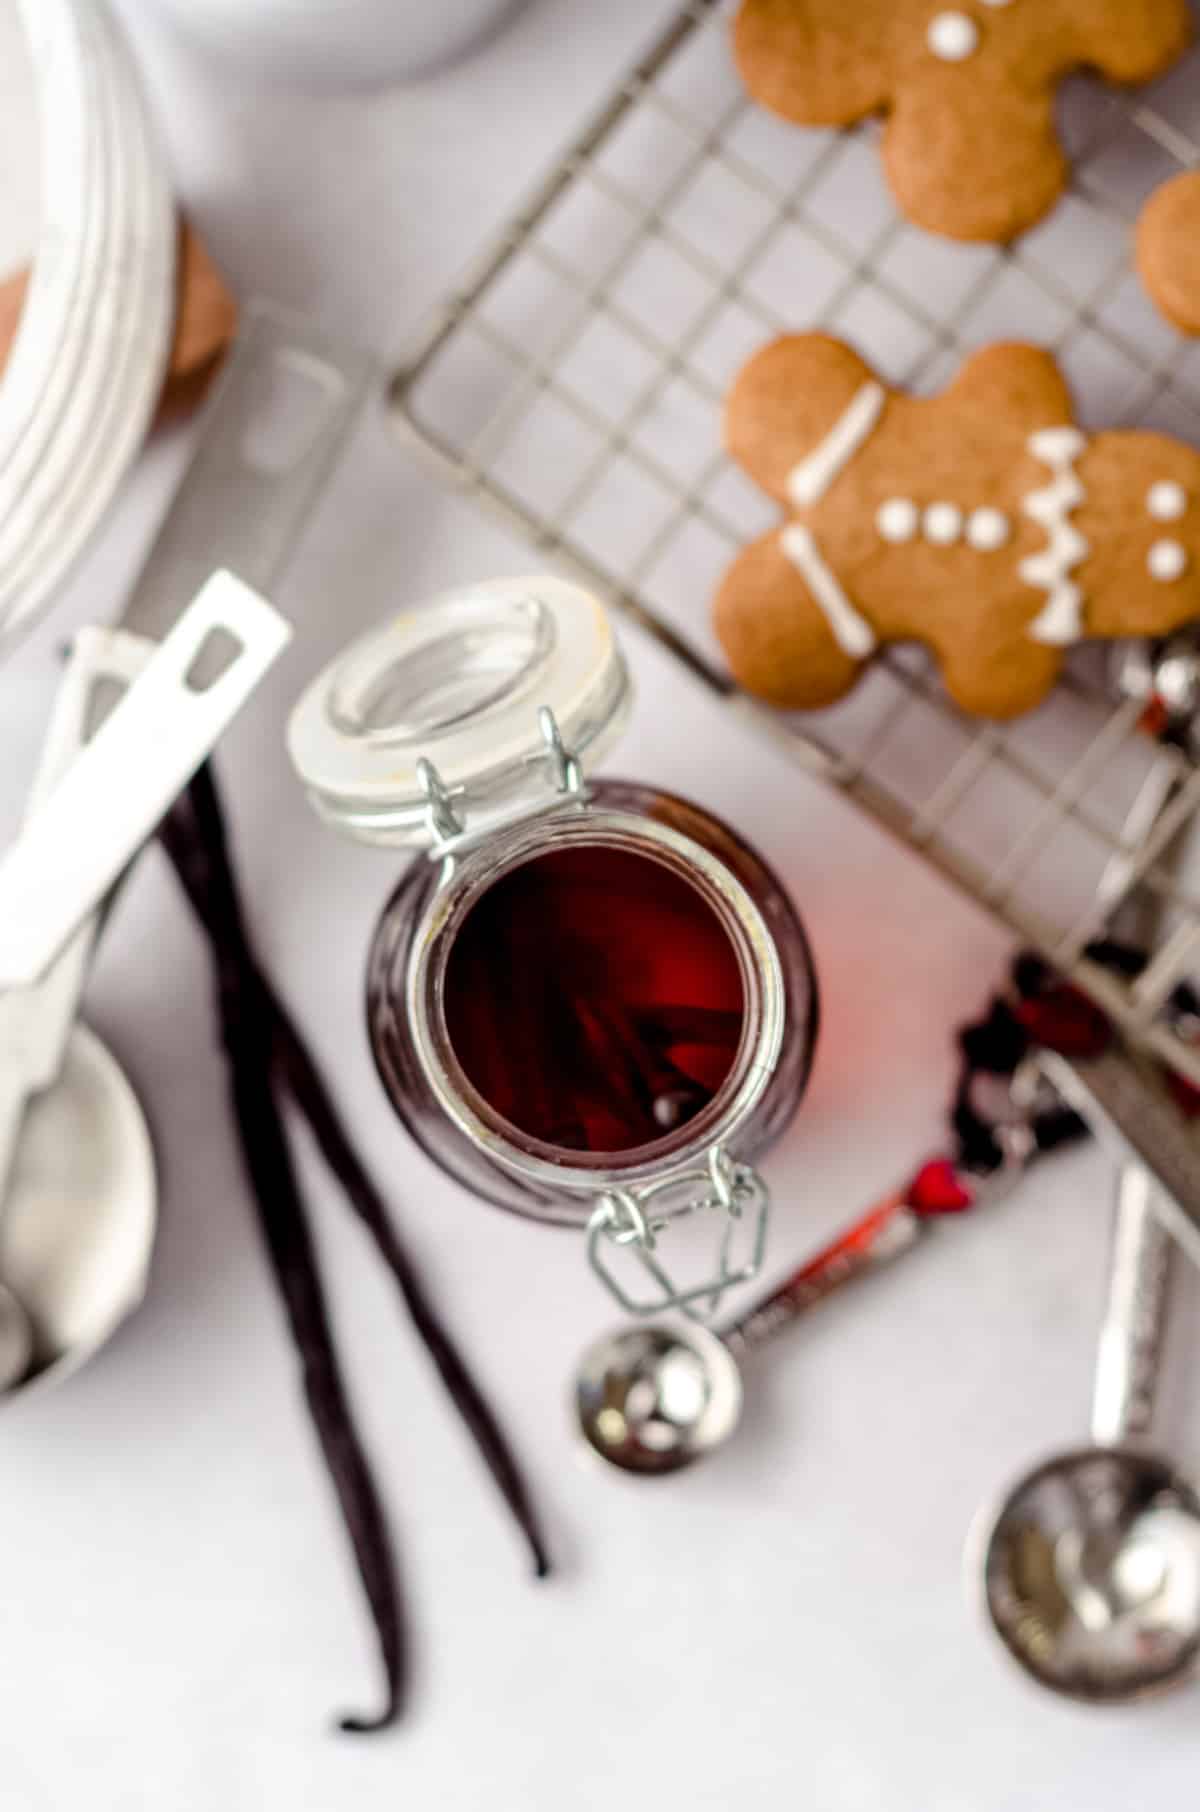
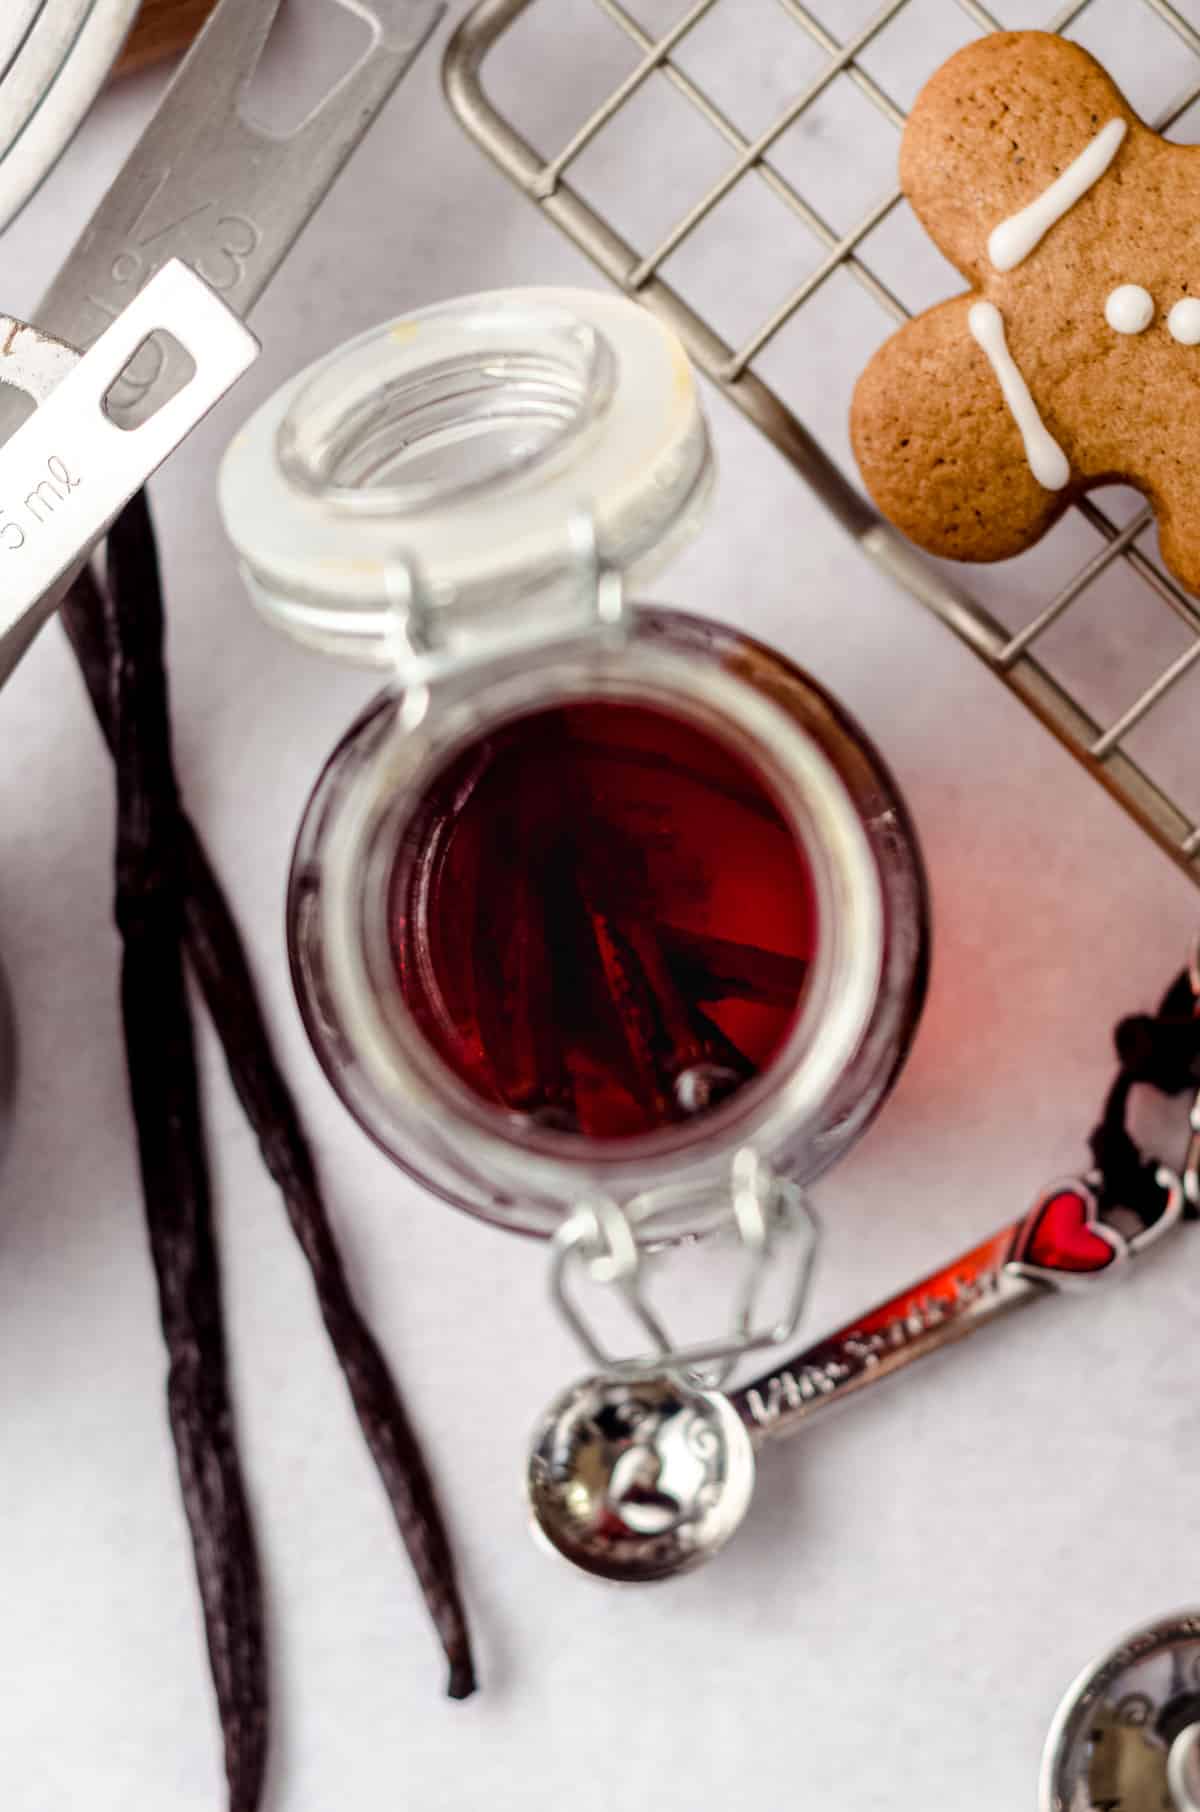
After 6 weeks, your extract is ready to use, and it only gets better and better as it steeps longer.
You just want to make sure it stays in that cool, dark place so that it doesn’t spoil. If you have an amber bottle, you might want to keep it in that.
BEANS TO LIQUID RATIO FOR HOMEMADE VANILLA EXTRACT
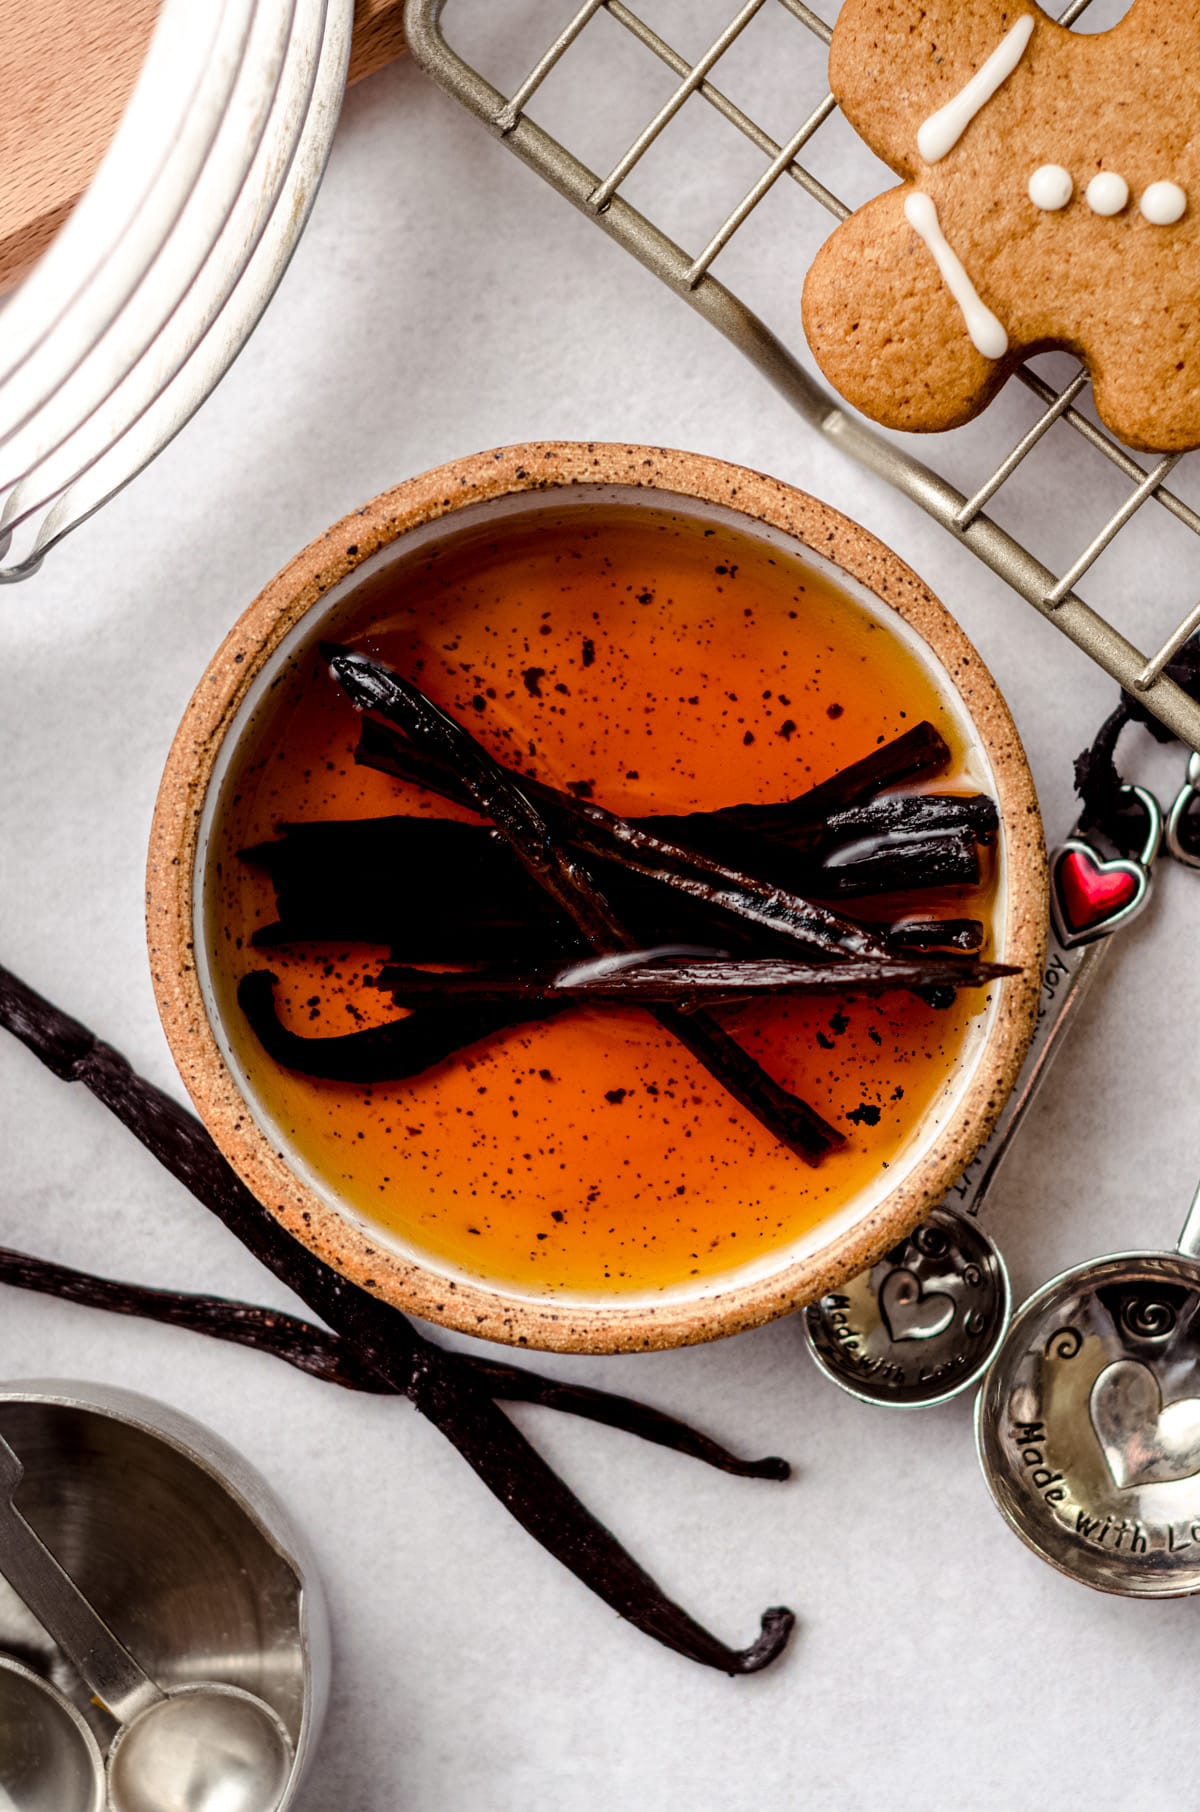
My general rule is about 2-3 beans per 6oz of liquor. I will use 3 if I’m using one of the milder flavored beans.
That said, you might be wondering how many vanilla beans to use for a 750mL bottle of liquor. Since this is about 25 ounces, you’re looking at 8 to 12 beans.
I have seen some people cut their bean pods linearly, but I prefer just to snip off the ends and then cut them in half, allowing the alcohol to make its way through the entire length of the beans.
Just don’t use whole vanilla beans that haven’t at least been punctured. We want those vanilla beans to get all up in that liquid for stronger flavor!
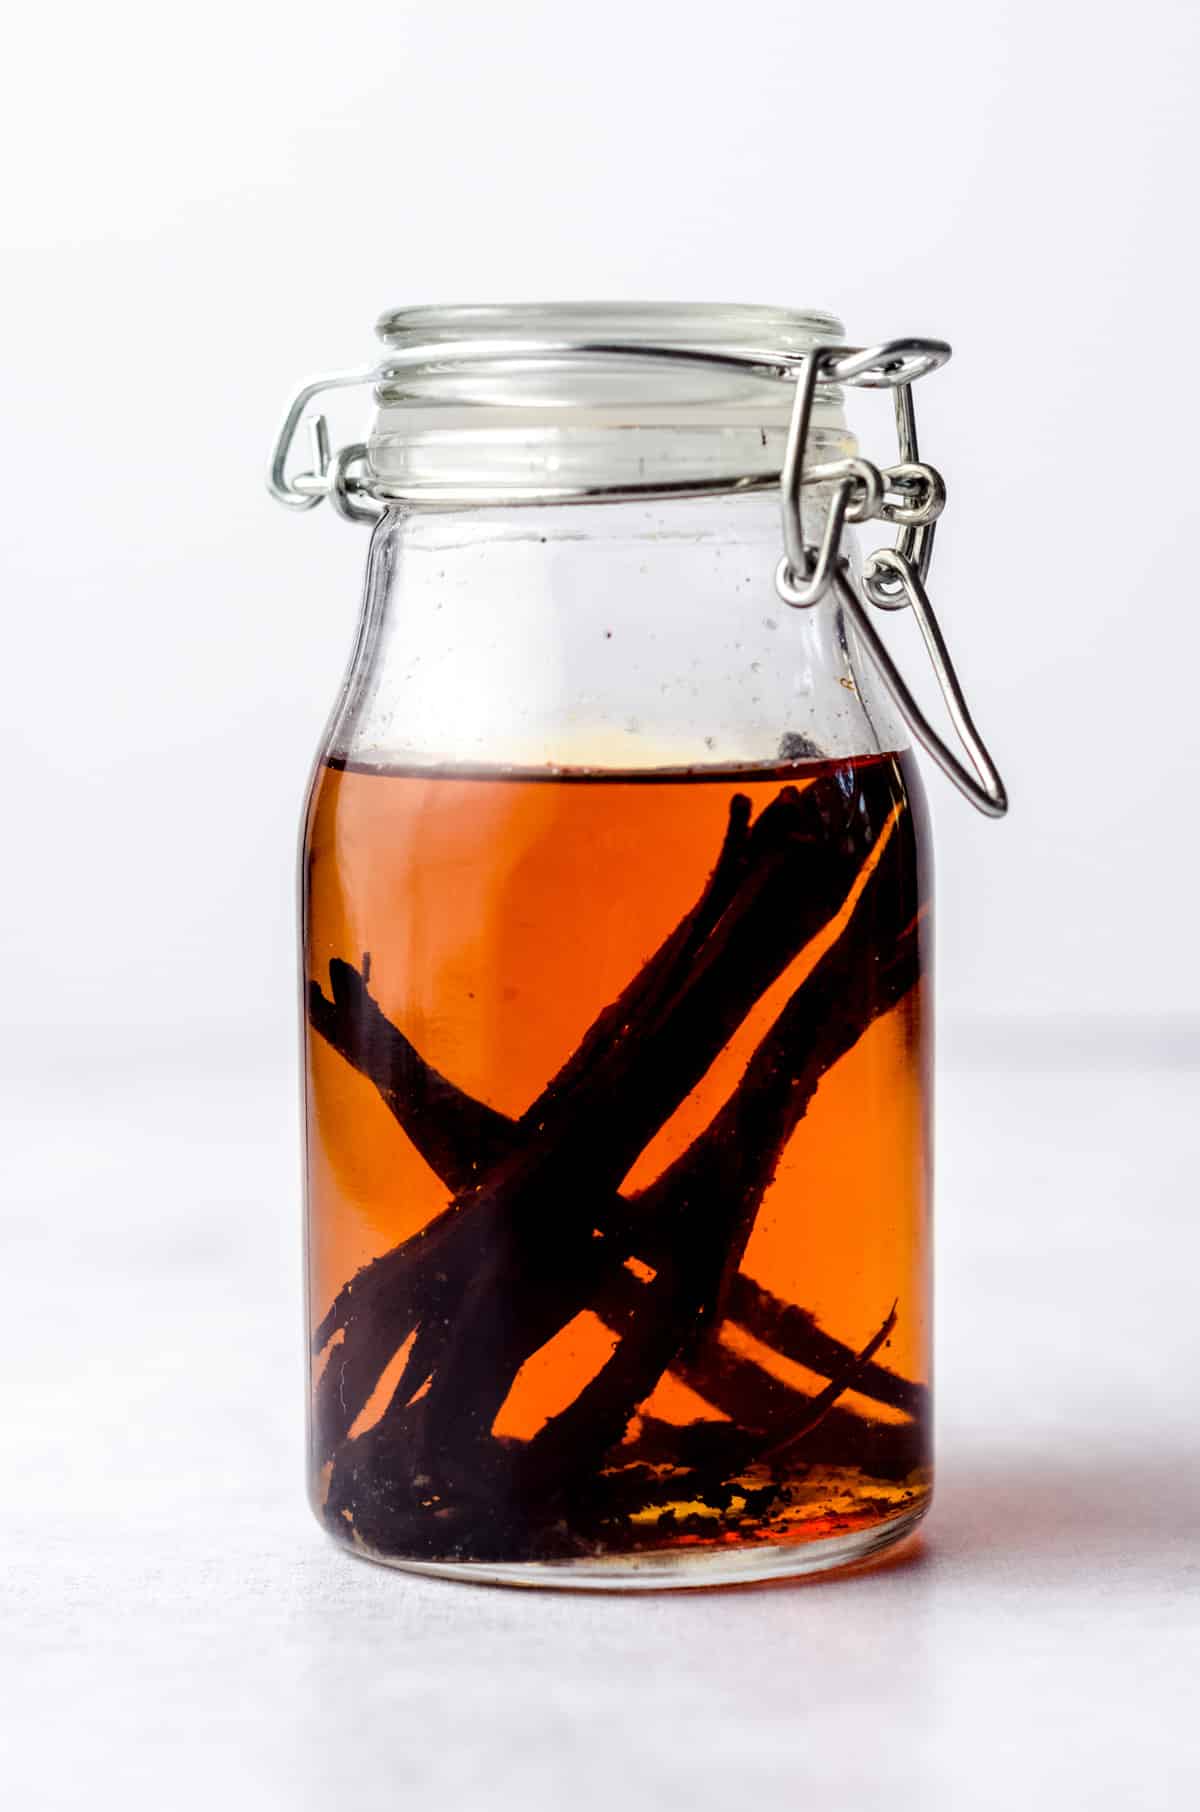
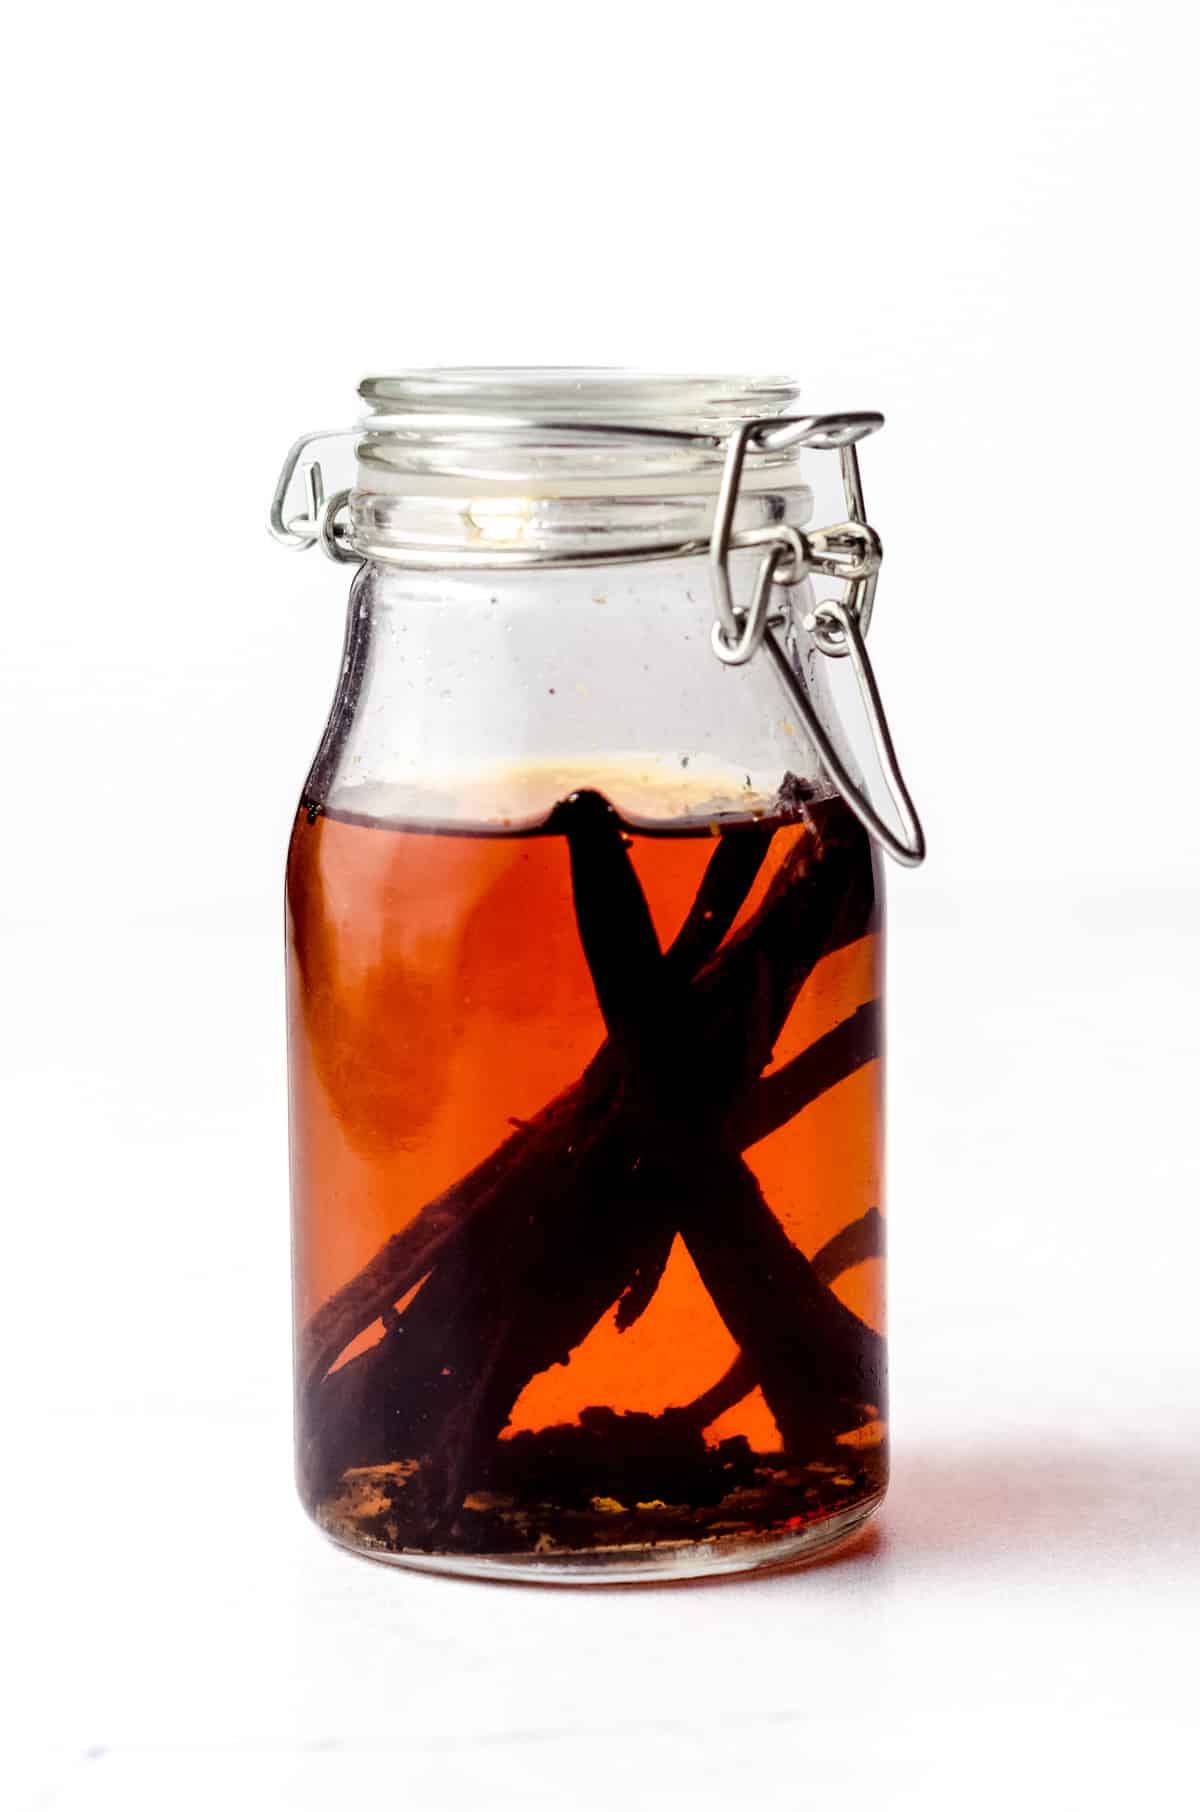
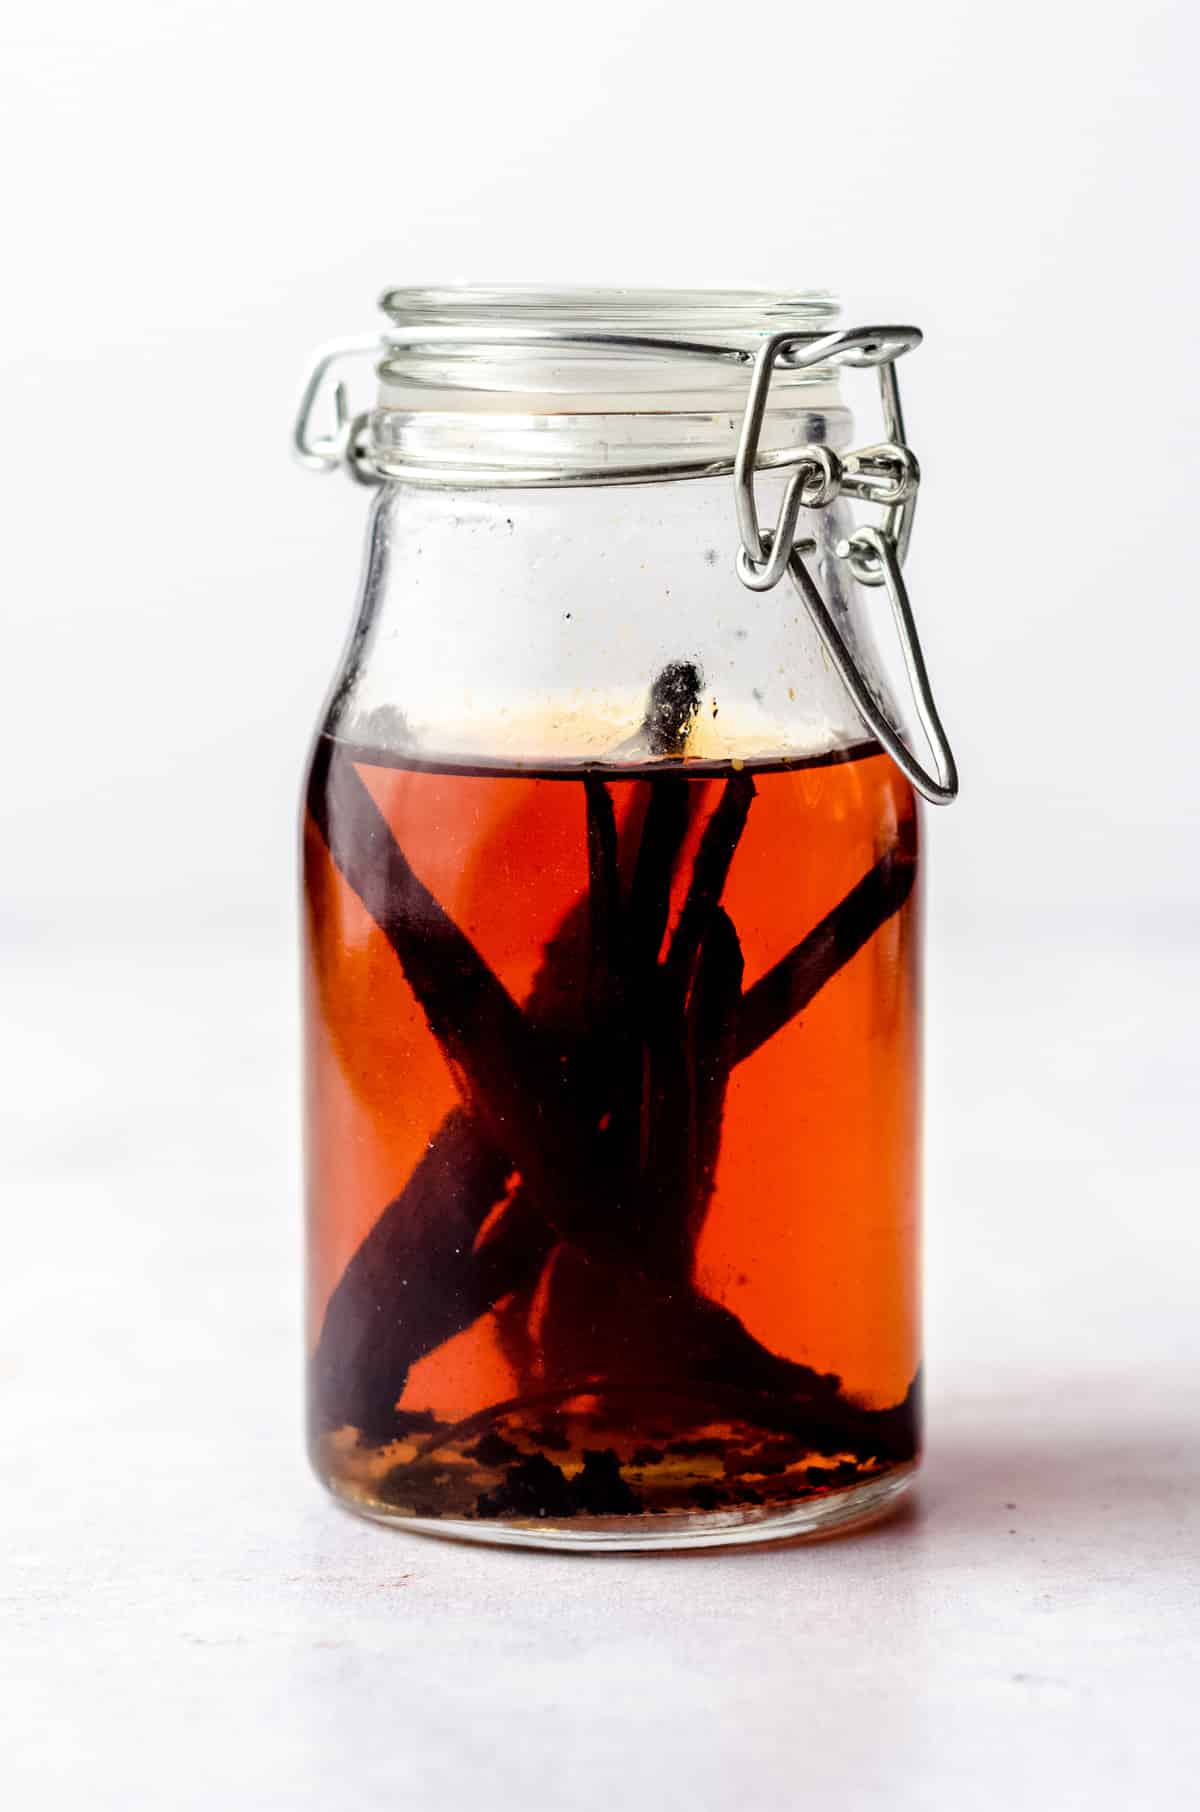
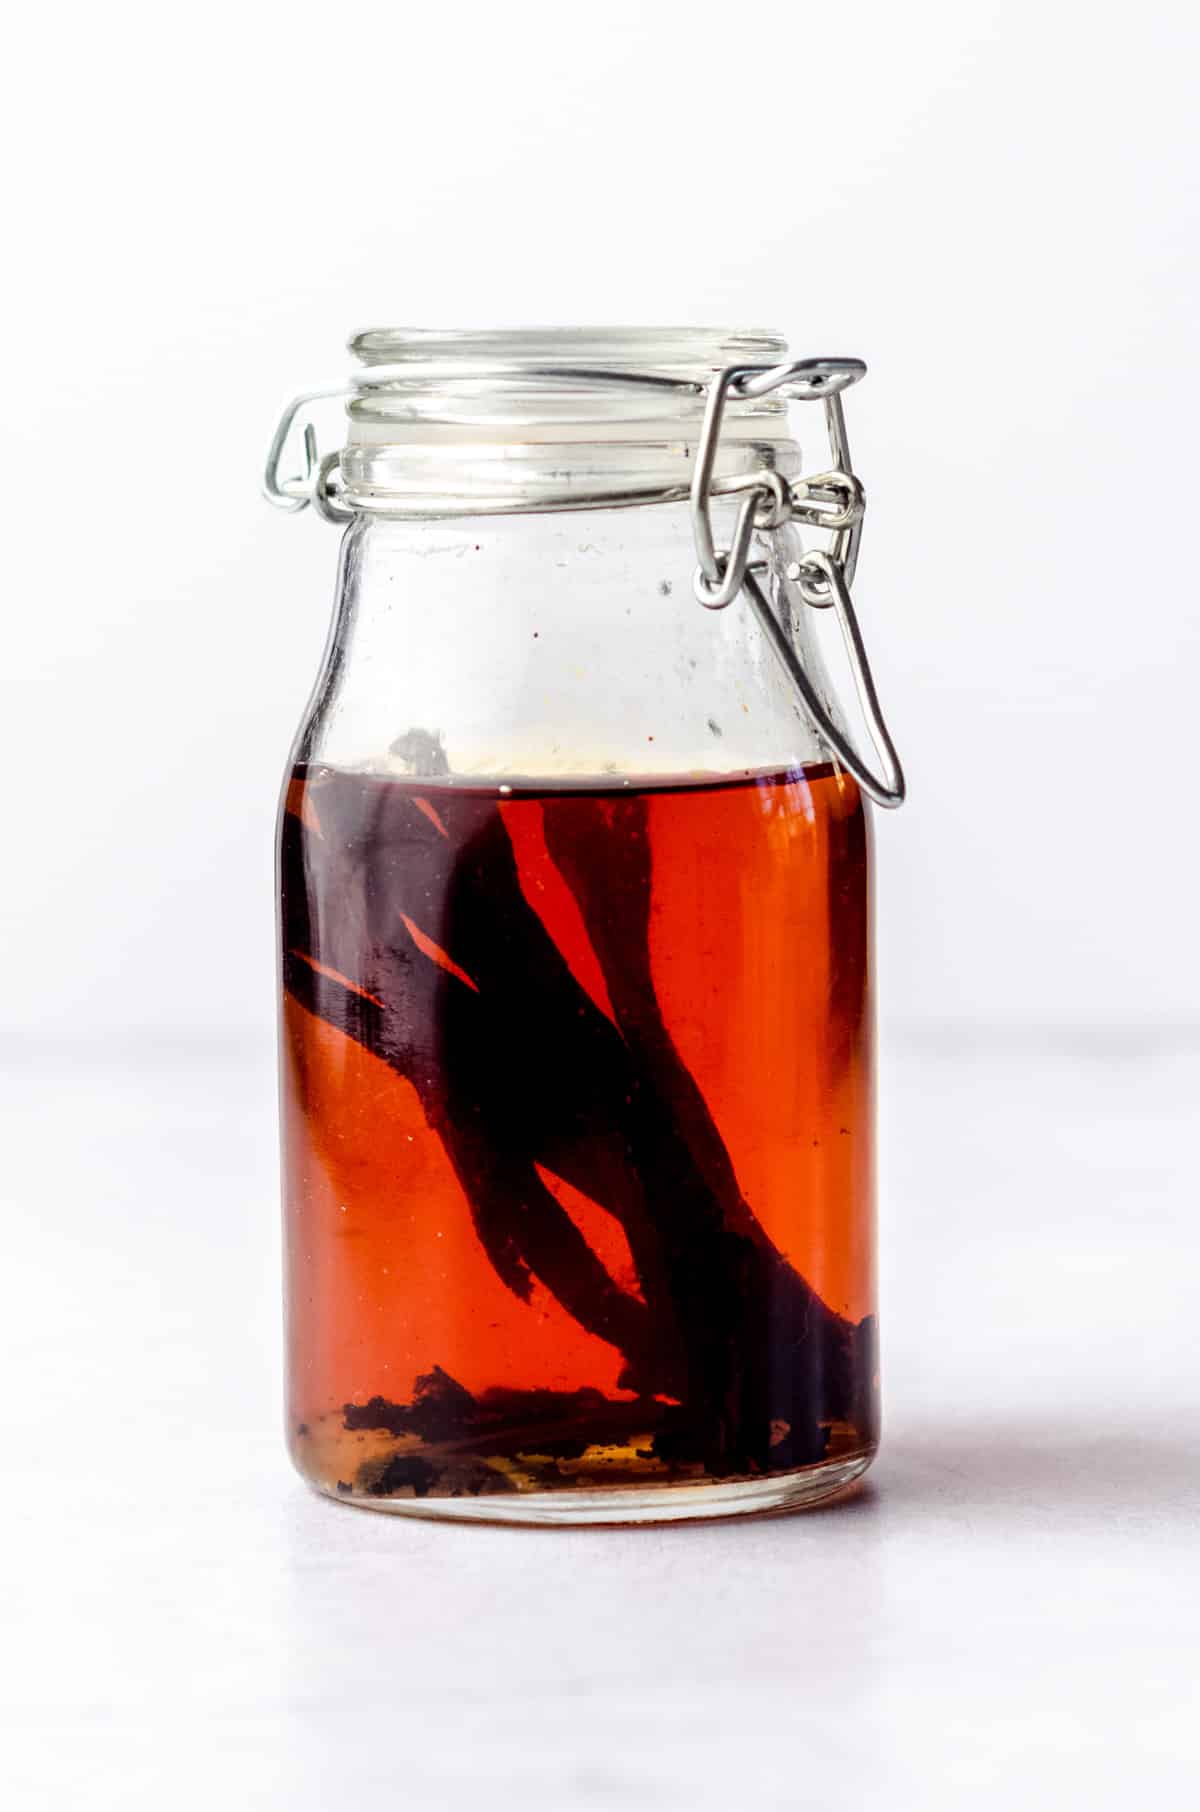
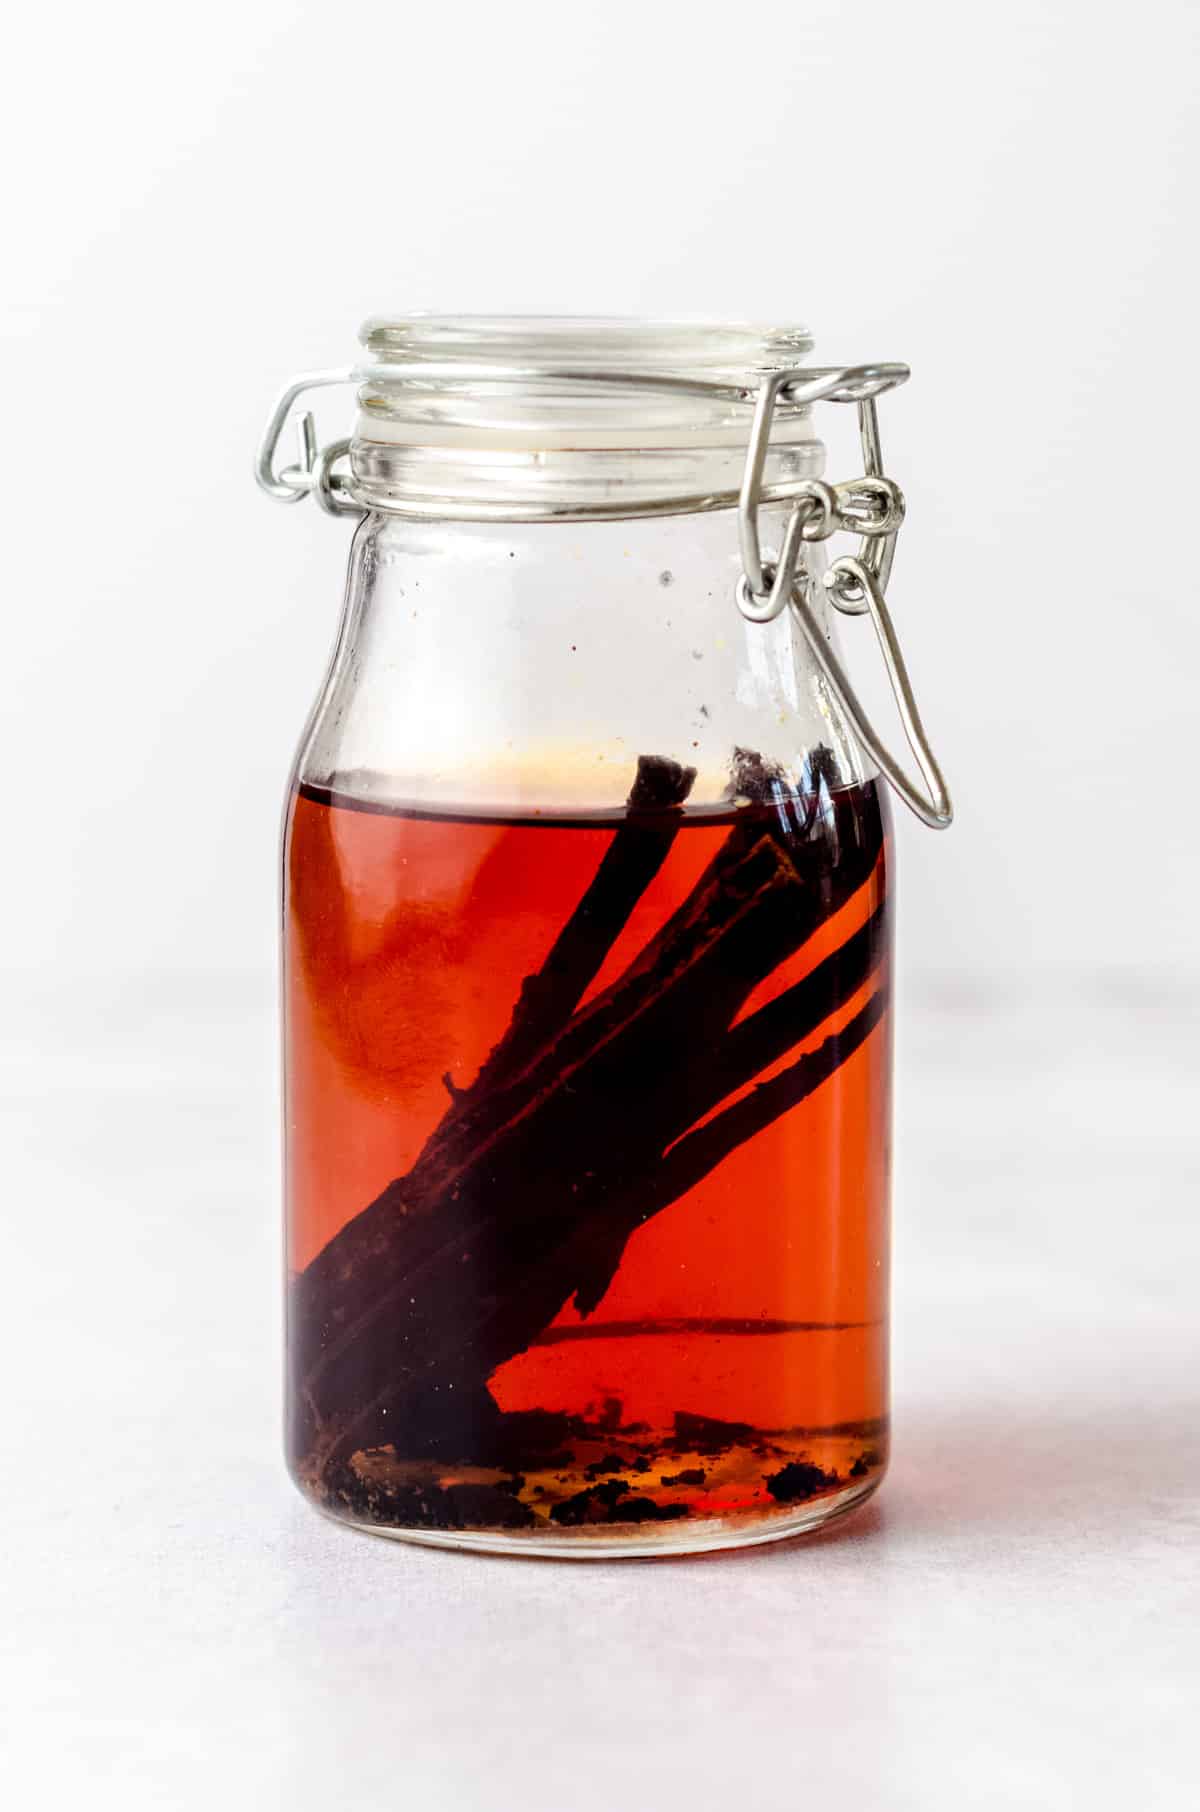
Over the course of the 6 weeks, your pods might start to break down and some of the little seedy specks will start coming out.
This is completely fine and what you want to happen. You can always strain your DIY vanilla extract once it’s finished if you want a nice, clean look.
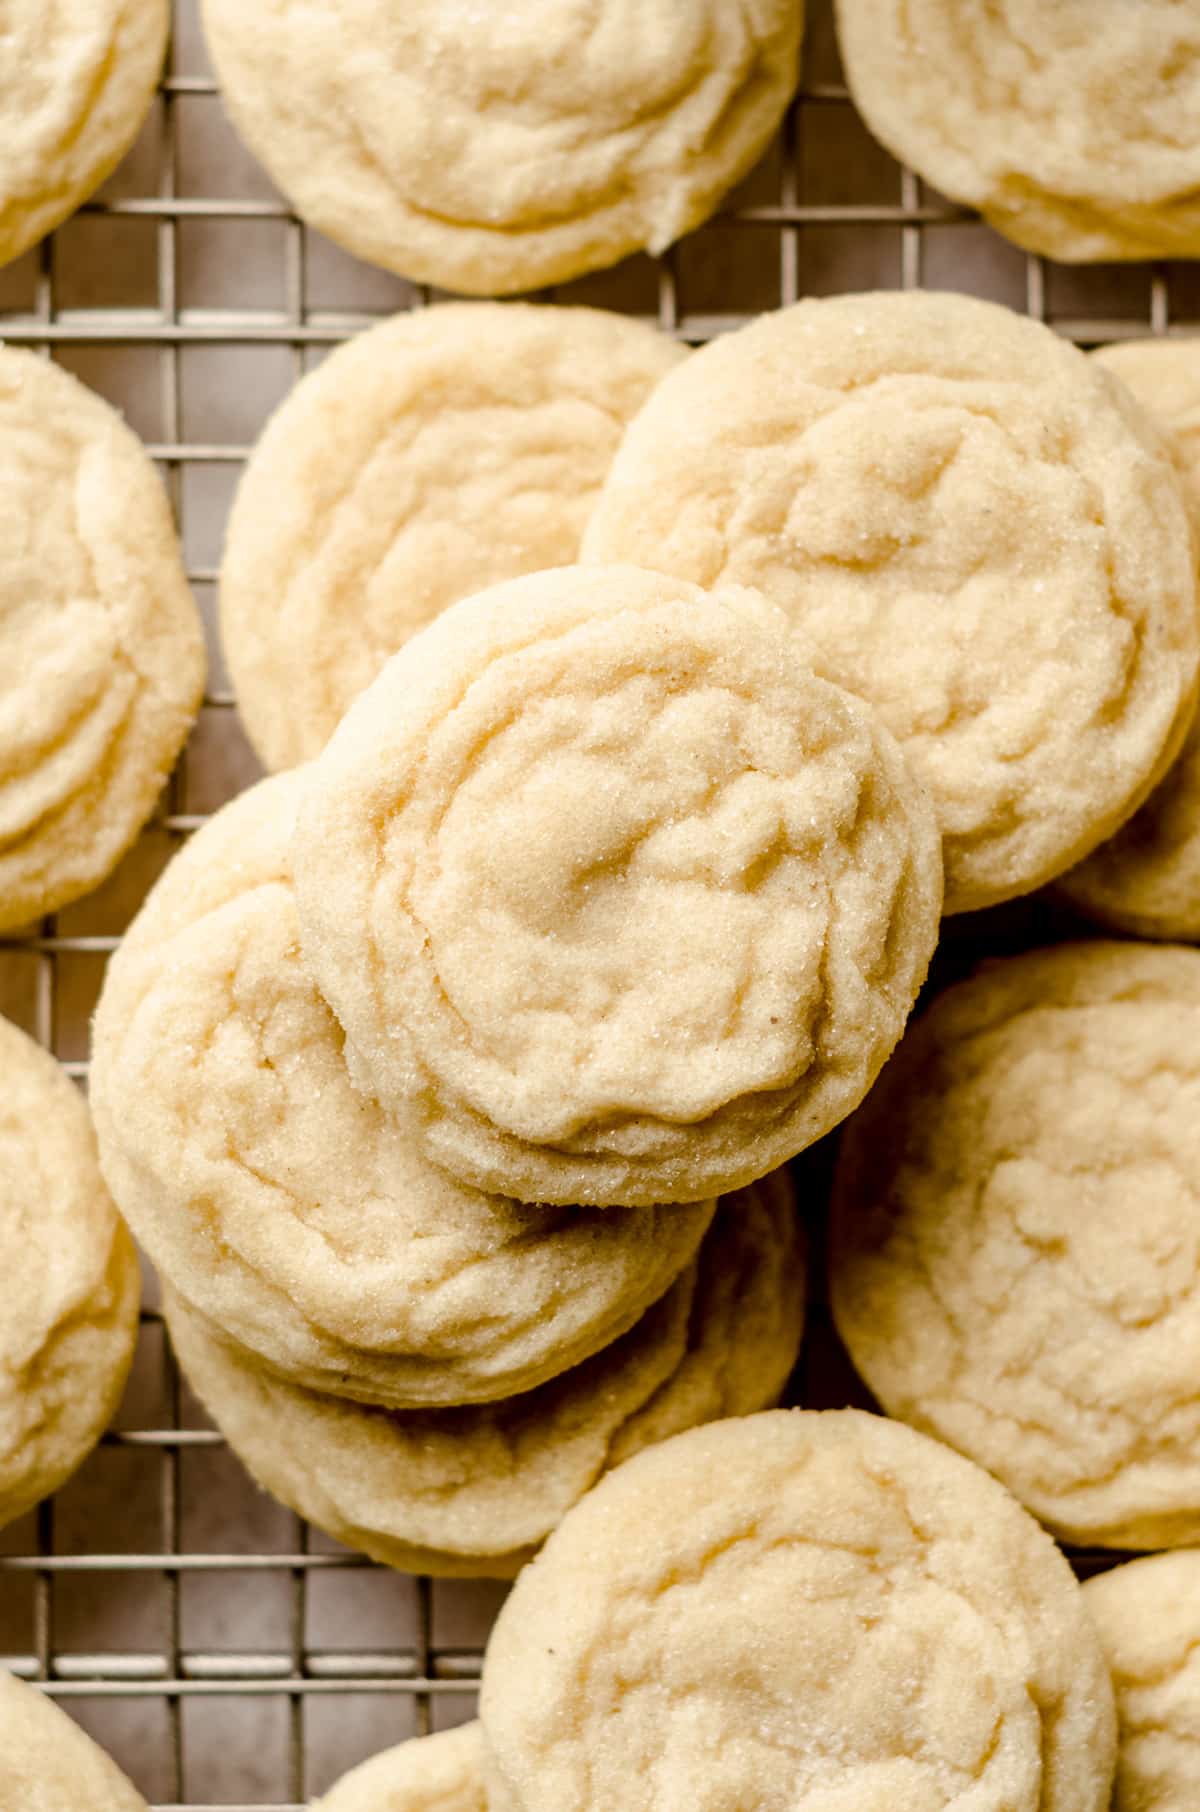
Personally, I love the little specks! They’re like vanilla freckles in my desserts (see my vanilla bean sugar cookies that use vanilla paste and display all those beautiful specks!).
How to store this recipe for Homemade Vanilla Extract
Store homemade vanilla extract in a container with a tight-fitting lid in a cool, dry, and dark place. You can keep it in the pantry with your other baking ingredients.
Vanilla Extract Recipe Vodka FAQs
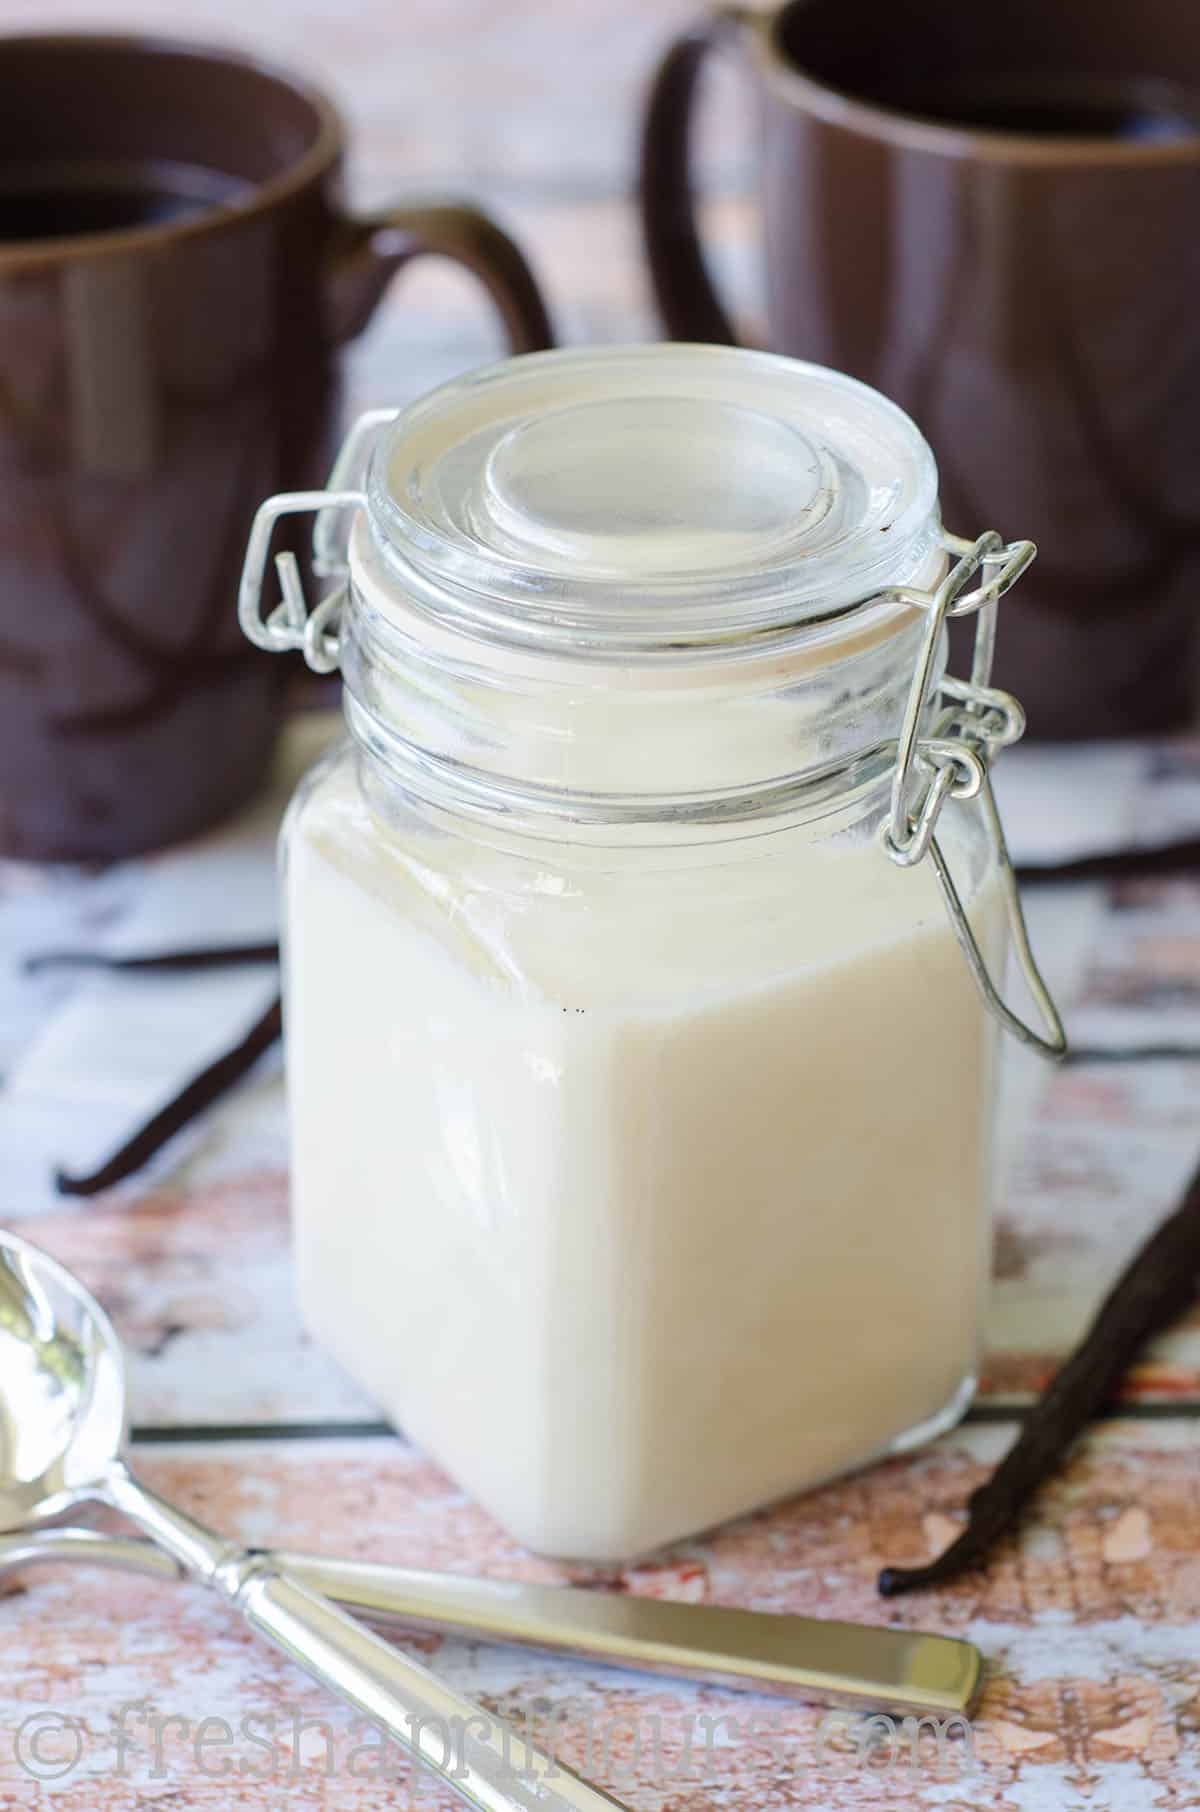
(Vanilla infused cream for vanilla bean cupcakes, vanilla bean buttercream for 6 inch vanilla bean cake, and vanilla bean sugar cookies)
I hope that you’ll consider making your own extract at home!
The sooner you start, the closer you are to the best vanilla extract your tastebuds have ever tasted. Also… Those adorable vanilla freckles!
Over the course of 6 weeks, this is what happens inside that bottle!

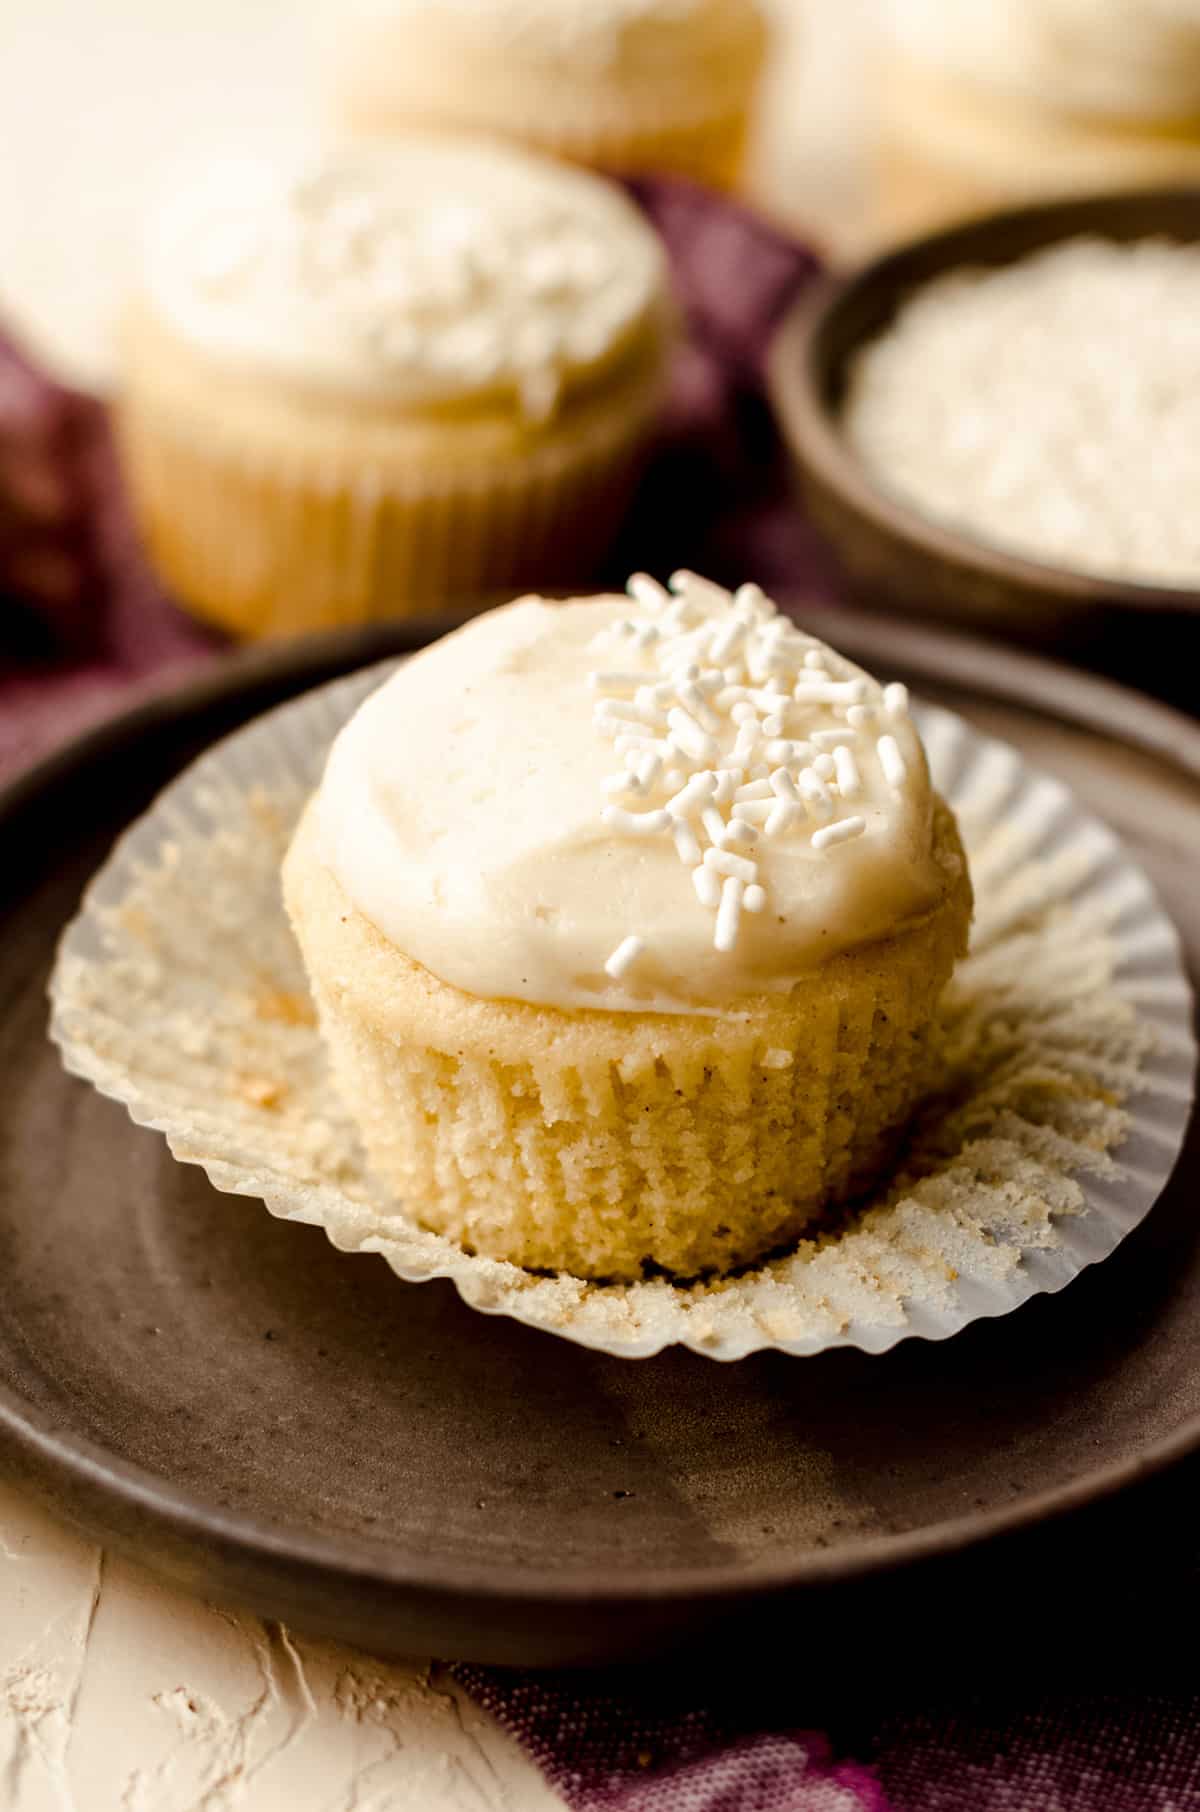
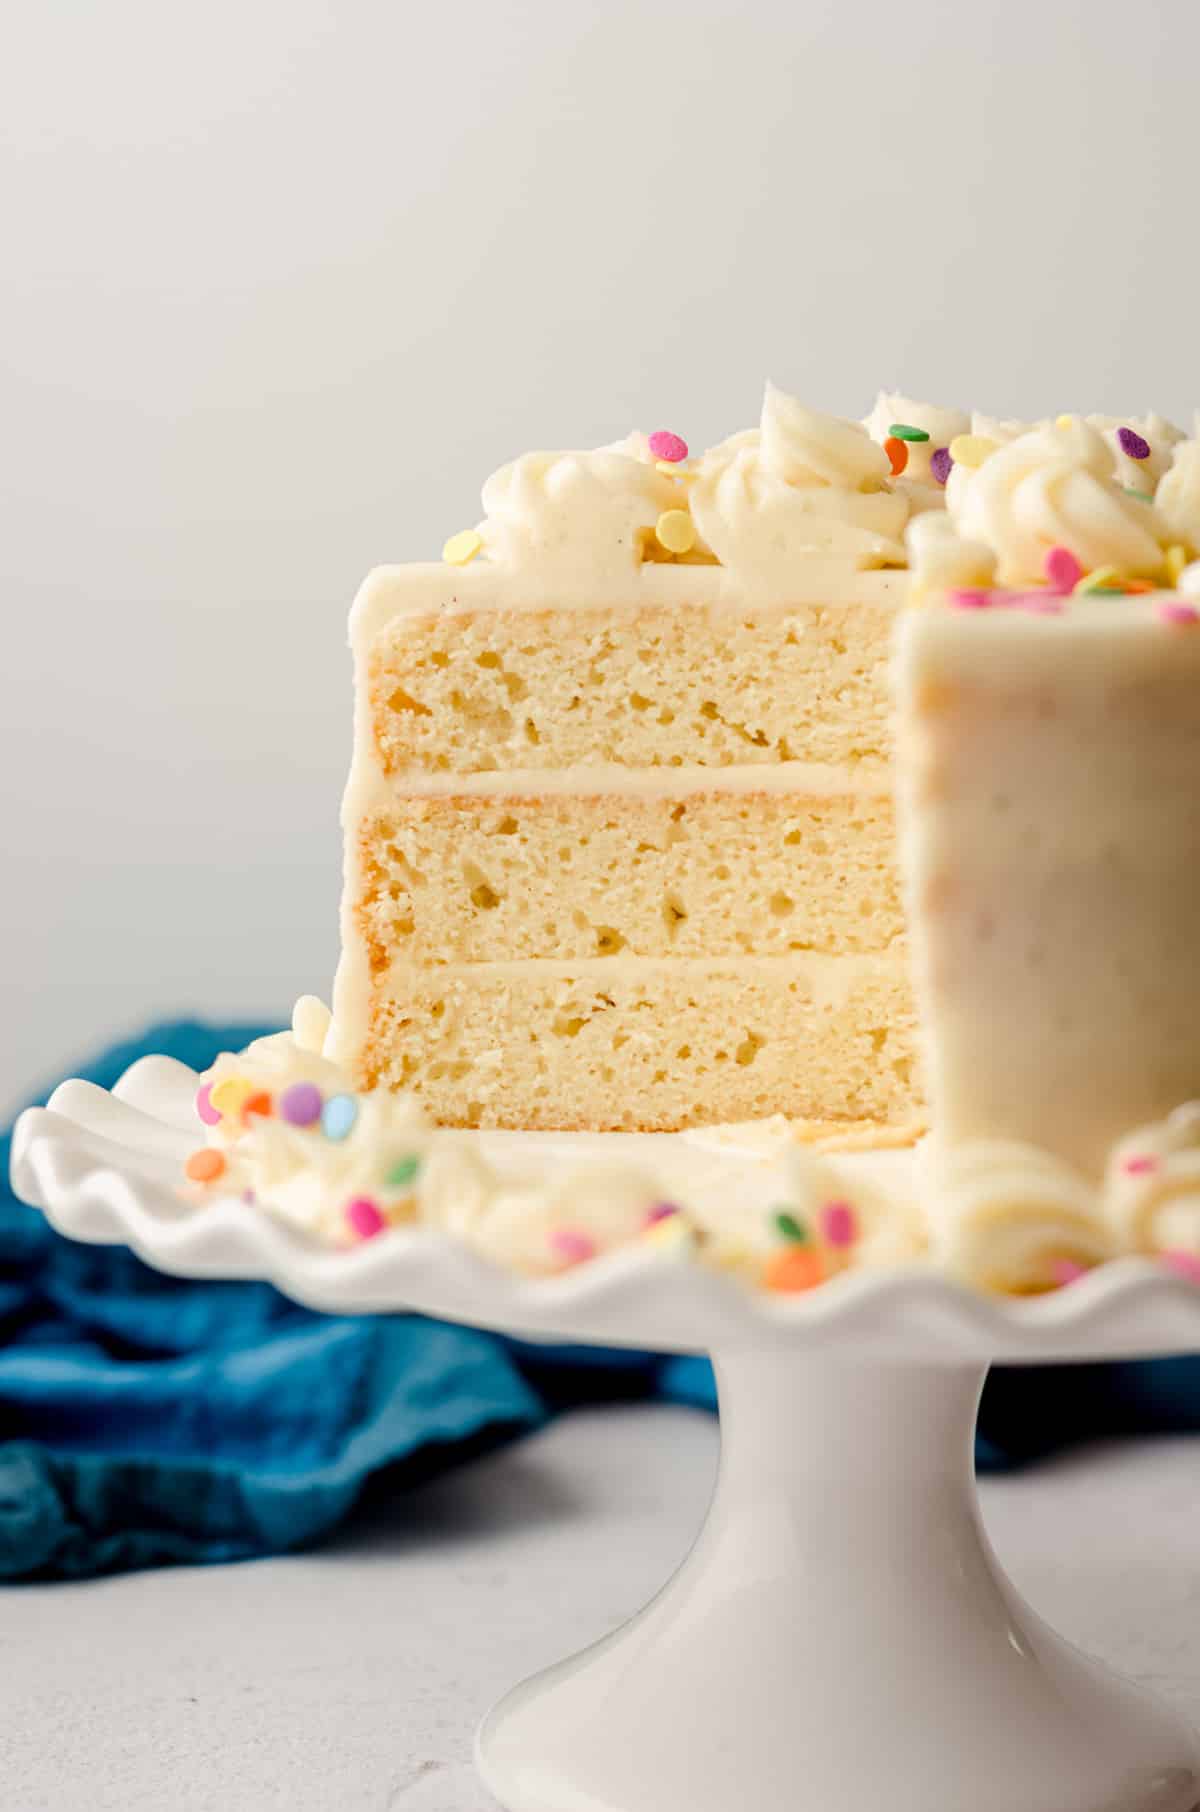
My favorite recipes featuring vanilla bean flecks found in my homemade vanilla extract or vanilla bean paste: vanilla bean cupcakes, vanilla bean layer cake, and French vanilla coffee creamer!
Vanilla Extract Recipe (Vodka)
Ingredients
- 6 ounces (170mL) high-proof neutral flavored alcohol1
- 2 to 3 high quality vanilla beans
- a jar2
Instructions
- Snip the ends off of your vanilla beans with scissors or a knife. I also like to cut them in half.2 to 3 high quality vanilla beans
- Fill your bottle with alcohol and submerge beans.6 ounces (170mL) high-proof neutral flavored alcohol1, a jar2
- Gently shake bottle and store in a cool, dark place. Repeat this step once a week for 6 weeks.
- Once your vanilla is done with its initial 6 weeks, add more liquor when the liquid is about halfway gone, allow to sit for another week, then it is ready to use again. Homemade vanilla extract has an indefinite shelf life if kept in a cool, dark place.
- To scale your batch: you can make a much larger batch of homemade vanilla extract to distribute to smaller bottles to gift, just use the ratio of 6 ounces of liquor to 2 to 3 beans. I like to include 1 small bean in each bottle I gift and instruct (or attach a note) the recipient to add more liquor to the bottle when it has half of the liquid remaining.
Notes
- Alcohol: choose something that is at least 35%/70 proof. I like vodka, rum, or brandy (vanilla flavored alcohol is also fine).
- Jar: preferably glass and one with a tight fitting lid. These are my favorite glass bottles and favorite amber bottles for homemade vanilla extract.
Nutrition Disclosure
All nutritional values are approximate and provided to the reader as a courtesy. Changing ingredients and/or quantities will alter the estimated nutritional calculations.
Could u try make peppermint to
Hi Kira, I will definitely keep that in mind!
Well I know what I need to get from the spice man at the markets this week! And there’s always some spare vodka or bourbon hanging around…(what does that say about us…).
I can’t wait to make these as gifts for my baking friends! Last year I made flavoured vodka, and this year we are going to take it up a notch indeed.
I love that you are taking your science into the kitchen too! Let’s do this experiment together – I can’t wait for the delicious results 🙂
Wahoo! Kitchen science is the best kind of science!
Got my bottles and my alcohol. Just waiting on my beans to come today!! As soon as I saw this I knew I had to make it for my Dad for Christmas. He is an avid baker (especially cookies). Thanks for this!!! I am probably going to try rum since we have some at the house, but does it make a significant difference in the taste of food if you use vodka? Or vanilla flavored versus plain alcohol?
Woohoo, I’m so excited for you to get started, Jess! I don’t think it makes a significant difference, no. Definitely different dependent on what kind of alcohol you use and whether or not it’s vanilla flavored. The cool part about using different alcohols is that no single batch is ever the same. Over time, you may find a preference, like I have, but that’s the fun part! It’s like your own special brew!
I have been meaning to try this for years (I am a vanilla LOVER), but your description just convinced me. Pinned and planned!
Awesome, Traci! You’ll have to report back 🙂
Hi Lynn
How did you make those labels for your bottles.
I ordered them from VistaPrint using a custom small label sticker: http://www.vistaprint.com/product-labels.aspx?txi=15620&xnid=TopNav_Product+Labels+(linked+item)_Stickers+%26+Decals_Labels+%26+Stickers_All+Products&xnav=TopNav
Hello Jackie and Lynn
I ordered mine from here – https://www.uprinting.com/label-printing.html
just sharing
Lynn, I LOVE all of your recipes, and this vanilla extract looks like it would be sooooo much better than store bought! I will definitely be trying this soon! Have a great day 😀
Thank you so much, Kennedy! I think you’ll really like it! Plus… It’s super fun to make 🙂
Hi,
First off, love your writing style 😉 Second, I was wondering, how much do the beans weigh? I’ve seen beans for sale that are about 3 inches long and I’ve seen them about 6 inches long. How much bean goes into 6 ounces?
Thanks,
Melisa
Hi Melisa, thanks for the sweet compliment 🙂 I’m not sure how many beans would be in 6 ounces, but I have only ever seen the larger ones. Honestly, you can’t really go wrong with too many beans unless you are overflowing the bottle or can’t get 6 ounces of liquid in. Does that make sense?
Can’t wait to try this recipe for myself and Christmas gifts. My family and friends love it when I do homemade food items for Christmas gifts. We prefer that over other gifts. Thanks so much for sharing your recipe.
I hope you love it, Renee! It’s my favorite holiday gift!
This was so easy! Thanks for breaking it down! I used 750mL bottles of plain vodka, bourbon, and spiced rum and made 4 of each (6 ounces) for a total of 12 bottles for teacher gifts for my kids’ preschool teachers.
I bet those teachers are going to love it 🙂
I’m literally never buying vanilla again!!!!!! Thank you for this recipe!
Haha, you’re so welcome!
I have been steeping my bourbon vanilla extract since September and it’s ready for all my holiday. baking! This was a fantastic breakdown. I’m so glad I found it.
How awesome, Jenni! Enjoy!
This was so easy to do and I’m really happy with the results! I used the link for Rodelle and found the beans that way.
SO glad it was helpful, Ashley! Thanks for letting me know!
I just threw the beans straight into the vodka bottle and put the lid back on, came out great! I left mine about 3 months. Now I tipped it all into a jar and refilled the bottle with spiced rum and the same beans, hopefully will give some nice results.
I’m so glad you made some, Holly!
I ABSOLUTELY LOVE LOVE YOUR AMAZING RECIPE – I USED VODKA- NOW I WOULD LIKE TO TRY WITH YOUR ” PREFERRED “RUM” – DO YOU SUGGEST NON FLAVORED RUM- – PLEASE HELP-
I do suggest a non-flavored or a vanilla flavored and NOT a spiced one. Enjoy!
I REALLY REALLY APPRECIATE YOUR AMAZING ADVICE ON THIS! I DEFINITELY WANT TO GET IT RIGHT- WITH THE ” RICH BUTTERY TASTE OF THE ORGANIC MADAGASCAR WHOLE VANILLA BEANS I BOUGHT IN BULK” I DEFINITELY DIDN’T WANT TO “OVERDUE” THE FLAVOR WITH A TOTALLY DIFFERENT SPICE FACTOR! I FOLLOW YOUR RECIPES AND ADVICE- AND ALWAYS AMAZING!