
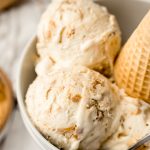
Peanut Butter Ripple Ice Cream (No Churn)

As an Amazon Associate, I earn from qualifying purchases. Read the full disclosure here.
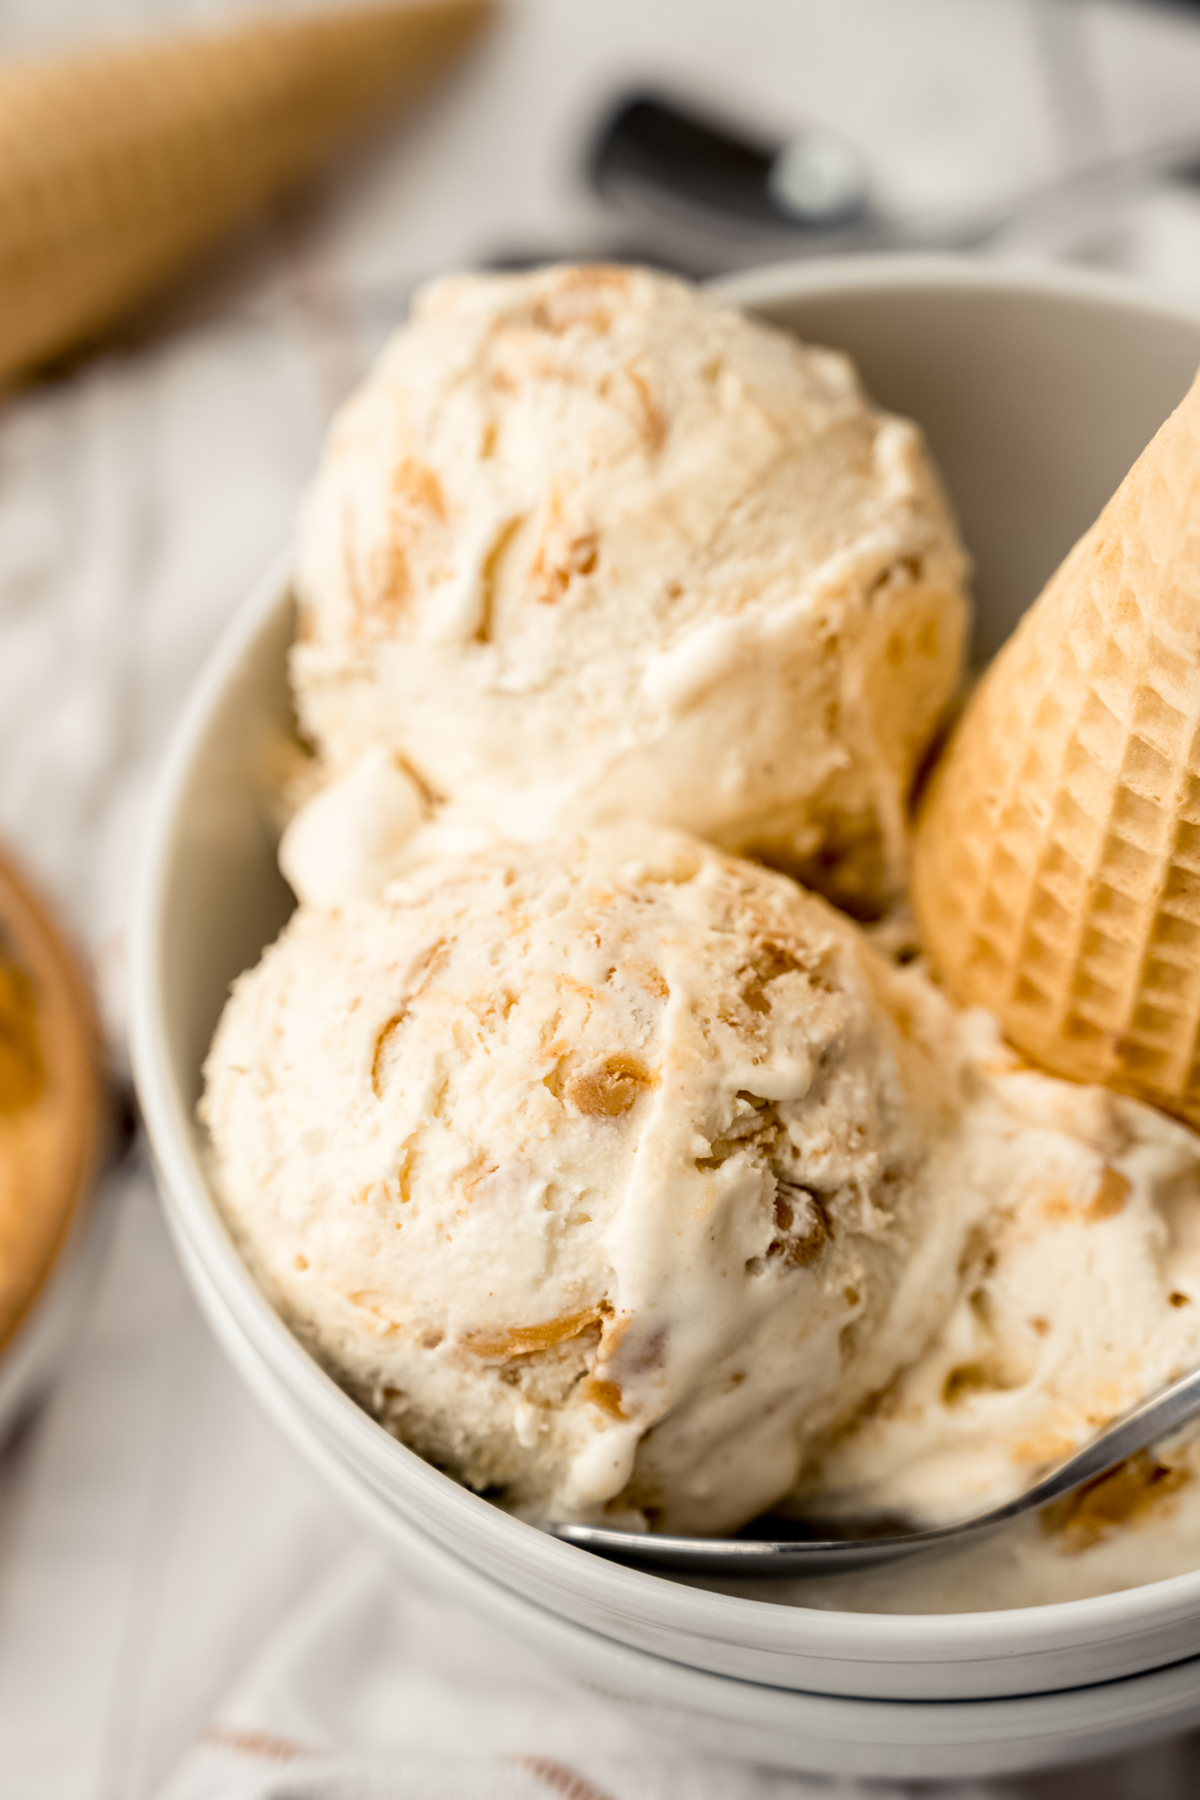
This easy, no churn ice cream is swirled with ribbons of peanut butter throughout a creamy vanilla base– no ice cream maker required.
THIS NO CHURN ICE CREAM RECIPE HAS EARNED ITS KEEP
This recipe has lived on my site since 2015, back when no churn ice cream was just starting to have its moment. Those viral two-ingredient recipes were everywhere, and I have to give them credit… They totally earned their spot.
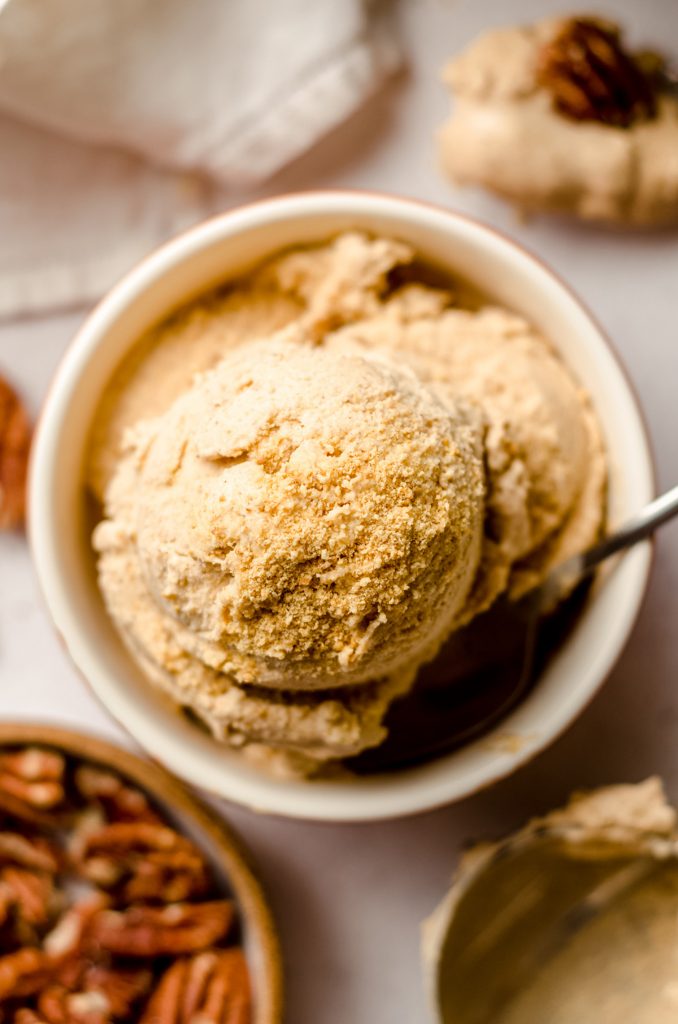
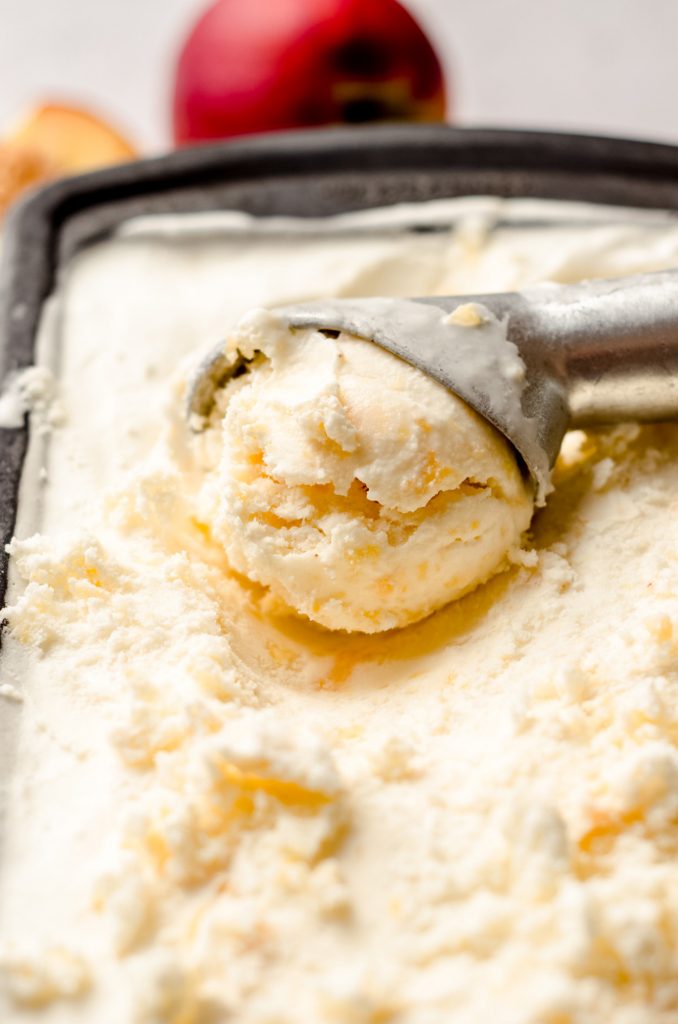
As it turns out, no churn ice cream isn’t a gimmick. It’s a genuinely good method that produces a creamy, scoopable result that holds its own alongside anything you’d make with a machine. I have both styles on this site, and my peach ice cream (ice cream maker) and coffee ice cream (no churn) are two of the most popular frozen treat recipes in my whole recipe index.
That’s just undeniable proof that there’s room for both in your freezer.

This particular recipe was born out of a desire to recreate peanut butter ripple, one of my favorite ice cream flavors growing up. Chunky, swirly peanut butter ribbons running through every bite. Such an icon in the ice cream aisle, if you ask me.
The original version (circa 2015) used melted peanut butter chips to get there, but over the years I’ve simplified it: now we just use straight peanut butter, which gives you those beautiful soft curls and ribbons without the extra ingredient.
No only does that mean fewer ingredients to buy, but there’s a good chance you already have everything you need (score!).
THE ICE CREAM BASE
The ice cream itself is two ingredients: heavy whipping cream and sweetened condensed milk. That’s the foundation. To it, we add a touch of peanut butter and a splash of vanilla extract to round out the flavor, juuuust enough to make it taste intentional rather than plain.
THE PEANUT BUTTER RIPPLE
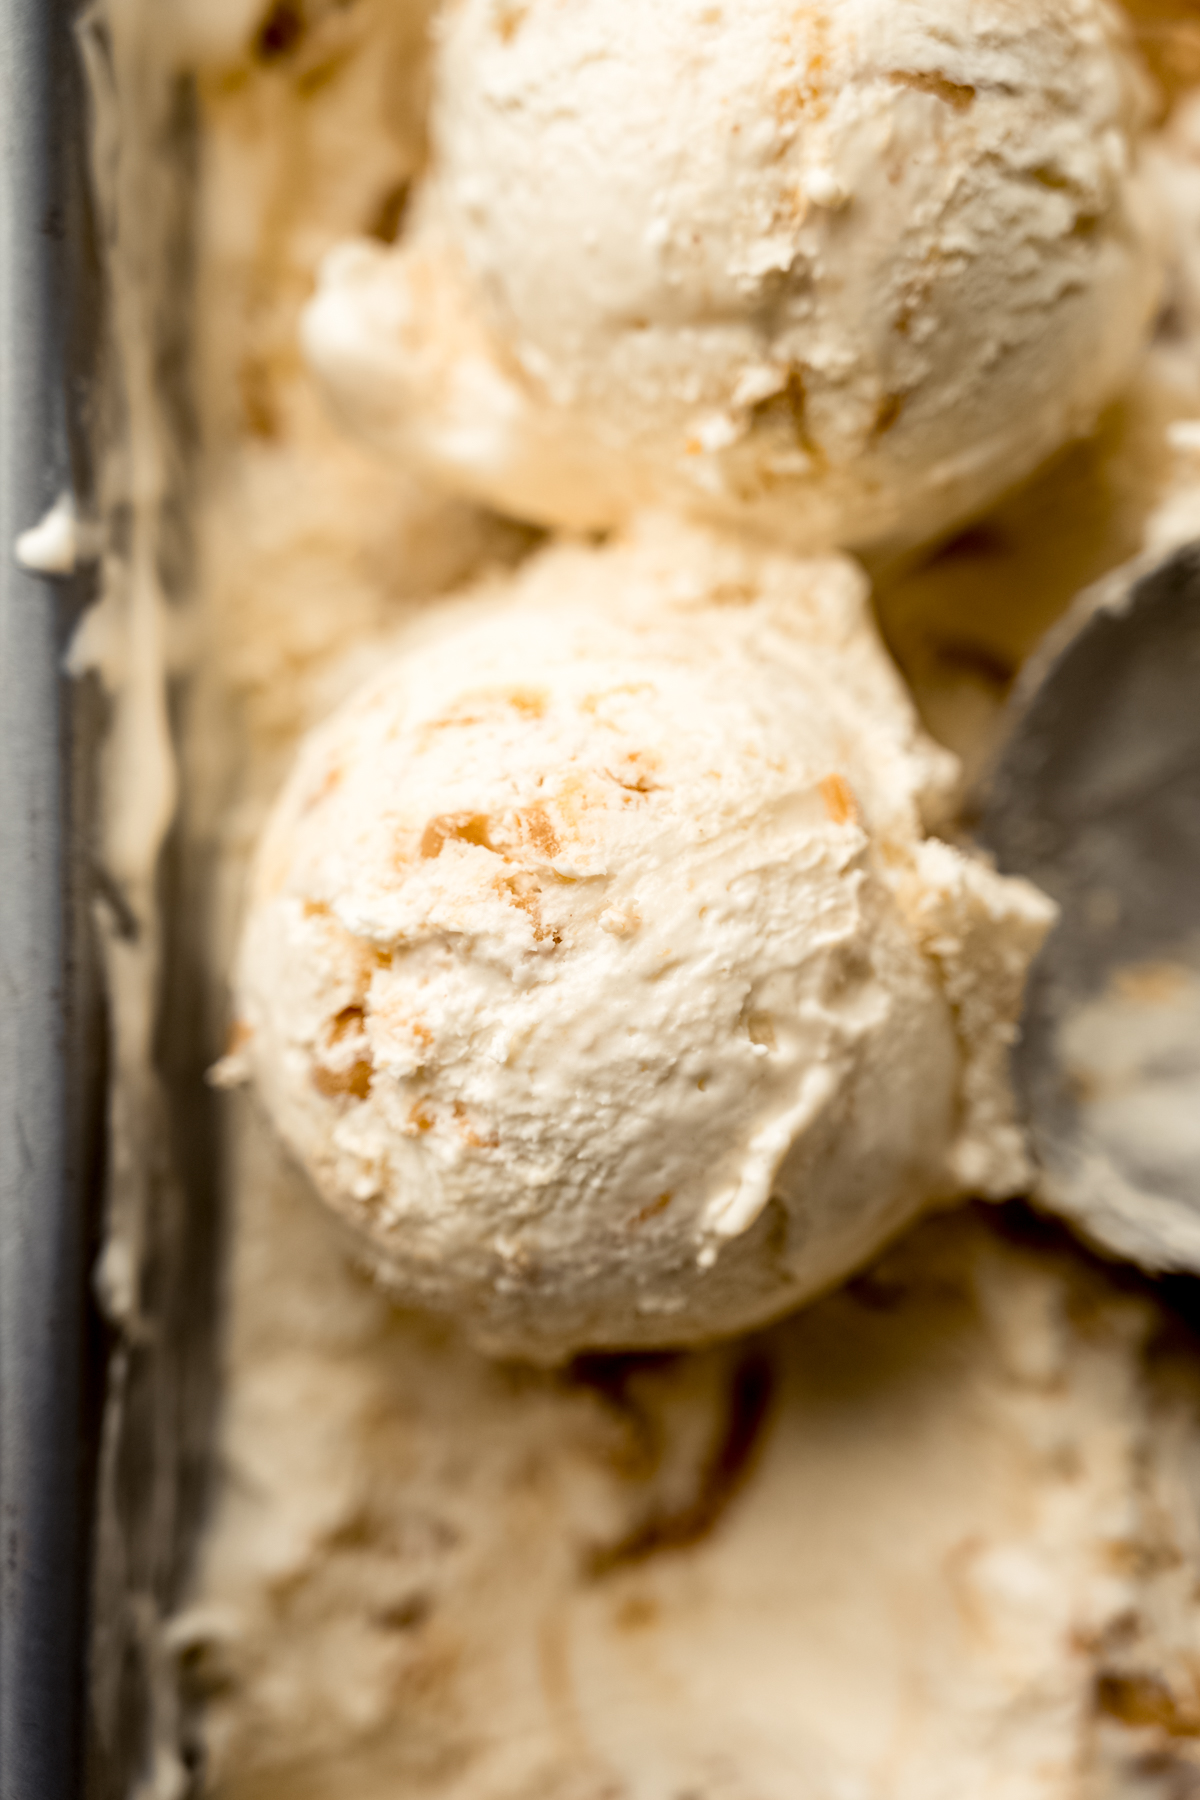
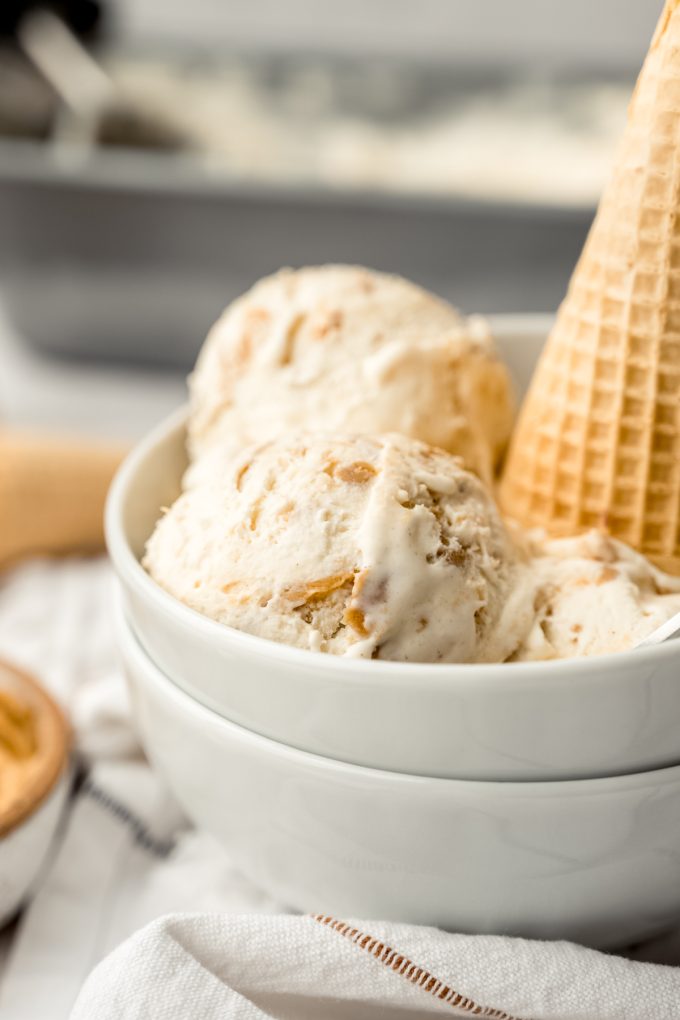
This is the heart of the recipe, and it’s just straight up (commercial) peanut butter, spooned in layers and swirled through the ice cream. The peanut butter freezes into those soft, ribbony curls that make every bite interesting. It doesn’t harden into a crackly shell, but rather stays slightly softer than the ice cream around it, which is exactly what we’re looking for when we say “ripple.”
A note about the peanut butter: I have never used natural style peanut butter to make this ice cream, though you are welcome to try it (and let me know how it turns out). Be sure you’re stirring it extra well to incorporate all that separated oil.
HOW TO MAKE PEANUT BUTTER RIPPLE ICE CREAM
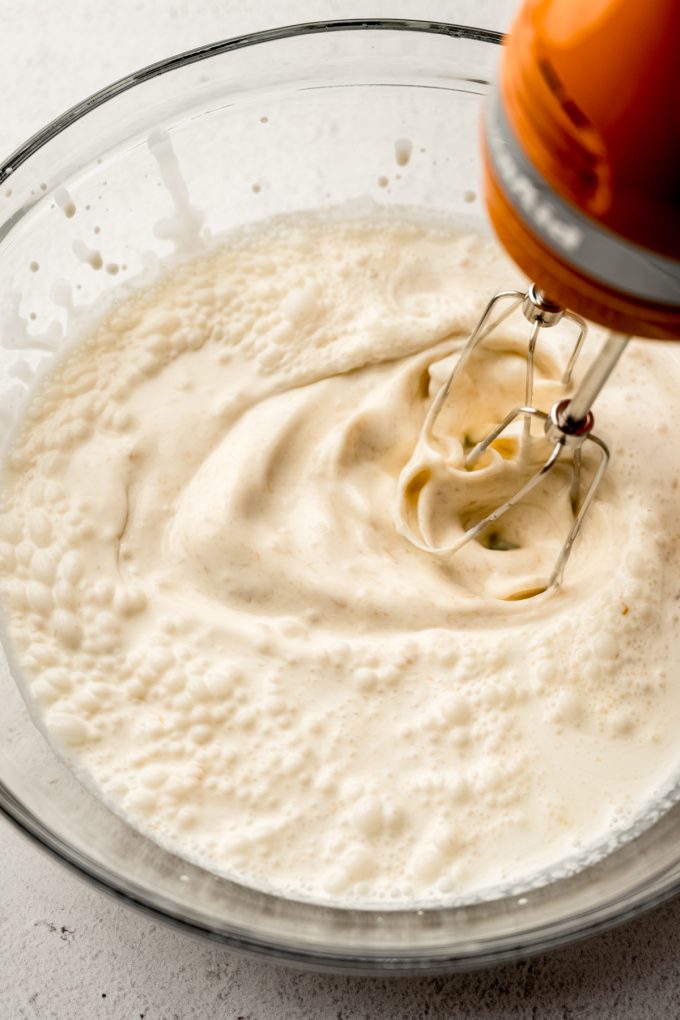
This process is mega simple. You can use a stand mixer or a hand mixer to make your ice cream, though I prefer a handheld mixer only because then I don’t have to lug my big one out. Be forewarned that things can get spattery, so I like to hold a kitchen towel over the bowl until it becomes more cohesive thus spatters less.
Combine the base ingredients in a large bowl: you’re just looking to combine the heavy cream, sweetened condensed milk, and vanilla at this point. Set it aside for now.
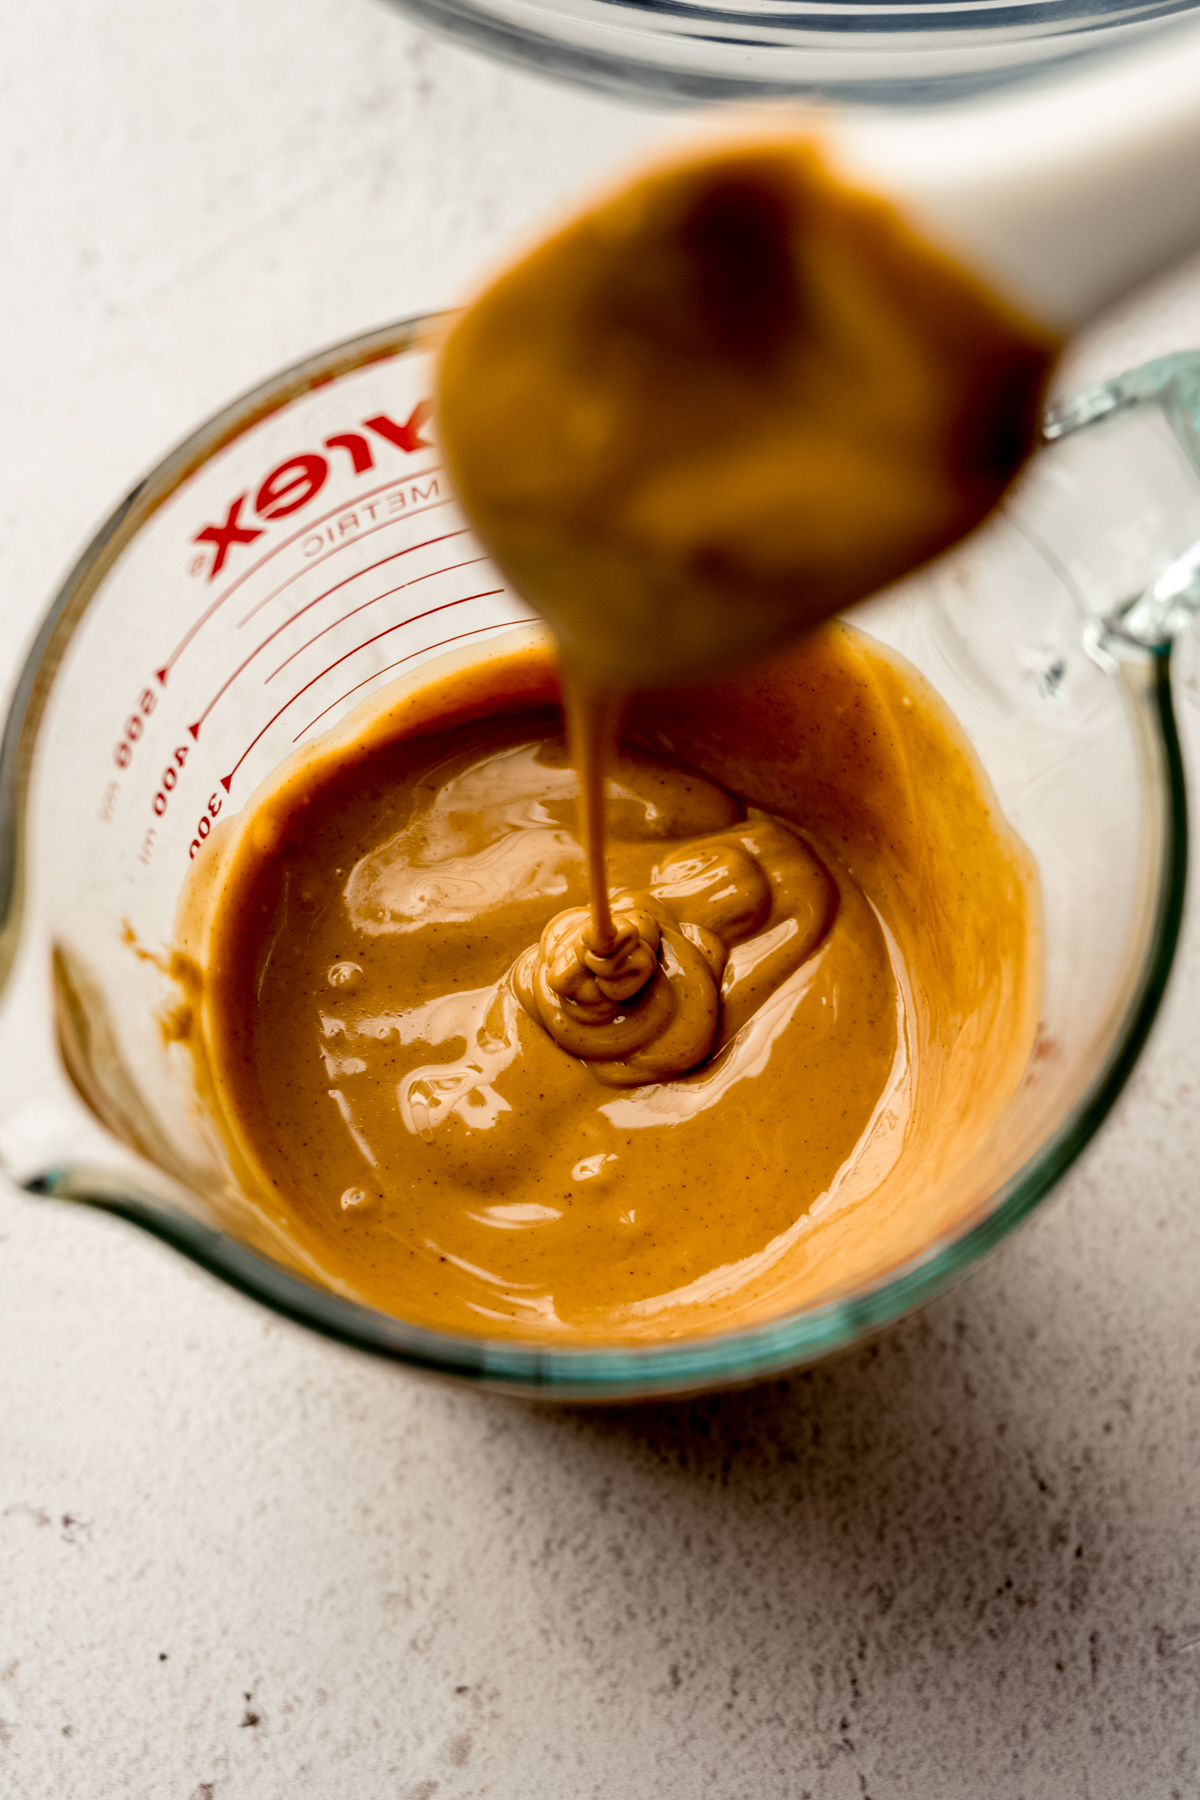
Melt the peanut butter: this is simply to make it a little more pourable. Just 10-15 seconds or so in the microwave should do the trick, but you be the judge of the mixture in front of you.
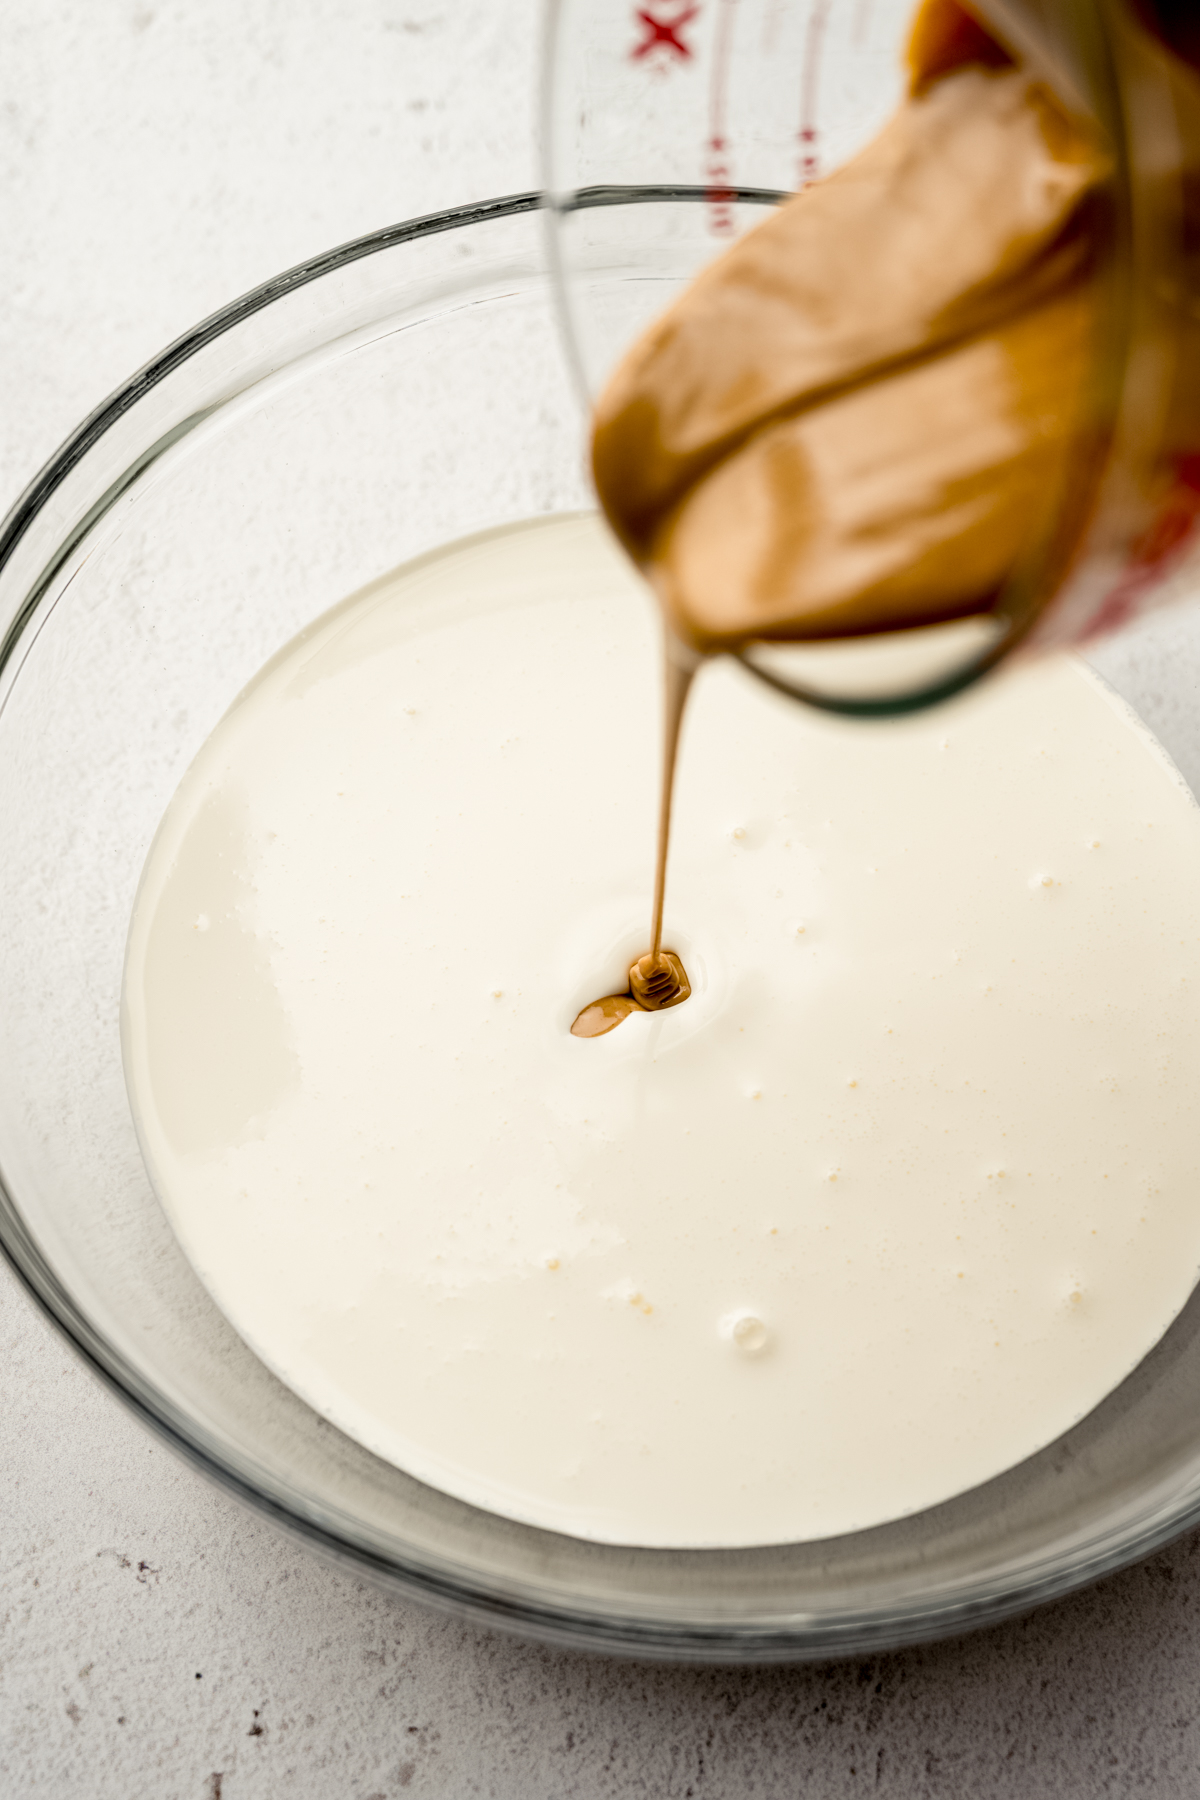
Add a touch of peanut butter to the base: you’ll want to add approximately ¼ cup (just eyeball it!) of the melted peanut butter to the ice cream base. This is just to give it a little boost of peanut butter flavor, so don’t worry about being exact. And yes, it will sink, so it won’t look like much is happening. It’ll come together in the next step!
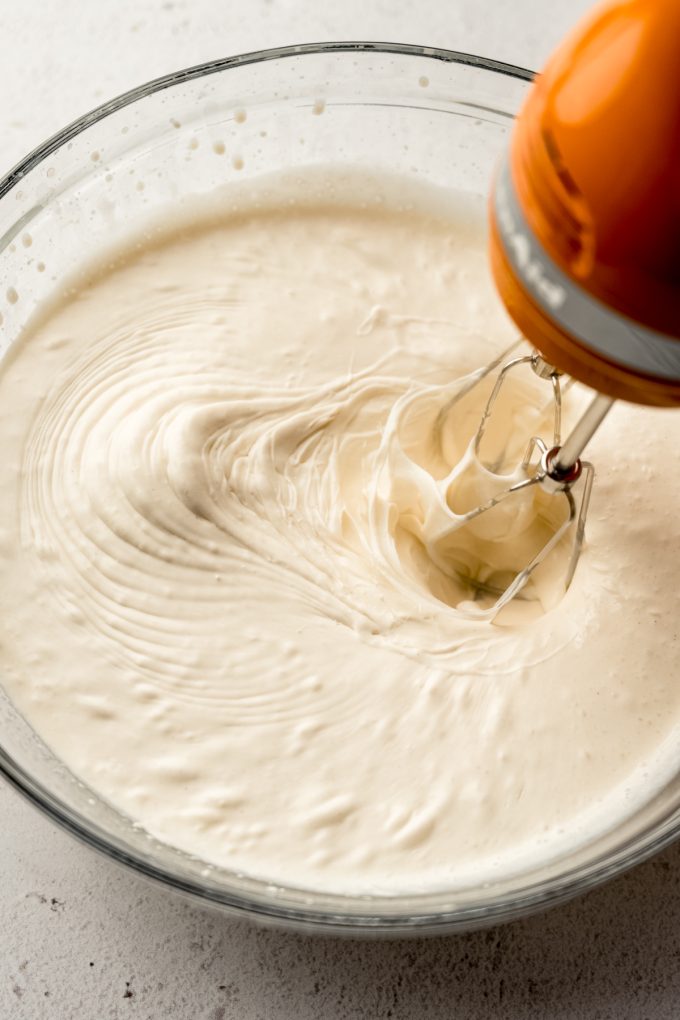
Beat the ice cream base: beat the mixture for about 3-5 minutes until it is smooth, fluffy, and resembling mousse. You’ll know it’s done when it can hold soft peaks and look slightly pillowy.
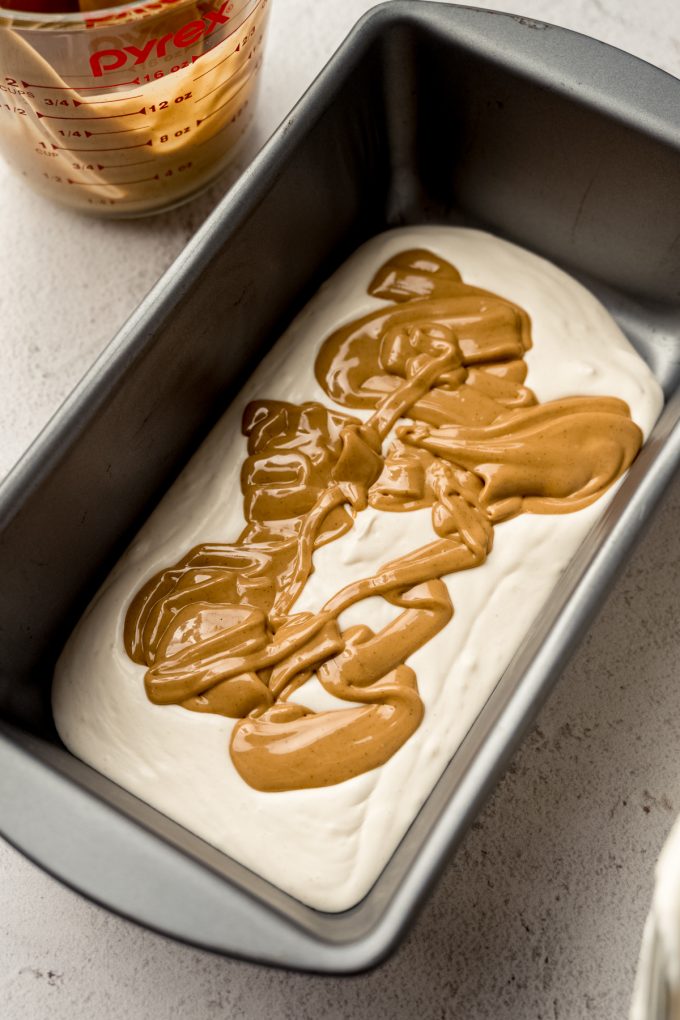
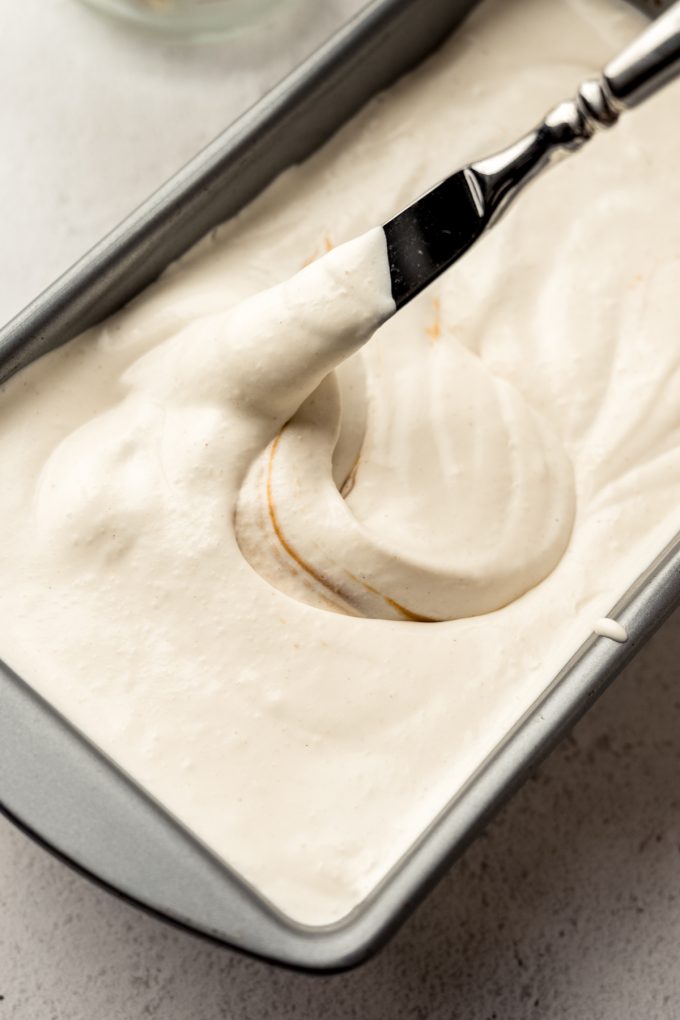
Layer it into a container: I like to use a standard size loaf pan, but you can use whatever you prefer that handle living in the freezer for a bit. Pour about ⅓ of the ice cream base into the bottom, then dollop half of the peanut butter evenly over it. Repeat with another ⅓ of the ice cream, the remaining peanut butter, then finish with the final ⅓ of ice cream on top.
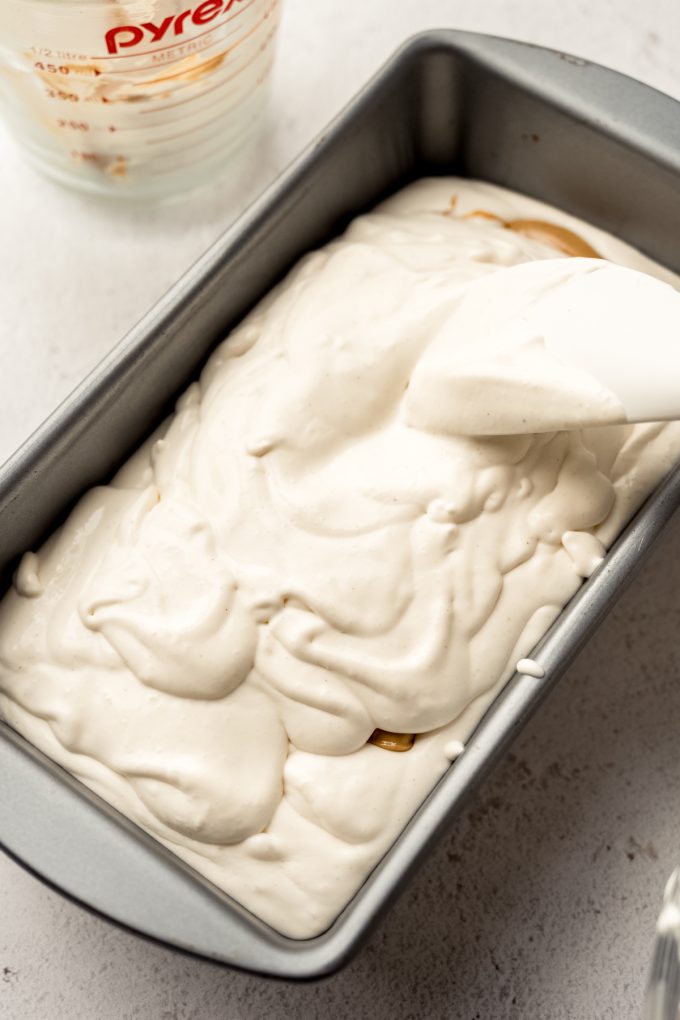
Swirl the peanut butter: take a butter knife and drag it up and down the length of the pan a few times to swirl everything together. You’re not trying to fully mix it, just disperse the peanut butter into ribbons. It doesn’t need to be pretty, it just needs to be in there.
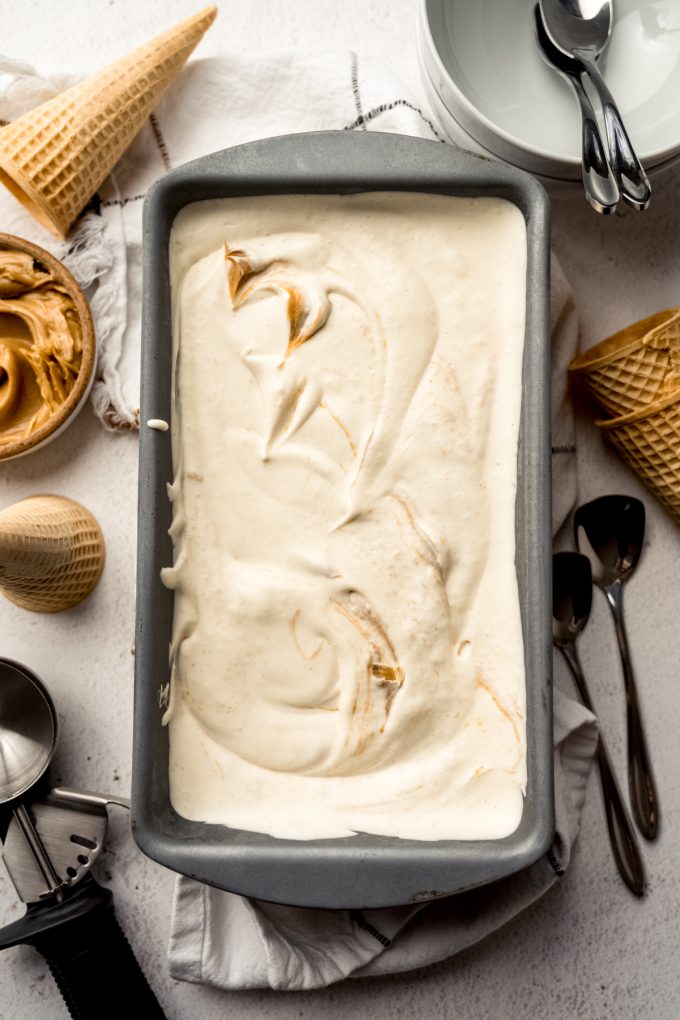
FREEZING HOMEMADE ICE CREAM
Cover the pan tightly and freeze it for at least 6 hours, or overnight (my preference). The final texture of this ice cream leans toward soft-serve– creamy and smooth– not the firm, hand-dipped style you’d get from an ice cream shop.
Pro tip: let the container sit at room temperature for about 5 minutes before scooping and serving.
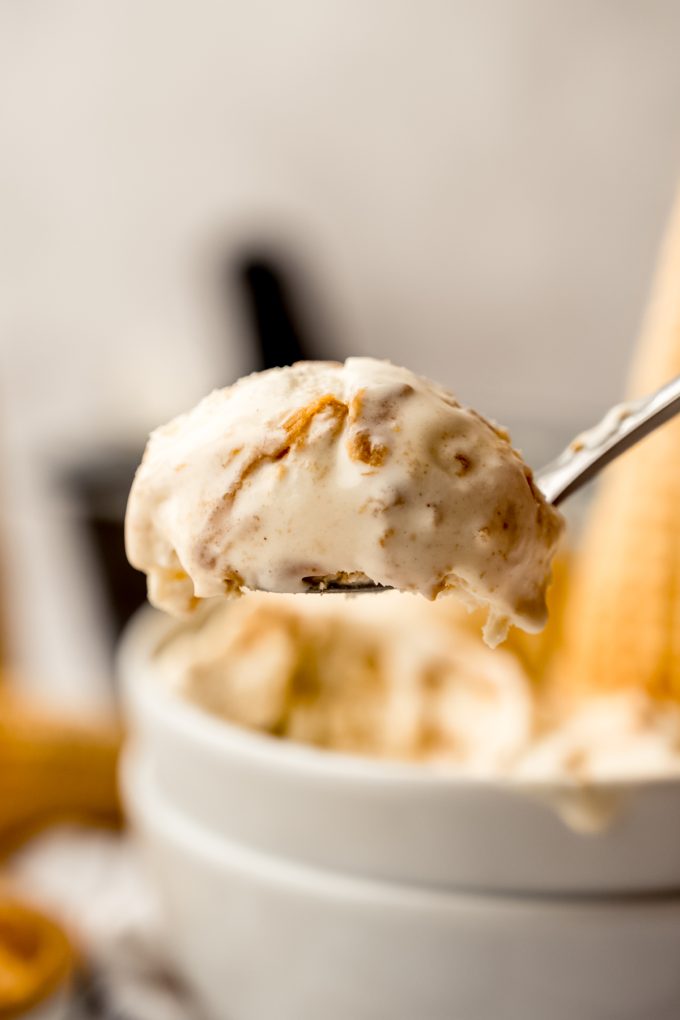
It’s worth nothing that this recipe is very forgiving. Don’t stress the layering and most definitely don’t stress the swirling. The peanut butter will find its way into every bite regardless, and no bite will be the same.
Sounds like the perfect opportunity to grab yourself a big bowl and do bite comparisons… For science, of course.

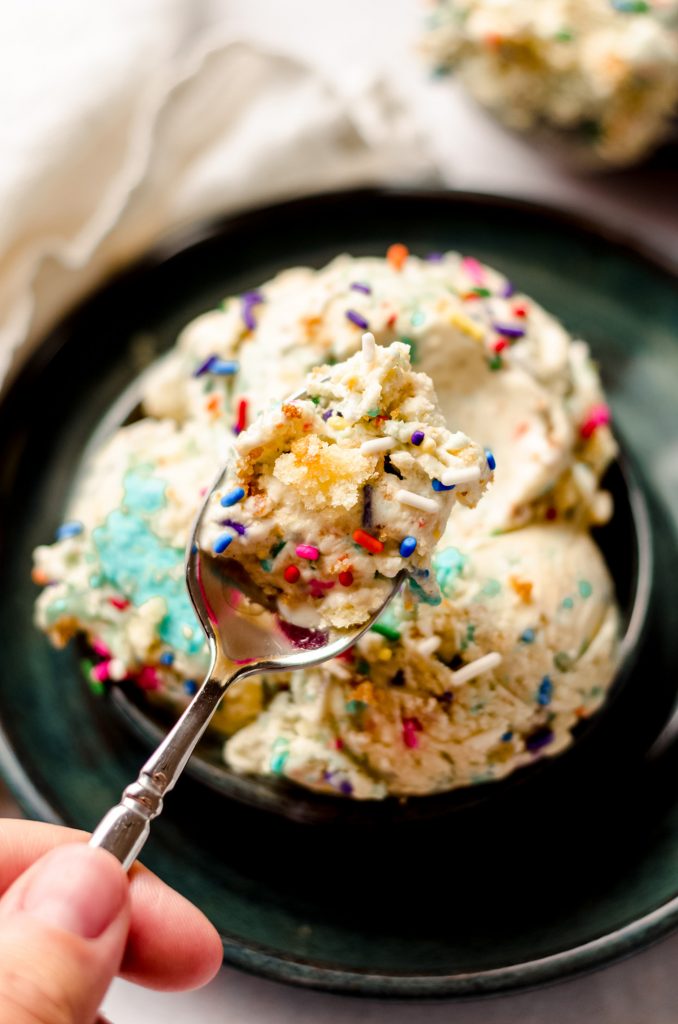
More ice cream flavors for your enjoyment: cookies and cream ice cream cake, pumpkin ice cream, birthday cake ice cream, homemade peach ice cream, and ice cream sheet cake.
Peanut Butter Ripple Ice Cream (No Churn Recipe)
Ingredients
- 2 cups (480mL) heavy cream
- 14 ounces (406mL) sweetened condensed milk
- ½ teaspoon vanilla extract
- 1 cup (256g) creamy peanut butter1 divided
Instructions
- In a large bowl using a hand mixer or the bowl of a stand mixer fitted with the whisk attachment, whisk together the heavy cream, sweetened condensed milk, and vanilla extract until combined. Set aside.2 cups (480mL) heavy cream, 14 ounces (406mL) sweetened condensed milk, ½ teaspoon vanilla extract
- Add all of the peanut butter to a heatproof bowl (I prefer a large glass measuring cup with a spout) and heat it for 15-20 seconds on high. This will make it easier to pour, so heat the peanut butter more or less depending on the consistency that is most preferable to you.1 cup (256g) creamy peanut butter1
- Add approximately ¼ cup (just eyeball it) to the ice cream base mixture, then beat the mixture on high speed until it is smooth and thick (about 3-5 minutes). You will know it is ready when the whisk starts to leave trails in the bowl.
- Spoon about ⅓ of the ice cream mixture into the bottom of a freezer-safe container or bowl (I prefer a 9" x 5" loaf pan). Layer half of the melted peanut butter evenly over the ice cream, using a spatula to spread it around.
- Spoon another ⅓ of the ice cream on top of the peanut butter layer, and repeat layering with remaining melted peanut butter and remaining ⅓ of the ice cream.
- Submerge a butter knife into the container and run it up and down the length of the container to "swirl" the peanut butter. Cover the ice cream tightly and freeze overnight, or at least 8 hours. Ice cream can be stored in the freezer for up to 3 months
Video
Notes
- Peanut butter: you will want to use commercial peanut butter in this recipe. I have never used natural style peanut butter to make this ice cream, though you are welcome to try it (and let me know how it turns out). Be sure you’re stirring it really well to incorporate the separated oil.
- Topping: I highly recommend using my recipe for homemade magic shell and replacing the chocolate chips with peanut butter chips to make peanut butter magic shell for this ice cream!
Nutrition Disclosure
All nutritional values are approximate and provided to the reader as a courtesy. Changing ingredients and/or quantities will alter the estimated nutritional calculations.
LYNN DOES IT AGAIN!!!! Oh my goodness I CAN’T WAIT to try this one out. I am a firm believer that everything is better with peanut butter and you hit a home run with this one, girlfriend. Those peanut butter ripples? I might be drooling. Wait, no. Definitely drooling.
It’s cool, Leah. I totally drooled through the entire photo shoot. Matt could barely handle watching me photograph it before he snuck a bite!
I like to to churnCan I do a vanilla ice cream basic mixture and mix the peanut butter chips melted into it? What do you think. By the way I love your recipes
Absolutely! The process would be the same as far as assembling/swirling.
It is SOOOO good, Cate! Peanut butter ripples are the best kind of ripples! Hooray for no churn ice cream!
ERMERGERD.
Okay, confession time, I have a pan of this in my freezer RIGHT NOW! As soon as I saw this post pop up, and after I found my very own packet of peanut butter chips I knew the universe was giving me a big glittering neon sign to MAKE THIS NOW! And so, I listened. I am saving it for dessert tonight, but I may have snuck a few teensy bites last night (quality control obviously) and oh my goodness. It tastes like the classiest soft serve ever! Ever.
I cannot wait to spoon this into cute little glasses to serve after dinner tonight. So worth the massive run this morning. Thank you so much for making my Sunday night so much sweeter!
“Classiest soft serve ever” <--- hahahahaha, I love it, Amy! So glad you tried it!
I love how easy this is and it looks INCREDIBLE! I am IN LOVE with those peanut butter ripples! 😀
PB ripples are the greatest!!
So random… This comment is from over 5 years ago, and now I totally follow your blog, haha. So fun to see the world come back around!
Holy forcking (or, in this case spooning) sprinkle balls! This stuff is heaven in my mouth!! Seriously, it is so creamy and just the right amount of peanut buttery goodness. It was simple to make. This will be a staple in our house from now on.
Love this, Brooke! Thanks!
Oh my gosh! This recipe is fast, easy, and totally delicious!!! Peanut Butter Ripple has always been a favorite in our house. This recipe takes it above and beyond favorite! The ice cream base is creamy and smooth, and the peanut butter chunks…YUM! As someone with lactose intolerance, this one is worth the Lactaid pill! 🍦 Thanks for this great recipe, Lynn!
Haha, love that! Thanks, Sarah!
This turned out great.! Thanks for sharing!
Thanks, Jean!