
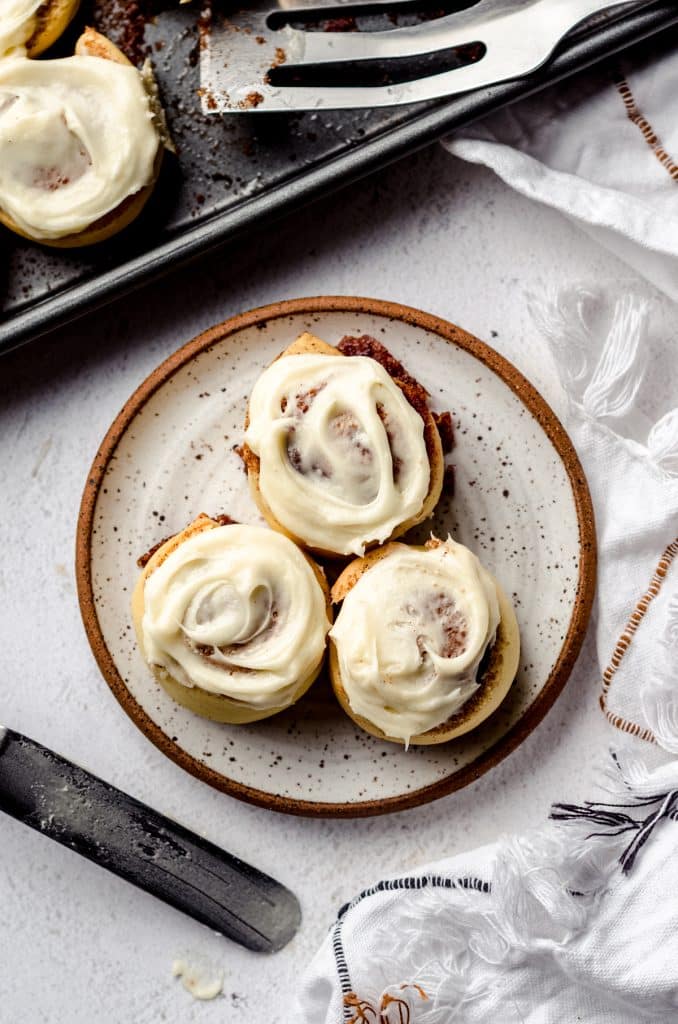
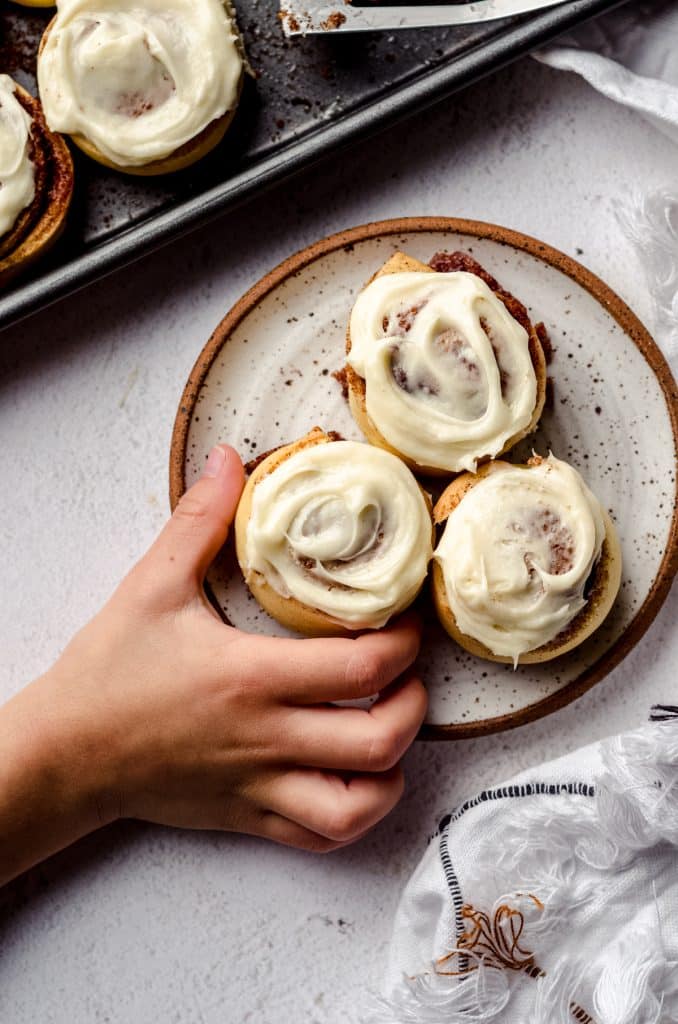
Mini Cinnamon Rolls
As an Amazon Associate, I earn from qualifying purchases. Read the full disclosure here.
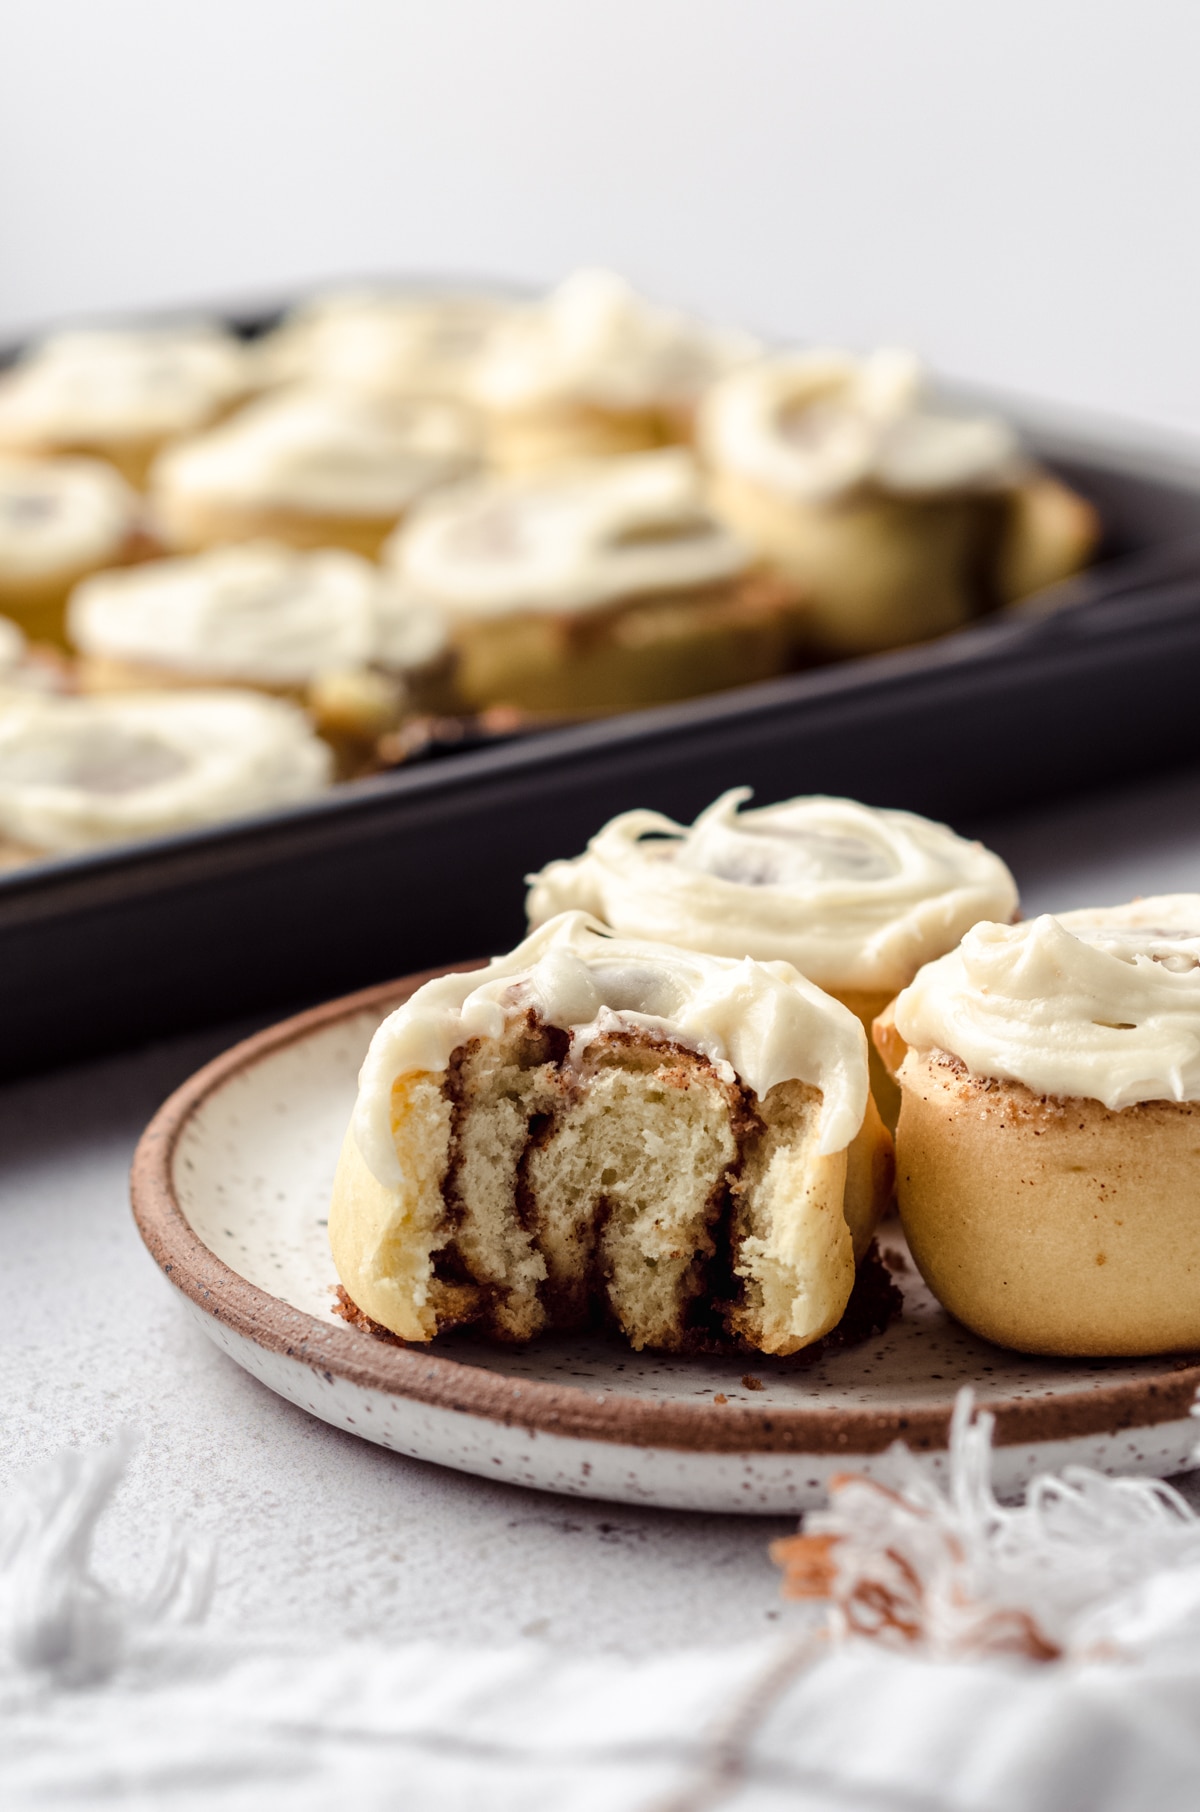
My very favorite and easy recipe for soft and fluffy cinnamon rolls adjusted to yield 24 mini cinnamon rolls! These rolls are filled with a buttery cinnamon filling and topped with a smooth cream cheese frosting. This recipe only requires one rise and it can be made ahead of time to bake later or the next day.
My very favorite recipe for my easy cinnamon rolls has been gracing our kitchen for years, and ever since I published that recipe, so many of you have made them in your own kitchen with rave reviews to report! More specifically, my small batch cinnamon rolls recipe is the one folks lean into the most (it makes just 6 rolls).
Taking that small batch even further, though, I developed this mini version for those times when you want scratch cinnamon rolls but don’t need 12 big guys.
I’ve seen a lot of mini cinnamon roll recipes use crescent roll dough, which is totally fine. But around these parts we almost always make our bread dough from scratch (the exception is my easy garlic knots which start with pre-made pizza dough).
So here we are: my tried and true homemade cinnamon roll recipe that has satisfied tastebuds all over the world, but bite-size (or maybe two bite size, depending on how big your mouth is). It really is as simple as taking the recipe for my small batch of cinnamon rolls (which is literally just half of my regular recipe), split into two rectangles instead of one.
Just like in those other sized recipes for the best cinnamon rolls, I’ve laid everything out step-by-step with lots of pictures so you get the best results every time.
And guess what? I’ll fill you in on how you can make this mini cinnamon rolls recipe into a dozen mini cinnamon rolls if you don’t want or need all 24!
Mini Cinnamon Roll Ingredients
There are three distinct parts to any delicious cinnamon roll recipe: the soft dough, the buttery cinnamon sugar filling, and the cream cheese icing on top. Let’s break it down.
CINNAMON ROLLS YEAST DOUGH
Yeast breads can be categorized into two types: lean (just yeast, flour, and salt) or enriched (yeast, flour, eggs, butter). All of my cinnamon roll recipes are enriched yeast doughs.
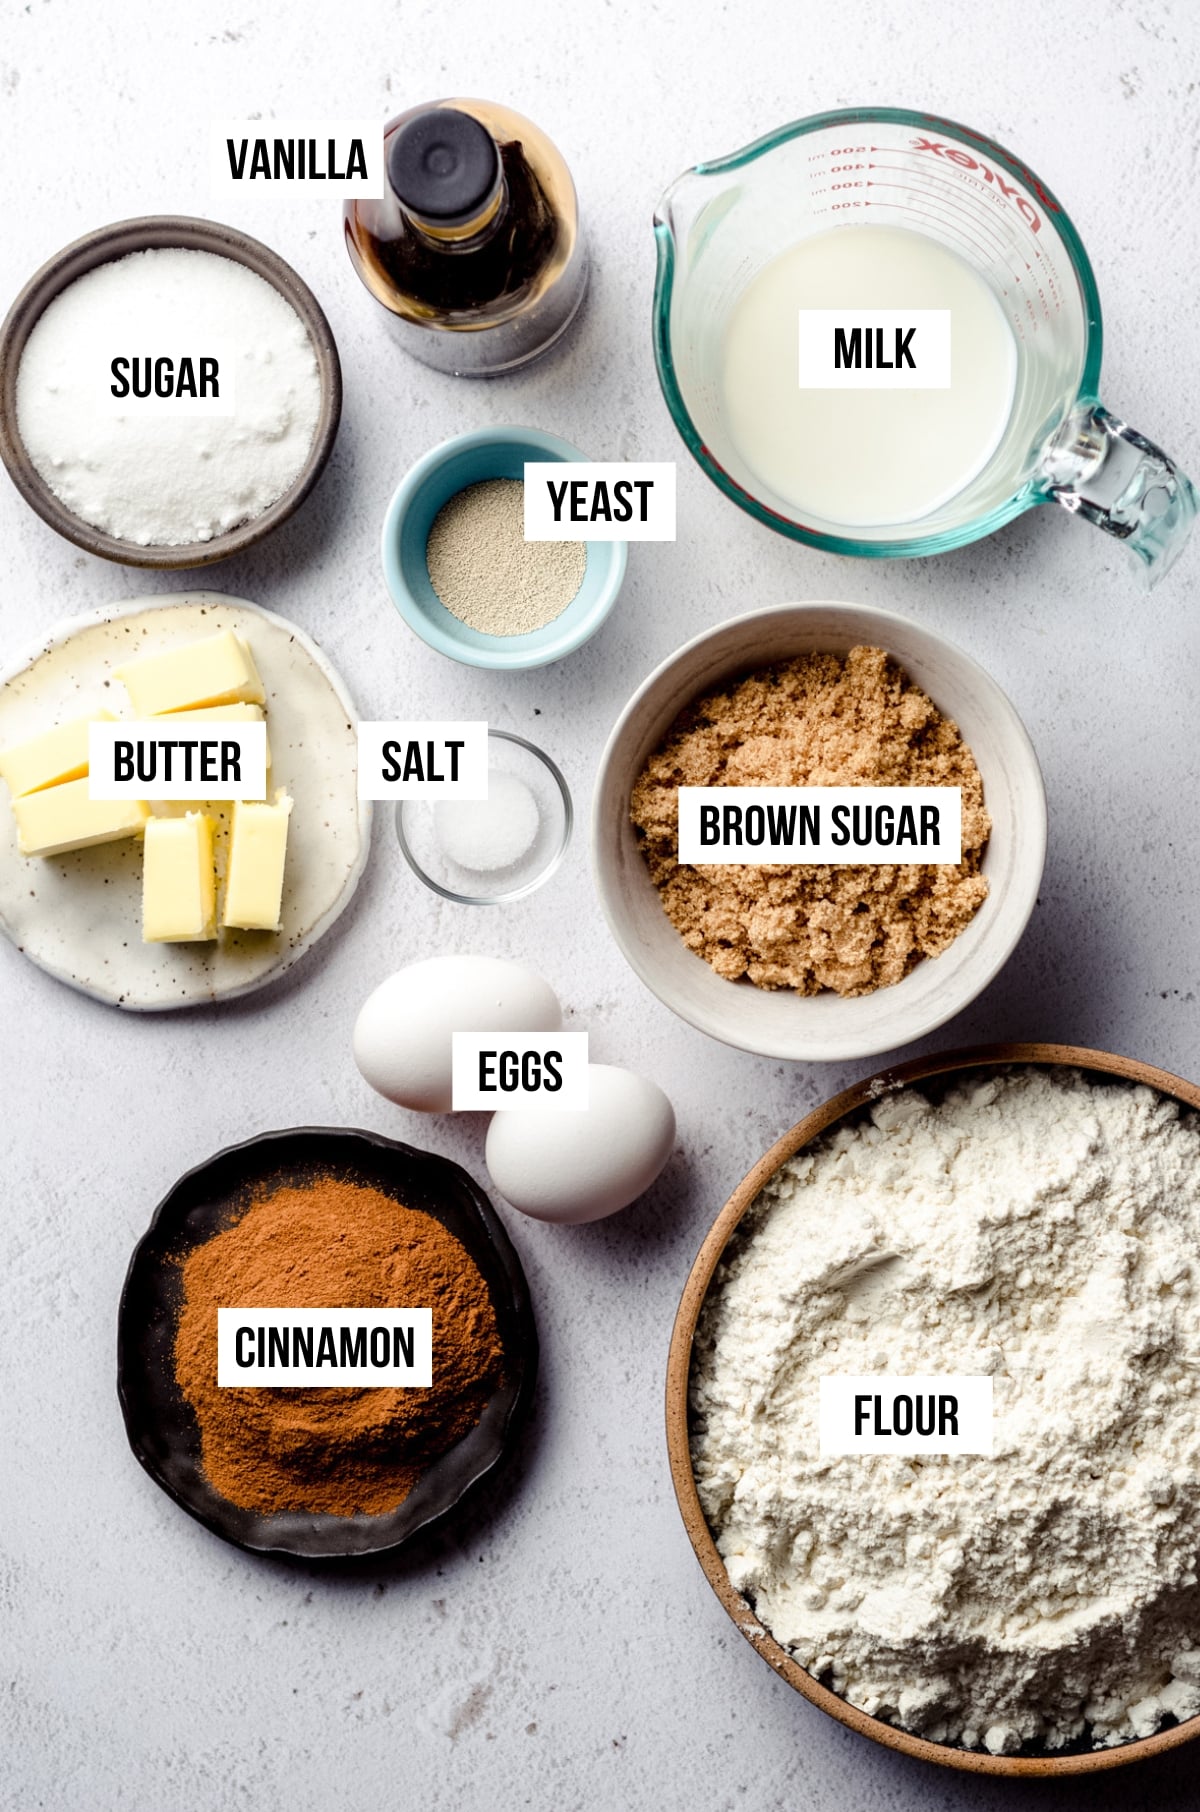
This means you will need:
• warm water
• active dry yeast
• warm milk (I prefer whole milk for this)
• granulated sugar
• salt
• vanilla extract
• an egg
• all-purpose flour
• softened butter
CINNAMON SUGAR FILLING
For the filling, we are filling the insides of these fluffy mini cinnamon rolls with plenty of cinnamon sugar filling.
For the filling, you’ll need:
• melted butter
• granulated sugar
• brown sugar
• ground cinnamon
CREAM CHEESE FROSTING
This easy cinnamon roll recipe includes my very favorite cream cheese frosting. This cream cheese frosting is my go-to recipe, and the one I use for everything from my red velvet cupcakes to nearly all of my homemade cinnamon rolls.
The key to cream cheese frosting is to get the consistency perfect, which we’ll talk about in a bit.
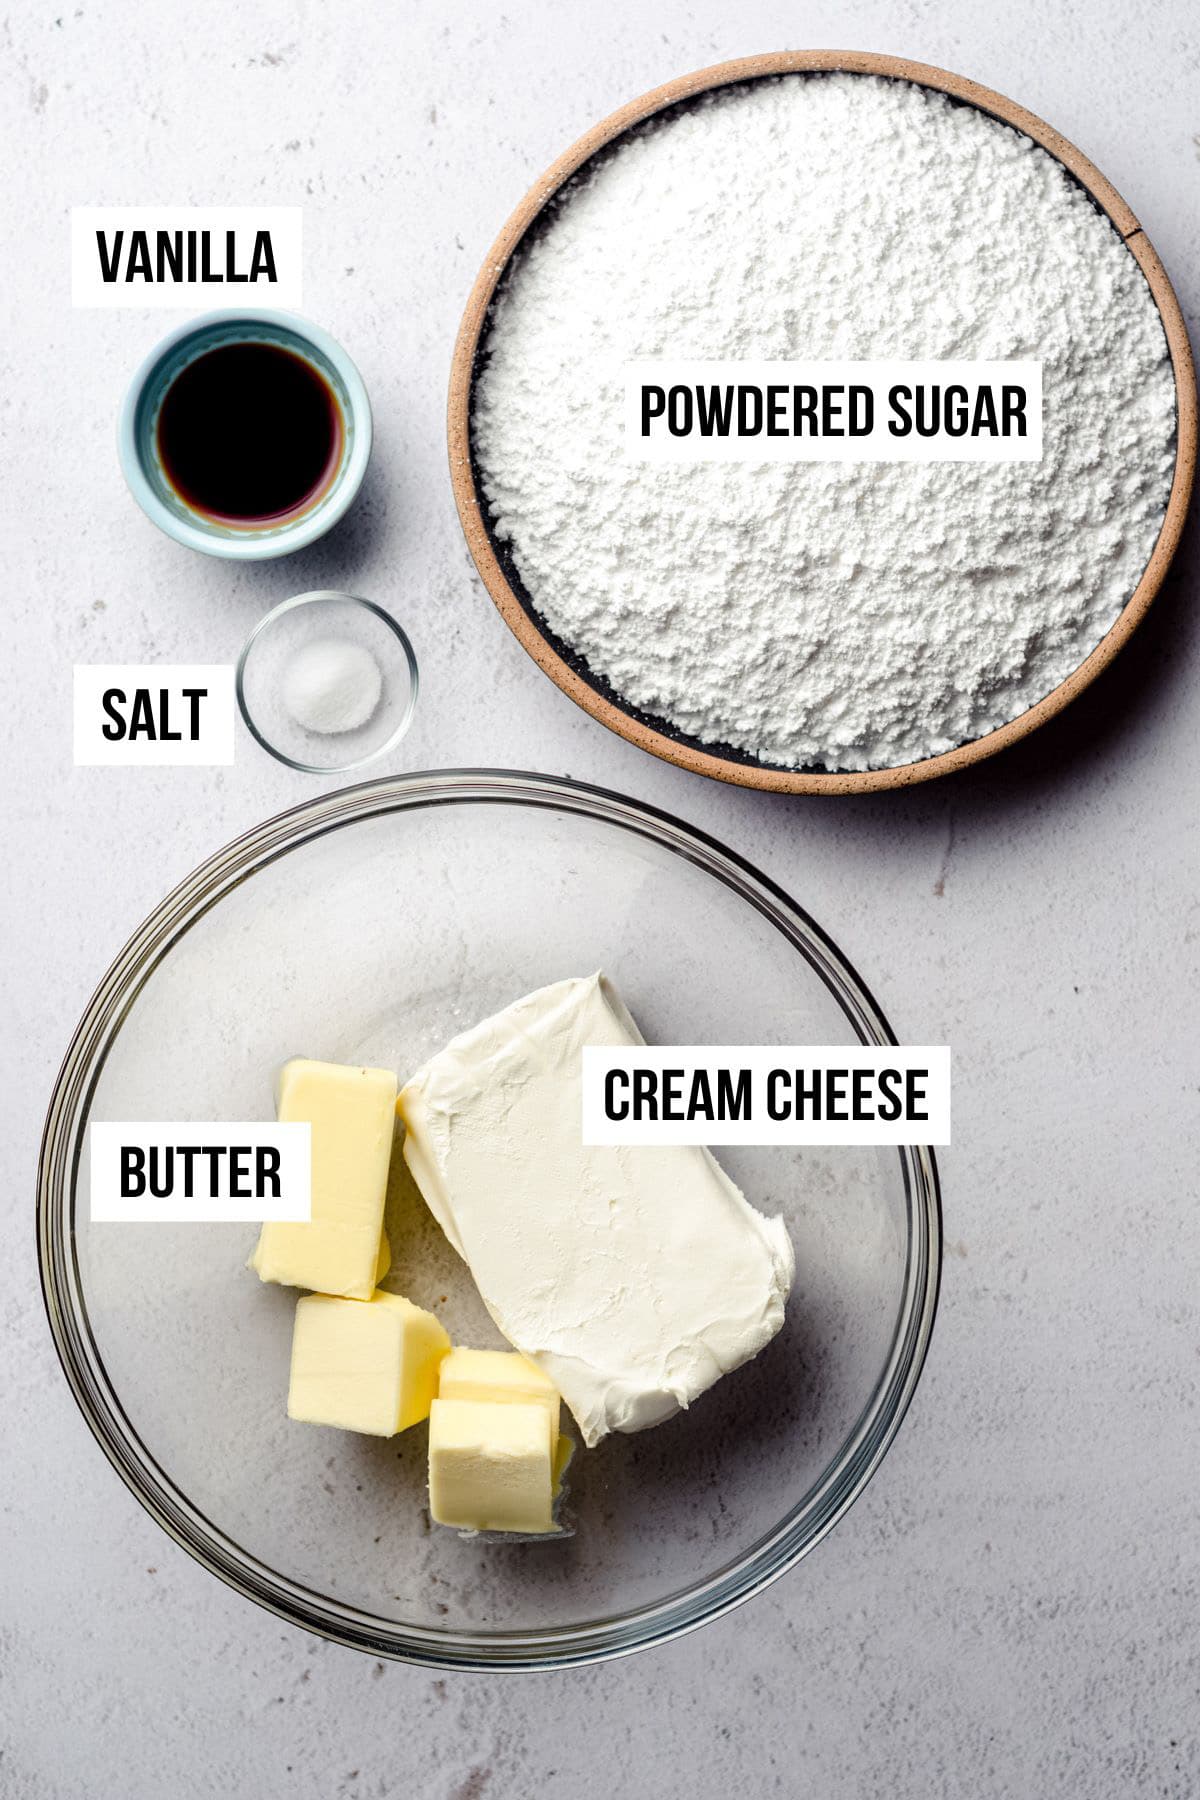
For the cream cheese frosting, you will need:
• full fat block cream cheese
• softened butter
• powdered sugar
• vanilla extract
• salt
How to make Mini Cinnamon Rolls
If this is your first time making an enriched yeasted dough, I have all the helpful pictures and explanations that will walk you through this whole process. I promise, it’s very simple, and you’re going to wind up with perfect cinnamon rolls at the end of all of it, guaranteed!
STEP #1: PROOF THE YEAST
First, you need to make sure your yeast is good and alive. Inactive, expired, or dead yeast will result in very sad cinnamon rolls. Let’s make sure that yeast is working before we do all that work for nothing!
Pour some warm water into a bowl (we’re looking for about 110ºF [43ºC] on an instant read thermometer). If you don’t have one of those, simply use your wrist as a guide to get the temperature just right.
Hold your wrist in a stream of warm water from the tap. If you can feel the temperature of the water, it’s either too warm or too cold. If the feeling seems to disappear into your skin, it’s perfect.

Sprinkle the active dry yeast over the water, whisk it with a fork, spatula, or wooden spoon, then allow it to activate while you prepare the rest of the ingredients.
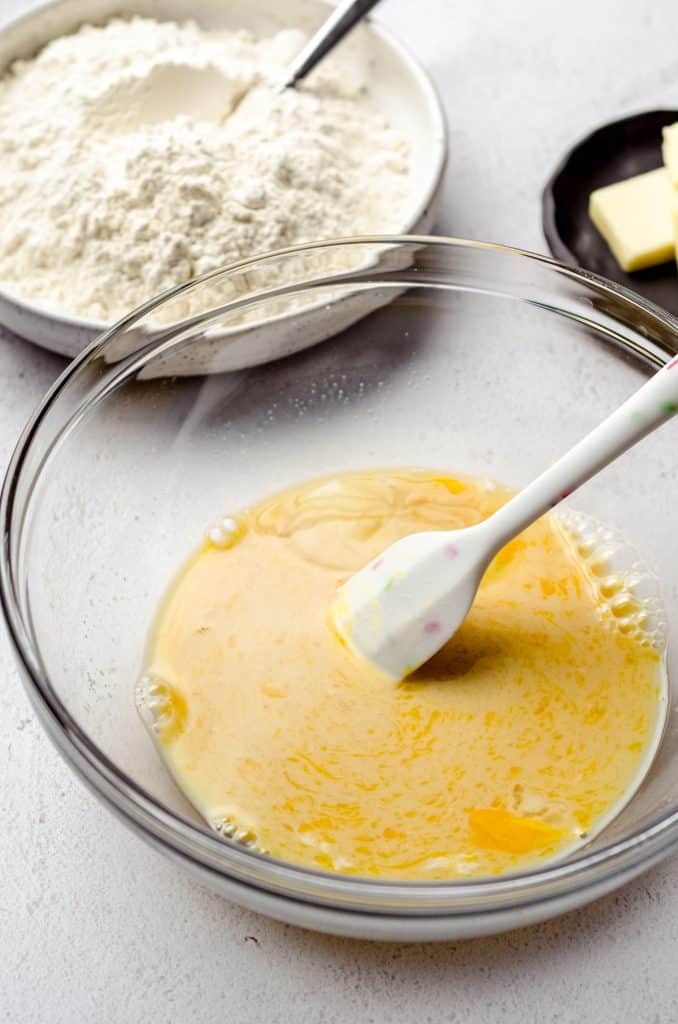
STEP #2: MIX THE DOUGH
Once your yeast proves that it is active, you’ll add the warm milk, sugar, salt, vanilla extract, and egg. Mix all of those ingredients together, then start adding the flour.

I prefer using a wooden spoon and my hands to make my yeast doughs, but you are welcome to use the dough hook attachment and the bowl of a stand mixer.
I find doing things like making cinnamon roll dough by hand gives me more control and helps me understand better exactly what my yeast dough needs, but especially if you’re a beginner, there’s nothing wrong with using a stand mixer.
You’ll start by adding just 1 cup of the 2 and ¼ cups total and allow the dough to come together.
Once together, you’re going to add the softened butter, which is in slices, to the dough. This might seem strange and lead to a weird texture, but just like we cut fat into homemade pie crust and homemade biscuits to create flaky layers, we’re doing the same here with our mini cinnamon rolls, so just go with it.
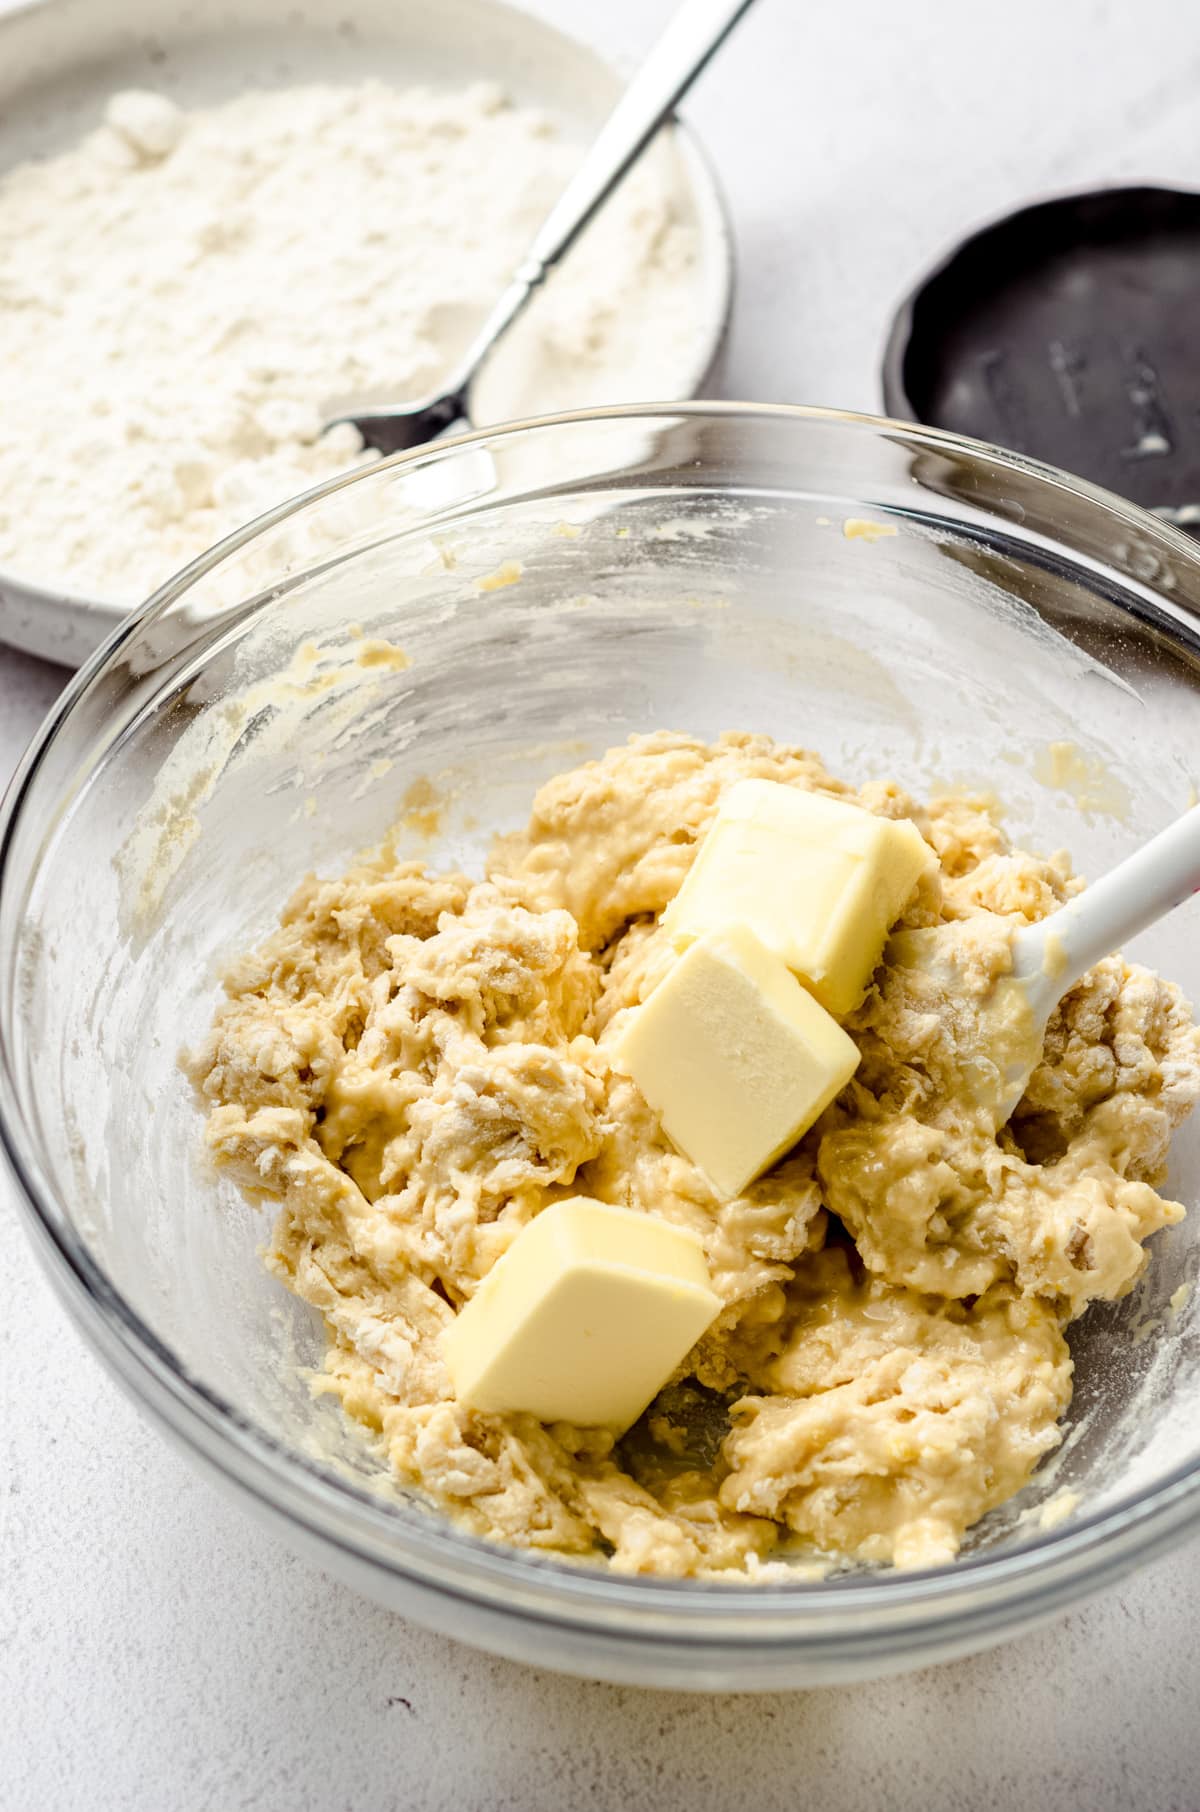
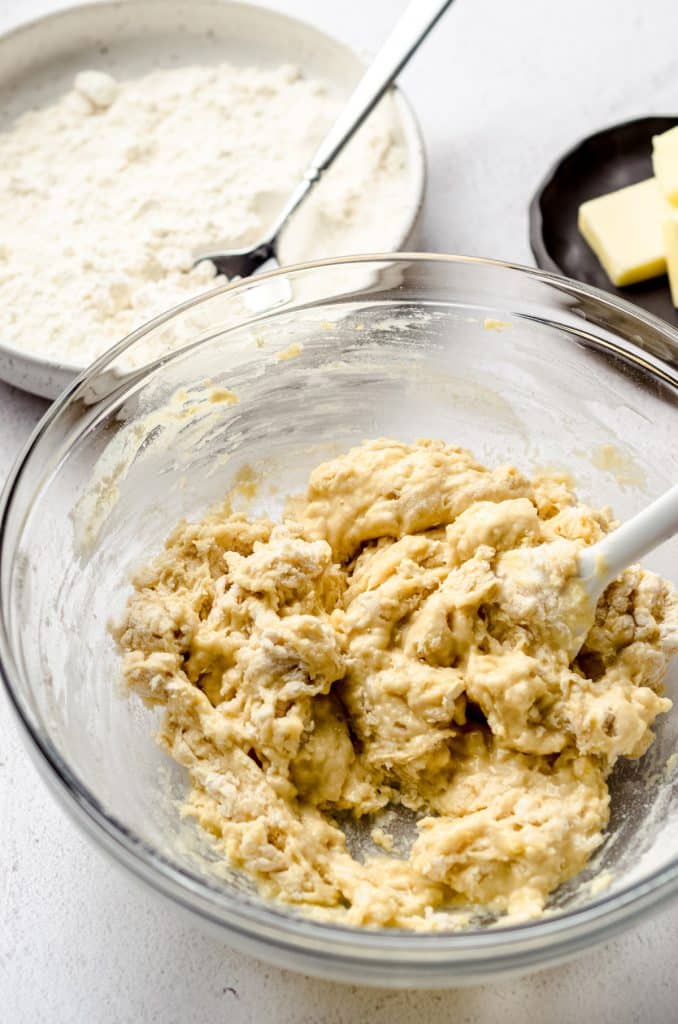
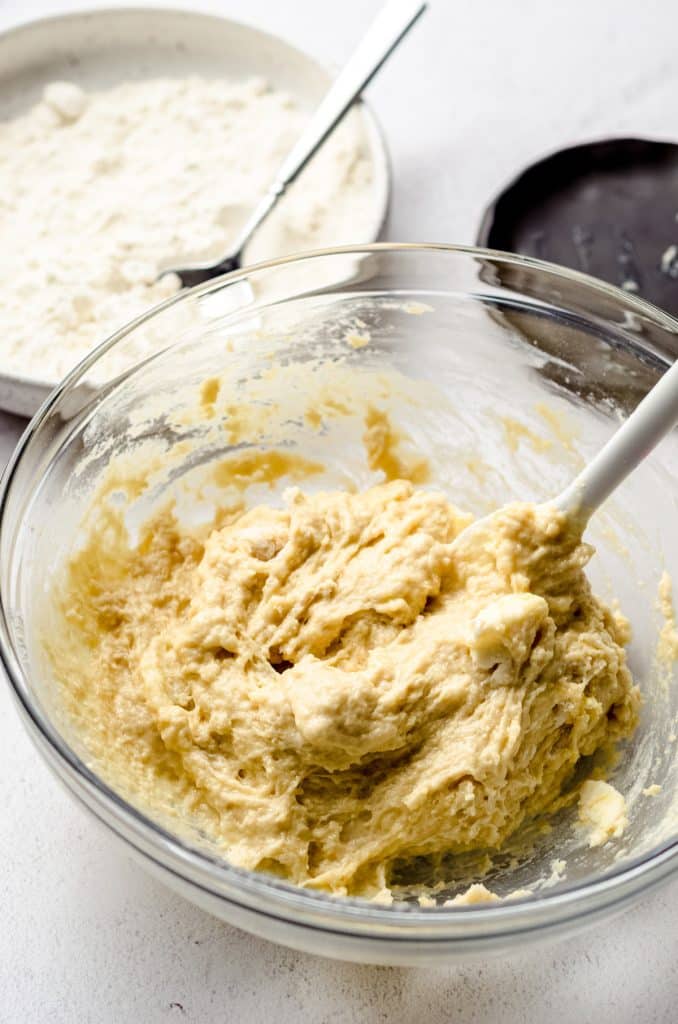
When the butter is almost totally incorporated, add the remaining 1 and ¼ cups of flour and keep blending until the dough has mostly come together. It will likely still be shaggy, but it should pull away from the sides of the bowl fairly easily.

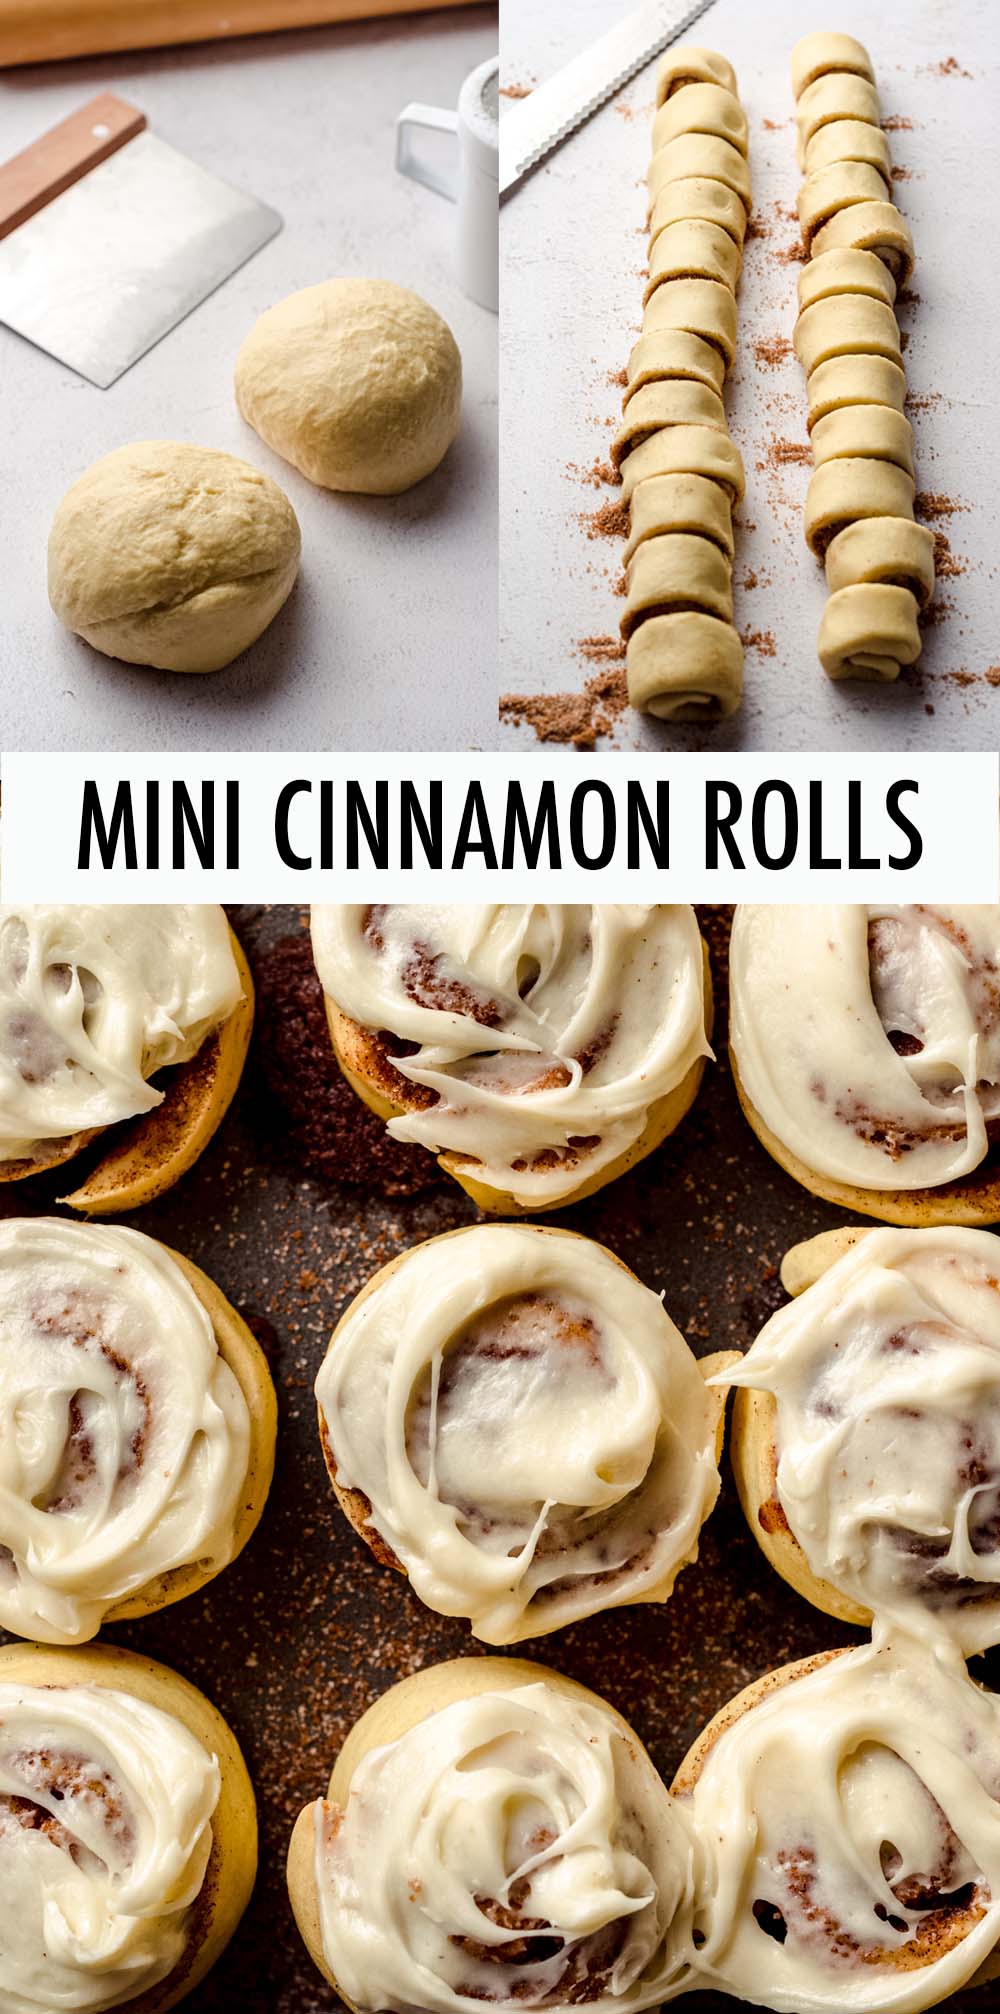
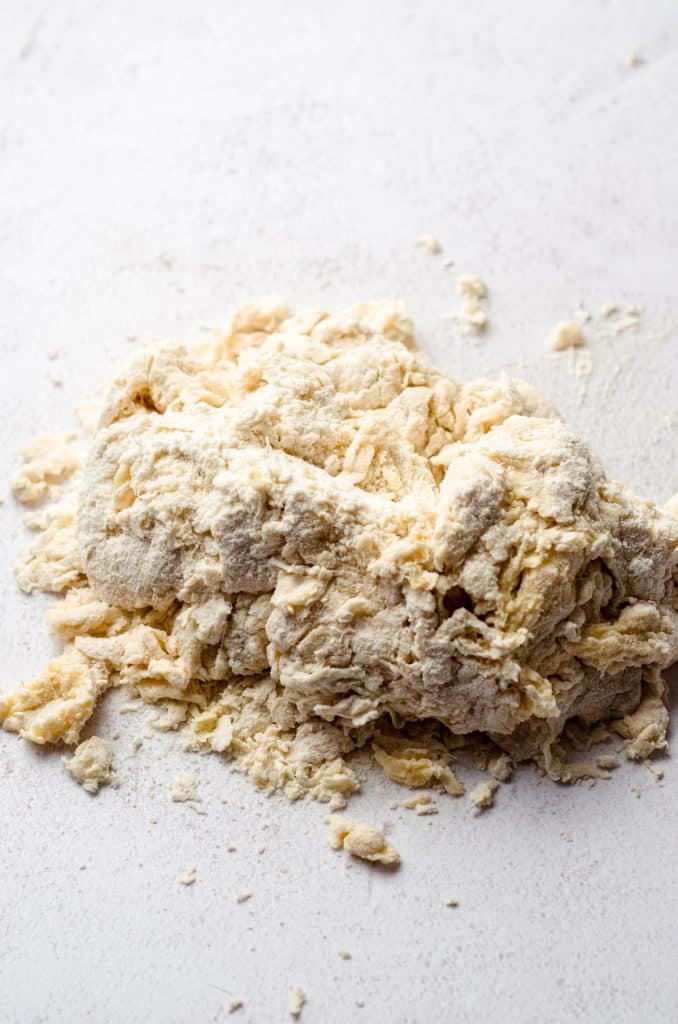
Next, turn the dough out dough on a well-floured surface. This should be “well-floured” because the dough will still be pretty sticky, and you may feel as if you need to add more flour as you knead, which is fine.
I’ve built wiggle room into my mini cinnamon roll recipe for adding more flour, but kneading by hand in this step is where you will become the most familiar and comfortable with what the texture of enriched yeast dough should feel like.
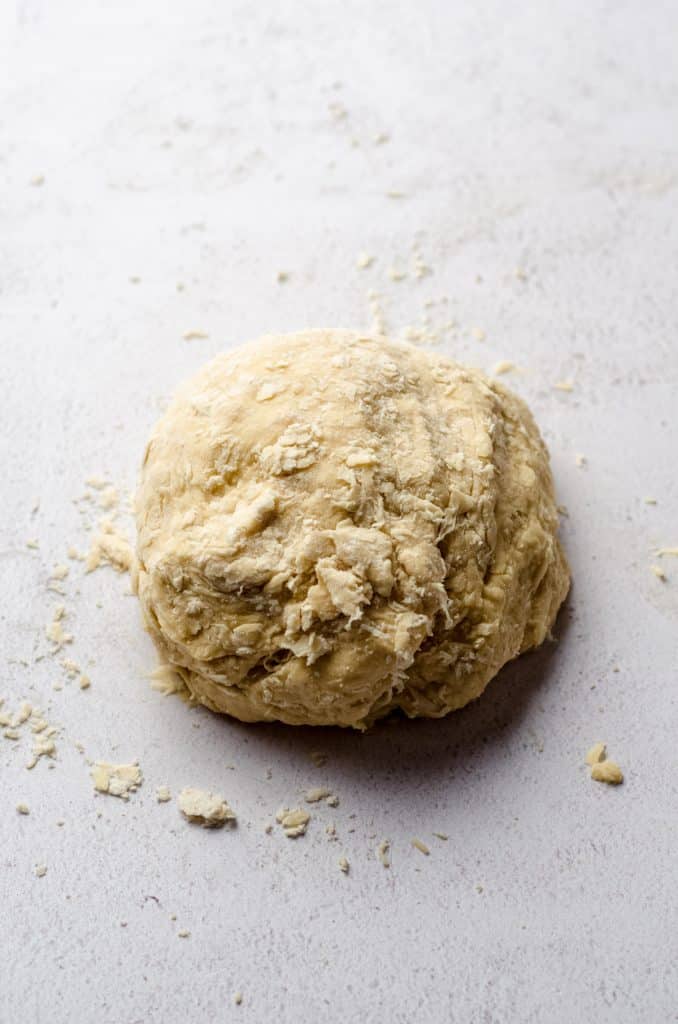
You’ll want to knead your dough for about 8-10 minutes, adding flour about 1 Tablespoon at a time if the dough is too sticky, until it smooth and elastic.
I know. That’s a quite some time to be kneading. Take short breaks when you need to!
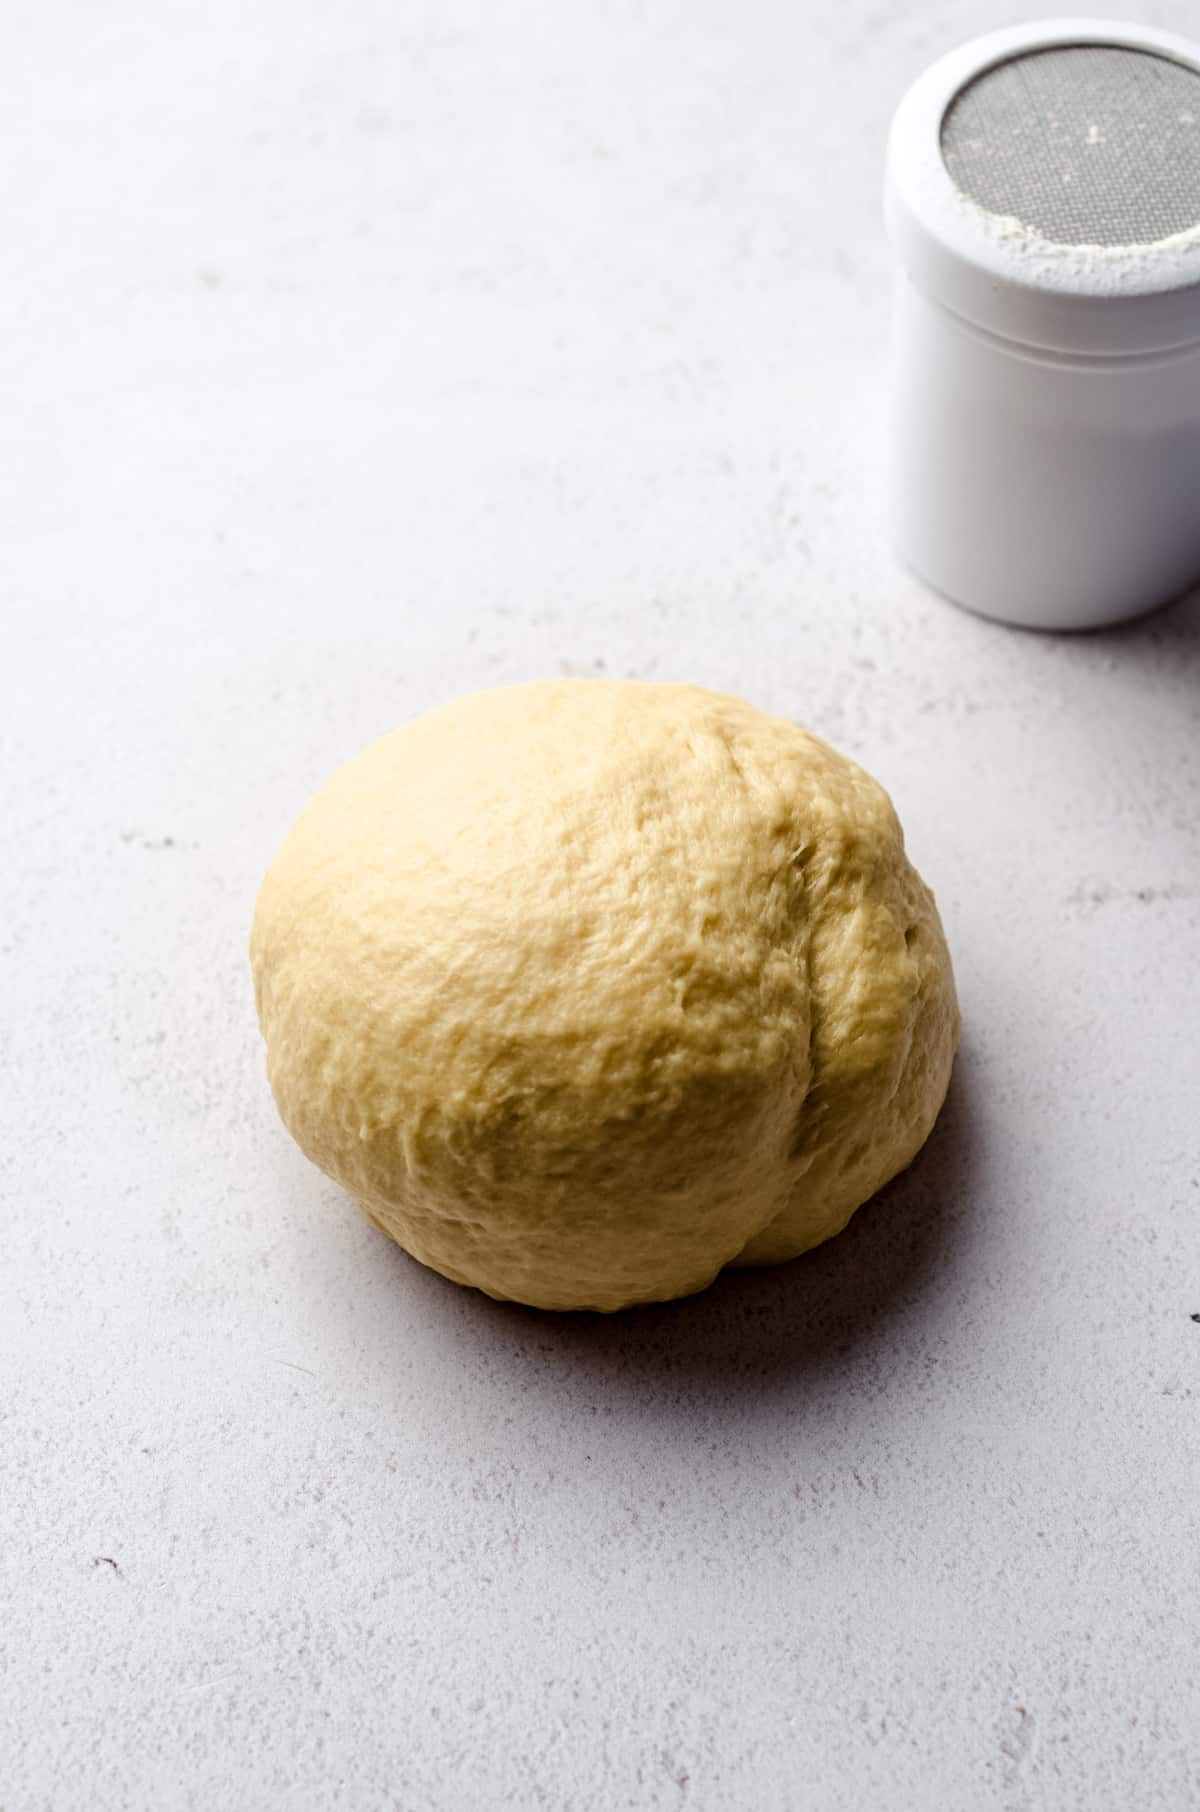
You will know your dough is done when the surface texture resembles that of PlayDoh.
STEP #3: ALLOW CINNAMON ROLL DOUGH TO REST
If you’re making a traditional yeast bread, this is the point at which you’d allow it to have its first rise. When the dough rises, the gluten structure starts to strengthen, but since we are rolling and shaping this dough, we want the gluten structure to be relaxed, otherwise we’ll have a hard time trying to shape it into rolls.
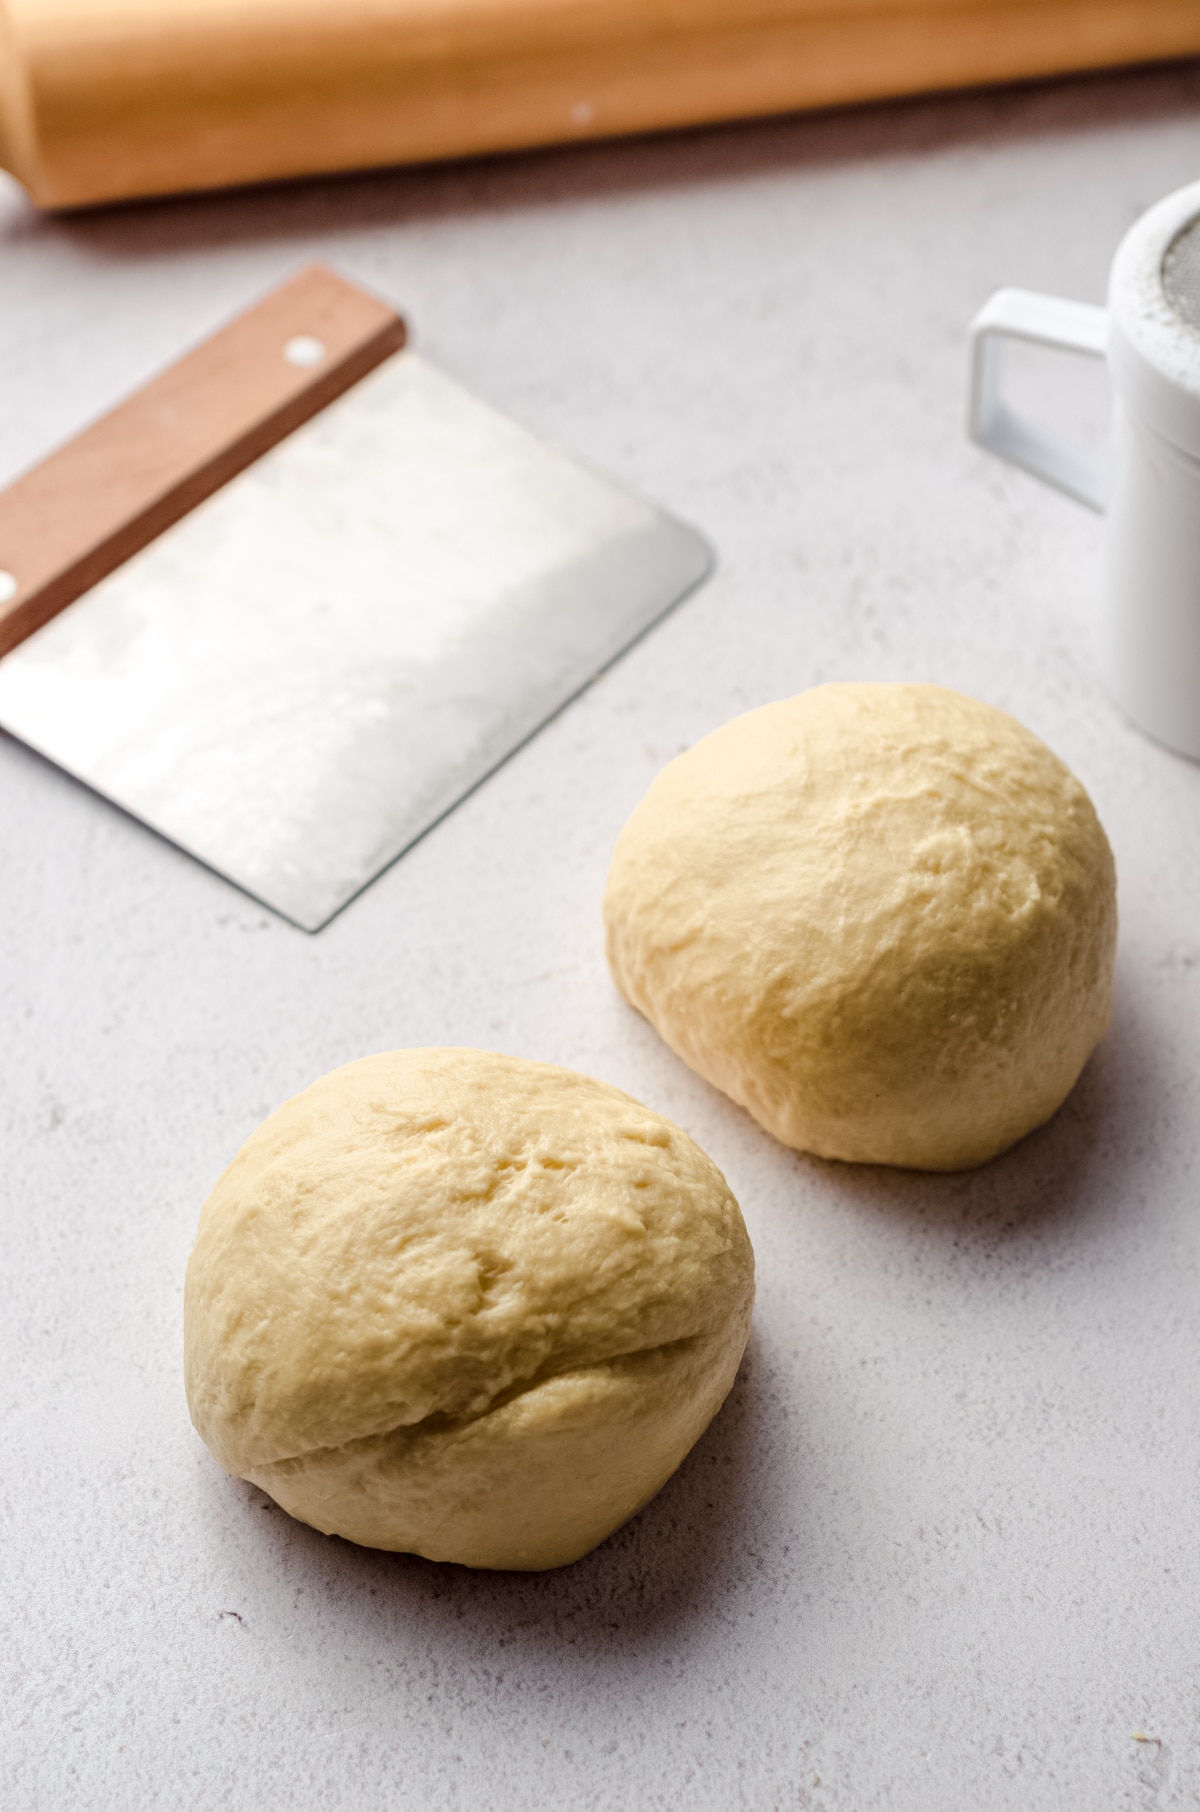
Split your dough into two equal parts, then let the dough rest for about 10 minutes. While you wait, get the filling ingredients ready to go.
STEP #4: MAKE THE CINNAMON FILLING
I’ve experimented with a few different ways to fill my cinnamon rolls. I used to mix everything together and spread it onto the rectangle of dough with a spatula, but I had a lot of trouble as I often ripped the dough.
I’ve found that the best cinnamon filling is done in two parts: a butter layer and a separate scattering of the cinnamon-sugar mixture. I also used to be afraid of too much ground cinnamon, but there is plenty of it here, that’s for sure!
STEP #5: PREPARE THE DOUGH
Once the dough has rested for about 10 minutes, it will be pliable and willing to shape.
Use a rolling pin and your hands to gently stretch each ball of dough into a large rectangle that is about 7″ by 12″ in size. You will now have two equally sized rectangles.
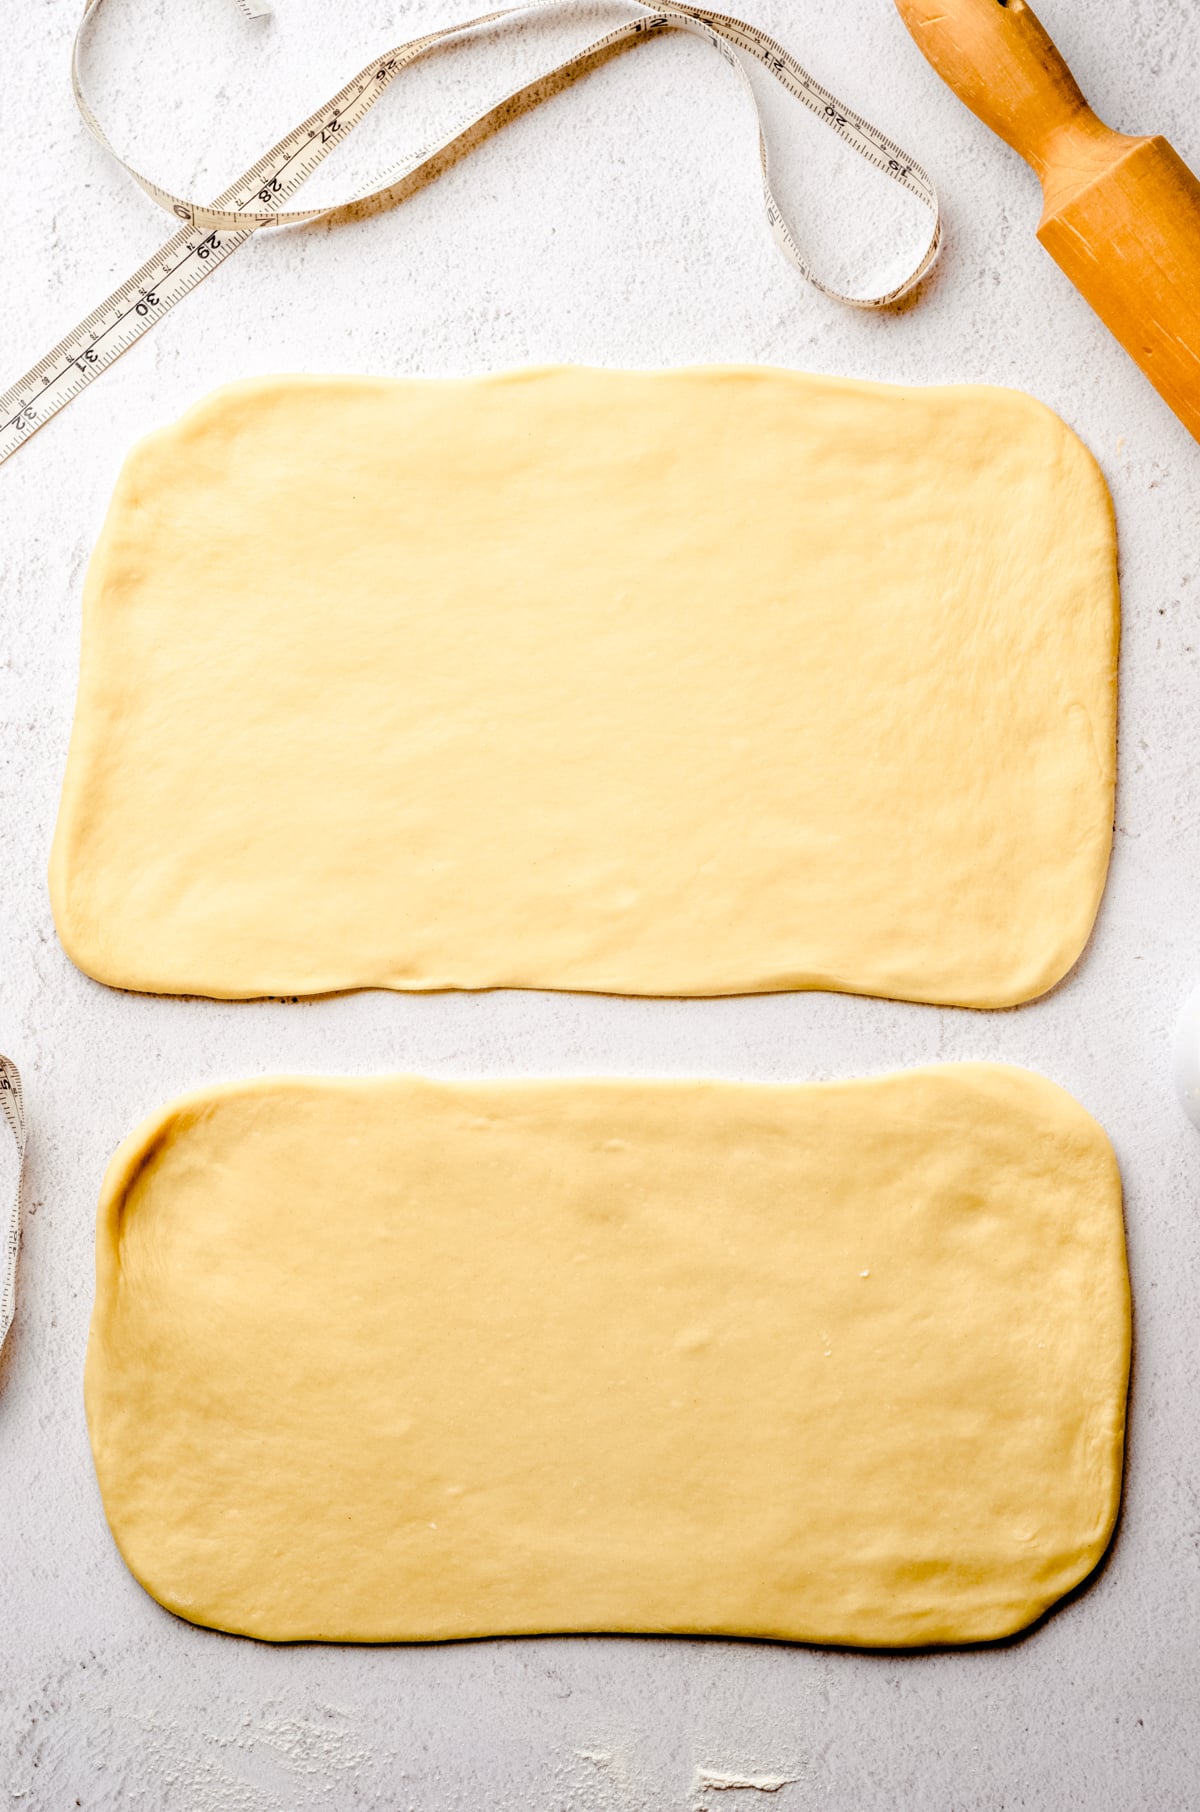
While this measurement doesn’t need to be perfectly exact, I always use a tape measure, ruler, or ruled rolling mat. The size should be pretty close to 7″ by 12″ so there is enough surface to work with when rolling and cutting the logs into equal pieces.
STEP #6: BRUSH WITH MELTED BUTTER
All of that melted butter is going right onto those rectangles of dough.
It will feel like a lot of butter, but again, trust the process. Use a pastry brush to brush the butter almost to the edges of each rectangle, leaving about a ½” border.
STEP #7: SPRINKLE WITH FILLING
Next, spread the cinnamon sugar mixture evenly over the melted butter, taking care to use half for one rectangle and half for the other. This does not need to be a perfect measurement.
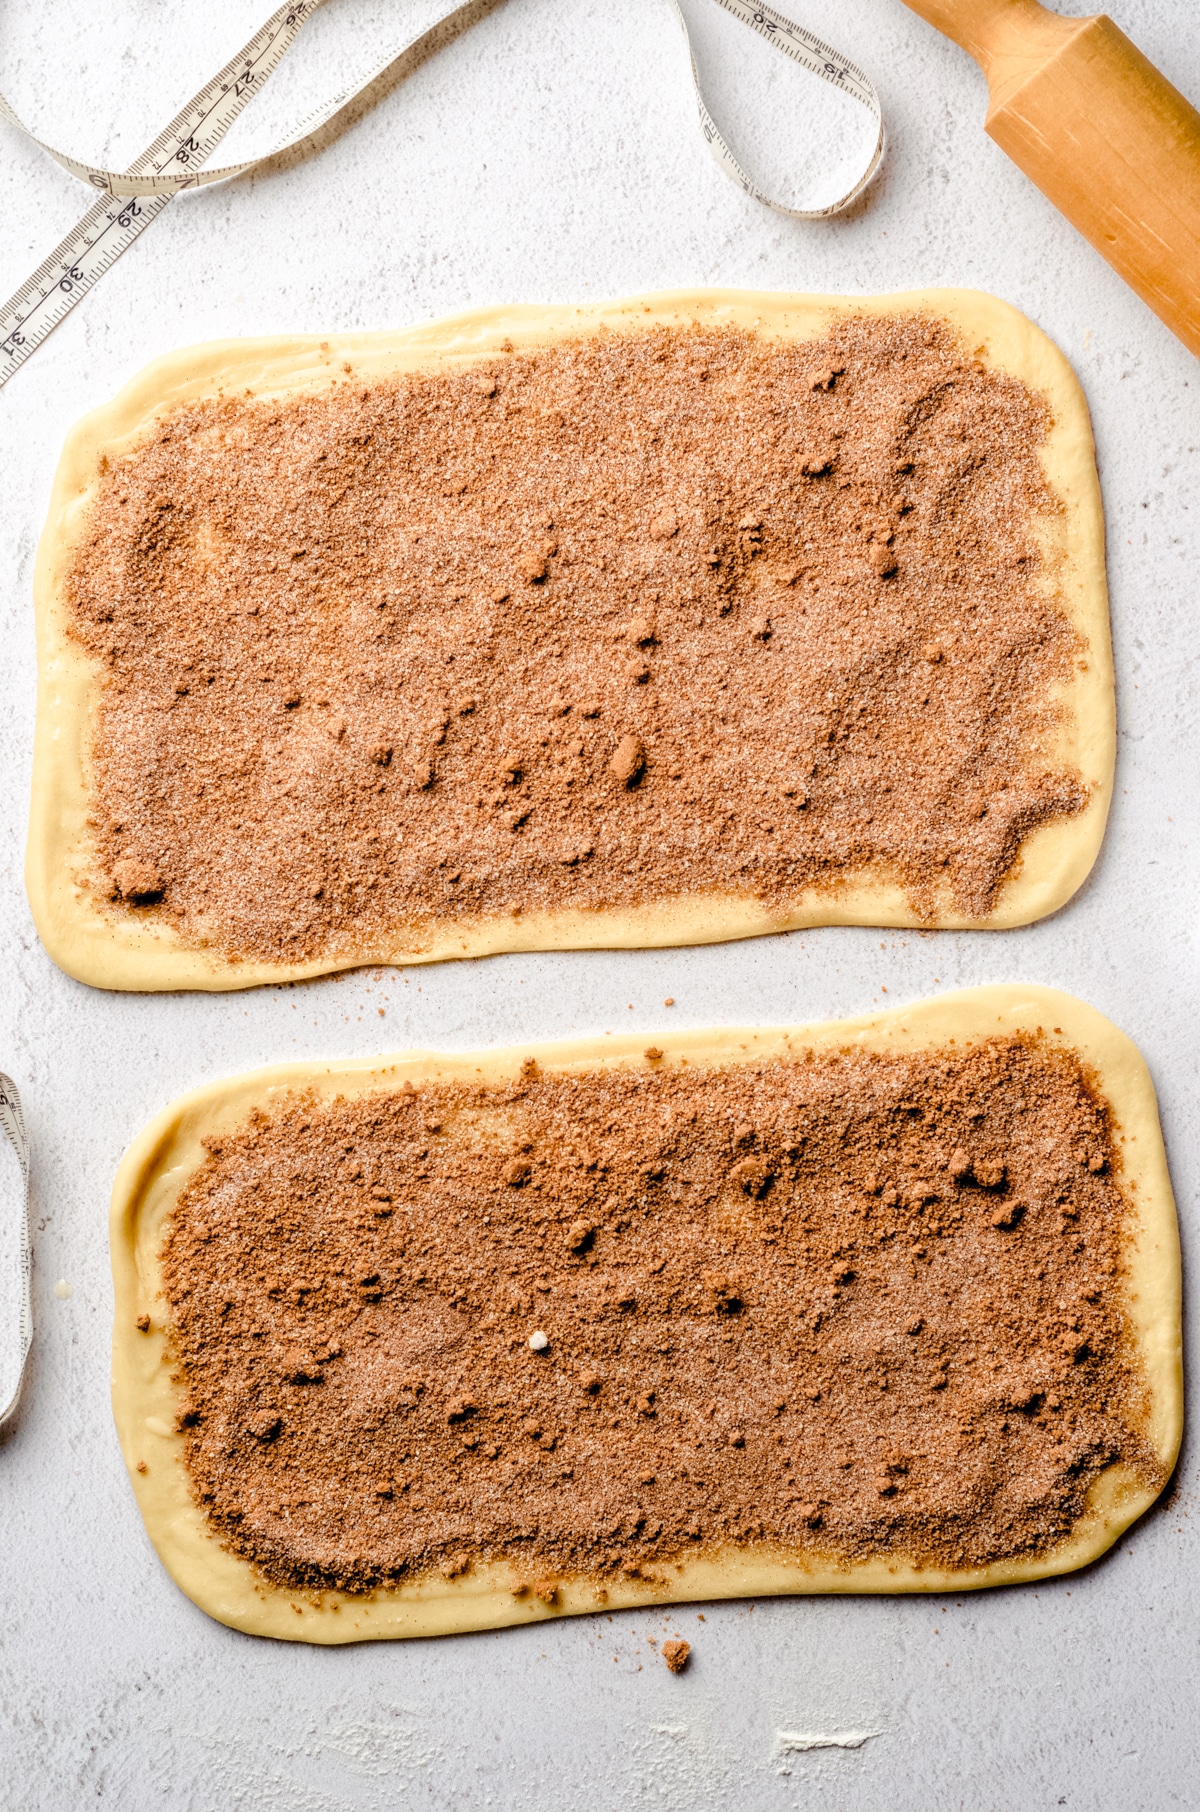
Spread as far as you spread the butter, again, being sure to maintain that ½” border.
STEP #8: ROLL INTO LOGS
After both rectangles of dough are covered in butter and cinnamon sugar, you’ll roll each into a tight log.
Starting with the 12″ long side, slowly and carefully roll the dough over itself to form a log, doing your best to keep the seam side down. I like to use my fingers or palms on either end of the log to gently squeeze the log to “contain” the uneven ends.
STEP #9: CUT INTO INDIVIDUAL ROLLS
Lastly, cut each log into 12 equal slices. I much prefer to use a sharp knife (serrated works best) to do this step. Lots of folks have had success using the dental floss method, but I do not love this method. Do what works for you!
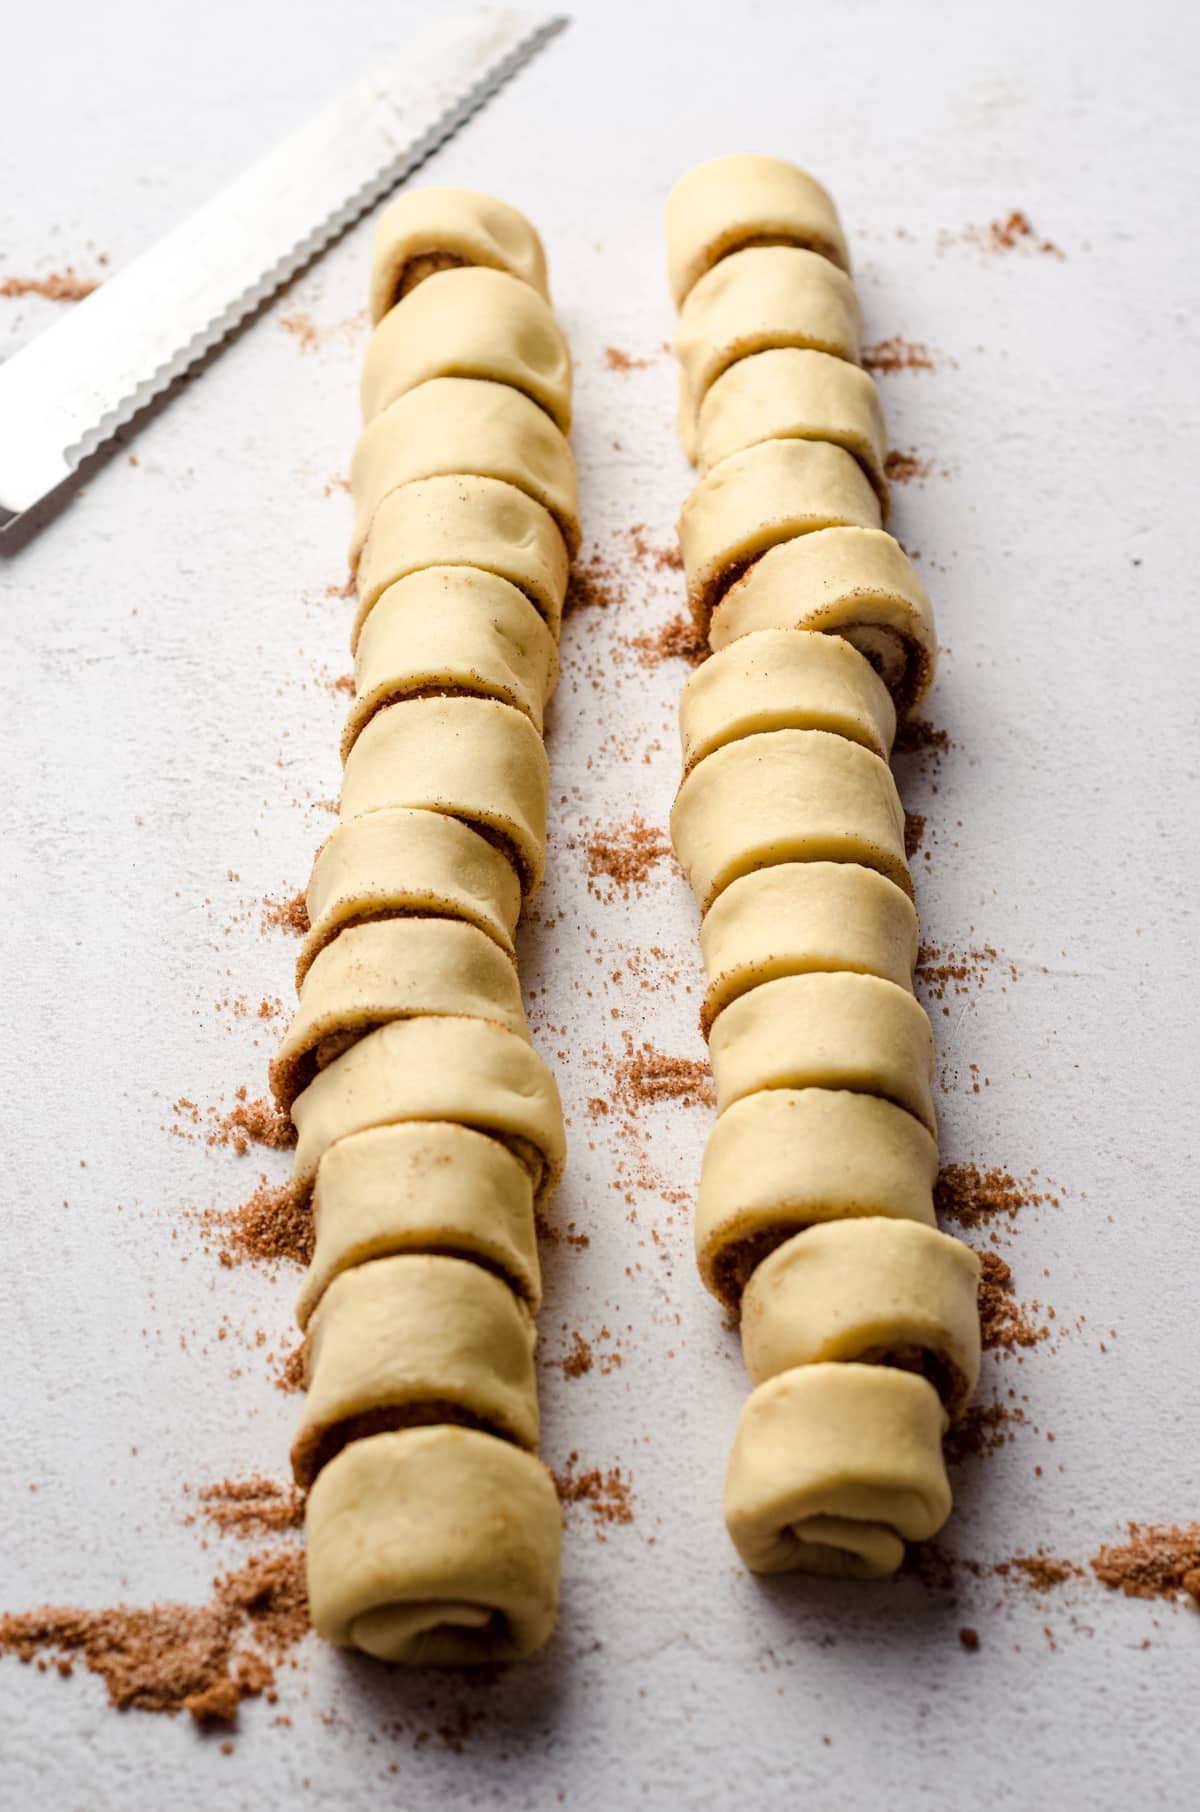
It’s important to use a sharp knife so you don’t squash the rolls, but don’t worry if you ruin the shape. They will still bake perfectly and, most importantly, still taste delicious.
Also, don’t worry if filling spills out. We’ll use it in a second!
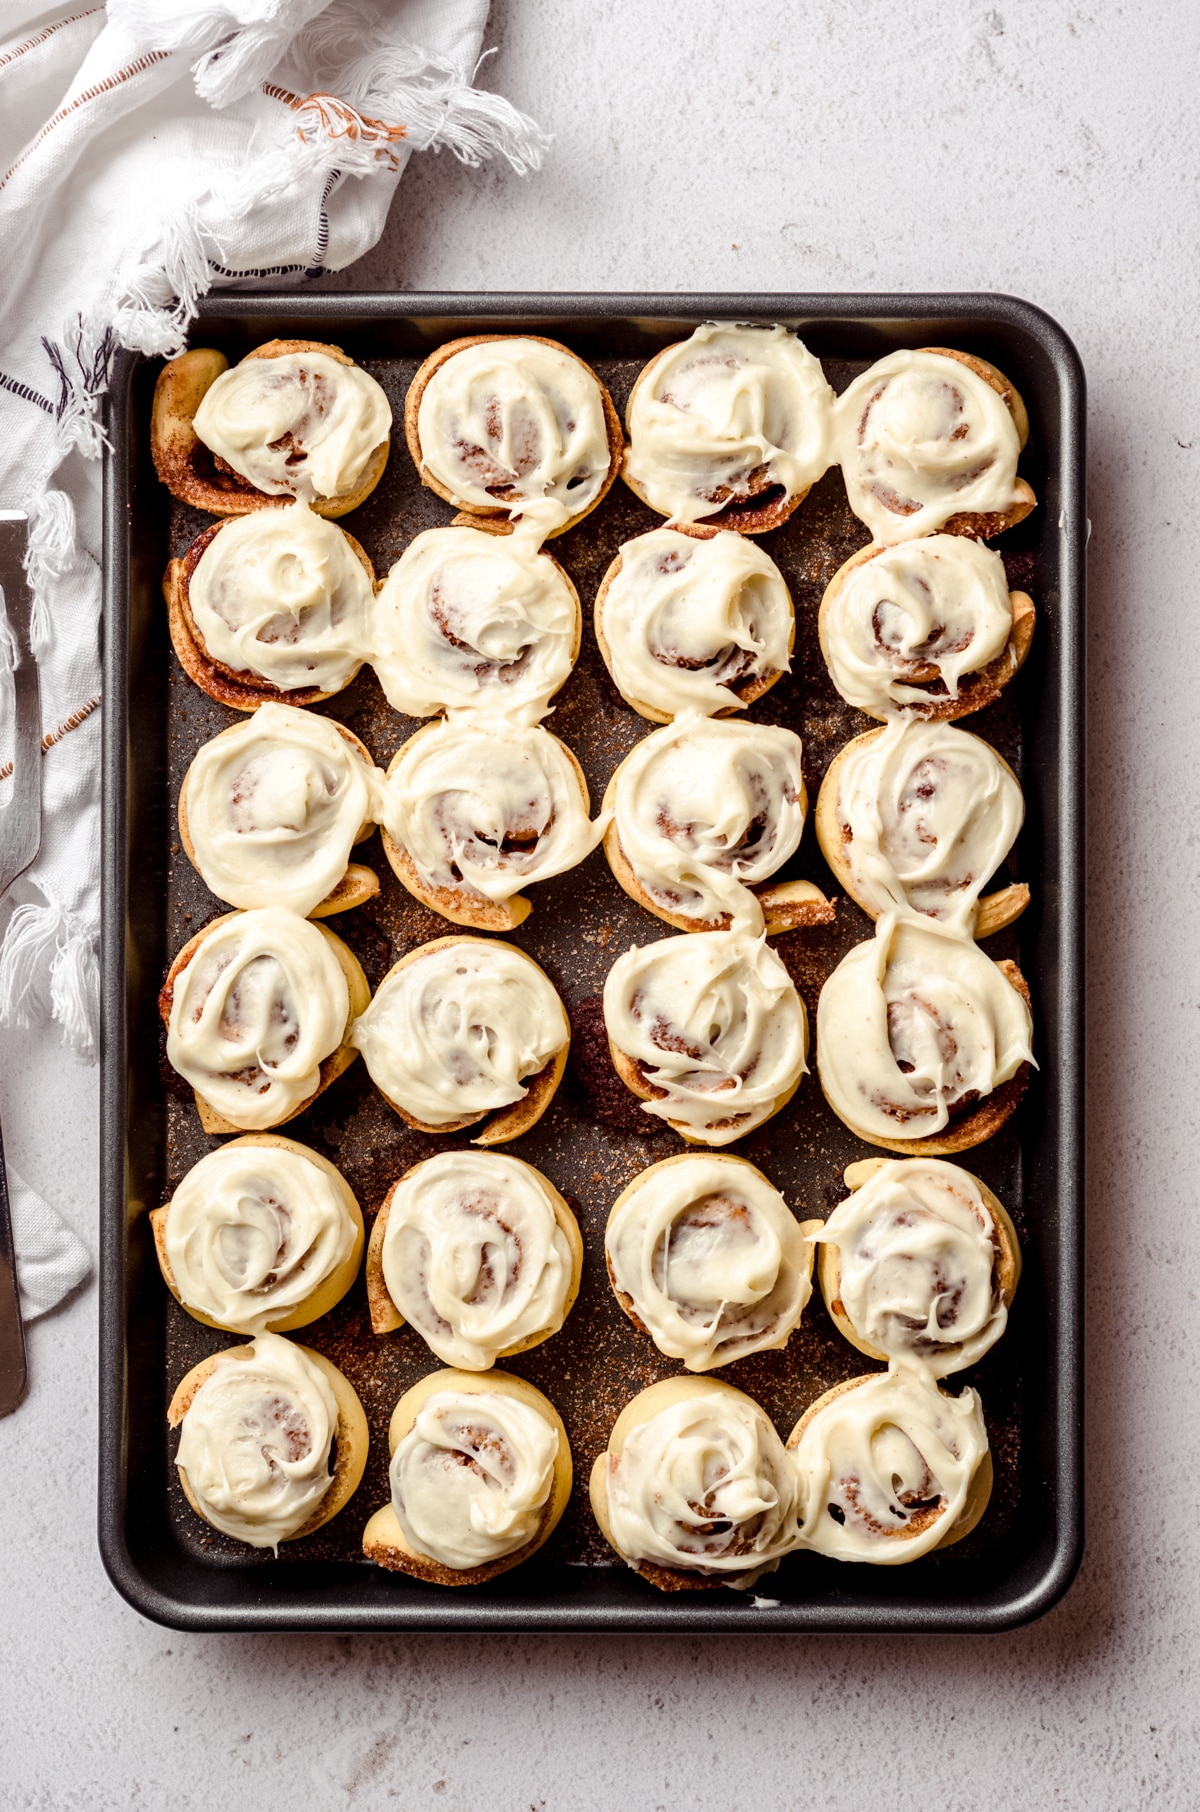
STEP #10: PLACE IN BAKING PAN
Once your logs are cut into individual rolls, place them in a prepared pan (sprayed with baking spray) cut side down. I prefer to use a 9″ x 13″ baking dish. You can use two 8″ baking pans with 12 rolls in each pan, if you prefer. The rest of the process will be the same, even the bake time.
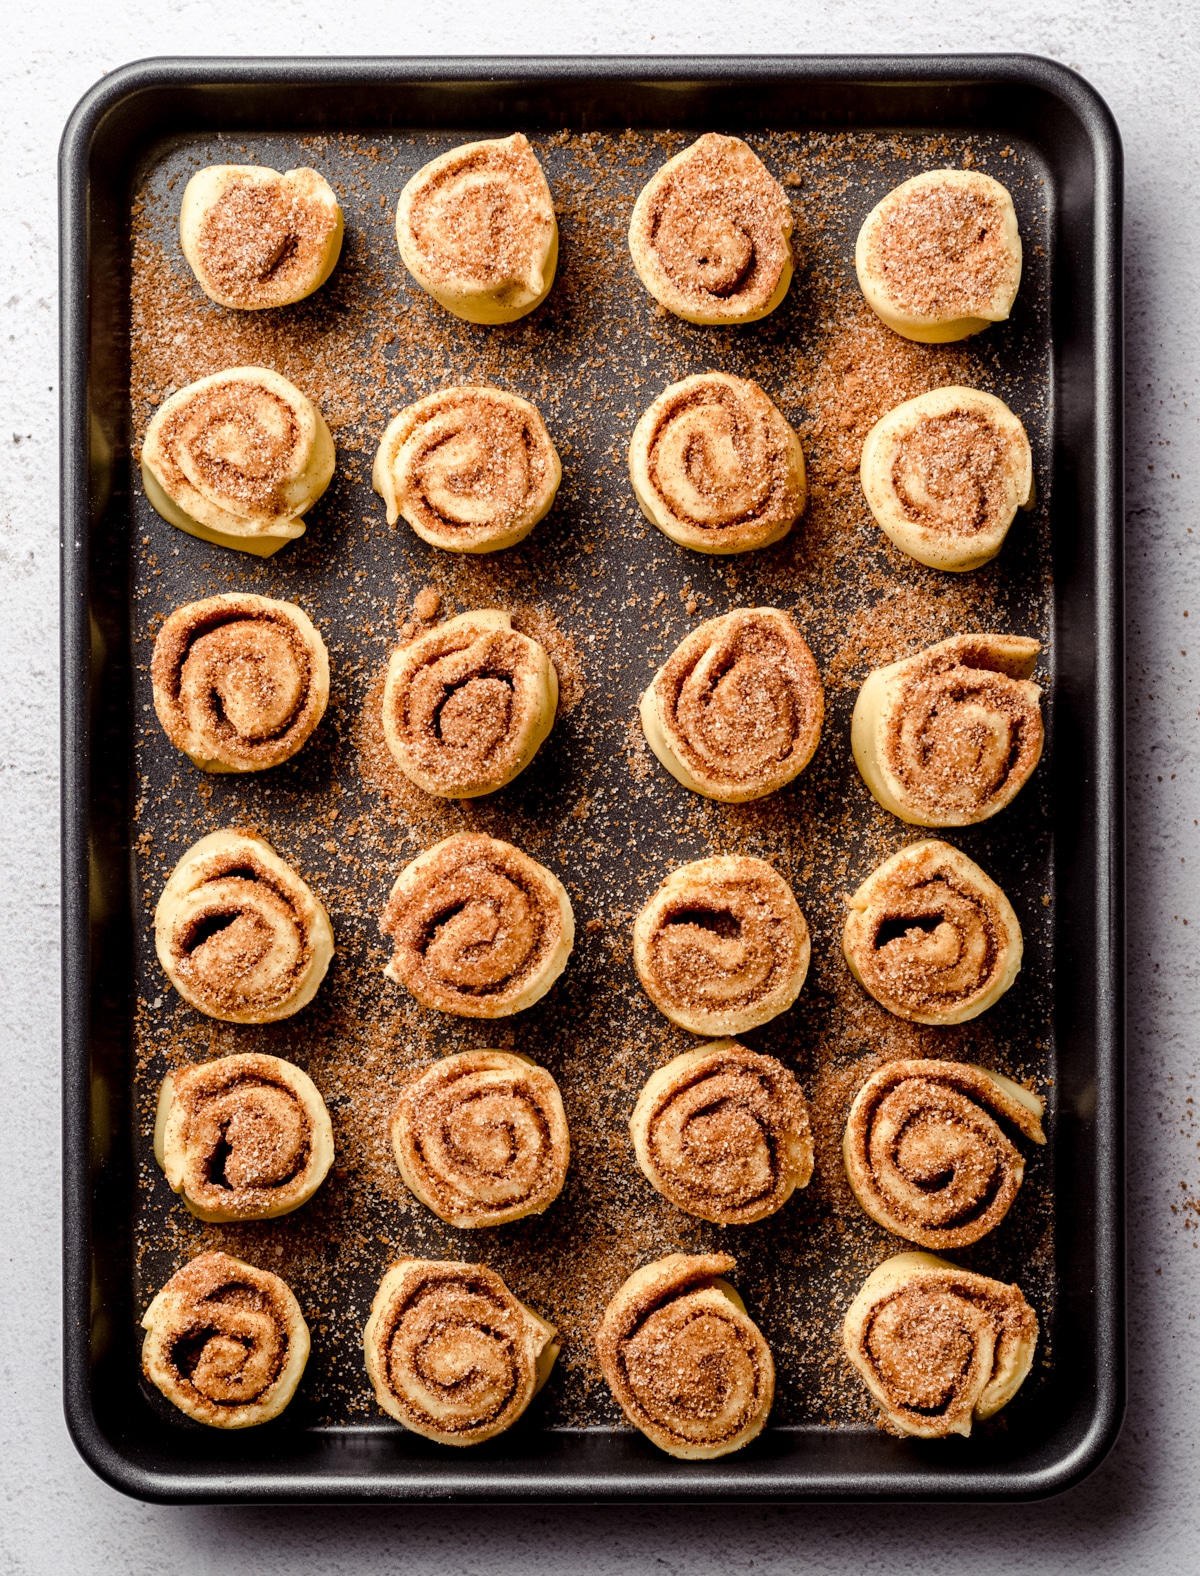
Gather any cinnamon-sugar that fell out, sprinkle that over the rolls, then press gently on the tops of the rolls to slightly flatten. Cover the rolls loosely with foil or a clean dish towel.
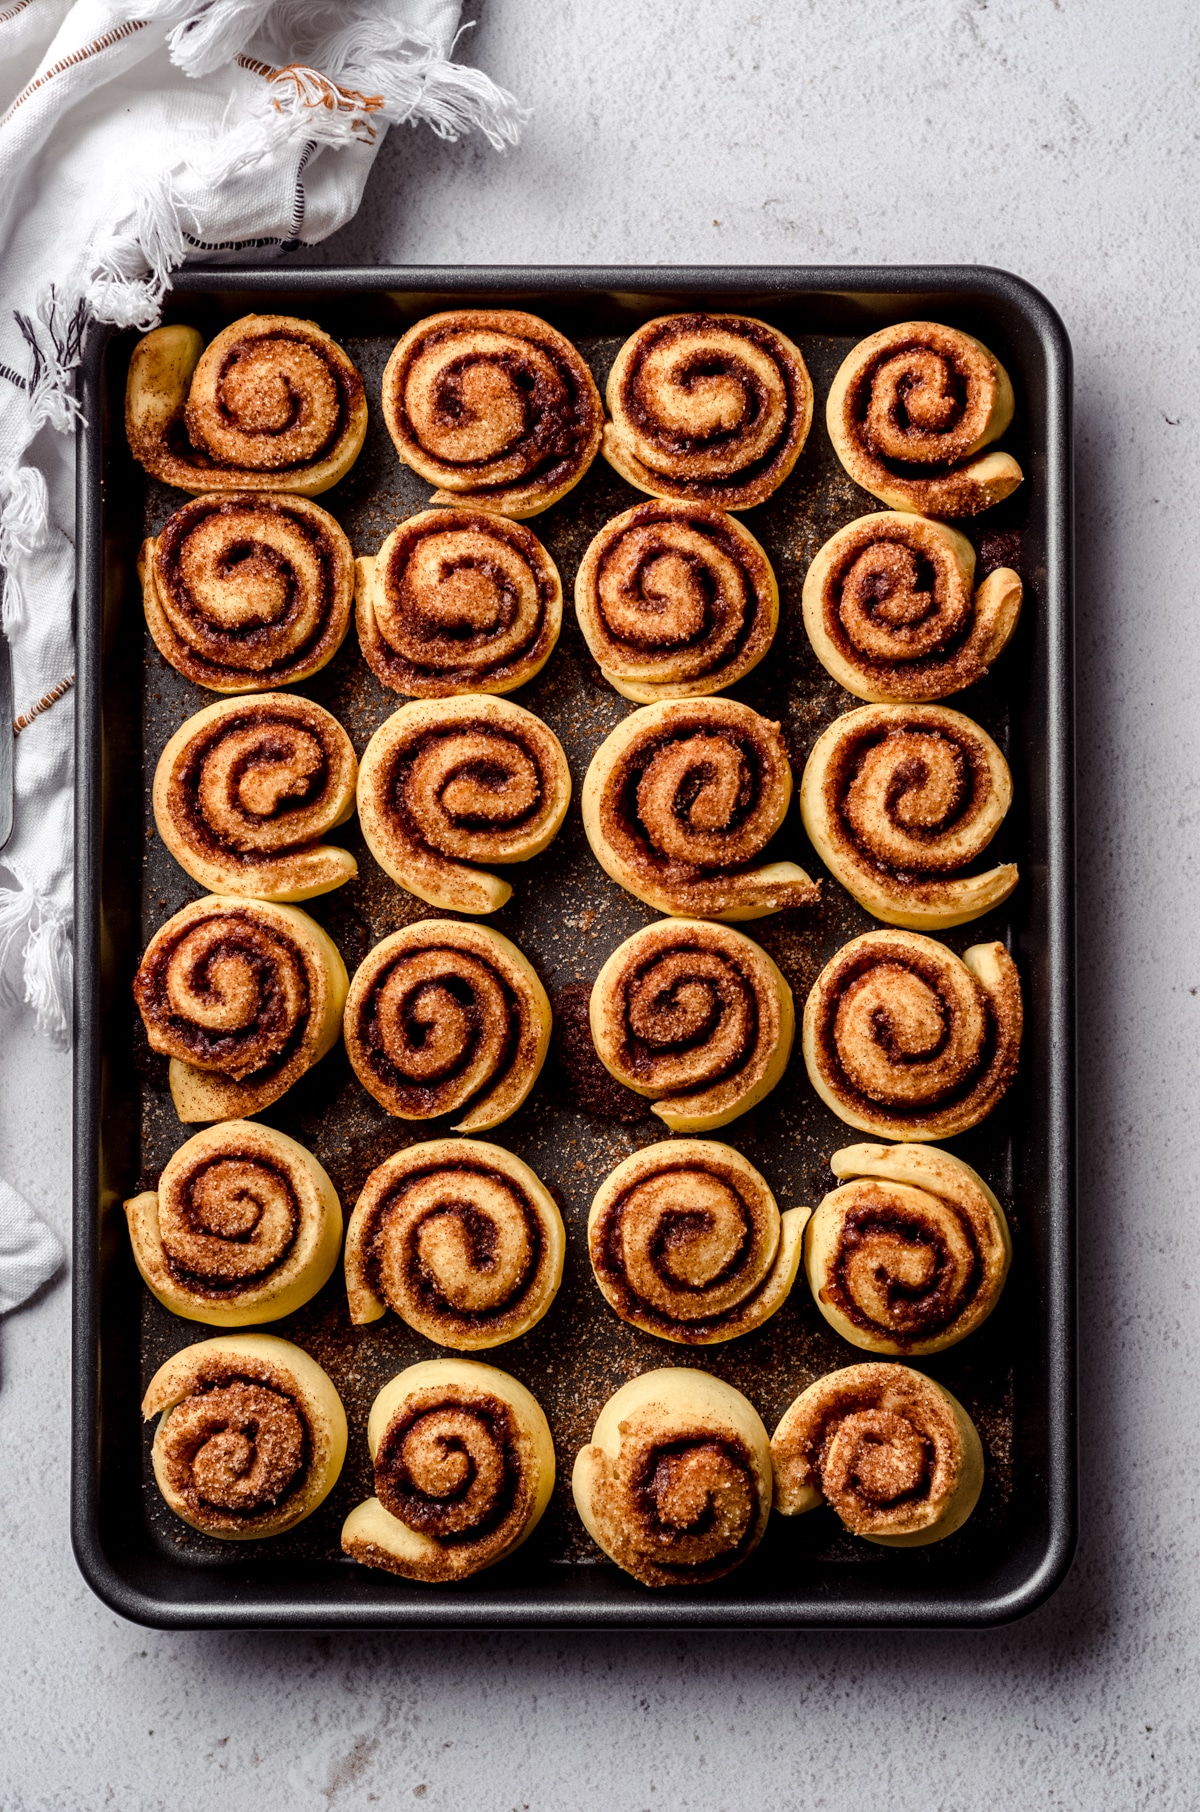
STEP #11: ALLOW TO RISE
This is where the rolls will rise for only 30 minutes. During this time, they will puff up only slightly, which builds gluten structure as well as pockets of air for soft and flaky layers.
If your kitchen is particularly cold, you may need to allow them to rise for 1 hour or sit them near a heat source.
STEP #12: BAKE THE ROLLS
Once your rolls have risen, bake them uncovered for 18-22 minutes. If they are browning too quickly for your liking, you can cover them with foil.
STEP #13: MAKE THE FROSTING
While the cinnamon rolls bake, you can make the cream cheese frosting.
With a hand mixer or stand mixer, beat the butter and cream cheese on medium-high speed until smooth. Next, turn the mixer speed to low and add the powdered sugar. Add the vanilla extract and the salt continue mixing until smooth.
If you feel like you want it to be thinner, add some liquid like milk, cream, or even water. Just remember that when you spread it onto the warm rolls, the heat from the rolls will start to melt the frosting, so it will naturally thin out.
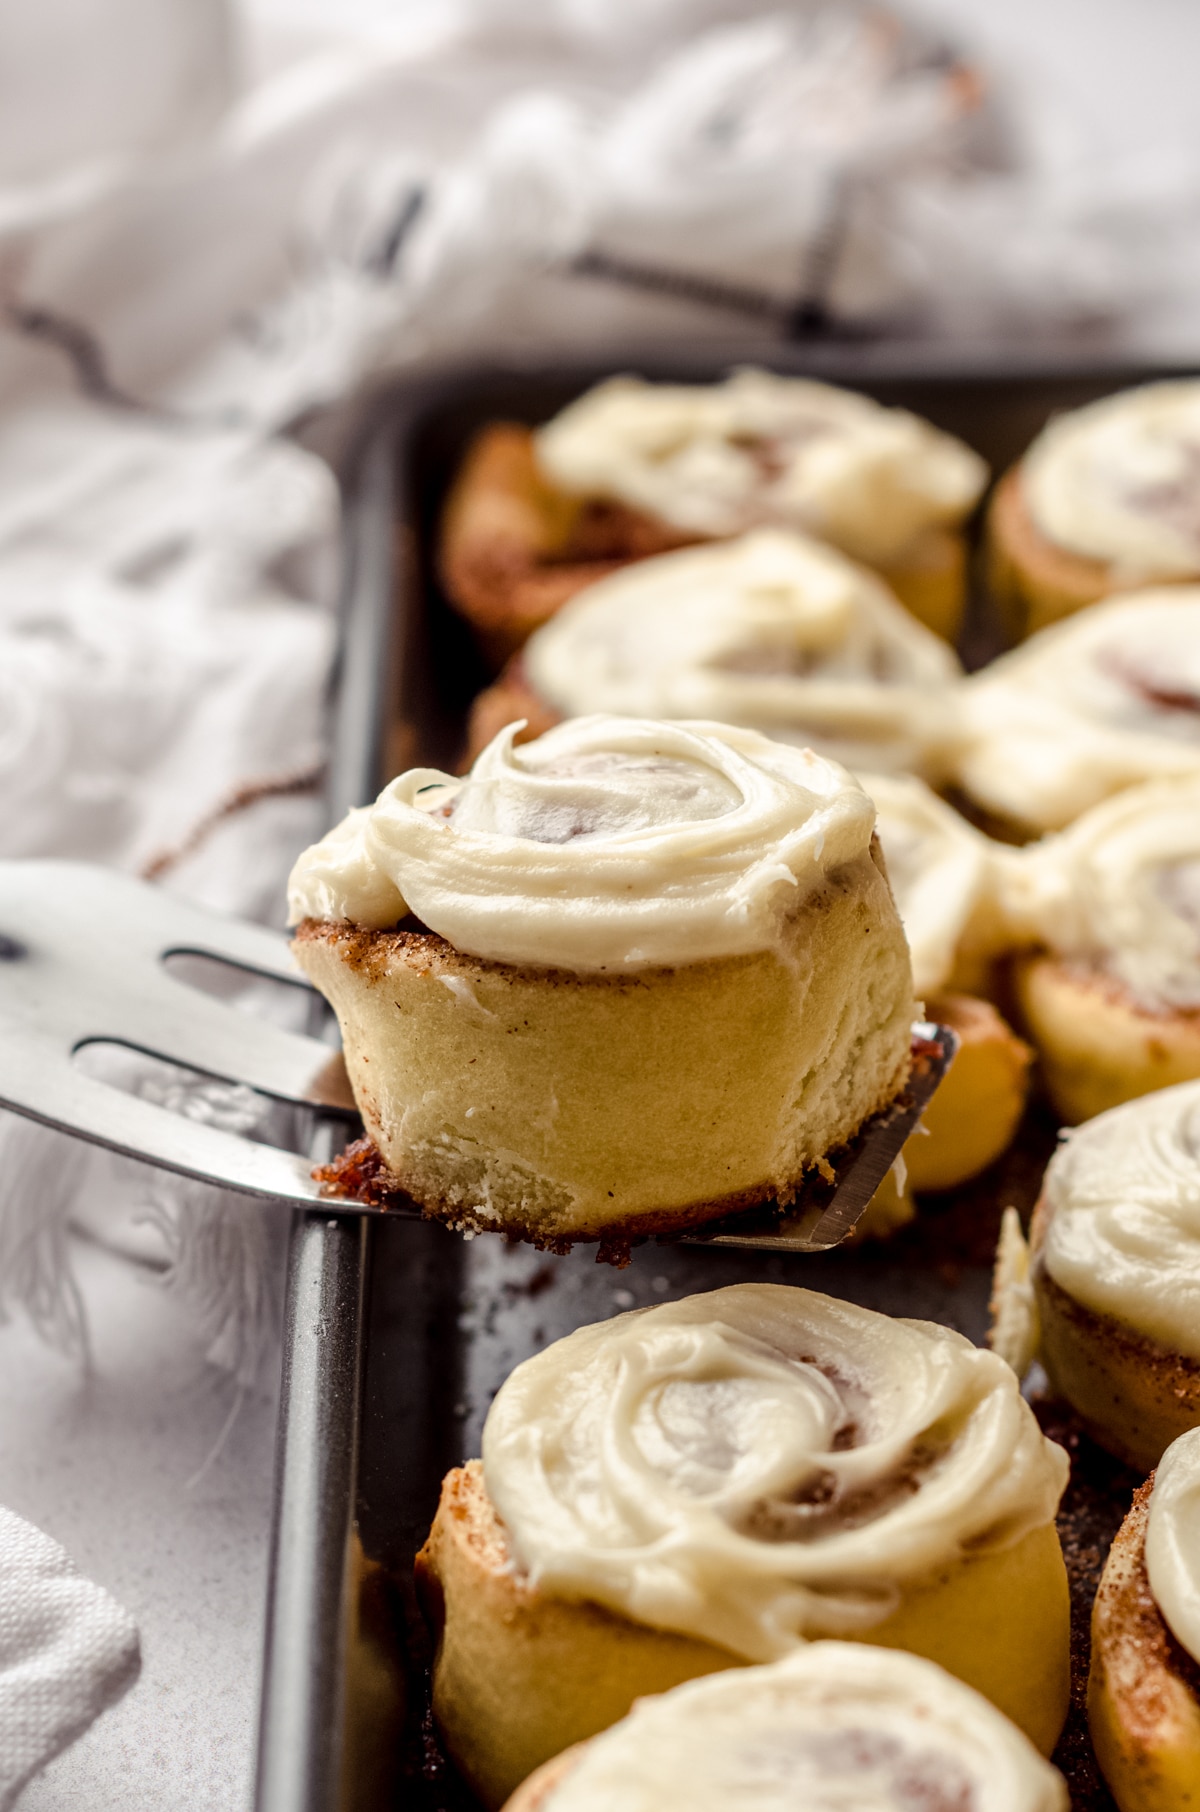
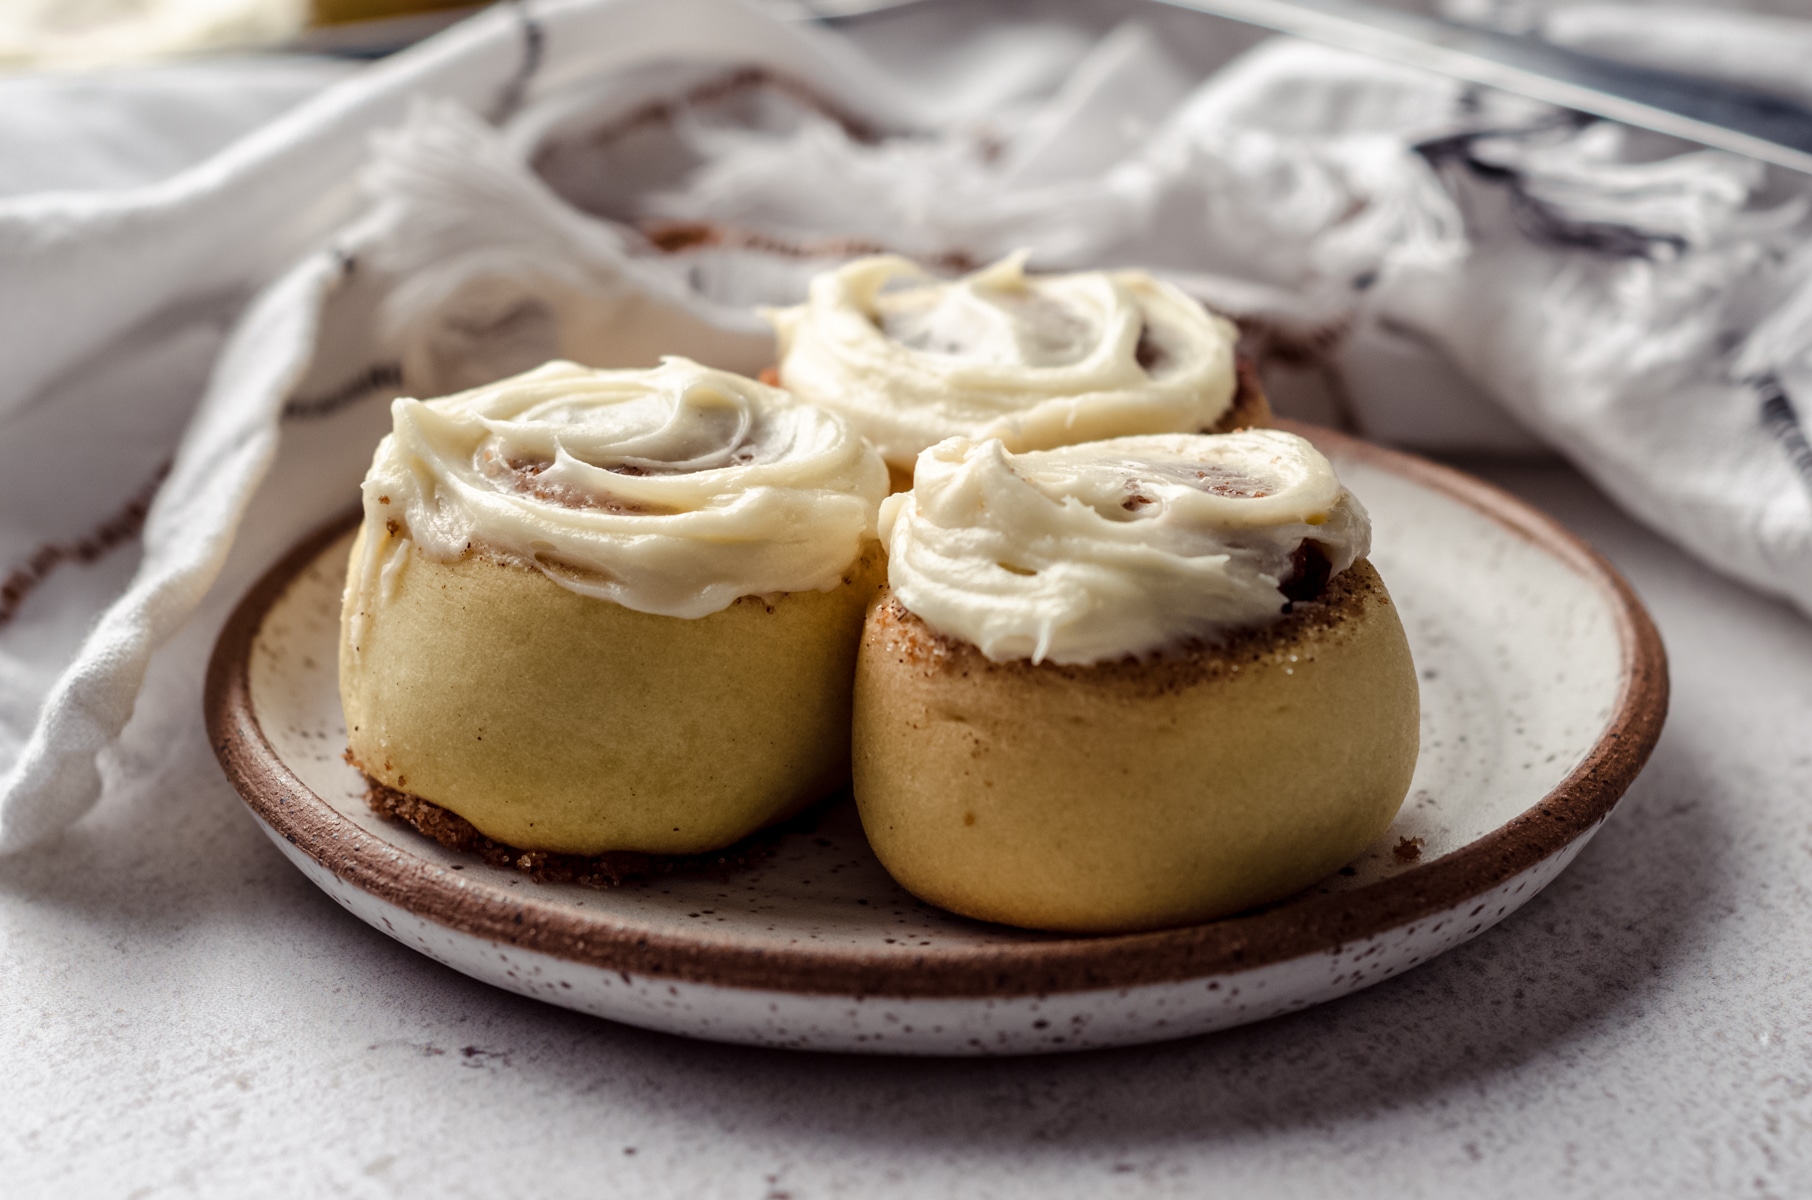
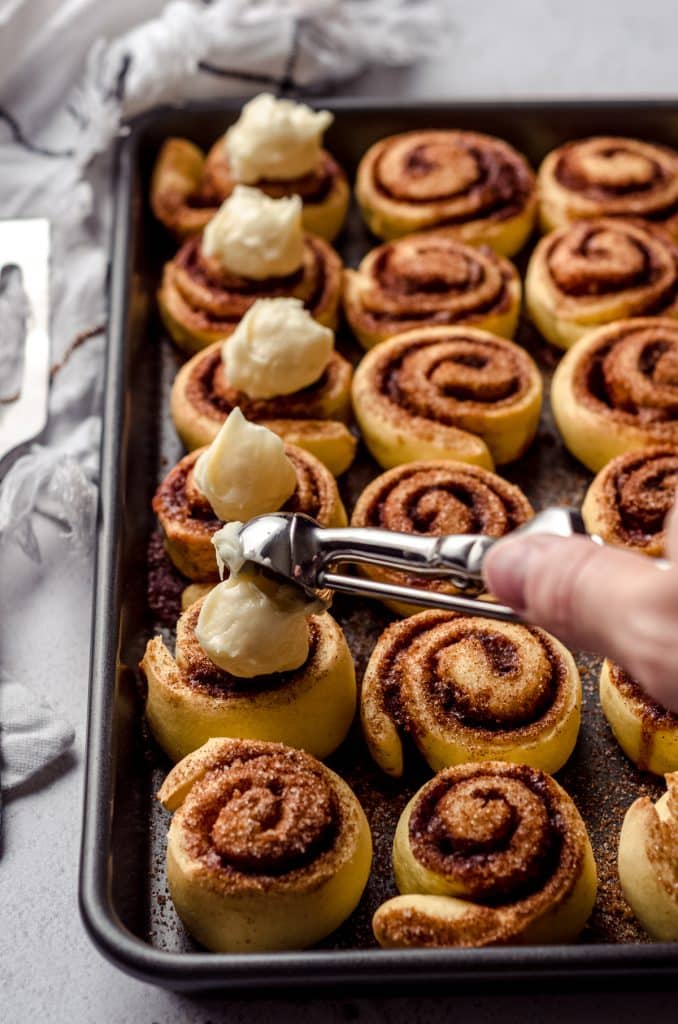
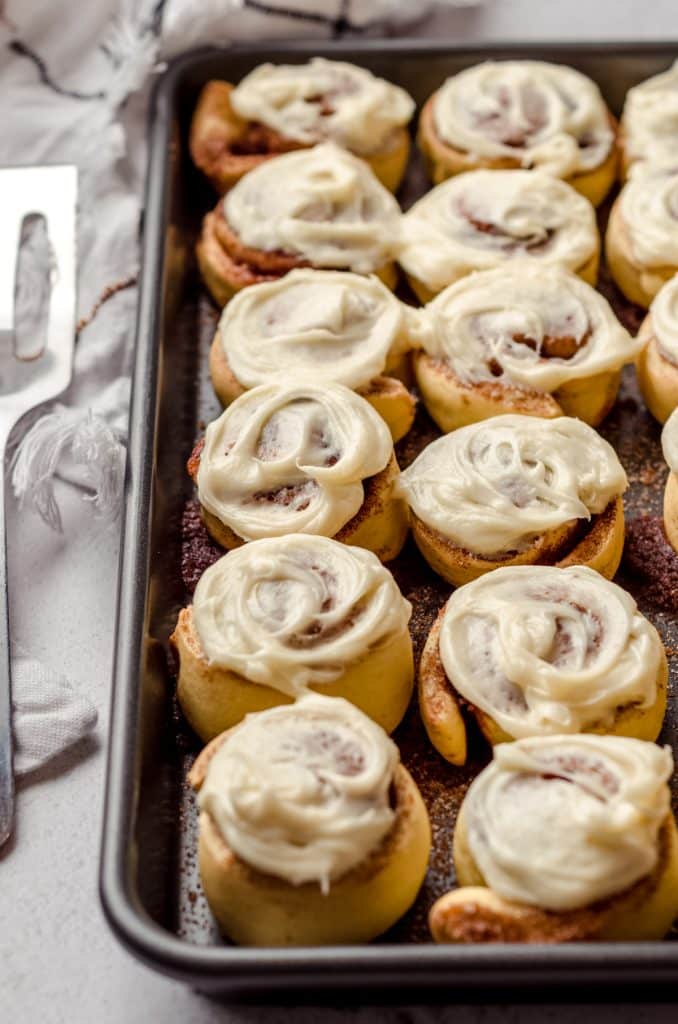
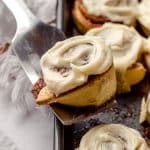
STEP #14: SPREAD ONTO THE WARM MINI CINNAMON ROLLS
Let the cinnamon rolls cool for a bit before adding the frosting, only about 10 minutes. Believe me, I know it will be so hard to wait, but I promise those rolls will be much more enjoyable not completely piping hot.
I actually find it easiest to use a mini cookie scoop (I use this #110 scoop which is about 1 teaspoon in size) to drop mounds of icing onto the rolls and then use an offset spatula, silicone spatula, or the back of a spoon to spread the cream cheese frosting into every crevice.
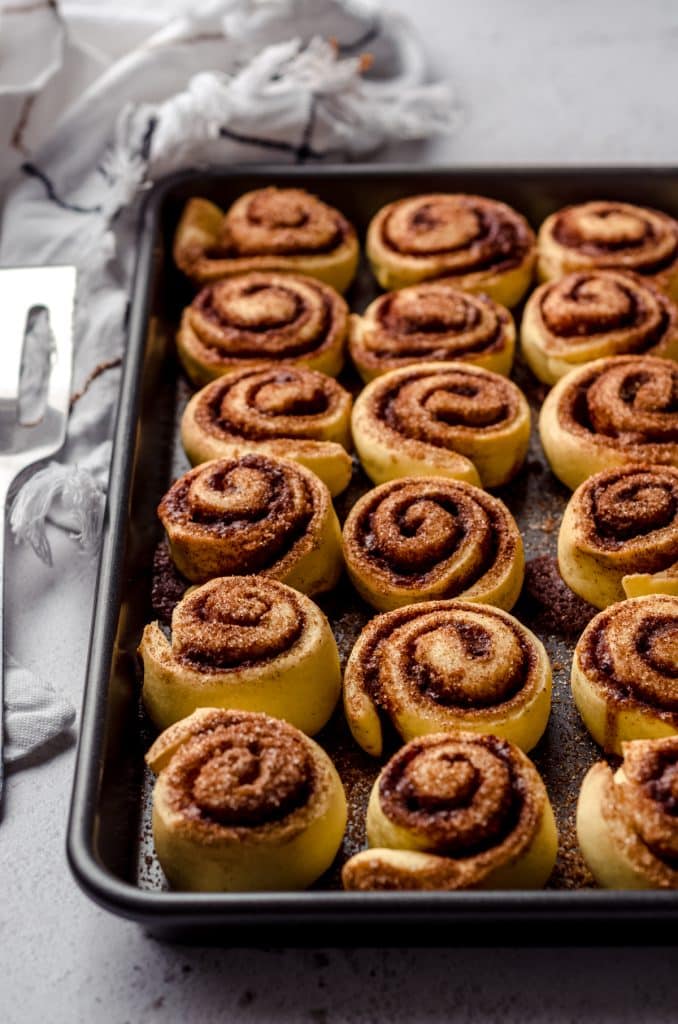
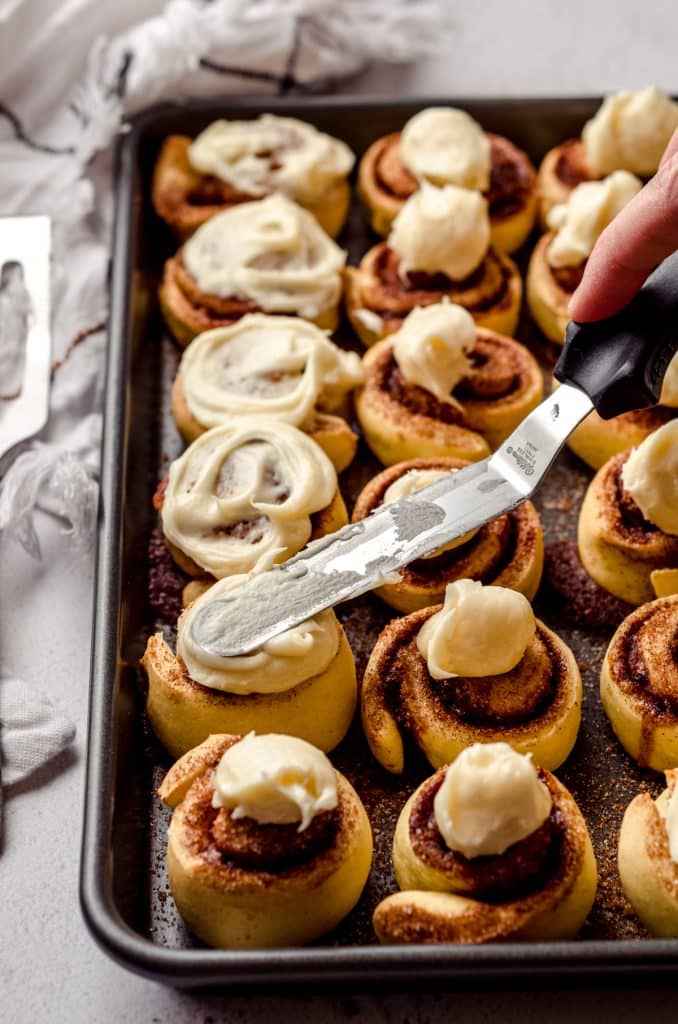
Also, I have been known to keep a small bowl of extra cream cheese frosting on hand to spread onto individual bites, but… That’s just me. Highly encouraged for you, of course.
CAN I MAKE THESE HOMEMADE CINNAMON ROLLS AHEAD OF TIME?
My favorite part about yeast bread is that YES, you can almost always do things ahead of time, whether it be so that you have warm cinnamon rolls for the morning (hello, Christmas morning or any holiday that involves entertaining for breakfast!) but don’t have to get up early, or you just want to have some cinnamon rolls in the freezer ready to go if the craving strikes.
CHILL OVERNIGHT
Think of the refrigerator as a “pause” button for your yeast bread. After the rolls are shaped and in the pan, you can cover them tightly and chill them for up to 18 hours and turn them into overnight mini cinnamon rolls just like that.
This is a great option if you’re making homemade mini cinnamon rolls for a holiday– you can spend a bit of time bringing the dough together, then have glorious rolls the next morning with very little hands on time.

You’ll just need to allow for about 1 hour of rising time before baking these mini cinnamon rolls.
You can also make the cream cheese frosting and store it at room temperature up to 18 hours in advance.
FREEZER
If you want to completely bake these mini cinnamon rolls and then freeze them, you can keep them in the freezer covered tightly for up to 3 months. Just thaw them overnight in the refrigerator and warm before enjoying.
If you want to freeze unbaked rolls, you’ll need to parbake the rolls for 10 minutes at 350°F (177ºC). Allow to cool completely, cover tightly, then freeze. Remove the rolls from the freezer and allow them to thaw in the refrigerator overnight. Finish baking them the next day for the remaining 8-12 minutes before frosting and enjoying.
How to cut cinnamon rolls
While some people like to use unflavored floss to cut cinnamon rolls, I prefer a very sharp serrated knife. Using a serrated knife makes for clean cuts of the dough without squishing any of it down. Do not use a butter knife if you can help it as there aren’t enough teeth or a sharp enough edge to move through raw dough easily.
CAN I MAKE THESE CINNAMON ROLLS IN A MINI MUFFIN PAN?
I would not bake these little guys in a muffin pan, even though they look like they’d fit perfectly. The wells of a mini muffin pan are more for little baby cinnamon rolls.
Since these mini rolls are a tad bigger than the wells, it’s likely they would puff up and out and be pretty messy.
WHAT IF I ONLY WANT TO MAKE 12 MINI CINNAMON ROLLS?
If you only want to make 12 cinnamon rolls, you can prepare the recipe as written and freeze one baking pan of rolls to have for another time. Follow the “to freeze” or “to freeze unbaked rolls” steps instructions, depending on where you’d like to stop the process.
There are so many ways to enjoy my favorite homemade cinnamon roll recipe, and I hope that they will become your family favorite, just like they have ours over the years.
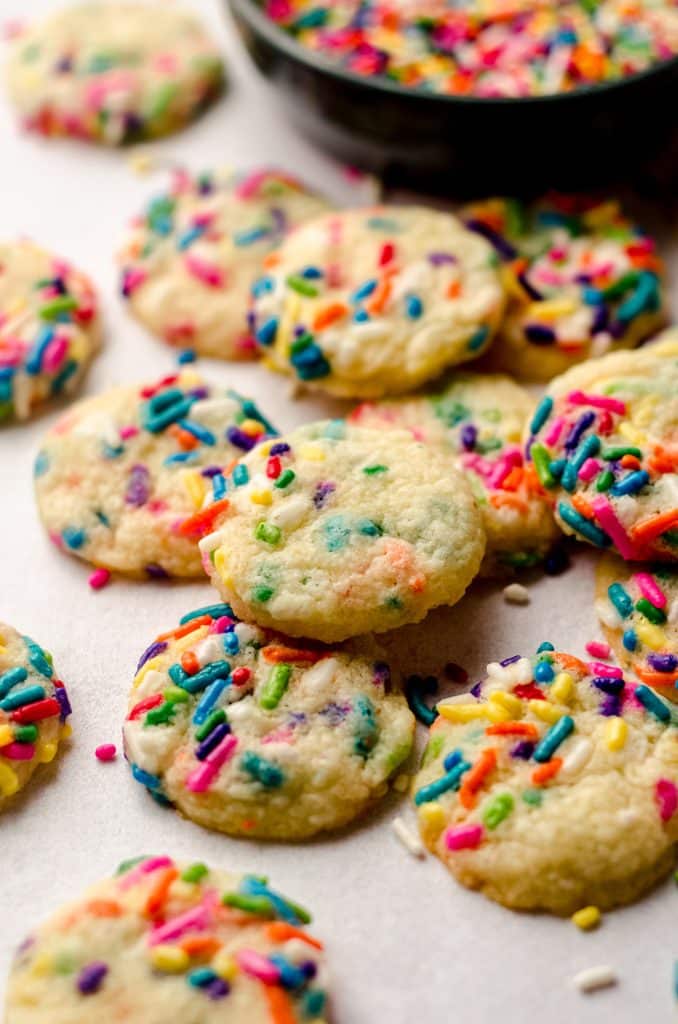
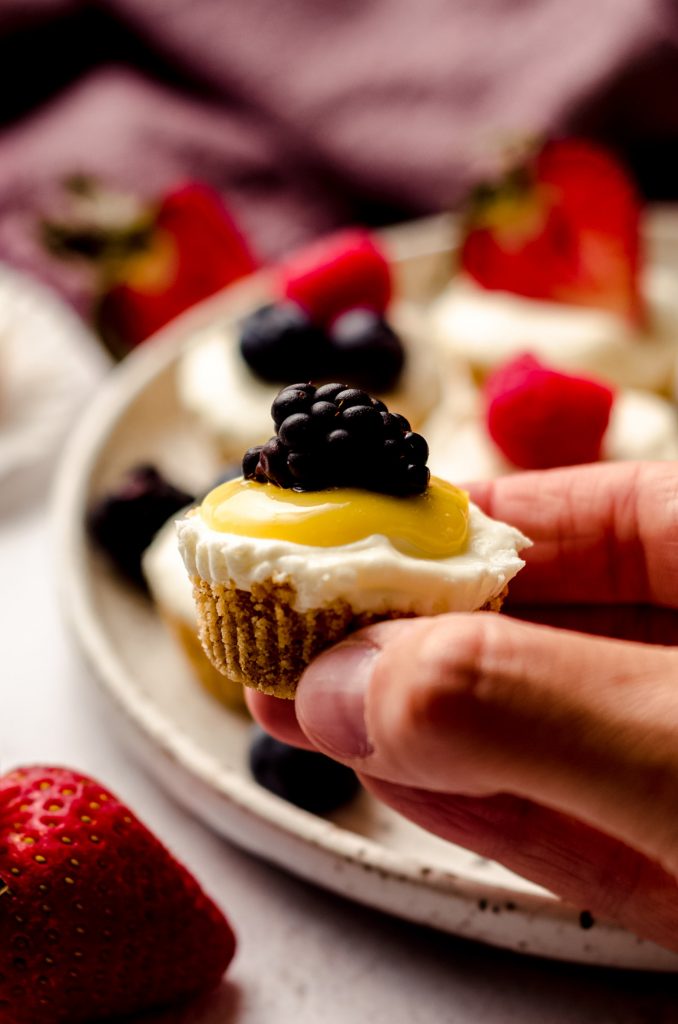
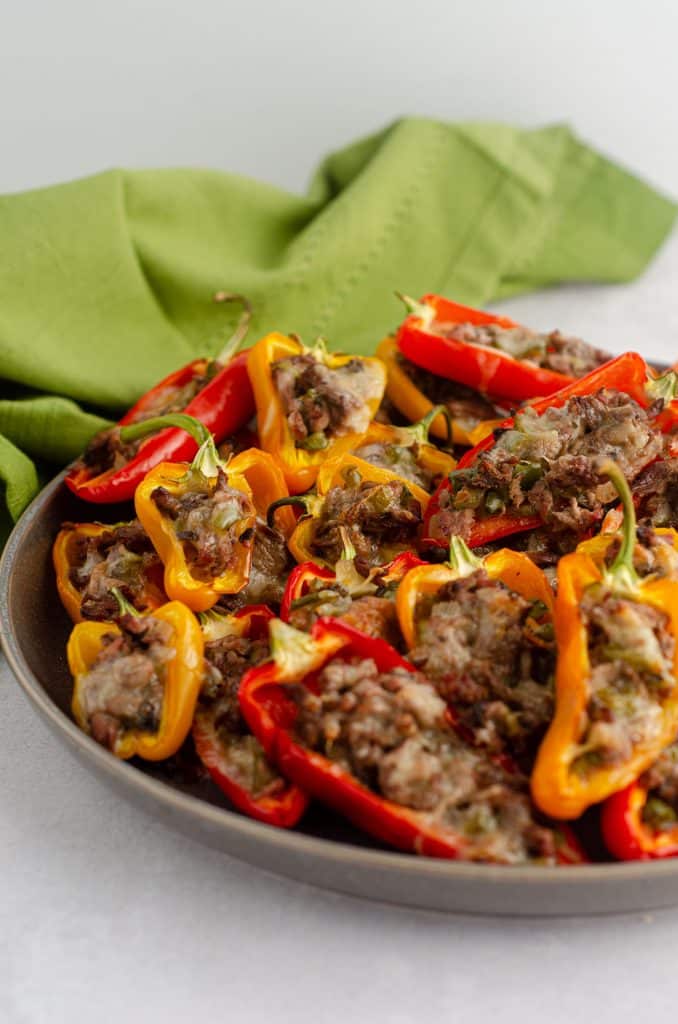
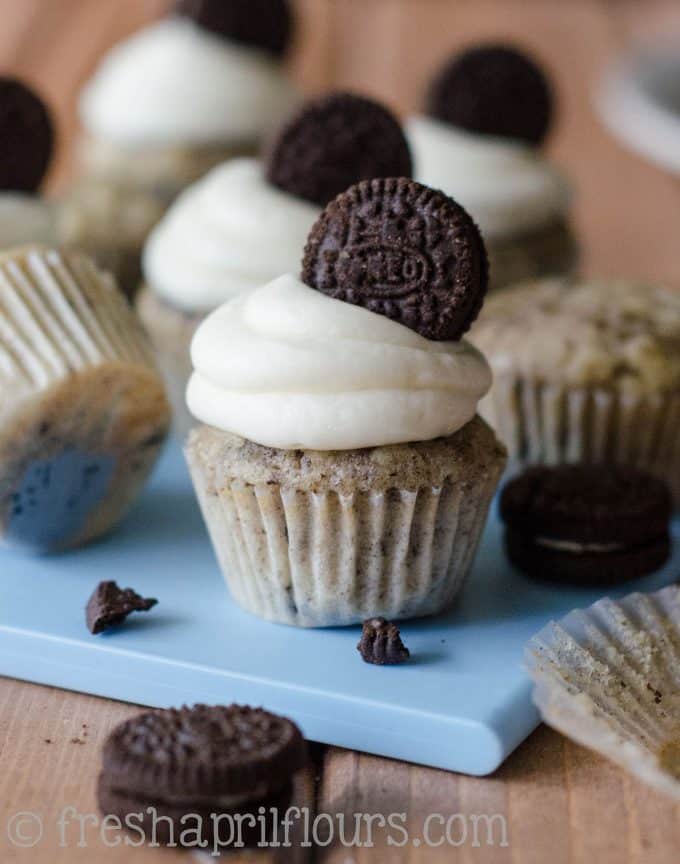
Looking for some more mini treats? Check out any of these scaled down recipes next: mini sugar cookies with sprinkles, mini no bake cheesecake bites, mini Philly cheesesteak stuffed peppers, and mini cookies & cream cupcakes.
Mini Cinnamon Rolls Recipe
Ingredients
DOUGH
- ¼ cup (60mL) warm water
- 1 and ⅛ teaspoons dry active yeast or half of one packet
- ¼ cup (60mL) warm milk
- 2 and ½ Tablespoons (32g) granulated sugar
- ½ teaspoon salt
- ½ teaspoon vanilla extract
- 1 large egg
- 2 and ¼ to 2 and ½ cups (270-300g) all purpose flour be sure to measure properly
- 3 Tablespoons (57g) unsalted butter softened to room temperature and cut into 4-6 pieces
FILLING
- 2 Tablespoons (28g) unsalted butter melted
- ¼ cup (50g) granulated sugar
- ¼ cup (50g) firmly packed light brown sugar
- 1 and ½ Tablespoons ground cinnamon
CREAM CHEESE FROSTING
- 2 ounces (57g) full fat block cream cheese softened to room temperature
- 2 Tablespoons (28g) unsalted butter softened to room temperature
- ¾ cups (90g) powdered sugar
- 1 teaspoon vanilla extract
- pinch of salt
Instructions
DOUGH
- Spray a baking dish1 with non-stick spray. Set aside.
- Place warm water in a large bowl. Sprinkle the yeast on top of the water. Whisk with a fork, wooden spoon, or spatula and allow to rest and activate for 10 minutes.¼ cup (60mL) warm water, 1 and ⅛ teaspoons dry active yeast
- Once the yeast mixture is active and bubbly, add the milk, sugar, salt, vanilla extract, and egg. Whisk to combine.¼ cup (60mL) warm milk, 2 and ½ Tablespoons (32g) granulated sugar, ½ teaspoon salt, ½ teaspoon vanilla extract, 1 large egg
- Gradually stir in flour. If using a stand mixer, use your dough hook. If mixing by hand, continue to use a wooden spoon. Add 1 cup of flour, allow dough to come together, then add the softened butter and continue to blend. When butter is mostly incorporated, add the remaining 1 and ¼ cups of flour and blend until dough has mostly come together. It may still be shaggy, but it should pull away from the sides of the bowl fairly easily.2 and ¼ to 2 and ½ cups (270-300g) all purpose flour, 3 Tablespoons (57g) unsalted butter
- Turn out dough on a floured surface and knead for about 8-10 minutes, adding flour about 1 Tablespoon at a time if the dough is too sticky, until smooth and elastic. Your dough should resemble the surface texture of PlayDoh when it is done. Allow the dough to rest for 10 minutes while you prepare the filling.
FILLING
- In a medium size bowl, combine the granulated sugar, brown sugar, and cinnamon. Whisk or stir until well-blended. Set aside.¼ cup (50g) granulated sugar, ¼ cup (50g) firmly packed light brown sugar, 1 and ½ Tablespoons ground cinnamon
- Using a rolling pin, roll the dough out into two rectangles approximately 7" x 12" in size. Dough will be very elastic, so be patient and keep rolling. There is no need to rush this step.
- When you have your rectangles, brush the melted butter evenly over each rectangle of dough, leaving about ½" border around the edges. Sprinkle half of the cinnamon-sugar evenly over the melted butter on each rectangle.2 Tablespoons (28g) unsalted butter
ASSEMBLE AND BAKE THE DOUGH
- Working with one rectangle at a time and starting with one of the long sides, roll the dough up into a tight 12" log. Use your fingers or palms on either end of the log to gently squeeze the log to "contain" the uneven ends. Using a sharp serrated knife and taking care to keep the seam side down, cut the log into 12 even slices. Don't worry if filling spills out. Repeat with the second rectangle.
- Place the slices cut side down in the prepared pan, gather any cinnamon-sugar that fell out, sprinkle over the rolls, then press down gently to flatten slightly. Cover loosely with foil or a kitchen towel. Allow rolls to rise for 30 minutes.
- When cinnamon roll dough has risen, preheat the oven to 350ºF (177ºC). Bake the rolls for 18-22 minutes or until rolls just start to brown on top. You can cover the rolls with foil to prevent browning, if desired. Remove from the oven and allow to cool for 10 minutes while you prepare the cream cheese frosting.
CREAM CHEESE FROSTING
- In a large bowl with a handheld mixer or the bowl of a stand mixer fitted with a paddle attachment, beat the butter and cream cheese on medium-high speed until smooth.2 ounces (57g) full fat block cream cheese, 2 Tablespoons (28g) unsalted butter
- Turn the mixer speed down to low and add the powdered sugar. Add the vanilla and salt and continue mixing until smooth.¾ cups (90g) powdered sugar, 1 teaspoon vanilla extract, pinch of salt
- Spread cream cheese frosting onto slightly cooled rolls. I find that dropping mounds of frosting onto the rolls using this #110 cookie scoop (which is 1 teaspoon in size) and then spreading the frosting with a spatula or the back of a spoon works best. Serve rolls immediately. Leftover rolls stay fresh in an airtight container at room temperature up to 3 days or in the refrigerator up to 5 days. Reheat in the microwave for 8-10 seconds before serving.
Notes
- Baking dish: I like to use either a 9″ x 13″ baking pan or dish or two 8″ square baking pans (1 pan per 12 rolls).
- Make ahead: this dough can be made the ahead of time through step 1 of the “assemble and bake dough” instructions. Cover rolls with plastic wrap and allow to rest in the refrigerator overnight or up to 18 hours. In the morning (or when you are ready to bake the rolls), remove them from the refrigerator and allow to rise in a warm environment, about 1 hour. Continue with step 2 in the “assemble and bake dough” instructions.
- To freeze baked rolls: baked rolls freeze well, up to 3 months. Thaw overnight in the refrigerator and warm before enjoying.
- Two options to freeze unbaked rolls: parbake the rolls for 10 minutes at 350°F (177ºC). Allow to cool completely, cover tightly, then freeze. Remove the rolls from the freezer and allow to thaw in the refrigerator overnight. Finish baking for the remaining 18-22 minutes before frosting and serving OR freeze them after slicing and pull them out the night before you want to bake them and allow them to thaw and rise covered at room temperature and bake when ready.
- Working with yeast: for a comprehensive look at working with yeast in a recipe, see my post about how to bake with yeast.
Nutrition Disclosure
All nutritional values are approximate and provided to the reader as a courtesy. Changing ingredients and/or quantities will alter the estimated nutritional calculations.
Yes, they are truly the perfect size!
Perfect for a little bite!
OH.MY.HEAVENS. The perfectly fluffy, tender, and spiced cinnamon rolls. Thank you so much for this recipe. I am forever in your debt.
Thank you, Lynn! 🙂
These were absolutely PERFECT for a Sunday brunch! My family and I could not stop gobbling them up!
Thanks so much, Erin!
These were cinnamon roll perfection! My kids really liked that they were tiny!
I don’t blame you!
Love the recipe style – detailed instructions! They are in the oven now, and smell heavenly! Definitely a keeper recipe.
Thank you so much, Cynthia!
These were the perfect size to share with my preschool class during snack time. Rave reviews from all children and teachers, and they are classroom friendly (nut free). Easy to follow recipe with amazing results. My new Go-To for cinnamon rolls. Thank you!
Thanks so much, Aryan! 🙂
Hello!Can you tell me please the size of rolls?How many cm?
Hi, Sofia– they’re about 3-4cm in diameter.
First time cinnamon bun maker and this recipe could not have been easier. Easily made them quickly on Saturday afternoon while my toddler napped, made the icing Sunday night, and then microwaved, iced and served them for breakfast on Monday morning and they were a hit! I can’t wait to try them again to eat them fresh!
Thanks so much, Becca! I’m so glad your first time was a success 🙂