
Fluffernutter Bars

As an Amazon Associate, I earn from qualifying purchases. Read the full disclosure here.
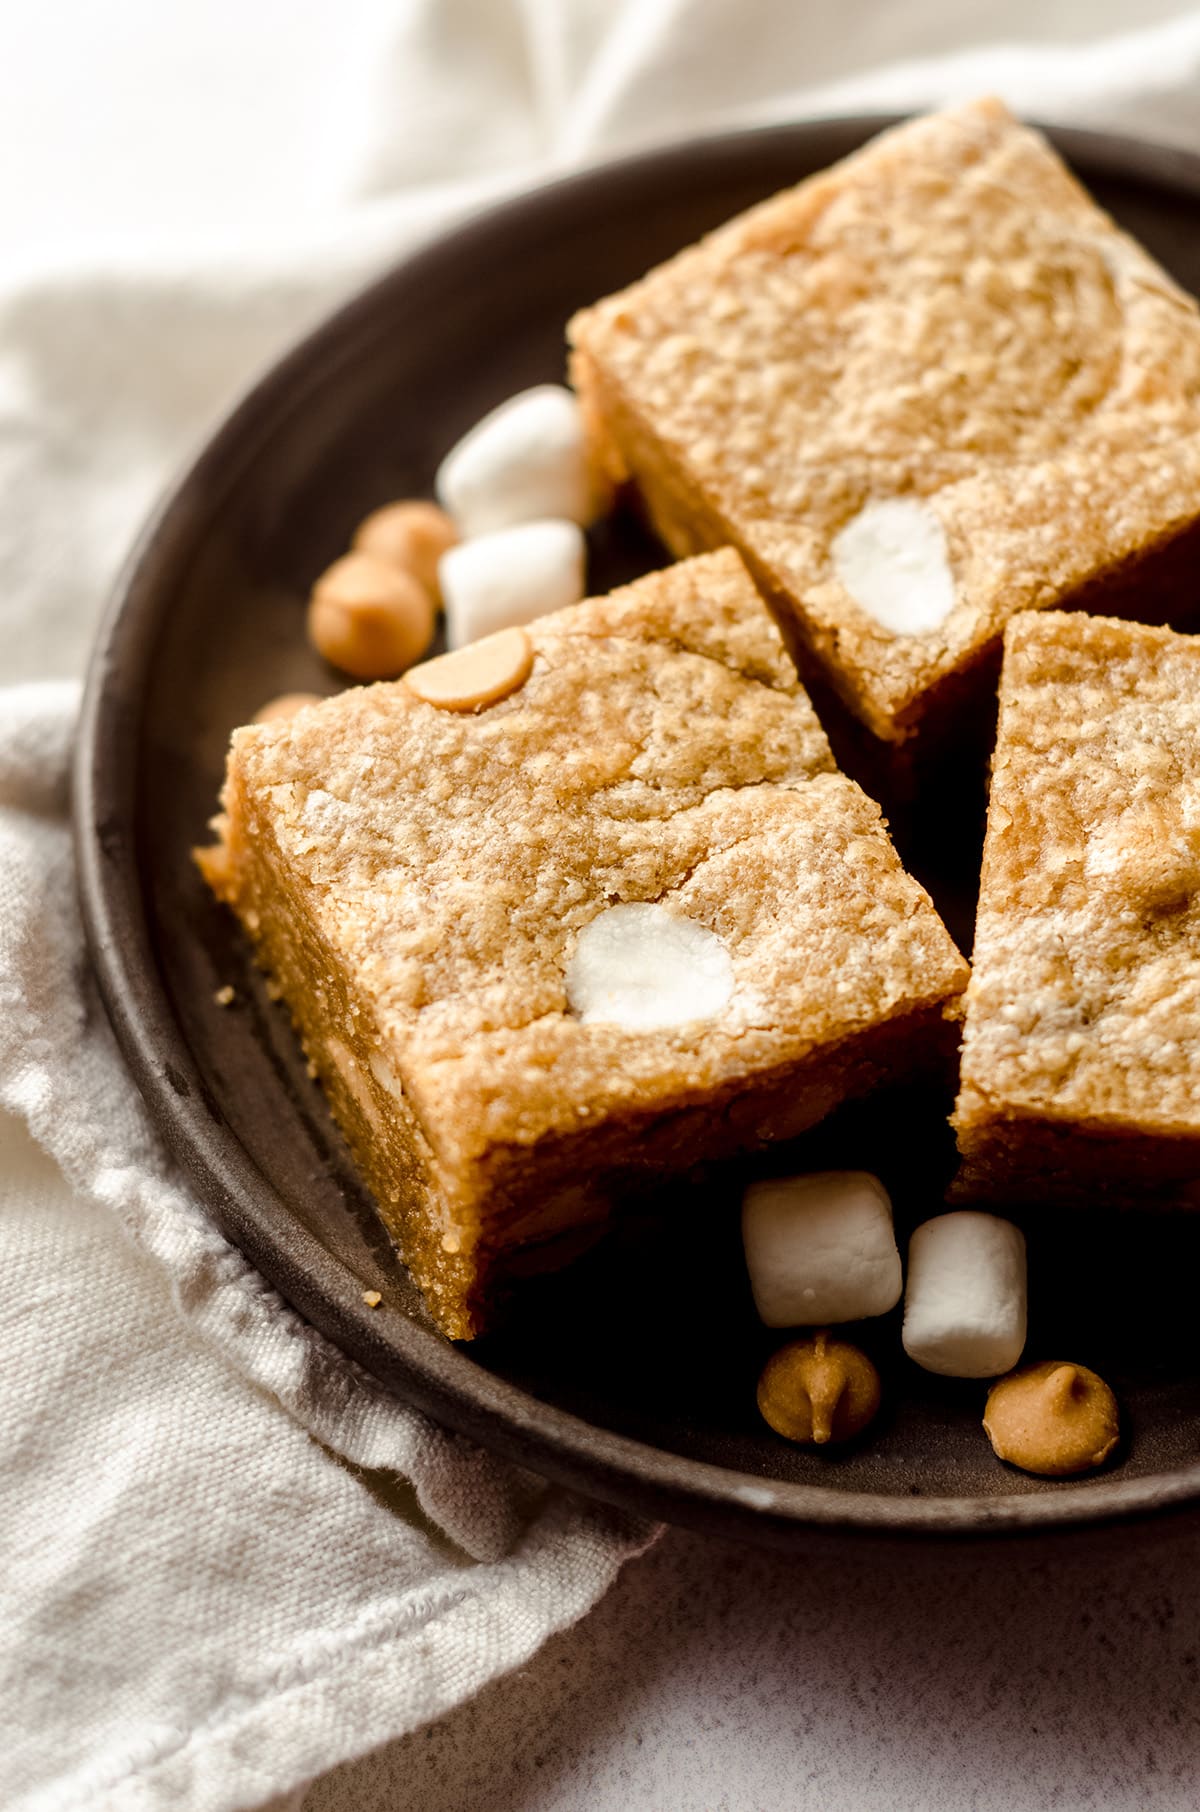
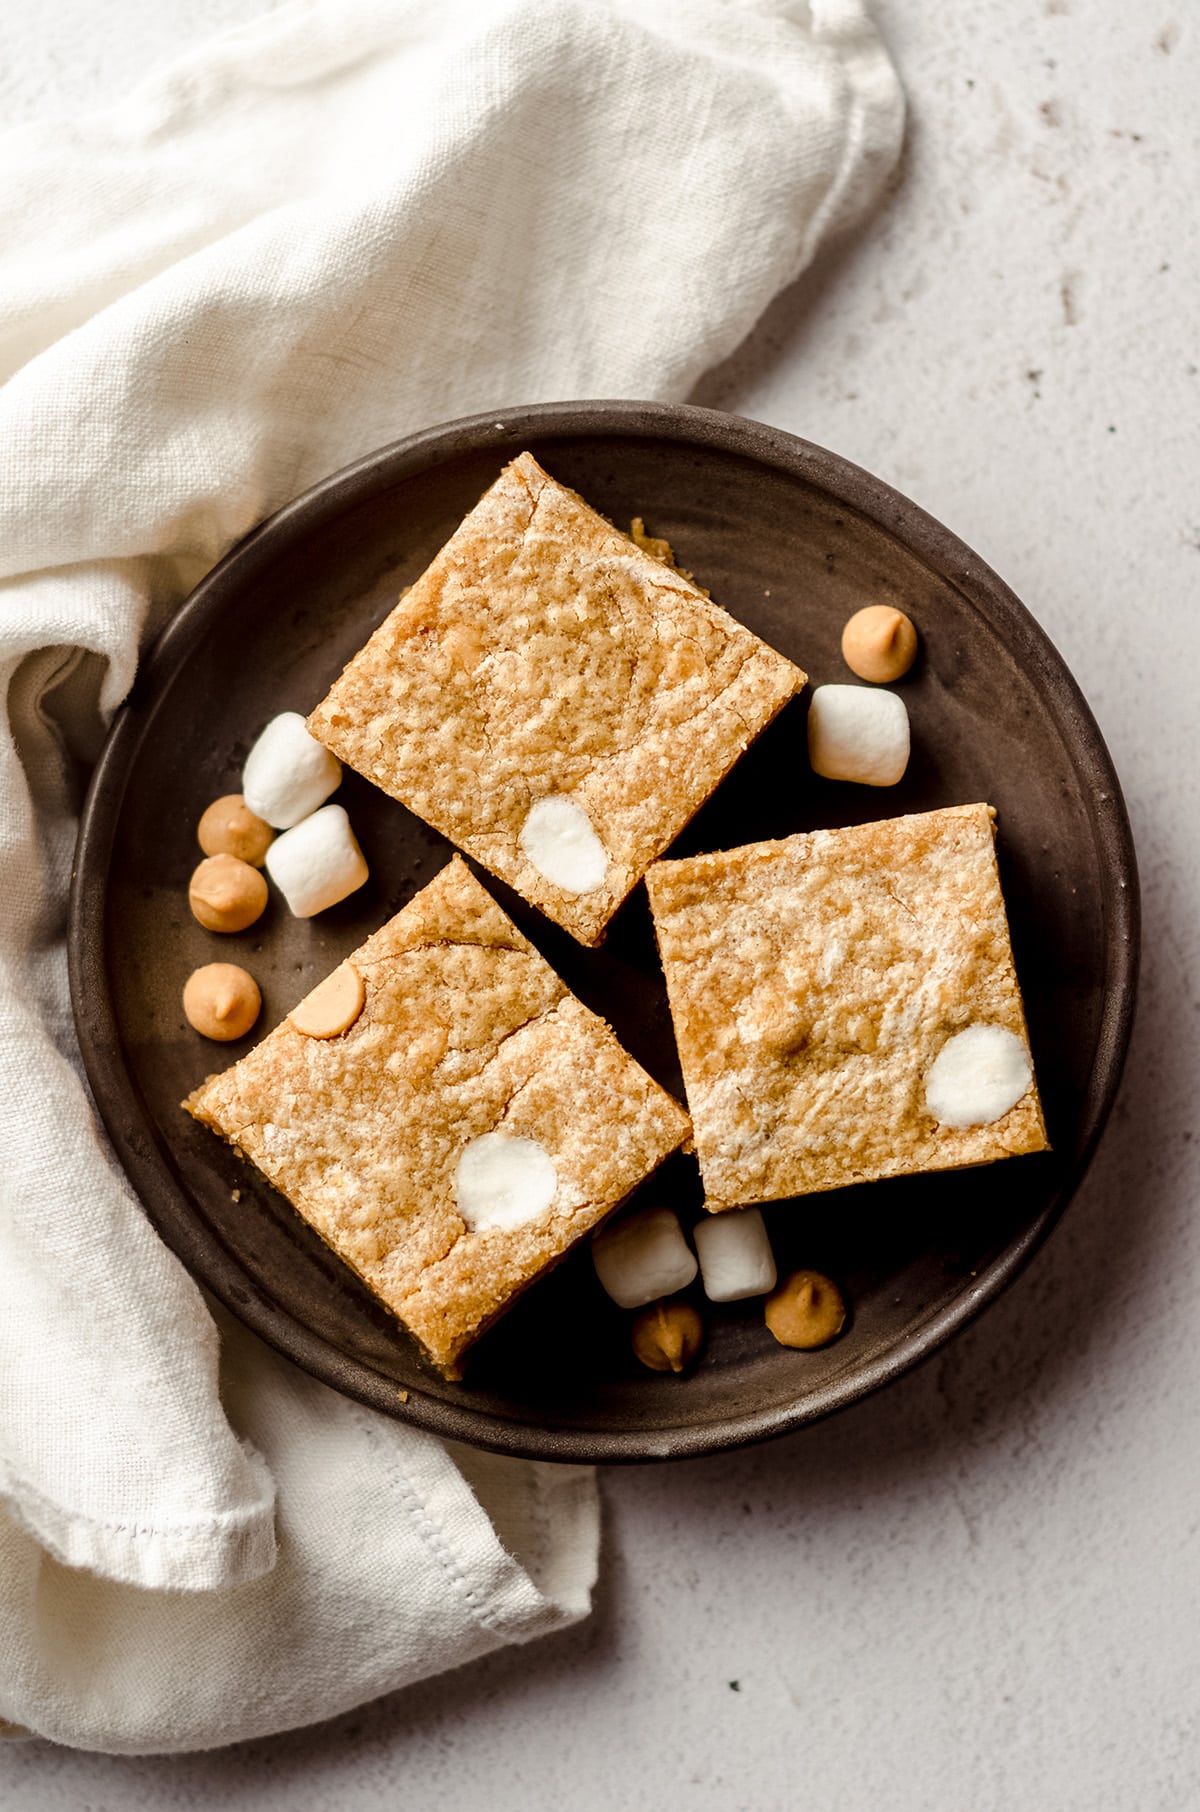
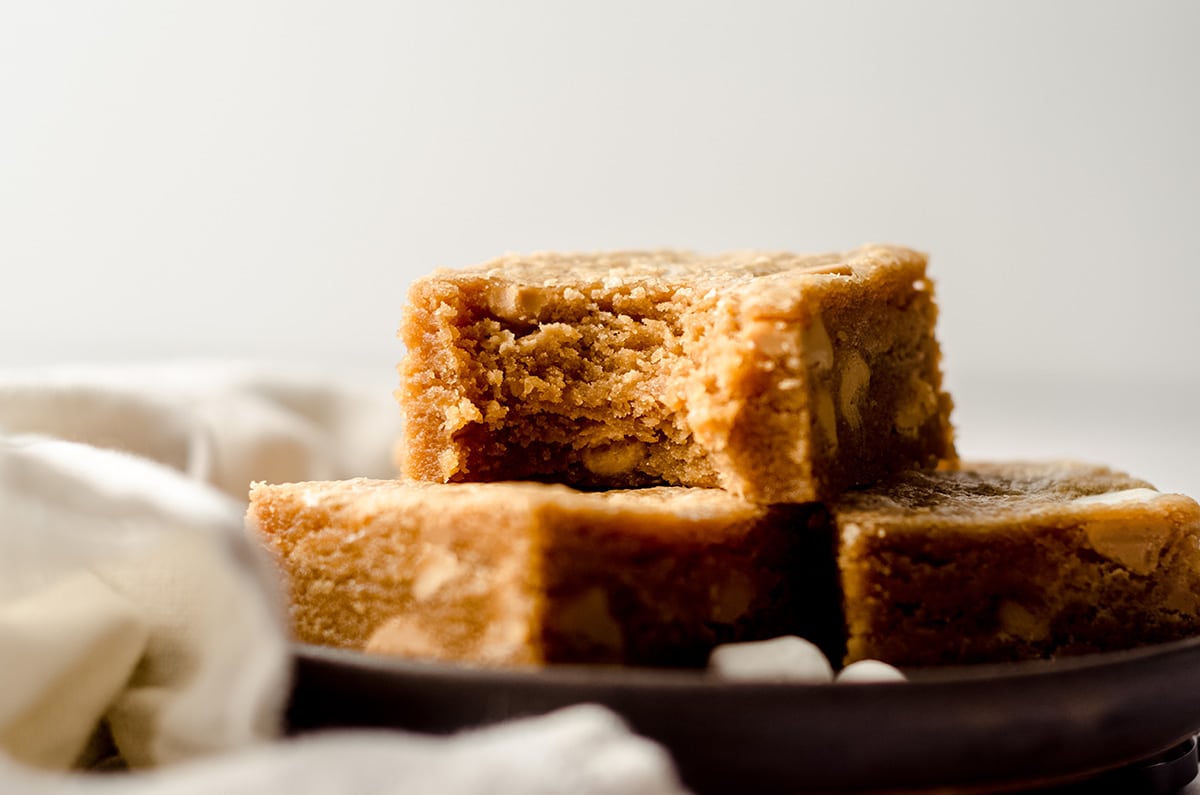
Sweet and salty peanut butter bars swirled with gooey marshmallow creme.
It’s almost officially unofficially summer which means a season of picnics, BBQs, and lots of celebrations is upon us. Bar desserts are my favorite thing to make for things like this, and aside from my go-to blueberry lemon pie bars or Key lime pie bars, these fluffernutter bars are high up on my list of staples.
While those blueberry + lemon and tangy Key lime flavors are always popular when I bring them, I tend to gravitate more toward peanut buttery desserts, because frankly anything with peanut butter = I’ll eat it.
HOWEVER, I’ll be totally honest and say that I don’t think I had a fluffernutter sandwich until I was an adult, so I can’t say the combination brings back any childhood memories for me. I can say, however, that I can’t believe I never thought about turning that combination of peanut butter and marshmallow fluff into a dessert until I made these fluffernutter squares!

I developed this recipe after stumbling upon this original recipe, but I wasn’t completely blown away by the result. I wound up making 3 batches of these peanut butter and fluff bars before landing on the perfect recipe, and I am happy to say this recipe has happily lived on my blog for almost as long as I have been blogging (since 2014!) and always gets rave reviews!
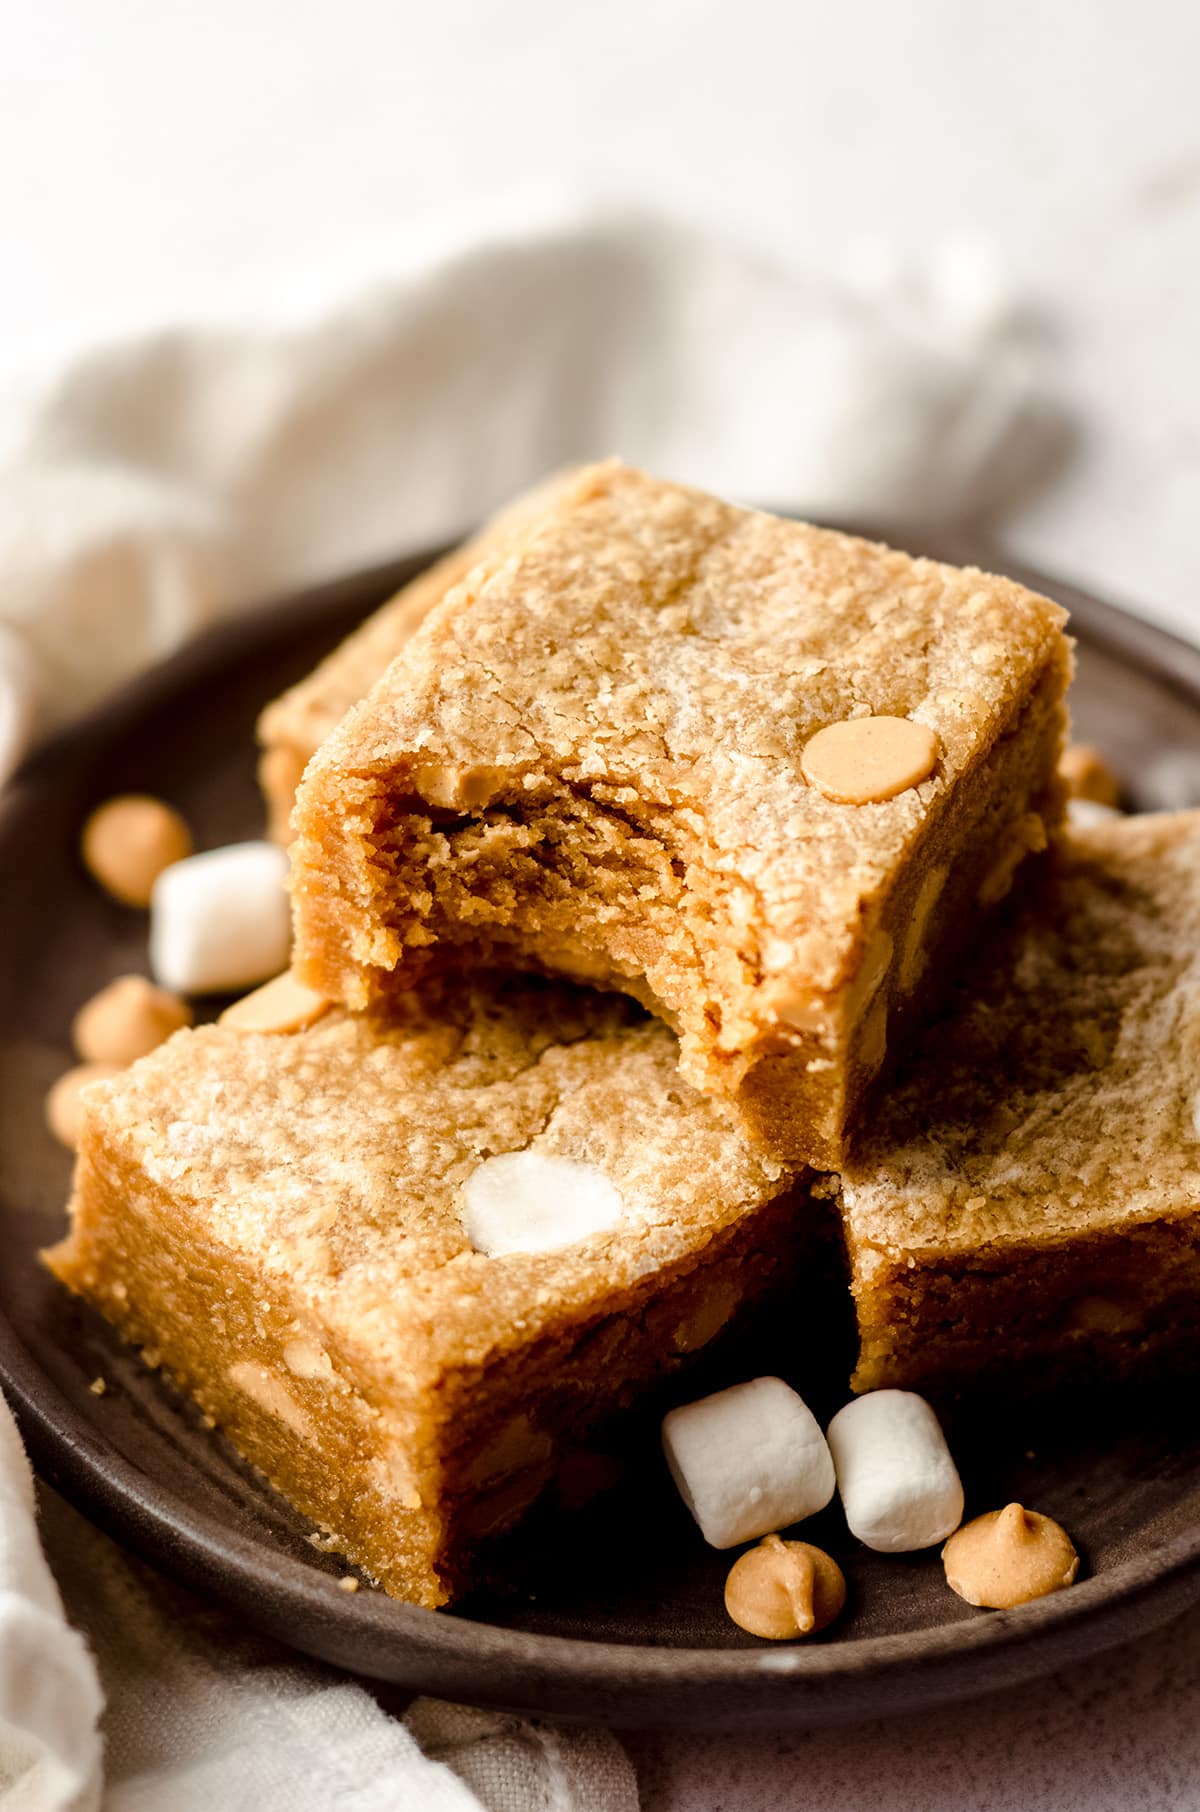
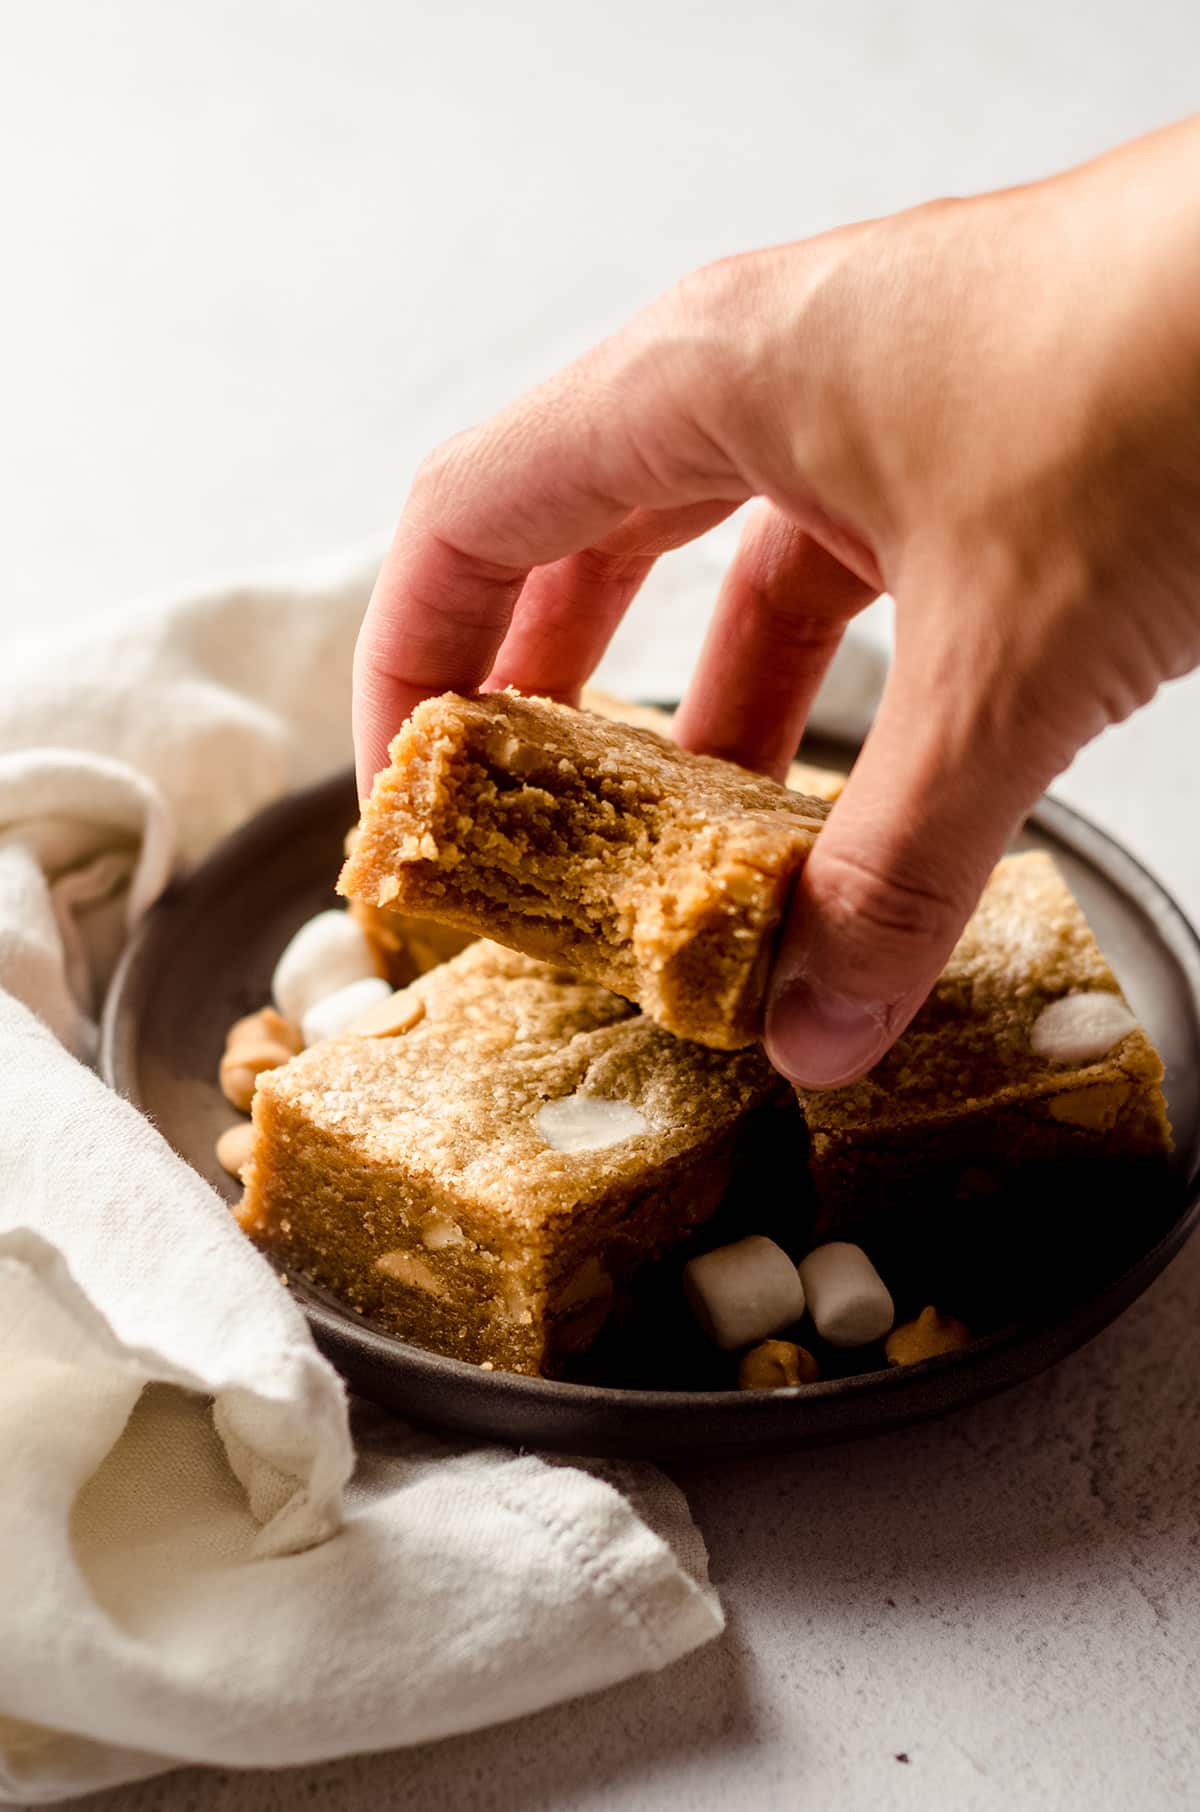
These bars are peanut butter and marshmallow heaven– chewy, buttery, and seriously melt-in-your-mouth delicious. They’re almost like fluffernutter blondies, and I am sure that once you give them a try, you’ll be a sucker for them and find a permanent place for them on your go-to baking list.
HOW TO MAKE FLUFFERNUTTER BARS
These peanut butter and marshmallow fluff fluffernutter bars are very simple. You only need one bowl and a few basic ingredients.
First, we’re sweetening with brown sugar (I have used both light and dark), with its high molasses content, adds an incredible chew to baked goods. This recipe uses a little bit of granulated white sugar as well to balance the richness of the brown sugar and the saltiness of the peanut butter.
Next up, a ton of creamy peanut butter (yes, almost an entire small jar of it). Not the natural kind, but the stuff that tastes like candy.
Mmm, yes. That’s the stuff.
There will be just enough peanut butter leftover for you to eat on whatever it is you like your peanut butter on… I prefer a spoon, or better yet, peanut butter fingers.
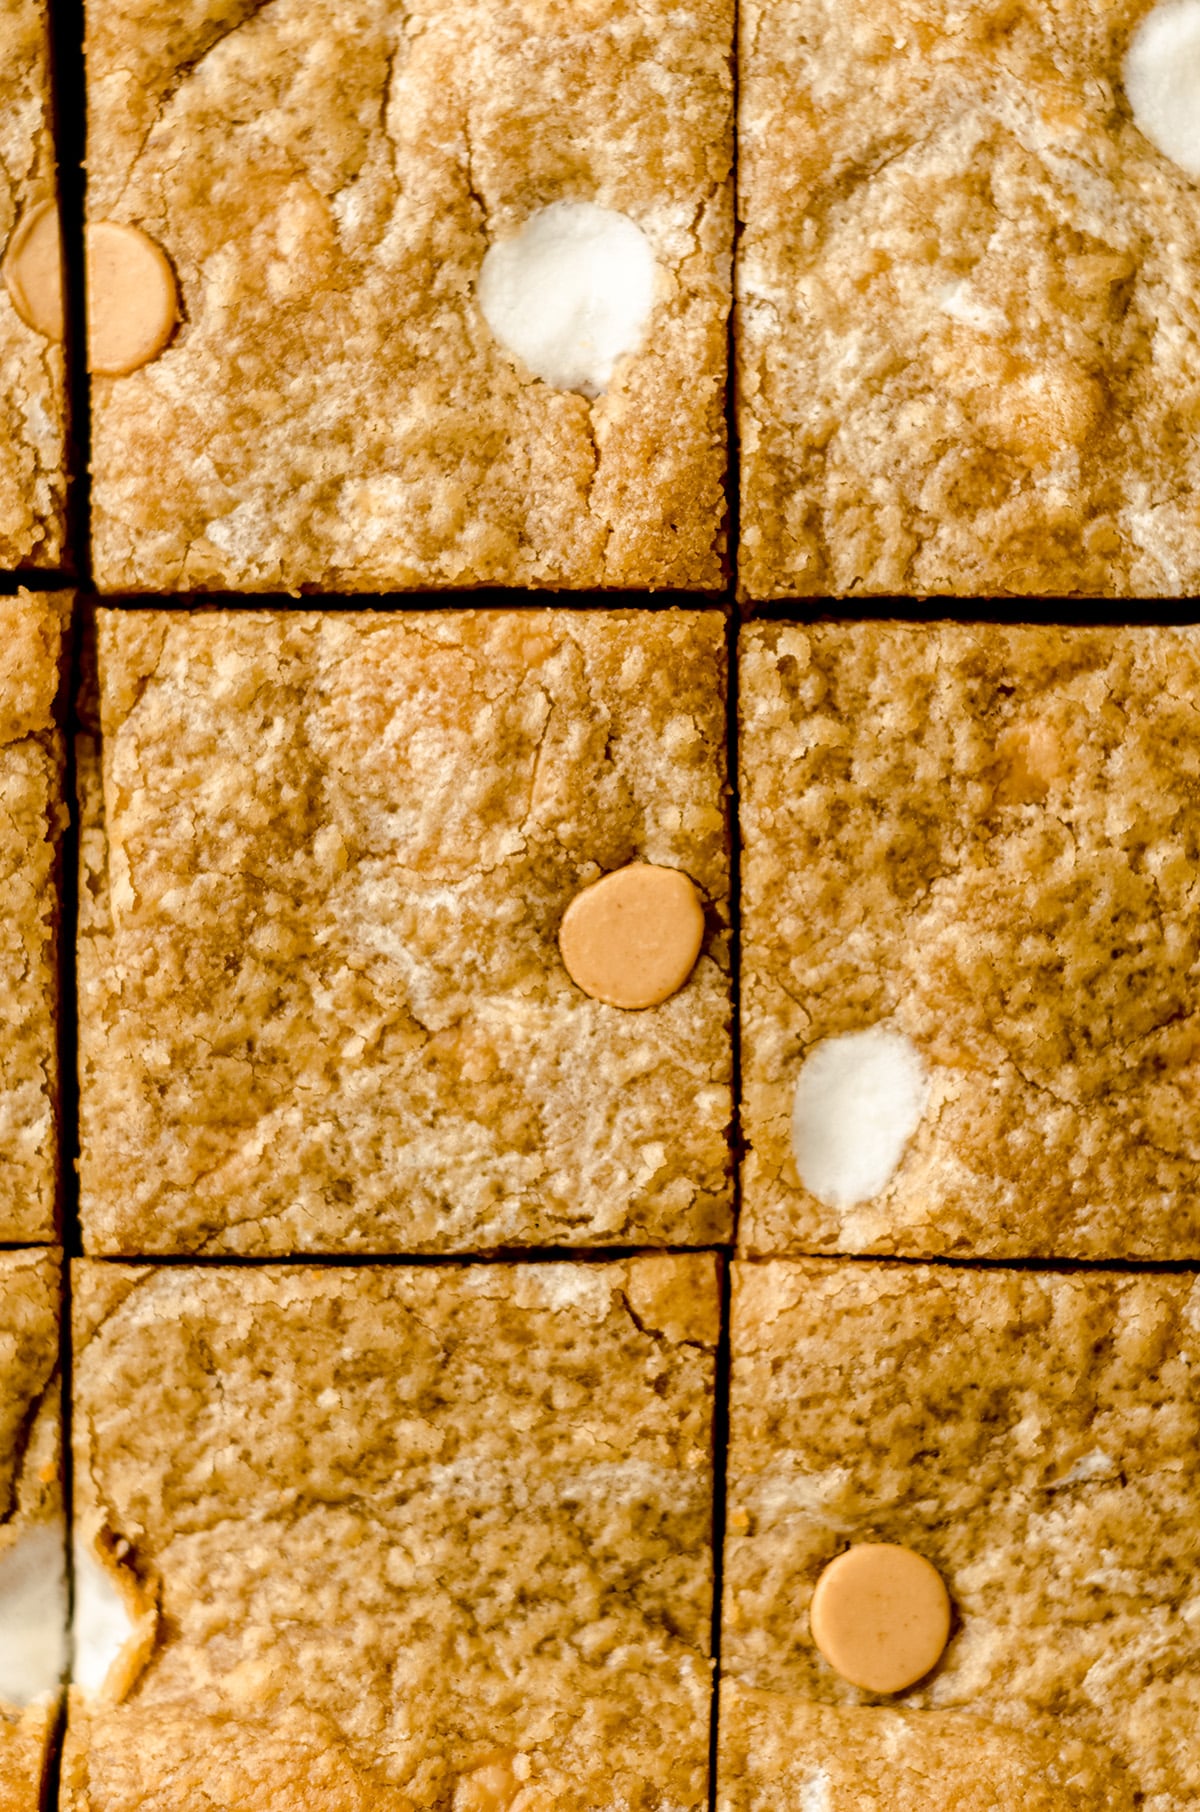
We’re also using marshmallow creme, also known as marshmallow fluff or just fluff. The swirls of marshmallow creme melt in the oven, so they blend in really nicely on the inside of the bar while also staying gooey on the top. They’re most definitely my favorite part!
Peanut butter chips add some additional texture, and of course, lend some extra peanut butter flavor to the whole shebang. No such thing as too much peanut butter, I say.
You’re going to blend everything but the flour, peanut butter chips, and marshmallow creme at first.
You’ll end up with a pretty sticky dough, and once you add the flour, the consistency reminds me of the inside of a Reese’s Peanut Butter Cup, and similar to the inside of my pumpkin peanut butter pretzel bites.
So really, you know we are off to a great start.
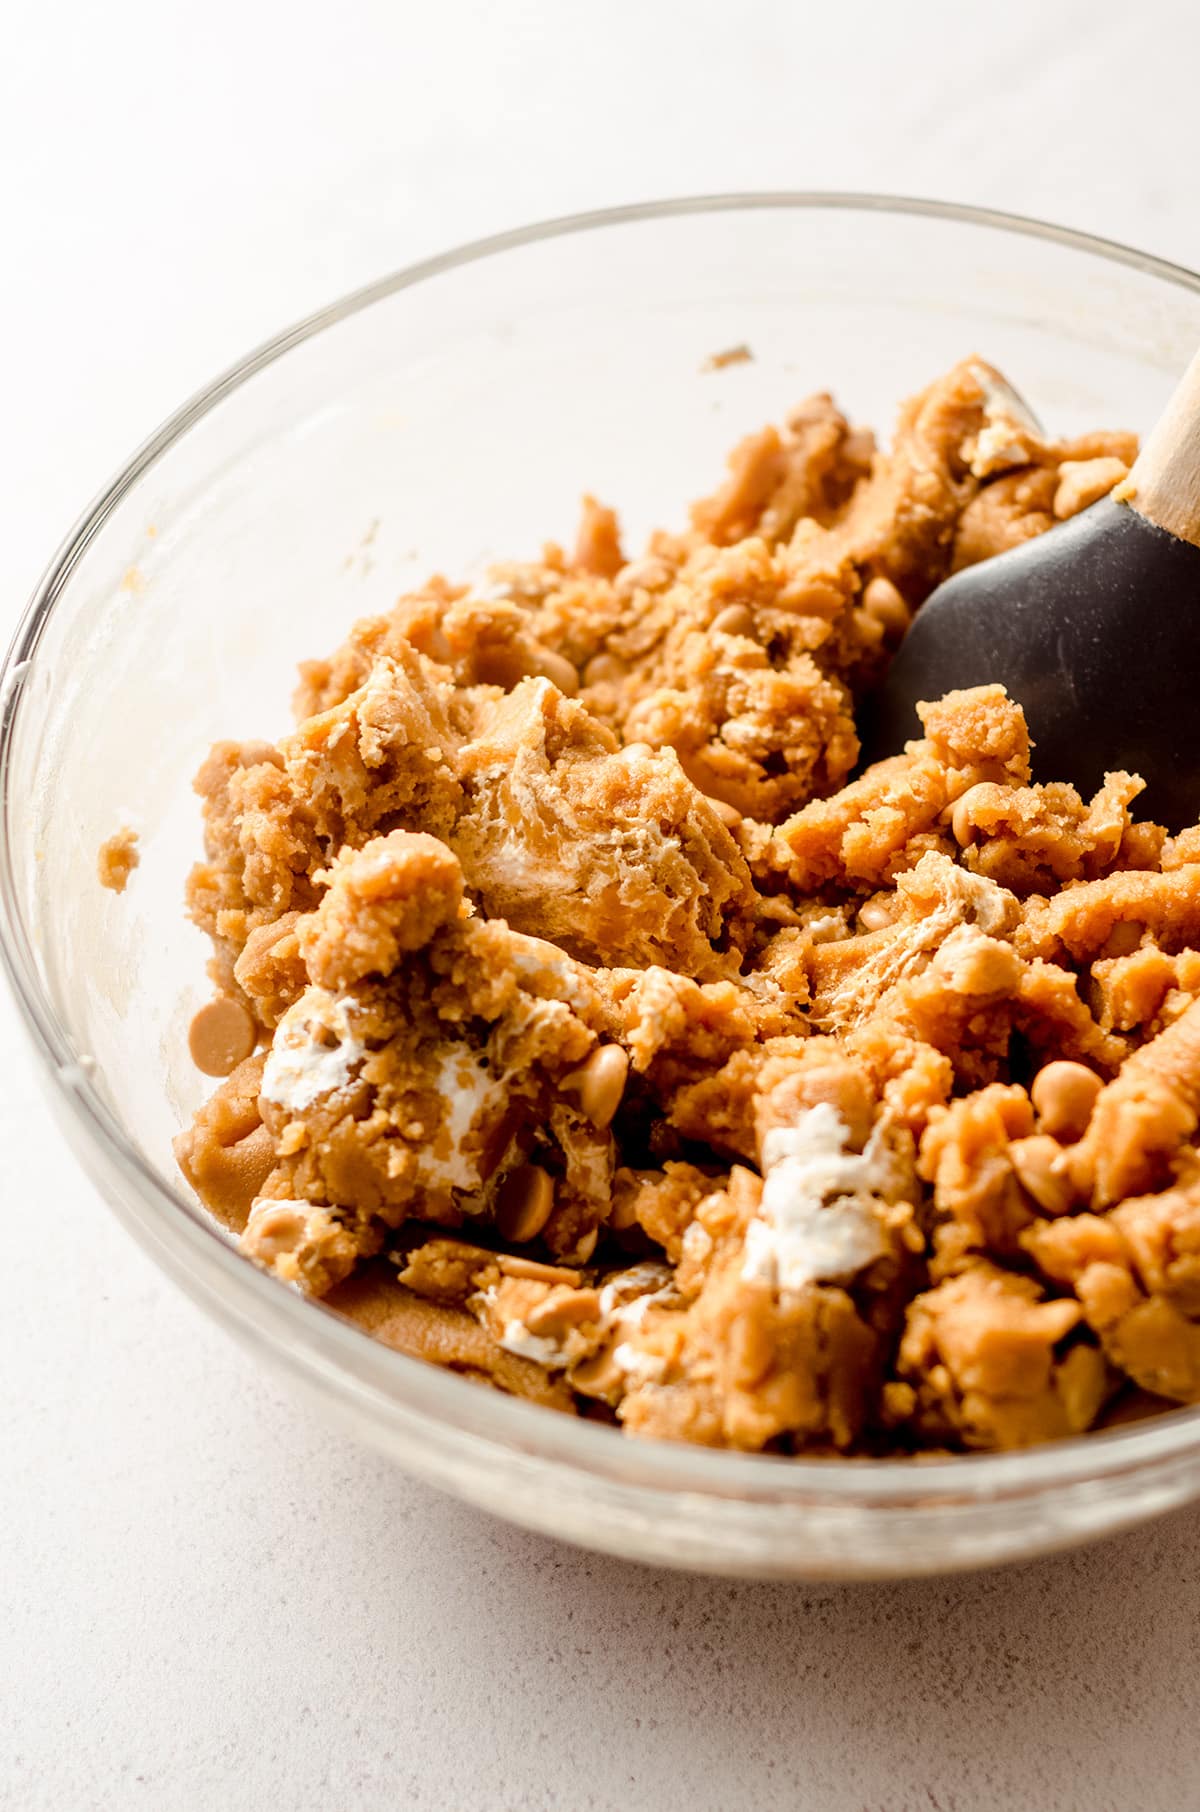
Once the peanut butter chips are added in, the marshmallow creme gets spooned in and barely mixed so that it stays in dollops.
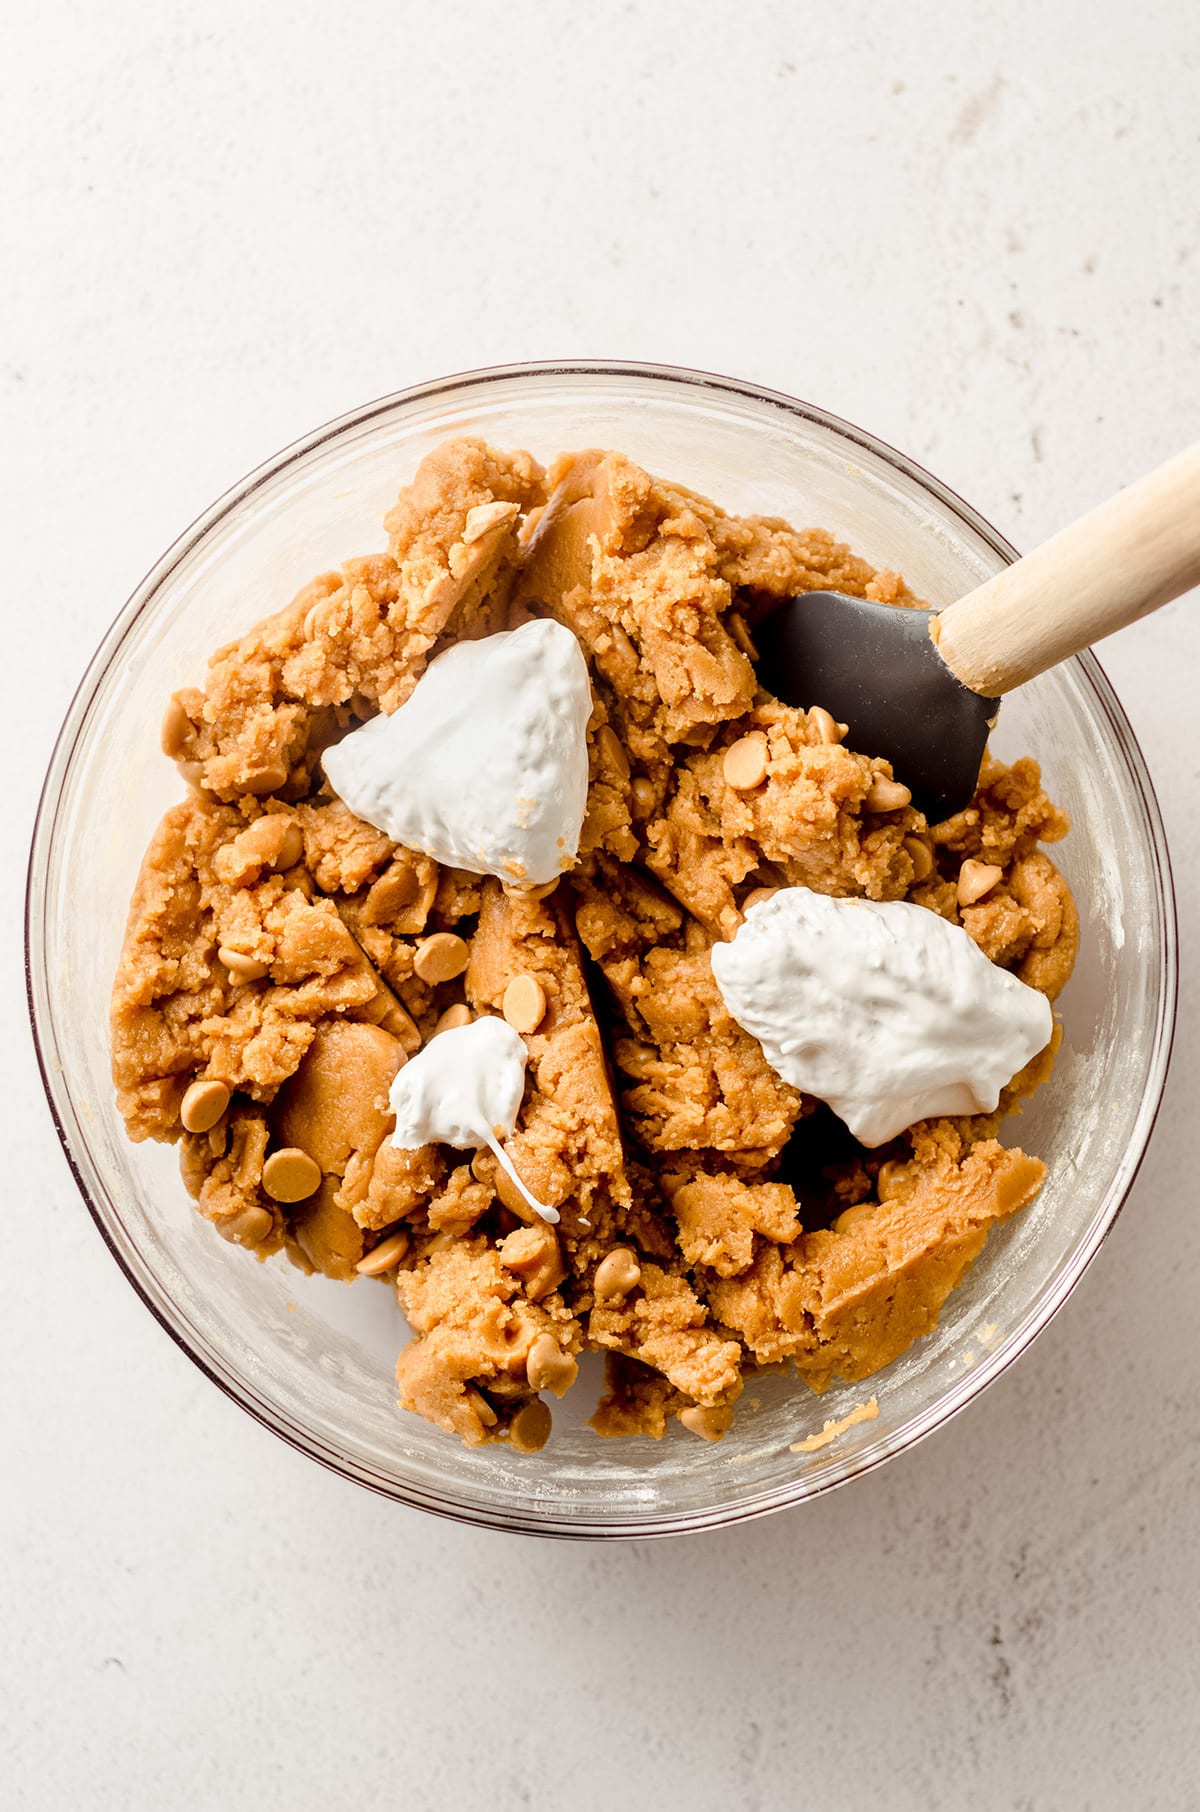
For this step, I actually use my spatula to “cut” into the batter and turn the dough carefully so as not to mix the creme in too much.
Once everything is mixed, you’ll press the dough into your pan with your hands and dress up the top. This is where you can get creative!
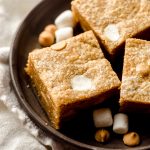
I always add a few peanut butter chips (upside-down so the bars are smooth!) and torn up mini-marshmallows directly into the top of the dough. These steps are completely optional, though, especially if you don’t want to get another ingredient (the mini-marshmallows– they don’t actually go inside the fluffernutter bars).
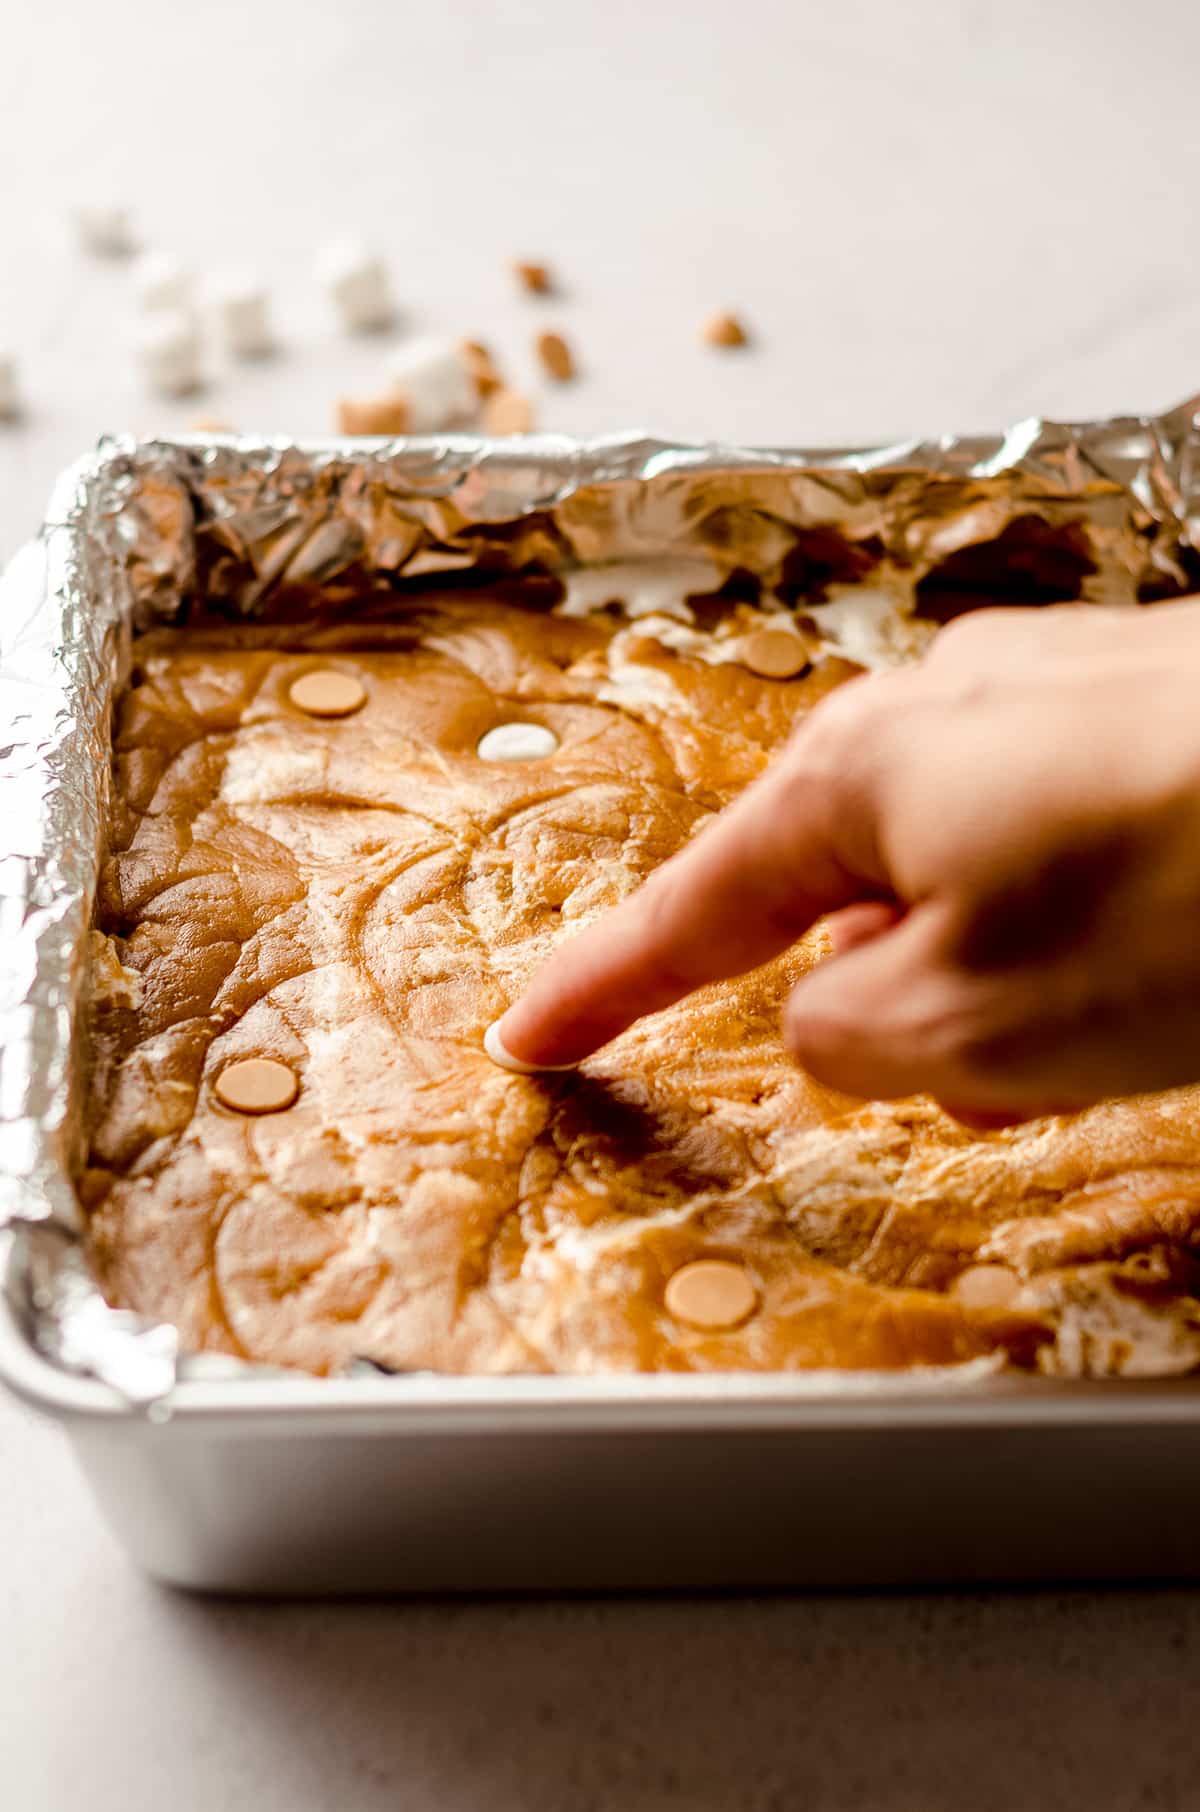
I usually press the marshmallows in and then even out the dough with my hands so everything bakes evenly. Feel free to use whole mini-marshmallows, just be aware, you’ll have to “deflate” them once they’re done baking, otherwise they will just be large and puffy and sitting on top of your baked bars.
Just 25ish minutes in the oven and these are almost ready to devour. They’ll have to cool completely before you cut them, so do what we always do and completely leave the house… Otherwise, you’ll just want peanut butter and marshmallow all up in your mouth before it’s quite ready!
My suggested bake time is perfect for me, but you be the judge of how you want these to turn out. Mine are typically chewy and almost under-done, so the longer you bake them, the more cookie-like they’ll be and the melty-er (technical terms here, folks) your marshmallow creme has the potential to be.
When I insert my tester, I look for it to come out mostly clean with just a few moist crumbs on it. For me, that = perfect.
Make these delectable fluffernutter cookie bars for your next party and you’ll be the fluffernutter star of the show! And of course, report back on how much you love them (or invite me to that party because I love me a celebration and a peanut butter treat)!
And for your enjoyment… Some of my other recipes with marshmallows or marshmallow fluff:
s’mores cupcakes, s’mores chewy cookie bars, classic fruit dip, a lighter ambrosia dessert, s’mores layer cake, and s’mores dip!
Fluffernutter Bars
Ingredients
- 6 Tablespoons (85g) unsalted butter melted and allowed to cool
- 2 large eggs
- 1 and ¾ cup (448g) creamy peanut butter not natural
- 1 cup (200g) firmly packed light or dark brown sugar
- ½ cup (100g) granulated sugar
- 1 and ½ cups (180g) all-purpose flour be sure to measure properly
- ½ cup (120g) peanut butter chips + more for topping
- 6 Tablespoons (48g) marshmallow creme
- mini-marshmallows for topping
Instructions
- Preheat the oven to 350ºF (177ºC). Line an 8″ x 8″ baking pan with foil, spray with non-stick cooking spray, and set aside.
- In a medium size bowl, whisk together the cooled butter, eggs, peanut butter, and both sugars until smooth.6 Tablespoons (85g) unsalted butter, 2 large eggs, 1 and ¾ cup (448g) creamy peanut butter, 1 cup (200g) firmly packed light or dark brown sugar, ½ cup (100g) granulated sugar
- Add the flour to the wet ingredients and stir until just combined. Fold in the peanut butter chips until evenly dispersed.1 and ½ cups (180g) all-purpose flour, ½ cup (120g) peanut butter chips + more for topping
- Spoon in the marshmallow creme and use a spatula to “cut” the creme into the batter, being careful not to over-mix so the creme stays in dollops.6 Tablespoons (48g) marshmallow creme
- Pour the batter into the prepared pan and smooth it out with your hands. Add peanut butter chips and torn mini-marshmallows to the top, if desired, making sure to smooth out the batter again when you are finished.mini-marshmallows
- Bake for 25-28 minutes or until a toothpick inserted in the middle of the pan comes out mostly clean. Allow to cool completely on a wire rack before cutting into 16 squares with a very sharp knife. Store in an airtight container at room temperature up to 4 days. Bars freeze well, up to 3 months. Thaw in the refrigerator overnight.
Notes
Nutrition Disclosure
All nutritional values are approximate and provided to the reader as a courtesy. Changing ingredients and/or quantities will alter the estimated nutritional calculations.
Hey Lynn! Just a suggestion — the PDF file attachment makes it hard to copy and save the recipe somewhere. I can only seem to capture it as a screenshot, because if I try to copy and paste (to paste it into my recipe collection) it shows up as a bunch of gibberish. My only option right now seems to be to actually type it out, which isn’t particularly convenient. Wasn’t sure if you were aware that the PDF file made it so difficult.
Hi Julie! Thanks for the feedback. I’ve been meaning to create an easier way, and I’ve had my eye on ZipList for a few weeks now. You finally gave me the push to go for it! Please, click on the link and let me know if that works for you!
Yes, that works better! Thanks!
Perfect. Thank you again!
this looks so yummy!
Thank you! I hope you give them a try!
I’m familiar with fluffernutter but I’ve never had it. I love peanut butter so these are right up my alley!
Sweet and salty…a combination you can never go wrong with. And, since I have marshmallows of every size in my pantry that need to find a home…these look like a pretty good recipe to make for the holiday weekend!
Absolutely, Colleen– I think this is a great use for all of them!
While I’ve never had fluffernutter sandwiches, this combination sounds amazing. I love the chips in there too.
You’ve got to try it, Karen!
I can’t even tell you how amazing these bars are (well you already know lol). I put together a pan for a family get-together and there wasn’t a crumb left. They’re so tender and delicious, and definitely satisfied our love of peanut butter. I still have the recipe on my refrigerator for another batch!
You rock, Julie! Thank you!
This is screaming my name, with 2 kinds of ‘shmallow in it. YUM!
Right?! Delish!
Peanut butter and marshmallow creme are the perfect combination!
Totally underrated.
These bars look scrumptious! I love the addition of the peanut butter chips, too, for extra peanut butter flavor.
Thanks, Amy! These are a favorite of mine!
Is it 170 g or 6T of butter – they are 2 different amounts
Thank you
Whoops! Thanks for catching that! It’s 6T (85g).