
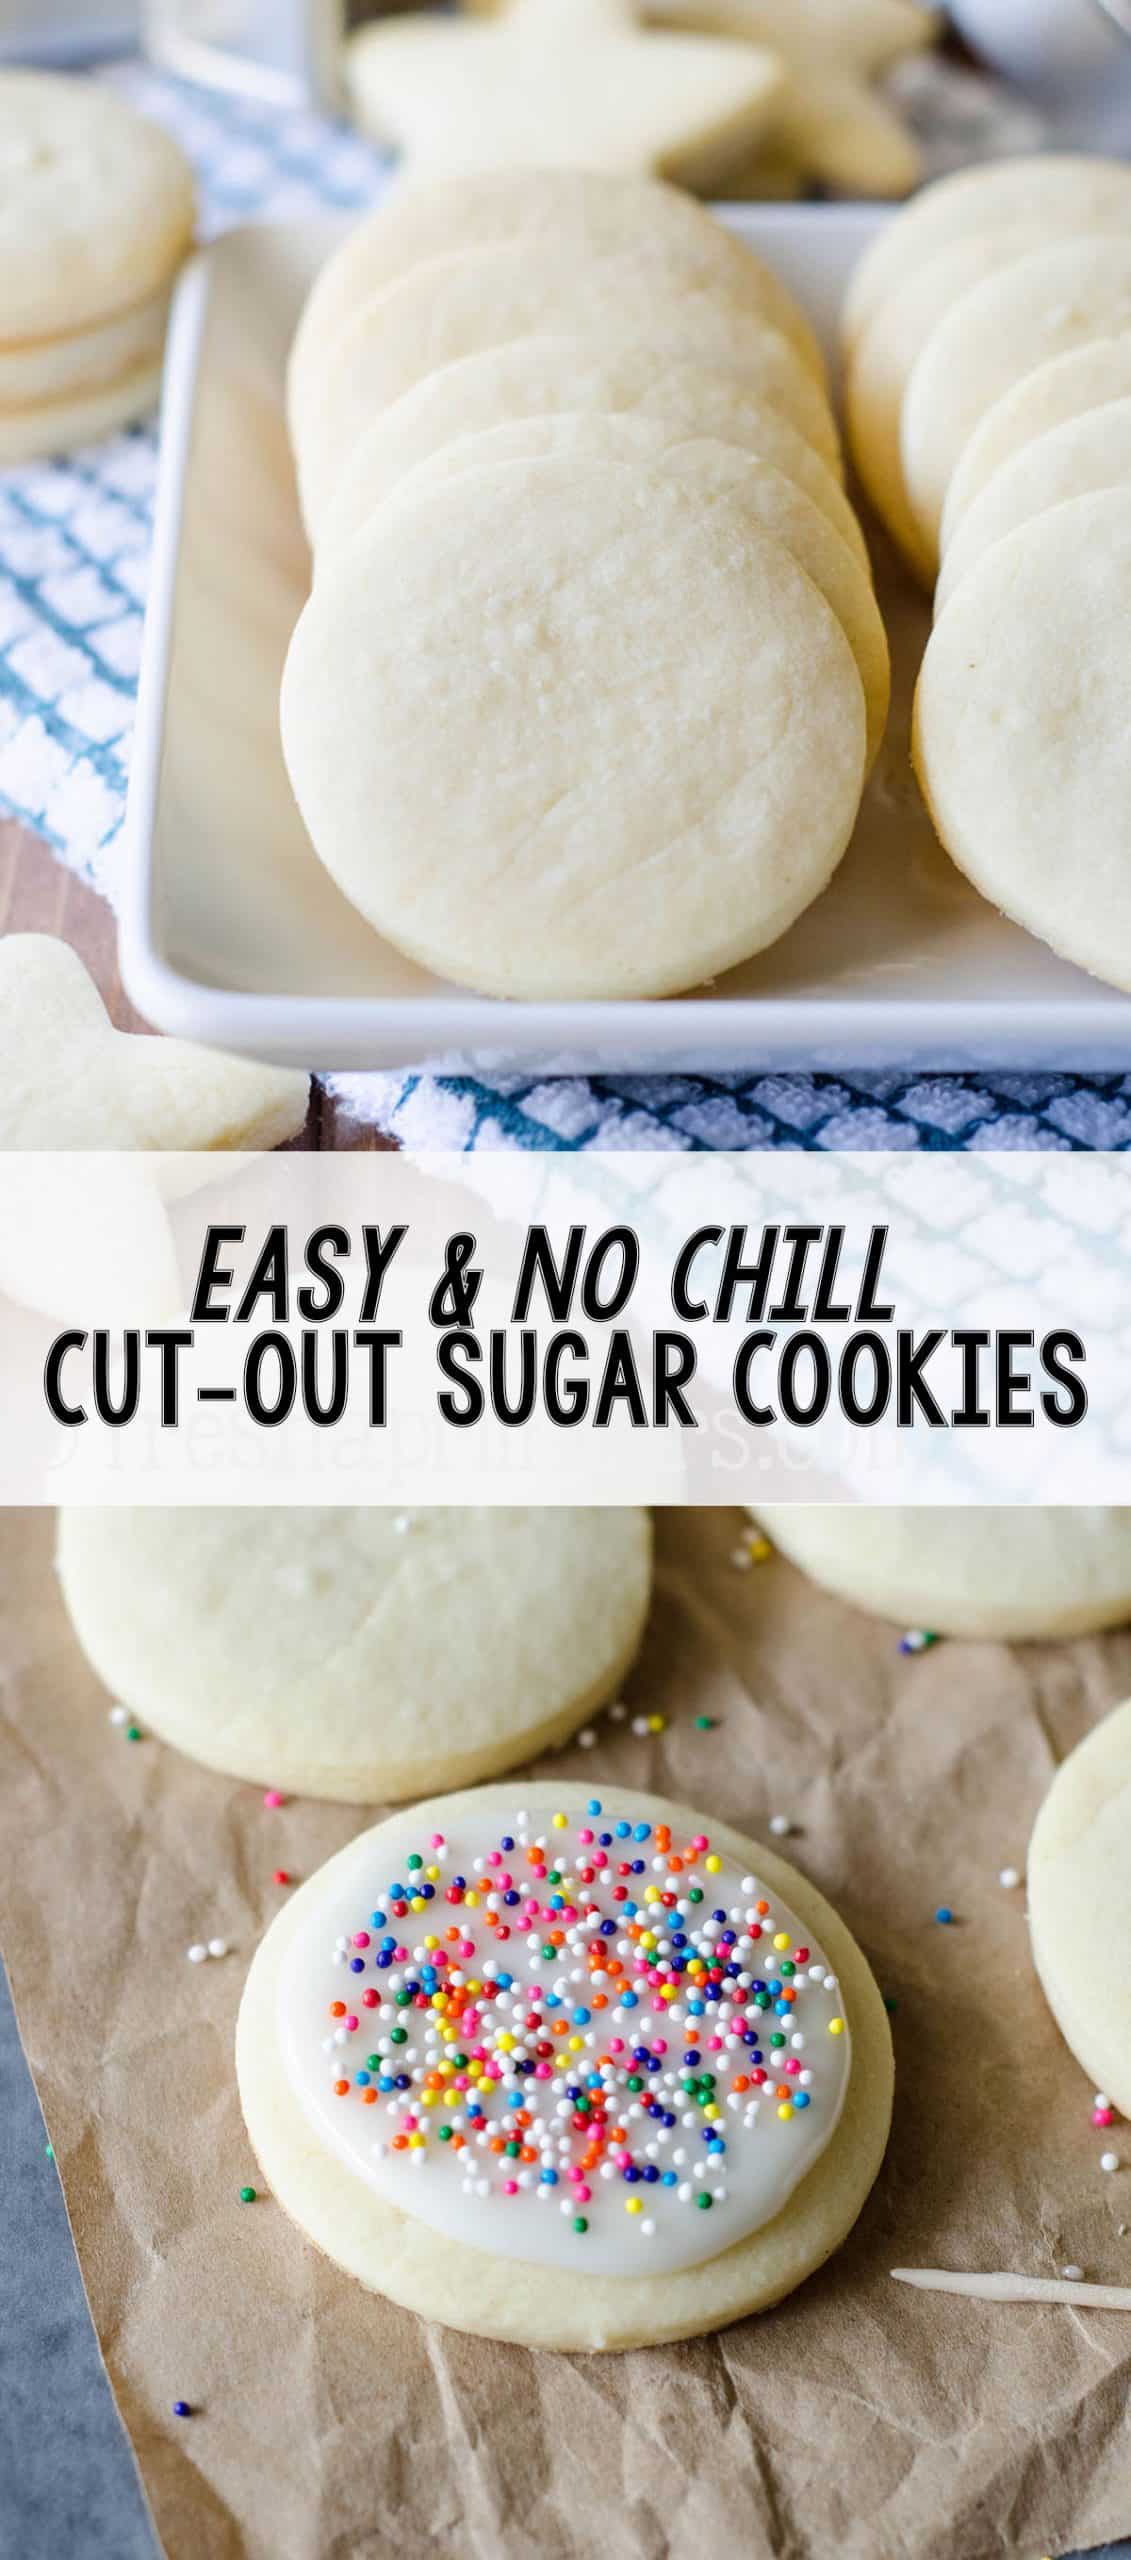
Soft Cut Out Sugar Cookie Recipe
As an Amazon Associate, I earn from qualifying purchases. Read the full disclosure here.
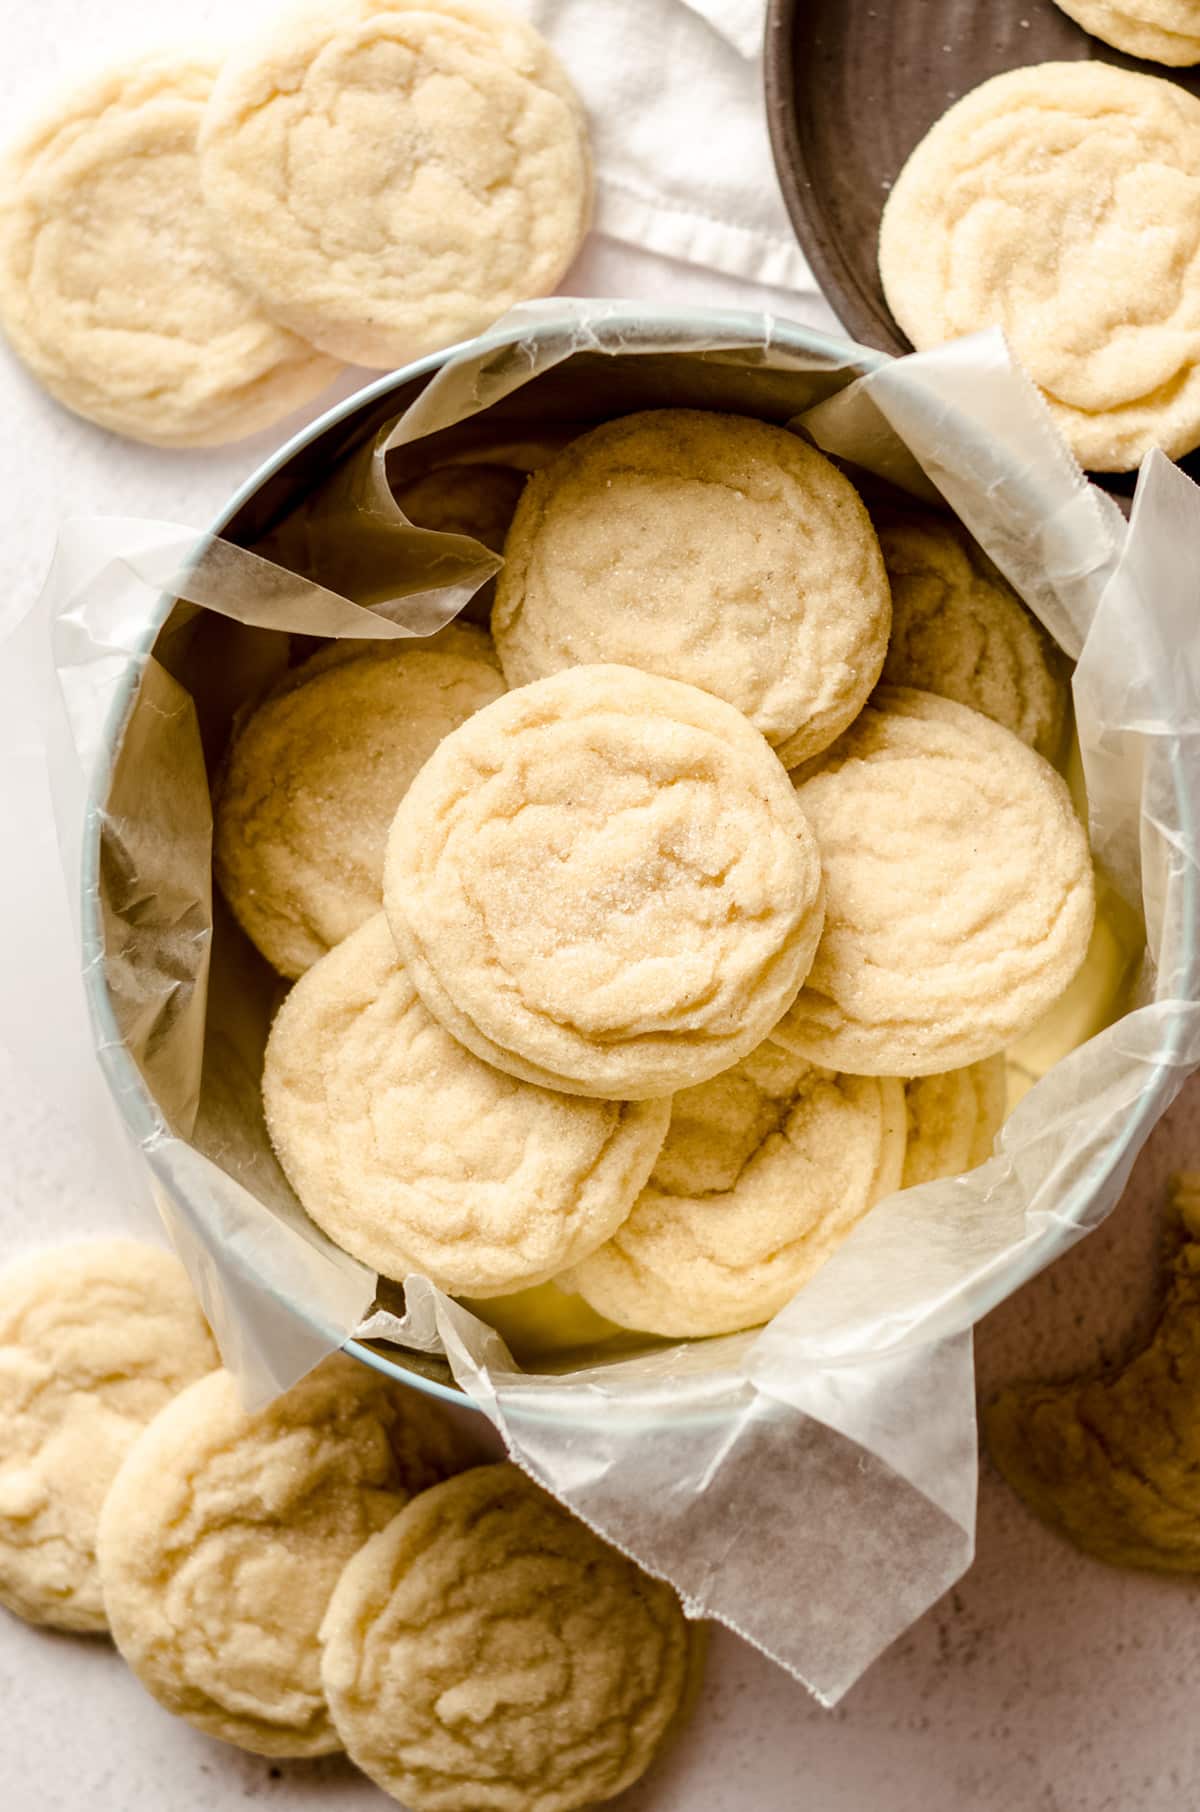
No dough chilling necessary for these soft cut-out sugar cookies that are perfect for decorating with simple sugar cookie icing and/or sprinkles. Crisp edges, soft centers, and completely customizable in flavor and shape! Decorate with my favorite easy royal icing.
This is the Best Cut Out Sugar Cookie Recipe
Here’s the thing– I don’t normally give my recipe titles adjectives or superlatives because obviously I would never bring you “the worst” or “the least lackluster” recipe of any kind. It’s just kind of assumed I’m bringing you the best of the best.
That being said, the fact that I titled this recipe easy sugar cookies should help you realize how much I want to emphasize the ease of this recipe. To help you understand that these are the best sugar cookies. That this is, in fact, a recipe for cookies that work with cookie cutters (not all of them do!).
It took me a long time to develop a recipe for cut-out sugar cookies that I could stand behind 100%. And I tried so many.
There were plenty of recipes that made cookies that had great taste, but too many of the doughs were a mess to roll out, a lot of cookies spread too much in the oven, and overall, most were just too finicky to share with my readers who have come to expect simple, straightforward recipes from me.
Why you’ll love these Easy Cut Out Sugar Cookies
So that’s what I’m sharing with you here. And I’m super excited about this recipe for sugar cookie cut-outs for several reasons:
IT’S SIMPLE: there are no fancy ingredients, and nothing weird or special. Just honest-to-goodness ingredients.
IT’S CUSTOMIZABLE: I prefer my sugar cookies with a combination of almond and vanilla extracts, but you can certainly use whatever kind of extract you prefer.
CLEAN, SHARP EDGES: I’ll go a little more into detail about how to preserve that perfect cookie cutout characteristic in the recipe.
NO CHILLING THE DOUGH: this is my favorite favorite favorite part about this recipe, because it means quick and easy.
I hope that you are as excited as I am about these cookies! Over the years I have actually had people call this the best cut out sugar cookie recipe in the world. I meannn, if that doesn’t convince you to make them, perhaps my step-by-step photos and simple instructions will help!
Let’s get rolling!
Sugar Cookie Recipe Cut Out ingredients
• all-purpose flour
• baking powder
• salt
• egg
• vanilla extract
• almond extract
• unsalted butter
• powdered sugar
How to make Cut Out Sugar Cookies
STEP #1
First, start by tossing together 2 and ½ cups of flour, some baking powder, and some salt. The recipe calls for up to 3 cups + 2 Tablespoons of flour, but do not start with this much (we’ll talk about why). Once that’s all mixed, set it aside.
STEP #2
In a measuring cup or small bowl with a spout, beat the egg and flavoring/extract of your choosing. I like vanilla extract and almond extract, but the combination is totally up to you. If you want to change it up, I still suggest using that 1 teaspoon of vanilla extract to set a base flavor. Set this mixture aside.
STEP #3
Next, cream together butter and powdered sugar until light and fluffy. We’re using powdered sugar because it keeps things drier than using granulated sugar.
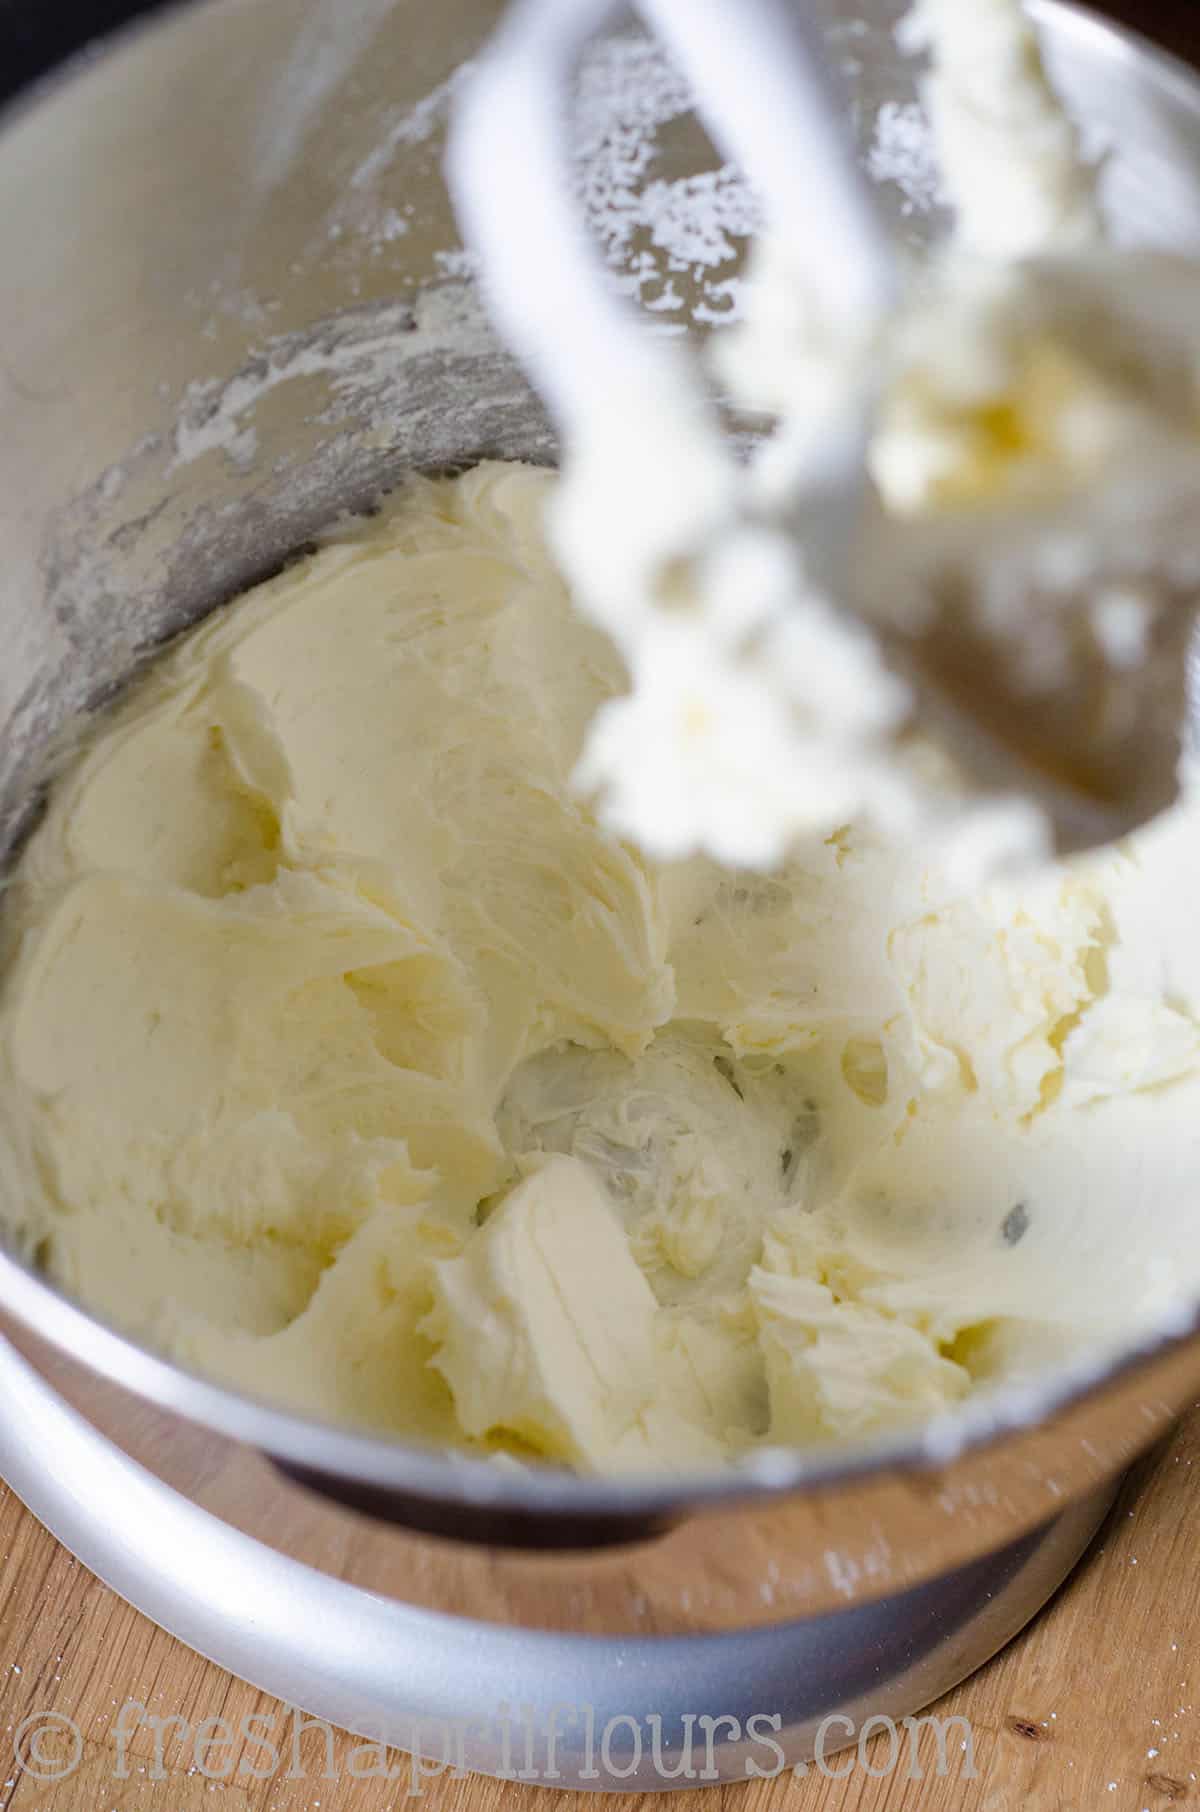
STEP# 4
Add the egg mixture to the creamed butter and powdered sugar and beat on high until completely incorporated, scraping down sides as necessary.
STEP #5
With your mixer set to low, add the flour mixture to wet ingredients little by little, allowing dough to come together after each addition.
STEP #6
After you have added all 2 and ½ cups of flour (plus baking powder and salt) to the bowl, most of the dough should stick to your beaters or paddle.
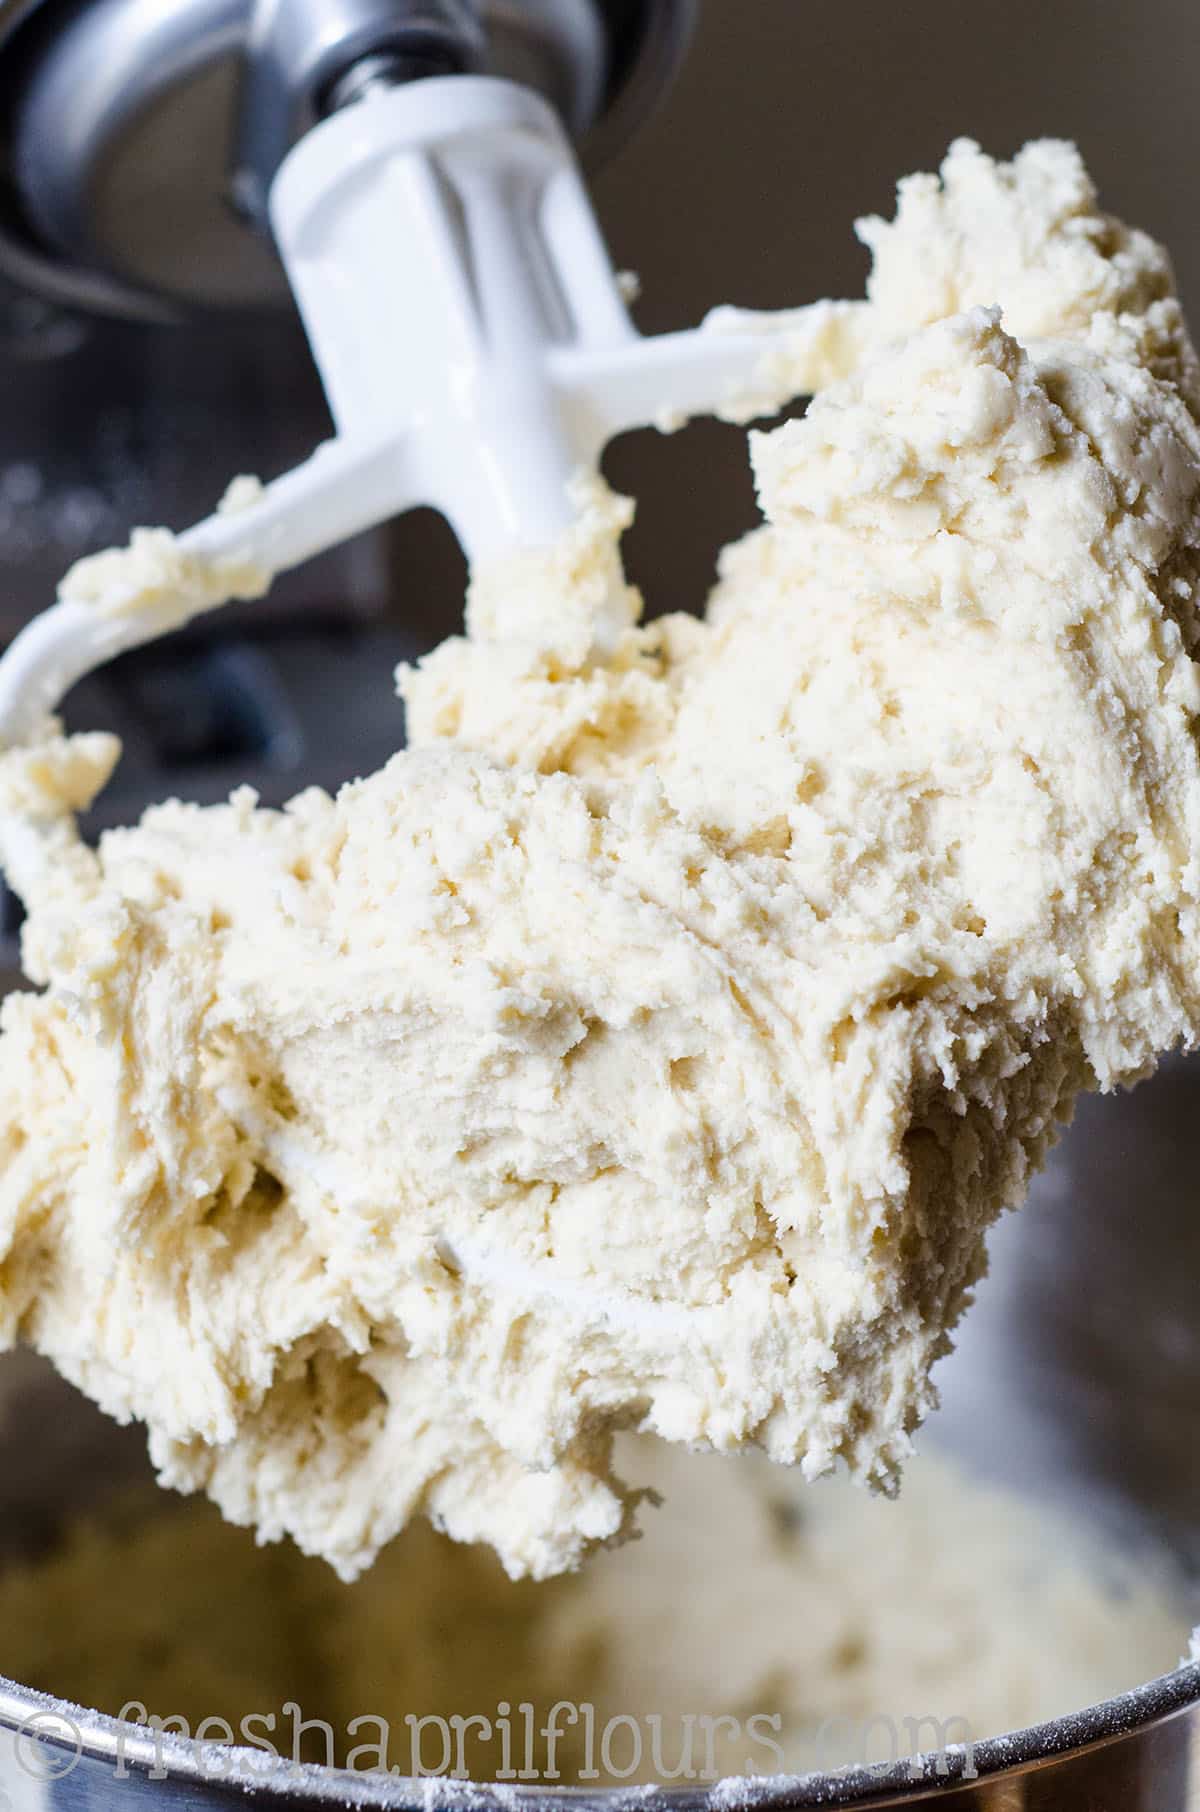
Test dough consistency by touching it with your fingers. It should be slightly tacky, but not sticky. It should remind you of Play-Doh.

If your dough is too sticky, add ¼ cup of flour at a time until you reach 3 total cups of flour (two additions). Occasionally, I will need a tad more flour, but do not exceed 3 cups + 2 Tablespoons flour. Too much flour yields denser cookies that are likely to spread, and we want these to stay soft.
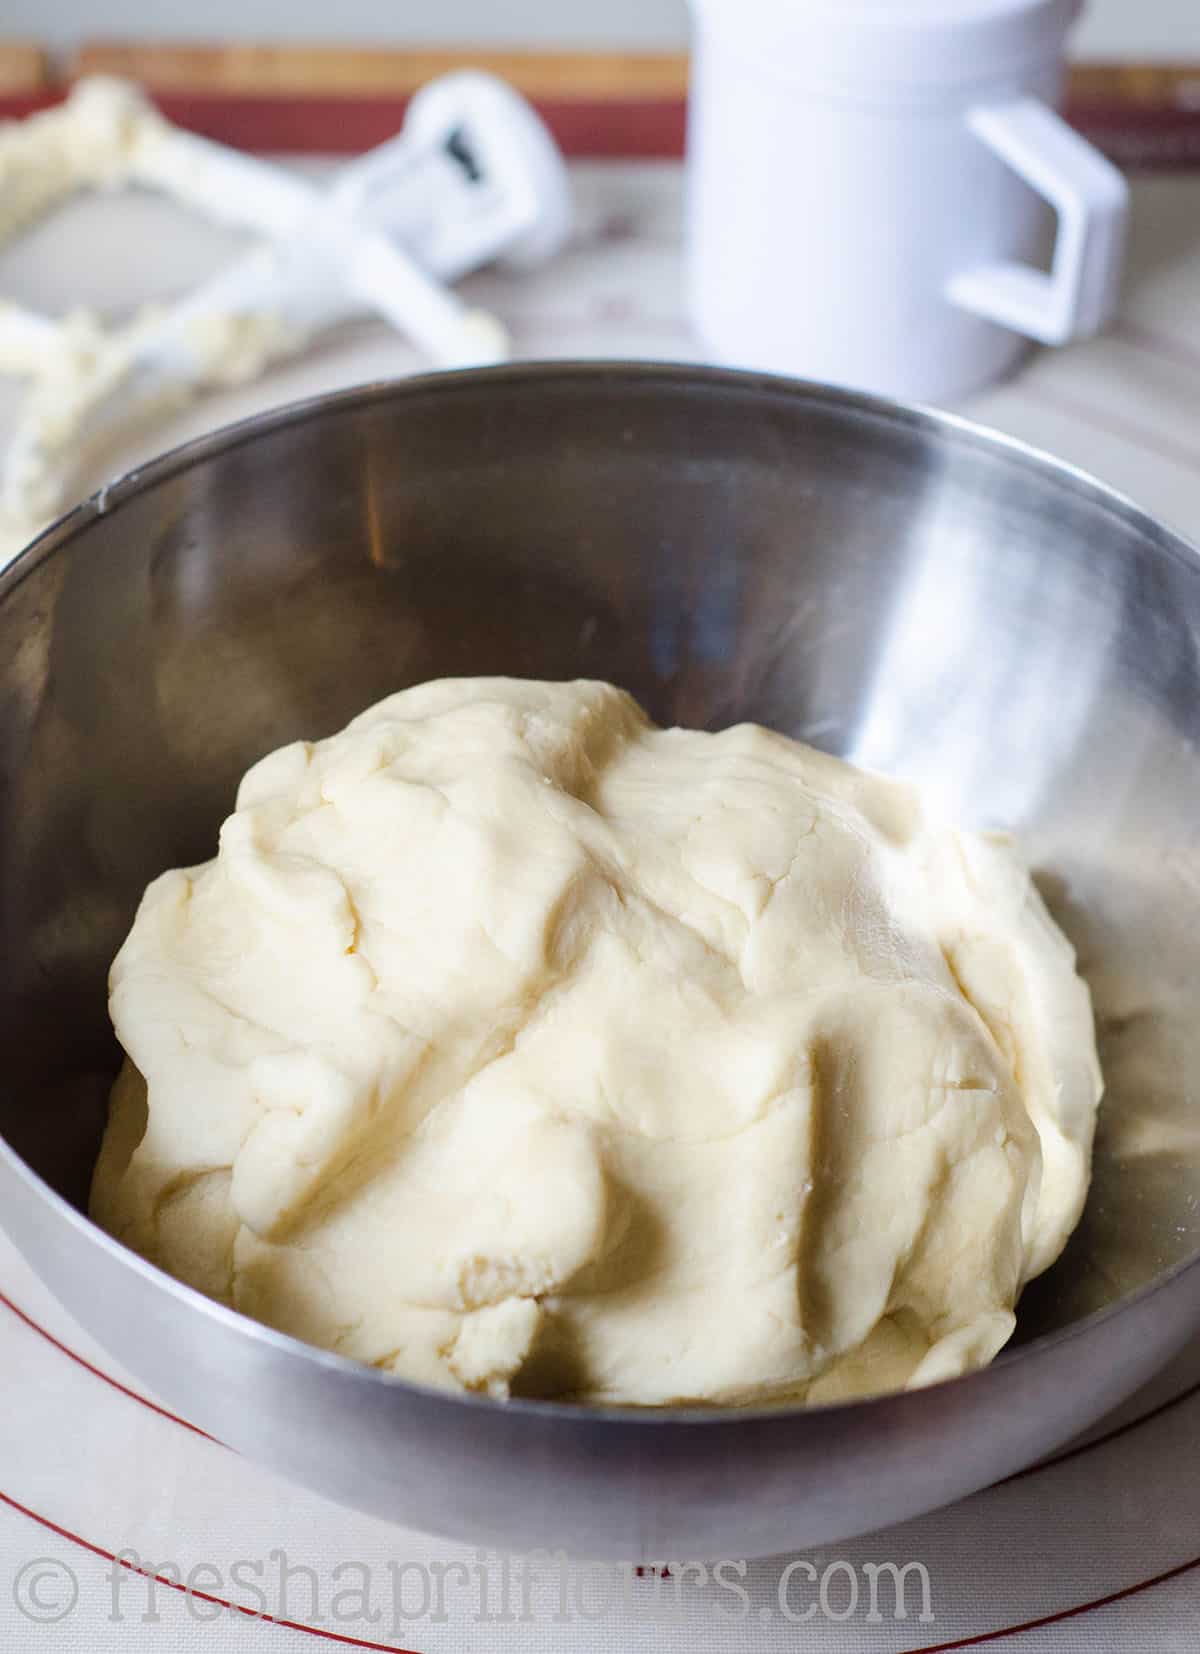
STEP #7
When your dough is the right consistency, gather it into a ball and allow it to rest for 10 minutes.
STEP #8
While it is resting, preheat the oven with plenty of time for it to come to temperature. Line two large baking sheets with parchment paper or silicone baking mats.
STEP #9
Prepare a rolling surface by dusting it lightly with powdered sugar (working too much flour into dough can result in harder, crunchier cookies with a less sweet taste). If you would like, use two wooden dowels, sized at ¼” thickness, on either side of your dough while rolling it out to keep cookies a uniform thickness.
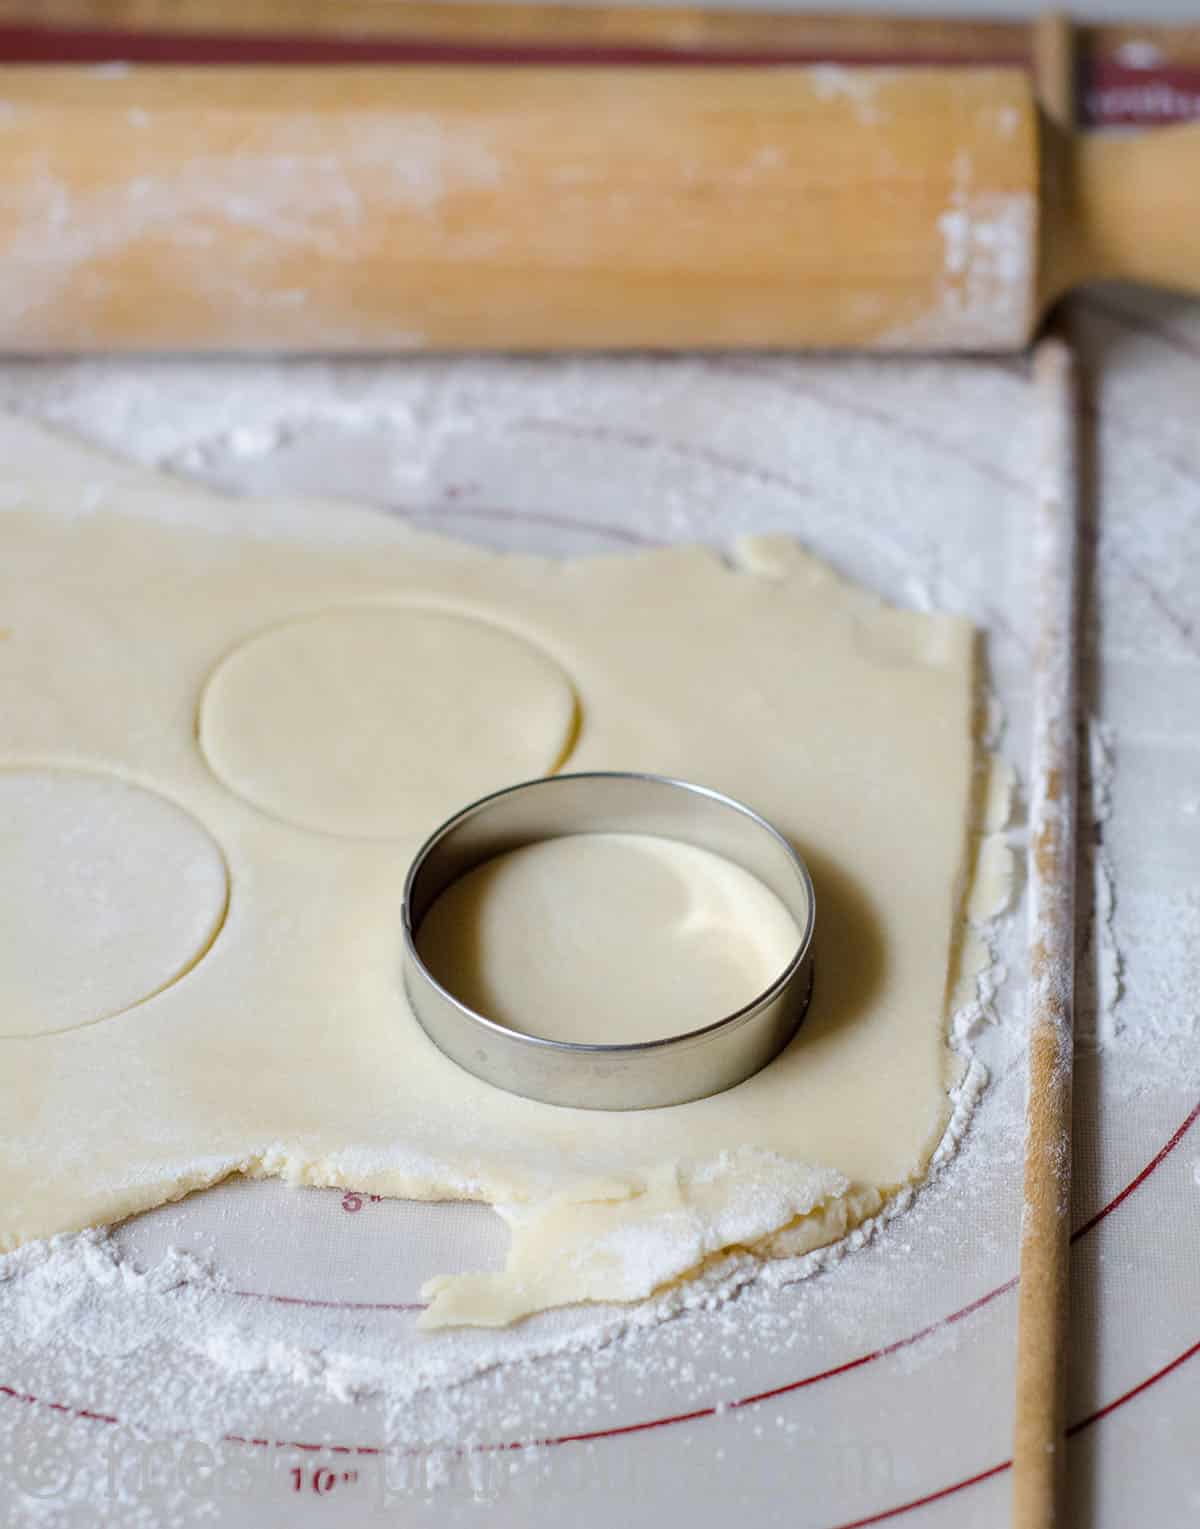
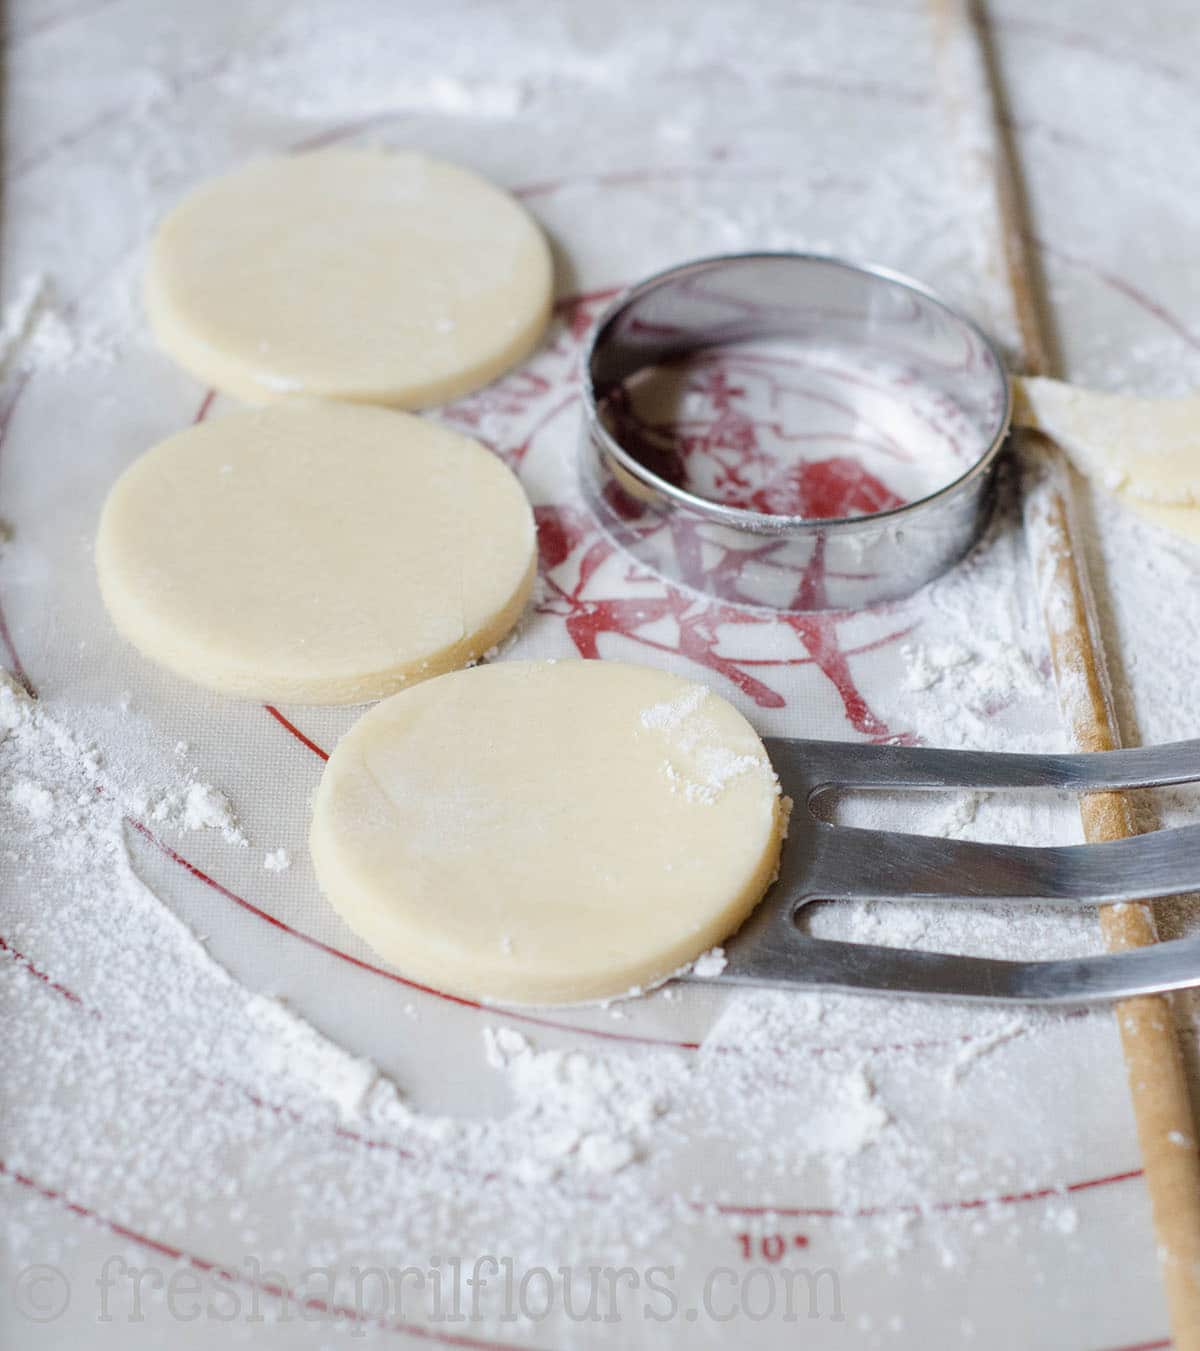
STEP #10
When your dough is ready to roll, break off a workable size of dough. I usually break it into 4 pieces. Roll dough with a floured rolling pin and cut into desired shapes with cookie cutters.
STEP #11
Transfer cut dough onto baking sheets. It is best to keep cookies that are the same size and shape together on baking sheets so as to uniformly bake all of your cookies.
STEP #12
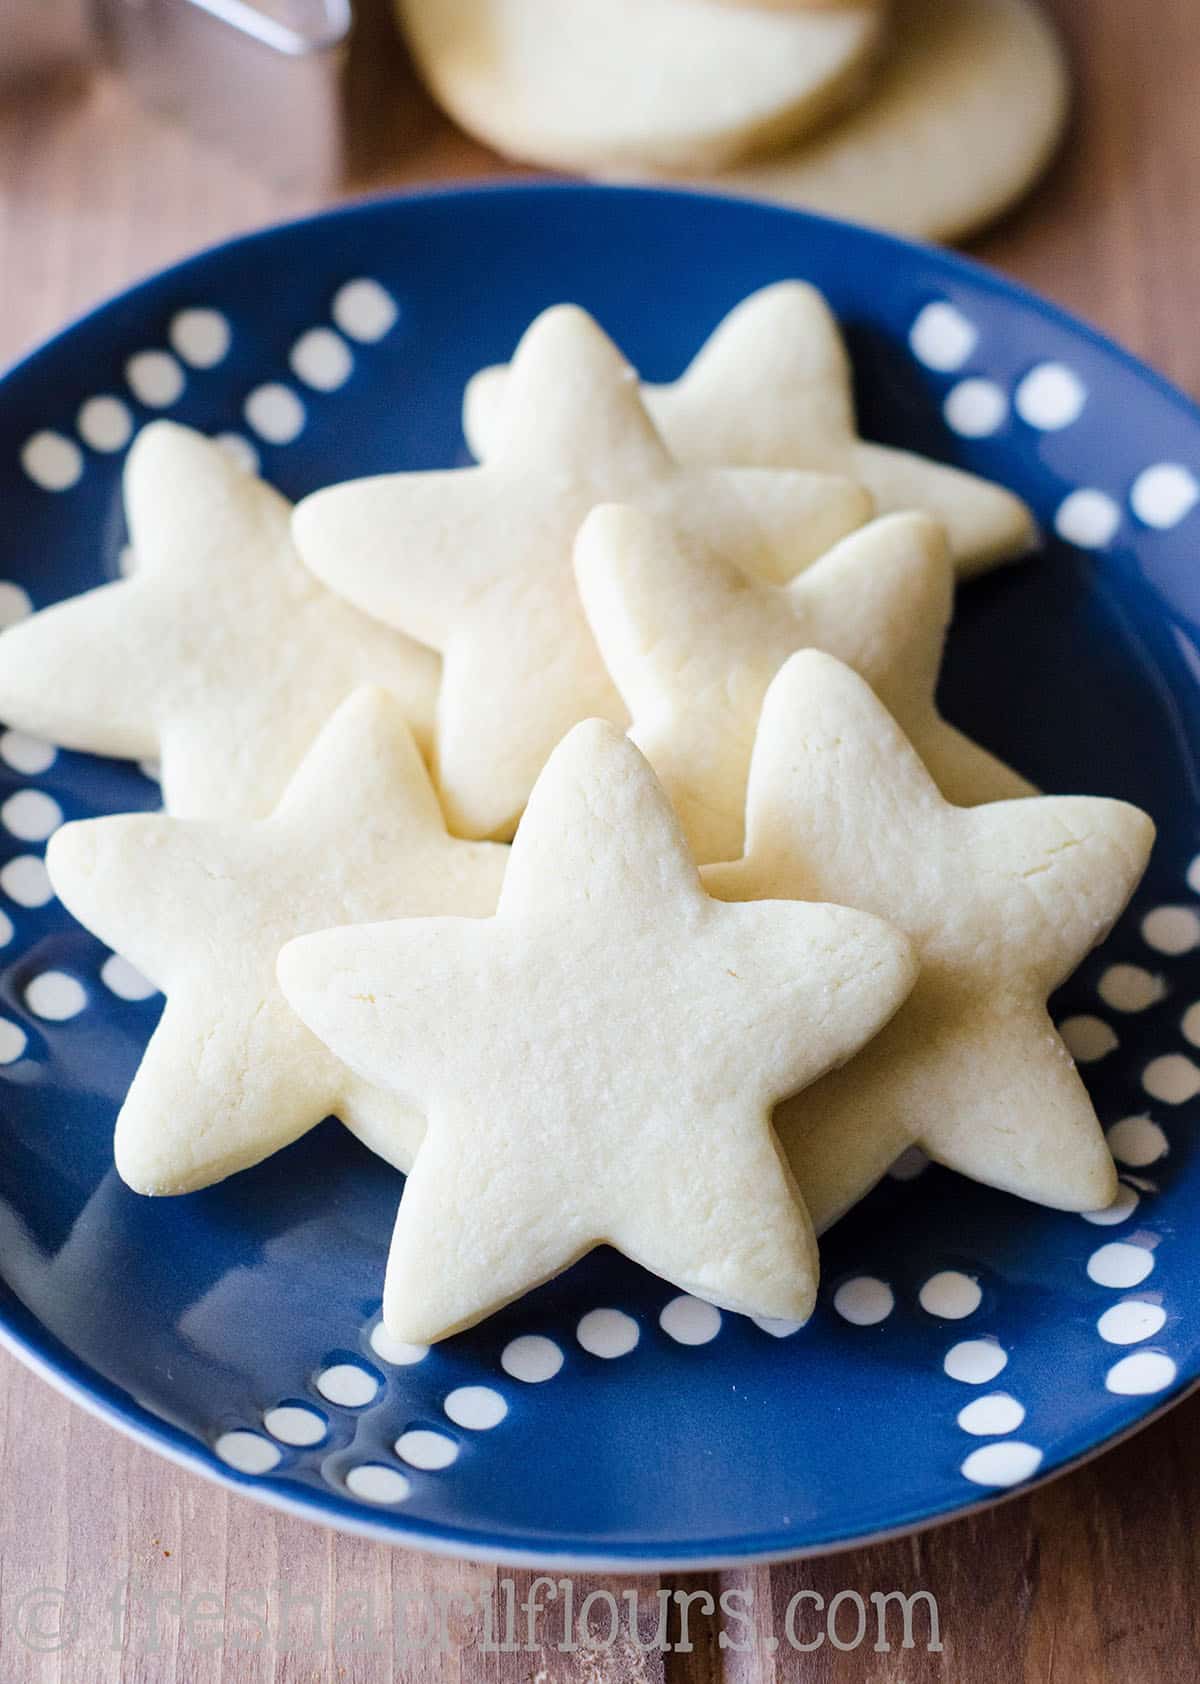
Re-roll and cut your sugar cookie dough as needed until all of the dough is used up. At this point, you may decorate cut cookies with sprinkles or just leave them plain and decorate them with icing later.
STEP #13
When it comes to bake the cookies, the time is very short.
I’m talking only 4-6 minutes for medium (2″ or so) size cookies.
My medium circles (2″) take 6 minutes. Stars (2″) take 5 minutes.
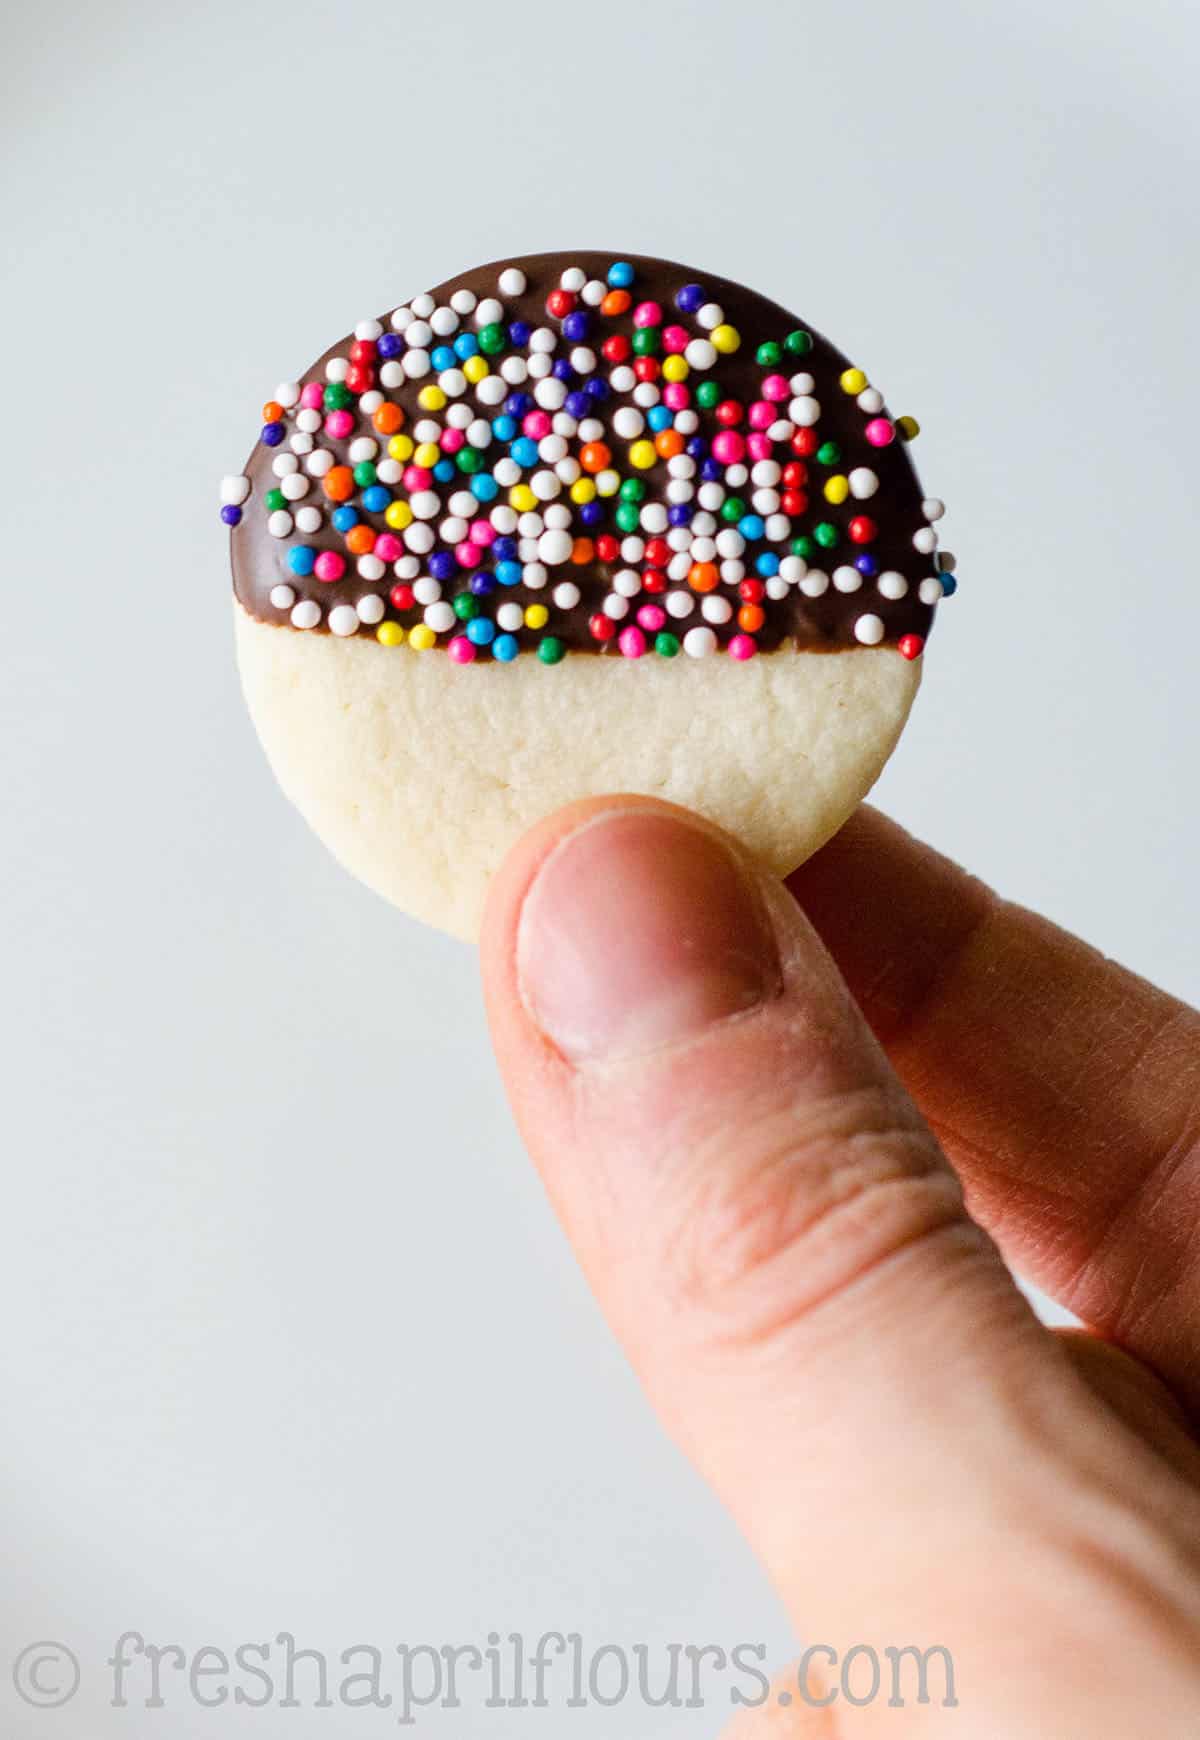
Mini circles (1″) take 4 minutes.
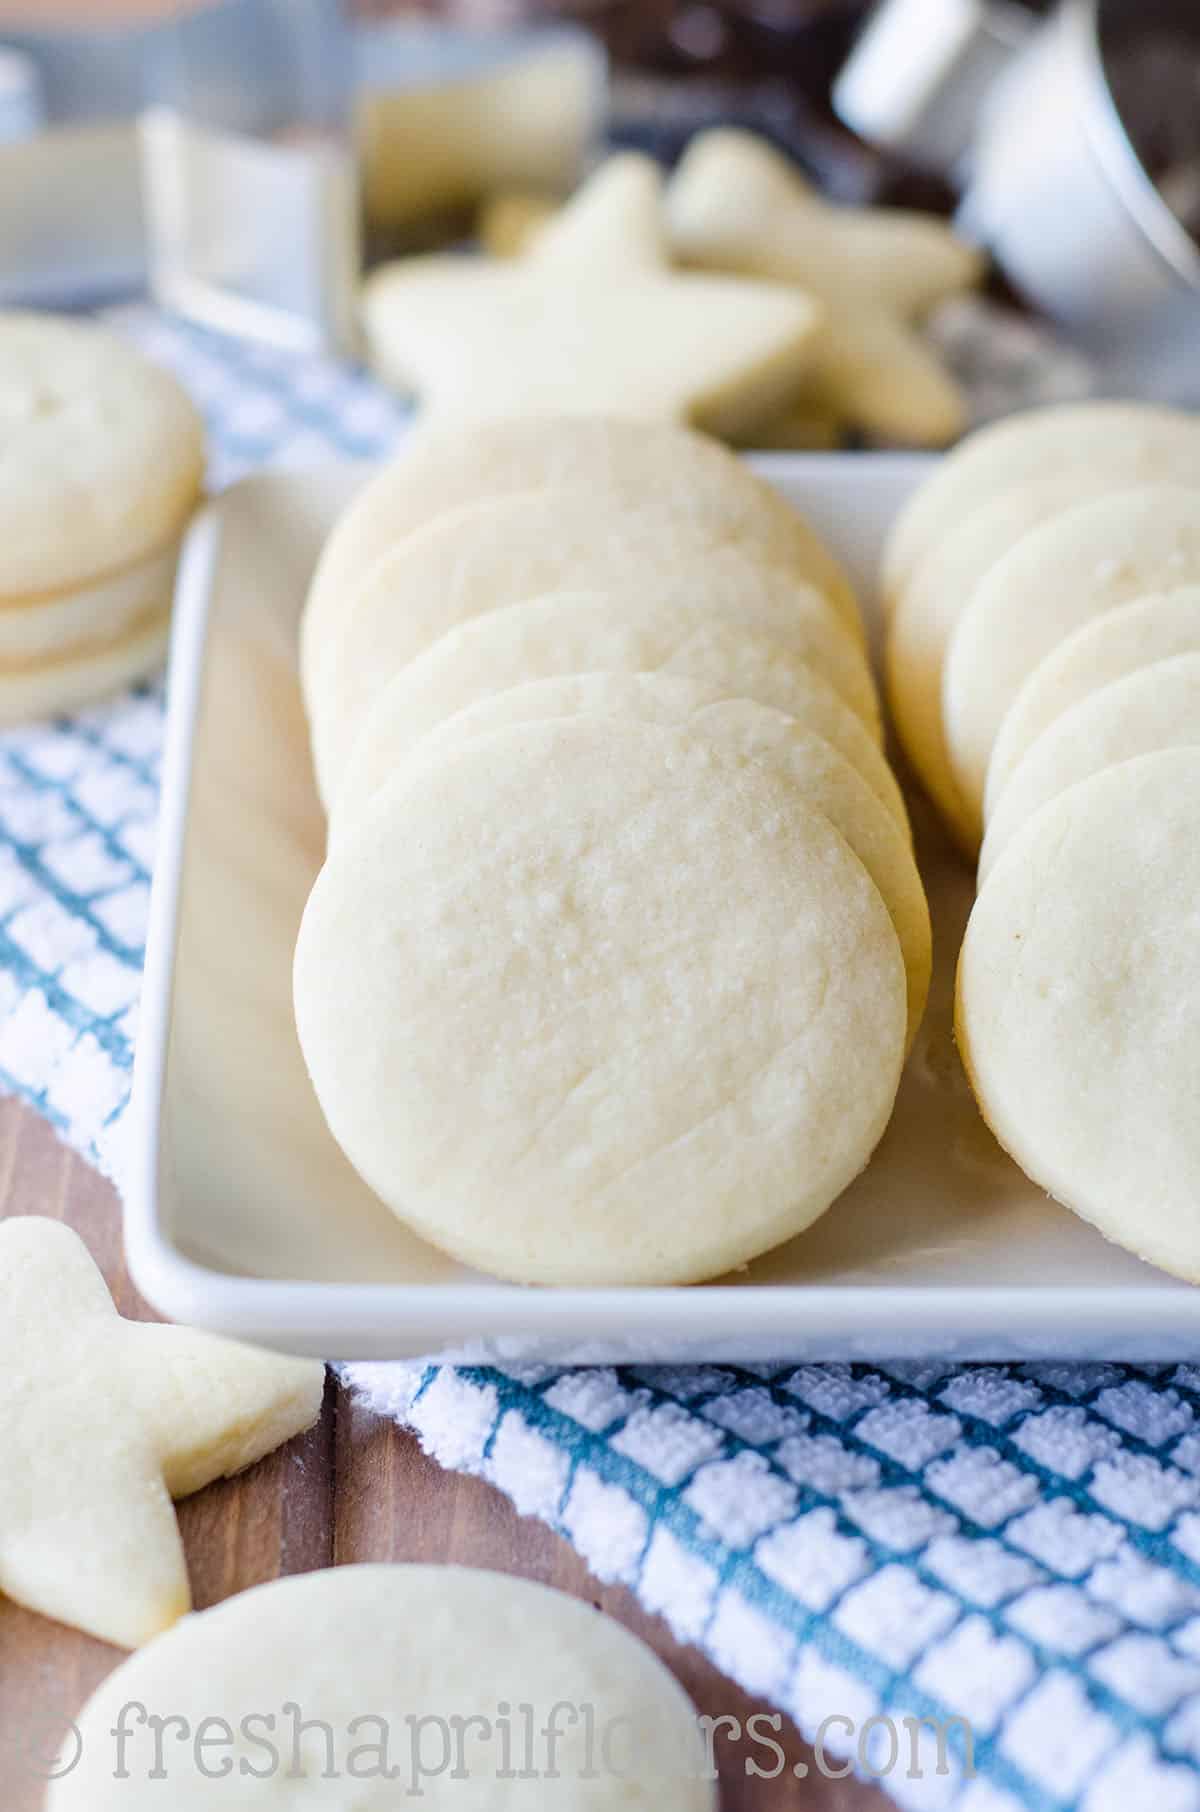
Bake until cookies are slightly puffed and are no longer shiny. Edges may start to brown, and that’s ok, just work quickly to remove them from the oven. I prefer to remove my sugar cookies before they start to brown.
How to decorate this Soft Cut Out Sugar Cookie Recipe
If you don’t already have one, here is my super easy royal icing recipe. It’s made without meringue powder, so it truly is easy (again, not fibbing here at FAF!)
To decorate, start with completely cooled cookies (I prefer day-old).

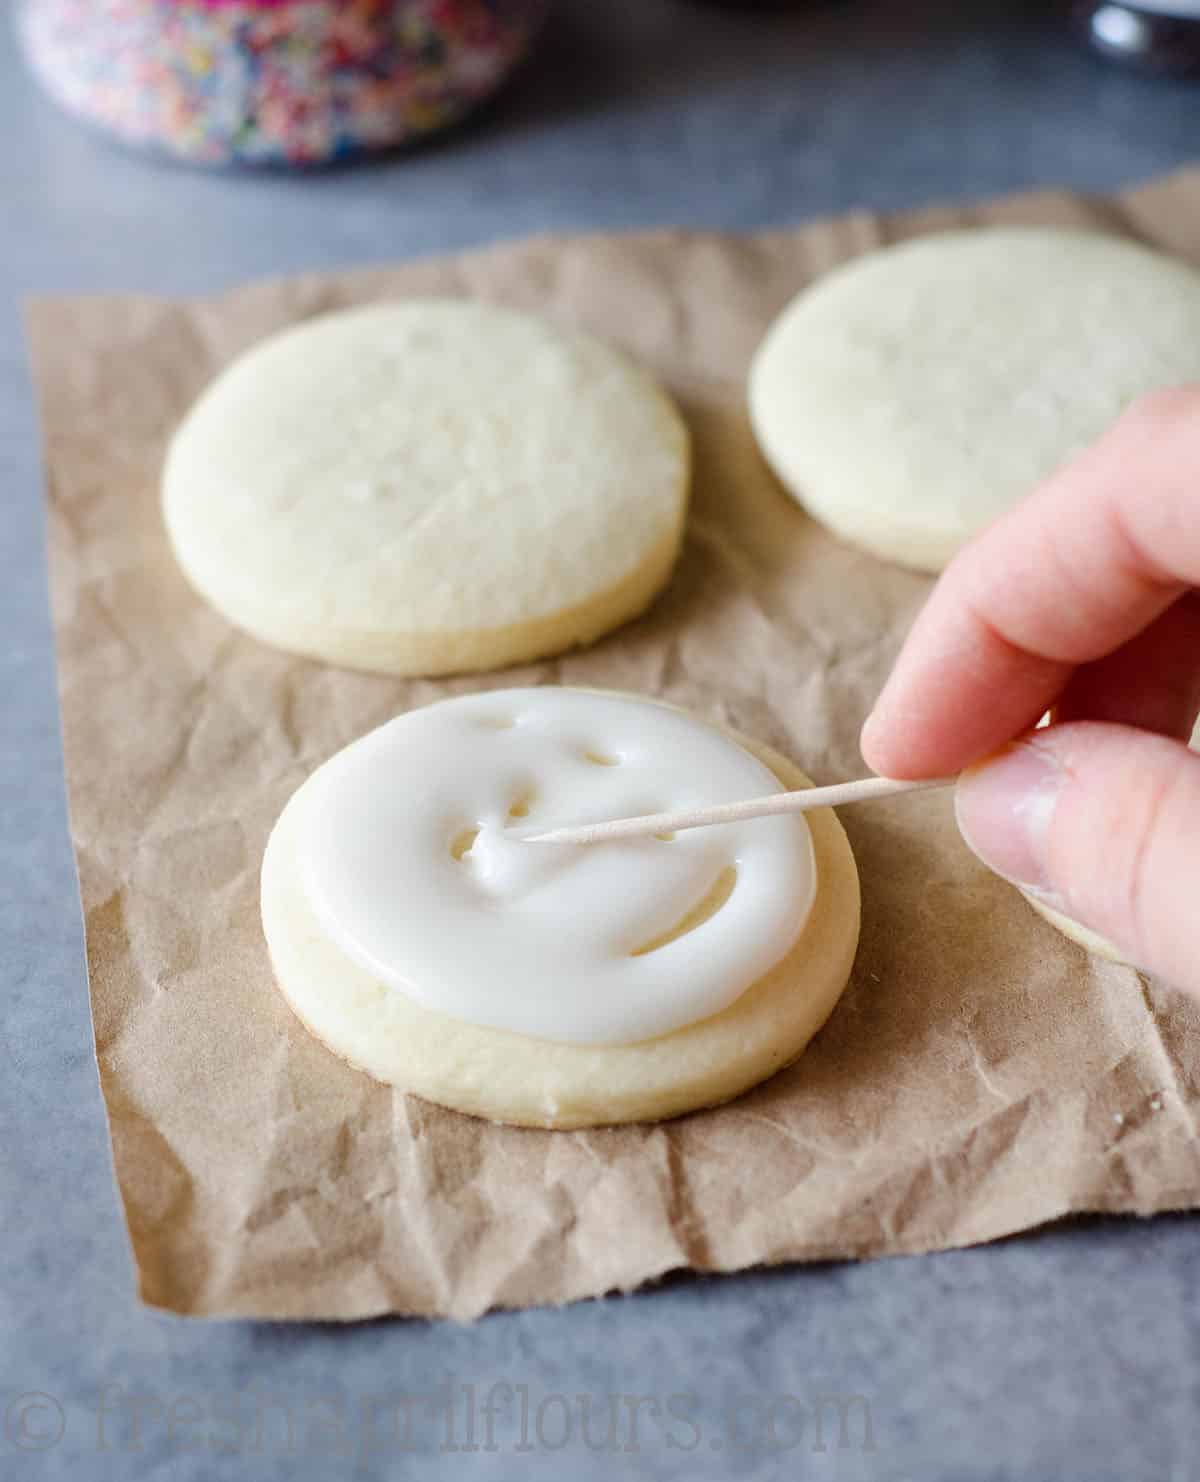
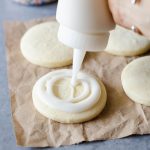
Fill a piping bag, condiment squeeze bottle, or zip top bag with an end snipped off with cookie icing. Squeeze evenly over surface of cookie. If you would like to make an outline in a different color, make your line first, allow to harden a bit, and move onto this step.
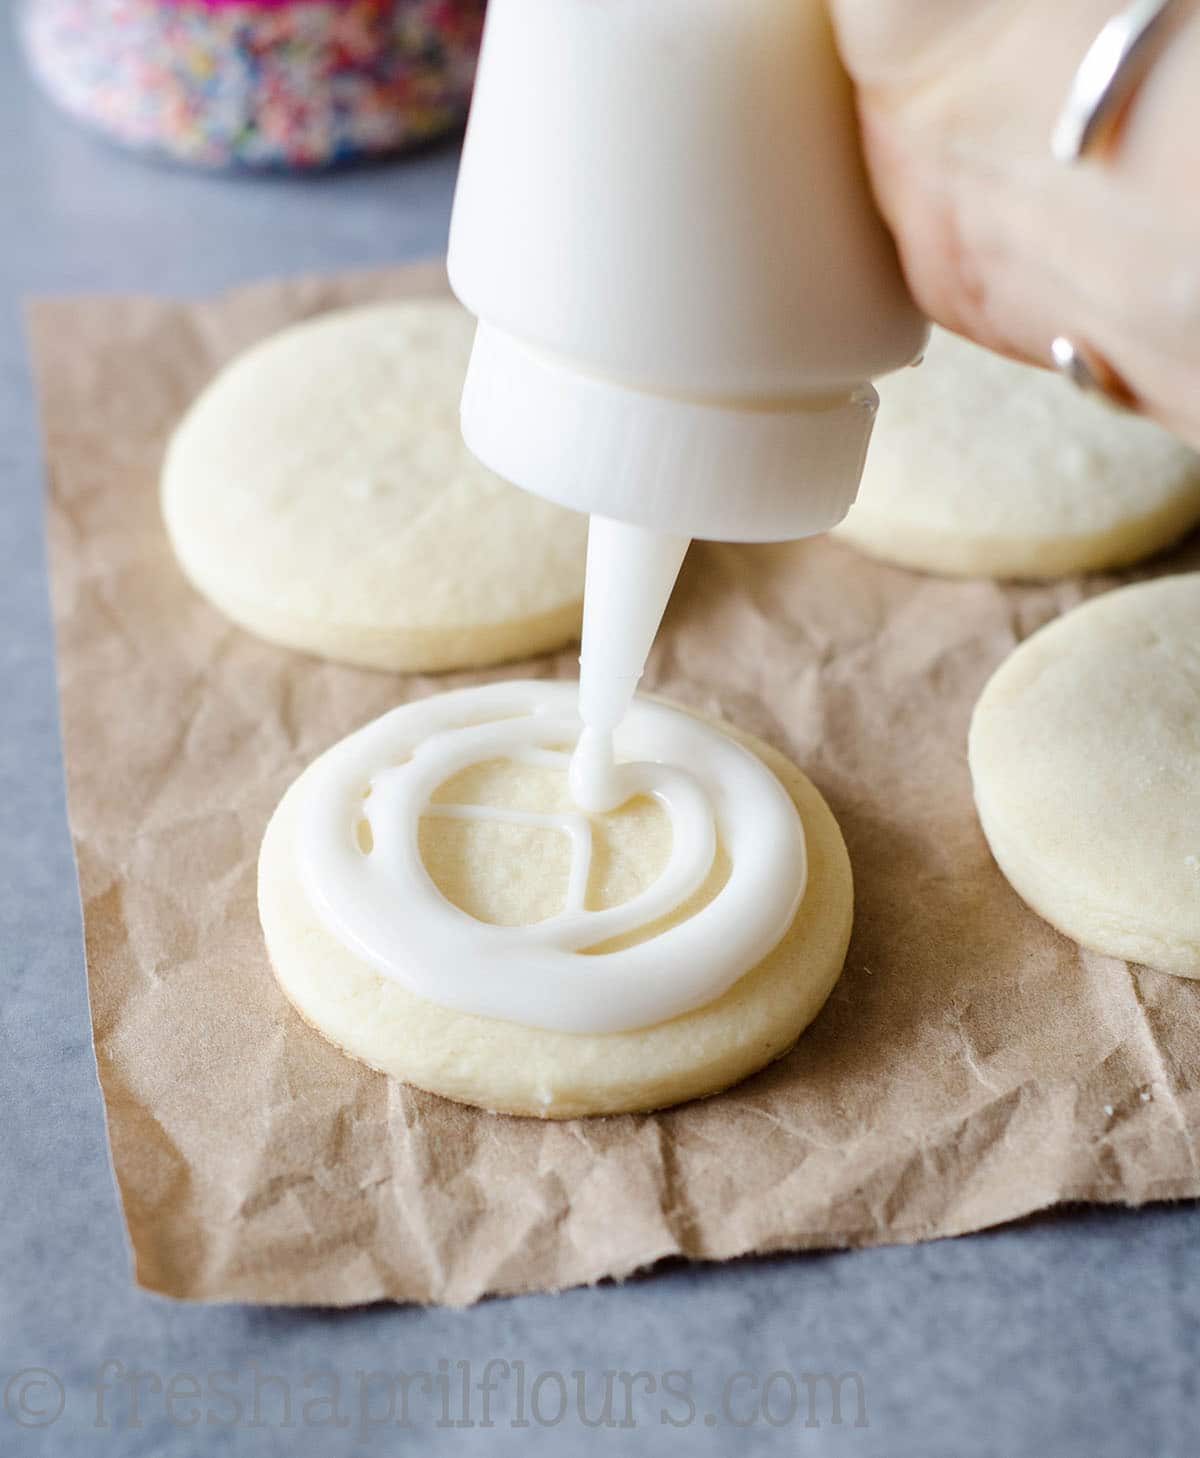
You have now “flooded” your cookie.
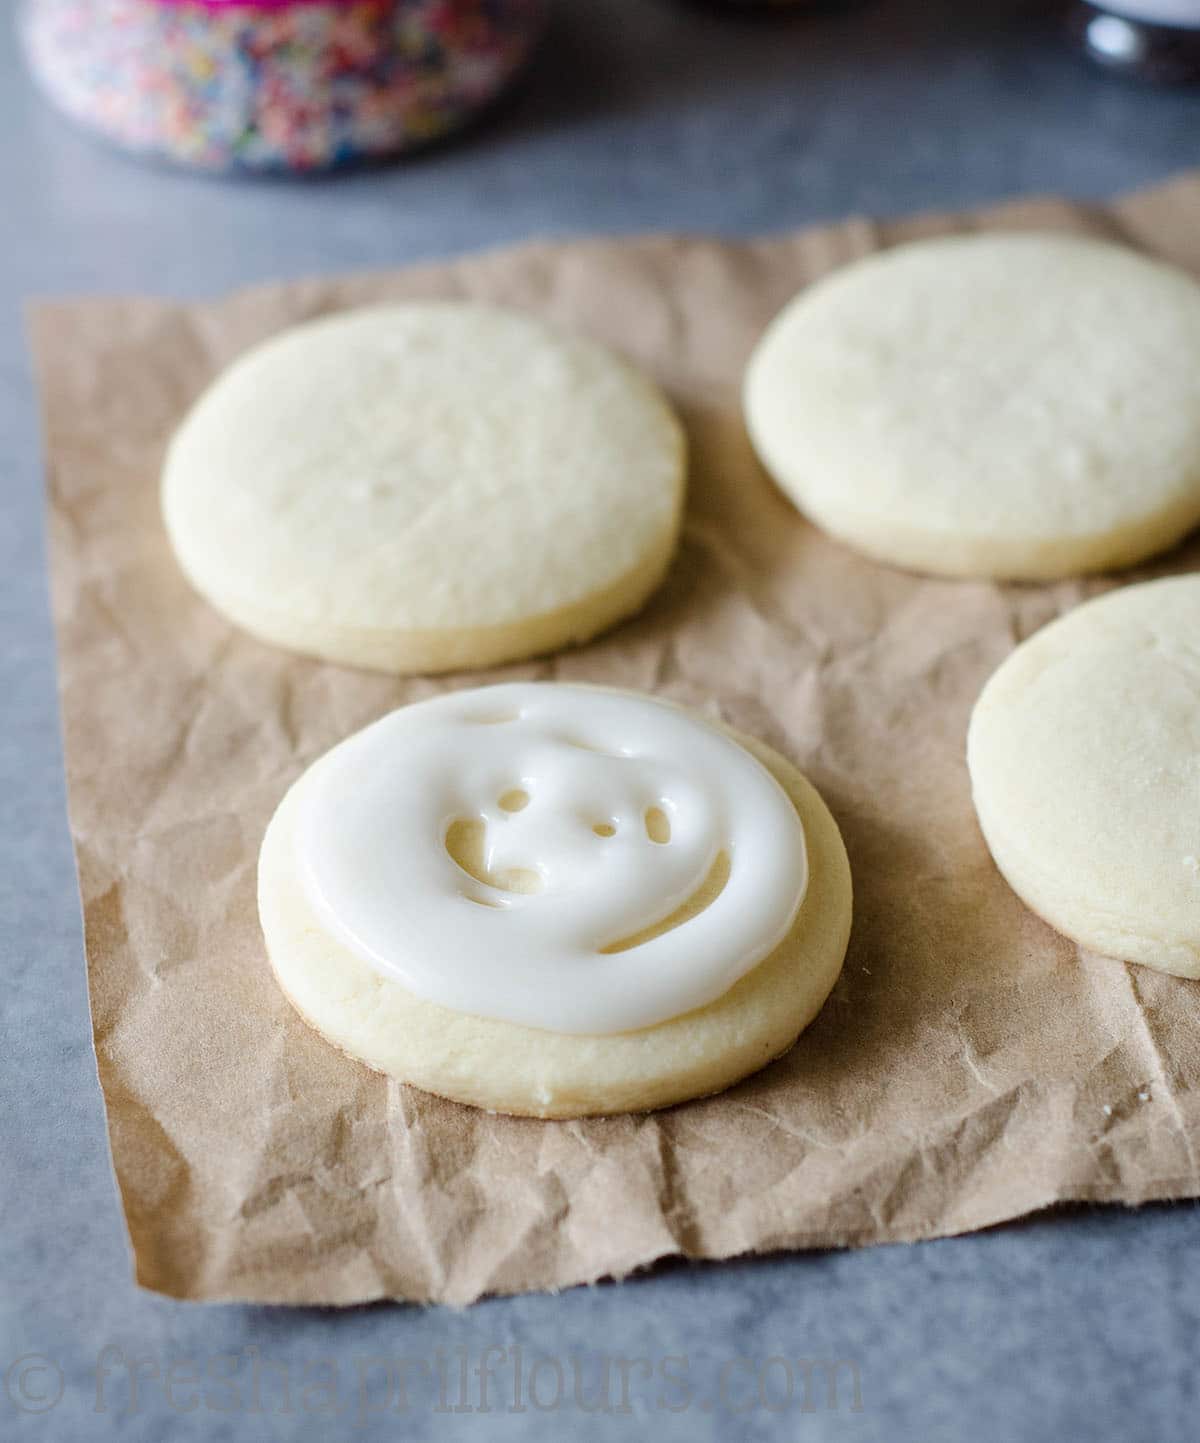
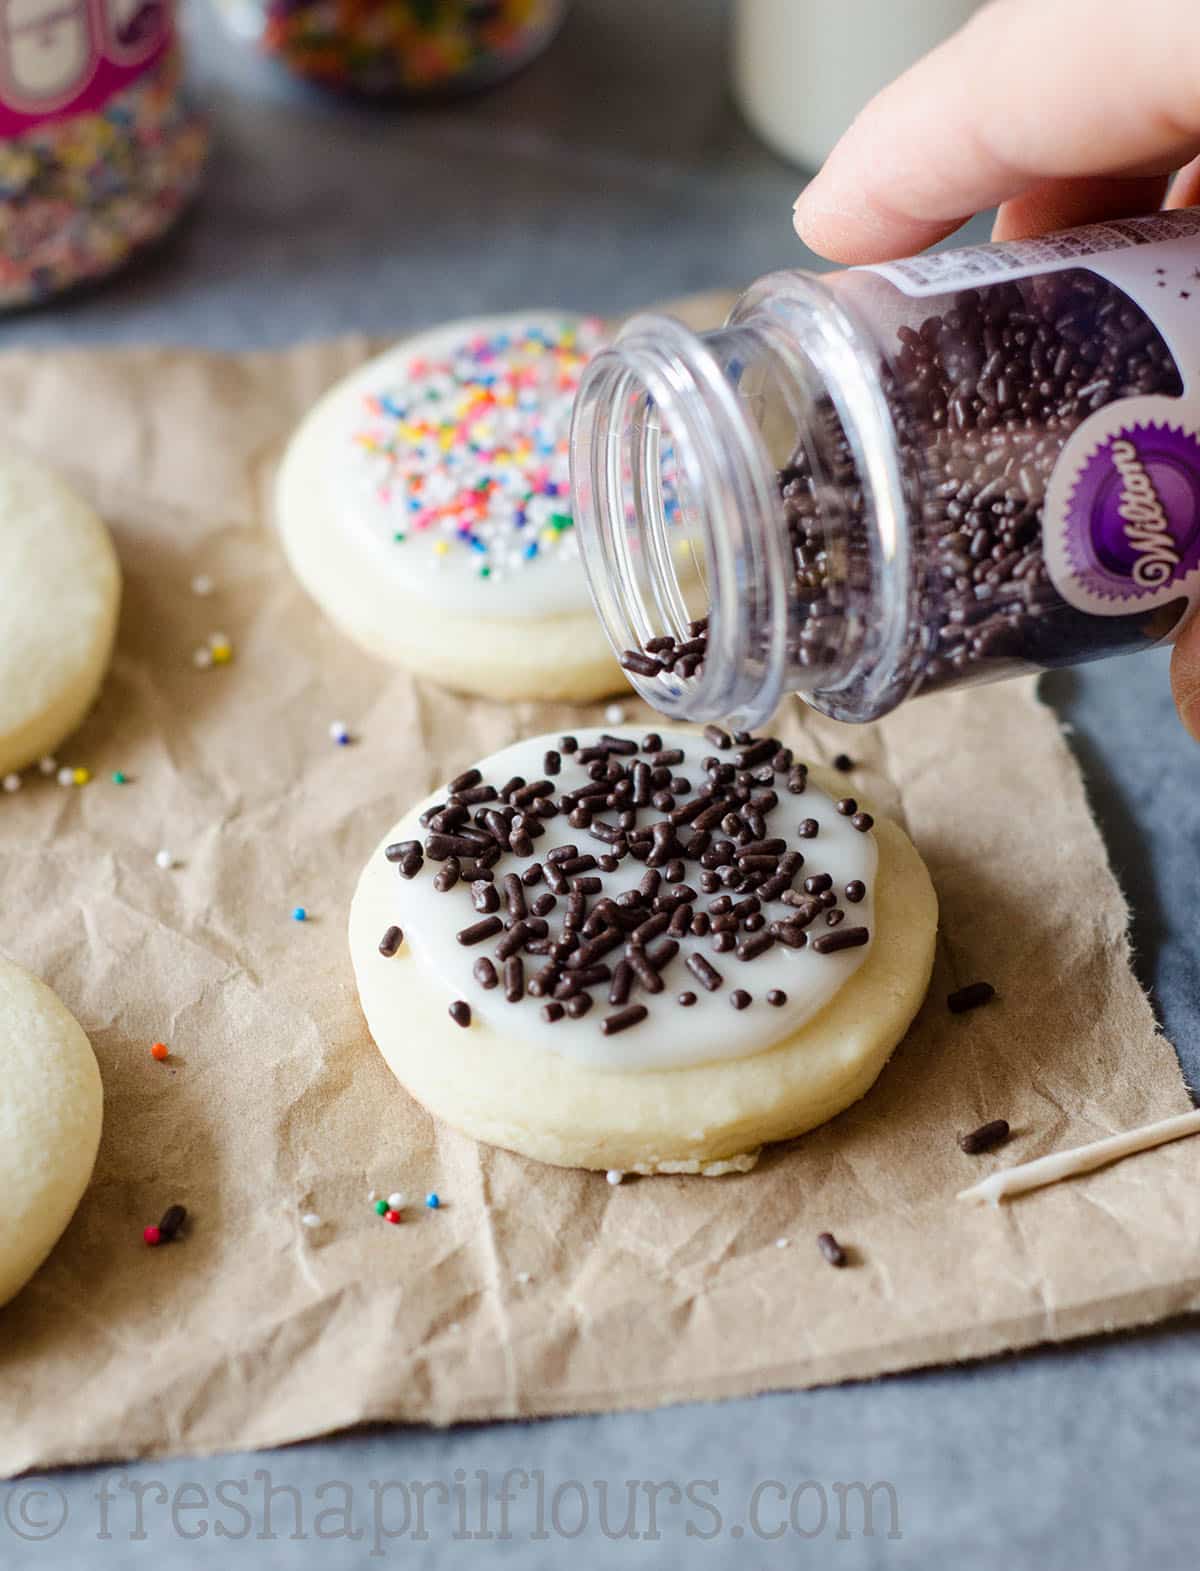
Using a toothpick or an offset spatula, spread liquid icing around to fill holes.
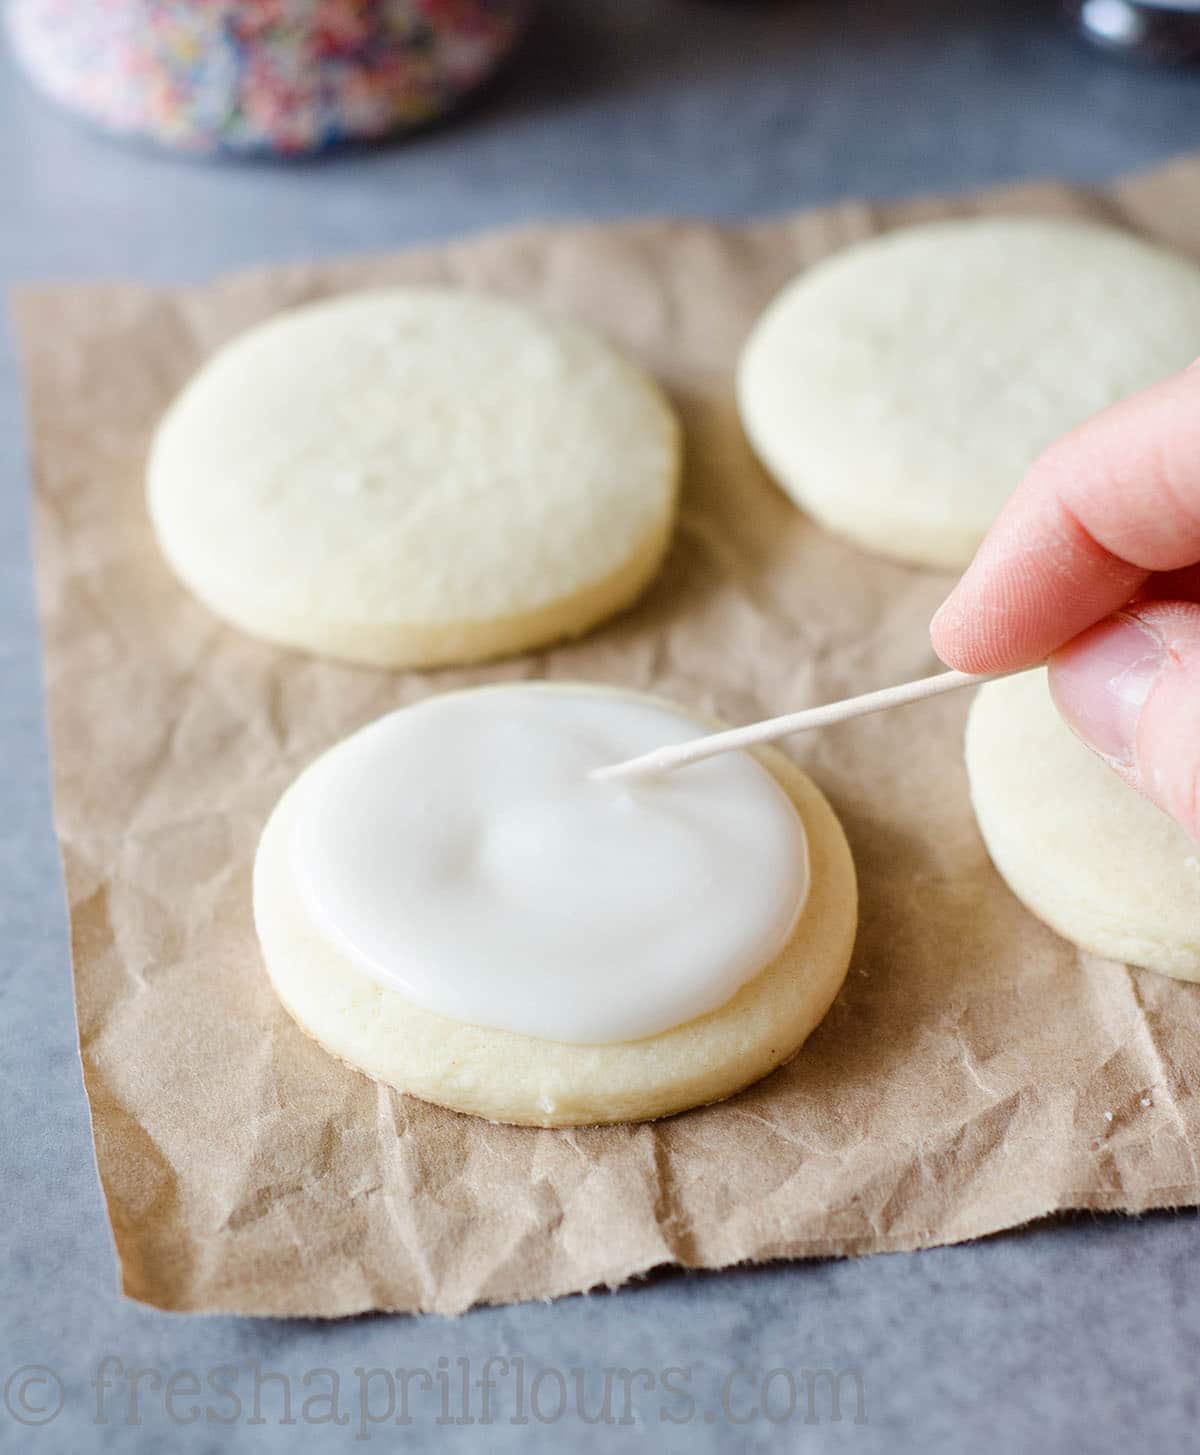
Once all of your holes are filled, carefully pick the cookie up and tap it on your work surface to make sure everything is distributed evenly and to get any air bubbles out.
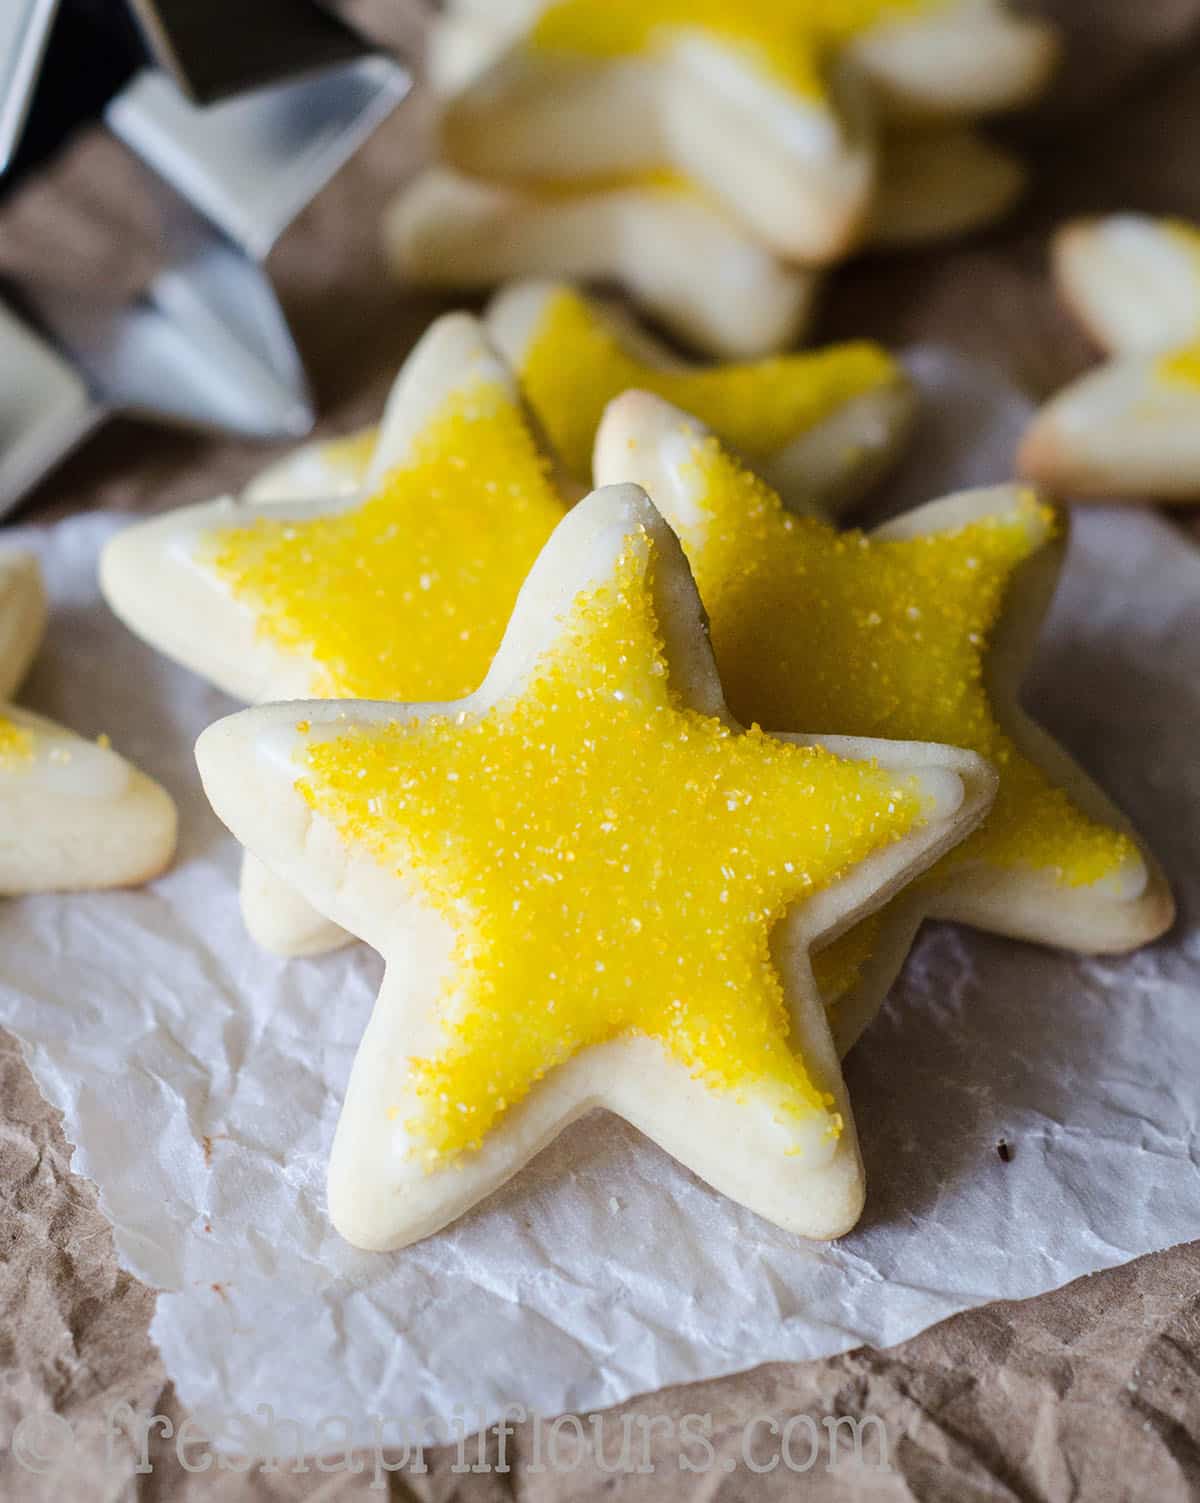
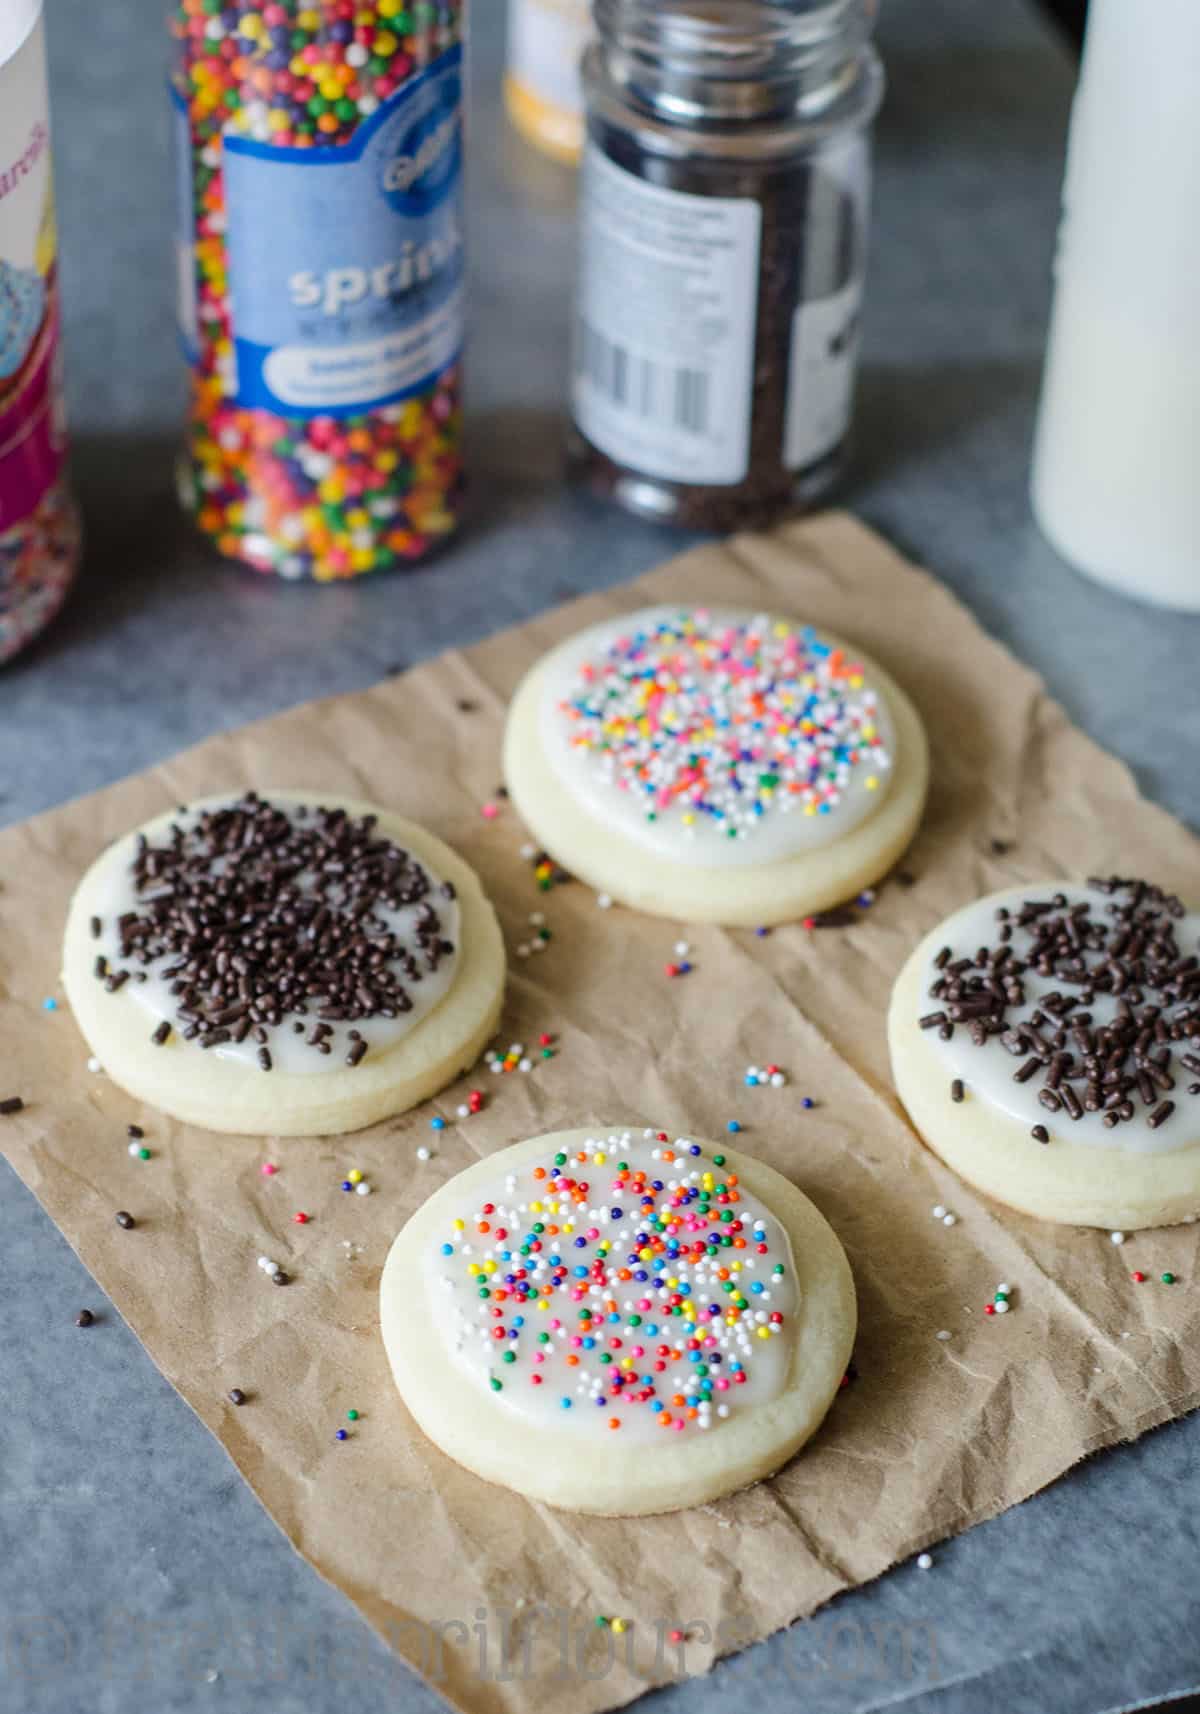
While icing is still wet, decorate with sprinkles, or simply leave plain.
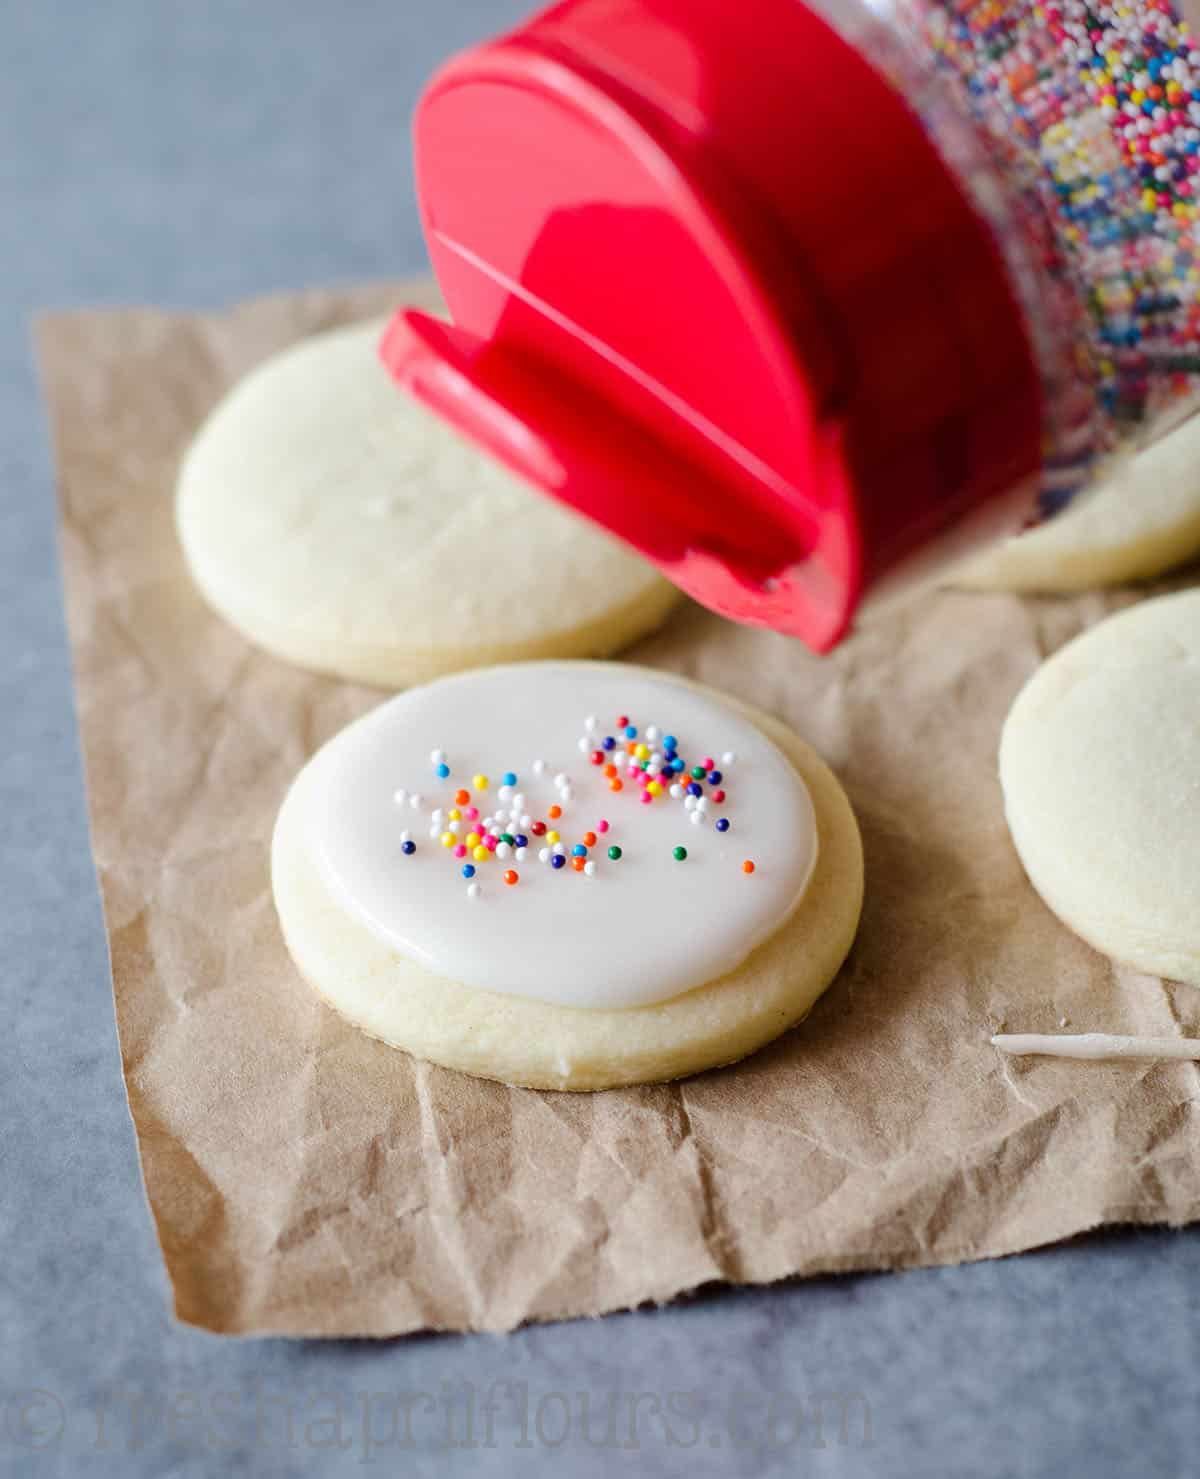
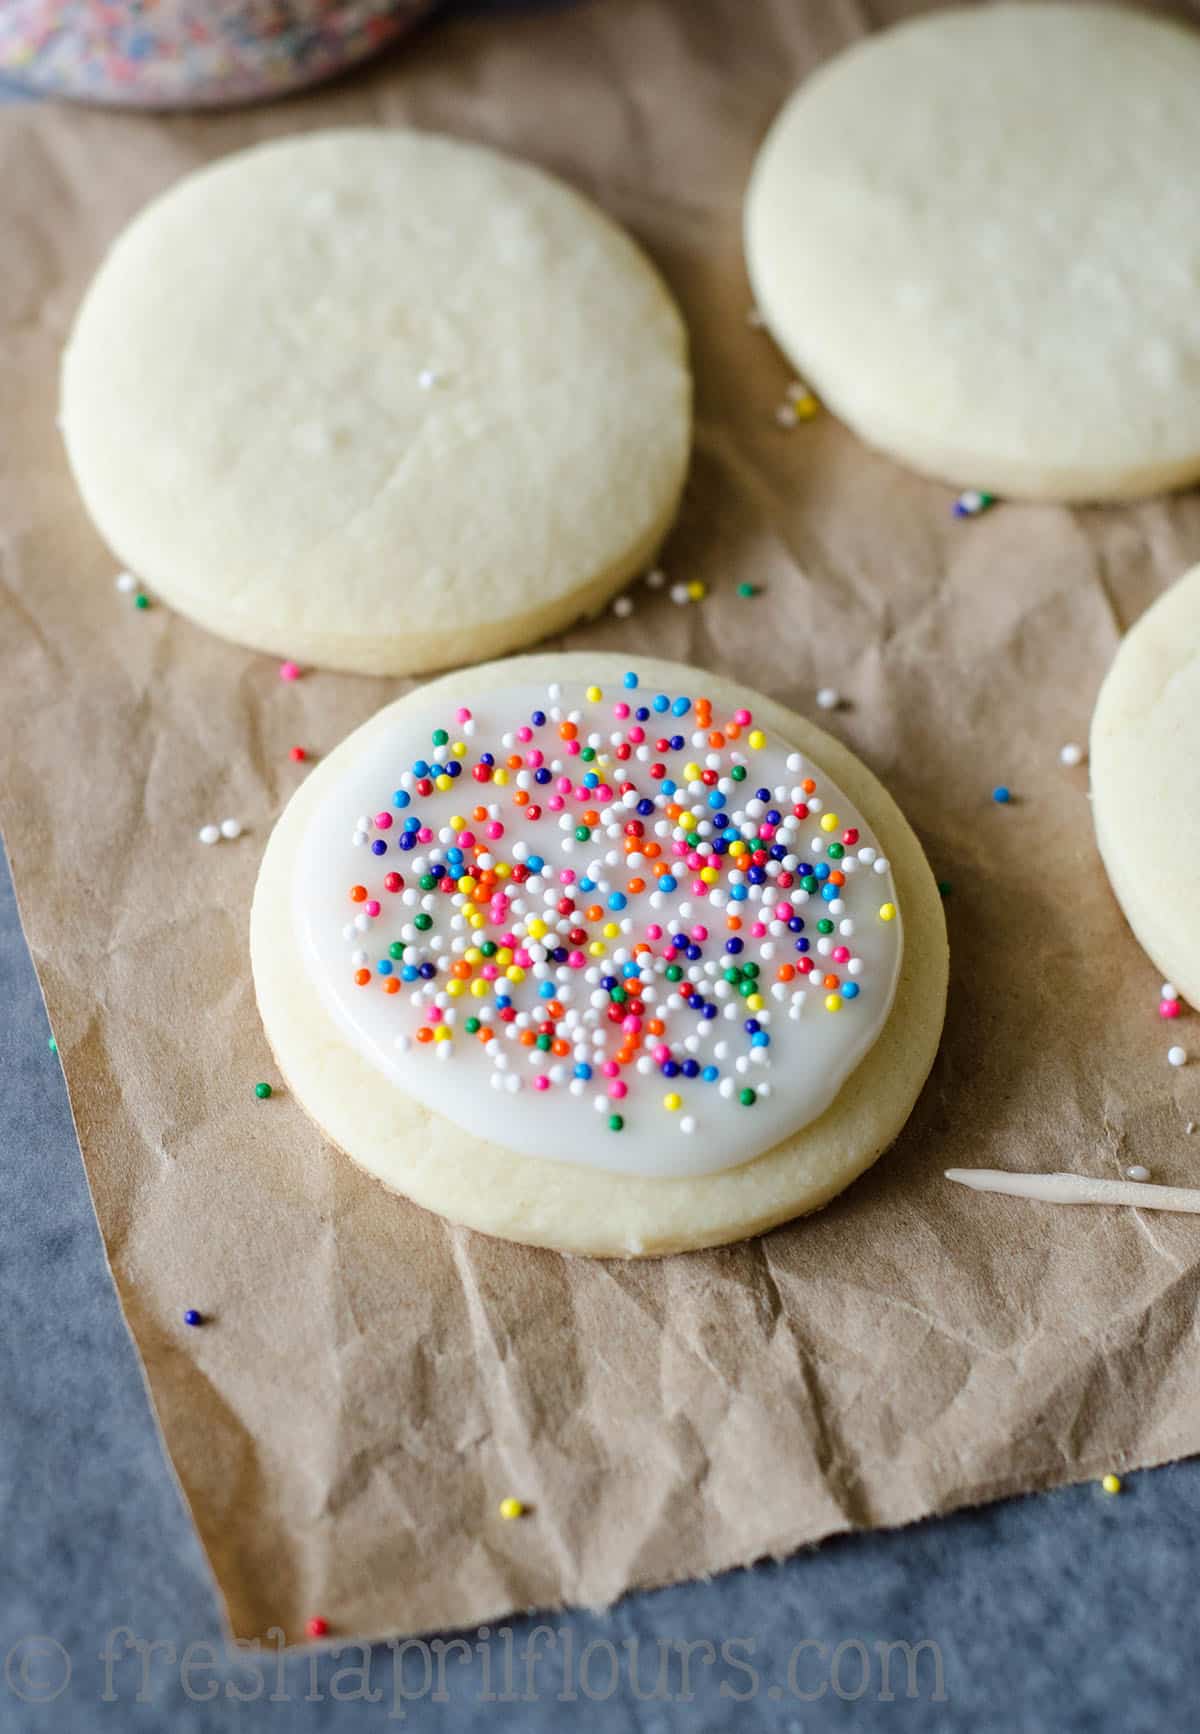
TA-DA!
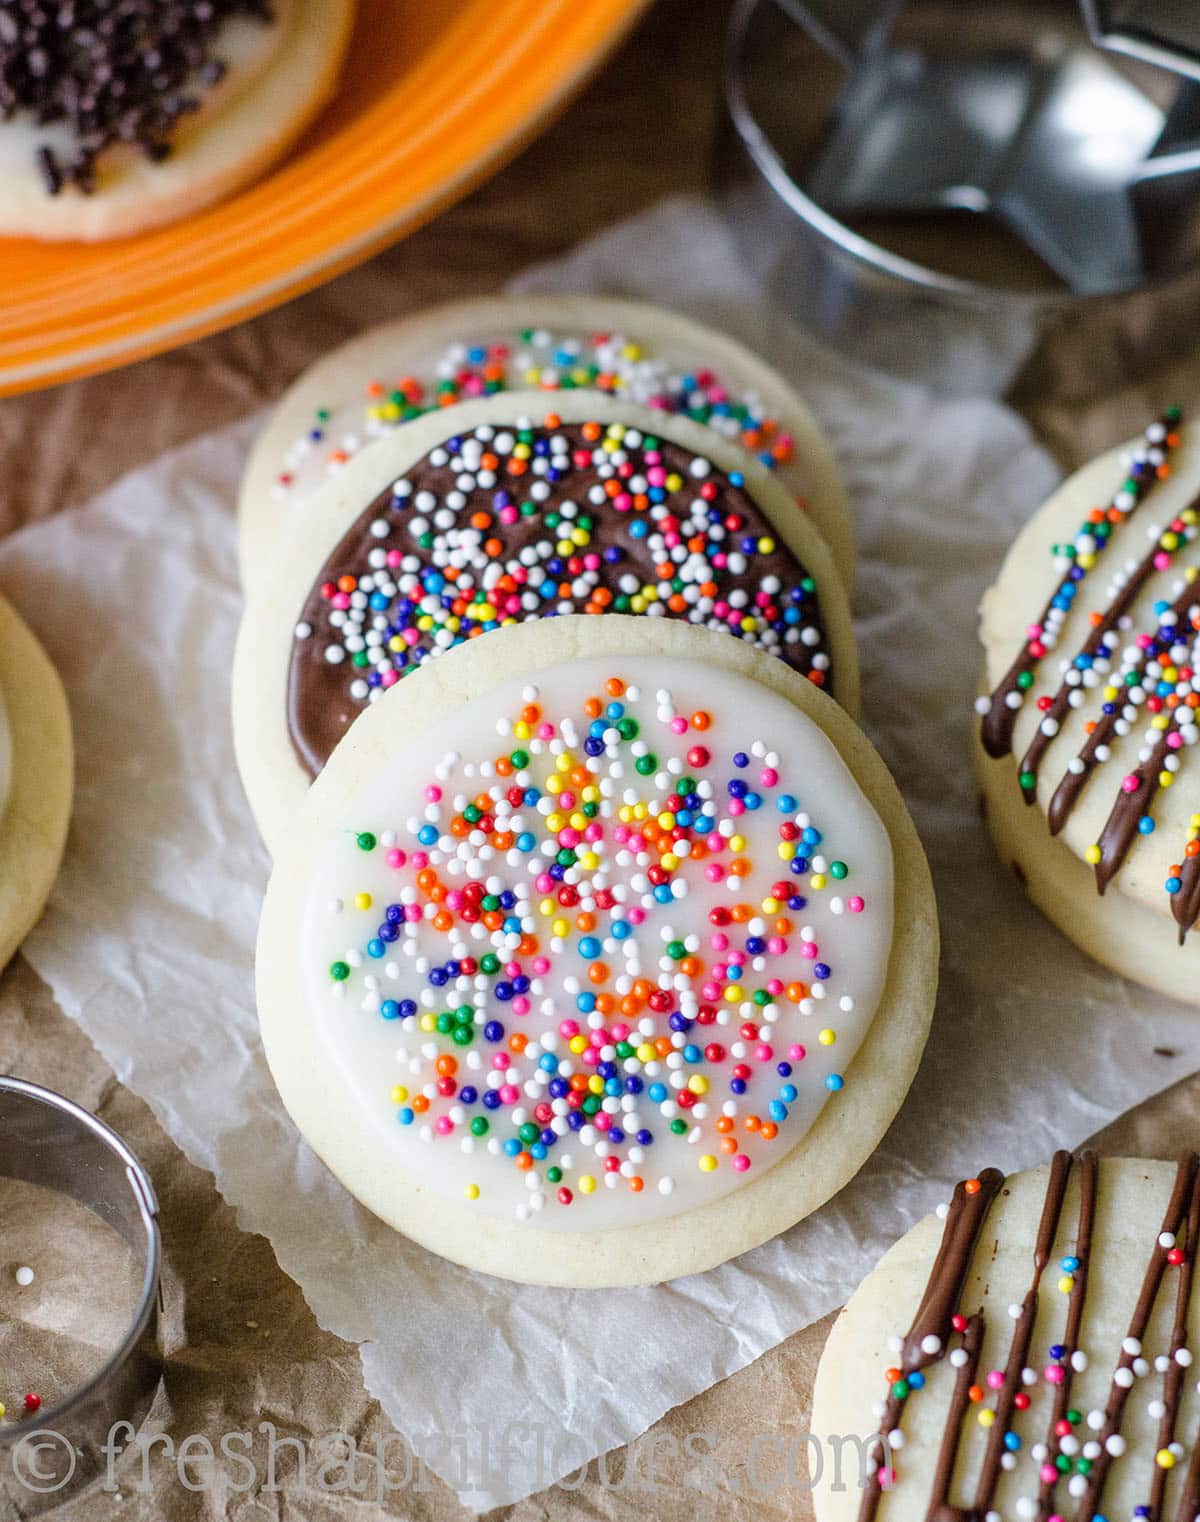
As far as decorating these cookies goes, they can be decorated however you like. This chewy sugar cookie recipe is ideal for pairing with a colored icing recipe, and I’ve included my favorite easy royal icing (with a video!) in the recipe.
I actually really love authentic royal icing, but it can be so finicky. Once I found a way to make easy royal icing without meringue powder, my life was forever changed! It’s perfect for gingerbread people and gingerbread houses.
You may color your icing, leave it white and decorate with sprinkles, or just simply dust your cookies with sprinkles before you bake them. The sprinkles will bake right into the tops of the cookies in the oven.
Or… Dip your sugar cookies in melted chocolate. Also a wonderful idea.
Sugar Cookie Cut Out Recipe tips
WHY IS MY CUT OUT SUGAR COOKIE DOUGH CRUMBLY?
If your cut-out cookie dough is crumbly, there’s a good chance your butter is not worked into the dough enough. Use your hands or a mixer to work the dough together a bit more.
WHAT IS THE BEST THICKNESS FOR CUT OUT SUGAR COOKIES?
I find that ¼” thickness for cut-out sugar cookies works best. In order to keep the dough thickness uniform through all of the cookies, I tape two ¼” dowels onto my surface and roll the dough between them. That way, my rolling pin is always rolling the dough ¼” thick.
HOW DO YOU KEEP SUGAR COOKIE CUTOUTS FROM SPREADING?
Keeping cut-outs from spreading can be tricky if your kitchen is especially warm, but this recipe is written to create edges that do not spread very much at all. If you are having trouble, you can always cut out the dough and chill the baking sheet in the refrigerator for a bit to stiffen up the butter.
If you are still having trouble, you can always use the cookie cutter to “stamp out” baked cookies after they come out of the oven. I almost never have to use this method, but I also prefer to make cut-out sugar cookies in cooler weather for this reason, too.
Other versions of this Sugar Cookie Cut Out Recipe
This is typically my standard Christmas sugar cookie recipe, but because I think it’s really important as a baker to have a recipe for sugar cookies as your go-to for all the holidays, here you can find all of the other versions of these buttery cut out sugar cookies so that you have a flavored cut out cookie recipe for any occasion!
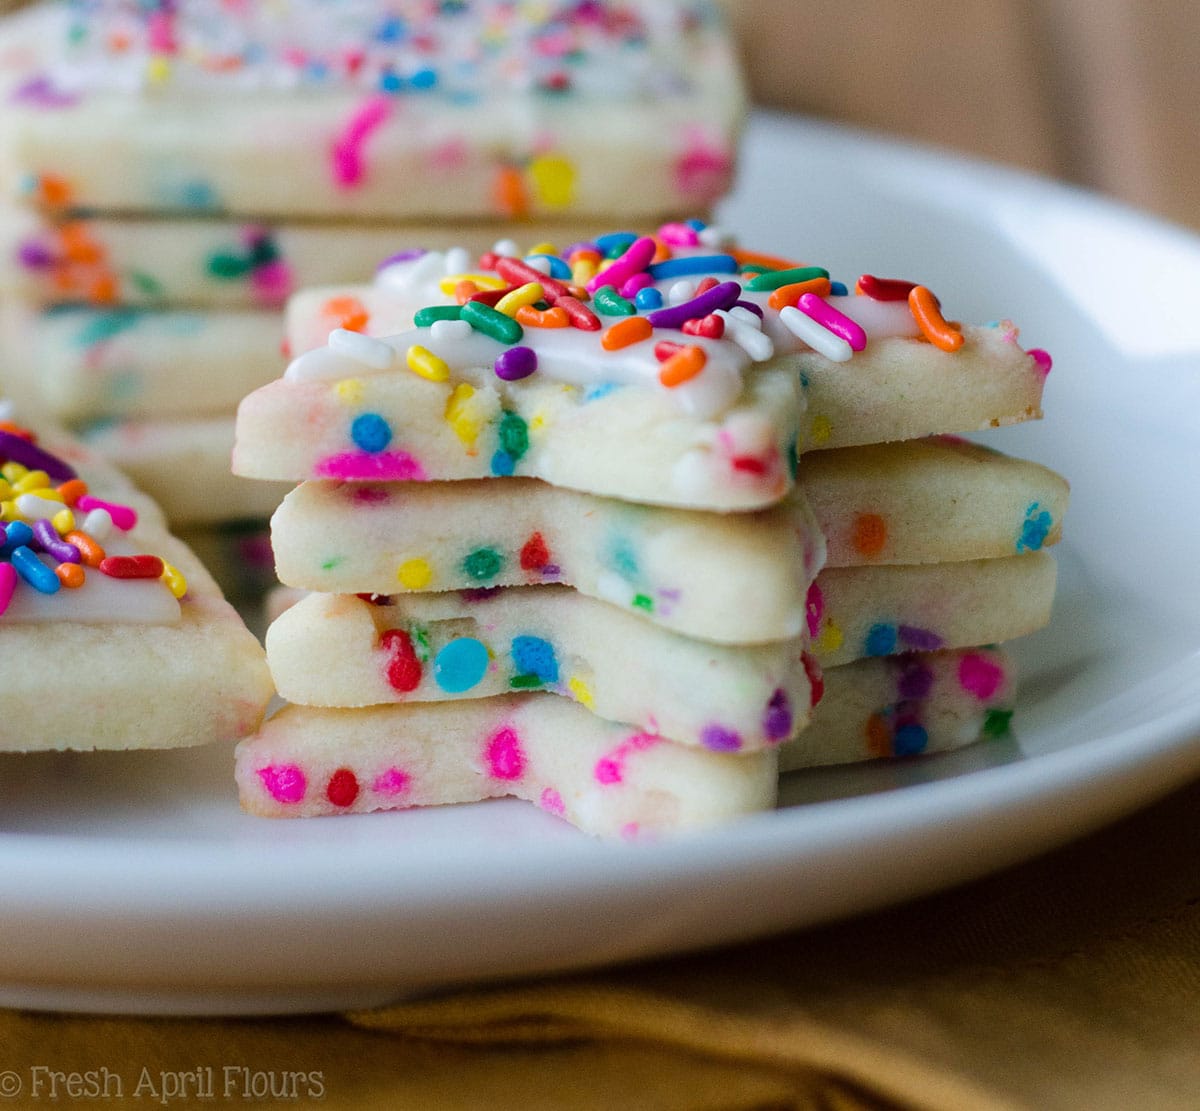
Funfetti cut-out sugar cookies for any party
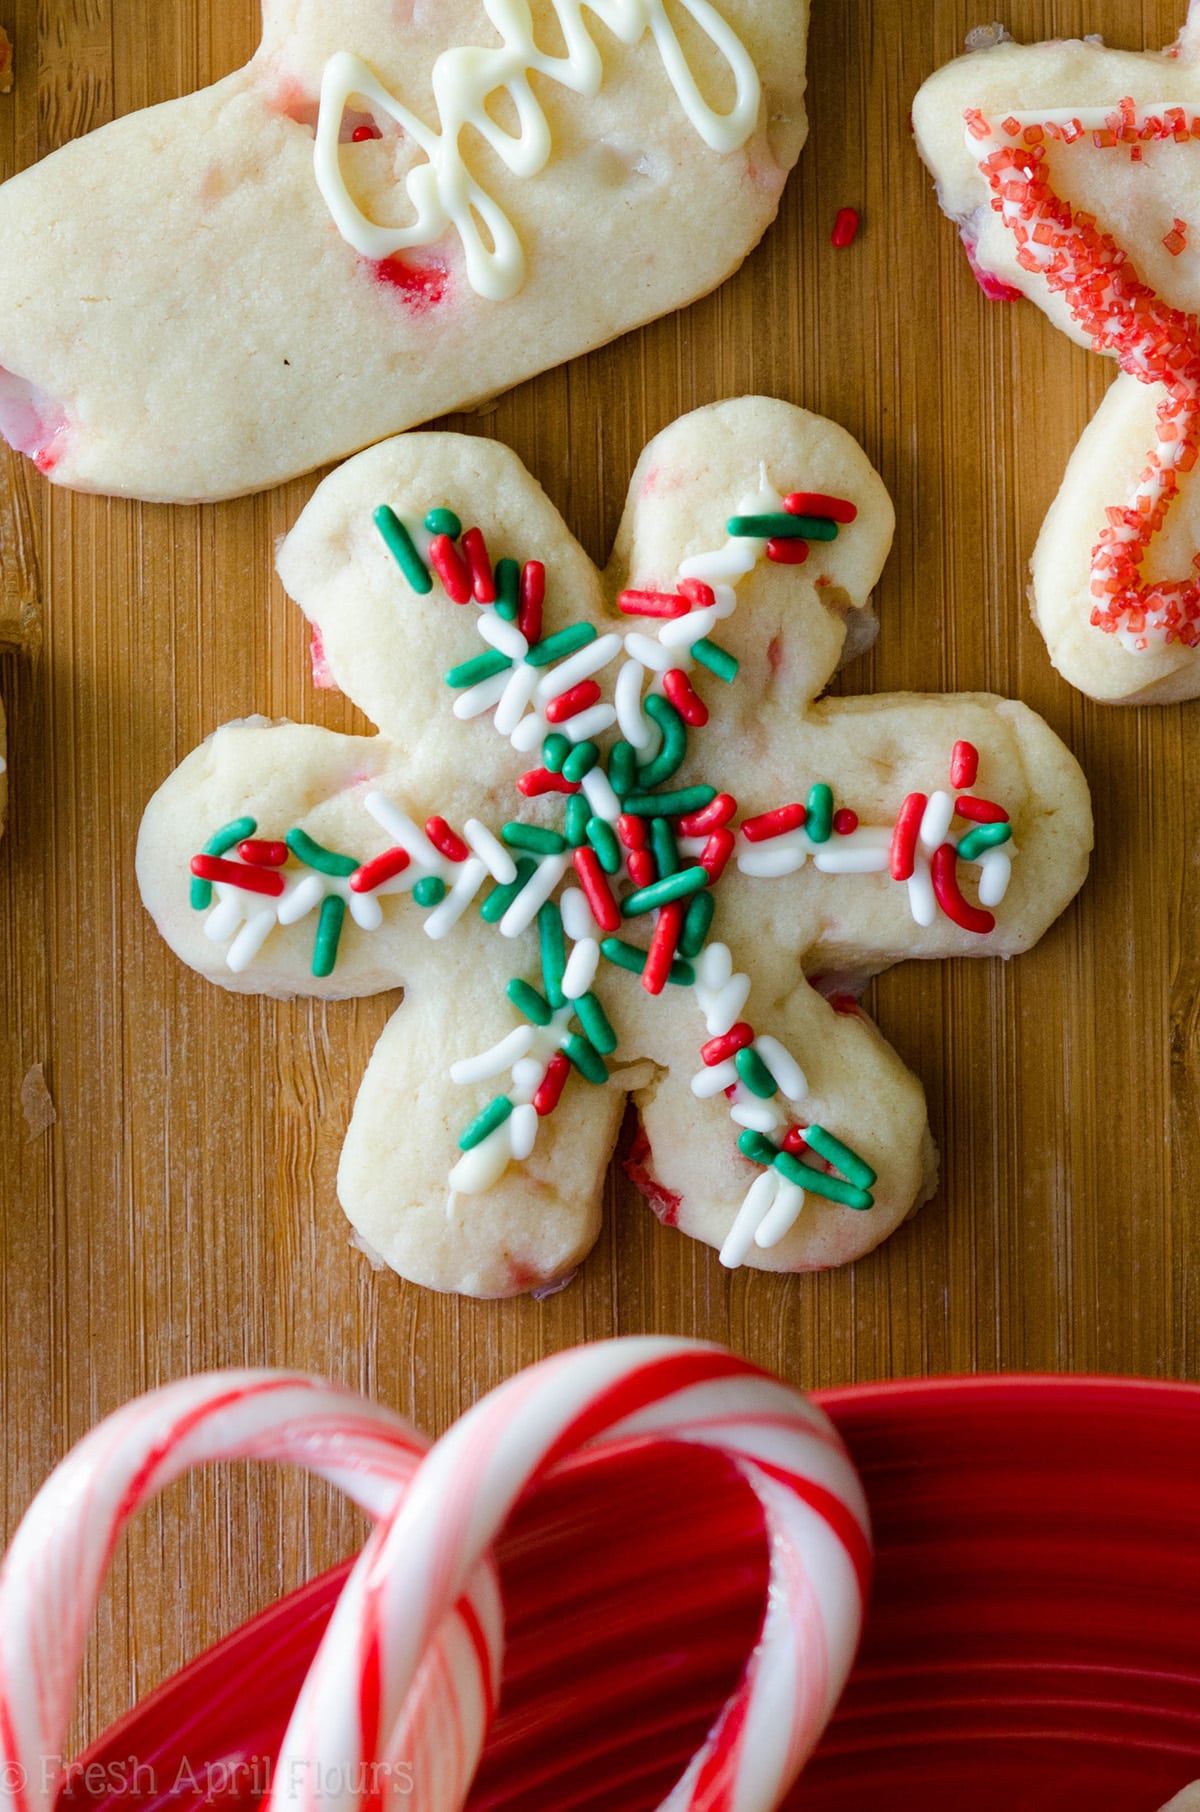
Peppermint cut-out sugar cookies to make Christmas sugar cookies
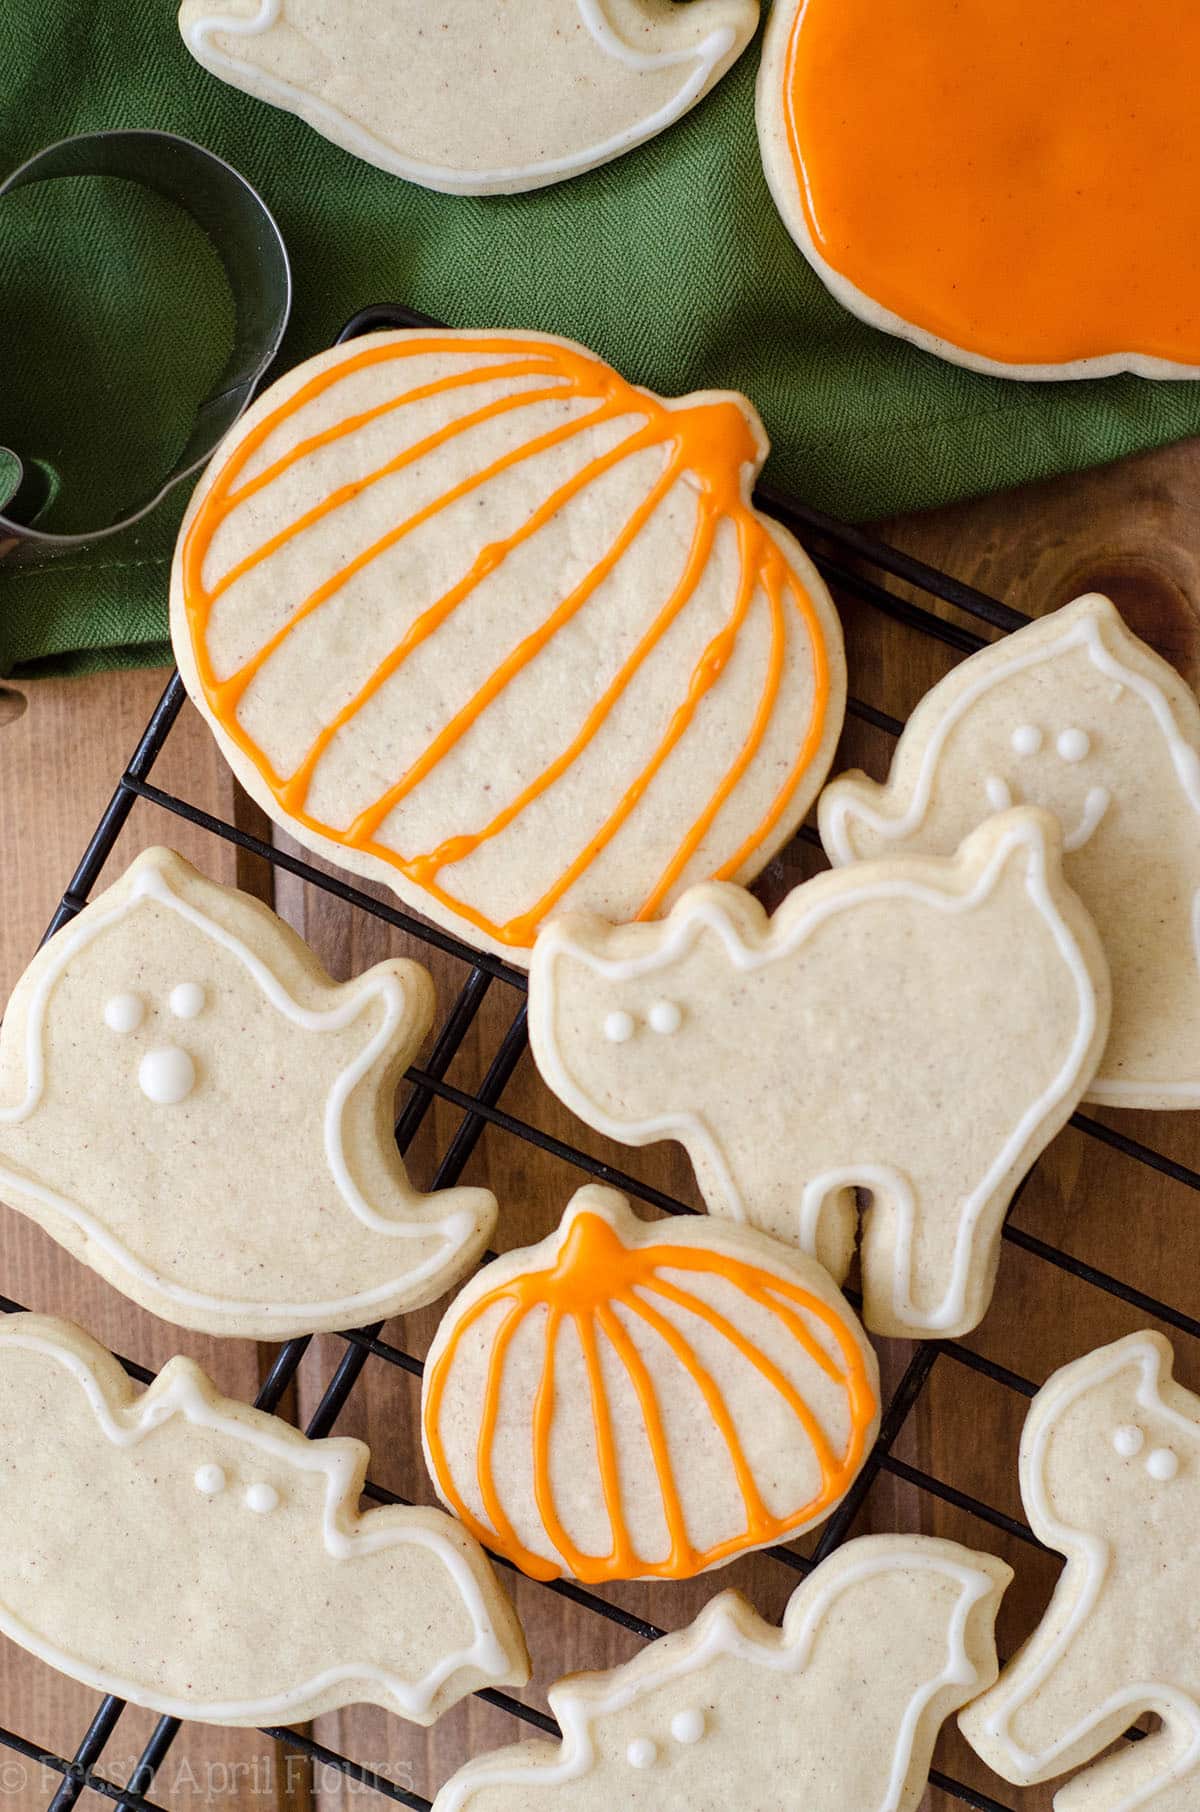
Pumpkin spice cut-out sugar cookies for Halloween and fall
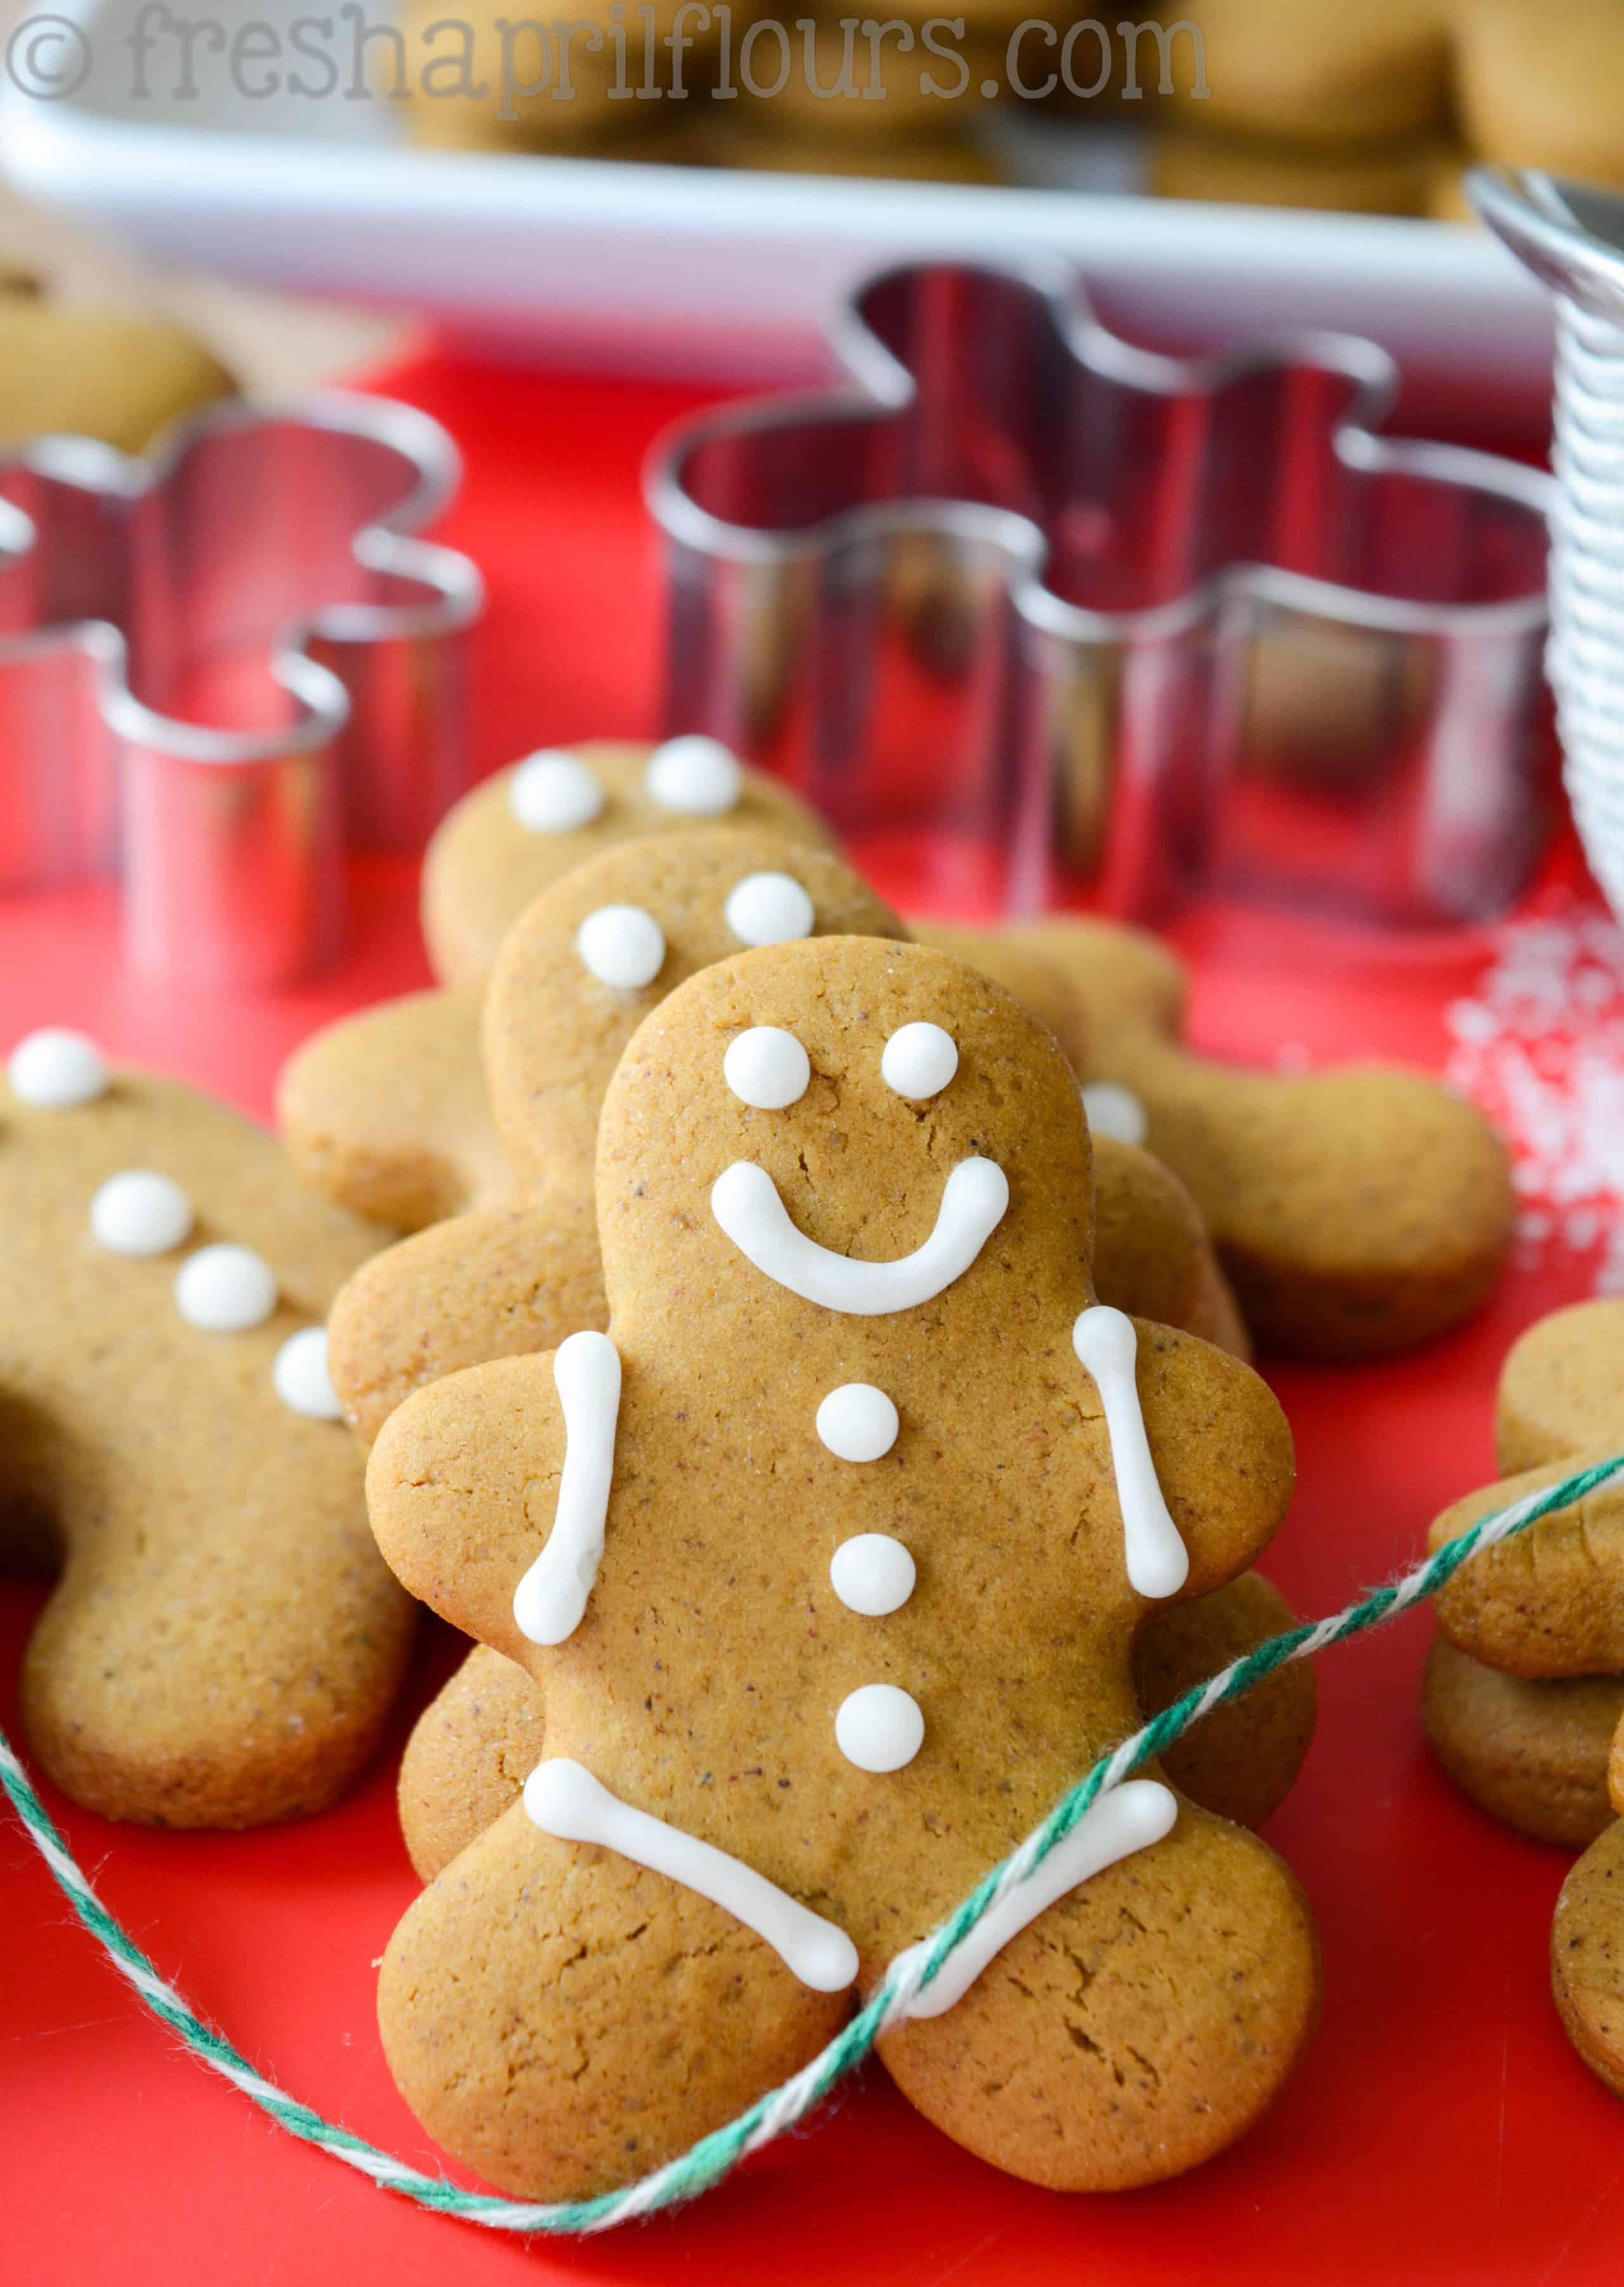
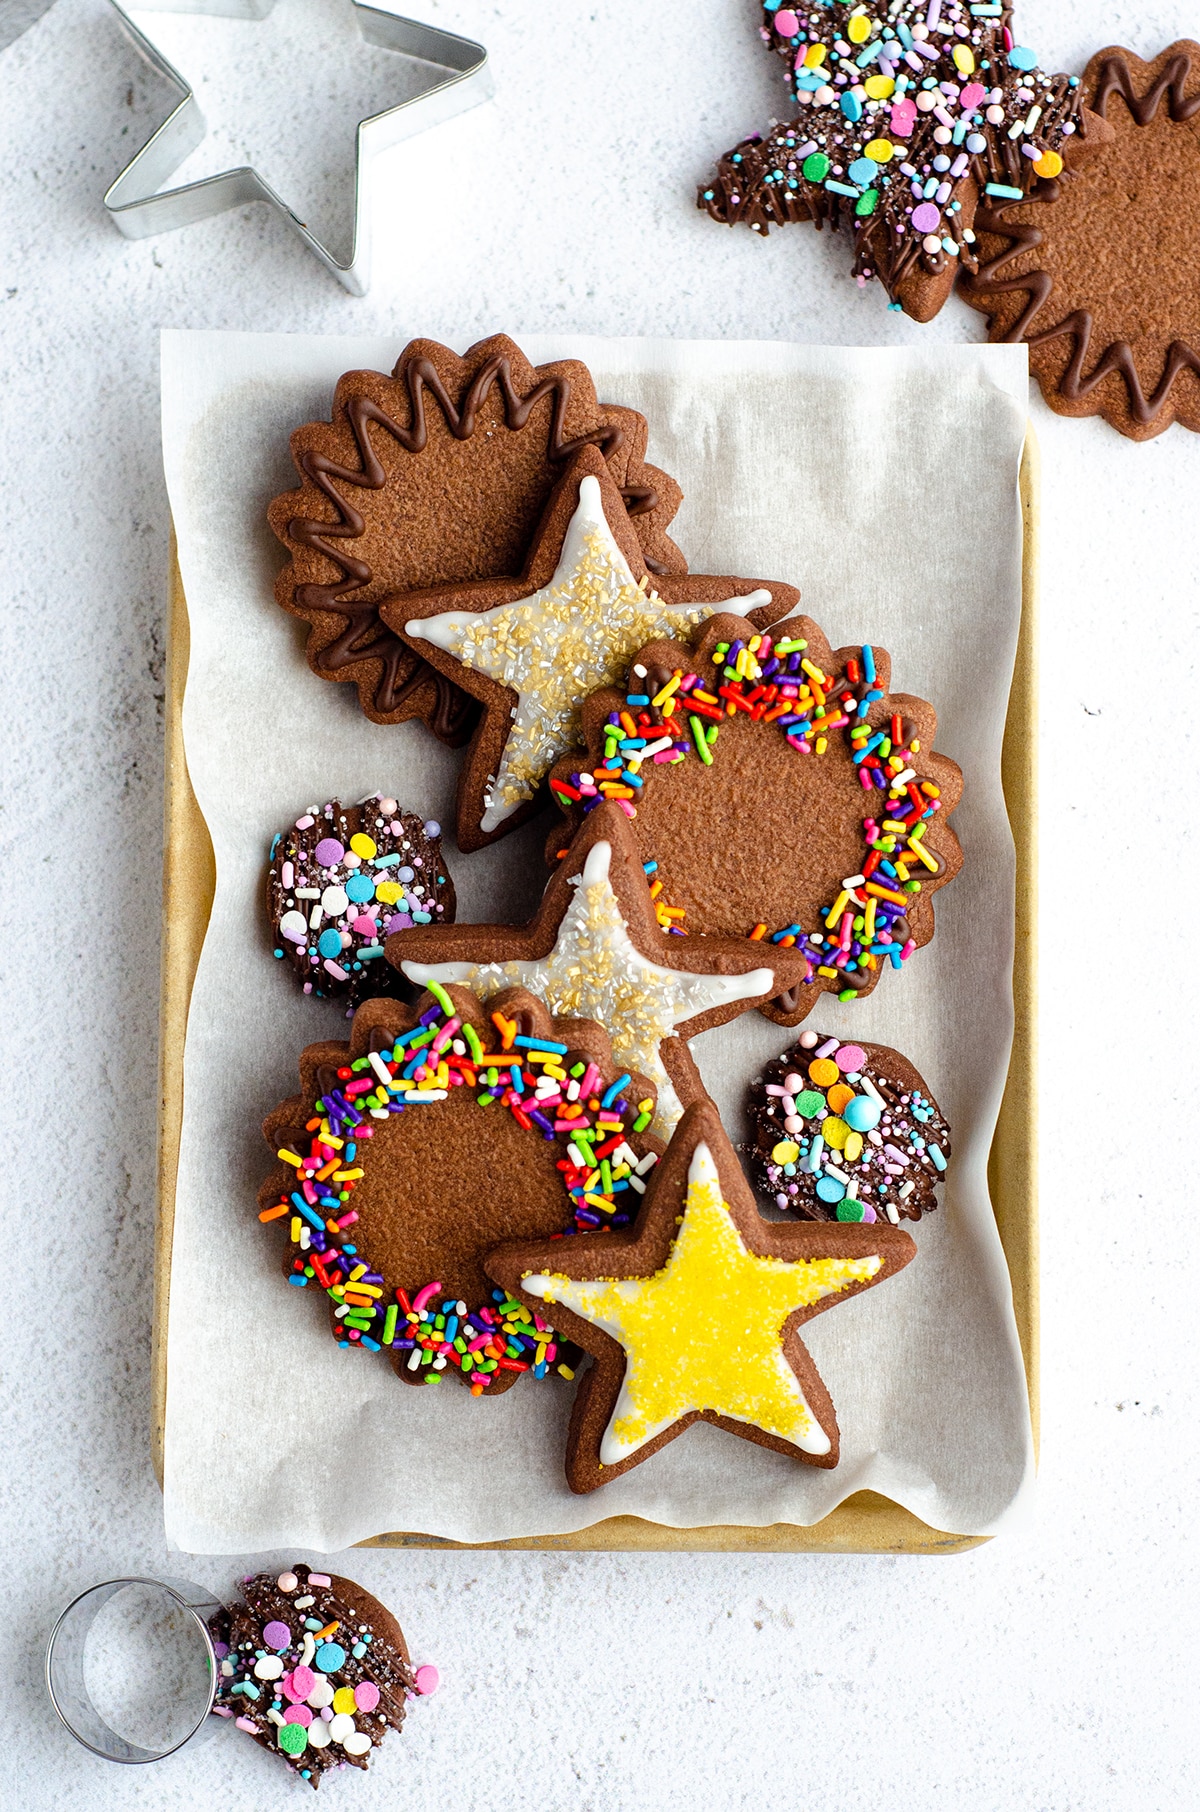
See my spiced gingerbread cut-out cookies and chocolate cut-out sugar cookies for some sugar cookie variations.
And, just for good measure, if you’re looking for the best sugar cookie recipe that isn’t a cut-out, definitely check out my vanilla bean sugar cookies next. They’re like soft sugar cookie pillows.
Favorite ways to serve Easy Cut Out Sugar Cookies
This is my favorite recipe to use for Christmas cookies as well as cookies for my kids’ birthday parties. I have used this recipe to make cookies as favors as well as for cookie decorating parties. Decorate them with my included easy royal icing recipe, vanilla buttercream, or chocolate buttercream. You can decorate them with sprinkles, too!
How to store Cut Out Sugar Cookies
HOW LONG DO CUT OUT SUGAR COOKIES STAY FRESH?
These sugar cookies will stay fresh at room temperature for about a week. They freeze really well, too, up to 3 months.
Sugar Cookie Recipe Cut Out FAQs
Easy Sugar Cookie Cut Out Recipe
Ingredients
CUT-OUT SUGAR COOKIES
- 2 and ½ to 3 cups (300-360g) all-purpose flour1 be sure to measure properly
- 2 teaspoons baking powder
- 1 teaspoon salt
- 1 large egg room temperature2
- 1 teaspoon vanilla extract3
- 2 teaspoons almond extract3
- 1 cup (227g) unsalted butter softened to room temperature
- 1 and ¾ cup (210g) powdered sugar
COOKIE ICING
- 2 Tablespoons (30mL) warm water
- ½ Tablespoon (10g) light corn syrup
- ⅛ teaspoon vanilla or almond extract
- 1 and ½ cups (180g) powdered sugar
Instructions
CUT-OUT SUGAR COOKIES
- In a medium sized bowl, toss together 2 and ½ cups of flour, baking powder, and salt. Set aside.2 and ½ to 3 cups (300-360g) all-purpose flour1, 2 teaspoons baking powder, 1 teaspoon salt
- In a measuring cup or small bowl with a spout, beat the egg and flavoring/extract of your choosing. Set aside.1 large egg, 1 teaspoon vanilla extract3, 2 teaspoons almond extract3
- In a large bowl with a hand mixer or the bowl of a stand mixer with the paddle attachment, cream together butter and powdered sugar until light and fluffy, about 3 minutes. Add egg mixture to creamed butter and sugar and beat on high until completely incorporated, scraping down sides as necessary.1 cup (227g) unsalted butter, 1 and ¾ cup (210g) powdered sugar
- With mixer on low, add flour mixture to wet ingredients little by little, allowing dough to come together after each addition. After you have added all 2 and ½ cups of flour (plus baking powder and salt) to the bowl, most of the dough should stick to your beaters or paddle.
- Test dough consistency by touching it with your fingers. It should be slightly tacky, but not sticky. It should remind you of Play-Doh. If it is too sticky, add ¼ cup of flour at a time until you reach 3 total cups of flour (two additions). Occasionally, I will need a tad more flour, but do not exceed 3 cups + 2 Tablespoons flour. Too much flour yields denser cookies, and we want these to stay soft.
- When your dough is the right consistency, gather it into a ball and allow it to rest for 10 minutes. While it is resting, preheat your oven to 400ºF (204ºC). Line two large baking sheets with parchment paper or silicone baking mats. Set aside.
- Prepare your rolling surface by dusting it lightly with powdered sugar. If you would like, use two wooden dowels, sized at ¼" thickness, on either side of your dough while rolling it out to keep cookies a uniform thickness.
- When your dough is ready to roll, break off a workable size of dough. I usually break it into 4 pieces. Roll dough with a powdered sugared rolling pin and cut into desired shapes with cookie cutters. I like to dip my cookie cutter into powdered sugar every few cuts to keep my cookie edges clean.
- Transfer cut dough onto baking sheets. It is best to keep cookies that are the same size and shape together on baking sheets so as to uniformly bake all of your cookies. Re-roll and cut dough as needed until all of the dough is used up. At this point, you may decorate cut cookies with sprinkles or just leave them plain and decorate them with icing later.
- Bake cookies for 4-6 minutes. My medium circles (2") take 6 minutes. Stars take 5 minutes. Mini circles (1") take 4 minutes. Bake until cookies are slightly puffed and are no longer shiny. Edges may start to brown, and that's ok, just work quickly to remove them from the oven. I prefer to remove mine before they start to brown. Allow cookies to rest on baking sheet for 2 minutes before transferring to wire rack to cool completely. I prefer to decorate day-old cookies, as they are sturdier, but this is personal preference and only a suggestion. Undecorated cookies freeze extremely well (I actually like to eat them frozen!), up to 3 months. Do not freeze decorated cookies. Thaw overnight before decorating previously frozen cookies.
COOKIE ICING*
- When you’re ready to decorate your cookies, place powdered sugar in a medium bowl and set aside. In a small bowl, combine warm water, light corn syrup, and extract. Stir until corn syrup is dissolved.2 Tablespoons (30mL) warm water, ½ Tablespoon (10g) light corn syrup, ⅛ teaspoon vanilla or almond extract
- Add sugar water to powdered sugar and stir until completely combined. Mixture will be thick. The consistency you’re looking for is a slowly dripping icing that disappears into the bowl within about 15 seconds. Add water by drop if you think it’s too thick. If it becomes too thin, add more powdered sugar by the teaspoon. Use immediately. If you need to wait to use your icing, cover tightly, and use within 1 day. You will need to stir it up again and possibly add more water before using. Cookies will stay fresh in an airtight container at room temperature well over a week.1 and ½ cups (180g) powdered sugar
Notes
- Flour: start with 2 and ½ cups of flour and work your way up to 3 cups as needed. Do not exceed 3 cups + 2 Tablespoons.
- Room temperature egg: this is preferred. It is always a good idea to use a room temperature egg when using room temperature butter, which allows for better incorporation into dough.
- Flavoring: you may use any flavoring you like. Total flavoring 2-3 teaspoons depending on your preference.
Nutrition Disclosure
All nutritional values are approximate and provided to the reader as a courtesy. Changing ingredients and/or quantities will alter the estimated nutritional calculations.
Hi, I’m planning on making this recipe this week! I’m just wondering wether I’m supposed to use the thick canned coconut milk or the thinner stuff from the carton? If someone could help me out I’d be really grateful, thank you!
Hey, Alisha– I’m a little confused. There’s no coconut milk in this recipe. Did you mean to make this comment on this recipe?
I followed the recipe so, so carefully, only adjusted the flavouring to one EA vanilla and almond, as 2tsp of almond would be too strong for my taste, but despite all the care and love and hopefulness the cookies spread like a s.o.b. when baking them. They turned out to be blobs instead of hearts 😕 tasty blobs, but blobs nonetheless.
I’m sorry to hear this, Michelle! I would suspect too much flour, but if you said you followed the recipe carefully, I’m not sure what to tell you. I’ve made these more times than I can count and had many bakers get perfect results, too.
OMG! These should be called “THE BEST” sugar cookies! Thank you for sharing all of your tips and this amazing recipe! I made these at Christmas for our family cookie decorating. The cookies were so tasteful that most of them were eaten before we decorated. Everyone raved about how delicious they were. I will be sure to check out more recipes on your blog.
Thank you so much, Angela! I’m so happy to hear this.
Hi, i followed the recipe carefully and got the right consistency. But the taste turned out to be a bit sour. Is it right that i put 2 tsp of baking powder as it stated on the recipe?
That is correct, yes. You can read all of the reviews and see that all of them are positive reports. I’m not sure what happened!
I agree! I used 2 tsp of baking powder and it’s all I taste. While they did keep their shape, I won’t be making them again.
Thank you for your feedback, Karla.
When Lynn says the dough should be a playdough consistency, she is RIGHT! I have been nervous to make sugar cookies with cookie cutters for so long but as soon as I read this recipe, I felt confident. Thanks so much Lynn! We loved the final product.
Thanks so much, LG! Glad they worked out 🙂
LOVE the 2:1 ratio of almond to vanilla extract. These came out SO delicious! Mine spread out a bit despite using the 2 1/2 c of flour but again the taste far outweighs the slight out of shape cookie. (And I LOVED the no chill capability especially with an impatient toddler)
I was very disappointed with this recipe. The use of so much baking powder, and powdered sugar instead of granulated (you can’t substitute them 1 for 1 in recipes), meant the cookies were not sweet, but sort of bitter tasting. Also, after having taken the time to roll them out and cut them into cute shapes with my cookie cutters, they spread A LOT and became blobs. Again, you need granulated sugar and to chill the dough, either after rolling or after cutting out. We would have eaten the blobs if they had tasted good, but the whole batch went into the trash. A lot of time and effort and ingredients and clean-up, for nothing. And I had such high hopes! And, yes, I think that is way too much almond extract. Too much almond extract makes things taste bitter–I know it smells great, but it’s got to be used sparingly.
Hey, Kate– thanks for trying out my recipe! I’ve made this recipe countless times with a lot of success, as have many readers (you can see many 5 star reviews from real people). Powdered sugar is actually just granulated sugar that’s been sifted 10 times, so it’s the same ingredient in a different form. Just like vanilla extract and vanilla paste. Same ingredient, different form. I never claimed to do a 1 to 1 swap of any recipe I found, so you’re right, you can’t just make that swap and assume it will work out ok. The powdered sugar in these cookies inhibits sugar crystallization which keeps them soft. This recipe, as written, works really well for me, so I guess it’s just not the recipe for you. Happy holidays!
I made these cookies, along with Lynn’s royal icing recipe, for the first time this year and they are amazing! Flavorful, but still soft and easy to make. Delicious!
Thanks so much, Amy!
I’ve always struggled with cut out cookies. I’ve tried what feels like all the tricks to get them to hold their shape and always get mixed results. Your recipe turned out perfect! I also really appreciate the specific bake times by size and how long to let them sit on the sheet after coming out of the oven. I feel like that’s something that gets left out of recipes a lot of the time – and when you’re not a seasoned baker you really have no idea! I found it super helpful. This is my official go-to sugar cookie cutout recipe from now on (don’t tell my MIL … yours is way better)!
This comment made my day, Jen! Thank you so much. I’m so happy you found your new go-to recipe 🙂 happy holidays!
Baked PERFECTLY and so easy to make!
Thank you so much, Lauren!
I love to make and decorate cutout sugar cookies. However, I have struggled to find a recipe that my family likes to eat. My youngest had a special request for spiderman cookies for his birthday and so I gave this recipe a shot. They turned out phenomenal and my kids loved them. He took them to school and they were a hit with all of them too. This will now be my go-to sugar cookie recipe.
Thank you so much for trusting my recipe, Christine! 🙂
Perfection! The recipe is easy to follow and thanks to Lynn’s tips, the cookies came out looking and tasting amazing. Go follow her on IG and watcher her “Work smarter, not harder” video about making perfect sharp edges on your cookies. Highly recommend this recipe to anyone looking for an easy way to make delicious and beautiful cut-out sugar cookies!
I’m SO IMPRESSED with your cookies, Tara! Thanks so much for trusting my recipe!
Here is the video Tara is referring to.
Love the recipe but I never see the oven temperature?
Step 6 🙂
Idgaf about cut out cookies but these are SUCH a hit. Everyone loves them, including me!
HAHAHAHAHA. Favorite review ever, Ms. Byrd. We share similar sentiment, and I thank you for your honest review!