
Raspberry White Chocolate Chip Scones
As an Amazon Associate, I earn from qualifying purchases. Read the full disclosure here.
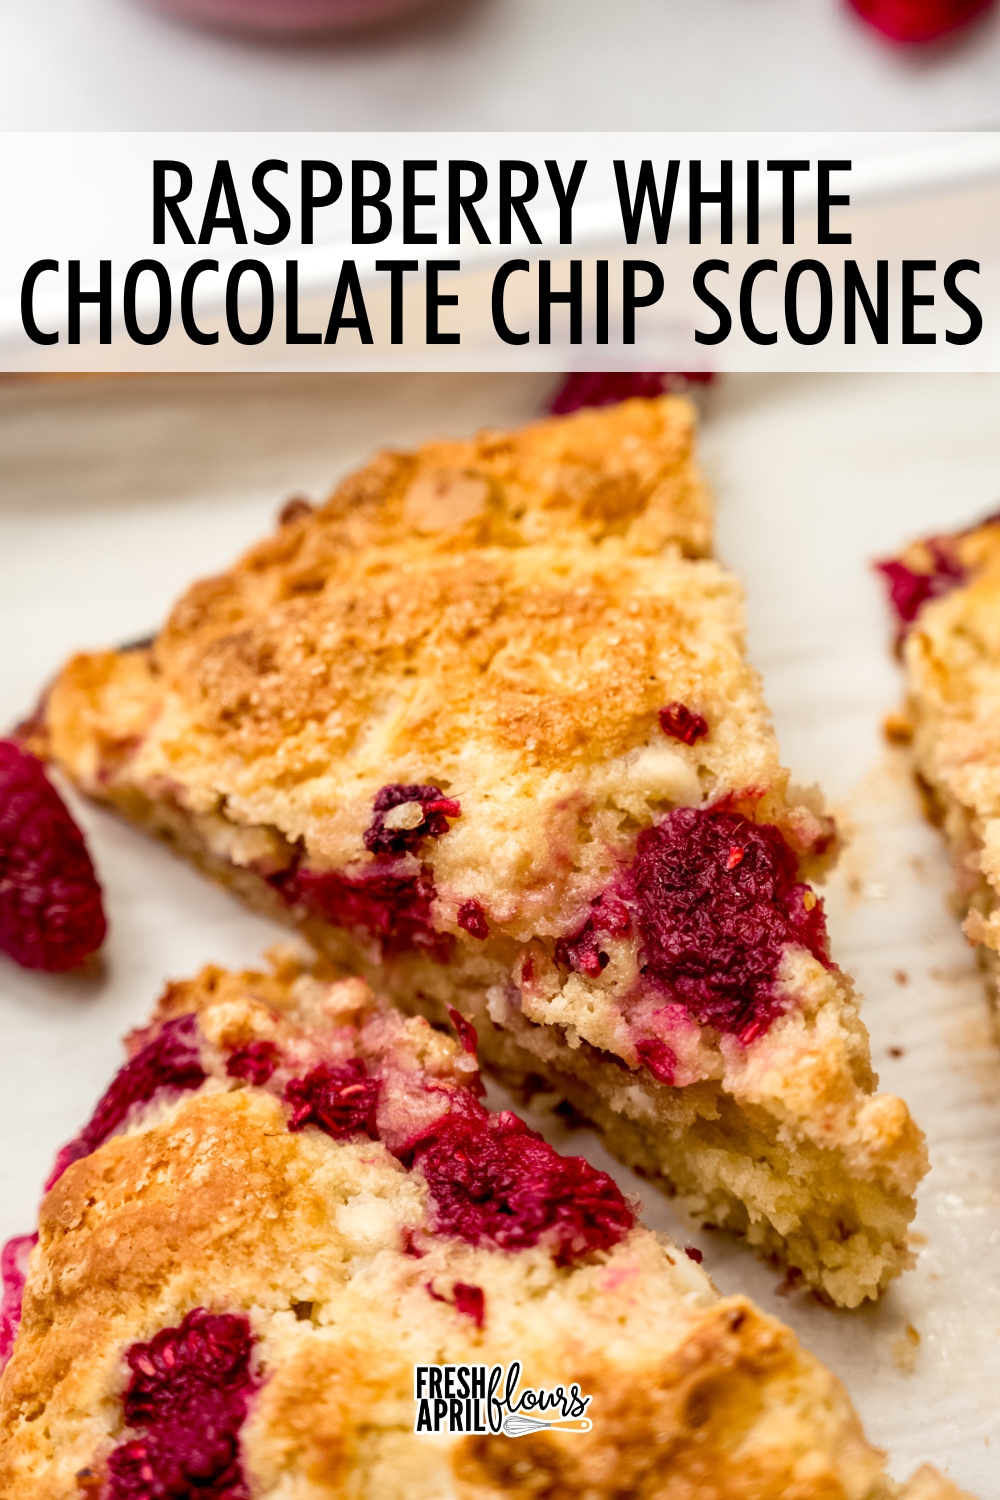
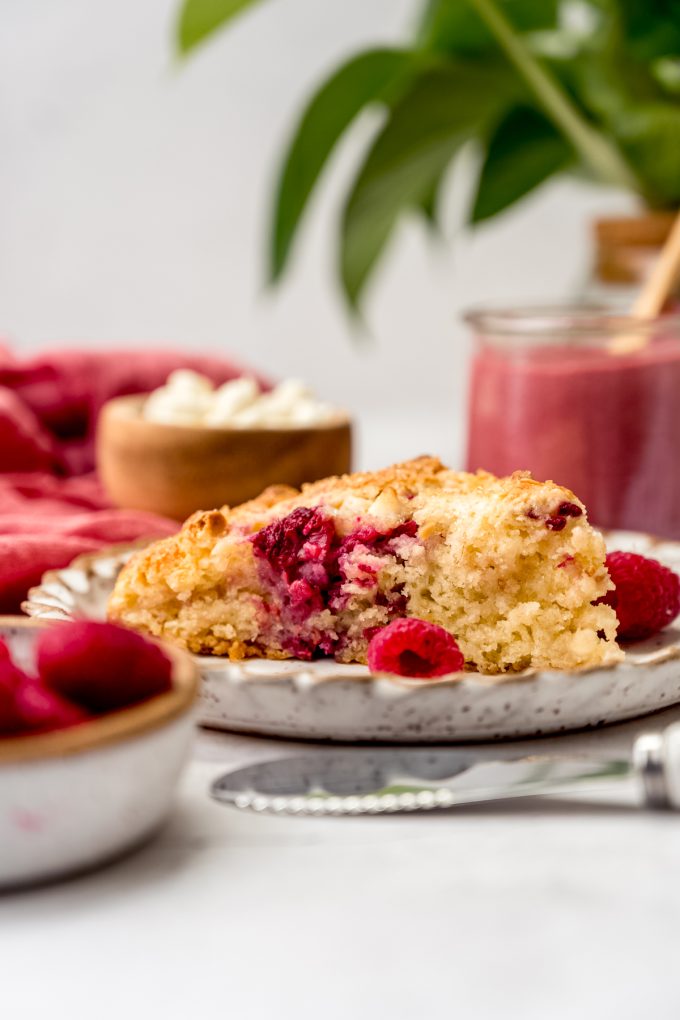
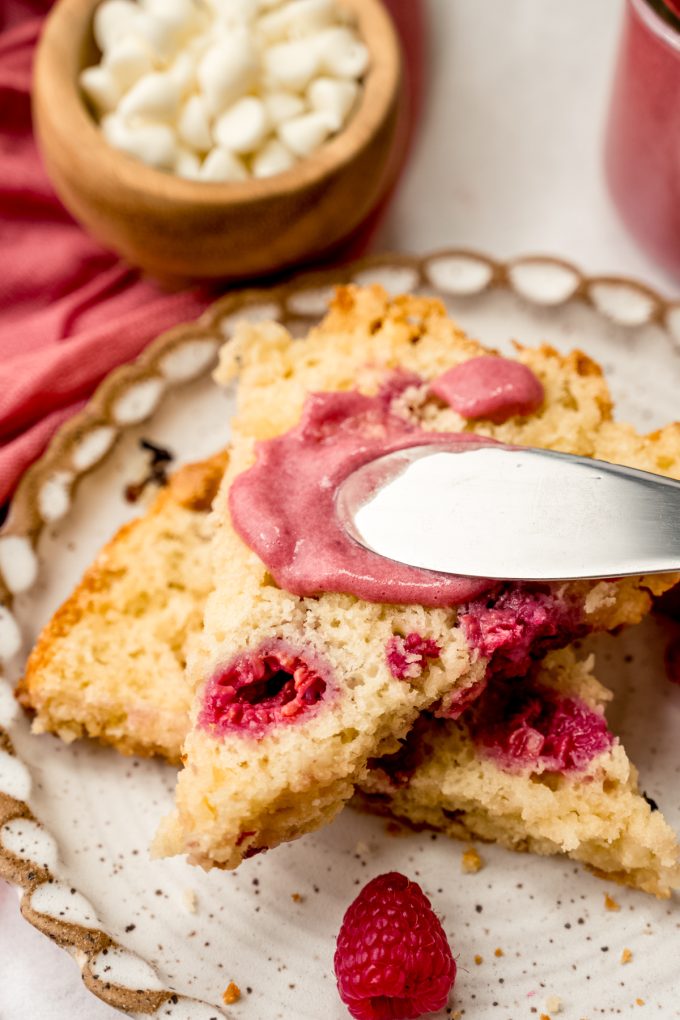
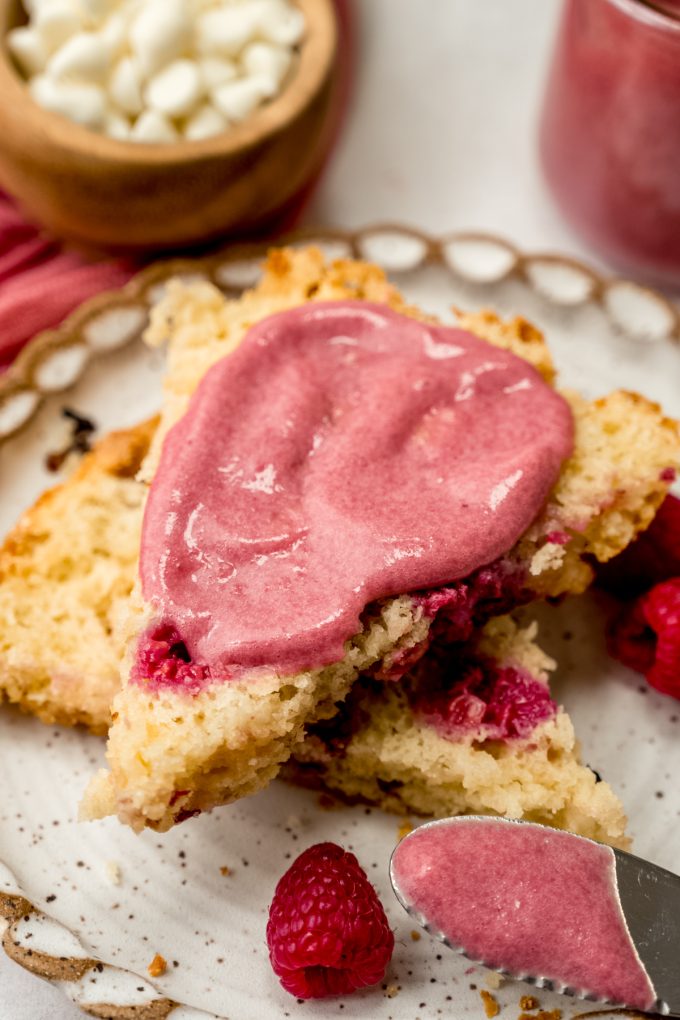
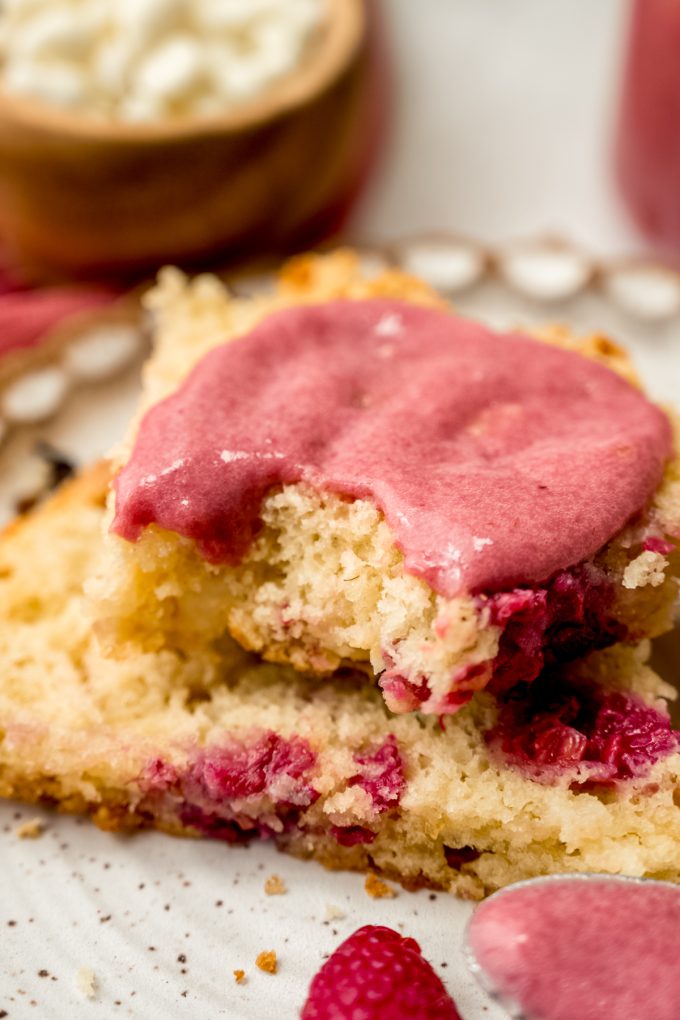
These soft and tender scones are bursting with fresh juicy raspberries and dotted with creamy white chocolate chips in every bite. Consider topping it with homemade raspberry curd.
This recipe is brought to you in partnership with Bushel and Berry®.
WHAT NOT TO DO WITH SCONES
Long ago, when I first started developing recipes, I fell into a bit of a scone kick which eventually turned into a reliable base recipe I used over and over for cinnamon chip scones, orange poppy seed scones, and apple cinnamon scones.
One summer (actually, the first summer of my blogging career– 2014), I had a pint of fresh raspberries and the confidence of Ina Garten, so I decided to fold them into my favorite scone base. The result? BLUE scones. Yes, they were literally streaked with blue (see below– also taking note that I’m really glad my photography skills have gotten better).

I was confused, but a quick Google search revealed something wild: baking soda can react with raspberries and produce a blue hue in baked goods. At the time, I was adding baking soda to aid in browning– a trick I was sure I needed– but after reducing it and trying again, I was met with the exact same result. So I made a vow: I’d avoid that combination in the future.
Fast forward to my partnership with Bushel & Berry, when they asked me to create a raspberry white chocolate chip scone recipe. I honestly panicked. How did they know this was my nemesis? Was I going to be stranded in my kitchen for days, battling blue scones?
It turns out I didn’t need to. After testing my other scone recipes, I found that the baking soda was, in fact, completely unnecessary, and without it, the scones turned out even better. So I revamped my base recipe, and just like that, a new (and much improved) scone was born.
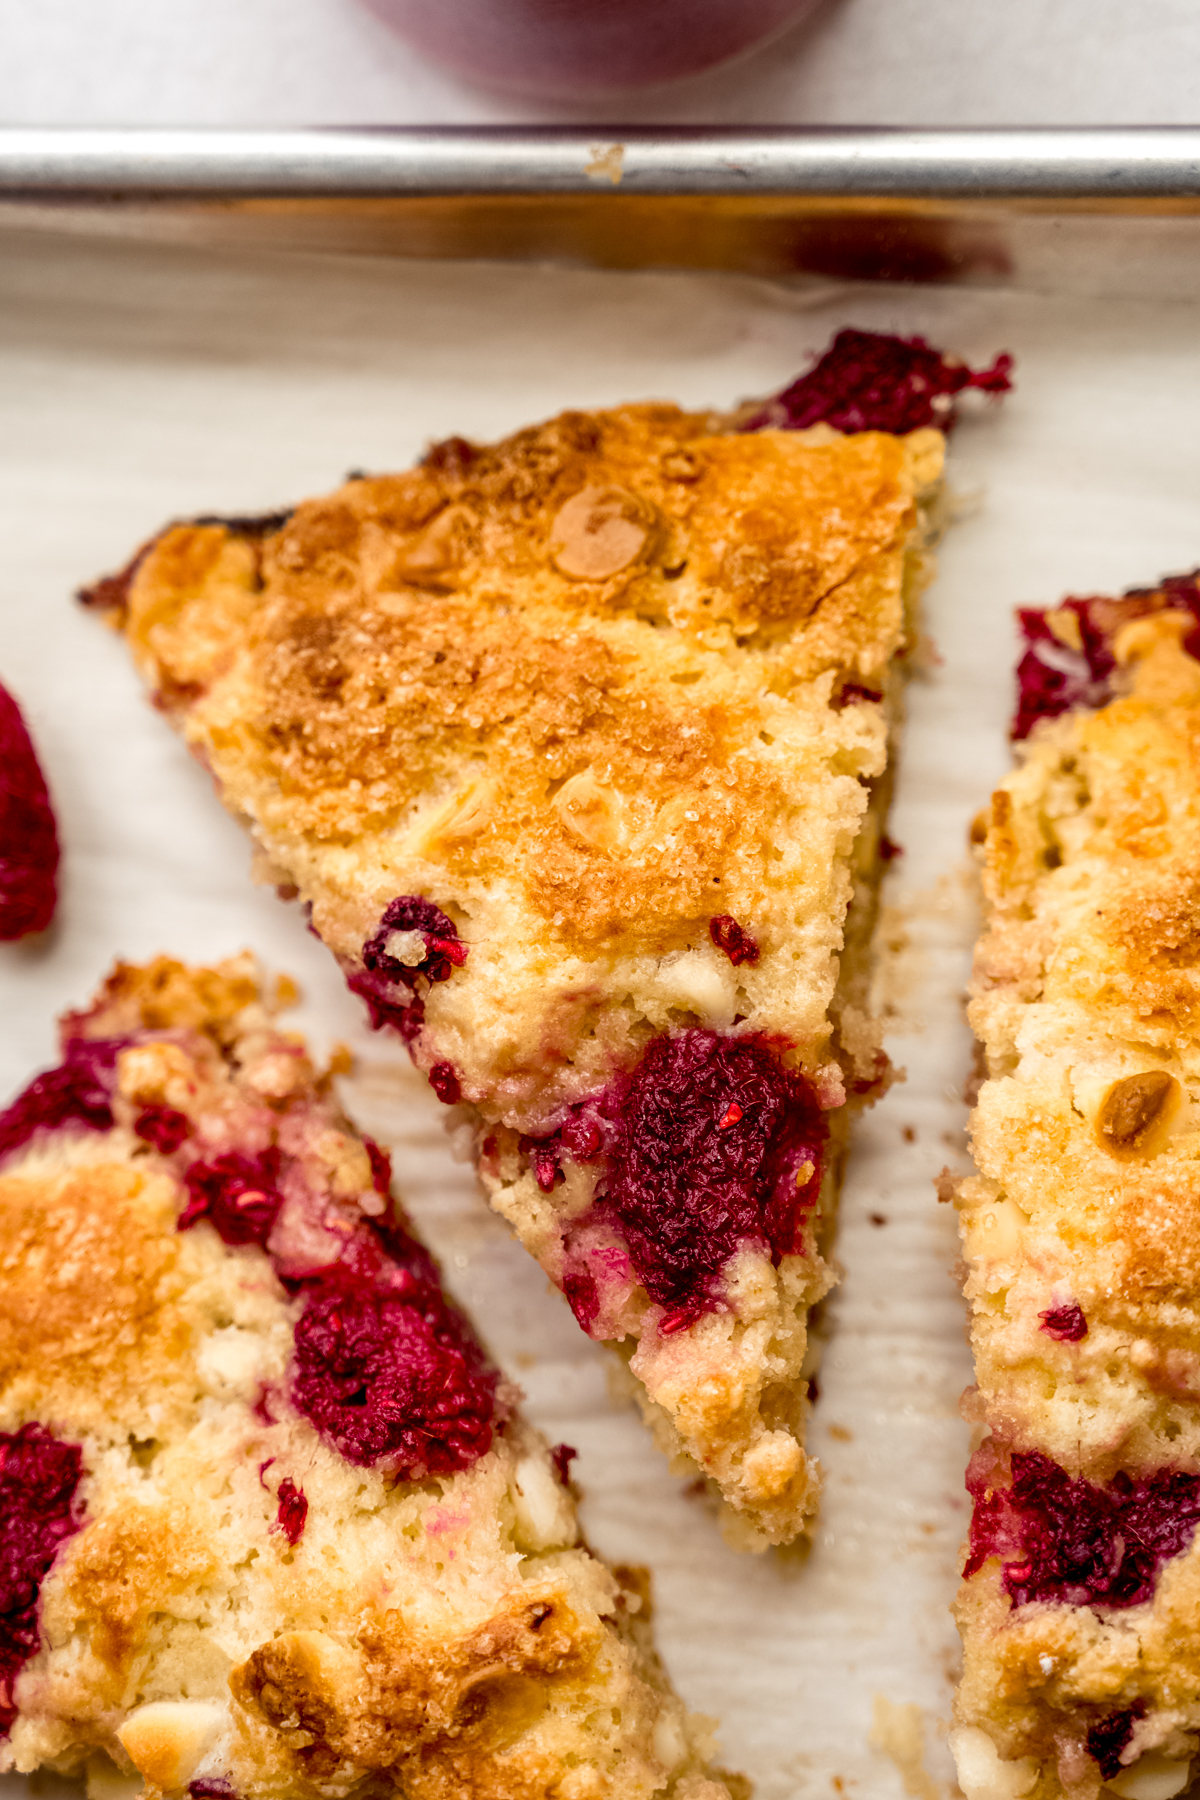
All that to say: this scone recipe is going to knock your raspberry-loving socks right off. These scones are soft, tender, and perfectly sweet, with a lovely balance of tart raspberries and creamy white chocolate chips– a perfect canvas for whatever you wish to top them with (like the fresh raspberry curd).
TRUSTING ME IS THE KEY
But all that deliciousness doesn’t come without a small price– a price I’ve earned over a dozen years of being your internet baking bestie: trust.
Scones are a food that put the “dirty” in “getting your hands dirty” with a heavy side of “trust the process.” Much like my biscotti, where people frequently ask, “is there enough moisture in this dough?”, scone dough will make you doubt everything. Is it too shaggy? Did you overmix? Did I steer you down a bad path?
But fear not, baking bestie! I’m there every step of the way, with plenty of photos and even a video, to make sure you’re fully supported. So when you fold in those raspberries (but just a few times– we’ll get there!), somehow manage to press everything together (we’ll get there, too), and put them in the oven, you can rest easy that no there’s not a blue scone in sight. Just rich, buttery, tender, flavor-forward scones you’ll want to make again and again.
KEY INGREDIENTS YOU WILL NEED
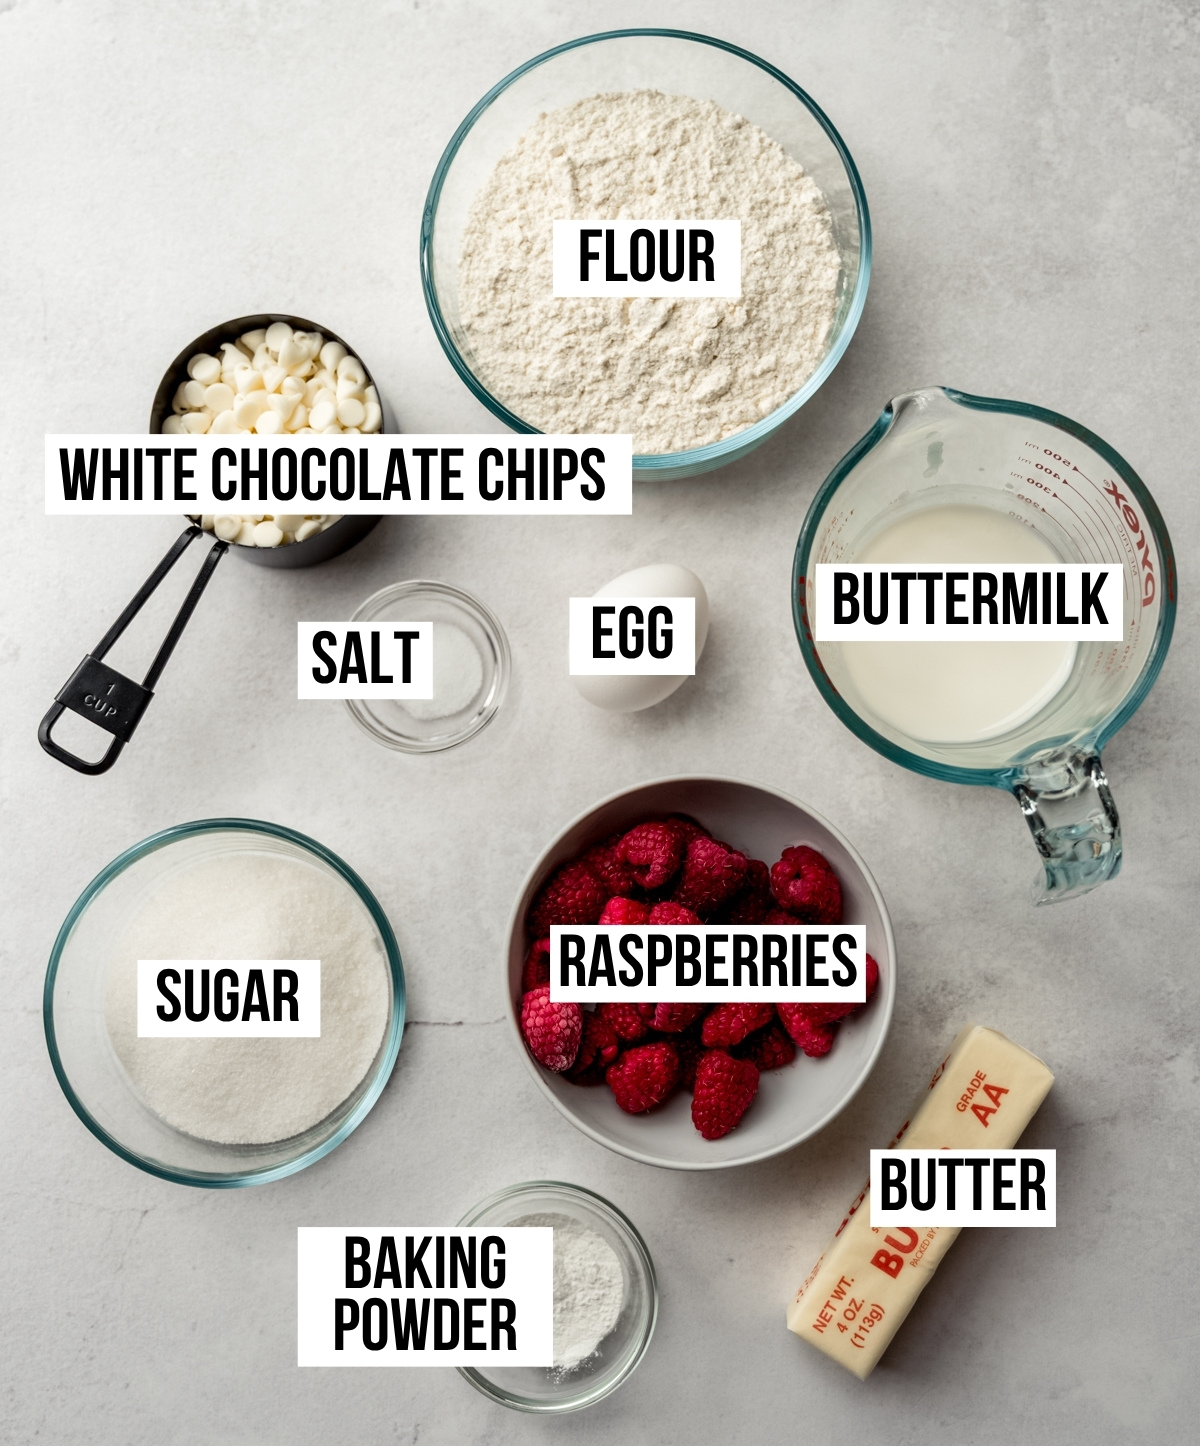
You’ll need 9 major ingredients (10 if you want chunky sugar on top– highly encouraged) to make these raspberry white chocolate chip scones. The raspberries and butter will need to be frozen, but a flash freeze will work just fine.
A flash freeze just means pop those two things into the freezer for about 1 hour before starting your recipe. If they’re in there longer, that’s totally fine, but it’s not like an ice cream maker which really needs a full 24 hours to freeze if it’s going to work properly (ask me how I know that one).
FRESH OR FROZEN RASPBERRIES: you’ll need 1 cup of raspberries. Fresh are preferred, but frozen will work, too. Thanks to Bushel and Berry®, I always have fresh raspberries available to me because I have my own plant. This Raspberry Shortcake® plant stays small enough to grow in a patio container and doesn’t have any pesky thorns. Again, if you’re using fresh, flash freeze them for 1 hour.
FROZEN UNSALTED BUTTER: you’ll need 6 Tablespoons of frozen butter, so what I like to do is freeze an entire stick and use the bottom 2 Tablespoons as a “handle” to grate the butter into the dough (you’ll see this step in the instructions). To do this: pull the wrapper down to expose some of the butter, then keep pulling it back until you’ve grated down to the last 2 Tablespoons (like you would a banana). It will start to melt, but that’s ok!
BUTTERMILK: you can always make your own.
STEP-BY-STEP WITH PICTURES: HOW TO MAKE RASPBERRY SCONES WITH WHITE CHOCOLATE CHIPS
Before you begin: be sure you’ve flash-frozen your butter and raspberries for at least 1 hour. If you freeze them for longer, that’s fine!
Prepare your space: line a large baking sheet with a silicone baking mat or parchment paper and pour your flour into a large bowl. Set both of these things aside.
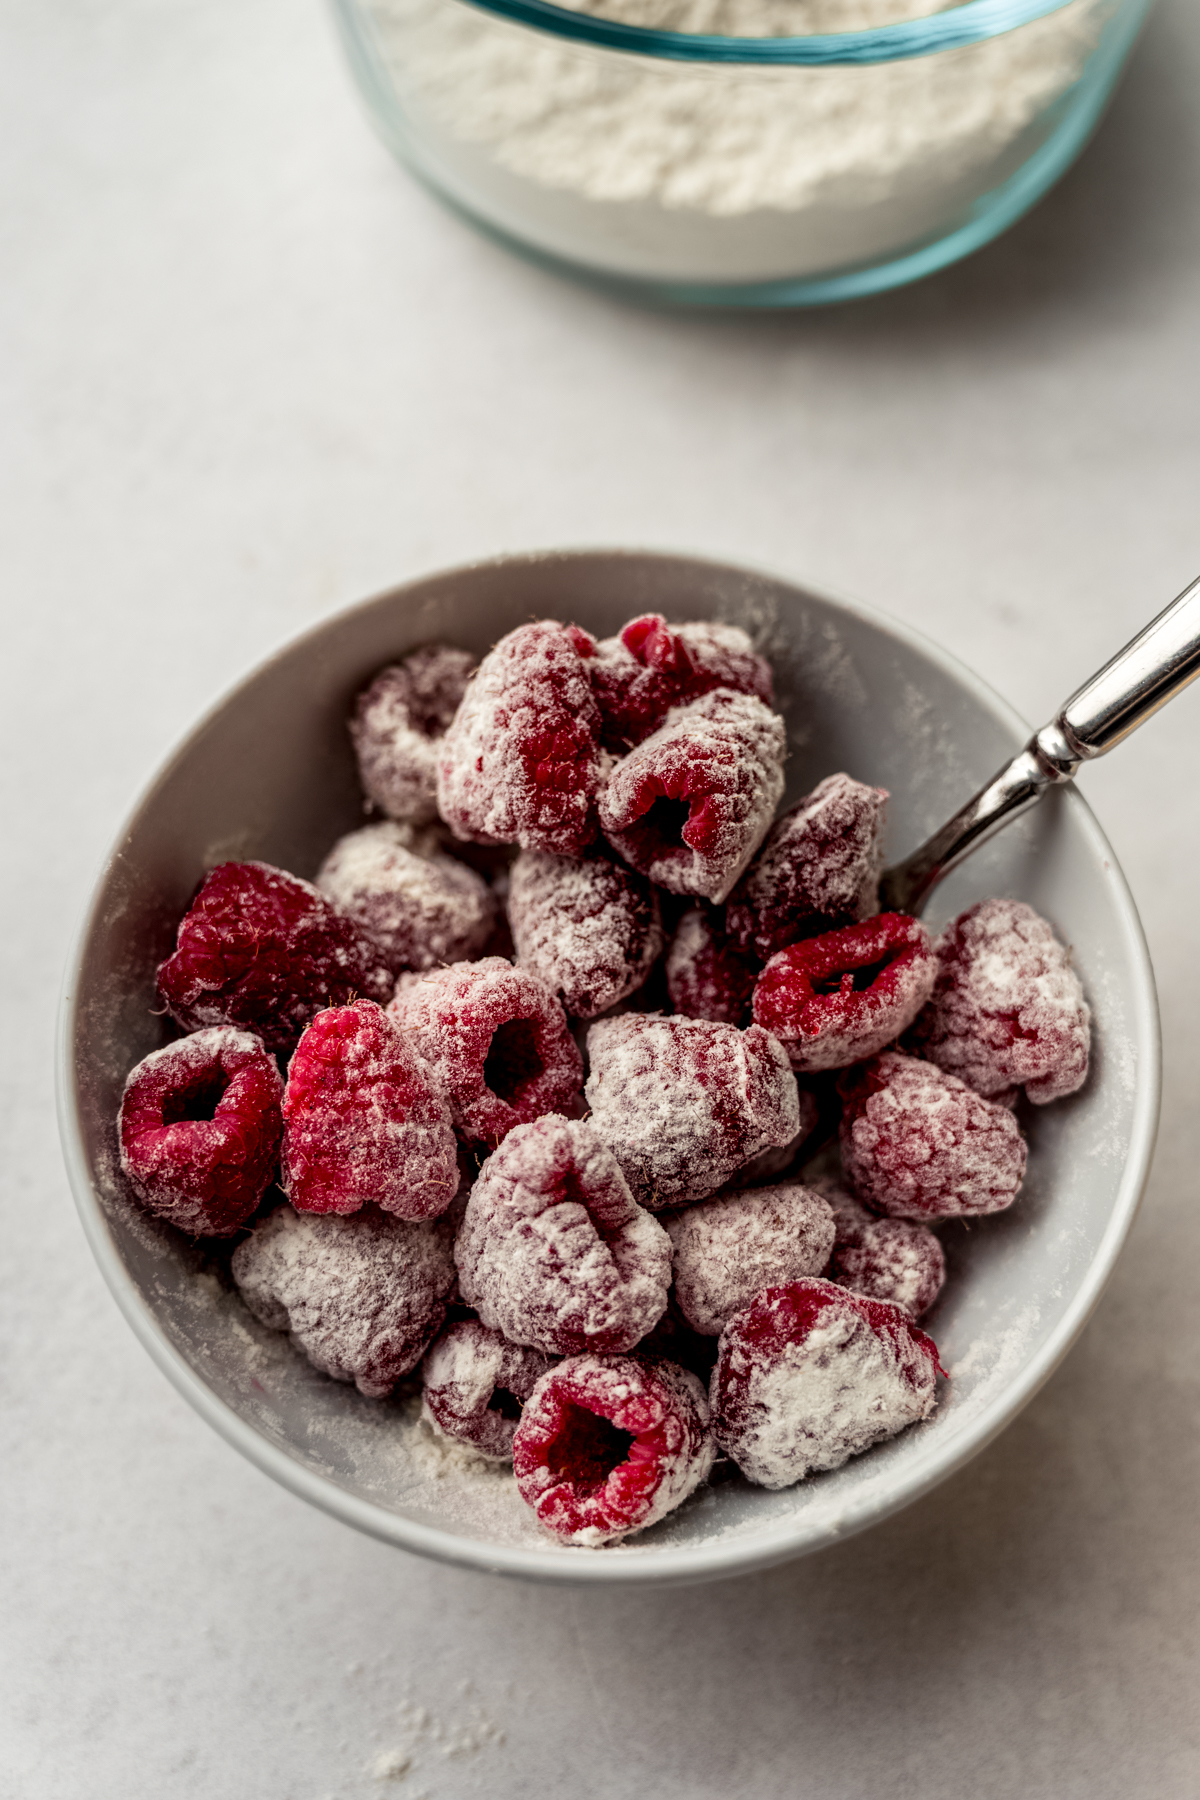
Coat the raspberries: place the frozen raspberries in a small bowl, then remove approximately 1 Tablespoon of the flour and sprinkle it over the raspberries. Toss everything together to coat the raspberries, then set them aside.
Combine the rest of the dry ingredients: add the sugar, baking powder, and salt to the remaining flour, then whisk it all together.
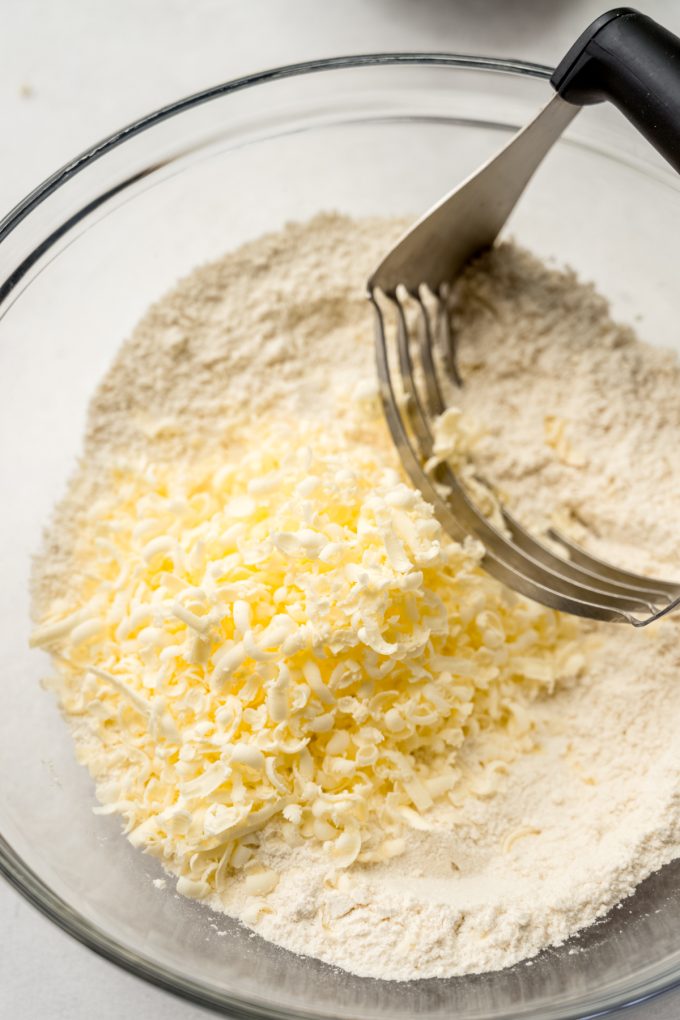
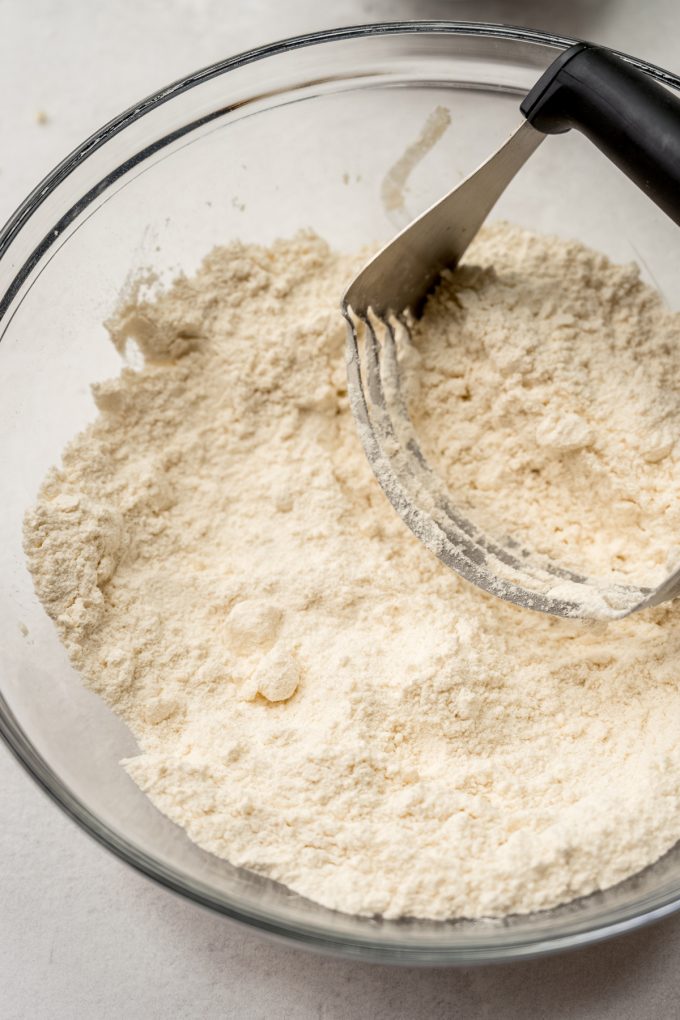
Add the butter: quickly grate the frozen butter into the flour mixture, then use a pastry blender or fork to blend the butter into the flour until it resembles coarse crumbs (pea size chunks are fine, too).
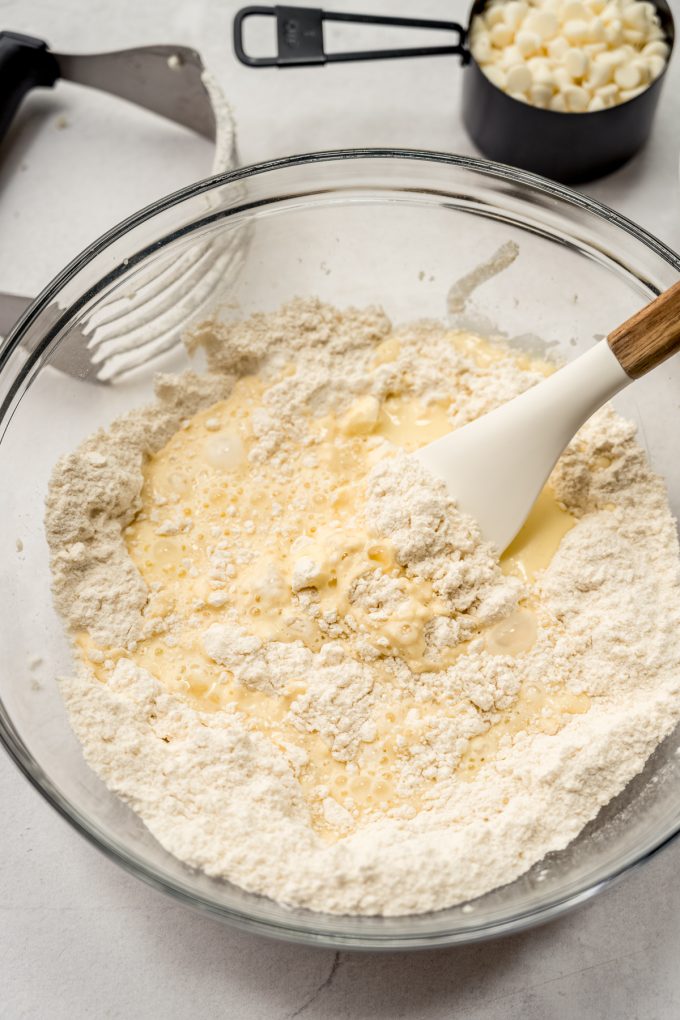
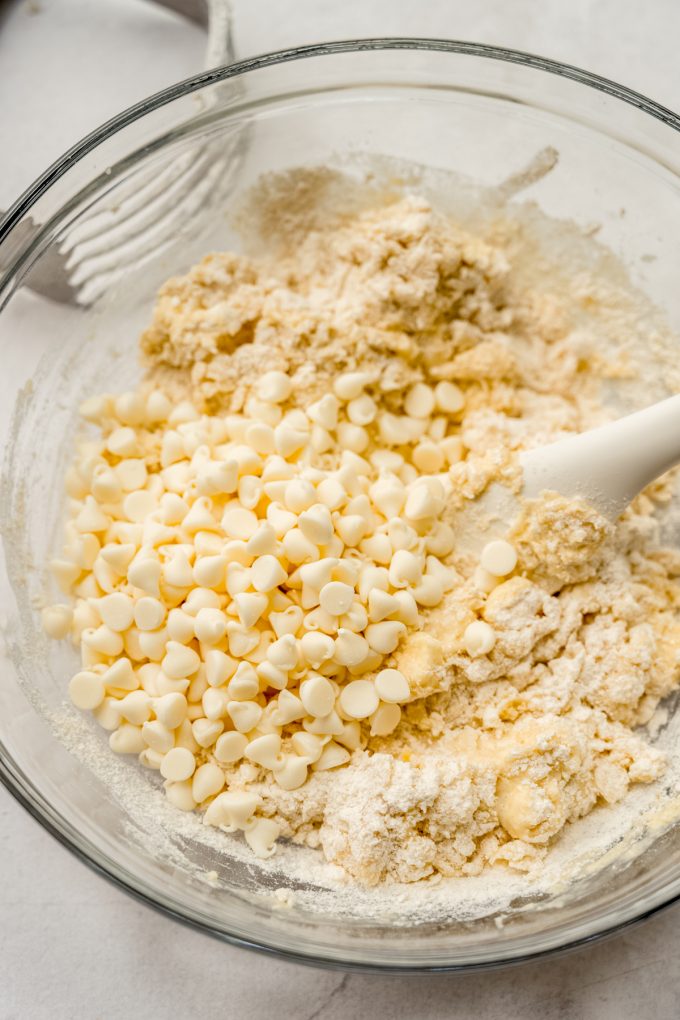
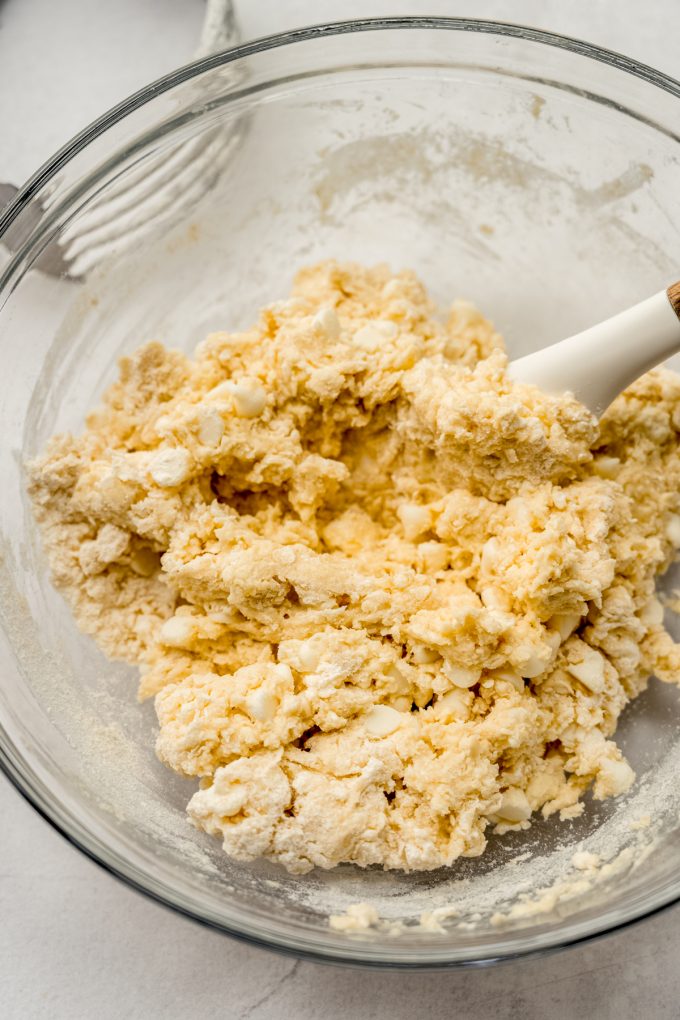
Add the buttermilk + egg + white chocolate chips: combine the buttermilk and the egg in a bowl or measuring cup, pour it evenly over the flour/butter mixture, then use a large spatula or wooden spoon to bring the mixture together until everything is just moistened. Add the white chocolate chips and continue to fold the mixture together until the chips are evenly dispersed.
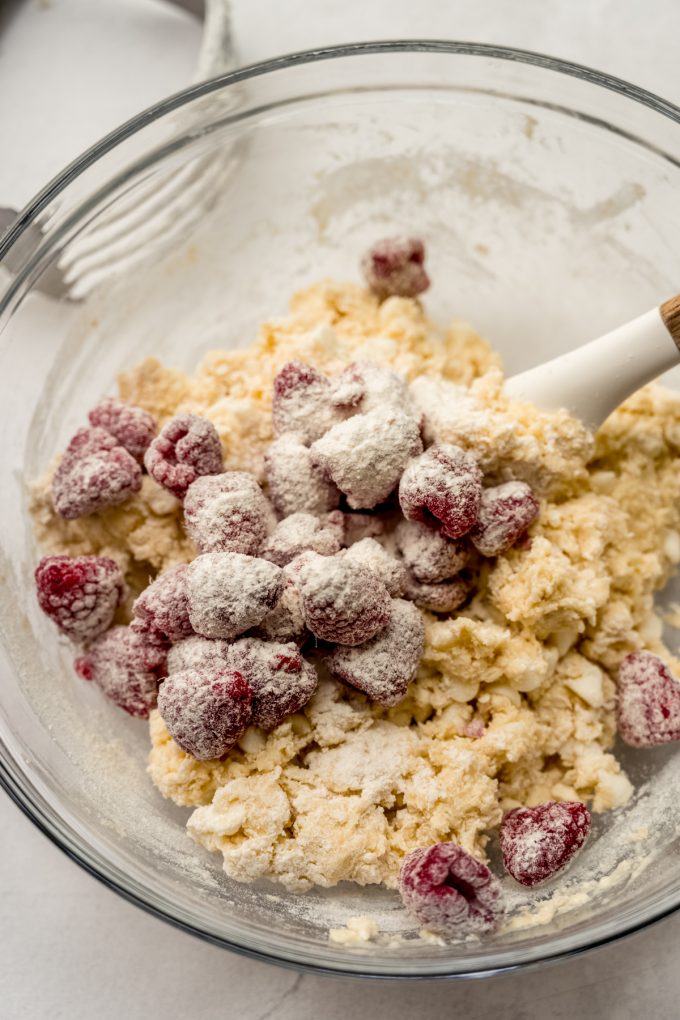
Add the raspberries + excess flour: add the frozen raspberries and as much of the leftover flour from the bowl as you can, then fold the dough together, but only about 4 to 5 times. It will be very crumbly and messy, but this is ok.
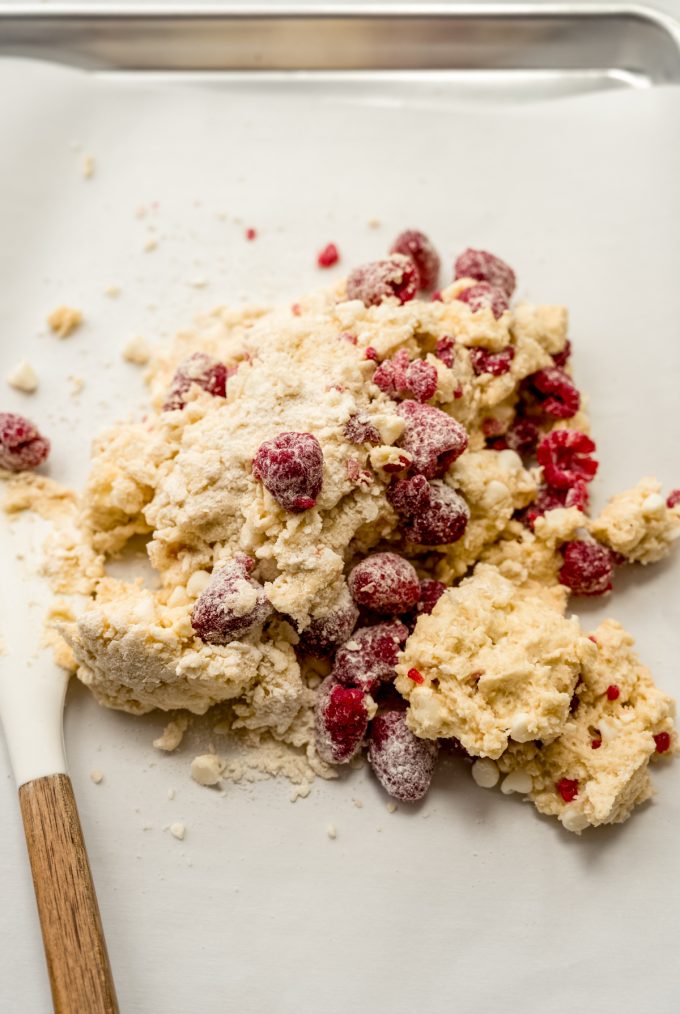
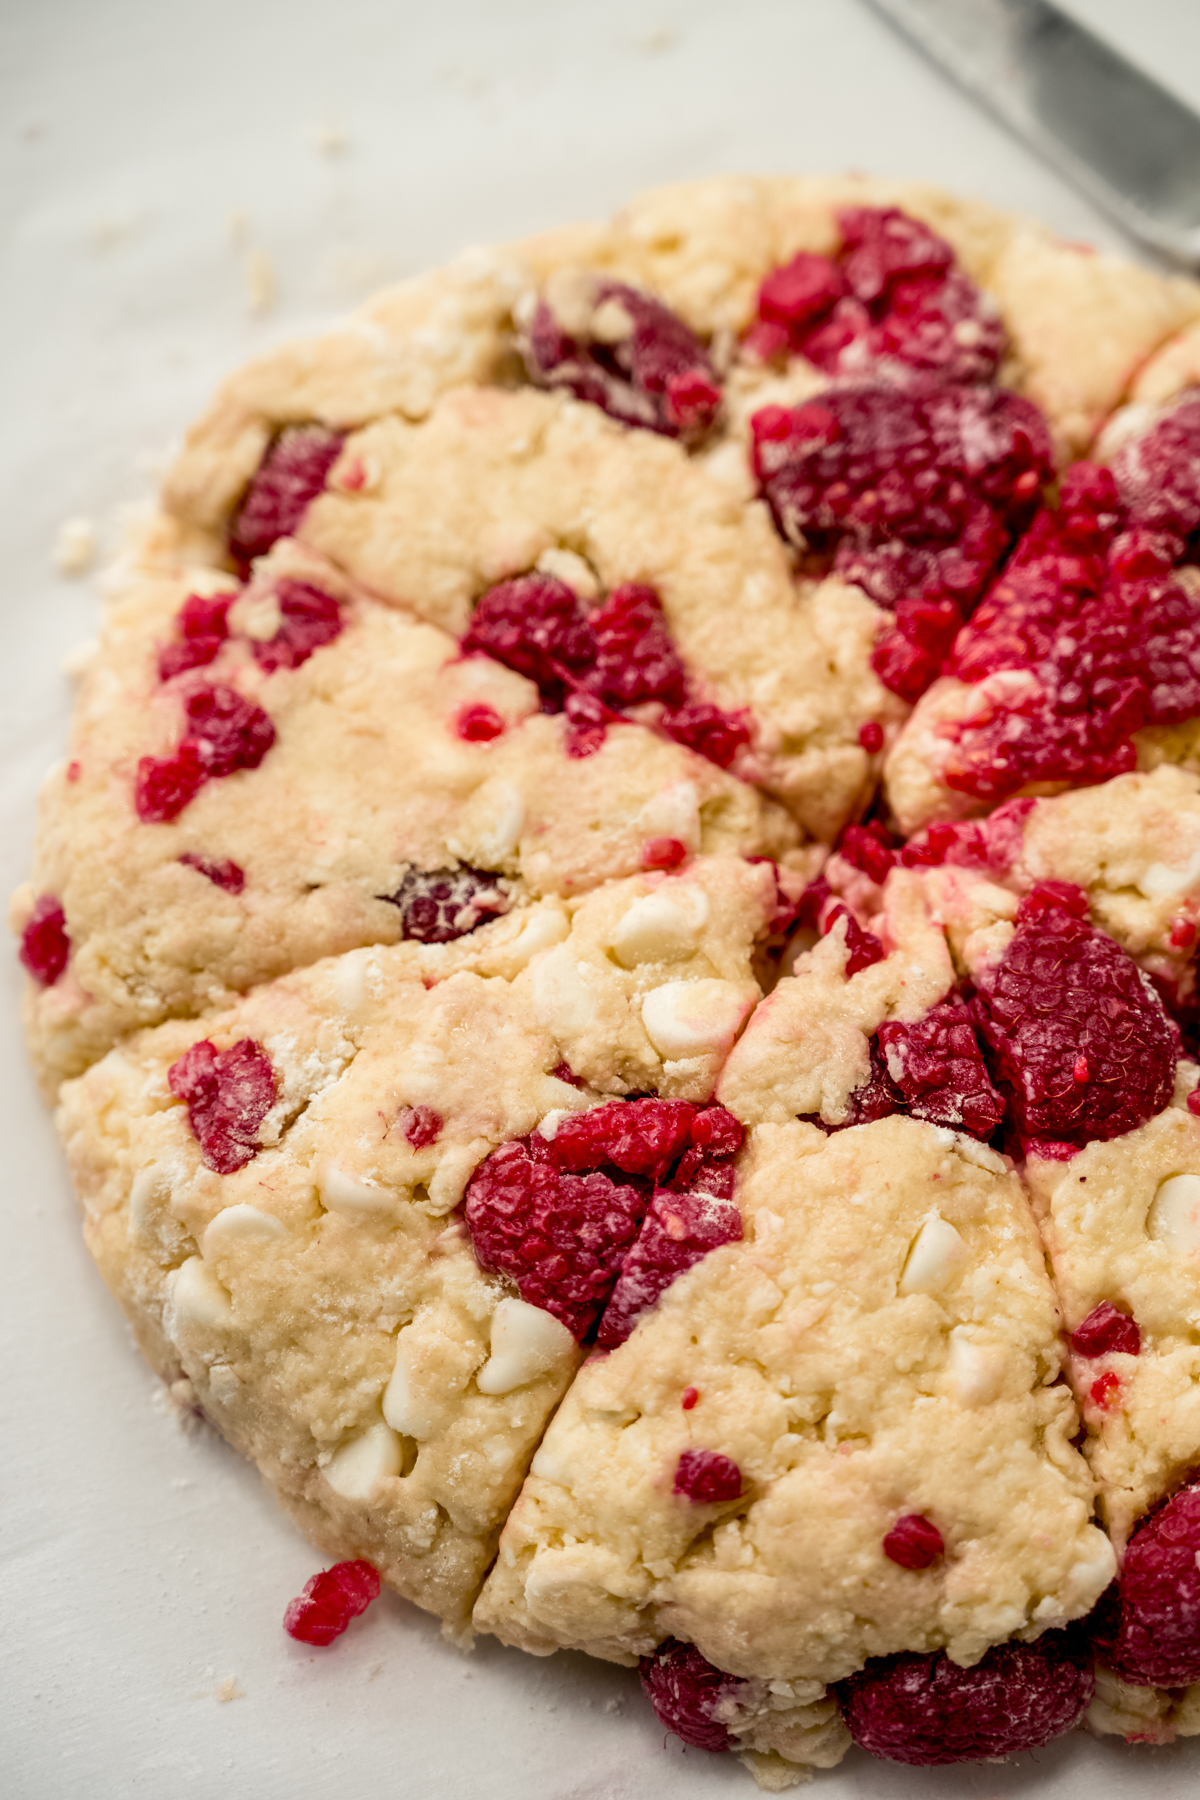
Shape the dough: pour the dough out onto the prepared baking sheet, then use your hands (flouring them lightly when necessary) to press the dough into an 8″ disc. Use a very sharp knife or bench scraper to cut the disc into 8 equal triangles, then sprinkle with chunky sugar if you’re going to use it.
Freeze the dough + preheat the oven: make room in the freezer to accommodate the baking sheet and allow the scone dough to freeze for about 25 minutes while you preheat the oven.
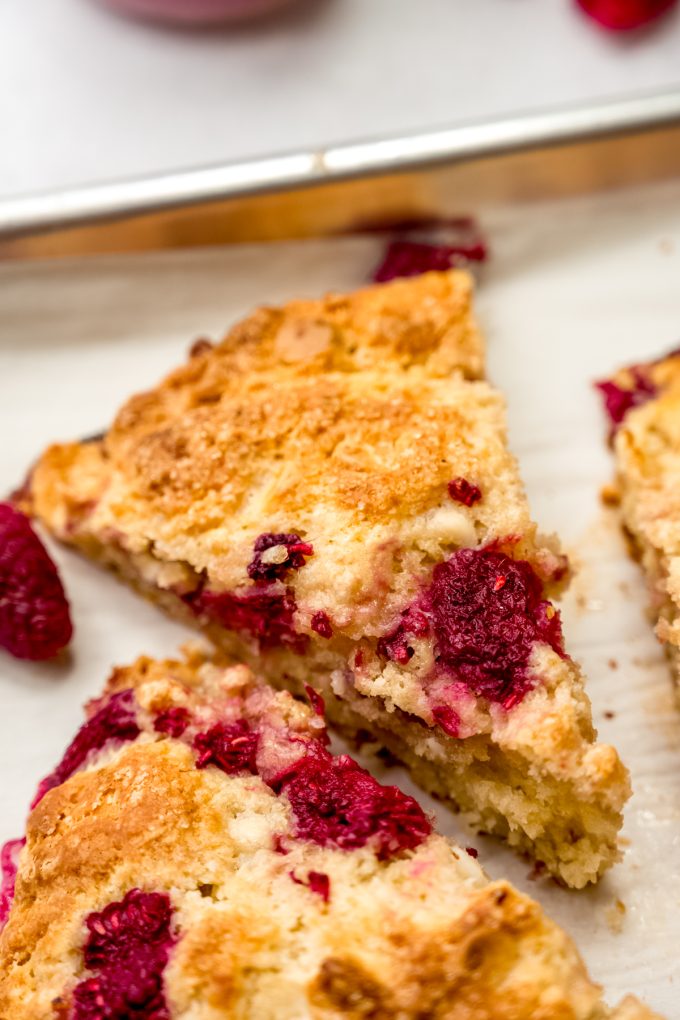
Bake + recut the dough: when the baking sheet has been in the freezer for at least 25 minutes, remove it from the freezer and bake the scones for 32-34 minutes or until the edges start to brown. Remove from oven and allow to cool on baking sheet for a 10-15 minutes, then re-cut with a sharp knife or bench scraper to make separating the scones easier.
CAN I USE OTHER BERRIES FOR THESE SCONES?
You can absolutely substitute any berry into this scone base. In fact, a combination of berries would be so good! Just be sure you’re sticking to 1 cup total of berries and that you flash freeze them just like you would the raspberries.
CAN I FREEZE THE SCONE DOUGH FOR LONGER THAN DIRECTED?
Yes! In fact, if you want to make the dough well ahead of time to save yourself time on a day of entertaining or to save the scones for another time, you can do that. Slice the disc as directed, then wrap tightly and freeze for up to 2 months. You may need to add some time to bake time since the dough will be frozen all the way through. Just look for browned edges and a set center.

Raspberry White Chocolate Chip Scone Recipe
Ingredients
- 2 and ½ cups (270g) all-purpose flour be sure to measure properly
- 1 cup fresh raspberries frozen (see step #1)
- ½ cup (100g) granulated sugar
- 2 and ½ teaspoons baking powder
- ½ teaspoon salt
- 6 Tablespoons (85g) unsalted butter frozen (see step #1)
- ½ cup (120mL) buttermilk
- 1 large egg
- 1 cup (170g) white chocolate chips
- chunky sugar for sprinkling; optional
Instructions
- Before beginning: be sure you've flash-frozen your butter and raspberries for at least 1 hour. If you freeze them for longer, that's fine!
- Line a large baking sheet with a silicone baking mat or parchment paper. Set aside.
- Place the flour in a large bowl and set it aside.2 and ½ cups (270g) all-purpose flour
- Place the raspberries in a small bowl. Remove approximately 1 Tablespoon of the flour and sprinkle it over the raspberries. Toss to coat then set aside.1 cup fresh raspberries
- To the flour, add the sugar, baking powder, and salt, then whisk to combine.½ cup (100g) granulated sugar, 2 and ½ teaspoons baking powder, ½ teaspoon salt
- Quickly grate the frozen butter into the flour mixture, then use a pastry blender or fork to blend the butter into the flour until it resembles coarse crumbs (pea size chunks are fine, too). Set aside.6 Tablespoons (85g) unsalted butter
- In a small bowl or a measuring cup with a spout, whisk together the buttermilk and the egg, then pour this mixture evenly over the flour/butter mixture. Use a large spatula or wooden spoon to bring the mixture together until everything is just moistened.½ cup (120mL) buttermilk, 1 large egg
- Add the white chocolate chips and continue to fold the mixture together until the chips are evenly dispersed.1 cup (170g) white chocolate chips
- Add the frozen raspberries and as much of the leftover flour from the bowl as you can, then fold the dough together, only about 4 to 5 times. It will be very crumbly and messy, but this is ok.
- Pour the dough out onto the prepared baking sheet, then use your hands (flouring them lightly when necessary) to press the dough into an 8" disc. Use a very sharp knife or bench scraper to cut the disc into 8 equal triangles, then sprinkle with chunky sugar, if desired.chunky sugar
- Place the baking sheet in the freezer for 25 minutes1 while you preheat the oven.
- Preheat the oven to 400ºF (204ºC).
- When the baking sheet has been in the freezer for at least 25 minutes, remove it from the freezer and bake the scones for 32-34 minutes or until the edges start to brown. Remove from oven and allow to cool on baking sheet for a 10-15 minutes, then re-cut with a sharp knife or bench scraper to make separating the scones easier. Scones are best served immediately, but will stay fresh in an airtight container at room temperature for 2 days. Scones may be frozen2 up to 3 months. Thaw at room temperature and warm to preference before enjoying.
Video
Notes
- Preheat the oven: yes, you will need this much time to ensure your oven is hot enough to bake the scones properly.
- Freeze the scone dough: if you are making the scones ahead of time, you can freeze shaped/sliced/unbaked dough for up to 2 months. Don’t forget to give your oven ample time to preheat and be prepared to add a few more minutes to the baking time if necessary. Look for browned edges and a set center to indicate doneness.
Nutrition Disclosure
All nutritional values are approximate and provided to the reader as a courtesy. Changing ingredients and/or quantities will alter the estimated nutritional calculations.
Hi! Raspberries are one of my favorite fruit! That said, a number of family members are non-believers in the fruit and chocolate sect…are these ok w/o the chocolate chips? I can’t wait to make them, regardless
Hey, Kari– yes, you can leave out the chocolate. If you want to appease the non-chocolate lovers and enjoy the recipe in a different way, might I suggest drizzling white chocolate onto some of the scones? Let me know how you like them!