Marble Cupcakes
As an Amazon Associate, I earn from qualifying purchases. Read the full disclosure here.
These marble cupcakes aren’t just vanilla and chocolate swirled together– they’re a flavor all their own! A longtime favorite in my home (and a top request from my cottage bakery days), these swirly cupcakes are made from one single batter yet deliver the perfect balance of both flavors in one bite. Topped with an easy swirled frosting, they’re as simple as they are delicious!
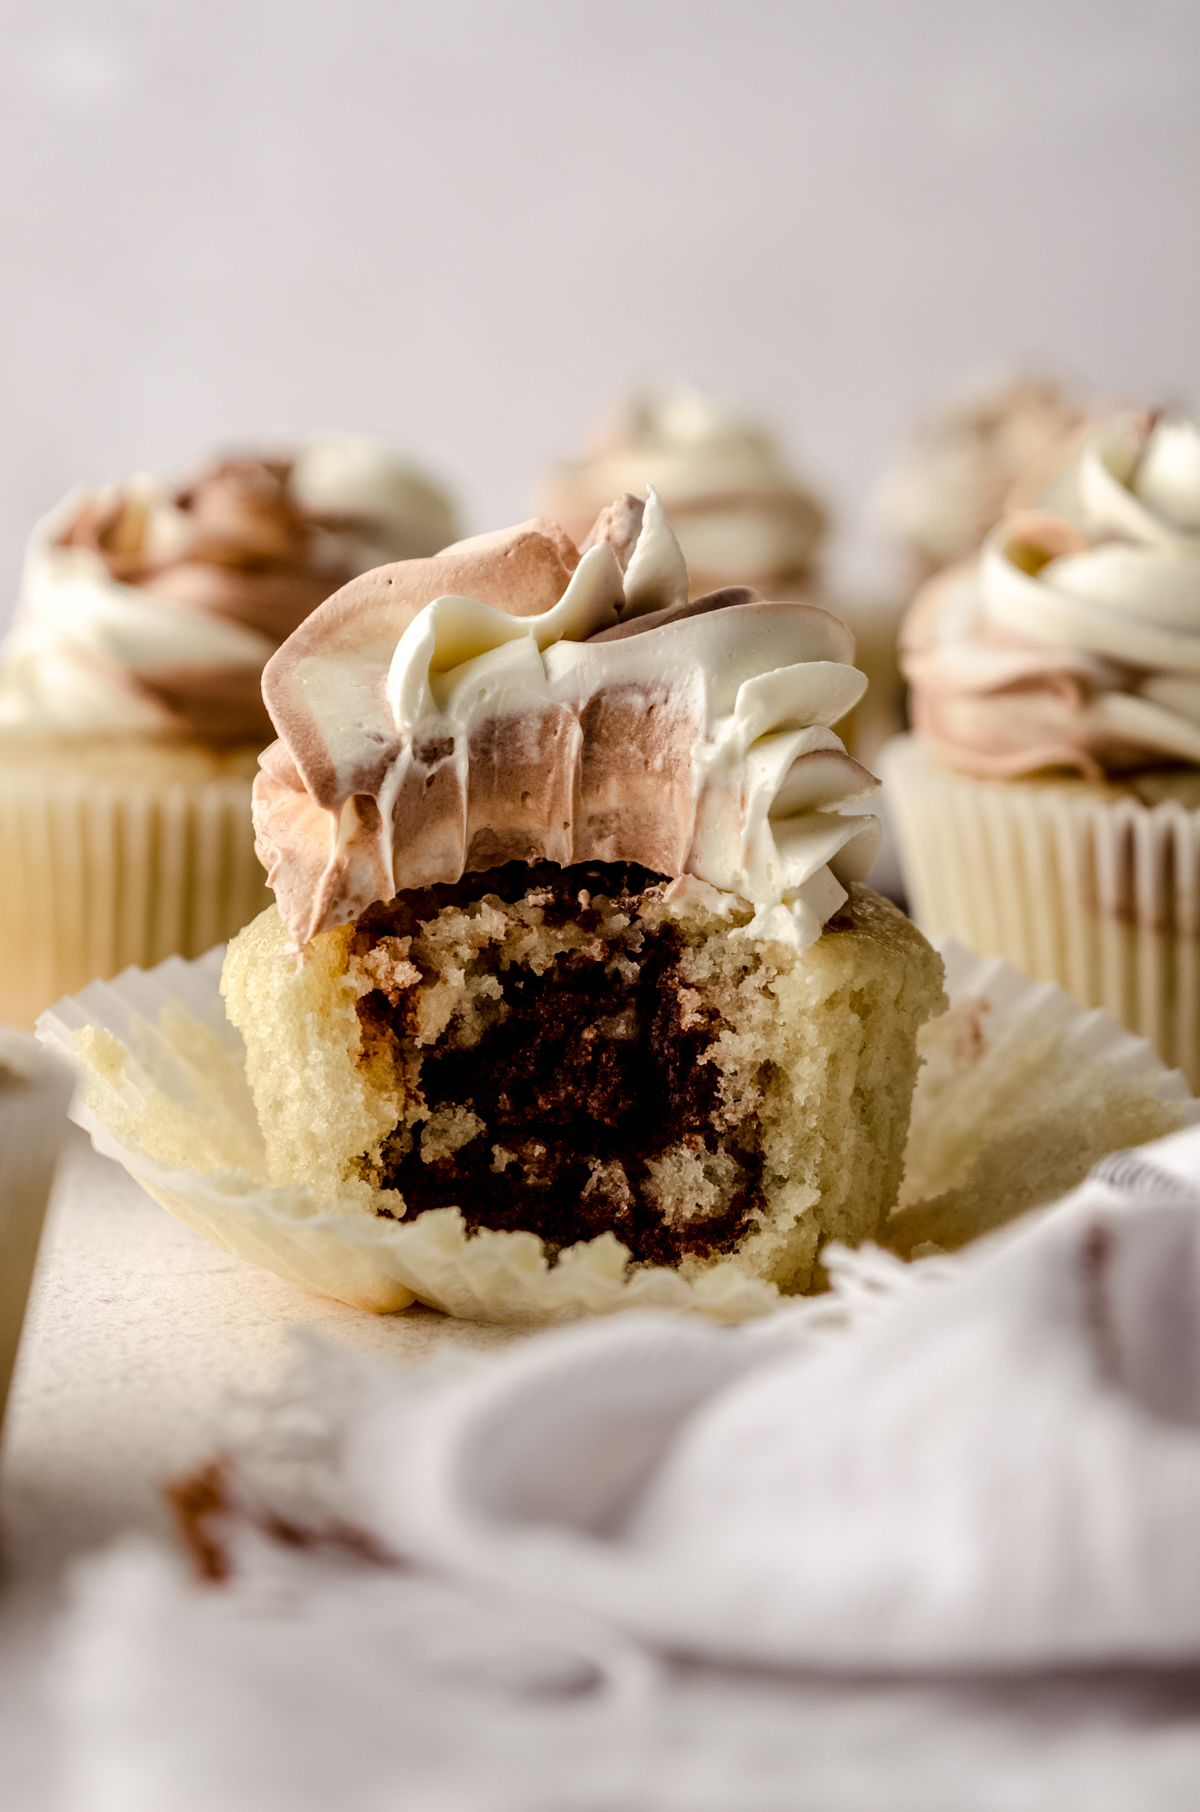
THESE EASY MARBLE CUPCAKES ARE THE BEST OF BOTH FLAVOR WORLDS
Marble cupcakes often get a bad rap as the “indecisive” cupcake, being categorized simply as vanilla and chocolate swirled together for people who can’t pick a side. But let me tell you, that is not what’s happening here. This isn’t a compromise but rather a flavor all its own. When you stop thinking of marble as just two flavors mashed together and start appreciating it for the magic it is, you realize that it is its own flavor.
This exact marble cupcake recipe is the one my younger son always requests for his birthday because he’s a vanilla fan who likes a little chocolate. On the other hand, my older son loves this pick because he’s a chocolate fan who enjoys a touch of vanilla. In fact, back in my cottage bakery days, this was one of my most requested cupcakes. You can rest assured this trusted recipe has been baking bellies happy since 2010.
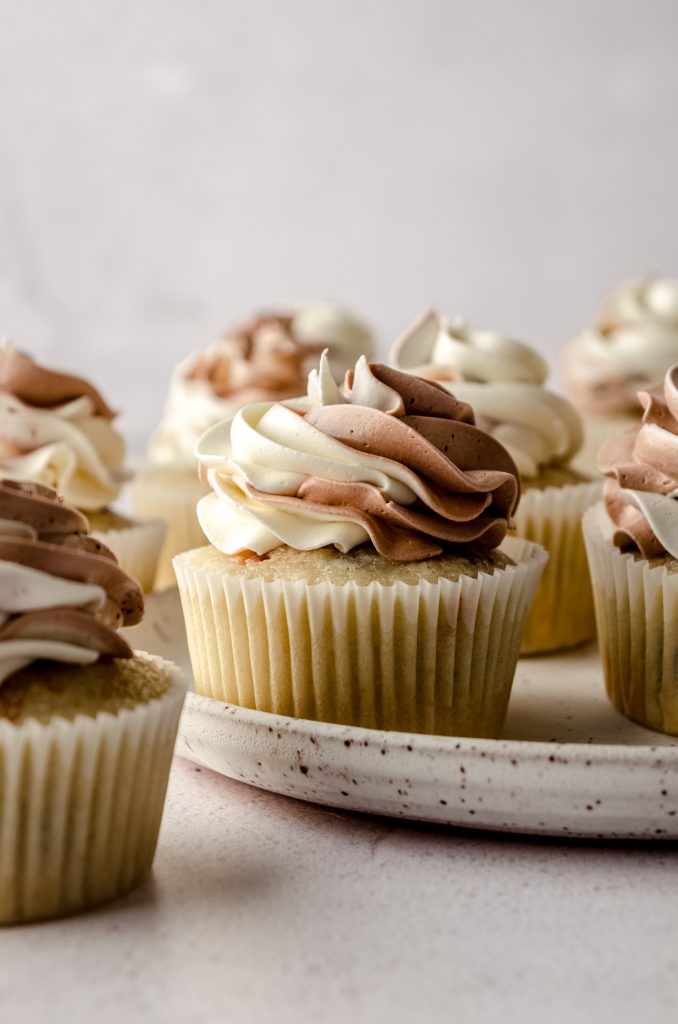
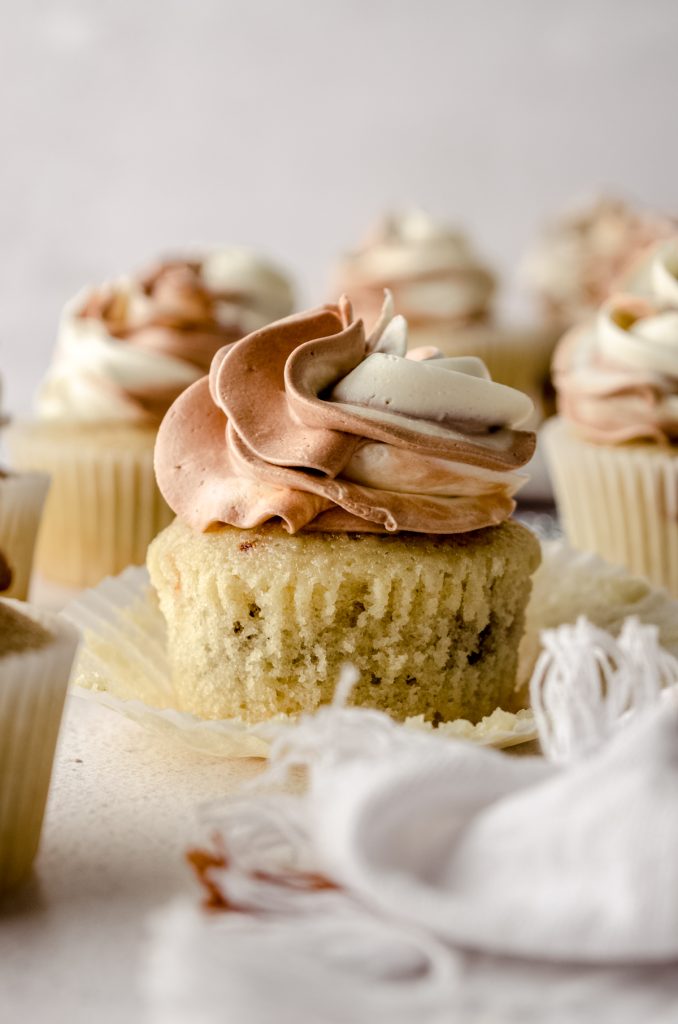
The best part about these cupcakes? You’re not making two full batters. One batter does all the work! You’ll mix up a simple vanilla base, take a little out, chocolate-ify it, and then swirl both batters together to get that beautiful marbling effect. And while I love topping these with swirled frosting to match the inside, that’s totally optional. No matter how you finish them, these marble cupcakes are anything but boring.
WHAT YOU’LL NEED: KEY INGREDIENTS
This marble cupcakes recipe starts with my beloved vanilla bean cupcake recipe with a few tweaks. You can find a full list of ingredients and amounts below in the recipe card, but here are some of the key ingredients you’ll need:
WHOLE MILK OR CREAM: this is crucial to retain moisture in the baked cupcakes. I prefer to use heavy cream and it’s something I have on hand regularly, but if you don’t, whole milk will work just as well.
FULL FAT YOGURT OR SOUR CREAM: again, full fat. I prefer sour cream all the way, but yogurt will work, too. Just be sure it’s full fat!
UNSWEETENED COCOA POWDER: this will turn our chocolate portion, well, chocolate. You can absolutely use Dutch processed cocoa powder, but do not use cacao powder.
PURE VANILLA EXTRACT: since we’re starting with a vanilla base, you want to be sure you’re using something with authentic, robust vanilla flavor. You can even use vanilla paste if you want!
As far as the frosting goes, you have options, and we’ll get to that in a bit.
HOW TO MAKE MARBLE CUPCAKES
Let me be clear: you do not have to make two different batters. While I love my vanilla cupcake and chocolate cupcake recipes separately, the batters are totally different and just mixing them together is not going to work.
Similar to the way we make marble pound cake, we’ll make a vanilla batter, remove some of it, turn that chocolate, and then swirl it into the vanilla batter.
Here’s an overview of the steps with photos. You’ll find more detailed steps in the recipe card below.
STEP #1: make the vanilla cupcake batter. This is a trusted cupcake base, but it takes some patience. If you rush though it, you’re bound to wind up with a lumpy cupcake batter. Again, there are details about this in the recipe card.
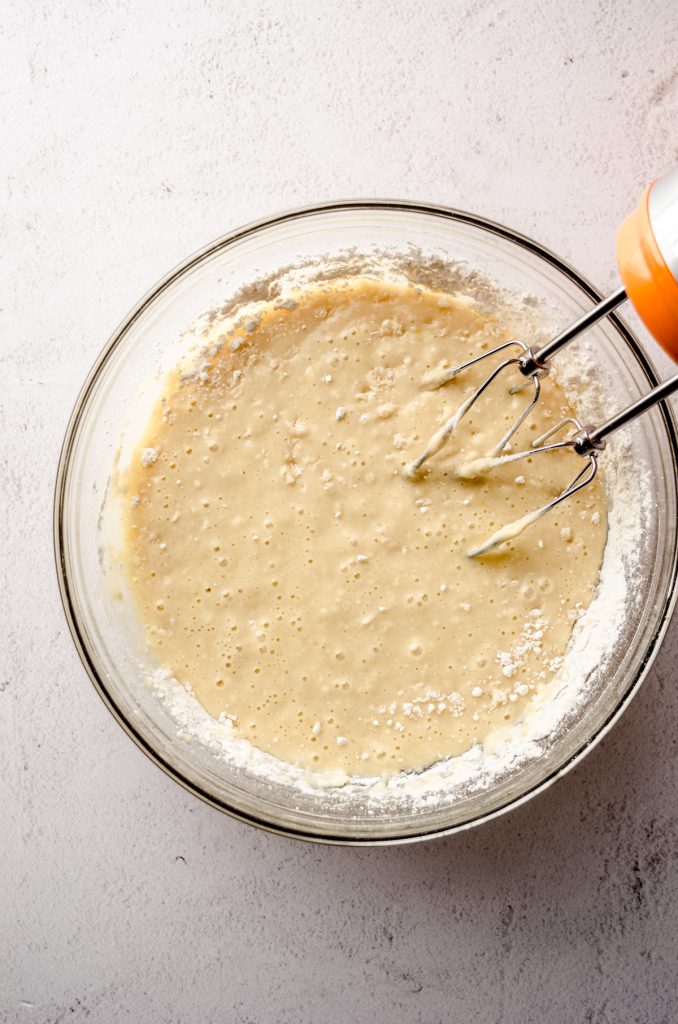
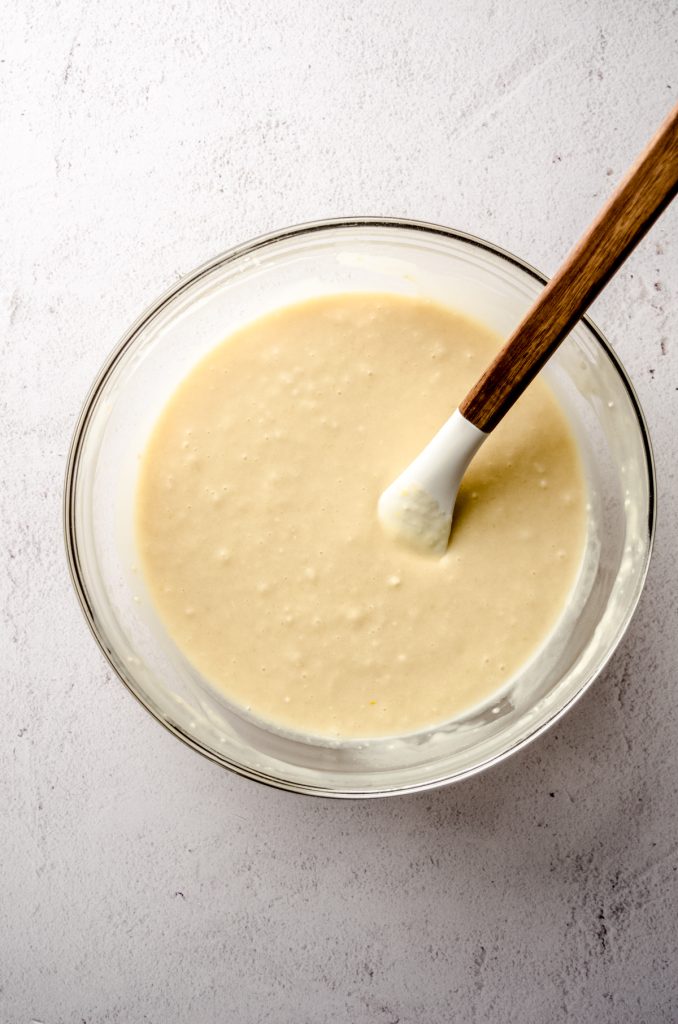
STEP #2: remove some of the cupcake batter and place it in a separate bowl.
STEP #3: add the cocoa powder and milk and mix until combined. We’re adding milk because the addition of another dry ingredient to the batter would be too thick without the extra liquid.
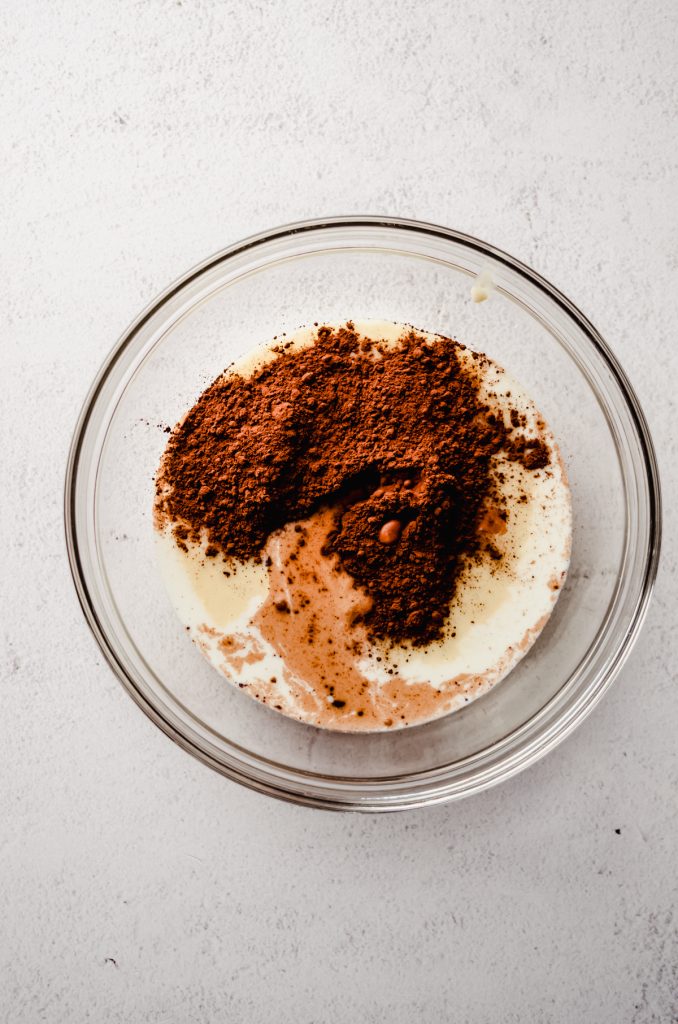
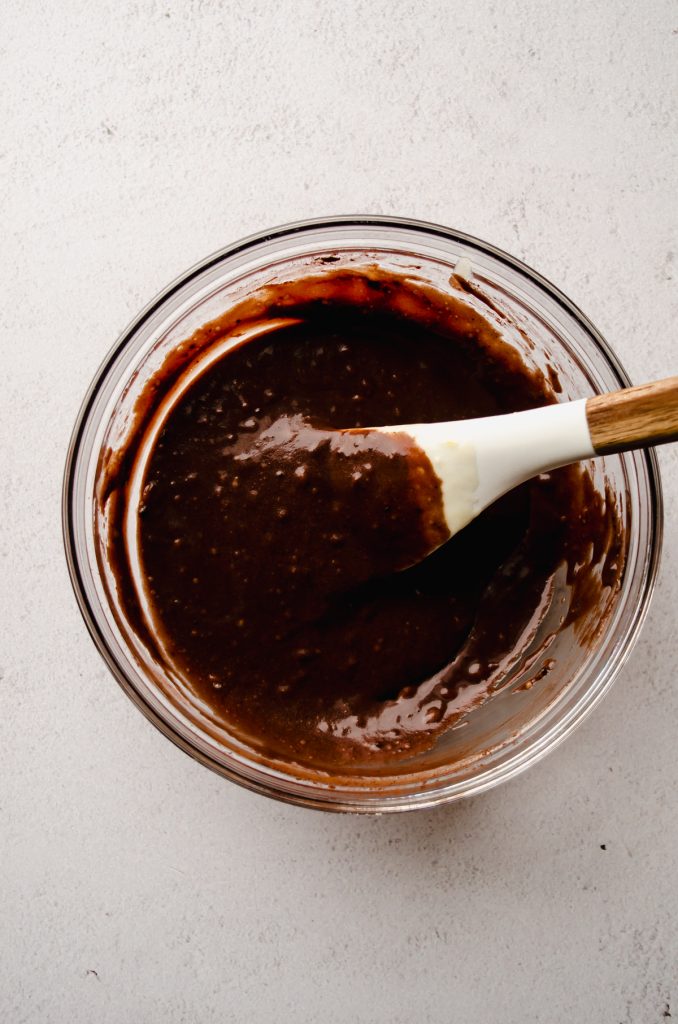
STEP #4: now it’s time to fill those cupcake liners! Add a heaping 1 Tablespoon of vanilla cupcake batter to the cupcake liners. I like to use this #50 scoop for this step.
STEP #5: next, add a heaping 1 teaspoon of chocolate batter to each well, right on top of the vanilla batter. I like to use a mini #110 cookie scoop for this portion.
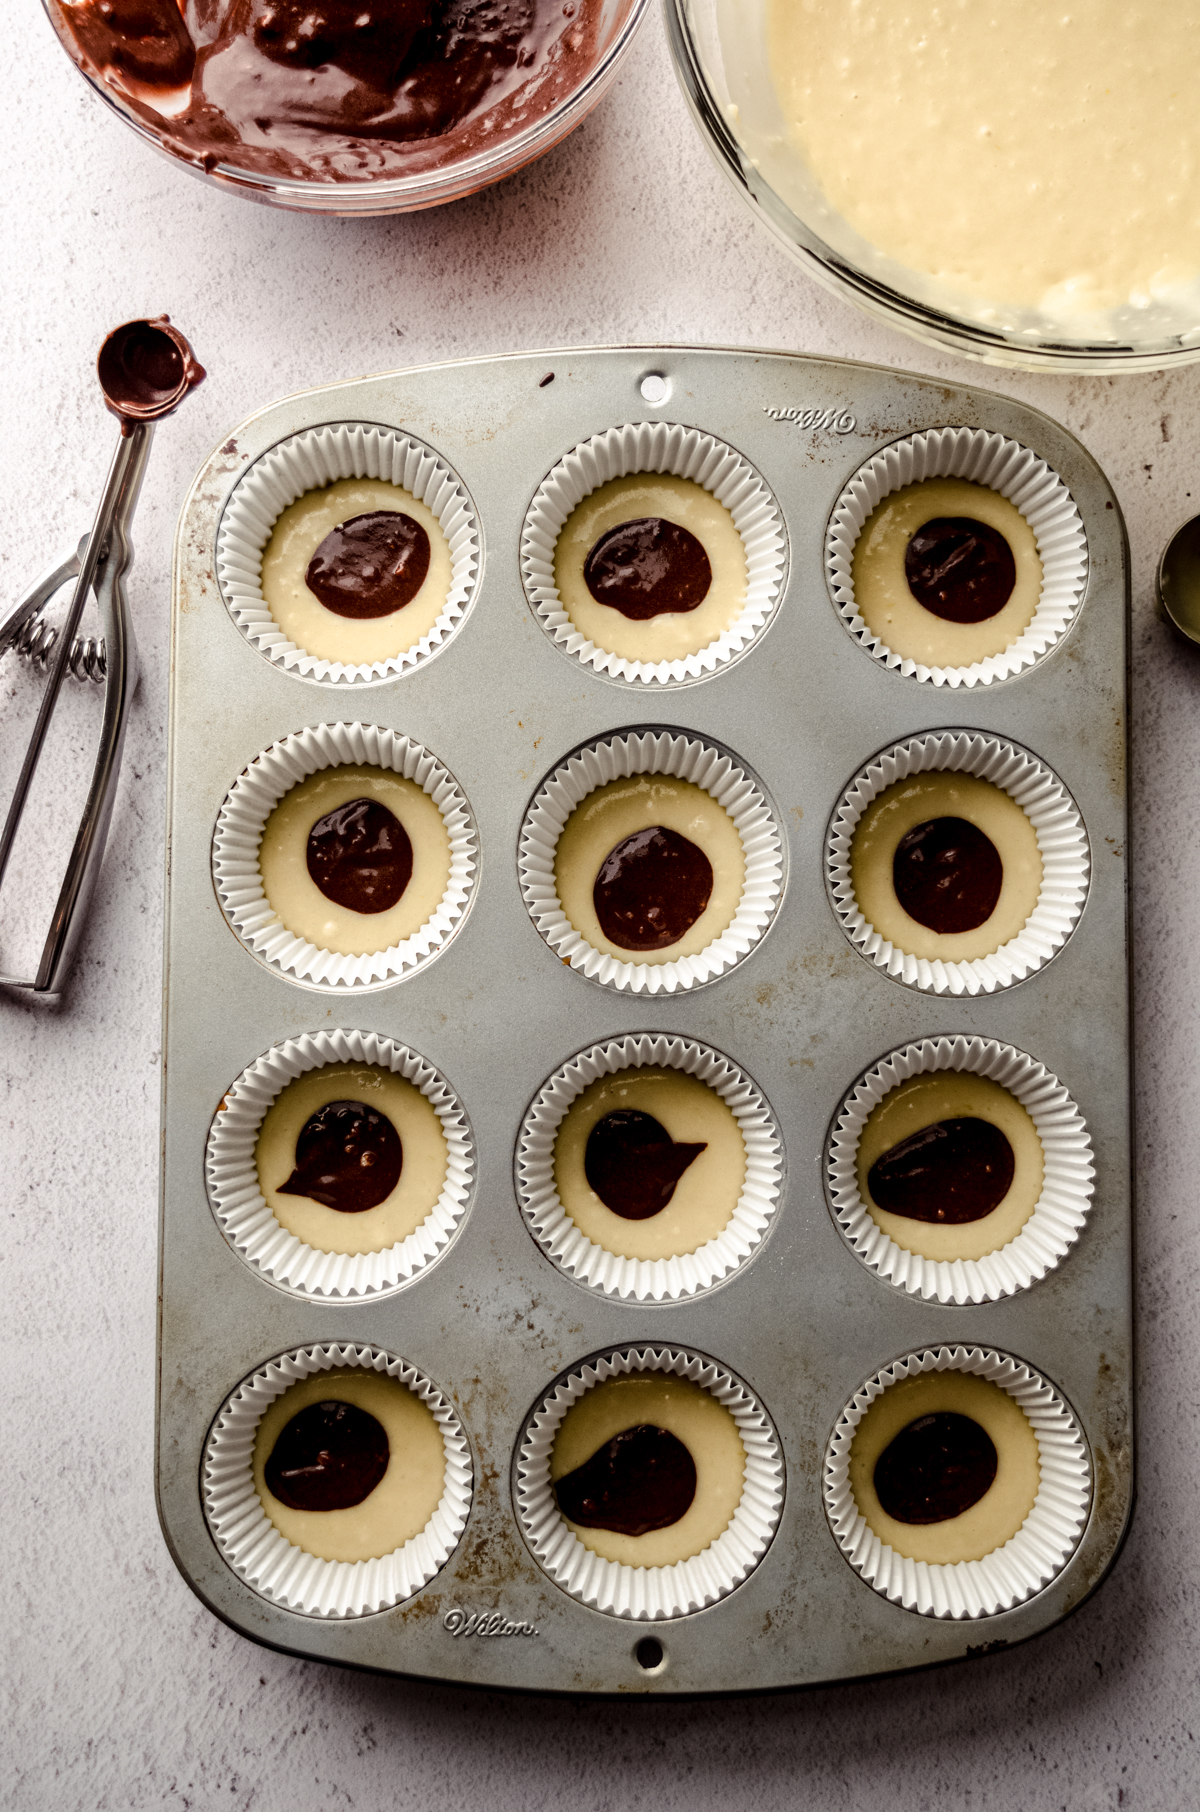
STEP #6: repeat the process, adding another 1 Tablespoon of vanilla batter and 1 teaspoon of chocolate batter to each well. Liners should be no more than ⅔ to ¾ of the way full with batter.
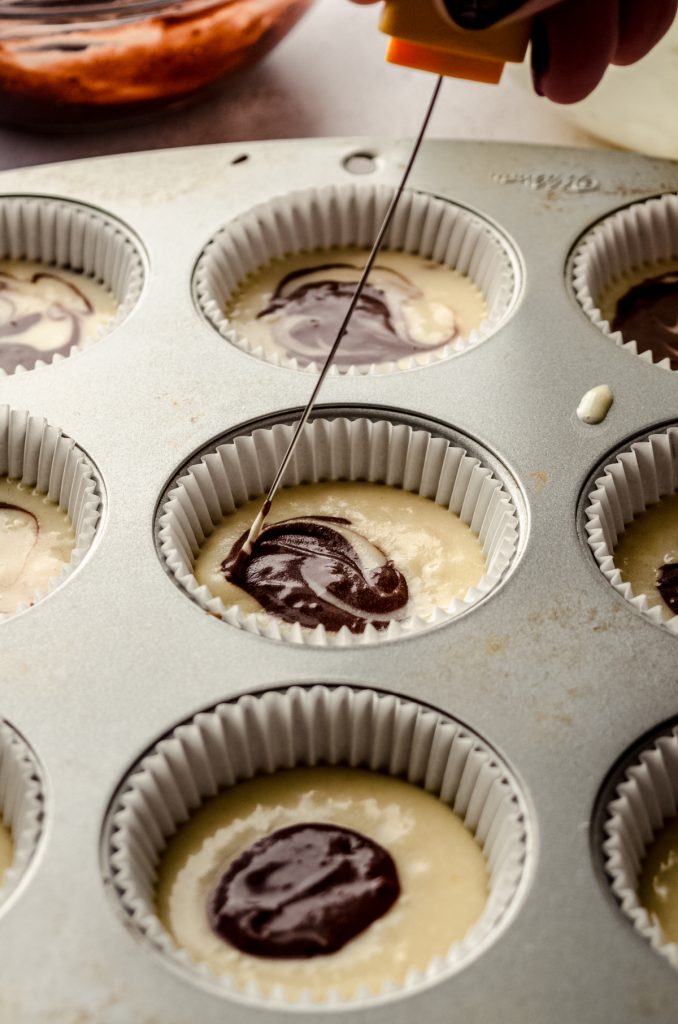
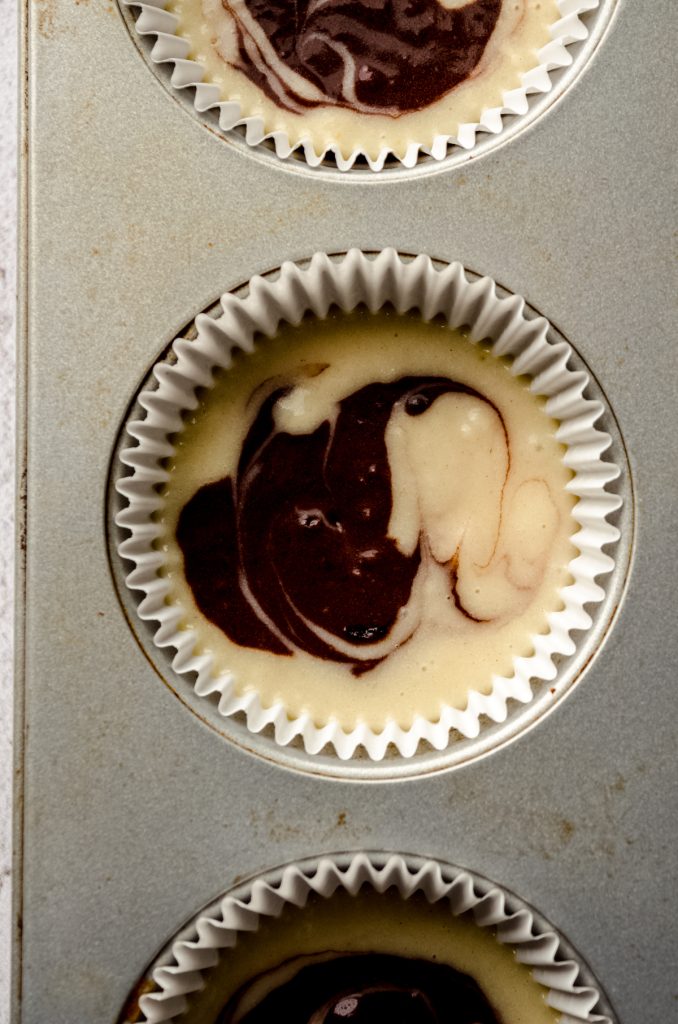
STEP #7: use a toothpick or cake tester to swirl the batter in each liner, taking care not to stir it in circles, but rather swirl it into a swirly pattern.
THE FROSTING: YOU HAVE OPTIONS
Here’s the fun part! And please, don’t overcomplicate this. I like to keep the frosting swirly, too, but that’s just personal preference. You can absolutely use just one flavor of frosting and forget about the swirls. Your cupcakes will still be downright delicious.
But if you’re here for swirly frosting, you are my people and let me give you some options.
I really love Swiss meringue buttercream, especially because it’s really easy to turn half of it chocolate, but it’s not the easiest frosting to make. Don’t get me wrong, I have a very comprehensive post dedicated to Swiss meringue buttercream and another one for chocolate Swiss meringue buttercream, but I also break down the steps in the recipe card below in a simpler form.
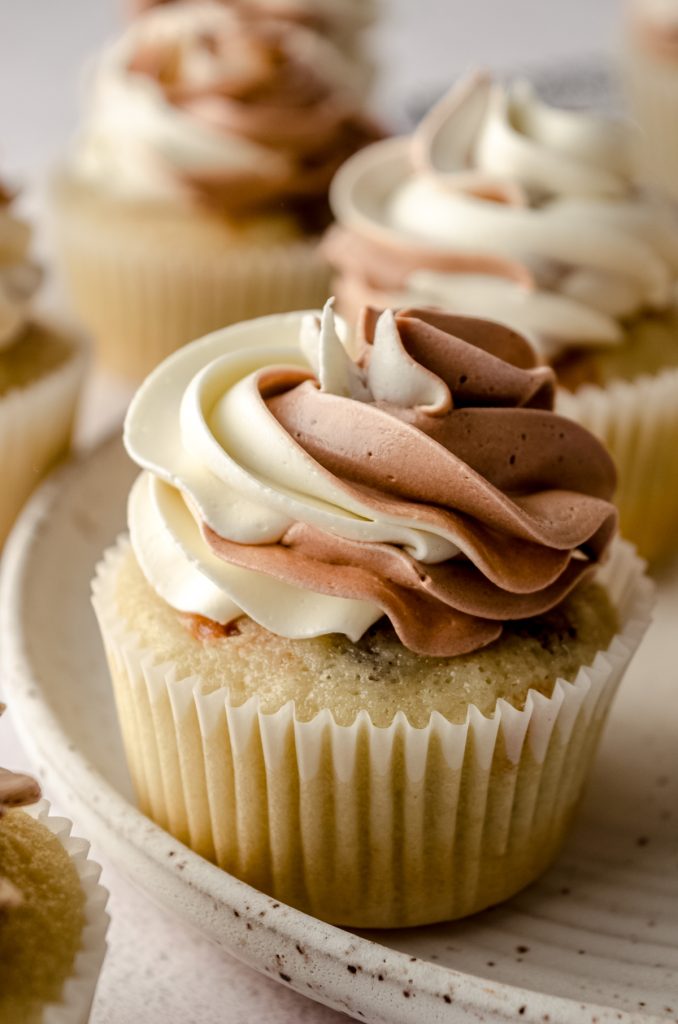
Feeling like that’s too complicated? No worries. Stick with vanilla buttercream and either my chocolate fudge frosting or chocolate buttercream.
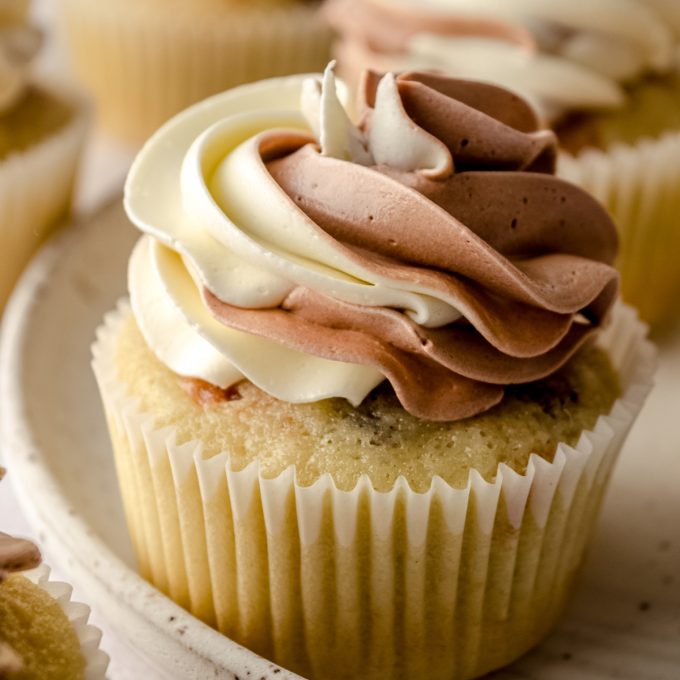
Master how to marble cupcakes and then top them off with an equally impressive marbled frosting!
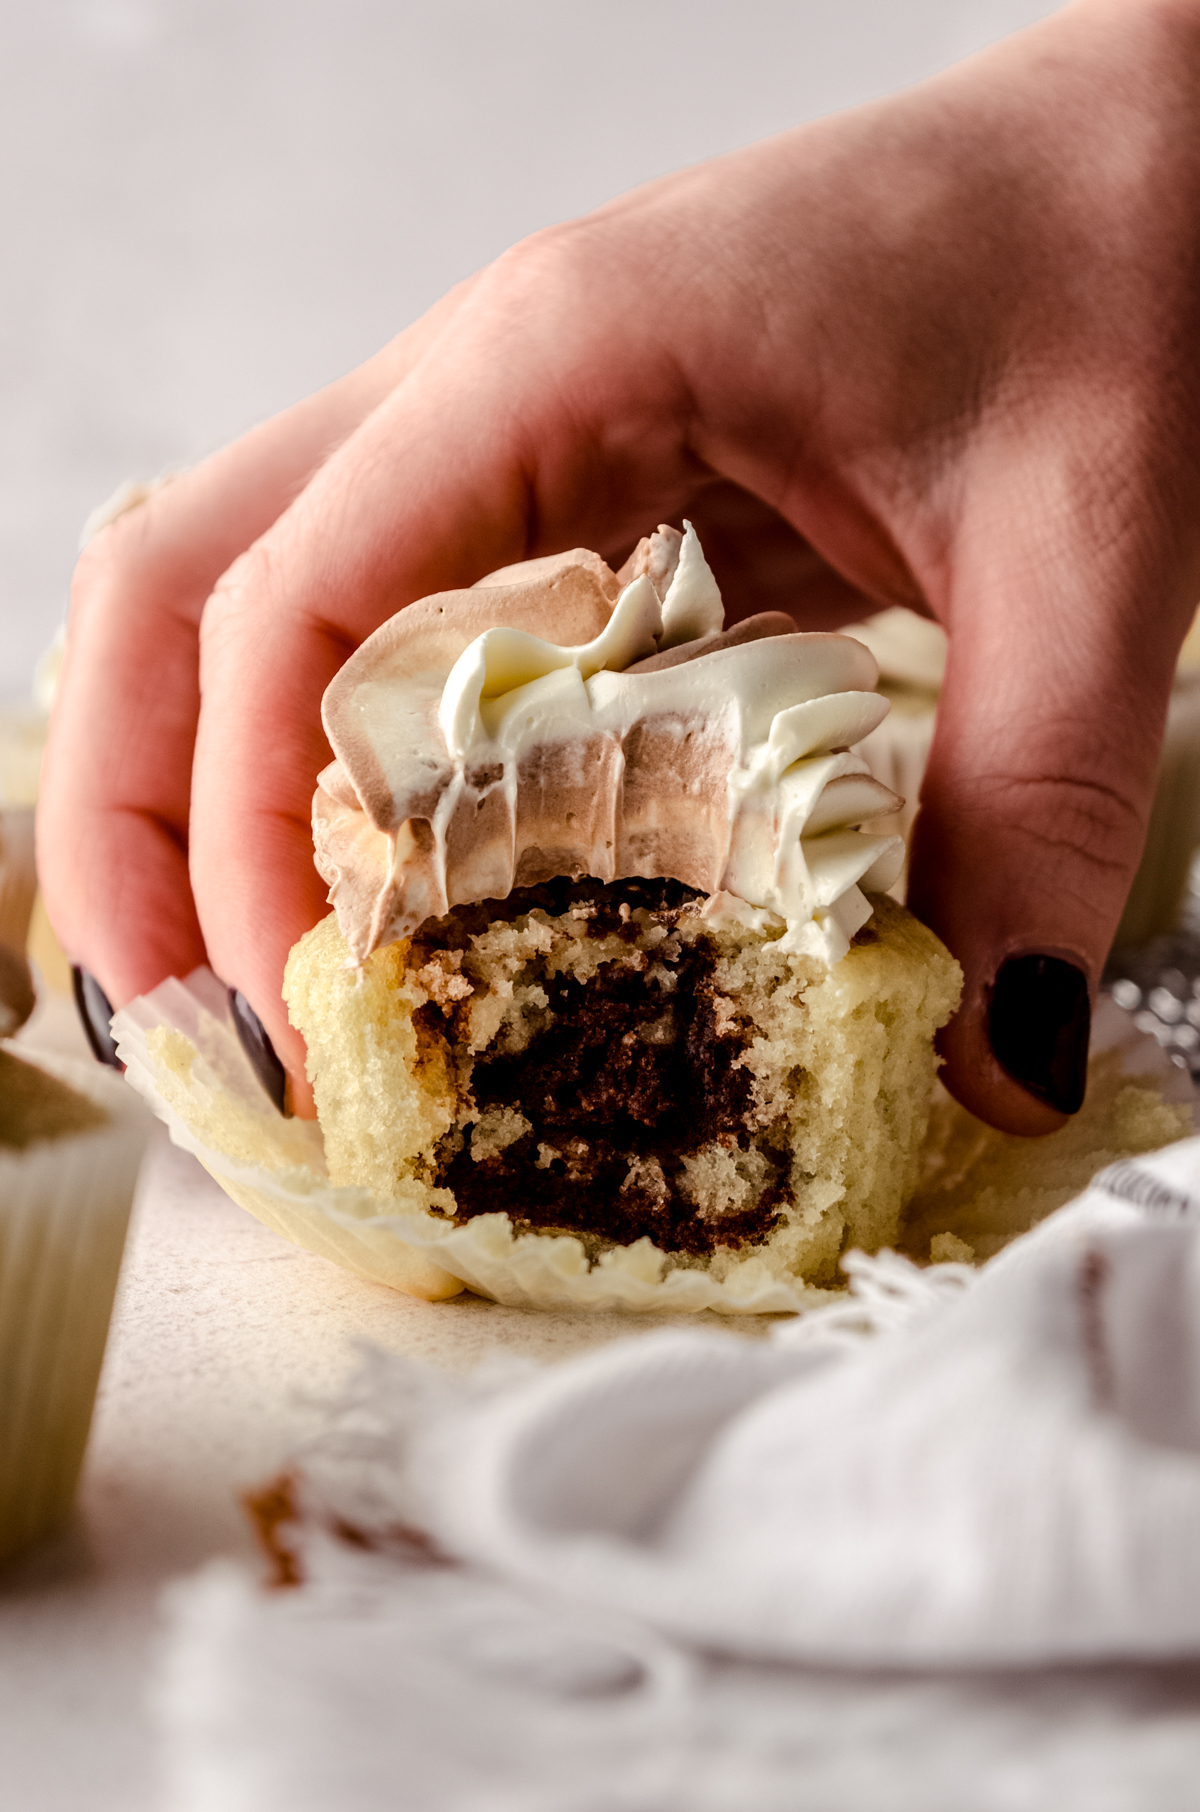
And just like that, you’ve learned how to make marbled cupcakes with (optional but very encouraged) swirly twirly frosting to match. I promise, with one bite of these cupcakes, you’re going to see marble as a whole new flavor: buttery, bold vanilla paired with deep notes of chocolate throughout every moist bite. A whole new flavor world!
Marble Cupcakes Recipe
Ingredients
VANILLA BATTER
- 1 and ⅔ cups (200g) all-purpose flour be sure to measure properly
- ½ teaspoon baking powder
- ¼ teaspoon baking soda
- ½ teaspoon salt
- ½ cup (113g) unsalted butter melted and allowed to cool
- 1 cup (200g) granulated sugar
- 1 large egg room temperature2
- ¼ cup (61g) full fat1 yogurt or sour cream room temperature2
- ¾ cup (180mL) whole1 milk or cream
- 1 teaspoon vanilla extract
CHOCOLATE BATTER
- 1 and ½ Tablespoons (8g) unsweetened cocoa powder
- 1 Tablespoon (15mL) whole1 milk or cream
SWIRLED SWISS MERINGUE BUTTERCREAM
- 6 large egg whites3
- 1 and ½ cups (300g) granulated sugar
- 1 and ½ cups (340g) unsalted butter4 softened to room temperature and sliced into 1 Tablespoon portions
- 2 teaspoons vanilla extract
- ⅛ teaspoon salt
- 3 ounces (85g) quality semi-sweet chocolate melted and allowed to cool
Instructions
VANILLA BATTER
- Preheat the oven to 350ºF (177ºC). Line the wells of a 12-count cupcake pan with cupcake liners and set aside.
- In a large bowl, whisk together the flour, baking powder, baking soda, and salt. Set aside.1 and ⅔ cups (200g) all-purpose flour, ½ teaspoon baking powder, ¼ teaspoon baking soda, ½ teaspoon salt
- In a large bowl with a handheld mixer5 or the bowl of a stand mixer fitted with the paddle attachment, beat together the melted butter, sugar, egg, yogurt, milk/cream, and vanilla extract on medium to high speed until completely smooth.½ cup (113g) unsalted butter, 1 cup (200g) granulated sugar, 1 large egg, ¼ cup (61g) full fat1 yogurt or sour cream, 1 teaspoon vanilla extract, ¾ cup (180mL) whole1 milk or cream
- Reduce the mixer speed to low, then slowly add the dry ingredients to the wet ingredients until just combined. Then, fold gently by hand with a large spatula and press out any large lumps of flour that remain by scraping them against the side of the bowl. Small lumps are ok.
CHOCOLATE BATTER
- Remove ½ cup of the batter and pour it into a small bowl.
- Add the cocoa powder and milk and stir to combine.1 and ½ Tablespoons (8g) unsweetened cocoa powder, 1 Tablespoon (15mL) whole1 milk or cream
MARBLE CUPCAKES
- Add a heaping 1 Tablespoon of vanilla cupcake batter to the cupcake liners. I like to use this #50 scoop for this step.
- Add a heaping 1 teaspoon of chocolate batter to each well, right on top of the vanilla batter. I like to use a mini #110 cookie scoop for this portion.
- Go back one more time and add another 1 Tablespoon of vanilla batter and 1 teaspoon of chocolate batter to each well, which should now have, from bottom to top, vanilla, chocolate, vanilla, and chocolate batter. Liners should be no more than ⅔ to ¾ of the way full with batter.
- Use a toothpick or cake tester to swirl the batter in each liner, taking care not to stir it in circles, but rather swirl it into a swirly pattern.
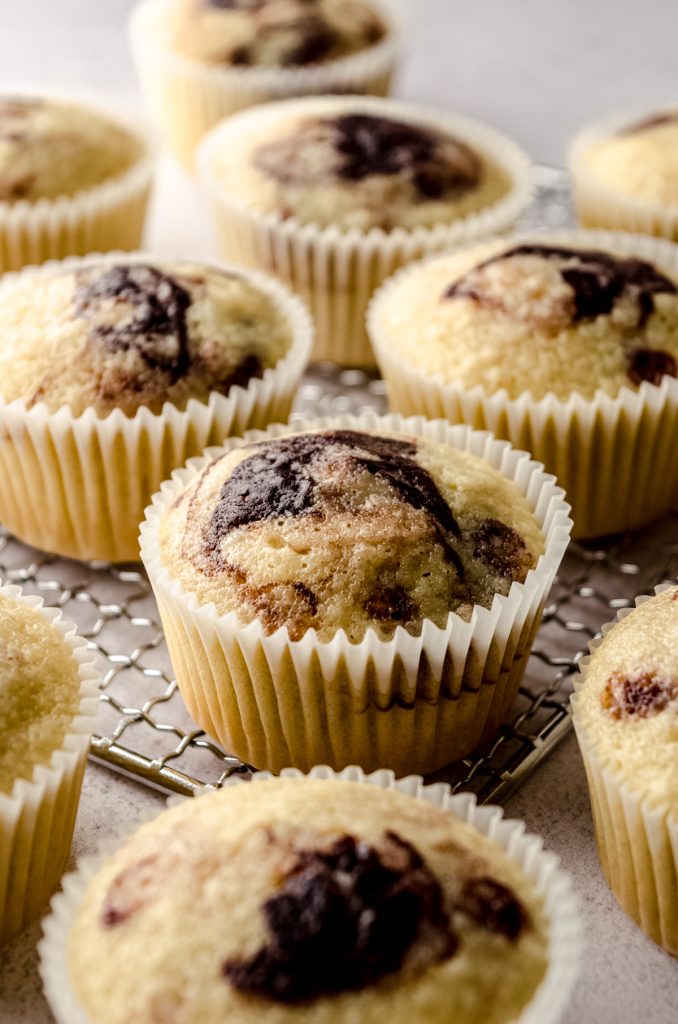
- Bake the cupcakes for 15-17 minutes or until a toothpick or cake tester inserted in the center comes out mostly clean. Allow cupcakes to cool completely before piping frosting on top.
SWIRLED SWISS MERINGUE BUTTERCREAM
- To ensure all of your equipment is grease-free, wipe down your bowl, mixer attachment, and any spatula you may be using with lemon juice or vinegar before starting this recipe. Grease, along with fat (like egg yolks), will ruin your buttercream.
- Heat a small saucepan of water over medium heat until it steams. Choose a saucepan that can fit whatever bowl you're using in the next step ensuring the water doesn't touch the bowl (I recommend testing this out before heating the water– you only need about an inch or two of water to make this happen).
- In the bowl of a stand mixer, or a large bowl to use with an electric hand mixer, combine the egg whites and granulated sugar. Place the bowl over the steaming pot to create a double boiler. You can also use an actual double boiler, but I find this setup works really well.6 large egg whites3, 1 and ½ cups (300g) granulated sugar
- Whisk the egg whites and sugar vigorously until the sugar melts completely and the egg whites become white and frothy. The mixture will start out sticky and thick but will move to thin and frothy with time and heat. This will take about 1 and ½ to 2 minutes. I like to test using my finger: carefully (the mixture is hot!) dip a clean finger into the mixture and rub it against your thumb. You should not be able to feel any sugar crystals. If you want to be as accurate as possible: you're looking for a temperature of 160ºF (71ºC) on an instant-read thermometer. This is my very favorite instant-read digital thermometer, and this is my favorite budget-friendly digital thermometer. When the egg/sugar mixture is ready, remove the bowl from the heat and place the bowl back onto the stand mixer.
- Fit your stand mixer with the whisk attachment and whisk the egg white/sugar mixture on high speed until medium peaks form (it will resemble the texture of shaving cream). Keep in mind this can take a long time, sometimes up to 10-15 minutes for me. When it's ready, it will still be slightly warm, which will help in the next step. If no peaks are forming, your mixture is likely still too warm. Allow it to cool for a few minutes (or pop it in the fridge) before proceeding.
- Reduce the mixer speed to low, then add the butter one Tablespoon at a time, waiting for the butter to completely incorporate before adding more, until you have used all of the butter. If at any time your mixture starts to look curdled or chunky, just keep mixing and it will correct itself.1 and ½ cups (340g) unsalted butter4
- Once all of the butter has been incorporated, increase the mixer speed to high and beat until medium to medium-stiff peaks form. Turn off the mixer, add the vanilla and salt, and beat again until stiff peaks form. If you are having trouble achieving peaks, place the bowl and whisk attachment in the fridge for about 10 minutes and then try again. Meringue (or even a kitchen) that is too warm can prevent the meringue from peaking properly.2 teaspoons vanilla extract, ⅛ teaspoon salt
- Remove about half of the Swiss meringue buttercream and place it in a bowl. Set aside.
- Add the cooled chocolate mixture to the remaining buttercream left in the bowl and whisk on low until the chocolate is completely incorporated. You may need to use a spatula to fully incorporate the chocolate. You're looking for no streaks and a uniform light chocolate brown color.3 ounces (85g) quality semi-sweet chocolate
PIPE SWIRLED FROSTING
- Place a tall cup or glass on your work surface.
- Fit a piping bag (reusable or disposable) with your tip of choice. I like to use a Wilton 1M or 2D tip.
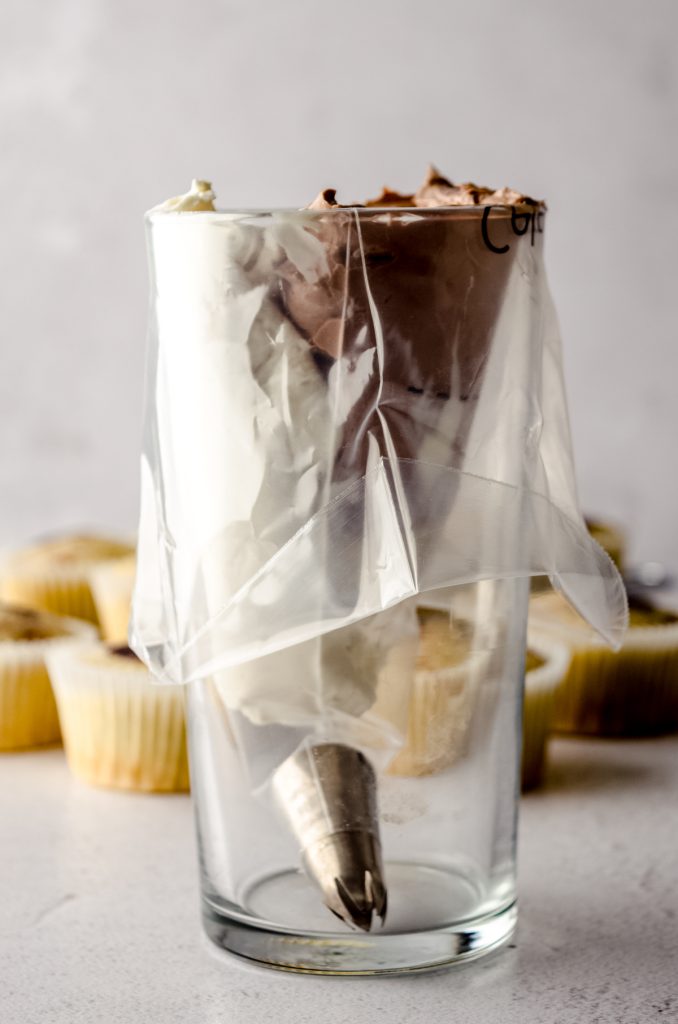
- Place the piping bag fitted with your tip into the tall glass. Fold the open part of the bag over the rim of the glass (see photos in the post above for visuals).
- Using a large spatula, fill one side of the piping bag with the white frosting, trying your best to leave space next to it for the chocolate/other frosting.
- Use a new spatula (or clean your current spatula) to fill the other side of the piping bag with the chocolate/other frosting.
- Lift the overhang of the piping bag up and gently but firmly shake the bag a couple times so the frosting settles and removes air pockets. Twist the top of the bag closed.
- Holding your piping bag straight up with one hand and the cupcake with your other hand, use constant pressure to pipe the frosting into a swirl. When your piping bag runs out, it's best to start with a clean bag so you have fresh swirls. Cupcakes stay fresh at room temperature for 3 days or in the refrigerator for up to 5 days. Cupcakes freeze well, up to 3 months. Thaw in the refrigerator or at room temperature.
Notes
- Full fat dairy: it is imperative to use full fat dairy in this recipe for moisture, since we’re using melted butter, therefore removing some natural moisture.
- Room temperature ingredients: these are always a good idea when using room temperature butter as it makes for easier incorporation into the batter. To bring eggs to room temperature quickly, place eggs in a bowl of warm water for 5-10 minutes.
- Egg whites: do not use egg whites from a carton for this recipe. This buttercream is safe to eat as you will cook the egg whites to a safe temperature. If you are worried about being at an exact temperature, you’re looking for a temperature of 160ºF (71ºC) on an instant-read thermometer. I outlined my favorites in step #4 under the “frosting” instructions above.
- Unsalted butter: do not use salted butter in this recipe as the saltiness will be too overpowering. It’s critical your butter is at room temperature and no warmer.
- Mixer: I’ve had repeated success making these cupcakes in a bowl without a mixer, which is my preferred method for this cupcake batter.
- Frosting: you can use any frosting you like here, even just one flavor. You may choose to keep the Swiss meringue buttercream in one flavor, or switch entirely to vanilla frosting and/or chocolate frosting or chocolate buttercream. The sky is the limit for frosting here!
Nutrition Disclosure
All nutritional values are approximate and provided to the reader as a courtesy. Changing ingredients and/or quantities will alter the estimated nutritional calculations.


I like the idea of using the scoops for batter disbursement. I have many scoops that I’ve acquired over the years, but I can not find any measurements or #’s on them, like your #50 or #110. Is there a particular hidden place for me to look to determine how much they hold – or what their # is?
Hi, Jen! Not all scoops have this label on them, but if they do, they’re usually on the inside of the head or the handle. Here’s a video on my Instagram that shows you exactly where you can find them! If you don’t see numbers, you can just fill the scoop with water and measure how much pours out (15mL is about 1 Tablespoon).