
Homemade Soft Pretzels

As an Amazon Associate, I earn from qualifying purchases. Read the full disclosure here.
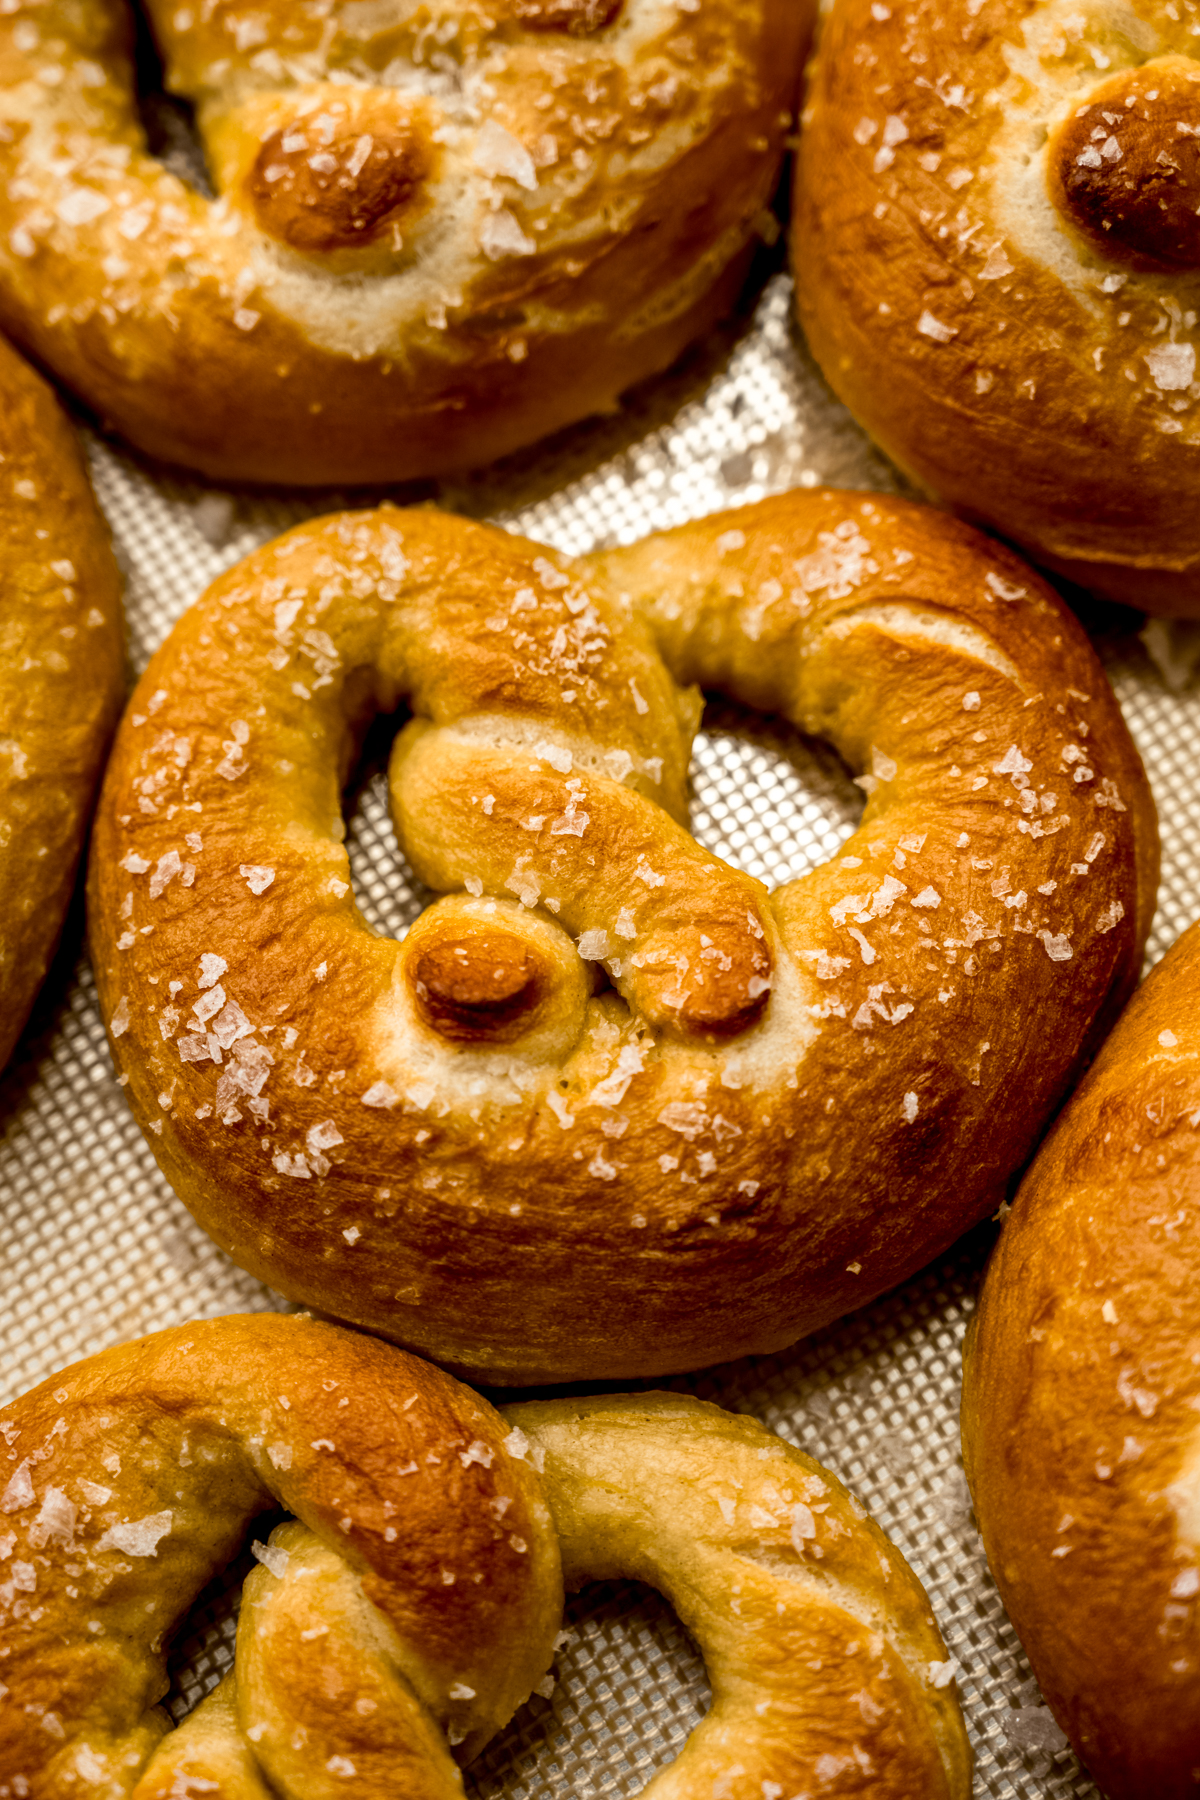
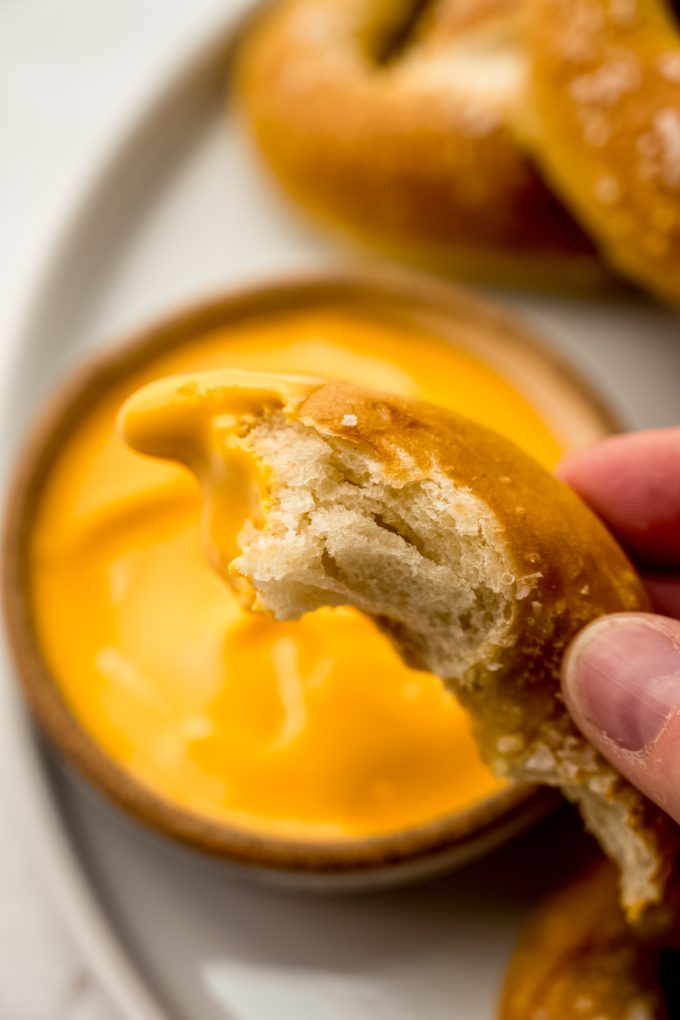
Soft and delicious homemade soft pretzels are easier to make than you think! The simple yeasted dough rests for just 10 minutes before shaping, and a quick baking soda boil is key to delivering that traditional pretzel flavor you’re craving, no special equipment or skills required.
ACTUALLY BETTER THAN STORE-BOUGHT
Sometimes when a recipe claims that it’s better than store-bought, it’s safe to assume that might be technically true, but the juice is in fact not worth the squeeze. I feel this way about a lot of homemade things, specifically Nutella and mayo, really just about anything deep fried.
Sure, you can make it from scratch, but is your life actually better for it? Debatable. And don’t even get me started on croissants. Homemade croissants take so long that at a certain point, it’s almost worth booking a flight to France instead (only kind of kidding).
But homemade soft pretzels? They absolutely earn a permanent spot on my “actually better homemade” list (alongside homemade sandwich bread, homemade marshmallows, and homemade whipped cream).
Now, if you have a really good bakery nearby that makes incredible soft pretzels (we do, and I get it), I’m not telling you to never buy one again. But these homemade soft pretzels are worlds better than the frozen ones I grew up on, and absolute lightyears ahead of anything twirling around at the movie theater or carnival stand.
Now here is where I will admit that the first time I made these, I was a little frustrated. I was testing several different recipes and methods all at once while developing my own version, so naturally the first run through had some chaos built into it. The second time I made them, it was smooth sailing. Since you know all of my recipes are written so you can succeed on your first try, you can trust that the version you’re about to make will steer you right from the start.
It comes with a caveat, though: I do still encourage you to read through the full recipe before you begin, just so you know what to expect. Buuuuuut that’s true of every recipe I share, even the ones with three ingredients and a handful of steps. It’s just good recipe hygiene!
HOW TO MAKE HOMEMADE SOFT PRETZELS
This process is simple, but it’s laid out step-by-step in the recipe card below. I even have a video to walk you through it all if visuals are more your thing. Here are a few things to keep in mind:
1) THE BAKING SODA BATH IS NON-NEGOTIABLE
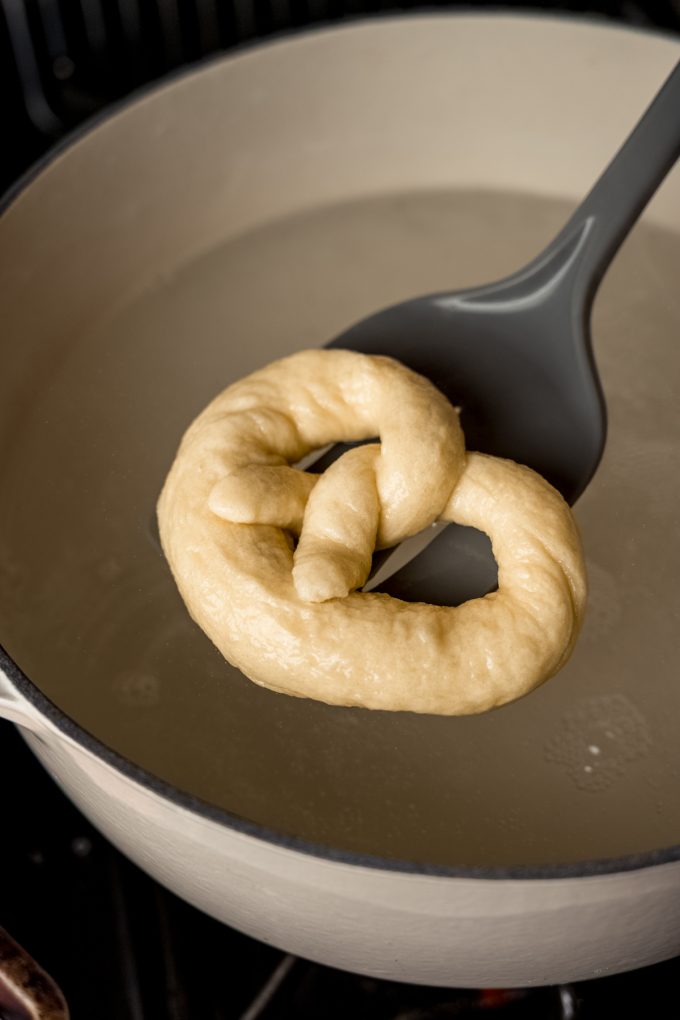
This is the step that turns a basic batch of yeasted dough into an actual soft pretzel, and it’s a lot simpler than it sounds– it’s just a large pot of boiling water with baking soda dissolved in it, and that’s really all there is to the magic.
This recipe is, at its core, a yeast bread. Without the baking soda bath, you’d end up with a soft, slightly sweet dinner roll shaped like a pretzel. The quick dip in the alkaline water is what gives pretzels their deep golden-brown color, their slightly chewy, glossy exterior, and that distinct flavor that separates “pretzel” from “bread.”
Don’t skip it, don’t rush it, and don’t go too long. It only takes about 20-30 seconds per pretzel, longer than that, and you risk your pretzels tasting metallic.
2) YOU CAN MAKE THEM ANY SIZE YOU WANT
This recipe is written to make 12 pretzels, each one about the size of your cupped hand once baked. But the dough is flexible (pun intended), so if you want to switch things up, you can make 6 extra large pretzels or 18-24 snack-size pretzels. You’ll obviously need to adjust how many portions you break your dough into plus the length of the rope before shaping. You’ll want the dough to be approximately ½ inch in diameter, so use that as a guide for rolling.
Also, your bake time will need to adjust as well. Smaller pretzels will bake faster, larger ones will need more time in the oven… You know this. The one thing that doesn’t change no matter what size you make is the time each pretzel spends in the baking soda bath. That step stays consistent across the board, because it’s not about size, it’s about that essential color, finish, and flavor that makes a pretzel a pretzel.
3) YOU CAN TURN THESE INTO CINNAMON SUGAR PRETZELS EASILY
Don’t add the coarse salt before baking, but remember not to skip that baking soda bath! After the unsalted pretzels are baked, combine 1 cup (200g) of granulated sugar with 3 Tablespoons of ground cinnamon and mix it together in a shallow bowl until completely combined.
Next, melt 4 Tablespoons of unsalted butter, brush each pretzel with the melted butter, then dunk the pretzel into the cinnamon-sugar mixture. I highly recommend making some cream cheese frosting and thinning it out a bit to dunk these bad boys into!
Note: these pretzels will get soggier much more quickly than the regular pretzels! Also, this is enough for all 12 pretzels. Adjust accordingly if you only want to do a few!
CAN I MAKE SOFT PRETZELS AHEAD OF TIME?
You can absolutely make these ahead of time! Simply leave off the coarse salt, since it will draw out the moisture from the dough and turn them soggy in a container. Bake the pretzels as directed, without the salt, then allow them to cool completely. Store them covered tightly at room temperature. When you’re ready to serve them, place the baked pretzels on a baking sheet, brush them lightly with water, then add the coarse salt. Then they just need a quick bake at 350°F (177°C) for 5-10 minutes.
CAN I MAKE THE SOFT PRETZEL DOUGH AHEAD OF TIME?
Yes, you can make this dough ahead of time as well. In fact, a covered cold nap in the fridge can intensify the flavor, if you have or need the time. Follow the recipe through the boiling step, then cover the pretzels tightly with oiled plastic wrap and chill them in the refrigerator until you are ready to bake them.
CAN I FREEZE SOFT PRETZELS?
Yes, you can freeze them baked or unbaked. Again, wait to top them with the salt until you’re ready to serve or bake them them.
For baked pretzels: cool the unsalted baked pretzels completely, then freeze them in an airtight container up to 3 months. To reheat them, brush the frozen pretzels with water and sprinkle with coarse salt, then bake them at 350°F (177°C) for about 20 minutes. There is no need to thaw them!
For unbaked pretzels: flash freeze the shaped dough on the baking sheets, then store the shaped and bathed pretzels in an airtight container up to 3 months. Thaw in the refrigerator or at room temperature, then proceed with the baking soda bath.

Easy Homemade Soft Pretzel Recipe
Ingredients
SOFT PRETZEL DOUGH
- 1 and ¼ cups (300mL) warm water
- 2 and ¼ teaspoons (7g) active dry yeast or 1 packet
- 1 Tablespoon (13g) granulated sugar
- 1 Tablespoon (15mL) olive oil1
- 1 teaspoon salt
- 3 and ½ to 4 cups (420-480g) all-purpose flour be sure to measure properly
- coarse salt for topping
BAKING SODA BATH
- ⅓ cup (80g) baking soda
- 8 cups (1.9L) water
Instructions
SOFT PRETZEL DOUGH
- In a large mixing bowl or bowl of a stand mixer fitted with the dough hook, whisk together the warm water, yeast, and granulated sugar. Allow the mixture to sit for 5-10 minutes to proof.1 and ¼ cups (300mL) warm water, 2 and ¼ teaspoons (7g) active dry yeast, 1 Tablespoon (13g) granulated sugar
- Once the yeast is proofed, whisk in the olive oil and salt, then add about 3 cups of the flour to the mixture.1 Tablespoon (15mL) olive oil1, 1 teaspoon salt, 3 and ½ to 4 cups (420-480g) all-purpose flour
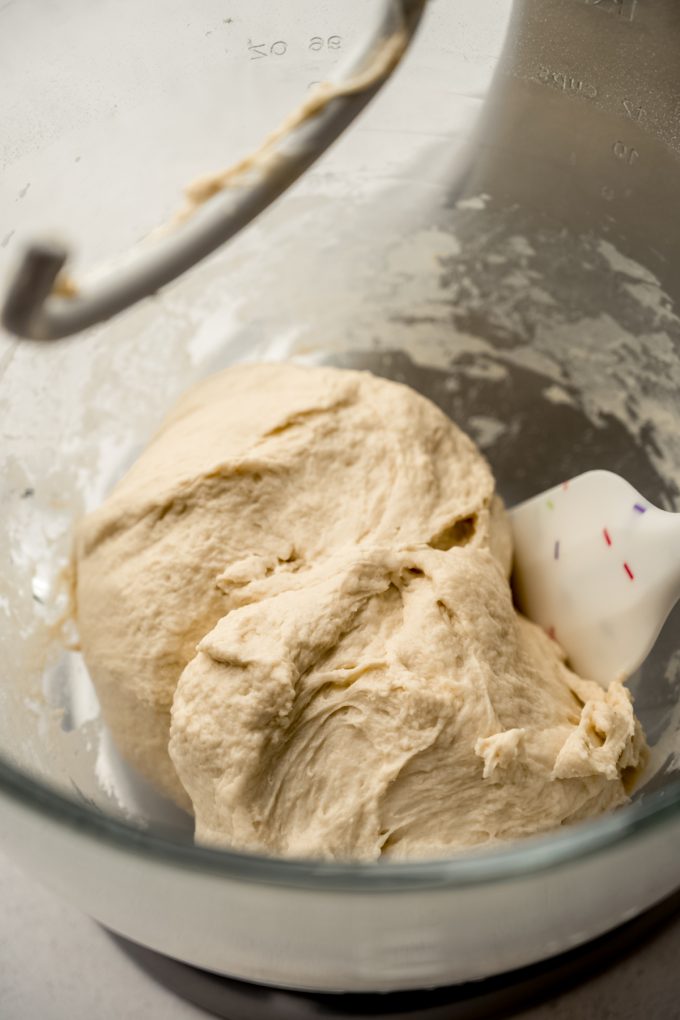
- Use a wooden spoon to stir everything together, or turn your mixer to low to begin blending the mixture. Add about ½ cup of flour to the bowl, then mix everything together. The dough should become slightly tacky and pull away from the sides of the bowl. If it is still too sticky, add about ¼ cup of additional flour, then 1 Tablespoon at a time, not exceeding 4 cups total, until the dough is tacky and bounces back when you poke it.
- Use the mixer on medium-low speed (or your hands on a lightly floured surface) to knead the dough for an additional 5 minutes. If the dough becomes too sticky, add 1 teaspoon of flour at a time and incorporate into the dough until you have a soft and slightly tacky dough (it should feel like fresh PlayDoh).
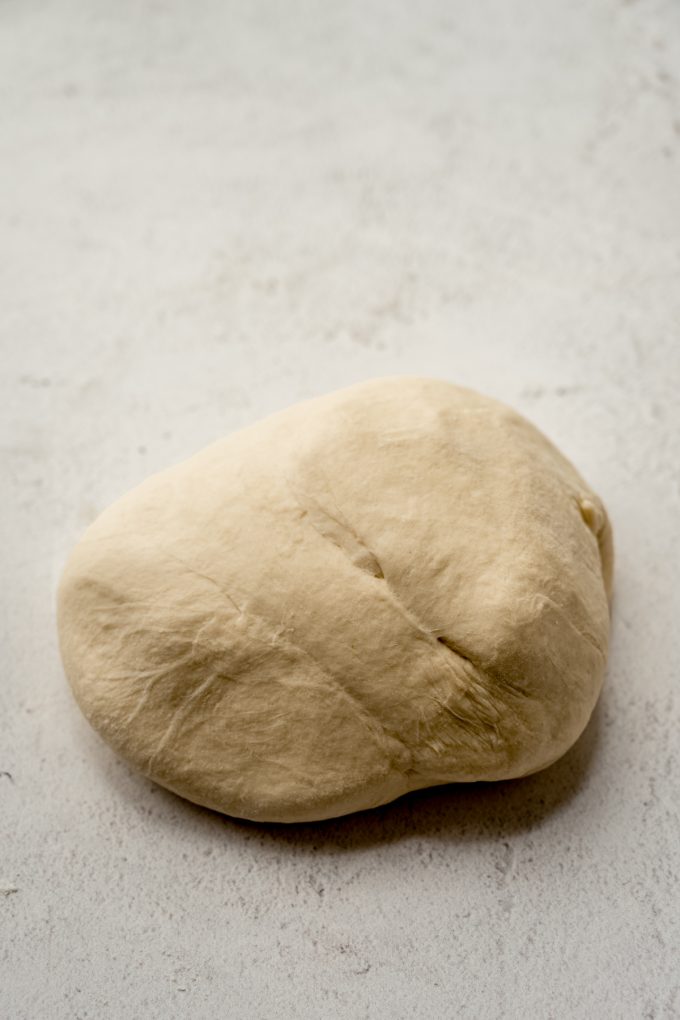
- Shape the kneaded dough into a ball, then cover it loosely with a kitchen towel and allow it to rest for 20 minutes (proceed to the next steps while it rests).
- Preheat the oven to 400°F (204°C), then line two baking sheets with parchment paper or silicone baking mats and set them aside.
BAKING SODA BATH
- Prepare the baking soda bath in a large pot. Turn the heat to high to bring the mixture to a boil. You want it to be boiling before you get to step #4 of this section.⅓ cup (80g) baking soda, 8 cups (1.9L) water
- With a sharp knife, pizza cutter, or kitchen shears, cut the dough into 12 sections (about 70-75g each2).
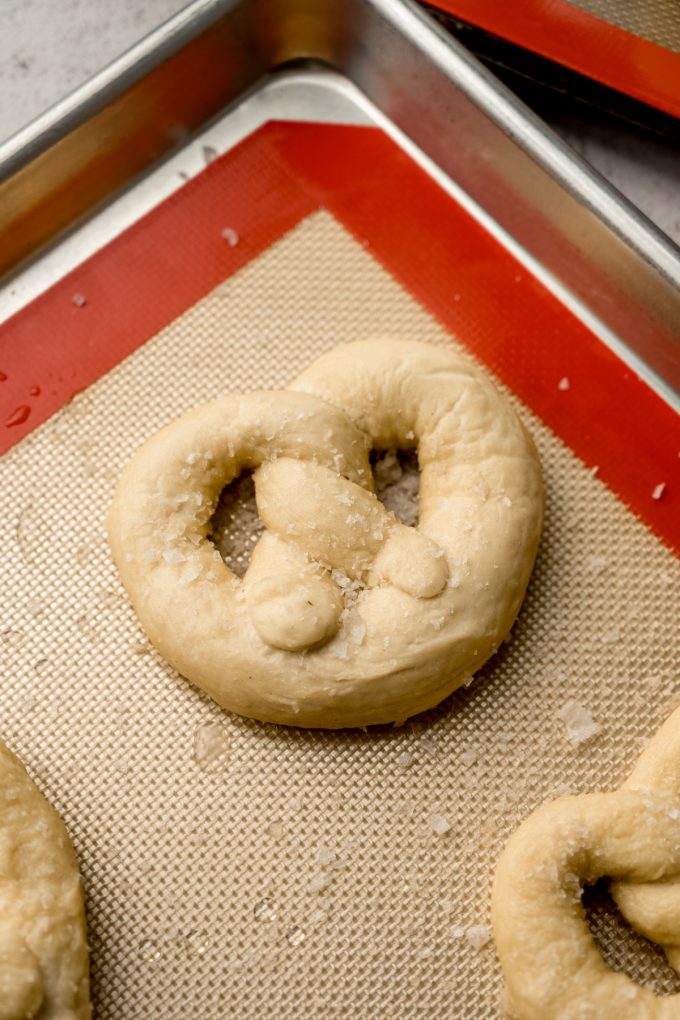
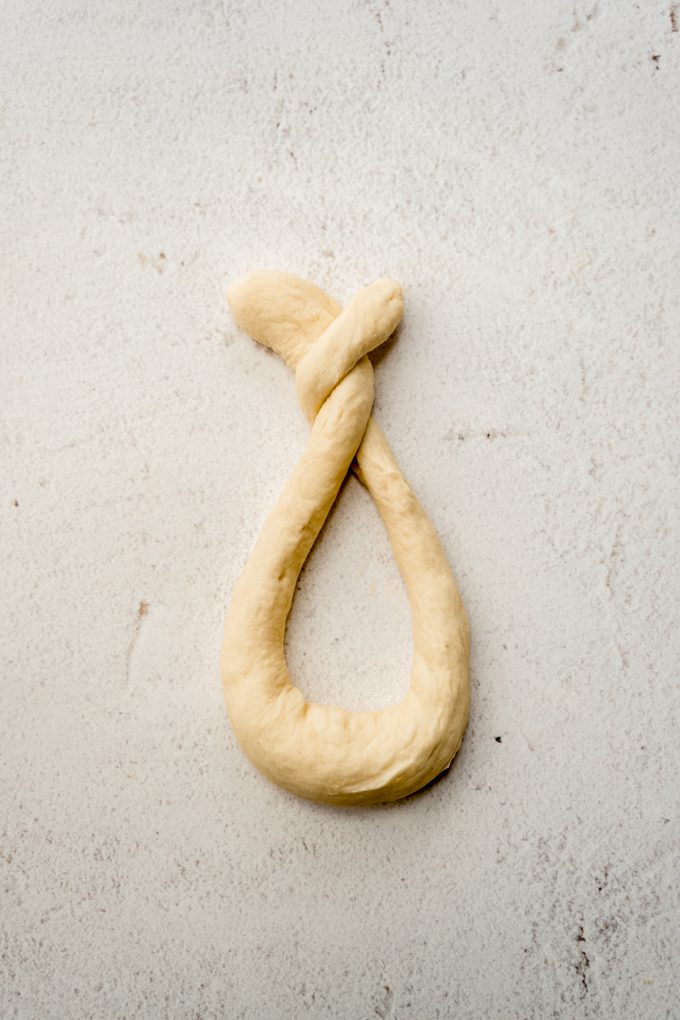
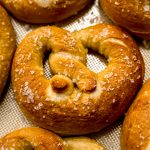
- Roll each section of dough into a 20–22" rope. Form a teardrop shape with the rope, then twist the ends together at the top of the tear drop (overlap them once, then give that overlap one more twist). Bring the twisted ends back down towards yourself and press them down gently to form a pretzel shape.
- Drop one pretzel at a time into the boiling baking soda water for 20–30 seconds and no longer. Use a slotted spatula or spoon to lift the pretzel out of the water and allow as much excess water as possible drip off. Place the wet pretzel onto the prepared baking sheet, then repeat with remaining pretzels.
- Sprinkle the tops of the pretzels with coarse salt, then bake them for 13–15 minutes or until dark golden brown (or desired darkness). Rotate the pans top to bottom halfway through baking.coarse salt
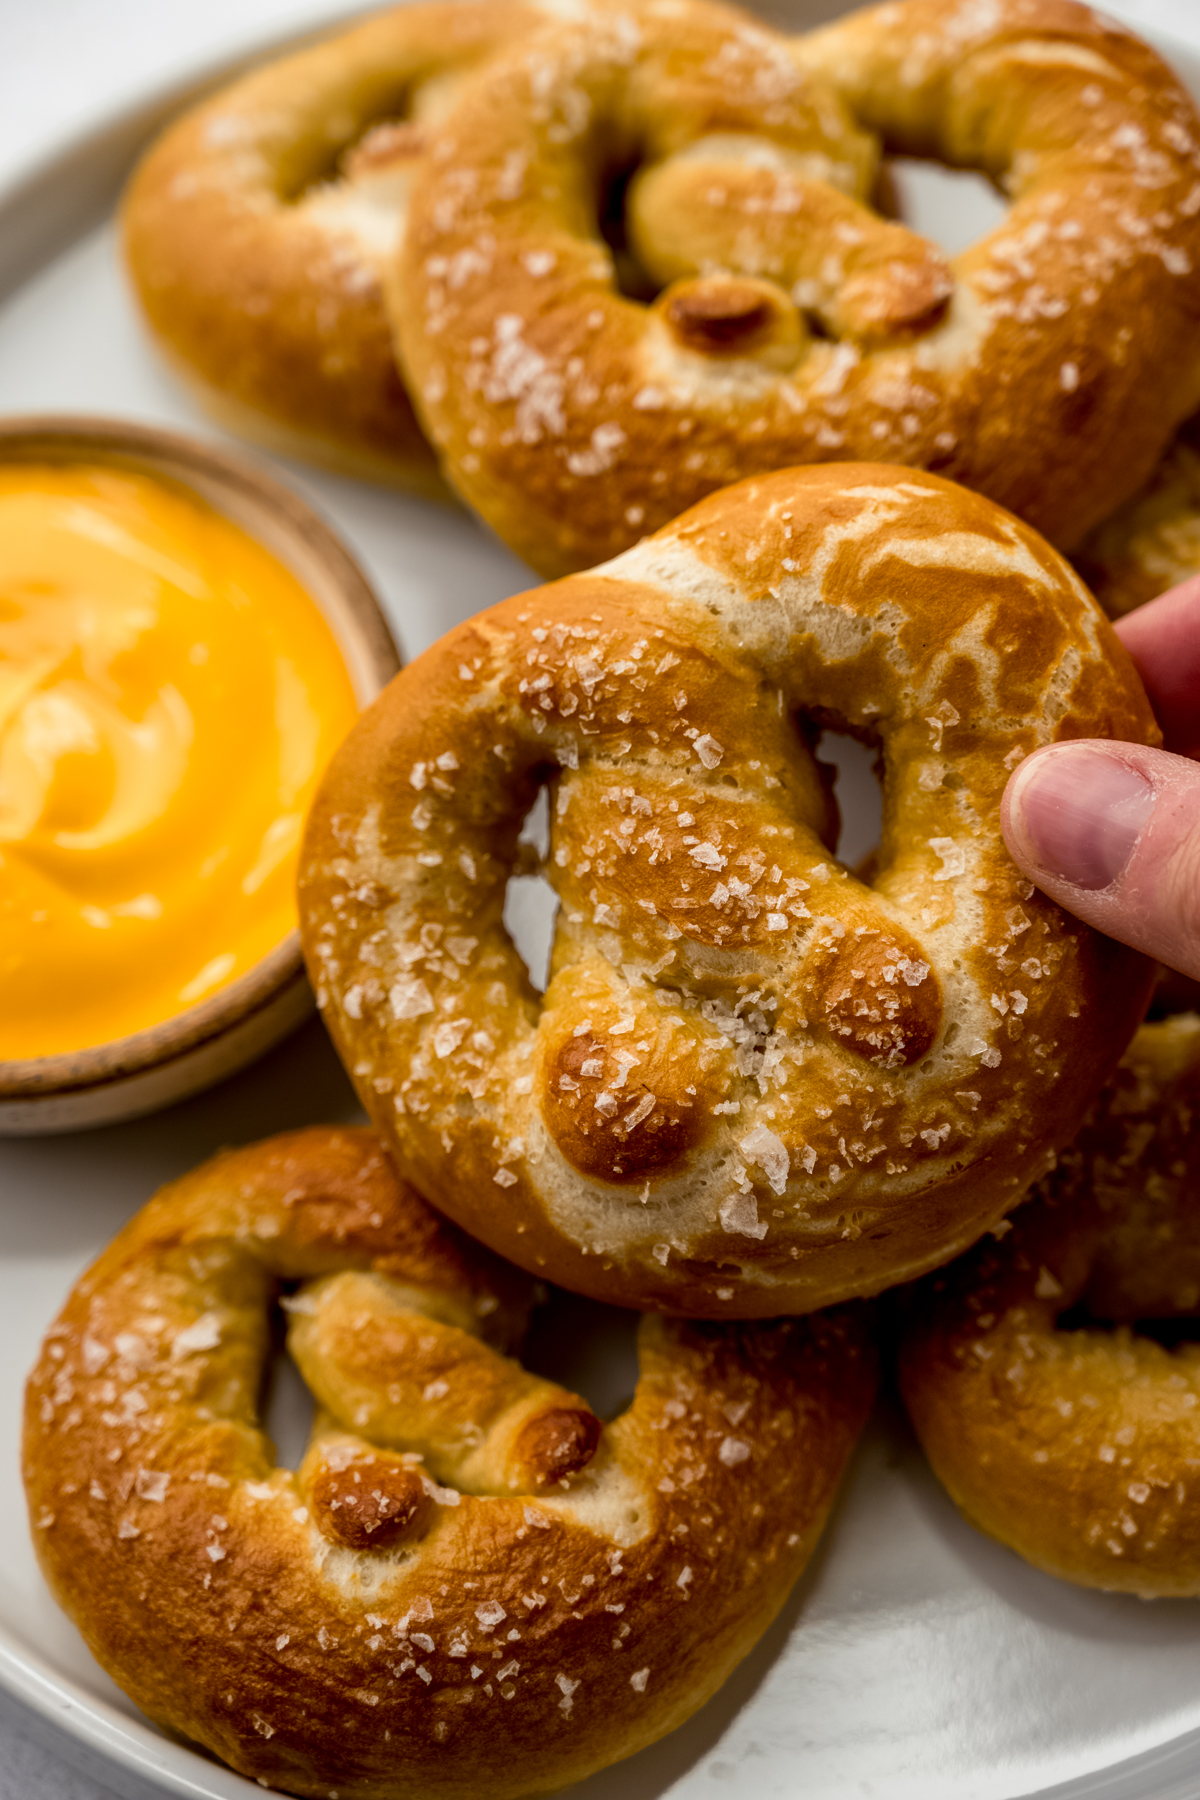
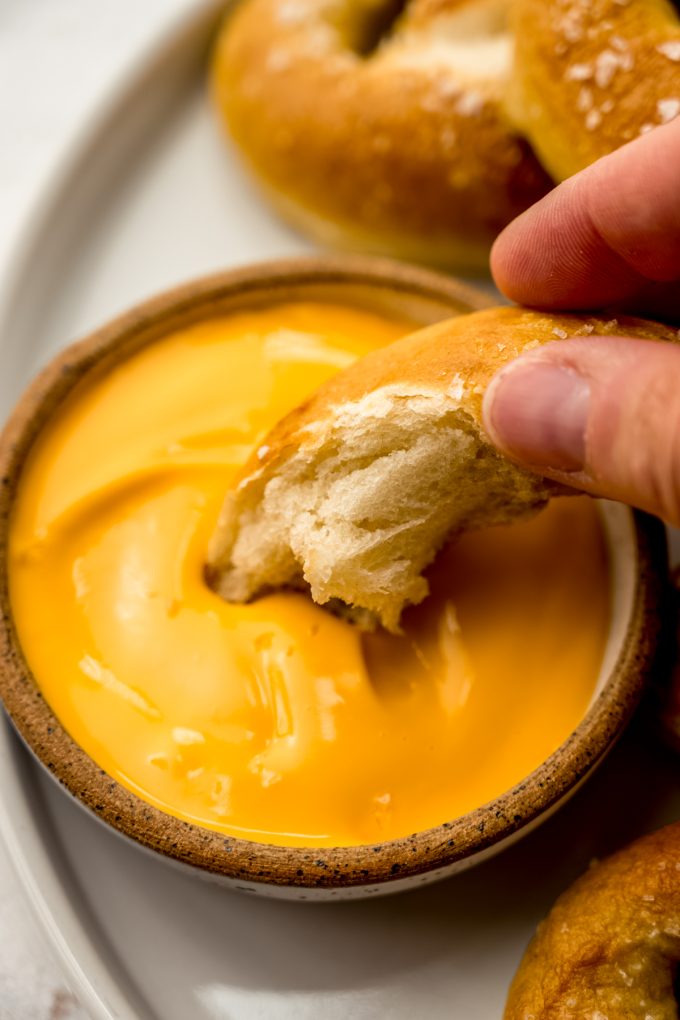
- Remove the pretzels from the oven and, if desired, serve warm with cheese sauce. Pretzels are best served on day one, but you can store leftovers at room temperature up to 3 days. We like to reheat ours in the air fryer. See notes section for making ahead3,4 and/or freezing5,6 instructions.
Video
Notes
- Olive oil: you can also use another kind of neutral oil, and you can even use melted butter. The recipe as written is vegan.
- Section weights: I like to weigh my whole ball of dough so I know exactly how much each section will weigh. The 70-75g indicated is an approximation, but your dough may vary based on how much flour you added and the humidity in your kitchen.
- Make ahead: make pretzels through shaping stage, leave off the coarse salt, and bake the pretzels as directed. Allow the pretzels to cool completely, then store them covered tightly at room temperature. When you’re ready to serve them, place the baked pretzels on a baking sheet, brush them lightly with water, then add the coarse salt. Bake at 350°F (177°C) for 5-10 minutes.
- Make just the dough ahead: follow the recipe through the boiling step, then cover the pretzels tightly with oiled plastic wrap and chill them in the refrigerator until you are ready to bake them (up to 24 hours).
- Freeze baked pretzels: cool the unsalted baked pretzels completely, then freeze them in an airtight container up to 3 months. To reheat them, brush the frozen pretzels with water and sprinkle with coarse salt, then bake them at 350°F (177°C) for about 20 minutes. There is no need to thaw them!
- Freeze unbaked pretzels: flash freeze the shaped and bathed dough on the baking sheets, then store the shaped pretzels in an airtight container up to 3 months. Thaw in the refrigerator or at room temperature, then proceed with the baking instructions.
Nutrition Disclosure
All nutritional values are approximate and provided to the reader as a courtesy. Changing ingredients and/or quantities will alter the estimated nutritional calculations.