
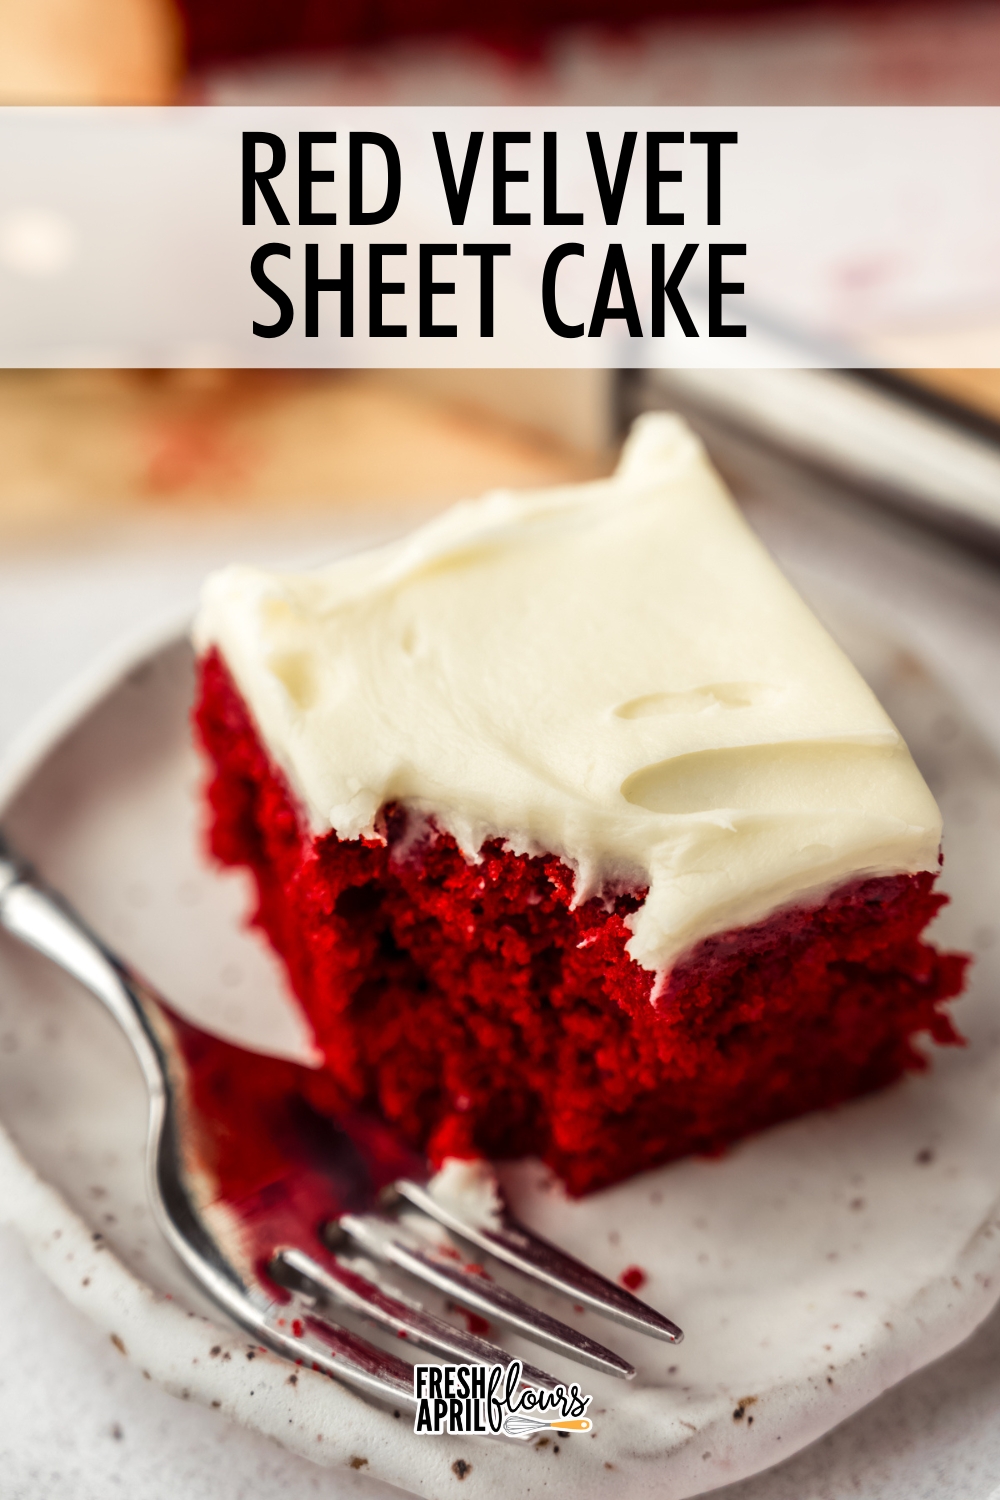
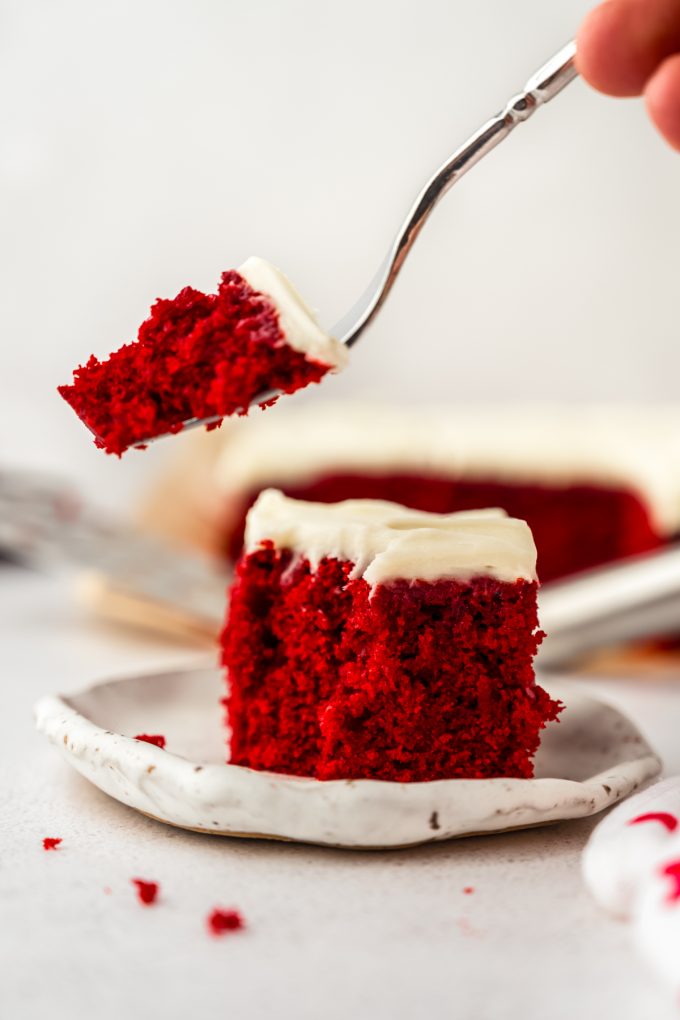
Red Velvet Sheet Cake
As an Amazon Associate, I earn from qualifying purchases. Read the full disclosure here.
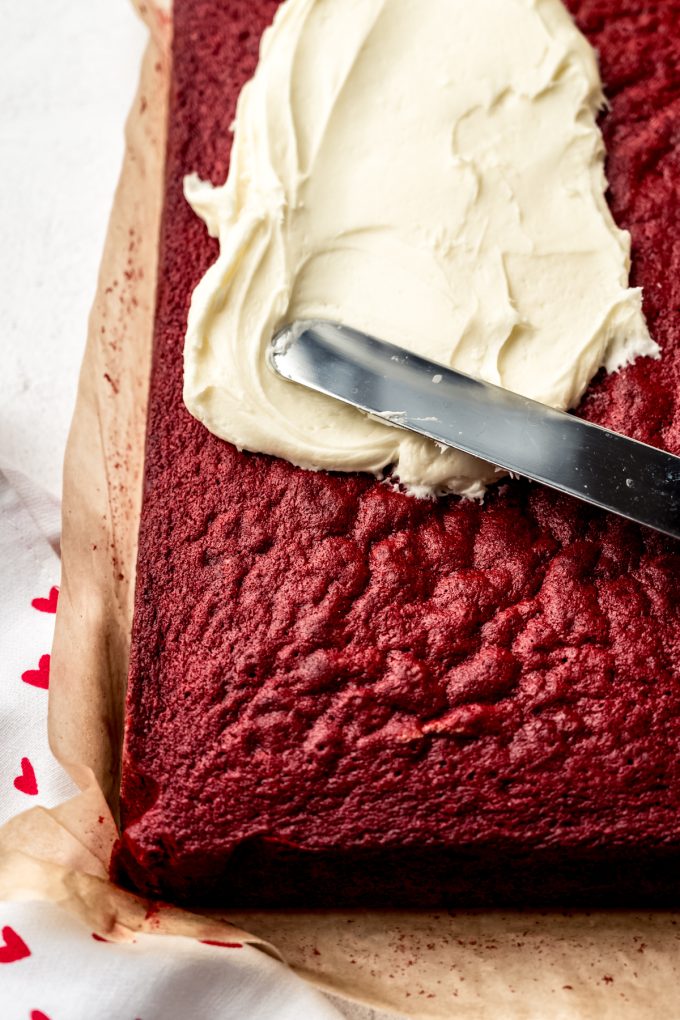
This red velvet sheet cake has everything you love (fluffy texture, subtle tang, and rich cream cheese frosting) without the extra work of stacking cake layers. After years of perfecting my recipe, it’s become a go-to for home bakers with rave reviews. With just a few key ingredients and simple steps, you’ll have a classic, crowd-pleasing cake that’s as easy as it is delicious!
THE RED VELVET CAKE THAT PRIORITIZES CONVENIENCE
If you love red velvet cake but don’t want to fuss with stacking layers, this red velvet sheet cake is for you! It’s the same tried-and-true recipe as my red velvet layer cake, just way easier to make and serve.
Here’s the thing: red velvet cake can be tricky and it often gets a bad rap from bakers and tasters. Too often, it turns out dry, crumbly, or lacking that perfect balance of fluffiness and sweetness. But after years of baking cakes for birthdays, weddings, and showers (and then moving to sharing recipes here on my website), I’ve perfected a recipe that delivers soft, flavorful results every time.
With the right ingredients and steps, making a perfect red velvet cake totally doable, even if you’ve never baked a cake from scratch before. Be sure you’re reading through the ingredients and steps before starting, and you’re guaranteed to be rewarded with this easy and simplified take on a classic.
RED VELVET sheet CAKE INGREDIENTS
There are a few key ingredients in red velvet cake, but for the most part, you likely have all of the ingredients necessary in your pantry already.
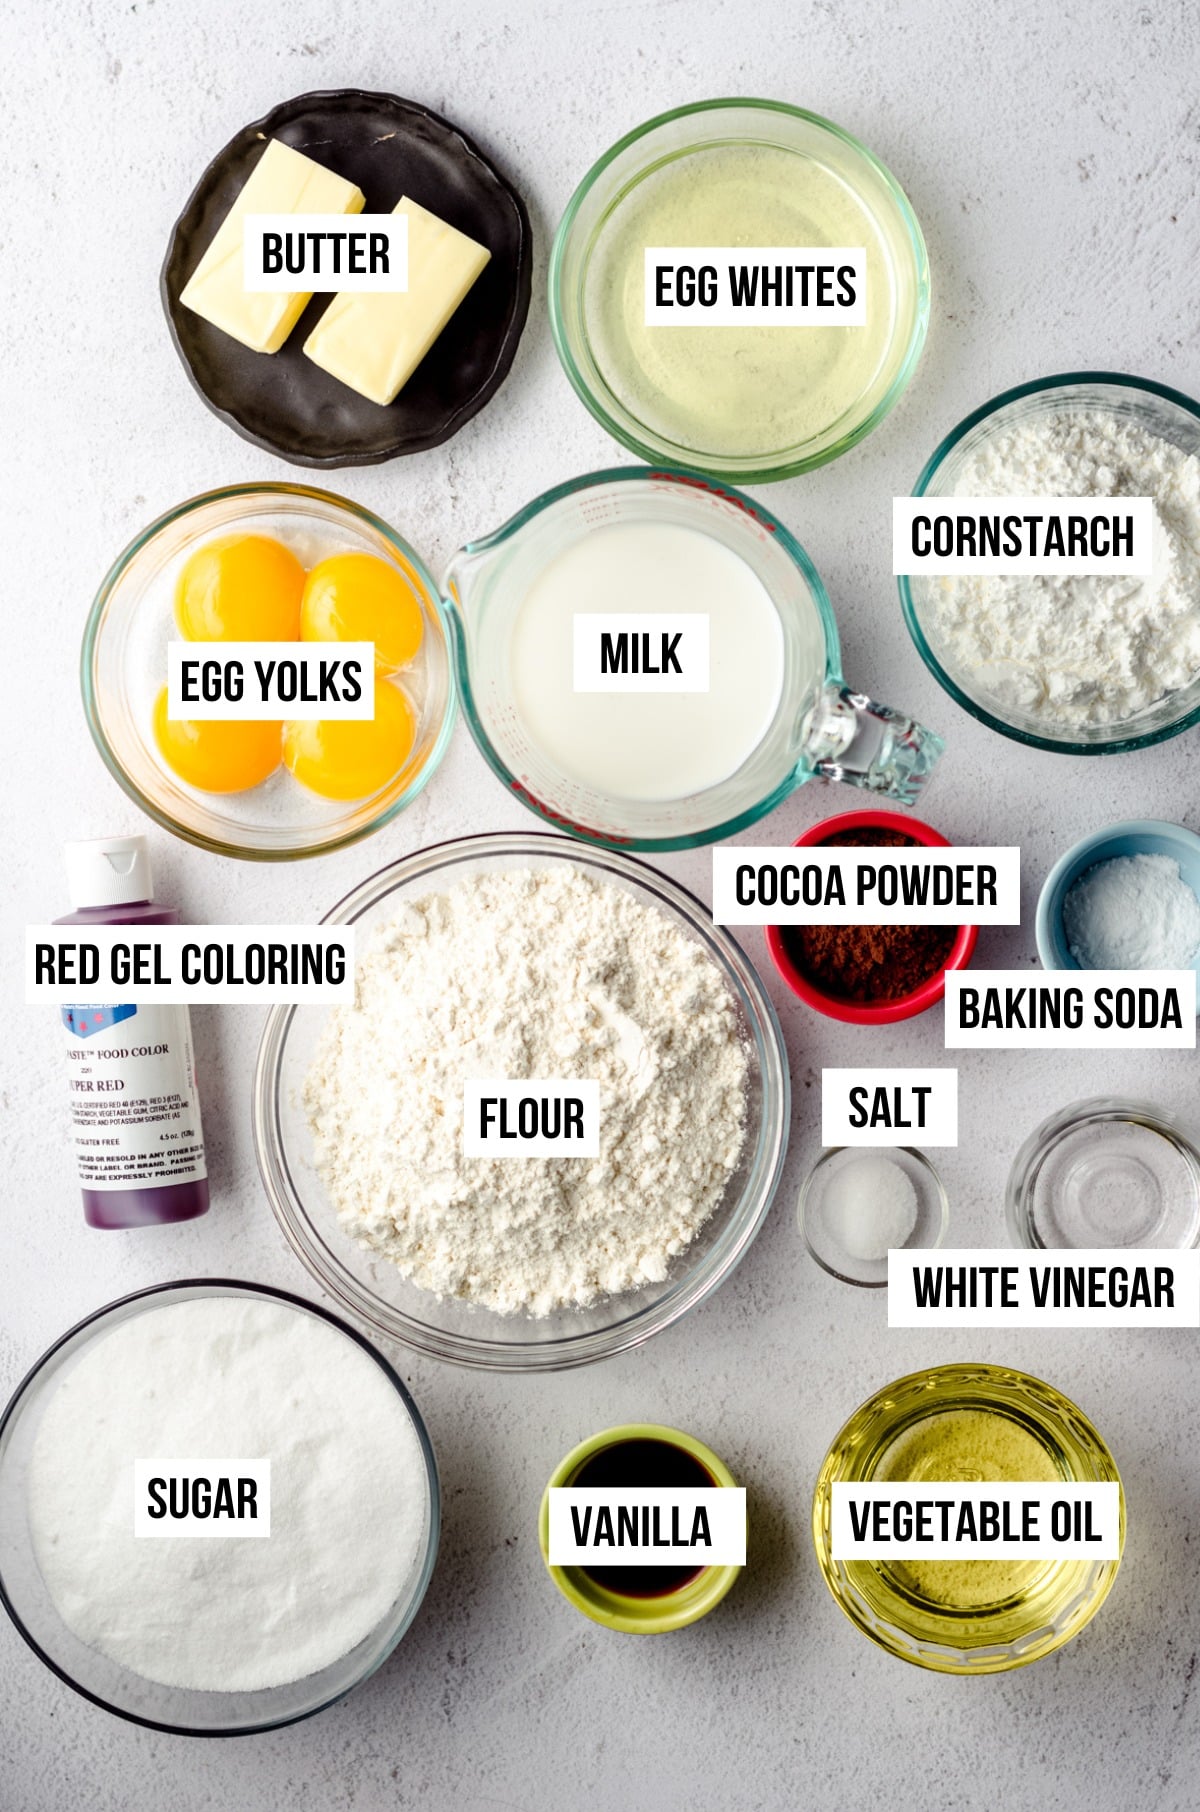
ALL-PURPOSE FLOUR: a lot of fluffy cake recipes call for cake flour, which boasts lower protein than all-purpose. With a careful adjustment of the amount of all-purpose flour combined with the next ingredient on our list, we can replicate the fluffiness of using cake flour without actually using it.
CORNSTARCH: I use cornstarch often in my cookie recipes to keep them soft. As mentioned, when combined with all-purpose flour in a cake recipe, we can encourage a fluffy cake crumb.
UNSWEETENED COCOA POWDER: with just 3 Tablespoons in the whole cake, no, it does not categorize red velvet cake as a chocolate cake, per se. Since cocoa powder is considered an acidic ingredient, it reacts with the baking soda and buttermilk to create a tight, tender crumb.
SALT & VANILLA EXTRACT: for complementary flavor.
BAKING SODA: the key leavening agent for our cake! When combined with acidic ingredients like cocoa powder and buttermilk (or our substitute), it produces carbon dioxide which = lots of bubbles which = a cake that rises beautifully.
UNSALTED BUTTER: this is half our fat source for this cake. It brings a buttery note as well as lends itself to trapping air when creamed with sugar to help our cake stay fluffy.
GRANULATED SUGAR: I typically opt for brown sugar in cookies to bring maximum flavor and moisture, but in order to keep this cake fluffy, we have to choose a lighter (in mass) sugar. We’ll add extra moisture with the next ingredient.
OIL: I have experimented a lot with using all butter in my red velvet cake recipe, and I just can’t quite replicate the same moist cake crumb that I can when I use a combination of butter and oil. Use any oil you prefer. I’ve used everything from canola oil to avocado oil. I do not recommend olive oil or coconut oil as those flavors are a little too strong for this cake.
EGGS: make sure your eggs are at room temperature and separated. The egg whites will come in separately from the yolks to insure a fluffy crumb.
DISTILLED WHITE VINEGAR: vinegar is essential for aiding in leavening the cake as well as lending that signature tangy flavor.
BUTTERMILK (or VINEGAR/LEMON JUICE + MILK): buttermilk is crucial to the success of red velvet cake. The good news is, you can make homemade buttermilk easily with distilled white vinegar or lemon juice and regular milk, which is what I do 99% of the time. See the notes in the recipe for adjusting the amount of distilled white vinegar in this recipe if you do have buttermilk.
RED FOOD COLORING: I prefer to use gel food coloring, but liquid food coloring will work just fine. See recipe notes for my favorite brand.

USE THE BEST CREAM CHEESE FROSTING FOR THIS SHEET CAKE
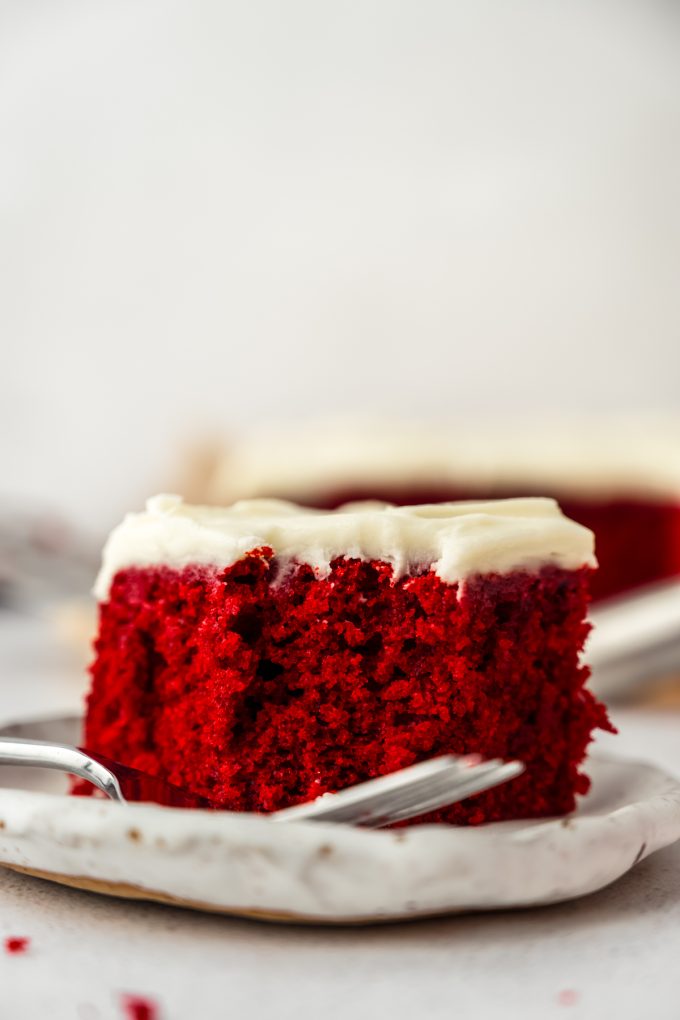
We’ll top this homemade red velvet sheet cake with my favorite tangy cream cheese frosting. It’s my go-to for everything from cake to homemade cinnamon rolls, and it’s the perfect pair for the slightly tangy flavor of the velvety crumb.
For the cream cheese frosting, you will need:
• full fat block cream cheese
• room temperature butter
• powdered sugar
• vanilla extract
• salt
MY Best Red Velvet Cake SUCCESS Tips
To insure your success with this cake, I highly recommend you read through my best pre-baking tips. These steps will help you start off on the right foot so you know what to expect as you go through the recipe.
ROOM TEMPERATURE INGREDIENTS
This preparation step is so important that I dedicated an entire post to it.
Your butter, milk/buttermilk, and eggs must be at room temperature. It’s important your butter especially is at room temperature and not warmer. Room temperature butter is cooler than you likely think it is, so be sure it’s not too soft, otherwise your red velvet cake is sure to be dry.
It’s important to be sure your cream cheese frosting ingredients are also at room temperature so our frosting stays nice and smooth and free from lumps.
WORK SLOWLY
In this recipe, you will be whipping egg whites to fold into your red velvet cake batter. It will be crucial to fold this in slowly and gently in order to keep all of the air in the egg whites which will help leaven the cake and keep it fluffy.
This is not a recipe where we can just dump all of the ingredients together and expect a perfect crumb. As I mentioned, red velvet cake can be finicky, so take care in every step.
READ THE RECIPE FIRST
This step should be done no matter if you’re a beginner baker or a pro. Know what to expect and read the notes so you’re not surprised at what comes next.

OVERVIEW: How to Make Red Velvet SHEET CAKE
While the instructions are laid out in the recipe card, I have an extensive post dedicated to making this cake as a layer cake if you want to see a more detailed overview of the steps. In this post, I’ve still included plenty of pictures so you know exactly what what you’re looking for while tackling this cake recipe.
Sift the dry ingredients: do not skip sifting the dry ingredients. Sifting removes lumps, combines your dry ingredients in a uniform fashion, and sets you up for a seamless entry of dry ingredients into your wet ingredients.
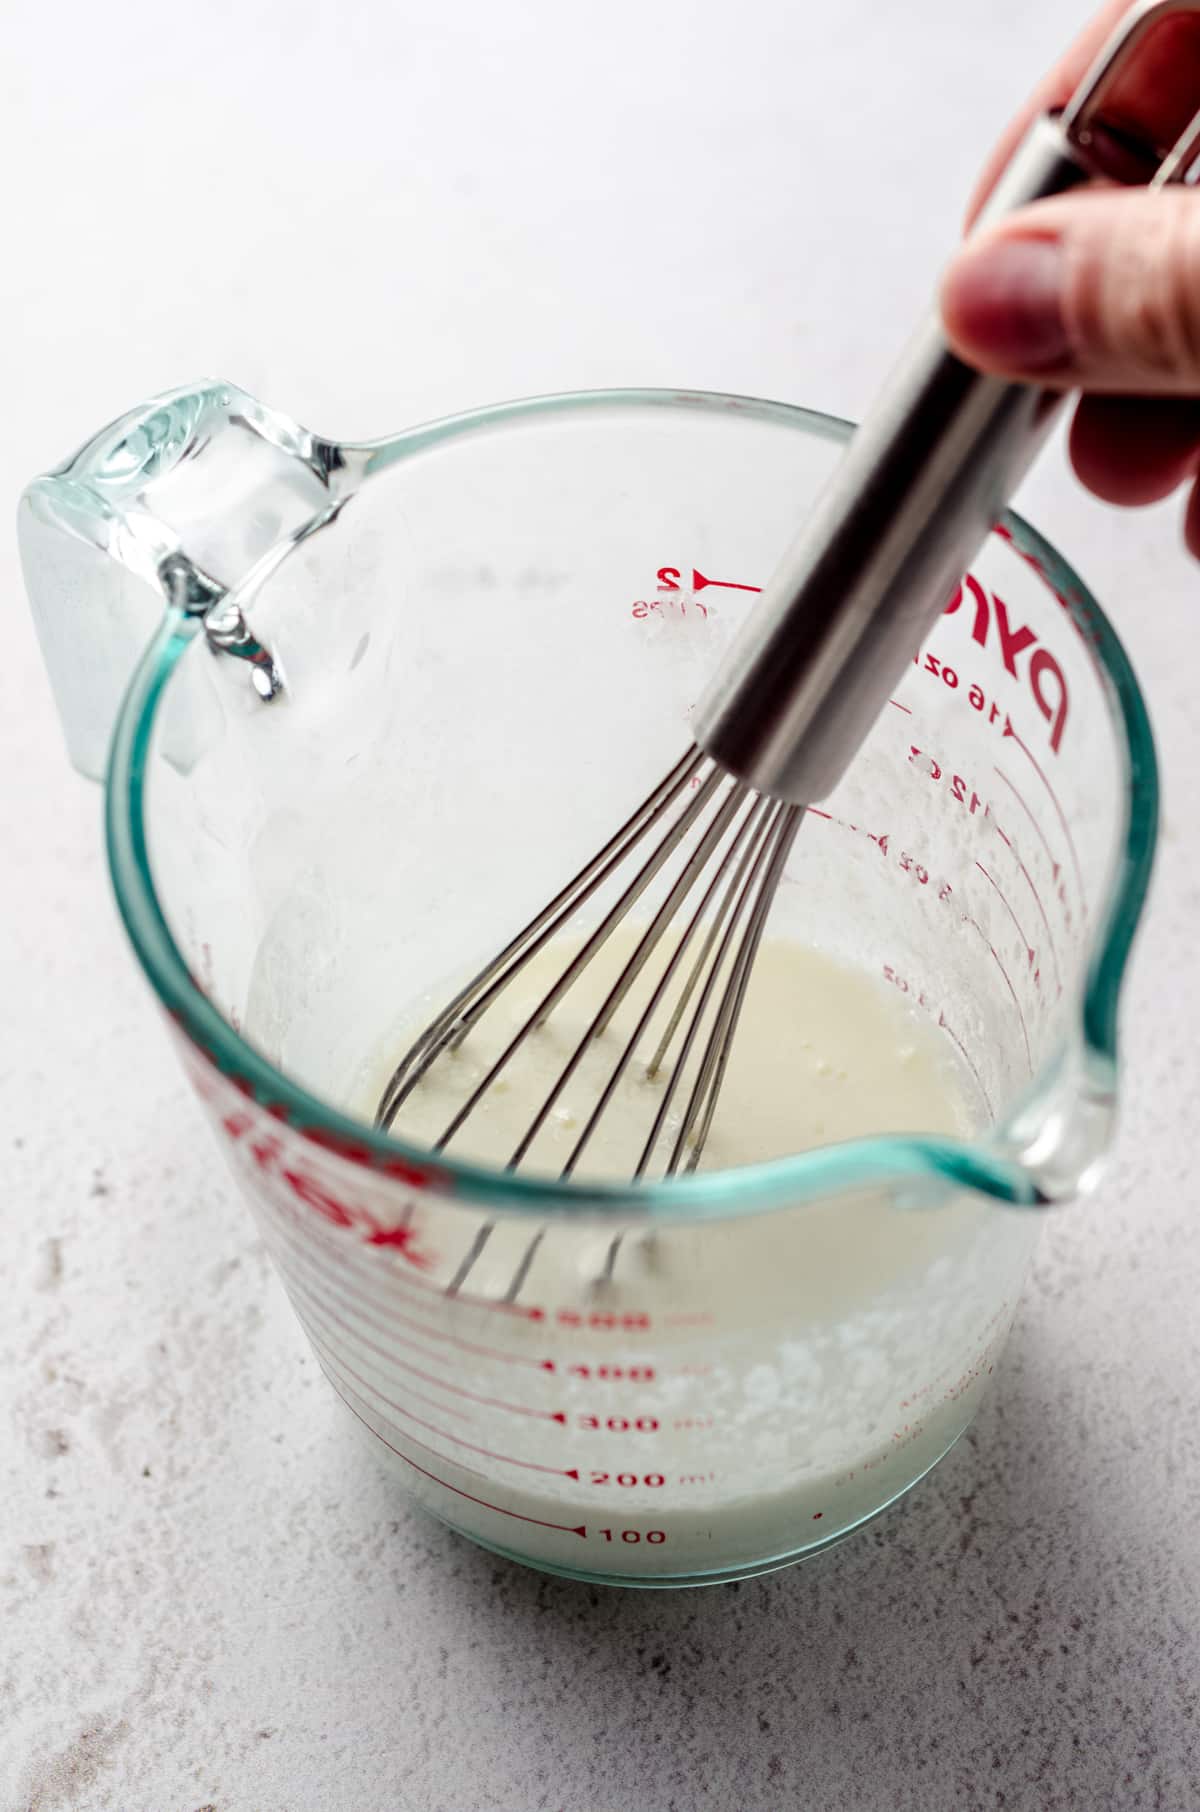
Sour the milk: I wrote this recipe assuming you do not have buttermilk, so at this point in the recipe, add 1 Tablespoon of the distilled white vinegar to the milk, stir it around, and let it sour while you proceed with the recipe (you’ve effectively made homemade buttermilk). You’ll add those extra 2 teaspoons in a bit. If you do have buttermilk, you’re not going to add anything to your buttermilk. You’ll just be adding those 2 teaspoons of vinegar to the wet ingredients.
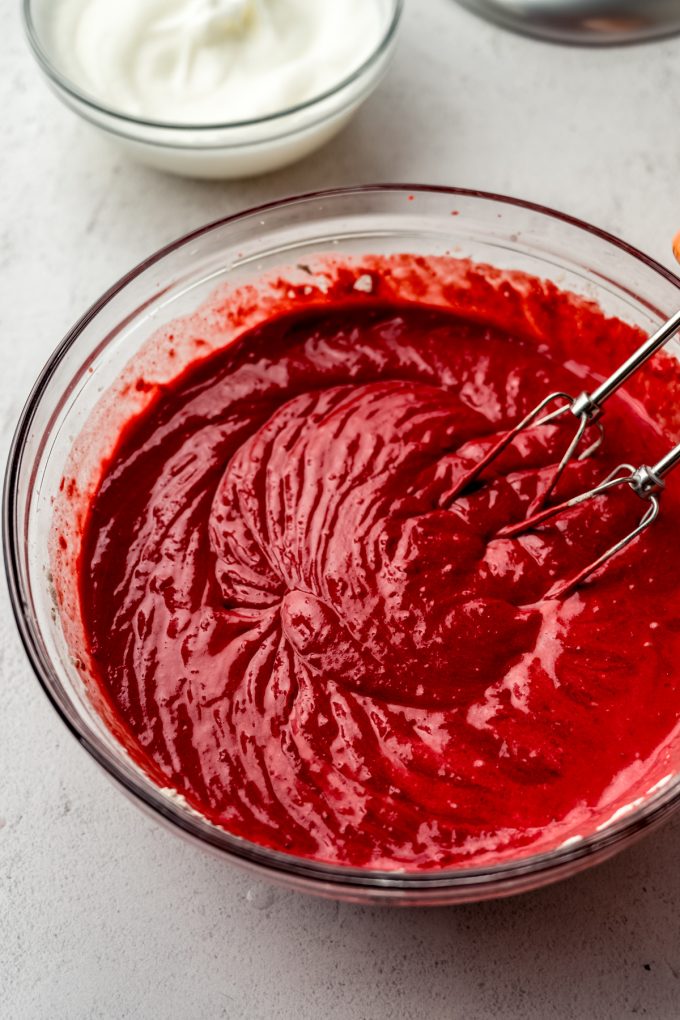
Make the wet ingredient base: cream the butter and sugar, then add in the oil, yolks, vanilla, red food coloring, and additional vinegar.
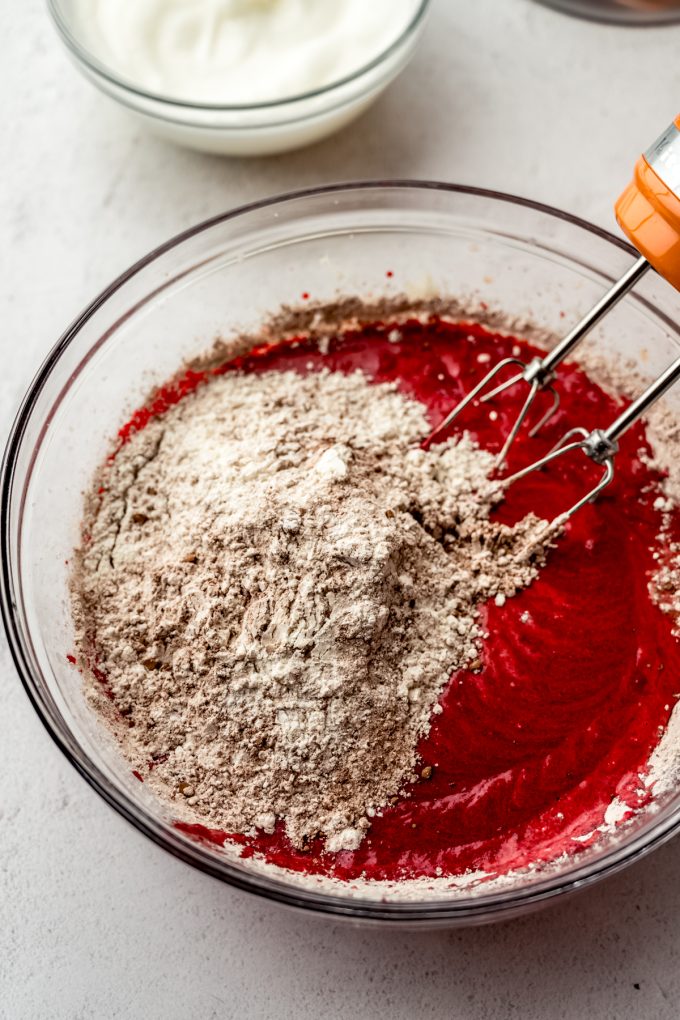
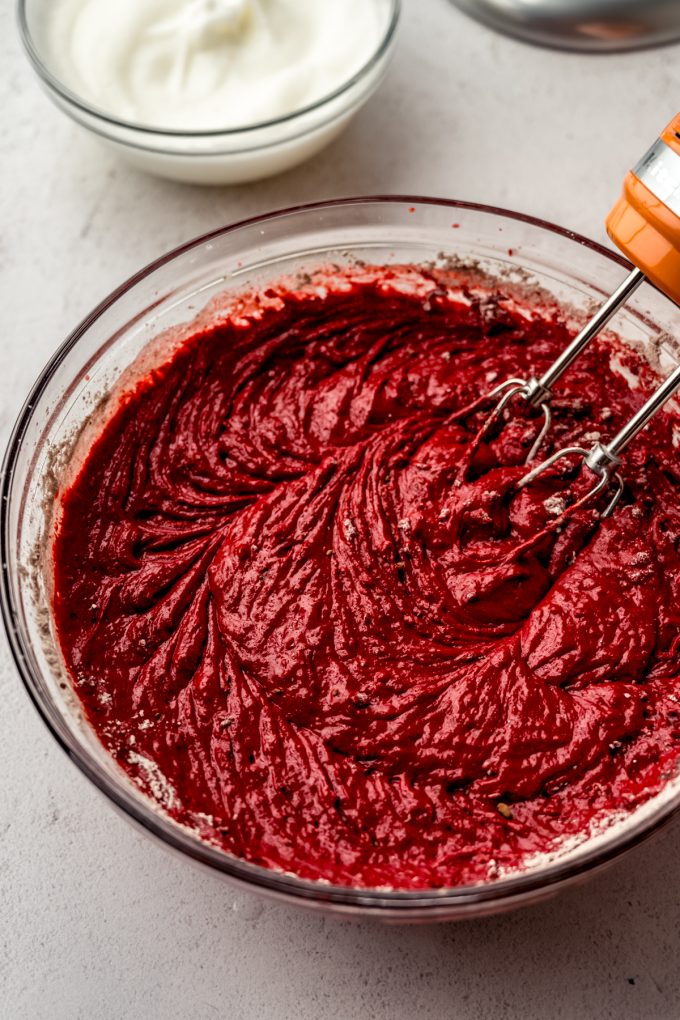
Alternate dry ingredients with the soured milk/buttermilk: this is another crucial step. You’ll split your dry ingredients into roughly 3 parts (just eyeball this, it doesn’t have to be perfect) and your buttermilk/vinegar + milk in half (again, eyeball), then, starting with the dry ingredients, alternate adding each to the batter and letting it slowly incorporate.
Why are we alternating wet and dry ingredients? Rather than adding everything all at once, we want to keep the integrity of the cake batter without overloading it with too many dry ingredients to find places for nor do we want to drown it in liquid. By adding some of the dry ingredients first, we give the liquid somewhere to go and absorb into, which keeps the batter nice and smooth and avoids flooding it or creating lumps.
This is a step I use in delicate cake batters that seems silly but really does yield flawless results. Again, don’t worry about splitting these into perfect proportions. Trust your eyeballs to guide you.
Stop blending the batter: once you’ve added the final portion of dry ingredients, stop blending when you see that they have mostly incorporated. The batter may not look totally combined, but that’s ok. Our next step will take care of it.
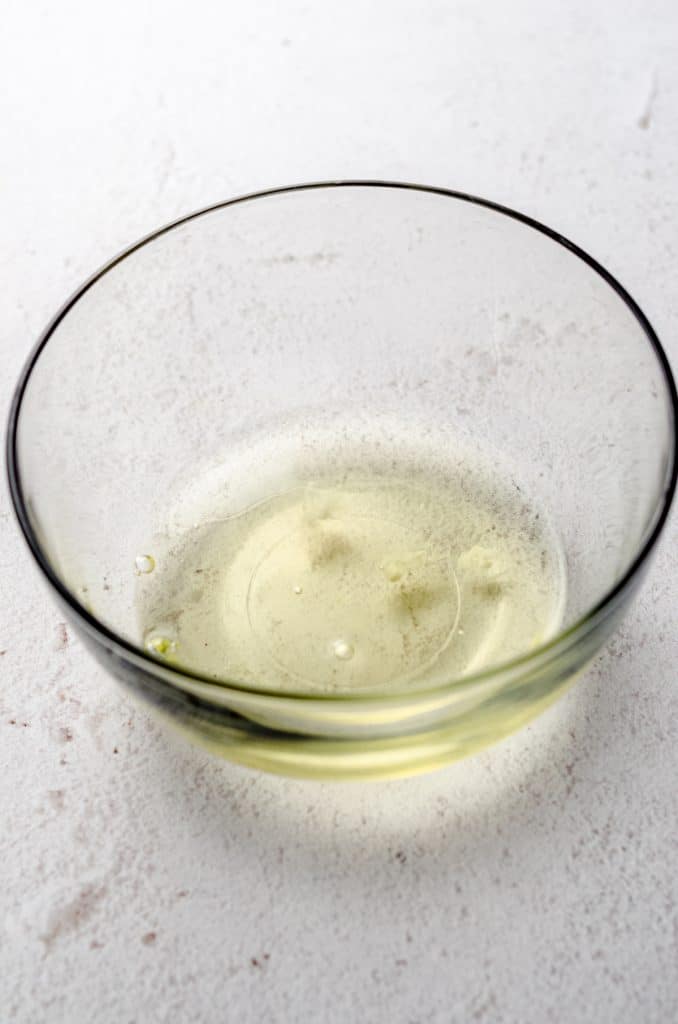
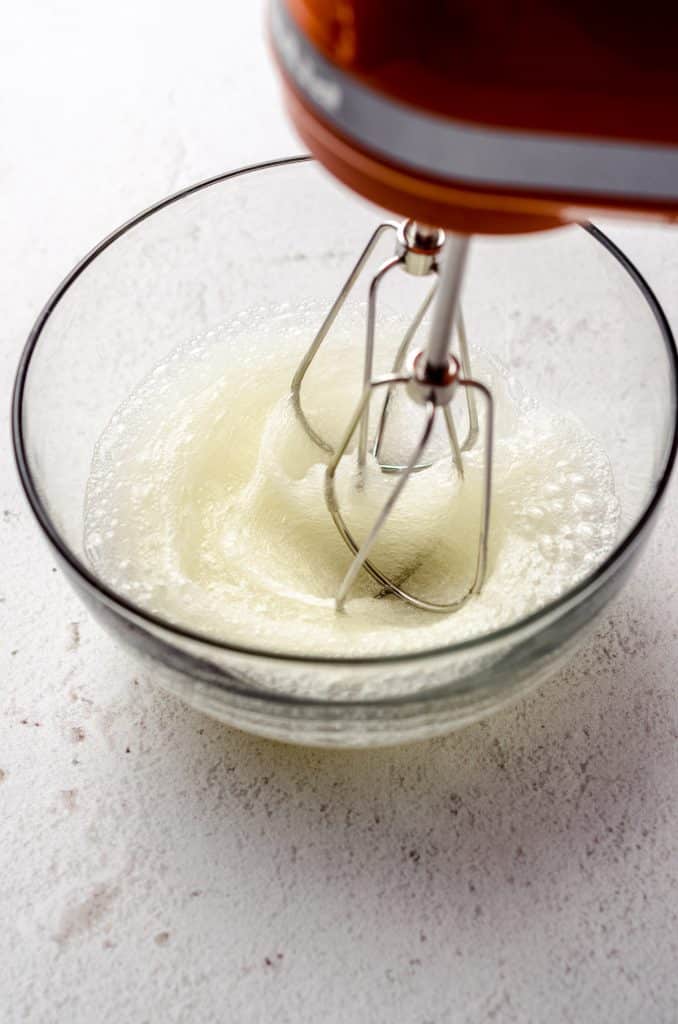
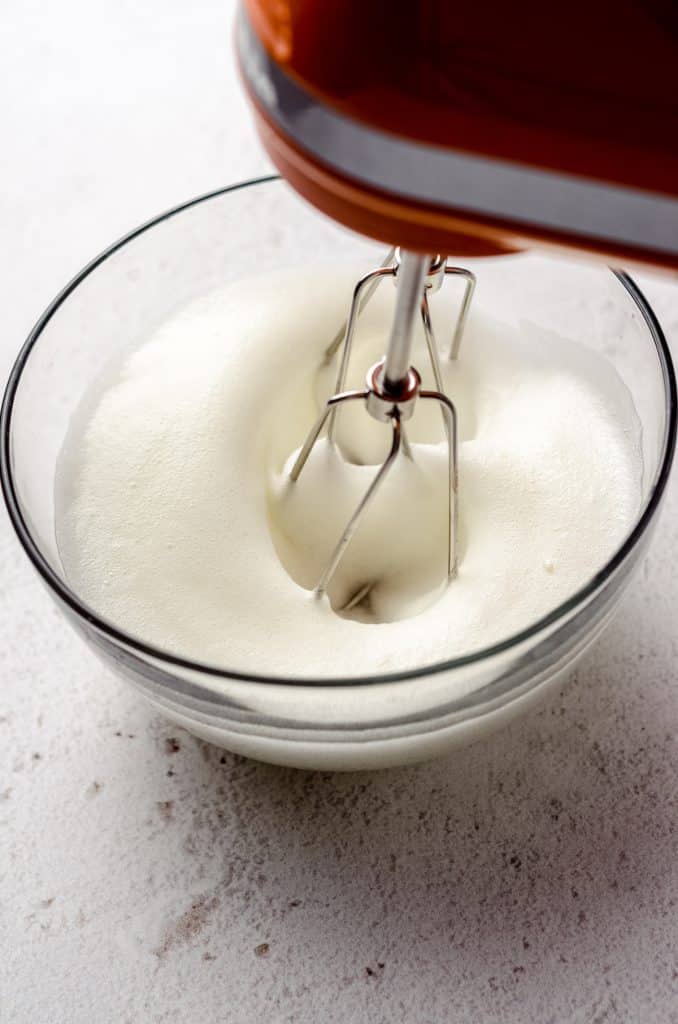
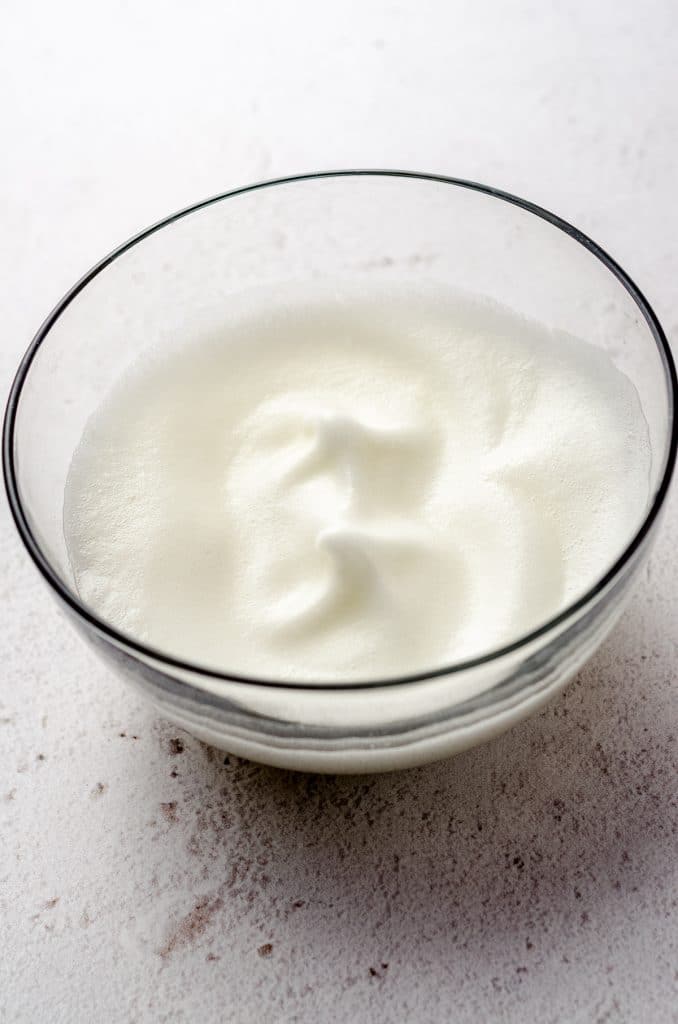
Whip + add egg whites: whip the egg whites to soft peaks.
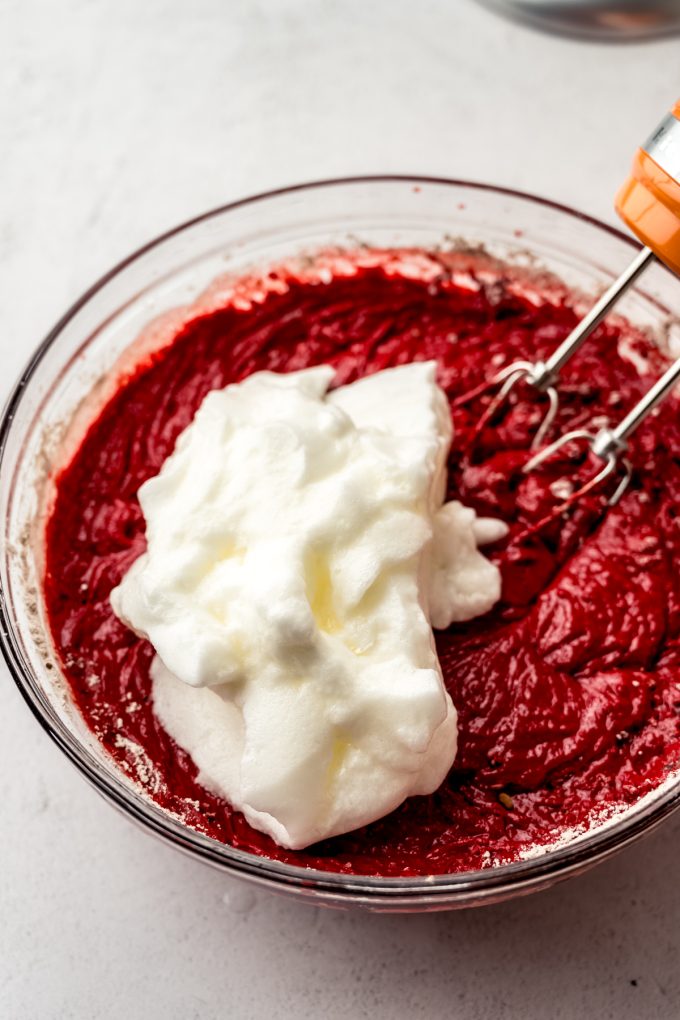
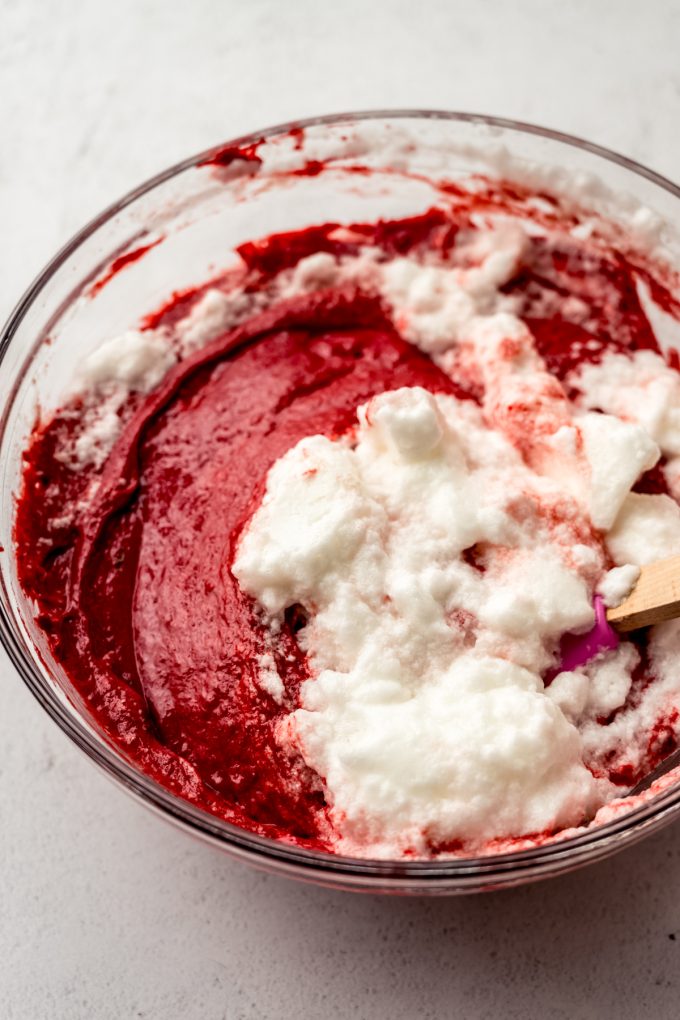
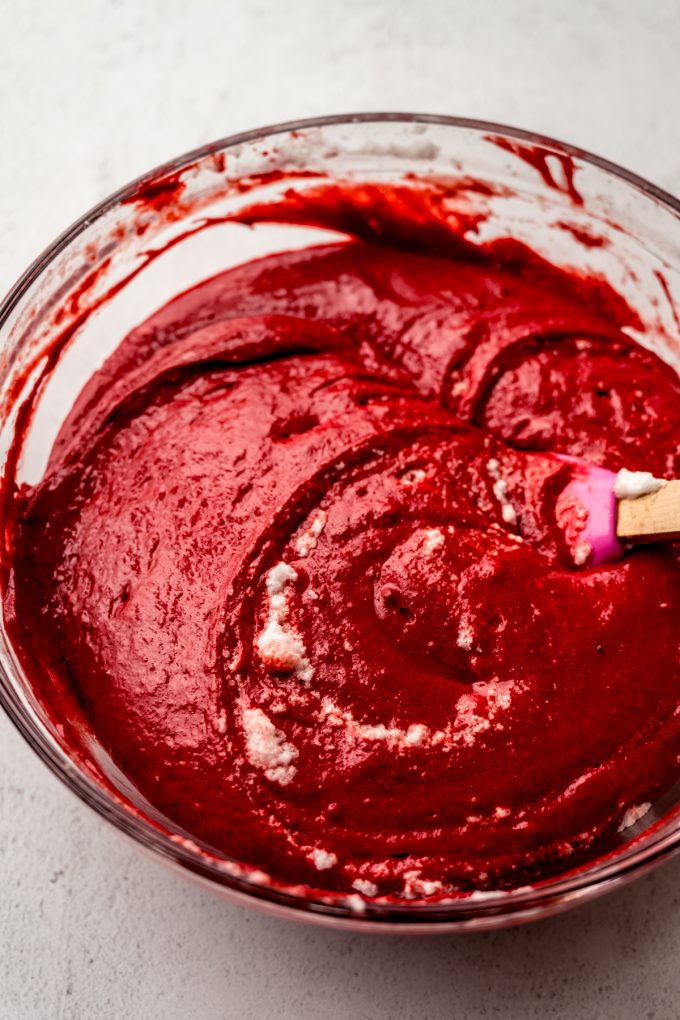
Fold the egg whites into the batter: use your spatula to cut a line down the middle of the batter, then gently scoop up half of the batter and fold it onto the other half. Turn the bowl a quarter turn, then repeat.
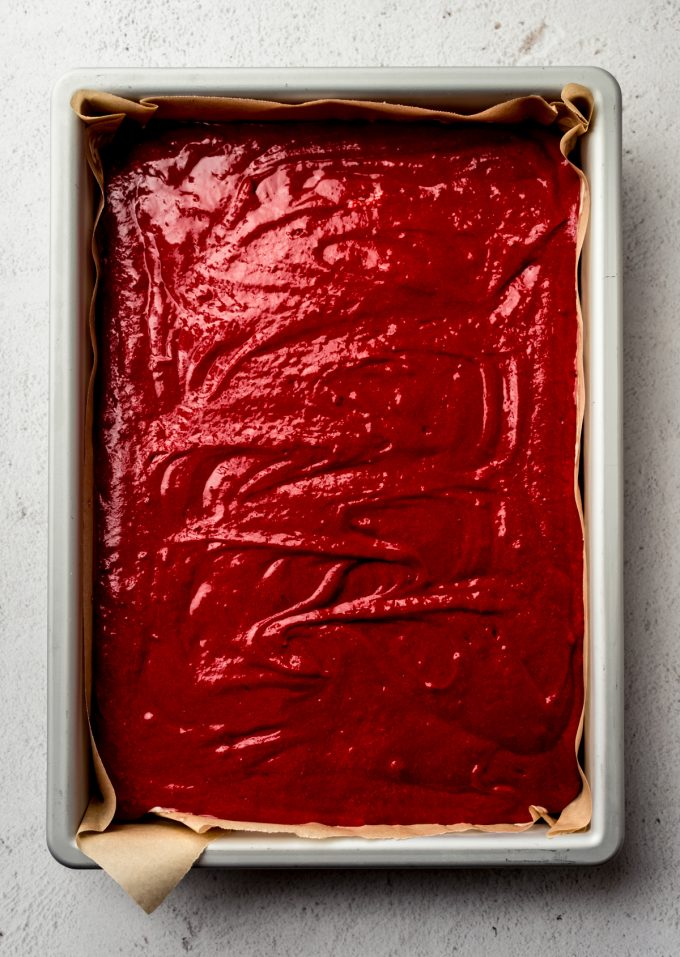
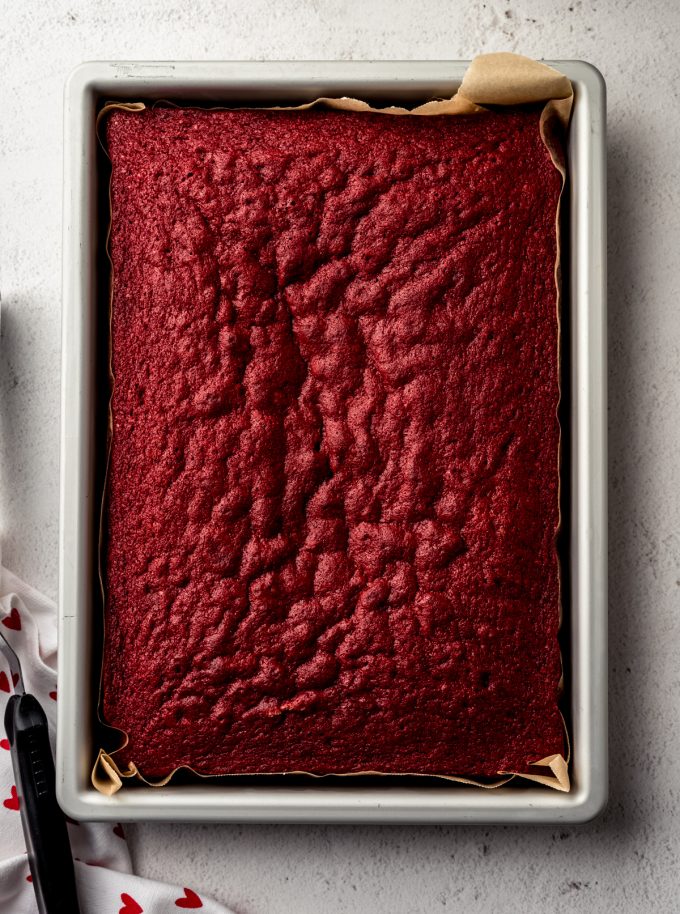
Pour + bake: my sheet cake takes exactly 39 minutes in my oven. I start checking around 36 minutes, because it’s crucial red velvet cake does not get overbaked. You want to look for moist crumbs on your cake tester but not wet batter. Do not wait for a totally clean/dry tester, as the cake will continue to bake a bit in the pan when you take it out of the oven.
Cool + add frosting: this sheet cake must cool completely before you add frosting to it, otherwise the frosting will melt. I usually bake my cake in the morning and frost in the afternoon or evening, or even the next day. You can make your frosting a day in advance if that saves you time!
Red Velvet SHEET Cake FAQs

Best Red Velvet Sheet Cake Recipe
Ingredients
RED VELVET CAKE
- 2 and ½ cups (300g) all-purpose flour be sure to measure properly
- ½ cup (80g) cornstarch
- 3 Tablespoons (18g) unsweetened cocoa powder
- 1 teaspoon salt
- 1 teaspoon baking soda
- ½ cup (113g) unsalted butter softened to room temperature
- 2 cups (400g) granulated sugar
- ⅔ cup (160mL) oil I use avocado oil
- 4 large eggs room temperature and separated
- 1 Tablespoon vanilla extract
- 1 Tablespoon + 2 teaspoons distilled white vinegar1
- 2 teaspoons red food coloring2
- 1 cup (240mL) milk1 room temperature; you can also use buttermilk (see notes)
CREAM CHEESE FROSTING
- 4 ounces (113g) full fat block cream cheese softened to room temperature
- ¼ cup (57g) unsalted butter softened to room temperature
- 1 and ¾ cups (210g) powdered sugar
- 1 teaspoon vanilla extract
- ⅛ teaspoon salt
Instructions
RED VELVET CAKE
- Move a rack in the oven to the middle position and preheat it to 350ºF (177ºC). Grease and flour (or use homemade cake release) a 9" x 13" sheet pan. Set aside.
- Sift the flour, cornstarch, cocoa powder, salt, and baking soda together into a medium size bowl. Set aside.2 and ½ cups (300g) all-purpose flour, ½ cup (80g) cornstarch, 3 Tablespoons (18g) unsweetened cocoa powder, 1 teaspoon salt, 1 teaspoon baking soda
- If you are using regular milk: add 1 Tablespoon of the distilled white vinegar to the milk and stir it around. Reserve the remaining 2 teaspoons of vinegar for the next step. If you are using buttermilk: skip this step and add the additional 2 teaspoons of vinegar in the next step.
- In a large bowl with a handheld mixer or the bowl of a stand mixer fitted with the paddle attachment, cream the butter and sugar together on medium speed until light and fluffy (approximately 2-3 minutes). Add the vegetable oil and beat again until completely incorporated. Add the egg yolks, vanilla extract, remaining vinegar, and food coloring and beat again on medium speed until everything is combined.½ cup (113g) unsalted butter, 2 cups (400g) granulated sugar, ⅔ cup (160mL) oil, 4 large eggs, 1 Tablespoon vanilla extract, 1 Tablespoon + 2 teaspoons distilled white vinegar1, 2 teaspoons red food coloring2
- Turn the mixer down to low speed and add the dry ingredients in three additions, alternating with half of the milk/buttermilk. Do not overmix batter, and stop after the last bit of dry ingredients is mostly incorporated. There may be some dry pockets remaining. This is ok.1 cup (240mL) milk1
- Whip the egg whites in a medium size bowl, either using a handheld mixer or a whisk, whisking vigorously by hand. Whip the egg whites until soft peaks form (see the photo in the post above if you're unsure what this looks like). This will take about 2-3 minutes.
- Gently fold the whipped egg whites into the batter with a spatula by cutting your spatula down the middle of the batter, then gently scooping half of the batter over and on top of the other half of the batter. Turn the bowl ¼ of a turn and repeat until batter is silky and smooth. It will be slightly thick.
- Pour the batter into the prepared pan, then bake for 38-42 minutes or until a toothpick or cake tester inserted in the center comes out mostly clean. If the cakes need a little longer, indicated by wet batter on the toothpick, bake for a minute longer and retesting, taking care not to overbake the cake as it will dry out. You may need to bake an additional minute, test, and rebake and retest until it is properly finished. Remove cake from oven and allow to cool in the pan completely on a wire rack before topping with frosting.
CREAM CHEESE FROSTING
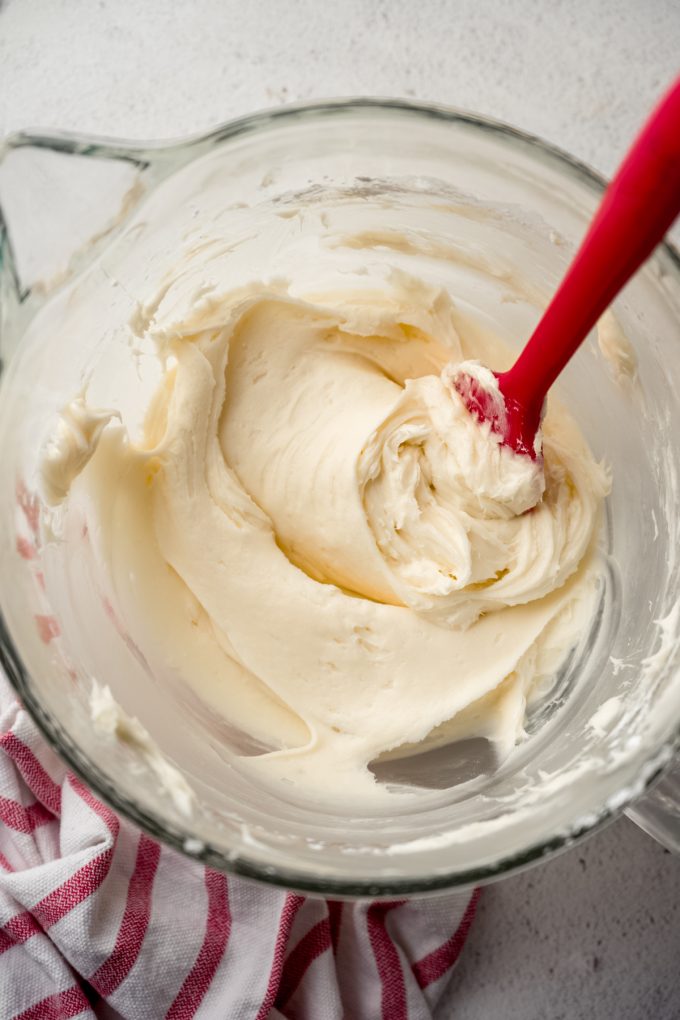
- In a large bowl with a handheld mixer or the bowl of a stand mixer fitted with a paddle attachment, beat the cream cheese and butter on medium-high speed until smooth.4 ounces (113g) full fat block cream cheese, ¼ cup (57g) unsalted butter
- Turn the mixer speed down to low and slowly add the powdered sugar. Add the vanilla extract and salt and continue mixing until smooth.1 and ¾ cups (210g) powdered sugar, 1 teaspoon vanilla extract, ⅛ teaspoon salt
- Use an offset spatula to spread the frosting over the top of the cake, then slice and serve. If you want the frosting to be a little sturdier, you can pop the cake in the refrigerator to make it easier to cut. Cake stays fresh covered at room temperature for up to 4 days. Cake may be covered and refrigerated for up to 7 days. Unfrosted cake may be frozen, wrapped tightly, up to 2 months. Thaw overnight in the refrigerator before frosting. Frosted cake can be frozen, wrapped tightly, up to 2 months. Thaw overnight in the refrigerator and bring to room temperature before serving.
Notes
- Distilled white vinegar/milk: I rarely have buttermilk on hand, so I always make my own. As written, the recipe assumes you do not have buttermilk. If you do have or prefer to use buttermilk, reduce the total amount of distilled vinegar in the recipe to 2 teaspoons, add it to the cake batter alongside the vanilla extract, and use 1 cup of room temperature buttermilk.
- Red food coloring: I prefer gel food coloring, as it is more concentrated than liquid food coloring. If you only have liquid food coloring, increase to 1 Tablespoon (15mL).
Nutrition Disclosure
All nutritional values are approximate and provided to the reader as a courtesy. Changing ingredients and/or quantities will alter the estimated nutritional calculations.
I know that each phase of your post is paid for my someone. As I am a senior citizen with better skills in the kitchen than on the computer, the sharing of your recipe is terrible for me! Lots of time needed to even find the recipe, then I can not copy easily. Although you have some good hints, I should have remembered that your site is too much struggle to copy and try.
Hi, Bonnie– there is a “print recipe” button you can use to print the recipe. I am removing the stars you added to this review since you don’t appear to have actually made the recipe.