
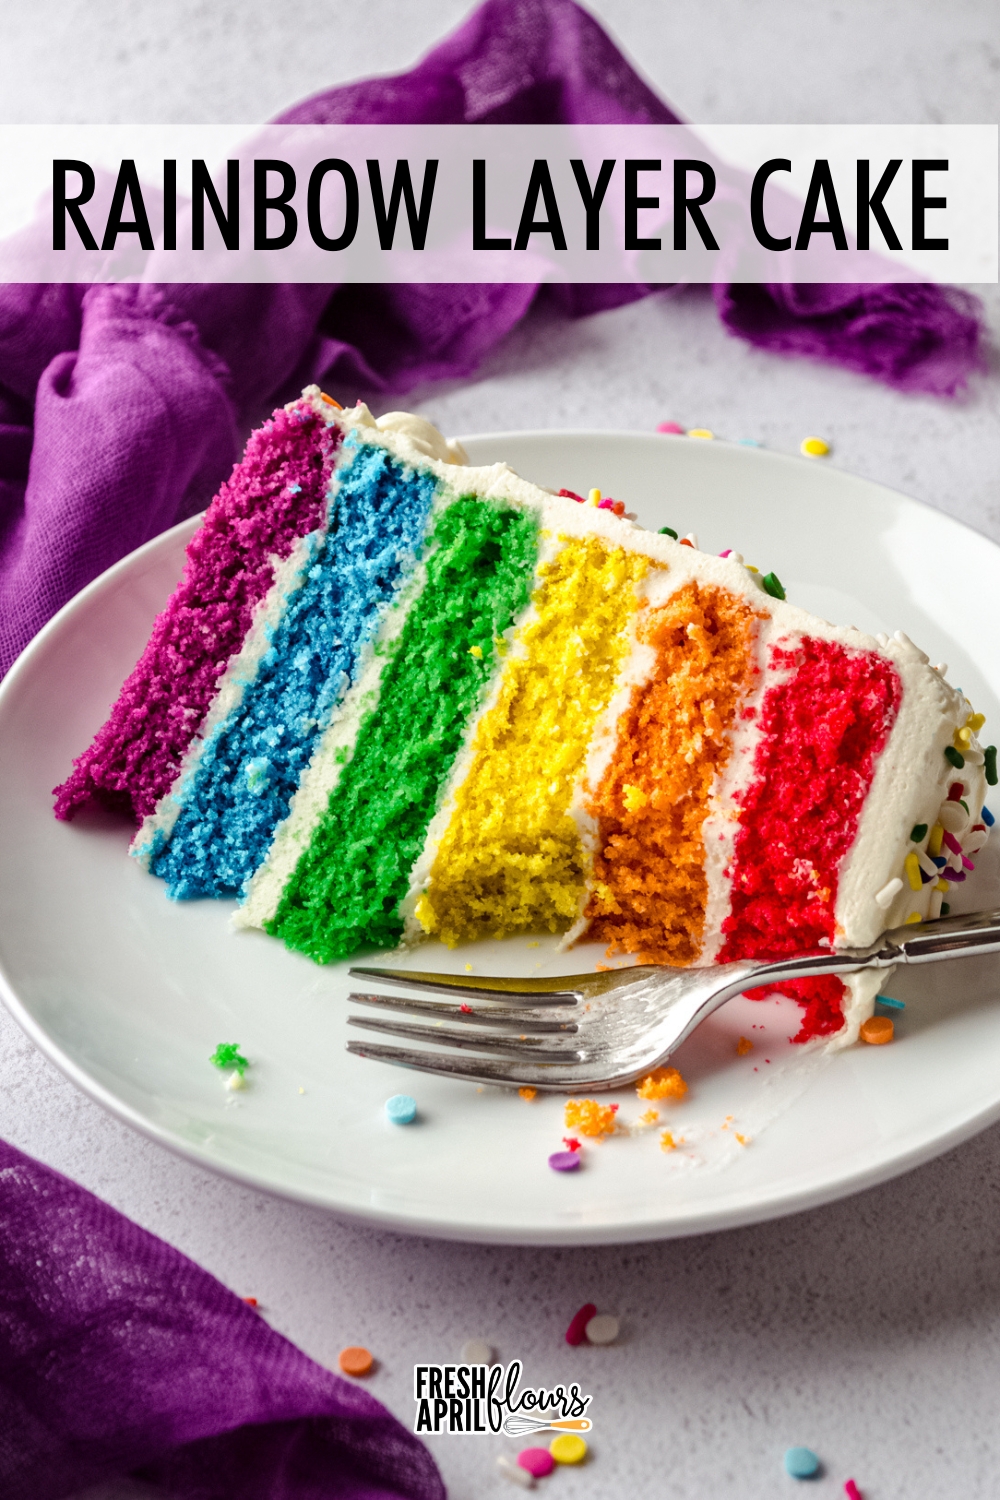
How To Make A Rainbow Cake
As an Amazon Associate, I earn from qualifying purchases. Read the full disclosure here.
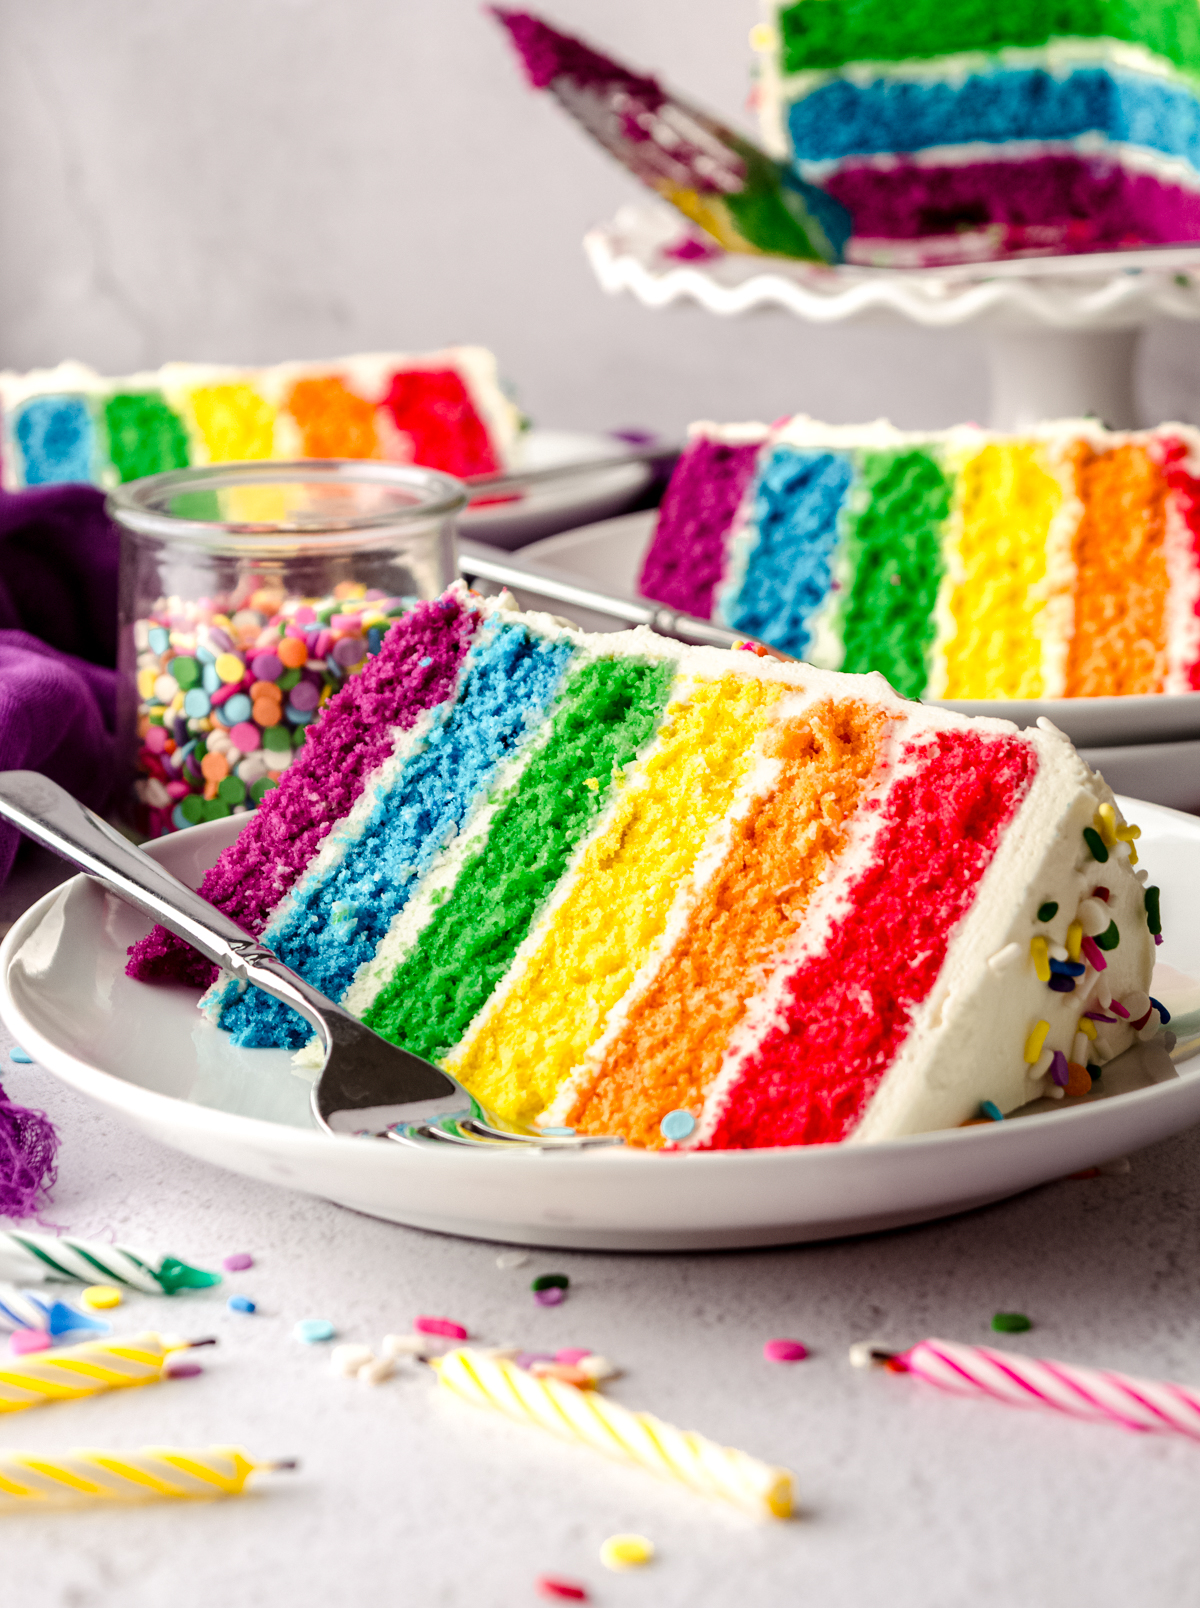
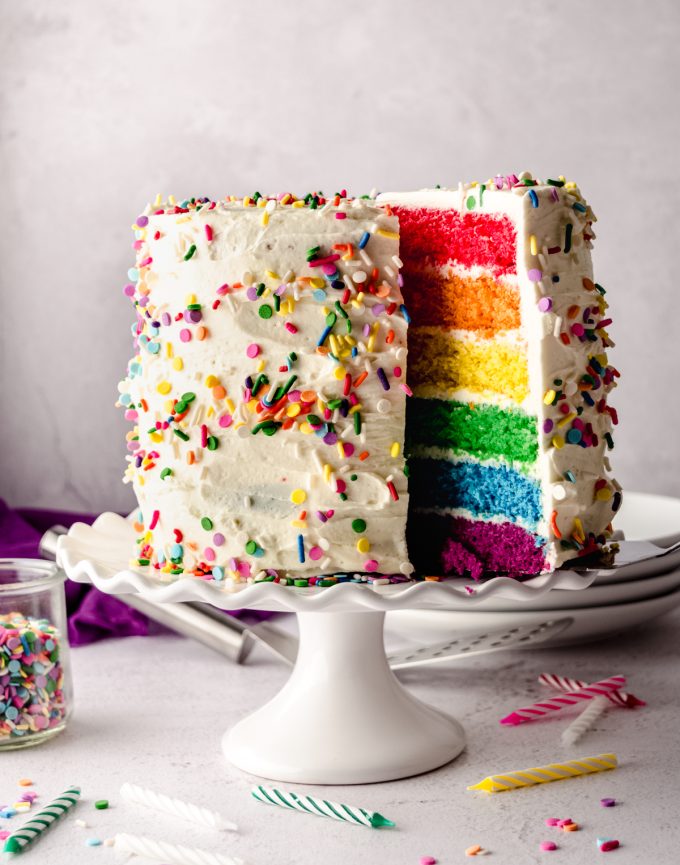
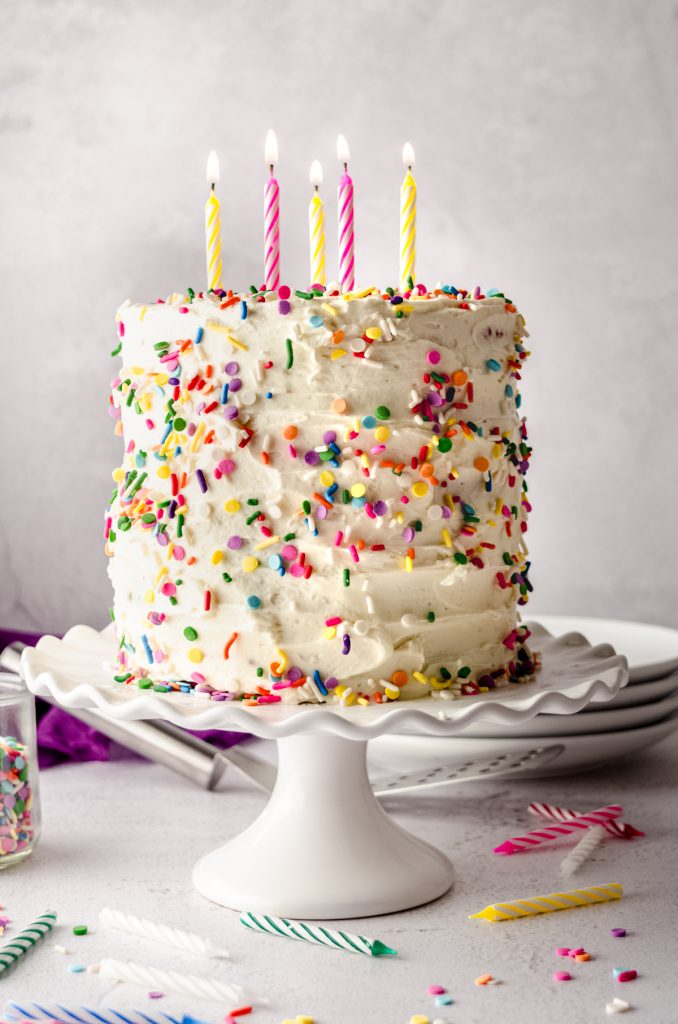
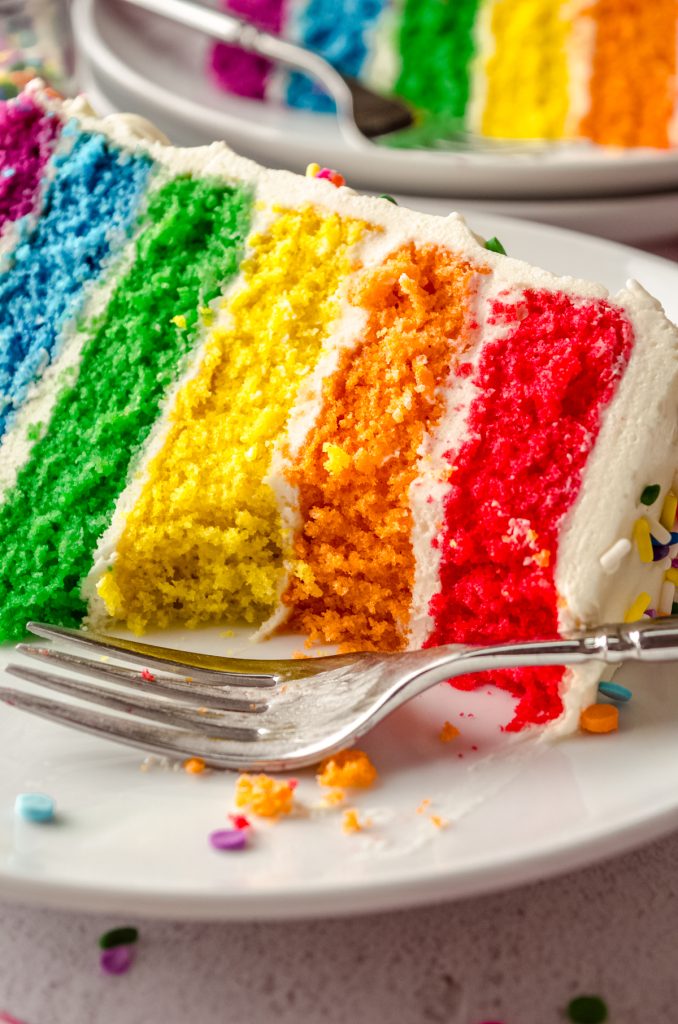
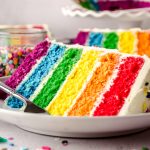
This show-stopping rainbow cake is perfect for everything from birthdays to holidays. Watch as folks “ooh” and “ahh” over its six stunning layers and claim it’s too beautiful to eat. This colorful cake is moist and flavorful and can be paired with any buttercream or frosting you like. You can even use a box mix, if you prefer. In the instructions, find tips for scaling cake to your size needs and how to efficiently create 6 layers of cake, even if you only have 2 pans.
THIS EASY RAINBOW CAKE IS A SHOWSTOPPER
The first time I was asked to make a rainbow cake when I had a home bakery, I immediately panicked. How many layers? How many colors? Is it going to take me all week to make it?
Once I took a step back and really thought about how I was going to approach it, I realized it was truly no more difficult than making my favorite white cake recipe, it was just going to take a few more steps to achieve the end result my customer wanted.
That was back in 2011, and since then, I’ve been using this simple and easy-to-follow method to turn my vanilla cake recipe as well as my white cake recipe into gorgeous, “oh my gosh, YOU MADE THAT?” jaw-dropping rainbow cake layers.
And the funny thing is, our younger son asks for this cake every year for his birthday, and every year, without fail, he can’t believe I made all the baking, cooling, assembling, and decorating happen in the amount of time he spent at school with time to spare.
USE MY FAVORITE WHITE CAKE AS THE BASE
As I mentioned, I like to use my go-to, reliable, very favorite white cake recipe. It has a moist crumb, is nearly impossible to mess up, and colors beautifully with rich, vibrant coloring. You can also use my vanilla cake recipe, you’ll just want to double that one.
And my friends, as much as I would prefer you to make this cake from scratch, you can absolutely use a box mix to get the job done. The method of preparing the batter will obviously be different, but splitting it into respective coloring bowls and baking will be almost identical.
If you want to use a box mix or a cake recipe that is not the one below, be sure you’re picking a white cake that bakes up white or off-white. Too much yellow (usually from egg yolks) can alter the way your final baked colors turn out. I like to use my white cake recipe because there are zero yolks in the batter.
If you want to use your favorite cake recipe to make this rainbow cake design, look for one that makes two or three 8″ or 9″ layers.
RAINBOW CAKE INGREDIENTS
As I mentioned, this rainbow cake recipe uses my go-to white cake recipe as well as my go-to vanilla buttercream, so those are the ingredients you’ll find below.
If you want to use any other frosting to cover your cake, you can peruse all of my favorite buttercream recipes or use one that you already love.
FOR THE CAKE
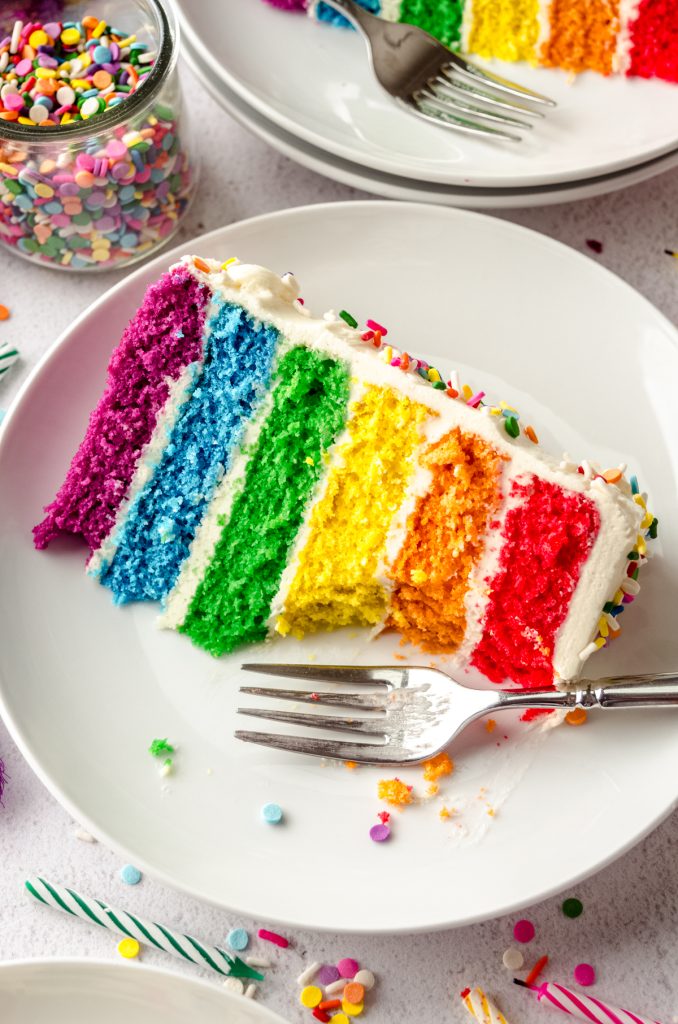
This recipe will make six 6″ cake layers that are about 1″ high or six 8″ cake layers that are about ½” high.
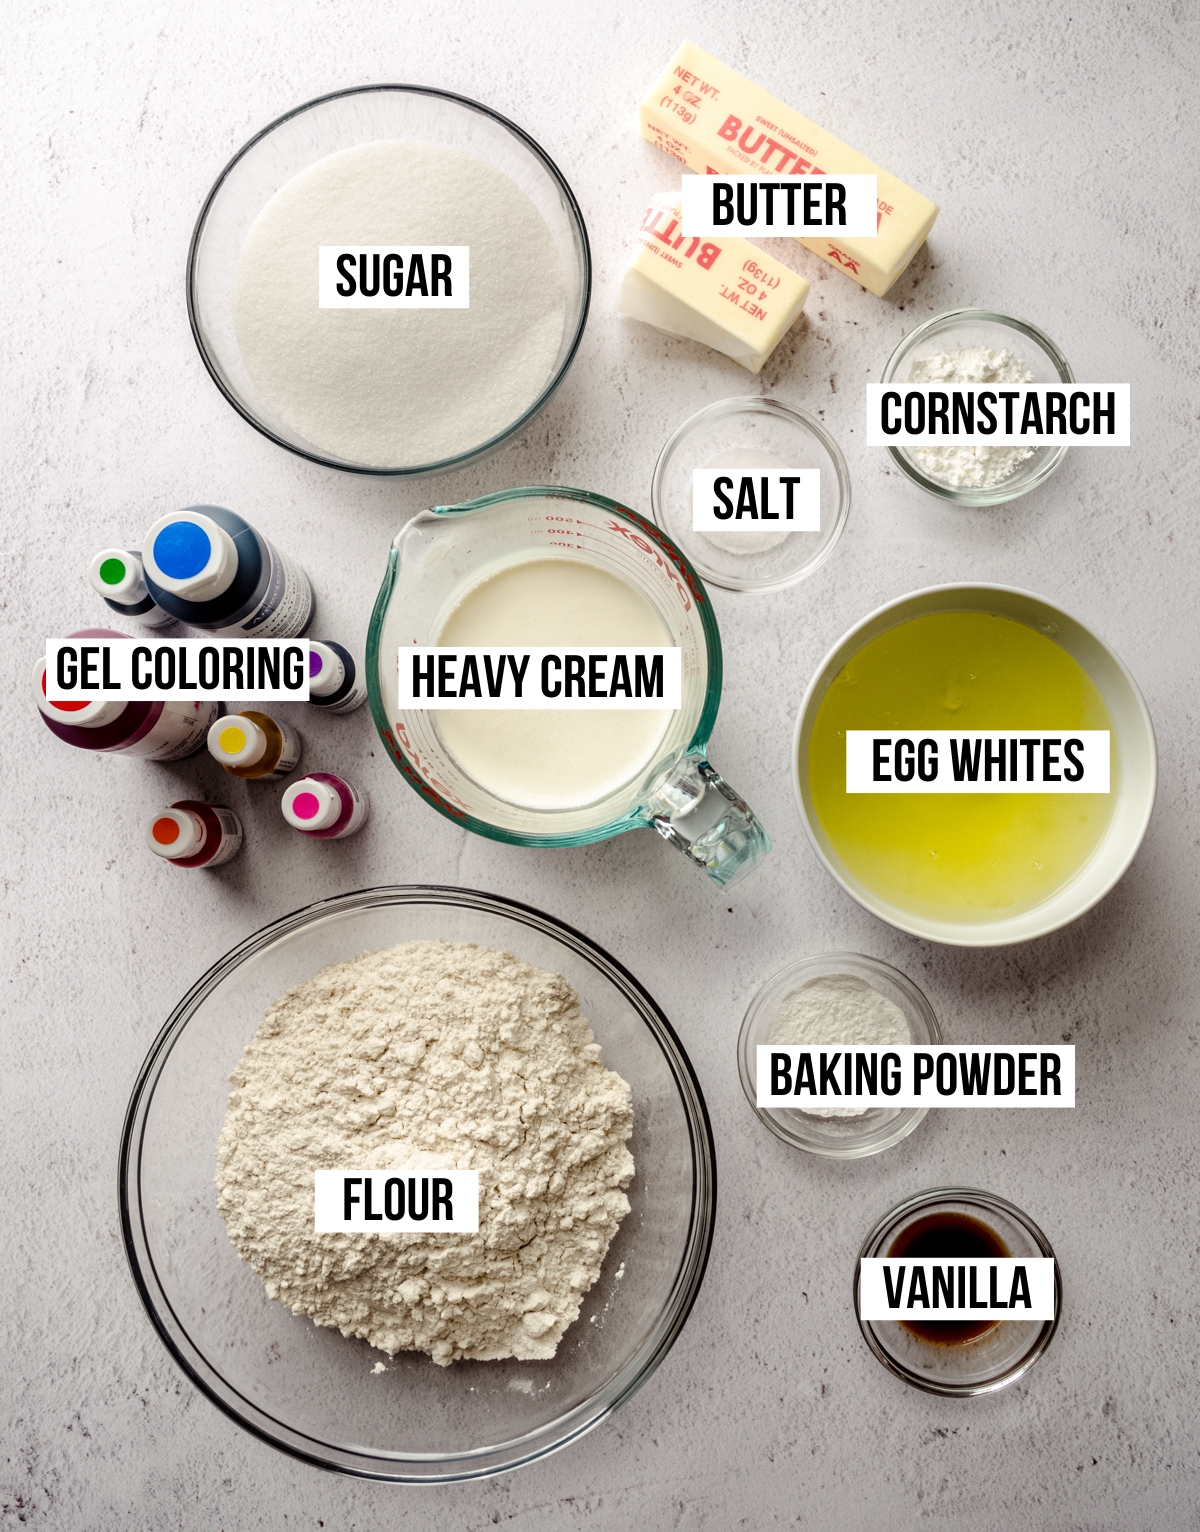
For the white cake batter, you will need:
• all-purpose flour
• cornstarch
• granulated sugar
• baking powder
• salt
• unsalted butter
• whole milk
• egg whites
• vanilla extract
• food coloring
WHAT KIND OF FOOD COLORING SHOULD I USE?
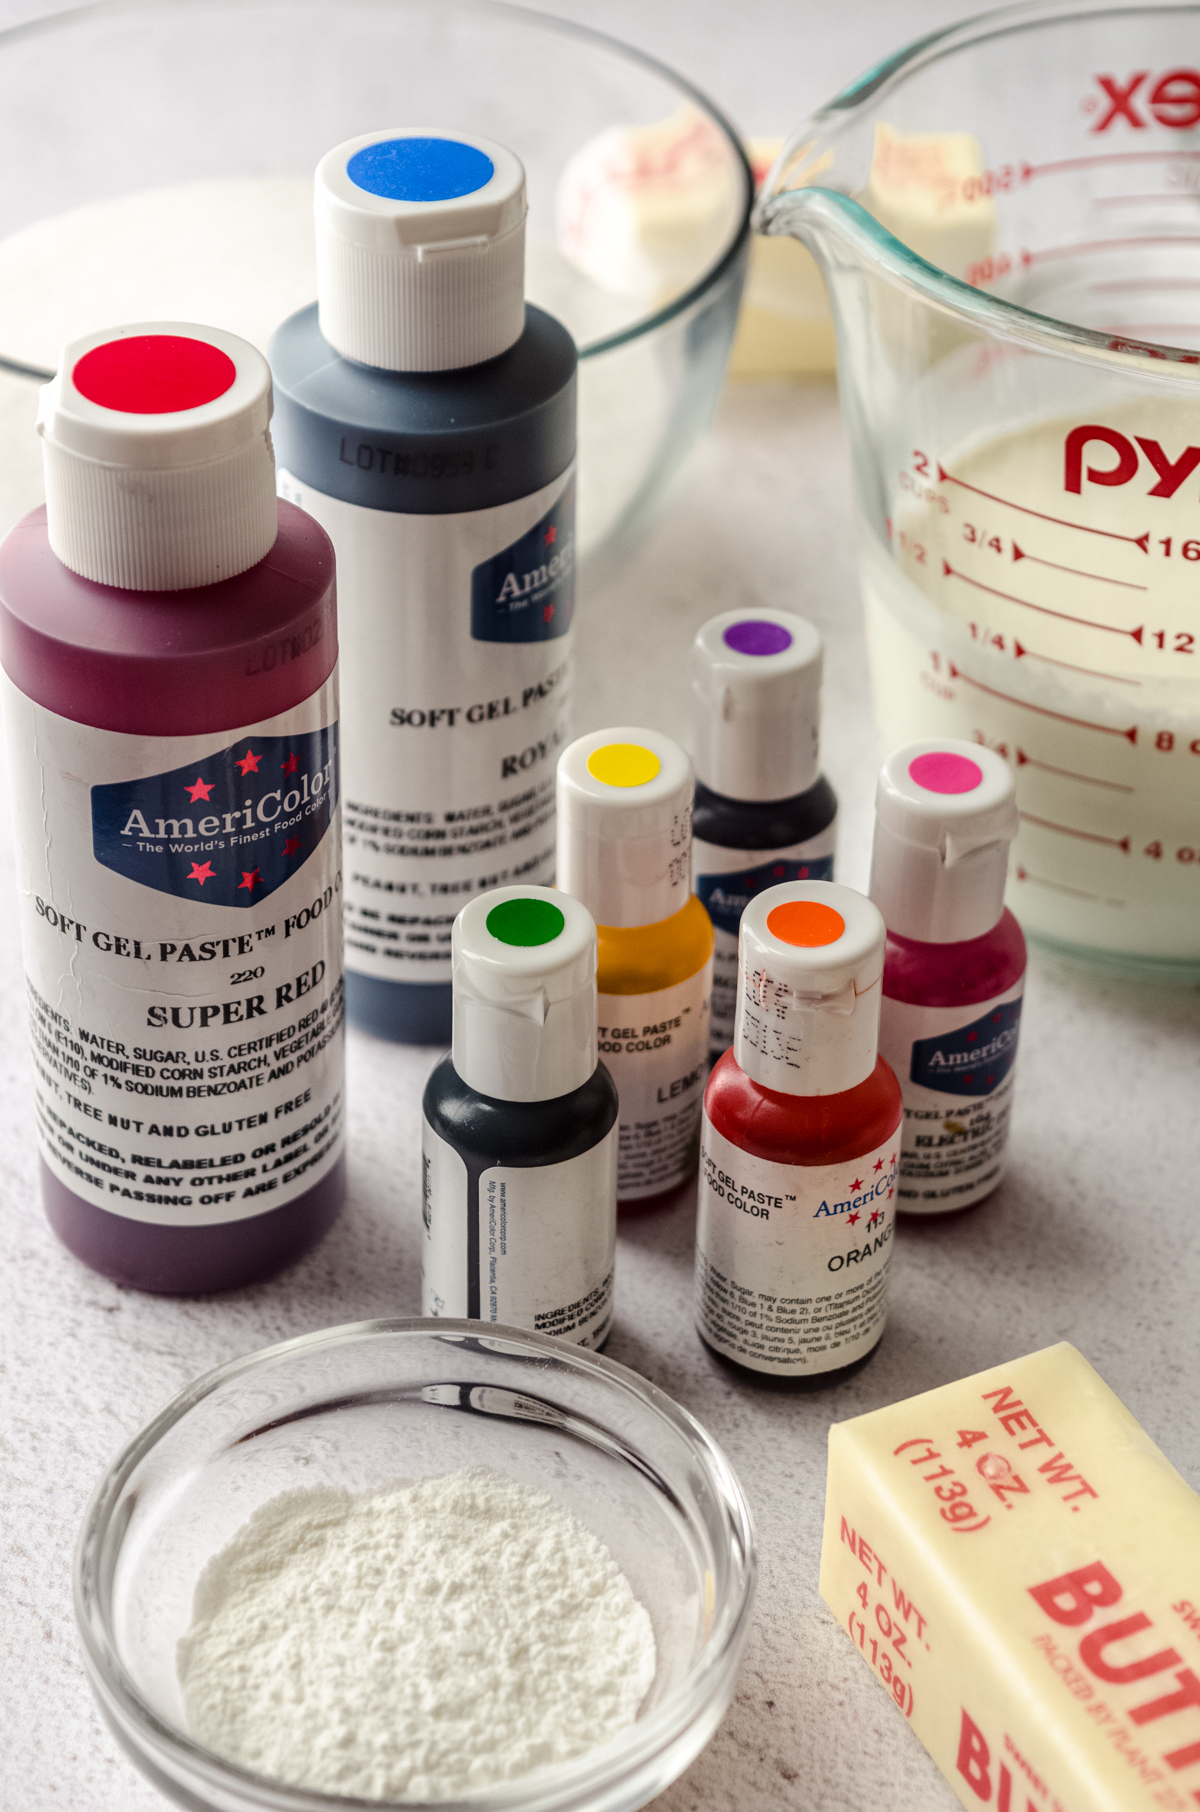
I prefer AmeriColor gel colors, as they are my favorite brand for bright and beautiful colors. Here is the mega pack that I have and love. They also carry a basic pack, and you can also find all of their colors individually. If you want to look at colors in person, you can find gel coloring in the cake decorating section at your local craft store.
FOR THE FROSTING
Again, this is my favorite icing for rainbow cake because it’s simple. Feel free to use a cream cheese frosting or strawberry frosting. You can also tint your vanilla frosting or cream cheese frosting any color you prefer.
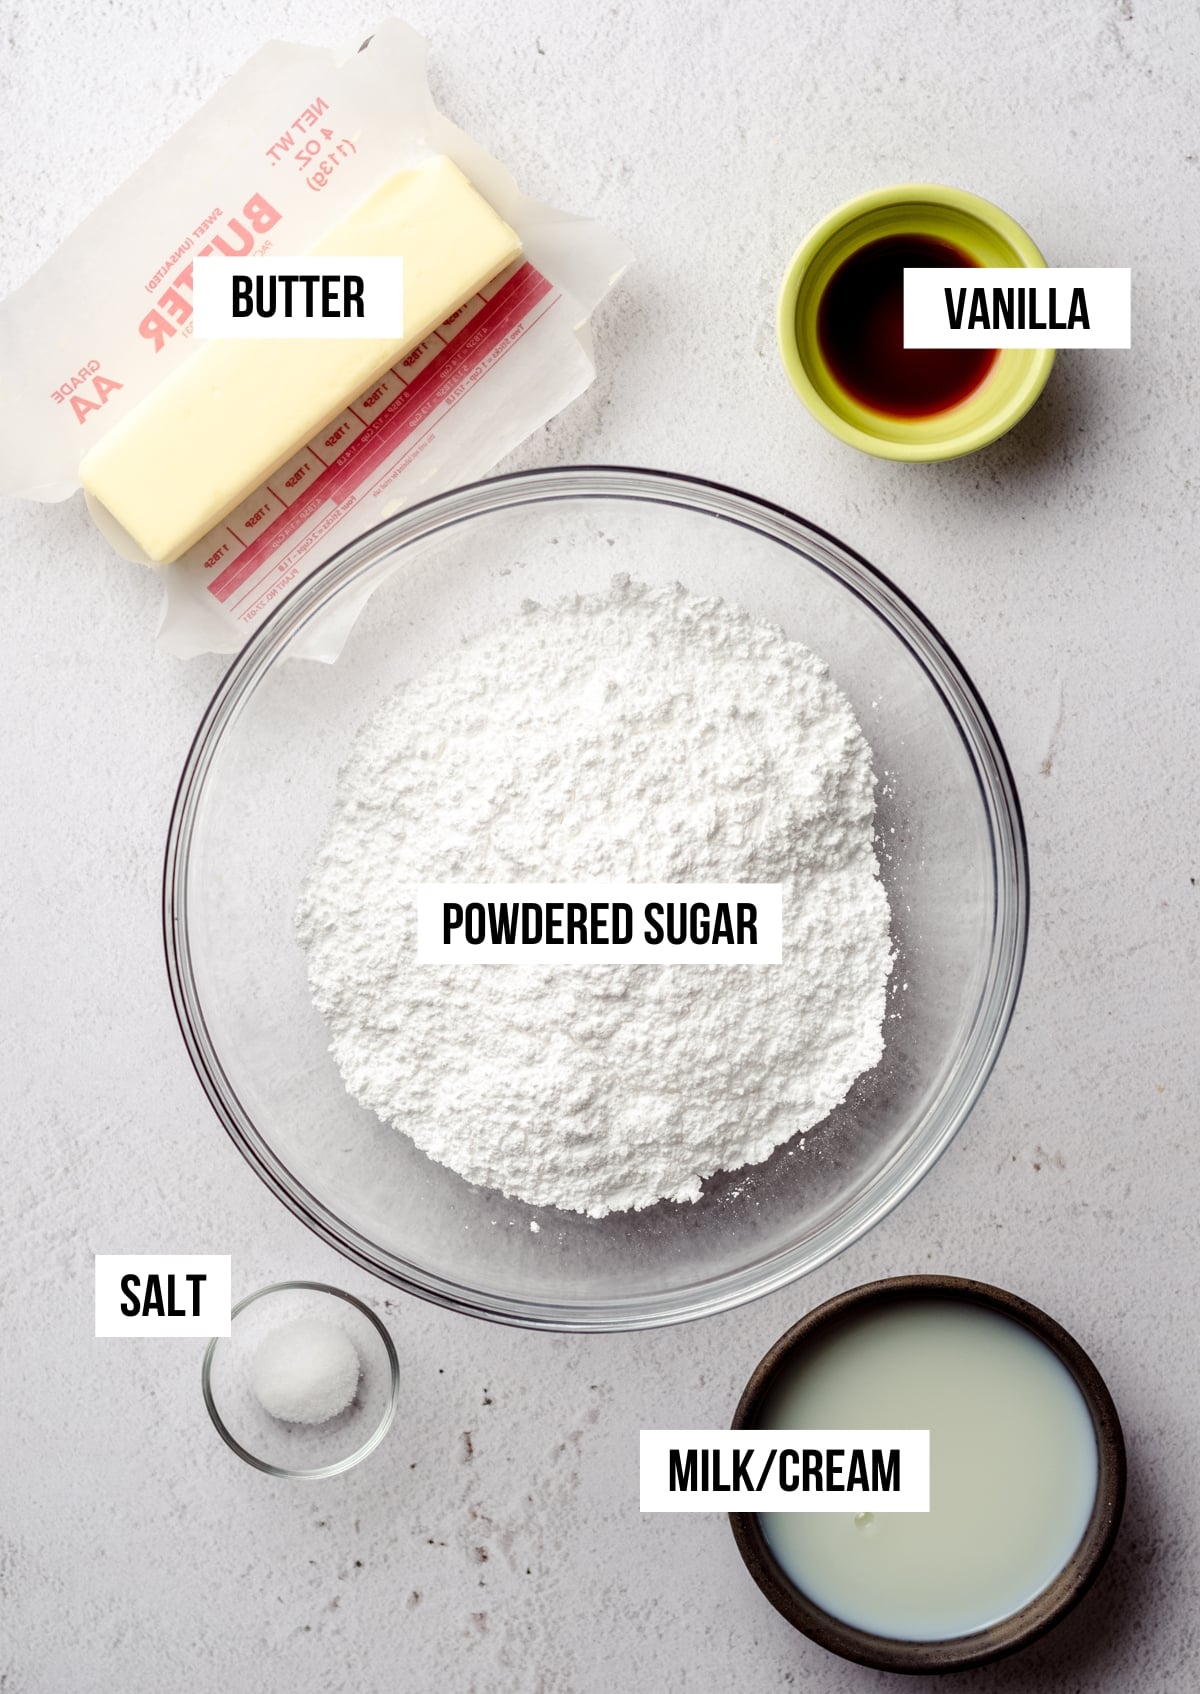
For the vanilla buttercream, you will need:
• unsalted butter
• powdered sugar
• vanilla extract
• milk or cream
• salt
HOW TO MAKE A RAINBOW LAYER CAKE
Ok, let’s do this. And let’s NOT overthink it or get freaked out by how many steps you think there might be.
Here are the basic steps:
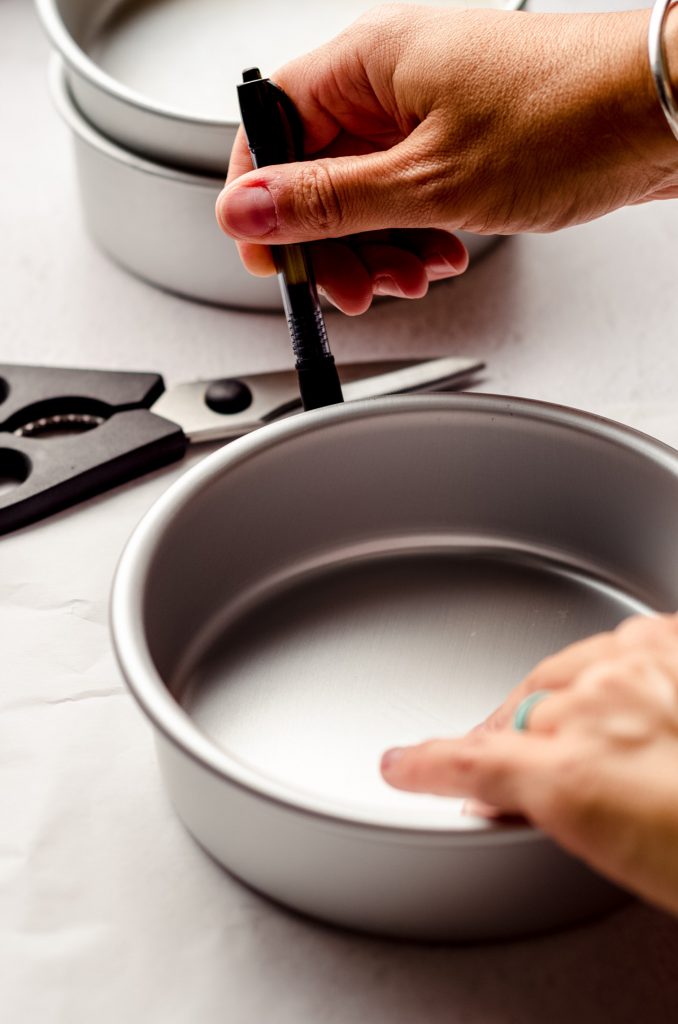
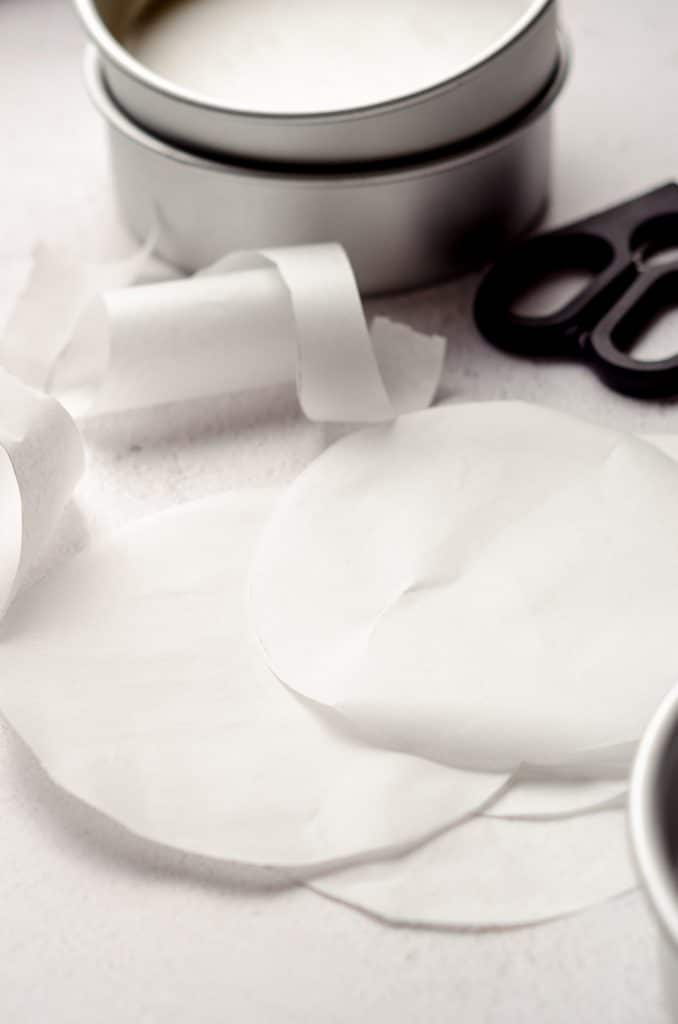
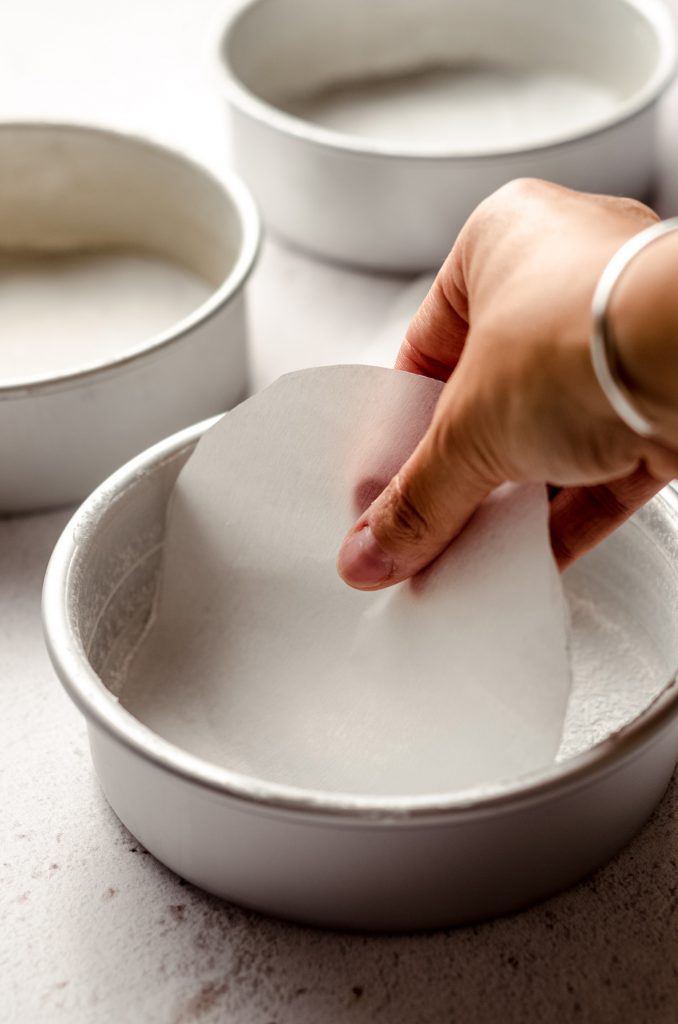
FIRST, PREPARE THE PANS: I like to line my pans with parchment circles for this rainbow layered cake because I can get the layers out of the pan after about 5-10 minutes.
SECOND, PREPARE THE BATTER: be sure your ingredients are at room temperature. This cake recipe uses the reverse creaming method, and it is imperative your ingredients are at room temperature for it to work properly and as intended.
THIRD, BAKE THE LAYERS: I have three 6″ cake pans, so I can do this 3 colors at a time with only 2 trips to the oven. You can do this with as few as 1 pan or up to 6 pans. Just be sure to plan ahead.
FOURTH, MAKE THE FROSTING: you can really do this any time before you want to assemble your rainbow cake sponge, I just prefer to do it while my cake layers are cooling.
FINALLY, ASSEMBLE THE CAKE LAYERS: you’ve done the hard part! Now put it all together.
LET’S MAKE THE BATTER
STEP #1
Start by lining as many 6″ cake pans as you have available with parchment rounds.
STEP #2
Move a rack to the middle position in the oven.
STEP #3
Set out six empty medium size bowls. These will be for coloring your batter.
STEP #4
Start by combining the flour, cornstarch, sugar, baking powder, and salt in a large bowl with a handheld mixer or the bowl of a stand mixer. Blend all of these ingredients together on low until completely combined.
STEP #5
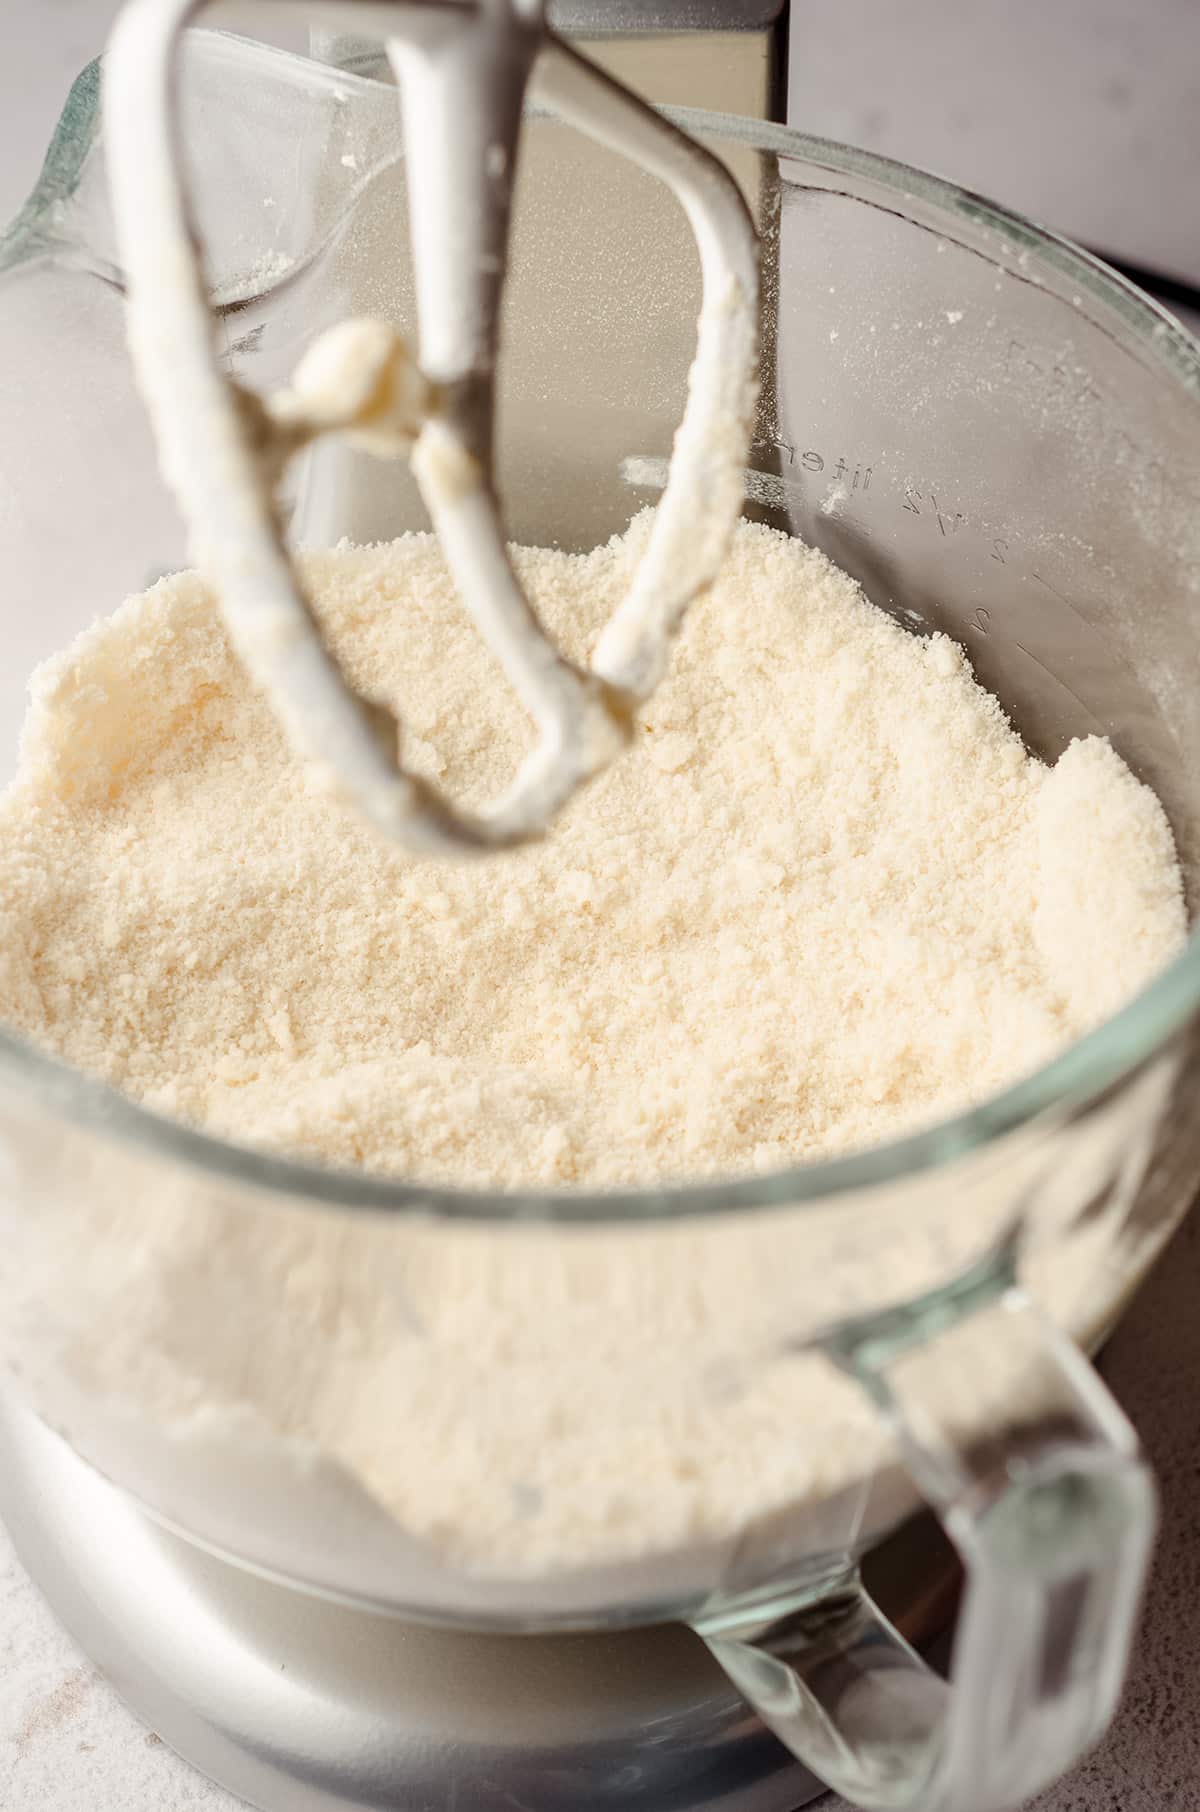
Next, add the room temperature butter and beat mixture on low speed until it resembles sand. Scrape down the sides and bottom of the bowl with a spatula and mix again on low for a few seconds until everything is thoroughly combined.
STEP #6
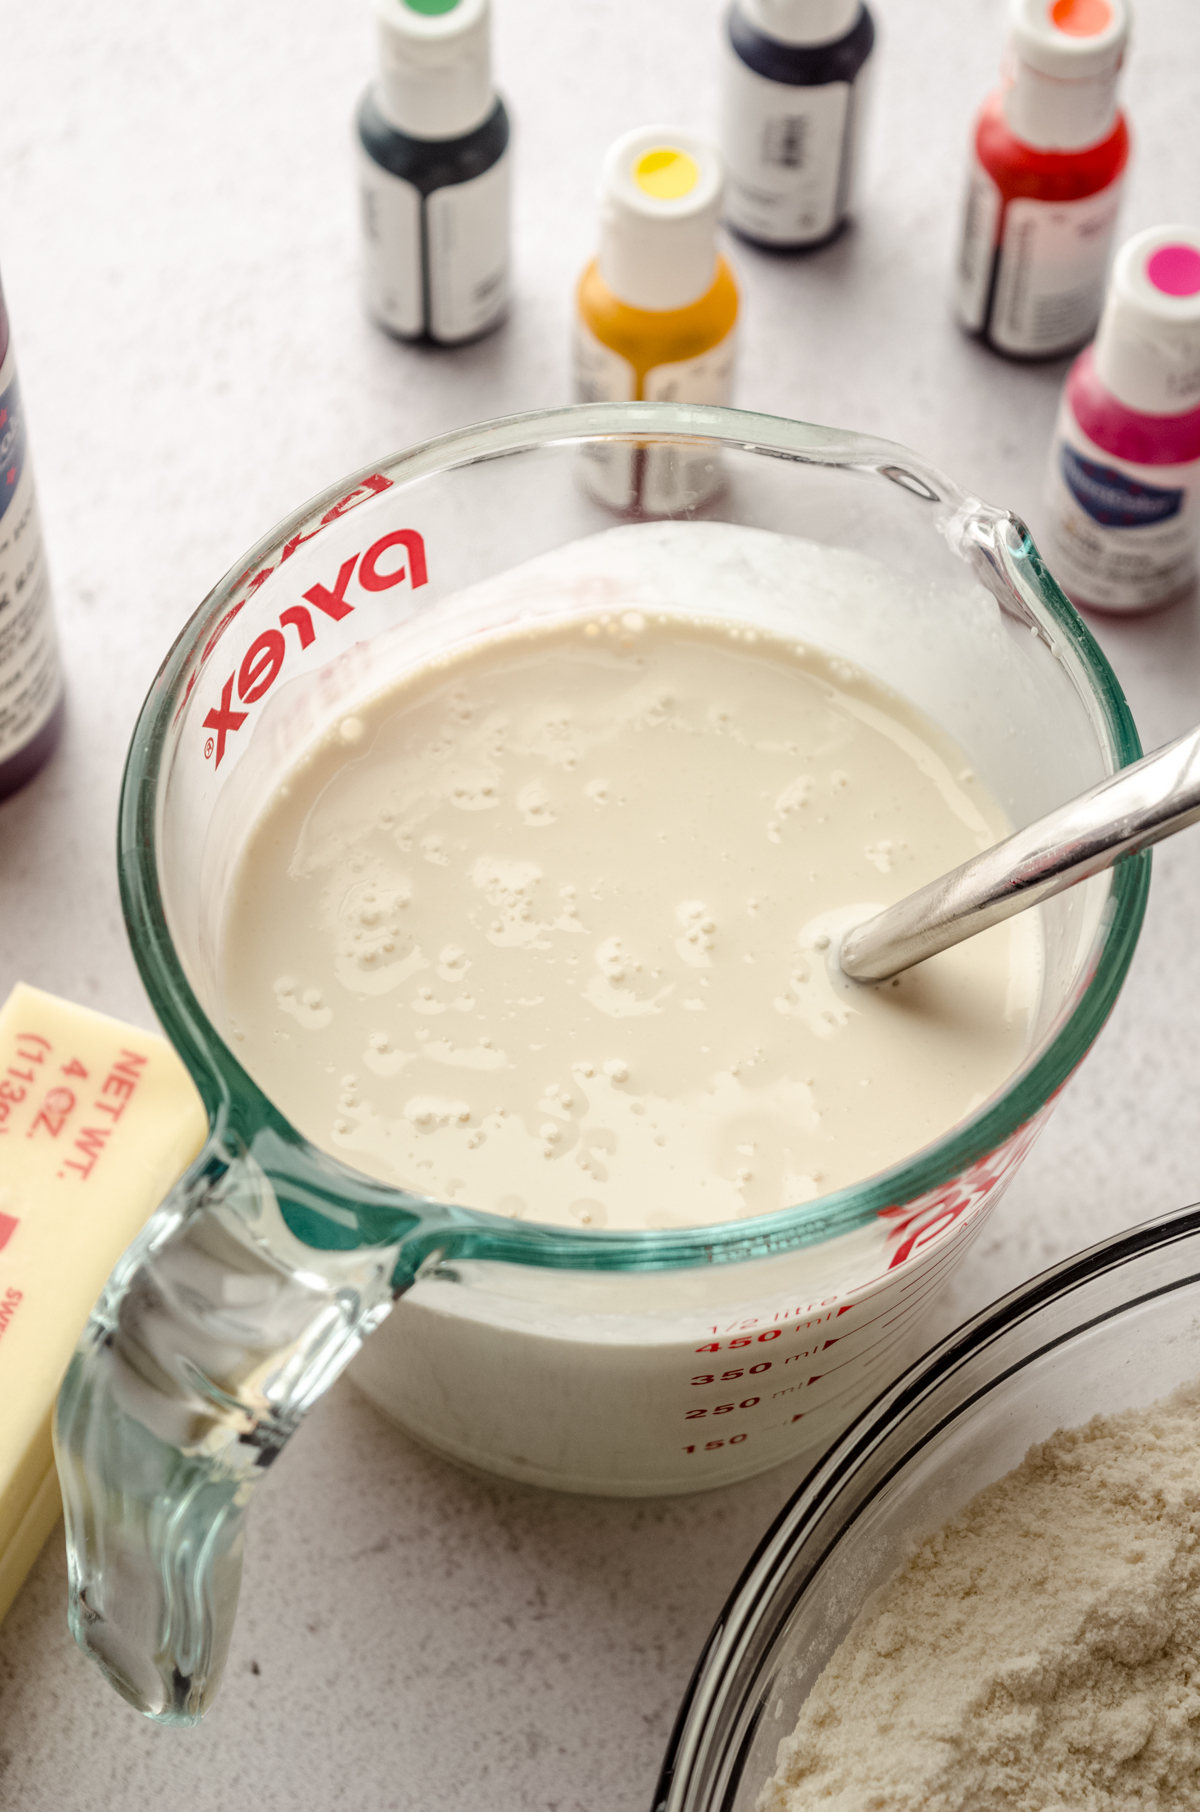
Combine the milk, egg whites, and vanilla extract in a large container with a spout (like a 2-cup glass measuring cup) and mix gently with a fork until it is completely blended.
STEP #7
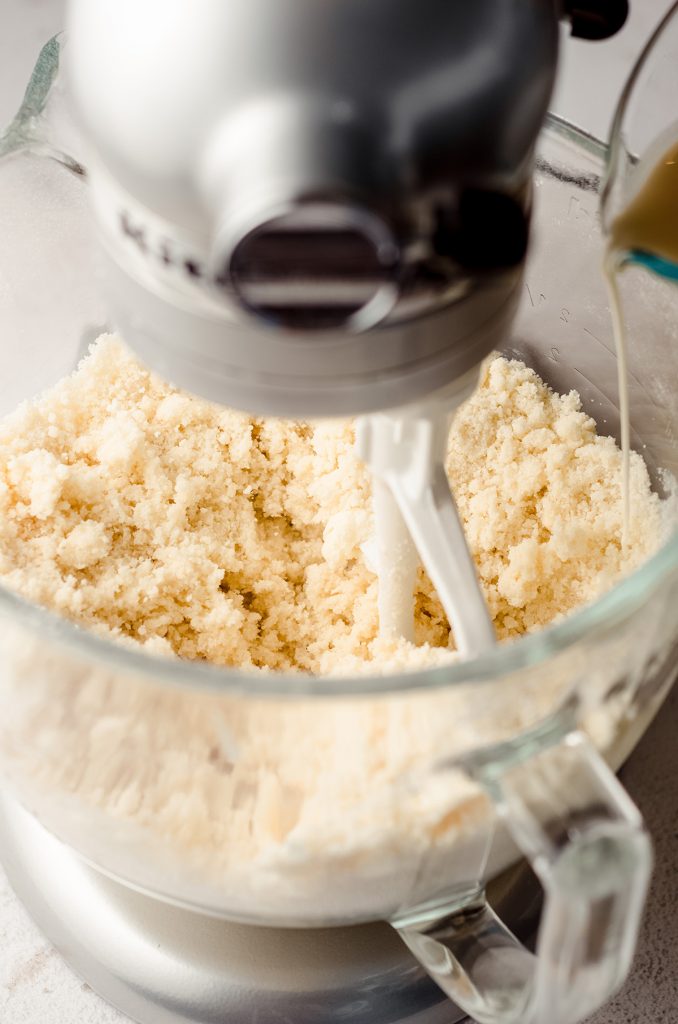
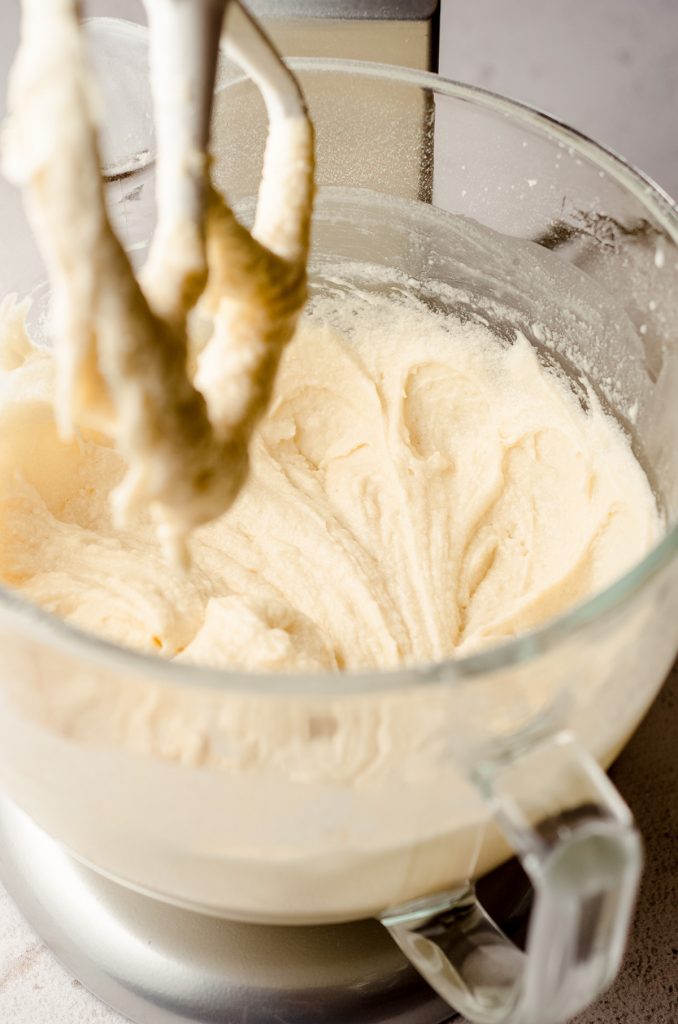
With the mixer speed on medium-low, add half of the milk mixture to the crumb mixture and mix until blended. Add the remaining milk mixture to the batter and beat again on medium-low until everything is incorporated. Turn the mixer off, scrape down the sides and bottom of the bowl with a spatula, and increase mixer speed to medium. Beat the batter for about 30 seconds until batter is smooth.
LET’S DIVIDE THE BATTER
STEP #8
Divide batter evenly between the six medium size bowls. My batter worked out to be exactly 200g of batter for each color/layer.
STEP #9
Add food coloring to each bowl, and stir until color is blended evenly.
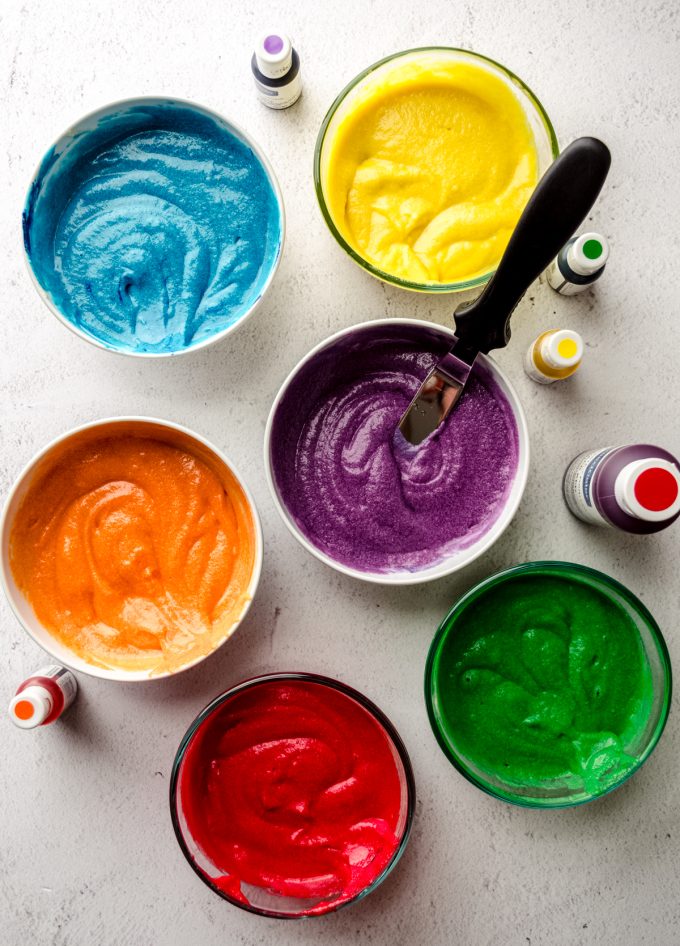
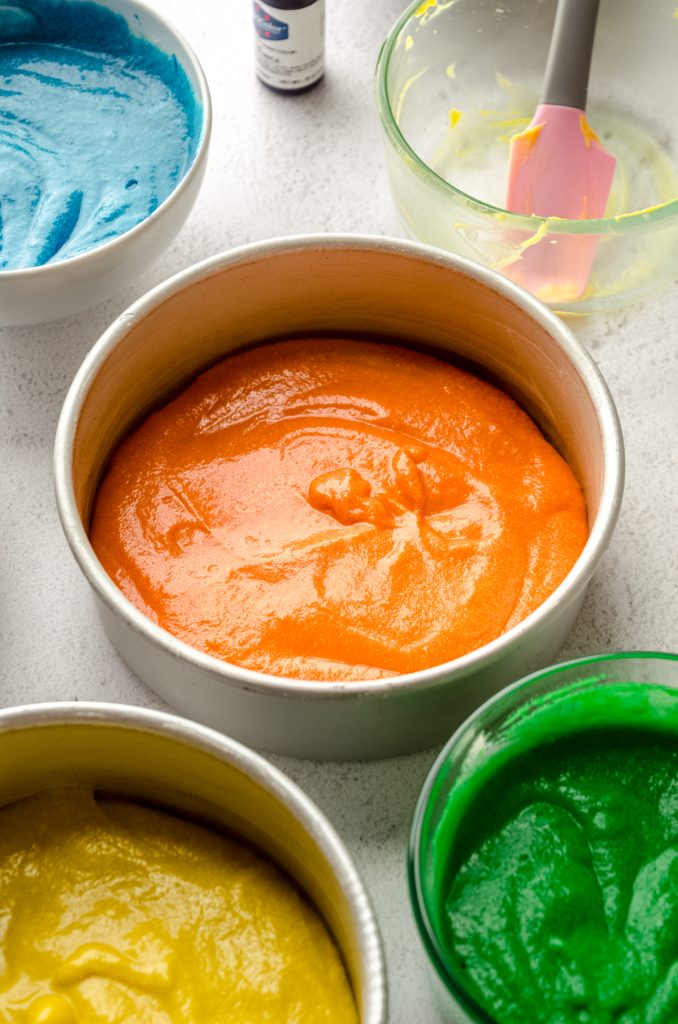
STEP #10
Pour the batter into the prepared cake pans, reserving any remaining colors until you have more pans available. Bake cakes for 15-18 minutes or until a toothpick inserted in the center comes out clean and the tops spring back when you touch them. Remove from oven and allow cakes to cool in the pans for about 10 minutes before removing and moving on to the next batch of colors.
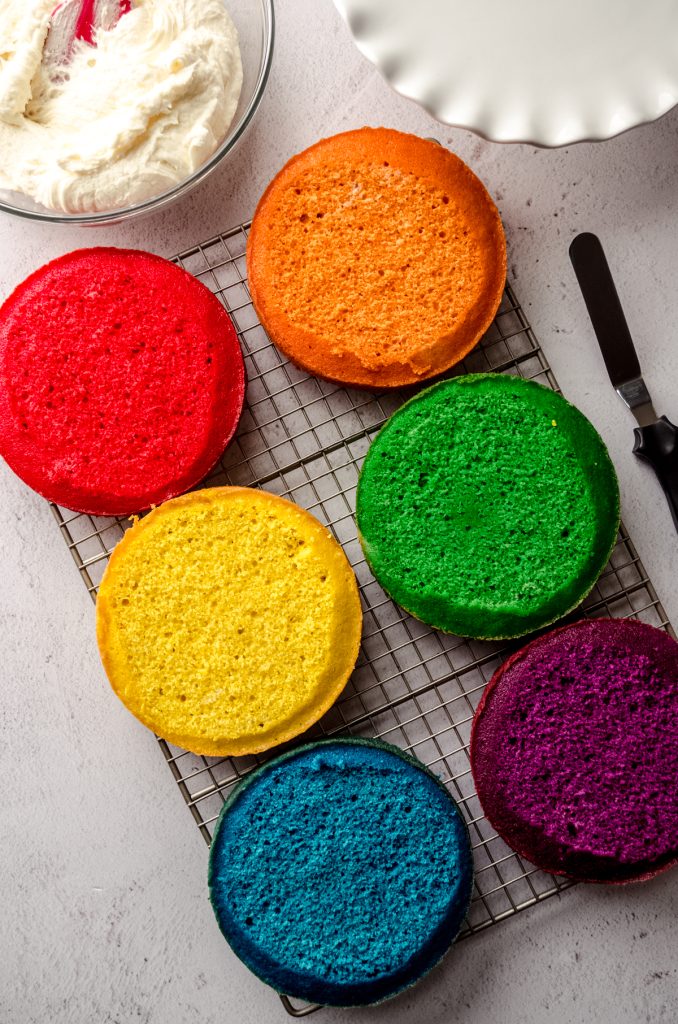
ASSEMBLE THE CAKE LAYERS
Once your cake layers are cool and you’ve made your buttercream (see this post about vanilla buttercream if you want or need detailed photos and steps laid out for making the frosting), you can turn those colorful layers into a masterpiece!
STEP #11
Trim your cake layers to the desired height, keeping in mind that their height x 6 layers will be the total height of your cake.
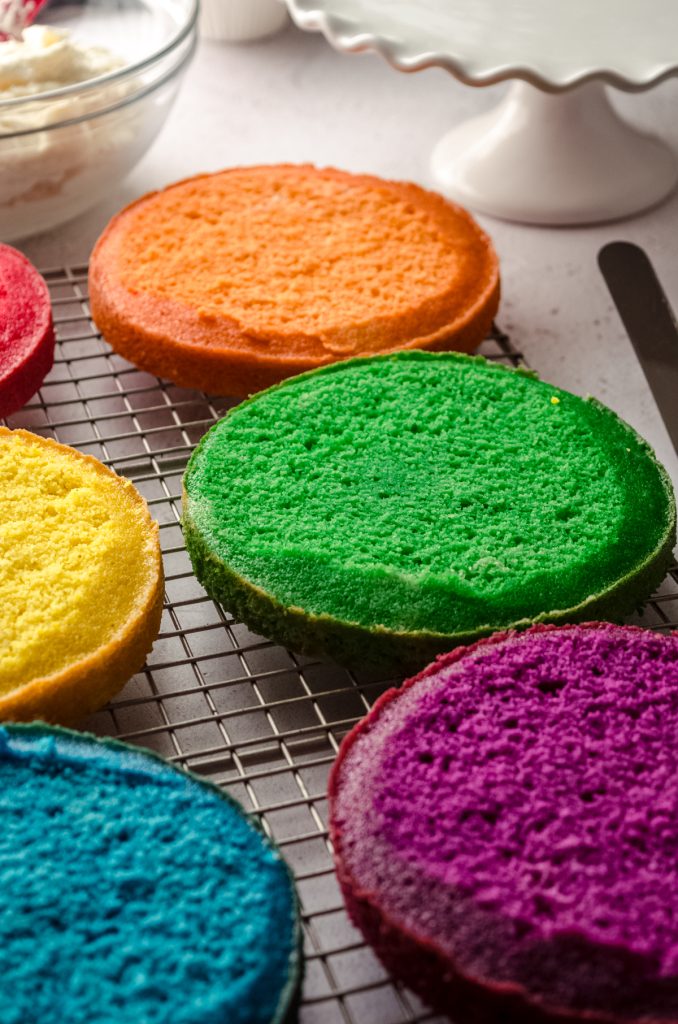
STEP #12
Place the layer in the color you want on the bottom on a plate or cake stand. Using a spatula or knife, spread an even layer of frosting over the entire surface.
STEP #13
Place the next layer in the color you want second to last on top, and press down on the top lightly.
STEP #14
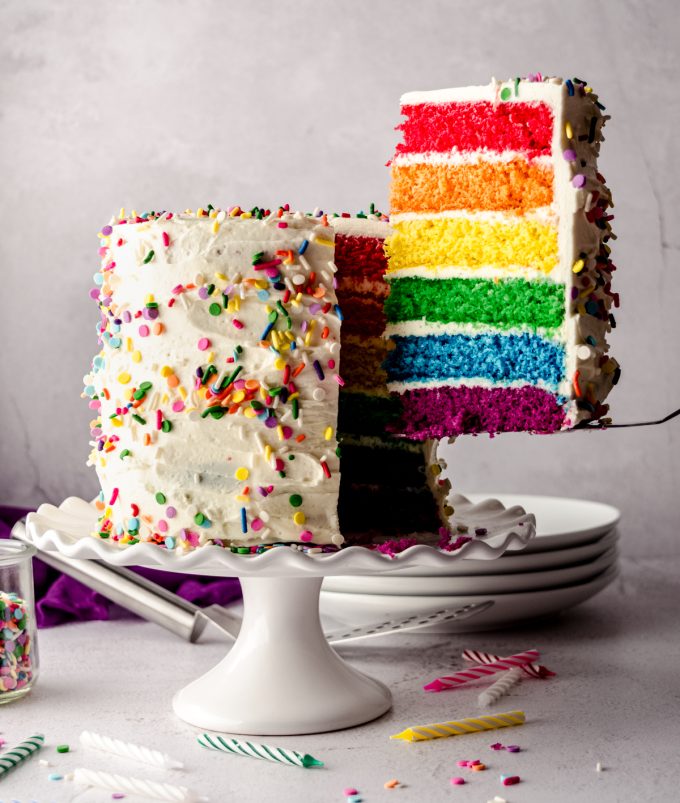
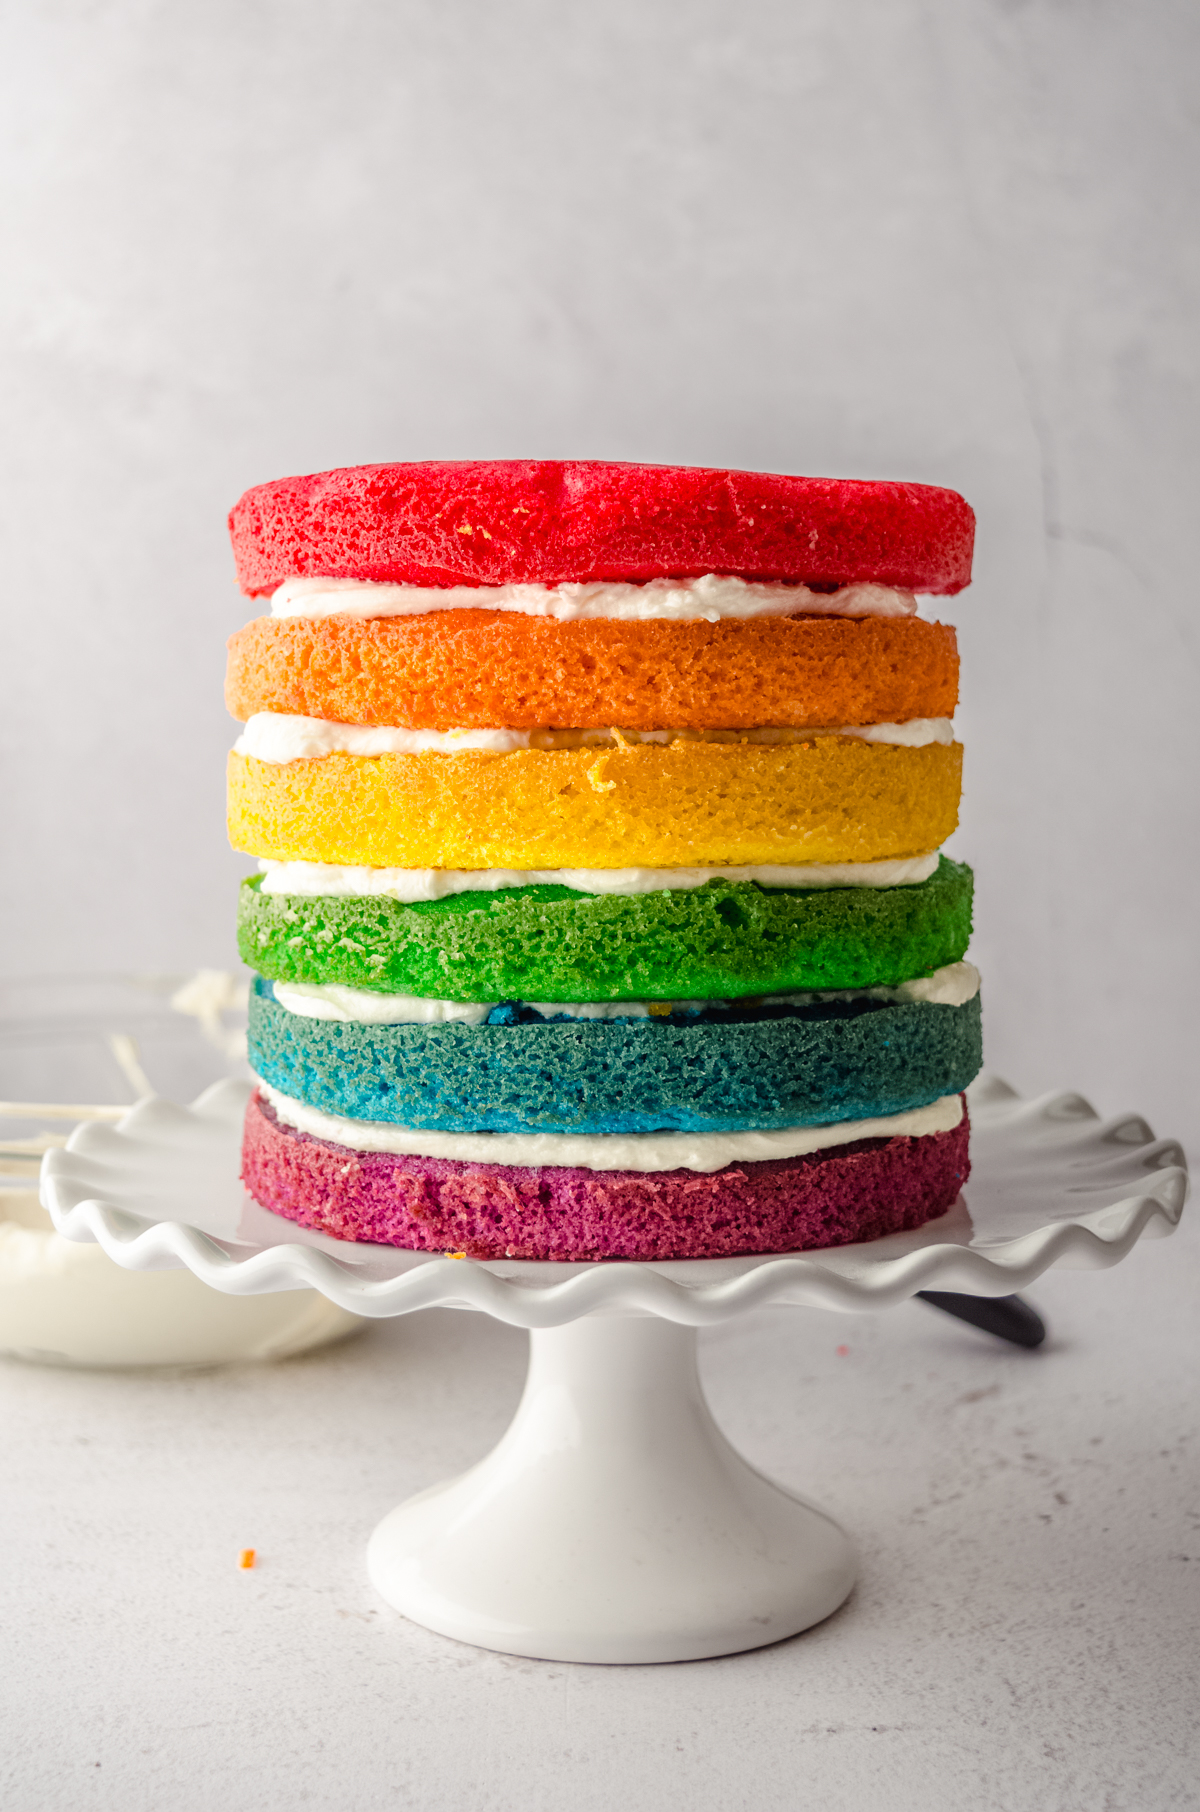
Continue stacking layers of cake until you reach the beginning of the rainbow and have used all of your layers. Spread the rest of the frosting on the cake, beginning with the top and working your way down the sides.
HOW TO DECORATE A RAINBOW CAKE
While I like to keep my decorations simple, you may have other plans. This cake is quite literally a blank canvas for whatever decorating you’d like to do.
If you want to pipe any borders on your cake, I recommend doubling or at least 1 and ½ x-ing the buttercream recipe below so you have ample frosting leftover.
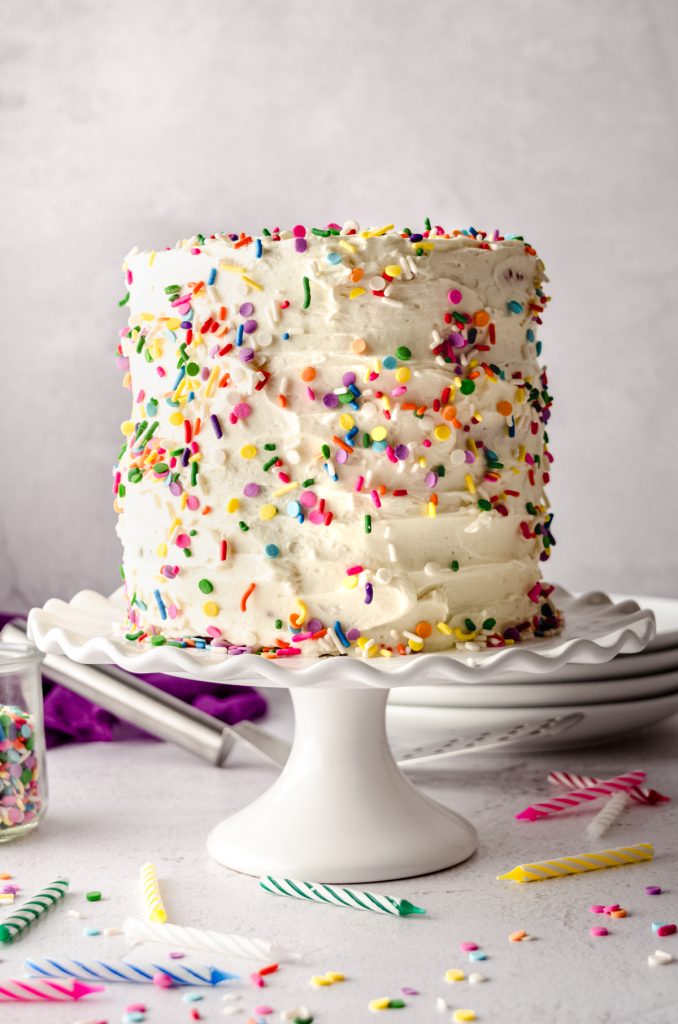
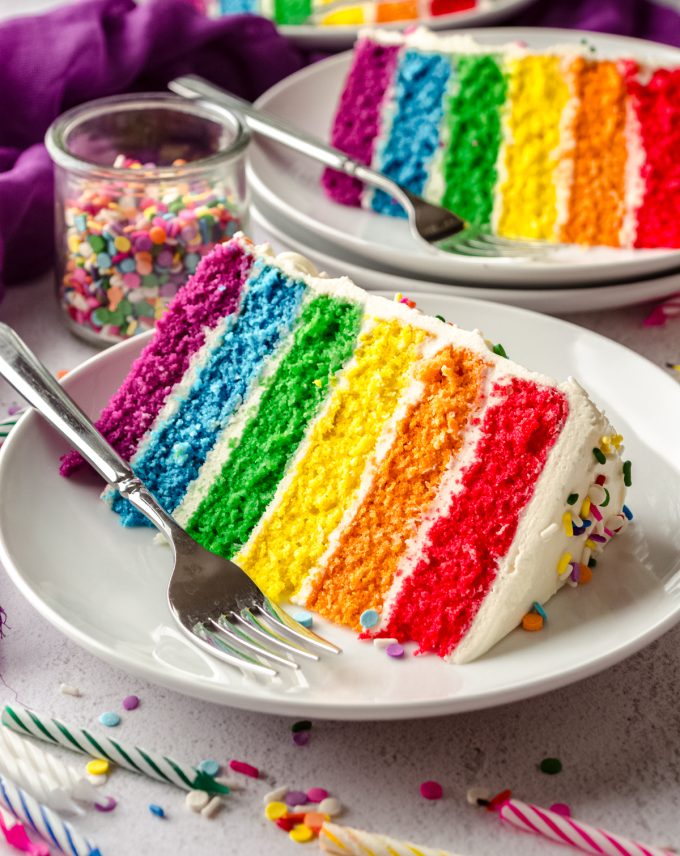
If you want to add sprinkles to the sides like I did, place your cake on a turntable or even just a large plate or baking sheet, and gently press handfuls of sprinkles to the sides of the cake before the frosting sets. This is a simple way of getting some “flair” on the outside.
SUCCESS TIPS
ROOM TEMPERATURE INGREDIENTS: this is always a good rule of thumb, but even more so when using the white cake recipe that I have included below. The reverse creaming method is my favorite when it comes to ease of making as well as a beautiful end result. Room temperature ingredients come together much more easily than cold ones, which eliminates extra mixing/time when making the batter. It also results in a much smoother batter which creates a lusciously smooth crumb.
PLAN AHEAD: I said this was an easy recipe for rainbow cake, but that does not come without many steps and a plan. Be sure you have enough time and space to dedicate to this many cake layers and you’re prepared to spend extra time blending colors for the perfect shade.
LINE YOUR PANS WITH PARCHMENT: I cannot stress enough how much easier your life will be if you line your cake pans with parchment paper. You will be able to remove the cake layers flawlessly and after only about 10 minutes of cooling time without the cake layer falling apart or getting stuck to the pan. For extra insurance, I like to spread the sides of my pans with cake release so the layers just slide right out.

Now that you know how to make rainbow cake, change up the colors to match any theme or holiday!
RAINBOW CAKE FAQs
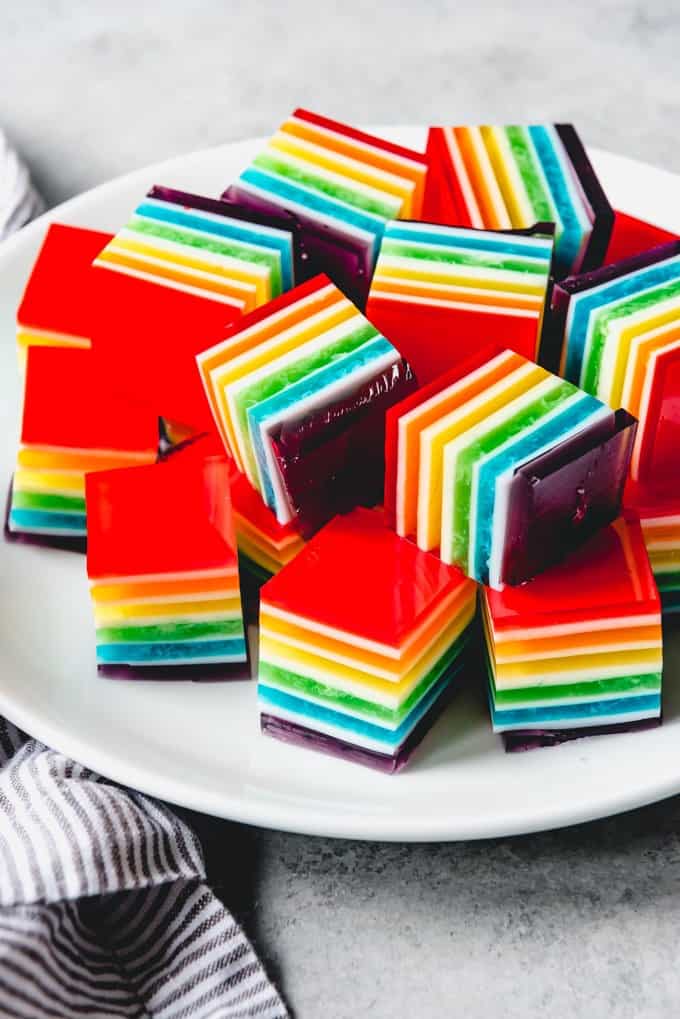
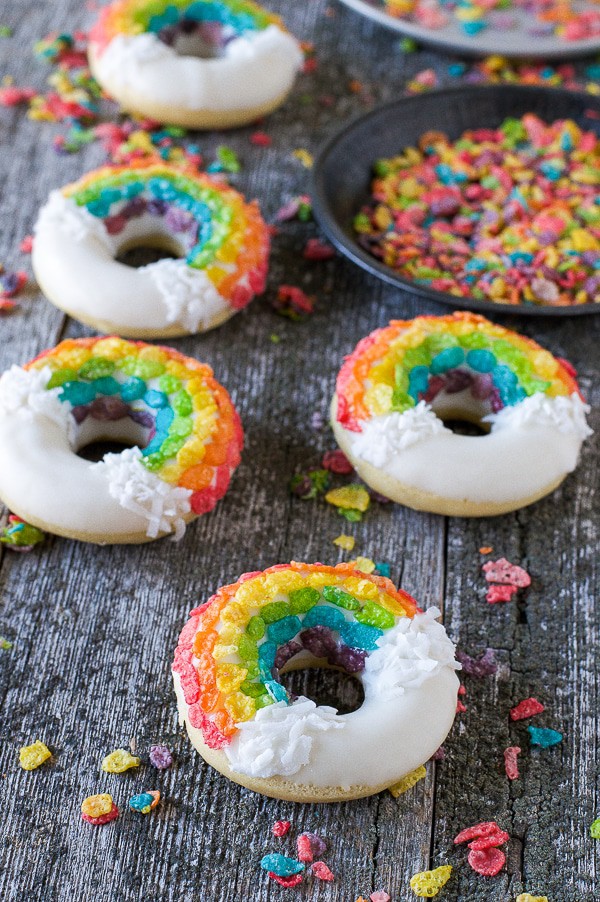
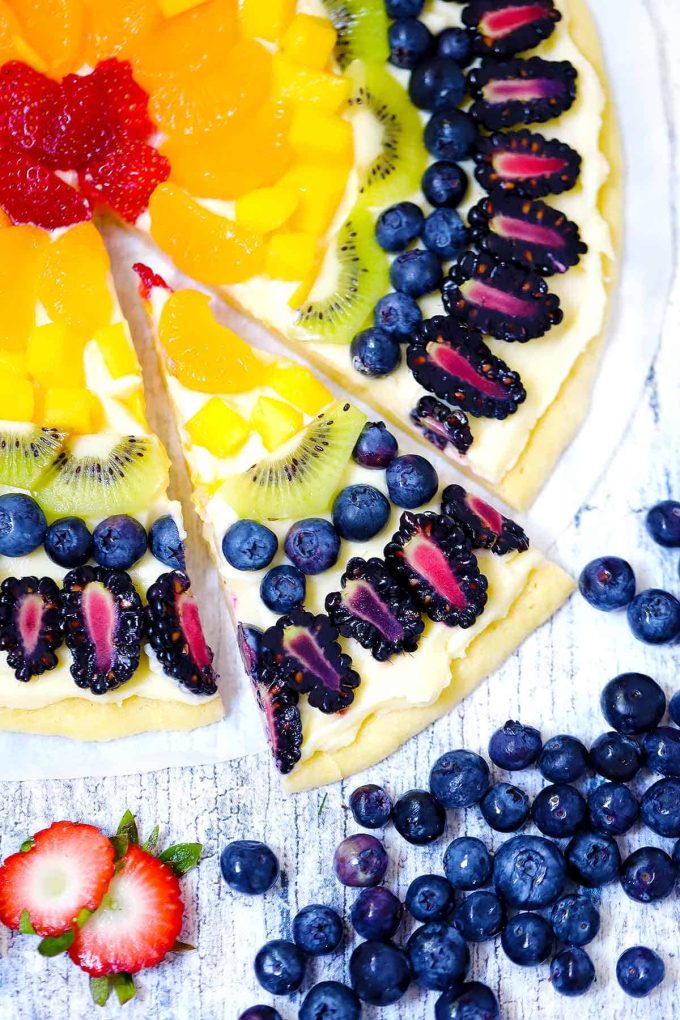
Looking for more rainbow colored foods? Check out this layered rainbow jello from House of Nash Eats, rainbow donuts from The First Year, or rainbow fruit pizza from Bowl of Delicious!
Rainbow Cake Recipe
Ingredients
CAKE
- 2 cups (240g) all-purpose flour be sure to measure properly
- 2 Tablespoons (15g) cornstarch
- 1 and ¾ cup (350g) granulated sugar
- 4 teaspoons baking powder
- 1 teaspoon salt
- 12 Tablespoons (171g) unsalted butter softened to room temperature1
- 1 cup (240mL) whole milk room temperature1,2
- 6 large egg whites room temperature1
- 2 and ½ teaspoons vanilla extract
- food coloring in desired colors3 see notes for colors I used
VANILLA BUTTERCREAM
- 1 cup (227g) unsalted butter softened to room temperature
- 4 cups (480g) powdered sugar
- 1 teaspoons vanilla extract
- ¼ to ⅓ cup (30-80mL) milk or cream
- ¼ teaspoon salt
Instructions
CAKE
- Place oven rack on the middle setting and preheat the oven to 350ºF (177ºC). Line as many 6" cake pans4 as you have available with parchment rounds. See post above for details about this.
- Set out six empty medium size bowls.
- In a large bowl with a handheld mixer or the bowl of a stand mixer fitted with the paddle attachment, combine the flour, cornstarch, sugar, baking powder, and salt. Blend ingredients together on low until completely combined, about 1 minute.2 cups (240g) all-purpose flour, 2 Tablespoons (15g) cornstarch, 1 and ¾ cup (350g) granulated sugar, 4 teaspoons baking powder, 1 teaspoon salt
- Add the room temperature butter and beat mixture on low speed until it resembles sand (see photo in post text). Scrape down the sides and bottom of the bowl with a spatula and mix again on low for a few seconds until thoroughly combined.12 Tablespoons (171g) unsalted butter
- Combine the whole milk, egg whites, and vanilla extract in a large container with a spout (like a 2-cup glass measuring cup) and mix gently with a fork until blended.1 cup (240mL) whole milk, 6 large egg whites, 2 and ½ teaspoons vanilla extract
- With the mixer speed on medium-low, add half of the milk mixture (about 1 cup) to the crumb mixture and mix until blended. Add the remaining milk mixture to the batter and beat again on medium-low until everything is incorporated. Turn the mixer off, scrape down the sides and bottom of the bowl with a spatula, and increase mixer speed to medium. Beat the batter for about 30 seconds until batter is smooth.
- Divide batter evenly between the six medium size bowls. My batter worked out to be exactly 200g of batter for each color/layer. Add food coloring to each bowl, and stir until color is blended evenly.food coloring in desired colors3
- Pour the batter into the prepared cake pans, reserving any remaining colors until you have more pans available. Bake cakes for 15-18 minutes or until a toothpick inserted in the center comes out clean and the tops spring back when you touch them. Remove from oven and allow cakes to cool in the pans for about 10 minutes before removing and moving on to the next batch of colors.
BUTTERCREAM
- In a large bowl with a handheld mixer or a stand mixer fitted with the paddle attachment, beat the the butter on medium-high until smooth, about 2 minutes.1 cup (227g) unsalted butter
- Reduce the mixer to low, then slowly add the powdered sugar and mix until everything is combined. Add the vanilla extract and mix again.4 cups (480g) powdered sugar, 1 teaspoons vanilla extract
- Slowly add the milk or cream, watching for and stopping at desired consistency. Add the salt, then increase the mixer speed to medium and beat until completely smooth.¼ to ⅓ cup (30-80mL) milk or cream, ¼ teaspoon salt
- If after beating, the frosting is too stiff, add more cream. If it is too thin, add more powdered sugar, about 2 Tablespoons at a time.
- Turn off the mixer and use a spatula to stir the buttercream by hand to remove air bubbles and make it smooth and creamy. This usually takes about 3-5 minutes, but can take longer, especially if your mixer is very strong. Cover tightly and store at room temperature until ready to use.
ASSEMBLE THE CAKE
- Trim your cake layers to the desired height, keeping in mind that their height x 6 layers will be the total height of your cake.
- Place the layer in the color you want on the bottom on a plate or cake stand. Using a spatula or knife, spread an even layer of frosting over the entire surface. Place the next layer in the color you want second to last on top, and press down on the top lightly. Continue stacking layers of cake until you reach the beginning of the rainbow and have used all of your layers. Spread the rest of the frosting on the cake, beginning with the top and working your way down the sides. Decorate as desired.
- Cake stays fresh covered at room temperature for up to 4 days. Cake may be covered and refrigerated for up to 7 days.
Notes
- Room temperature ingredients: it is imperative to use room temperature ingredients in this recipe. Allow ingredients to sit out at room temperature at least 45 minutes before beginning.
- Whole milk: I strongly encourage using whole milk in this recipe. It keeps the crumb moist and adds a creaminess to the overall texture of the cake.
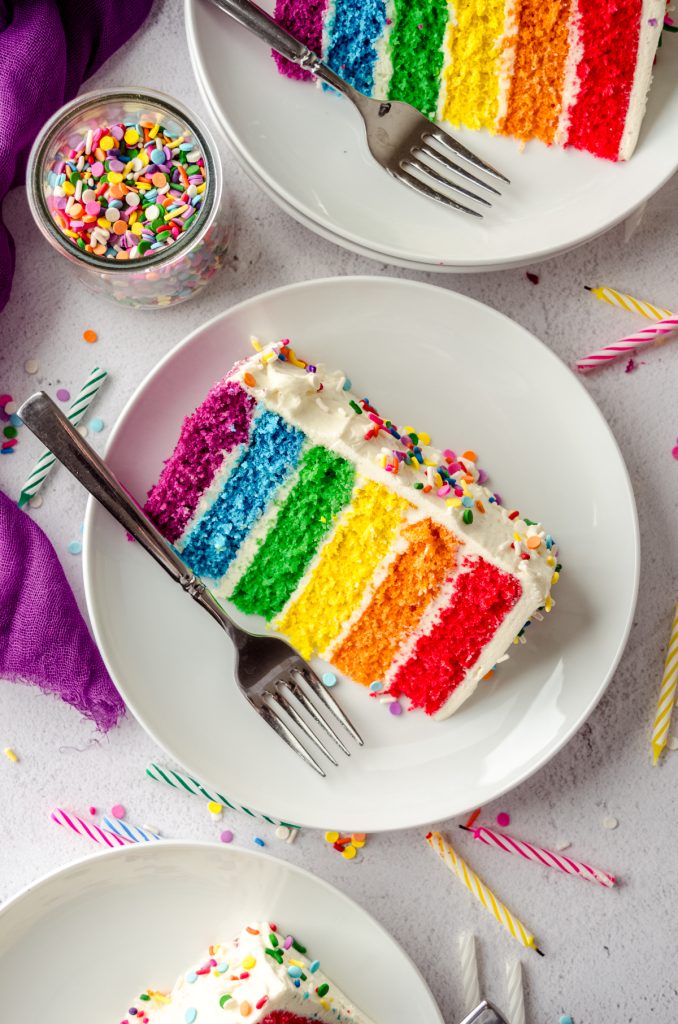
- Food coloring: I prefer gel food coloring. My favorite is AmeriColor. I used the following colors for my layers: super red, orange, egg yellow, leaf green, royal blue, and combination of violet + a touch of electric pink.
- Make this an 8″ cake: this batter will also work in 8″ pans, the layers will just be much thinner. Bake time is about 12-15 minutes. I highly recommend doubling (or at least 1 and ½ times) the recipe written for the buttercream.
Nutrition Disclosure
All nutritional values are approximate and provided to the reader as a courtesy. Changing ingredients and/or quantities will alter the estimated nutritional calculations.
Can you tell me what colors you used in American Gel? There are several versions of each color? Thanks so much.
Ohhh, thanks, Sharon! I totally meant to include that and then forgot. The colors I used were super red, orange, egg yellow, leaf green, royal blue, and combination of violet + a touch of electric pink. I updated the text in the recipe as well!
This cake looks like was su much fun to make and a lot work involved but im pretty sure the end result is very rewarding and delicious
I’ve made two of these! They are yummy! The first one, I kept ‘whole’ for my daughter’s birthday and the 2nd one, I sliced the layers in half lengthwise and made two ‘mini cakes’ (6” rounds that ended up about 7” tall) to mail to my son and give to our friend. They are so, so good and my daughter was so, so happy to have her cake!! I’d post a photo, but it doesn’t look like I can. This was a great and easy to do recipe. I liked the way you separated the recipe out into the 6 bowls so that I can be organized about it!! Thanks!! Kelly
Hey, Kelly! Thanks so much for sharing your experience! I’d love to see your picture on Insta, or you can email me at lynn[@]freshaprilflours[dot]com!
Thanks!! I just added a message to you on Insta. Let me know if you can see them.
THIS SUCKS
THANKS SO MUCH FOR STOPPING BY, ARIEL.
Hello , I really cant stop looking at this cake you did an amazing job. I want to make this cake this weekend and I was taking a look at the Recipe and I am wondering Just so I understand correctly the recipe calls for 2 cake layers is that correct?
Thank you
Hey, Yasmine– the cake can have as many layers as you’d like. Did you mean 2 cake pans? Because yes, that is correct. You only need 2 pans to do this.
I only have 9″ cake pans. I figure double the recipe and shorter baking time but will the 9″ work just as well? Any other suggestions?
Hey, Brenda– yes. You’ll double the recipe for each pair of layers. Bake time is approximately 22-24 minutes.
Hi! If I wanna make an 8 inch cake with 6 layers. Will I need to dowel it so it doesn’t collapse or maybe add a cake board in between a 3 layer set?
Hi, Hiba! It should be fine, unless you’re transporting it somewhere. Let me know how it turns out!
I plan to make this for my daughter’s birthday party in 2 weeks, but I’m having trouble figuring out 2 things! First, how do you serve such a tall cake without it falling apart? Do you need a special server or other tool? Also, what do you use to store this cake? My cake safe won’t come close to holding this!
Hey, Kim! I’d highly recommend making an 8″ cake if you don’t want it this tall. You can also trim the layers to be as short or tall as you want them to be. This cake was surprisingly sturdy. I kept the cake in the fridge on the bottom shelf and removed all the trays above it so it could stand tall. And after we served it, I just removed the top 3 layers and essentially had two 3 layer cakes that were 6″. Let me know if you have any more questions! This can feel daunting, but like I say in the post and recipe card, it does NOT have to be this tall!
This cake is GORGEOUS! I love how tall it is. So pretty.
Thanks so much, Elizabeth 🙂
Can you tell us how much of the gel colorings to use? I cannot get the vibrant colors as are in your picture.
Hi, Tony– it will depend on your dye, honestly. It’s impossible for me to know exactly how much I use, but if I had to guess, I’d say less than 1/8 teaspoon of each. It’s usually like 4-5 drops. Are you using AmeriColor gels? They’re my favorite because of how vibrant they are.
I made this cake over the weekend and it’s one of the best cakes I’ve made! While it’s got a lot of steps, the recipe has clear instructions that are easy to follow! The cake came out perfect as did the icing that goes with it. Once made, it is IMPRESSIVE! (and tall)! It tastes great too! Some cakes look good but don’t taste all that, not this one, it is SO delicious! It tastes like a rainbow dream!! First night we ate half the cake so I just turned it cut side down on cake plate and then cake dome fit and covered the whole thing for storing. Second day it was gone! I’ve tried a few of Lynn’s recipes, they have all worked out perfectly so far. This is one of my go to dessert sites. Make the rainbow cake! Impress your friends! Fight over the last piece like we did!
Thank you so much!! I am so happy you loved the cake so much 🙂
This was a total slam dunk for my 5-year-olds birthday! Everyone commented how good the cake was. Very kid-friendly to make (my 5 and 3 year old both helped). I had Betty Crocker gel food coloring on hand already so I used that with good results.
Thank you so much, Kate!
Hello! I desperately need your help 😩 I have an order for a 2 teir rainbow cake. 8 inch bottom and 6 inch top. I would like the 8 inch to be taller and then the 6 inch to be smaller. How much batter would you use in the 6 vs the 8 im stressingggggg!! TNANK you cx
Hi! Is each tier going to be a full rainbow? Or three layers in the top tier and three layers in the bottom tier?
Hi thank you for the reply, I’m going to do 6 layers of each.
So 6 layer 8 inch on the bottom and 6 layer 6 inch on top.
Also with a ganache crumb coat and dowels will the cake be stable enough to support the weight of the 6” on top ?
Hi, Luchia– you’ll do the recipe as written for the 6″ cake, and then use the recipe as written for three of the 8″ layers and another time for the remaining 3 layers for the 8″ cake. So you’ll essentially be making 3 batches of this recipe. I’ve never stacked this particular cake, but I have stacked cakes, and if you’re familiar with stacking cakes, this should work out just fine with a platform between the tiers and dowels in the bottom tier. Hope that helps!
Great instructions! Made this for my granddaughters’s 6th birthday. Such an impressive presentation – can’t believe I pulled off. Thanks for a great recipe!
Thank you so much, Lanie! And thank you for emailing me the photos. You absolutely rocked it!!
The preparation and cooking times are unrealistic. It took closer to two and a half hours to make this recipe. This cake is dry and disappointing
Hi, Greg. The preparation time assumes all of your ingredients are measured out (this is standard for recipe writing), and you can see from the instructions that I guide you through making it as efficiently as possible, though those times are always a guide and not to be taken as law. Prep and baking times aside, I can assure you this cake is not dry, and that’s likely a user error. This cake is in many different variations on my site and always gets positive reviews. In fact, you can see several positive reviews on this post. Bummer it didn’t work out for you.
Hi Lynn, I will be baking your cake this coming weekend and I am super excited in trying it out! Just 2 questions. 1. I have 8” pans and to prevent the layers from being too thin, can I double the recipe and bake for about 22-25 mins? 2. Assuming then it will be a double up on the butter cream recipe as well? Thanks, Marelise
Hi, Marelise– yes, doubling up will work great, but I suggest only making 2 layers at a time to maintain the consistency of the batter. So you’ll wind up doing 3 batches of the batter, which I’ve done plenty of times! If you’re organized and patient, it works great 🙂 And yes, you’ll want to double the buttercream, too. Let me know how it goes!
Hi Lynn, me again. I followed your recipe and made 3 batches as recommended. My goodness, what a yummie moist cake! It was a showstopper, and I had jelly beans flowing out from the centre. And your buttercream recipe definitely converted me too. Thanks a mil. I will definitely make this again 🙂
I love this report, Marelise! Thank you for the feedback. I’m glad it worked out for you 🙂