
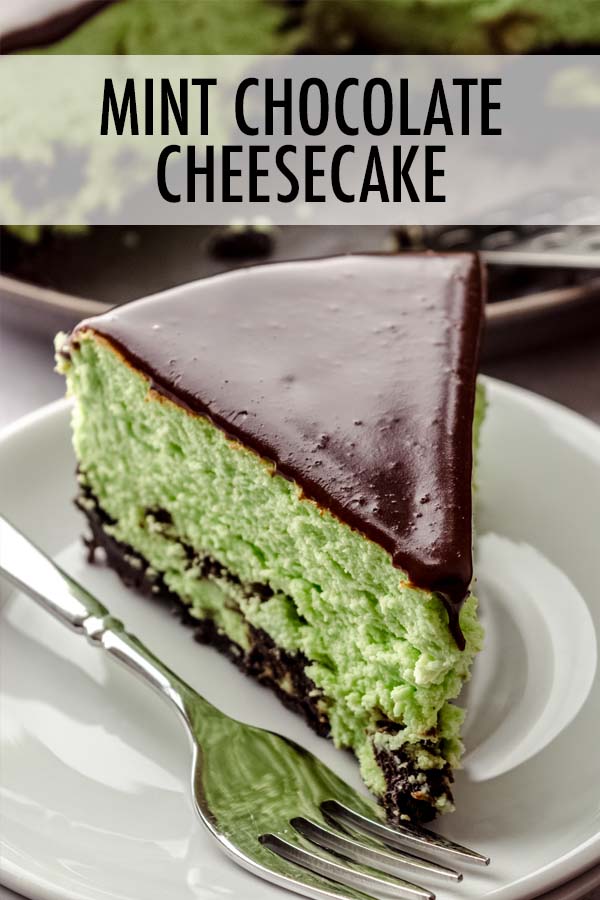
Mint Chocolate Cheesecake
As an Amazon Associate, I earn from qualifying purchases. Read the full disclosure here.
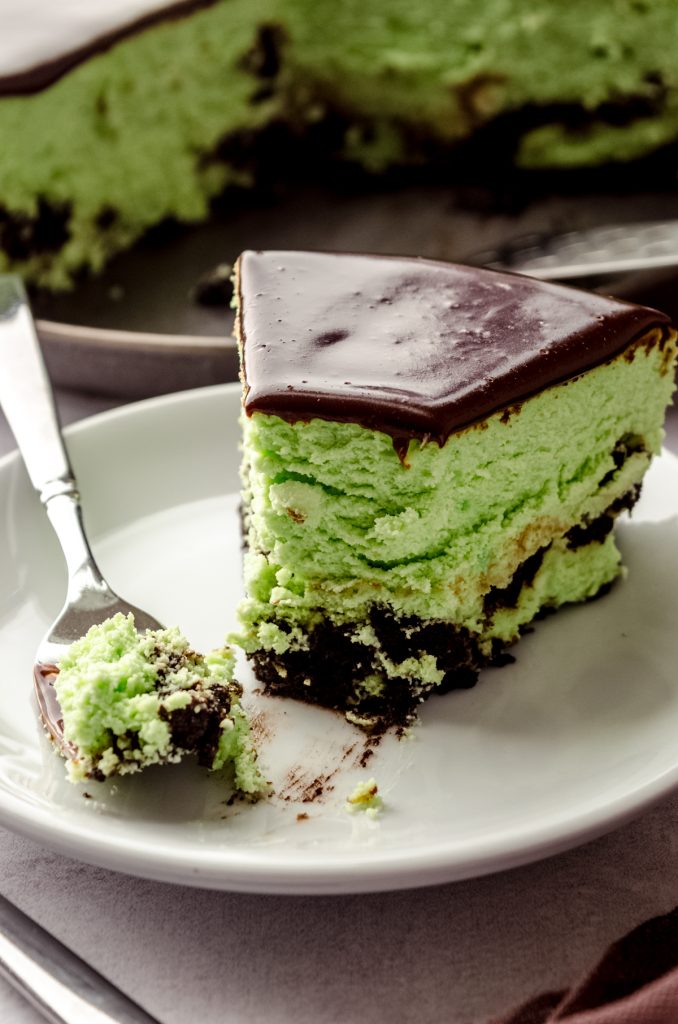
This smooth and creamy mint cheesecake is swirled with a chunky Oreo layer and topped with gooey hot fudge. Use my no-foil method to make the easiest cheesecake water bath.

MY PERFECT HOMEMADE CHEESECAKE RECIPE: MINT + CHOCOLATE STYLE
You can take my perfect homemade cheesecake recipe and turn it up a notch with the simple addition of mint and chocolate flavors. This recipe takes everything you love about creamy, dreamy cheesecake and makes it into a mint chocolate dream.
Once you have mastered the art of making REALLY GOOD cheesecake, you can turn it into so many different flavors! But with its creamy mint cheesecake filling, fudgy chocolate topping, and a ribbon of crunchy Oreos, this mint cookies and cream chocolate version of my basic cheesecake has turned into one of my favorites.
Follow along with the outline and recipe below and learn all of my best tips and tricks for making the absolute best mint chocolate cheesecake. I promise it will be worth the (minimal) work!
THIS CHEESECAKE IS A MINT CHOCOLATE LOVER’S DREAM
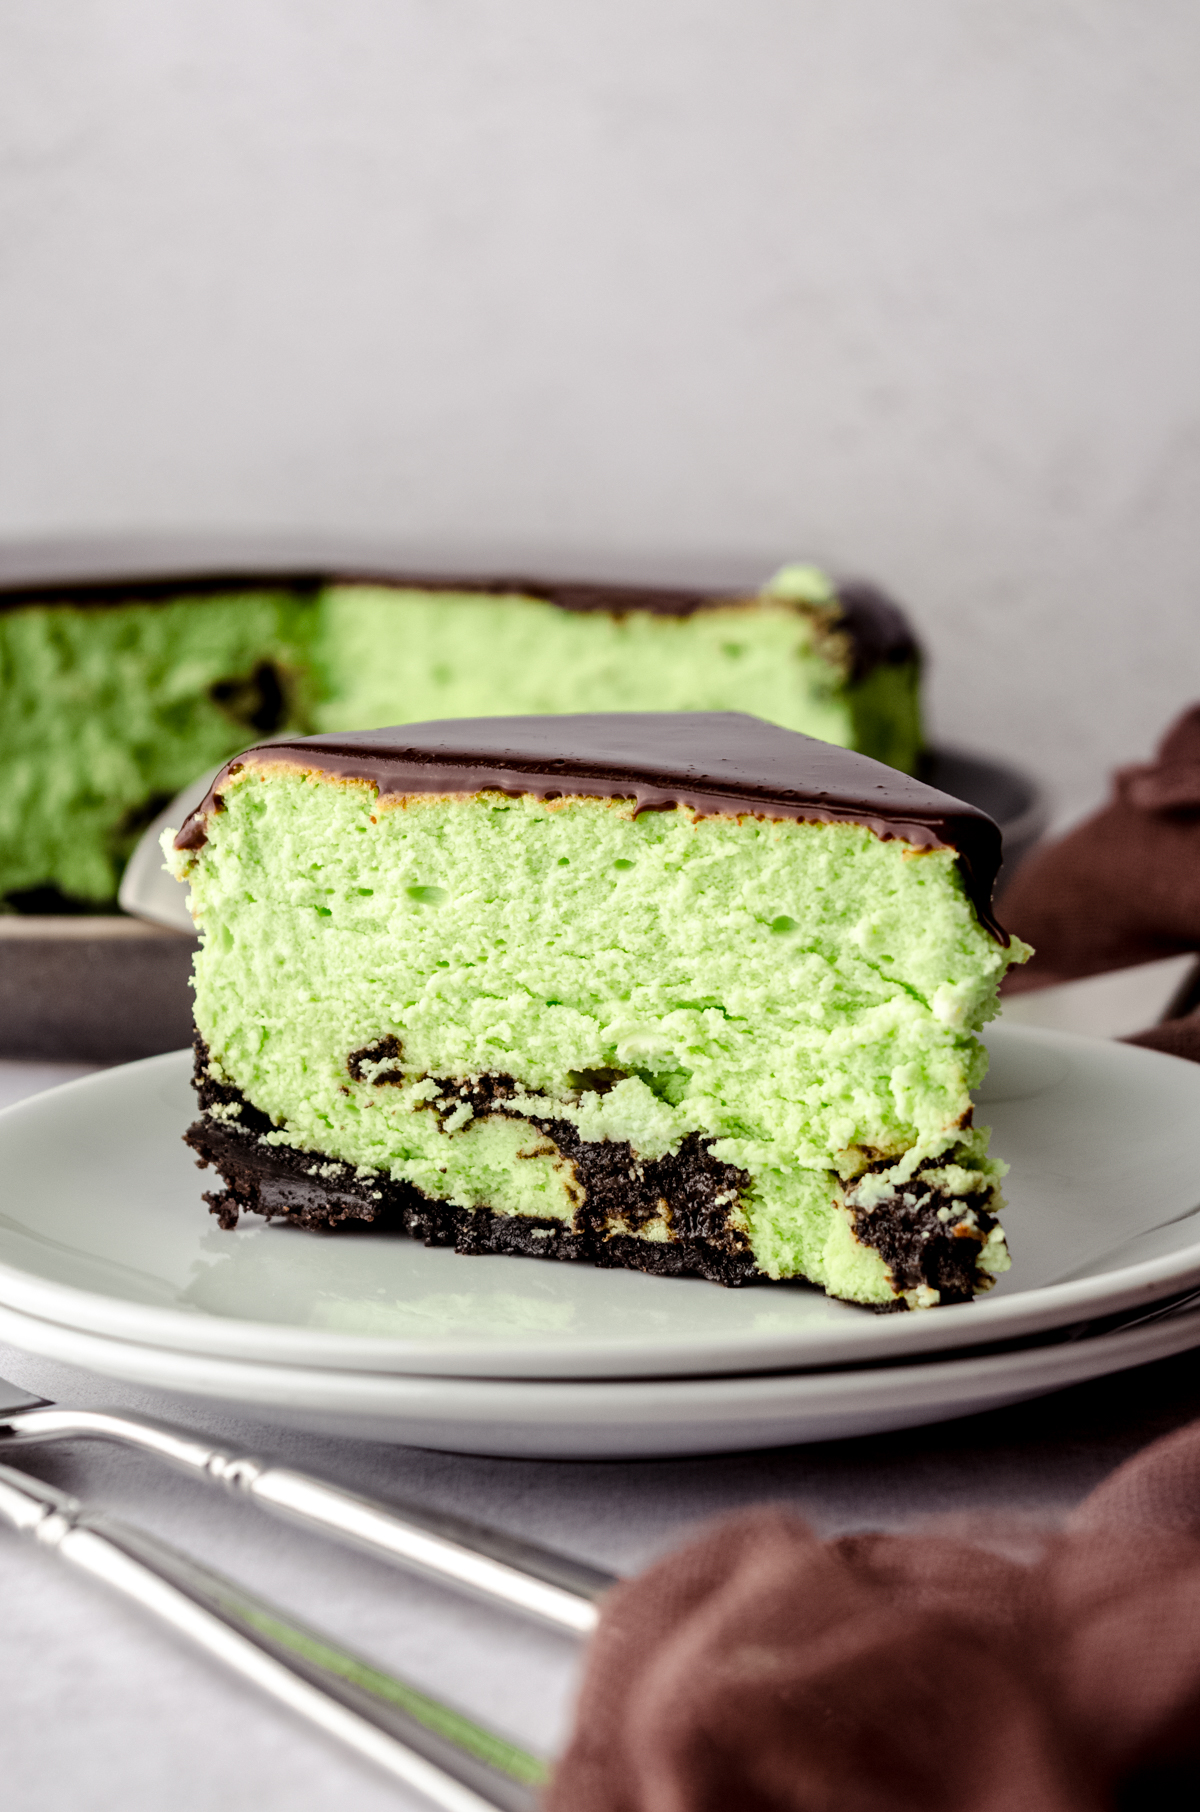
Featuring peppermint extract along with Oreo cookies and hot fudge, this cheesecake is seriously a chocolate mint lover’s dream. Think cookies and cream with the addition of refreshing mint flavor. The peppermint extract keeps this cheesecake recipe from getting too rich, while the Oreos add a nice, crunchy texture to the mix.
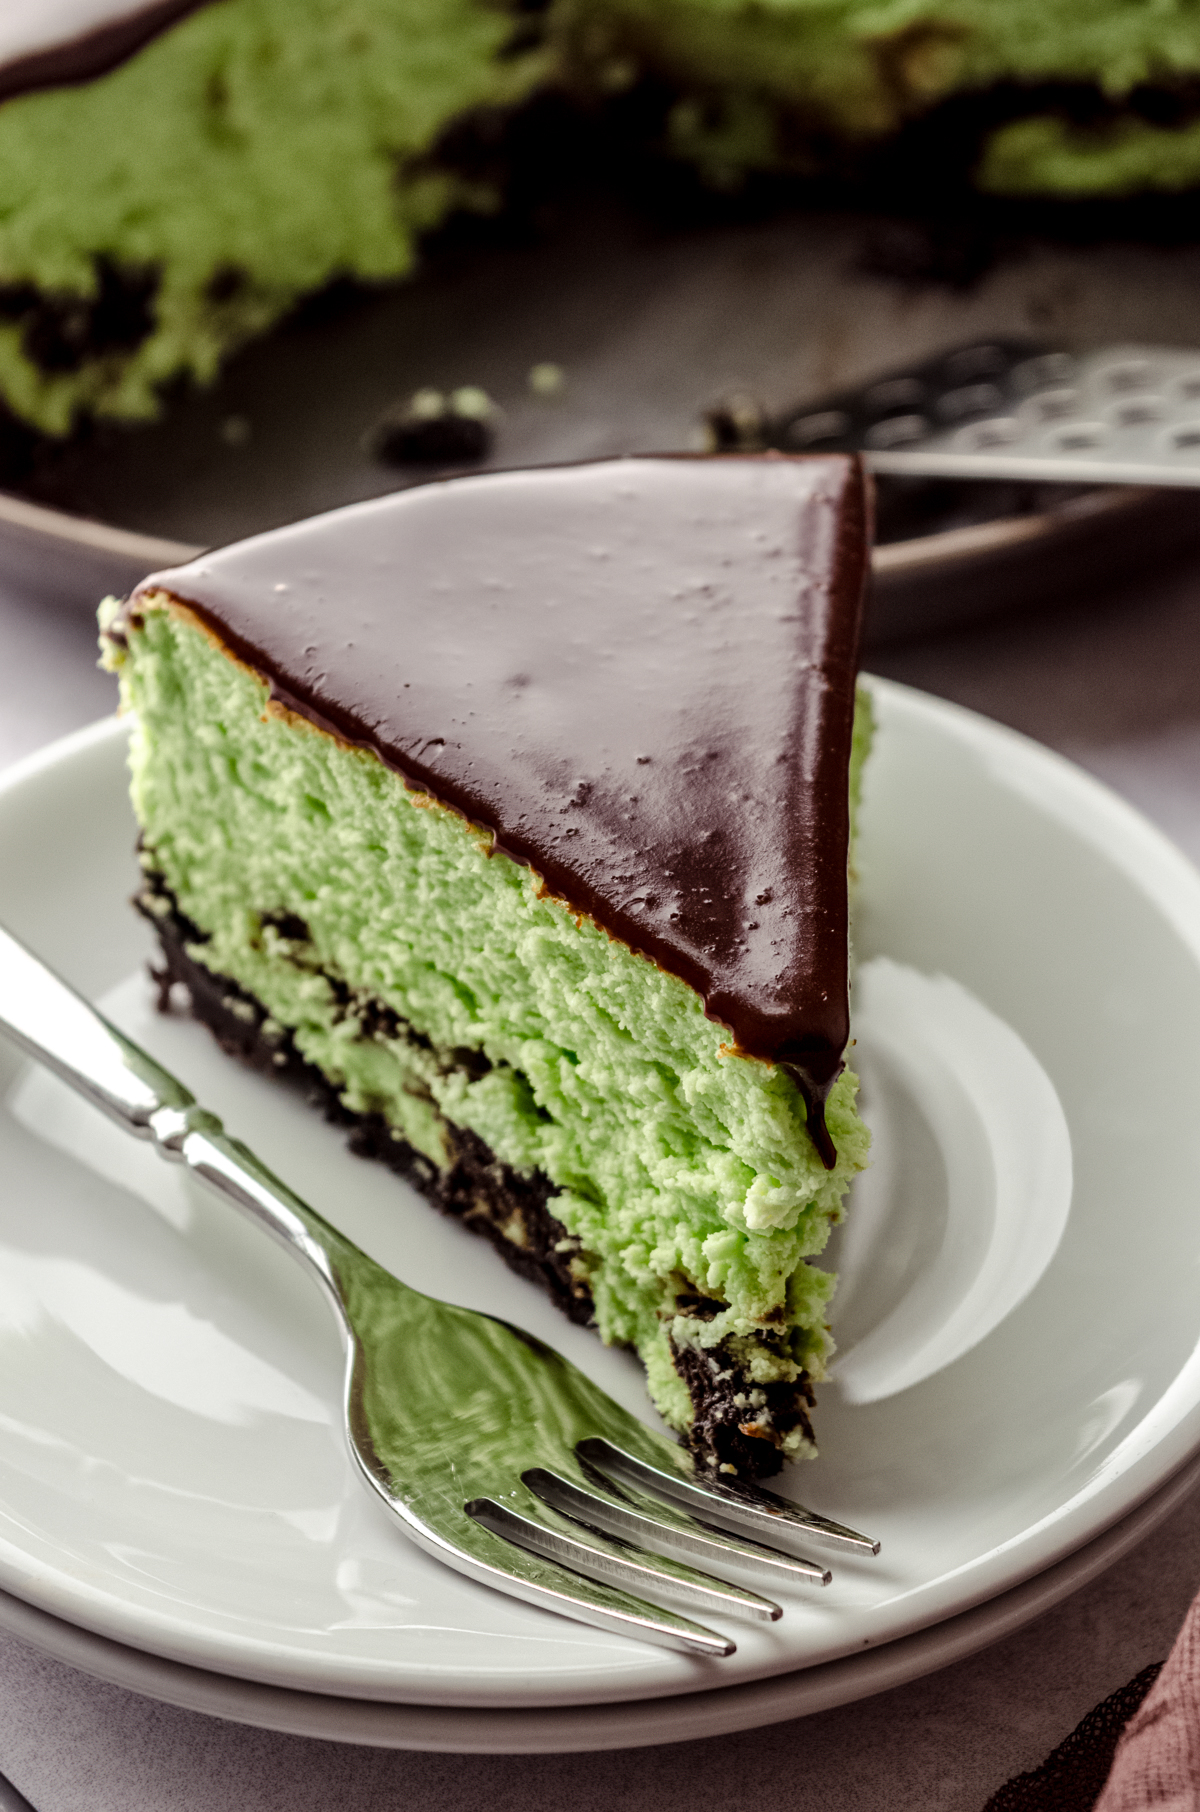
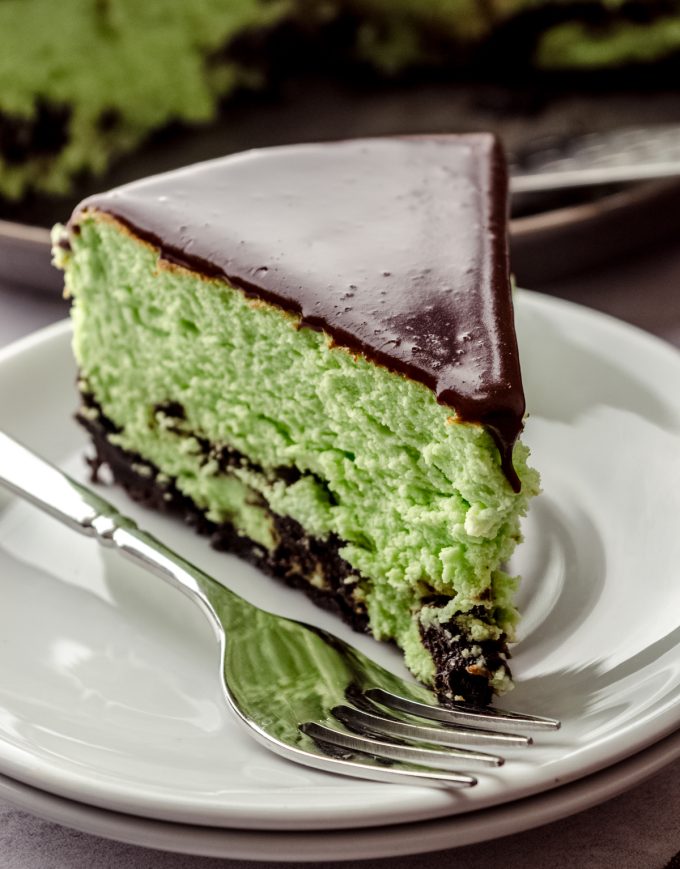
The crust is an easy-to-make Oreo cookie crust. The mint cheesecake itself has a layer of Oreo hot fudge in the middle, and is then topped with more hot fudge and (optional) whipped cream to serve. Everything about the cheesecake is so decadent and delicious, and if mint chocolate is your favorite flavor love story… Let’s get to baking!
MINT CHOCOLATE CHEESECAKE RECIPE INGREDIENTS
This mint chocolate cheesecake recipe uses all the normal cheesecake ingredients, with the addition of Oreos, hot fudge sauce, and peppermint extract.
I recommend using standard Oreo cookies, instead of the Double Stuf version as the latter tend to be very oily. My test runs with mint Oreos were far less appealing than ones made with regular Oreos.
You can go the extra mile and make homemade hot fudge sauce yourself, or use your favorite store-bought brand.

For this mint chocolate cheesecake recipe, you will need:
OREO CRUST
• Oreos
• unsalted butter
MINT OREO LAYER
• Oreos
• hot fudge sauce
• peppermint extract
MINT CHEESECAKE BASE
• full fat block cream cheese
• granulated sugar
• sour cream
• vanilla extract
• peppermint extract
• large eggs
HOT FUDGE TOPPING
• hot fudge sauce
• whipped cream
HOW TO MAKE MINT CHOCOLATE CHEESECAKE
This mint chocolate cheesecake recipe has various steps, highlighted in each section below. Before baking, be sure you know how to create a cheesecake water bath, how to know when your cheesecake is done, and how to prevent those dreaded cracks.
MINT OREO CRUST
STEP #1
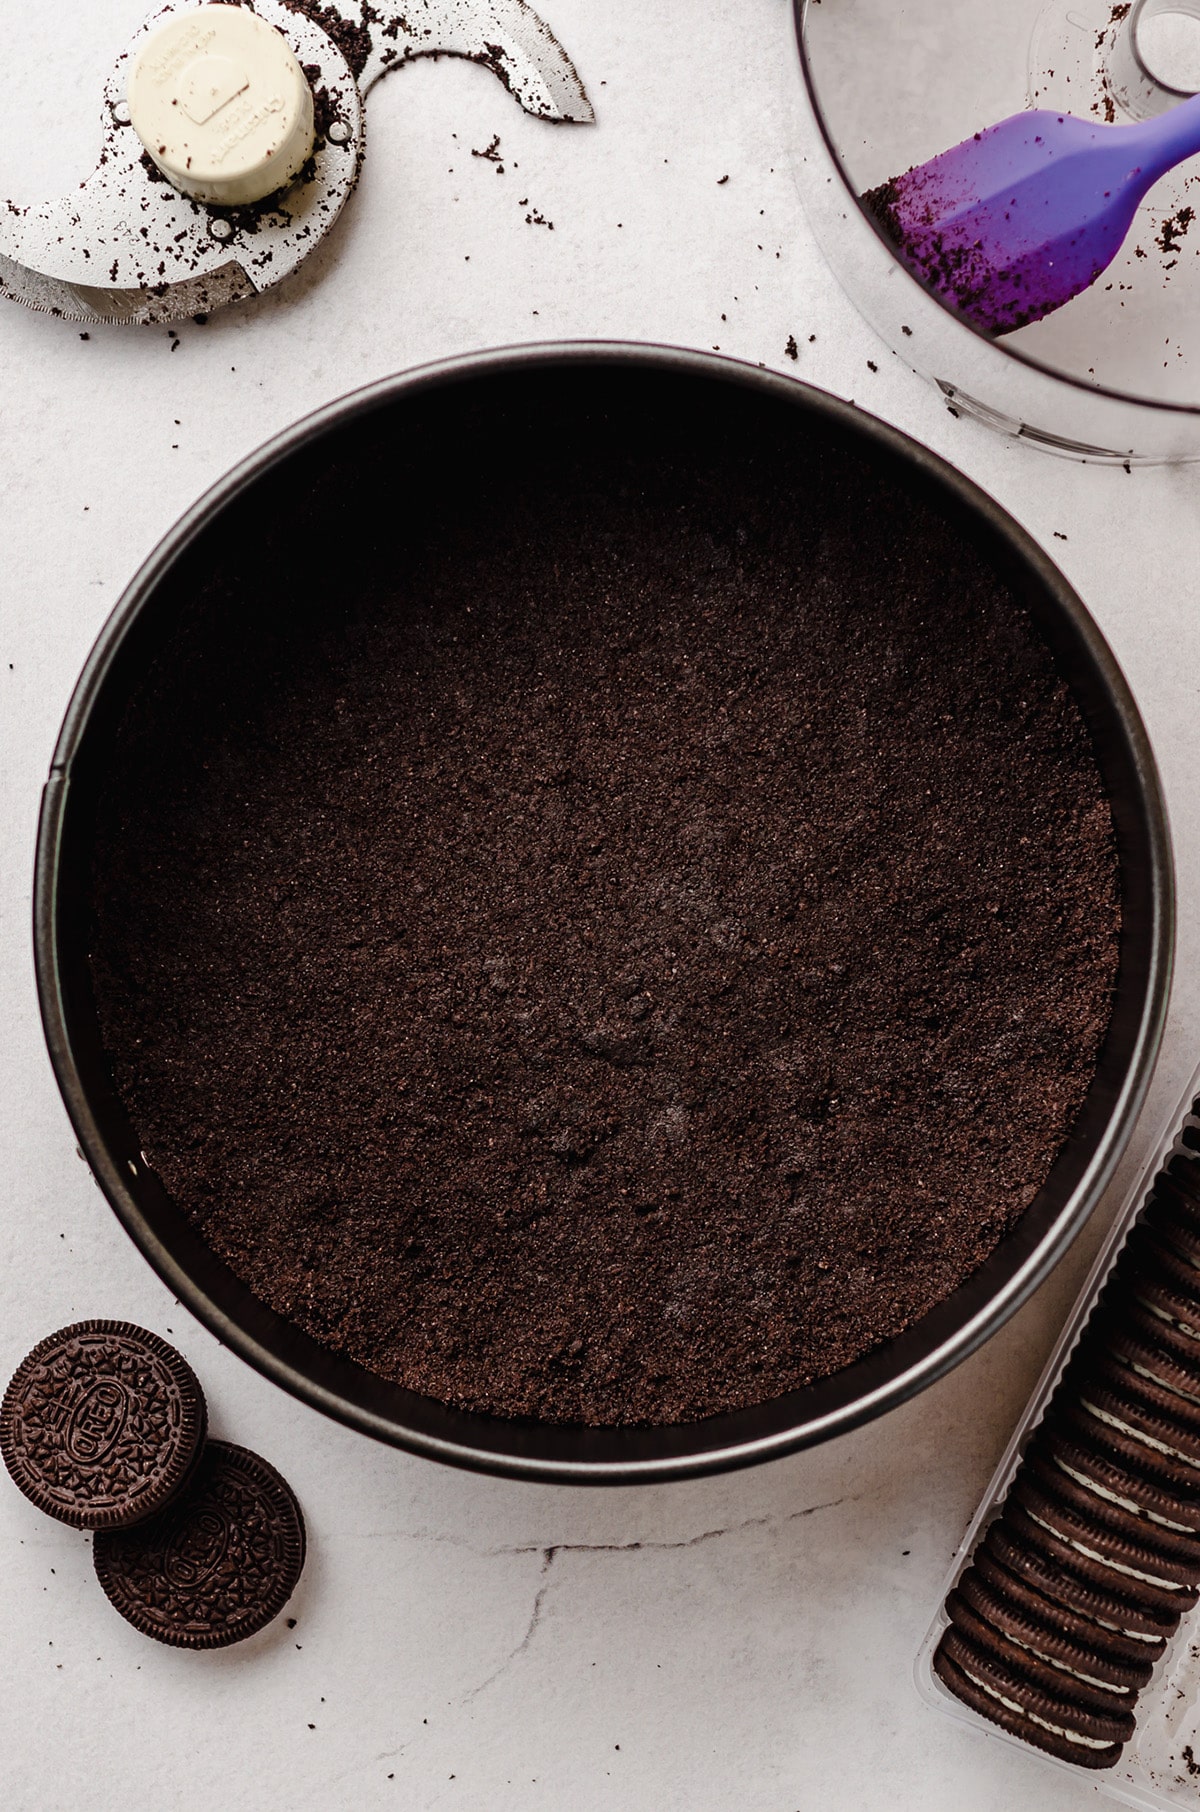
In a food processor, crush the Oreos until they become fine crumbs. Pour the Oreo crumbs into a large bowl, drizzle the melted butter over the mixture, and stir until everything is evenly saturated with butter.
STEP #2
Press the Oreo mixture into the bottom of the prepared springform pan, then bake the chocolate crust for 8 minutes. Remove from the oven and allow the crust to cool while you prepare the rest of the cheesecake.
MINT OREO FILLING
STEP #3
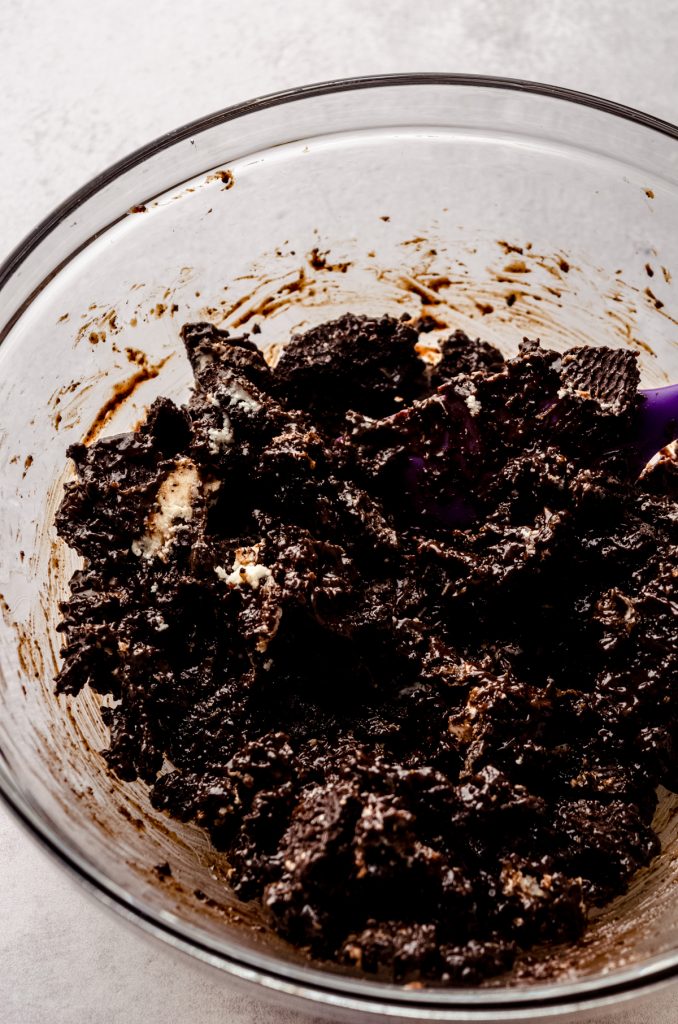
Place the chopped Oreos into a small bowl, and set them aside.
STEP #4
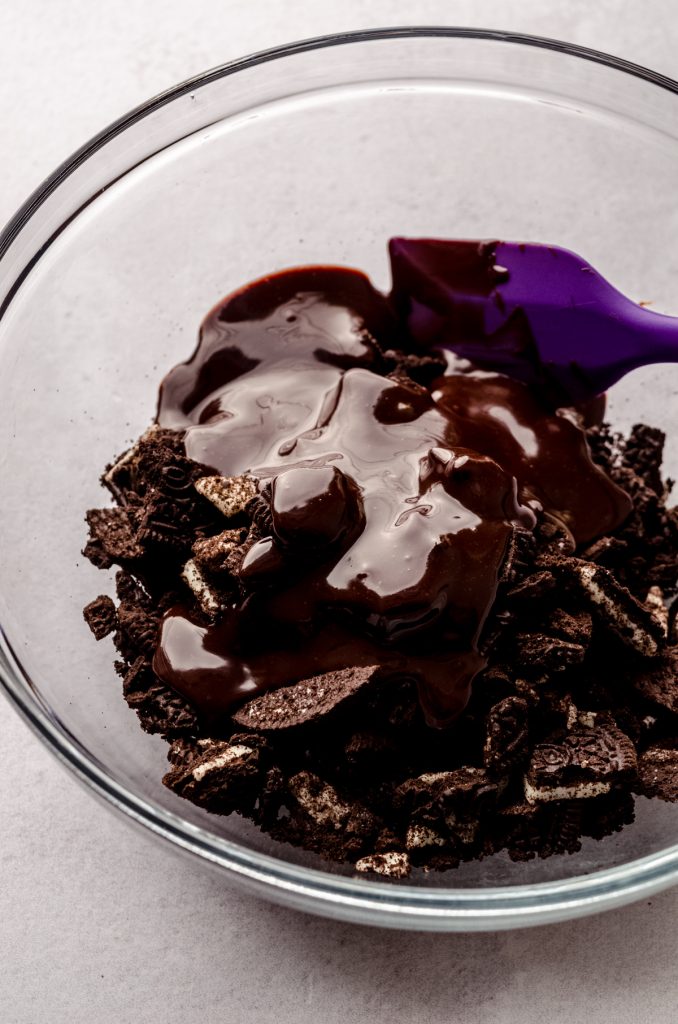
Gently heat the hot fudge in the microwave for about 10-15 seconds so it is pourable, then add the peppermint extract to the warm hot fudge and stir to distribute evenly.
STEP #5
Pour the hot fudge mixture over the Oreos and stir until all of the cookies are evenly coated, then set this mixture aside.
MINT CHEESECAKE BASE
STEP #6
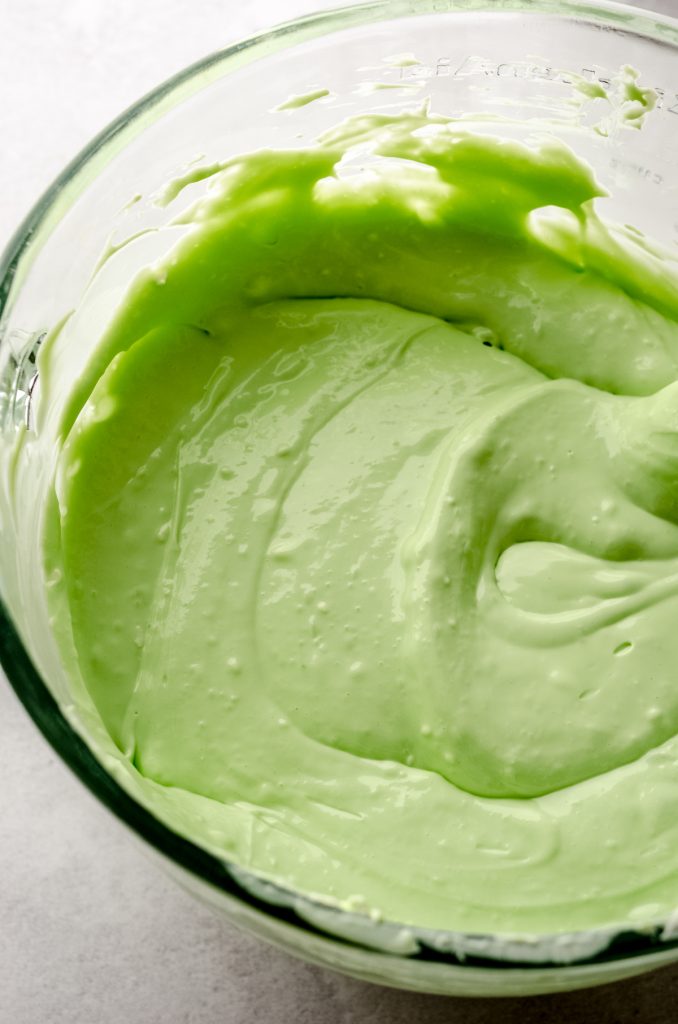
Start by beating the cream cheese on medium high speed until smooth, about 2 minutes. Add the granulated sugar then beat again until combined, about another 2 minutes.
Reduce the mixer speed to low, then add the sour cream, vanilla, peppermint extract, and green gel food coloring and mix until completely combined.
STEP #7
Add the eggs one at a time, mixing on low speed after the addition of each egg to the cream cheese mixture and adding the next just after the previous egg starts to incorporate. Continue mixing until there are no more yellow yolk streaks.
STEP #8
Use a large spatula to carefully fold the batter together, scraping the bottom of the bowl and the sides to gather any extra batter that may not be fully incorporated. Your batter should be smooth and creamy without lumps.
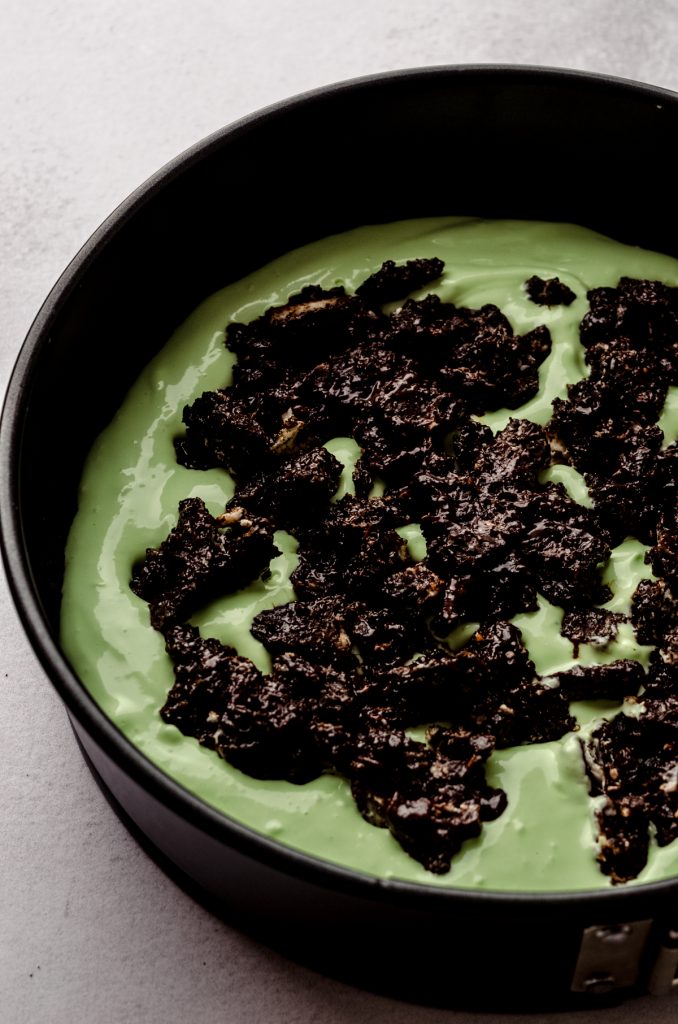
STEP #9
Pour about ⅓ of the batter into the prepared pan, then layer the cookie and hot fudge mixture evenly over the cheesecake batter (it does not have to be perfect, but try to prevent all the cookies from winding up in one spot). Pour the remaining ⅔ of the creamy cheesecake batter over the cookie layer and smooth out the top of the cheesecake.
STEP #10
Next, bake cheesecake in a water bath. Read on to learn how to properly prepare the water bath and how to know when your mint chocolate cheesecake is done!
PREPARE THE CHEESECAKE WATER BATH (NO FOIL NECESSARY)
I like to keep this process incredibly uncomplicated by eliminating the need for foil. I have seen folks place a pan of water under the cheesecake in the oven, but I prefer immersing the cheesecake into the water (well, sort of).
I actually have an entire post dedicated to how to make a cheesecake water bath (without foil), because it’s that important.
But what the heck is the point of a water bath?
Since there are no leavening agents in cheesecake, we rely on a humid environment to to create steam to lift the cheesecake. You’ll see the baking time is somewhere near an hour and a half, which means this is a low and slow process. Using a water bath insures your cheesecake bakes evenly, reducing the risk of surface cracks on the top of the cheesecake as well as deflation.
Create a water bath by placing the 9″ springform pan in a slightly larger round pan (I like to use a 10″ cake pan) and then place that pan into an even larger round pan (I like to use a 12″ cake pan) or roasting pan.
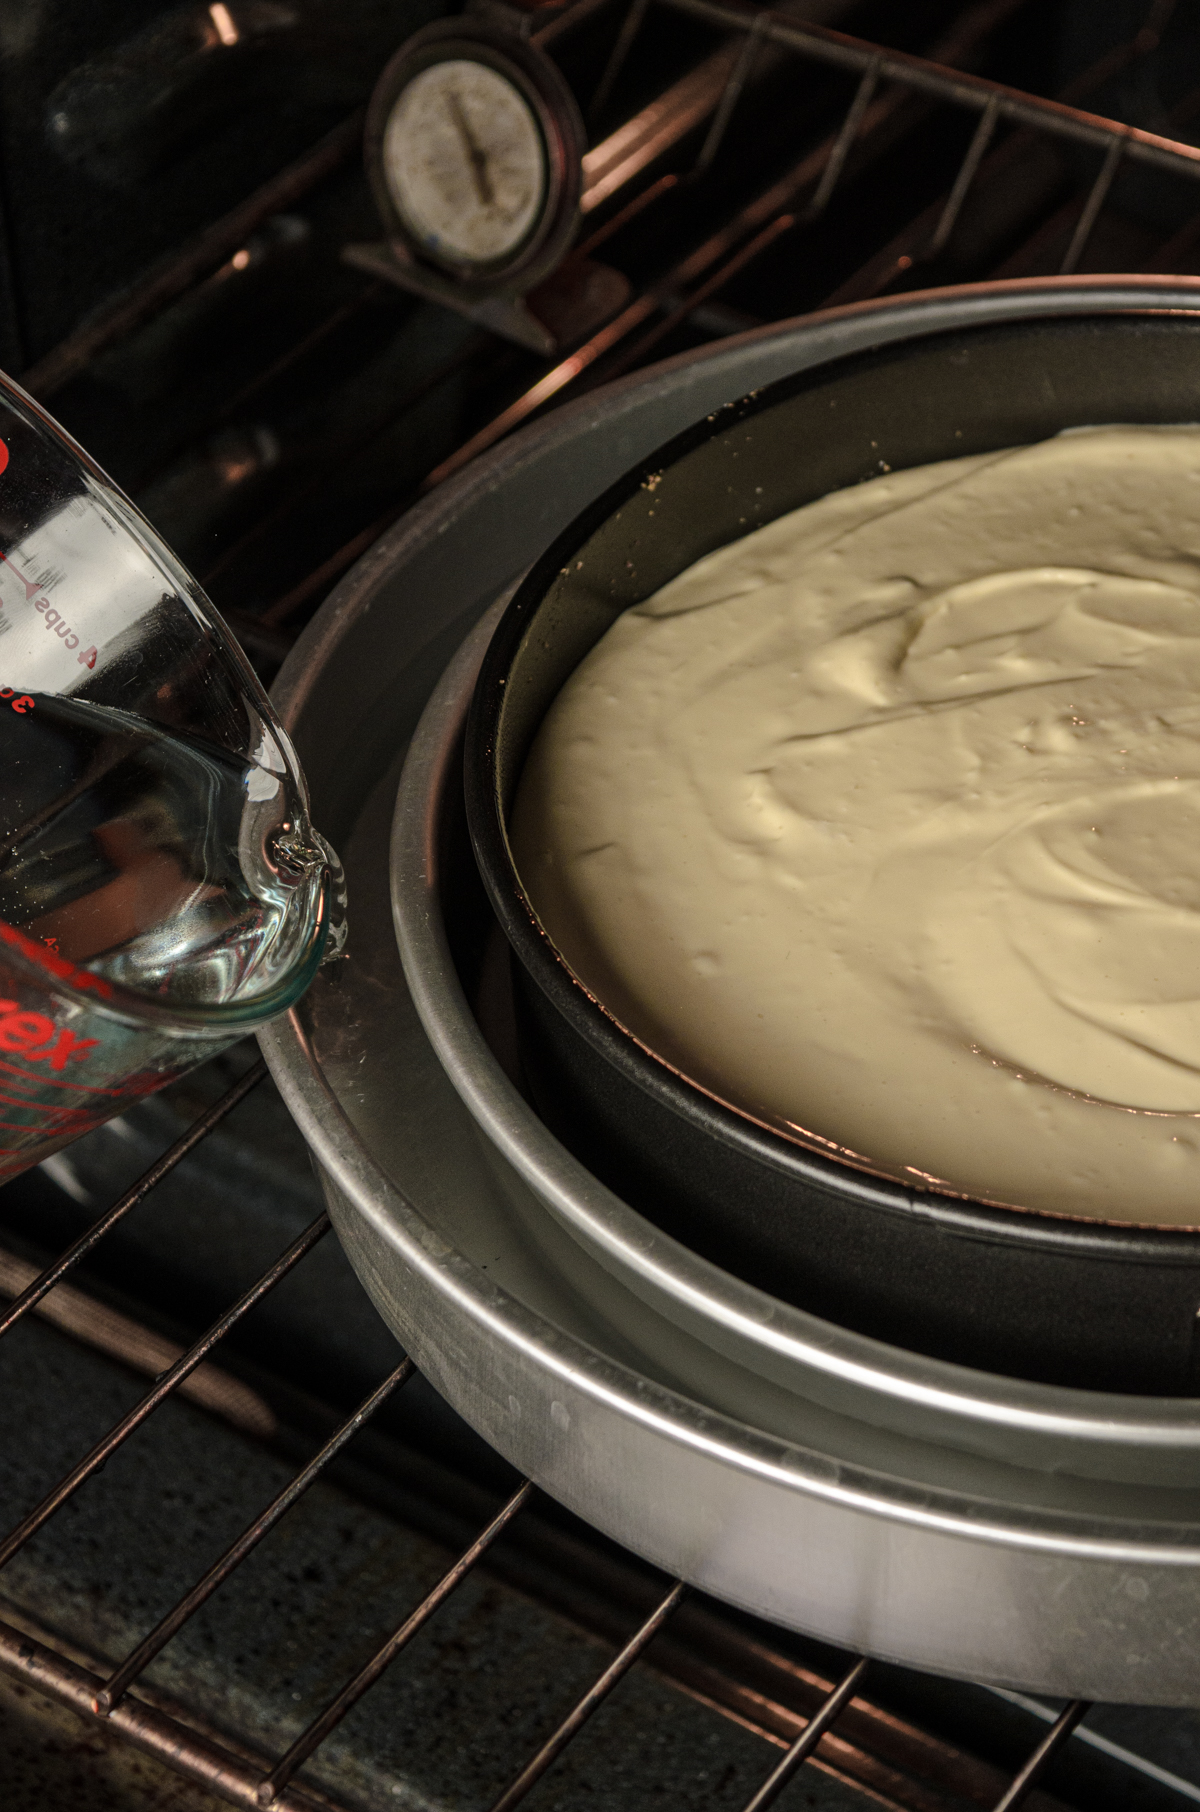
Fill the outer pan with hot water halfway up the sides of the middle pan, then carefully transfer the whole thing to the oven. You can also assemble the pans in the oven, but work quickly so as not to let too much hot air out of the oven.
Here is a cake pan bundle that includes both of the larger size pans I use for my water bath.
HOW TO TELL WHEN CHEESECAKE IS DONE
There are two tried-and-true ways to tell whether or not your cheesecake is done baking.
BY LOOK: you’ll want to look for set edges around the sides of the pan and a slightly jiggly center of the cheesecake, which will only be about 2″ in diameter.
BY TEMPERATURE: I am a firm believer that heat is an ingredient in baking. When you think of heat as the final ingredient in the things that you bake, you’ll see final temperature as key in determining when something is “done.” Cheesecake is done when the internal temperature reaches 145ºF (63ºC). This is my very favorite instant-read digital thermometer, and this is my favorite budget-friendly digital thermometer.
I usually use both of these indicators because the scientist in me wants as many solid factors as possible that my experiment is over. No, a digital thermometer is not the only way, but it does take the guesswork out of baking cheesecake and can really help a cheesecake newbie know what the visuals are that match up with the technicals.
COOLING THE CHEESECAKE
Gradually cooling your cheesecake is another way to prevent any cracks. I always let my cheesecake do the initial cooling inside the turned-off oven with the door cracked.
When we move a cheesecake from one extreme temperature to another, we run the risk of shocking its system, causing it to sink too quickly, creating cracks on the surface. While there is, of course, nothing wrong with cracks in a cheesecake, it’s often the one thing folks gripe about when it comes to reasons cheesecakes are labeled “finicky.”
When your cheesecake is finished baking, turn off the oven, crack the door (I like to stick the wooden handle of my spatula in there), and let the cheesecake cool for 1 hour.
After that initial cooling, you can let the cheesecake continue to cool on the counter. Once completely at room temperature, chill it in the refrigerator for at least 4 hours, but ideally overnight. I like to cover mine with foil, plastic wrap, or an upside-down plate. There will likely be some condensation on the surface of the cheesecake once it is completely chilled, but you can just blot it off carefully with a paper towel.

TOP WITH HOMEMADE HOT FUDGE SAUCE
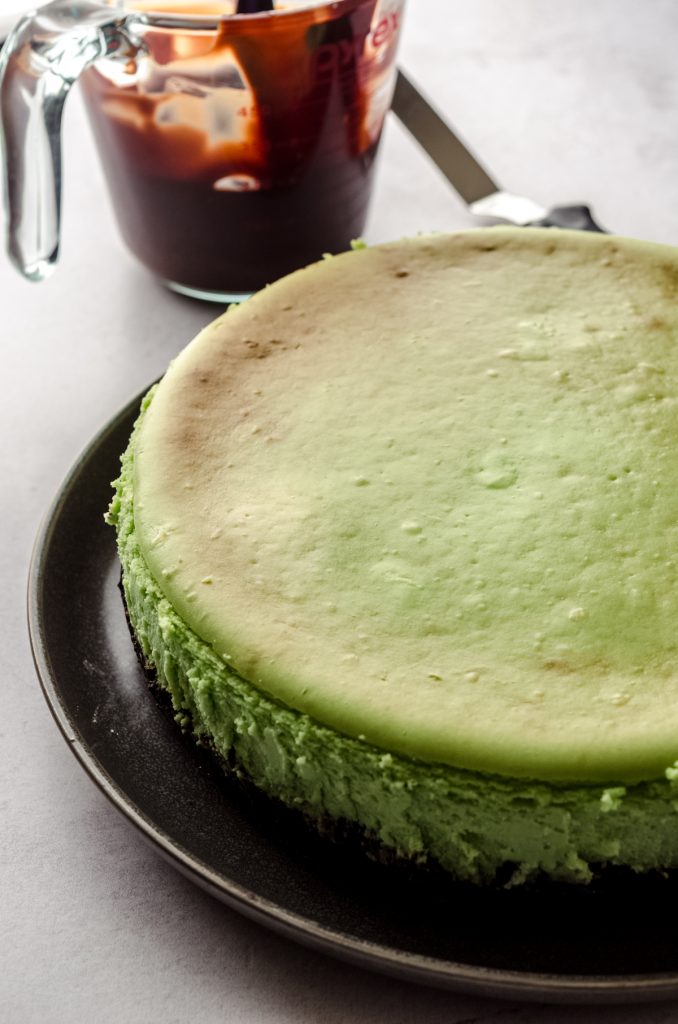
Once your cheesecake has completely chilled in the refrigerator, take it out of the fridge and use a spatula or butter knife to gently loosen the crust from the side of the pan, then release the outer ring from the springform pan.
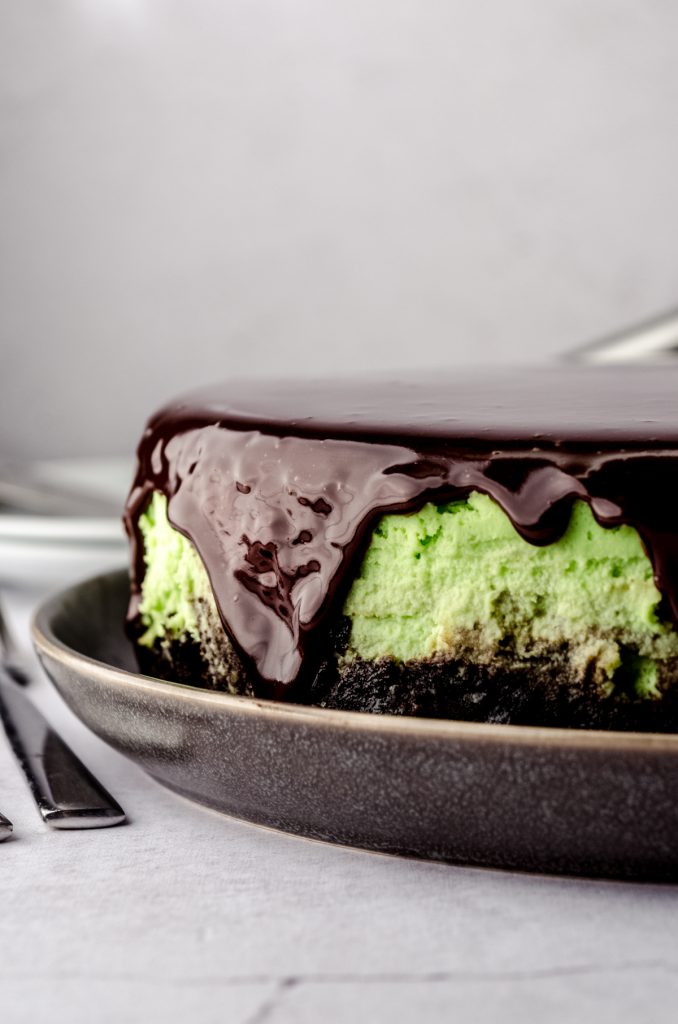
Warm the hot fudge so it is pourable. Pour the hot fudge right on top of the cheesecake, then use a small offset spatula or spoon to spread the hot fudge evenly over the top of the cheesecake, allowing some to drip off the sides, if you prefer.

You can serve the cheesecake right away or chill it to set the hot fudge layer. If you’re using homemade whipped cream, add it right before serving your cheesecake and consider sprinkling the top with more cookie crumbs or chopped Andes mints as a garnish.
CHEESECAKE SUCCESS TIPS
Be sure you’ve read through my instructions thoroughly before beginning your classic cheesecake journey. To summarize the key points, try to remember these 5 success tips for the perfect cheesecake while you’re working through the recipe.
DO NOT OVERMIX THE BATTER: after adding the sour cream and vanilla, stick to the “low” setting on your stand or electric hand mixer. There is no need to rush the process.
BAKE IN A WATER BATH: at the very minimum, place a large roasting pan with hot water in it on the rack below the one that holds your cheesecake. For best results, create a no-foil water bath like I outlined in the recipe.
DO NOT OPEN THE OVEN DOOR: it is super tempting to check in on your cheesecake. Try to resist temptation and use your oven light to check on how it’s doing. Allowing the hot air to escape can drastically change the temperature inside your oven, resulting in uneven baking of your cheesecake.
COOL IN THE OVEN INITIALLY: allowing the cheesecake to cool alongside the gradually cooling oven will insure a slow and even settling of the cheesecake filling.
COOL AT ROOM TEMPERATURE BEFORE CHILLING: do not go from the slightly warm oven to the refrigerator. Remember, we want gradual temperature changes for our baked cheesecake.
MINT CHOCOLATE CHEESECAKE RECIPE FAQs

Mint Chocolate Cheesecake Recipe
Ingredients
OREO CRUST
- 20 Oreos1
- ¼ cup (57g) unsalted butter melted
OREO LAYER
- 12 Oreos coarsely chopped
- ¼ cup (72g) hot fudge sauce store-bought is fine
- ¼ teaspoon peppermint extract
CHEESECAKE
- 32 ounces (900g) full fat block cream cheese completely softened to room temperature2
- 1 cup (200g) granulated sugar
- 8 ounces (226g) full fat sour cream about 1 scant cup; at room temperature2
- 1 Tablespoon vanilla extract
- 2 teaspoons peppermint extract
- 1 to 2 drops green gel food coloring or to desired coloring
- 4 large eggs at room temperature2
TOPPING
- 1 cup (288g) hot fudge sauce store-bought is fine
- homemade whipped cream optional
Instructions
OREO CRUST
- Preheat the oven to 325ºF (162ºC). Spray a 9" springform pan or my very favorite Fat Daddio's cheesecake pan with nonstick spray. Set aside.
- In a food processor, crush the Oreos until they become a fine crumb. Pour the Oreo crumbs into a large bowl, drizzle the melted butter over the mixture, and stir until everything is evenly saturated with butter.20 Oreos1, ¼ cup (57g) unsalted butter
- Press the Oreo mixture into the bottom of the prepared springform pan, then bake the crust for 8 minutes. Remove from the oven and allow to cool while you prepare the rest of the cheesecake.
OREO LAYER
- Place the chopped Oreos into a small bowl. Set aside.12 Oreos
- Gently heat the hot fudge in the microwave for about 10-15 seconds to so it is pourable, then add the peppermint extract to the warm hot fudge and stir to distribute evenly.¼ cup (72g) hot fudge sauce, ¼ teaspoon peppermint extract
- Pour the hot fudge mixture over the Oreos and stir until all of the cookies are evenly coated. Set aside.
CHEESECAKE
- In a large bowl with a handheld mixer or the bowl of a stand mixer fitted with the paddle attachment, beat the cream cheese on medium high speed until smooth, about 2 minutes. Add the granulated sugar then beat again until combined, about another 2 minutes.32 ounces (900g) full fat block cream cheese, 1 cup (200g) granulated sugar
- Reduce the mixer speed to low3, then add the sour cream, vanilla, peppermint extract, and green gel food coloring and mix until completely combined.8 ounces (226g) full fat sour cream, 1 Tablespoon vanilla extract, 2 teaspoons peppermint extract, 1 to 2 drops green gel food coloring
- Add the eggs one at a time, mixing on low after the addition of each egg and adding the next just after the previous egg starts to incorporate, and continue mixing until there are no more yellow yolk streaks.4 large eggs
- Use a large spatula to carefully fold the batter together, scraping the bottom of the bowl and the sides to gather any extra batter that may not be fully incorporated. Sometimes I need to use the mixer again, but be sure to keep it on low. Your batter should be smooth and creamy without lumps.
- Pour about ⅓ of the batter into the prepared pan, then layer the cookie and hot fudge mixture evenly over the cheesecake batter (it does not have to be perfect, but try to prevent all of the cookies from winding up in one spot). Pour the remaining ⅔ of the cheesecake batter over the cookie layer and smooth out the top of the cheesecake.
- Create a water bath4 by placing the 9" springform pan in a slightly larger round pan (I like to use a 10" cake pan) and then place that pan into an even larger round pan (I like to use a 12" cake pan) or roasting pan.
- Fill the outer pan with hot water halfway up the sides of the middle pan, then carefully transfer the whole thing to the oven. You can also assemble the pans in the oven, but work quickly so as not to let too much hot air out of the oven.
- Bake the cheesecake for 1 hour 20 minutes to 1 hour 45 minutes. The middle of the cheesecake (a center approximately 2" wide) should jiggle just a little bit. I use my digital instant-read thermometer to check the internal temperature has reached 145ºF (63ºC). Turn the oven off5 and allow the cheesecake to cool in the oven for 1 hour. After 1 hour, remove the springform pan from all of the other pans and allow to cool on a cooling rack for another 2 hours. When the cheesecake is completely cool, cover or wrap tightly and allow to chill in the refrigerator for at least 6 hours, ideally overnight.
TOPPING
- Remove the cheesecake from the fridge and use a spatula or butter knife to gently loosen the crust from the side of the pan, then release the outer ring of the springform pan.
- Warm the hot fudge so it is pourable. Pour the hot fudge right on top of the cheesecake, then use a small offset spatula or spoon to spread the hot fudge evenly over the top of the cheesecake, allowing some to drip off the sides, if you prefer.1 cup (288g) hot fudge sauce, homemade whipped cream
- You can serve the cheesecake right away or chill it to set the hot fudge layer, if you prefer. If using homemade whipped cream, add right before serving. Store leftovers in the refrigerator up to 5 days. Cheesecake freezes well, without hot fudge on top, up to 3 months. Thaw in the refrigerator overnight, add the hot fudge, and serve.
Notes
- Oreos: I highly recommend using standard Oreos as the filling can sometimes weep as it melts in the oven (extra filling means extra oil). If you want to use anything bigger than standard stuffed, remove the filling from half of the Oreos before proceeding. Please note that Mint Oreos are a Double Stuf variety, so you’d want to remove the filling from some of those if you decide to use them.
- Room temperature: I cannot stress enough how important it is to have completely room temperature ingredients. This will insure you have the smoothest batter possible. I like to let my ingredients sit out at least 1 hour and sometimes closer to 2 hours before starting my recipe.
- Mixer speed: it’s important not to go above low (or low-medium) speed after you’ve beaten the cream cheese. Incorporating too much air will create bubbles and potential cracks in your finished cheesecake.
- Water bath pans: here is a bundle that includes all the pans I use. Using this method eliminates the need to wrap anything in foil.
- Cool the cheesecake: I like to prop the oven door open with a wooden spoon or spatula.
- Make a smaller cheesecake: you can make this exact cheesecake recipe in a 6″ springform pan or 7.5″ springform pan. Simply halve the recipe (for the crust and the filling). Bake time will be about 60-70 minutes. You can reduce the sizes of the water bath pans to 8″ round and 10″ round sizes or use the same ones I have linked here.
- Make in the Instant Pot: you can make this exact cheesecake in a smaller size by halving the recipe (for all components) and following the instructions outlined in my Instant Pot cheesecake recipe.
Nutrition Disclosure
All nutritional values are approximate and provided to the reader as a courtesy. Changing ingredients and/or quantities will alter the estimated nutritional calculations.
Lovely cheesecake! I did my own cheater water bath situation and got a little crack on top, but you just cover that with hot fudge sauce anyway.
I appreciated the Oreo stuffed tips too! I almost got mint Oreos, but didn’t realize about the stuffage. Read. The. Tips.
Thanks so much, Bob! I appreciate you so much 🙂 thanks for reading!