Hocus Pocus Spellbook Brownies
As an Amazon Associate, I earn from qualifying purchases. Read the full disclosure here.
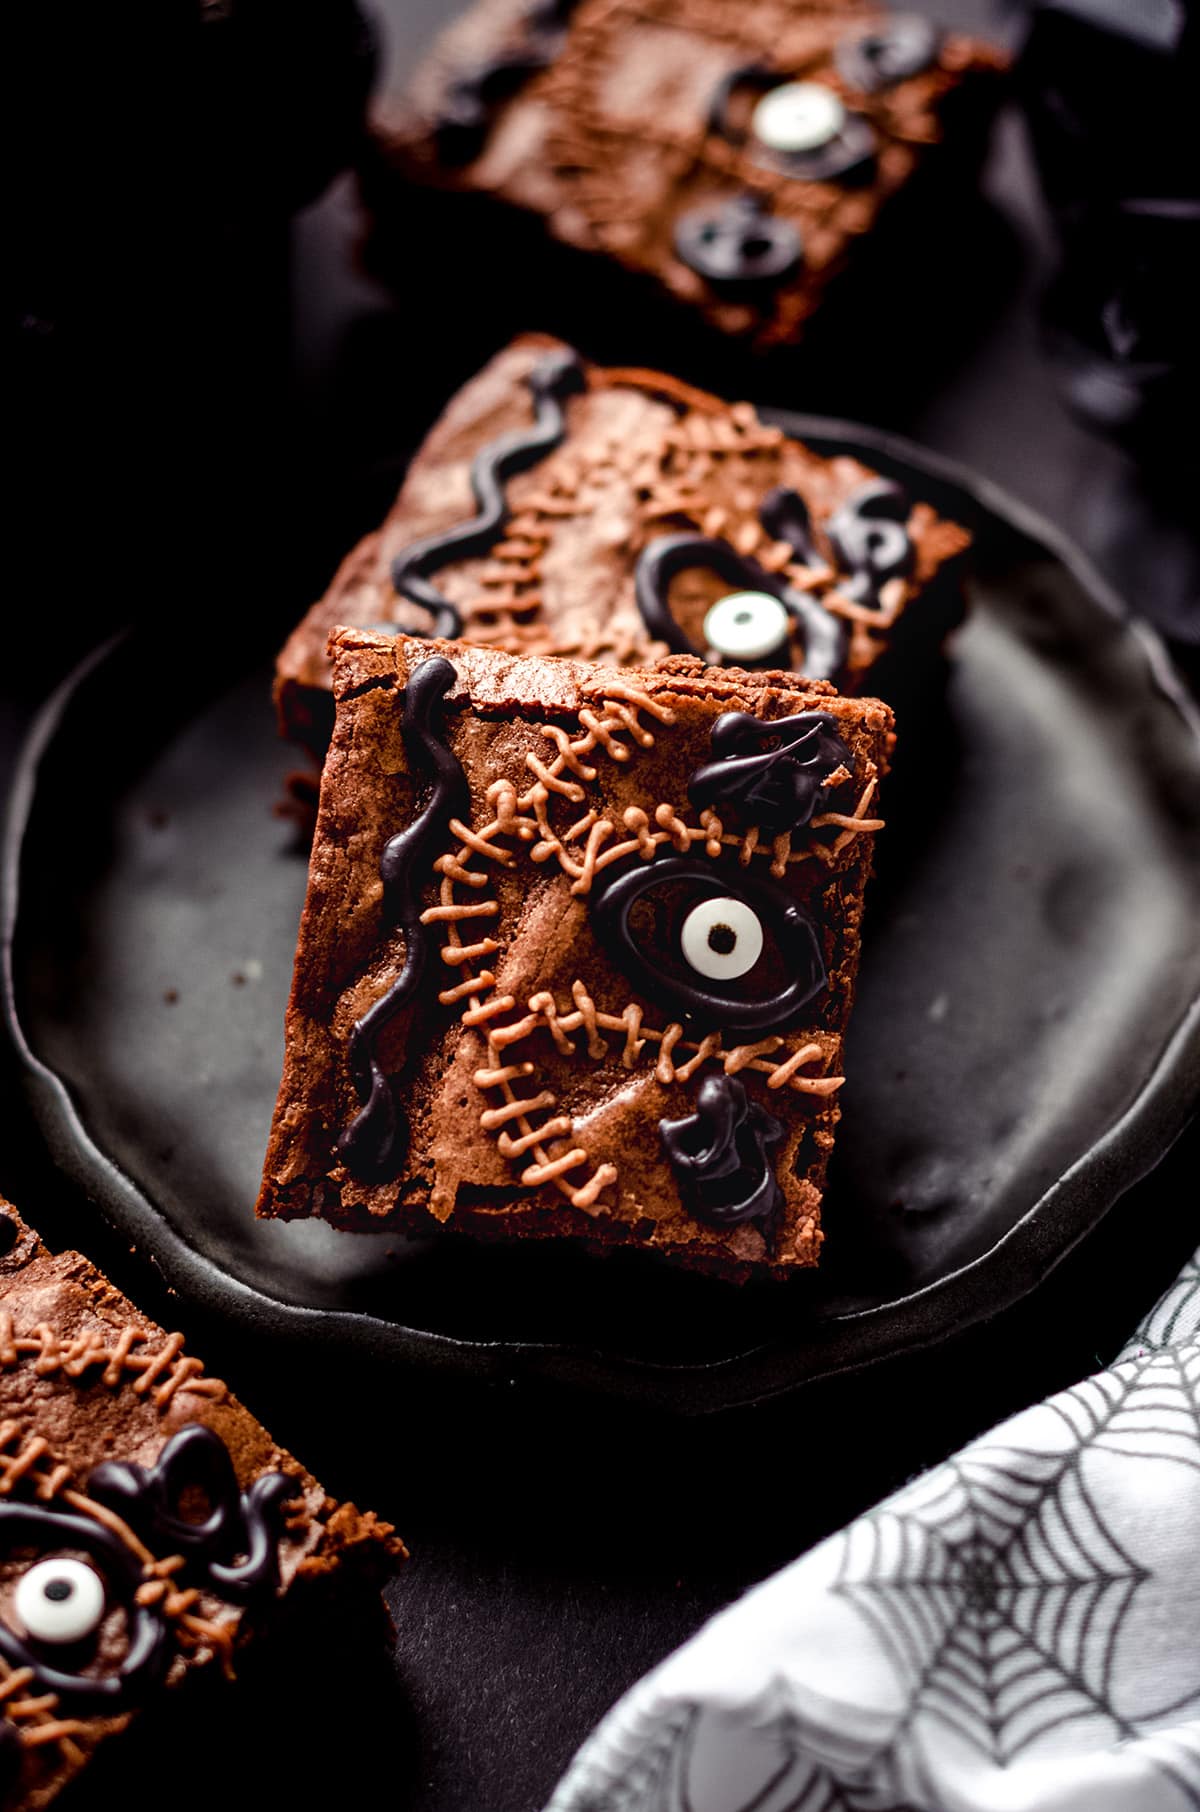
Turn traditional brownies into an iconic Hocus Pocus themed treat! Use my recipe for my favorite homemade fudgy brownies, your favorite go-to brownie recipe, or even a box mix. Just don’t forget the eyeball!
Welcome to 2022’s #HalloweenTreatsWeek, a yearly Halloween blogging event hosted by Angie from Big Bear’s Wife. This event is an online, week-long event that is filled with some amazingly wicked Halloween treats and recipes from some fantastic Halloween-loving bloggers!

For this year’s 5th annual #HalloweenTreatsWeek event we have 20 hauntingly talented bloggers that are sharing their favorite Halloween recipes throughout the week. You can following the hashtag #HalloweenTreatsWeek on social media to collect all of these frightful recipes to use at your own Halloween parties and events!
Be sure to check out all of the fun Halloween recipes that we’re sharing this week down by the recipe card!
When I decided to join this year’s Halloween treats week, I knew that Hocus Pocus themed desserts would be a hit with the sequel making its debut.
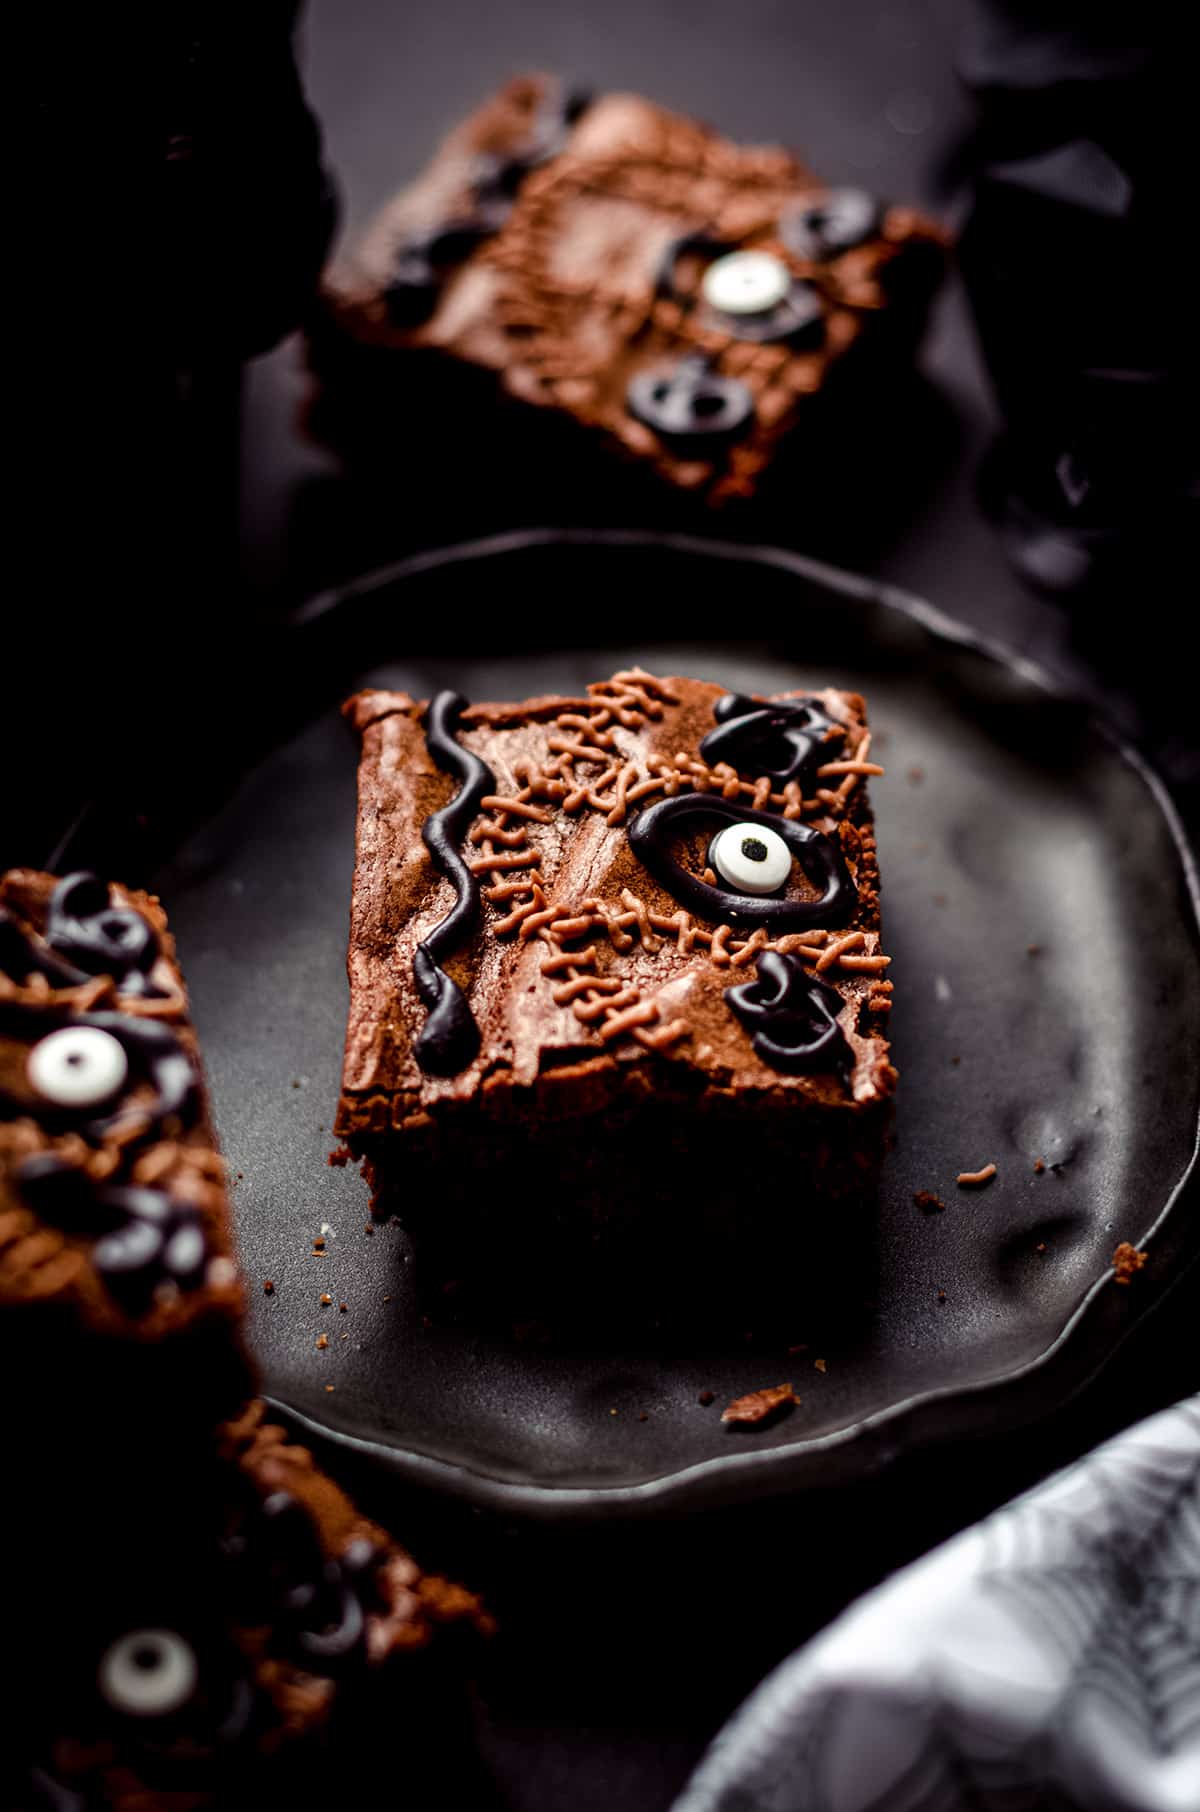
While I stewed over how best to represent the Sanderson sisters and their contribution to so much of the pop culture surrounding Halloween, I decided that the Hocus Pocus spell book, with its stitched-together-human-skin binding, evil spells from front to back, and googly eyeball was the perfect way to deck out some brownies, homemade or otherwise.
While I, of course, will always urge you to make your brownies from scratch, know that a box mix will be just fine for this purpose, and it’s totally up to you whether or not you make any of the rest of the components from scratch (we’ll get to all the parts, promise).
WHAT DO I NEED FOR HOCUS POCUS SPELLBOOK BROWNIES?
While these spell book brownies are quite simple, you’ll want to know what to prepare and expect before you dive into making them. Once the brownies are baked, the decorating can take some time, but I’m here to break it all down into easy steps.
EDIBLE COMPONENTS
There are 4 major parts of these Hocus Pocus spell book brownies:
THE BOOK— you’ll make the books with, well, brownies. Again, scratch or box. Doesn’t matter. You decide!
THE SNAKES— there is a snake down the spine of the book and two curled up on the top right and bottom right corners of the book. We’ll use black candy melts, melted dark chocolate, or black cookie frosting for this part.
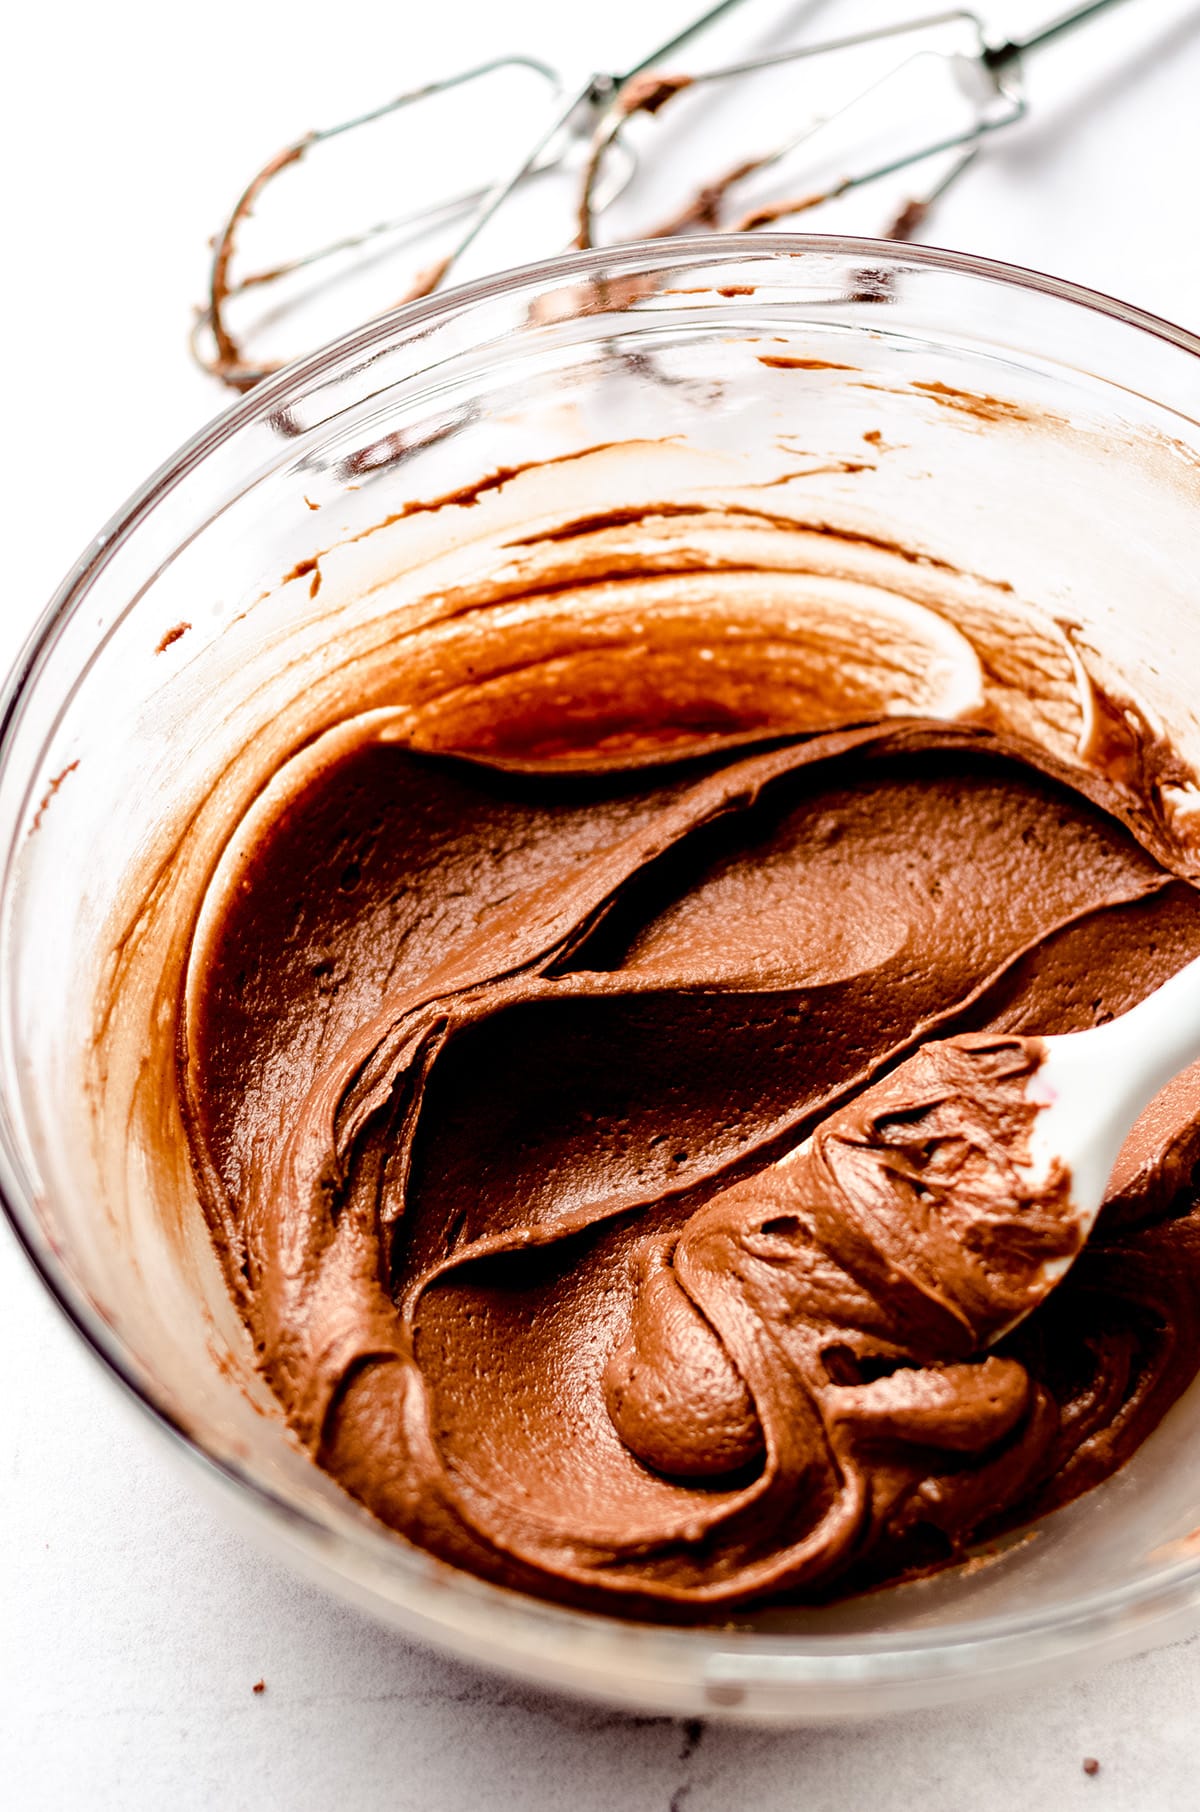
THE STITCHING— the “skin” of the book is stitched together, and we’ll be making this component with chocolate frosting. Again, I made my chocolate fudge frosting from scratch, but you can also use something pre-made/store-bought.
THE EYEBALL— you’ll just need candy eyeballs for this. You can find them at most craft stores and sometimes even in the grocery store. Of course, you can order some online if you can’t find them in your stores!
SPECIAL EQUIPMENT/TOOLS
Since you will be piping lines onto your Hocus Pocus book of spells, you’ll need some piping bags or cookie decorating bottles.
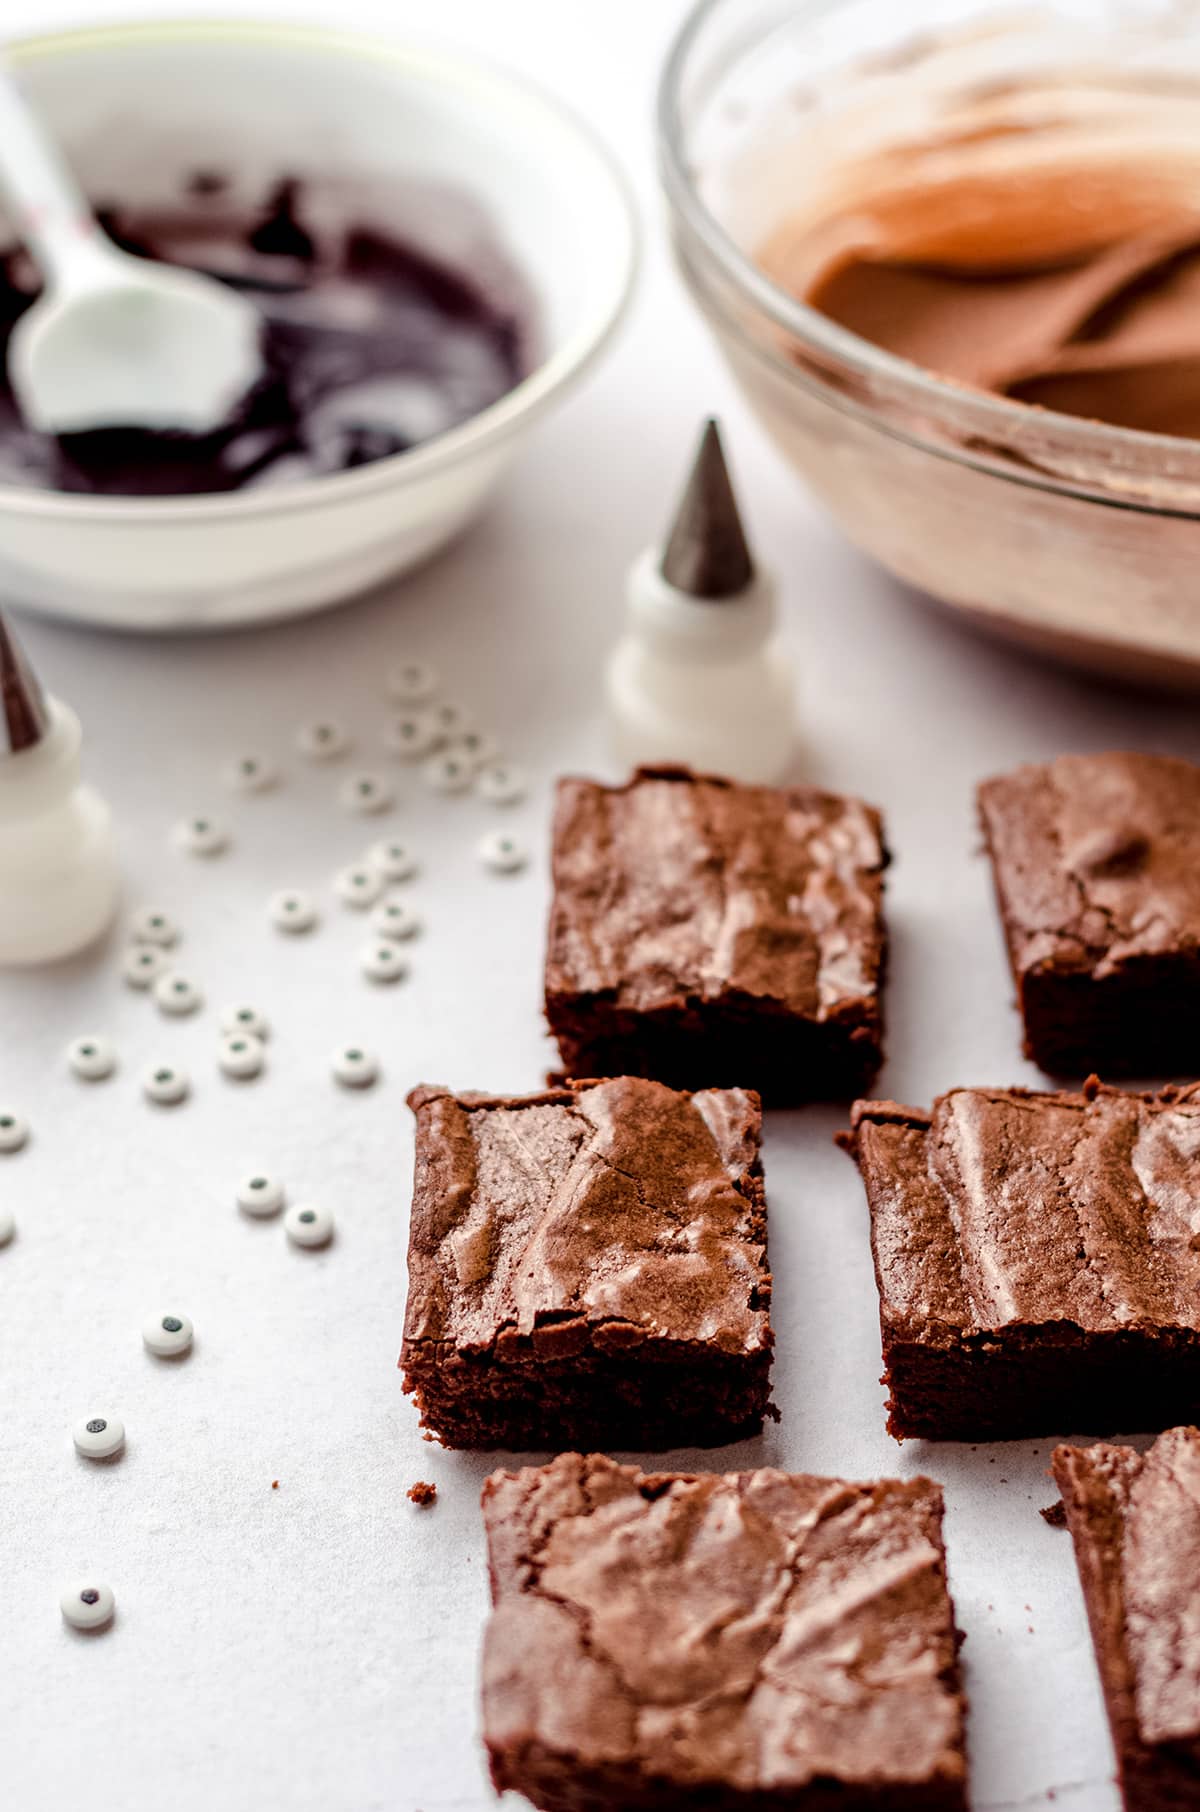
I used a Wilton #2 tip for my snakes and a very tiny Wilton #1 tip for the stitches. You can absolutely get by with a #2 tip for the stitches as well, but I wanted to make sure mine were nice and thin, especially to save space on each spellbook brownie.
Don’t overthink it and just have fun with it!
INGREDIENTS
Depending on what or how much of these brownies you want to make from scratch will dictate how many ingredients you will need. Mix and match pre-made components and make your life as easy as you can do get these spell books done!
BROWNIES
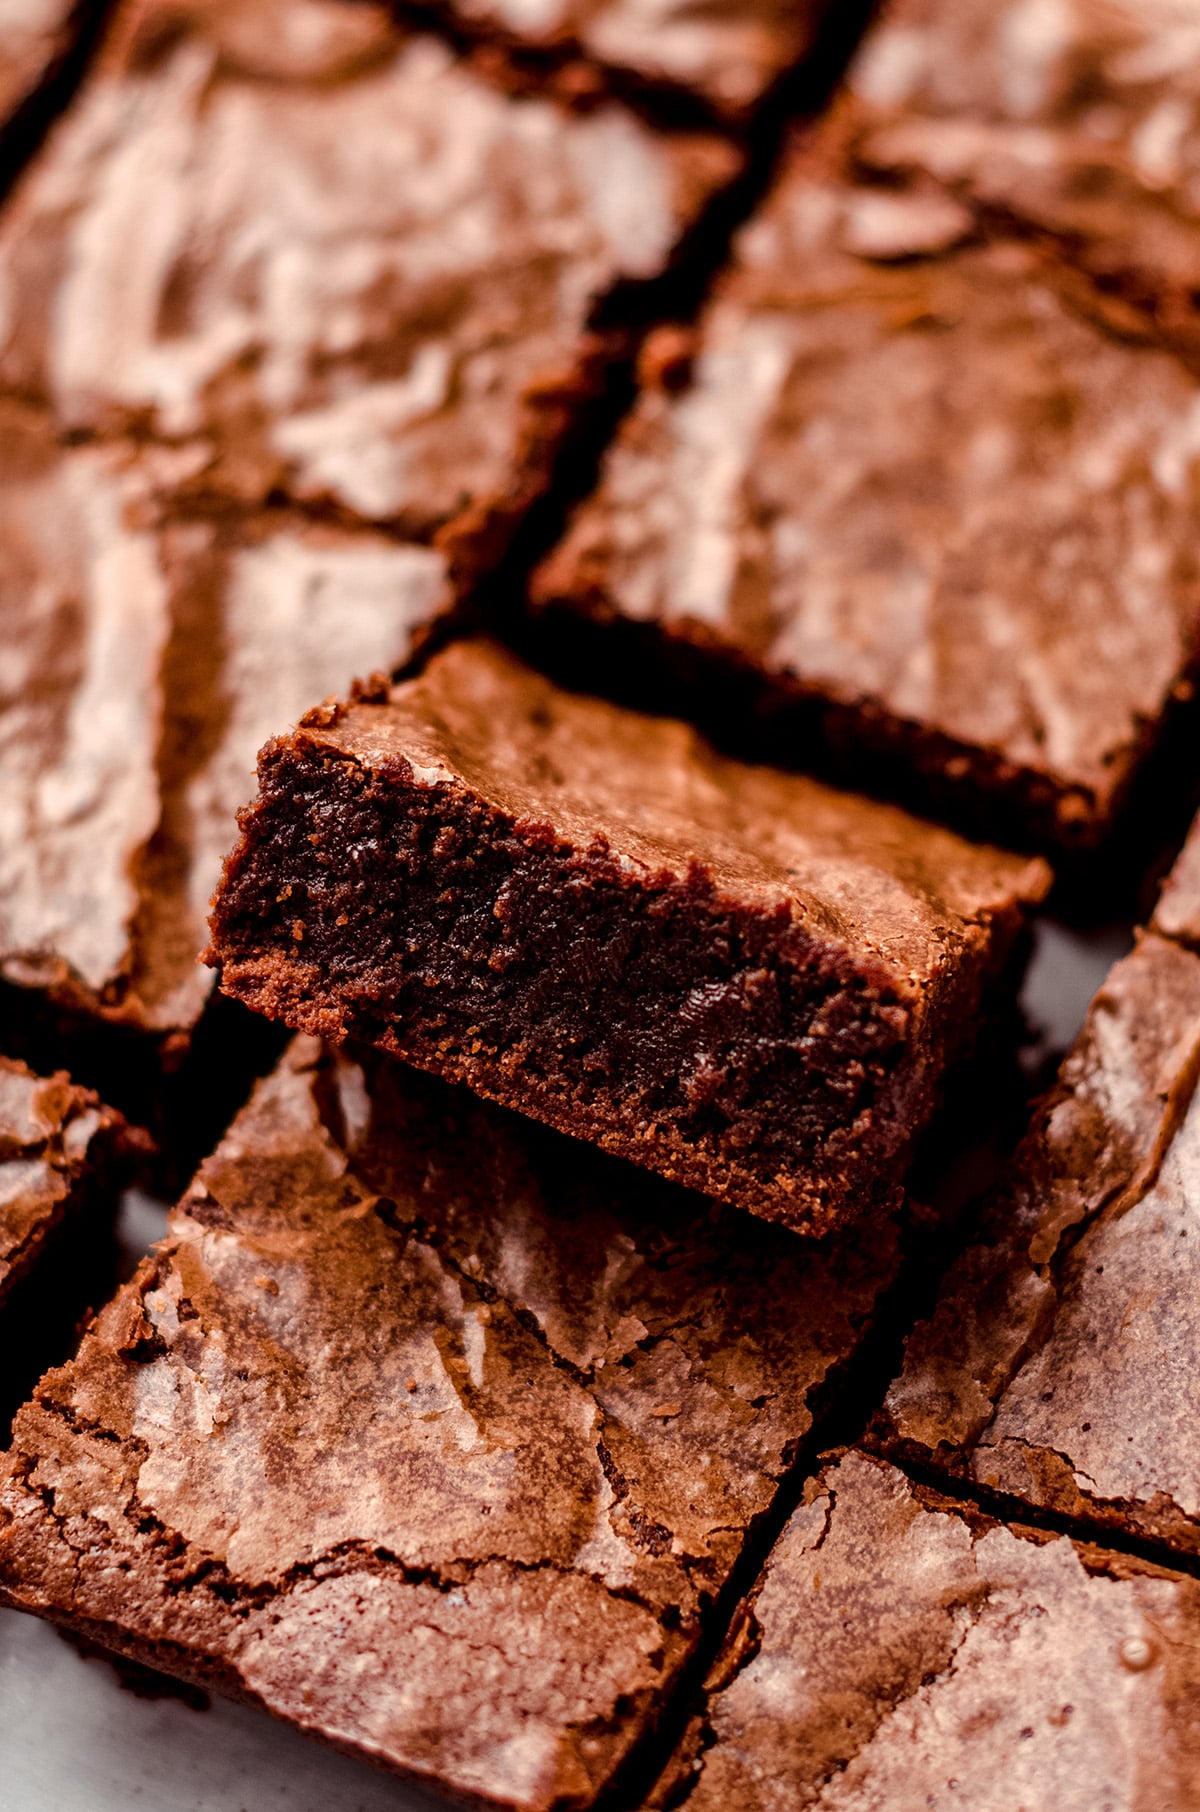
First of all, we need brownies. As I’ve mentioned a billion times on my site, brownies from scratch just taste so much better. I have my homemade fudgy brownie recipe to thank for being the base for all of the brownie recipes on my site, and today’s Hocus Pocus book brownies are no different.
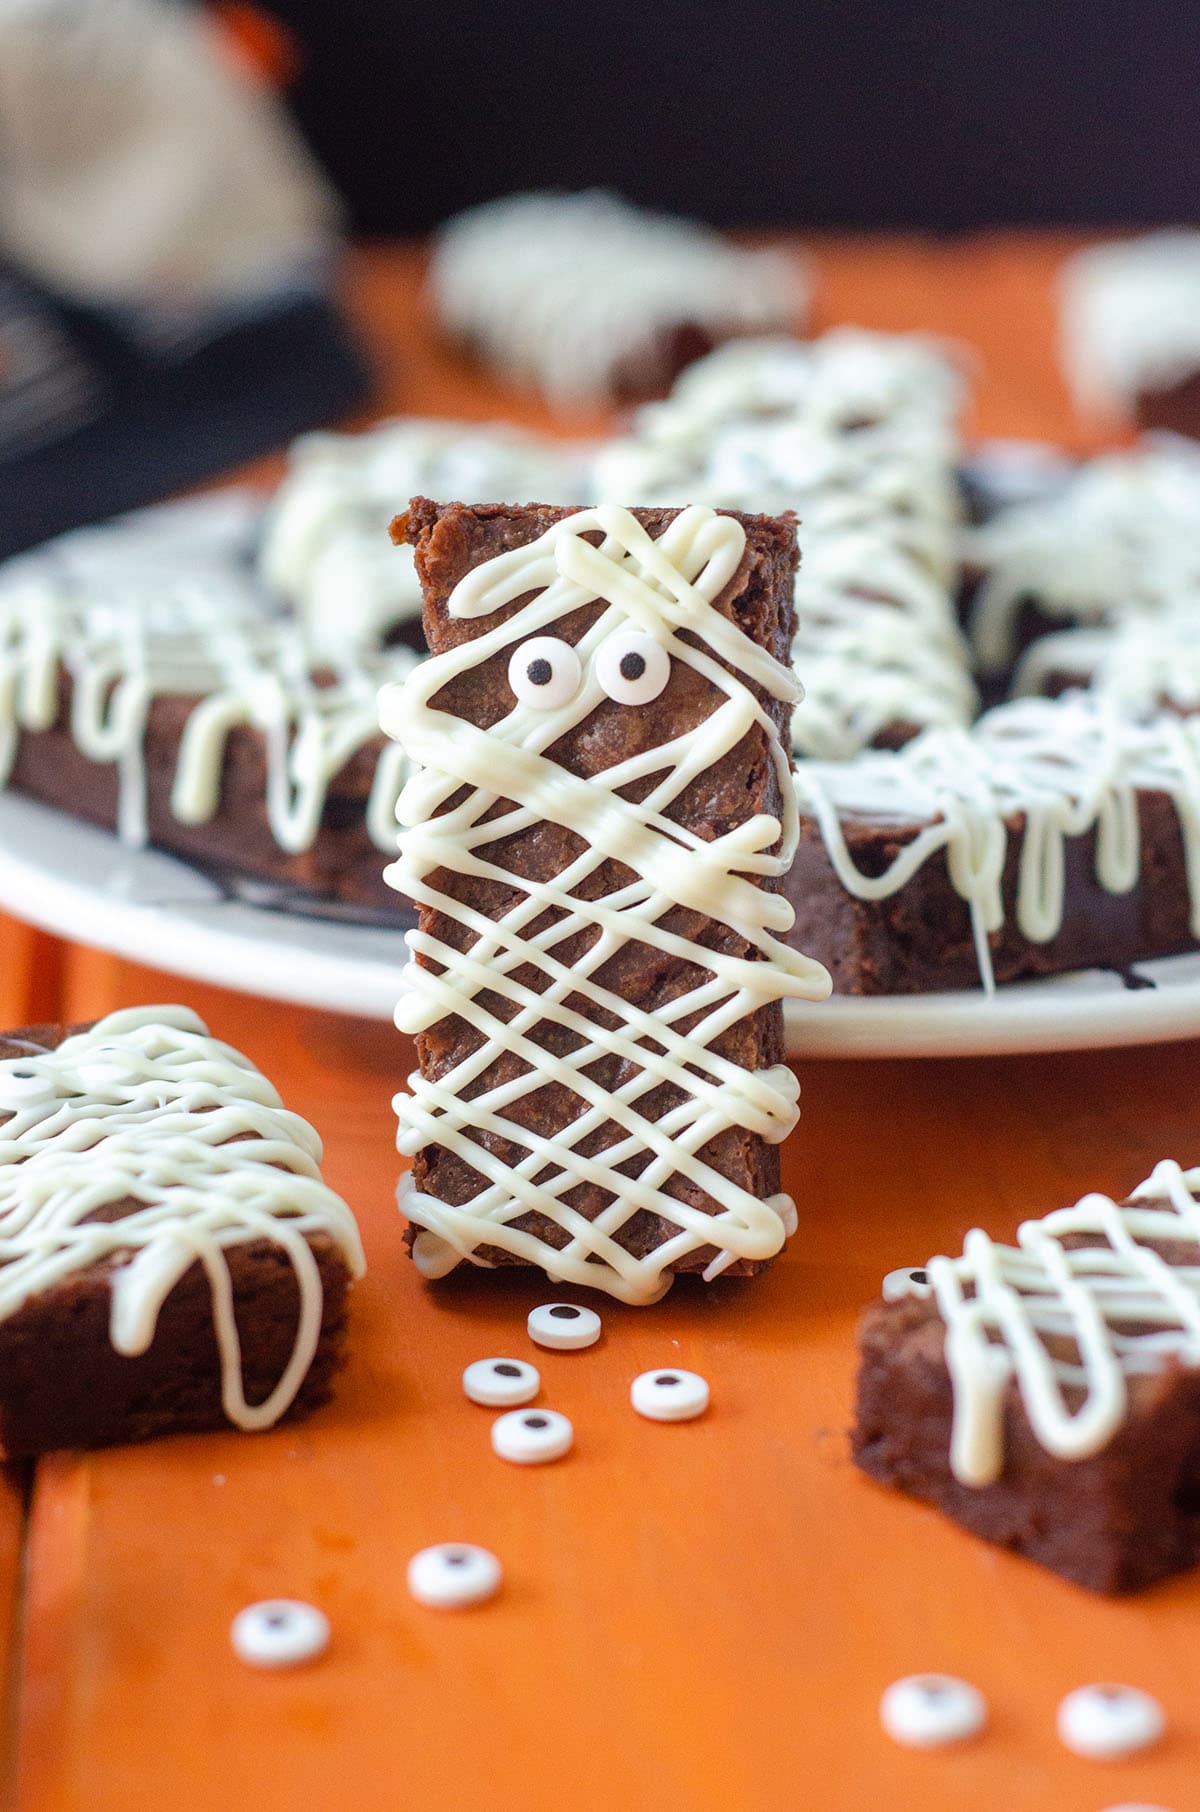
Just like the mummy brownies from many many years ago, I simply prefer to make my brownies from scratch, even if they’re getting all dolled up for a holiday.
SCRATCH BROWNIE INGREDIENTS
If you’re making my brownies from scratch, you’ll need a few simple ingredients.
Grab yourself some unsalted butter, semi-sweet chocolate, brown sugar, granulated sugar, three eggs, vanilla extract, all-purpose flour, and salt.
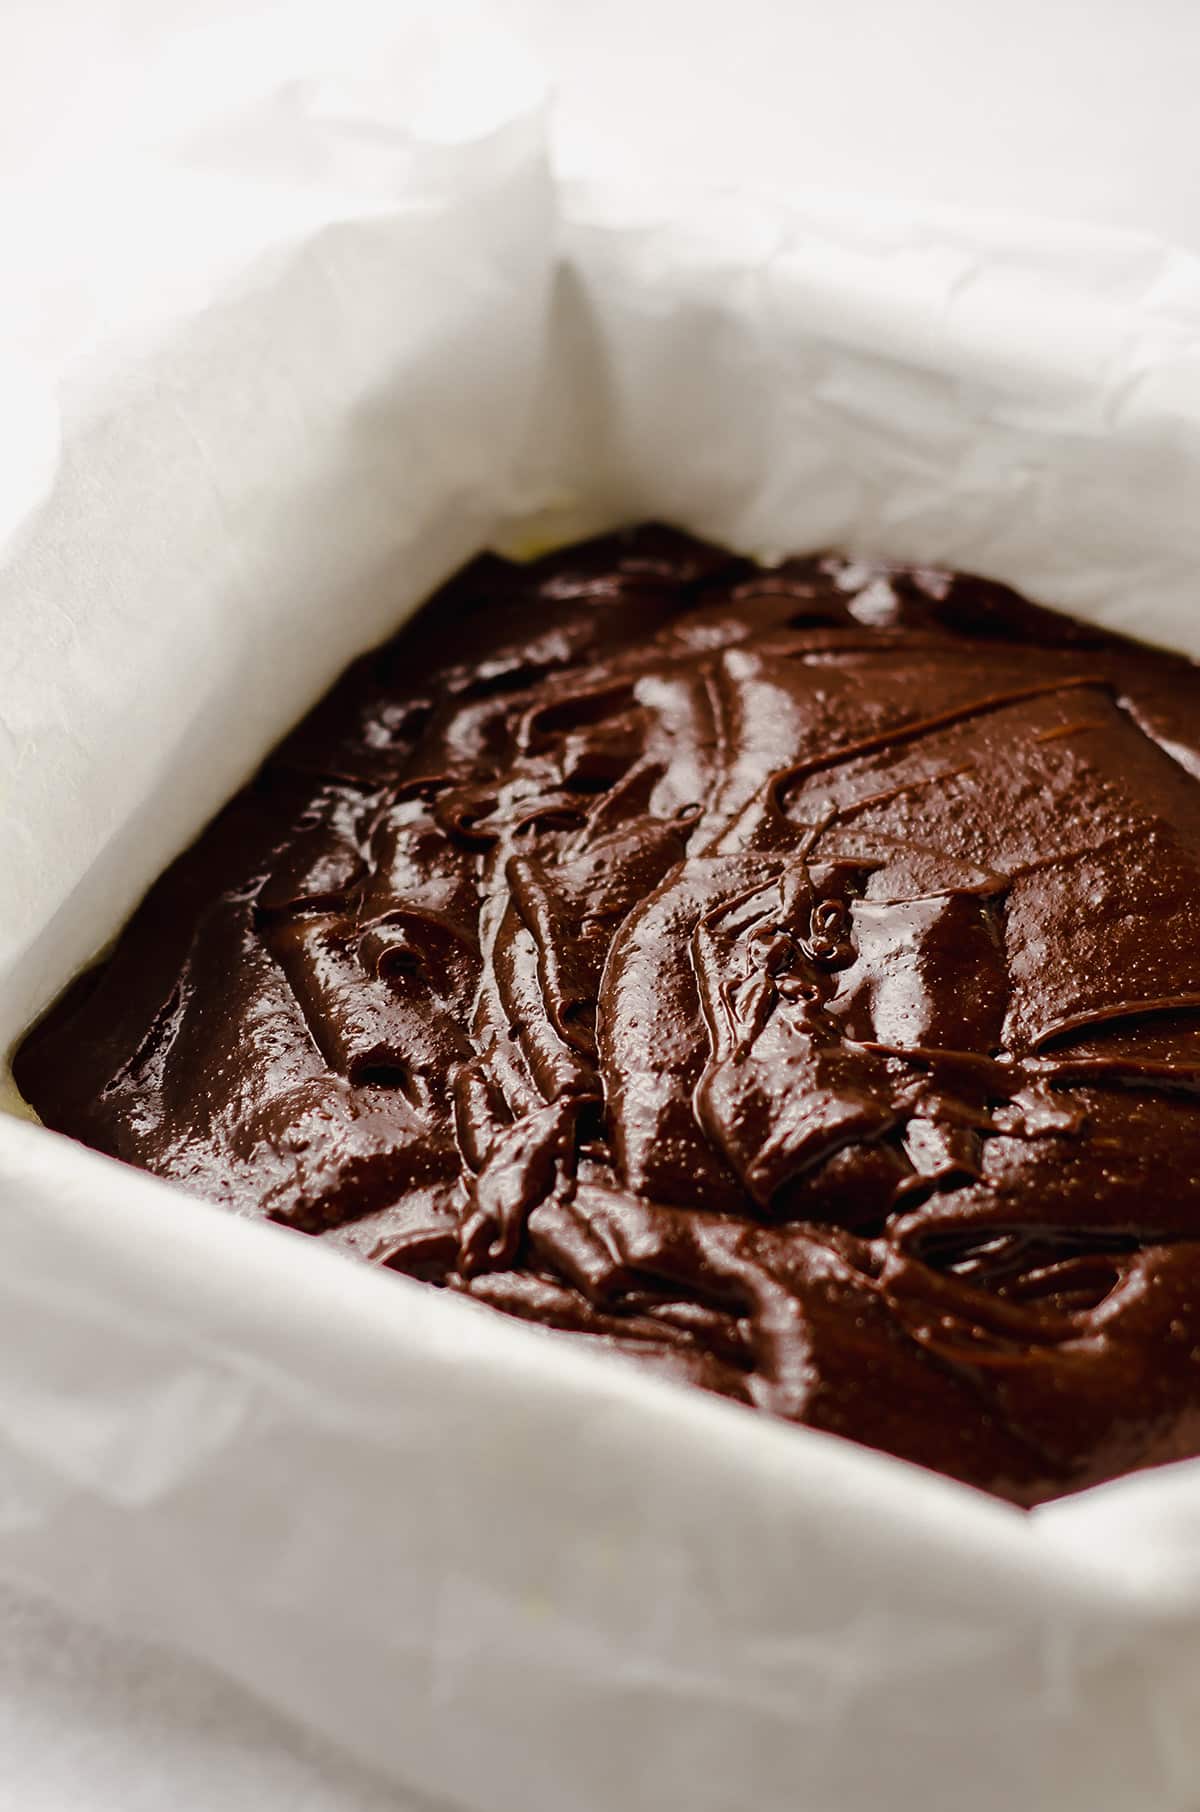
See? Simple ingredients. And the process is simple, too! Don’t be intimidated– they’re easy!
SPELLBOOK DETAILS INGREDIENTS
The snakes and stitching can be done completely with pre-made ingredients or one of each.
SNAKES
As I mentioned, the snakes will need to be a darker brown or black color, which you can achieve with black candy melts or dark chocolate, both of which you’d need to melt, or with pre-made black decorating icing which comes ready to use and usually in a tube with a tip.
It is totally up to you which one to use, and remember to make this as easy as possible for yourself, especially if you’re letting kids help you!
STITCHING
The stitching will be done with chocolate fudge frosting, which I prefer to make from scratch. If you want to use the recipe that I always use, you’ll need semi-sweet chocolate, unsalted butter, vanilla extract, milk or cream, powdered sugar, and a pinch of salt.
The frosting starts with a melted chocolate/butter mixture that will need to cool a bit before you finish the frosting with the remaining ingredients, to make sure you give yourself enough time to prepare the chocolate frosting if that’s the route you’re going.
HOW TO MAKE THE HOCUS POCUS SPELLBOOK
Once you have your brownies, black candy melts (or chocolate or cookie icing), chocolate frosting, and candy eyeballs, you’re ready to go!
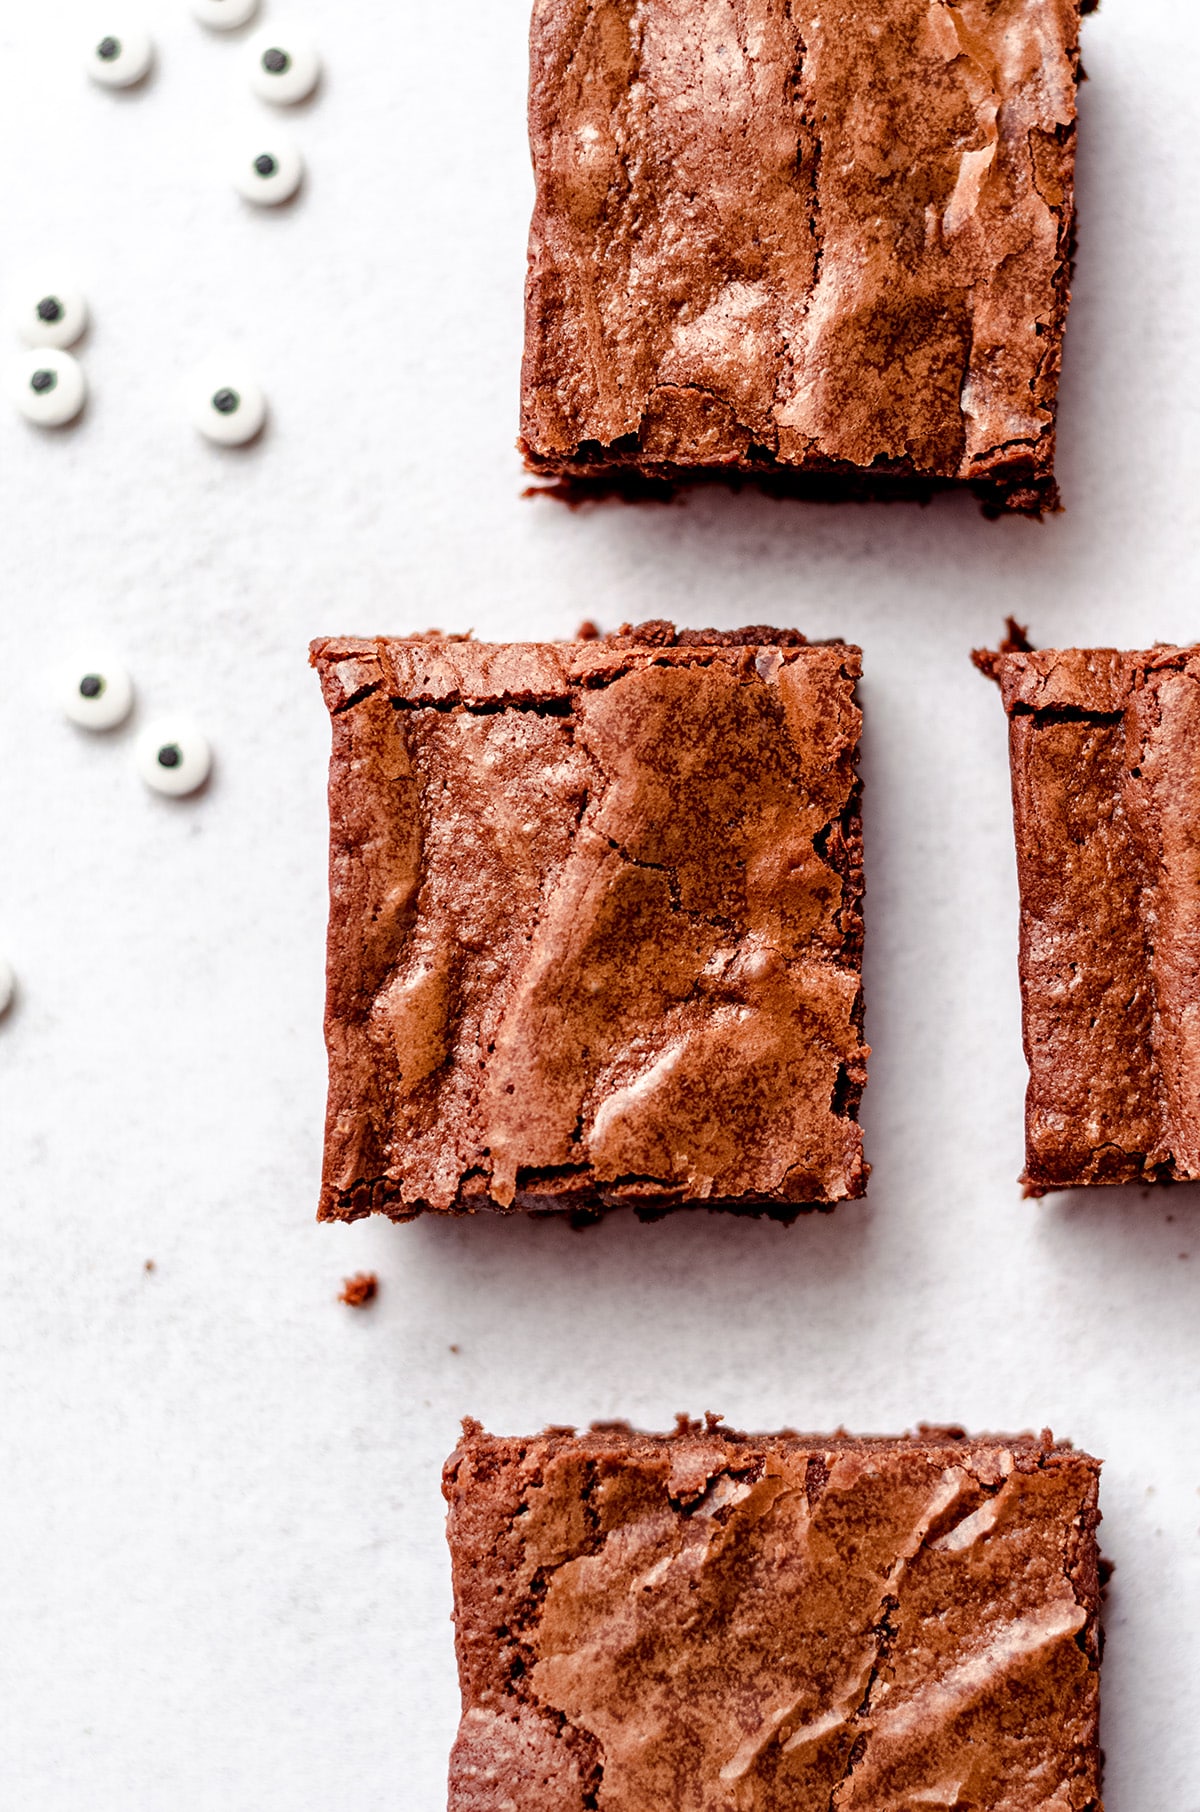
First, cut the brownies into 16 squares.
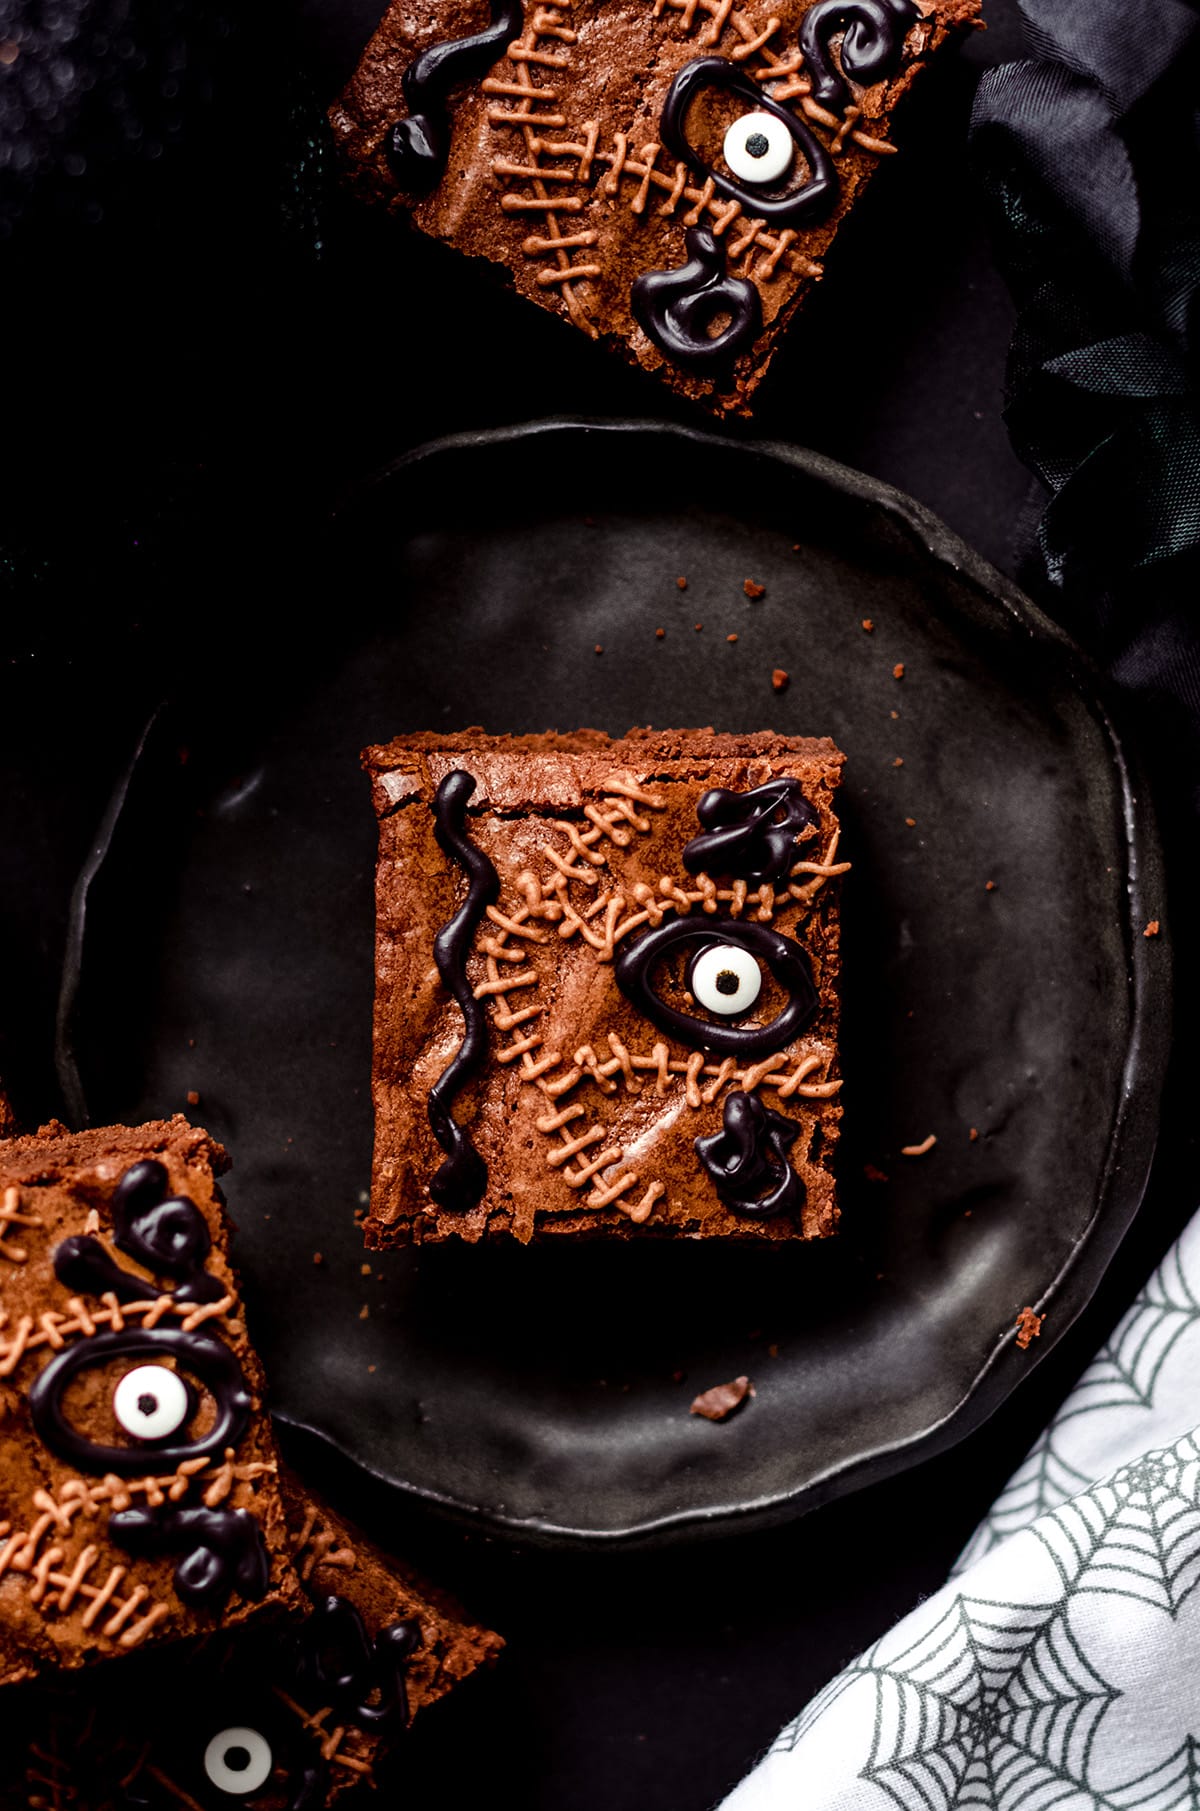
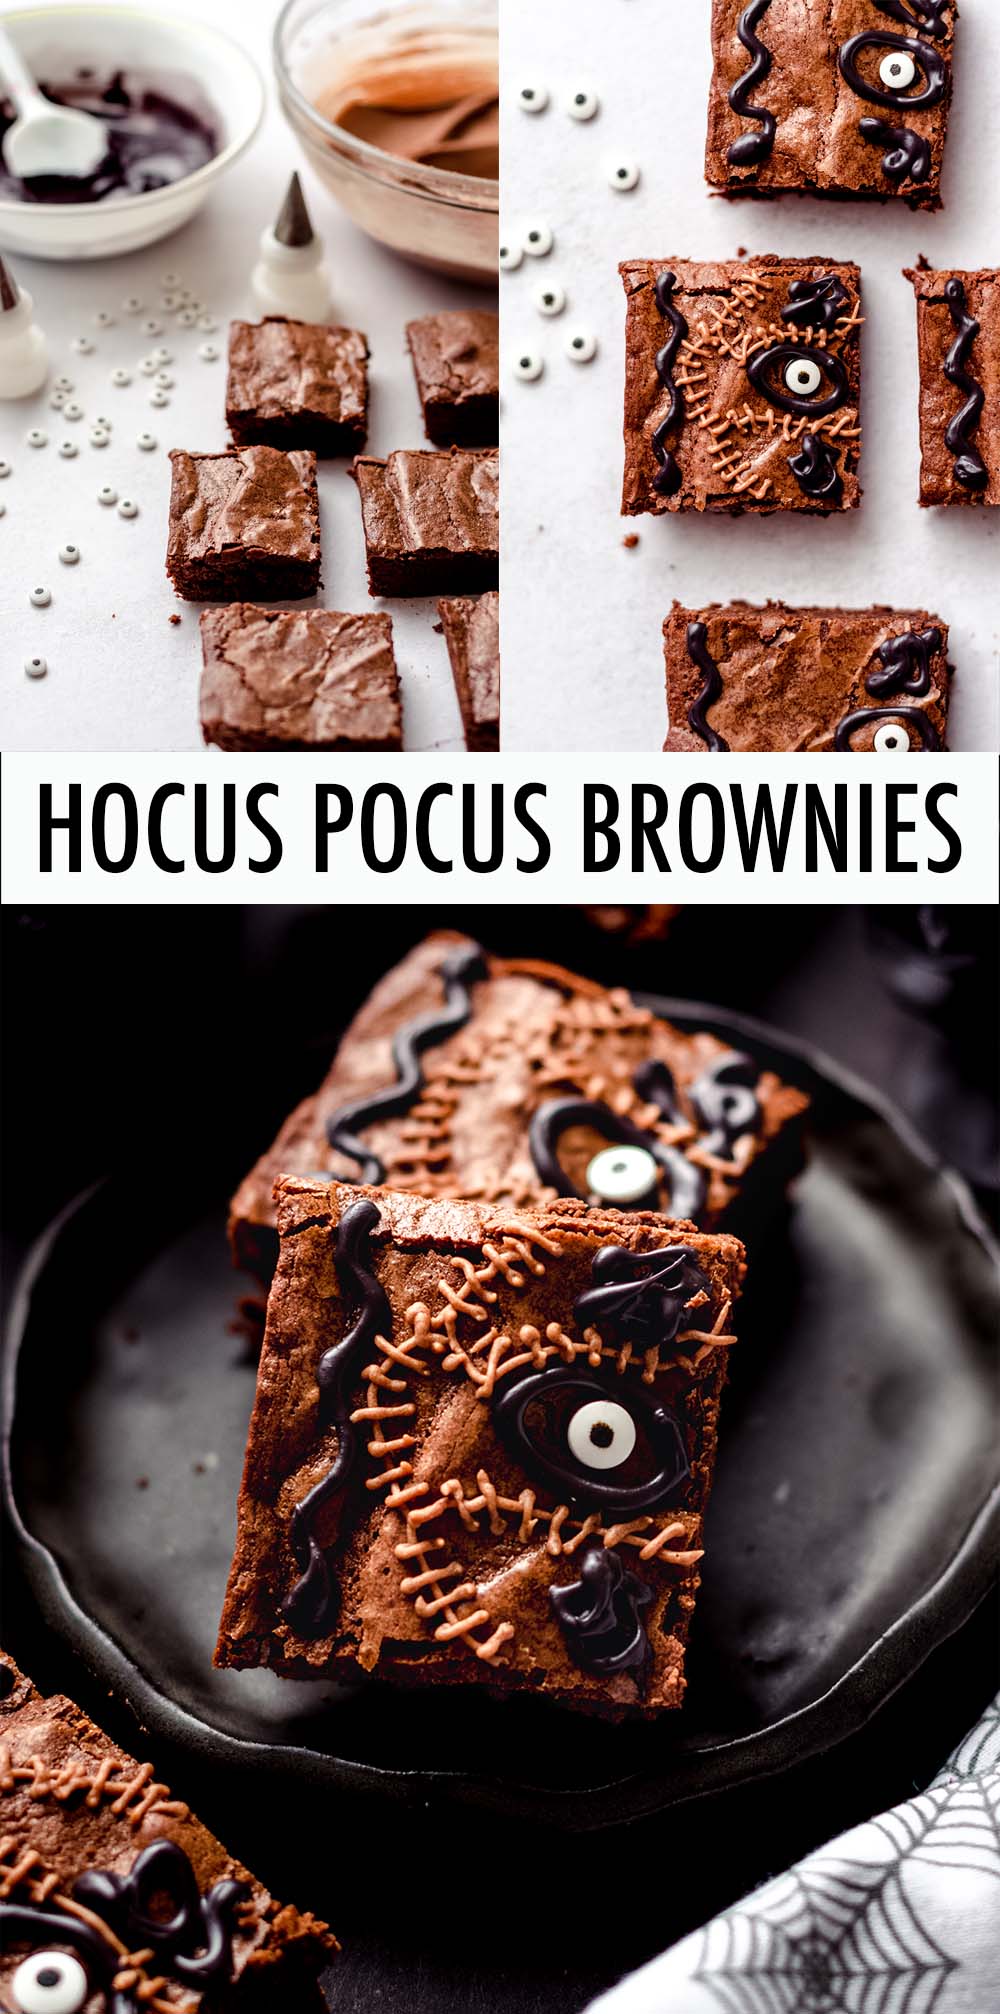
Then, working with one book at a time, and starting with the black candy melts, pipe a “snake” down the spine of the book.
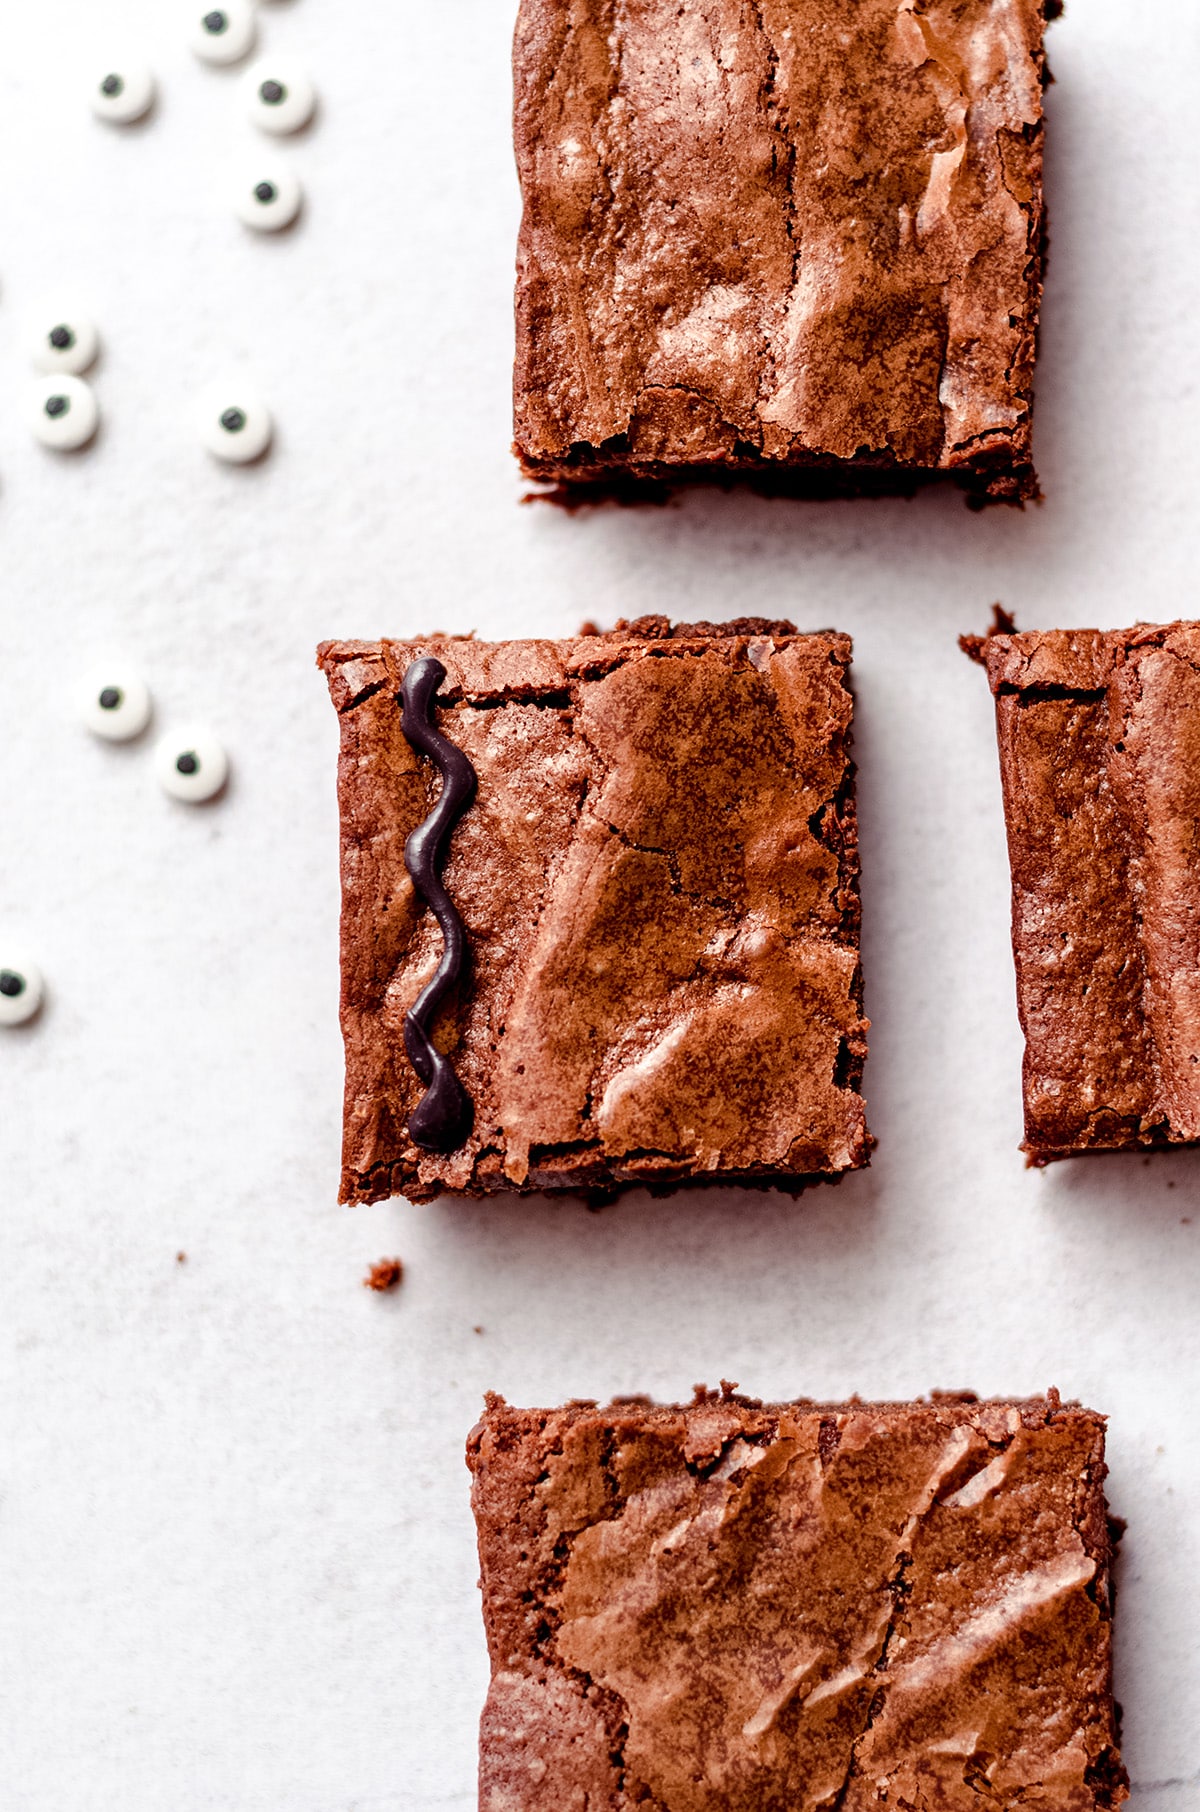
Next, pipe curled up “snakes” in the top left and bottom left corners of the book.
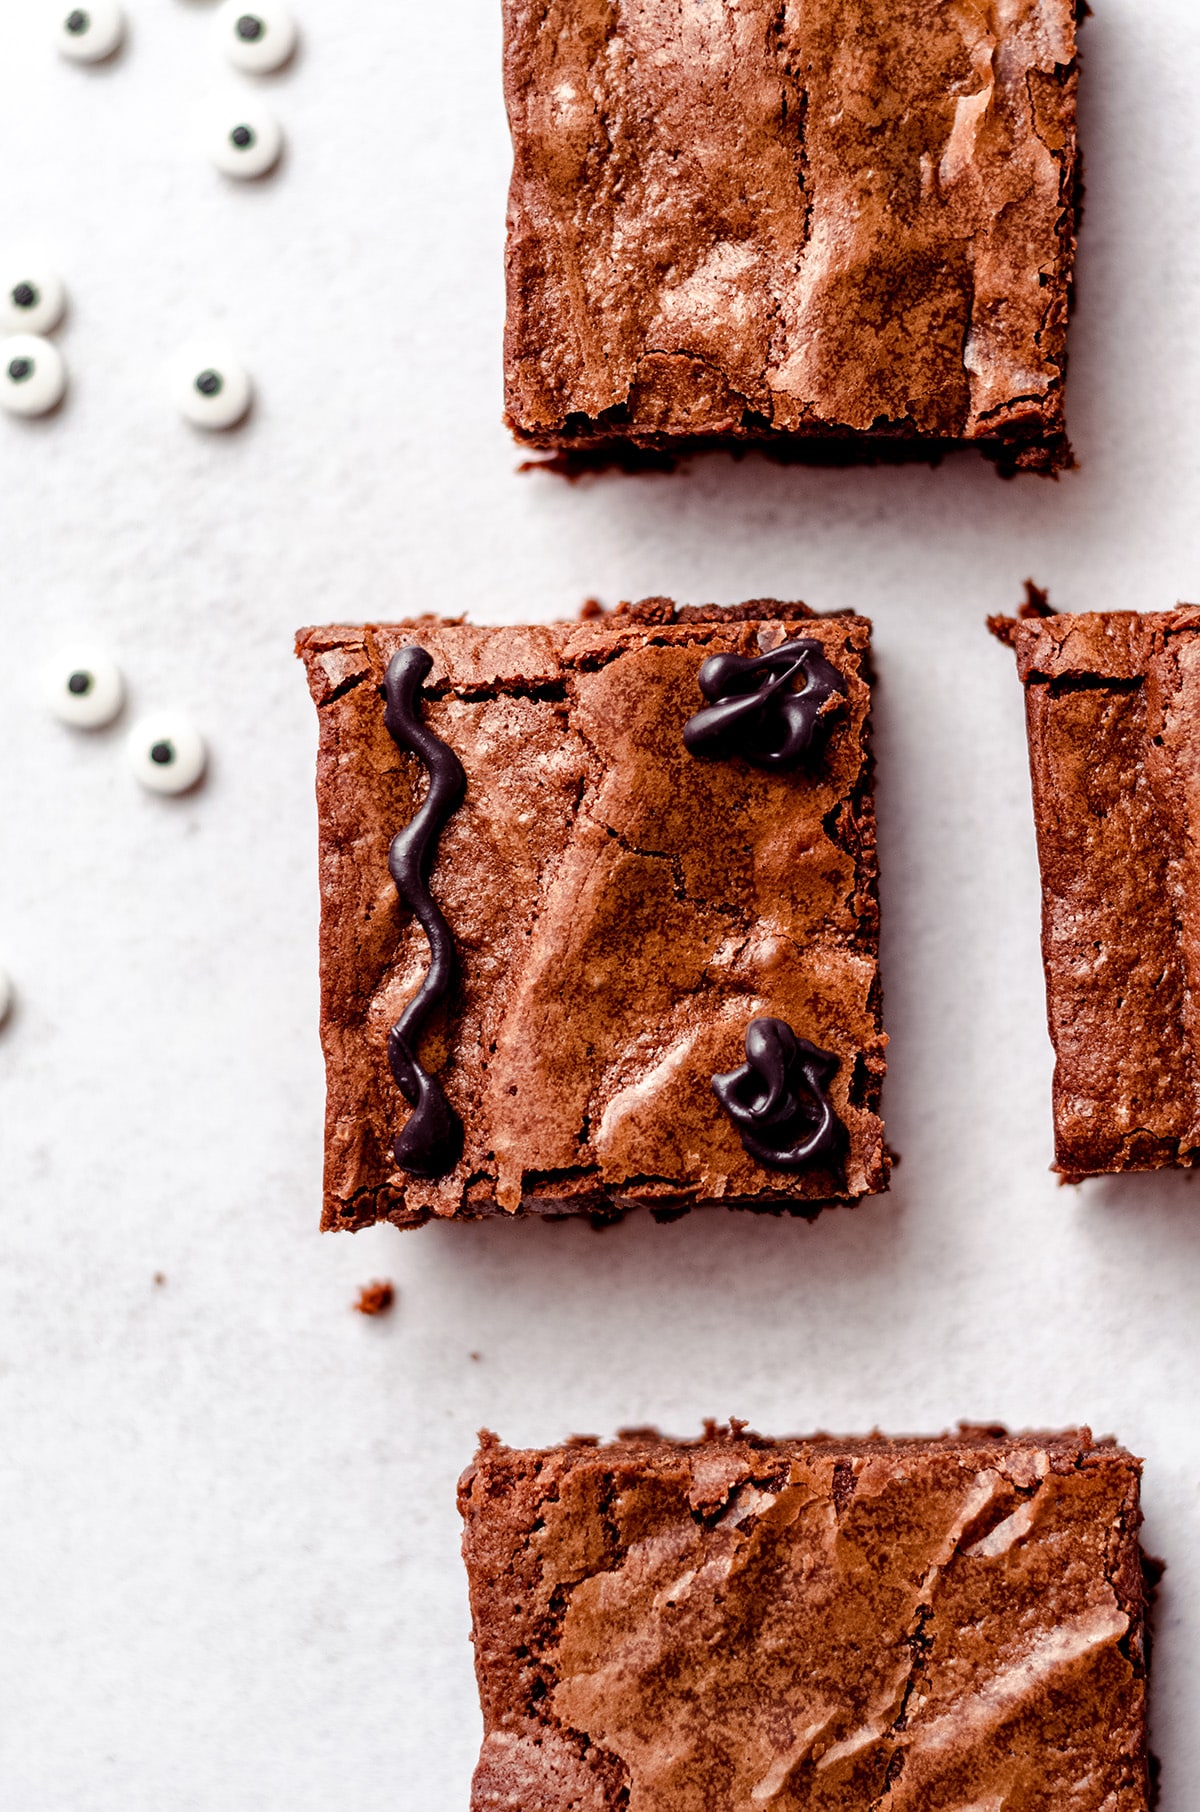
Add a small dot to the space between the two curled snakes, add a candy eyeball, then pipe an oblong circle around the eye. Move to the next brownie until all of the black/dark piping is finished.
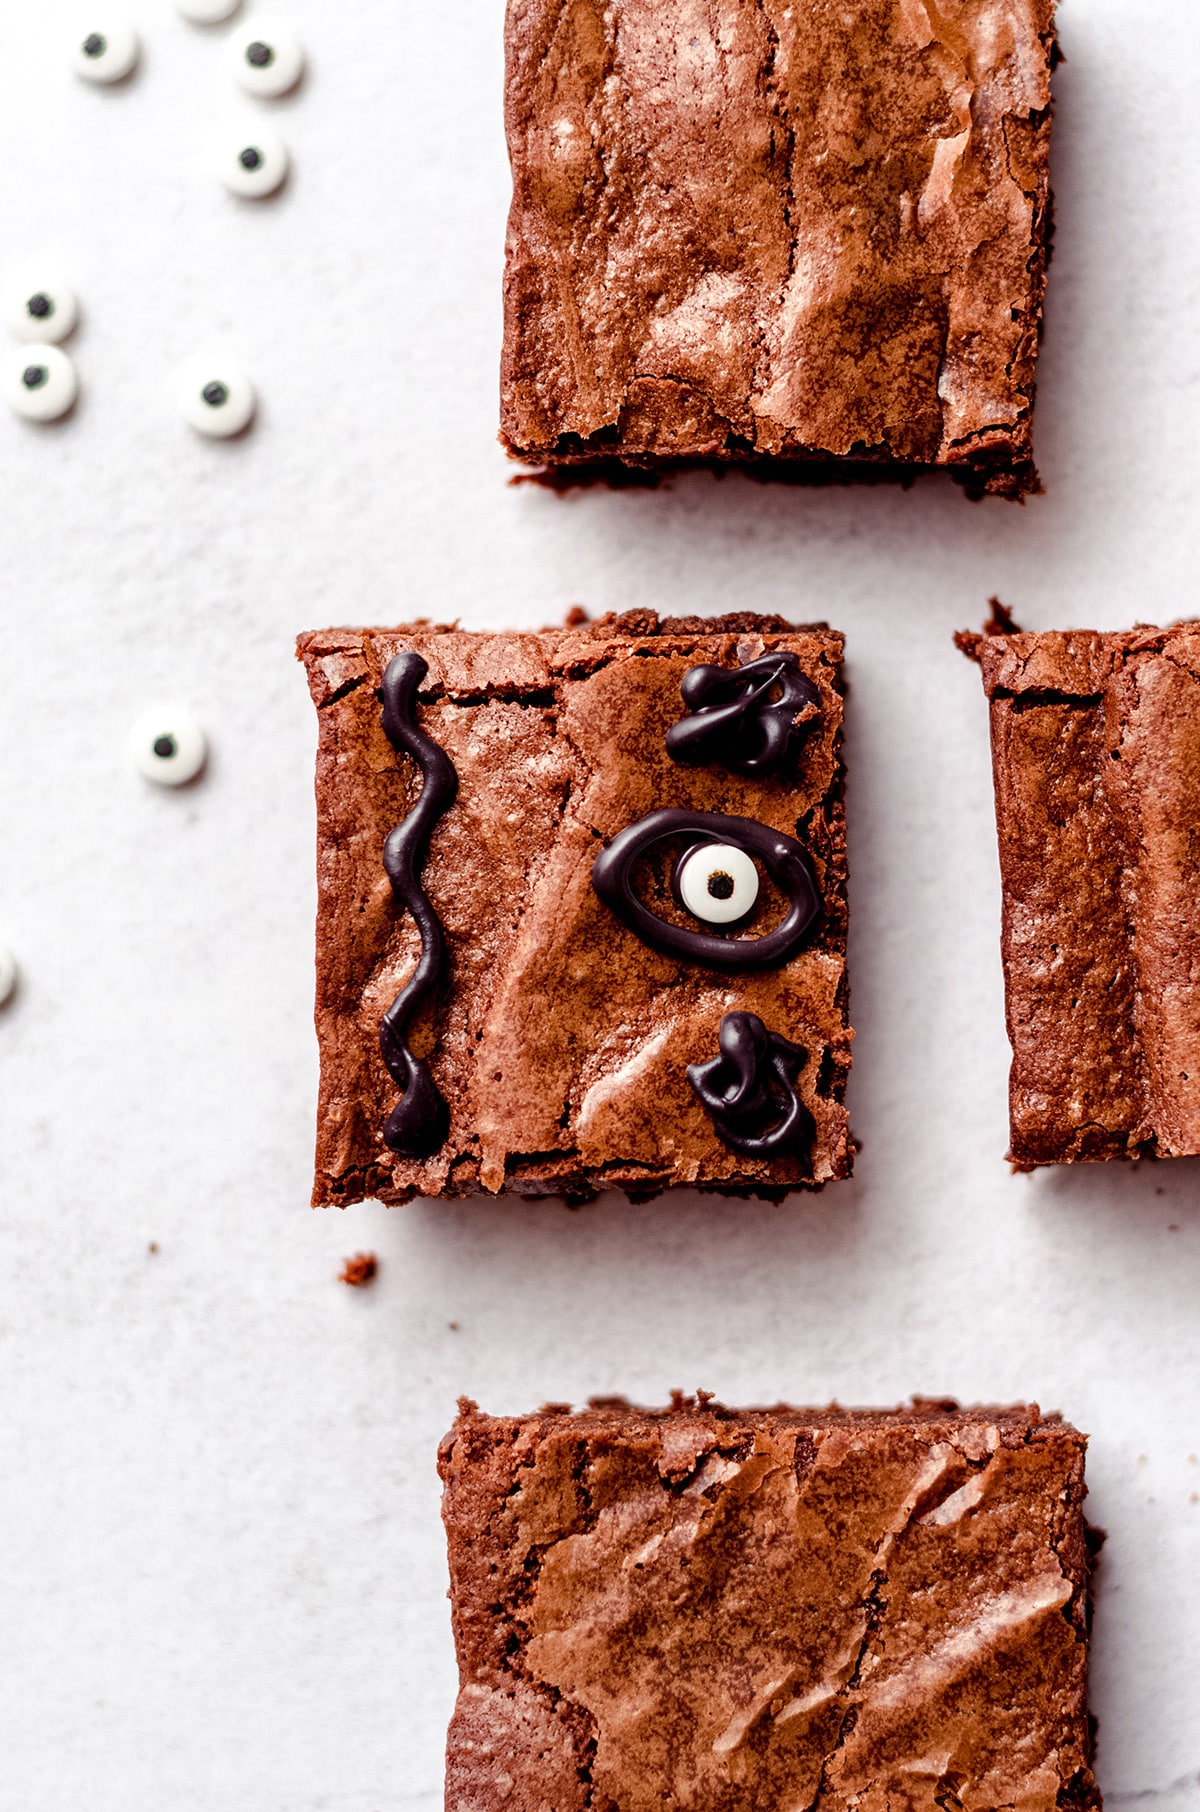
Using the chocolate fudge frosting, pipe haphazard lines in the empty spaces between the black/dark elements on the front of the book.
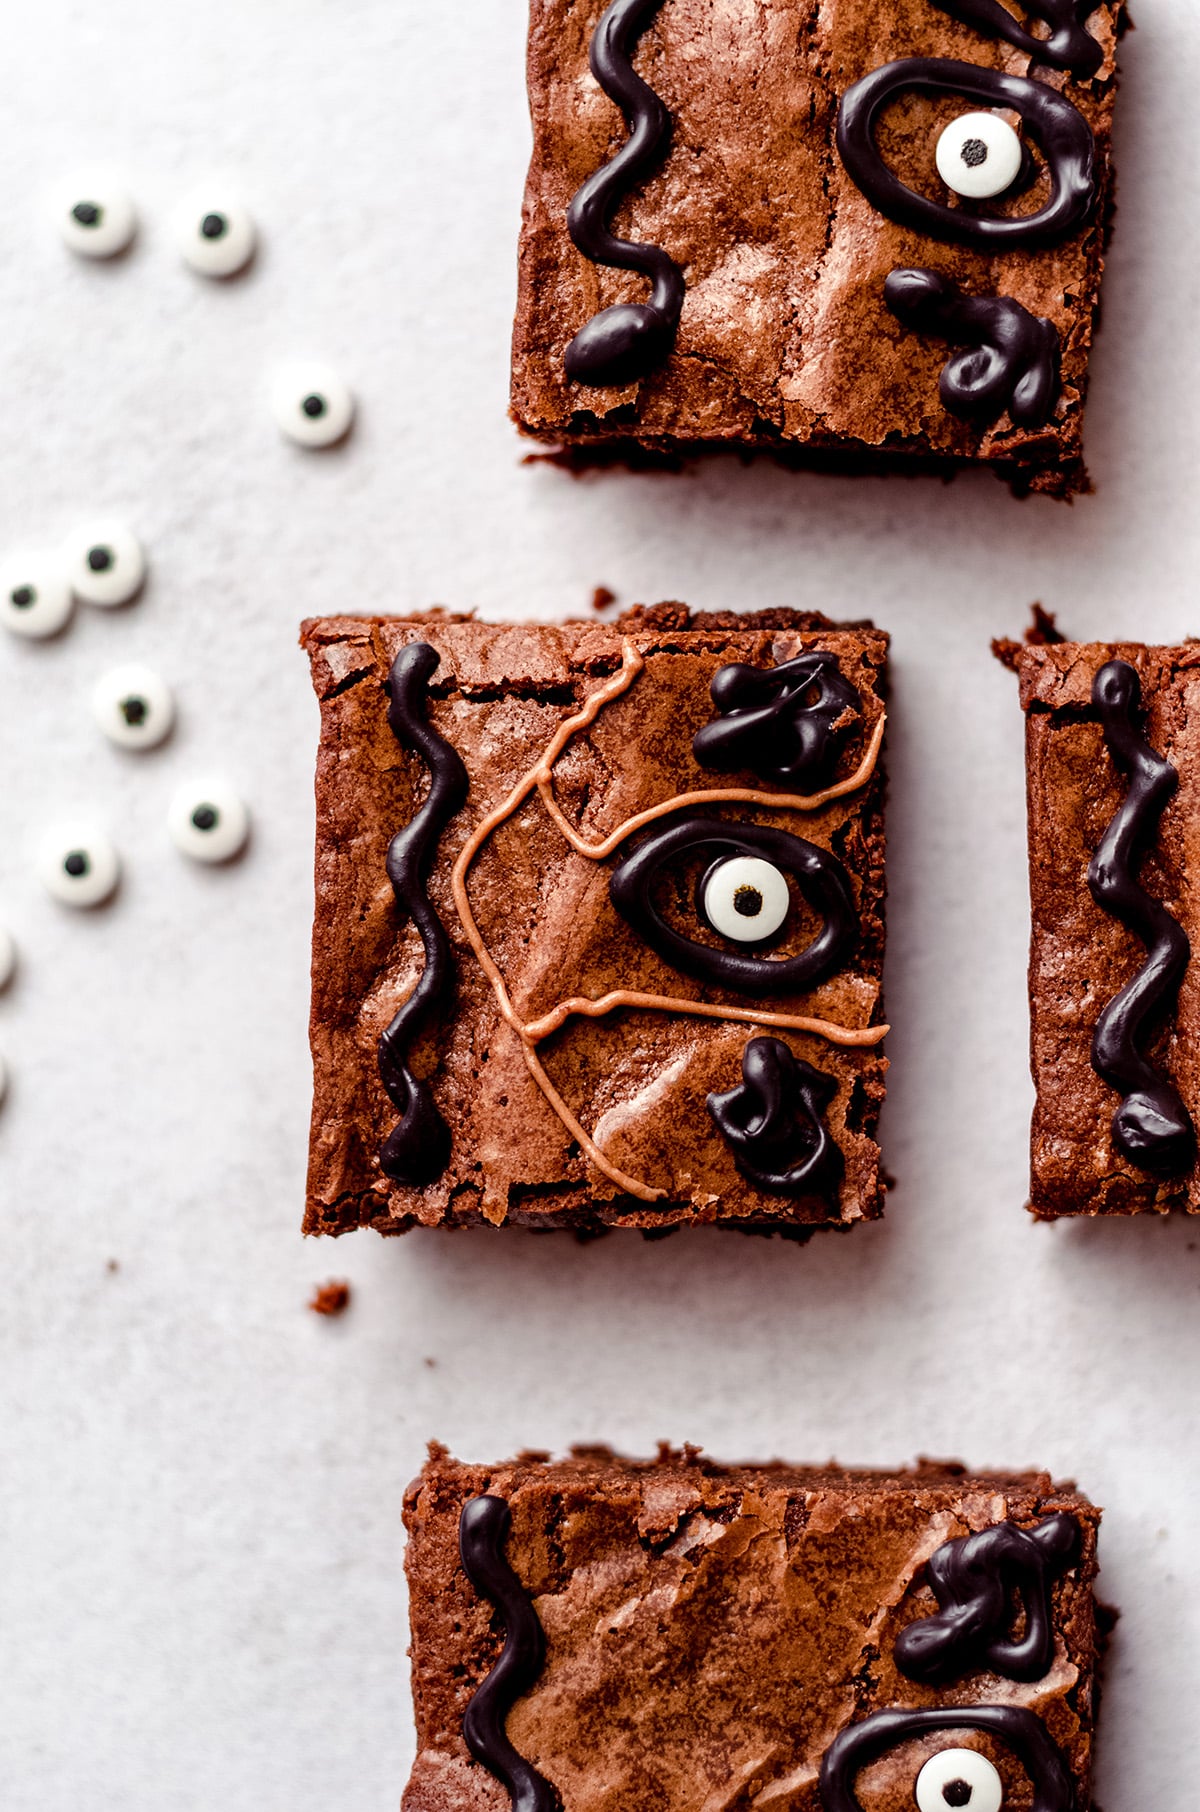
Then, pipe stitches across the lines you just drew. Allow designs to set before serving.
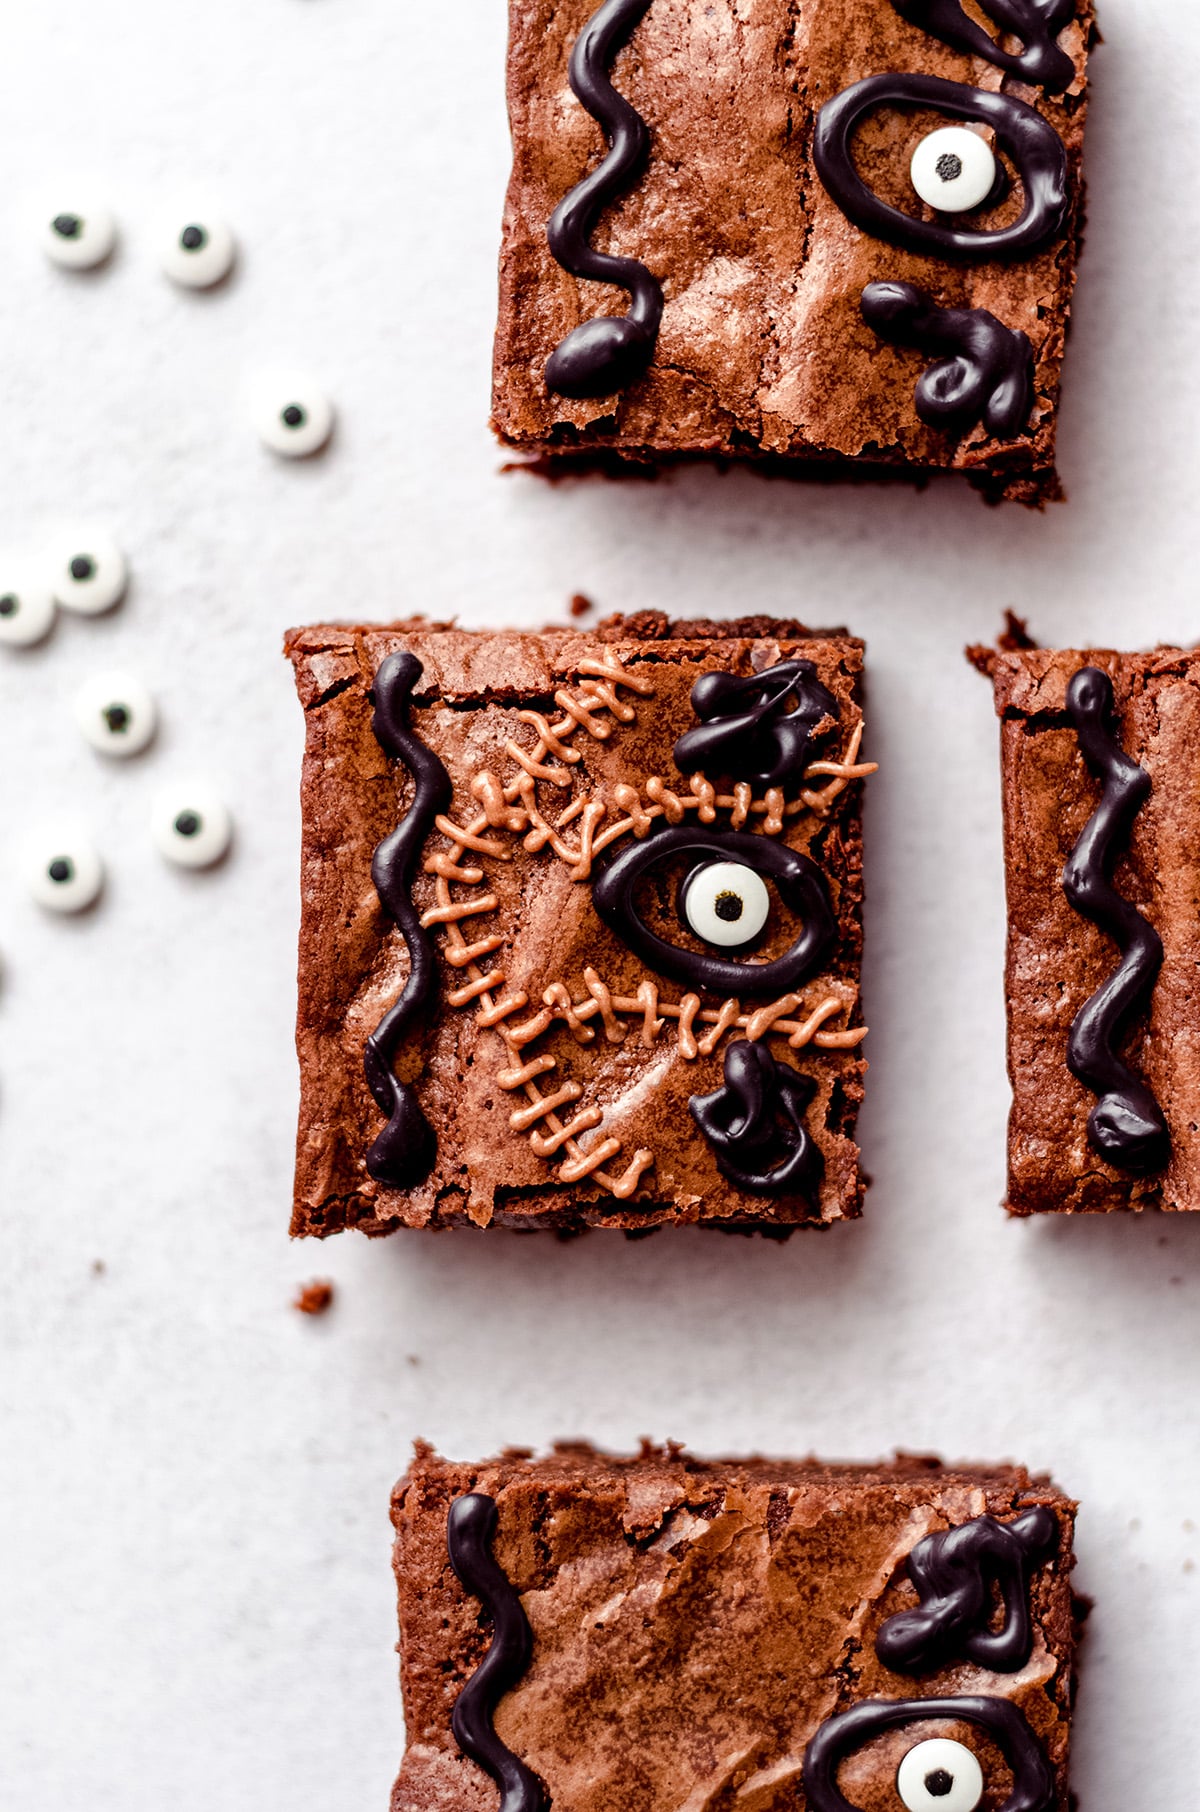
Perfection!
Now, just wait for everything to set/dry and your Hocus Pocus brownies are ready for a showing of your favorite Halloween movies.
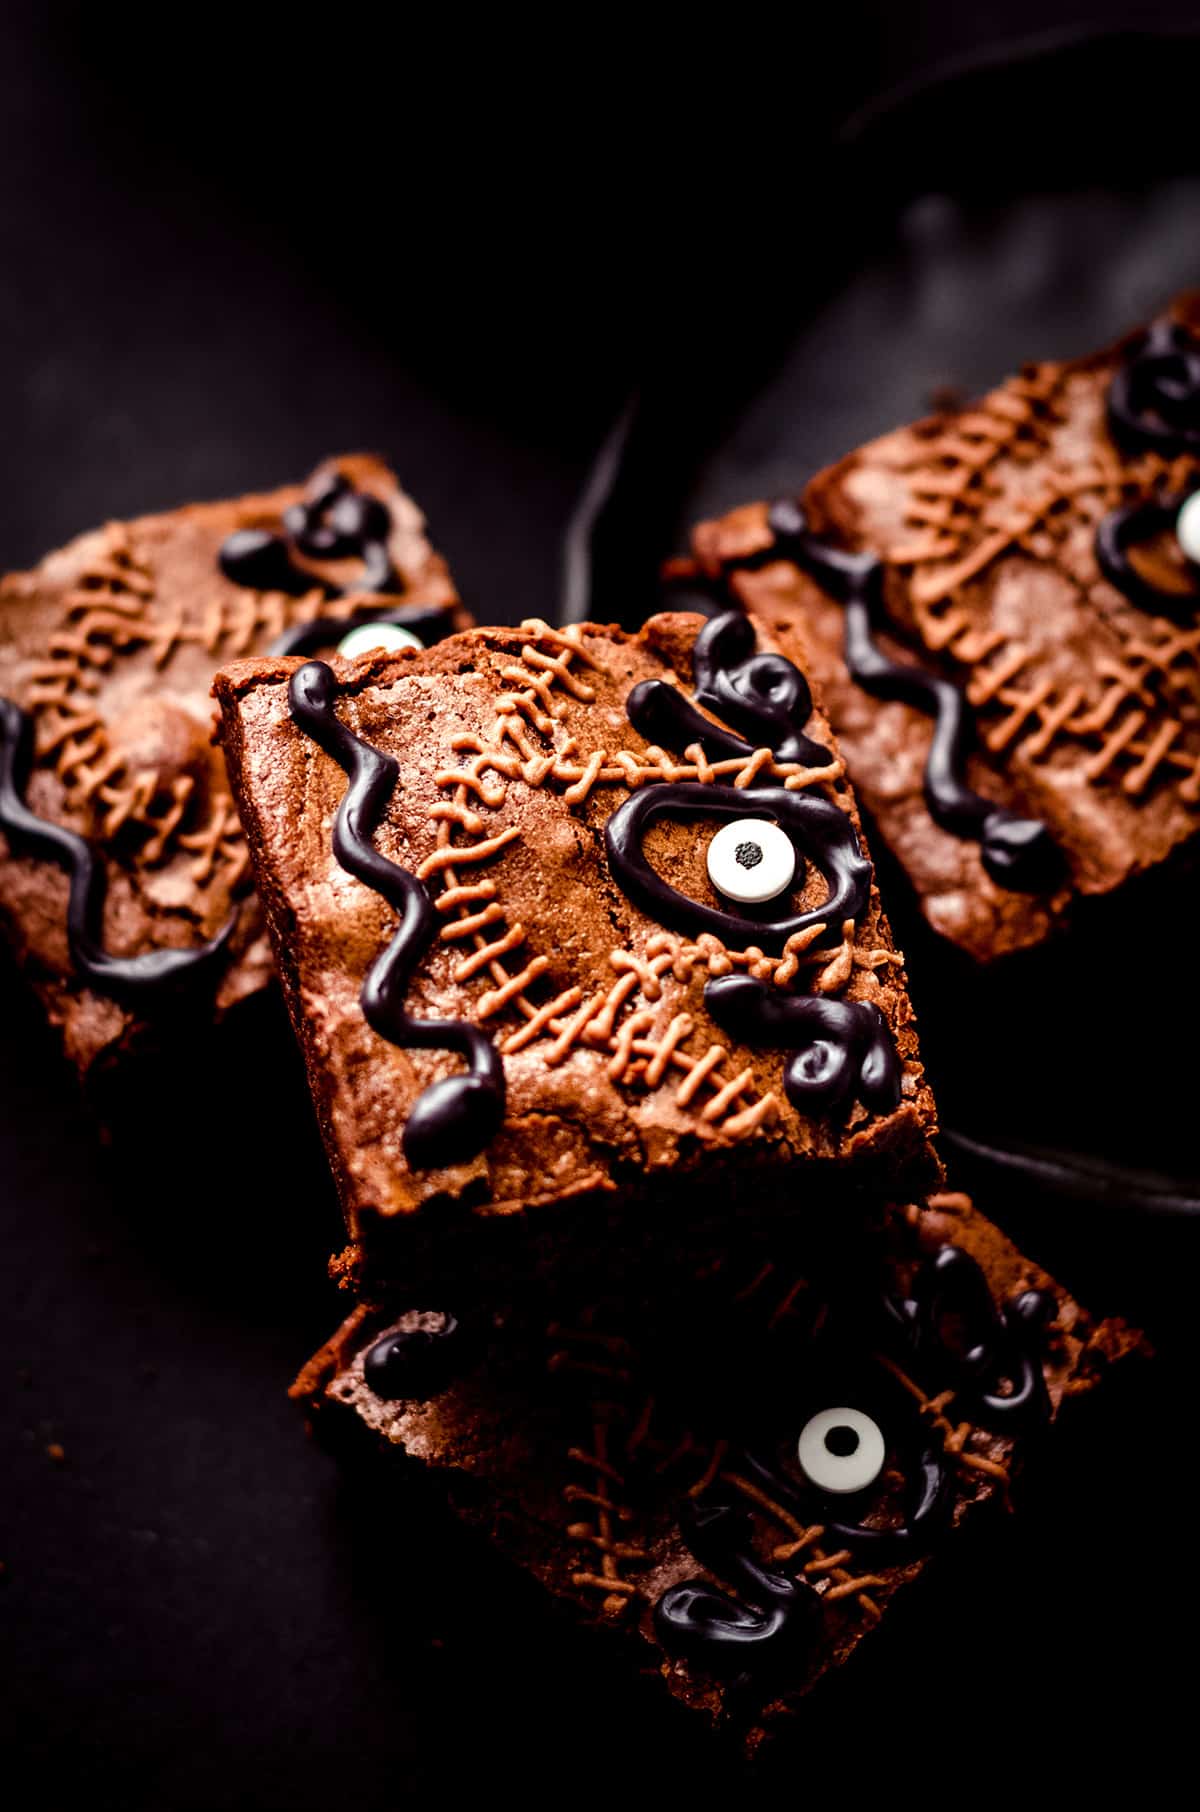
Or Halloween party. Or Halloween goodie bags. Or Hocus Pocus party. Or, you know, just enjoying for fun. Because there’s nothing wrong with making Halloween goodies to enjoy for no reason!
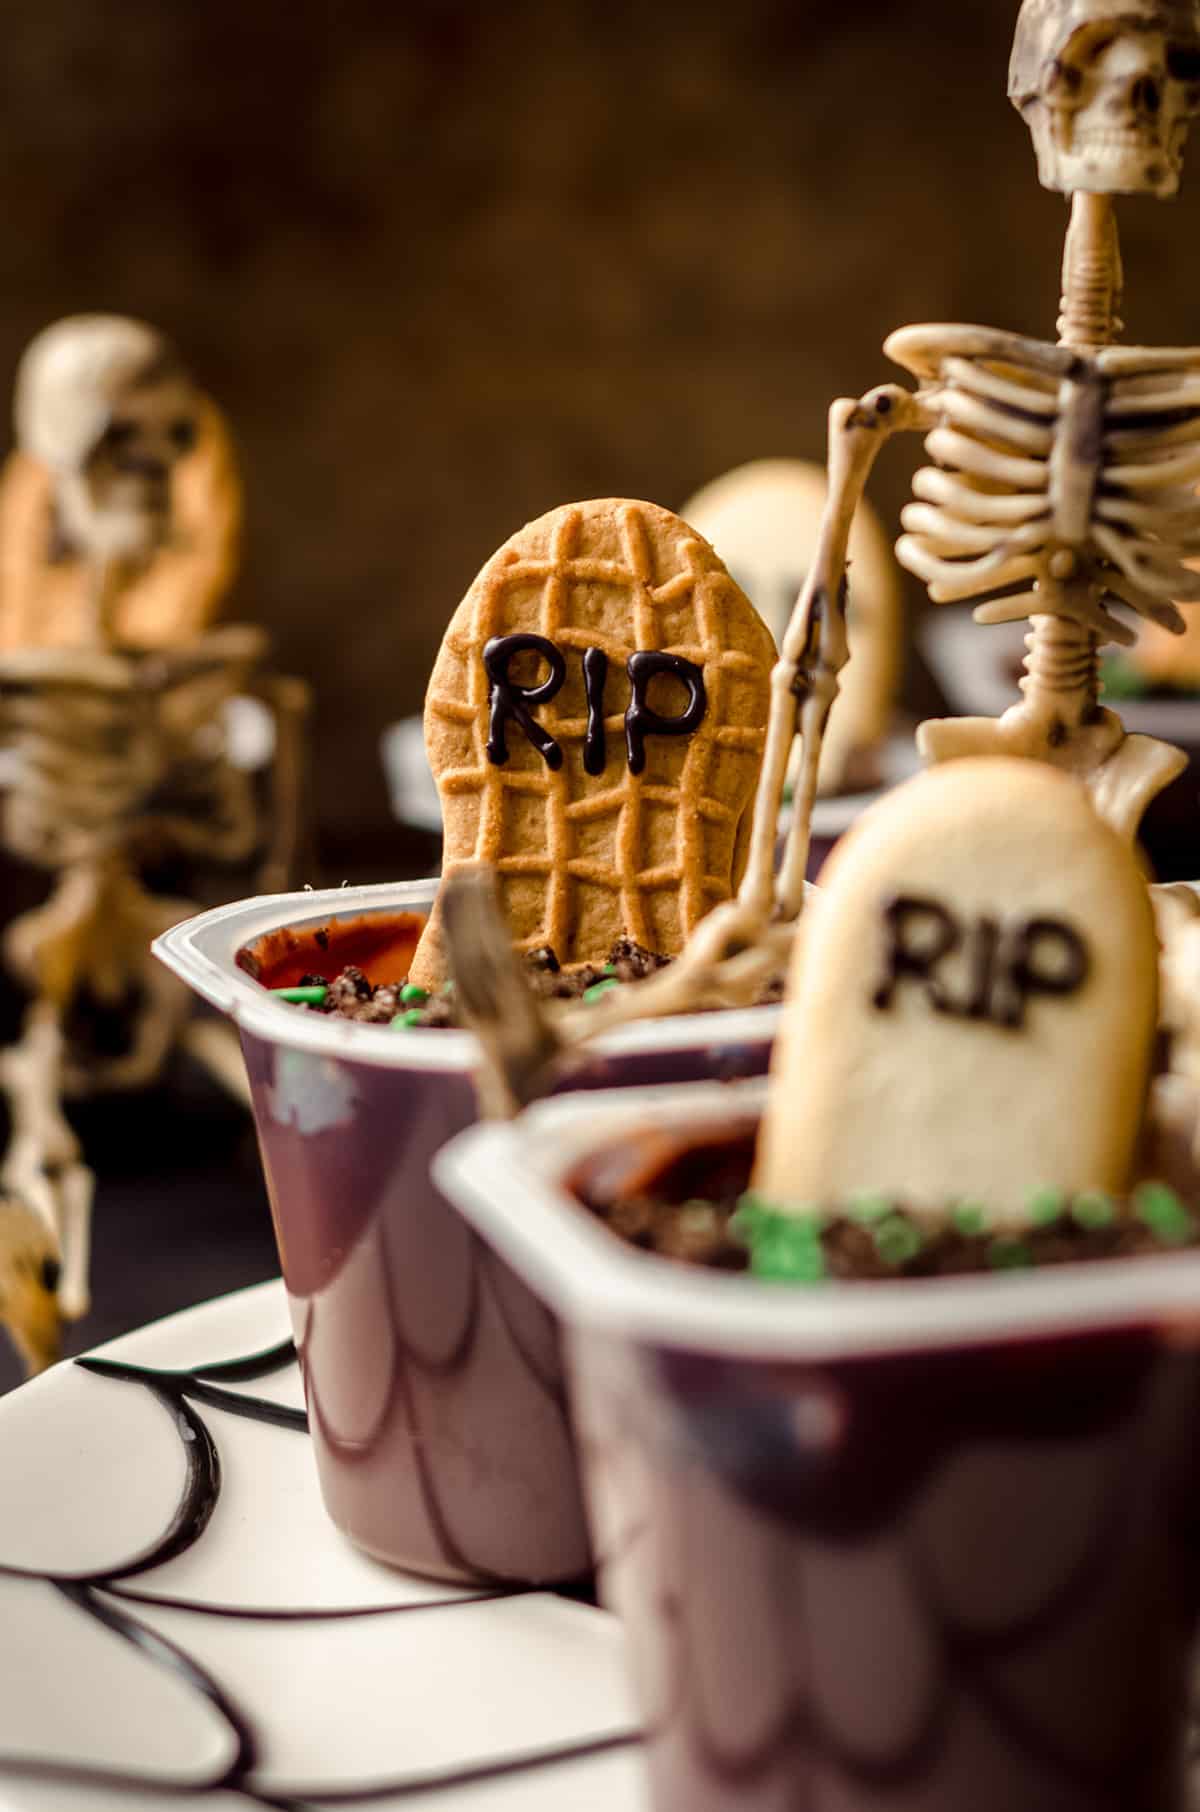
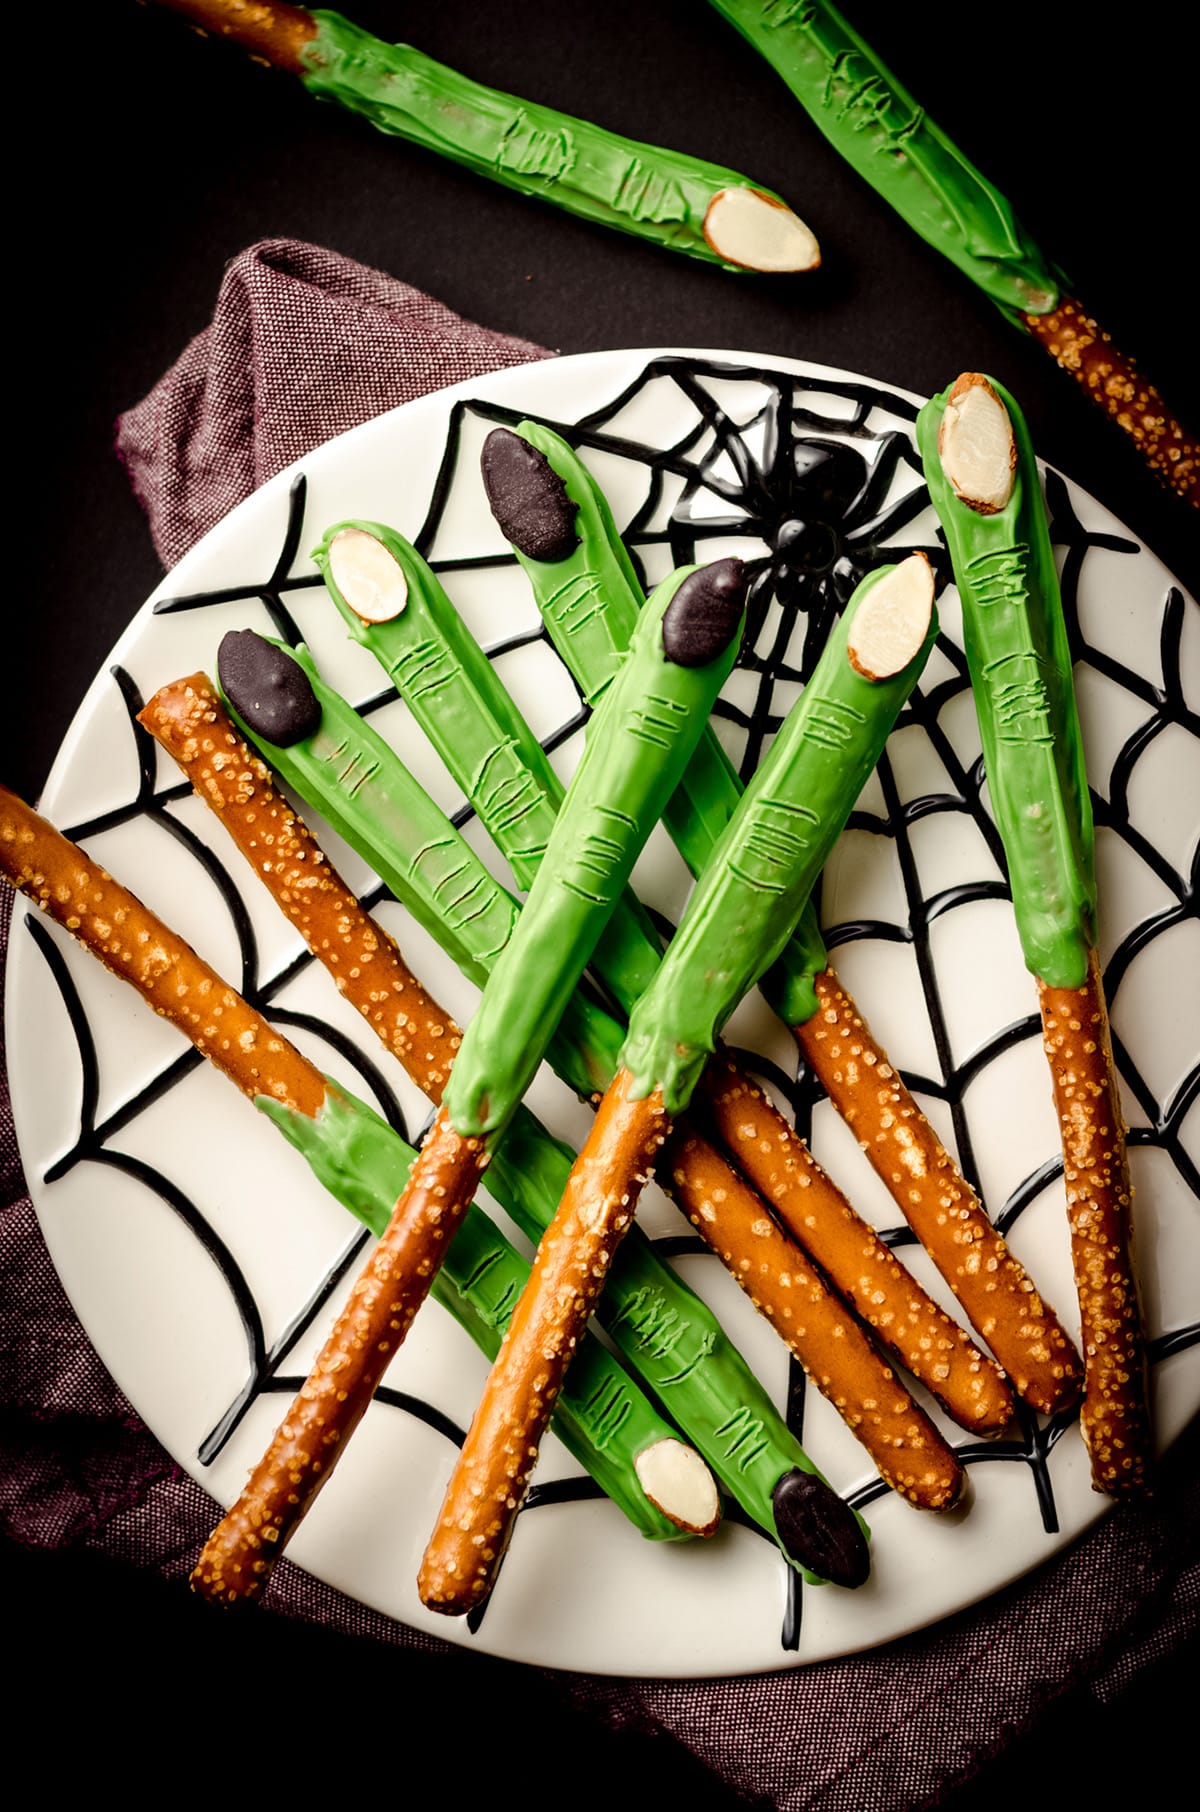
If you’re looking for more fun Halloween treats, be sure to check out some of the recipes I have here: graveyard pudding cups, witch finger pretzels, and mummy brownies.
Hocus Pocus Spellbook Brownies
Ingredients
BROWNIES
- ½ cup (113g) unsalted butter cut into 6-8 slices
- 8 ounces (227g) semi-sweet chocolate coarsely chopped
- ¾ cup (150g) firmly packed brown sugar
- ¼ cup (50g) granulated sugar
- 3 large eggs room temperature preferred1
- 1 teaspoon vanilla extract
- ¾ cup (90g) all-purpose flour be sure to measure properly
- ¼ teaspoon salt
SPELLBOOK DETAILS
- 1 ounce (14g) quality semi-sweet chocolate coarsely chopped
- 2 Tablespoons (28g) unsalted butter
- ½ teaspoon vanilla extract
- 1 to 2 Tablespoons (15-30mL) milk or cream
- 1 cup (120g) powdered sugar
- pinch of salt
- 2 ounces (28g) black candy melts2
- 16 candy eyeballs
Instructions
BROWNIES
- Preheat the oven to 350ºF (177ºC). Line an 8" or 9" square baking pan with foil and spray with nonstick spray. Set aside.
- In a medium saucepan over medium heat, melt the butter and chopped chocolate, stirring frequently until completely smooth. Allow to cool for about 15 minutes.½ cup (113g) unsalted butter, 8 ounces (227g) semi-sweet chocolate
- Whisk sugar into cooled chocolate mixture until combined. Add the eggs one at a time, whisking after each addition until smooth. Whisk in the vanilla. Add the flour and salt and stir gently until completely combined.¾ cup (150g) firmly packed brown sugar, ¼ cup (50g) granulated sugar, 3 large eggs, 1 teaspoon vanilla extract, ¾ cup (90g) all-purpose flour, ¼ teaspoon salt
- Pour the batter into the prepared pan. Bake brownies for 25-30 minutes or until a toothpick or cake tester inserted in the center comes out mostly clean. Allow brownies to cool completely before cutting into squares.
- When you are ready to cut the brownies, remove the brownies by lifting the foil overhang straight up. Peel back remaining foil and place brownie block onto a large cutting board, then cut into 16 equal squares.
SPELLBOOK DETAILS
- Before decorating the brownies, you will need to make the chocolate fudge frosting for the stitches before you start. You can also use store-bought chocolate frosting, if you prefer. Just be sure your frosting is ready before you melt your candy melts.
- If you are making the chocolate fudge frosting yourself: in a small saucepan over medium heat, melt the semi-sweet baking chocolate and the butter, stirring constantly to prevent scorching or burning. Remove from heat and allow to cool for 15 minutes.1 ounce (14g) quality semi-sweet chocolate, 2 Tablespoons (28g) unsalted butter
- In a medium size bowl with a handheld mixer or the bowl of a stand mixer fitted with the paddle attachment, combine the cooled chocolate/butter mixture, vanilla extract, and milk or cream (starting with 1 Tablespoon). Turn the mixer down to low and slowly add the powdered sugar. Increase mixer speed to medium and beat until completely combined, scraping down sides as needed. Add salt to taste. Fit a piping bag or cookie decorating bottle with a very small tip (I used a Wilton #1 for this component but a #2 will also work), fill it with the chocolate fudge frosting, and set aside.½ teaspoon vanilla extract, 1 to 2 Tablespoons (15-30mL) milk or cream, 1 cup (120g) powdered sugar, pinch of salt
- Melt the candy melts by microwaving in a small bowl for 30 seconds on MEDIUM, stirring, and then heating again and stirring again until smooth. This will usually only take 3-4 times in the microwave to achieve a totally melted and smooth texture. Take care not to scorch the candy melts, as they are sensitive to seizing. Fit a second piping bag or cookie decorating bottle with a #2 or #3 tip, fill it with the melted candy melts, and set aside.2 ounces (28g) black candy melts2
- Working with one brownie at a time, and starting with the black candy melts, pipe a "snake" down the spine of the book. Next, pipe curled up "snakes" in the top left and bottom left corners of the book. Add a small dot to the space between the two curled snakes, add a candy eyeball, then pipe an oblong circle around the eye. Move to the next brownie until all of the black/dark piping is finished.16 candy eyeballs
- Using the chocolate fudge frosting, pipe haphazard lines in the empty spaces between the black/dark elements on the front of the book. Then, pipe stitches across the lines you just drew. Allow designs to set before serving. Store leftover brownies at room temperature up to 1 week. Brownies freeze well, up to 3 months. Thaw in refrigerator overnight.
Notes
- Room temperature eggs: these incorporate into batter much more easily than cold eggs, although this is not absolutely necessary.
- Black candy melts: you can also just use melted dark chocolate, if you prefer, or pre-made black cookie icing.
Nutrition Disclosure
All nutritional values are approximate and provided to the reader as a courtesy. Changing ingredients and/or quantities will alter the estimated nutritional calculations.

These are awesome! The basic brownie recipe sounds fantastic, and then the stitching just really makes these. Sweet!
Thanks so much, Jeni!
These look just perfect, must make for watch party!
For sure!!
Hocus Pocus fun! I bet kids would like decorating these too!
They had fun, but… Those ones weren’t worth photographing, LOLZ.
Those brownies would be the hit of any Hocus Pocus watch party!
Totally would! SO fun!
Not only are these delicious but the decorations are top notch! I hope mine look as good as yours!
I believe in you!!
How fun! We love Hocus Pocus and make these brownies every year!
Right? They’re a must!
These are seriously PERFECT! You can find me enjoying a batch while watching the sequel… and maybe sharing with my family. 😉 I love a festive treat like this one, and it’s just too fun.
Haha, you definitely don’t HAVE to share!!