
Blackberry, Feta, and Honey Galette

As an Amazon Associate, I earn from qualifying purchases. Read the full disclosure here.
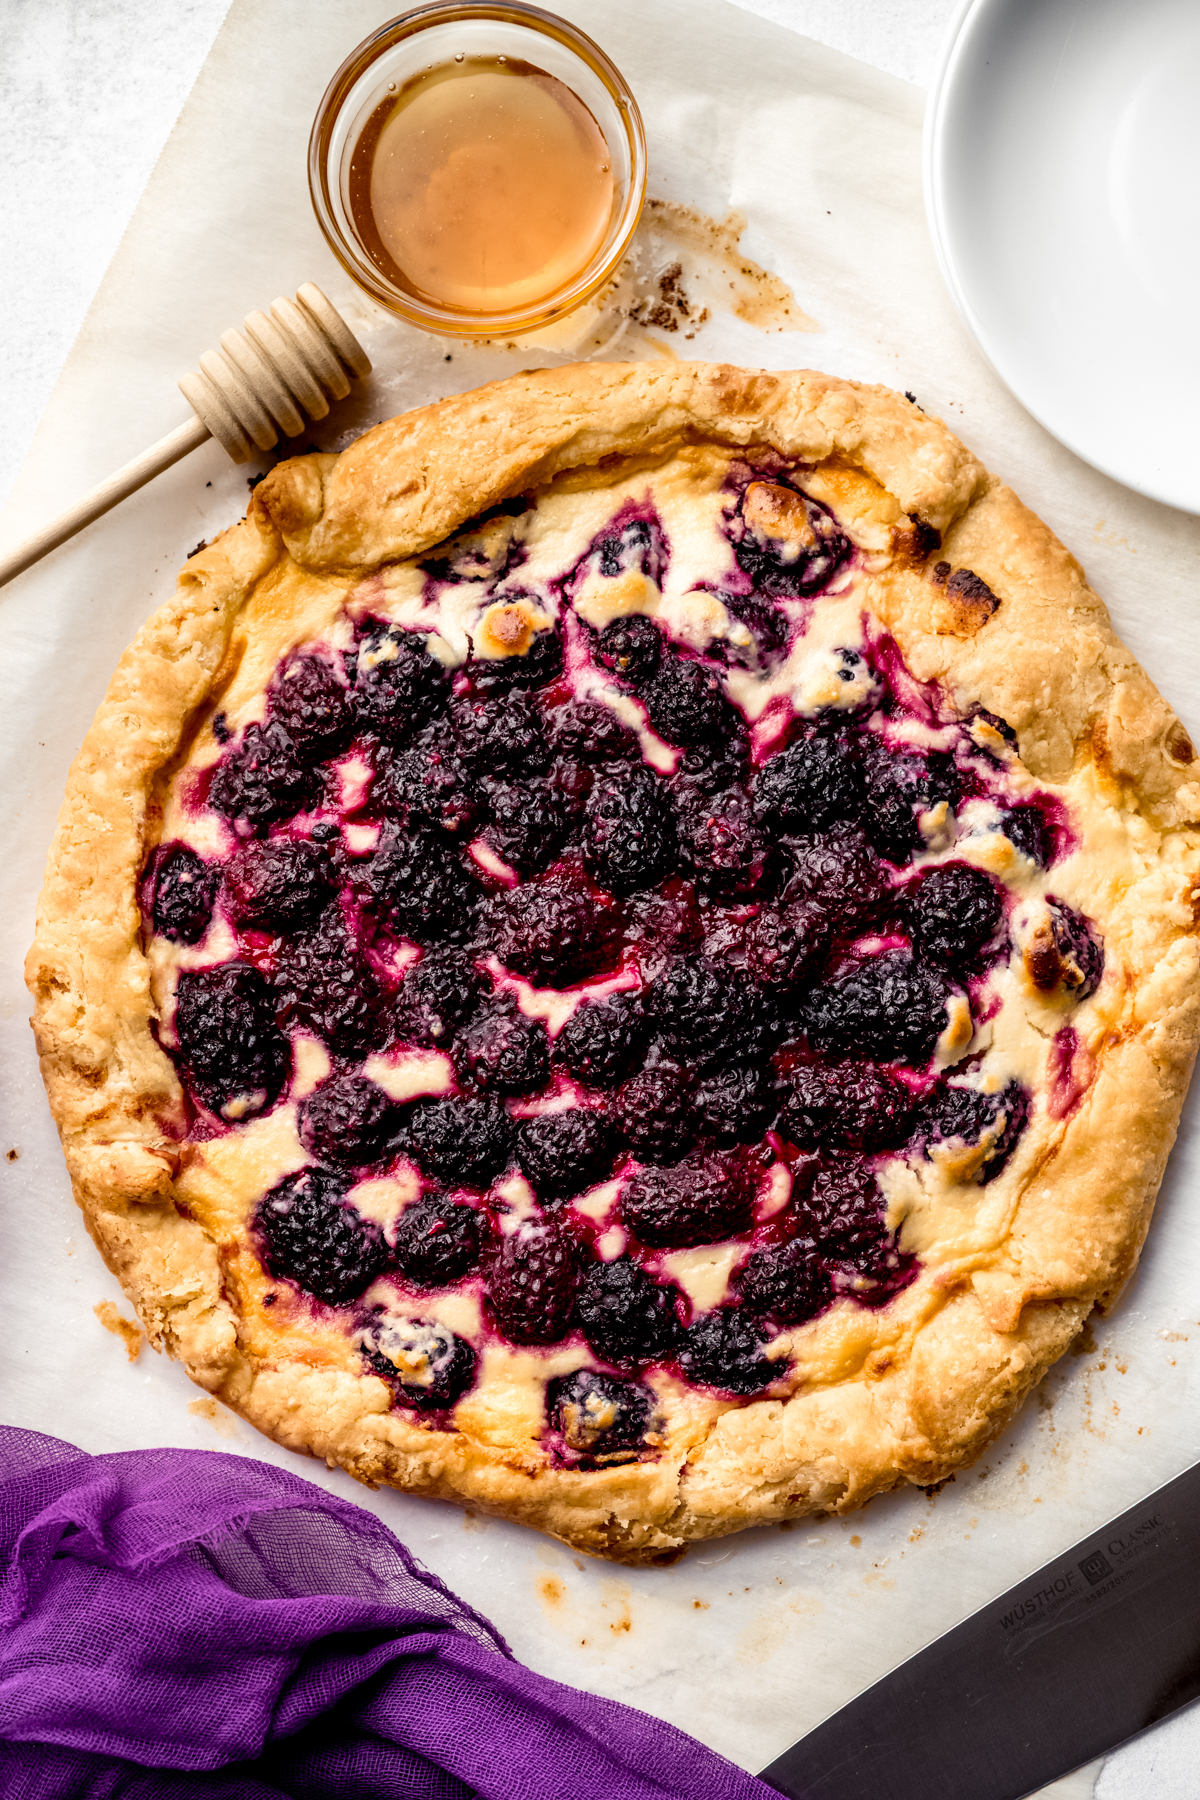
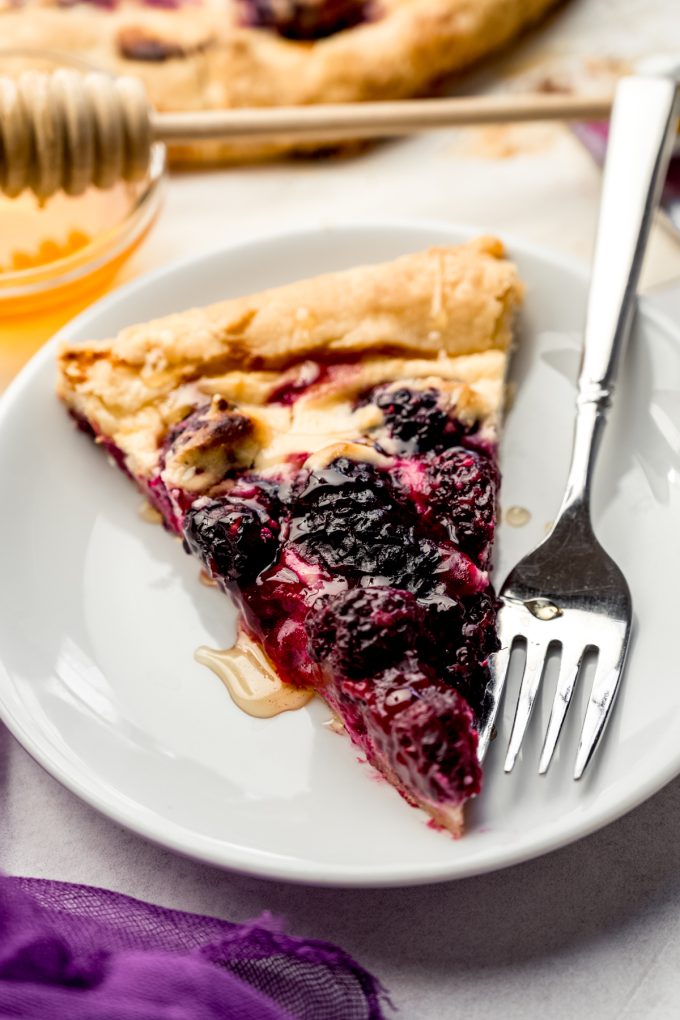
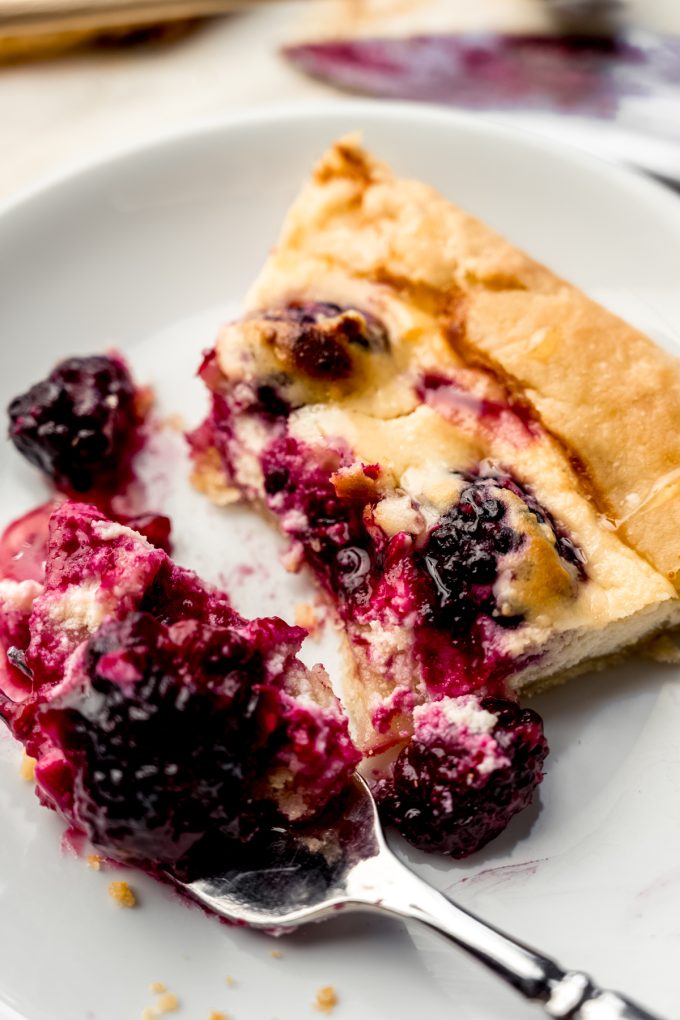
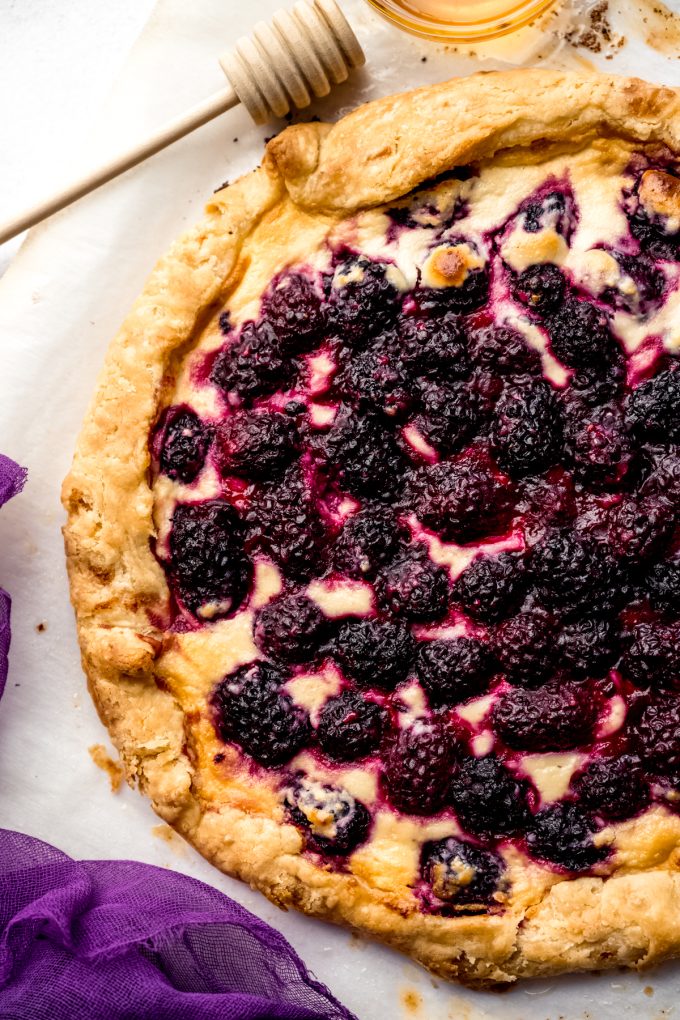
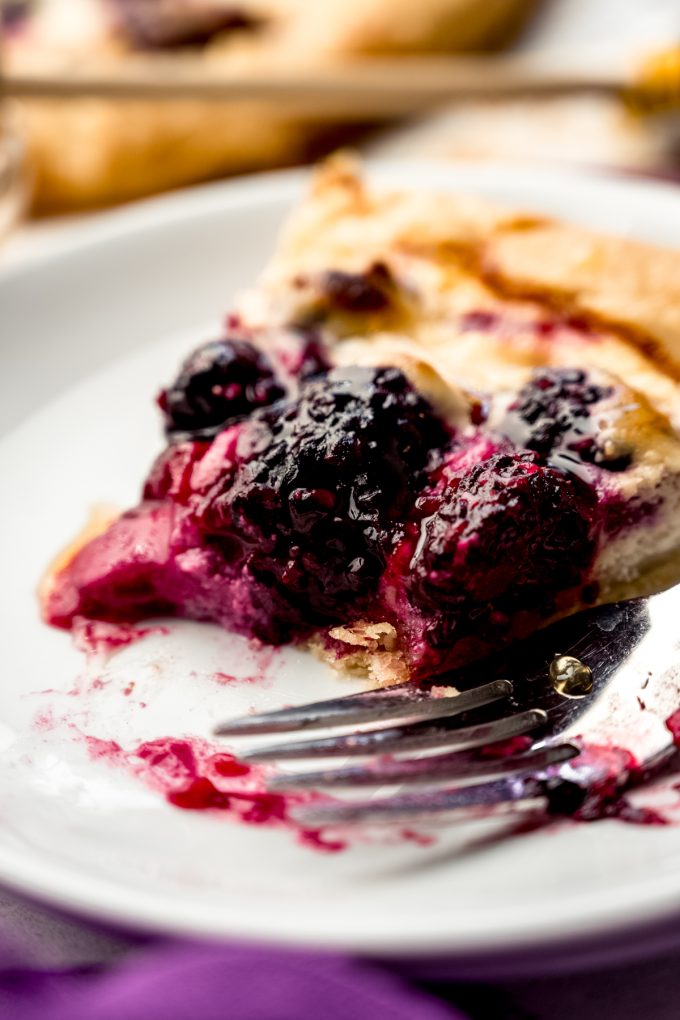
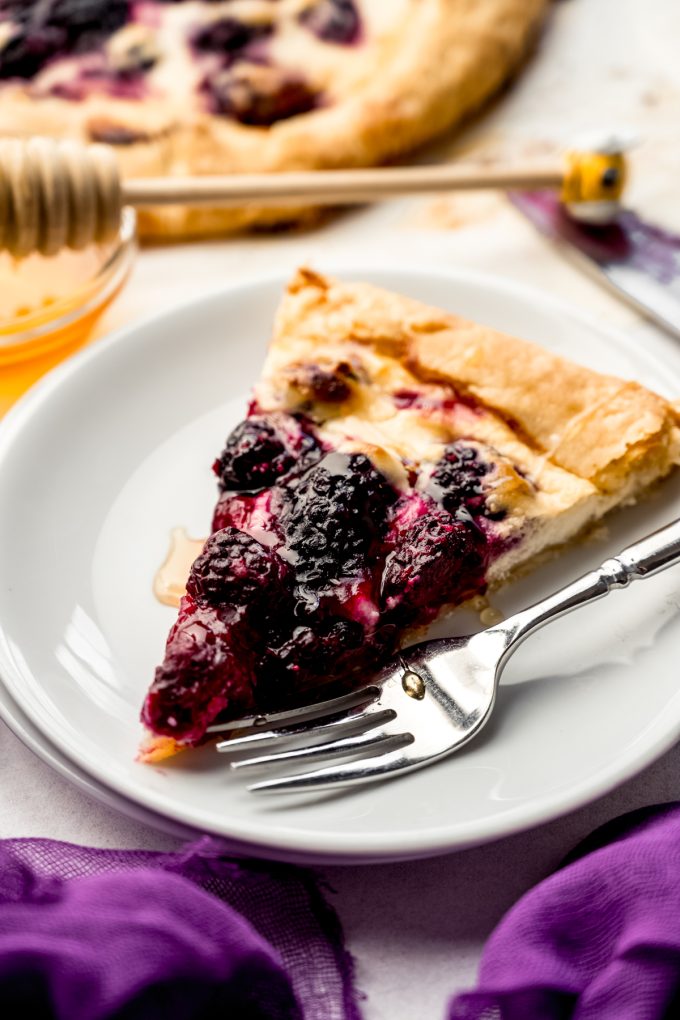
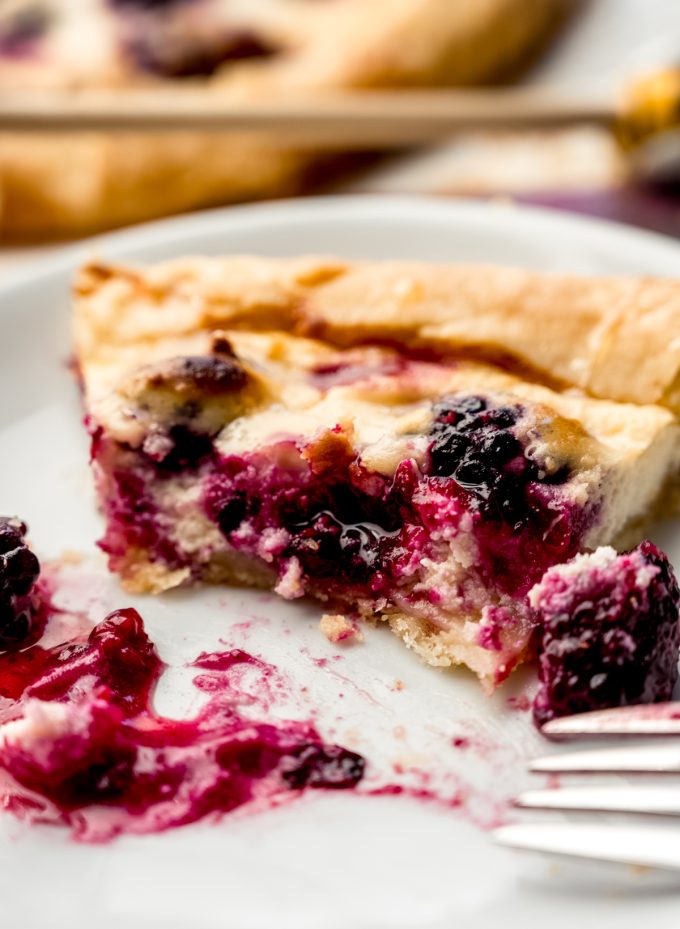
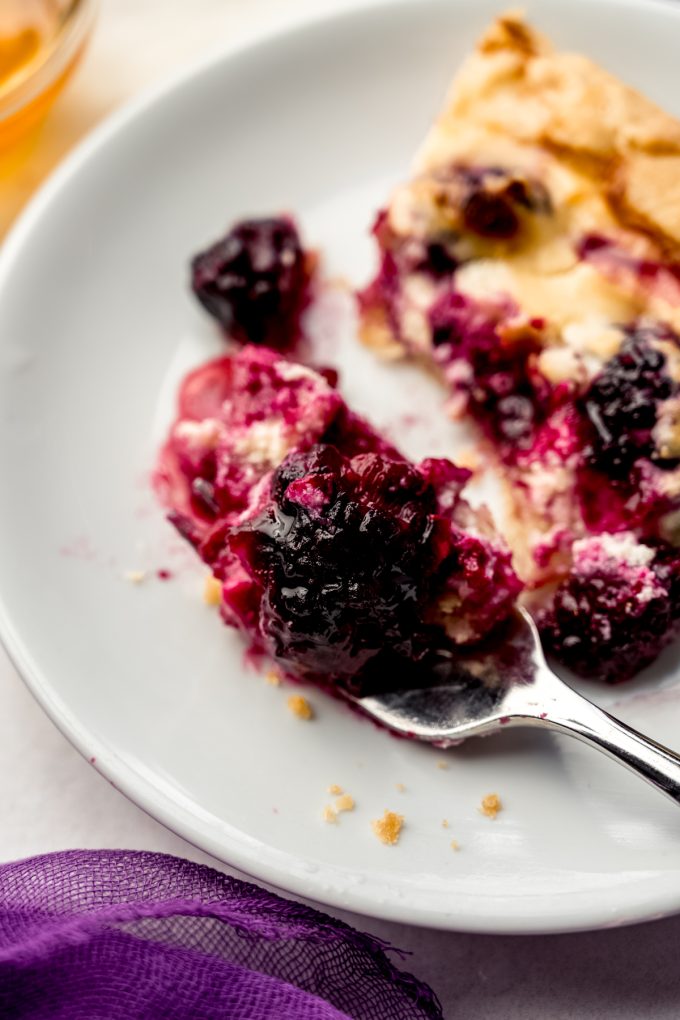
Juicy blackberries sit atop tangy whipped feta sweetened with honey wrapped in a flaky, buttery homemade pie dough. Serve with additional honey, ice cream, or homemade whipped cream for a rustic pie-like experience.
This recipe is brought to you in partnership with Bushel and Berry®.
YOU WILL LOVE THIS BEGINNER-FRIENDLY “LAZY PIE”
If you’re nervous about making pie crust from scratch, this blackberry galette is the dessert I would recommend every single time. A galette is essentially free-form pie, which means you get all the flaky, buttery goodness of a traditional pie with way less stress, if any.
There’s no weaving, no crimping, no trimming, and absolutely no pressure to make anything look perfect. It’s just as delicious as pie, but much faster to make and quicker to cool, making it ideal when you want a homemade dessert without turning it into a whole project.
WHAT IS A GALETTE, EXACTLY?
A galette is baked on a sheet pan instead of in a pie dish. The dough is rolled out, filled, and casually folded over the fruit. The key word here for galettes is casual. Whatever shape the dough rolls out to be is the shape it’s meant to be. Galettes are meant to look rustic and a little imperfect, which is exactly why they’re such a great stepping-stone recipe for baking beginners who feel a bit pie-shy.
If you have ever created something from PlayDoh or clay, I assure you that you can make a galette.
THE CRUST: SIMPLE TO MAKE AND USE
The crust for this galette is the same one you’ve seen over and over on my site. It’s buttery, flaky, and made with simple ingredients like flour, butter, vegetable shortening, and water. You’ll see that my pie dough recipe makes two discs, but you’ll only need one for this galette. You can either save the second disc for another recipe (pecan pie tarts! Sfratti!) or simply halve the recipe from the jump.
The dough can be made at least an hour ahead of time and up to a couple of days in advance, but it does need time to chill before shaping. Be sure you’re accommodating that time in your prep!
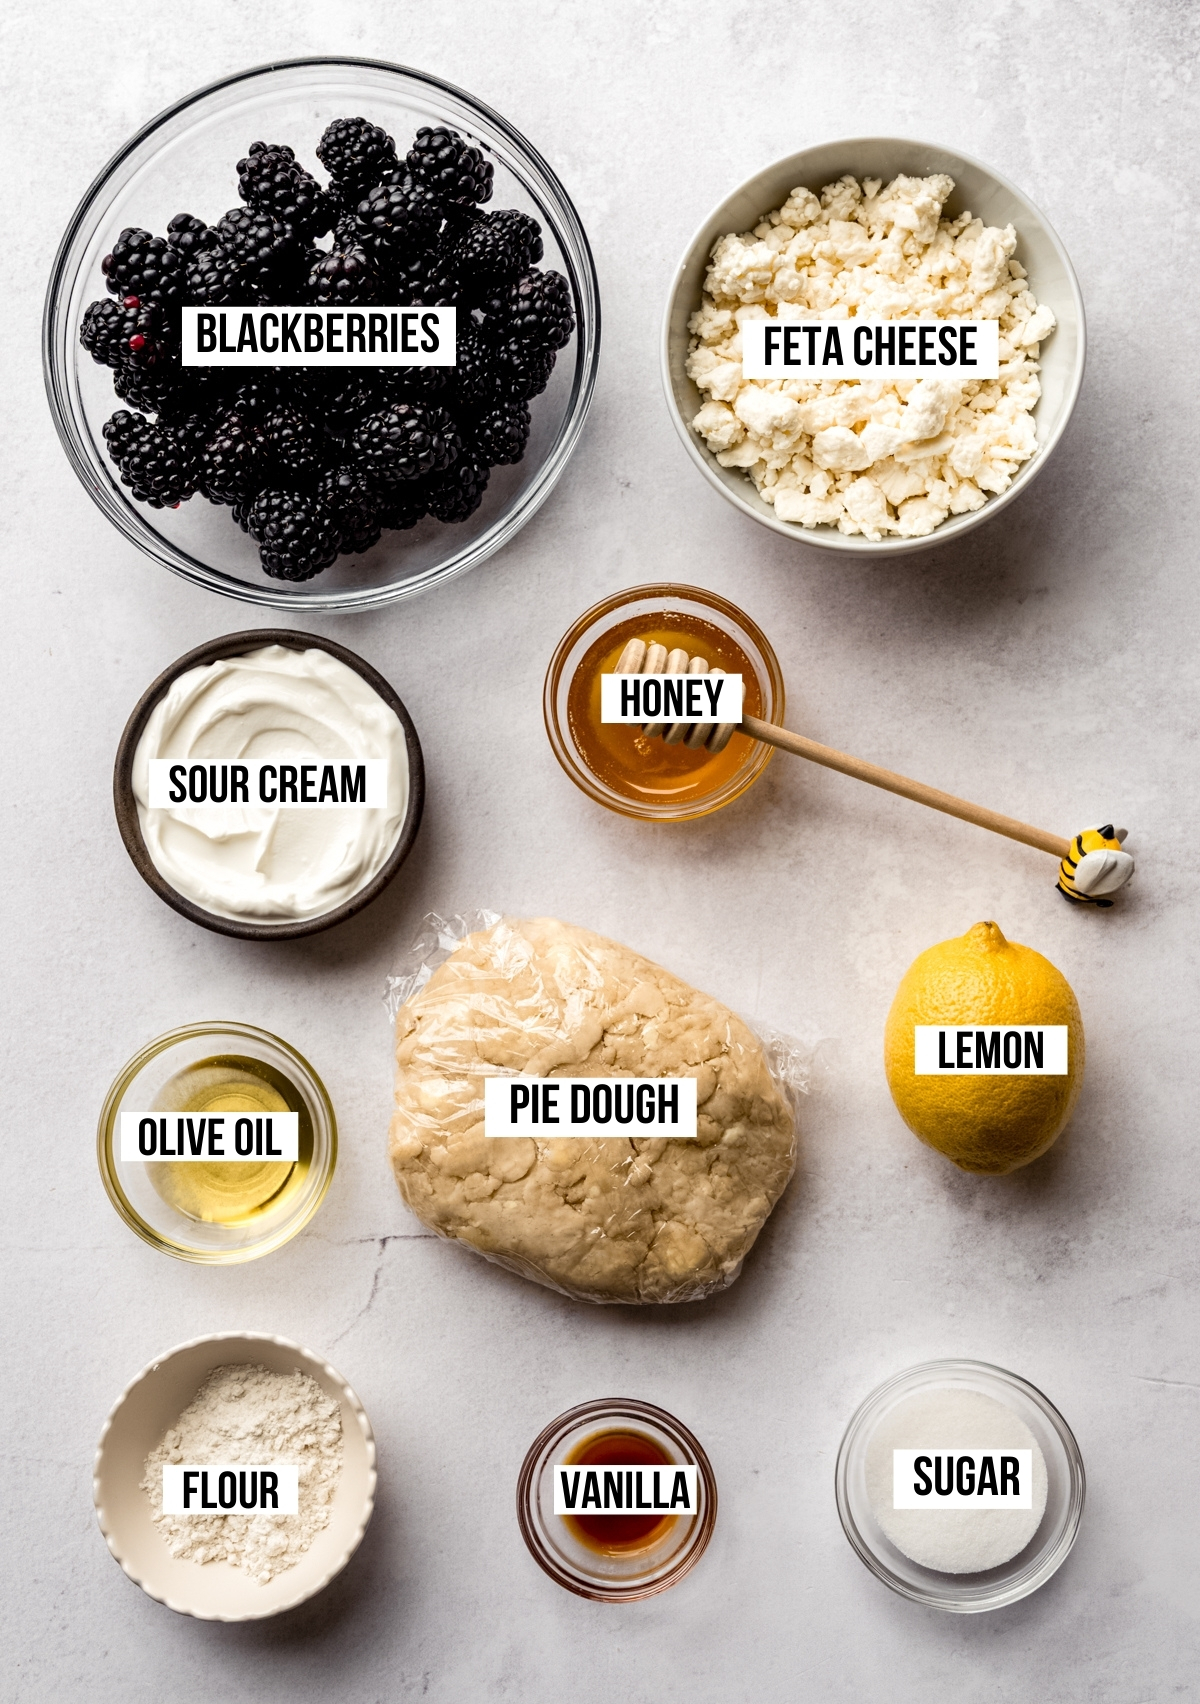
HERE’S WHAT YOU’LL NEED
The ingredient list for this blackberry galette is surprisingly simple considering there are so many components to its flavor. Here is a visual of the ingredients you will need, but be sure you’re scrolling down to the recipe card for exact amounts and preparations of each ingredient.
CAN I USE FROZEN BLACKBERRIES?
While fresh blackberries are the preference here, frozen and thawed will work just as well! Thanks to Bushel and Berry®, I always have fresh blackberries available to me when they’re in season. I particularly like this blackberry plant, Baby Cakes®, because it stays small enough to grow in a patio container and doesn’t have any pesky thorns.
HOW TO MAKE BLACKBERRY GALETTE (WITHOUT OVERTHINKING IT)
This recipe does require chilling at a few stages, which I’ll walk you through below. In the following outline of the detailed instructions you’ll find int he recipe card, I’ll cover making the pie dough as if we’re starting from scratch for everything, but I highly recommend making the dough well in advance so you can just pick up from rolling out the dough and making the filling components.
MAKE THE PIE DOUGH
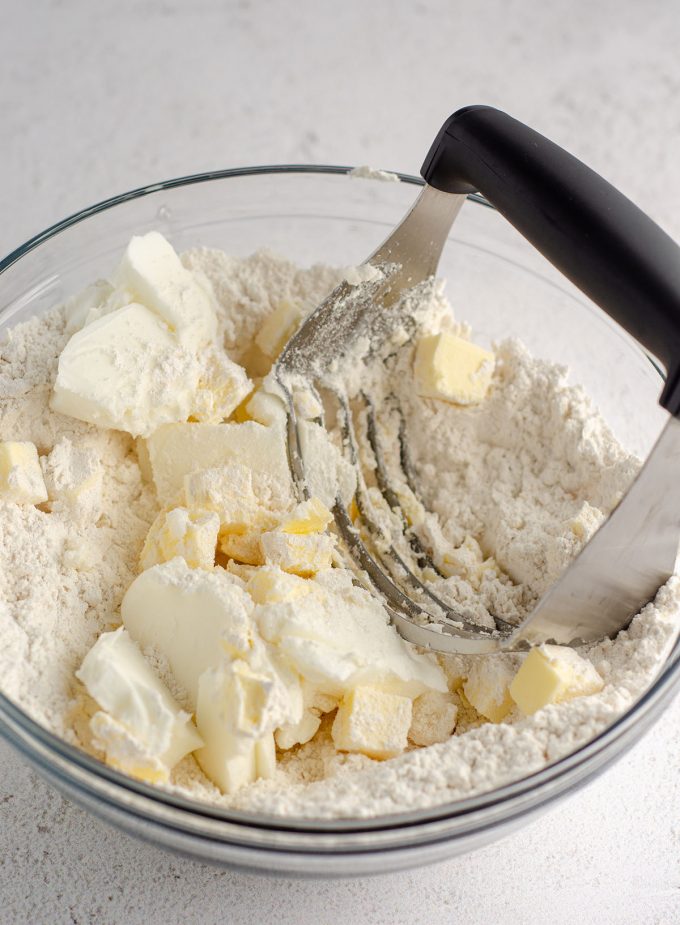
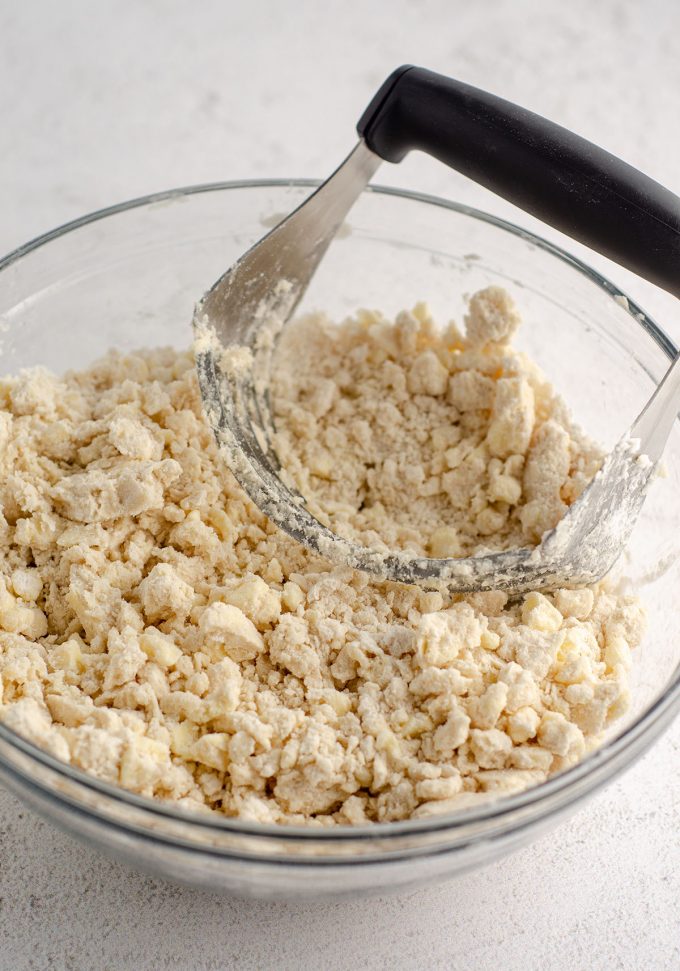
This is super simple! Whisk together the flour, sugar, and salt, then blend in the cold cubed butter and shortening until you have mostly shredded and created some smaller bits. A few larger chunks is ok, but a mostly shaggy dough is what you’re looking for.
Add the ice water to the dough 1 Tablespoon at a time, stirring with a rubber spatula or wooden spoon after each addition, and then stop adding water when the dough begins to form large clumps.
Transfer dough to a floured work surface, being sure to add all of the bits of dough and extra flour. Using floured hands, fold the dough into itself until the extra bits and flour are fully incorporated. Form the dough it into a ball then flatten it into a 1″ thick disc, wrap the disc tightly in plastic wrap, and refrigerate for at least 1-2 hours.


If you want detailed steps and visuals for making this pie dough, visit my pie dough tutorial.
ROLL OUT THE PIE DOUGH
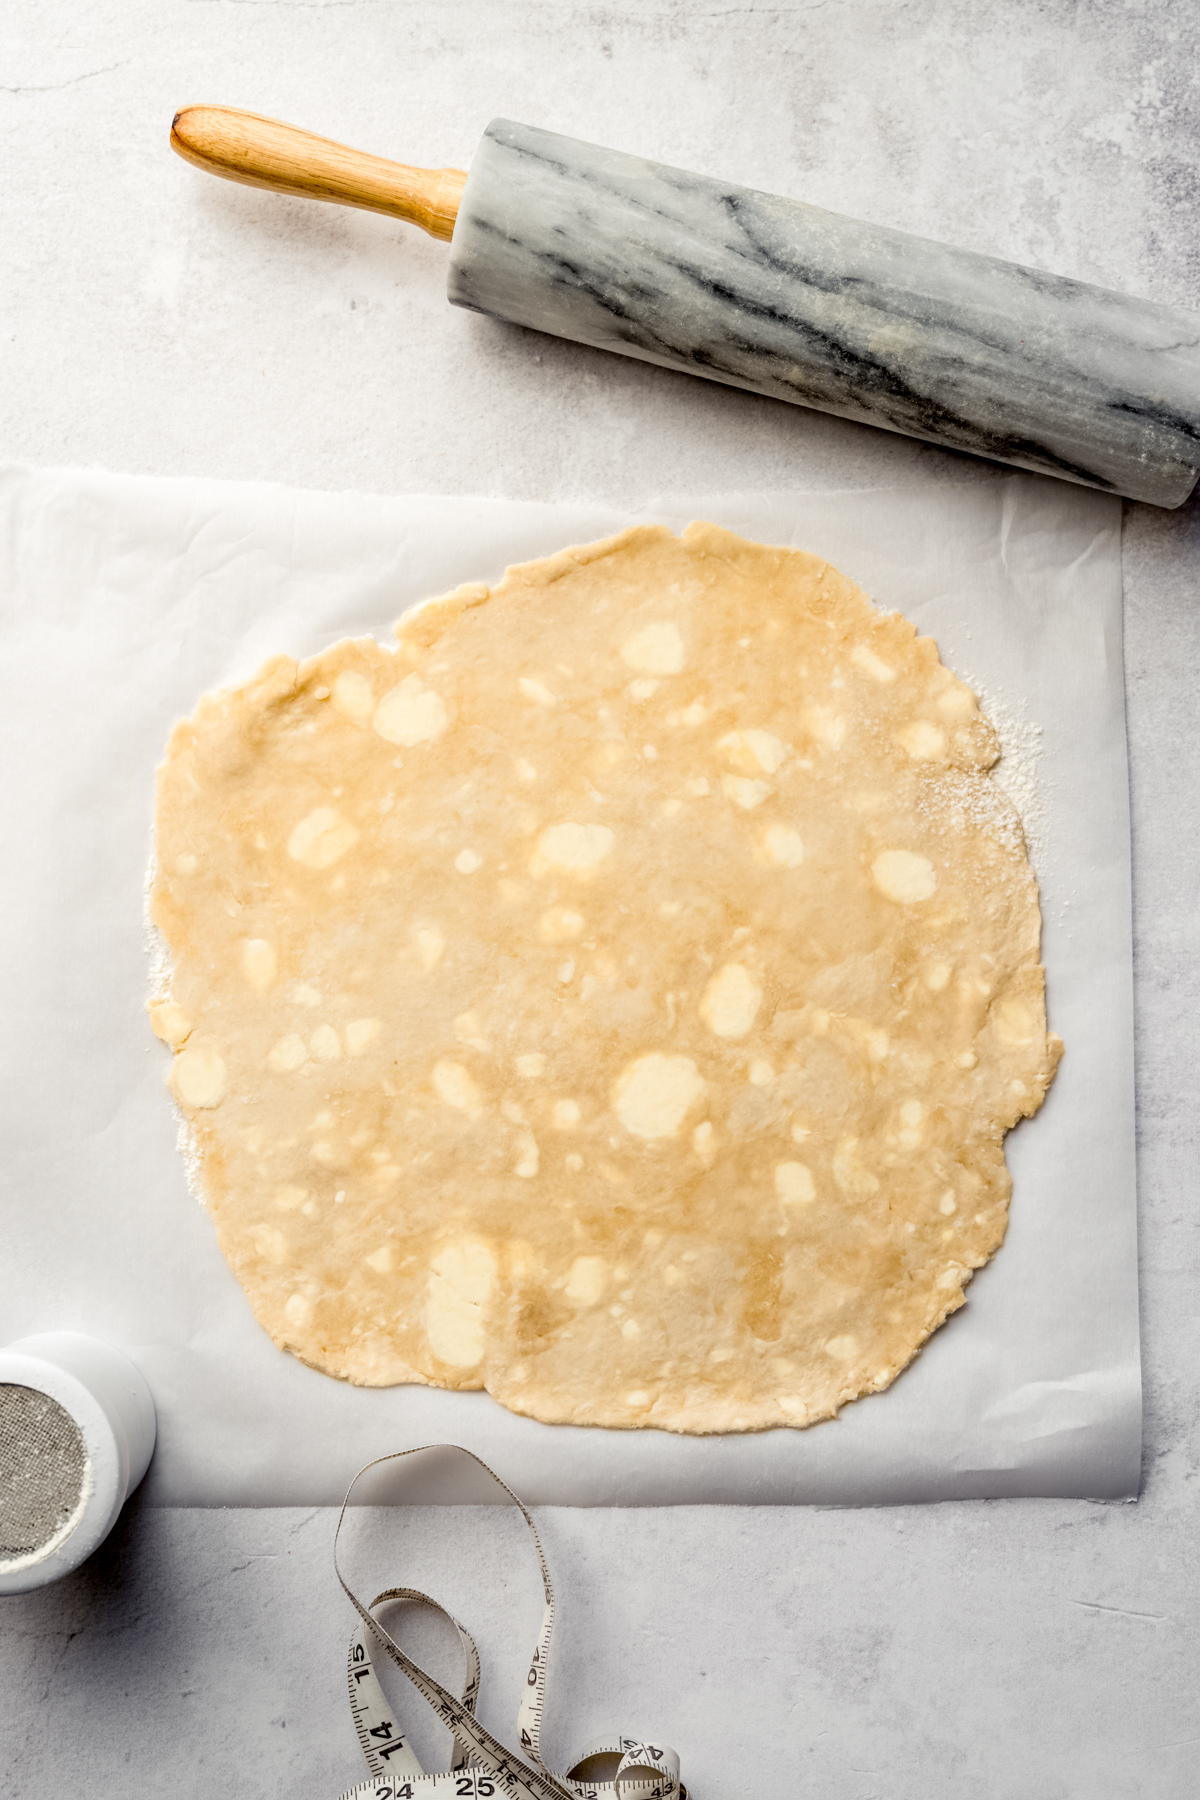
Here’s where we shape the pie dough! And by “shape,” I truly mean that in the most relaxed sense possible. Roll it out and leave it exactly how it lands– there’s no need to chase a perfect circle here. You do want to make sure it’s on average at least 12″ in diameter.
I like to do this on a flat surface lined with parchment and then I can transfer the parchment to a baking sheet, since that’s how it will bake in the oven. You could also use something like a pizza stone or round pizza baking sheet.
Chill the shaped dough in the refrigerator while you prepare the filling components.
MAKE THE BLACKBERRY AND WHIPPED FETA FILLINGS
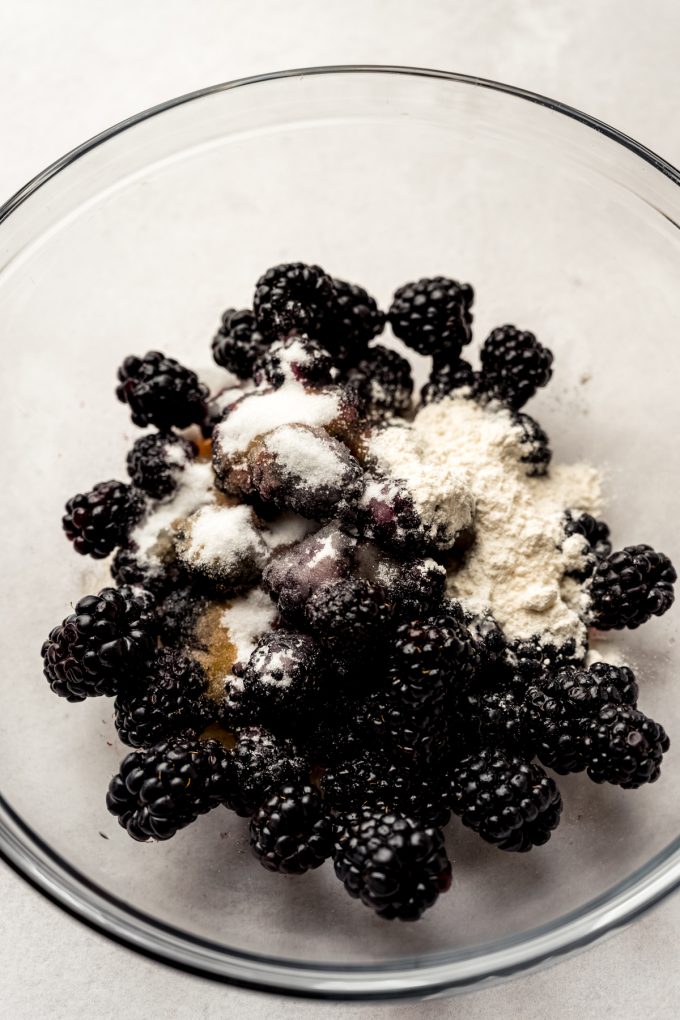
The blackberry filling is literally just ingredients tossed together. It’s so simple. I like to do the blackberry filling before I even roll out the dough so it has time to “marinate,” but you really can do this at any time because the filling will have to sit for a bit regardless.

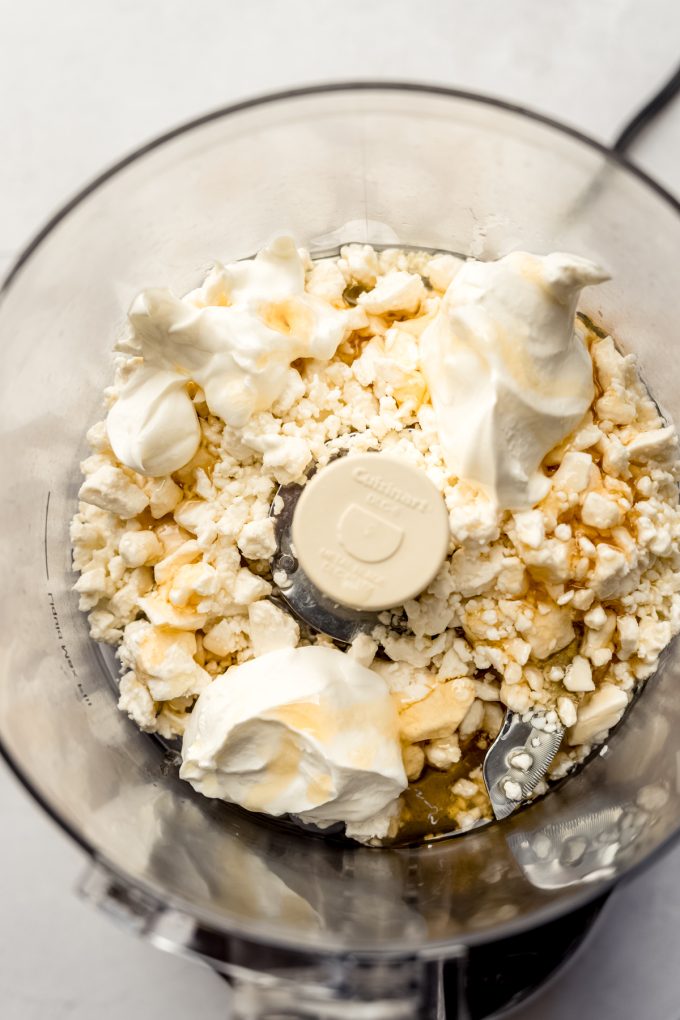
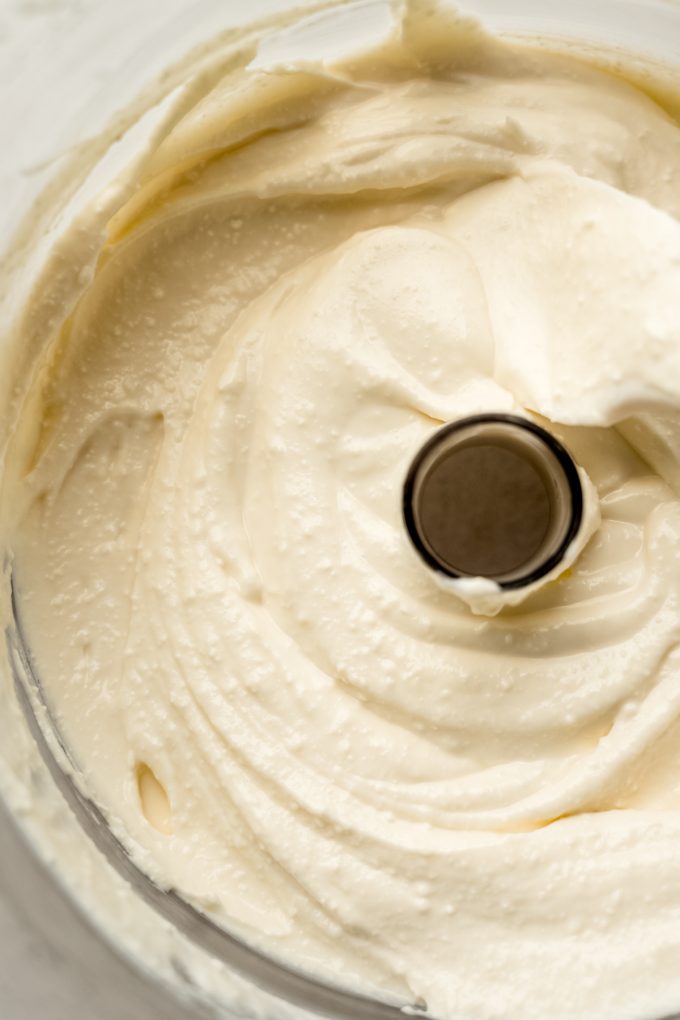
The whipped feta is similarly simple, but you’ll need a food processor or strong blender to whip it all together. You’re looking for a smooth and creamy texture, but you can whip it as much or as little as you want to achieve your desired texture.
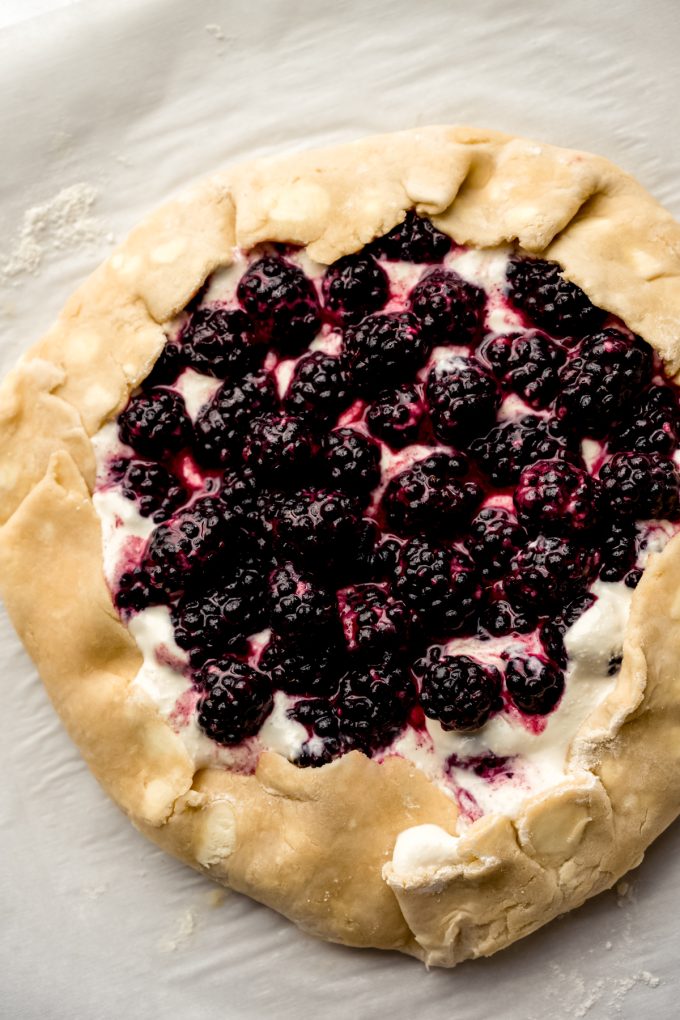
FILL THE PIE DOUGH
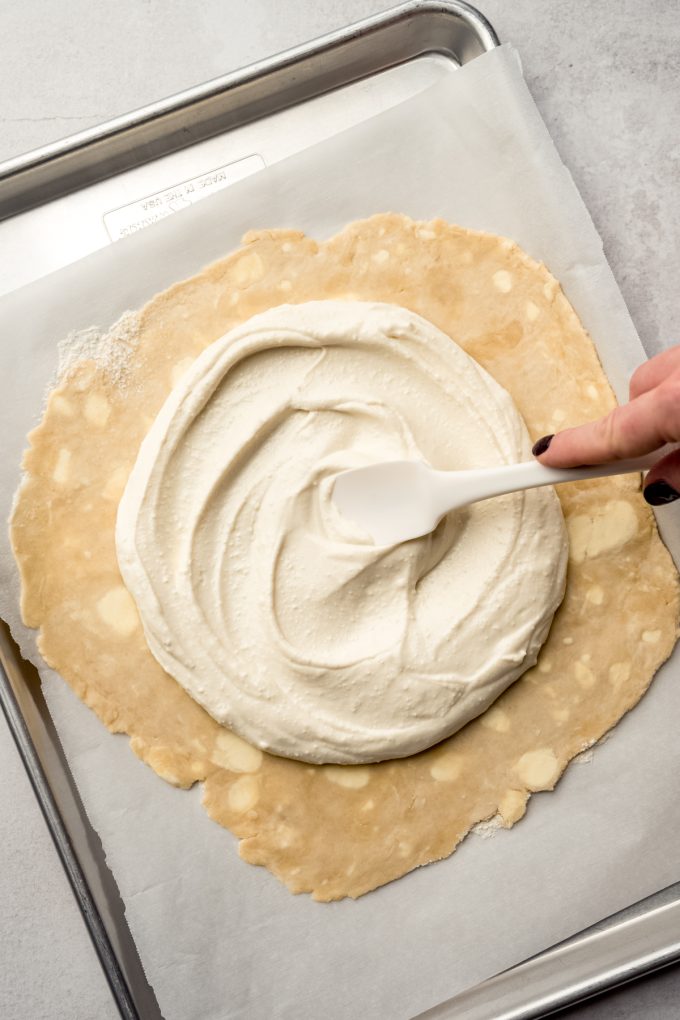
Once the rolled out dough has had a little time to chill, add the whipped feta to the circle, leaving at least a 2″ border around the edge. This is the part you will fold up over the filling, so take care you have enough to work with!
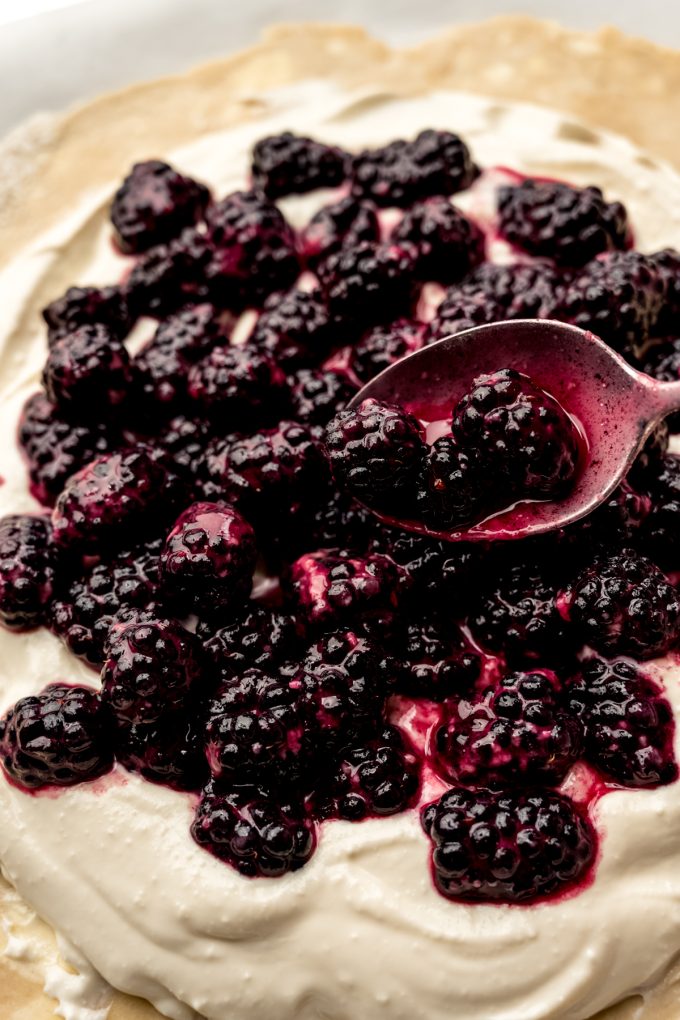
Add the blackberries to the feta layer. You can press them down into the feta gently, but try to avoid squishing the feta out too far since you want to maintain that border for folding up.
FOLD UP THE DOUGH EDGES
Don’t overthink this! Just fold up the sides and let them fall where they may. Some may crease, others may just lay nicely. If you’re having trouble with any of the folds not staying, you can dab the dough with a little water to create a place for it to stick.
SUCCESS TIPS
One important thing to keep in mind with galettes is that very much unlike pies, they don’t love being overfilled. If you pile the fruit too high, the crust won’t bake through properly and can end up mushy and flimsy. To avoid that, keep the filling flat and compact. Gently press the blackberries down into the whipped feta and be sure to leave a 2-3″ border around the edges so the dough can fold neatly over the filling.
Once the galette is shaped, a quick chill in the refrigerator for about 20 minutes helps it hold its shape in the oven. I usually do this while the oven preheats. If you want to, you can brush the crust with a simple egg wash and sprinkle it with coarse sugar. I did not for this particular galette, but you do you, baker friend!
CAN I MAKE THIS AHEAD OF TIME?
You can make this blackberry galette ahead of time, and you have a few options!
Make the components ahead of time (short term): whenever I need a pie dough, I always make it at least a day ahead of time. The dough will need at least 1-2 hours to sit in the refrigerator before it’s ready to be rolled out in step #1. It will chill again once rolled out, but it will not roll out nicely without being chilled initially. The blackberry filling and whipped feta can chill in the refrigerator for up to 1 day if they’re covered tightly.
Make the whole galette ahead of time, short term: the shaped galette will need to chill in the refrigerator for at least 20 minutes so it maintains its shape in the oven, but you can chill it for up to 8 hours. Be sure it is covered tightly if you’re chilling it longer than 1 hour so the pie dough doesn’t dry out.
Make the whole galette ahead of time, long term: a fully shaped galette freezes well, up to 3 months. You will want to thaw it completely before baking it, which you can do in the refrigerator overnight. Bake it cold from the fridge when you are ready.
YOU’LL CHOOSE A GALETTE AGAIN AND AGAIN (AS YOU SHOULD!)
This blackberry and feta galette checks all the boxes: approachable, low maintenance, and impressive without trying too hard. Galettes are often called “lazy pies” because you still get that beautiful, bakery-style dessert with far less effort and in far less time.

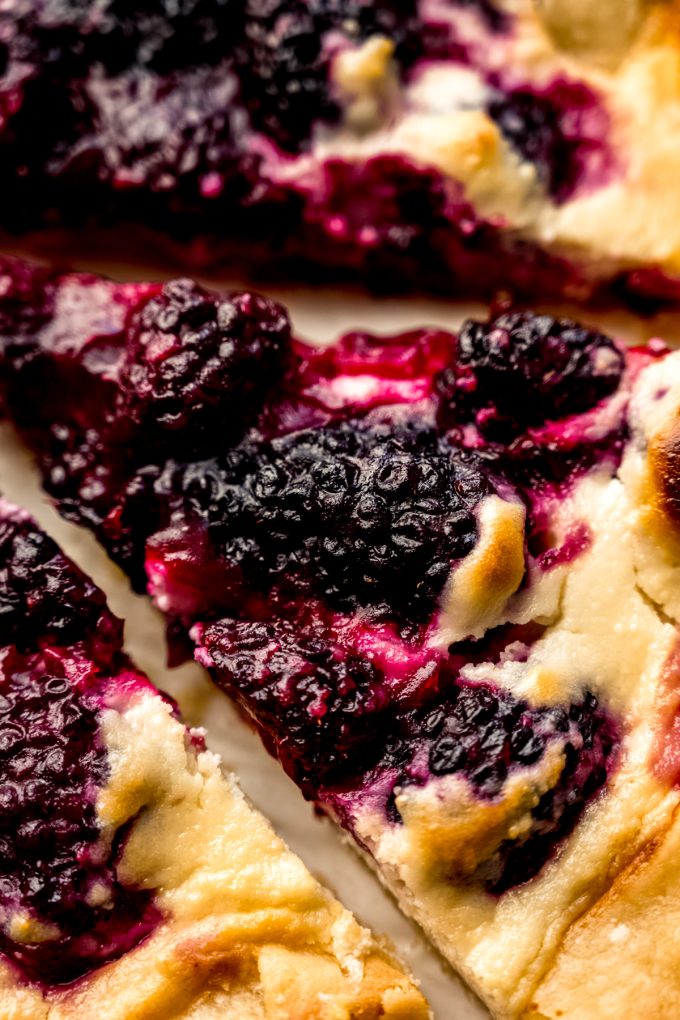
Galettes are forgiving, flexible, and fit for bakers of any skill level. You get all the best parts of pie– flaky crust and juicy fruit– without needing a pie dish or hours of waiting time. Baking and cooling times are much shorter than a traditional pie (especially a berry one– so much moisture!), and you only need about 15 minutes before slicing and serving.
This blackberry galette proves that homemade dessert doesn’t have to be complicated to be impressive, and it’s perfect for when you want a googly heart-eyed reaction that looks like an all-day effort when the reality is, you barely lifted a finger. Go you!
MORE RECIPES WITH BLACKBERRIES OR FETA

Blackberry, Feta, and Honey Galette Recipe
Ingredients
PIE DOUGH
- ½ recipe homemade pie crust1 chilled
BLACKBERRY FILLING
- 12 ounces (340g) fresh blackberries4
- 2 Tablespoons (25g) granulated sugar
- 2 Tablespoons (15g) all-purpose flour
- 1 Tablespoon (15mL) fresh lemon juice
- 1 teaspoon vanilla extract
WHIPPED FETA
- 6 ounces (170g) feta cheese
- ½ cup (113g) full fat sour cream2
- 2 Tablespoons (42g) honey plus more for serving
- 1 Tablespoon (15mL) olive oil3
- 1 Tablespoon (15mL) fresh lemon juice
Instructions
PIE DOUGH
- Before you begin: be sure your pie crust is chilled (homemade) or thawed (frozen).½ recipe homemade pie crust1
- On a lightly floured baking mat or piece of parchment paper, roll the dough into a 12" circle. Transfer the mat or paper to a baking sheet and chill in the refrigerator until you need it.
BLACKBERRY FILLING
- In a medium size bowl, combine the blackberries, sugar, flour, lemon juice, and vanilla extract. Toss everything together until it is well-combined. It's ok if some of the blackberries start to fall apart, but try to be gentle anyway.12 ounces (340g) fresh blackberries4, 2 Tablespoons (25g) granulated sugar, 2 Tablespoons (15g) all-purpose flour, 1 Tablespoon (15mL) fresh lemon juice, 1 teaspoon vanilla extract
- Chill the blackberries in the refrigerator until you need them.
WHIPPED FETA
- In a food processor or a strong blender, combine the feta, sour cream, honey, olive oil, and vanilla extract.6 ounces (170g) feta cheese, ½ cup (113g) full fat sour cream2, 2 Tablespoons (42g) honey, 1 Tablespoon (15mL) olive oil3, 1 Tablespoon (15mL) fresh lemon juice
- Process the mixture until it is smooth and creamy. If you want it to be more textured, you can stop when it is at the desired consistency. Set aside.
ASSEMBLE & BAKE
- Remove the chilled pie dough from the refrigerator.
- Use a spoon or spatula to spread the whipped feta onto the prepared pie dough, leaving at least a 2" border around the edge (so aim for making a 9-10" circle of the feta).
- Scatter the blackberry filling evenly over the feta, taking care not to keep them in a single layer.
- Gently fold the border of the pie dough up and over the feta and blackberries. It will stick to itself and "glue" itself into place, but if you are having trouble with it sticking, you can use a tiny bit of water to make it stick together.
- Once the border of the galette is securely in place, chill it in the refrigerator while the oven preheats (next step). You will want it to chill for at least 20 minutes, but it can be chilled for up to 8 hours. If you are chilling it longer than 1 hour, cover it tightly so it doesn't dry out.
- Arrange a rack in the middle of the oven, then preheat it to 425°F (218°C).
- Bake the galette until the filling is bubbly and the crust is golden brown, about 36-40 minutes. Allow it to cool on the baking sheet for 15 minutes before slicing and serving. Serve with additional honey, ice cream, or homemade whipped cream. Store leftover galette covered tightly in the refrigerator for up to 4 days. Baked galette freezes well, up to 3 months. Thaw in the refrigerator and warm as needed. Unbaked galette freezes well, wrapped tightly, up to 3 months. Thaw in the refrigerator, then bake as directed.
Video
Notes
- Pie crust: my pie dough recipe, as written, makes two discs. You can either halve it and use that or save the other disc for another recipe. Frozen store bought pie crust is also fine– you will only need one (a package usually has two). Thaw overnight in refrigerator before use.
- Sour cream: you can also use full fat Greek yogurt. I suggest using plain or one that is lightly flavored with honey or vanilla.
- Olive oil: you can use another neutral flavored oil if you prefer.
- Blackberries: you can use frozen blackberries. Thaw before using.
- Make ahead: a thawed pie dough can stay covered tightly in the refrigerator for up to 3 days. I don’t recommend leaving a rolled-out dough in the refrigerator longer than about 4 hours. Be sure it is covered tightly so it doesn’t try out. Blackberry filling and whipped feta can be left in the refrigerator covered tightly for up to 1 day.
Nutrition Disclosure
All nutritional values are approximate and provided to the reader as a courtesy. Changing ingredients and/or quantities will alter the estimated nutritional calculations.
I made this for Shabbat dinner, and it was amazing. My husband, 2 year old, and I al loved it. My 4 year old is in his picky stage and claims he didn’t care for it, but he often says he doesn’t like something and will turn around and eat it again later. It was super easy to make and very attractive on the cake stand. I will definitely be making this again.
Thanks so much, Kimberly! I am so glad your family liked it 🙂