
Banana Pudding
As an Amazon Associate, I earn from qualifying purchases. Read the full disclosure here.
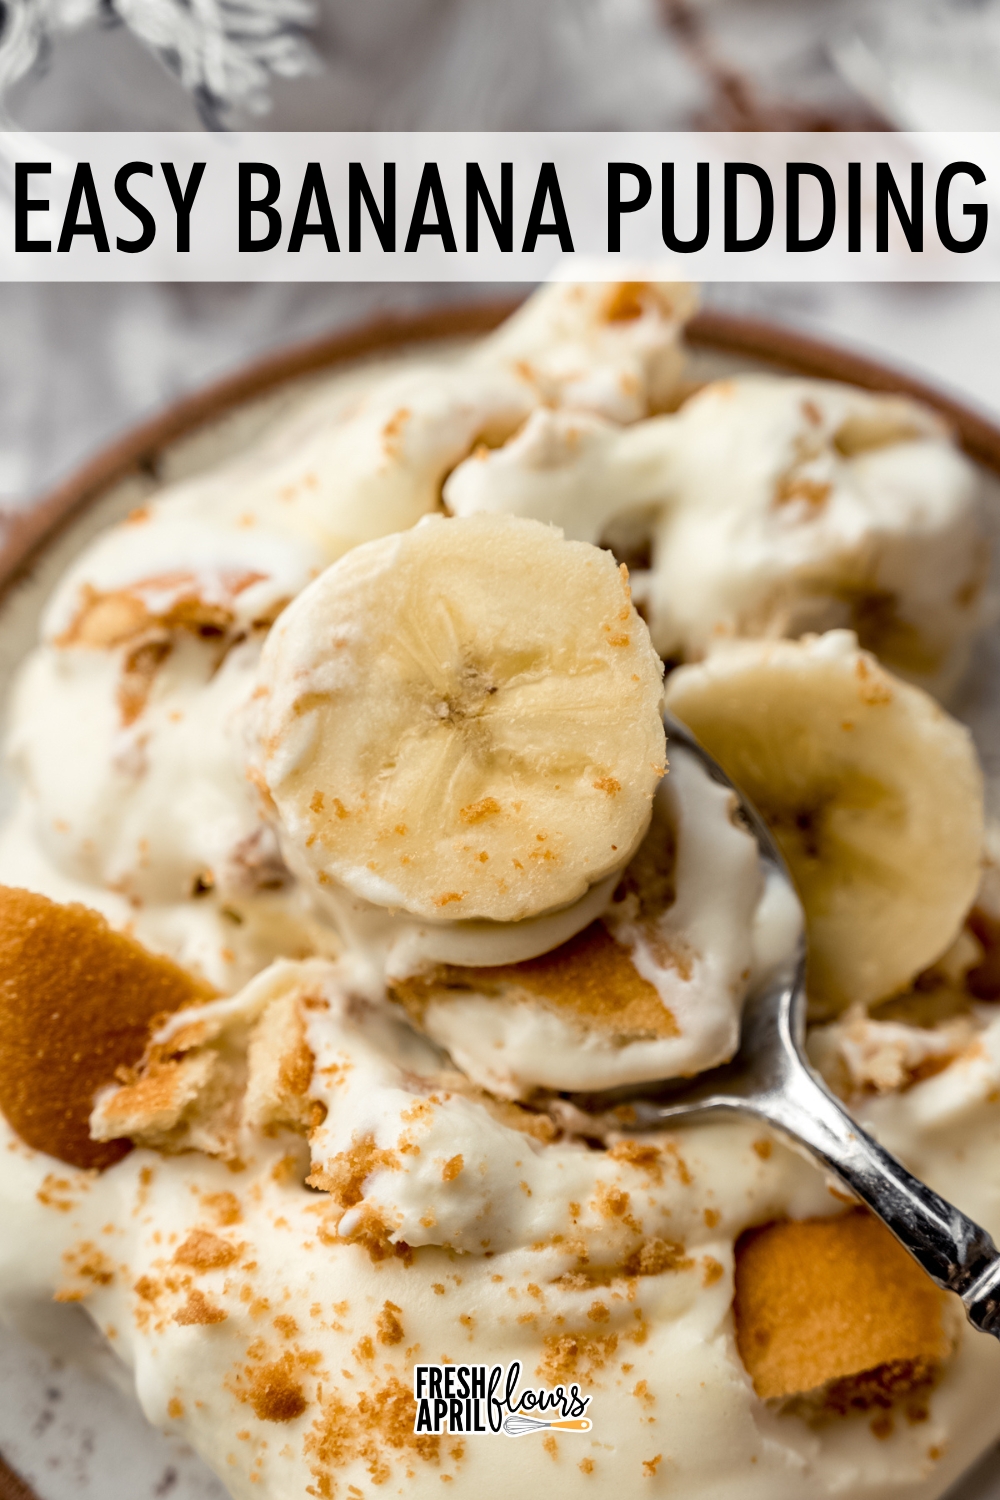
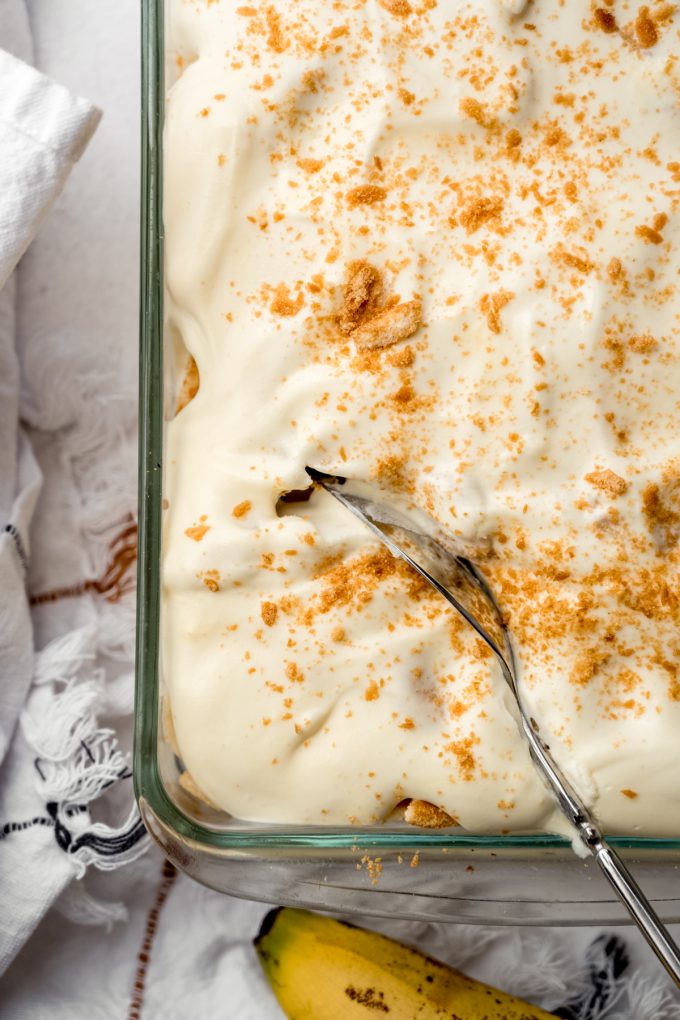
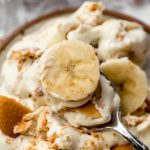
This banana pudding recipe isn’t fancy or new, but it’s everything you want in a classic Southern-style dessert. This easy-to-make dessert features layers of creamy vanilla pudding, soft bananas, and crunchy Nilla wafers that make it a simple, nostalgic favorite. If you love this treat, you have to make my banana pudding cheesecake next!
CLASSIC BANANA PUDDING: NEVER FANCY BUT ALWAYS A FAVORITE
I’ll be the first to tell you: this recipe is, in some ways, nothing special. It’s not reinventing the banana pudding wheel, nor is it wildly different from the version you’ll find at Magnolia Bakery (which is just a slight riff on Paula Deen’s). But it is banana pudding, nonetheless. It’s creamy, squishy, crunchy, nostalgic perfection, and that alone makes it one of the best desserts out there, in my opinion.
So why am I sharing it it? Because I want it here. Not because you need my recipe to enjoy banana pudding, but because it’s one of those “simple is better” desserts that deserves a spot in the recipe box, even if its sole purpose is to remind you how gosh darn good it is.
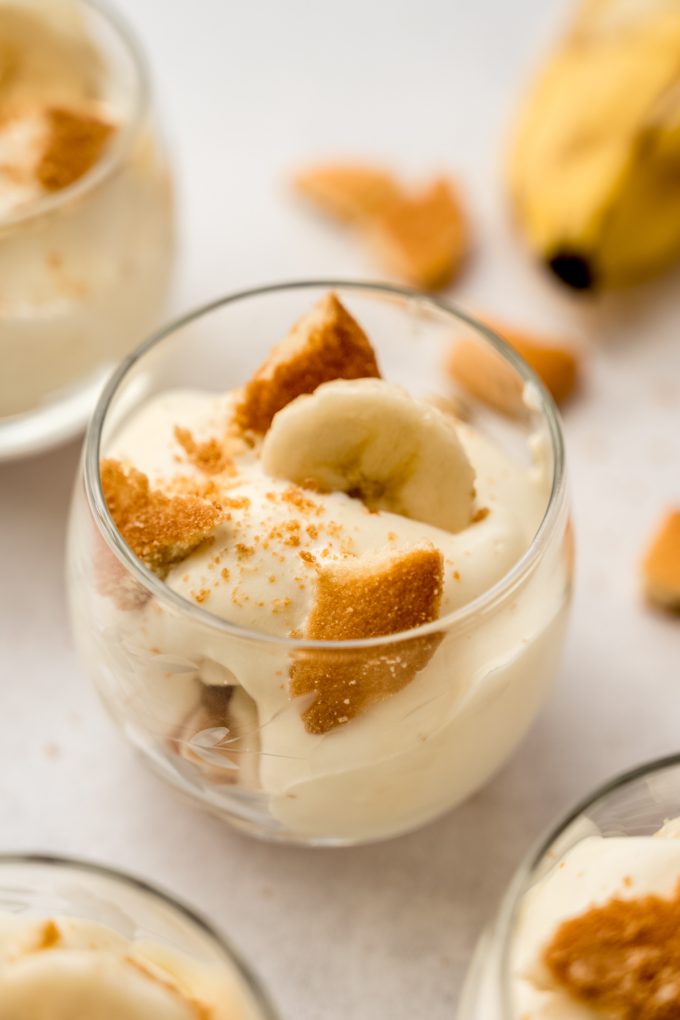
The beauty of banana pudding is that it’s endlessly flexible. Make it in one big dish for a crowd, split it up into individual servings for portion control at a gathering, or even go fully deconstructed and set up a banana pudding bar (highly recommend if you’re hosting).
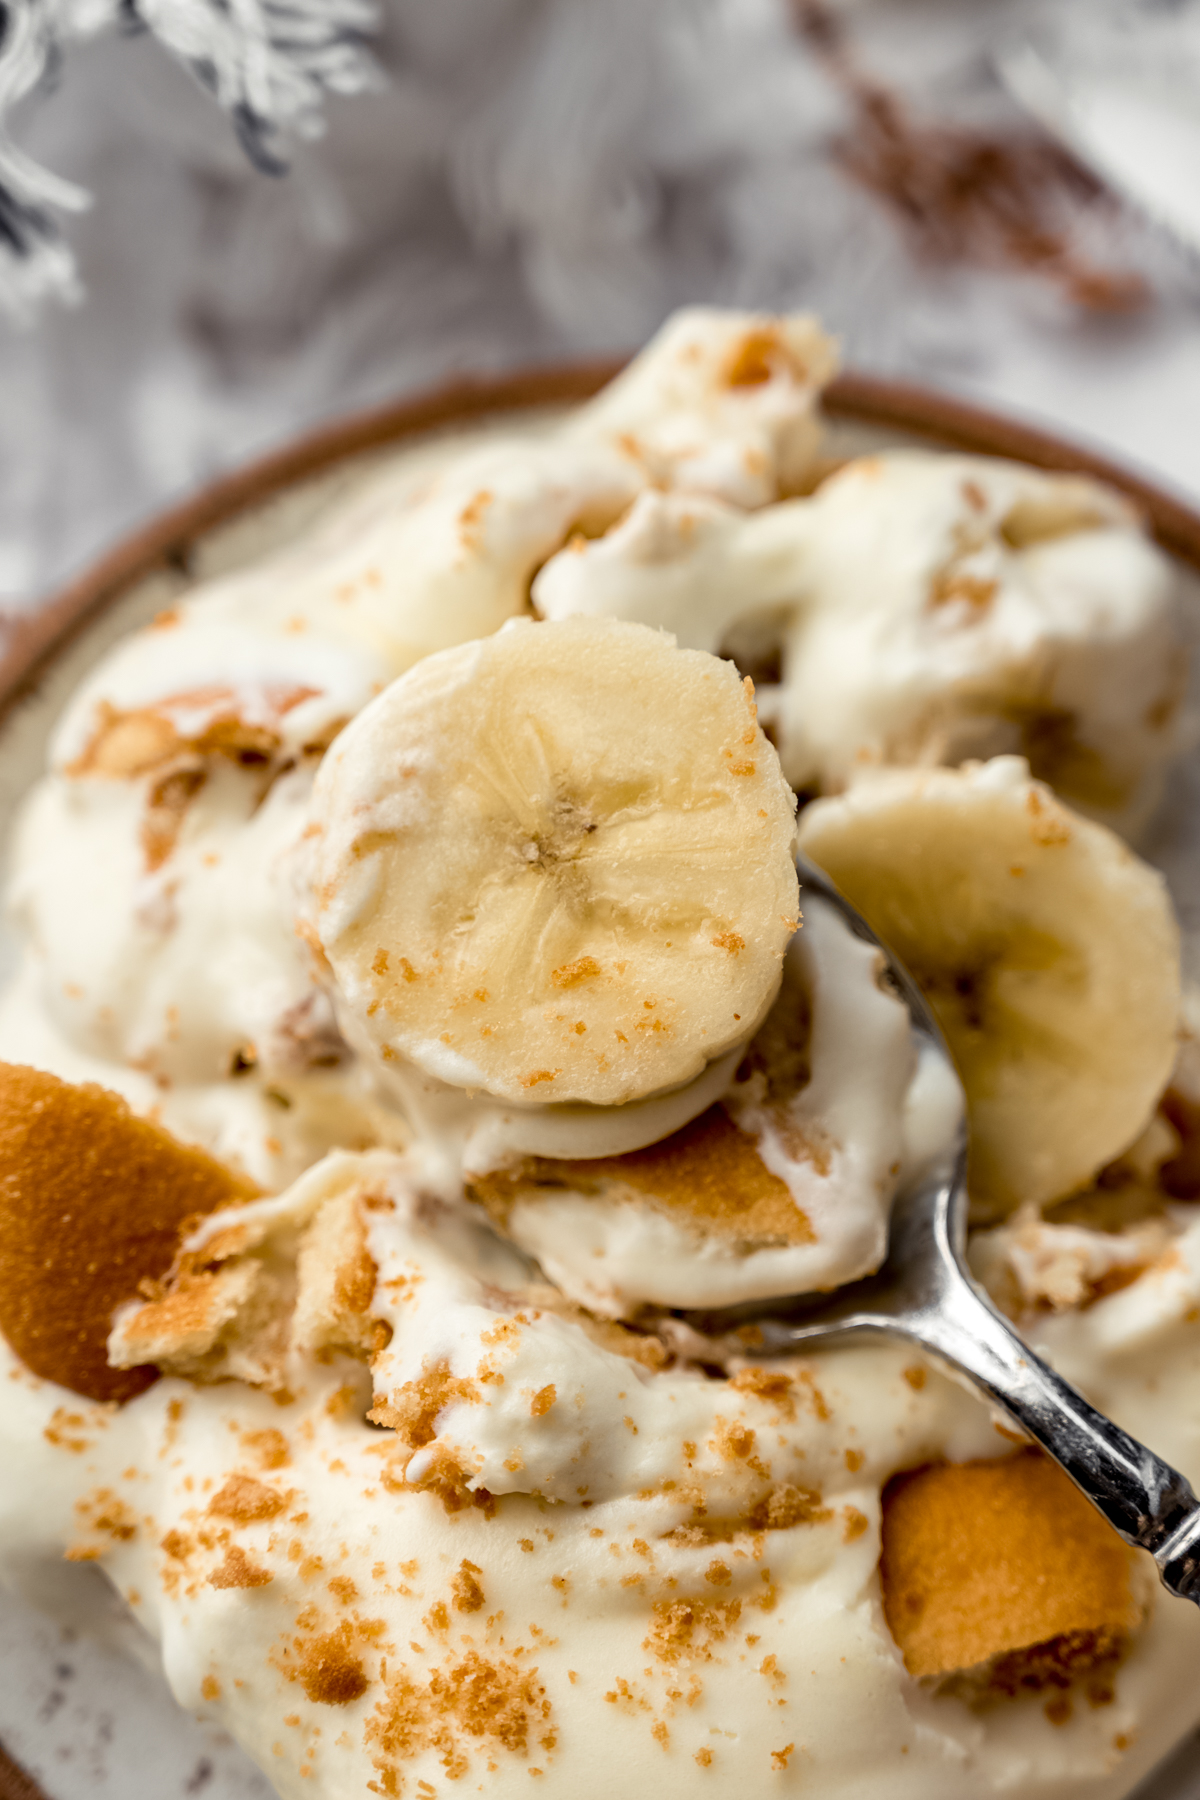
Layer it “by the book” if you want– wafers, bananas, pudding– or do what I do and nestle those bananas right into the pudding. There are no rules here, just good intentions and an “it all goes to the same place” dessert.
While the recipe you see here leans on some pre-made ingredients, I strongly recommend using freshly whipped cream and resisting the urge to use Cool Whip. I know I just said nothing about this recipe is special, and it’s not, really. But the real whipped cream adds something undeniably fresh, authentic, and, dare I say, pure to an otherwise humble classic.
Oh, and if you’re feeling a little fancy, I also have a banana pudding cheesecake that takes things up a notch. But this right here? This is where it all starts.
INGREDIENTS YOU WILL NEED
You only need seven, one of them is water, and one is optional!
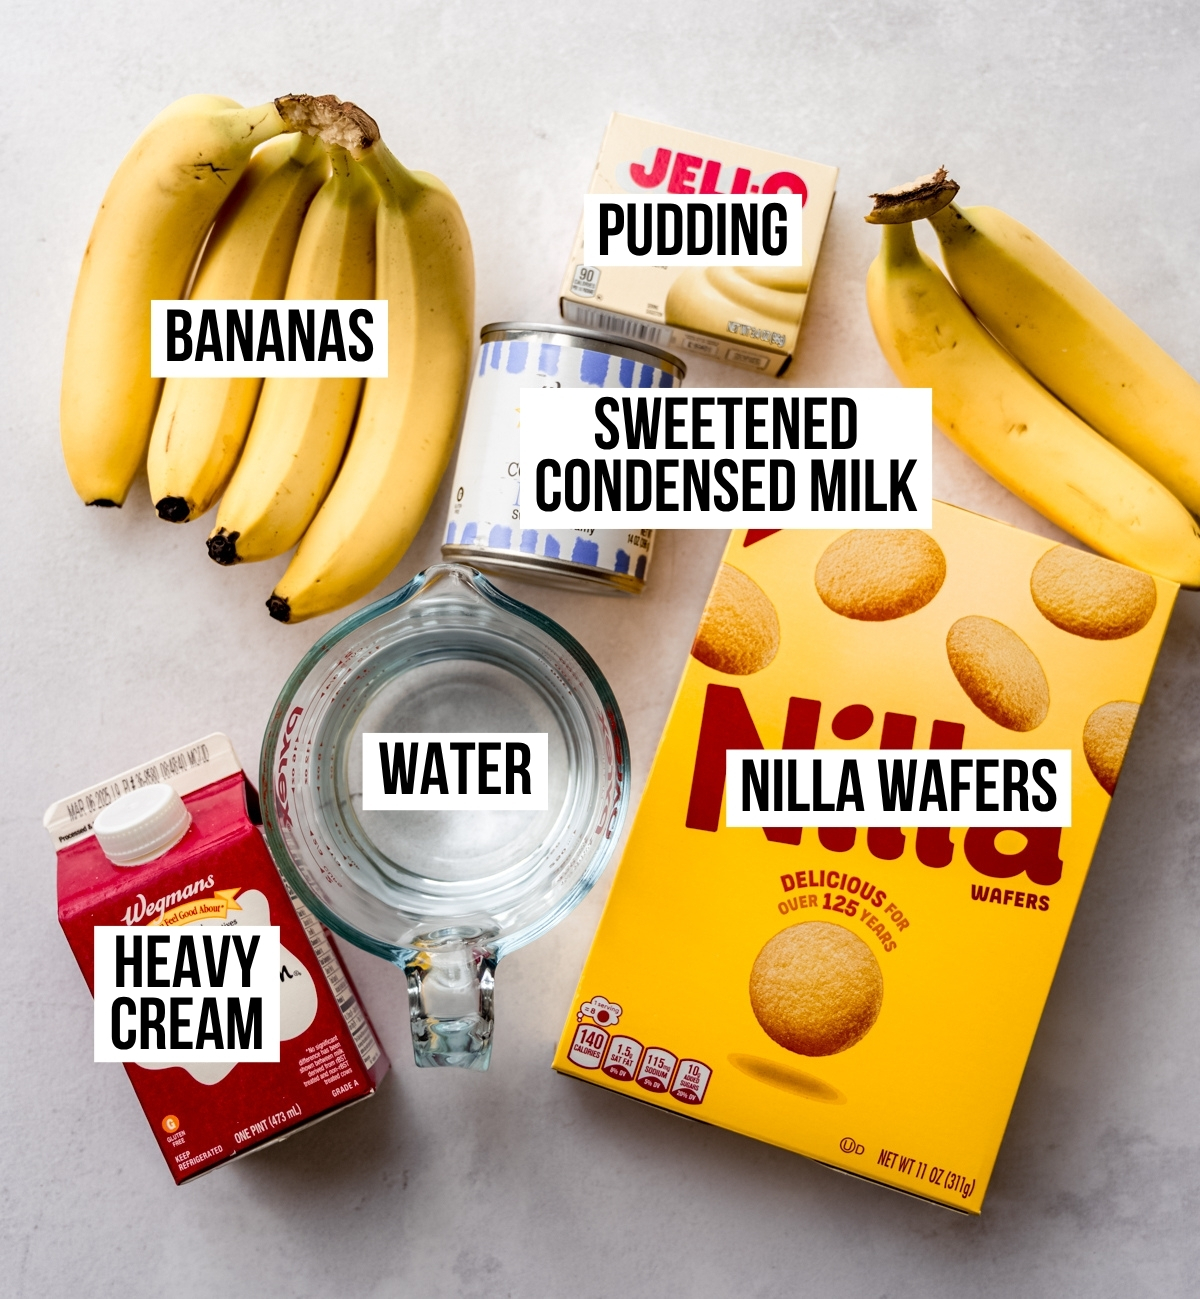
SWEETENED CONDENSED MILK: this will bring a large portion of the sweetness as well as some creaminess for the pudding. You’ll use an entire 14oz can.
COLD WATER: make sure it’s cold so the next ingredient (pudding mix) will set faster. Cold water will also prevent clumping of the mix.
INSTANT VANILLA PUDDING: make sure you’re using the no-cook, instant kind! You can use French vanilla or classic vanilla. Either one will work here.
HEAVY CREAM: there is a homemade whipped cream component of this banana pudding, but we won’t sweeten it like we would if we were making it as a standalone component. You can use heavy cream or heavy whipping cream here. I do not recommend using Cool Whip in its place.
BANANAS: the star of the show! Pick bananas that have just ripened. Unlike banana bread, you won’t need super ripe bananas. In fact, the sturdier they are, the better!
LEMON JUICE: while optional, I encourage it, as it helps prevent the bananas from browning too quickly. You can use lime juice or even white distilled vinegar.
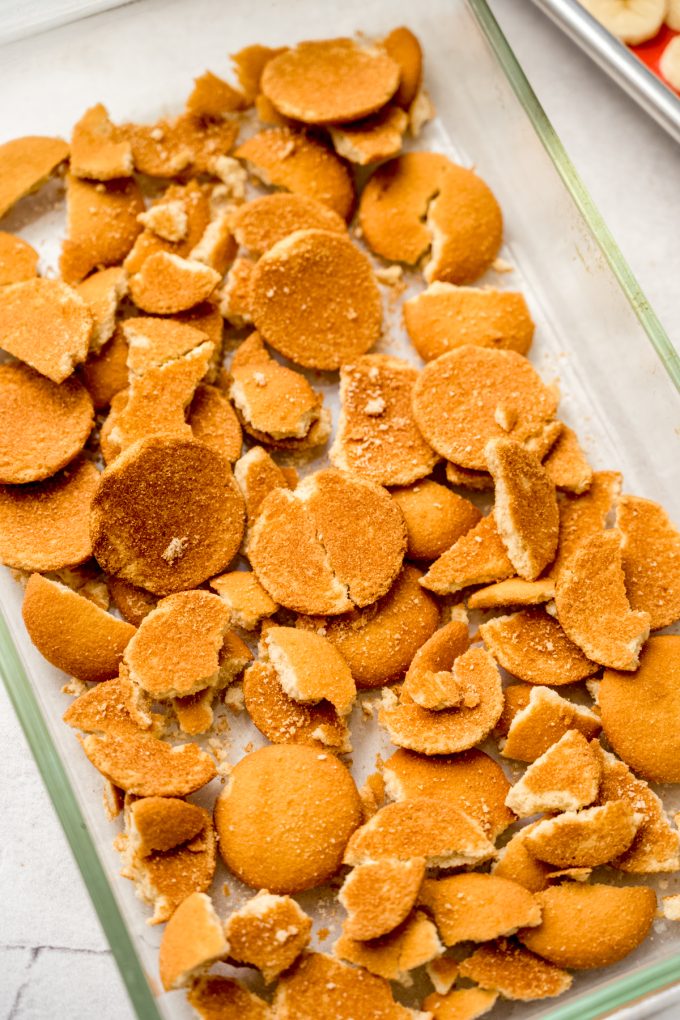
NILLA WAFERS: these cookies are an iconic addition to this dessert, but you can use a gluten free wafer if you need to keep this dish gluten free. An off-brand vanilla cookie will also do!
HOW TO MAKE CLASSIC BANANA PUDDING
This is so simple and easy, but you’ll want to be sure you’re building in enough time for all of the components of the dish to come together. This means building in 3-4 hours for the pudding to set up, assembly of the dessert, and then an additional 4 hours for chilling before serving.
Personally, I always make my pudding the day before just so it’s ready to go on the day I want to serve it and I’m not pushing my schedule to get it all done in one day.
Make + chill the pudding: making the pudding for this recipe is only slightly different from the box instructions since we’re using sweetened condensed milk. Disregard the instructions on the box! Allow this to chill for 3-4 hours or until it has set up. As mentioned, I like to do this the day before so it has ample time to set and chill.
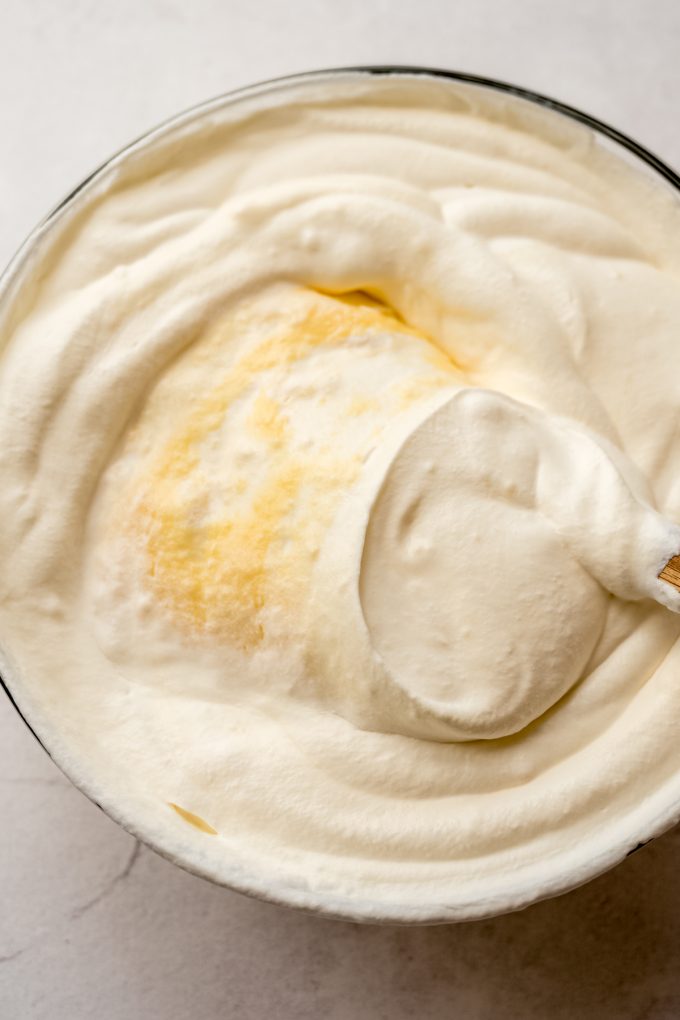
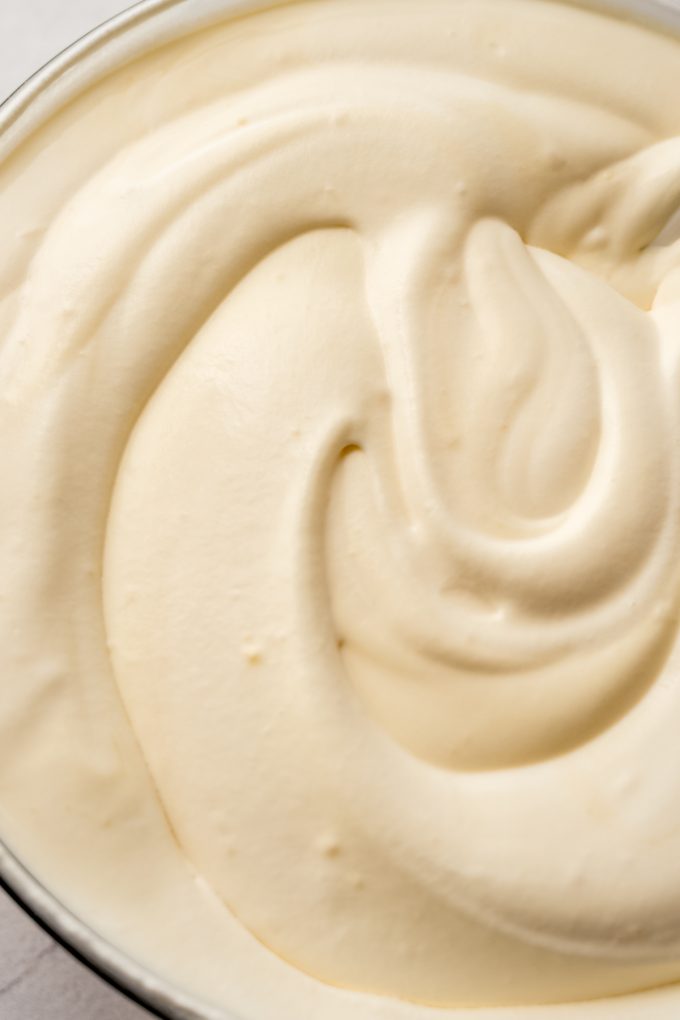
Whip the cream: whip the cream to medium-stiff peaks. This means you’ll want the peaks to stand up but then flop over ever so slightly when you pull the whisk out of the mixture. This ensures a stable whip but also keeps things light and fluffy. Fold this mixture into the pudding and gently combine until you have a cohesive mixture.

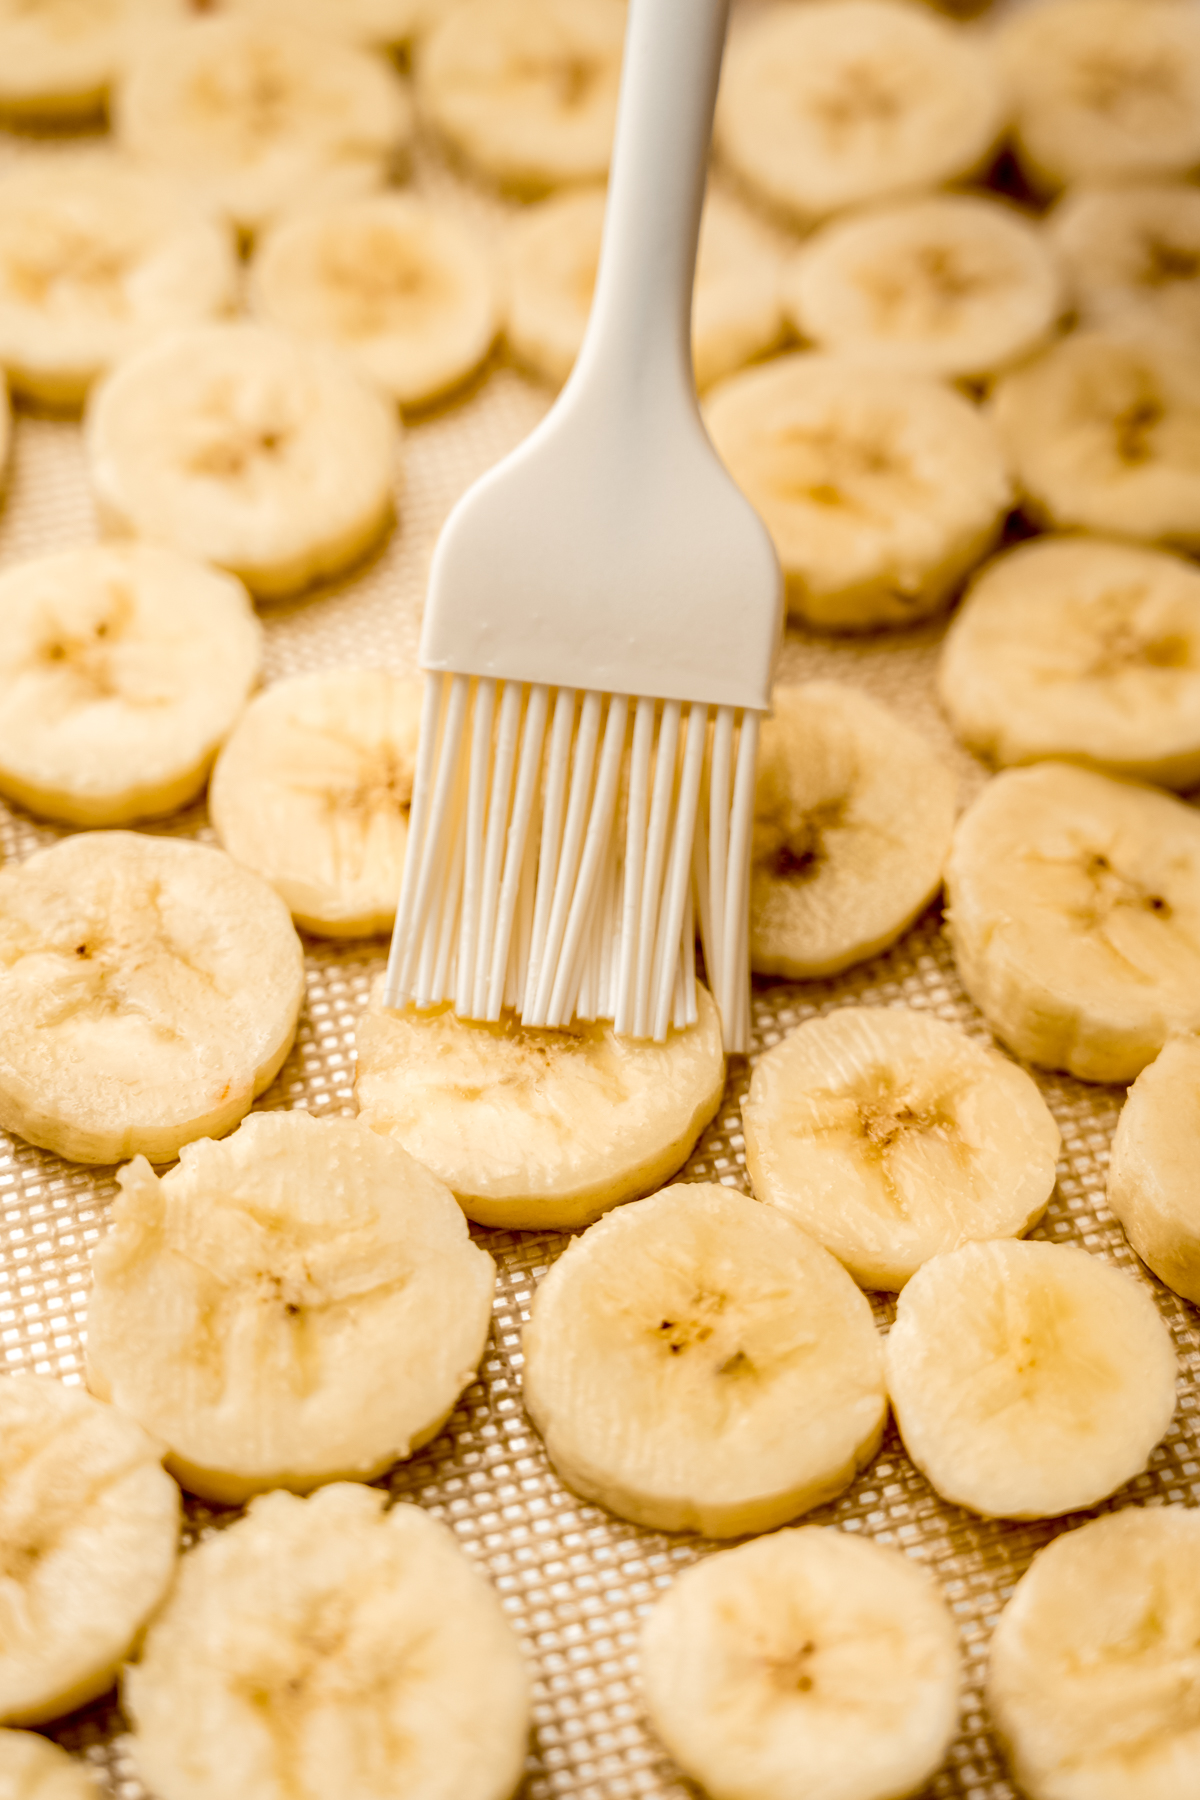
Prepare the bananas (optional): slice the bananas into ½” slices and place them on a prepared baking sheet, then brush them lightly with the lemon juice. Carefully flip each banana slice over to brush lemon juice on the other side.
ASSEMBLE THE BANANA PUDDING: YOu HAVE OPTIONS
I have made this in all the ways– in one big casserole dish, in a trifle dish, in individual portions, and as separate components and an assemble-as-you-go type of way. What can I say? We love banana pudding here, so we’re no strangers to eating it in many forms.
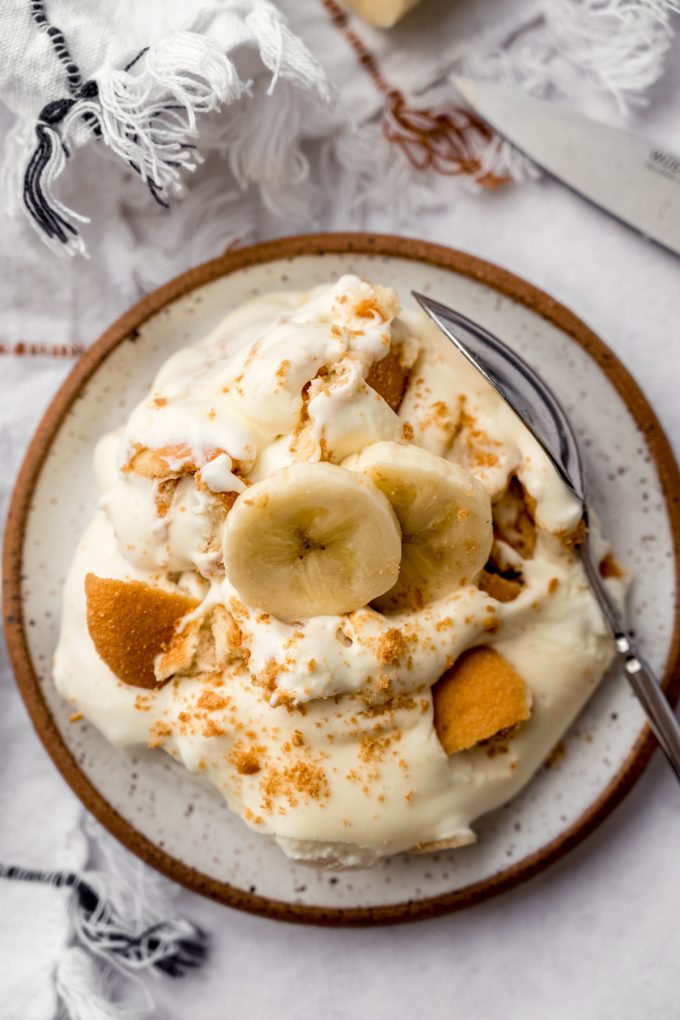
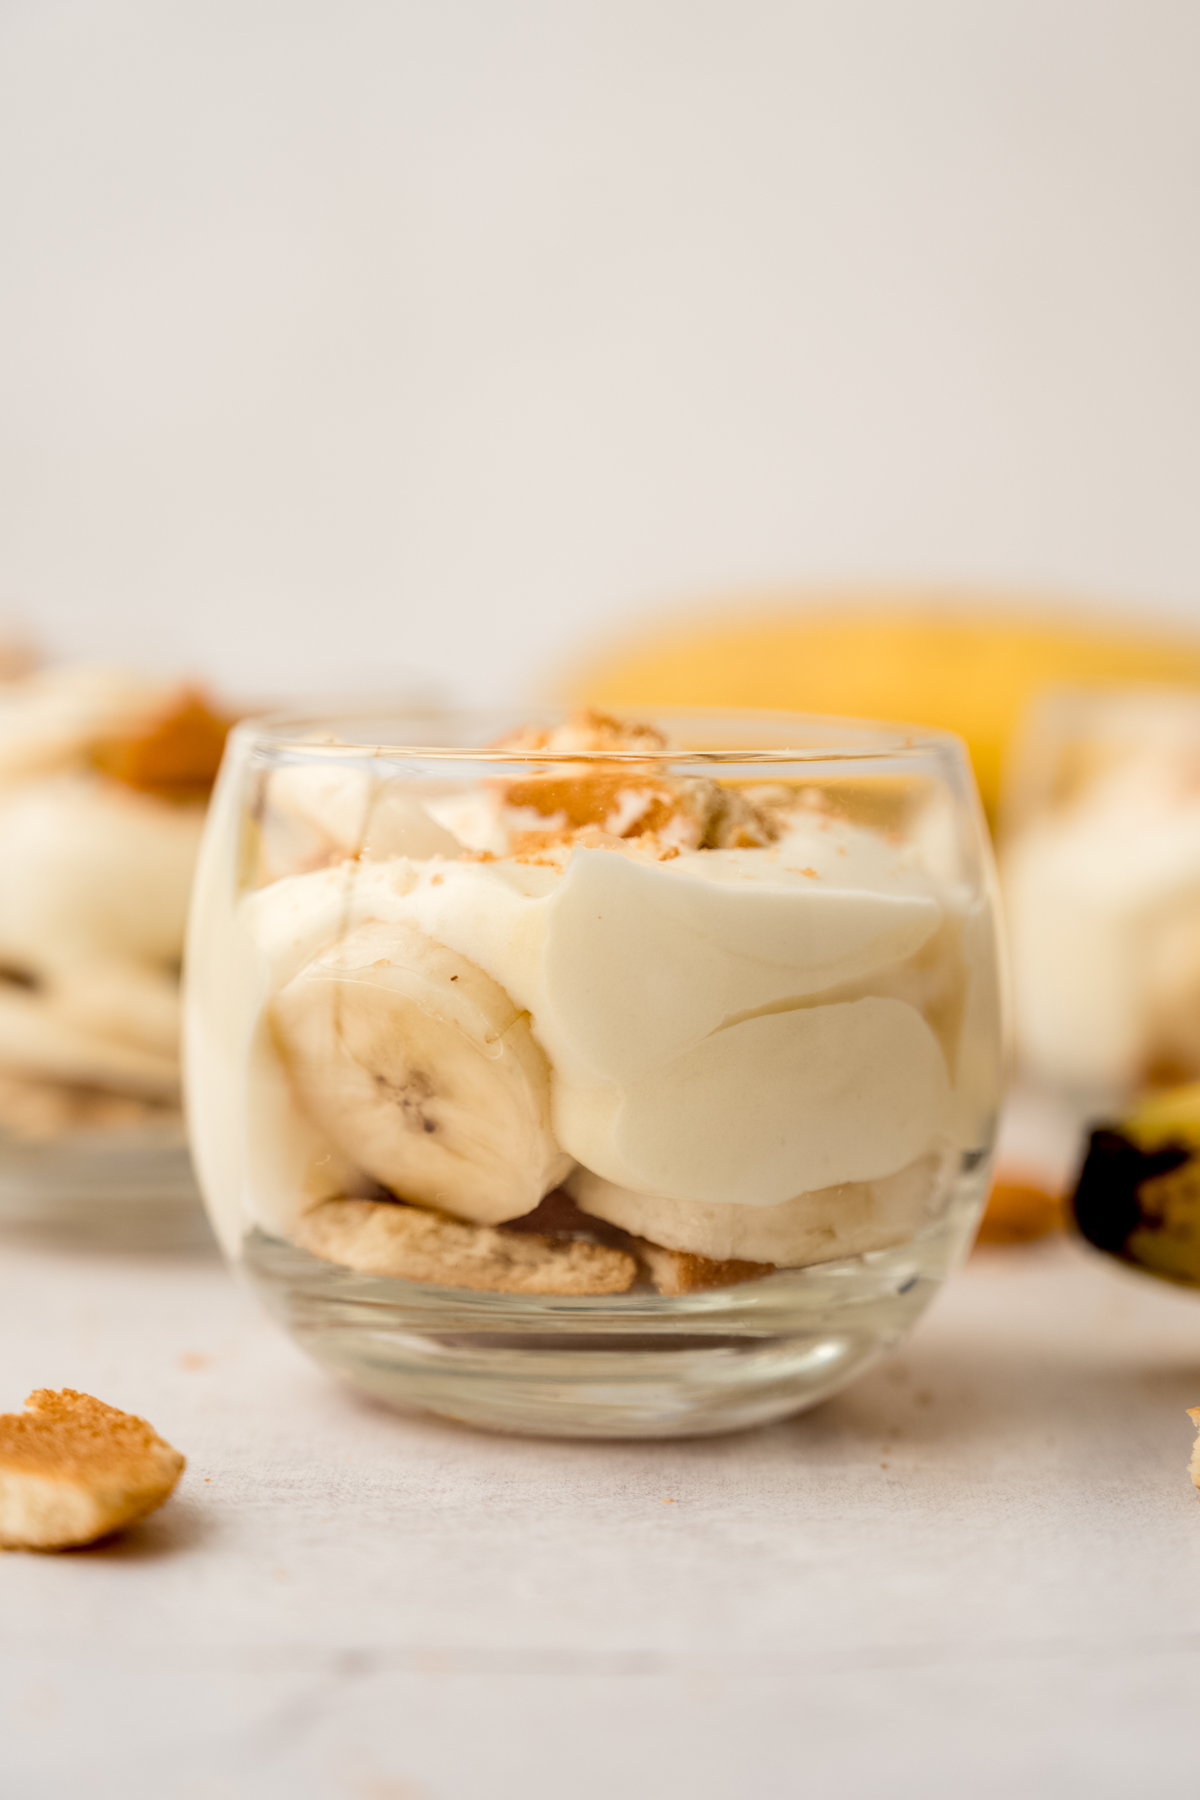
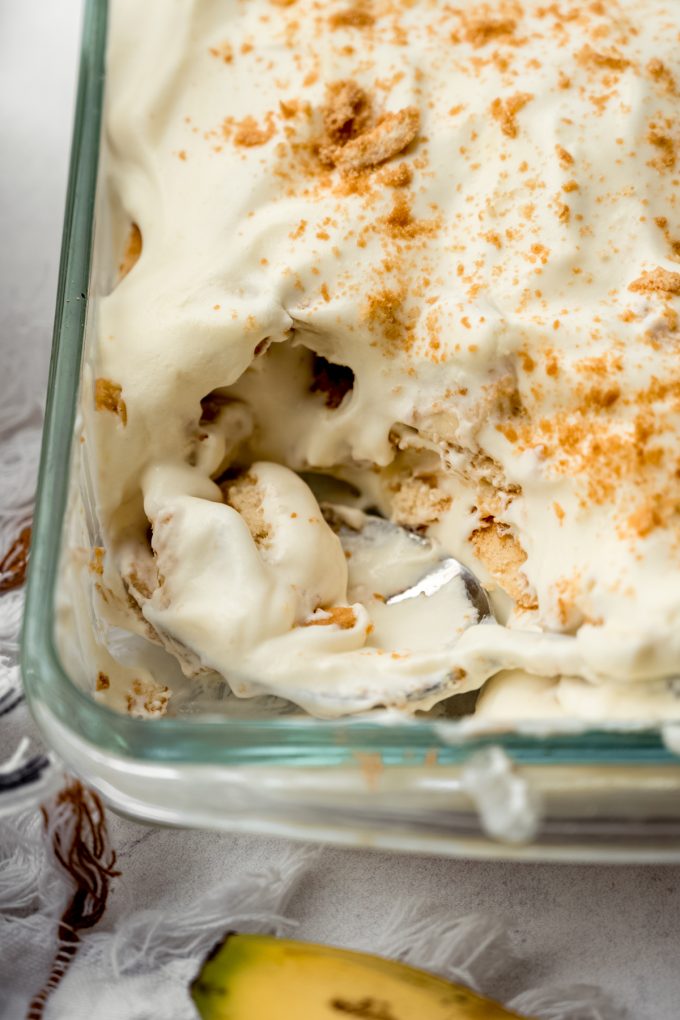
As a general guide: layer Nilla wafers, pudding, and bananas into your dessert dish. If this is a large casserole or trifle dish, you can repeat this layering two more times, or you can just repeat it once for a smaller individual cup.
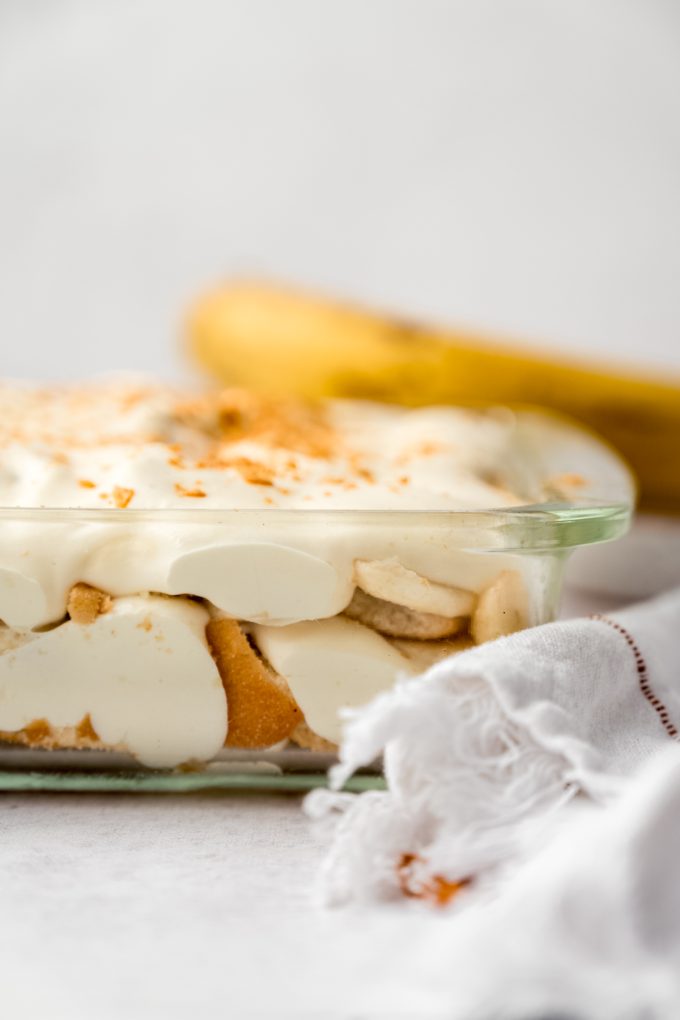
There’s really no wrong way to do it, so have fun with it! Traditionally, it goes wafers/bananas/pudding, but I like to nestle my bananas into the pudding and switch things up for the final layer so the bananas are covered to prevent them from browning.
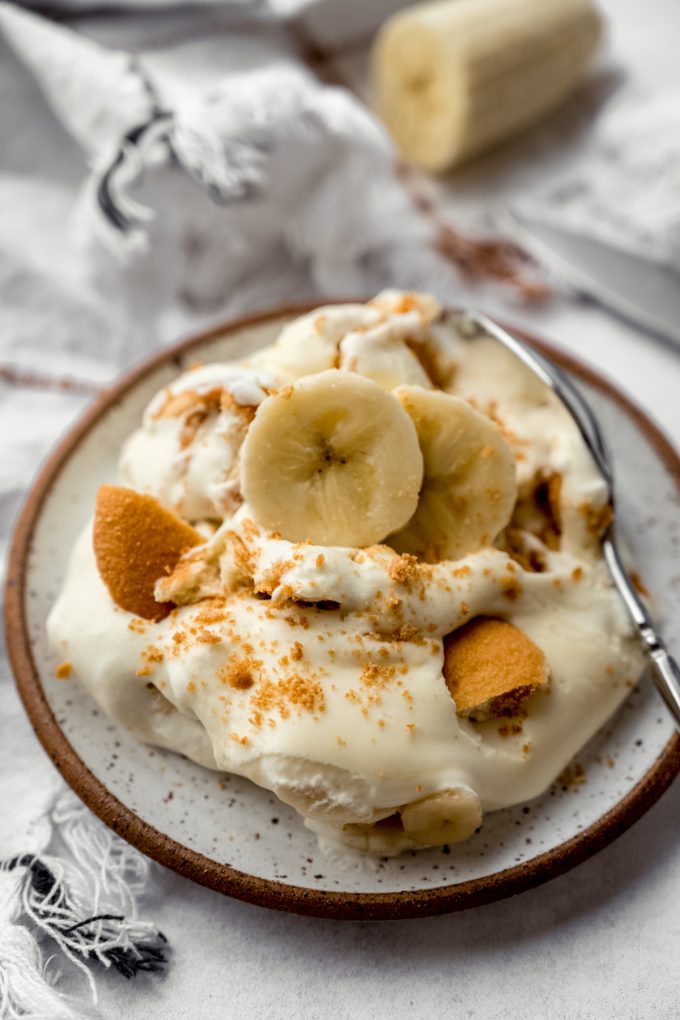
Banana pudding is one of my favorite desserts, and I always get a quart of it from this seafood restaurant we go to in The Outer Banks, and it’s usually gone after our first night. Sometimes if I can manage to hide it in the refrigerator, I can get another evening out of it, but otherwise, it doesn’t stand a chance! Creamy, sweet, crunchy, the perfect marriage of flavors… It’s just the best! And dangerously easy to make.
Easy Banana Pudding Recipe
Ingredients
- 1 14oz can (396g) sweetened condensed milk
- 1 and ½ cups (360mL) cold water
- 1 3.4oz box (96g) instant vanilla pudding
- 3 cups (720mL) heavy cream
- 6 medium bananas1
- 2 Tablespoons (30mL) lemon juice2 optional but encouraged
- 1 12oz box Nilla Wafers coarsely crushed
Instructions
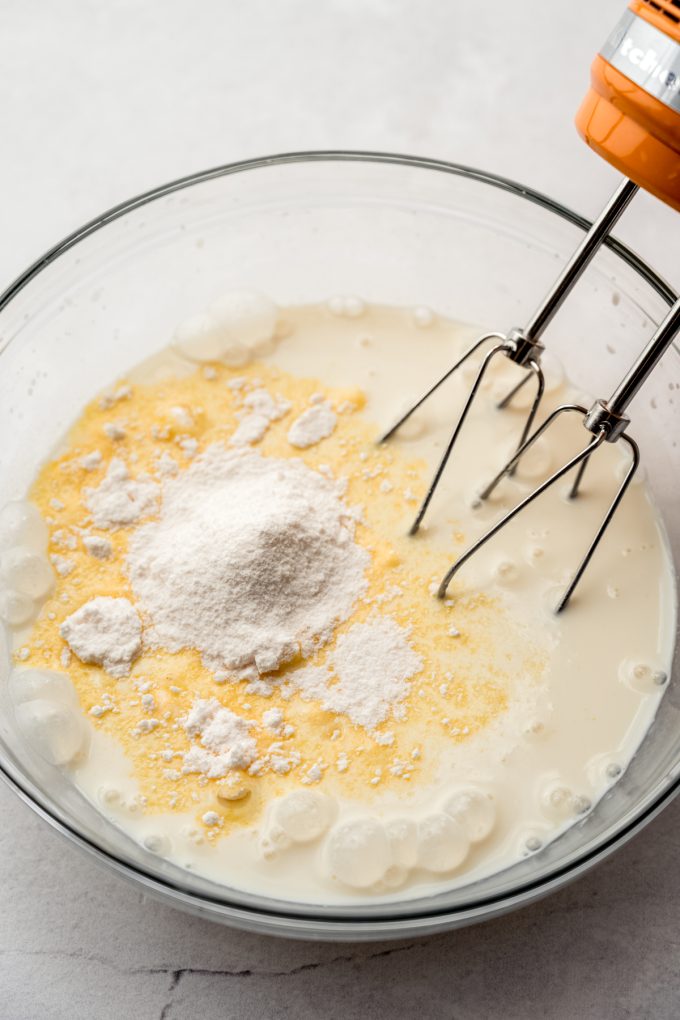
- Make the pudding: in a large bowl with a handheld electric mixer, combine the sweetened condensed milk and water and beat on medium speed until well-combined.1 14oz can (396g) sweetened condensed milk, 1 and ½ cups (360mL) cold water
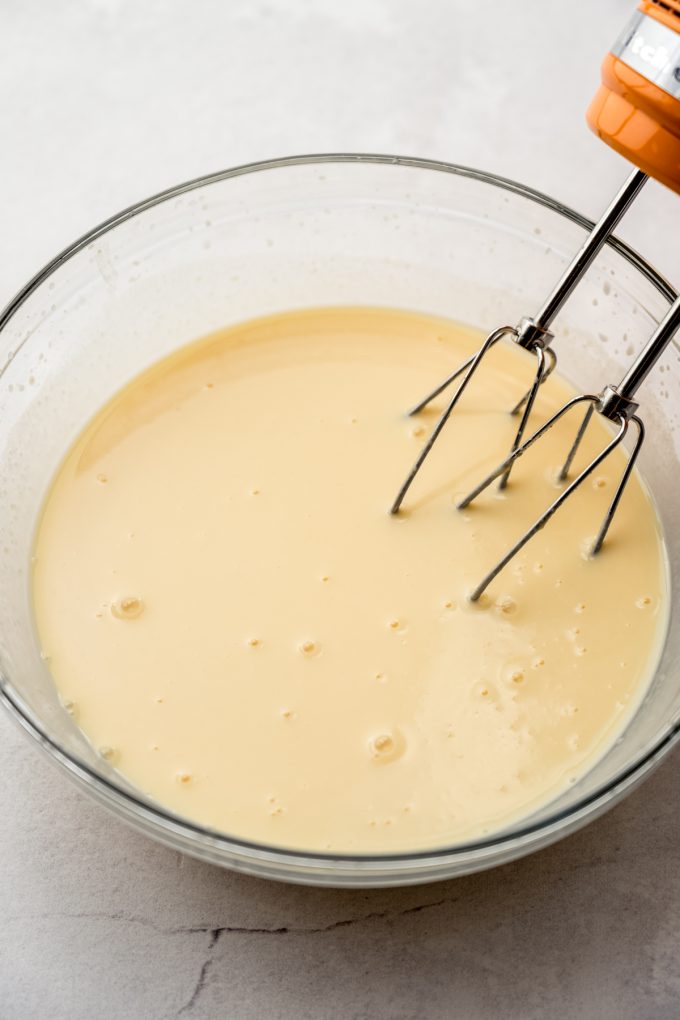
- Add the pudding mix and beat again on medium speed until smooth. Cover the bowl and chill in the refrigerator for 3-4 hours to allow the pudding mixture to set up.1 3.4oz box (96g) instant vanilla pudding
- In a medium size bowl with a handheld electric mixer or the bowl of a stand mixer fitted with the whisk attachment, whip the heavy cream until medium-stiff peaks.3 cups (720mL) heavy cream
- Using a spatula, gently fold the whipped cream into the pudding mixture until there are no more streaks of pudding. Set aside or chill in the refrigerator until you are ready to use.
- Prepare the bananas3 (optional): line a large baking sheet with parchment paper or a silicone baking mat. Slice the bananas into ½" slices and place them on the baking sheet, then brush them lightly with the lemon juice. Carefully flip each banana slice over to brush lemon juice on the other side.6 medium bananas1, 2 Tablespoons (30mL) lemon juice2
- Assemble4 the dessert: layer ⅓ of the Nilla wafers, ⅓ of the pudding, and ⅓ of the bananas into a 9" x 13" baking dish. Repeat this layering again, then do a final layer of wafers/bananas/pudding so the bananas in the top layer are covered. You can reserve a handful of Nilla wafers to garnish the top of the dessert if you wish.1 12oz box Nilla Wafers
- Cover banana pudding tightly and allow to chill in the refrigerator for at least 4 hours before serving. Store leftovers covered tightly for up to 2 days.
Notes
- Bananas: you want bananas that have just turned yellow. If they still have a tiny bit of green on them, that’s even better!
- Lemon juice: this can be fresh or bottled. You can also use lime juice or diluted white distilled vinegar.
- Prepare the bananas: I like to include this step because it prevents the bananas from browning too quickly. I especially encourage this step if you aren’t serving the pudding right away or you’re preparing a DIY/stationed dessert.
- Assemble the dessert: you can also make this in smaller portions in dessert cups. There is no “one size fits all” for the size of your dessert cups, so do your best to distribute everything evenly.
Nutrition Disclosure
All nutritional values are approximate and provided to the reader as a courtesy. Changing ingredients and/or quantities will alter the estimated nutritional calculations.
Yummy easy to make.
Thank you so much!
Creamy, dreamy, and no stress at all—this recipe is a keeper! If you’re a banana pudding fan (or even if you’re not), you need this one in your life.
My only complaint? I had to wait for it to set, but I definitely got over it once I tasted it. Definitely worth the wait.
Thanks so much, Andrea!