Red Velvet Cookies with Cream Cheese Frosting
As an Amazon Associate, I earn from qualifying purchases. Read the full disclosure here.
These chewy red velvet cookies are a no chill cookie recipe made completely from scratch and topped with a silky smooth cream cheese frosting. Don’t miss this cookie as a red velvet chocolate chip cookie.
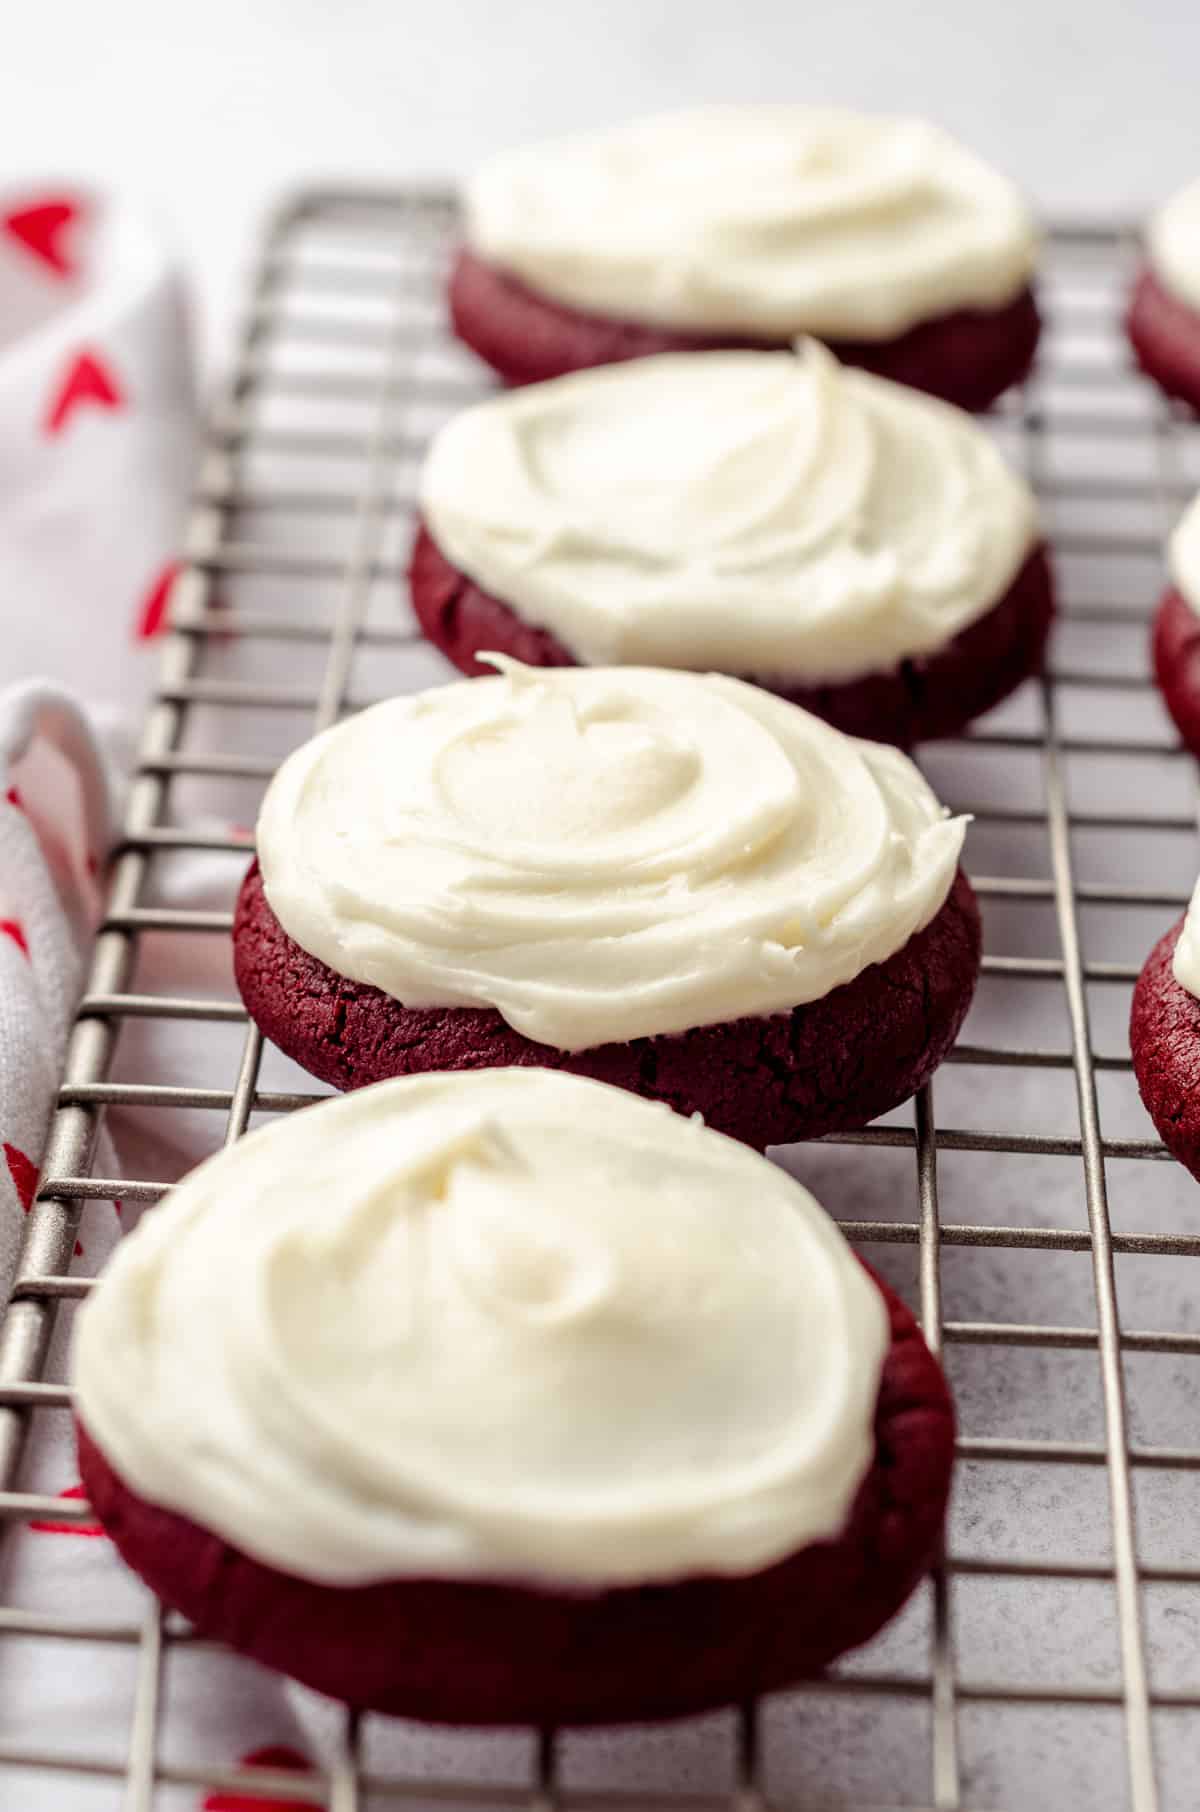
Whenever I plan my monthly baking series recipes (this year it’s gourmet cookies), I try to create recipes that make my taste testers’ eyes roll back with an “oh my gosh” or something of the like. These frosted red velvet cookies did exactly that, and I’m confident that even if you struggle with cookie recipes and/or getting frosting just right, you can make these cookies perfectly in your own kitchen.
Not only that, but just as I mentioned in my pilot post for this gourmet cookie series (frosted sugar cookies), you can save yourself $5-7 per cookie at the fancy cookie store. If that’s not enough to convince you to make these cookies, perhaps knowing that this no chill cookie recipe is made completely from scratch and without red velvet cake mix will.
THE PROBLEM WITH MOST RED VELVET COOKIE RECIPES
Don’t get me wrong, there is a time and place for red velvet cake mix. I have used it in my red velvet Rice Krispies treats, red velvet pancakes, and red velvet puppy chow. But too many red velvet cookie recipes use the crutch of a cake mix to bring that iconic color and flavor to cookies, resulting in cakey cookies lacking rich red velvet flavor.
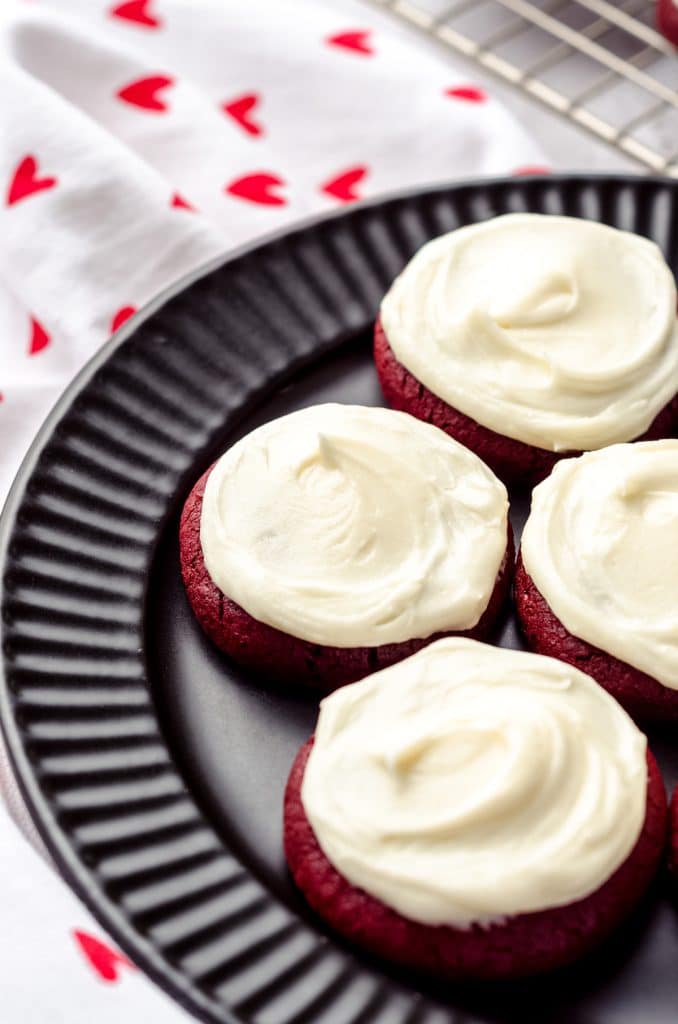
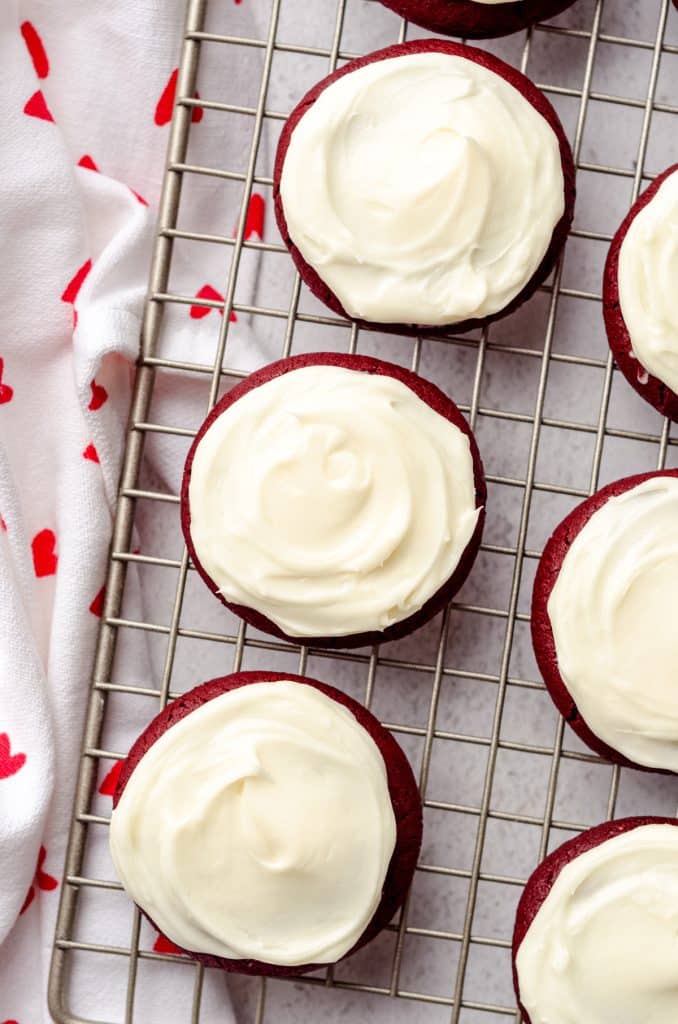
I can say with confidence that if you can mix ingredients together, you can make this soft and chewy red velvet cookie recipe with cream cheese frosting perfectly. You may even have to convince your taste testers that they aren’t from a specialty bakery, but rather you (perhaps in your jammies) and your very own kitchen (and in under 1 hour, no less).
Red Velvet Cookie Ingredients
You only need a handful of ingredients to whip up these perfectly chewy red velvet cookies. If you are even a “special occasion” or “sometimes” baker, it’s highly likely most of the ingredients (if not all of them) will already be in your pantry, which makes these cookies a great choice when you want cookies to eat right away.
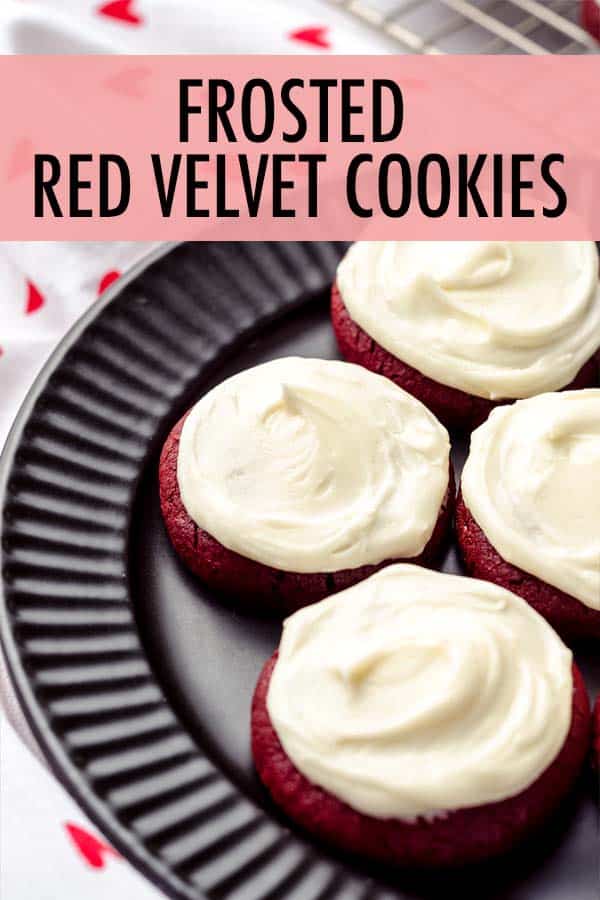
We have a scratch red velvet cookie base and a creamy cream cheese frosting on top.
RED VELVET COOKIES
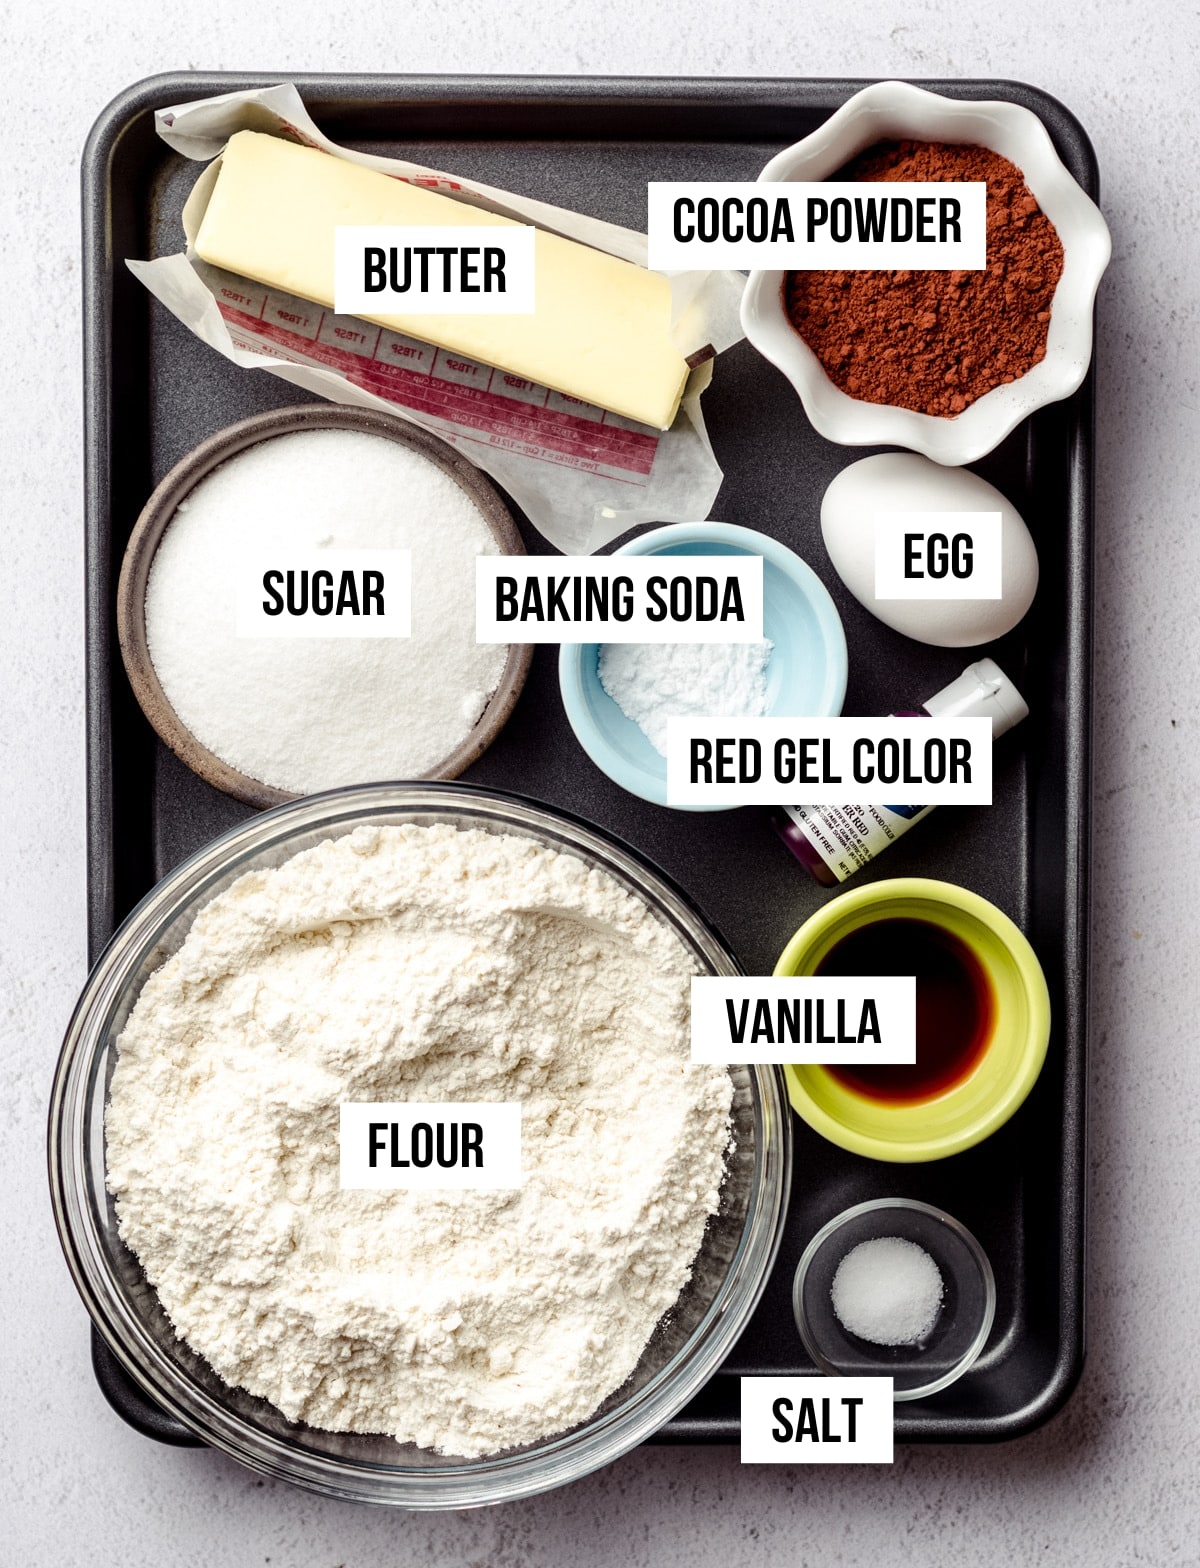
For the red velvet cookie base, you will need:
• all-purpose flour
• unsweetened cocoa powder
• baking soda
• salt
• unsalted butter
• granulated sugar
• an egg
• vanilla extract
• red food coloring (I prefer gel coloring– see the recipe notes for my favorite kind)
CREAM CHEESE FROSTING
This cream cheese frosting recipe is out of this world and it is my absolute favorite. It’s an extra creamy treat on top of an already incredibly chewy and rich cookie. While you don’t have to coat it in the frosting… Why wouldn’t you?
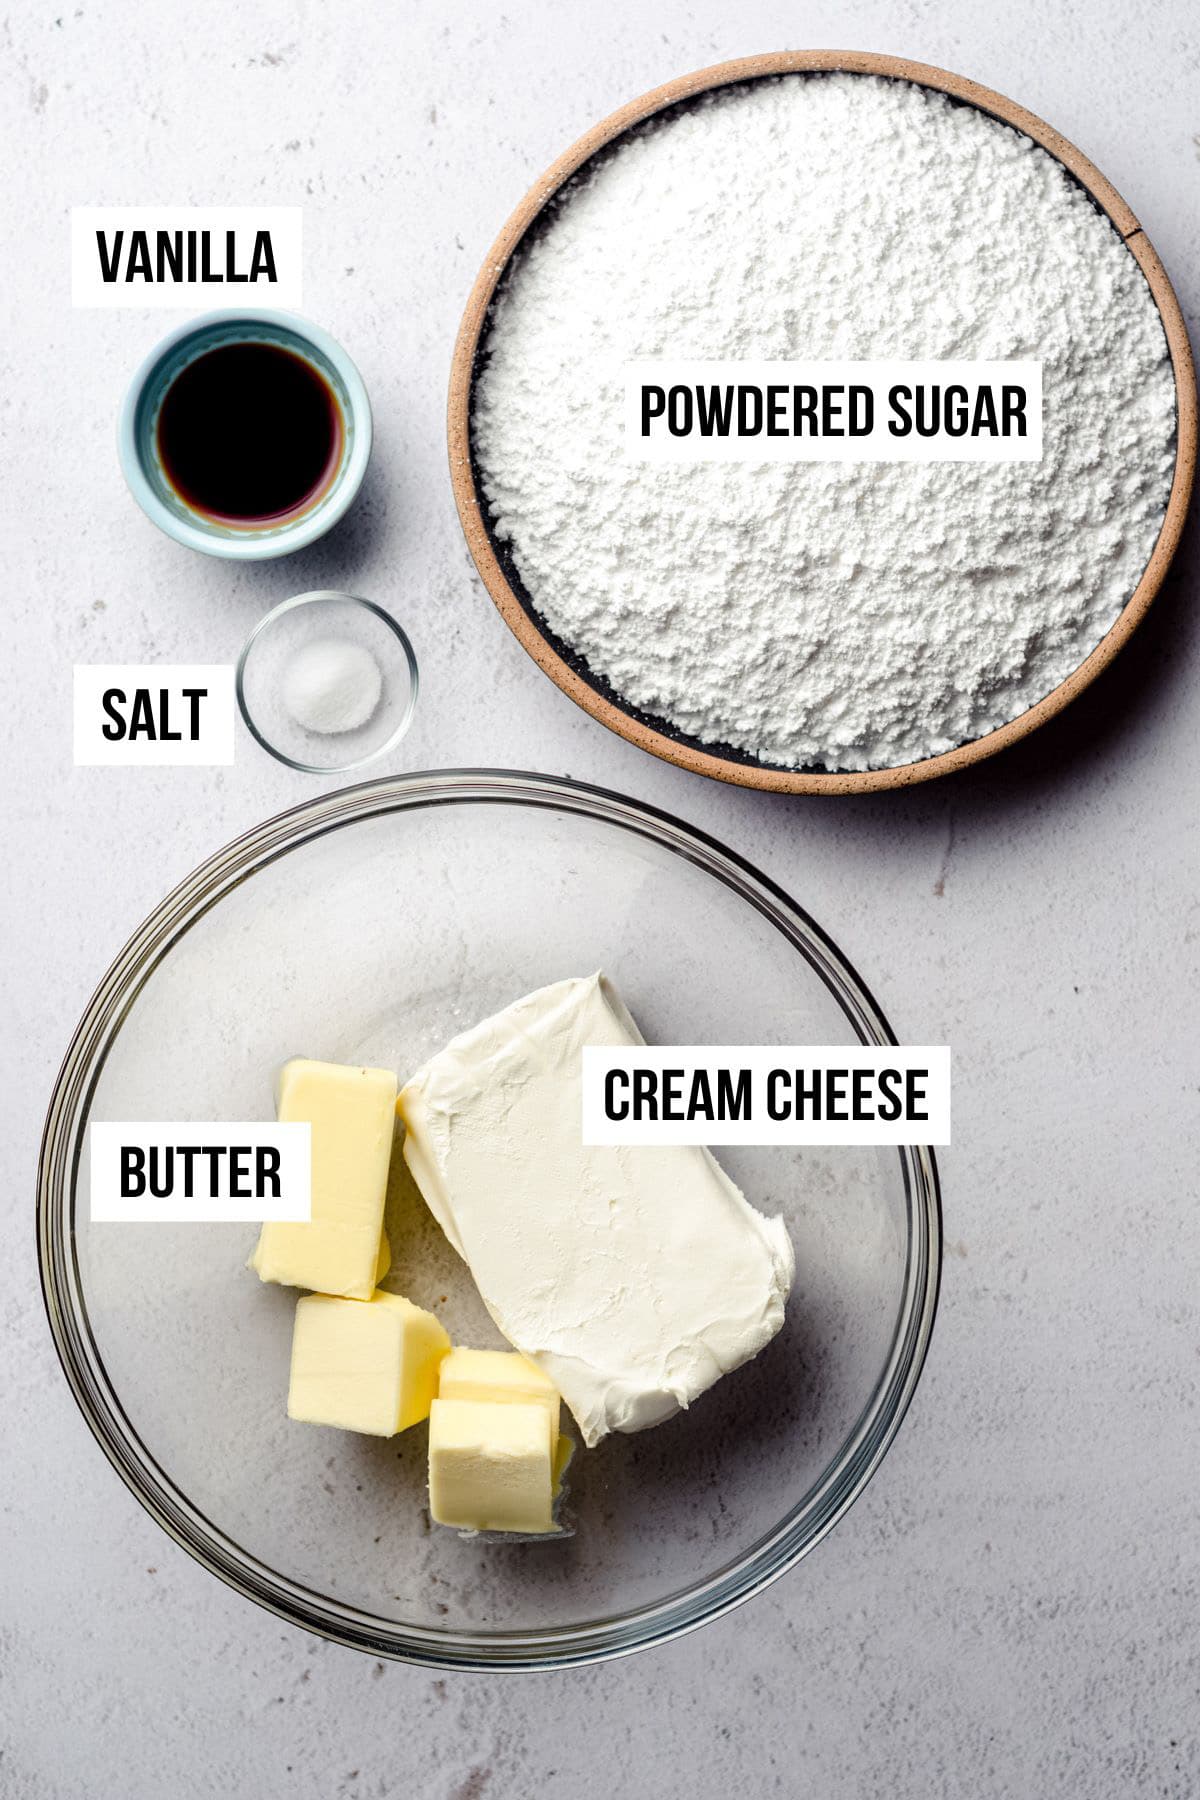
For the cream cheese frosting, you will need:
• full fat cream cheese
• unsalted butter
• powdered sugar
• vanilla extract
• salt
Fair warning: whatever you do, do not leave out the salt.
I think where a lot of home bakers go wrong is fearing salt in sweet things like frostings. But just trust me. I am the (self-proclaimed) Buttercream Queen, after all. Salt will pull all the flavors together and help enhance and complement the sweetness and the creamy vanilla flavor.
Just a pinch, but it works wonders!
MAKE THE RED VELVET COOKIE DOUGH
Now when I said these cookies were easy to make, I promise I wasn’t lying. Follow my simple steps and you will have a batch of soft and chewy red velvet cookies cooling on a wire rack while you prepare the cream cheese frosting in no time.
STEP #1
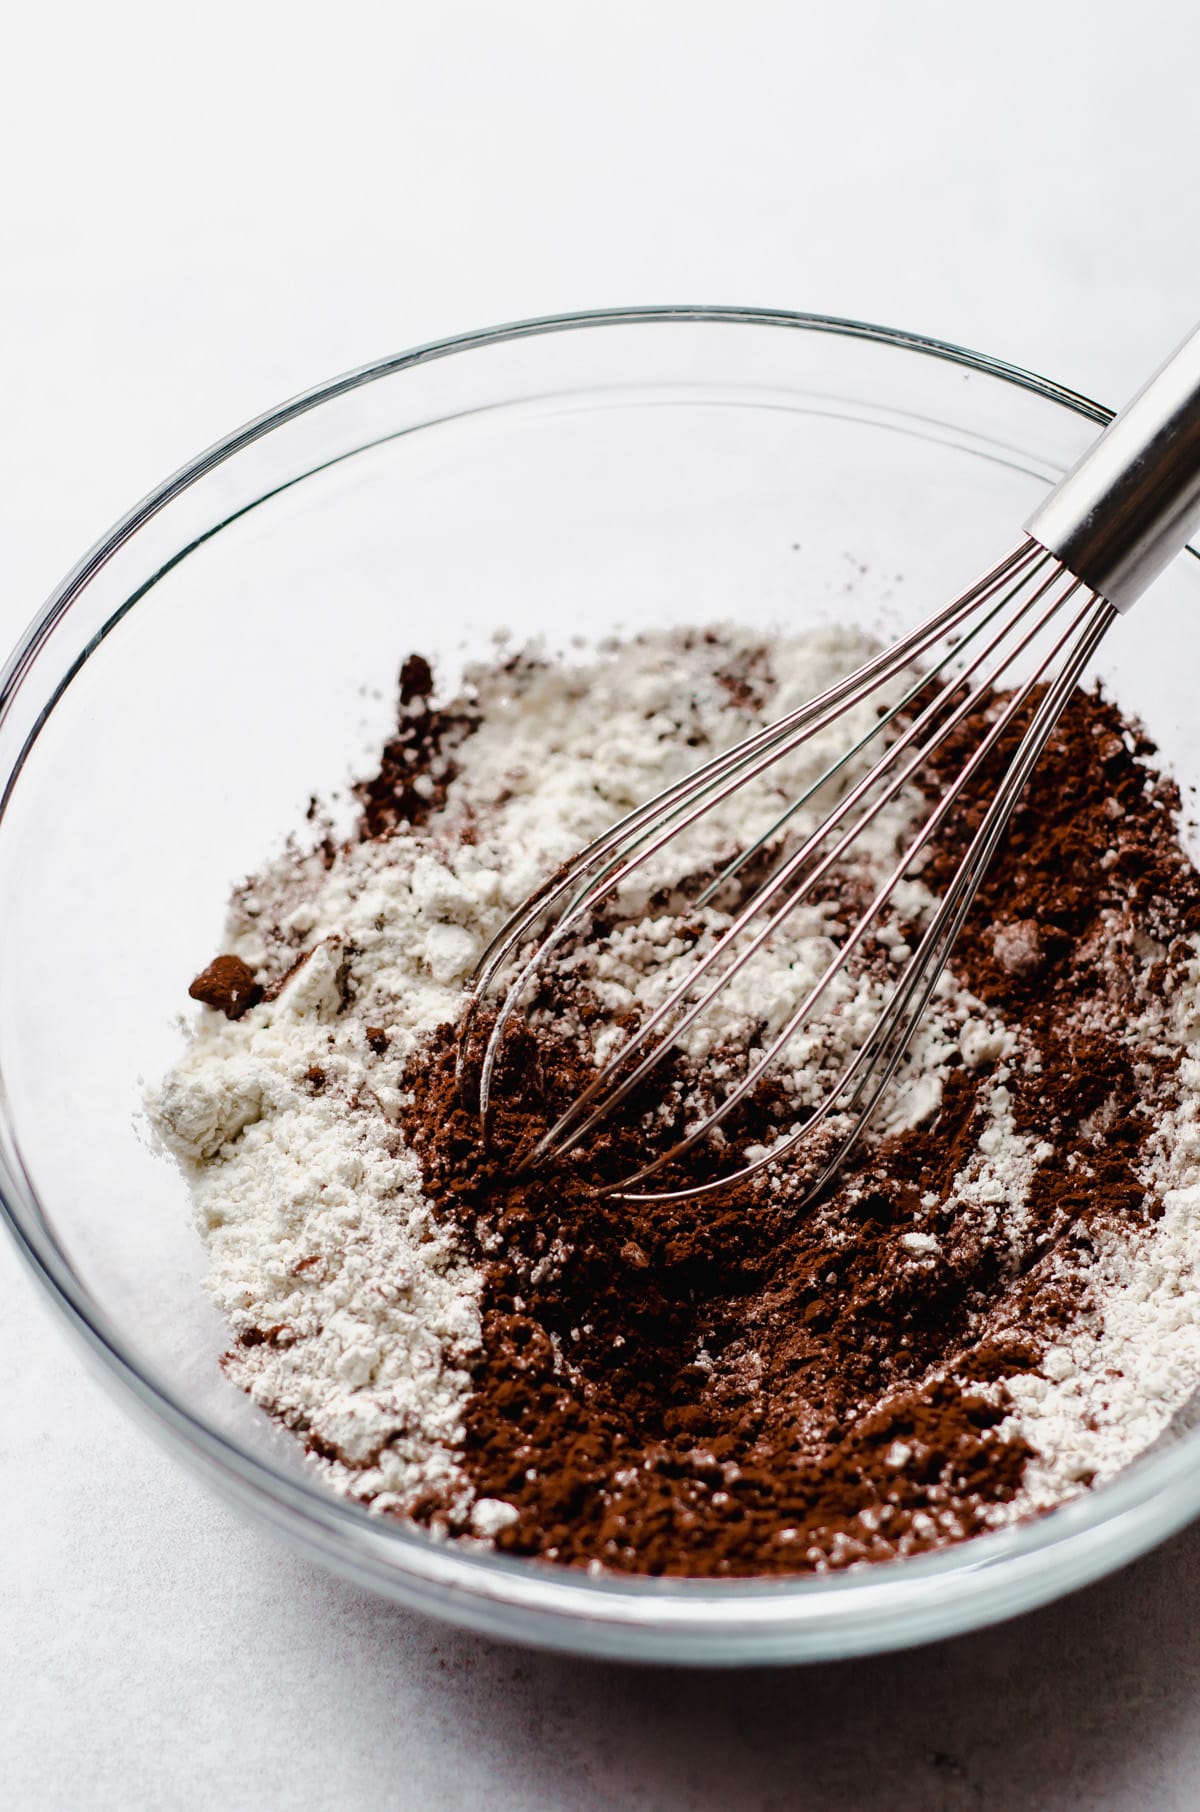
First, whisk all your dry ingredients together. That’s the flour, baking soda, cocoa, and salt. Set this aside.
STEP #2
Then, use a mixer (stand or handheld) to beat the butter and sugar until it’s nice and fluffy. Add the egg and continue to beat until combined.
Make sure to keep scraping down the sides of the bowl to make sure the ingredients are all incorporated.
STEP #3
Once the egg is fully incorporated, add the red food coloring and vanilla extract and keep beating until all the dough is a uniform red color.
Now that our wet ingredients are ready, it’s time to add the dry ones.
STEP #4
Grab the flour mixture we set aside earlier, and add it to the wet base. Beat this slowly, as you want to make sure we’re not over-mixing the cookie dough or incorporating too much air. Remember, we don’t want these cookies to be cakey at all.
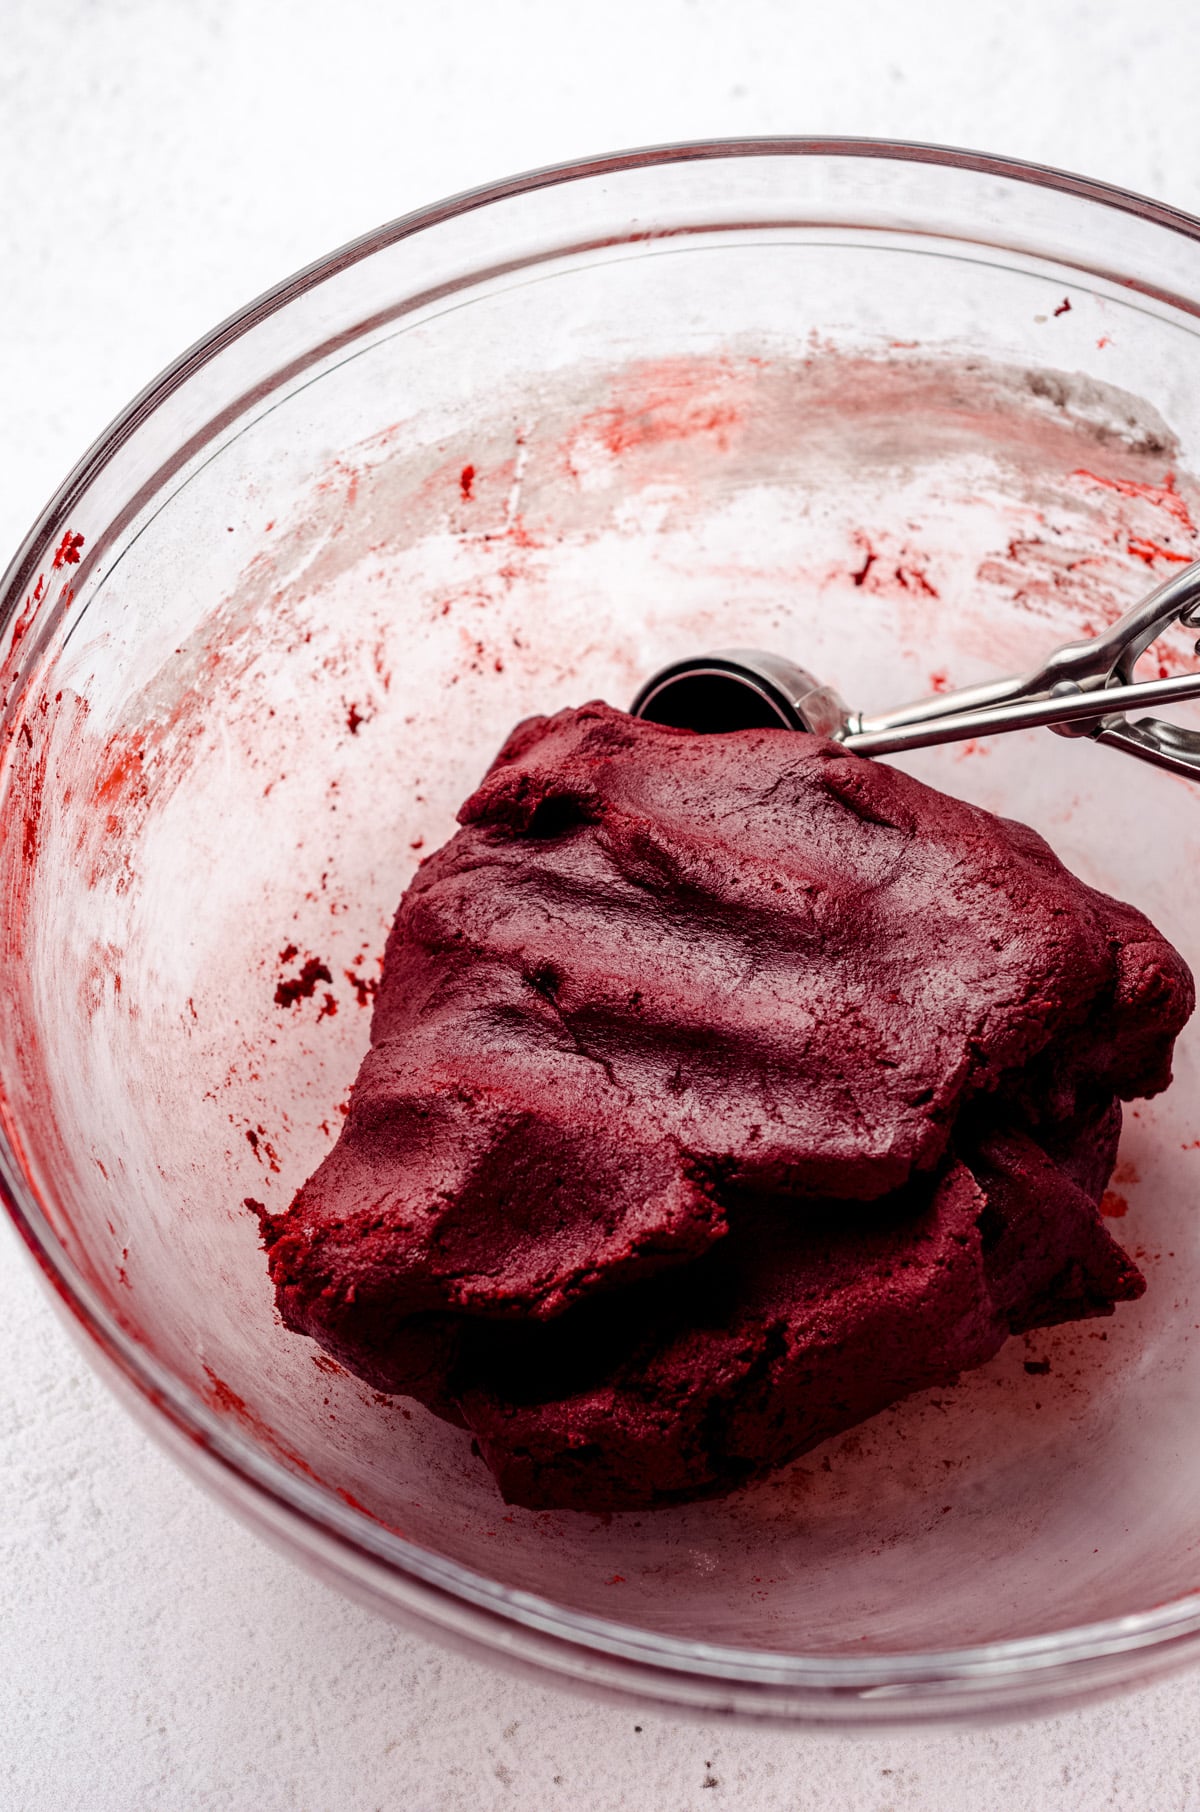
Once the dough has been formed, I like to get my hands involved and press the dough together that way. It’s a bit messier but let’s be honest, way more fun. I won’t tell if you sneak a taste of the dough…
STEP #5
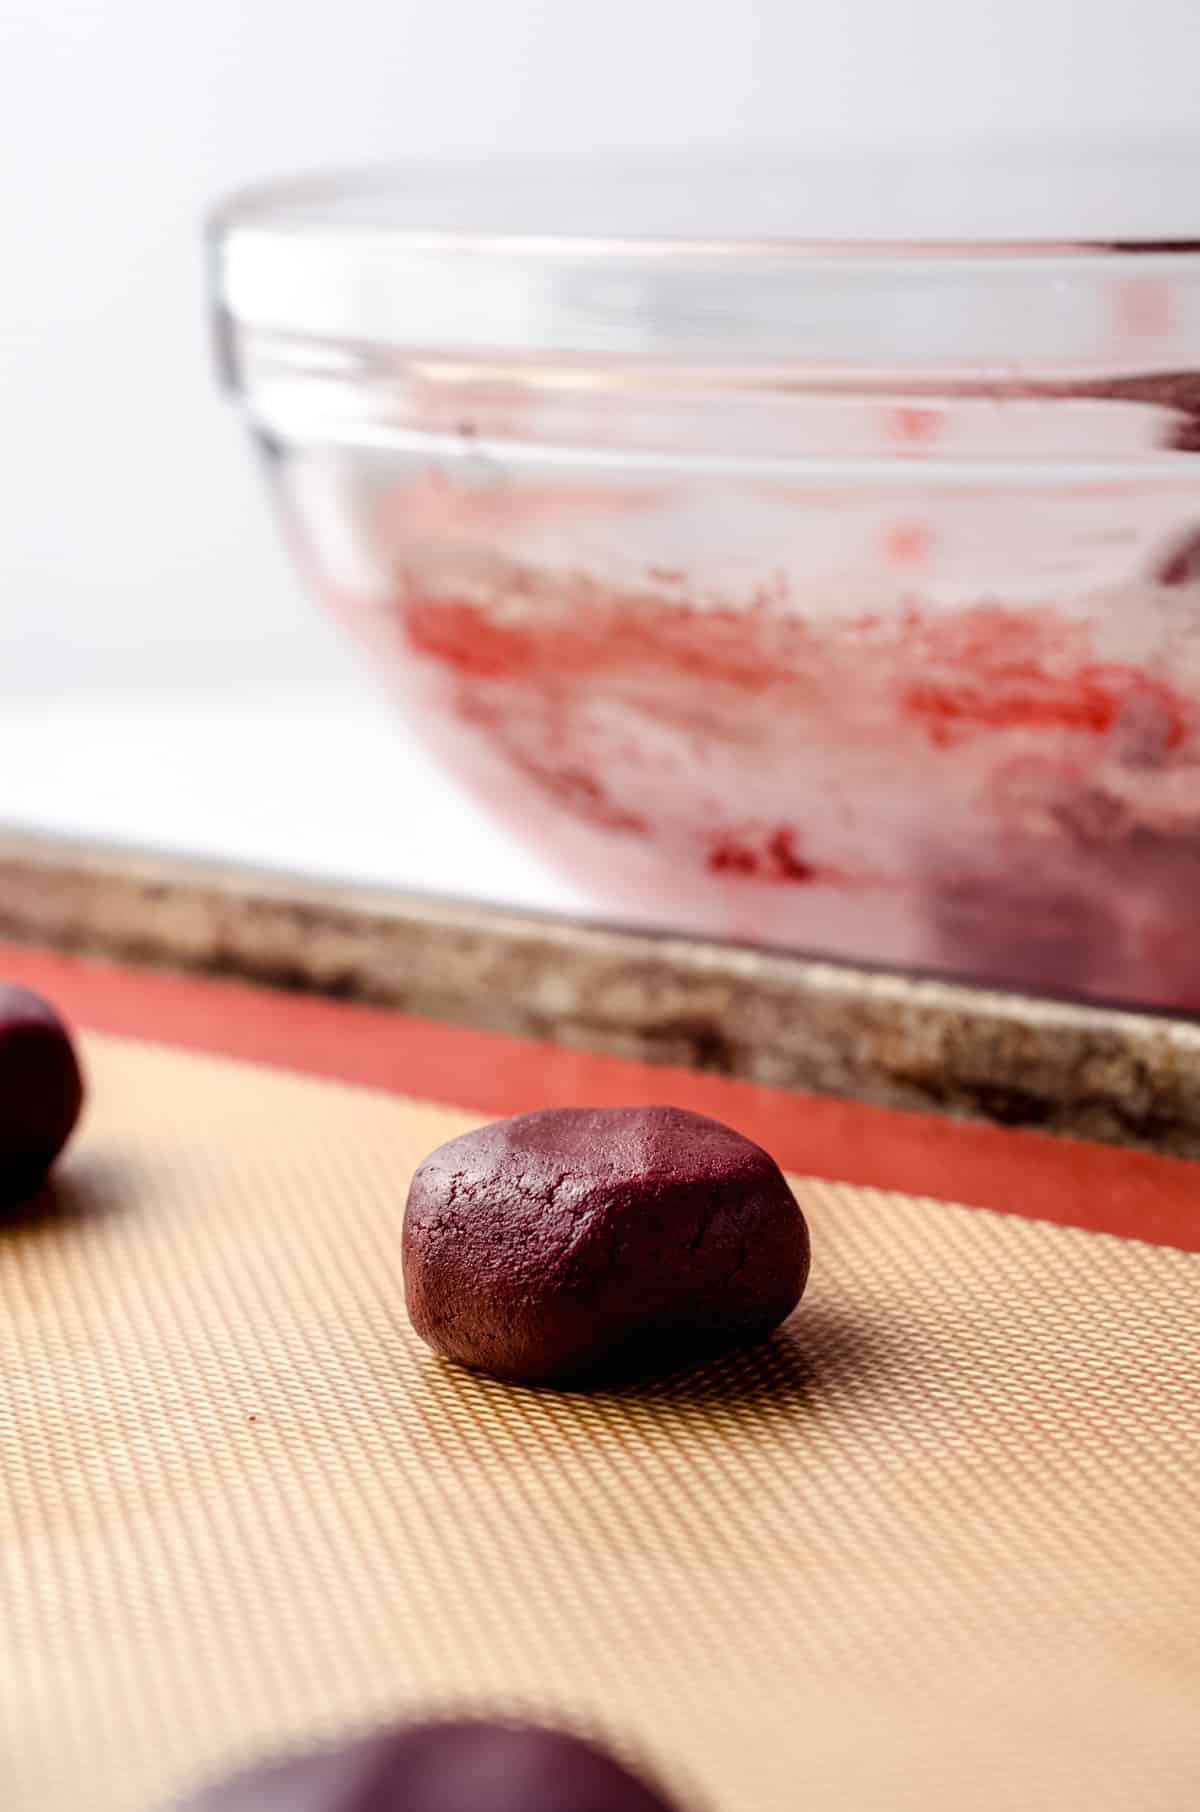
Once you have your scoop of dough, roll it in your hands and then place it on a baking tray that’s lined with a silicone mat or baking paper.
STEP #6
To flatten the cookies, all you need to do is press it ever so slightly (you can use your hands or the back of a spoon). Then bake!
WHY ARE WE FLATTENING THE COOKIE DOUGH BALLS?
Since we are planning on frosting the top of these cookies with the smoothest cream cheese frosting, flattening them slightly before they go into the oven will help keep the top flat during the baking.
They will still be slightly uneven on the surface, but giving them that initial press before you bake them helps a bit!
I like to use a #50 cookie scoop to portion out my dough. This is how I make sure my cookies are all the exact same size and I use this technique with every batch of cookies I make.
ALLOW THE COOKIES TO COOL
It is imperative that you let your cookies cool. I know it can be hard staring at a perfect batch fresh from the oven, but you will thank me for reminding you to WAIT later.
Allow the cookies to cool on the baking sheet for about 5 minutes, then transfer them to a wire rack to cool completely, which will take about 30 minutes.
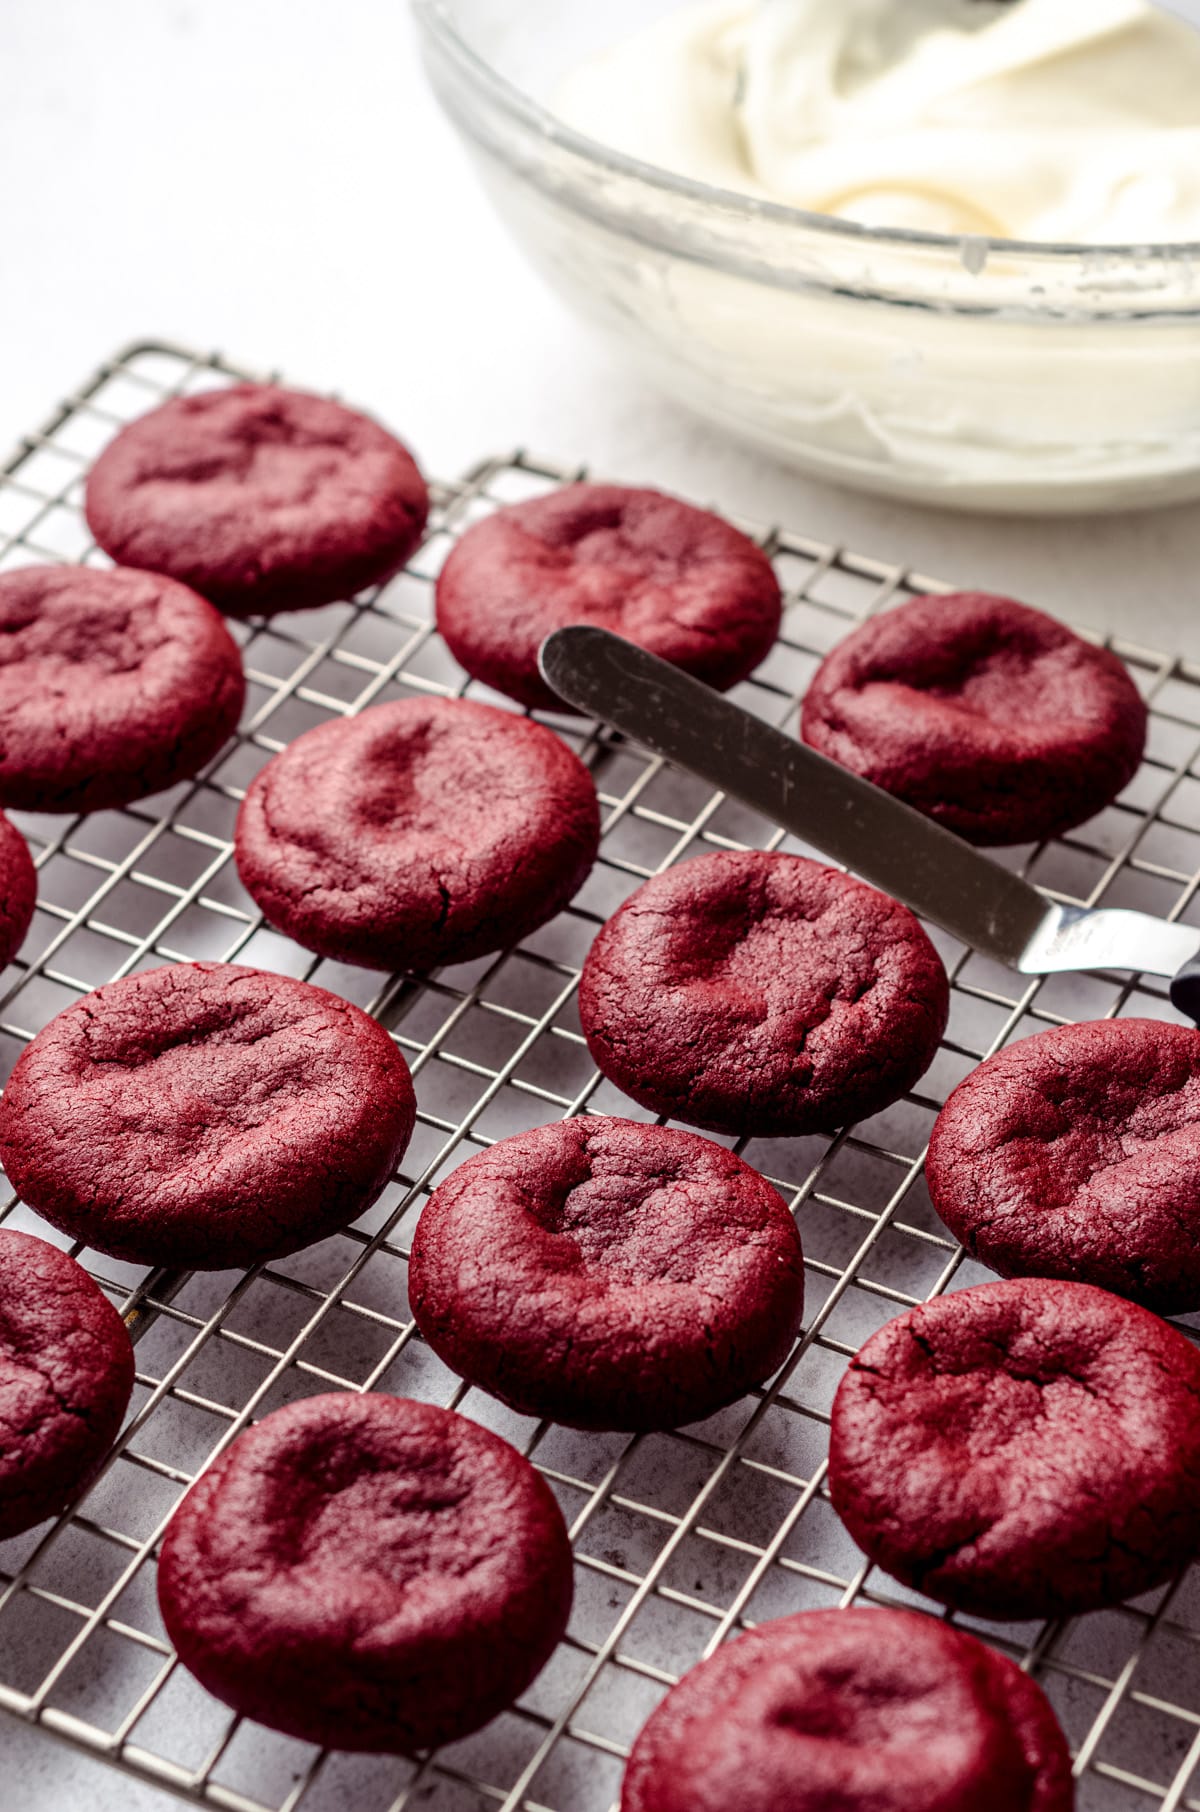
Since we are about to top each cookie with a most delicious cream cheese frosting, we want to make sure that frosting won’t melt right off.
You can make the frosting while you wait for the cookies to cool.
MAKE THE CREAM CHEESE FROSTING
Making the cream cheese frosting is the easiest part!
STEP #8
In your stand mixer or bowl with an electric mixer, beat the butter and cream cheese until smooth and creamy.
STEP #9
Then, add the powdered sugar, vanilla, and salt. Keep beating the mixture until it is super smooth and glossy.
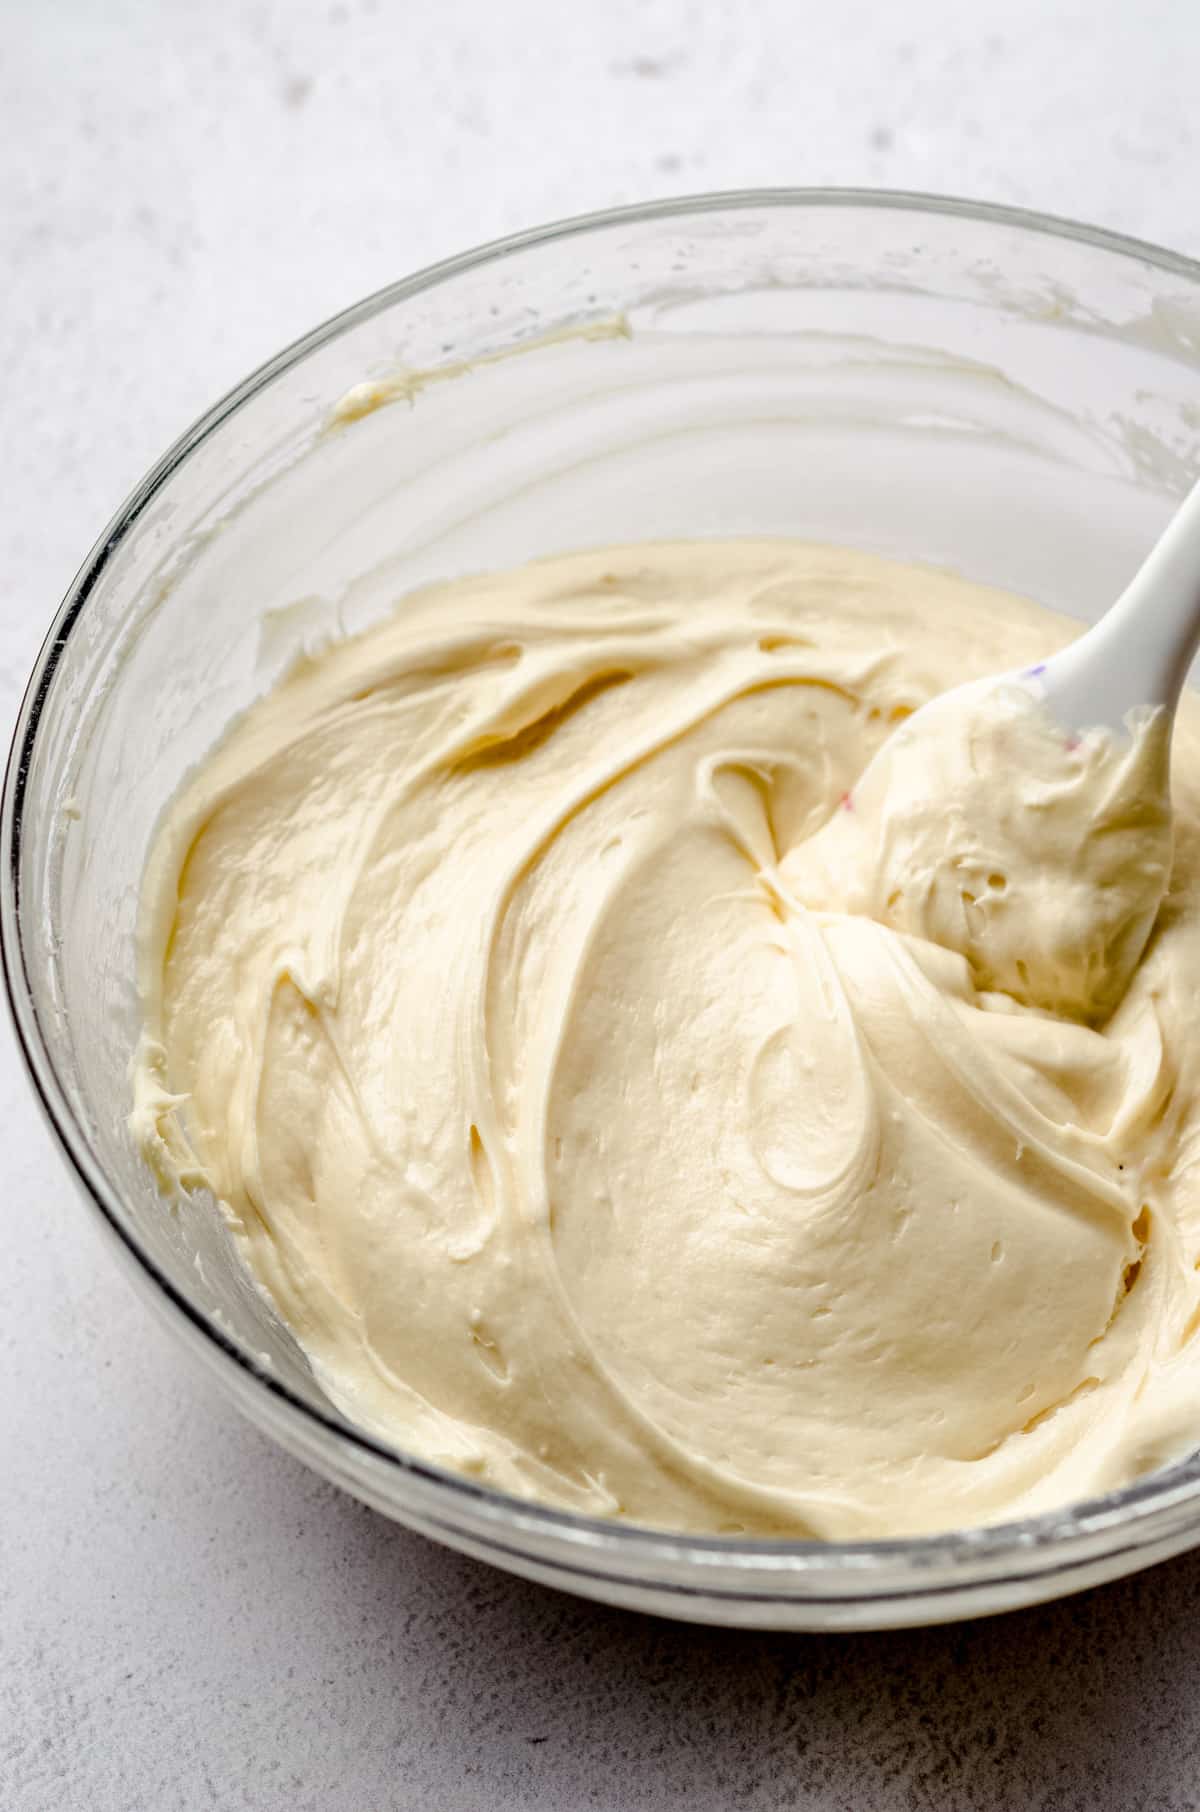
Now all that is left to do is to frost your cookies (and try not to make the batch disappear with your taste tests!).
FROST THE COOKIES
STEP #10
The last stage of making these cookies before you can devour them is to add the delicious cream cheese frosting right on top.
Grab an offset spatula and spread the frosting all over the top of each red velvet cookie.
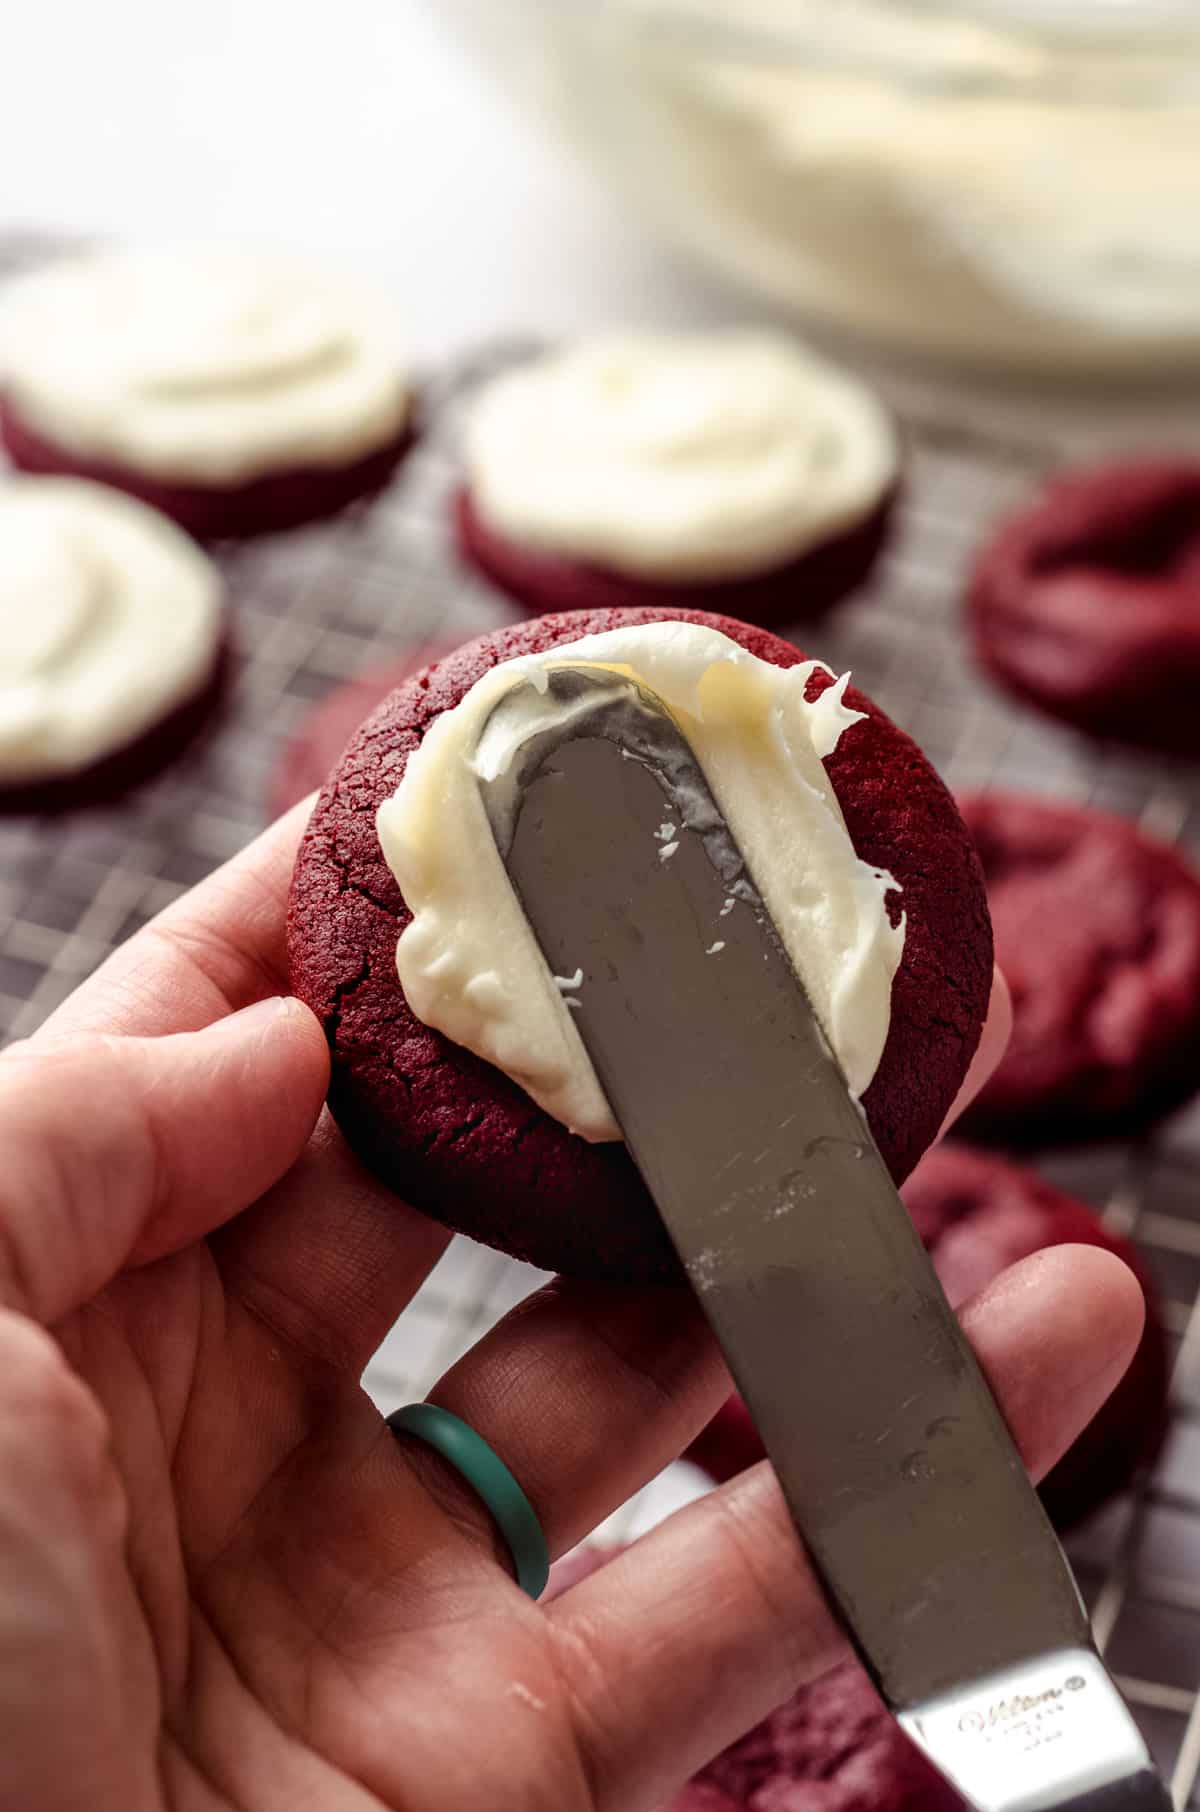
If you want to add any sprinkle or decoration, make sure you do so while the frosting is still wet, that way it has something to stick to.
I personally like my red velvet cookies topped with plain white cream cheese icing. The contrast of the red cookie and white frosting are quite the show-stopper.
Speaking of show stoppers in the red velvet department, don’t miss my classic red velvet cake recipe, red velvet cupcakes, or red velvet sheet cake.
How to store Red Velvet Cookies
These cookies will stay fresh at room temperature for up to 3 days. For longer storage and preservation of the cream cheese frosting, you can keep them in the fridge for about a week. In fact, I like them cold for a special touch!


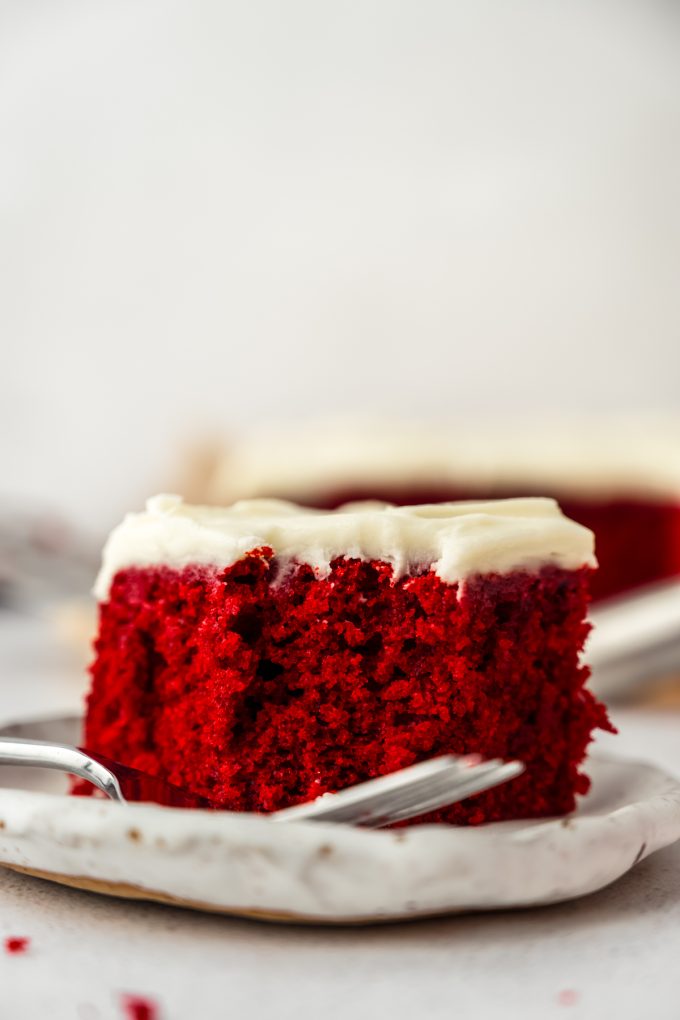
My favorite thing about these cookies is how rich the flavor of the cookie is. Remember when I said those fancy cookies can be way too sweet? That’s not happening here.
We have plenty of sweetness in the cream cheese frosting, and it complements the deep red velvet flavor in the cookies so nicely.
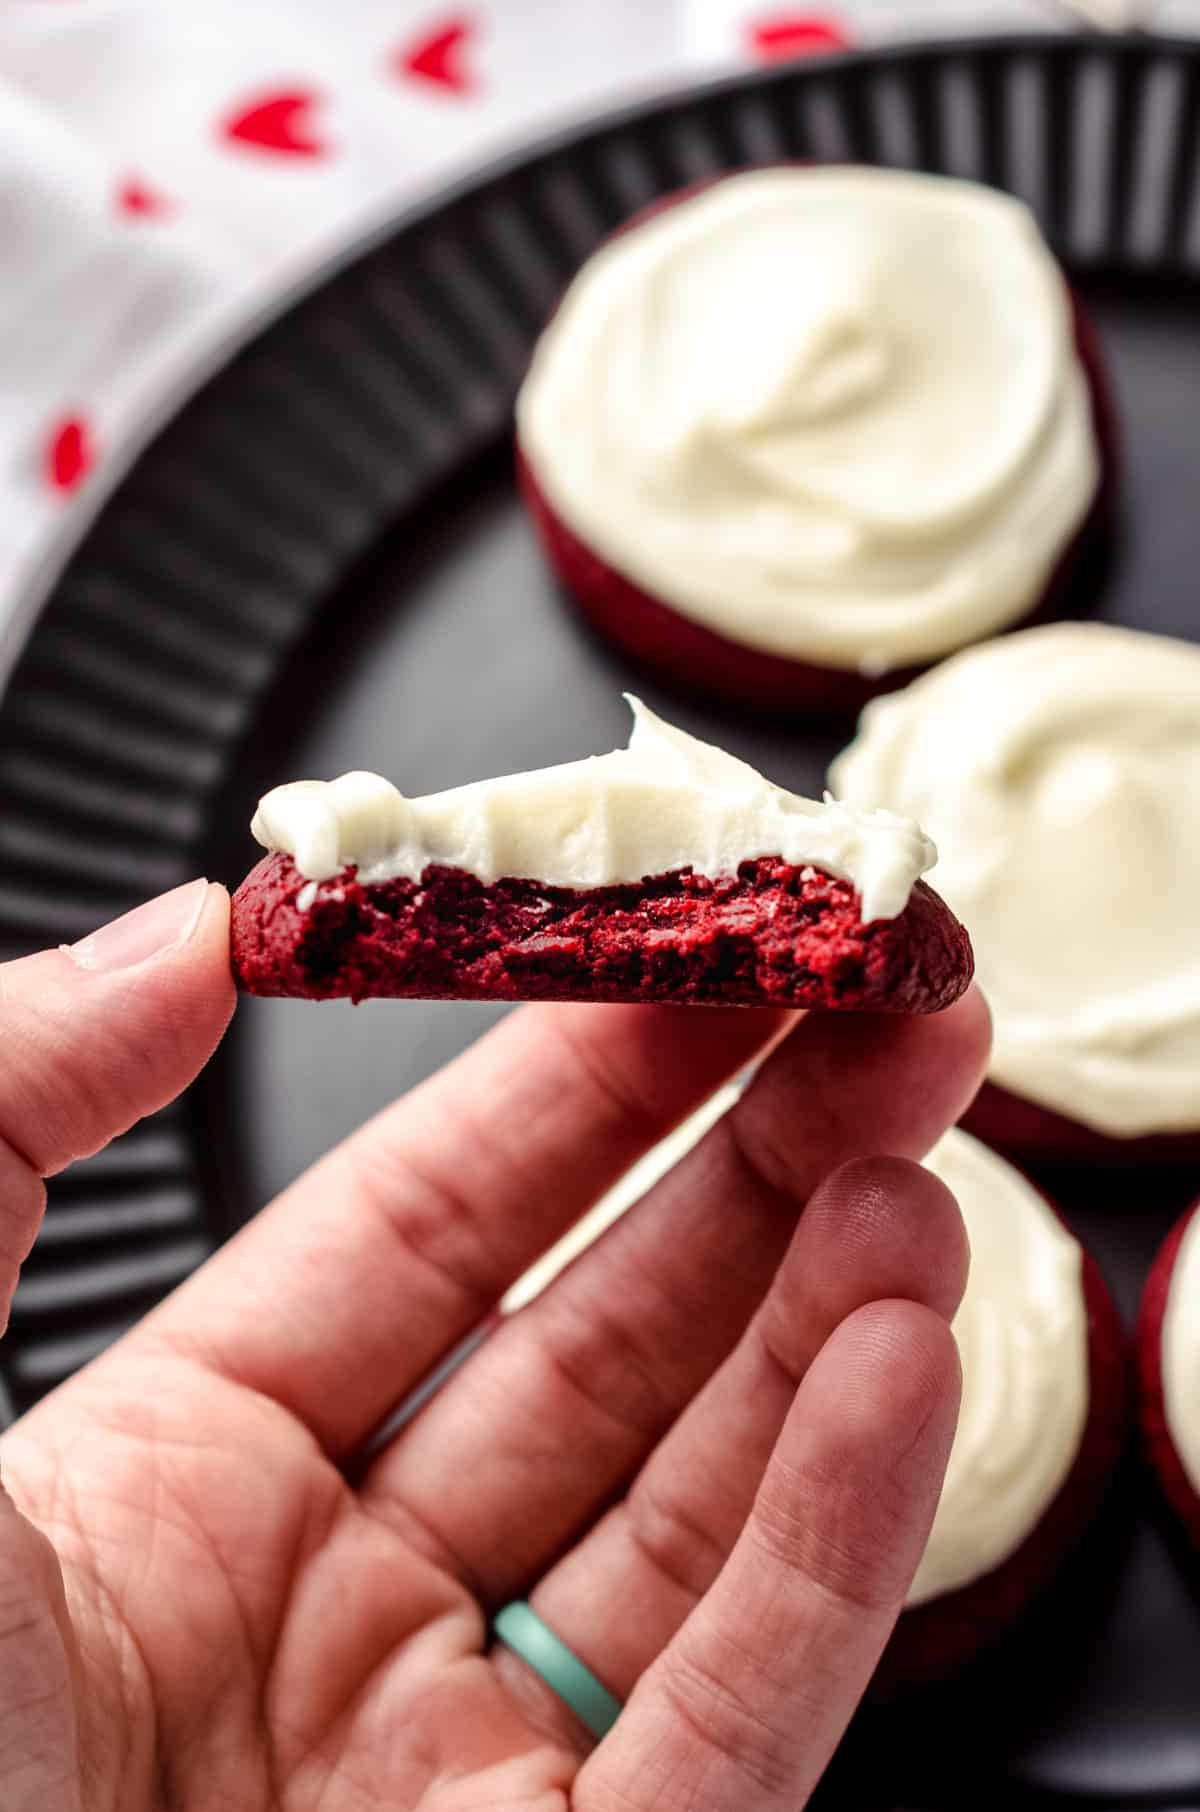
The cookies by themselves are absolutely delicious, but top them with that simple frosting? A match made in cookie heaven.
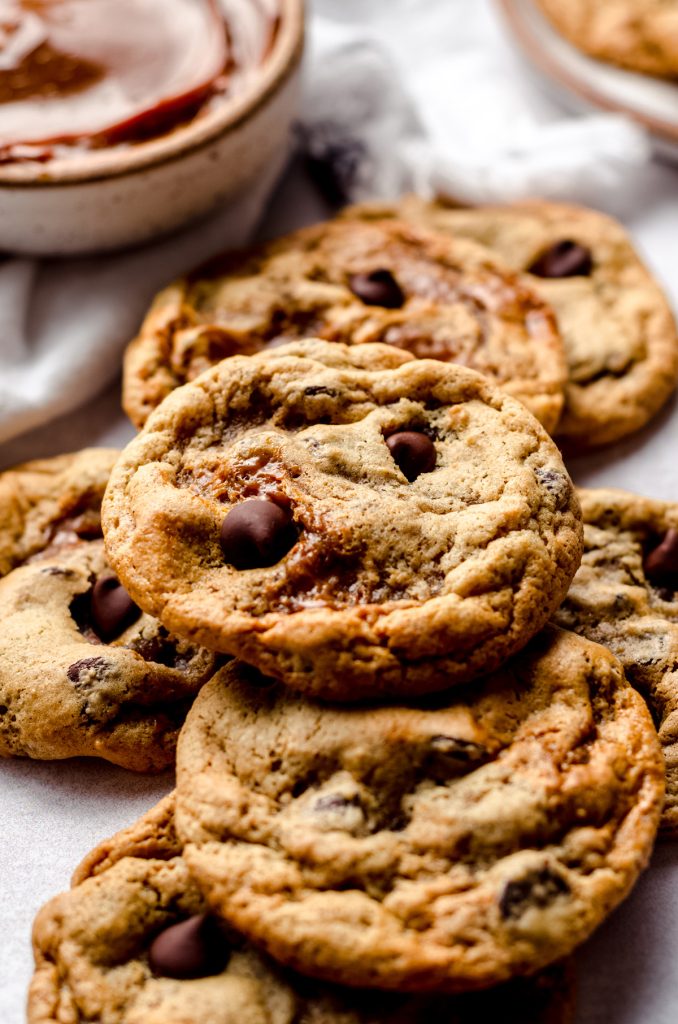
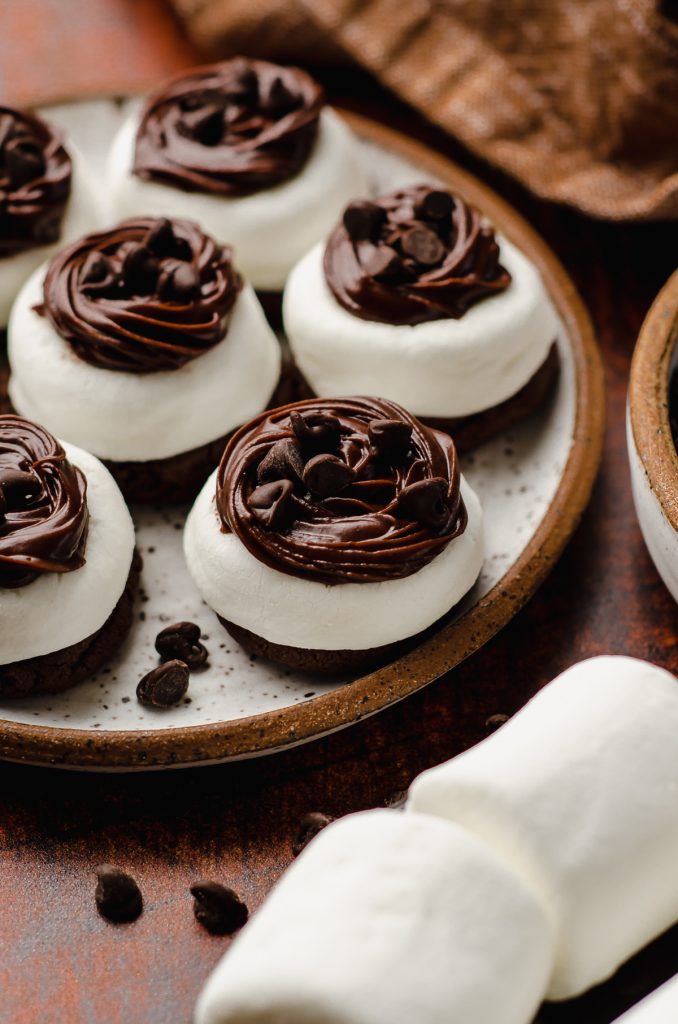
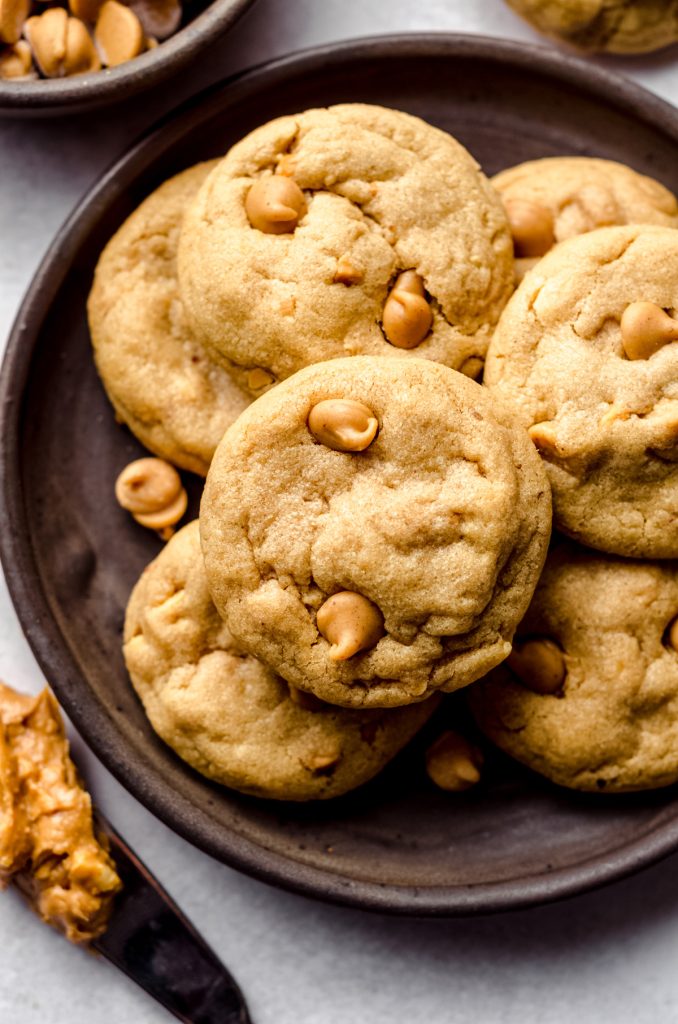
Did you love this recipe? Are you looking for more quick, no-chill cookie recipes? Try any of these no chill cookie recipes next: dulce de leche cookies, hot cocoa cookies, ultimate peanut butter cookies, or Lucky Charms cookies.

More Favorites from Fresh April Flours
Red Velvet Cookies with Cream Cheese Frosting
Ingredients
RED VELVET COOKIES
- 2 cups (240g) all-purpose flour be sure to measure properly
- ¼ cup (24g) unsweetened cocoa powder
- 1 teaspoon baking soda
- ½ teaspoon salt
- ½ cup (113g) unsalted butter softened to room temperature
- 1 cup (200g) granulated sugar
- 1 large egg at room temperature
- 2 teaspoons vanilla extract
- 1 Tablespoon (15mL) red food coloring1
CREAM CHEESE FROSTING
- 4 ounces (113g) full fat block cream cheese softened to room temperature
- ¼ cup (57g) unsalted butter softened to room temperature
- 1 and ¾ cup (210g) powdered sugar
- 1 teaspoon vanilla extract
- pinch of salt
Instructions
RED VELVET COOKIES
- Preheat the oven to 350ºF (177ªC). Line a large baking sheet with parchment paper or a silicone baking mat. Set aside.
- In a medium size bowl, whisk together the flour, baking soda, salt, and cocoa powder. Set aside.2 cups (240g) all-purpose flour, ¼ cup (24g) unsweetened cocoa powder, 1 teaspoon baking soda, ½ teaspoon salt
- In a large bowl with a handheld electric mixer or the bowl of a stand mixer fitted with the paddle attachment, cream the butter and granulated sugar until light and fluffy, approximately 2-3 minutes. Add the egg, beat again, and scrape down the sides of the bowl as necessary.½ cup (113g) unsalted butter, 1 cup (200g) granulated sugar, 1 large egg
- Add the vanilla and red food coloring and beat on medium speed until combined. Using a spatula, scrape down the sides and all along the bottom of your bowl to ensure coloring is distributed evenly. Beat again on medium speed until everything is incorporated.2 teaspoons vanilla extract, 1 Tablespoon (15mL) red food coloring1
- Decrease the mixer speed to low and slowly add the flour mixture. Mix on low until dough has formed. It will be crumbly– this is ok. Use your hands to bring the cookie dough together.
- Using a medium size cookie scoop (I use this #50 cookie scoop for all of my standard size cookies), drop balls of cookie dough onto the prepared baking sheet. Use your hands to roll the mounds of dough into smooth balls, then press down gently to flatten slightly. Bake the cookies for 10-11 minutes, just until puffed and the edges are set. Allow to cool on baking sheet for 5 minutes, then transfer to wire rack to cool completely before frosting (about 30 minutes).
CREAM CHEESE FROSTING
- In a large bowl with a handheld or the bowl of a stand mixer fitted with a paddle attachment, beat the cream cheese and butter together on high speed until smooth and creamy.4 ounces (113g) full fat block cream cheese, ¼ cup (57g) unsalted butter
- Decrease the mixer speed to low, then add the powdered sugar, vanilla, and salt. Increase mixer speed to medium-high and beat for 2 minutes or until smooth.1 and ¾ cup (210g) powdered sugar, 1 teaspoon vanilla extract, pinch of salt
- Use a small offset spatula to spread frosting onto each cookie. If you want to add embellishments like sprinkles, do so before the frosting sets. Store leftovers covered tightly at room temperature up to 5 days. Cookies freeze well, up to 3 months. Thaw at room temperature.
Notes
- Food coloring: I prefer gel food coloring, and my favorite brand is AmeriColor. You can use traditional food coloring. The amount is the same.
Nutrition Disclosure
All nutritional values are approximate and provided to the reader as a courtesy. Changing ingredients and/or quantities will alter the estimated nutritional calculations.

Hi Lynn, I came across your recipe and am interested in making it ( lived the idea of not too sweet 😊).
You mentioned freezing them; do I do that with the frosting on or better to frost them once thawed( a bit worried the frosting will be ruined if frozen then thawed…)
Hi, Ana! Good question. You can do either. If you want them to stay looking really pretty, I’d advise adding the frosting AFTER thawing, but if you’re just going to eat them at home or don’t care about the presentation, you can freeze them frosted.
I’m excited to find this recipe, but I think I’ll do cream cheese morsels and then create cookie sandwiches with the cream cheese icing. 🙂
I can’t wait to hear how it goes, Stephanie! Please report back.
Made these today in advance of Valentine’s Day (wanted to test before we committed to making them for my wife’s work). The frosting is delicious and the cookie is also good on its own.
Only changes I made was to add an extra egg yolk and baked on stone cookie sheets (and a stone pizza sheet). For that reason, cooked for 15 minutes instead of 10-11. Our dinner guests loved them so we are a go for making 50 or so next Tuesday.
Thanks so much for trying my recipe, Greg 🙂
Hi Lynn. I made your delicious cookies and noticed a couple of things. As I do weight my ingredients I noticed that the total grams in the butter for the batter is 57g for 1/2 a cup – it actually is 113g. It’s correct for the icing (57g of butter for 1/4cup)
You indicated 240g of flour for 1 cup – this was a conundrum for me as 1 cup flour is 250g, however when I made the cookies I used 240g as indicated on the recipe. The dough was not as crumbly as indicated in the notes and it came together nicely.
Everything turned out great and the family really enjoyed them.
Oh man! Thanks for catching that butter measurement! I’ve fixed that now. As far as the flour, it’s 2 cups = 240g, but I think you just mistyped by saying 1 cup. Regardless, I always use 120g as 1 cup of flour consistently through my recipes, as that’s the measurement on the brand of flour that I use and consistent with 4.25oz of flour equalling 1 cup. You are correct to adjust to the weight tested in the recipe when your weight differs, though. Thanks for your feedback and review! I’m so glad you enjoyed the cookies 🙂
#momgoals you are the coolest!! Thanks so much for sharing my recipe 🙂
I’ve become a red velvet enthusiast now, thanks to Fresh April Flours! These cookies are sooo tasty, and the balance of flavors is absolutely perfect.
Thank you so much, Liza!
WOW! These were delicious! The perfect balance of sweet with tangy cream cheese icing.
Thank you, Nikki!
Thank you, Mindy!
Right? SO good! Thanks, Sheila!
i’ve made this recipe twice. One time as written, and it came out great. Second time, I used the in-website recipe adjuster to scale it up to twice the size. Unfortunately I was misled, because the cups scaled appropriately, but the listed grams next to the cups did not. As I went through the recipe by weight as you recommend, the cookies obviously came out far too wet. I was able to Make it work, but I hope you can fix this issue for anyone else
Hey, Stasha– thanks for letting me know! Unfortunately, that’s how the recipe template works, because I manually add EACH AND EVERY metric measurement myself, so the system only adjusts the numbers it computes itself. I wish it were smarter than it is!
This recipe is soooo good!
Followed everything and it came out perfect. printed and saved! Thank you
Thanks so much, Charlene!
followed to a tea, and it was disgusting.
unsweetened taste/ bland. super dry too.
Hmm, sounds like user error here, as you can see there are lots of positive comments. I’ve also made this cookie dozens of times and it’s always a hit with tasters. Not sure where you went wrong, but I assure you, this cookie is not unsweetened or bland in any way. And if it was dry, it sounds like you totally forgot something… Maybe sugar. Bummer!
Oh my gosh, these cookies are so good! I’m making them for Christmas goodies for a senior care center that I support and will surprise my hubby with his favorite cookie too!
So glad you like them, Jules!
Loved these cookies! Made them for a baby shower and they were gobbled up! Thanks for the tip to flatten them slightly, they turned out perfectly.
Thanks, Kathleen 🙂
These red velvet cookies are so delicious! I followed the instructions and it came out perfectly. Thank you!
Thank you so much!
Can you make the dough ahead of time?
Hi, Hope! You can. I would let it come back to room temperature completely before baking. Let me know if you try them!
These are awesome! Taste so good, cooked perfectly.
Thank you so much, Donna! 🙂
Tasteless . Had high hopes but they are a total disappointment.
Hmm, bummer to hear that, Joy. These have had a lot of positive reviews.
One star to many pop ups, it annoying when you’re trying to read. This is why I would rather buy cookbooks. While typing this 2 pop upside. Stop already.
Hi, Will– first of all, I’m removing your 1-star comment because you didn’t actually make the recipe. Two, this content here is FREE to you. You are served ads everywhere you consume content, even on services you pay for. Third, here is a link to purchase my cookbook.
We are just gonna ignore my bad decorating skills. But omg these cookies were amazing. They taste exactly how you would expect red velvet to taste. They outsides were barely crunchy and the inside was perfectly chewy. I highly recommend making these.
I’m so glad to hear this, Eve! Thanks for sharing 🙂
These are genuinely the best cookies I have ever made. Amazing recipe!
Thank you so much!