
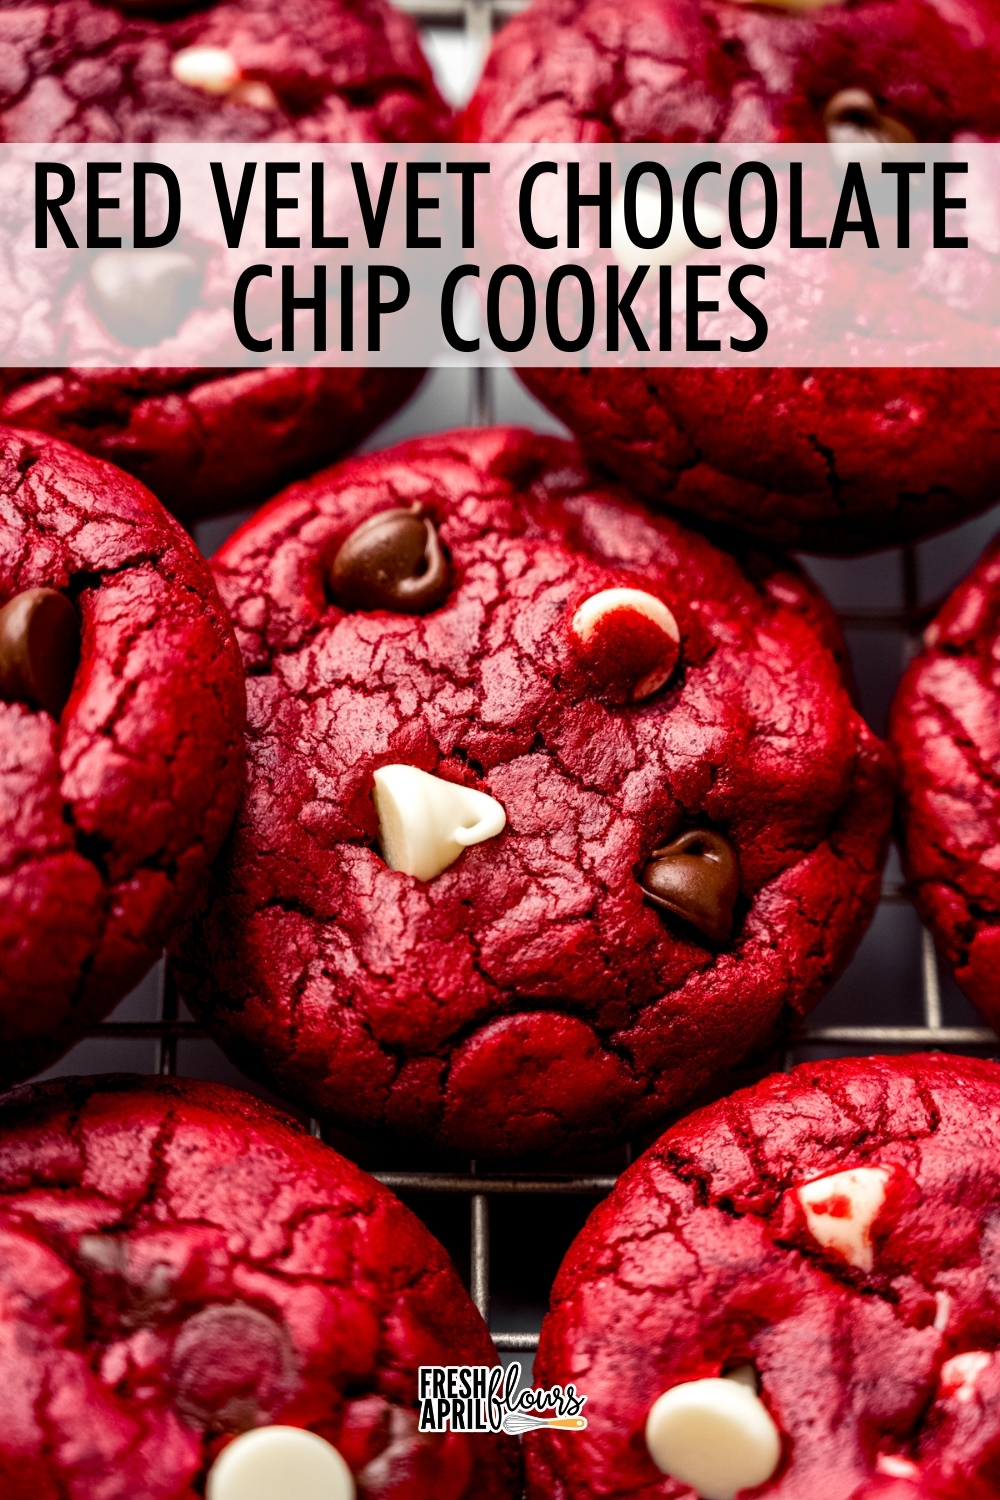
Red Velvet Chocolate Chip Cookies
As an Amazon Associate, I earn from qualifying purchases. Read the full disclosure here.
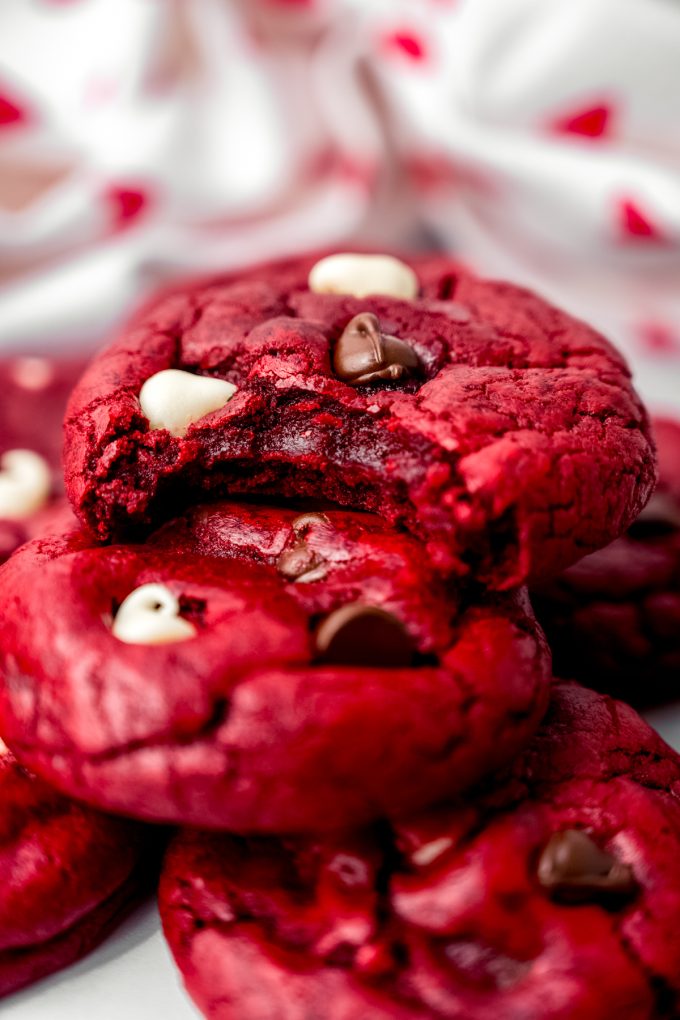
These red velvet chocolate chip cookies use the same soft and chewy base as my popular frosted red velvet cookies, made from scratch with no cake mix and no chill time.
MY READER-FAVORITE RED VELVET COOKIE: CHOCOLATE CHIP STYLE
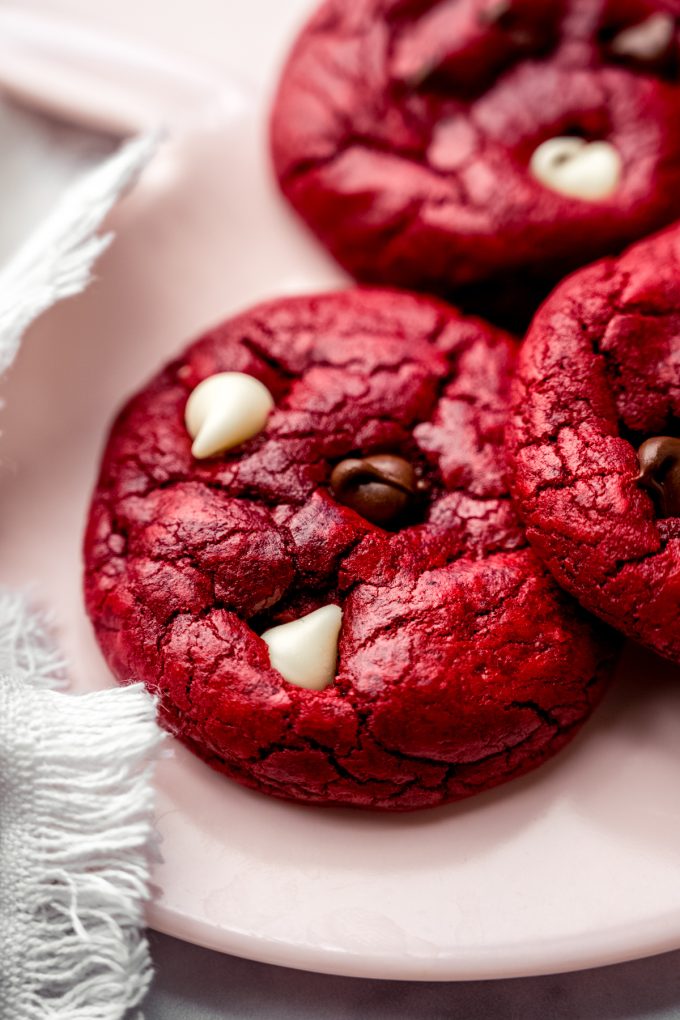
These red velvet chocolate chip cookies are soft, chewy, and made completely from scratch. There’s no cake mix involved, no chilling required, and no additional steps involved to get to the final destination (looking at you, red velvet blossoms, red velvet crinkles, and frosted red velvet cookies).
These cookies use the same highly rated red velvet cookie base as those famous frosted red velvet cookies I just mentioned, but this time we’re loading them up with chocolate chips and keeping things a little more casual. Think thick, bakery-style cookies without the bakery price tag, nor the need for cream cheese frosting (though I fully support frosting whenever the mood strikes).
If you’ve already made and loved my frosted red velvet cookies, this recipe will feel familiar in the best way with the same dough and the same rich red velvet flavor, just a different finish.
YOU CAN TRUST THIS RED VELVET COOKIE DOUGH TO WORK
Red velvet cookies can be tricky. Many recipes rely on cake mix, which usually leads to cookies that are fluffy, cakey, and honestly more like whoopie pies than cookies. Also, no shade whatsoever! I lean into red velvet cake mix for these red velvet pancakes, red velvet biscotti, and red velvet puppy chow.
But these cookies are different. We’re getting all of my best flavor tricks from my red velvet cake (seen also on my site as cupcakes). The dough is made completely from scratch, carefully made to lead to soft and chewy cookies that are deeply flavored with cocoa and vanilla but are also sure to stay nice and thick so the chocolate chips are abundant in every bite.
Again, it’s the same base as the one you see in my frosted red velvet cookies, so yes, it’s been tested, loved, and baked many, many times (just check out some of the reviews over there).
INGREDIENTS YOU WILL NEED
Here’s a visual of the ingredients you’ll need to make these cookies. The list is pretty straightforward, but I do have some important notes regarding the options and choices you have based on your preferences and product availability.
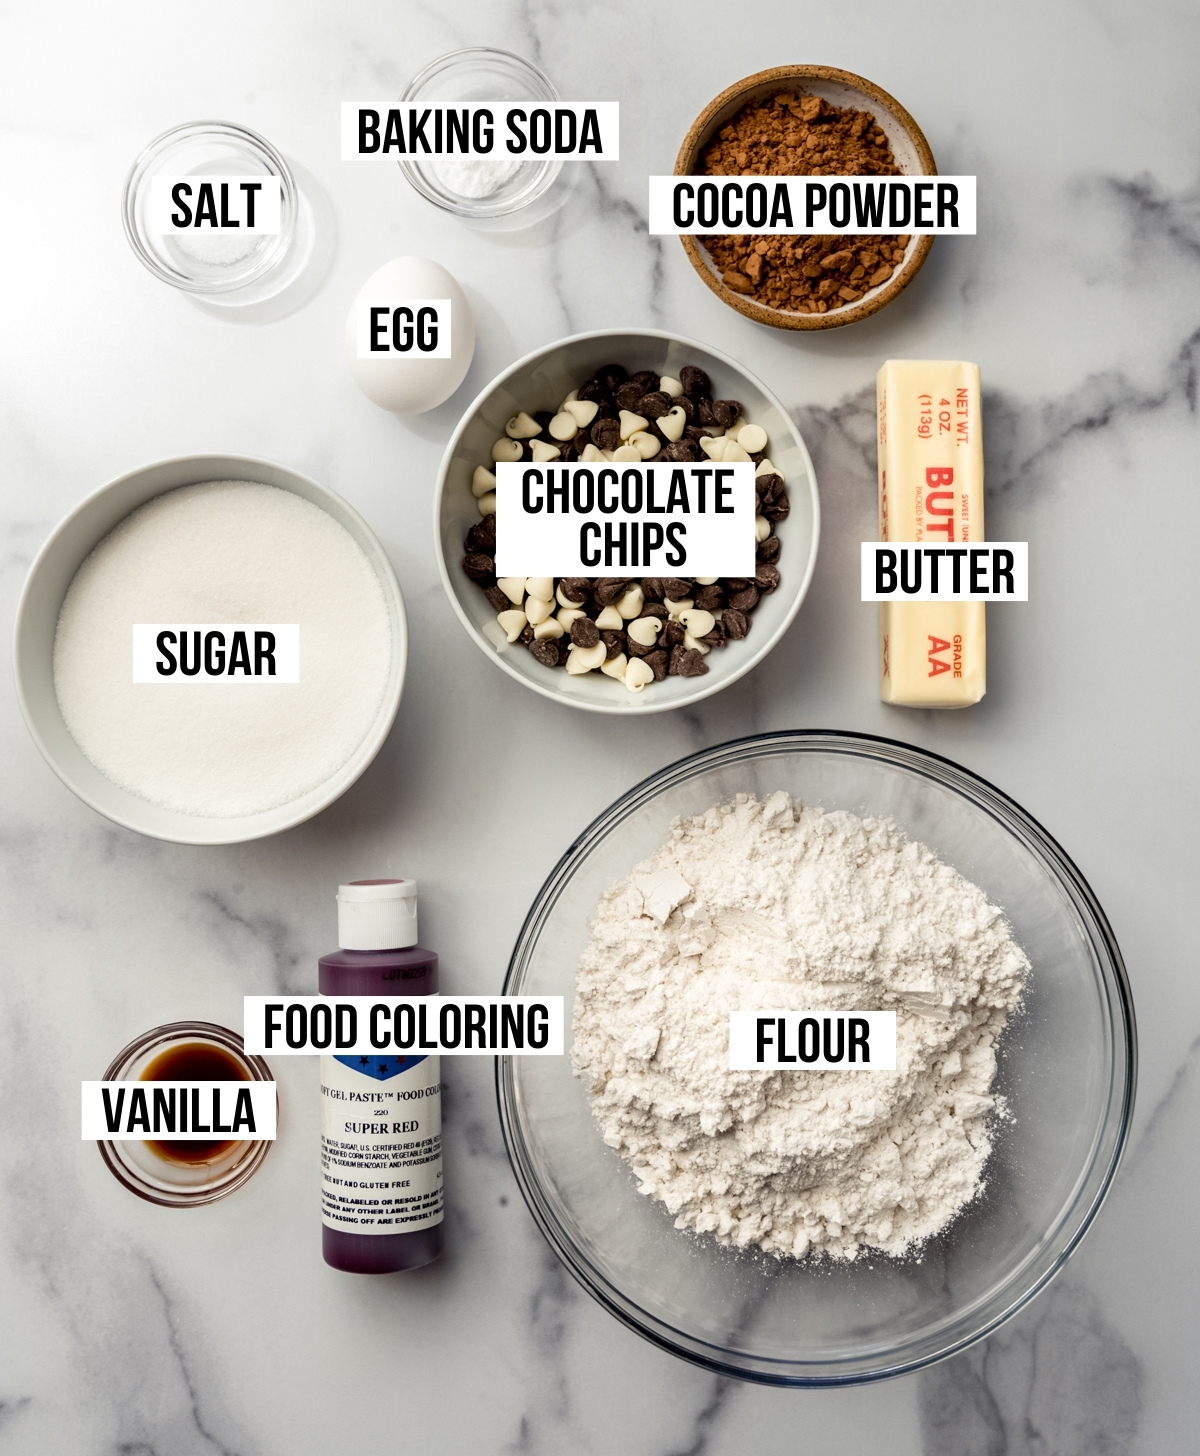
Be sure you’re scrolling down to the recipe card for exact measurements and preparations of each ingredient.
A NOTE ABOUT THE FOOD COLORING
This is a thick cookie dough, but can be extra thick when using gel food coloring (my preference). The thickness of the dough is intentional since it’s what gives these cookies their thick bite, soft center, and chewy texture.
That said, you may opt for liquid food coloring for a more manageable dough. If you use the gel coloring and find the dough to be far too difficult to work with, I recommend using a touch of liquid (like milk or even water), no more than 1 Tablespoon, to loosen it a bit.
Regardless, the extra thick nature of the cookie dough means you’ll be shaping the cookie dough balls a bit unconventionally (we’ll talk about that in a bit in the “shaping” section).
CHOCOLATE CHIP OPTIONS: USE WHAT YOU LOVE!
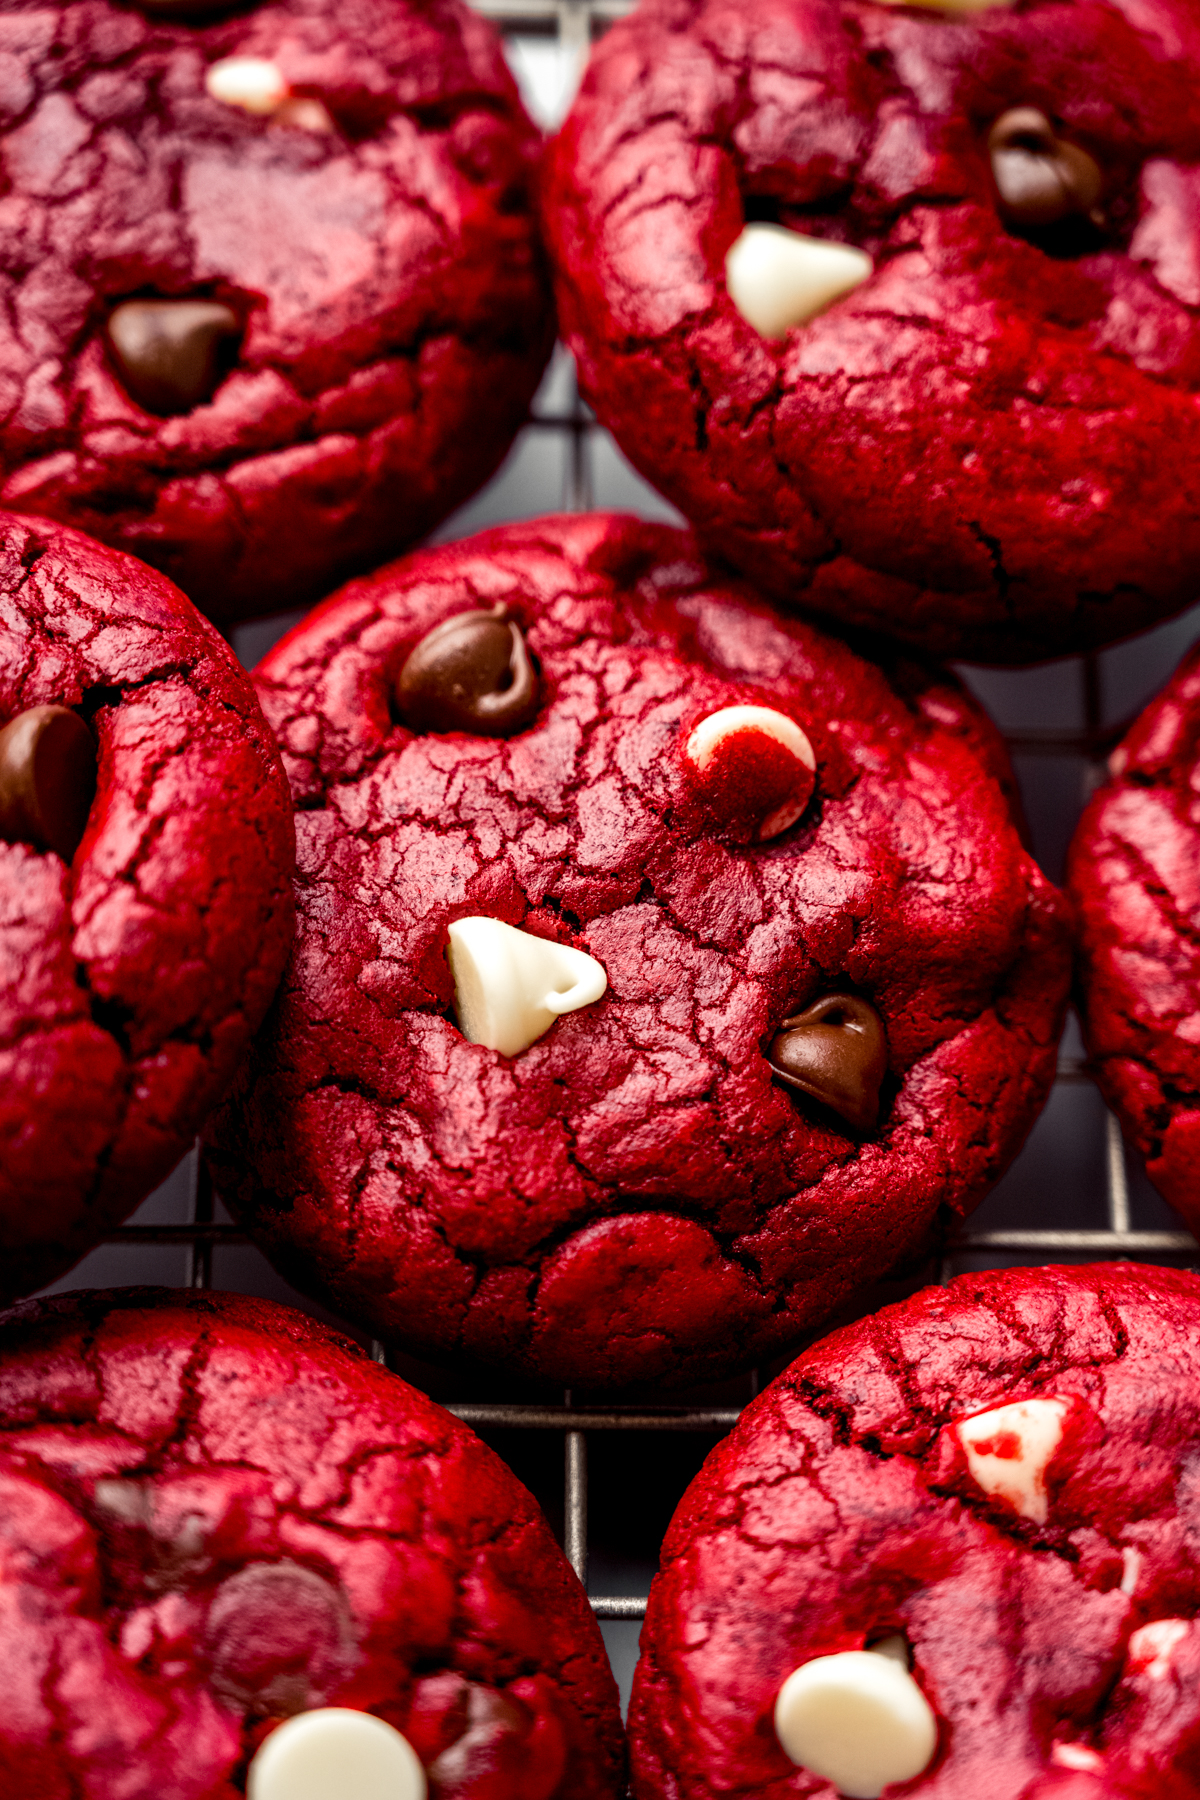
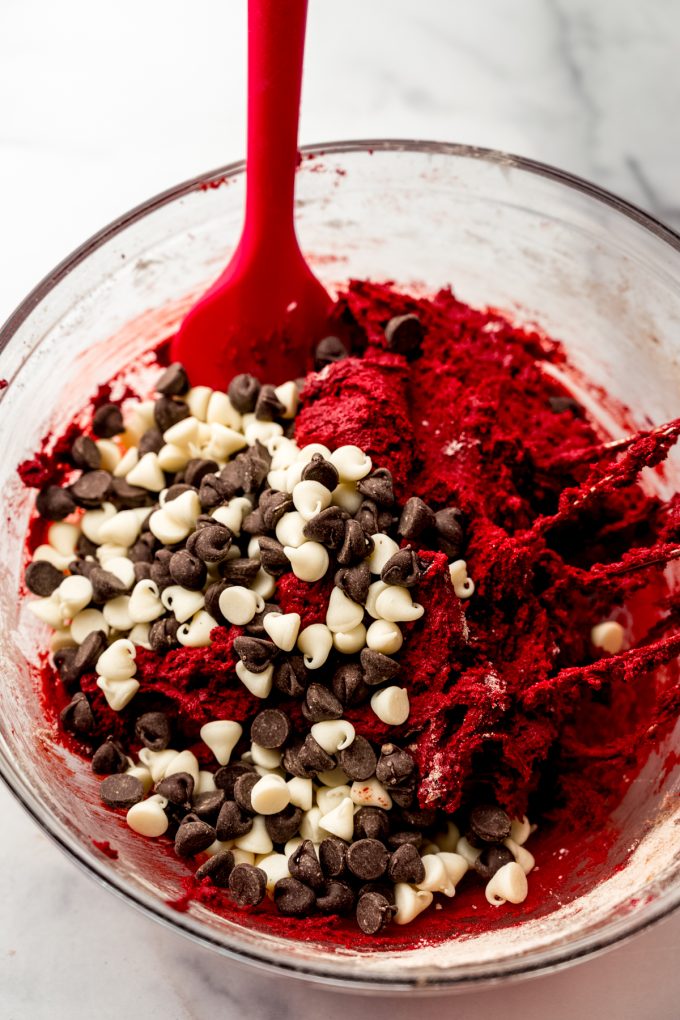
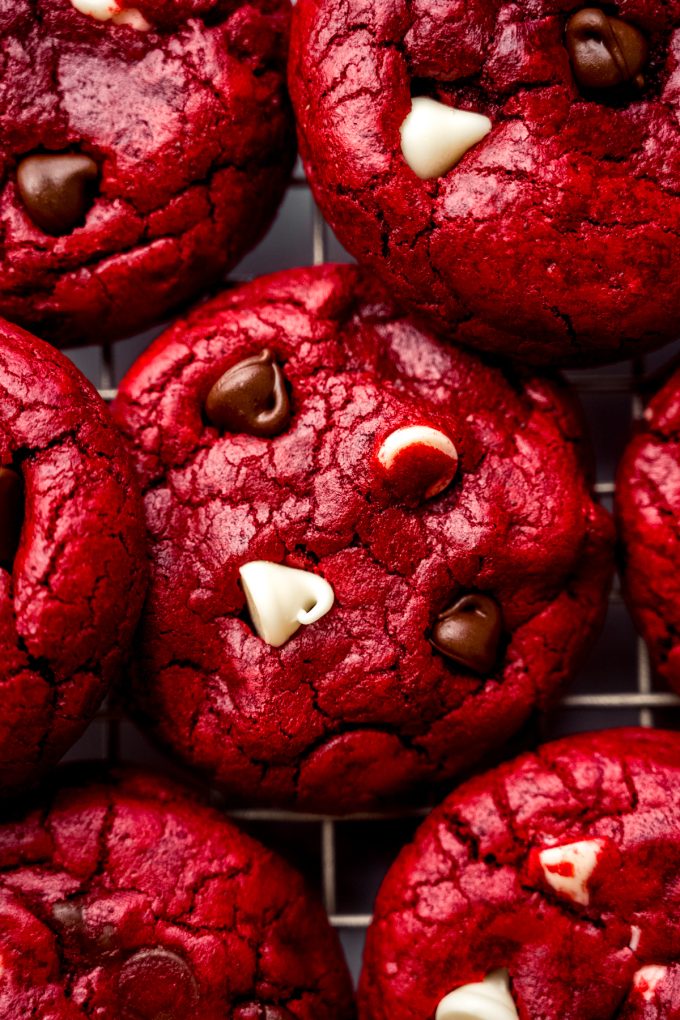
For this version of red velvet chocolate chip cookies, I use a mix of semi-sweet chocolate chips and white chocolate chips, which gives you that classic red velvet vibe without overpowering the cookie itself with ultra sweetness.
That said, this dough is flexible:
All semi-sweet? Totally fine.
All white chocolate? Also great (and for the people who really love sweet!).
Mini chips, chunks, or a combo? Go for it.
Use what you like, just keep the total amount the same. Or split the dough in half and do two entirely separate types!
HOW TO MAKE THE RED VELVET COOKIE DOUGH
If you’ve made the frosted version, you already know the drill. If not, don’t worry! This is still a very straightforward cookie dough.
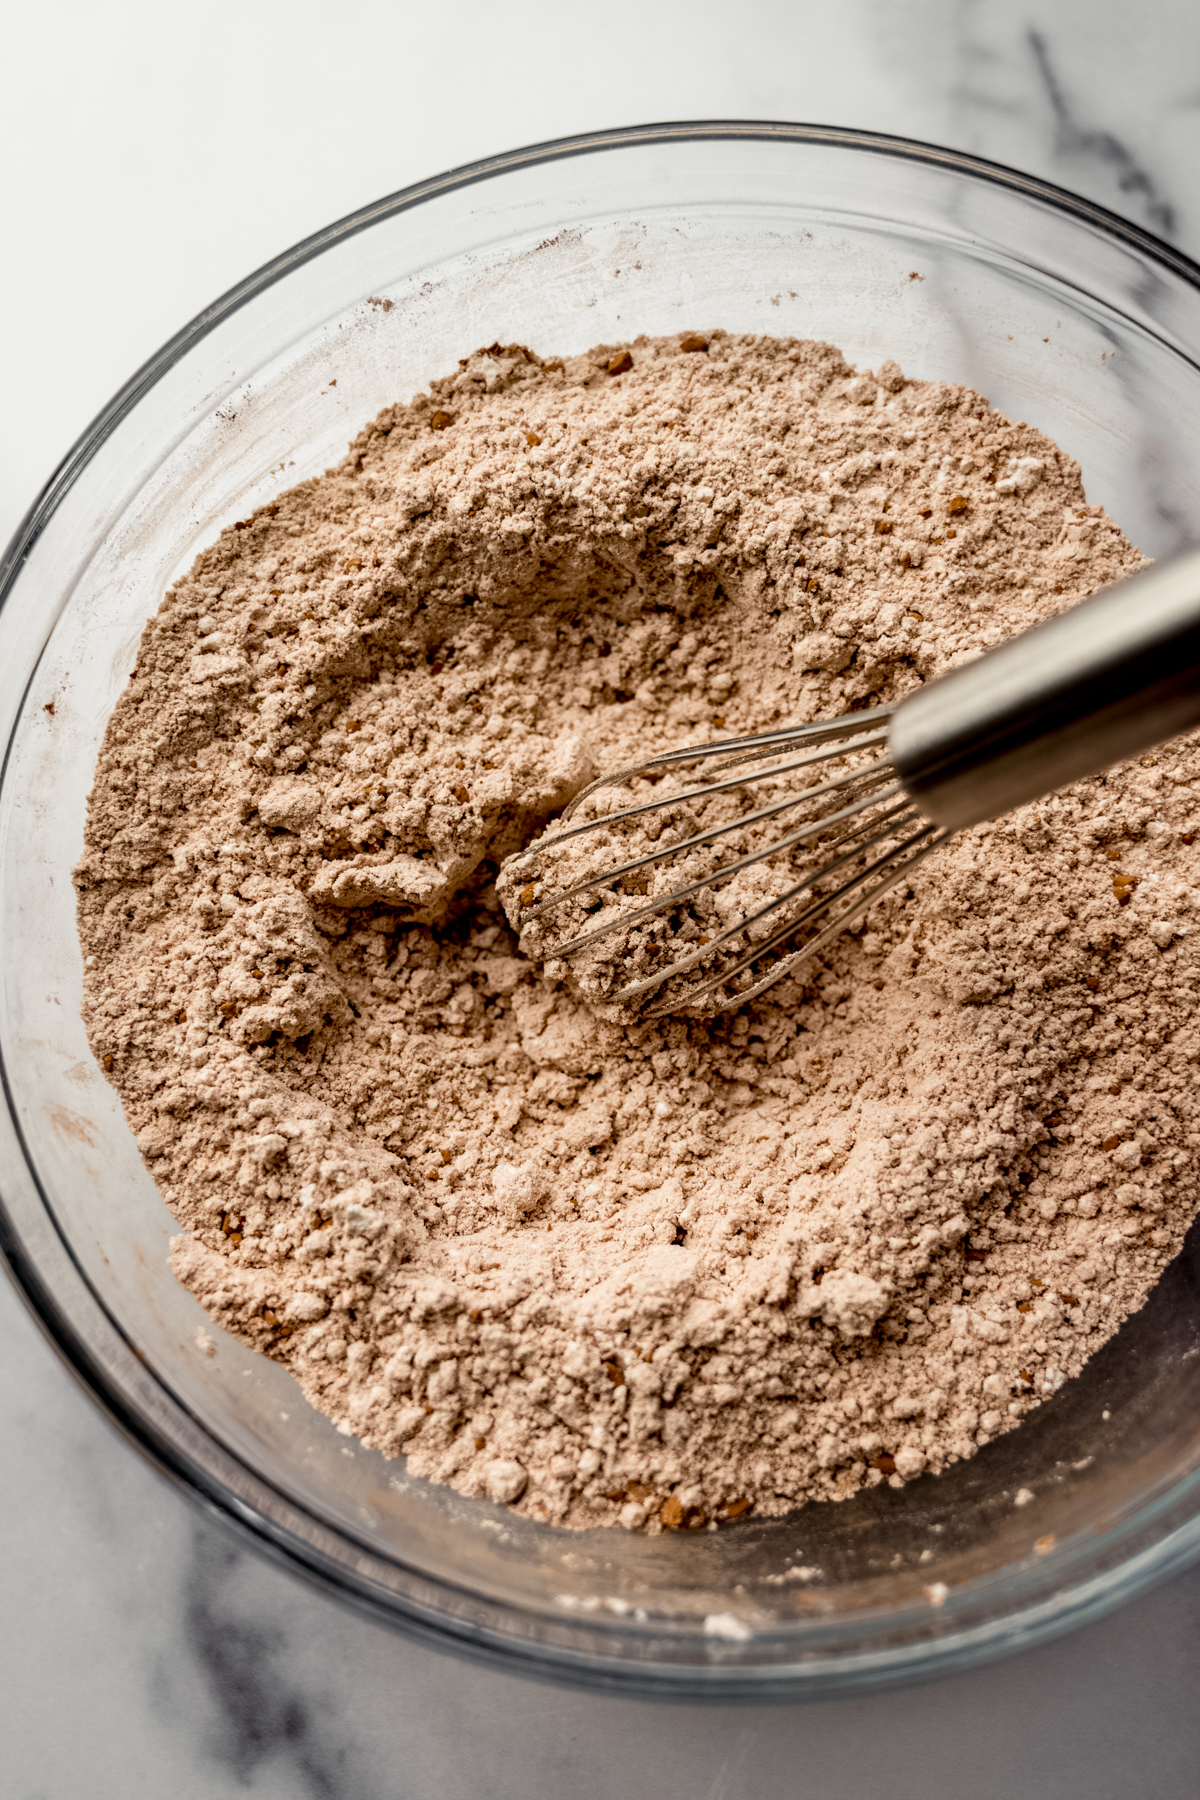
Whisk together the dry ingredients: you’ll whisk the dry ingredients together first, ensuring they’re well-combined so that adding them to the wet ingredients doesn’t lead to pockets of flour or other dry ingredients.
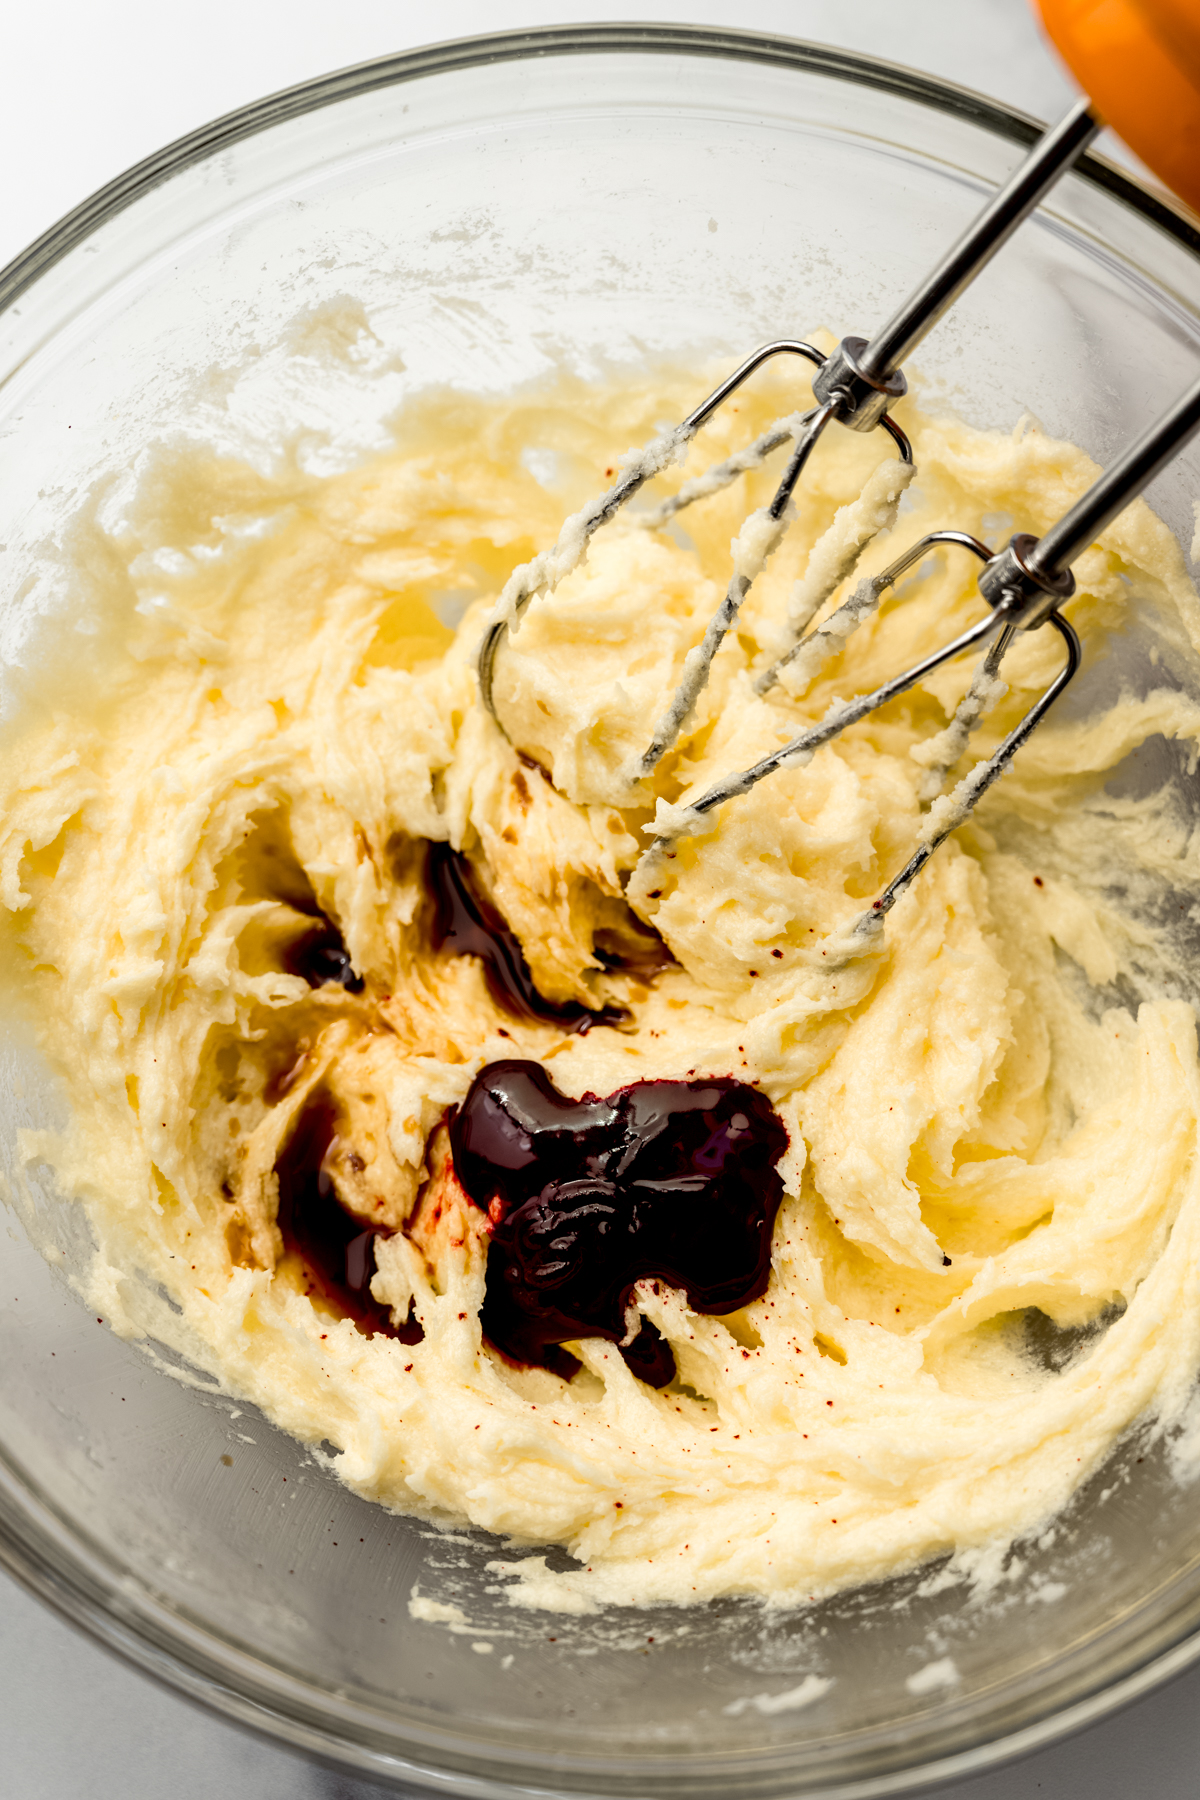
Cream the butter + sugar: standard for cookie dough! To this, the eggs, vanilla, and red food coloring get added, and you’ll have a nice cohesive very vibrant red base to add your dry ingredients to.
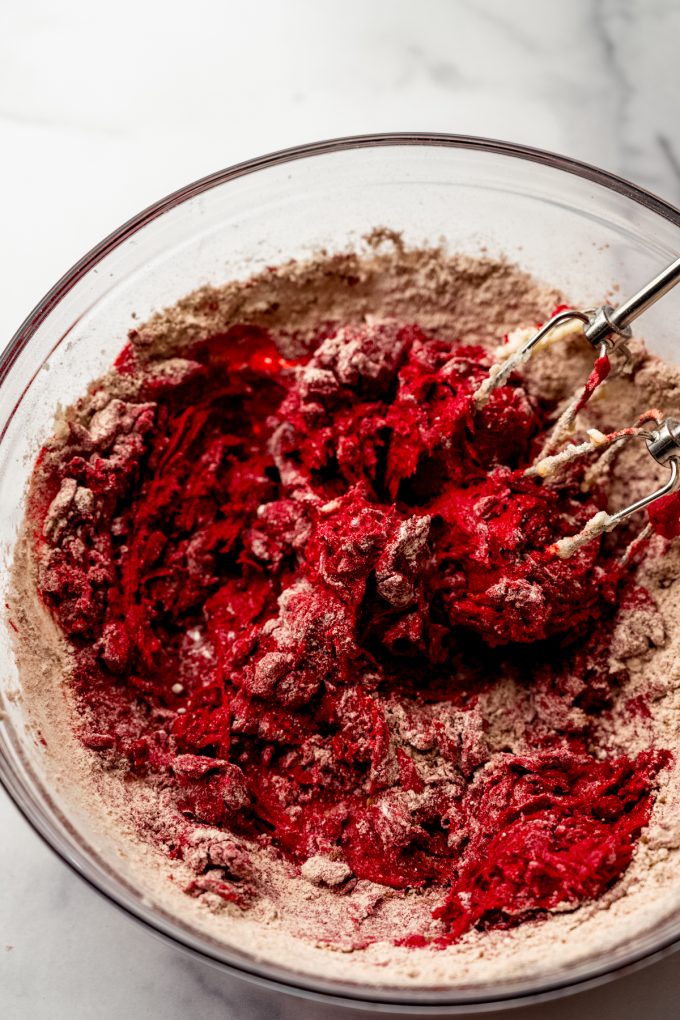
Add the dry ingredients: you’ll want to do this a little at a time since the dough is thick. You might even opt to do this part by hand– I use a hand mixer which is not as strong as a stand mixer, and prefer to use a spatula after initially using the hand mixer. If I’m using a stand mixer, I typically don’t need to mix by hand.
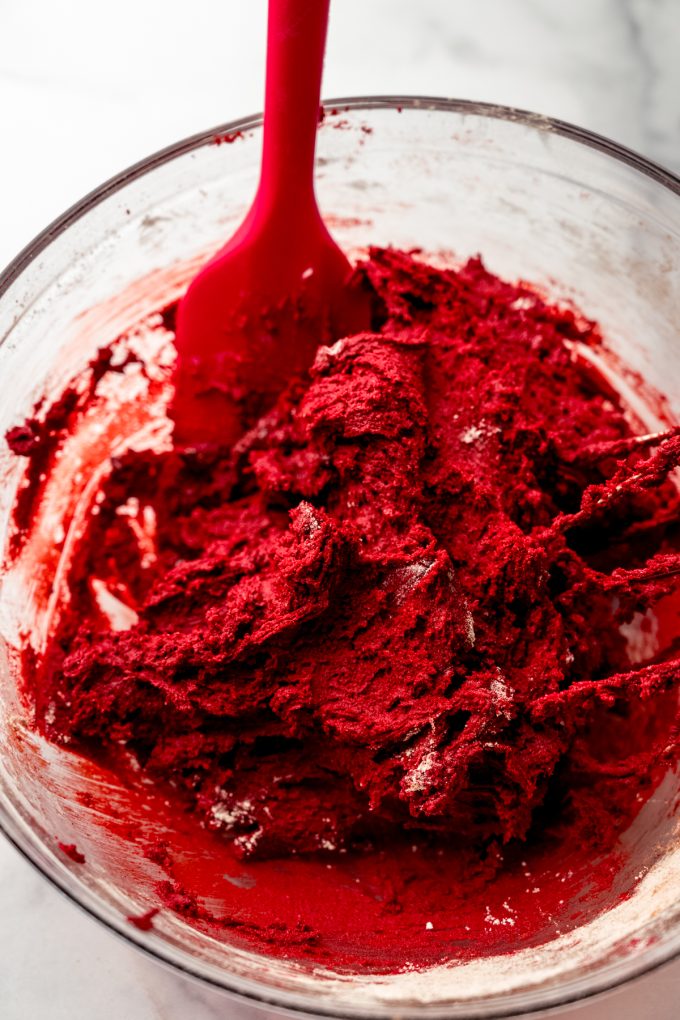
Add the chocolate chips: this will make the dough even thicker, so lean into the advice I just mentioned in the previous step. Once the chips are evenly dispersed, proceed to scooping and shaping!

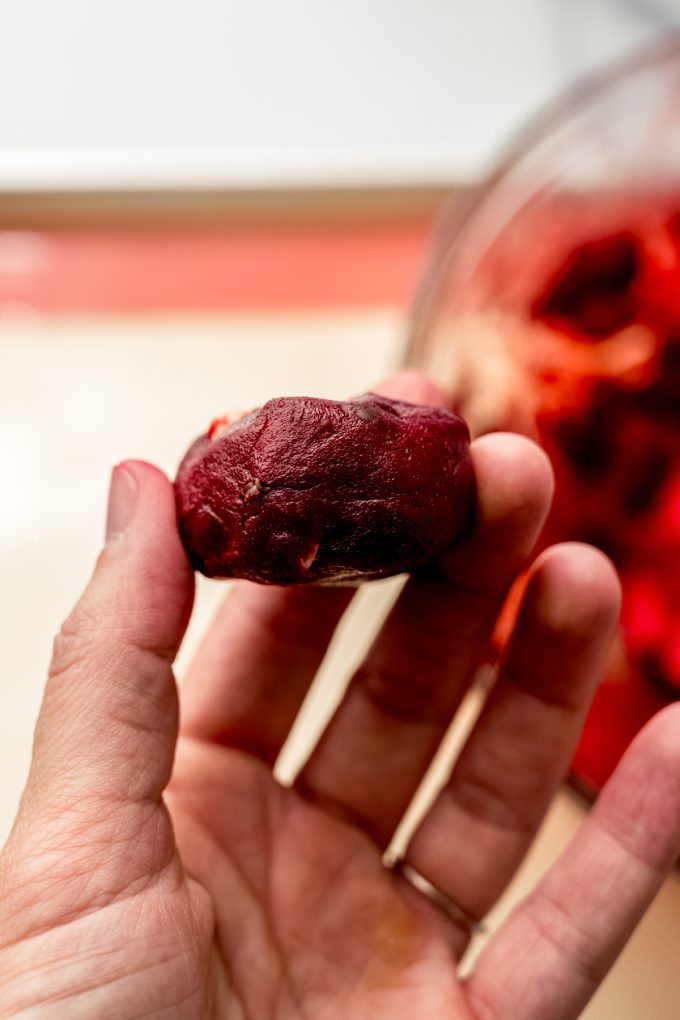
VERY IMPORTANT: SHAPING THE DOUGH BALLS
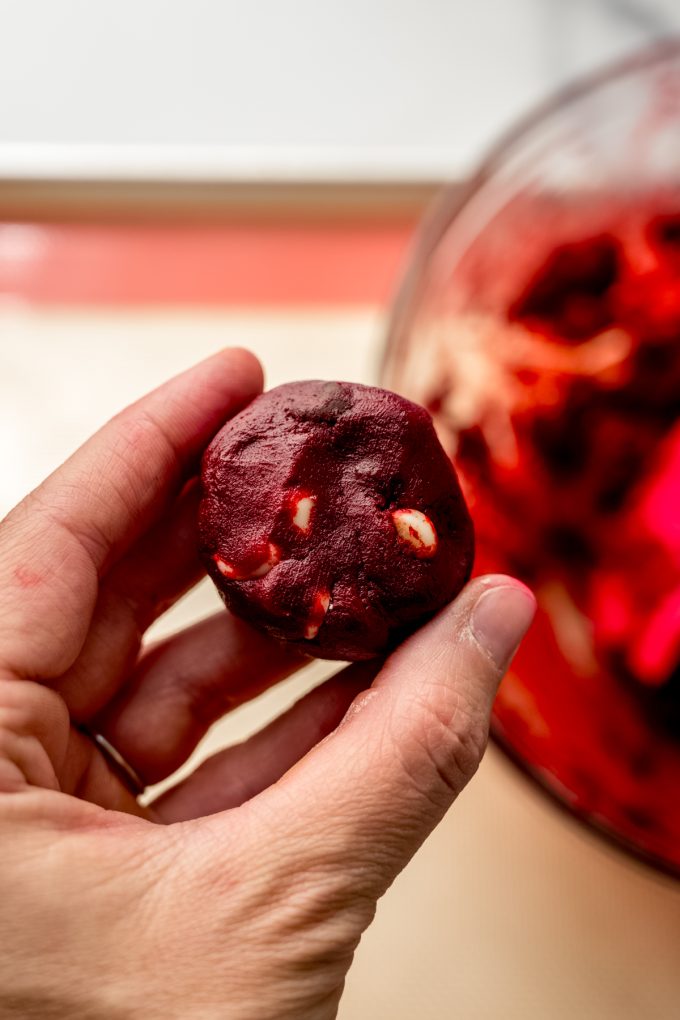
Because the dough is thick, the cookies won’t spread a whole lot on their own. After scooping the dough (I use a #50 cookie scoop for consistent sizing), roll each portion into a ball, place it on the baking sheet, and gently flatten it slightly with your hand or the back of a spoon.
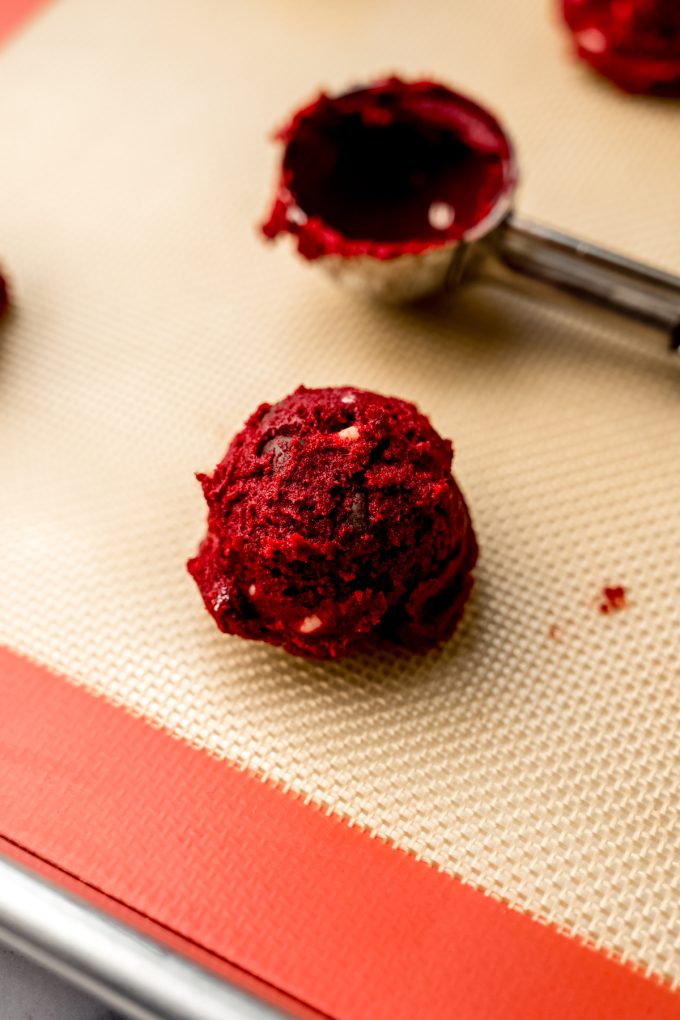
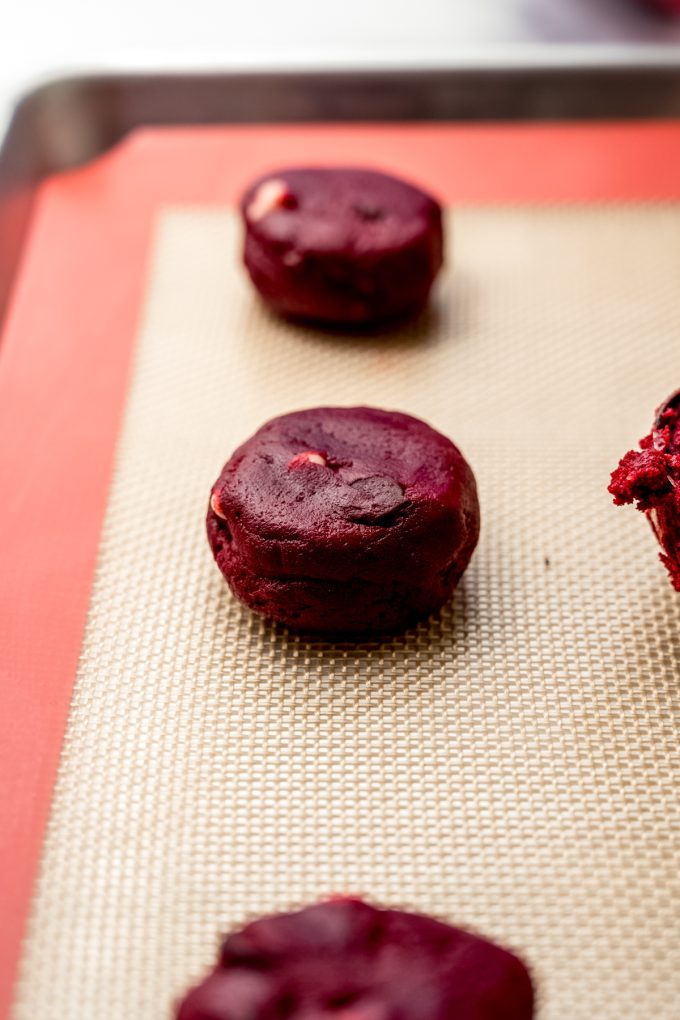
Be sure you’re not smashing them! You just want to give them a head start. This helps the cookies bake evenly and keeps them from staying too tall and domed. It also ensures those chocolate chips get all up in every bite!
BakE UNTIL EDGES ARE JUST SET
Bake the cookies until the edges are set and the centers still look soft. They will continue to firm up as they cool, so don’t overbake them. If the edges are just set, the insides will still be nice and soft (and even gooey if you time your bites right!).
I like to press some fresh chocolate chips into the tops of the cookies for aesthetics, and more chips (duh). Do this as soon as they come out of the oven for best results.
If You’re Torn Between Frosted vs Unfrosted…
You really can’t go wrong either way. The frosted version is bold, complex in flavor and texture, and thick, bakery-style.
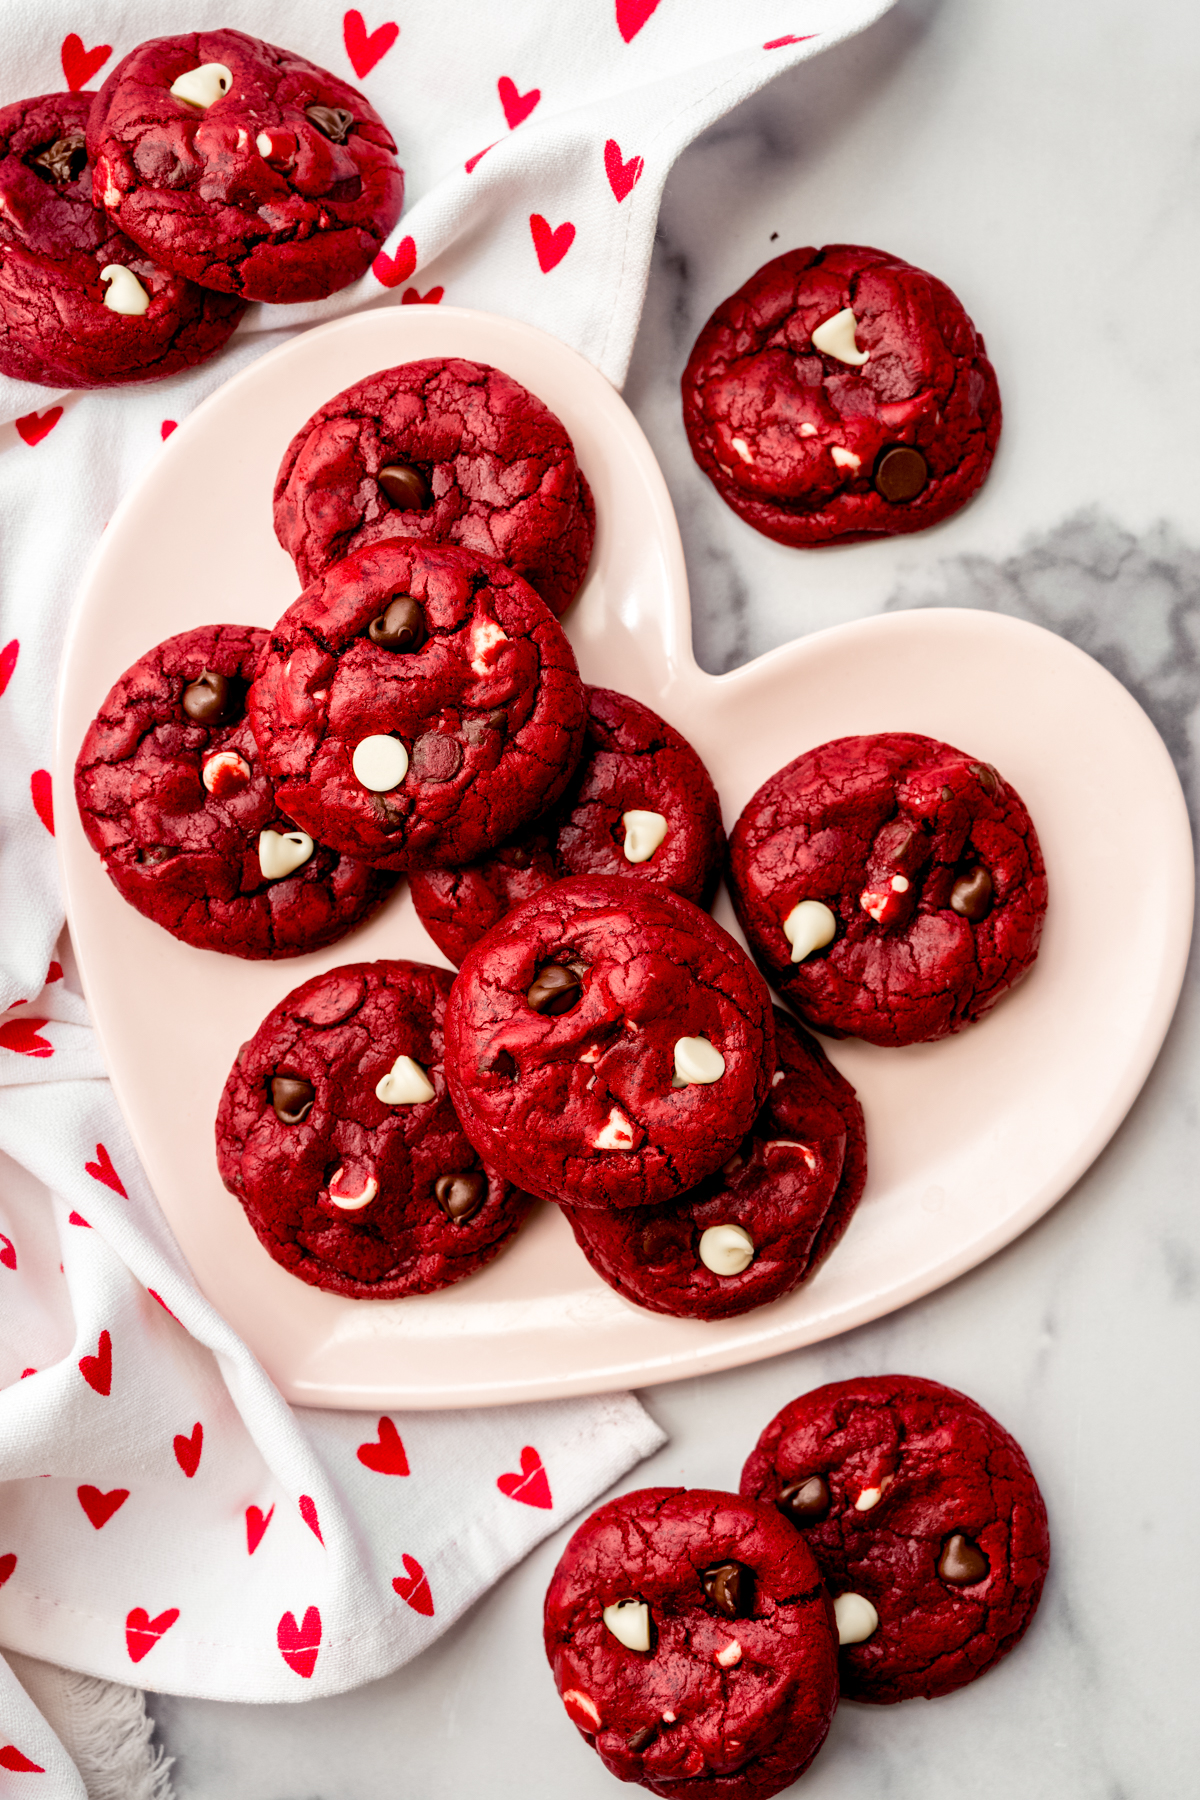
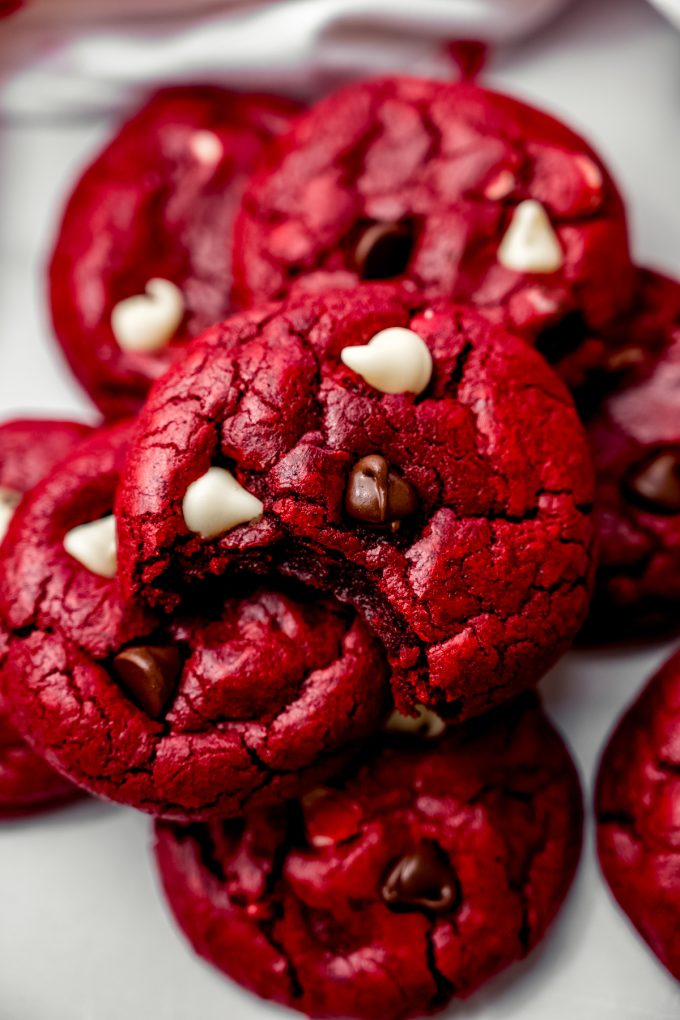
This chocolate chip version is simpler, snackable, and perfect when you want red velvet flavor without committing to making frosting.
Same dough, same great results, just a different kind of cookie mood. And if you’re anything like me, you’ll probably end up making both anyway. In fact, that’s my official suggestion!

Chewy Red Velvet Chocolate Chip Cookies
Ingredients
- 2 cups (240g) all-purpose flour be sure to measure properly
- ¼ cup (24g) unsweetened cocoa powder
- 1 teaspoon baking soda
- ½ teaspoon salt
- ½ cup (113g) unsalted butter softened to room temperature
- 1 cup (200g) granulated sugar
- 1 large egg at room temperature
- 2 teaspoons vanilla extract
- 1 Tablespoon (15mL) red food coloring1
- 1 cup (170g) semi-sweet or white chocolate chips or a combination– I like half and half
Instructions
- Preheat the oven to 350ºF (177ªC). Line a large baking sheet with parchment paper or a silicone baking mat. Set aside.
- In a medium size bowl, whisk together the flour, baking soda, salt, and cocoa powder. Set aside.2 cups (240g) all-purpose flour, ¼ cup (24g) unsweetened cocoa powder, 1 teaspoon baking soda, ½ teaspoon salt
- In a large bowl with a handheld electric mixer or the bowl of a stand mixer fitted with the paddle attachment, cream the butter and granulated sugar until light and fluffy, approximately 2-3 minutes. Add the egg, beat again, and scrape down the sides of the bowl as necessary.½ cup (113g) unsalted butter, 1 cup (200g) granulated sugar, 1 large egg
- Add the vanilla and red food coloring and beat on medium speed until combined. Using a spatula, scrape down the sides and all along the bottom of your bowl to ensure coloring is distributed evenly. Beat again on medium speed until everything is incorporated.2 teaspoons vanilla extract, 1 Tablespoon (15mL) red food coloring1
- Decrease the mixer speed to low and slowly add the flour mixture. Mix on low until the flour is mostly incorporated. It may be crumbly– this is ok.
- Stop the mixer and add the chocolate chips. Blend on low until the chocolate chips are evenly dispersed. The dough will be very thick2, so you can use a spatula to mix the dough by hand if desired.1 cup (170g) semi-sweet or white chocolate chips
- Using a medium size cookie scoop (I use this #50 cookie scoop for all of my standard size cookies), drop balls of cookie dough onto the prepared baking sheet. Use your hands to roll the mounds of dough into smooth balls, then press down gently to flatten slightly. Bake the cookies for 9-10 minutes, just until puffed and the edges are set. Allow to cool on baking sheet for 5 minutes, then transfer to wire rack to cool completely. Store leftovers covered tightly at room temperature up to 5 days. Cookies freeze well, up to 3 months. Thaw at room temperature.
Video
Notes
- Food coloring: I prefer gel food coloring, and my favorite brand is AmeriColor. You can use traditional liquid food coloring. The amount is the same. See note 2 for further explanation.
- Dough consistency: this dough is supposed to be thick! That said, you may opt for liquid food coloring for a more manageable dough. If you use the gel coloring and find the dough to be far too difficult to work with, I recommend using a touch of liquid (like milk or even water), no more than 1 Tablespoon, to loosen it a bit.
Nutrition Disclosure
All nutritional values are approximate and provided to the reader as a courtesy. Changing ingredients and/or quantities will alter the estimated nutritional calculations.
We love anything Red Velvet, so when I got this recipe, I knew it would be on rotation. We looked for cream cheese flavored chips to use but opted for white chocolate chips instead. This recipe came together nicely and I love how you bring the ingredients into the instructions so we don’t have to keep flipping back and forth. We’re definitely having these again!
So glad you enjoyed them, Jeanette! 🙂
Can you make these into bars or would it be too hard to spread in a pan?
Hi, Melanie– you should be able to press this recipe nicely into an 8″ square pan. Let me know how it goes!