
How To Make Brown Butter
As an Amazon Associate, I earn from qualifying purchases. Read the full disclosure here.
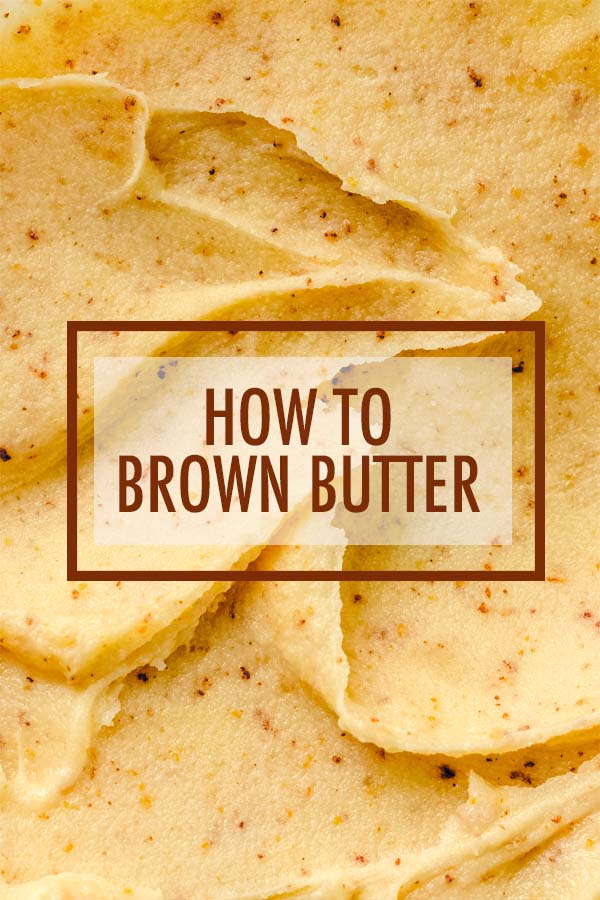
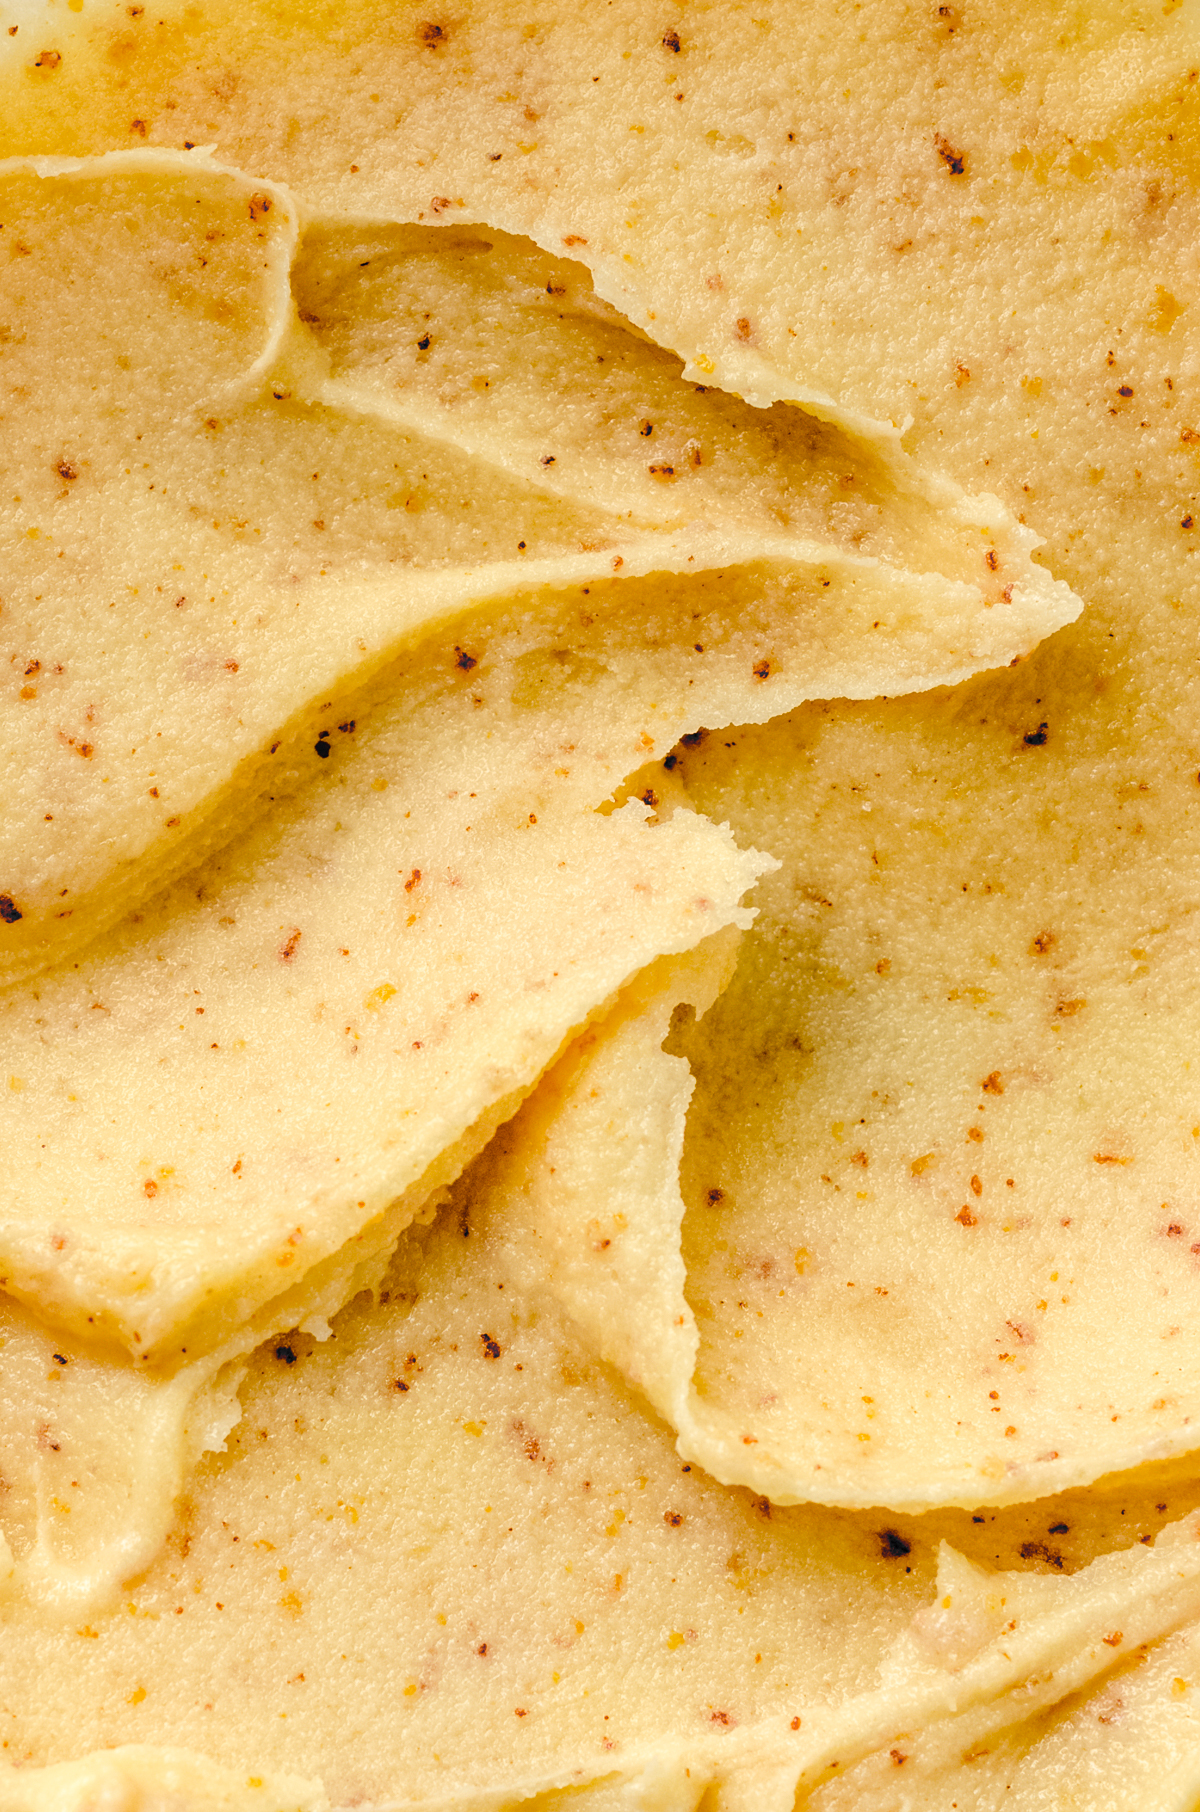
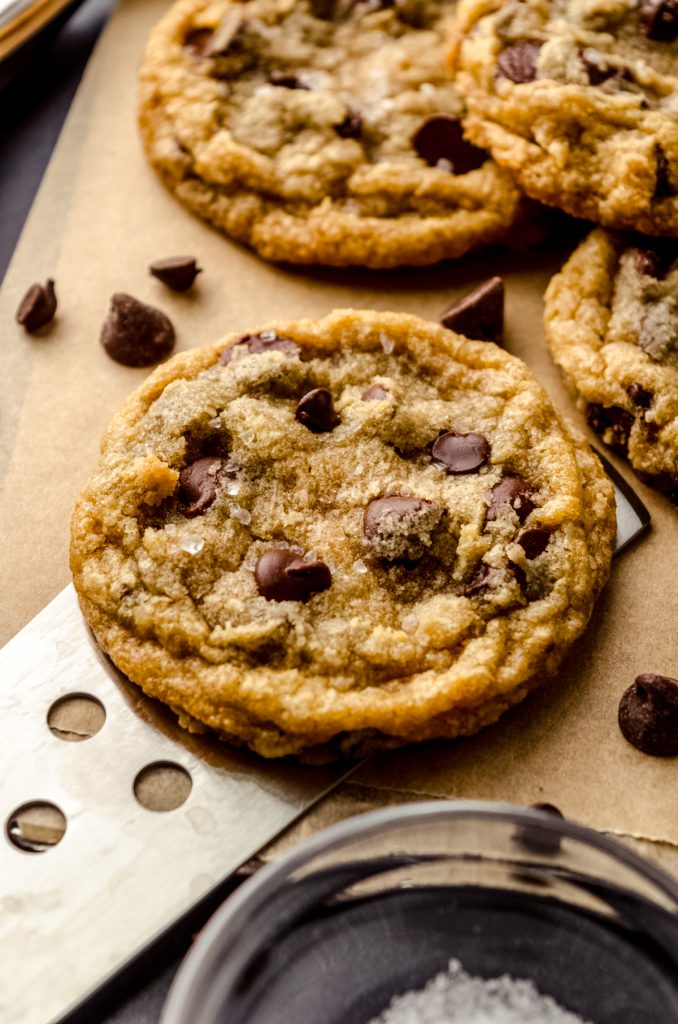
Let’s learn how to brown butter! Brown butter is a type of cooked butter full of toffee and caramel notes. Use brown butter in both sweet and savory recipes or as a dipping sauce or condiment. Especially don’t miss my brown butter chocolate chip cookies.
True story: I learned how to brown butter in the kitchen of my former full time job at a wet chemistry lab.
I’d been fully immersed in baking by that point, but browning butter was something I was always messing up. I couldn’t find the right temperature to brown my butter and instead, I burned my butter. Every. Single. Time.
After a lunch discussion about this (seriously, still all true), a coworker of mine suggested I bring my white saucepan (this is key) and a stick of butter to work the next day so he could teach me how to do it.
As it turns out, all I needed to do was see it happen from someone who knew what they were doing. Not only that, but using a white pan until I was comfortable with the method was a key factor in my success. Now I am a brown butter pro, just like you will be after reading through my easy-to-follow instructions, examining the photos, and getting your hands dirtybuttery. Practice makes perfect!
Brown butter can take a dish or a food to a whole new level with its rich and intense flavor. While it can seem complicated and tricky, browning butter is actually quite simple and is a skill any cook or baker should master in order to take recipes to a whole new level.
Let me teach you how to brown butter easily so you can start leveling up your dishes today.
What Is Brown Butter?
Brown butter is a type of melted butter made by slowly and carefully cooking solid butter in a skillet or pan on the stove. While this is typically a French staple (called beurre noisette), people all over the world us it as a standalone sauce for vegetables, pasta, and meat or in recipes like brown butter cream cheese frosting and brown butter pumpkin cake.
It is so versatile and can be used just about anywhere regular butter is used with some proper modifications and adjustments, which we will get to.
What you’ll need for Browning Butter successfully
Before properly learning how to brown butter, I always burned it. I thought I was destined to never have brown butter in my house or in my recipes. It wasn’t until a friend of mine showed me how to properly make browned butter that I knew what to look for and what techniques to master before passing those nuggets on to you.
Don’t let brown butter scare you! I’m here to make this simple.
To make brown butter, you will need:
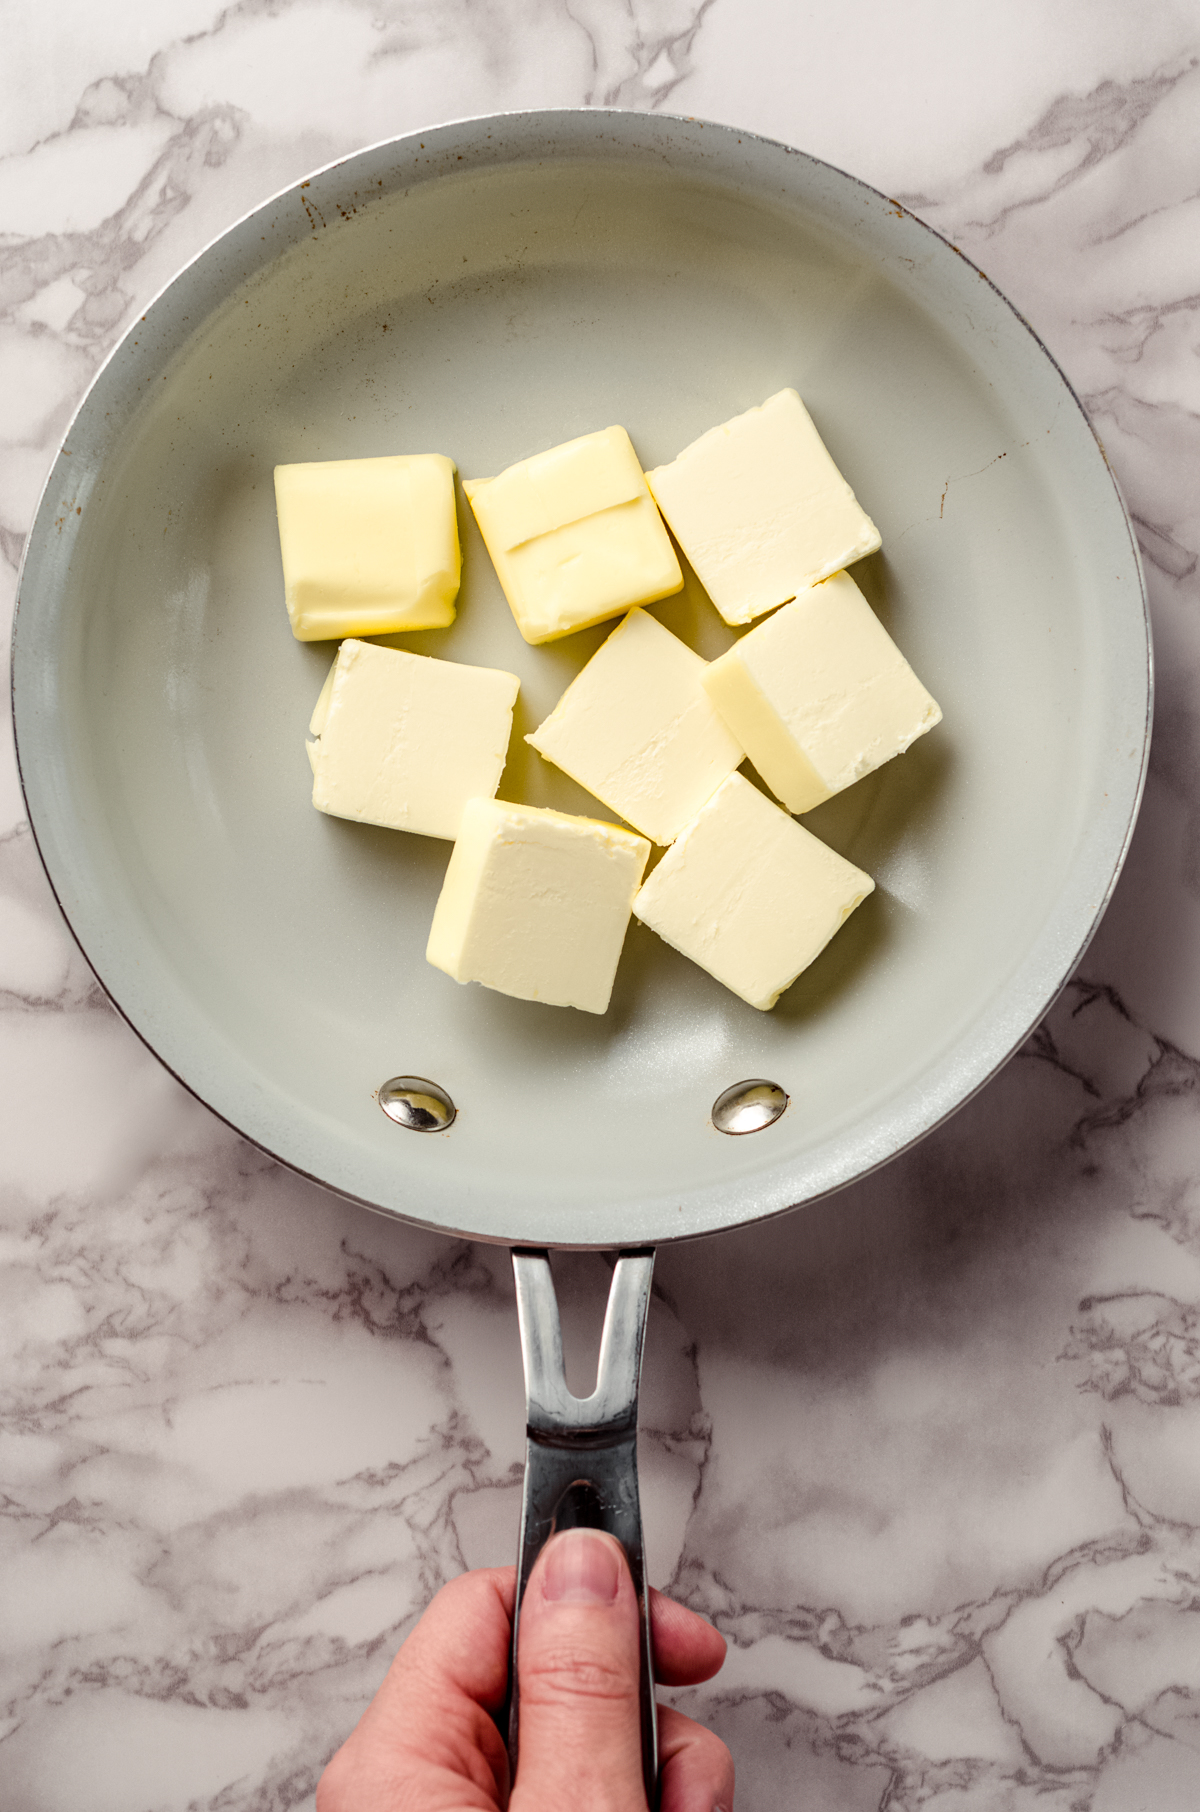
BUTTER– you can use unsalted or salted butter to make brown butter. Just make sure that it’s cut into pieces to insure it cooks evenly and it also isn’t frozen or too cold. Let your butter sit out for about 15-20 minutes before starting the browning process.
LIGHT-COLORED SKILLET or PAN– although this isn’t essential for the success of brown butter, it is very helpful in order to see when the butter has been properly browned (especially if this is your first time making brown butter).
A SMALL HEATPROOF BOWL– brown butter can go from perfect to burned in a matter of seconds. Having a bowl to pour the butter into stops the cooking process and insures it doesn’t burn.
SILICONE OR RUBBER SPATULA OR WOODEN SPOON– you will need to stir the butter the entire time you’re working with it.
How To Brown Butter
STEP #1
First, place your light colored pan or skillet on a burner on the stove. Then, place your heatproof bowl next to your work space.
Browning butter is a quick process, so prepare to stay with your butter for about 5-10 minutes without walking away.
STEP #2
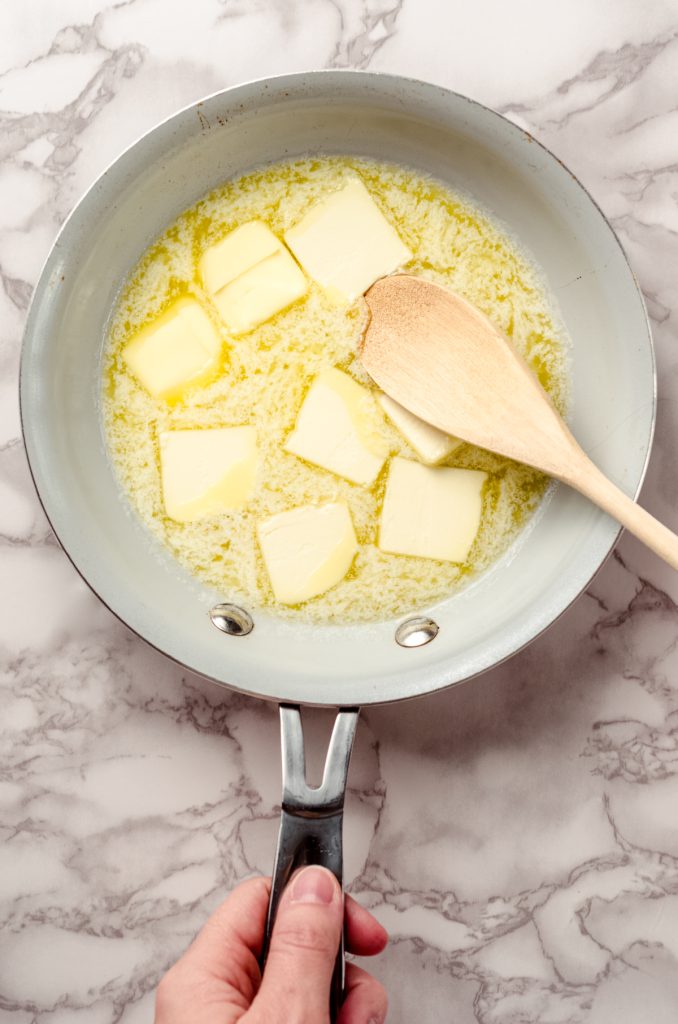
Place the butter the pan or skillet, then turn the burner to medium heat (medium is very important in this process). Use a silicone spatula or wooden spoon to stir the butter constantly while it melts.
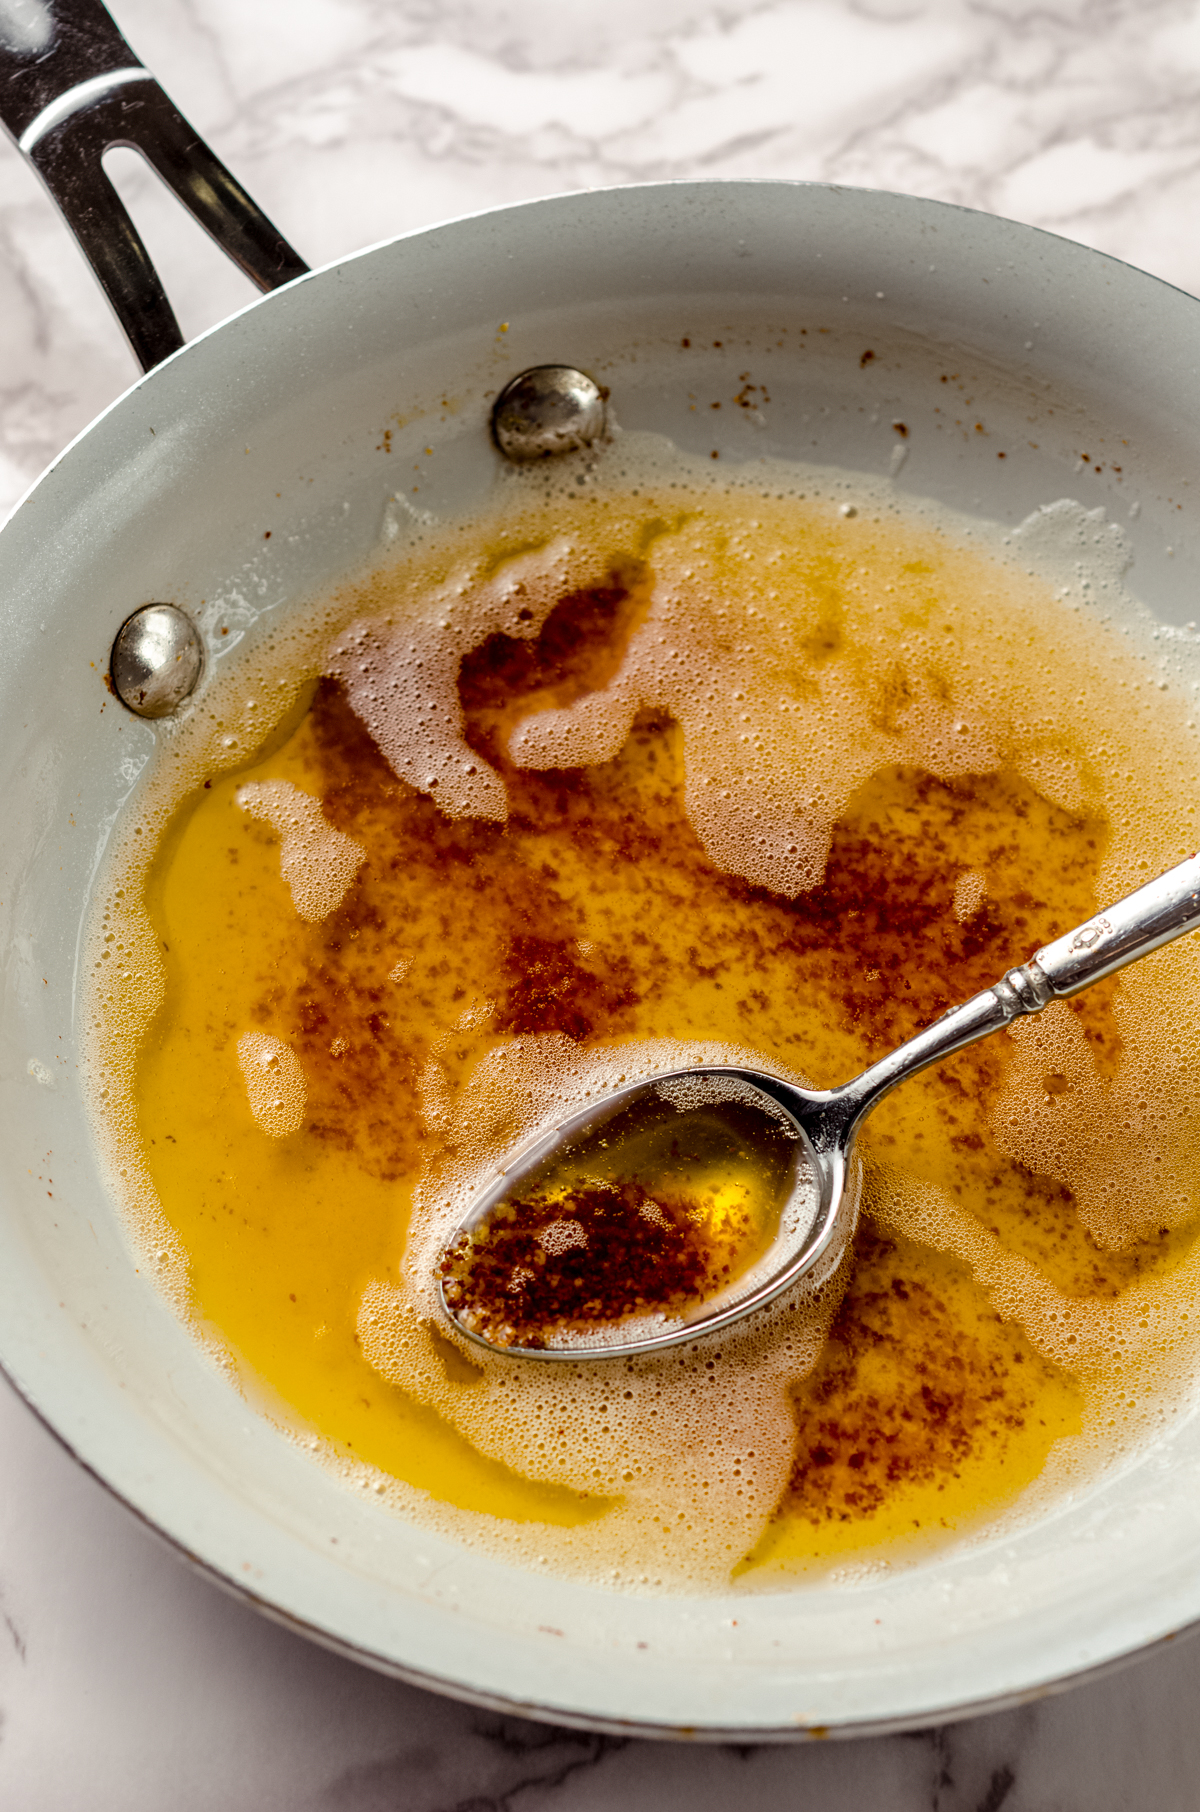
Once the butter has melted, it will start to sizzle and white foam will appear on the surface. Continue stirring. If the butter is sizzling too aggressively, turn the heat down a bit.
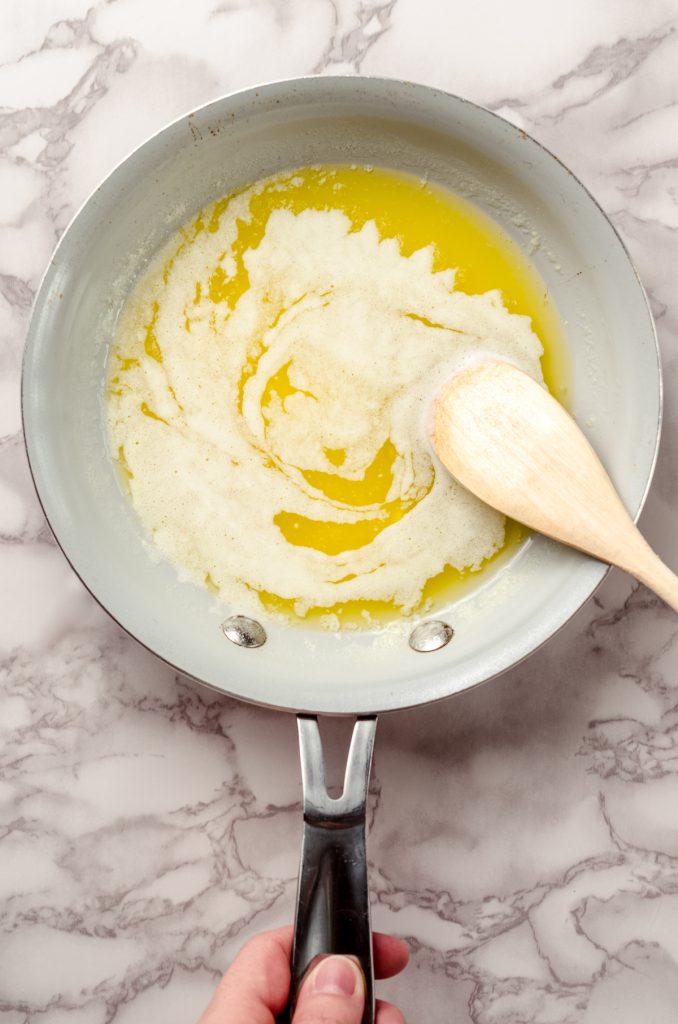
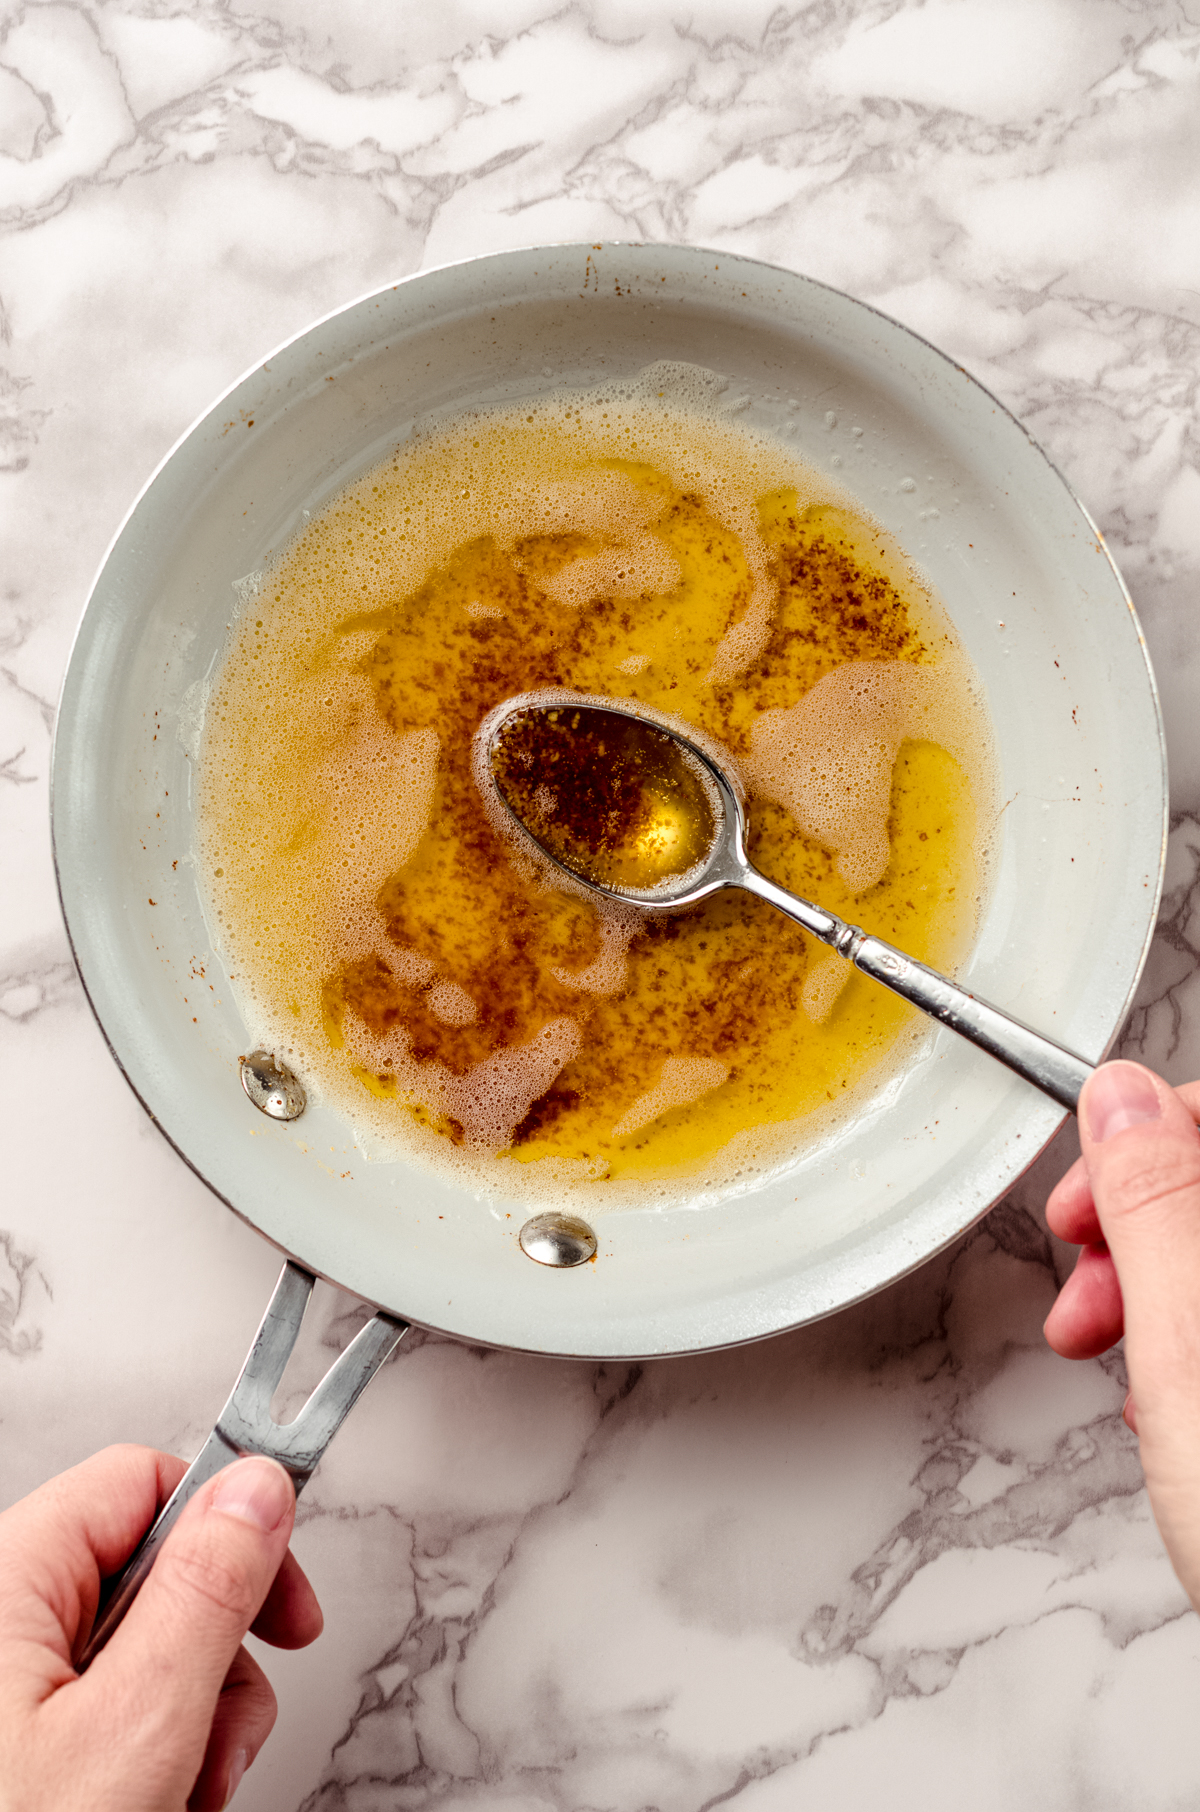
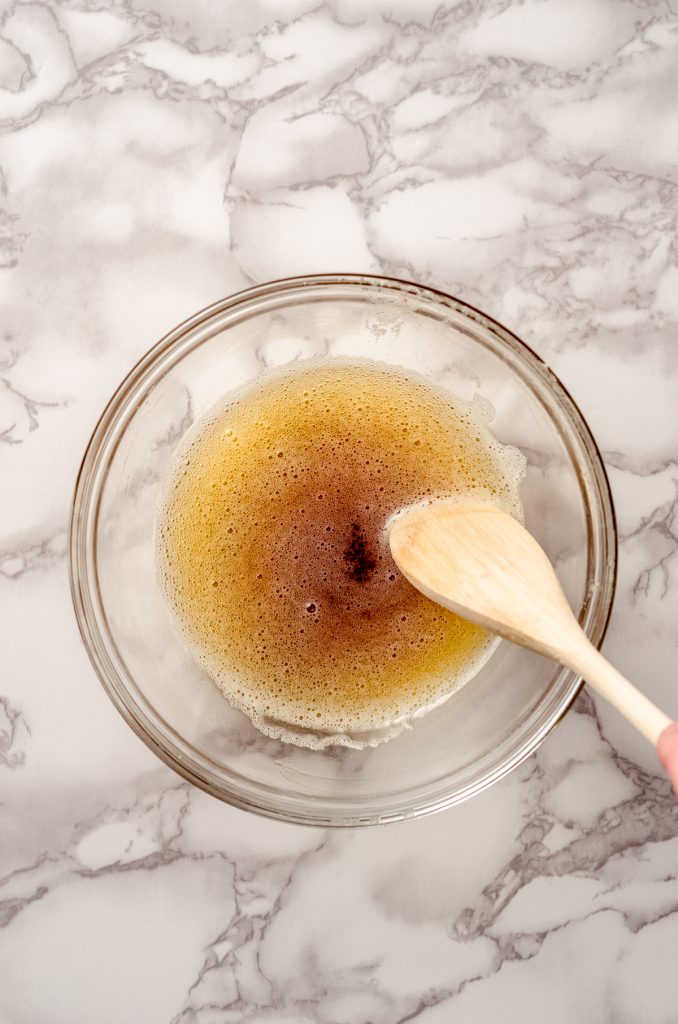
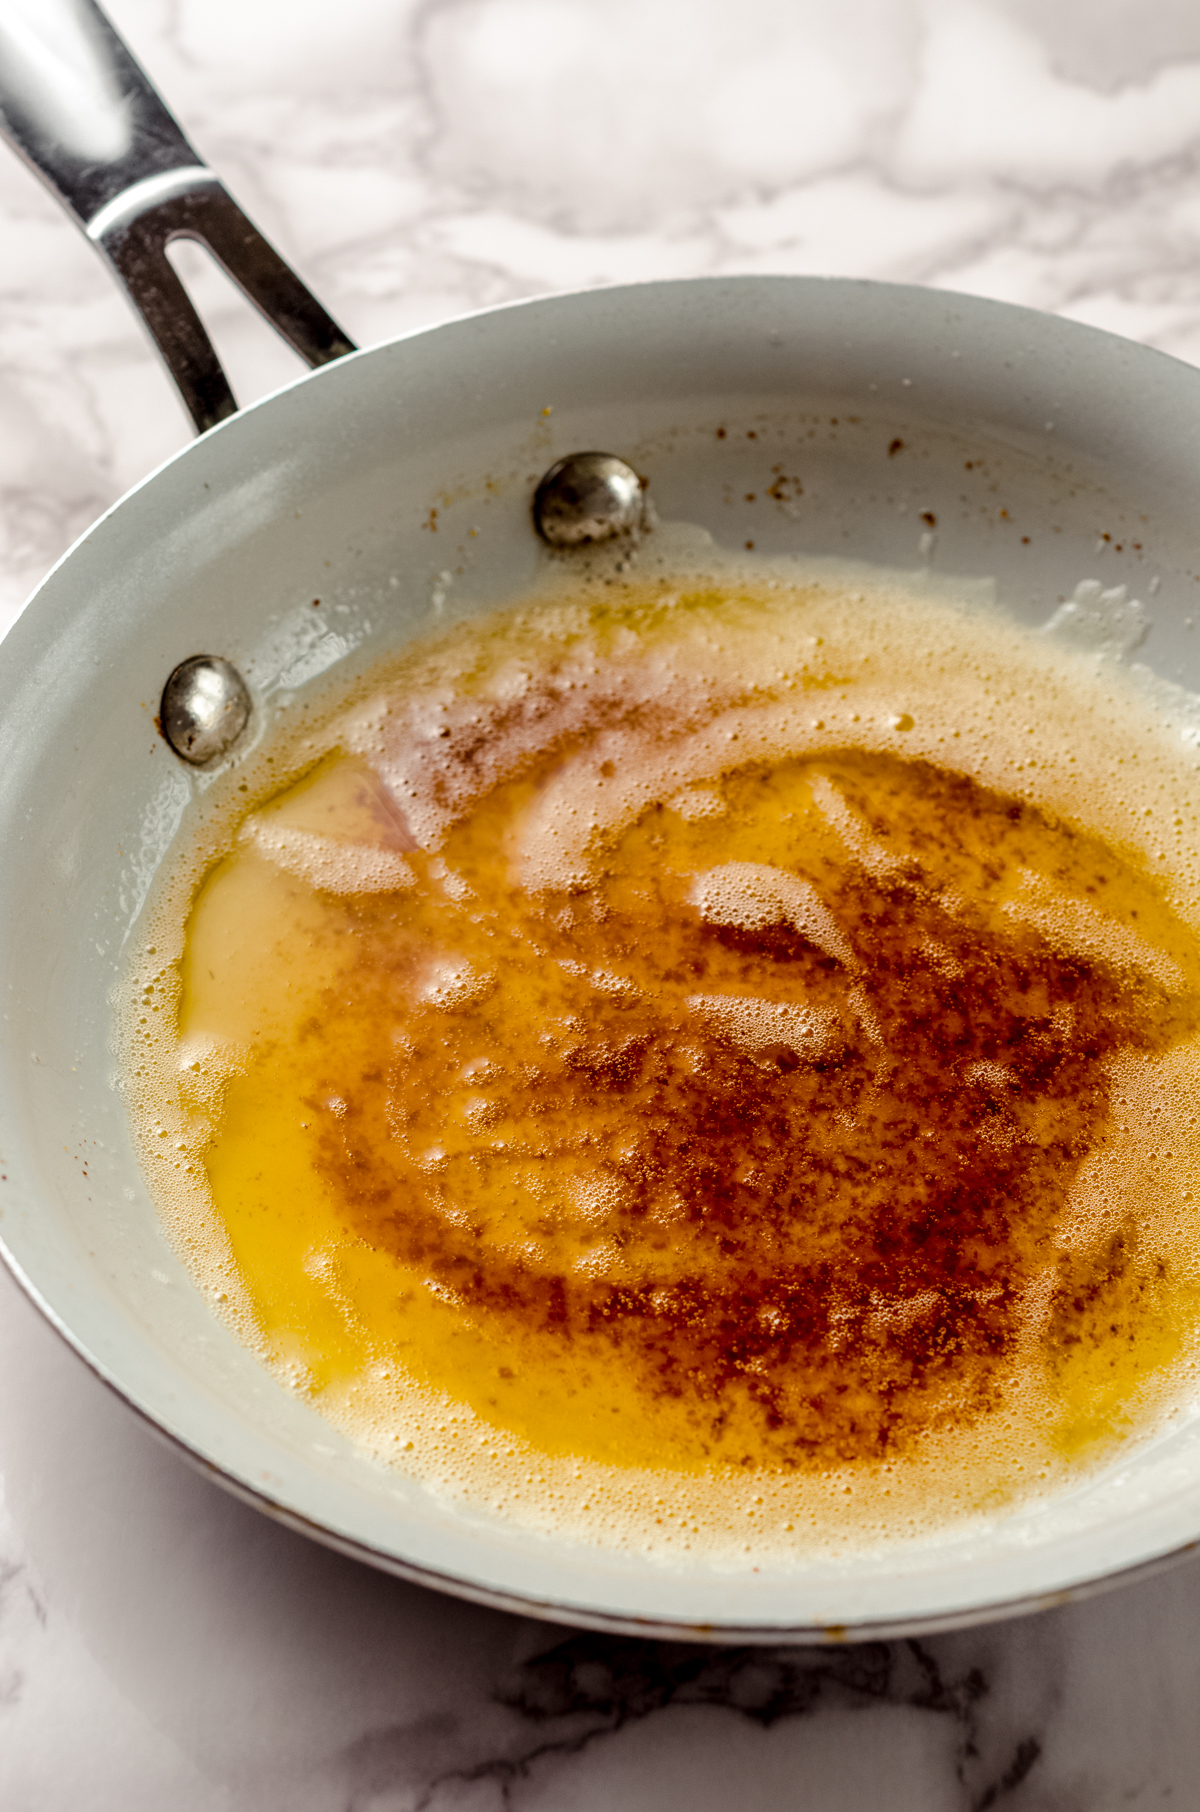
After about 5 minutes, the foam will start to disappear and you will notice white milk solids collecting at the bottom of the pan. These are what will cook and turn the butter brown.
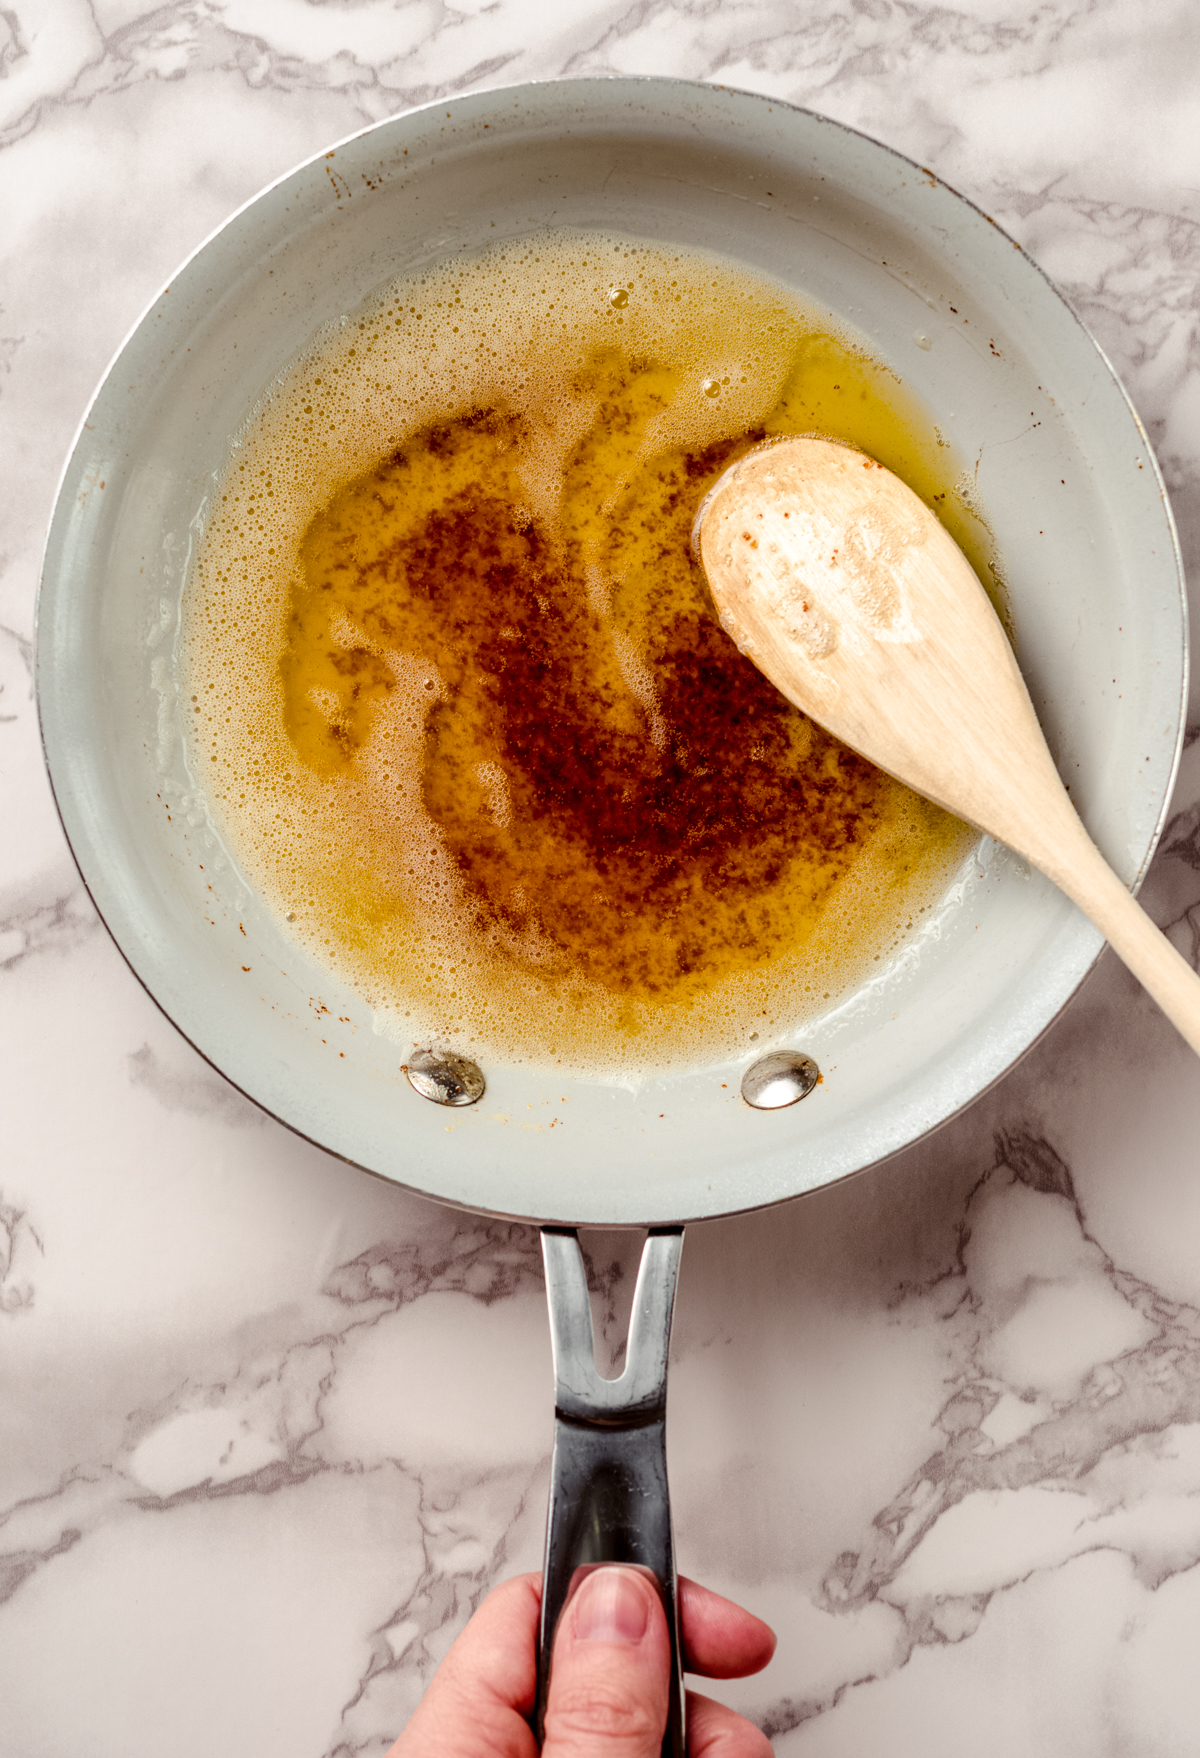
As the milk solids cook, they will go from light brown to brown to amber colored very quickly, at which point, the mixture will start to smell intensely like caramel and toffee.
STEP #3
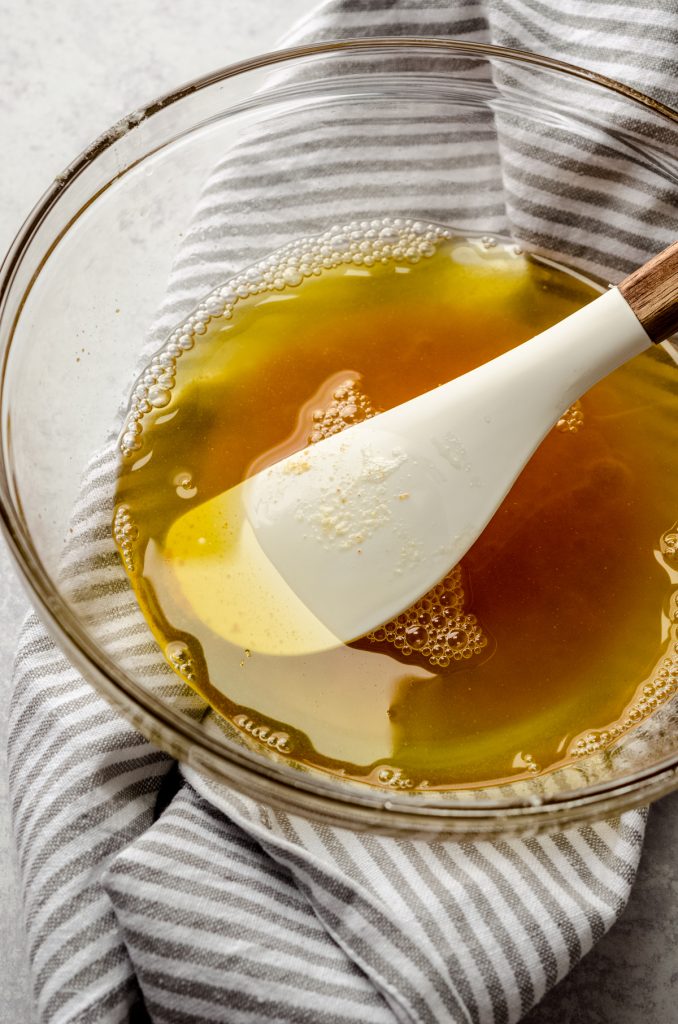
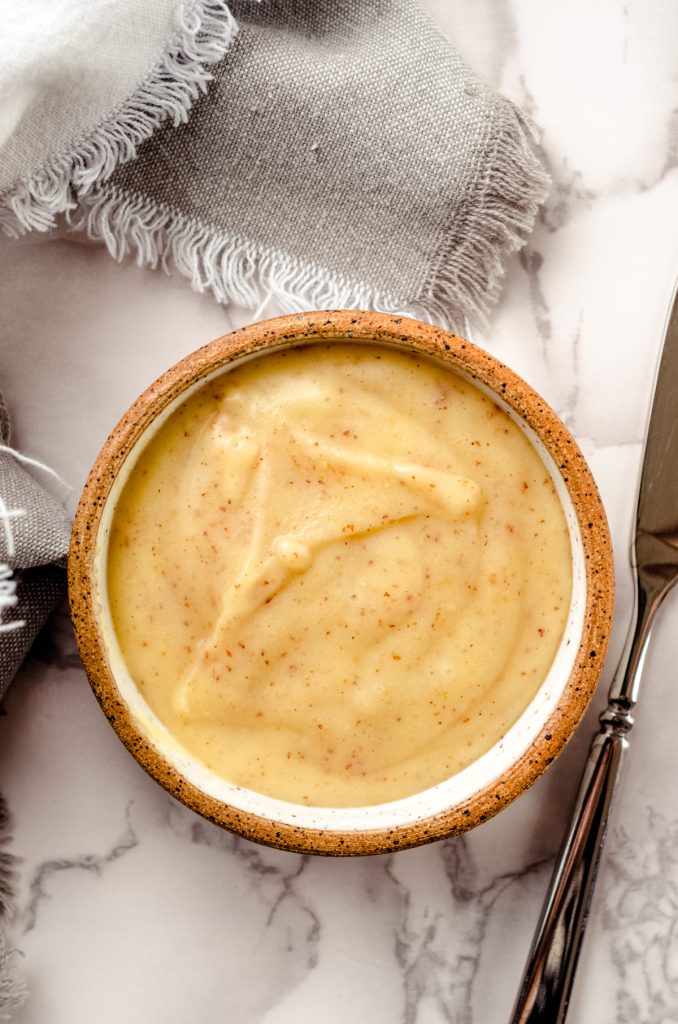
Remove the pan from the heat, continue to stir in the hot pan, then quickly but carefully pour all of the butter and the milk solids into the prepared bowl to stop the cooking process. You want to stop the process when the milk solids are dark amber but before they burn.
DON’T BURN THE BUTTER!
There are literal seconds between perfect brown butter and burned butter, so do not walk away and don’t stop stirring.
This is why I like to pull the pan off the heat when I think the butter is close, as the pan will retain enough residual heat to keep it cooking without being an intensely hot source of heat under the borderline brown butter.
Burned milk solids are very dark brown and almost black, which is why it’s important to stop at that perfect dark amber color. Burned butter is very bitter and unappetizing.

Brown Butter Recipe Tips
CUT THE BUTTER INTO PIECES– this insures an even cook. Since the process is so quick, small pieces will melt more uniformly than a whole stick of butter will.
KEEP IT MOVING– unlike when we cook sugar to make caramel sauce, you want to keep this mixture moving at all times. This is another way to insure even heating and also makes it so you can see the bottom of the pan through all of the foam and sizzling.
USE A LIGHT COLORED PAN– again, this does not make or break the success of your brown butter, but if you are still learning what to look and smell for, this is crucial in the learning process so you can see when your butter browns and stop it before it becomes burnt butter.
GRAB A HEATPROOF BOWL– have this ready to go, as you will be working quickly once the butter starts to separate and brown.
PAY CAREFUL ATTENTION TO THE HEAT– medium or medium-low heat only. This is not the place for high or even medium-high heat. If things are moving too quickly or aggressively, turn it down a smidge.
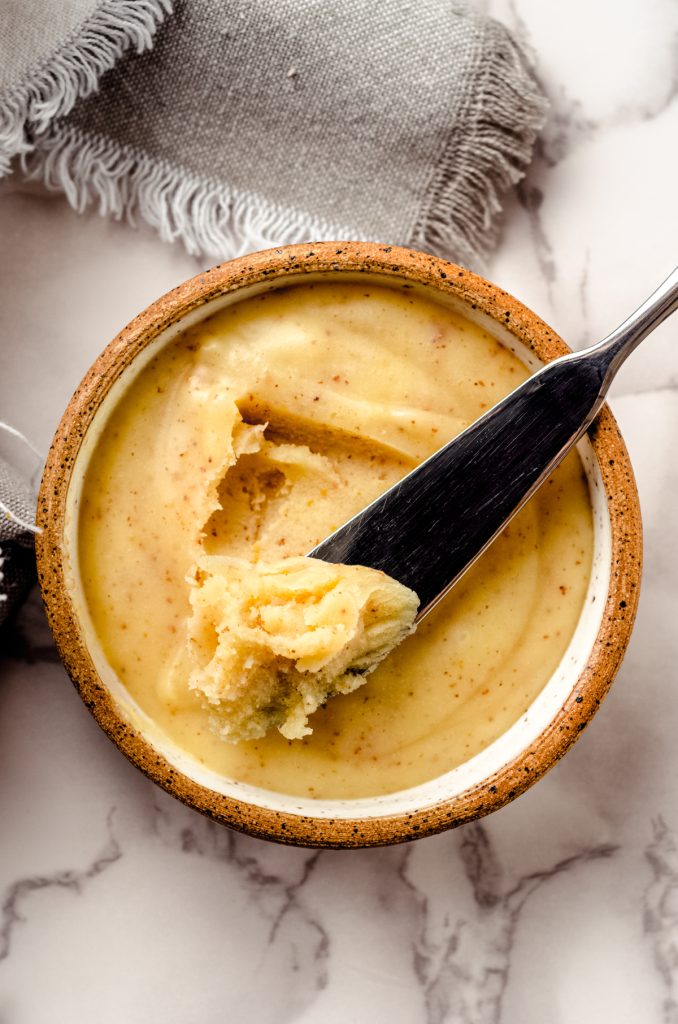
KEEP THE BROWN SPECKS– scrape every last one of ’em into your bowl! In the melted state, all of the milk solids fall to the bottom of the mixture. If you want to use the butter at room temperature, you will need to stir it once it has cooled to distribute the browned bits.
CONSIDERATIONS WHEN MAKING BROWNED BUTTER
One major thing to keep in mind is that there is a significant loss of moisture when we turn butter into brown butter. In fact, I weighed my butter at room temperature and it was exactly 113g. After the browning process, it was down to 90g, which is nearly a 20% loss of moisture (remember, we aren’t losing any solid mass since we’re keeping the ghee and the toasted milk solids).
This means that if a recipe calls for “½ cup melted butter” and you’d prefer to use brown butter in its place, make sure you actually have ½ cup of brown butter to use in the recipe.
In this case, I typically brown 9 or 10 Tablespoons of butter, then measure ½ cup (113g) to proceed with my recipe. This insures I have the proper amount of butter and sets me up for success from the get-go.
The only exception to this rule is if the recipe you’re using is already considering the loss of moisture and replacing it in order to have a successful recipe. Often times, you will see a recipe calling for brown butter also use a bit of milk. This is not a hard and fast rule, but a general addition to make up for the moisture loss.
How to use Brown Butter
You can use brown butter in just about any recipe that calls for melted butter. However, if a baking recipe calls for softened butter or room temperature butter and you want to use brown butter instead, make sure the brown butter cools and solidifies first. You are most likely going to be creaming the butter with sugar, and it is impossible to cream melted butter into sugar (see my post about room temperature butter for more clarification).
Since even brown butter that has been allowed to come back to room temperature will always be a little looser than regular room temperature butter, it is best to use a recipe that calls for brown butter until you are familiar with the process of making that substitution.
MORE WAYS TO USE BROWNED BUTTTER
There is so much flavor in brown butter, and it is not limited to use just in recipes. Use this brown butter recipe and step-by-step tutorial to add another layer of flavor to so many things!
Don’t miss my famous chocolate chip cookies brown butter style!
Use in:
• brown butter pumpkin cake
• pumpkin bundt cake
• brown butter cream cheese frosting
• brown butter cowboy cookies
• carrot coffee cake with brown butter glaze
• sage browned butter home fries
• browned butter turkey
• brown butter Rice Krispies treats
• butter pecan ice cream
Allow to cool and use as a spread for:
• bread
• pancakes
• waffles
• blintzes
Pour over:
• nuts
• popcorn
• potatoes
• pasta
• cooked vegetables
Use as a dip for:
• bread
• soft pretzels
• seafood (especially lobster and shrimp)
Add as a flavor enhancement to:
• mashed potatoes
• grilled cheese
• soup
How to store Brown Butter
Brown butter should be treated the same as regular butter. You will want to store it long term in the refrigerator, but it is safe at room temperature for a few days. Depending on how you are going to use or consume it may dictate where and how you store it.
How to Make Brown Butter FAQs

Brown Butter Recipe
Ingredients
- ½ cup (113g) butter1 cut into Tablespoon-size pieces
- light colored skillet2
- small heatproof bowl
Instructions
- Place your light colored pan or skillet on a burner on the stove. Place your heatproof bowl next to your work space. Be prepared to stay with your butter for the next 5-10 minutes as you will need to keep it moving and work quickly as it browns to ensure success with this process.light colored skillet2, small heatproof bowl
- Place the butter in the pan or skillet then turn the burner to medium heat (medium is very important in this process). Use a silicone spatula or wooden spoon to stir the butter constantly while it melts.½ cup (113g) butter1
- Once the butter has melted, it will start to sizzle and white foam will appear on the surface. Continue stirring. If the butter is sizzling too aggressively, turn the heat down a bit.
- After about 5 minutes, the foam will start to disappear and you will notice white milk solids collecting at the bottom of the pan. These are what will cook and turn the butter brown.
- As the milk solids cook, they will go from light brown to brown to amber colored very quickly, at which point, the mixture will start to smelly intensely like caramel and toffee. Remove the pan from the heat, continue to stir in the hot pan, then quickly but carefully pour all of the butter and the milk solids into the prepared bowl to stop the cooking process. You want to stop the process when the milk solids are dark amber but before they burn (there are mere seconds between these two points, so watch carefully).
- Use as desired (see post for suggestions and recipes). Store leftover brown butter in the refrigerator.
Notes
- Butter: you can use salted or unsalted butter to make brown butter. Consider your use when trying to decide which one to use (standalone sauces you should use salted, going in a recipe you will typically want unsalted). You will also want to make sure your butter has been sitting out for about 15-20 minutes to take some of the chill off.
- Light colored skillet: although not crucial to the success of brown butter, a light colored skillet will be incredibly beneficial in learning exactly how to brown butter so you can see what is happening. I never brown butter without mine, even though I am very comfortable with the process. A stainless steel pan can also work well.
Nutrition Disclosure
All nutritional values are approximate and provided to the reader as a courtesy. Changing ingredients and/or quantities will alter the estimated nutritional calculations.
I’ve been wanting to make browned butter cookies, and these tips really helped me. Thank you. Browned butter always makes me think of my time working in the restaurant where they served brown butter & cheese pasta. So good!
YUM! I love that combo! Thanks for letting me know!
YAY, no more burning my browned butter! Thanks for the easy recipe and all of your tips are fab!
Yesssss! You, too, can be a pro 🙂
Thanks for these tips! Browned butter is totally worth making, love it for so many things!
YES! So so good!
Thank you for trusting my process! 🙂
I used t brown my butter b4 making scrambled eggs tastes l so much better than regular scrambled eggs!
Then I’m guessing but I’m so busy there’s no time to waste!
I’m back now!!! I want to use this recipe & make a 160z canning jar & seal it until I need some brown butter for baking . I have to many great recipes I’d like to have it already made. Thank you 🫶🏻🫶🏻
Yum! So good!