
Homemade Cream Cheese Mint Recipe


As an Amazon Associate, I earn from qualifying purchases. Read the full disclosure here.
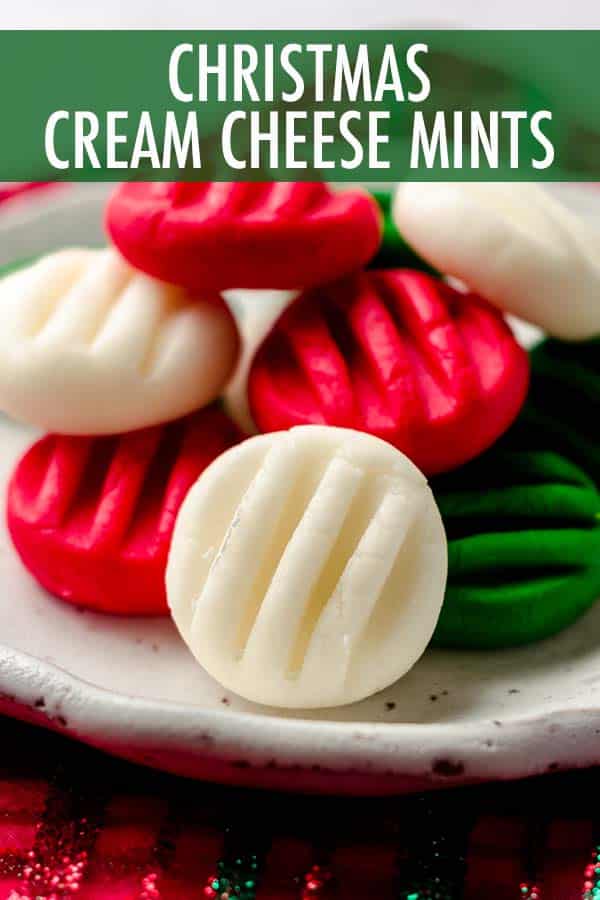
These easy cream cheese butter mints are a no bake treat perfect for baby and bridal showers, weddings, homemade gifts, and candy or cookie trays. Turn them any color you’d like to match your special occasion!

When I’m asked to make a treat for a party or gathering, I have a go-to list of recipes from my site that I frequent. These cream cheese mints are one of those go-tos, and they always disappear quickly among kids and adults alike.
They are subtly flavored with peppermint extract, melt delicately on the tongue with a creamy yet crumbly texture, and my favorite part about them is that I can match them to literally any occasion as their blank canvas is naturally white.
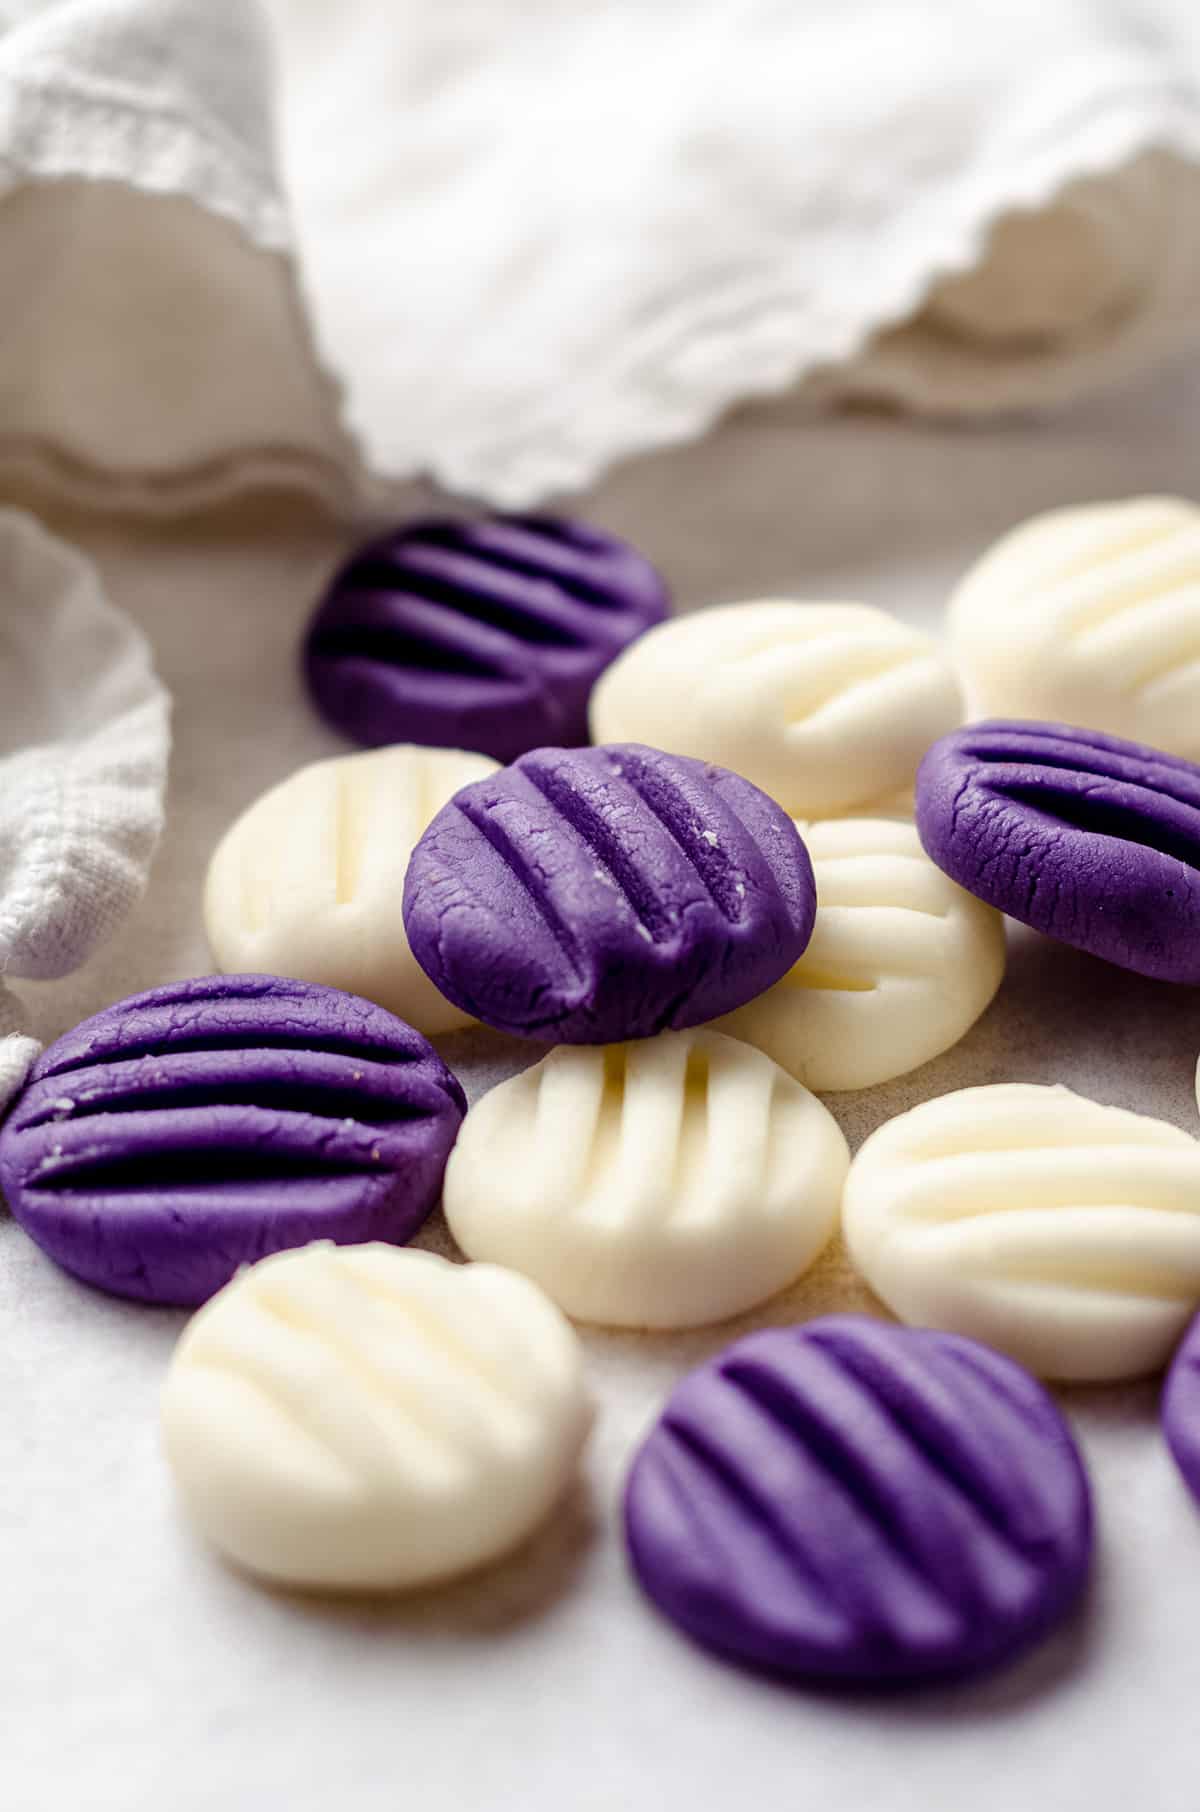
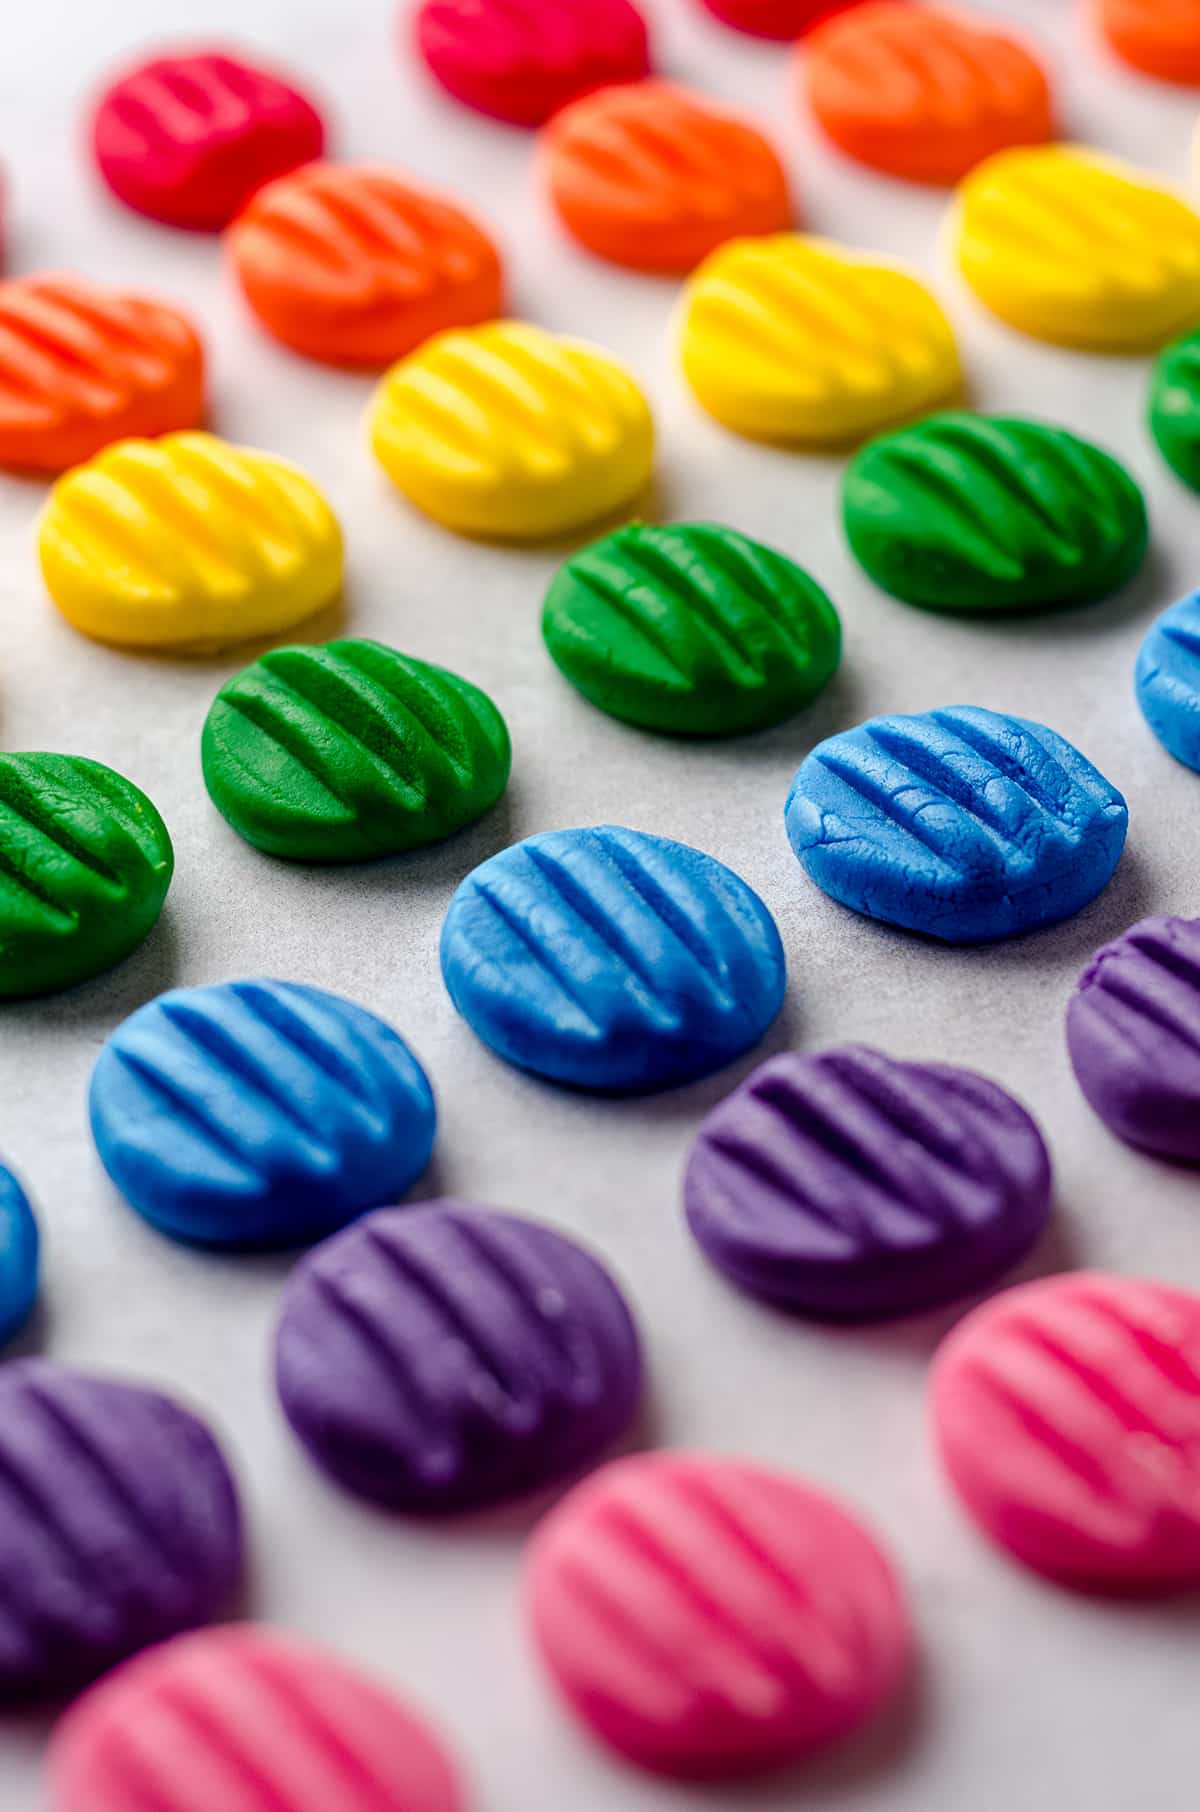
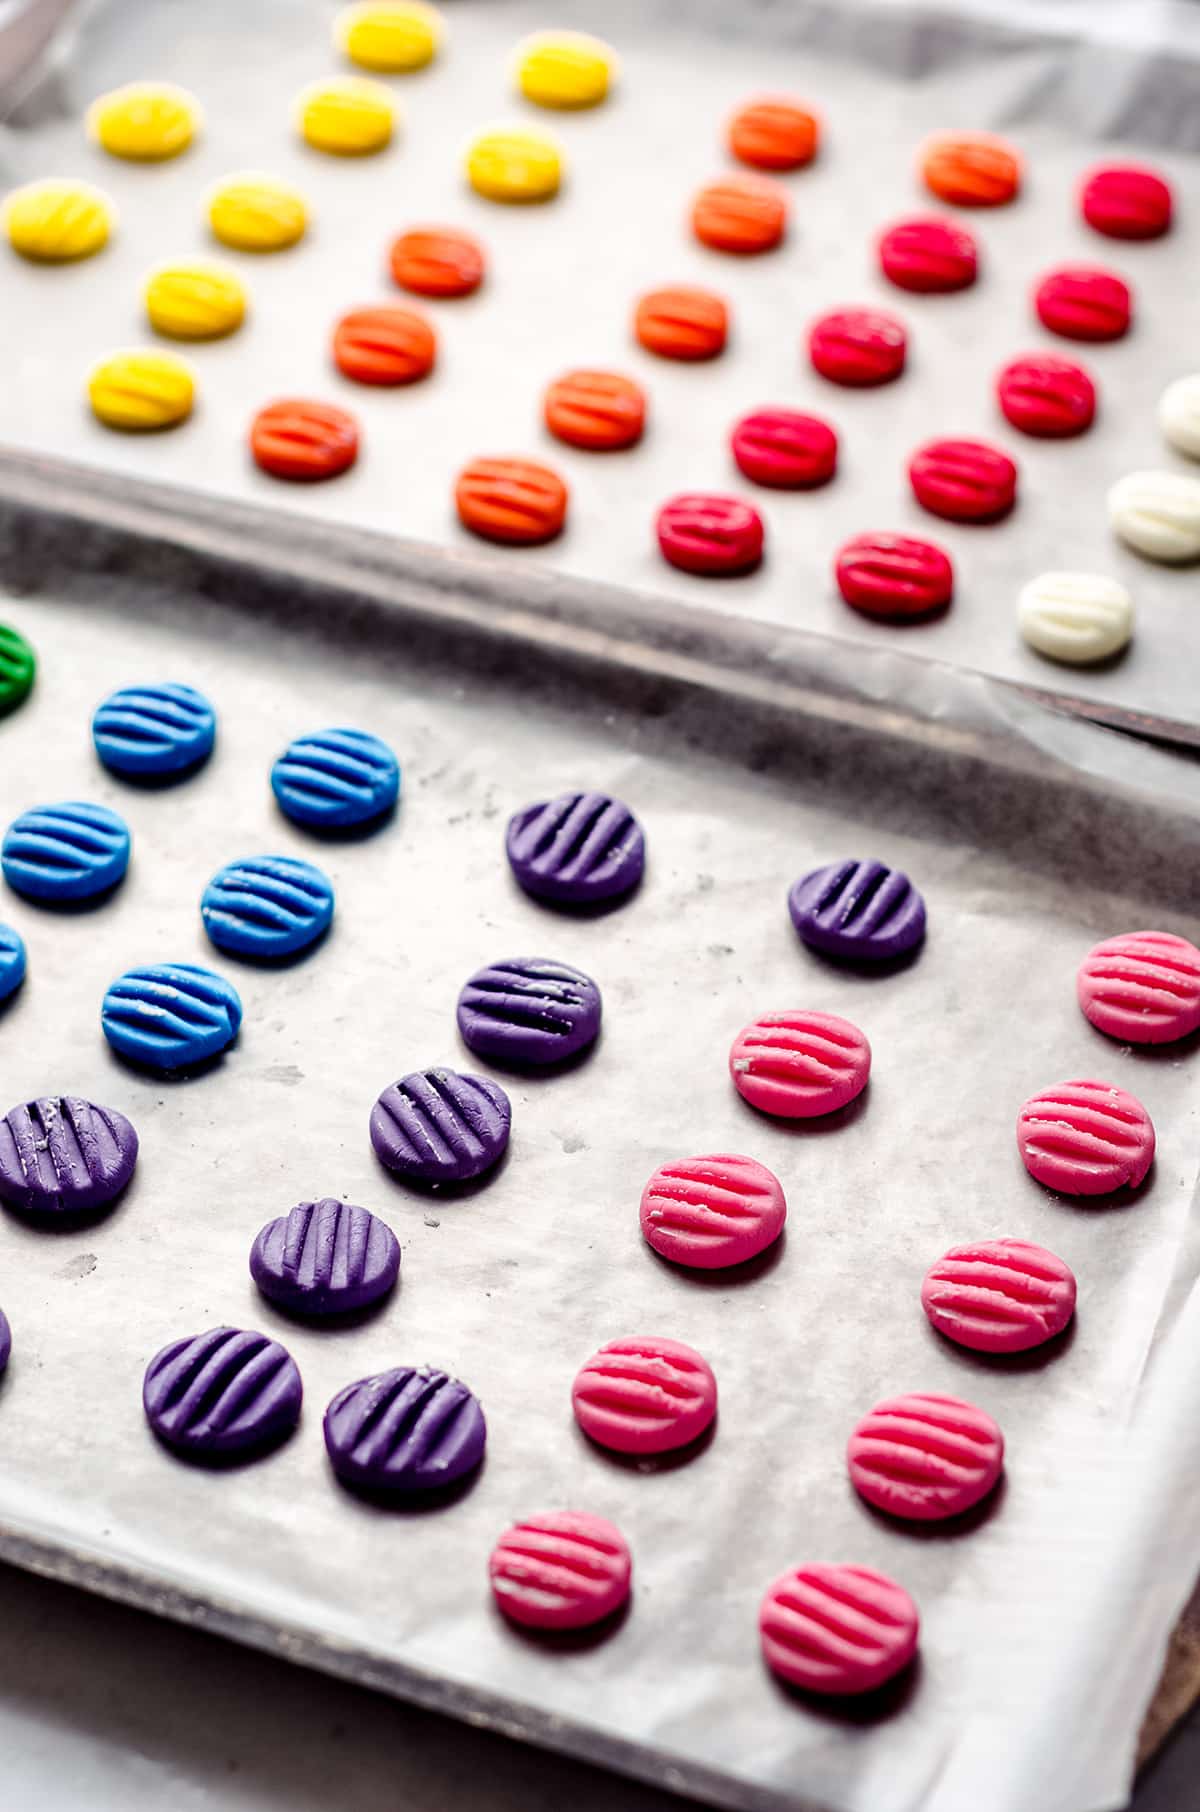
In the photos, you’ll see how I’ve experimented with different colors and themes to create these irresistible treats. With my easy-to-follow instructions and plenty of photos to help you along the way, you’ll find making these delightful mints both simple and pleasantly repeatable.
Fun fact: when I think about these delicious cream cheese mints, I think back to when I was a little girl in vacation bible school. For whatever reason, this simple recipe was a staple as a “station” during the week, and to this day, I have no clue why.
Did Jesus have the best cream cheese mints recipe? Did he also think it was the easiest holiday candy? Or maybe he took them to graduation parties. I will truly never know, but that’s what I think of when I see these little mints (LOLz @ core memories).
Anyway, if you’re like me and you’re head-over-heels in love with all things mint, you have to try a few of my favorite mint-themed recipes (there are many).
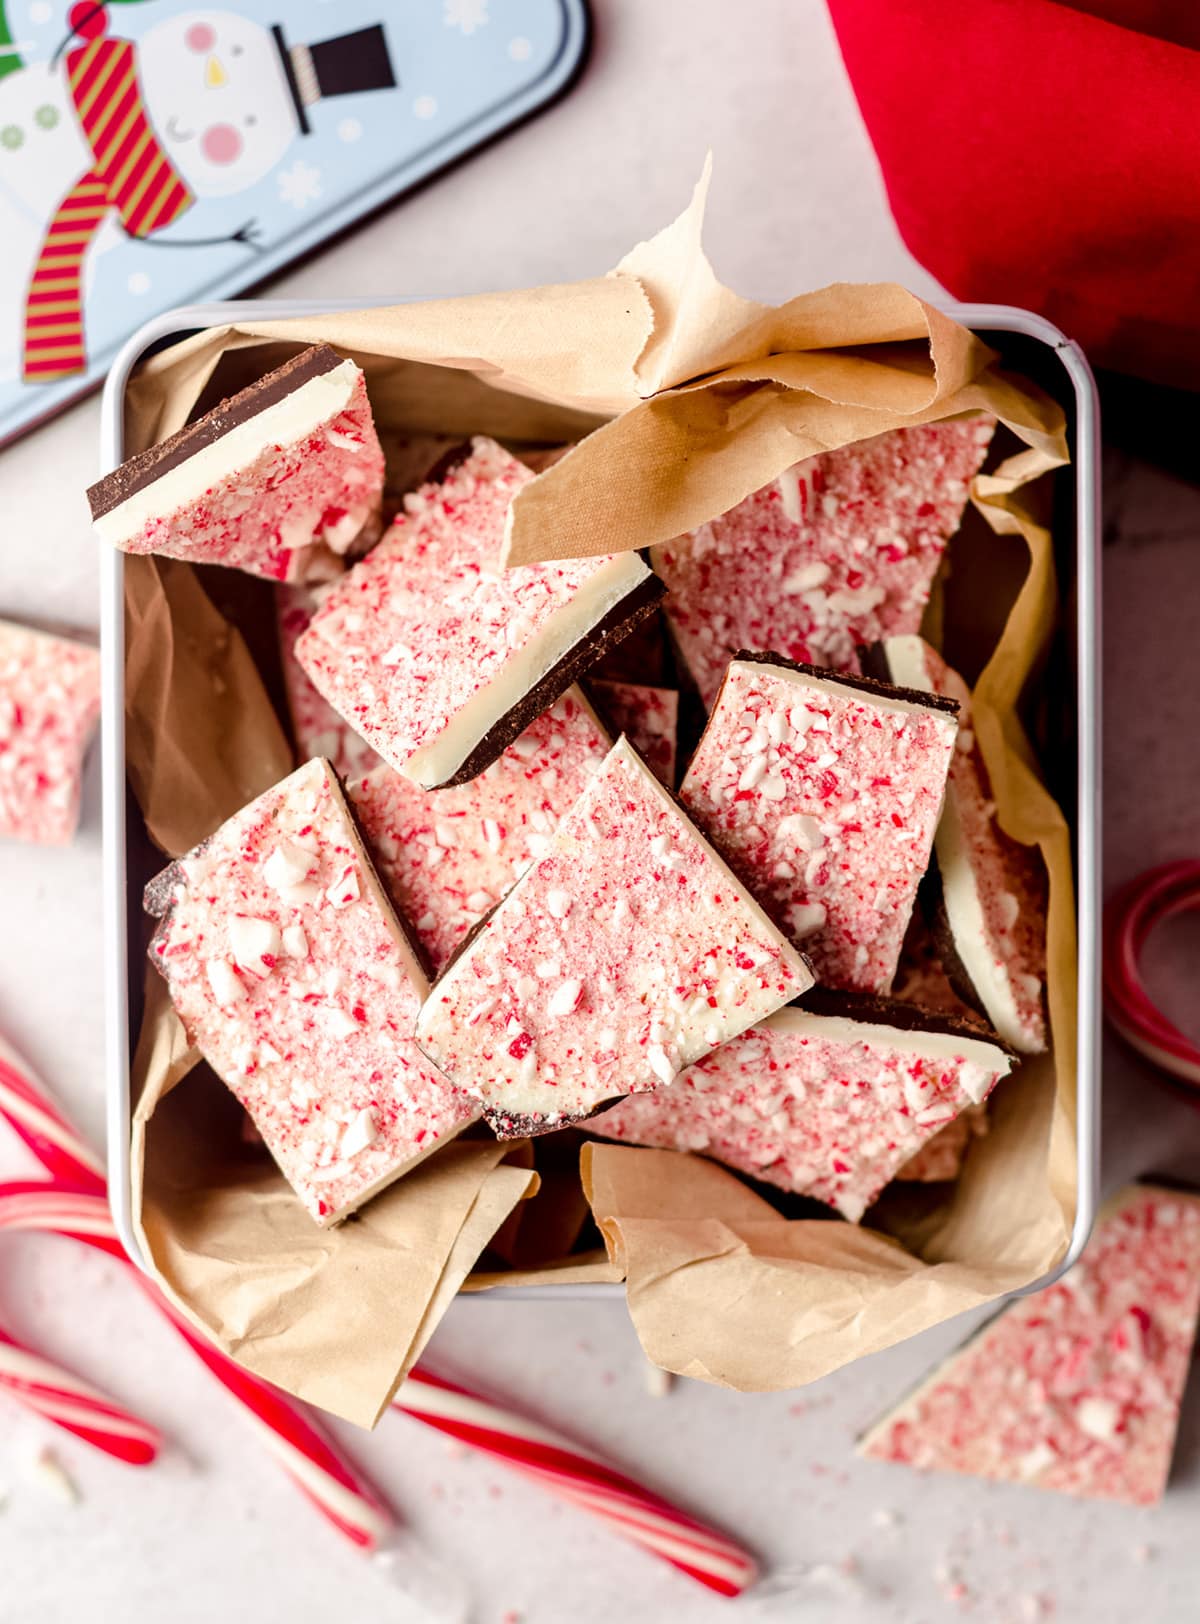
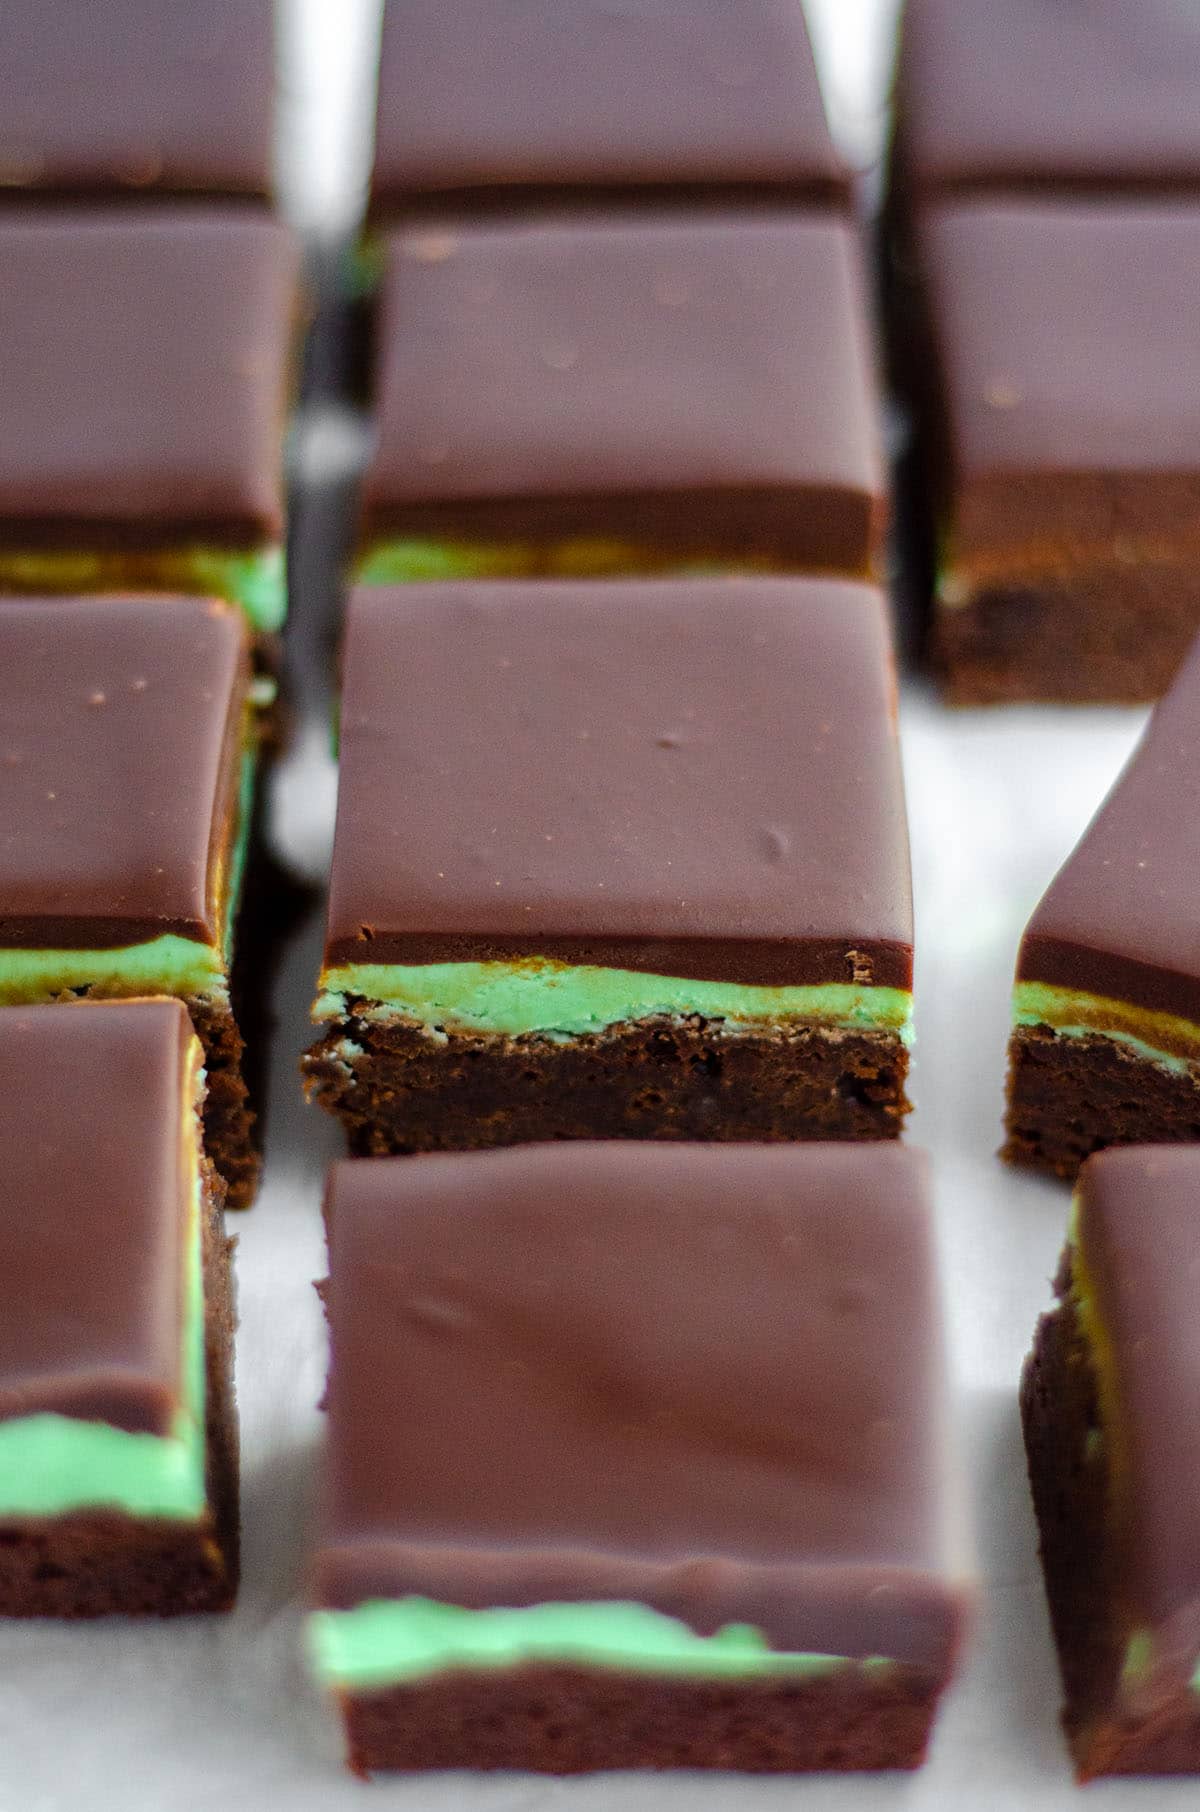
First of all, you can’t have Christmas without a delicious batch of peppermint bark, right? And then of course who can say no to a batch of Andes mint cookies? Not I! And finally, these creamy and decadent mint chocolate brownies are seriously calling my name.

WHAT ARE CREAM CHEESE MINTS?
Cream cheese mints are an old fashioned candy that has been around for generations. They are often also called wedding mints or even baby shower mints because they are so common to find at those sorts of special events!
In addition to weddings and baby showers, these homemade cream cheese mints are super popular during holidays as you can customize their colors to perfectly fit the aesthetic of the season. Halloween, Christmas, Valentine’s Day, and Easter are all good reasons to make cream cheese mints, but they are a tasty recipe any time of year.
These tiny confections are made with cream cheese (hence the name), a tiny bit of butter, peppermint extract, vanilla extract, and powdered sugar. They are a quick and easy recipe that has been traditionally used as party favors, or to fill bowls with tasty treats at holiday parties.

INGREDIENTS
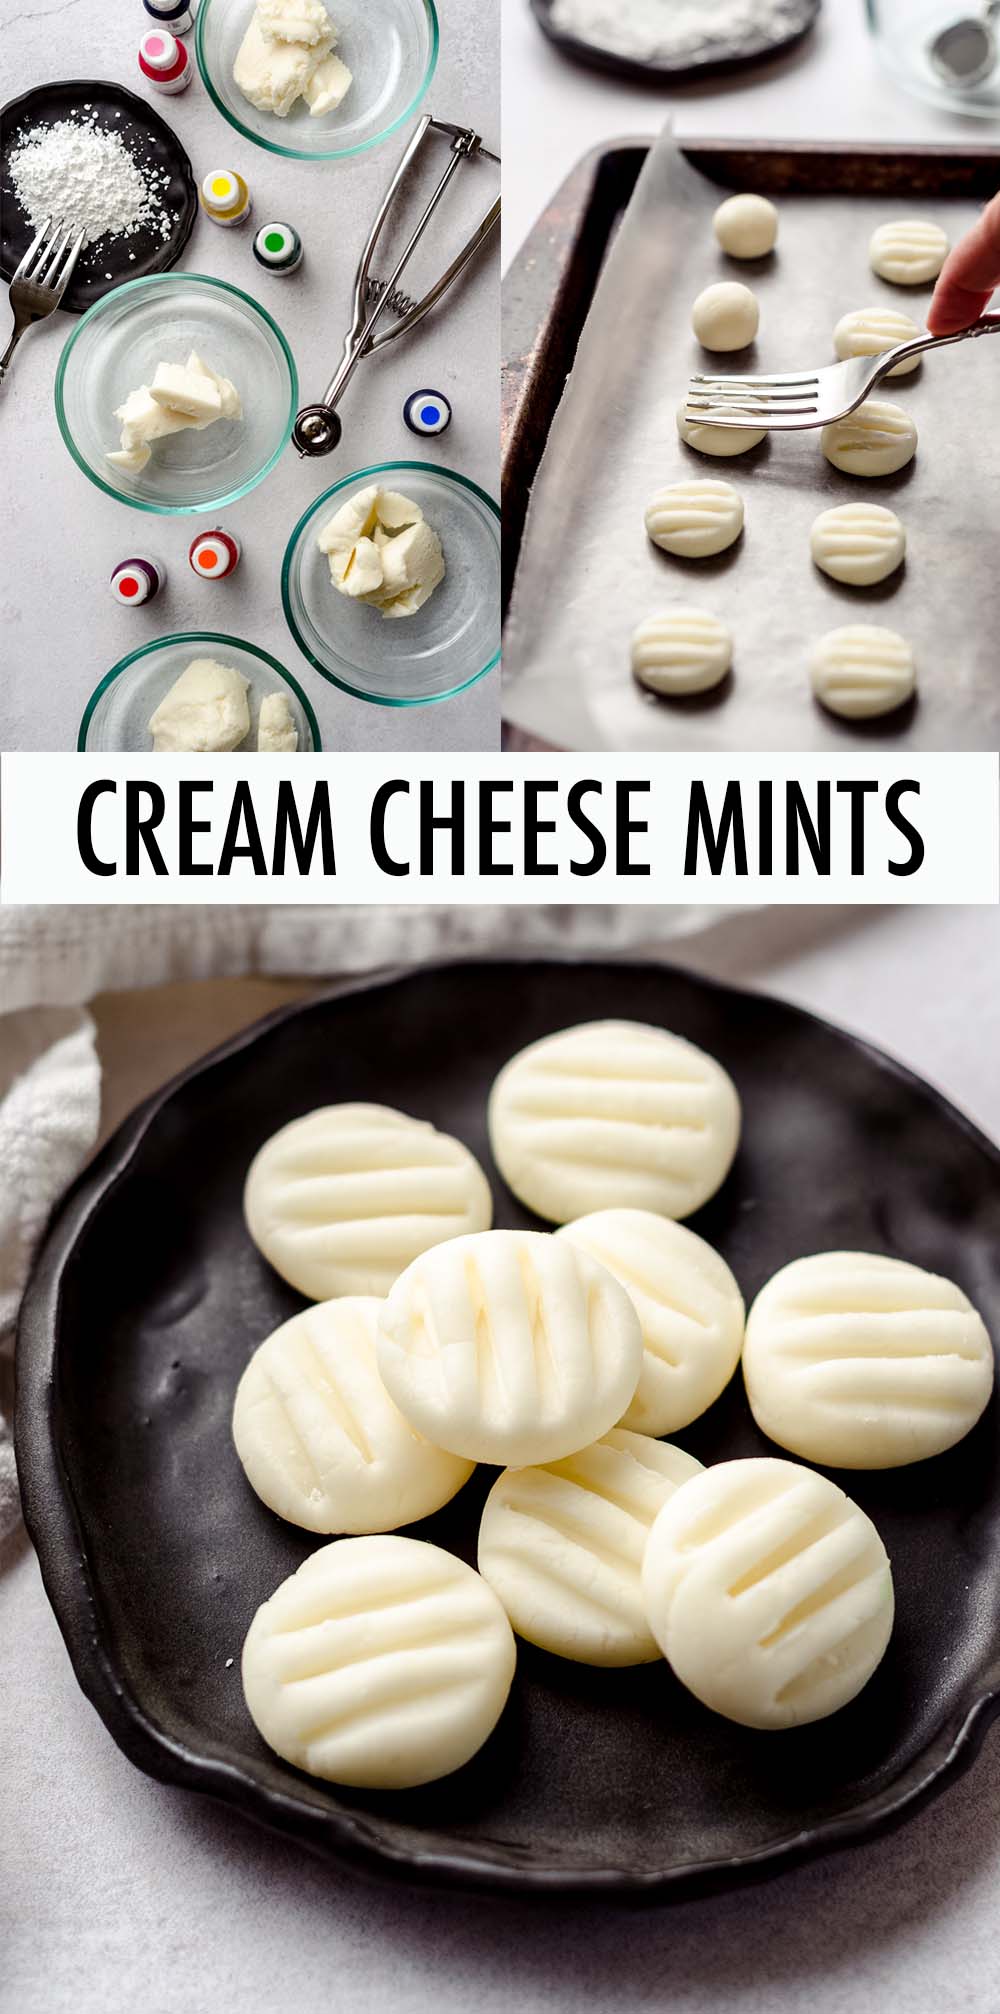
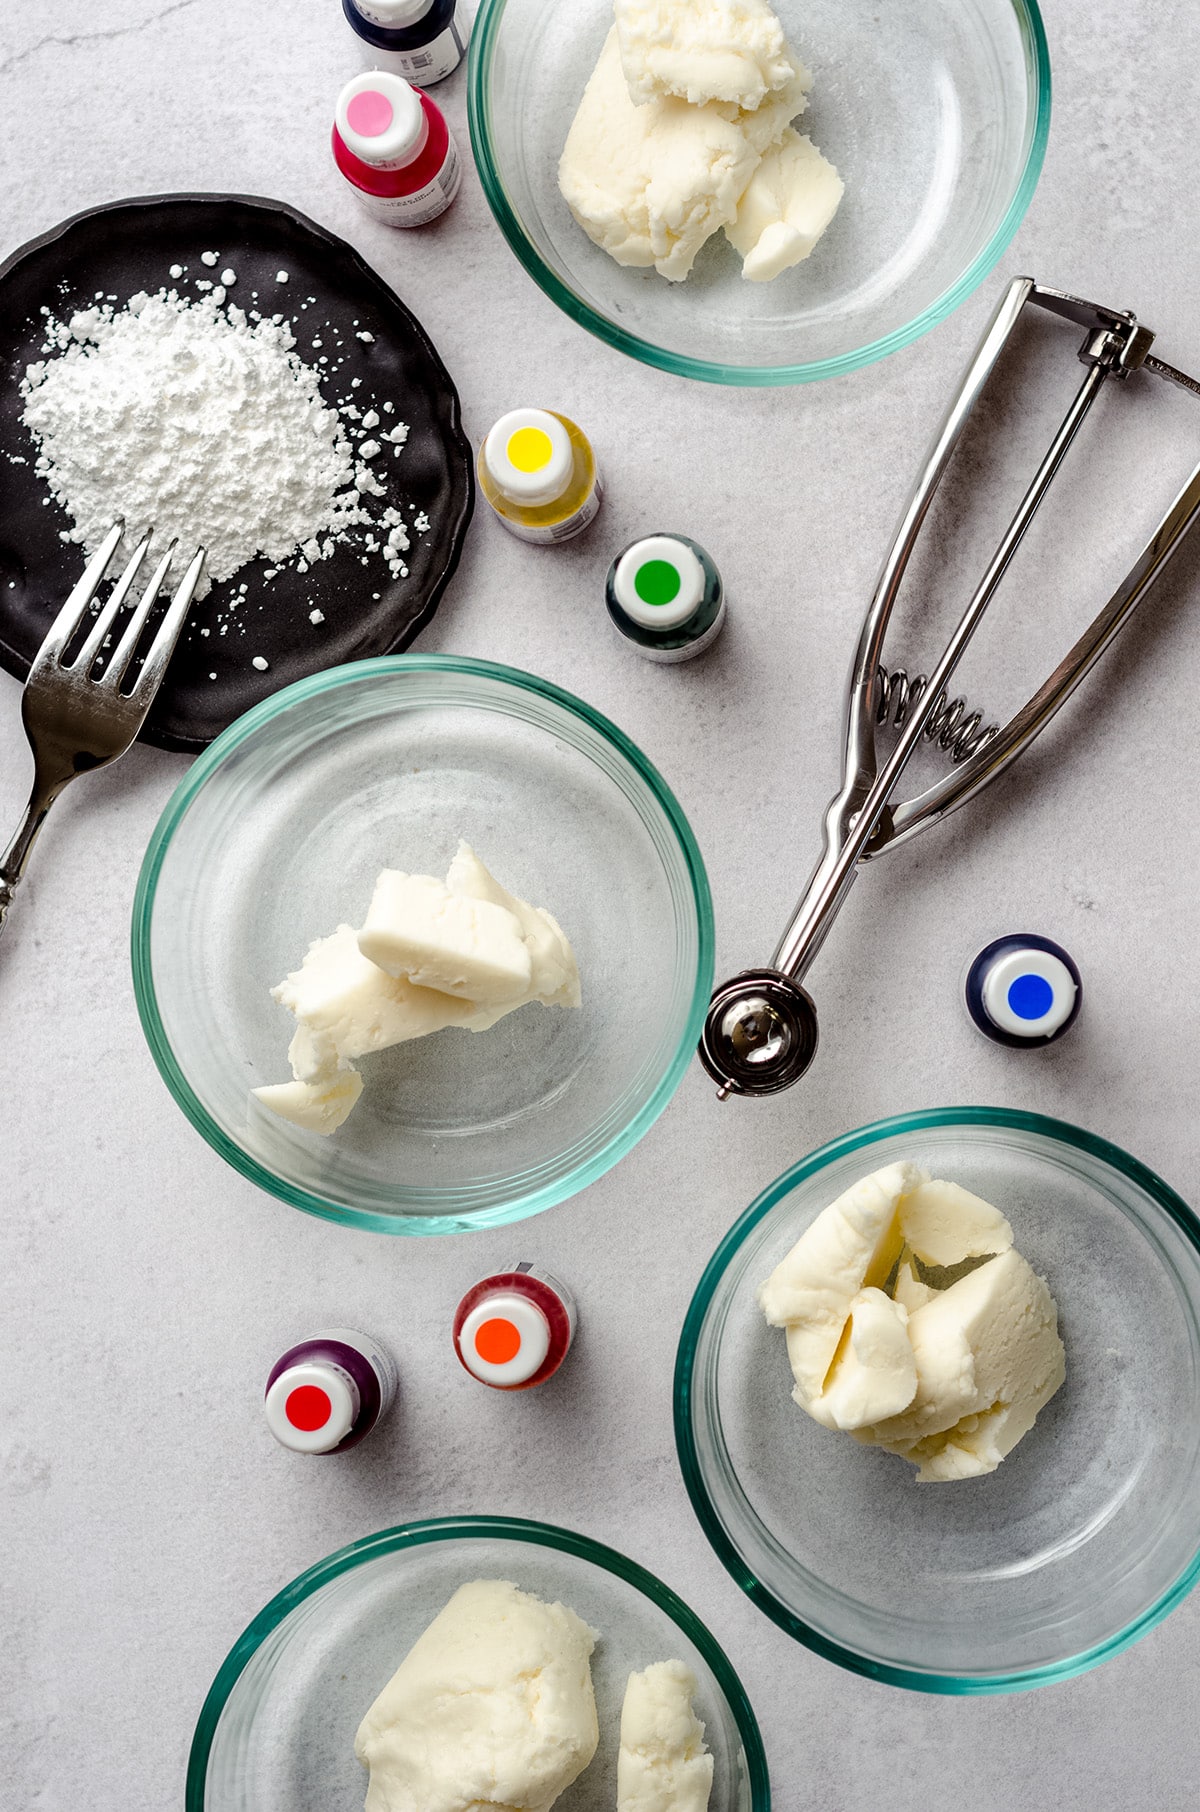
As I mentioned, these easy cream cheese mints are made of a pretty simple set of ingredients. You need just 6 ingredients to make these adorable little treats. Oh, and food coloring, of course, if you want to add some color!
• cream cheese (softened please!)
• unsalted butter
• peppermint extract
• vanilla extract
• salt
• powdered sugar
WHAT FOOD COLORING TO USE FOR HOMEMADE MINTS
To add color, you can use your favorite brand of food coloring. I strongly recommend AmeriColor gel colors because they are deeply pigmented gel colors that won’t mess with the consistency in the same way that traditional liquid food colorings do.
Since I’m an avid baker, I purchased the variety pack of colors, giving me soooo many options. But if you’re making these for a holiday you can just purchase the colors needed, or even serve them without any coloring added at all.
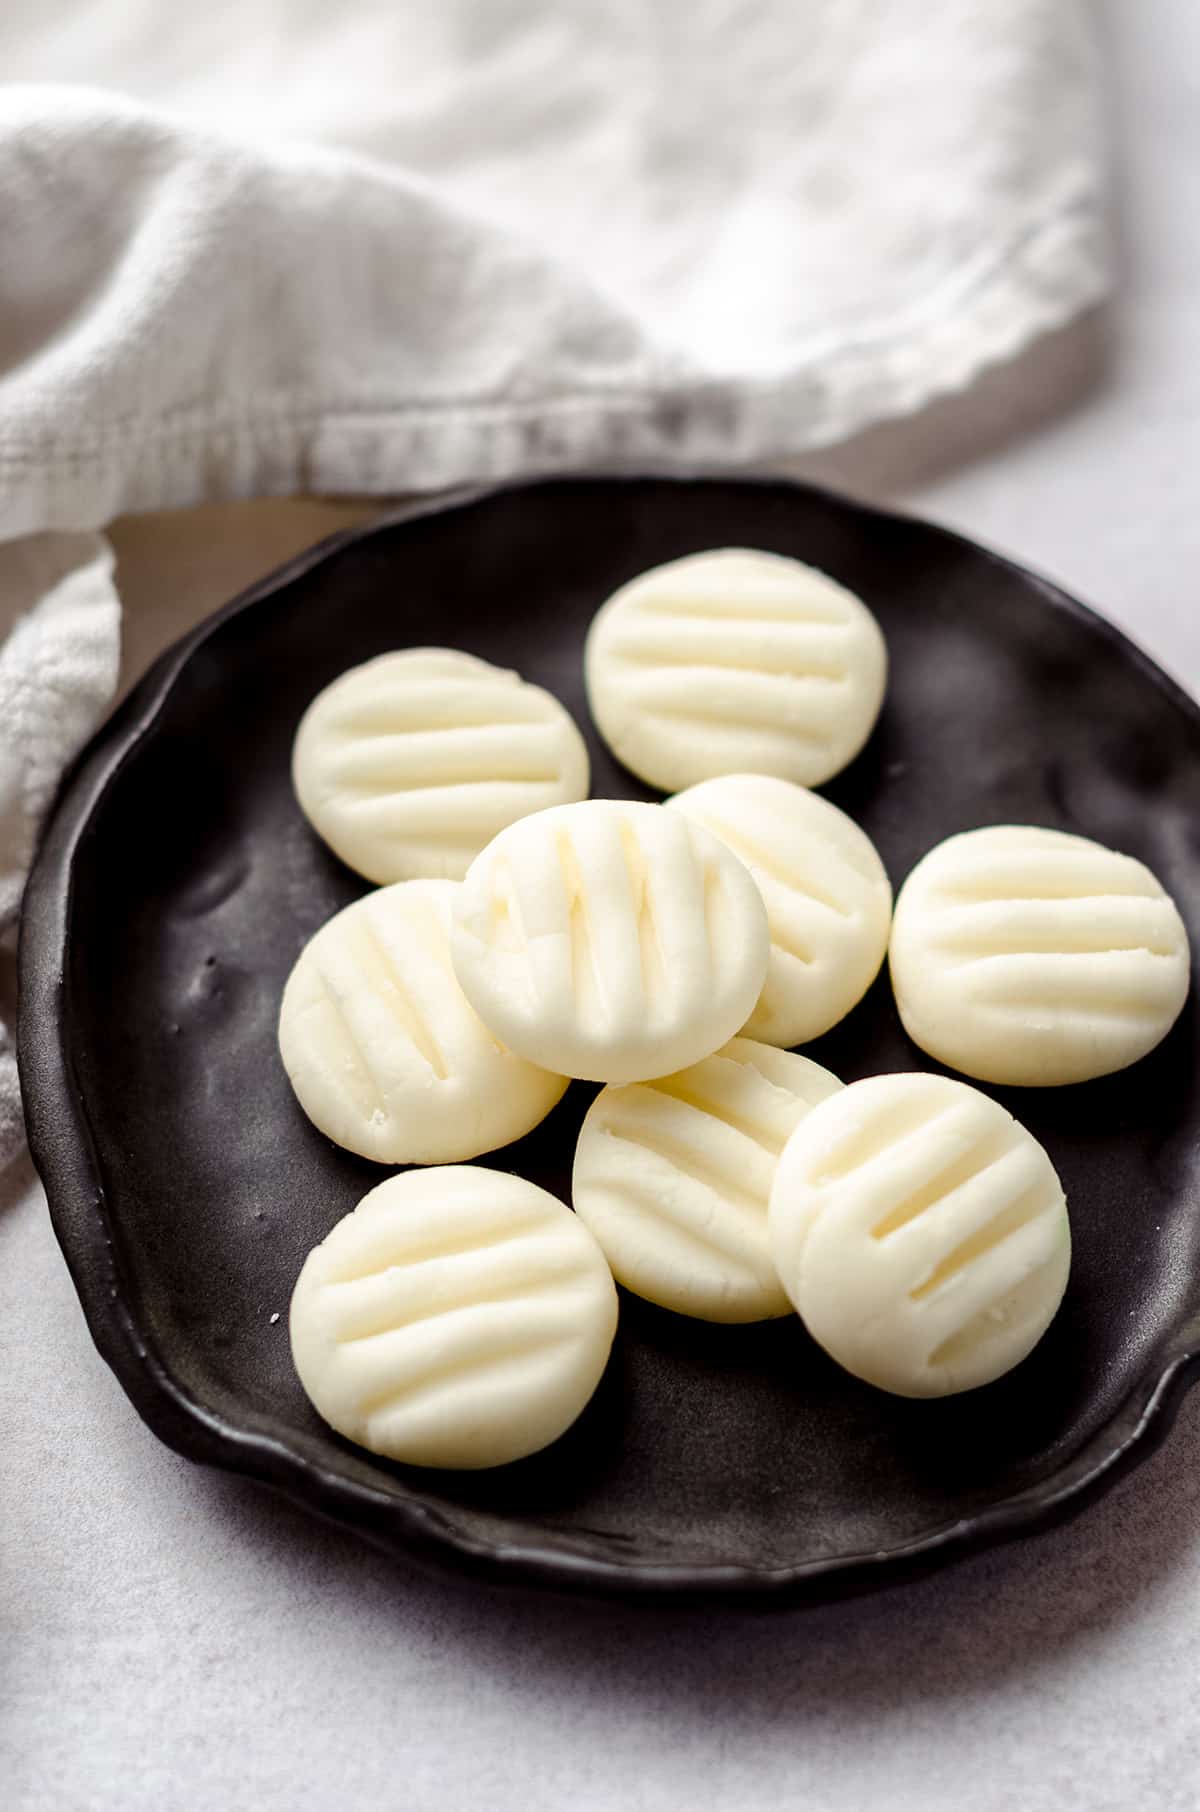
Plain mints will still be absolutely delicious, just a little less vibrant! That could work particularly well for a wedding since their color is naturally off-white and pairs nicely with typical wedding themes.
HOW TO MAKE CREAM CHEESE MINTS
STEP #1
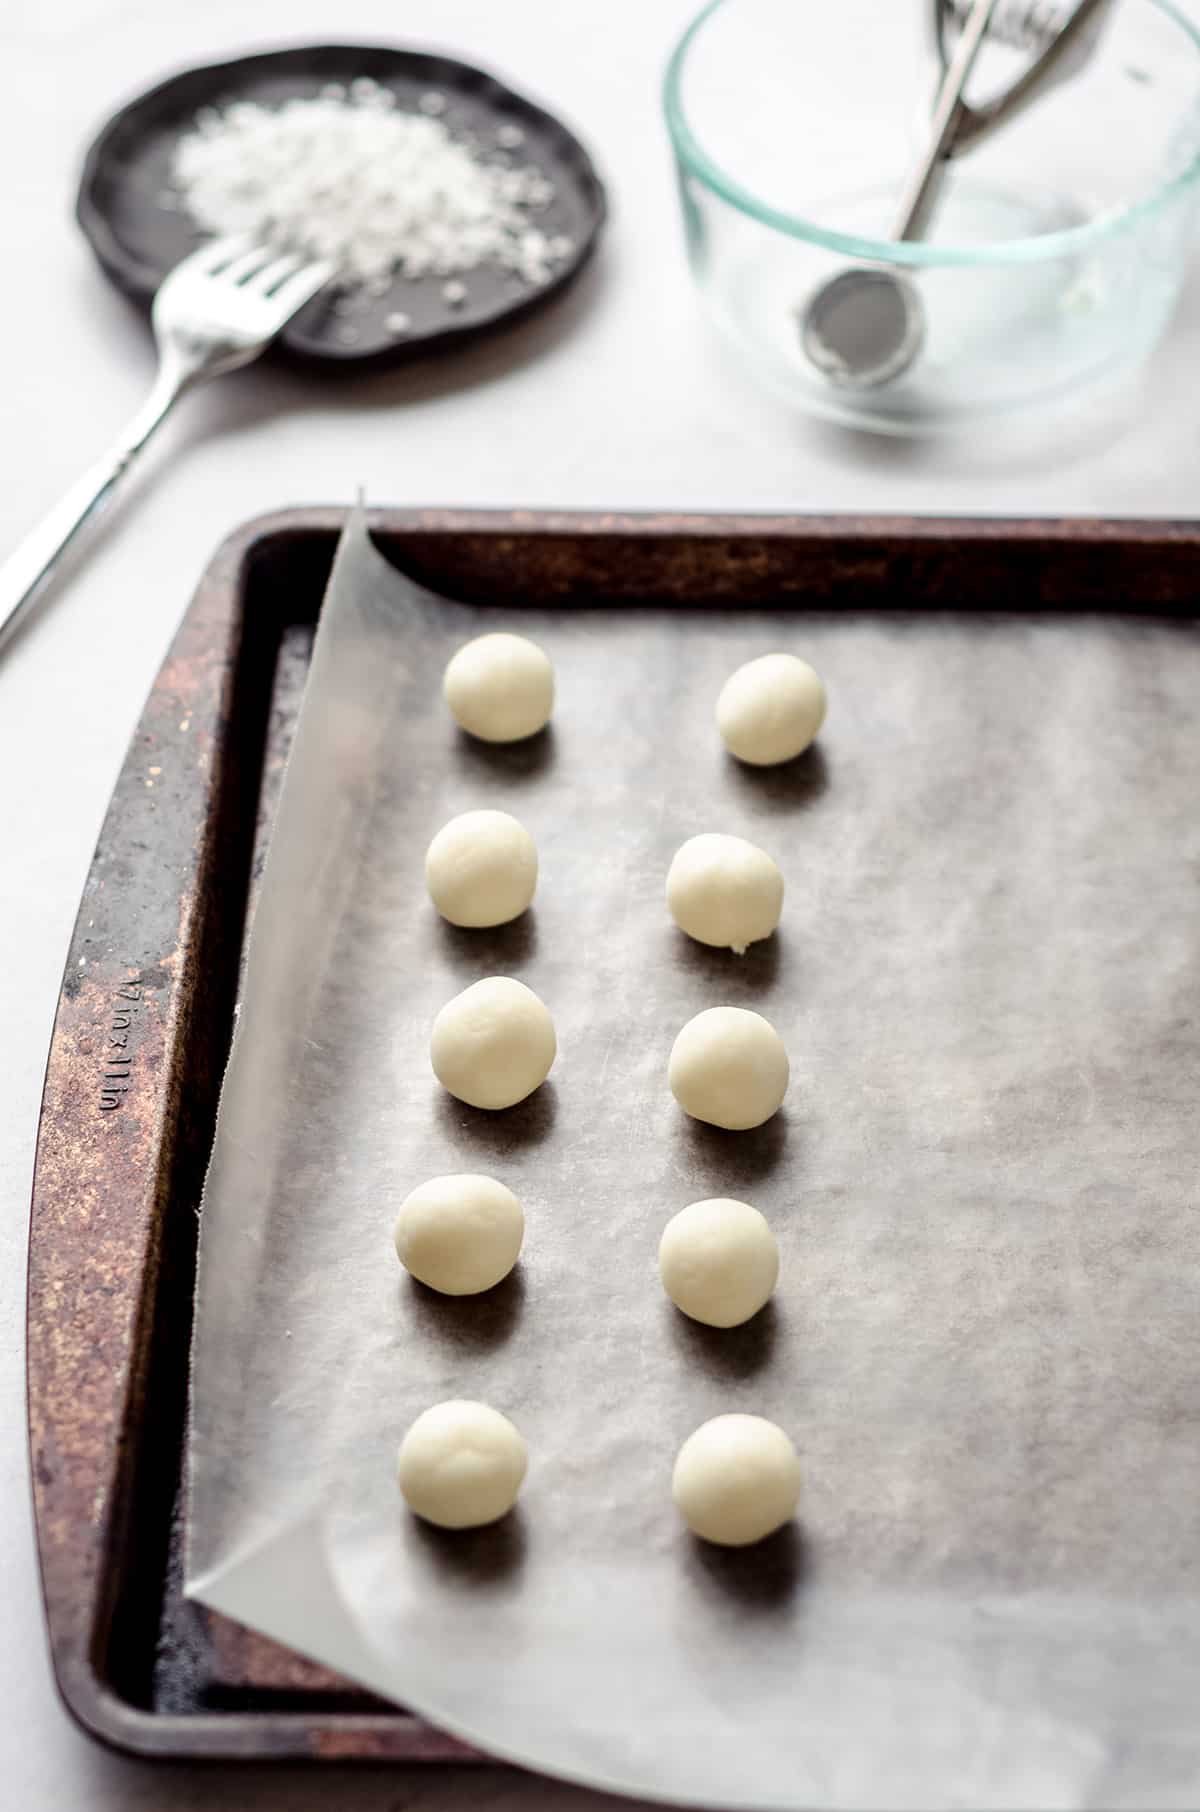
Line two large baking sheets with parchment paper, wax paper, or silicone baking mats, then set aside.
STEP #2
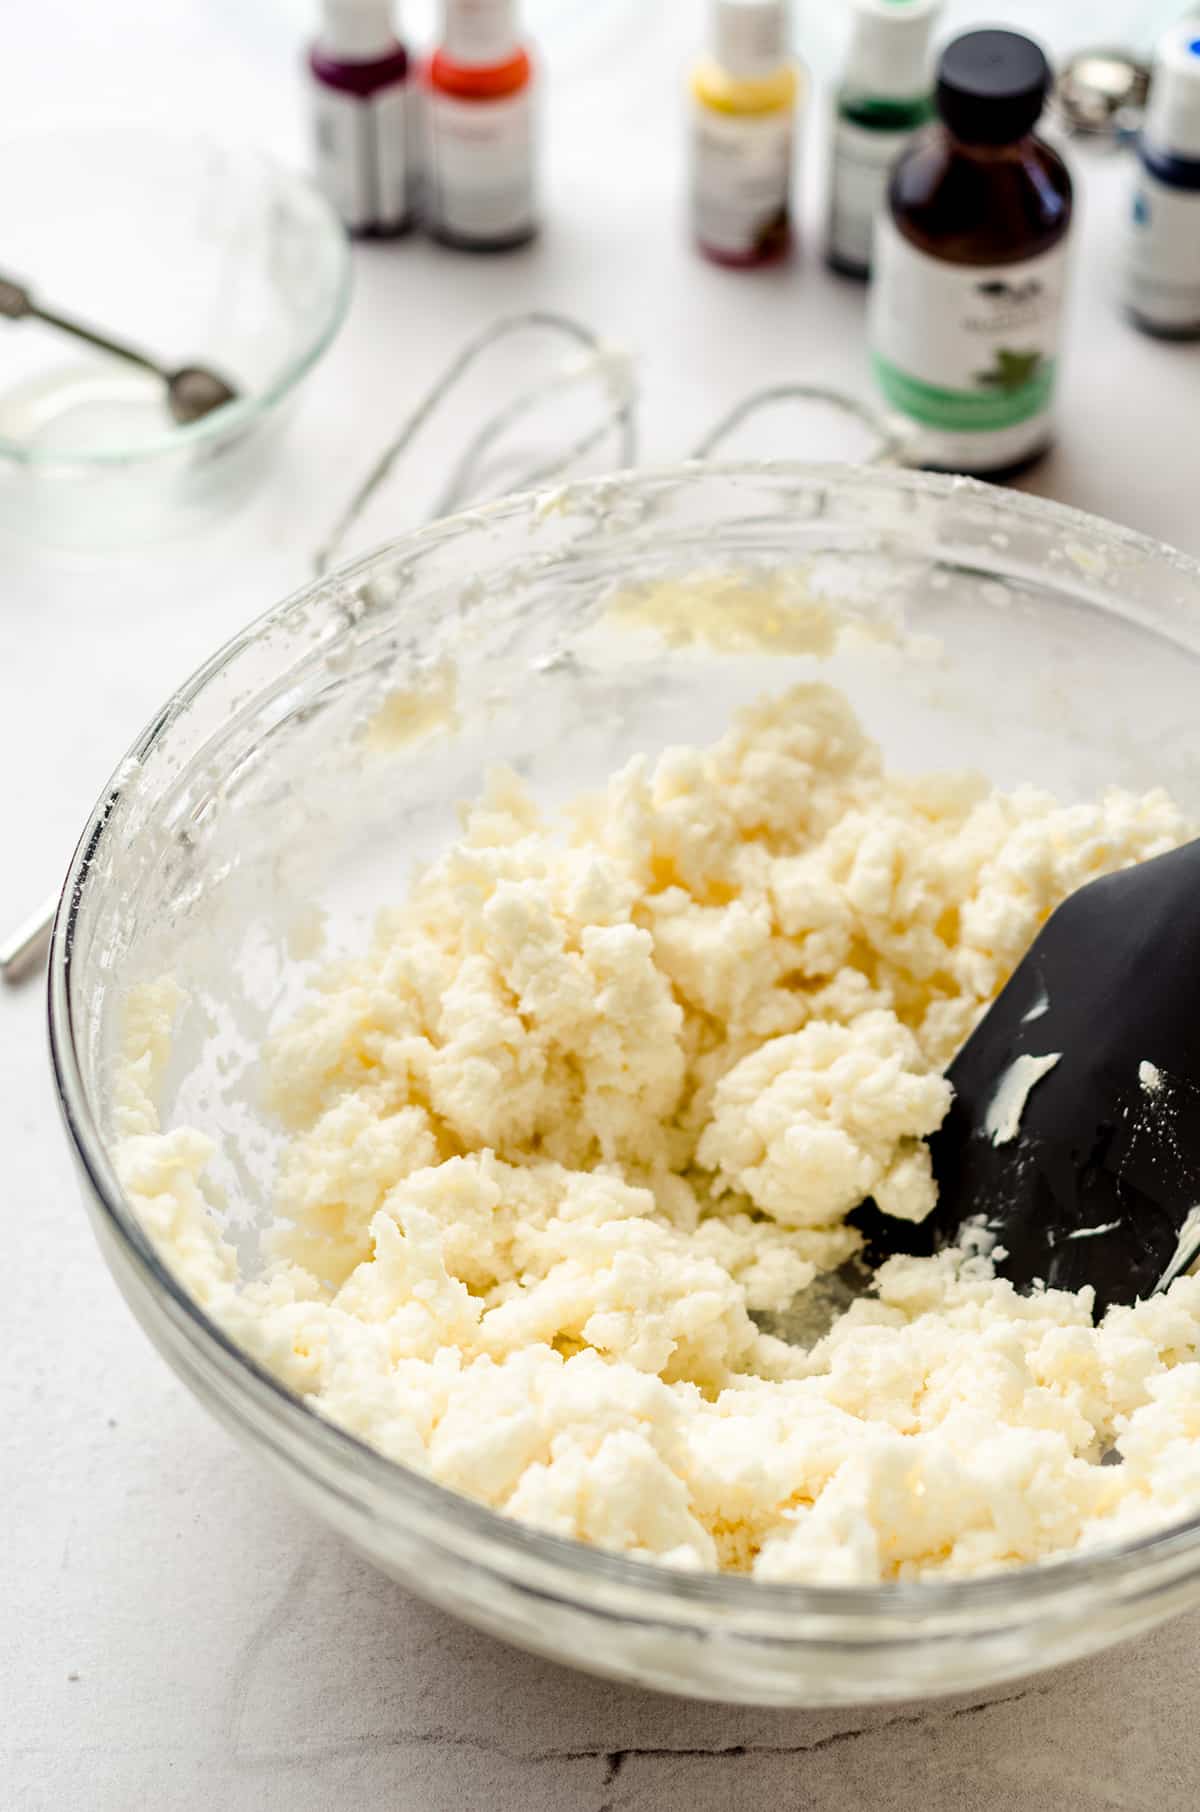
Next, beat the cream cheese, melted butter, peppermint extract, vanilla extract, and salt on medium speed until completely combined.
STEP #3
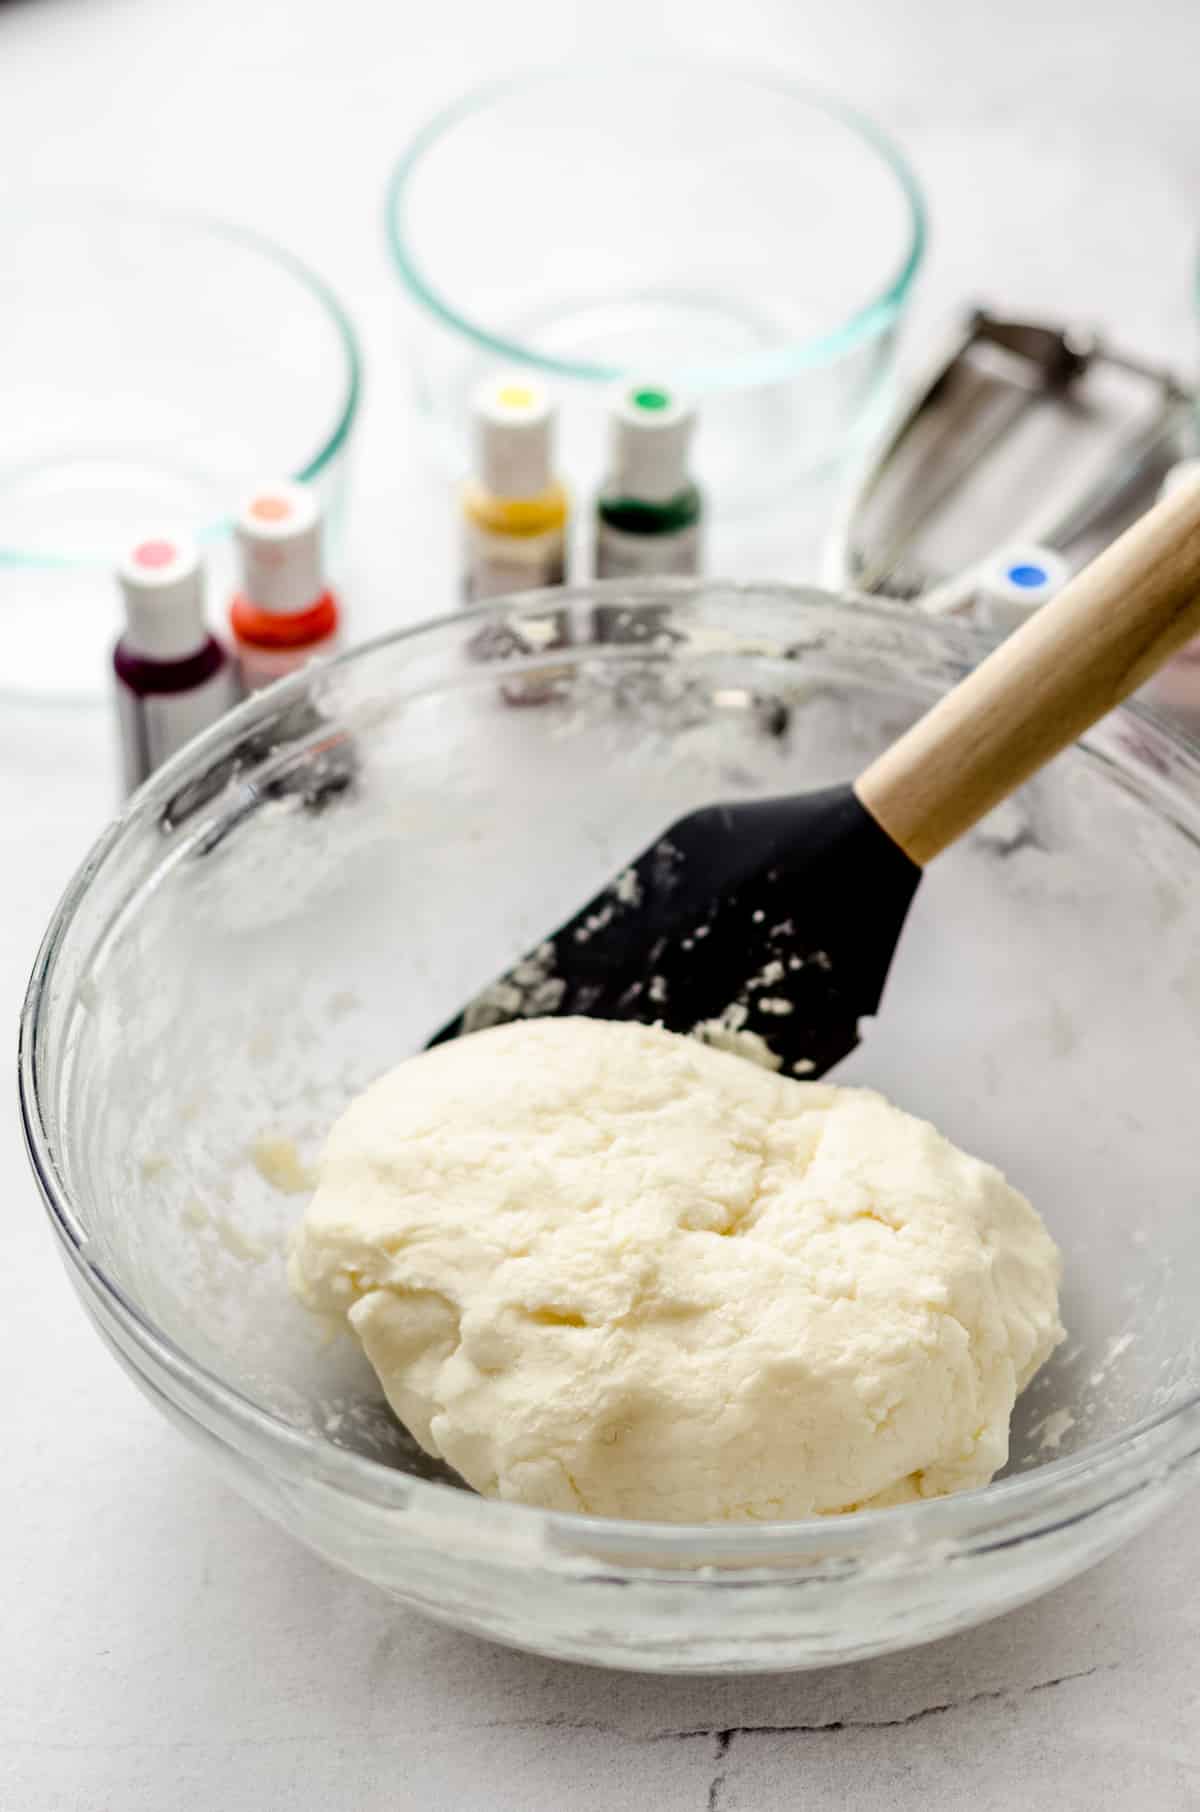
Reduce the mixer to low then slowly add the powdered sugar, stopping to scrape down the sides and bottom of the bowl as needed. The mixture will become stiff, but keep mixing. After all of the powdered sugar has been added, the consistency should be like PlayDoh and not sticky. If it is still lumpy, stir it with a large spatula to bring the mixture together. Cover the bowl then allow the cream cheese mint dough to rest for 10 minutes.
STEP #4
If coloring your mints: if you are using just one color for your cream cheese mints, you can use your mixer to beat the color into the dough. If you want to do more than one color, divide the dough into as many bowls as you need, cover the bowl when it’s not in use, and stir desired color into each portion until fully blended.
STEP #5
Using a ½ teaspoon measure or mini cookie scoop with a trigger, drop small balls of cream cheese mints onto prepared baking sheets. Use your hands to form each mound into a ball, rolling between your palms/fingers gently until smooth and uniform. Place back onto baking sheet. Use a bit of powdered sugar on your hands if the warmth of them is melting the balls or making them too sticky.
STEP #6
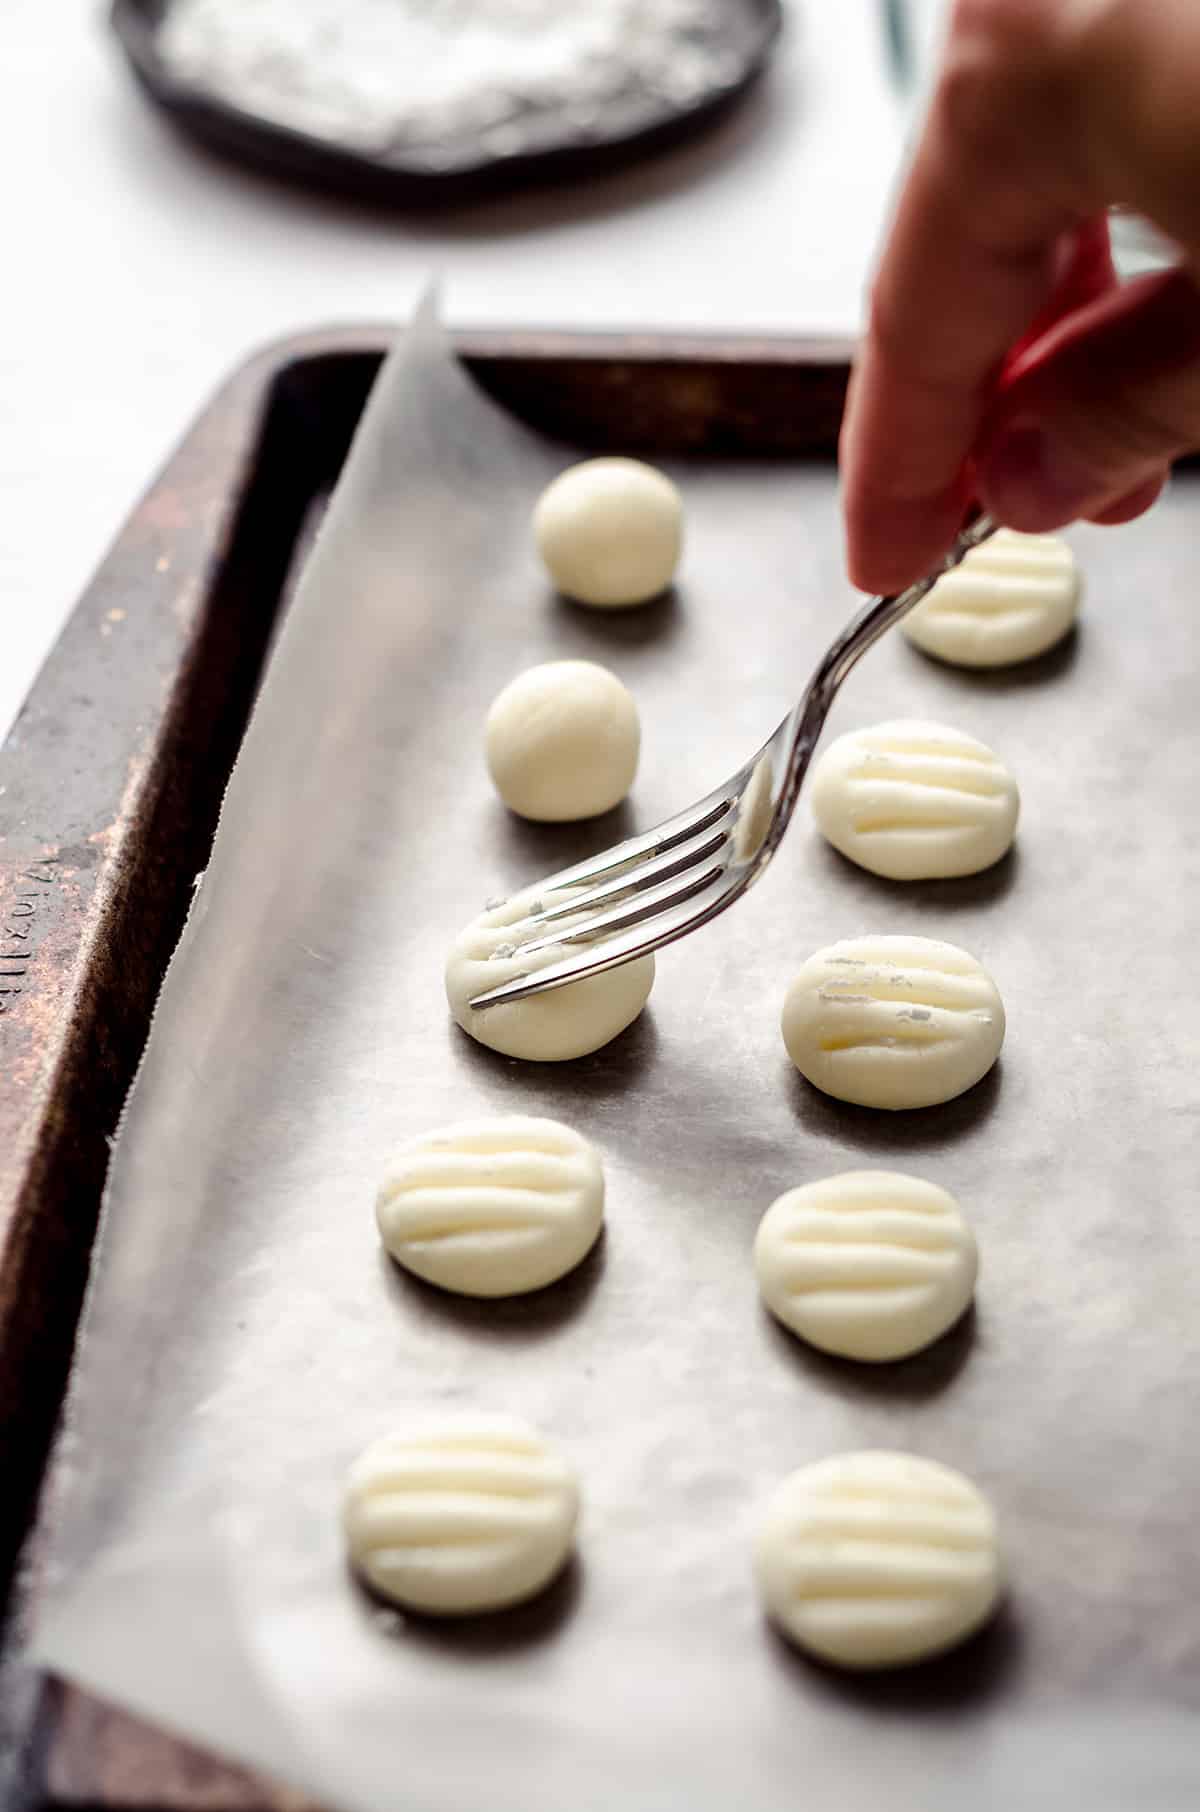
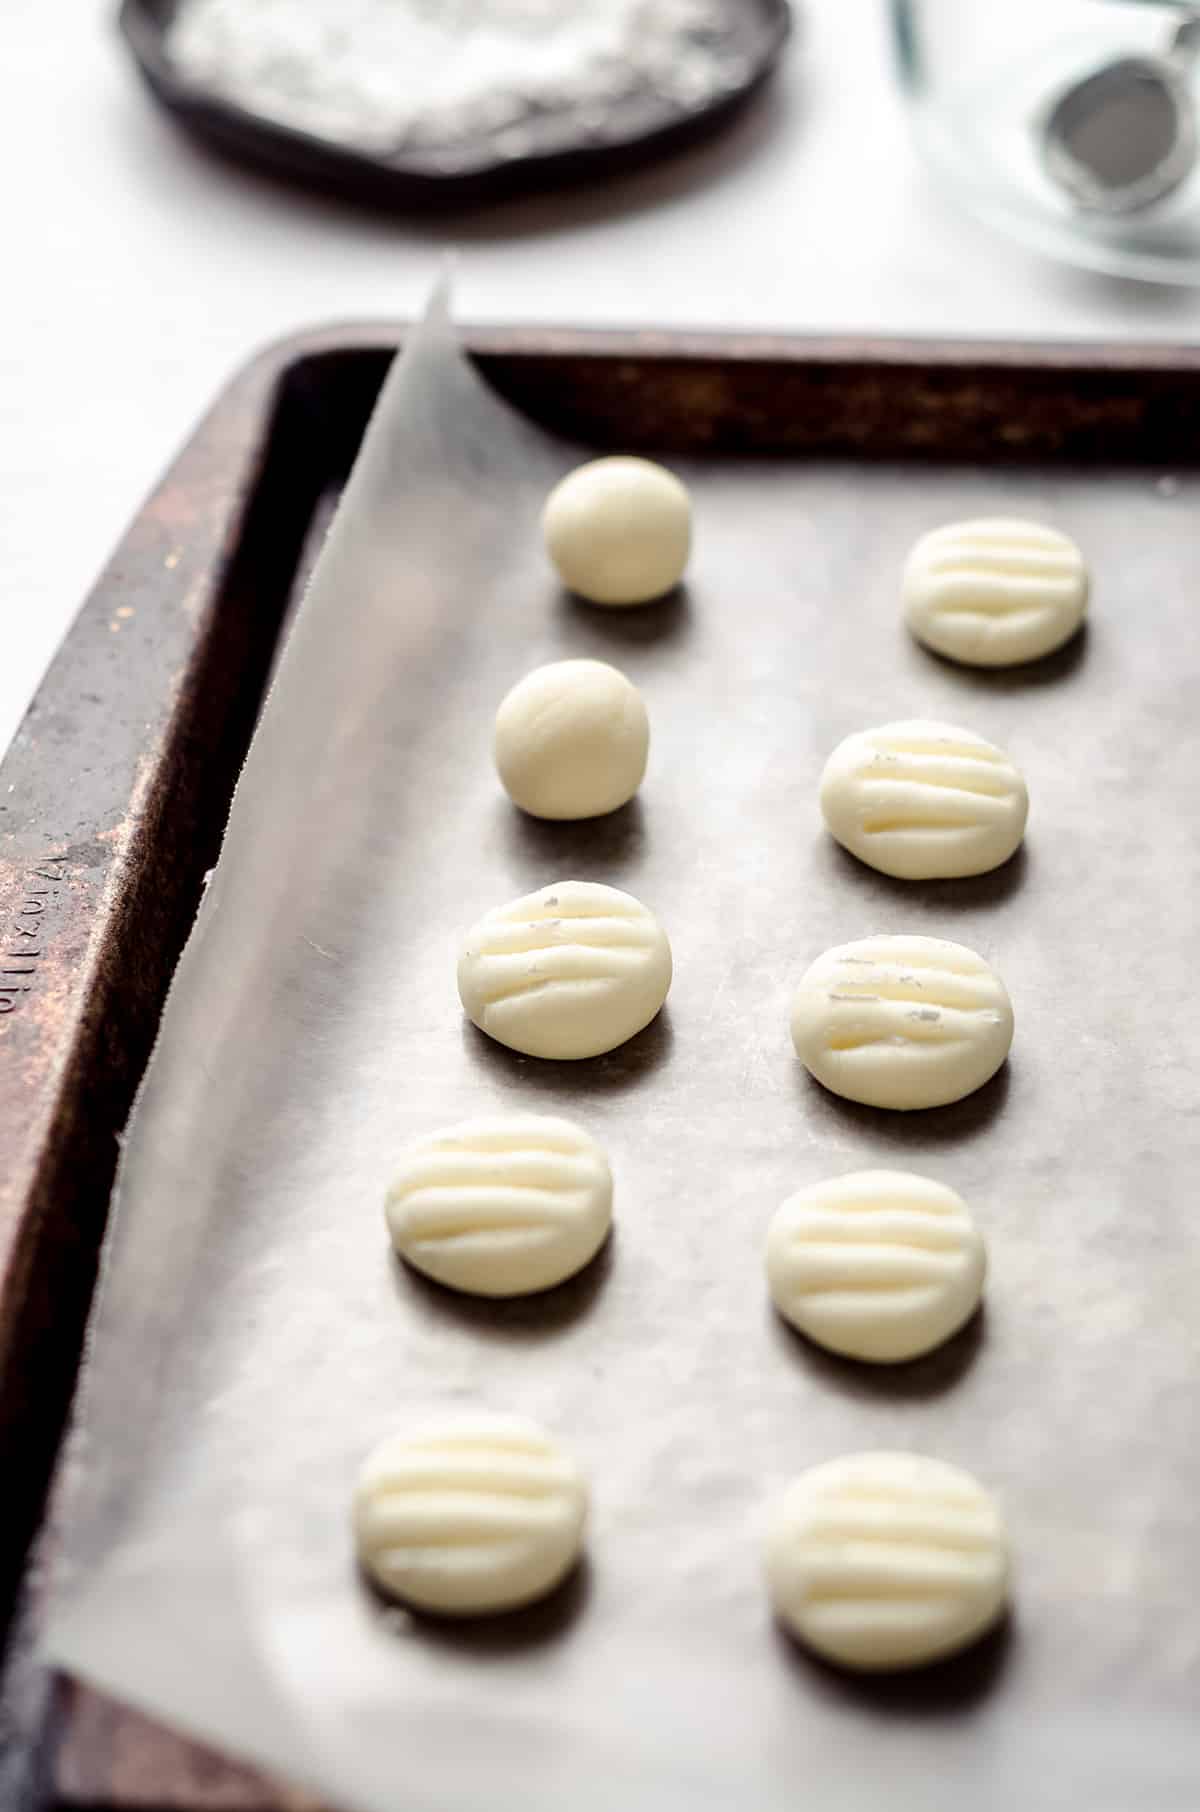
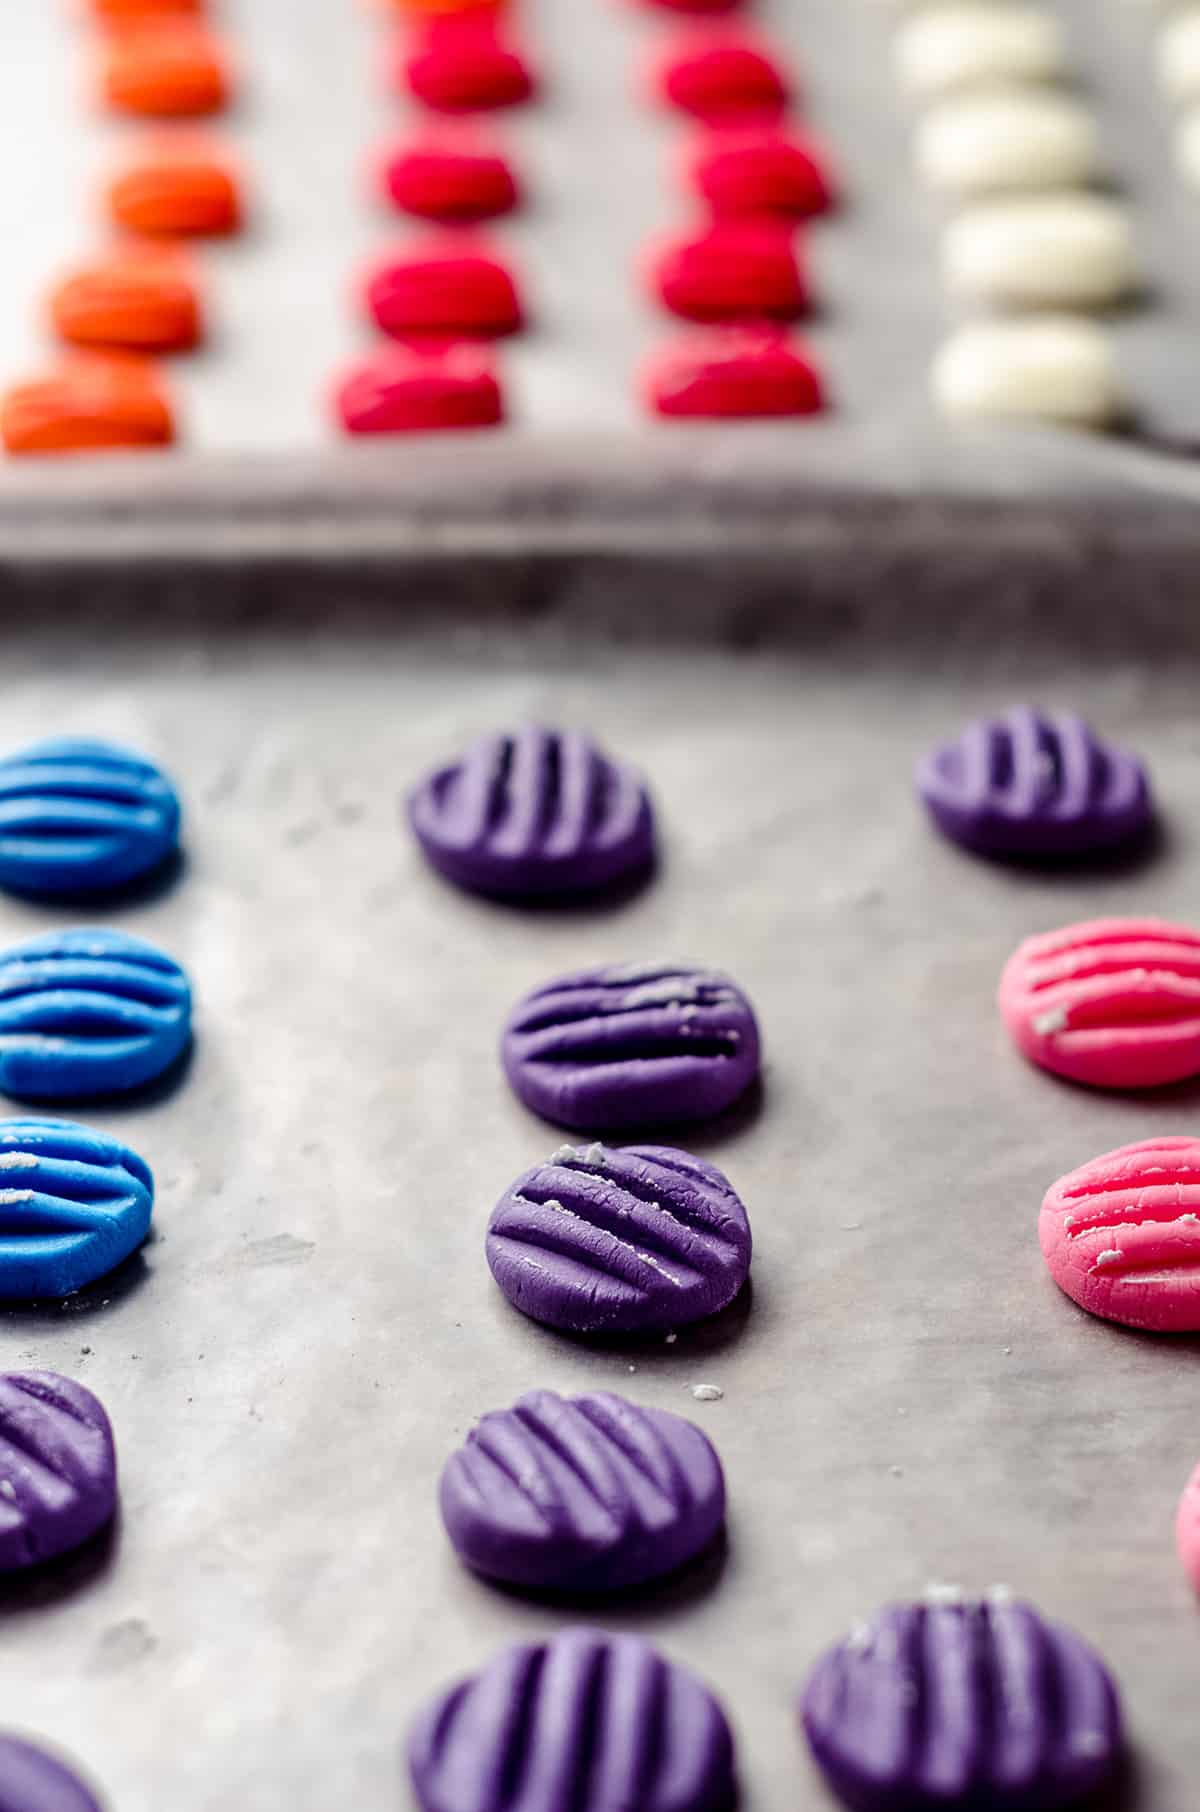
Dip the tines of a fork in powdered sugar and gently but firmly press down on each mint with a rocking motion to imprint lines across each mint.
STEP #7
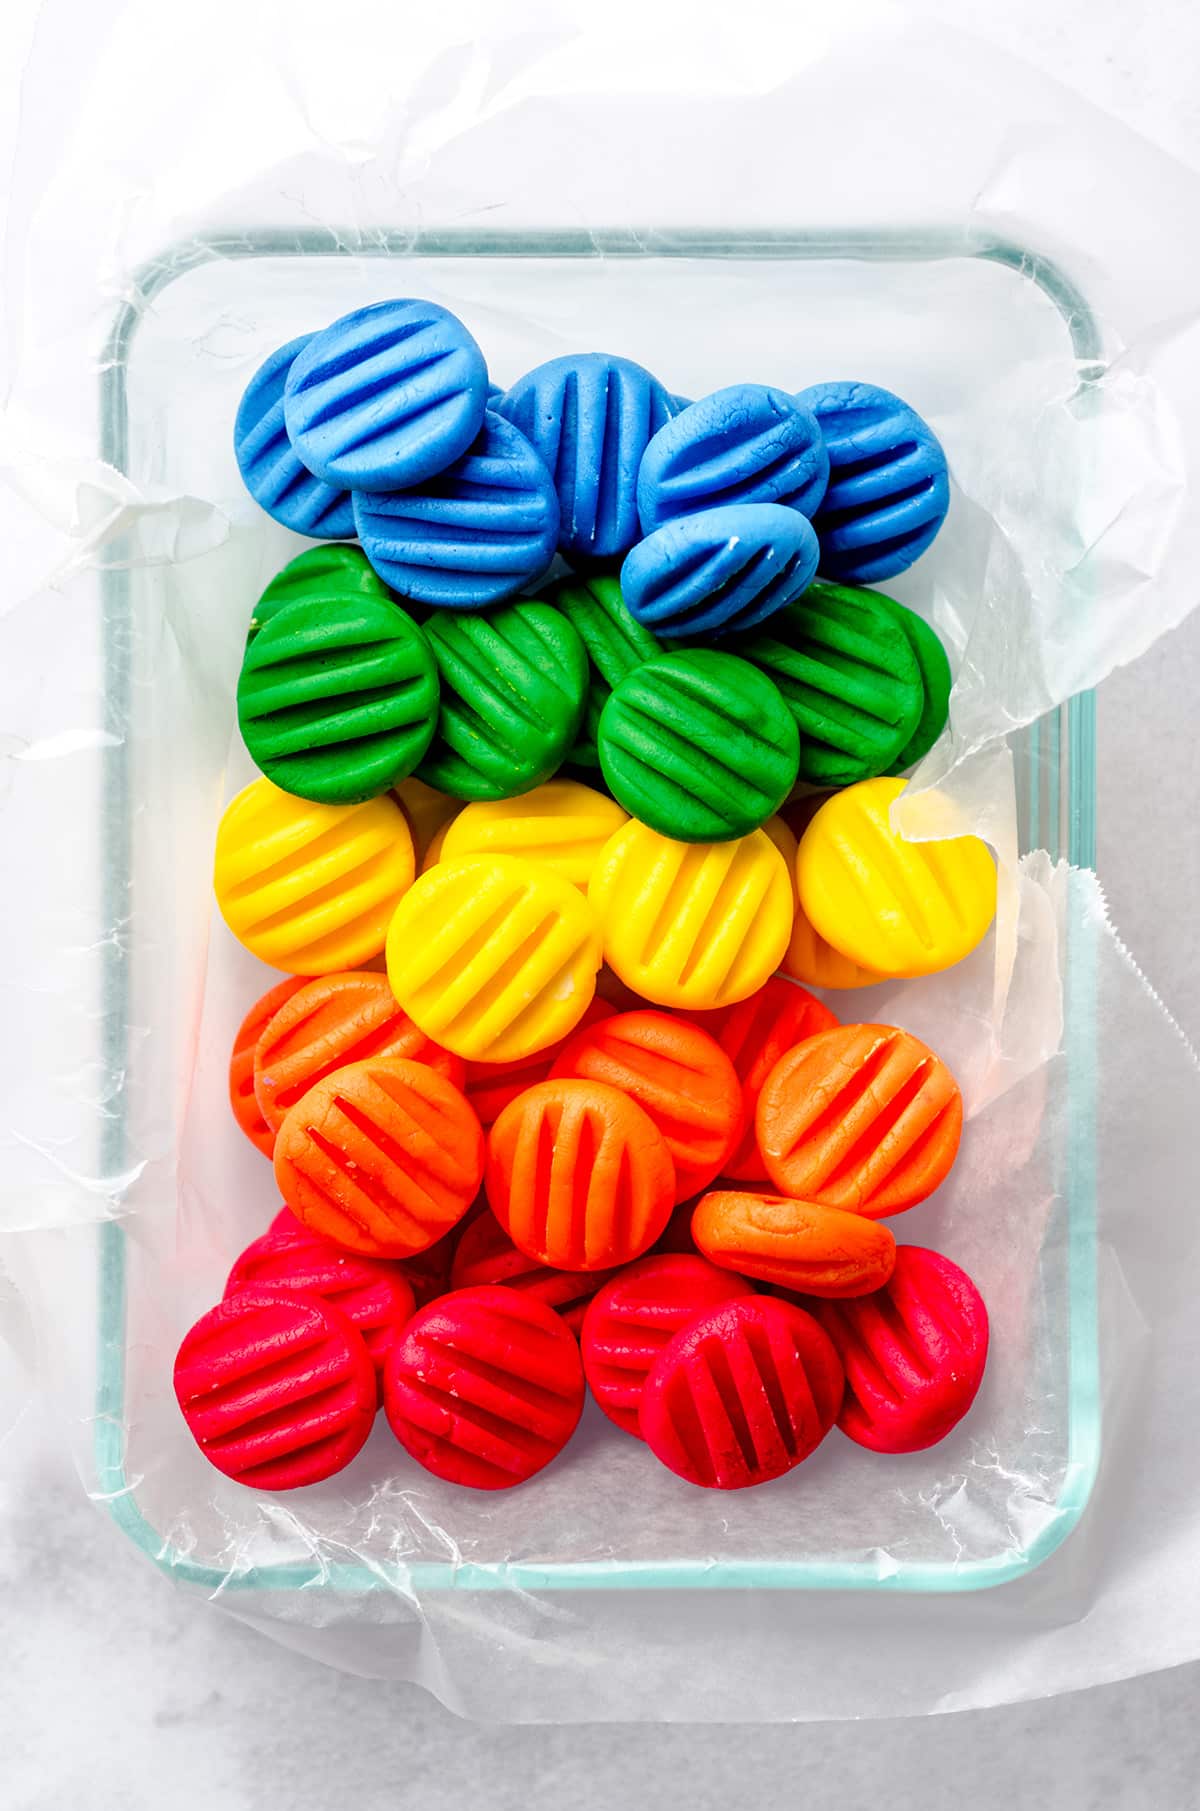
Allow mints to dry at room temperature for about 3 hours (or until dry to the touch) then chill in the refrigerator at least 2 hours before serving. Store mints in airtight containers in single layers with a sheet of wax or parchment paper between them to keep from sticking together.
HOW TO STORE CREAM CHEESE MINTS
To store your old-fashioned cream cheese mints, add them to airtight containers in single layers with a sheet of parchment or wax paper in between each layer. This will prevent them from sticking and the colors from bleeding together. If you can keep it to one color per layer, even better!
You can store them in the fridge for up to 2 weeks! That’s right! They are the perfect little treat to keep on hand during any holiday season (just switch up the color combos), as you can have a nice little snack with coffee or offer them to any guests stopping by. Pretty cool, huh?
CAN I FREEZE CREAM CHEESE MINTS?
If you want to store your homemade mints for longer, you can actually freeze them for up to 3 months! Just transfer them to an airtight container (or freezer bag), with sheets of parchment or wax paper in between the layers.
Add the container or bag to the freezer and store for up to 3 months. Once you’re ready to serve, just thaw them in the refrigerator for a few hours or overnight and you’re good to go!
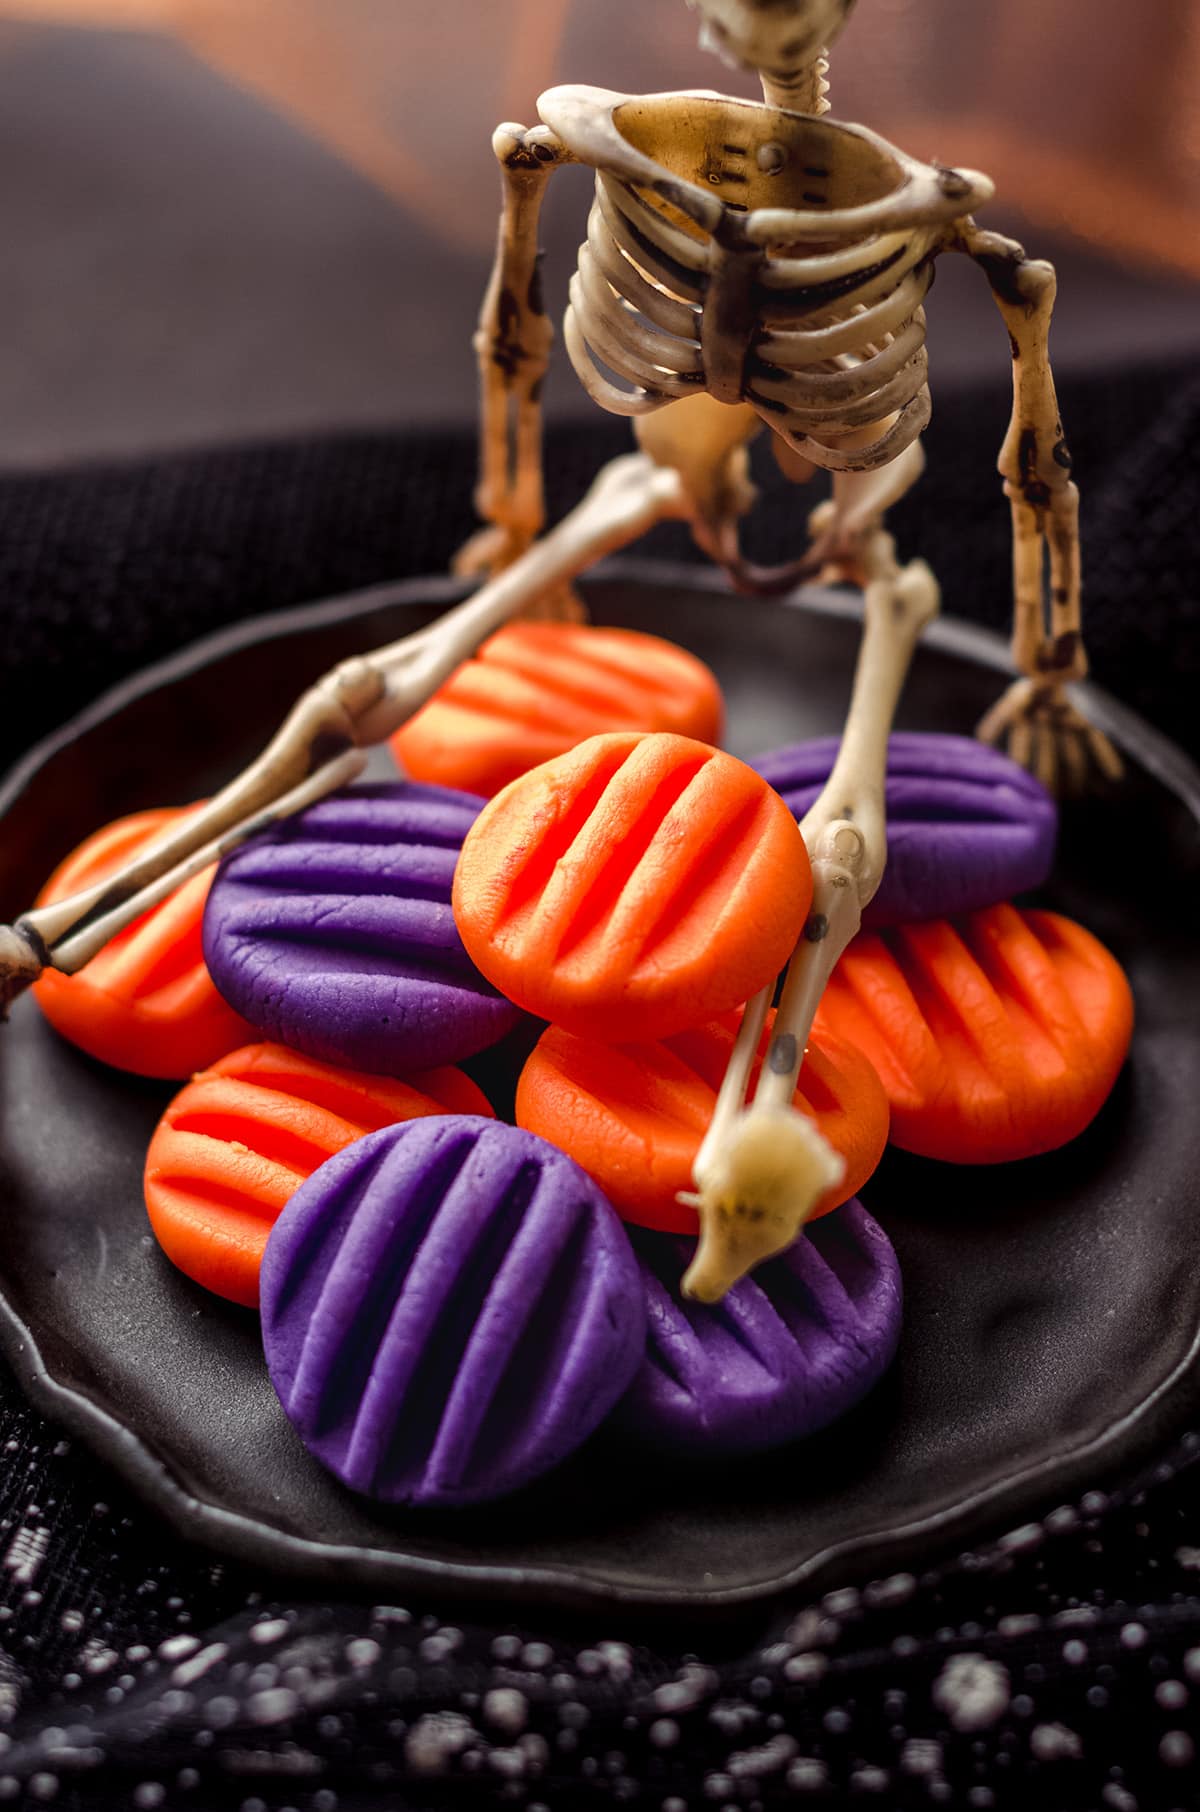
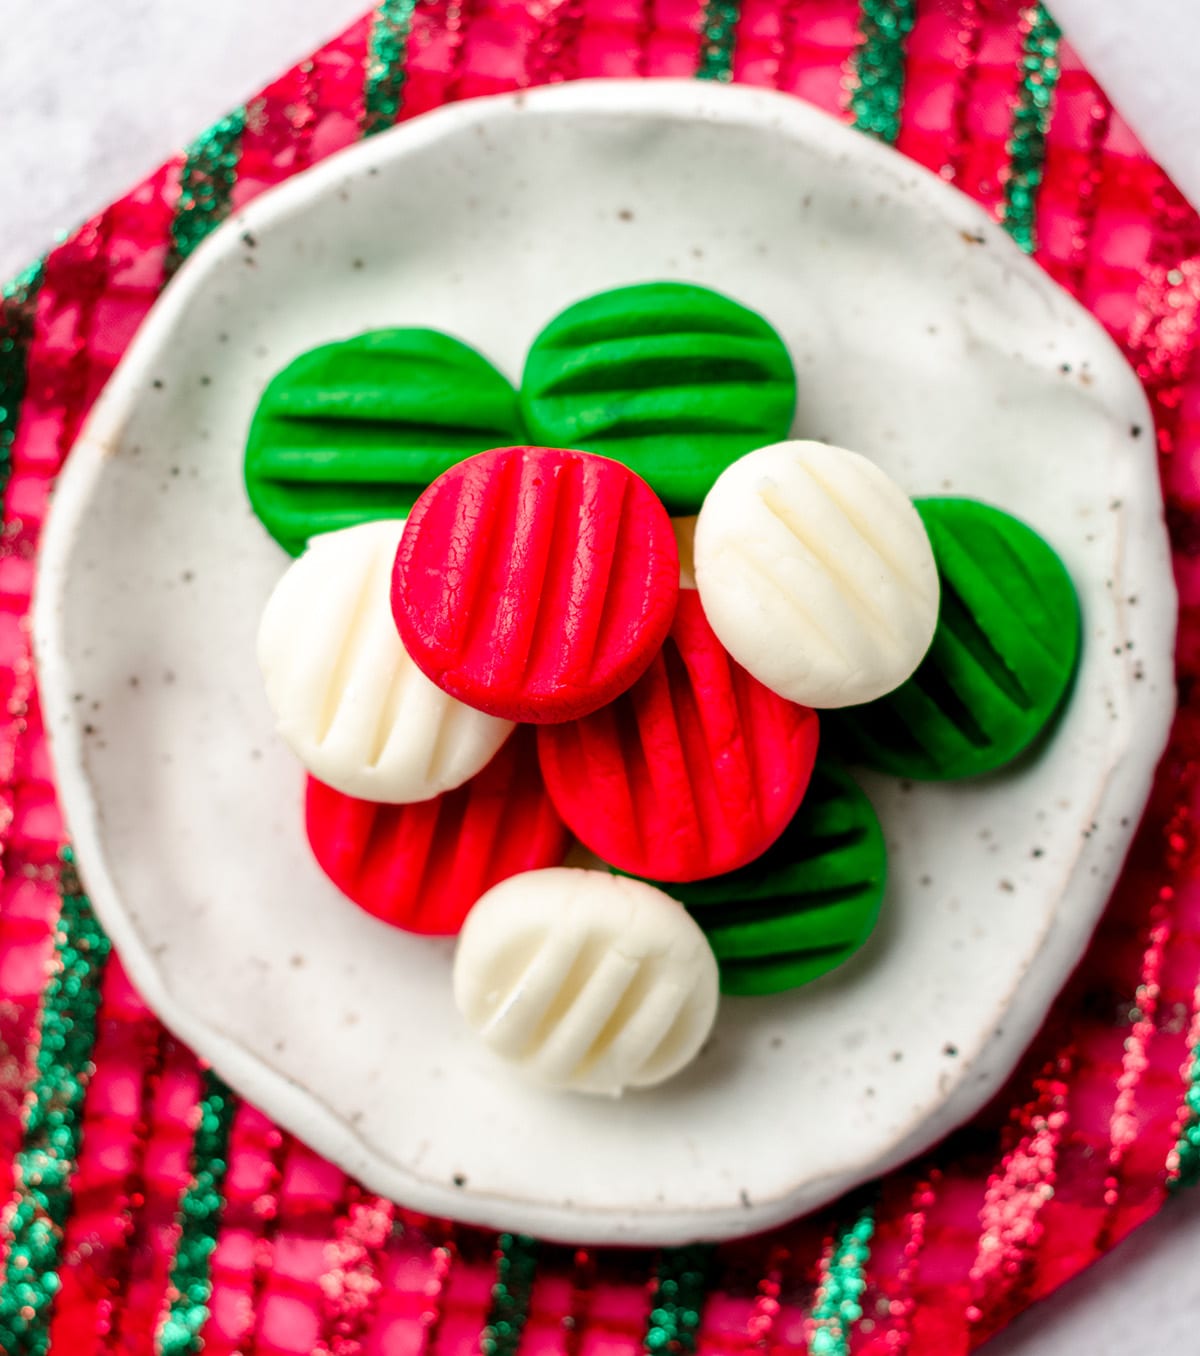
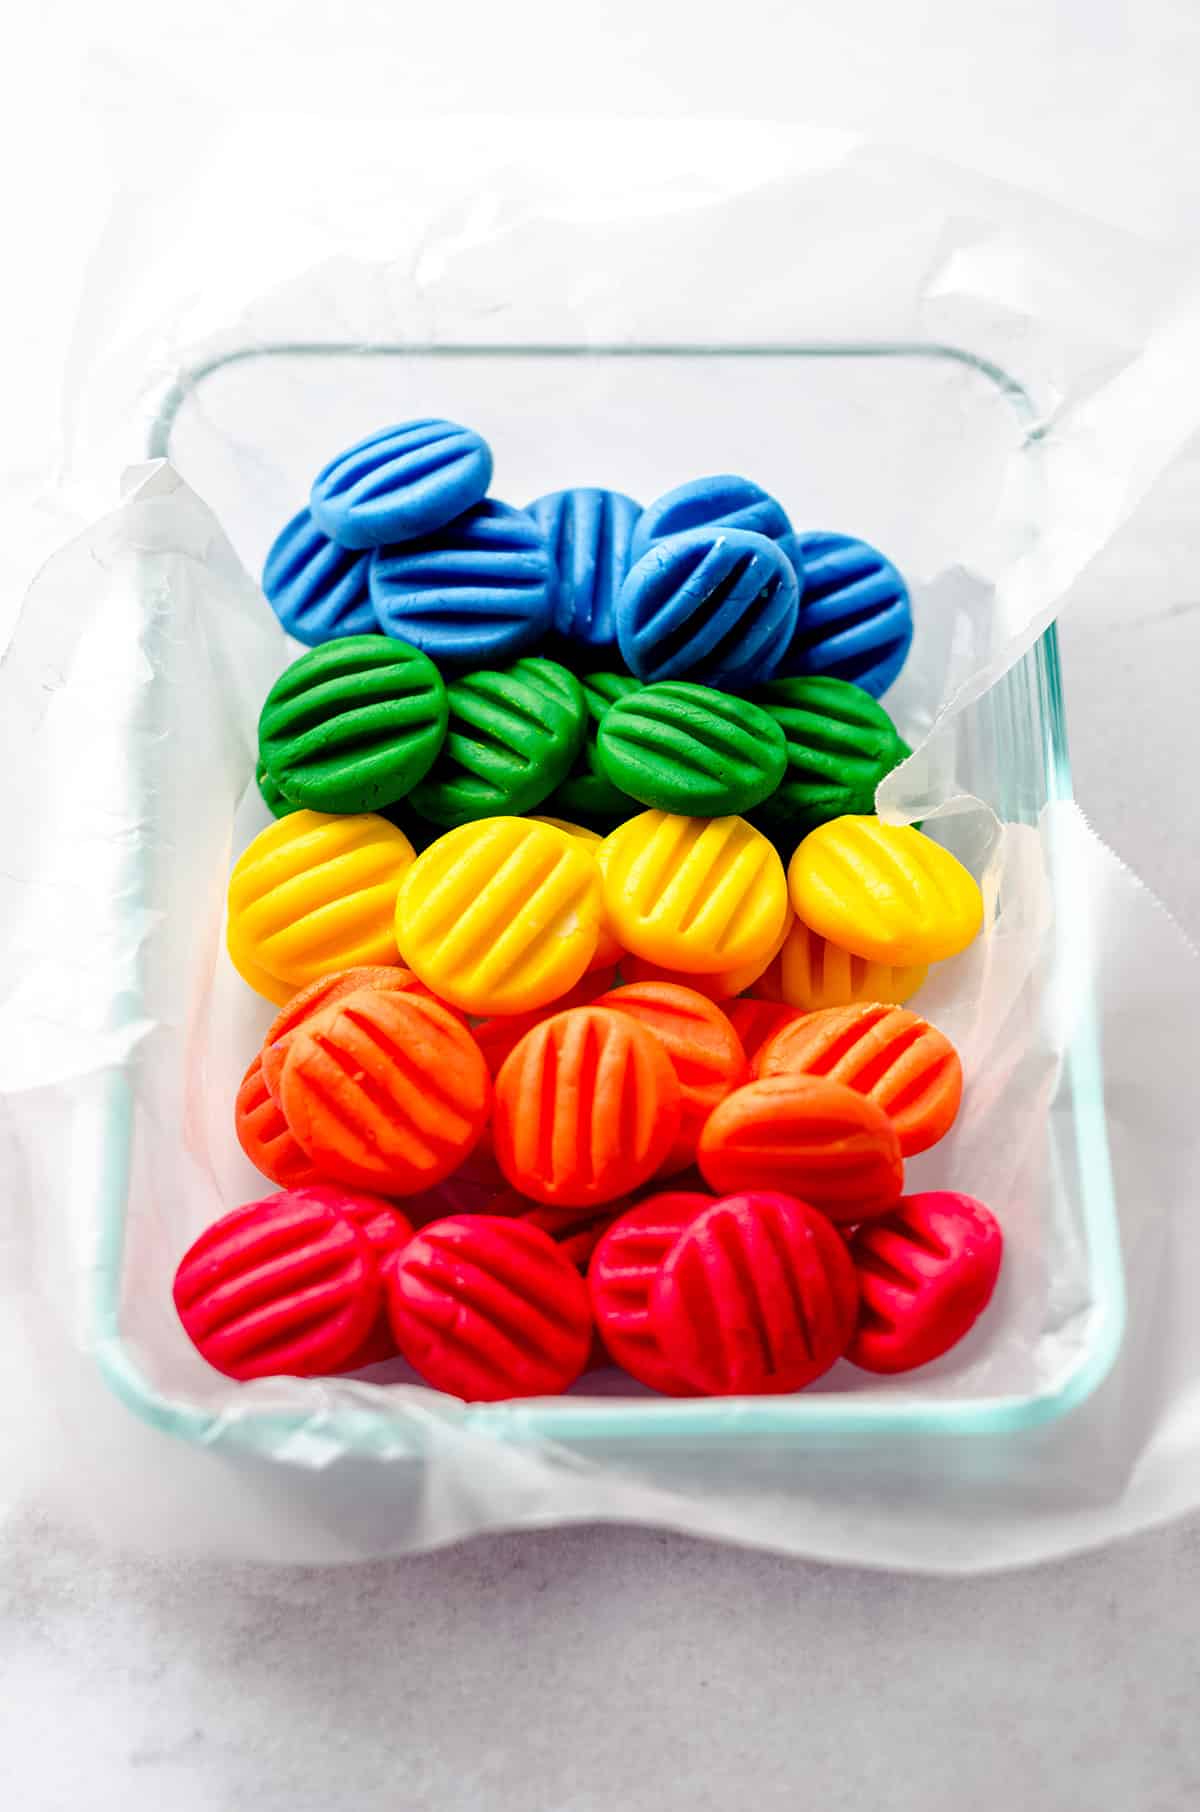
Cream Cheese Mint Recipe Idea: Use Different Colors for Holidays/Special Occasions!
As I mentioned earlier, you can switch up the colors in this easy cream cheese mints recipe to accommodate different holidays throughout the year.
• Use red, pink, purple, and white for Valentine’s Day!
• Use white, green, and yellow for St. Patrick’s Day!
• Use orange, purple, black, white, and green for Halloween!
• Use green, red, and white for Christmas!
• Use blue and white for Hanukkah!

Or if you just love things as colorful as I do, go for every shade of the rainbow and enjoy a gorgeous selection of tasty homemade mints (and go for pastel colors to make Easter cream cheese mints!). Who can resist?
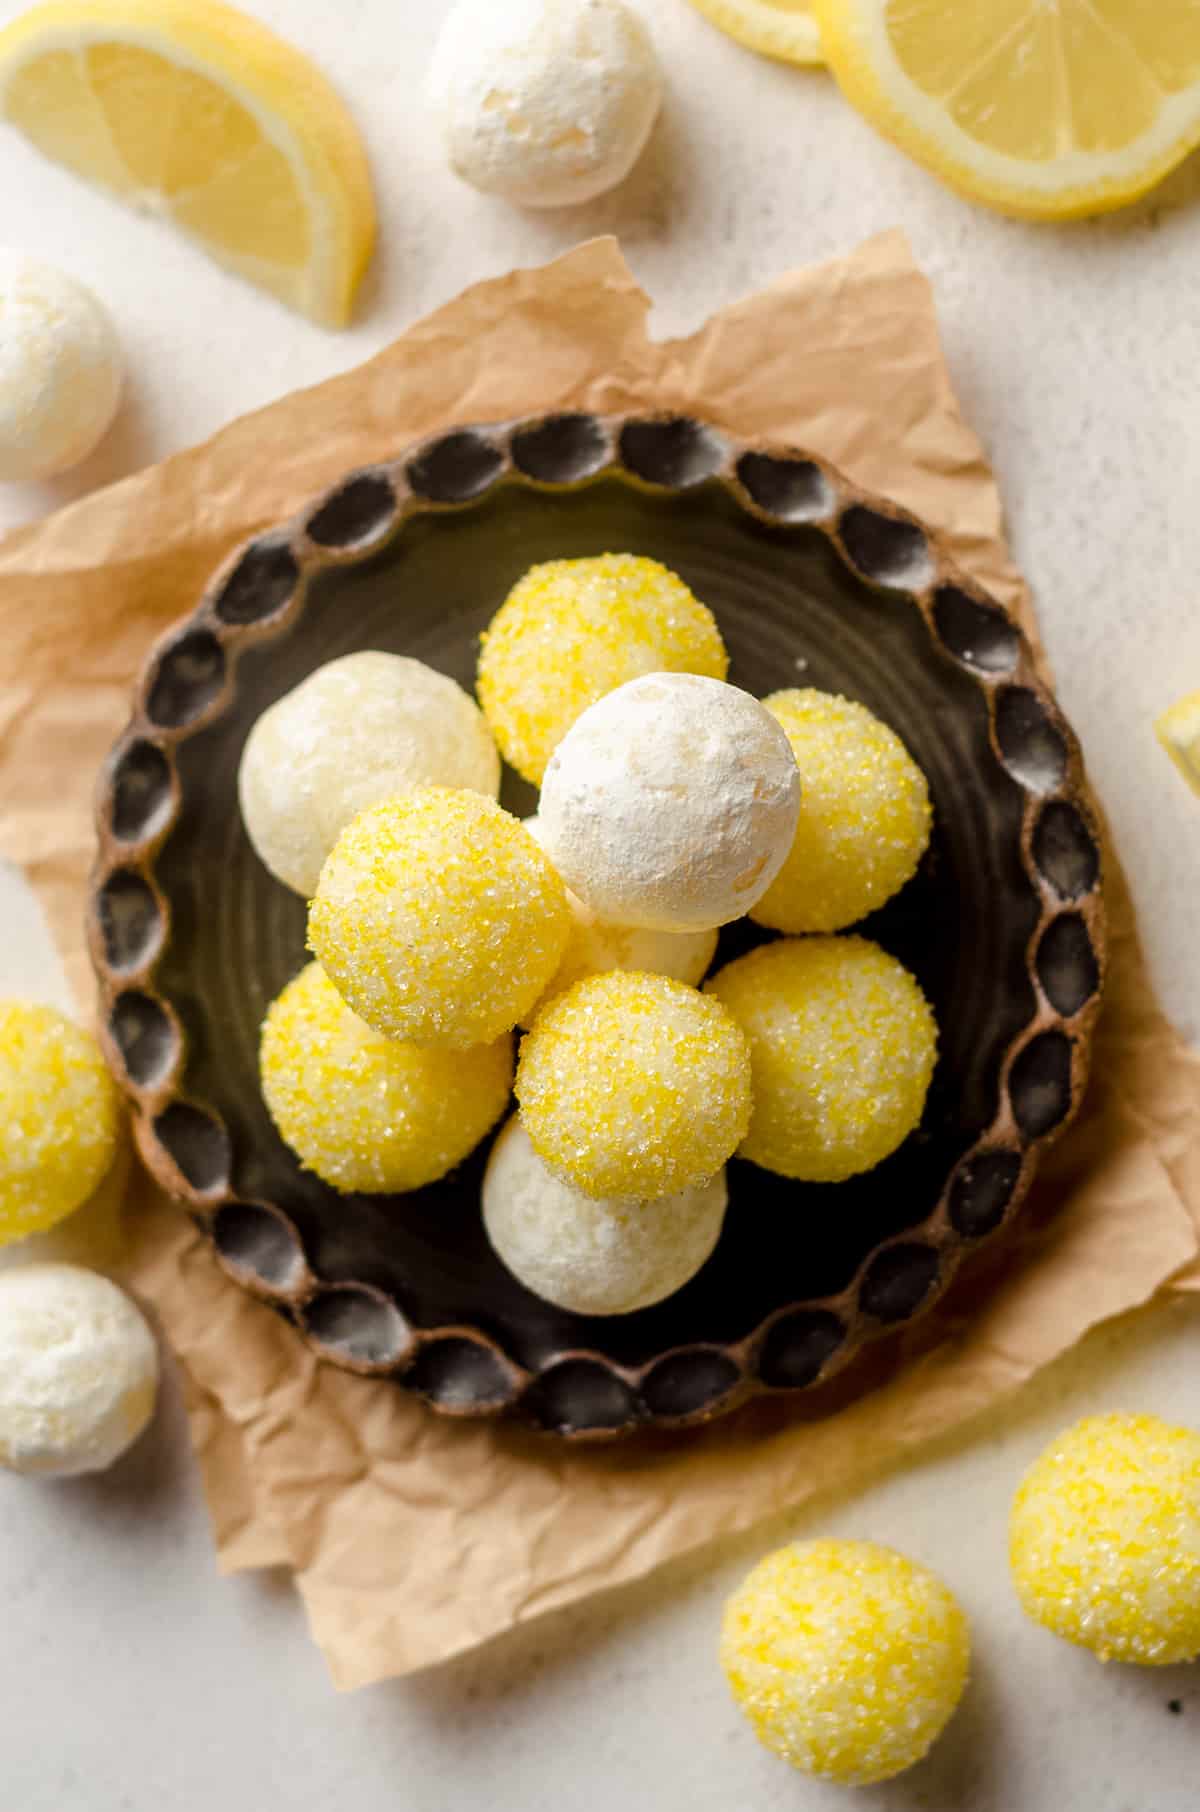
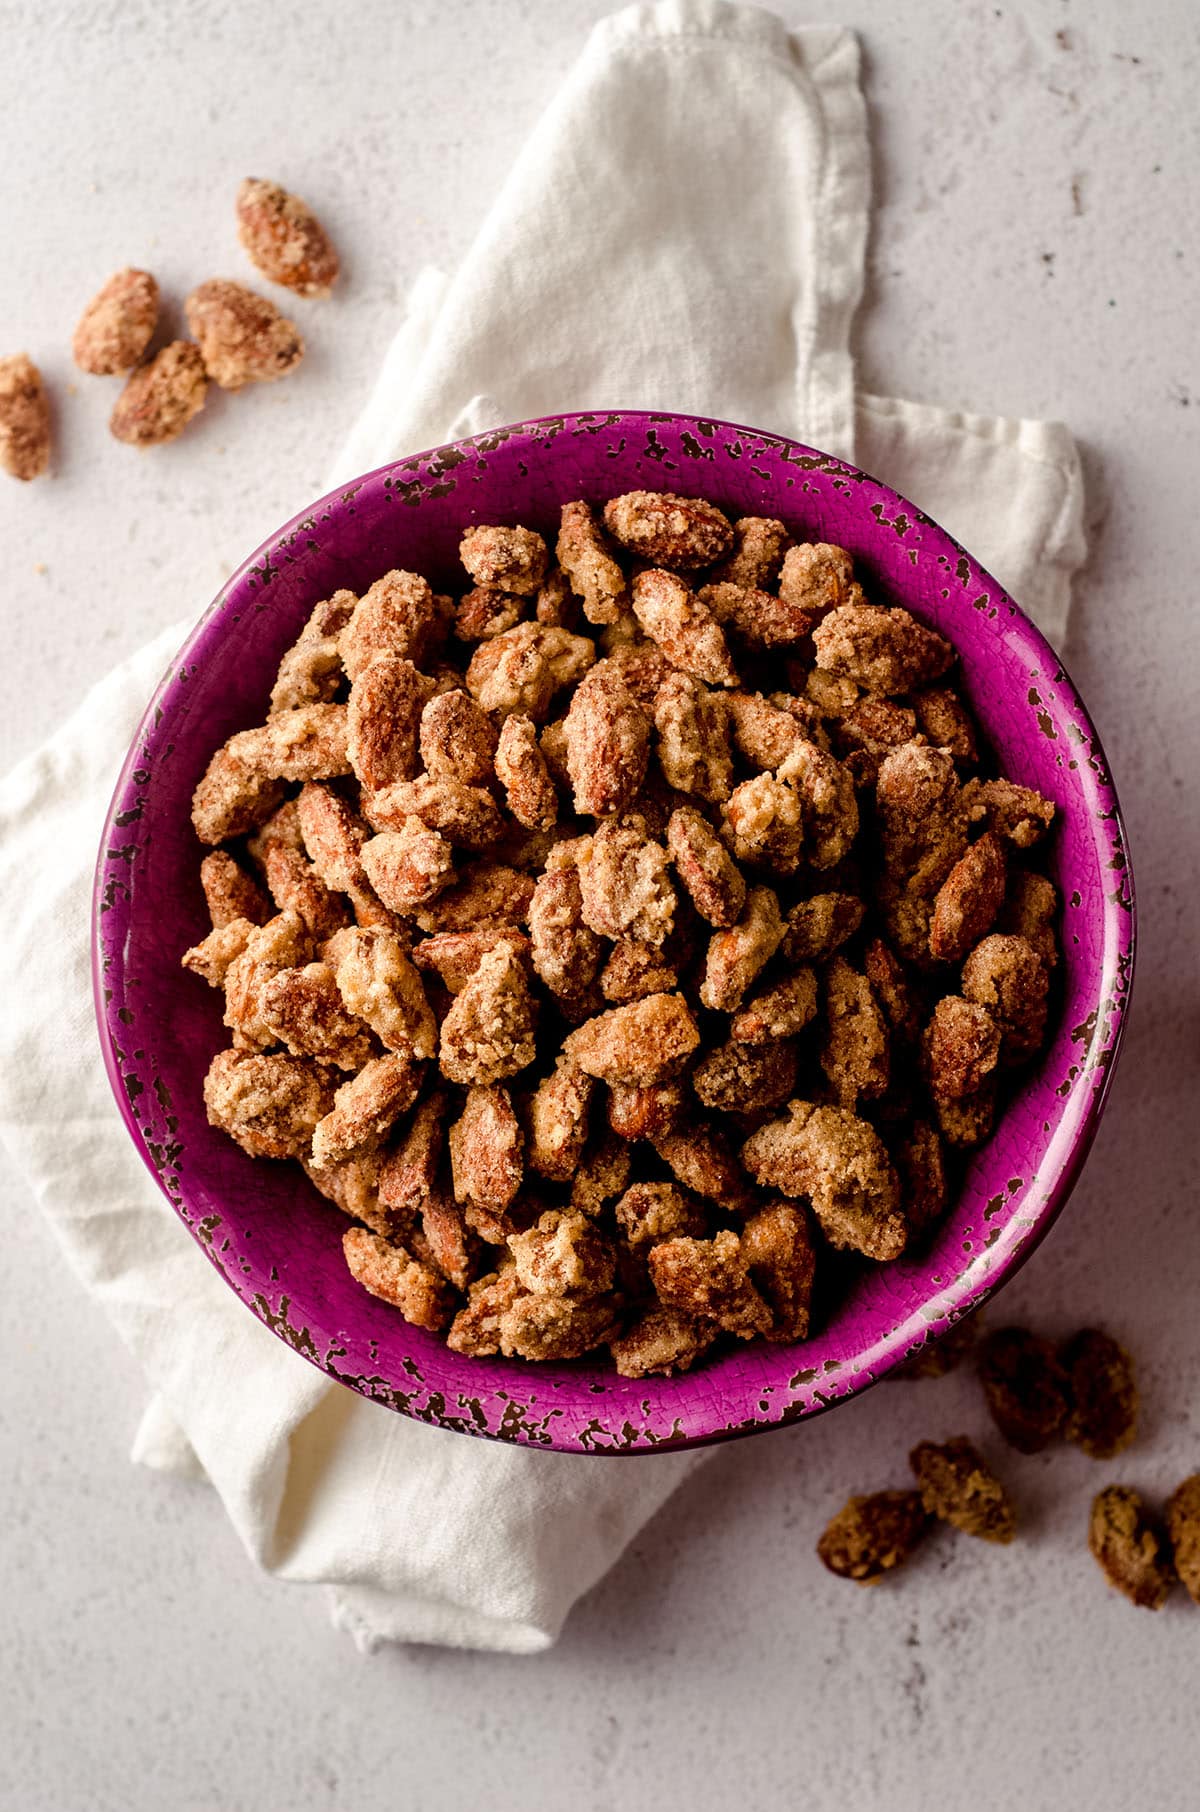
Looking for another easy candy recipe? Try one of these recipes next: pumpkin fudge, s’mores fudge, lemon truffles, candied almonds, or homemade chocolate covered Easter candies next!


Cream Cheese Mints Recipe
Ingredients
- 4 ounces (113g) full fat block style cream cheese softened to room temperature
- 1 Tablespoon (14g) unsalted butter melted
- ½ teaspoon peppermint extract
- ¼ teaspoon vanilla extract
- ⅛ teaspoon salt
- 4 cups (480g) powdered sugar plus additional as needed for rolling and fork imprints
- food coloring1 optional
Instructions
- Line two large baking sheets with parchment paper, wax paper, or silicone baking mats. Set aside.
- In a large bowl with a handheld mixer or the bowl of a stand mixer fitted with the paddle attachment, beat the cream cheese, melted butter, peppermint extract, vanilla extract, and salt on medium speed until completely combined.4 ounces (113g) full fat block style cream cheese, 1 Tablespoon (14g) unsalted butter, ½ teaspoon peppermint extract, ¼ teaspoon vanilla extract, ⅛ teaspoon salt
- Reduce the mixer to low then slowly add the powdered sugar, stopping to scrape down the sides and bottom of the bowl as needed. The mixture will become stiff, but keep mixing. After all of the powdered sugar has been added, the consistency should be like PlayDoh and not sticky. If it is still lumpy, stir it with a large spatula to bring the mixture together. Cover the bowl then allow the cream cheese mint dough to rest for 10 minutes.4 cups (480g) powdered sugar
- If coloring your mints: if you are using just one color for your cream cheese mints, you can use your mixer to beat the color into the dough. If you want to do more than one color, divide the dough into as many bowls as you need, cover the bowl when it's not in use, and stir desired color into each portion until fully blended.food coloring1
- Using a ½ teaspoon measure or mini cookie scoop with a trigger, drop small balls2 of cream cheese mints onto prepared baking sheets. Use your hands to form each mound into a ball, rolling between your palms/fingers gently until smooth and uniform. Place back onto baking sheet. Use a bit of powdered sugar on your hands if the warmth of them is melting the balls or making them too sticky.
- Dip the tines of a fork in powdered sugar and gently but firmly press down on each mint with a rocking motion to imprint lines across each mint.
- Allow mints to dry at room temperature for about 3 hours (or until dry to the touch) then chill in the refrigerator at least 2 hours before serving. Store mints in airtight containers in single layers with a sheet of wax or parchment paper between them to keep from sticking together for up to 2 weeks. Mints freeze well, up to 3 months. Thaw in the refrigerator.
Notes
- Food coloring: my preferred food coloring is AmeriColor gel food coloring.
- Ball of mints: you could even press the mixture into candy mold or silicone molds if you want to make a particular shape.
Nutrition Disclosure
All nutritional values are approximate and provided to the reader as a courtesy. Changing ingredients and/or quantities will alter the estimated nutritional calculations.
Made these for our Thanksgiving feast the other day, just a little something minty to nab as you walk by — made muted fall tones! So pretty, such a fun and great recipe!
I love that! Thanks, Kathleen 🙂
They’re such a simple but tasty addition!
Mint is my favorite and these were easy to make. Perfectly smooth and so tasty!
Thanks so much, Debi!
I’m so glad you liked them, Julie 🙂
Obsessed with these mints! My mom used to make them for baby showers and this recipe is just like hers.
I was amazed at how simple these were to actually make. As someone who’s enjoyed cream cheese mints at baby showers for years but never tried to make them until now, I’m pleasantly surprised and also feeling very accomplished!
Love hearing that! Thanks, Erin!
Haha, same!!
Have you ever experimented with adding unique flavors to your cream cheese mints, such as lavender or chai spices, to create a truly one-of-a-kind treat?
Yes! I have used lemon extract as well as cinnamon, but in those cases, I leave out the peppermint, so they’re not really mints anymore.