
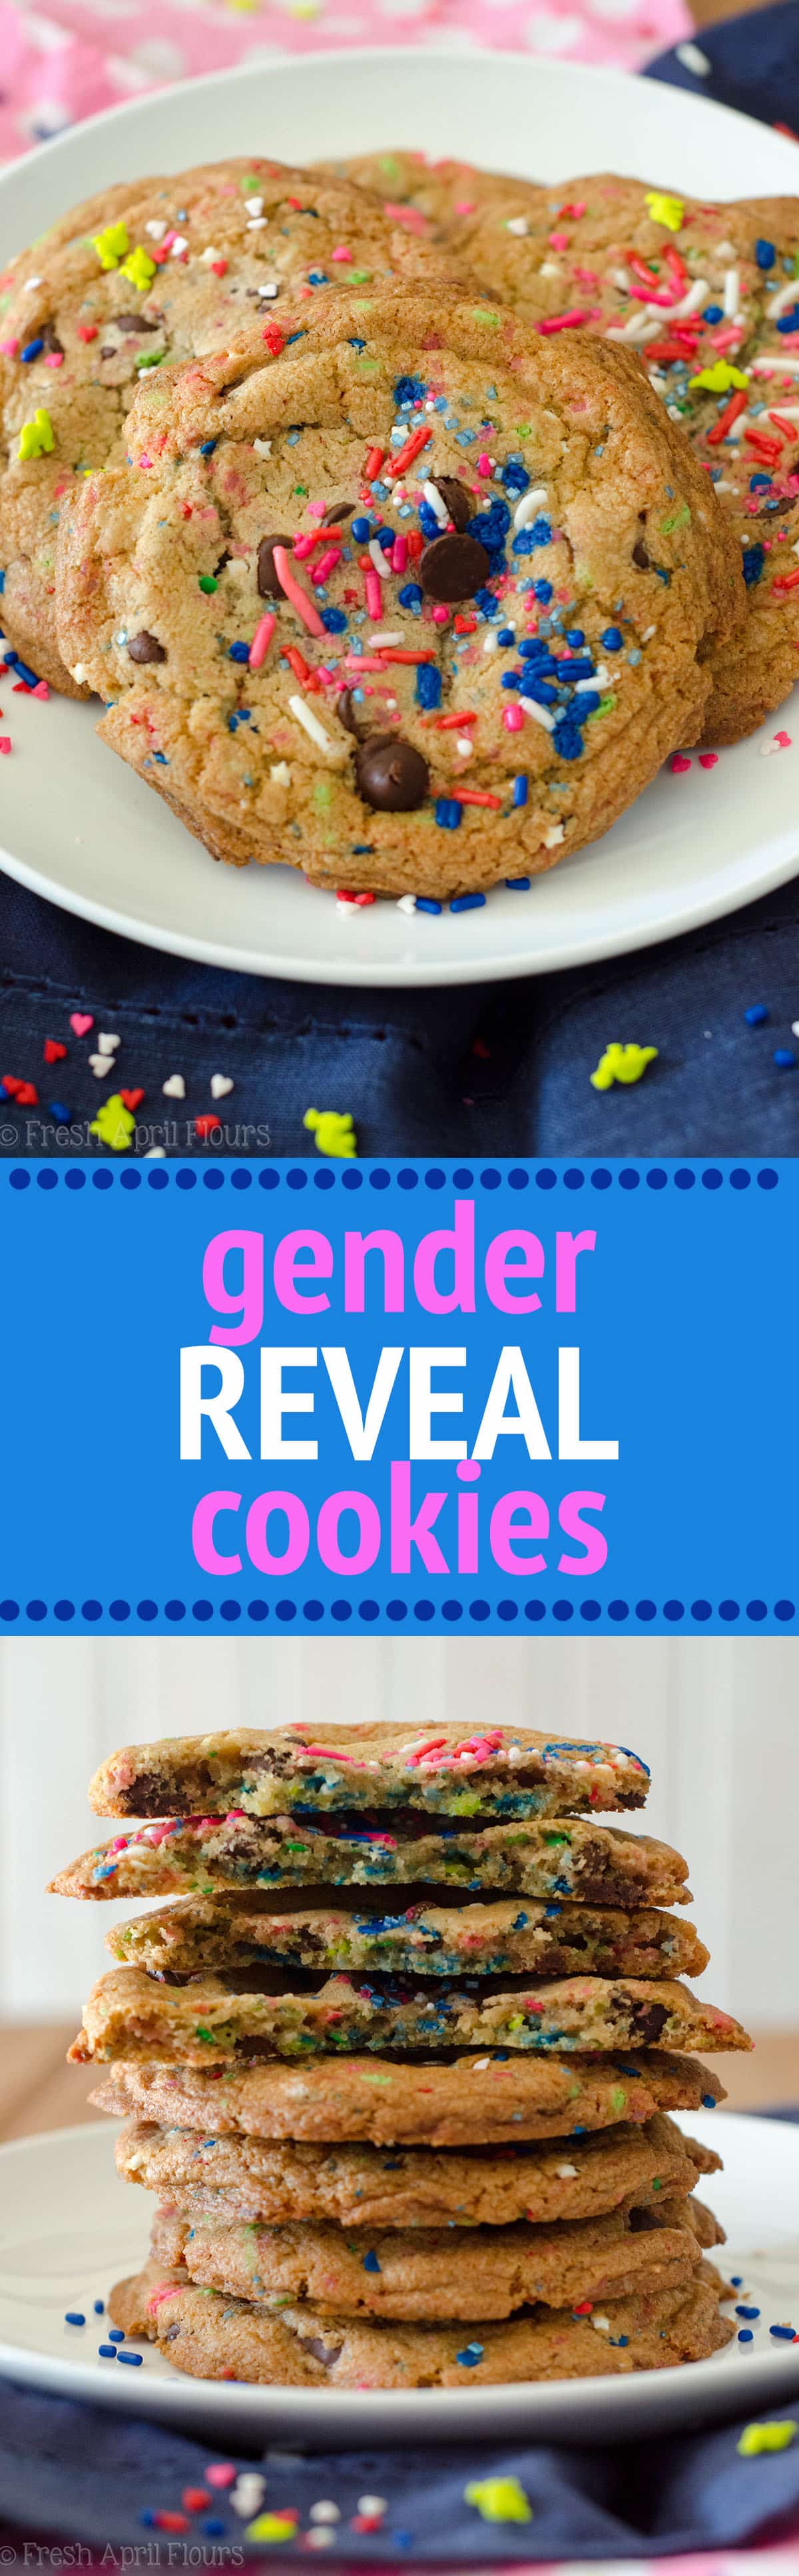
Gender Reveal Cookies
As an Amazon Associate, I earn from qualifying purchases. Read the full disclosure here.
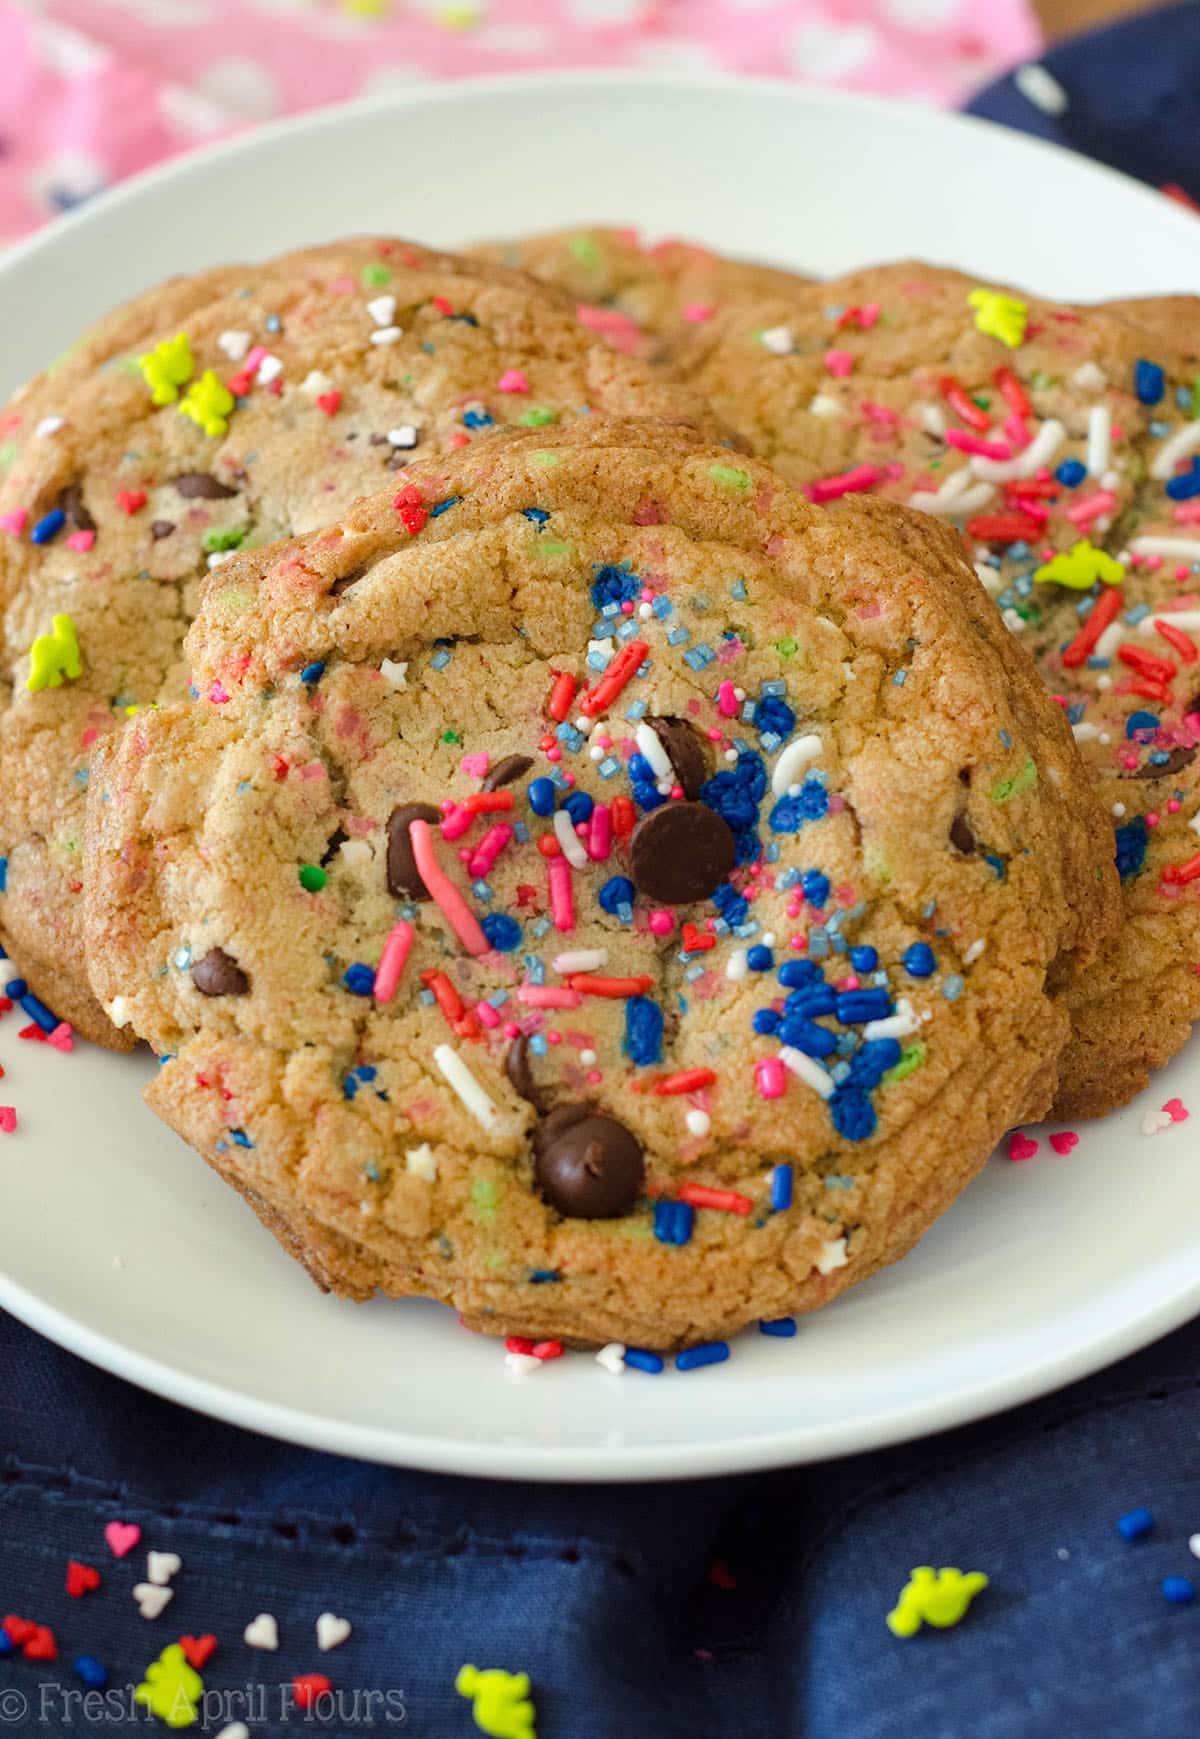
Classic chocolate chip cookies baked with a surprise of colored sprinkles inside perfect for revealing the gender of a baby.
Unless you missed the big news I shared a few weeks ago, you’re probably aware that we are expecting another bundle of joy this coming May. But if you missed it, surprise! We’re expecting another baby in May, which means we will have 2 under 2 for a hot second before our first turns 2.
Whaaaaaat are we thinking?
No, really, it’s going to be ok. This is totally a typical amount of time to wait between children, but why in the world does it feel like it’s quick and that we are crazy for thinking this will be anything short of a you-know-whatshow?
It’s terrifying.
It’s anxiety-inducing.
But it’s also so so exciting and we are sort of even more excited for this than we were our first, because we know just how awesome having kids can be.
And yes, we’ve apparently blocked out the terribleness that is the newborn stage, but that’s ok, because we have cookies to keep us busy and distract us from the reality that will hit us in about 5 months.
5 months? Wait. Oh boy. I’m not ready for this.
Ready or not, yeah?
Speaking of boy… Yes, it’s another boy. I will be outnumbered like it’s nobody’s business for the rest of my life, unless we decide to have 3 more kids and they’re all girls, but I can promise you that won’t be happening because OMG I can’t even think about having more than 2 kids. That certainly makes my brain hurt.
So that’s why this cookie is here today. A sprinkle-fied and sprinkle-filled cookie, perfect for sharing fun news about a baby. You’ve seen gender reveal cakes, boxes with balloons, confetti-filled balloons, cupcakes, the works (actually, this is what we did to reveal J!).
But you don’t see many cookies.
And I was determined to bring a gender reveal cookie to the 12 Days of Christmas Cookies this year 1) to help share our news and 2) to add something a little different to the trend. But it had to be perfect, and although this isn’t exactly 100% perfect, it’s about 97%, and I tried my best, and if I’ve learned anything from parenting… That’s good enough.
No but really, I lost sleep over these cookies. Should I just fill them with sprinkles? Do I use a whole different cookie dough for the inside? Do I use food coloring and make the inside a different color? HALP!
I settled on using the same cookie dough, just filled with sprinkles, for the inside of a chocolate chip cookie. It was pretty much perfection on the first try, but damn, I lost a lot of sleep wondering how to tackle it.
This recipe is a recipe you’ve seen before. It’s my classic chocolate chip cookie recipe, which you can read all about in my my classic chocolate chip cookies post. The whos, the whats, the whys, the whens– it’s all there in all its nerdy cookie glory.
But what you won’t find there is exactly how to make these cookies happen, so when you’re done nerding out, check back here for this part:
In order to get the effect of the “reveal” in the center of the cookie, you’ll start your cookie dough like normal but stop right before adding chocolate chips. We’re reserving some of the cookie dough to sprinkle up for the centers. Once you’ve removed that, carry on as usual with the rest of the cookie dough, which will need to chill for 2 hours.
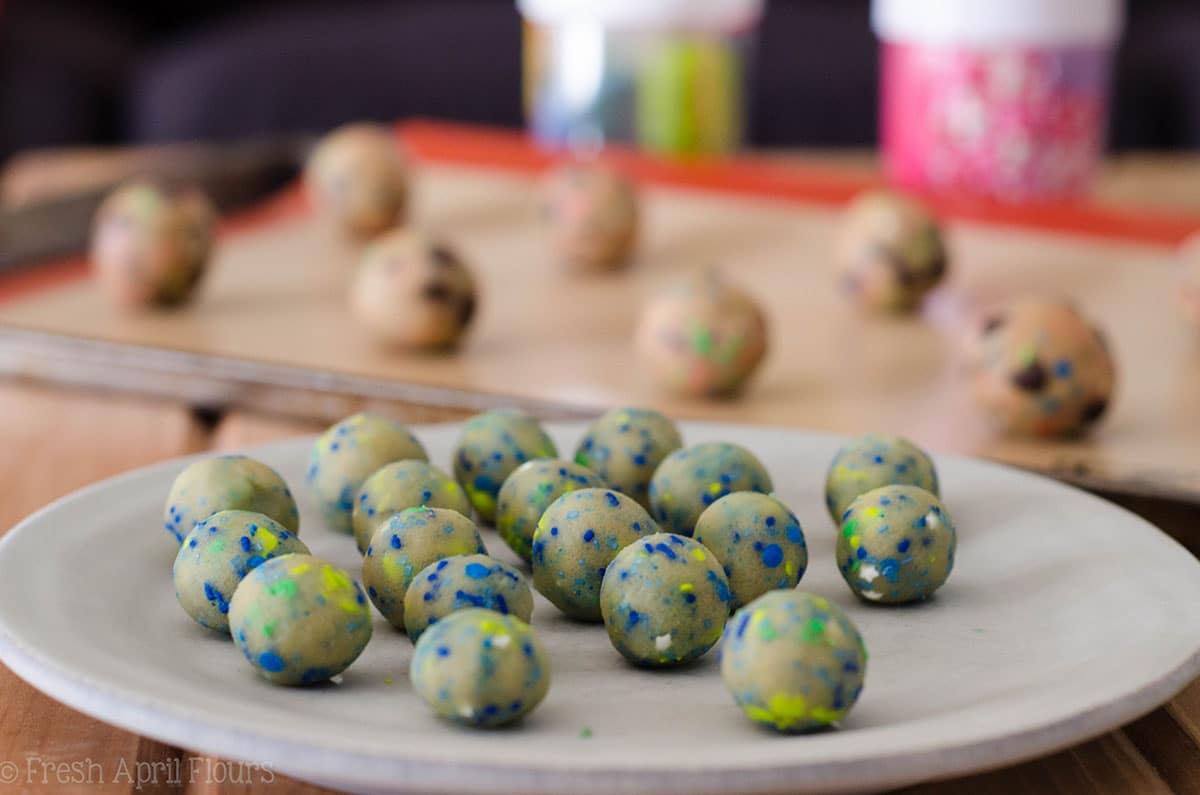
After the first hour, you can make your little reveal balls. Using a teaspoon measuring spoon, make mini-cookie dough balls to freeze for the second hour of the chilling of the original dough.
You following?
You’ll have a plate or container of mini-sprinkle-fied balls in the freezer and the rest of the dough in a large bowl in the fridge. Cookie dough takeover, basically.
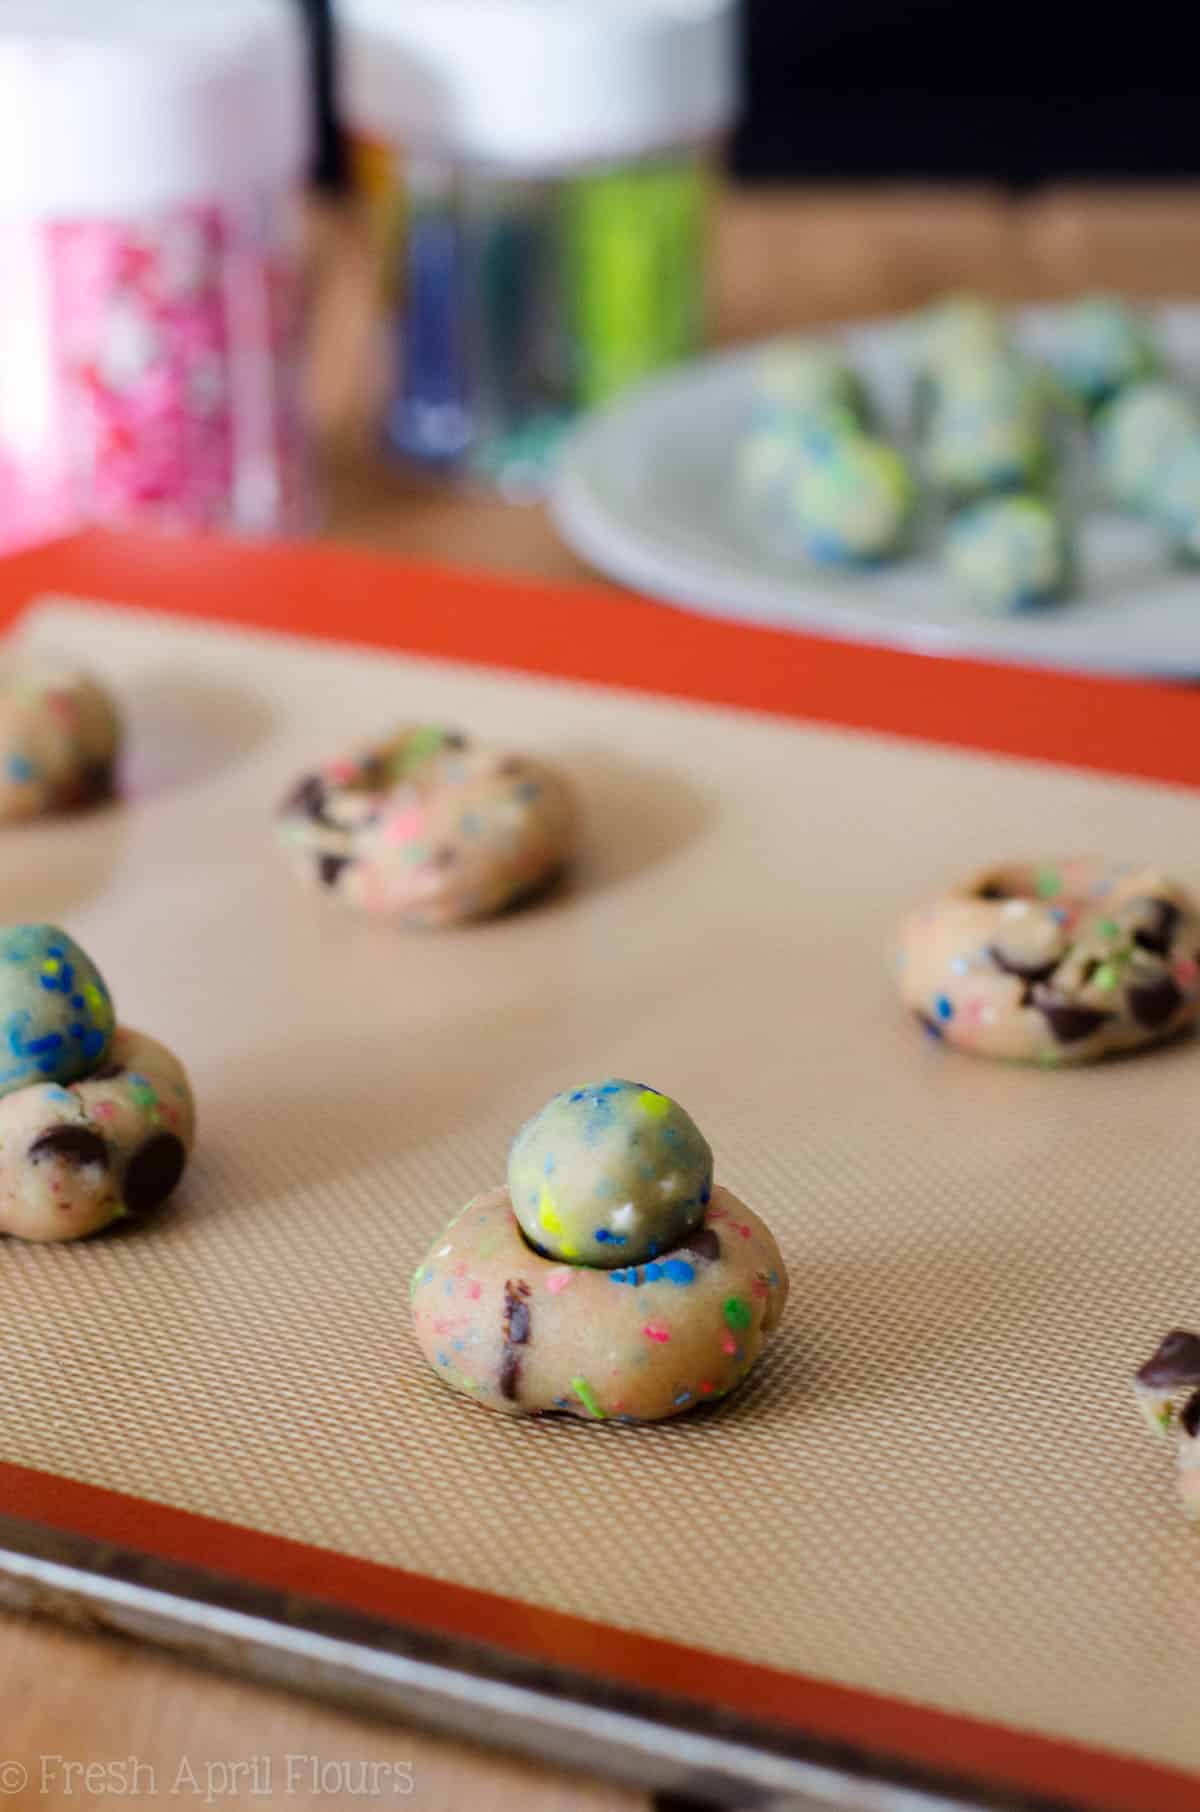
Once everything is chilled for the proper amount of time, you’ll pretend like you’re making 8 cookie dough balls, but you’ll really be making 4.
Each gender reveal cookie gets 2 regular dough balls + 1 mini dough ball.
You’ll press a well into each dough ball to make a spot for the reveal dough. Like this:
Then make a cookie sandwich of the reveal dough. Like this:
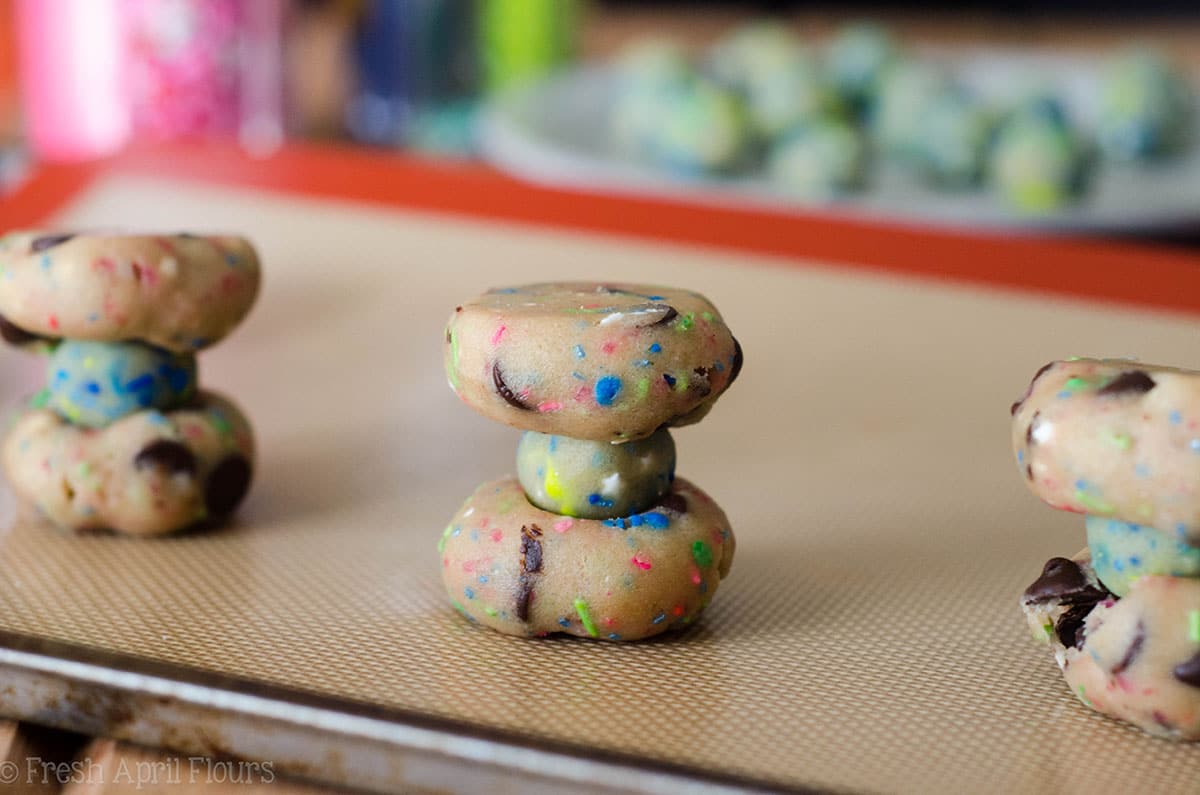
Cute, huh?
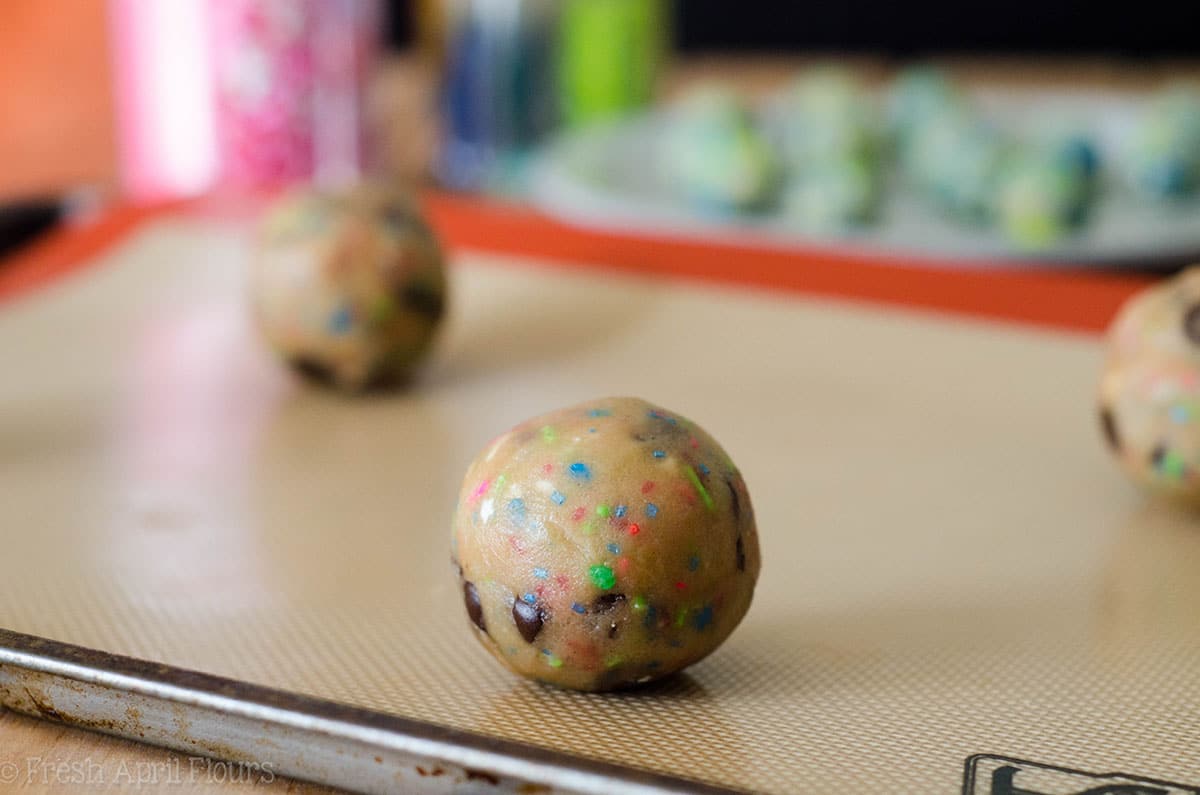
You’ll use your hands to mold the whole thing into a huge dough ball. And you’ll end up with 4 large cookie dough balls per baking sheet.
Believe me, these cookies are large, so that’s all you can fit on a sheet, otherwise you’ll make one big gender reveal cookie bar… Which wouldn’t be all that bad, but that’s not what we’re going for here!
Once the cookies have baked all the way, they’ll look pretty underdone. Which they kind of will be in the center. They’ll need to rest 10 minutes on the sheet before being transferred to a permanent cooling place.
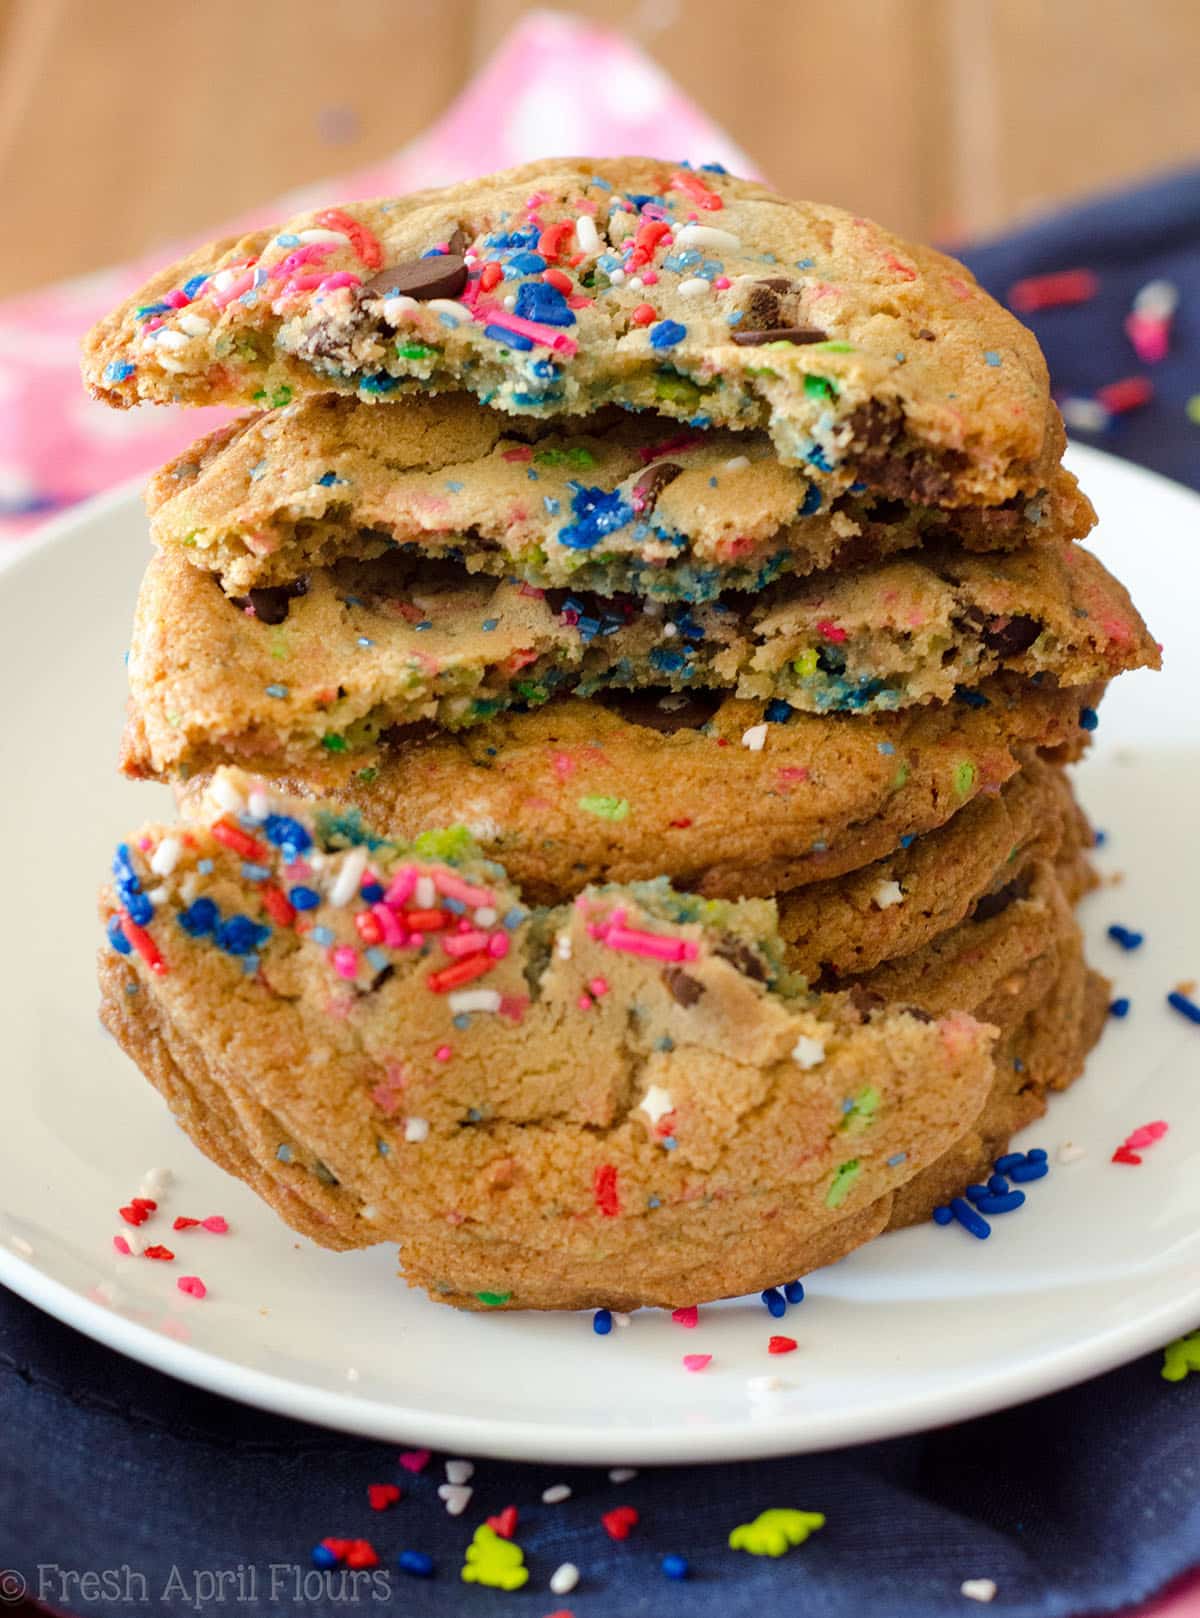
After they’re completely cool, they’re ready to reveal their insides!
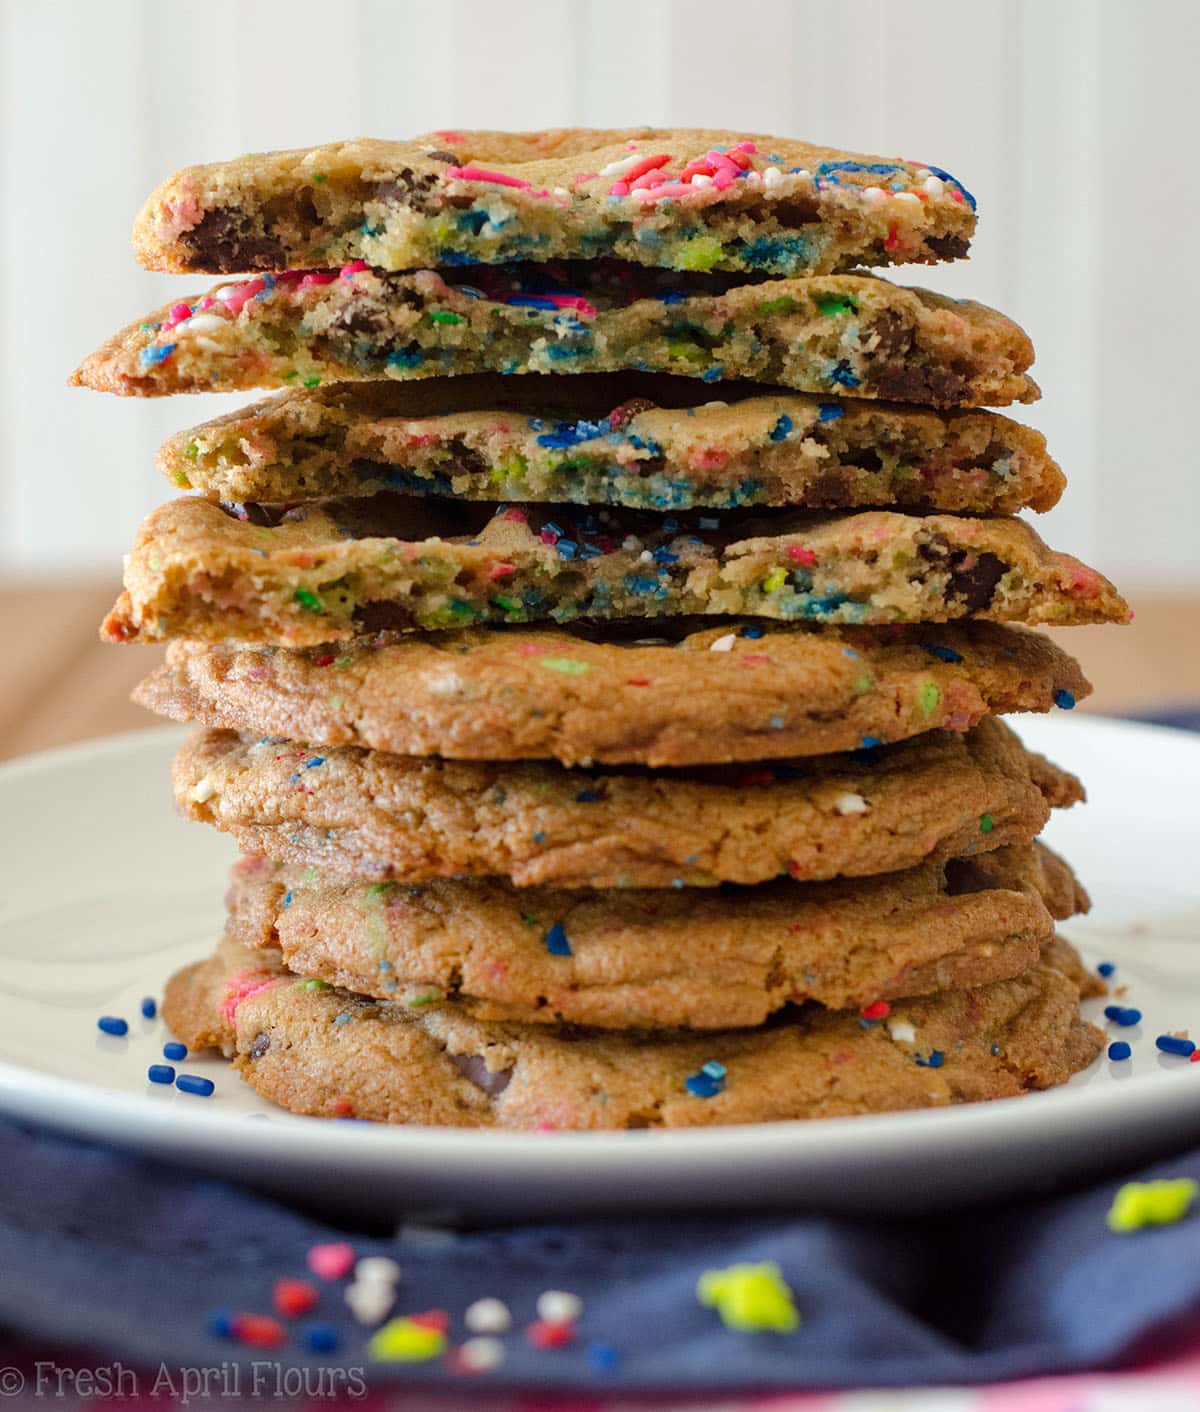
Ta-da!
How fun, yes??
Like I said, this is not a perfect science. Are the cookies puffy and beautiful like I envisioned them? No. Are they super spectacularly glaringly blue on the inside? Not especially. But do they get the point across and were a new and fun way to share a gender? I think so.
Crispy and crunchy on the edges and oh soooo soft and gooey on the inside. I mean, what could make the insides of these cookies better? A perfect cookie plus finding out a gender of a baby who is probably special to you? I mean… That’s freaking awesome.
So let’s add something jazzy to the gender reveal craze, shall we? Chocolate chip cookie it up for your next reveal or help out a friend or family member by doing it for them. Because truly, there can never be too many cookies in the world.
Especially ones covered and filled with sprinkles.

Gender Reveal Cookies
Ingredients
- 2 and ¼ cups (270g) all-purpose flour be sure to measure properly
- 1 teaspoon baking soda
- 2 teaspoons cornstarch
- 1 teaspoon salt
- 1 cup (227g) unsalted butter 2 sticks, melted
- 1 cup (200g) brown sugar firmly packed
- ½ cup (100g) granulated sugar
- 1 large egg + 1 egg yolk room temperature*
- 1 and ½ teaspoons vanilla extract
- 1 cup (170g) semi-sweet chocolate chips
- ¼ cup sprinkles in your reveal color
- ½ cup Fresh April Sprinkles Baby Cakes sprinkle blend
Instructions
- In a large bowl, whisk together the flour, baking soda, cornstarch and salt. Set aside.2 and ¼ cups (270g) all-purpose flour, 1 teaspoon baking soda, 2 teaspoons cornstarch, 1 teaspoon salt
- In a medium sized bowl, whisk together the melted butter, brown sugar, and granulated sugar. When sugar clumps disappear, whisk in the egg, egg yolk, and vanilla.1 cup (227g) unsalted butter, 1 cup (200g) brown sugar, ½ cup (100g) granulated sugar, 1 large egg + 1 egg yolk, 1 and ½ teaspoons vanilla extract
- Pour wet ingredients into dry ingredients and mix together with a large spoon or rubber spatula.
- At this point, stop to reserve some of the dough for the inside of the cookies. You will reserve 1/4 cup + 2 Tablespoons of the dough. To this dough, add the 1/4 cup of sprinkles in your color of choice (for the inside of the cookies– the reveal color). Chill this dough at least 1 hour.¼ cup sprinkles in your reveal color
- Fold the chocolate chips and the mixed sprinkles into the remaining cookie dough. Cover dough and chill in the refrigerator for at least 2 hours, or up to 3 days.1 cup (170g) semi-sweet chocolate chips, ½ cup Fresh April Sprinkles Baby Cakes sprinkle blend
- After the inside dough has chilled for an hour, roll it into balls 1 teaspoon in size. You will have about 18 mini dough balls. Freeze these dough balls for the remaining hour.
- When you are ready to bake the cookies, preheat the oven to 350ºF degrees. Line two large baking sheets with parchment paper or silicone baking mats and set aside.
- Roll the chilled dough into balls– 1 ounce (approximately 1 Tablespoon) of dough each– and place 8 balls of dough per cookie sheet. Keep dough you are not rolling or baking in the refrigerator.
- Using your thumb, press a well into the center of each dough ball.
- Place 1 frozen dough ball into the center of 4 of the dough balls. Place another dough ball onto the top of the frozen dough ball so you make a cookie “sandwich.”
- Using your fingers, mold the cookie dough sandwich into a large but uniform ball of dough. If you’d like, lightly roll the tops of each dough ball into the mixed sprinkles for added flair to the top of each cookie. You should have 4 large cookie dough balls on your tray before baking.
- Bake the cookies for 14-15 minutes or until edges just start to turn brown. Remove from oven and allow cookies to cool on the baking sheet for 10 minutes before moving to a wire rack to cool completely. Store cookies at room temperature, in an airtight container, up to 7 days. Baked cookies may be frozen up to 2 months. You may also freeze rolled cookie dough up to 2 months. Bake frozen for 15-16 minutes.
Notes
Nutrition Disclosure
All nutritional values are approximate and provided to the reader as a courtesy. Changing ingredients and/or quantities will alter the estimated nutritional calculations.