
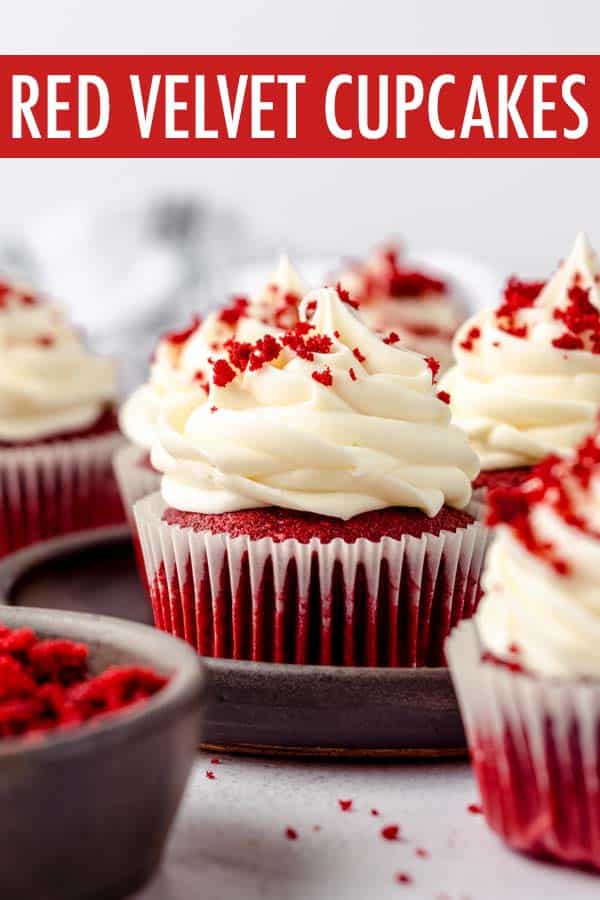
Red Velvet Cupcake Recipe
As an Amazon Associate, I earn from qualifying purchases. Read the full disclosure here.
Perfect red velvet cupcakes can be hard to find and even more difficult to replicate at home. With a few key ingredients and careful steps, you can easily make these classic red velvet cupcakes in your own kitchen and impress all of your taste testers.
This perfect red velvet cupcake recipe has lived on my site since 2017, and the reviews speak for themselves.
It is reviews like Laura’s that make me so confident you, too, can do this. In this post and recipe, you will find all of my tried and true ingredients, steps, photos, and resources to insure you are never again disappointed in your own skills as a baker or the beautiful cupcakes sitting in front of you that doesn’t also impress you on the inside.
Red velvet cupcakes can be fussy, but they are absolutely doable, even if you’ve never made a single batch of cupcakes from scratch before.
This is The Best Red Velvet Cupcake Recipe
Too often, I’ve bitten into a beautiful red velvet cupcake that was too dry, had a crumbly sponge, or lacked the perfect balance of fluffiness and sweetness.
Before I shared recipes with home bakers like you on the internet, I spent nearly 4 years baking cakes and cupcakes for hire for weddings, showers, and birthdays, and I made and decorated over 300 of these cupcakes in those 4 years (I even made 100 of them at one time for a friend’s wedding!).
If you prepare your ingredients and follow my favorite red velvet cupcake recipe exactly, I can guarantee you’ll be whispering “mmm” between bites of these iconic cupcakes in no time.
Ingredients For Red Velvet Cupcakes
There are a few key ingredients in red velvet cupcakes, but for the most part, you likely have all of the ingredients necessary in your pantry already.
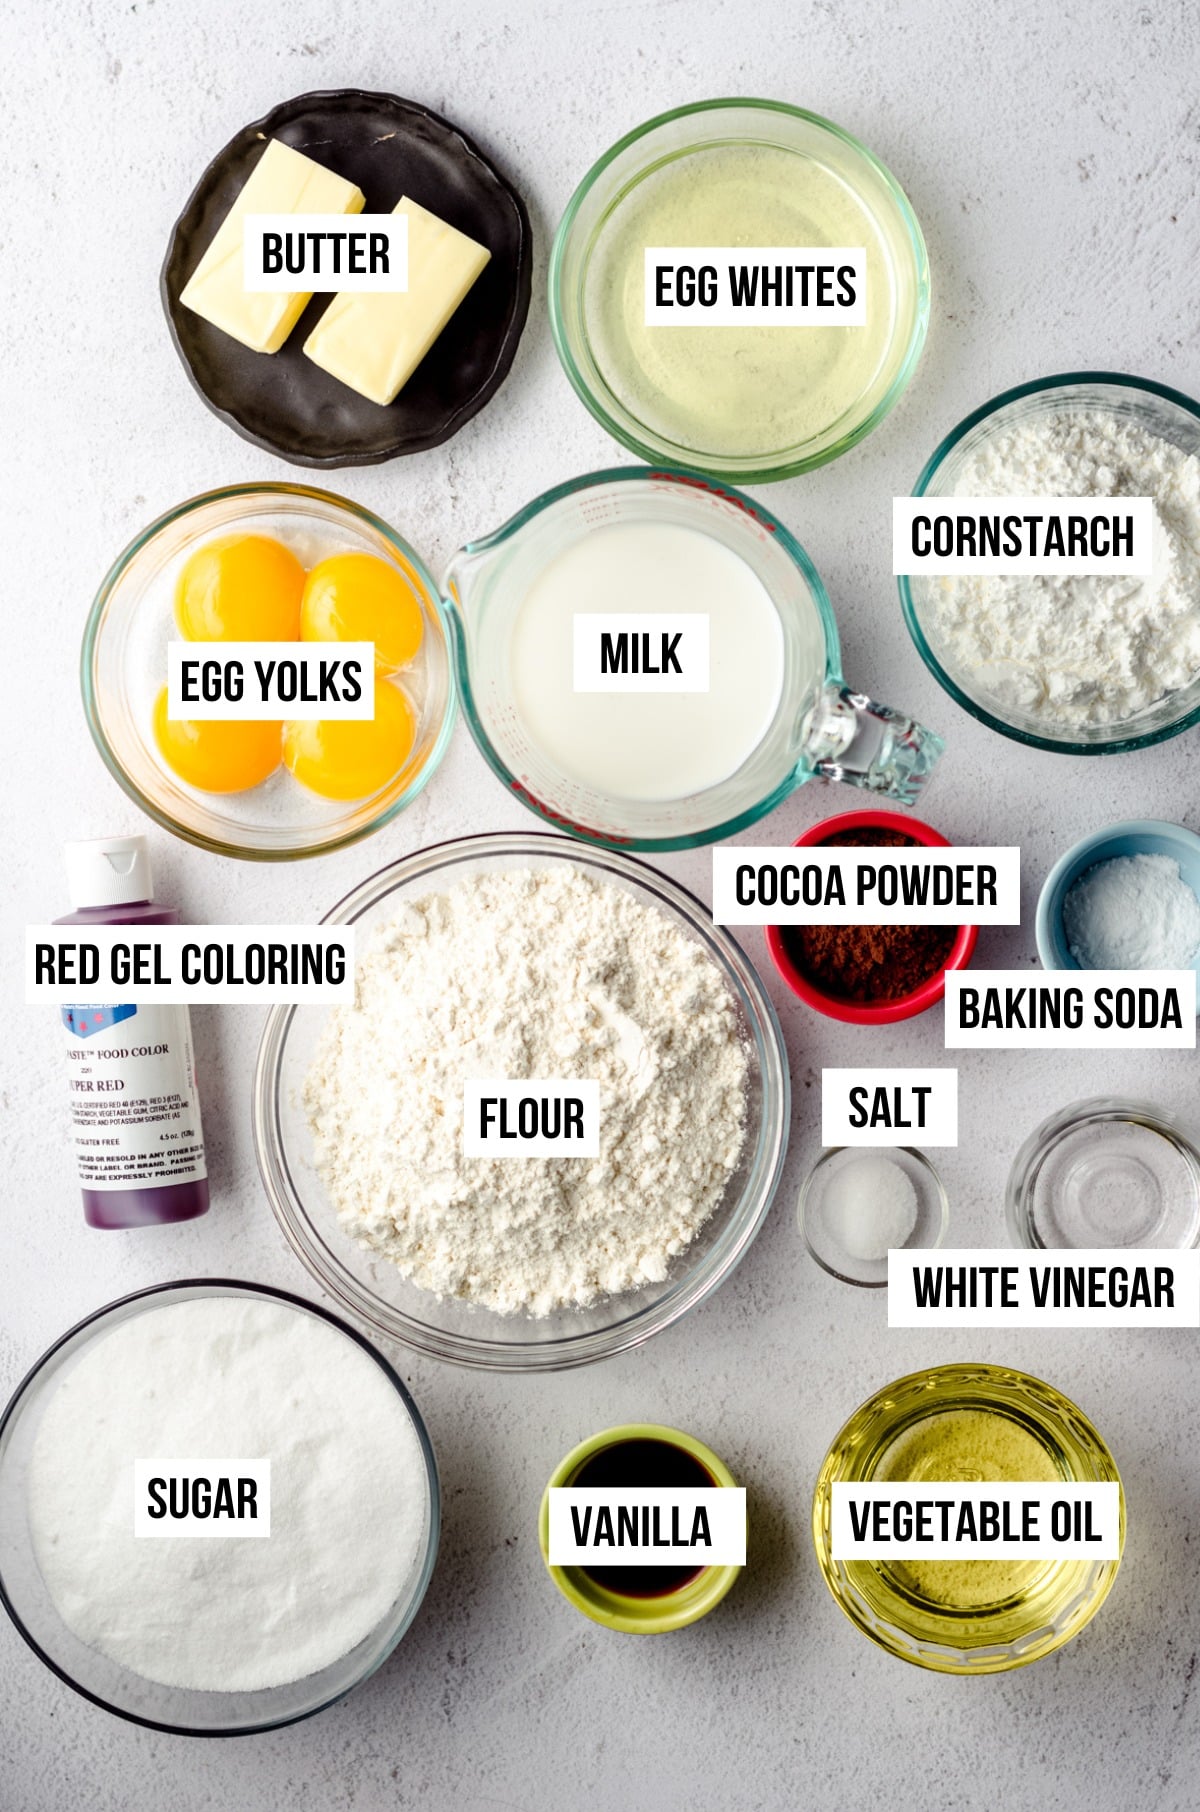
For this red velvet cupcake recipe, you will need:
ALL-PURPOSE FLOUR— often, fluffy cupcake recipes call for cake flour, which gloats lower protein than all-purpose. With careful adjustment of the ratio of all-purpose flour to the next ingredient on our list, we can replicate the fluffy result of of cake flour without actually using it.
CORNSTARCH— I like to use cornstarch in a lot of my cookie recipes to keep them soft. As mentioned, when combined with all-purpose flour in a cake recipe, we can encourage a fluffy cupcake crumb.
UNSWEETENED COCOA POWDER— with only 1 and ½ Tablespoons in the whole batch of (14) cupcakes, no, it does not classify red velvet cupcakes as a chocolate cupcakes, per se. Since cocoa powder is considered an acidic ingredient, it reacts with the baking soda and buttermilk (or vinegar/lemon juice + milk) to create a tight and tender crumb.
SALT— just a bit, because no baked good should ever go without salt.
BAKING SODA— this is our key leavening agent. When combined with acidic ingredients like cocoa powder and buttermilk (or our substitute), it produces carbon dioxide which = lots of bubbles which = cupcakes that rise properly and produce those perfectly domed tops.
UNSALTED BUTTER— butter will bring a buttery flavor to cupcakes, as well as being a source of fat. Believe it or not, when we cream butter and sugar together, we’re also contributing to the “fluff” factor in our cupcakes as the fat traps air during creaming that releases in the oven while the cupcakes bake.
GRANULATED SUGAR— red velvet cupcakes are not a very sweet flavor of cupcake. The cake is actually quite tart and tangy with the perfect amount of sweetness. I typically opt for brown sugar in cookies to bring maximum flavor and moisture, but in order to keep my cupcakes fluffy, we turn to a lighter (as in not as heavy) sugar. We’ll add extra moisture with the next ingredient.
VEGETABLE OIL— I have experimented a lot with using all butter in my red velvet cupcake recipe, and I just can’t quite replicate the same moist crumb that I can when I use a combination of butter and vegetable oil.
EGGS— these will need to be at room temperature and separated. We’ll use the egg whites separately from the yolks to insure a fluffy cupcake.
VANILLA EXTRACT— the garlic of the baking world. Never leave it out!
DISTILLED WHITE VINEGAR— I know, this is a strange ingredient to have in a cupcake recipe, but it is essential for helping to leavening the cupcake batter. In original, old time recipes, red velvet cake was colored with beet juice, which can turn blue when it’s baked. The acid from the vinegar made a chemical reaction with the beet juice to keep it nice and red, and despite modern ingredients and methods, distilled vinegar has stuck around in the list of common ingredients in red velvet cake, thus our red velvet cupcakes.
BUTTERMILK (or VINEGAR/LEMON JUICE + MILK)— believe it or not, even as a regular baker, I just about never have buttermilk on hand. However, buttermilk is crucial to the success of red velvet cake and cupcakes. The good news is, you can make homemade buttermilk easily with distilled white vinegar or lemon juice and regular milk, which is what I always do. See the notes in the recipe for adjusting the amount of distilled white vinegar in this recipe if you do have buttermilk.
RED FOOD COLORING— I prefer to use gel food coloring, but liquid food coloring will work just fine. See recipe notes for my favorite brand.
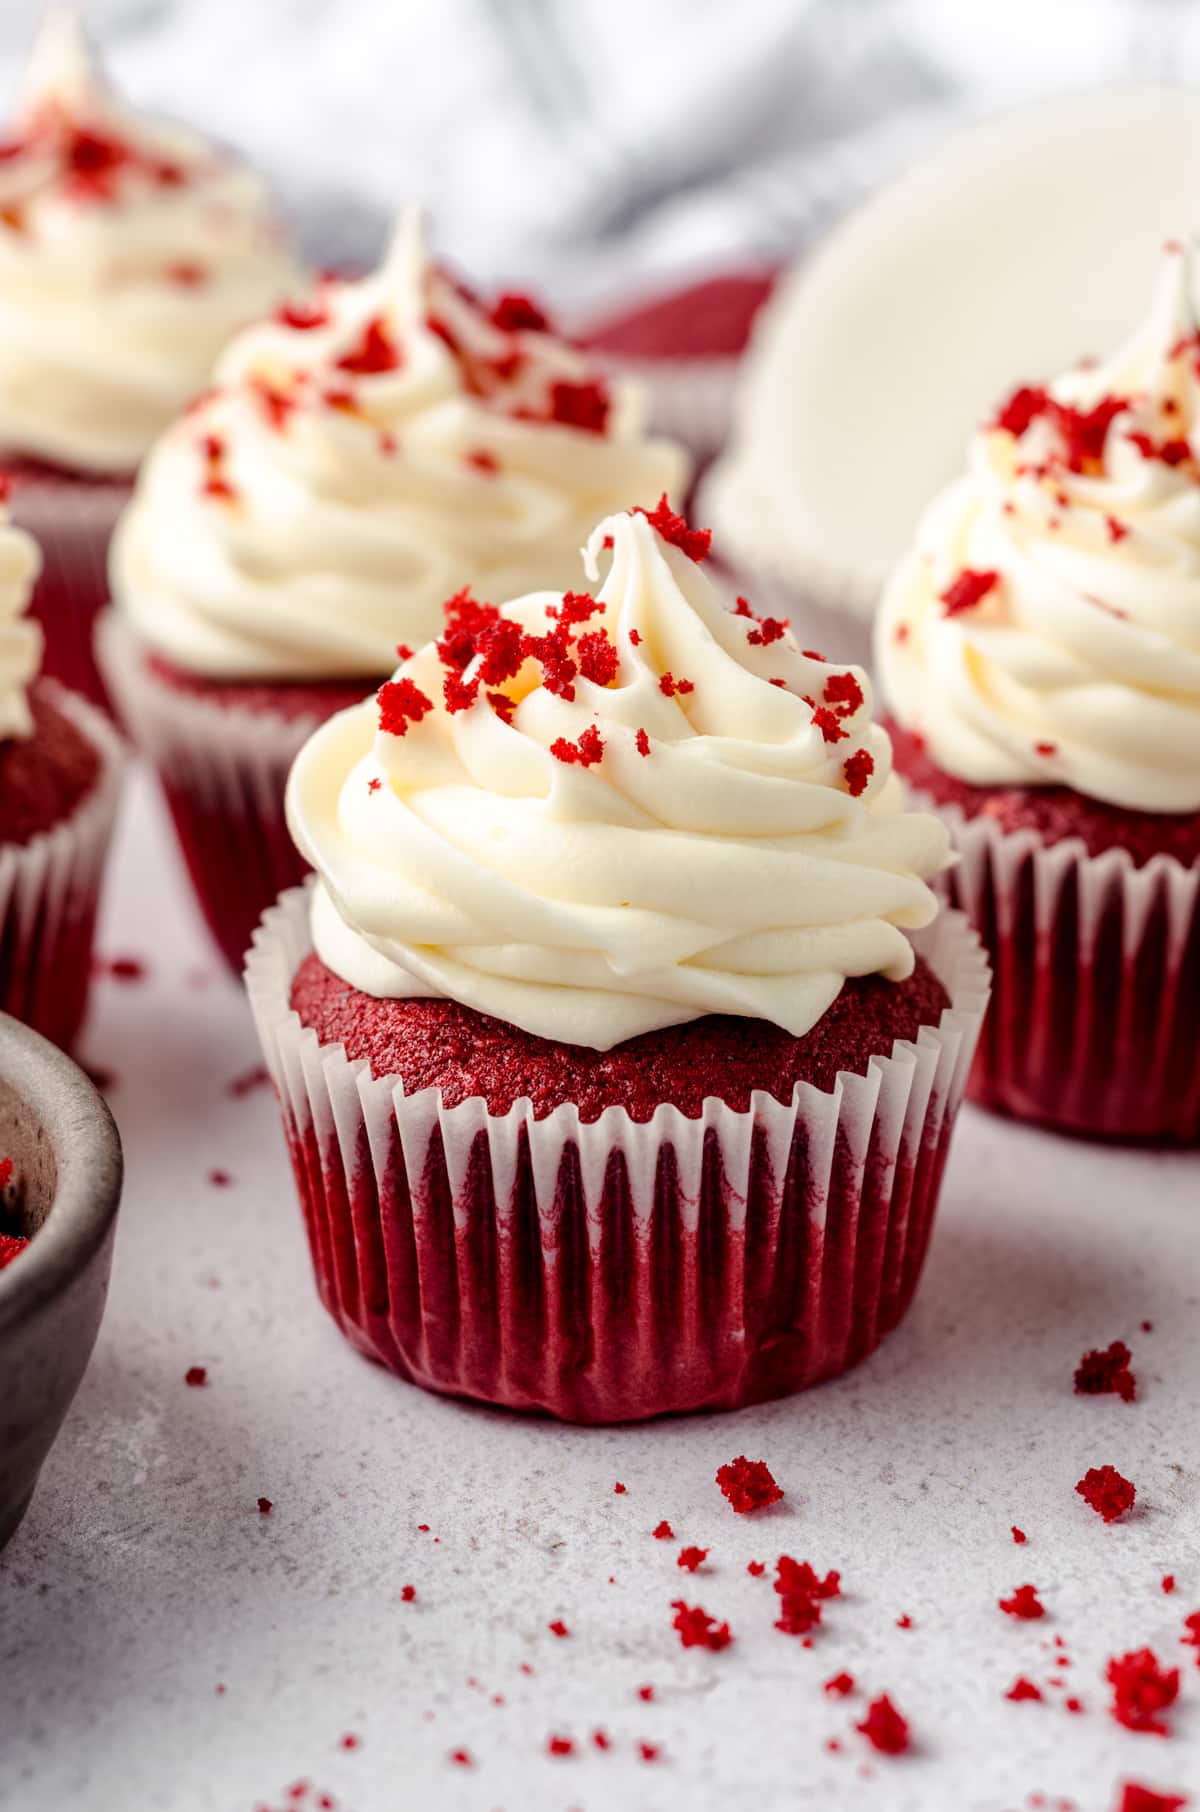
THE BEST CREAM CHEESE FROSTING FOR RED VELVEY CUPCAKES
We’ll top this homemade red velvet cake with my favorite tangy cream cheese frosting. It’s my go-to for everything from cake to homemade cinnamon rolls, and it’s the perfect pair for the slightly tangy flavor of the velvety crumb.
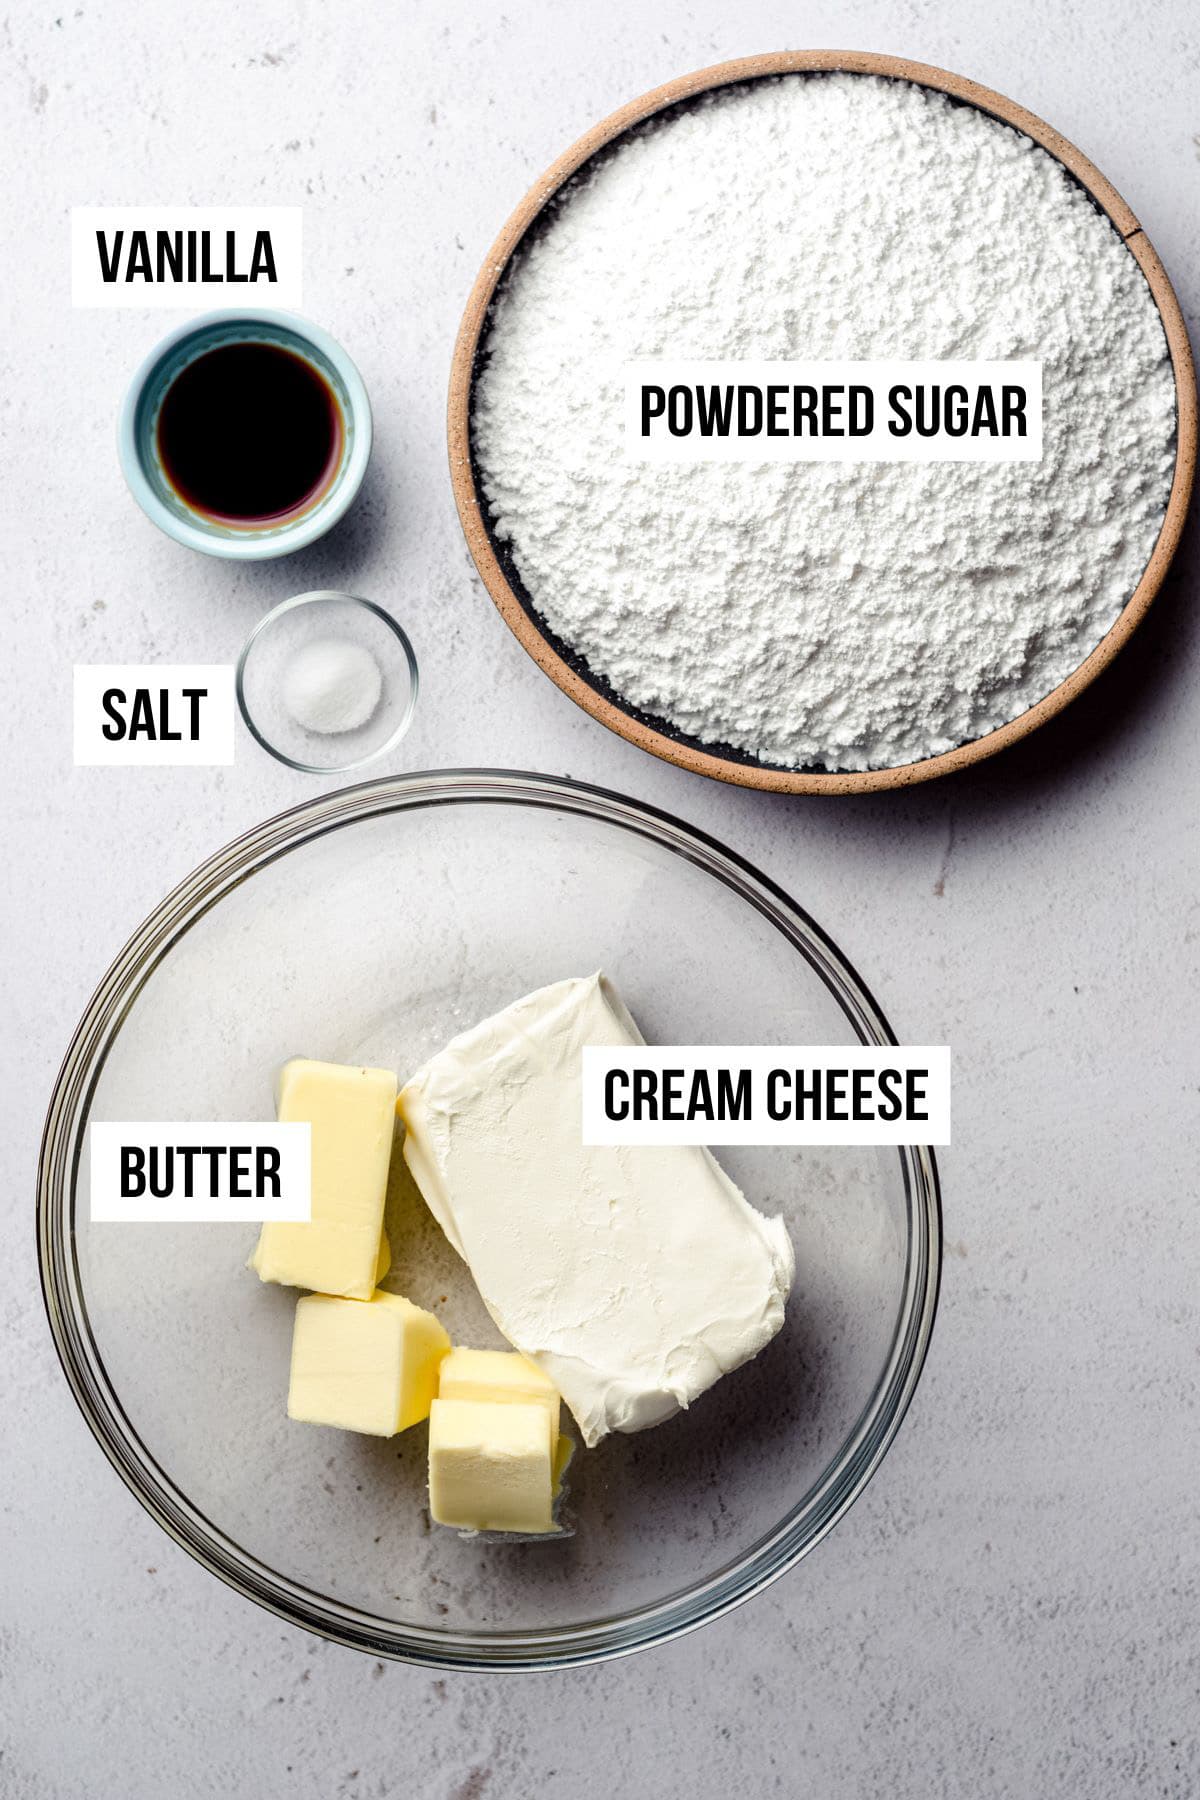
For the cream cheese frosting, you will need:
• full fat block cream cheese
• room temperature butter
• powdered sugar
• vanilla extract
• salt
Key Notes For This Red Velvet Cupcake Recipe
You won’t always find me hammering notes into your head before you start baking, but when it comes to this classic cake recipe, it’s important to prepare your ingredients and follow the steps exactly.
ROOM TEMPERATURE INGREDIENTS
This preparation step is so important that I dedicated an entire post to it.
It is imperative that your butter, milk/buttermilk, and eggs are at room temperature. It’s important your butter especially is at room temperature and not warmer. Room temperature butter is cooler than most home bakers think it is, so be sure it’s not too soft, otherwise your red velvet cupcakes are sure to be dry.
It’s important to be sure your cream cheese frosting ingredients are also at room temperature so the frosting stays nice and smooth and non-lumpy.
WORK SLOWLY
In a bit, you will be whipping egg whites to fold into your red velvet cake batter. It will be crucial to fold them in slowly and gently in order to keep all the air in the egg whites which will help leaven the cupcakes and keep them fluffy.
This is not a recipe where we can just dump all of the ingredients together and expect perfect results. As I mentioned, red velvet cupcakes can be finicky, so pay attention and take your time in every step.
READ THE RECIPE FIRST
This step should be done no matter if you’re a beginner baker or a pro. Know what to expect and read the notes so you’re not surprised at what comes next.
Ok, baker. Let’s do this!
How to Make Red Velvet Cupcakes
While the instructions are laid out in the recipe card, I have plenty of pictures in this post so you can know exactly what what you’re looking for while tackling the best red velvet cupcake recipe.
SIFT THE DRY INGREDIENTS
Before doing anything else, sift your dry ingredients together. Do not skip this step. Sifting dry ingredients removes lumps, combines the dry ingredients in a uniform fashion, and sets you up for a seamless entry of dry ingredients into your wet ingredients.
SOUR THE MILK
As mentioned, I wrote this recipe assuming you do not have buttermilk. At this point in the recipe, add all of the distilled white vinegar to the milk, stir it around, and let it sour while you proceed with the recipe.
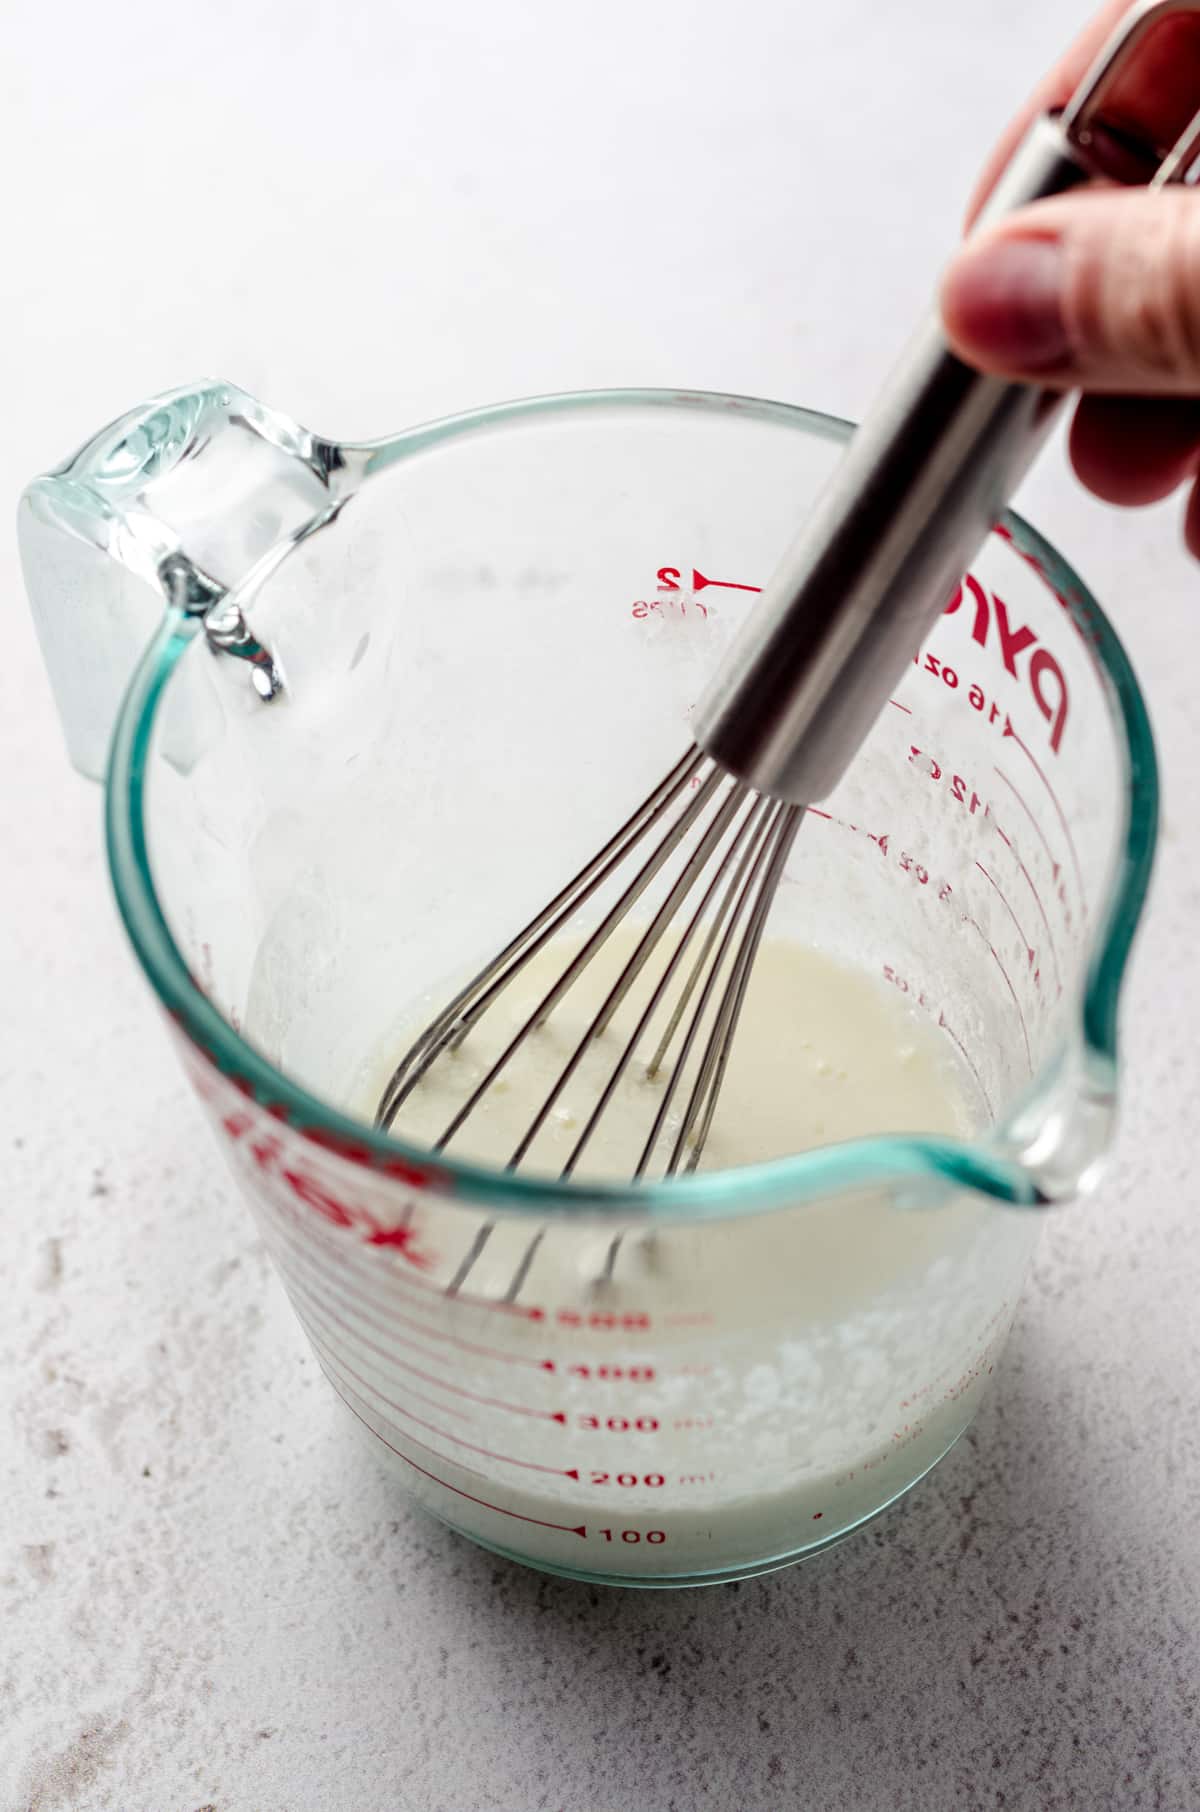
If you have buttermilk, you can skip this step. Be sure you’re using the adjusted amount of additional distilled vinegar in the recipe, as you will still need it, just not as much.
MAKE THE FAT BASE
Start by creaming the butter and sugar until it is light in color and fluffy in texture, then beat in the vegetable oil along with the egg yolks. Remember, room temperature egg yolks are crucial to maintaining the room temperature of the butter to make sure our end result is moist and buttery, not dry and dense.
You’ll also add the vanilla and red food coloring to this base before moving on to incorporating the dry ingredients.
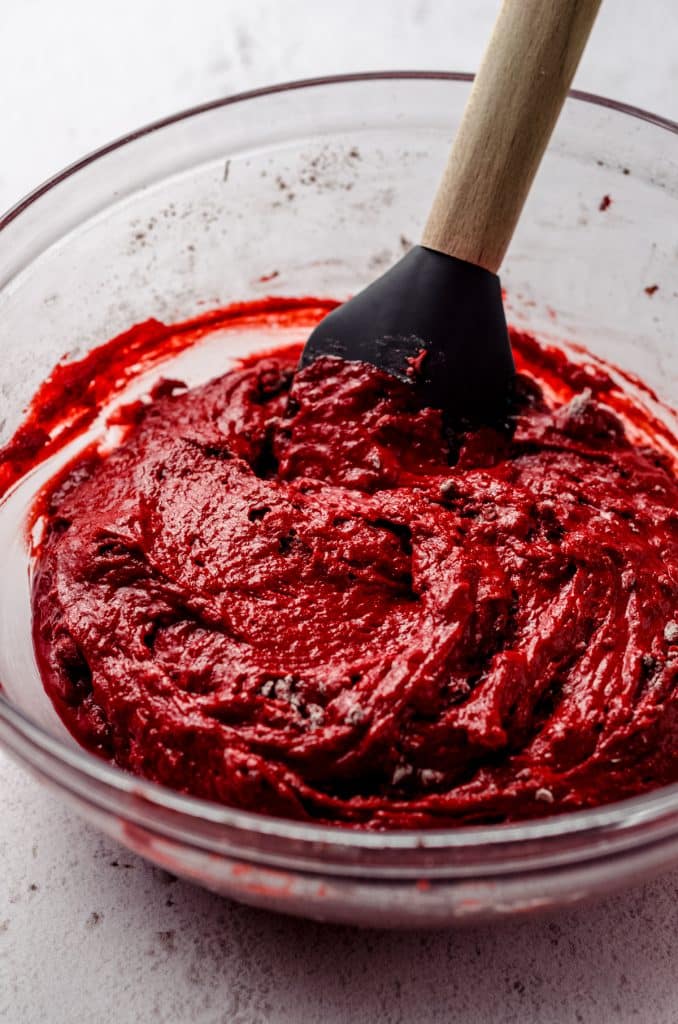
ALTERNATE THE DRY INGREDIENTS WITH THE BUTTERMILK
And what do we have here? Another crucial step.
You’ll split your dry ingredients into roughly 3 parts (just eyeball this, it doesn’t have to be perfect) and your buttermilk/vinegar or lemon juice + milk in half (again, eyeball), then, starting with the dry ingredients, alternate adding each to the batter and letting it slowly incorporate.
WHY ARE WE ALTERNATING INGREDIENTS?
Rather than adding everything all at once, we want to keep the integrity of the cake batter without overloading it with too many dry ingredients to find places for nor do we want to overload it with liquid.
By adding a bit of the dry ingredients first, we give the liquid somewhere to go and absorb into, so as to keep the batter nice and smooth and avoid flooding it or creating lumps.
This is a step I use in delicate cake and cupcake batters that seems fine to skip but really does yield flawless results.
Again, don’t worry about splitting these into perfect proportions. Trust your eyeballs to guide you.
Once you’ve added the final portion of dry ingredients, stop blending when most of it has incorporated. The batter may not look totally combined, but that’s ok. Our next step will take care of it.
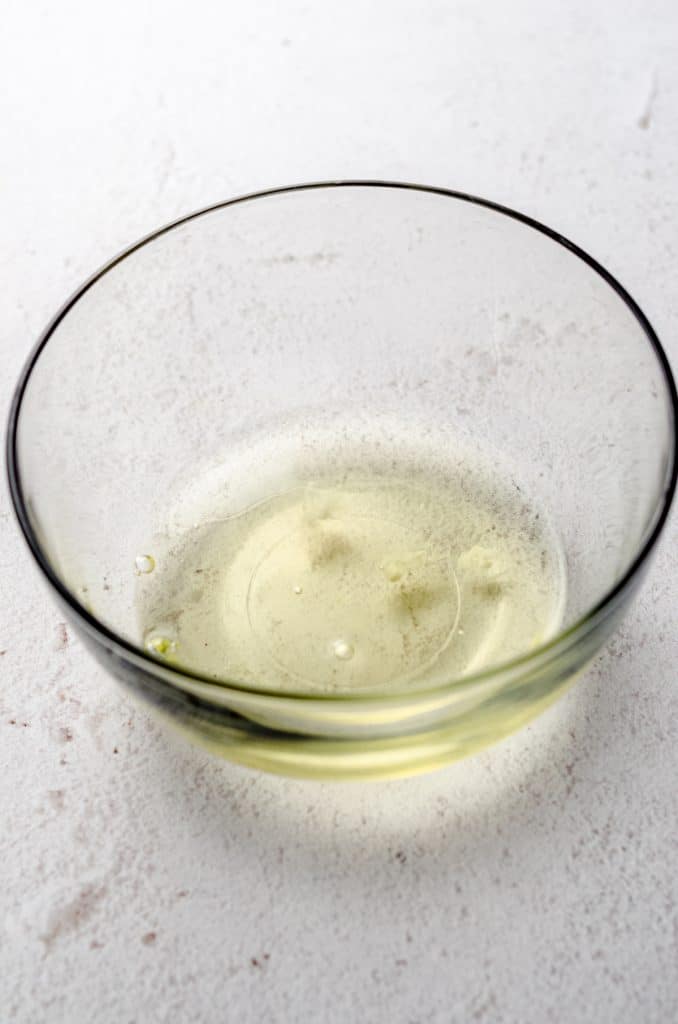
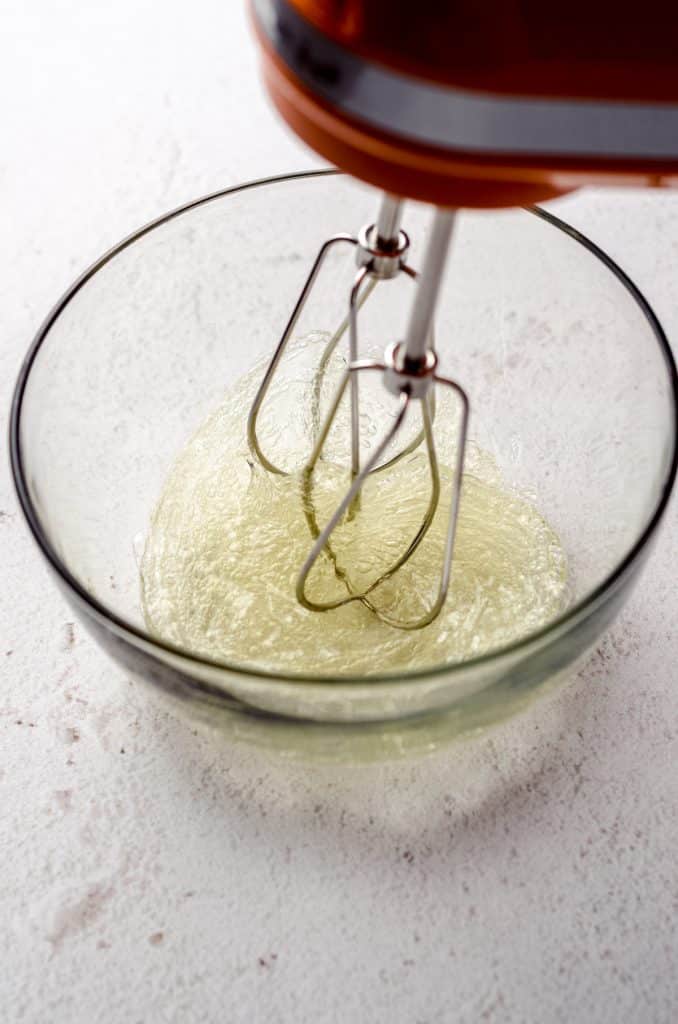
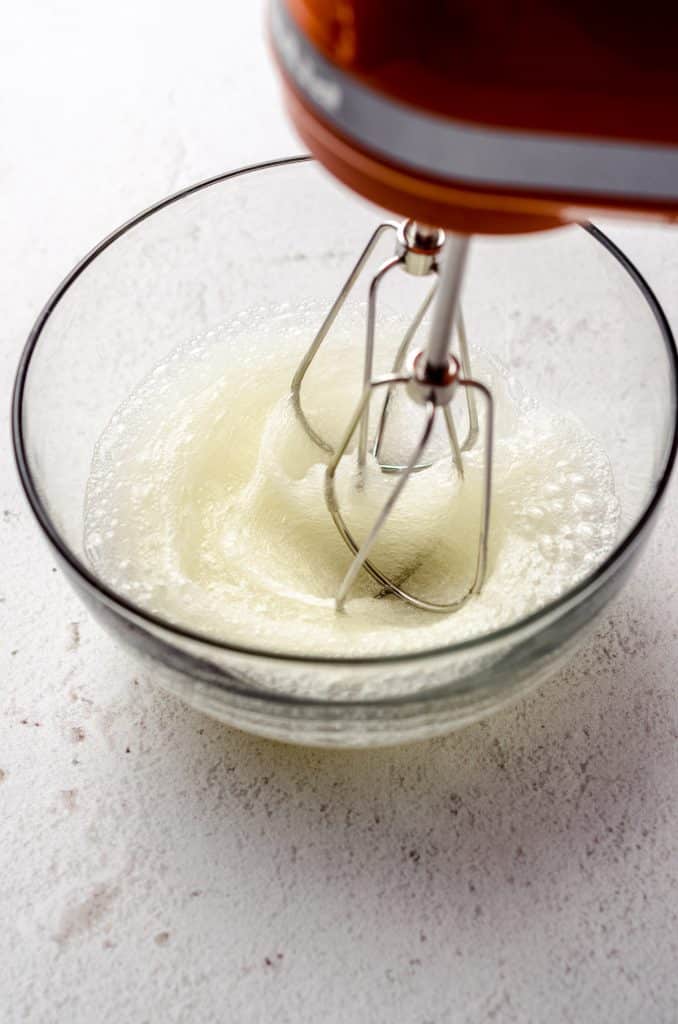
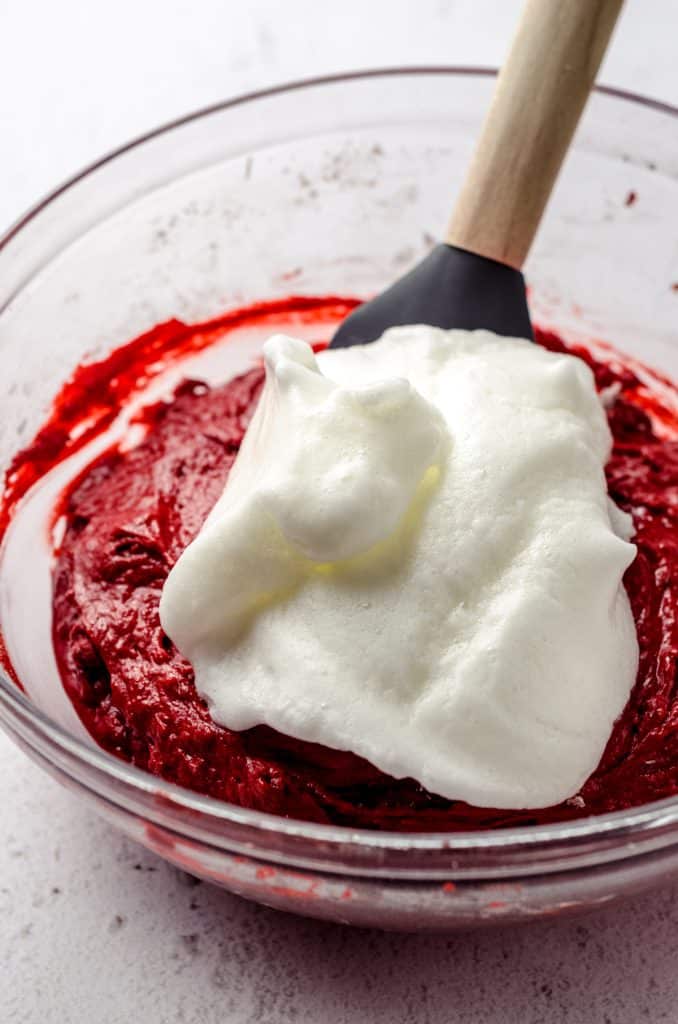
WHIP THE EGG WHITES
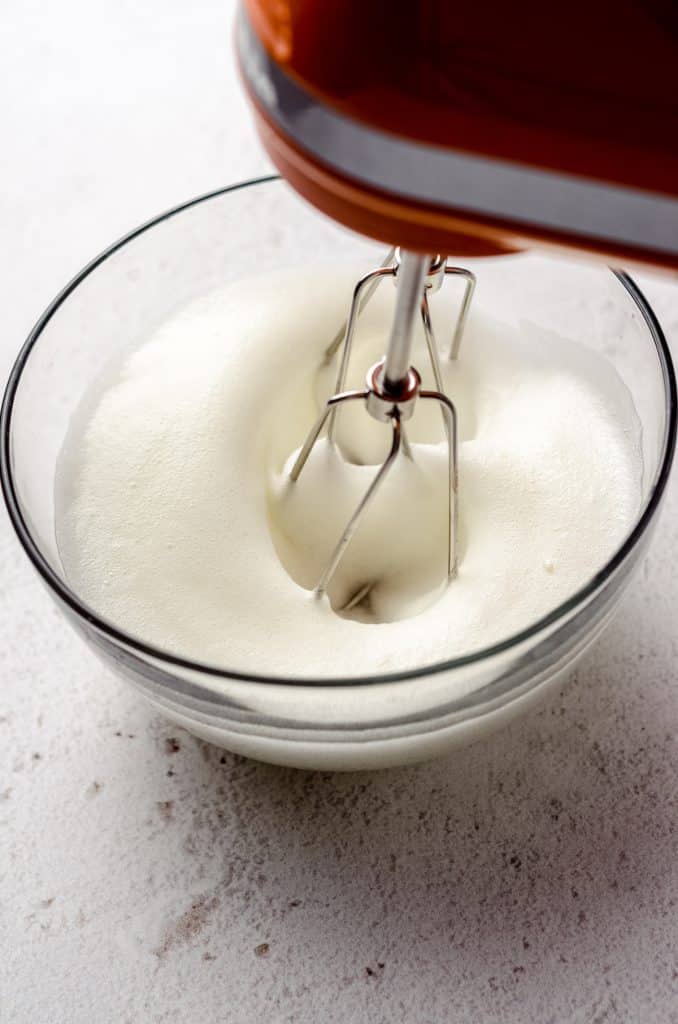
Whip the egg whites to soft peaks, which means when you pull the whisk or beaters out of the egg whites, you will see little peaks left behind that flop over on the tips. If there are no peaks at all, the egg whites are not quite there. If the peaks are stiffer, you’ve gone a little too far, but no problem. Just stop whisking.
If you’re using an electric hand mixer, just rinse off your beaters and whip the egg whites in a separate bowl.
If you used a stand mixer, your bowl may be occupied with cake batter. No problem!
You can either use an electric hand mixer, if you have one available, another bowl for your stand mixer + the whisk attachment, or use some good old fashioned elbow grease and a whisk to whip the egg whites by hand.
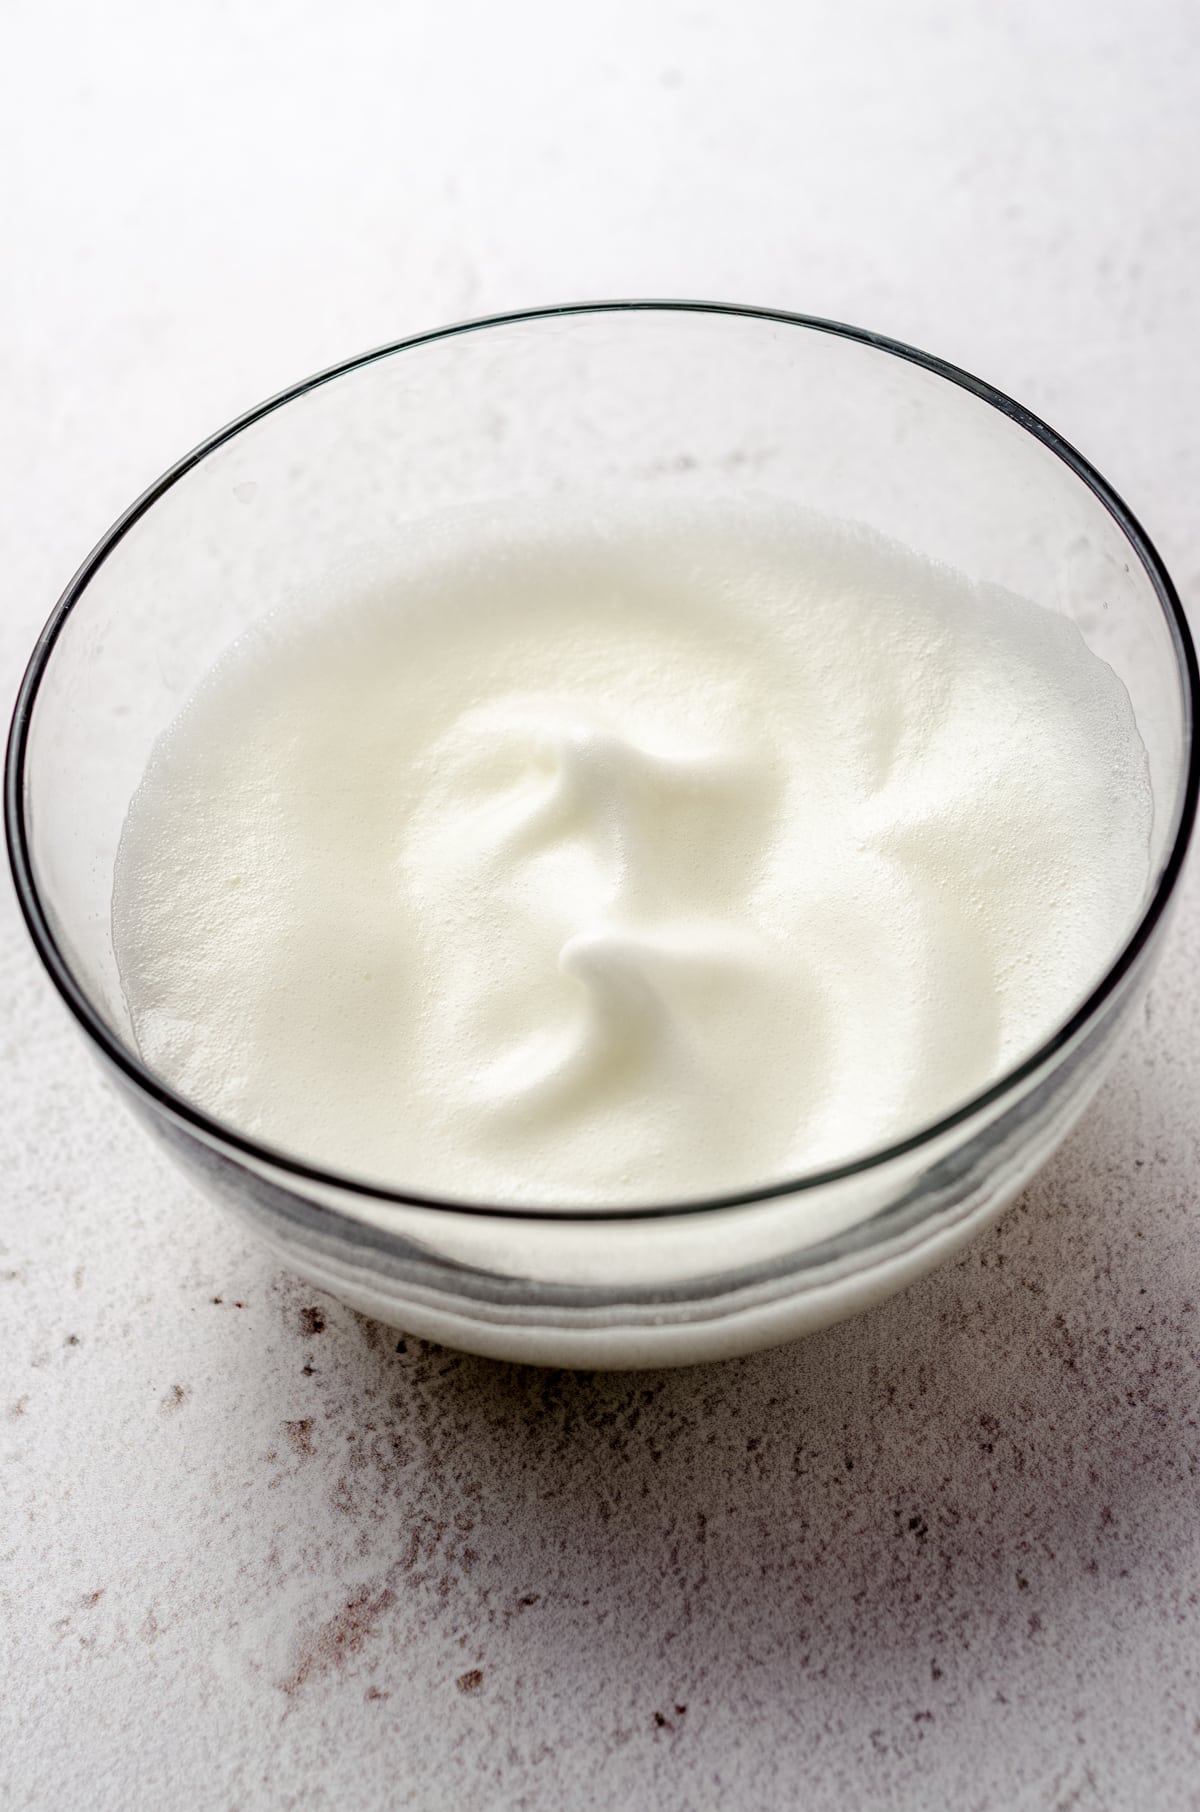
It will only take about 3 minutes or so. Remember to look for those soft peaks like the picture above.
FOLD IN THE EGG WHITES
Lastly, fold the egg whites into the batter gently, which is the final source of air for fluffy red velvet cupcakes.
To fold in the egg whites, pour them all into the batter, then use your spatula to cut a line down the middle of the batter, then gently scoop up half of the batter and fold it onto the other half. Turn the bowl a quarter turn, then repeat.
This method of folding will insure your egg whites are kept nice and airy and will decrease the chances of deflating, which we could easily do by vigorously adding the egg whites while the mixer is moving or stirring them in too aggressively.
As the egg whites incorporate, so will the straggling dry ingredients.

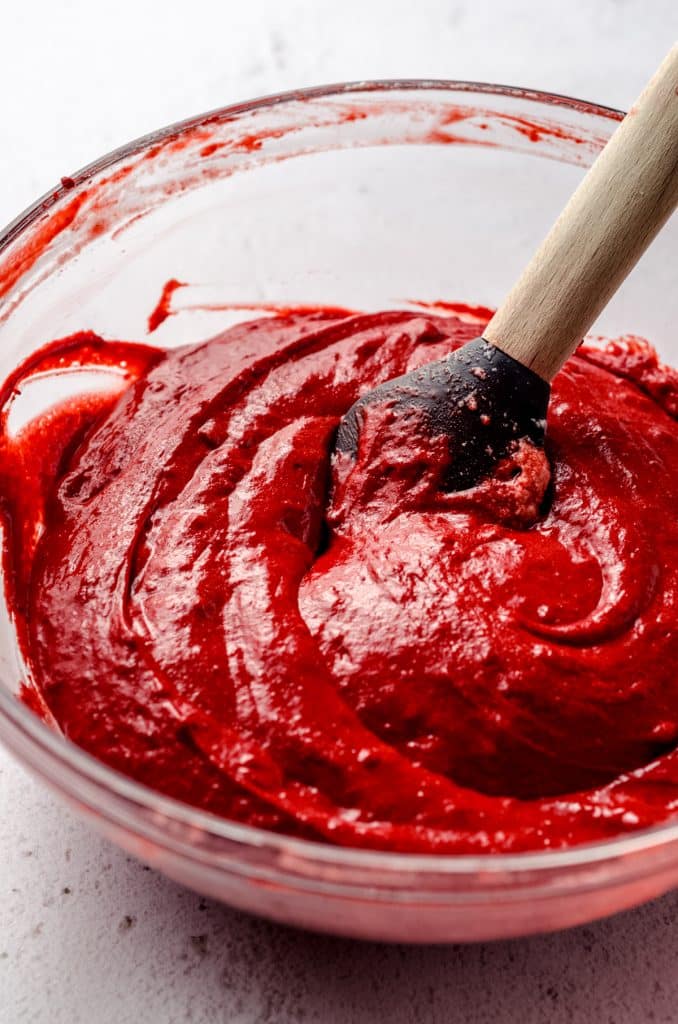
You’ll know your cupcake batter is ready to bake when it’s silky smooth and slightly thick.
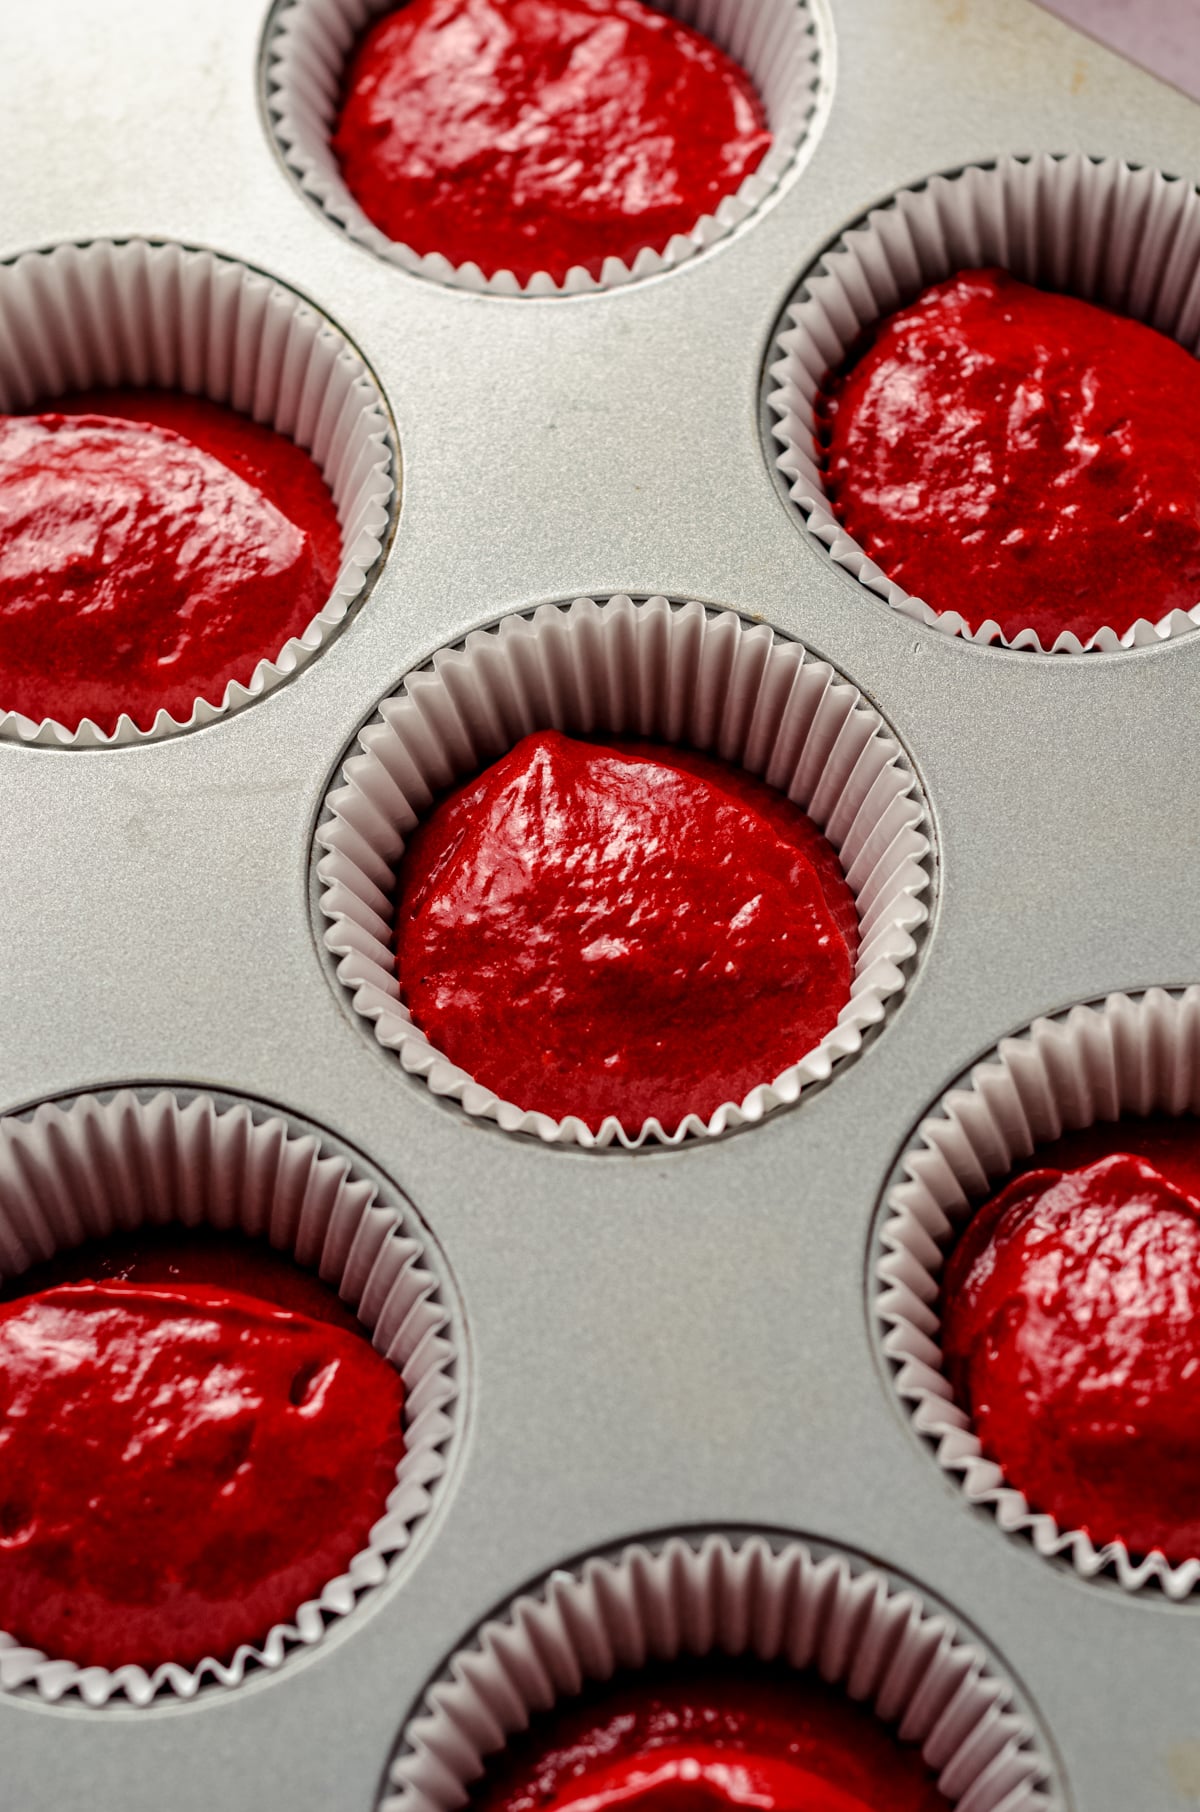
POUR INTO PREPARED CUPCAKE LINERS
My preferred way to get cupcake batter into the liners is to use an ice cream scoop with a trigger. I always use a scant scoop to fill the liners ½ to ⅔ of the way full.
It is crucial not to over bake red velvet cupcakes. I told you it was fussy, didn’t I?
How to Know When a Red Velvet Cupcake is Baked Through
Total bake time for these cupcakes is 14-16 minutes, and you can often find me stalking my cupcakes for those last 3-4 minutes to insure I pull them out just at the right time.
You want to look for moist crumbs on your cake tester but not wet batter. Do not wait for a totally clean/dry tester, as the cupcakes will continue to bake in the cupcake pan when you take them out of the oven.
Allow the cupcakes to cool in the pan on a cooling rack before removing to decorate.
How to Make Red Velvet Cream Cheese Frosting
When you are ready to frost the cupcakes, make the cream cheese frosting. You can make this up to a day in advance if you’d prefer to finish your cake the next day or want to work ahead.
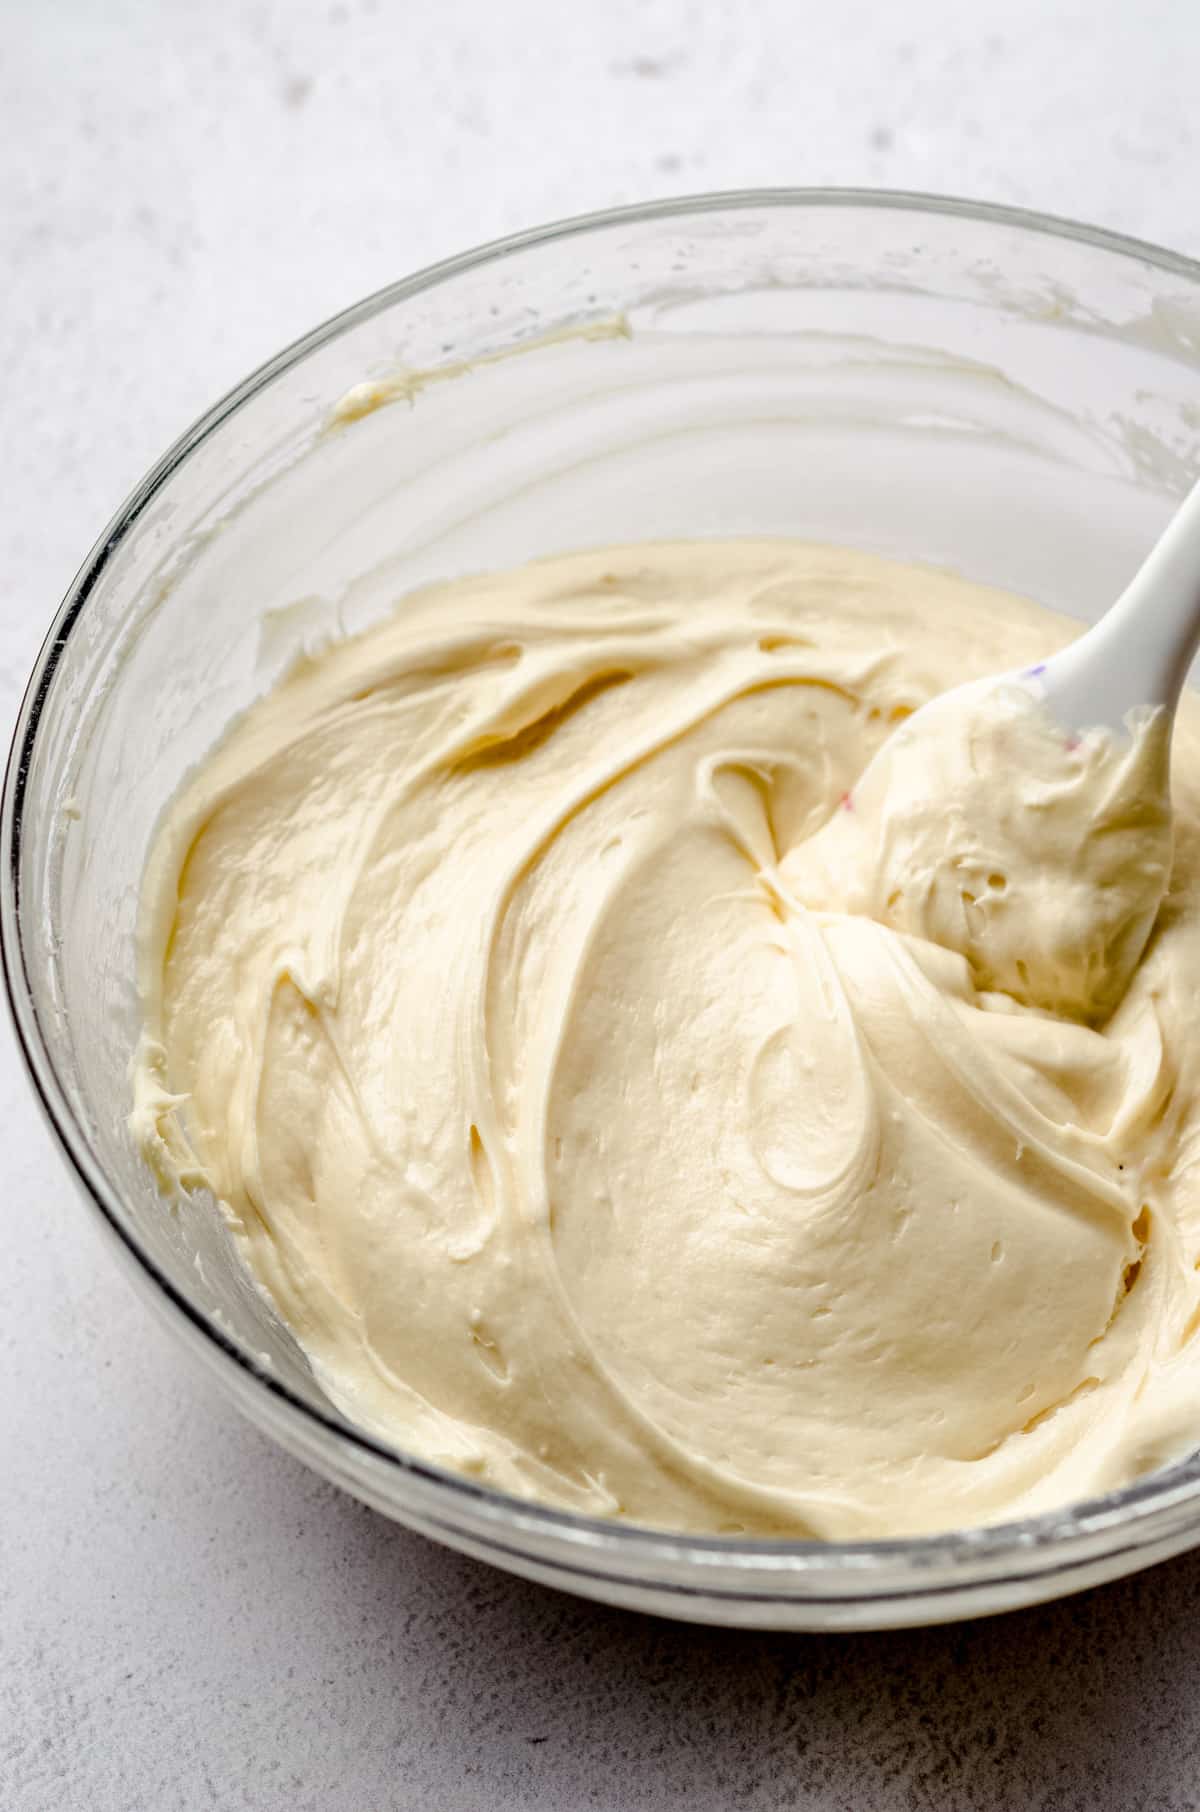
First, beat the cream cheese and butter until smooth. Then, slowly add the powdered sugar and beat again. Add the vanilla extract and salt and continue beating until frosting is smooth.
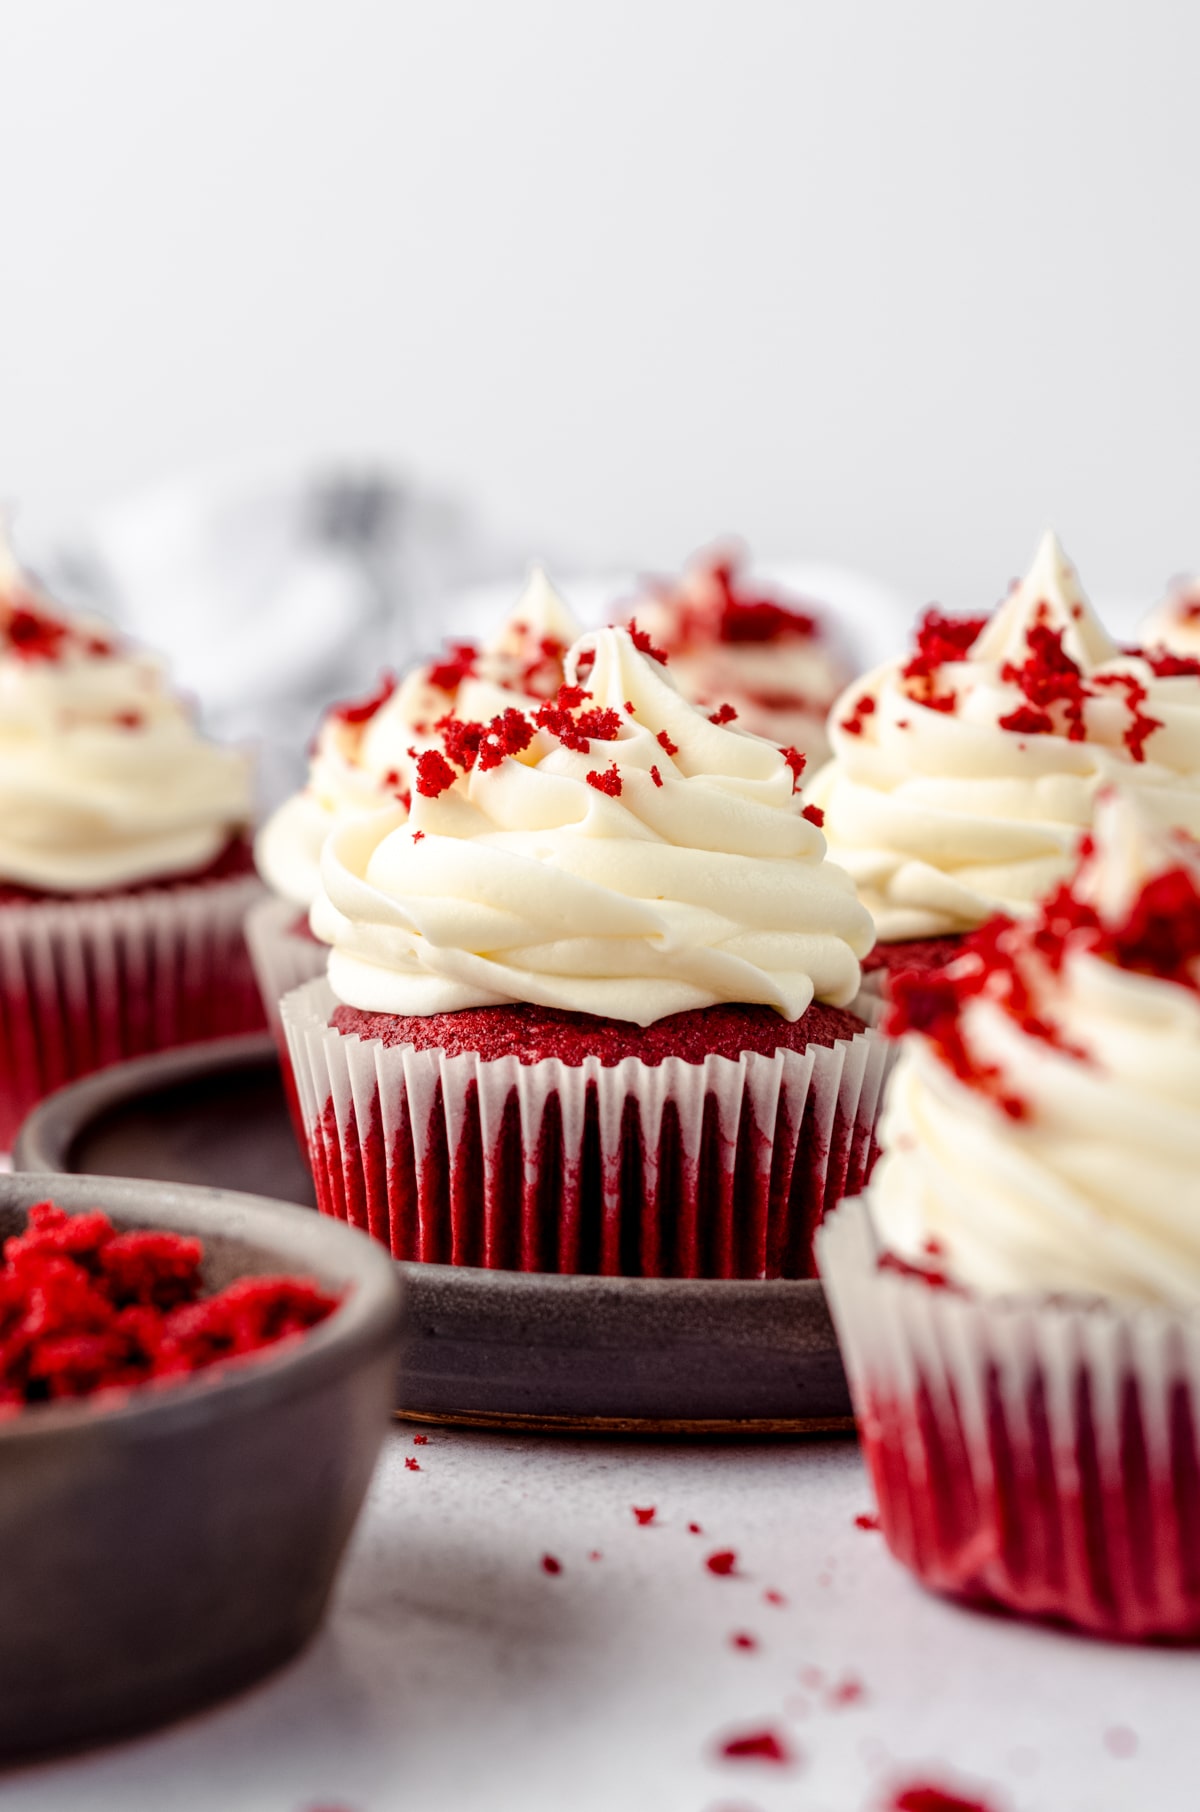
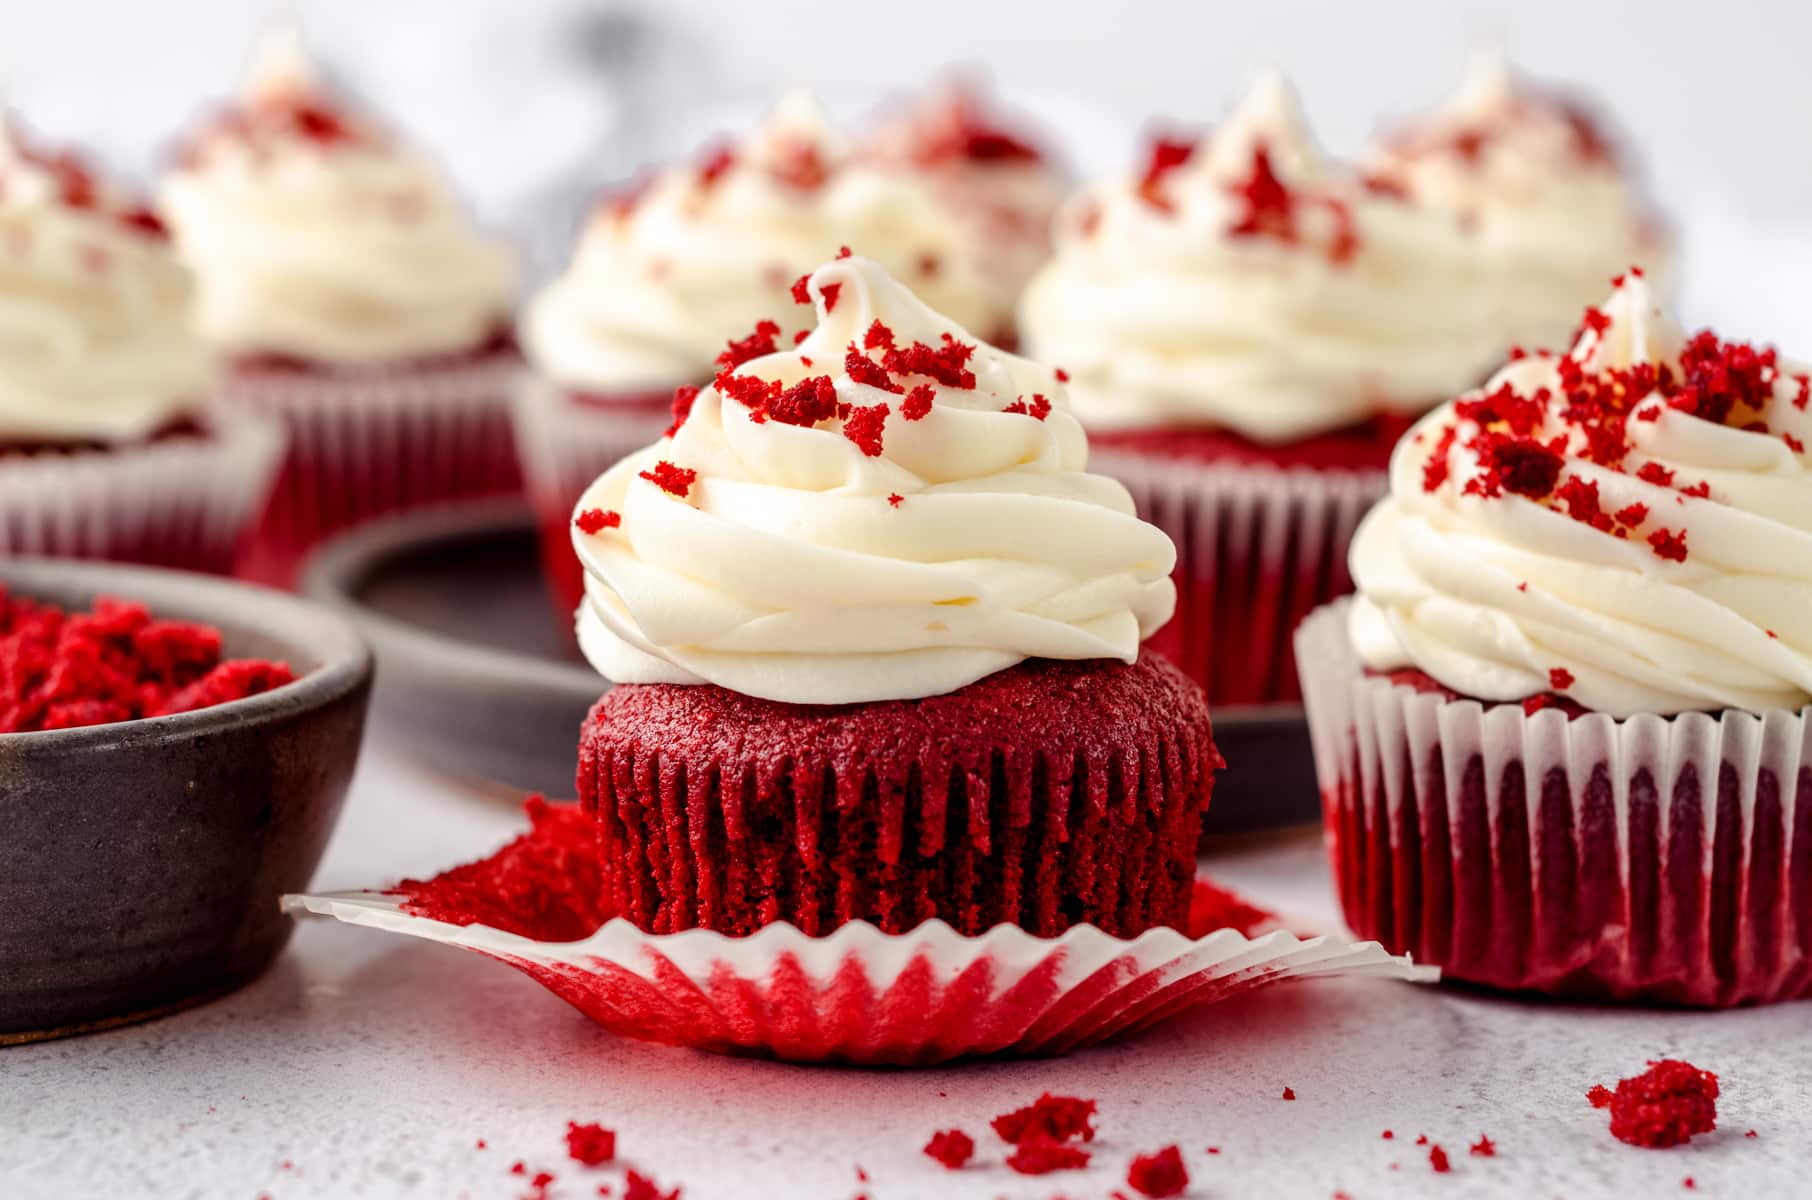
Red Velvet Cupcake Decorating Ideas
A simple swipe with a spatula, a swirly swirl with a piping tip, a basic swirl without ruffles.. Whatever your heart desires!
RED VELVET CUPCAKE TOPPINGS
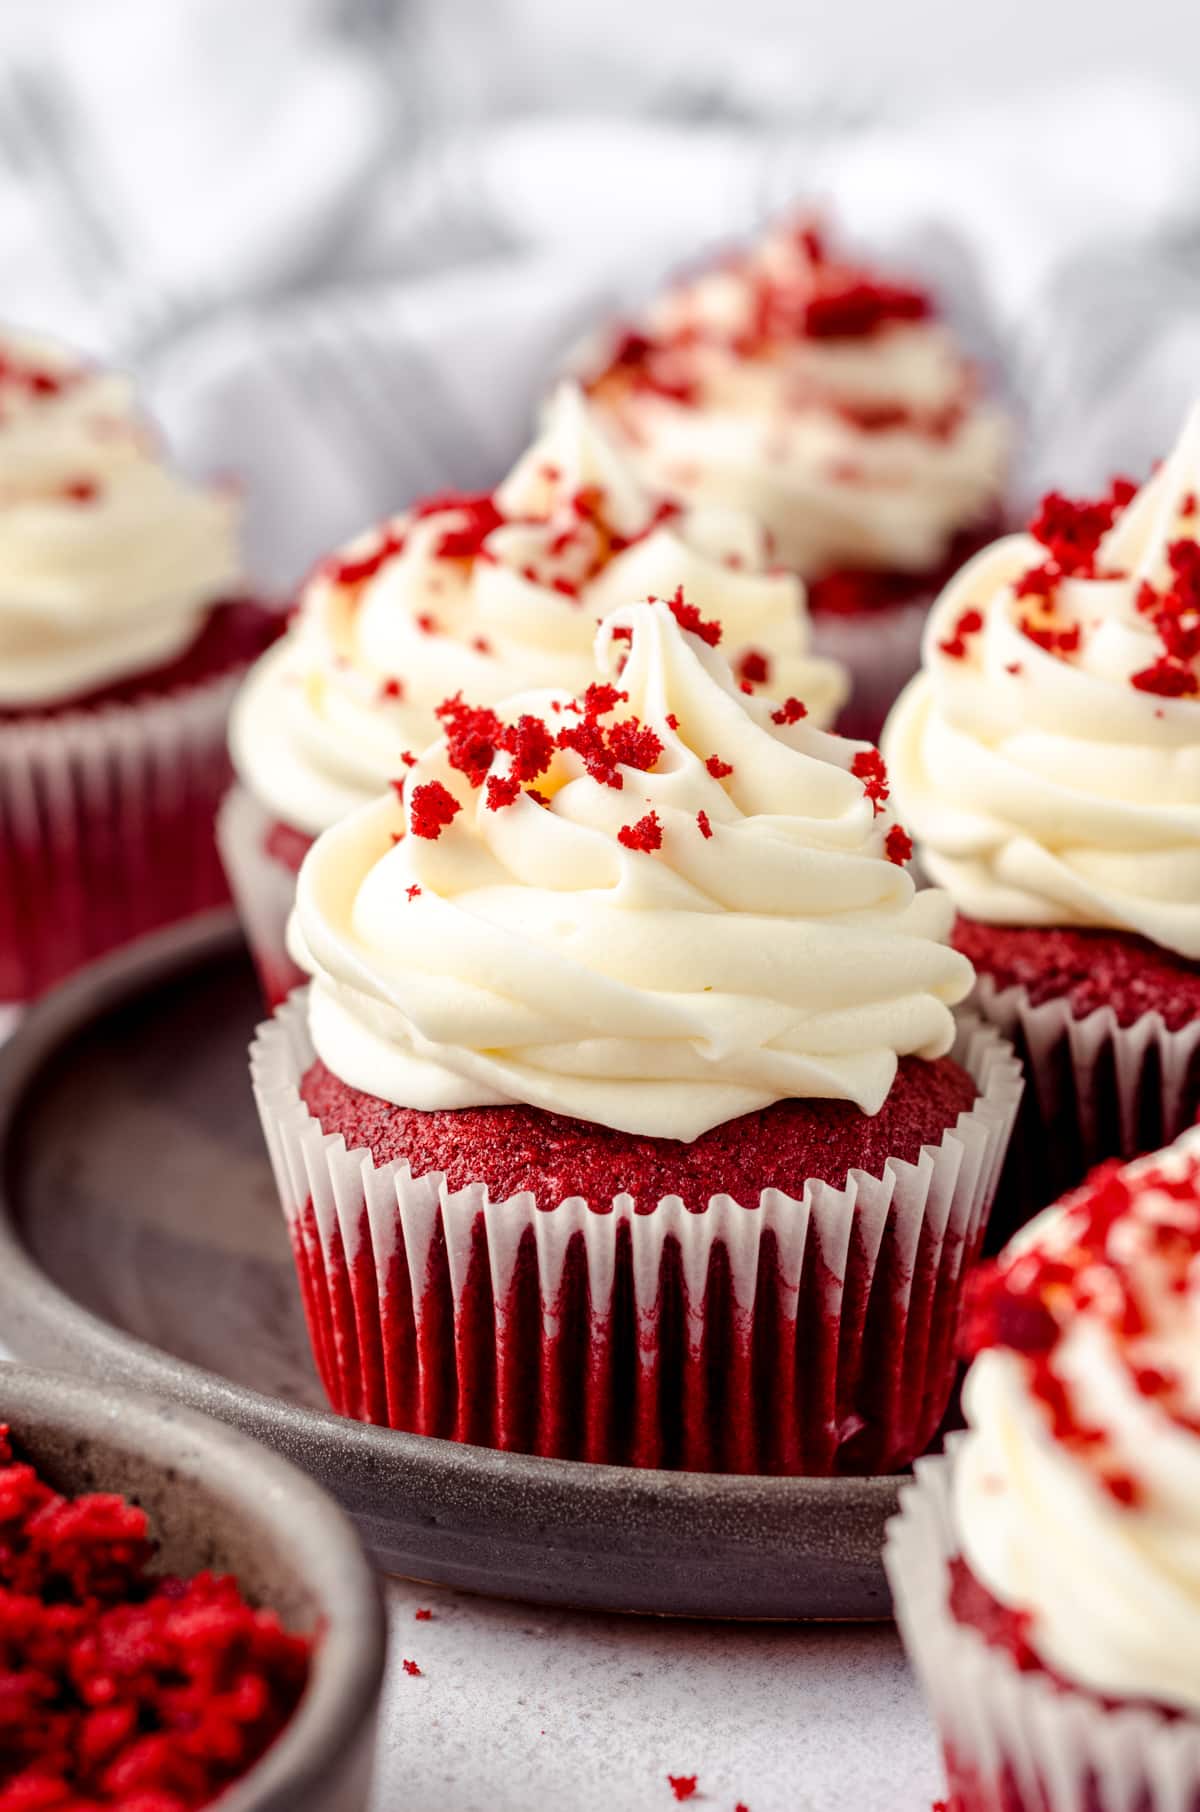
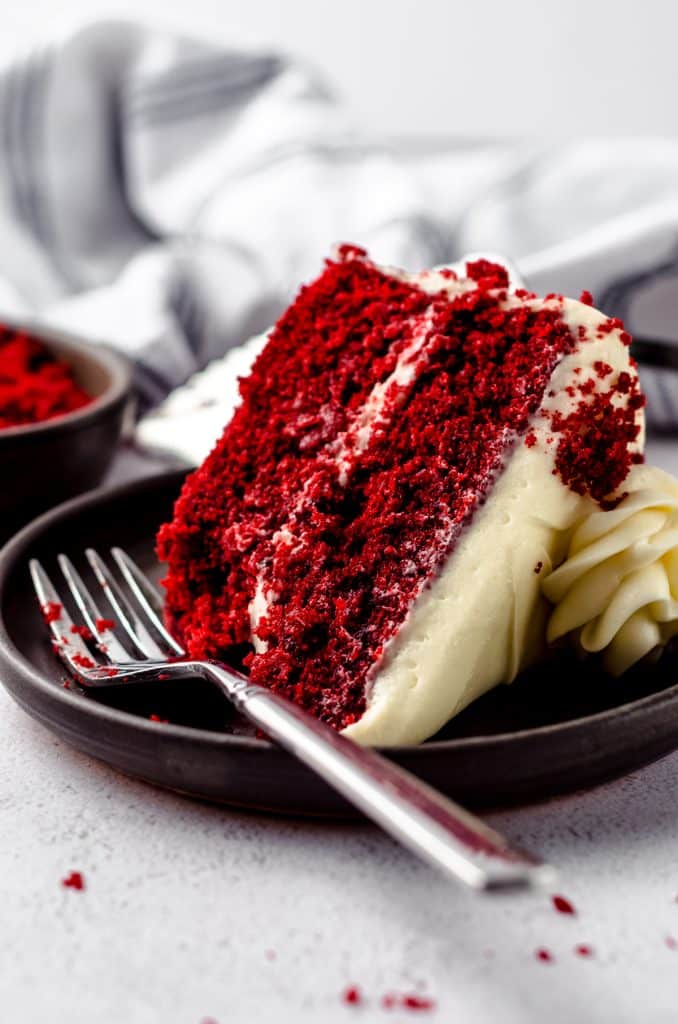
Red velvet cakes and cupcakes are often decorated very simply, as the inside is so show-stopping, there’s not much of a need for a whole lot of fancy happening on the outside.
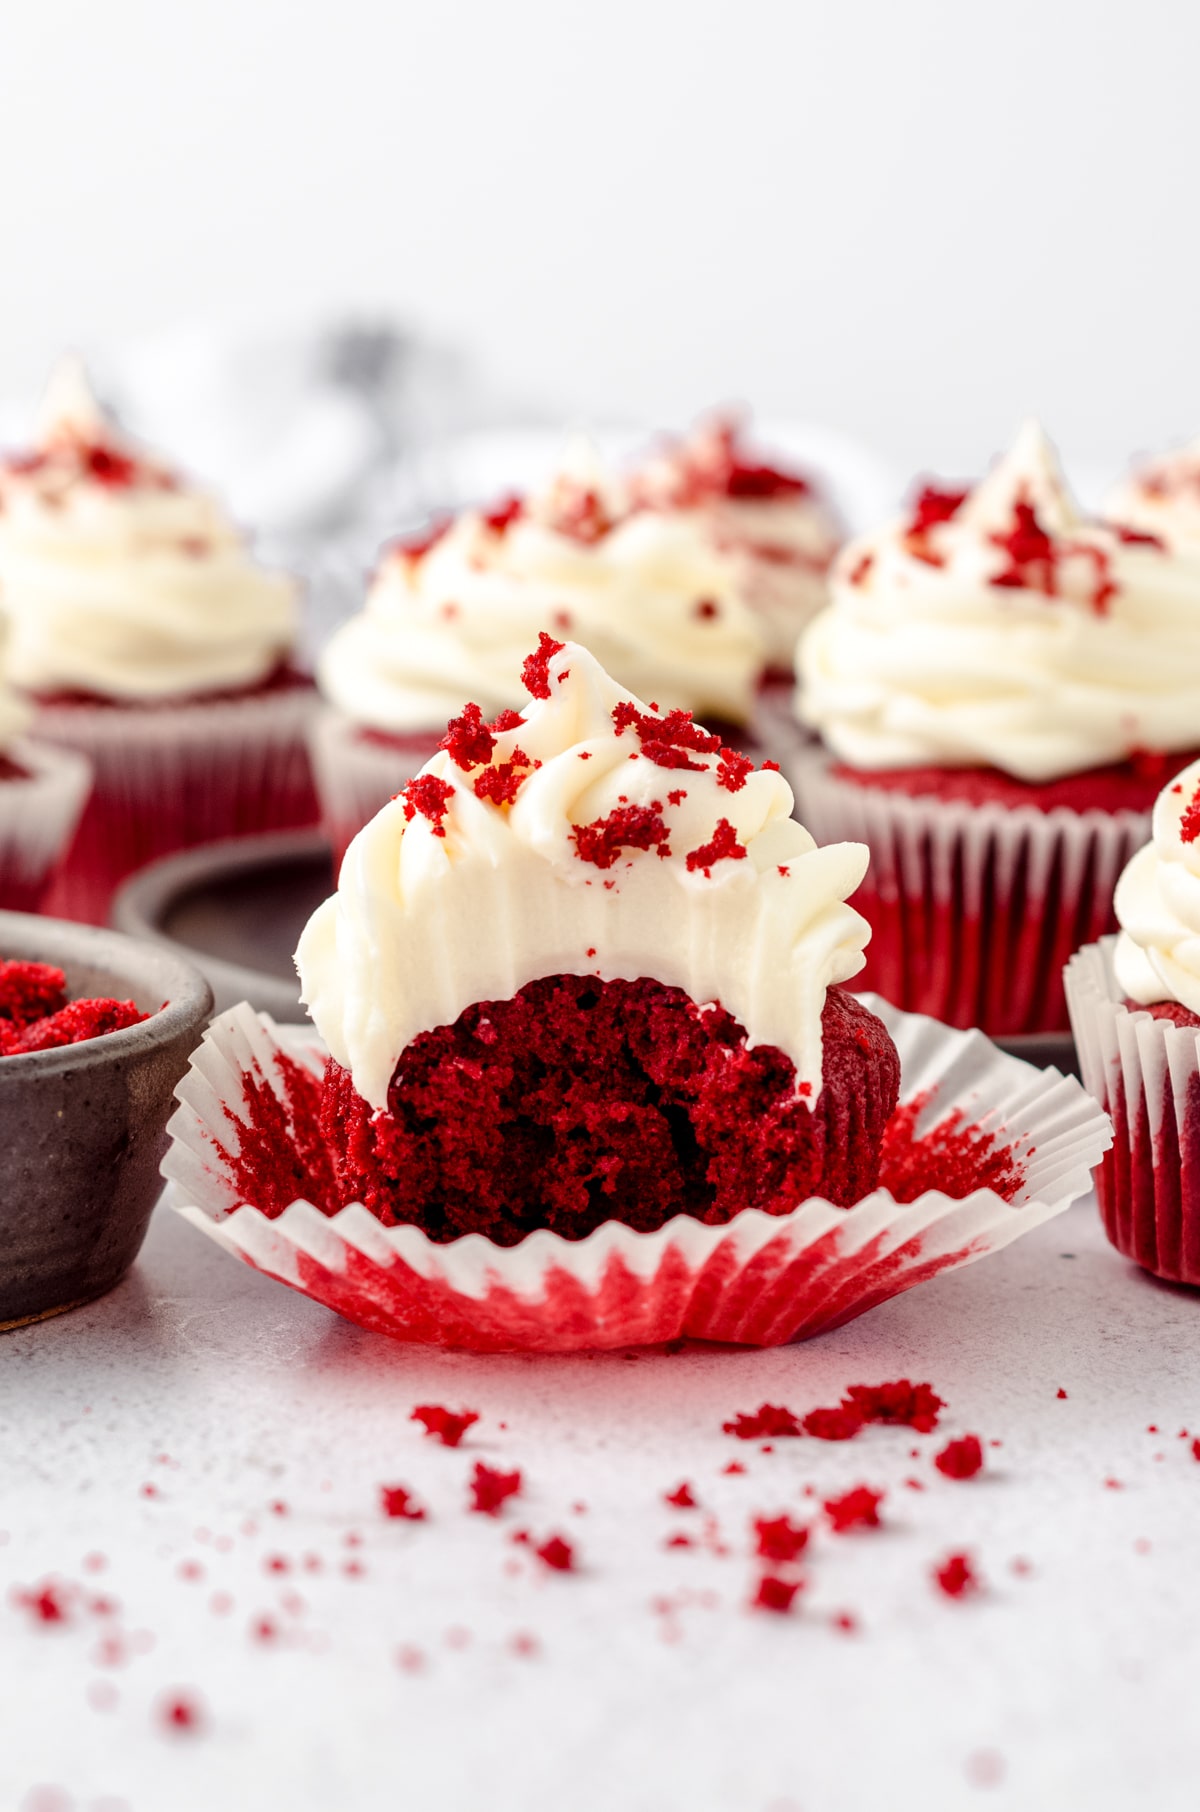
Traditionally, red velvet cupcakes are garnished with crumbs, but you’re welcome to embellish them as much or as little as you wish.
Wondering where I get my crumbs? One sacrificial cupcake from the batch will do!
However you decide to decorate them, go ahead and pat yourself on the back. Because you did it! You created perfect red velvet cupcakes. You know how I know you did? Because you read every step and followed the instructions to a T.
It can feel intimidating to get these cupcakes just right, but with careful attention and confidence, you, too, can feel like (and actually be!) an expert red velvet cupcake baker.
Red Velvet Cupcakes Recipe FAQs
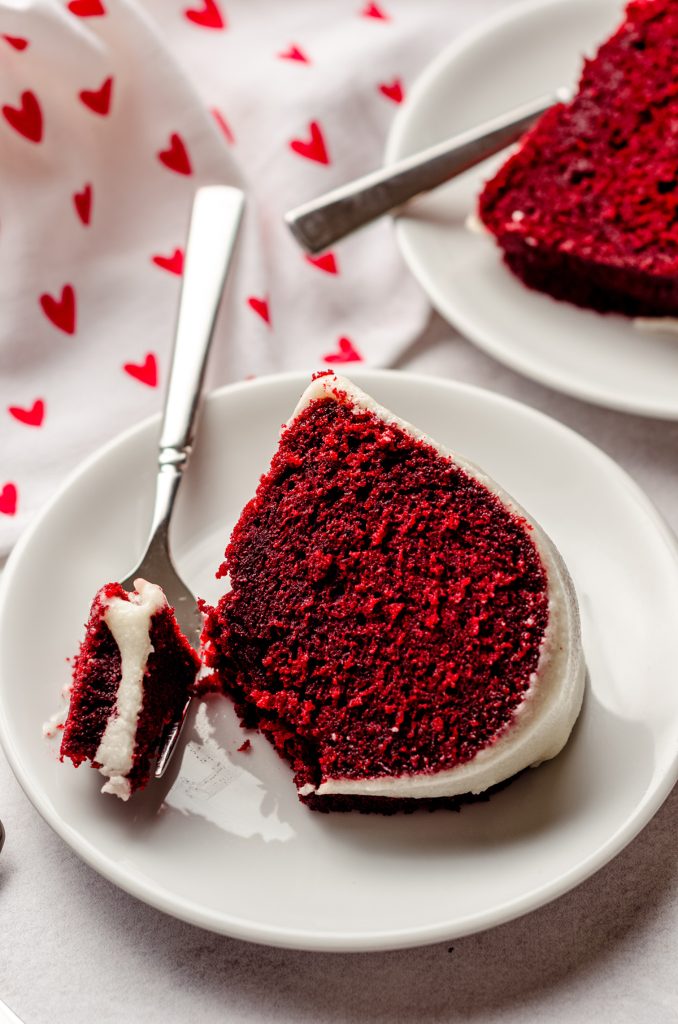
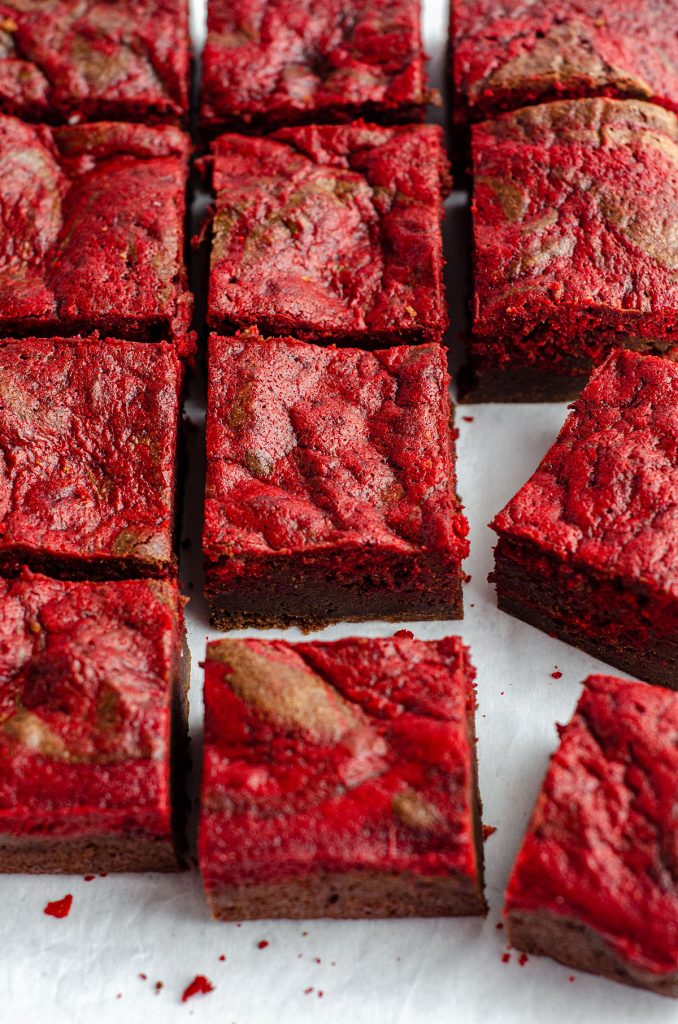
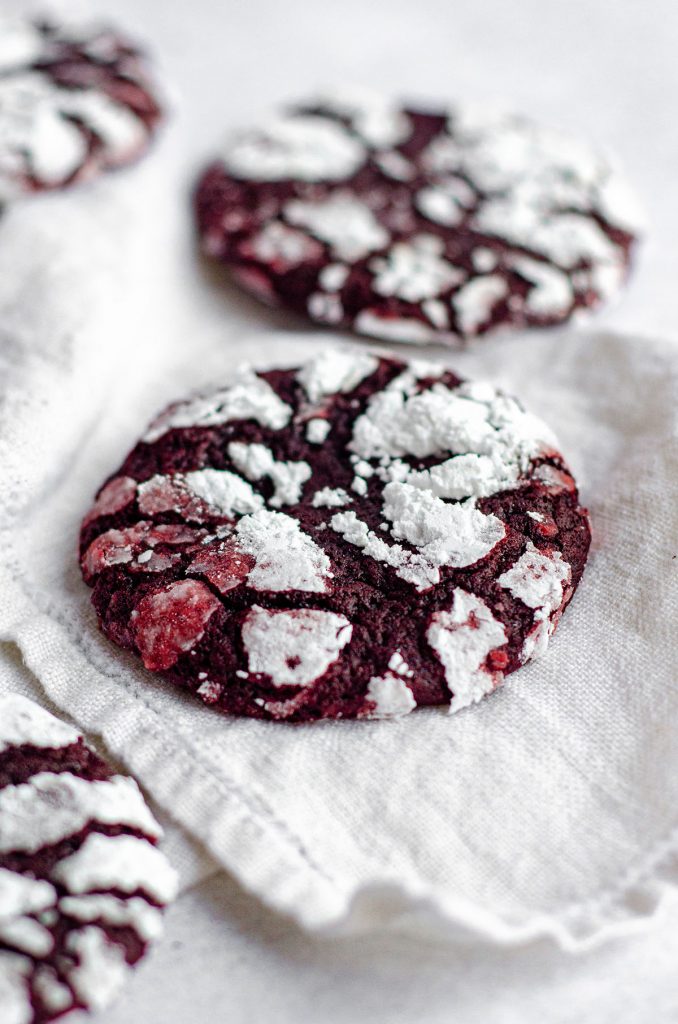
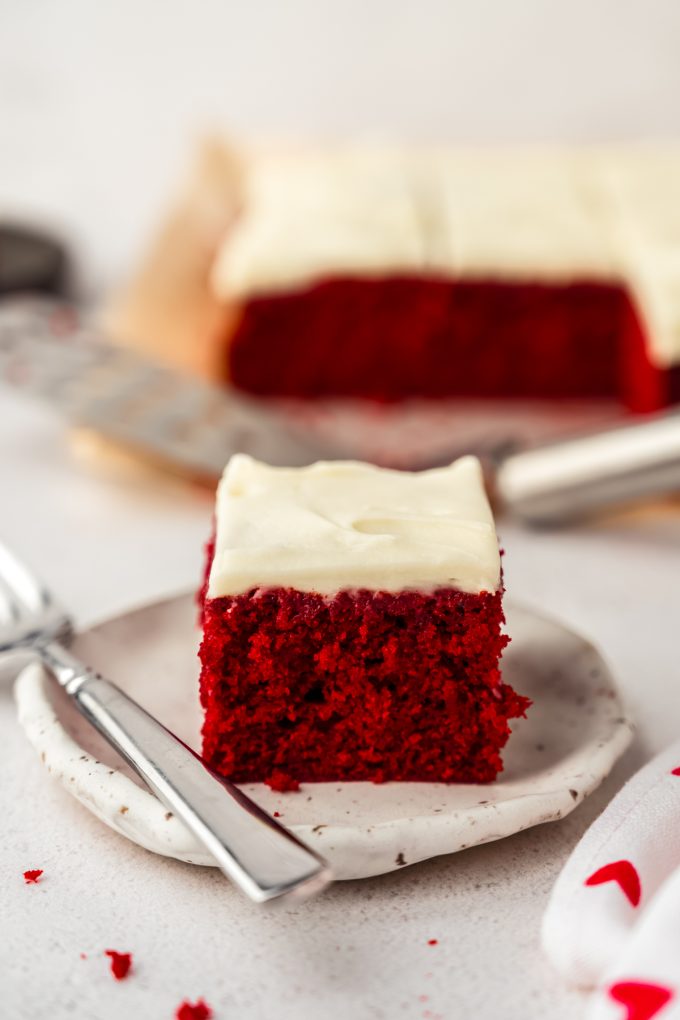
Now that you have mastered the best red velvet cupcakes, you’re ready for more red velvet recipes! Try any of these red velvet (from scratch) recipes next: don’t miss my red velvet cake recipe, red velvet cookies with cream cheese frosting, red velvet bundt cake, red velvet brownies, red velvet crinkle cookies, or red velvet sheet cake.


Red Velvet Cupcake
Ingredients
RED VELVET CAKE
- 1 and ¼ cups (150g) all-purpose flour be sure to measure properly
- ¼ cup (40g) cornstarch
- 1 and ½ Tablespoons (9g) unsweetened cocoa powder
- ½ teaspoon salt
- ½ teaspoon baking soda
- ¼ cup (57g) unsalted butter softened to room temperature
- 1 cup (200g) granulated sugar
- ⅓ cup (80mL) vegetable oil
- 2 large eggs room temperature and separated
- ½ Tablespoon vanilla extract
- 2 and ½ teaspoons distilled white vinegar1
- 1 teaspoon red food coloring2
- ½ cup (120mL) milk1 room temperature; you can also use buttermilk (see notes)
CREAM CHEESE FROSTING
- 4 ounces (113g) full fat block cream cheese softened to room temperature
- ¼ cup (57g) unsalted butter softened to room temperature
- 1 and ¾ cups (210g) powdered sugar
- 1 teaspoon vanilla extract
- pinch of salt
Instructions
RED VELVET CUPCAKES
- Move a rack in the oven to the middle position and preheat it to 350ºF (177ºC). Line the wells of a cupcake pan with cupcake liners and set aside.
- Sift the flour, cornstarch, cocoa powder, salt, and baking soda together into a medium size bowl. Set aside.1 and ¼ cups (150g) all-purpose flour, ¼ cup (40g) cornstarch, 1 and ½ Tablespoons (9g) unsweetened cocoa powder, ½ teaspoon salt, ½ teaspoon baking soda
- If you are using regular milk: add 1 and ½ teaspoons of the distilled white vinegar to the milk and stir it around. Reserve the remaining 1 teaspoon of vinegar for the next step. If you are using buttermilk: skip this step and add the additional 1 teaspoon of vinegar in the next step.
- In a large bowl with a handheld mixer or the bowl of a stand mixer fitted with the paddle attachment, cream the butter and sugar together on medium speed until light and fluffy (approximately 2-3 minutes). Add the vegetable oil and beat again until completely incorporated. Add the egg yolks, vanilla extract, remaining vinegar, and food coloring and beat again on medium speed until everything is combined.¼ cup (57g) unsalted butter, 1 cup (200g) granulated sugar, ⅓ cup (80mL) vegetable oil, 2 large eggs, ½ Tablespoon vanilla extract, 2 and ½ teaspoons distilled white vinegar1, 1 teaspoon red food coloring2
- Turn the mixer down to low speed and add the dry ingredients in three additions, alternating with half of the milk/buttermilk. Do not overmix batter, and stop after the last bit of dry ingredients is mostly incorporated. There may be some dry pockets remaining. This is ok.½ cup (120mL) milk1
- Whip the egg whites in a medium size bowl, either using a handheld mixer or a whisk, whisking vigorously by hand. Whip the egg whites until soft peaks form (see the photo in the post above if you're unsure what this looks like). This will take about 2-3 minutes.
- Gently fold the whipped egg whites into the batter with a spatula by cutting your spatula down the middle of the batter, then gently scooping half of the batter over and on top of the other half of the batter. Turn the bowl ¼ of a turn and repeat until batter is silky and smooth. It will be slightly thick.
- Spoon batter evenly into the cupcake liners filling ½ to ⅔ of the way full (I like to use an ice cream scoop with a trigger– one scant scoop full). Bake for 14-16 minutes or until a toothpick or cake tester inserted in the center comes out mostly clean. If the cupcakes need a little longer, indicated by wet batter on the toothpick, bake for a minute longer and retesting, taking care not to overbake the cupcakes as they will dry out. You may need to bake an additional minute, test, and rebake and retest until cupcakes are properly finished. Remove cupcakes from oven and allow to cool in the pans completely on a wire rack before removing and decorating.
CREAM CHEESE FROSTING
- In a large bowl with a handheld mixer or the bowl of a stand mixer fitted with a paddle attachment, beat the cream cheese and butter on medium-high speed until smooth.4 ounces (113g) full fat block cream cheese, ¼ cup (57g) unsalted butter
- Turn the mixer speed down to low and slowly add the powdered sugar. Add the vanilla extract and salt and continue mixing until smooth.1 and ¾ cups (210g) powdered sugar, 1 teaspoon vanilla extract, pinch of salt
ASSEMBLE THE CUPCAKES
- Frost the cupcakes using a large zip top bag with the corner snipped off or a pastry bag fitted with your decorating tip of choice.
- Store cupcakes covered tightly at room temperature up to 4 days or in the refrigerator up to 6 days.
Notes
- Distilled white vinegar/milk: I rarely have buttermilk on hand, so I always make my own. As written, the recipe assumes you do not have buttermilk. If you do have or prefer to use buttermilk, reduce the total amount of distilled vinegar in the recipe to 1 teaspoon, add it to the cupcake batter alongside the vanilla extract, and use ½ cup of room temperature buttermilk.
- Red food coloring: I prefer gel food coloring, as it is more concentrated than liquid food coloring. If you only have liquid food coloring, increase to 2 teaspoons.
Nutrition Disclosure
All nutritional values are approximate and provided to the reader as a courtesy. Changing ingredients and/or quantities will alter the estimated nutritional calculations.
I did everything correct and these turned out terrible. Ugly. Didn’t rise. Wrong color. No idea.
Hi, Stephanie– bummer to hear these didn’t turn out for you. If they didn’t rise, that likely means you missed an ingredient. And if they weren’t the right color, that’s simply a matter of you not putting the right amount of dye in. You can see from the photos AND the various positive reviews that this recipe works, so I suspect you did not do “everything correct.” Thanks for giving it a try, though!
Would a milk alternative work the same?
Hi, Ella– technically, it should, but I advise against using anything with significantly less fat because you need that fat for texture and flavor. If you try it, I’d love to hear how it goes!