
Chocolate Peanut Butter Bites
As an Amazon Associate, I earn from qualifying purchases. Read the full disclosure here.
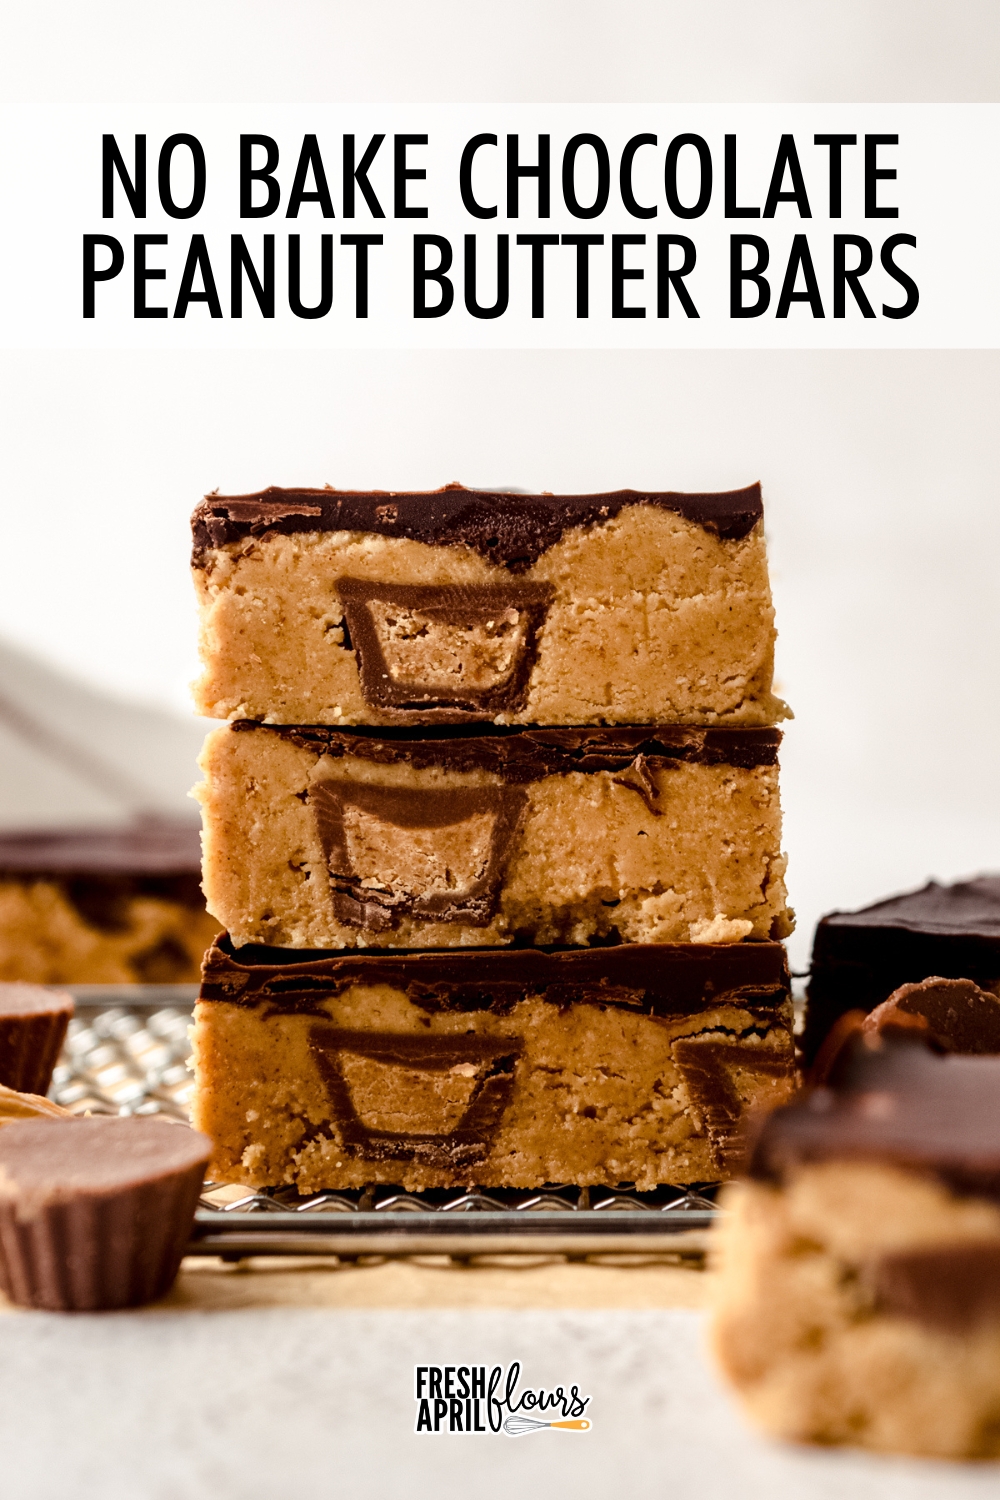
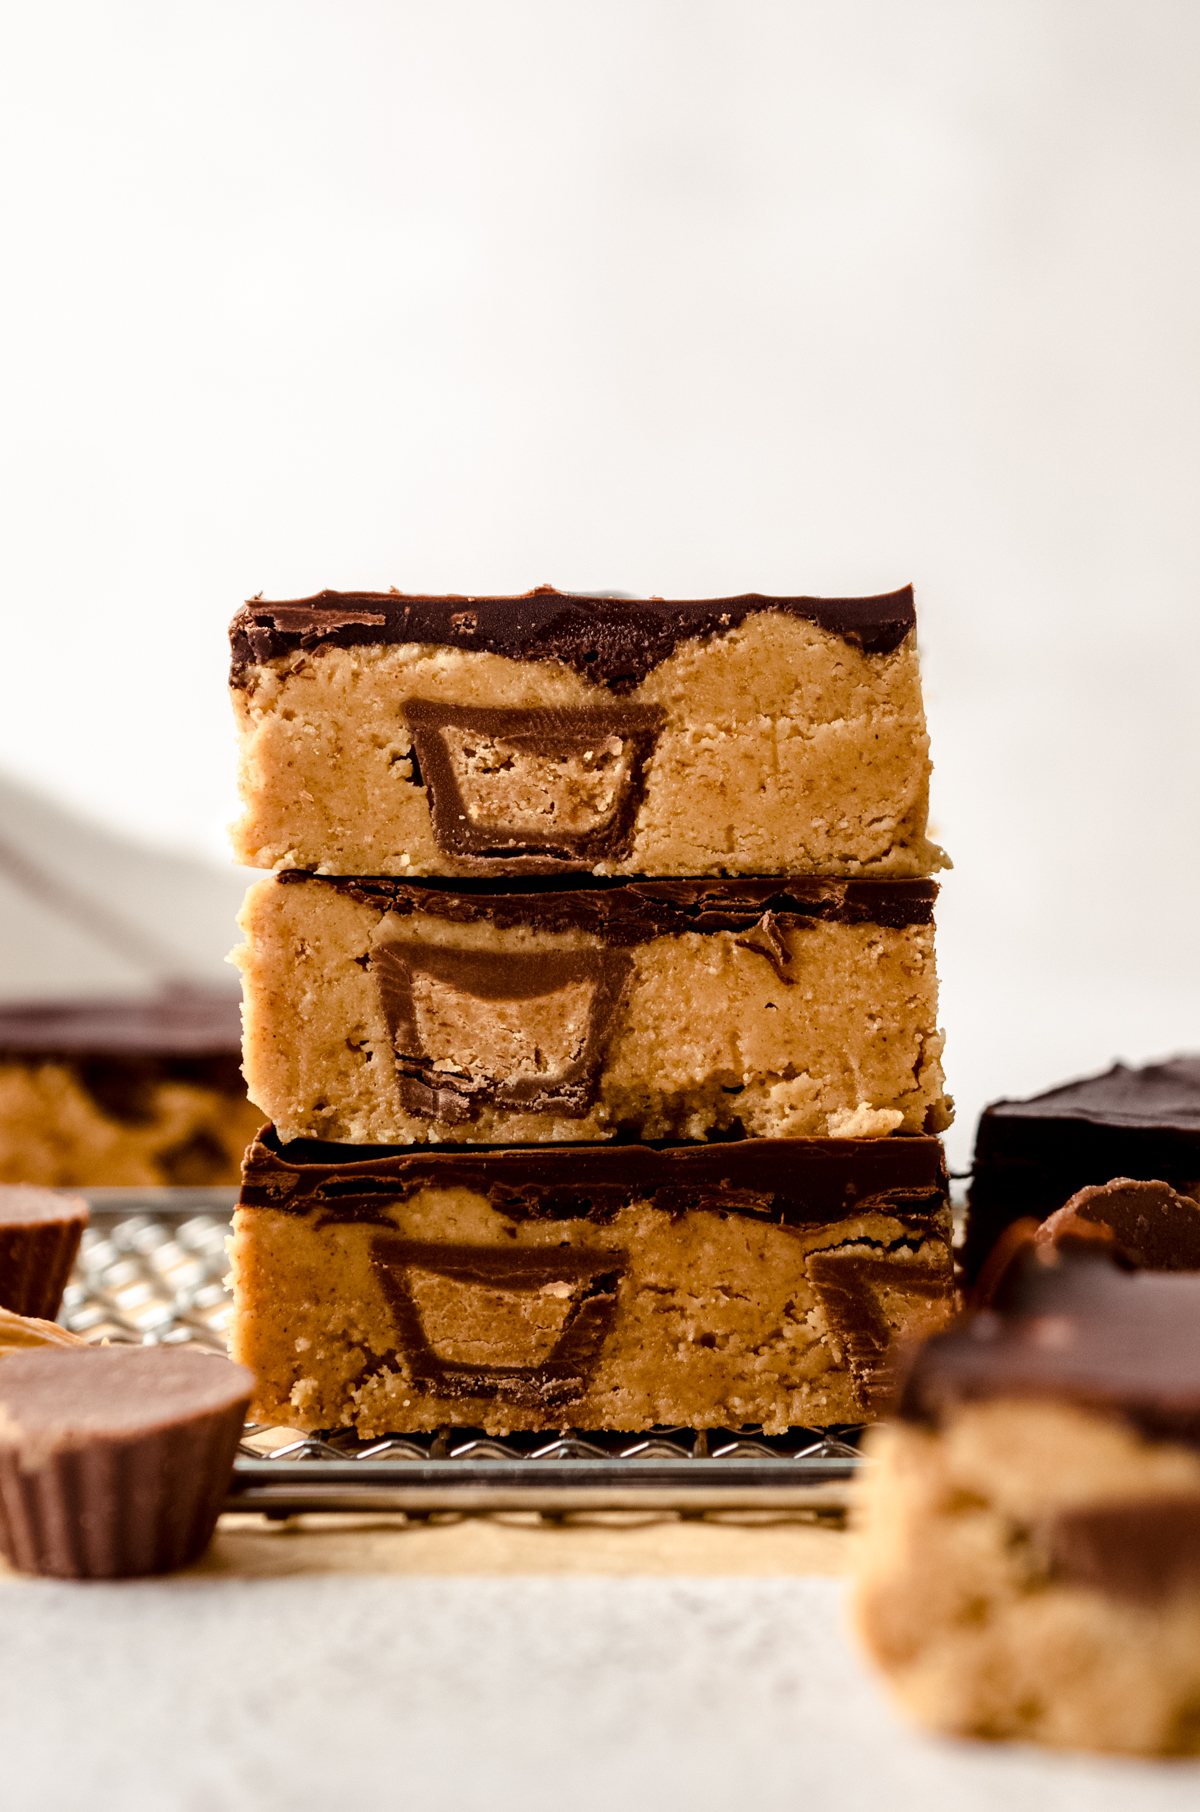
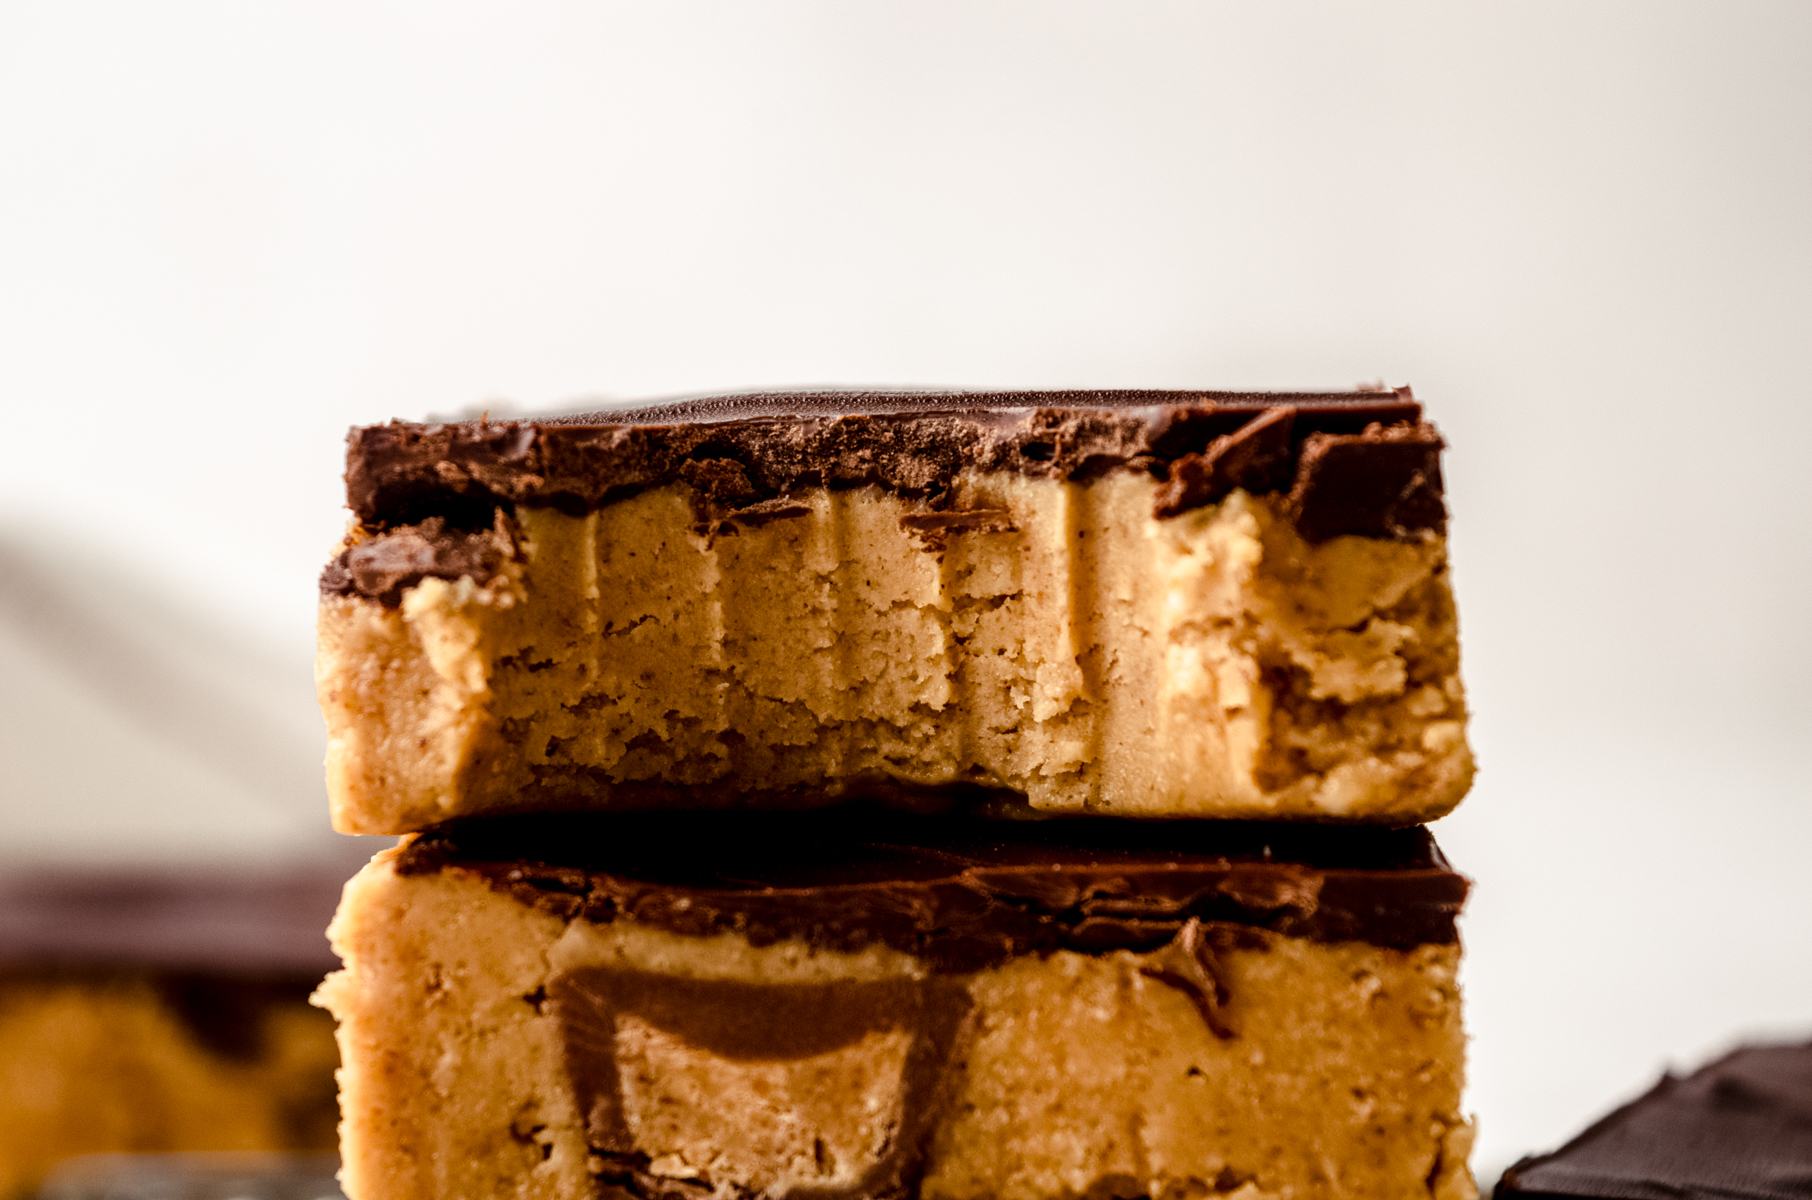
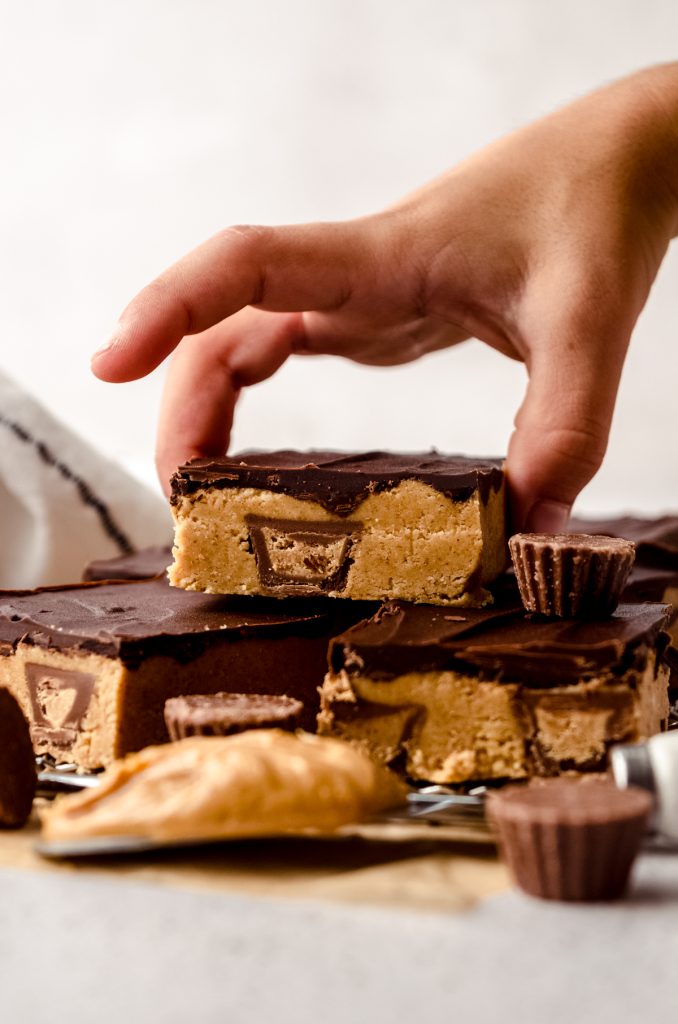
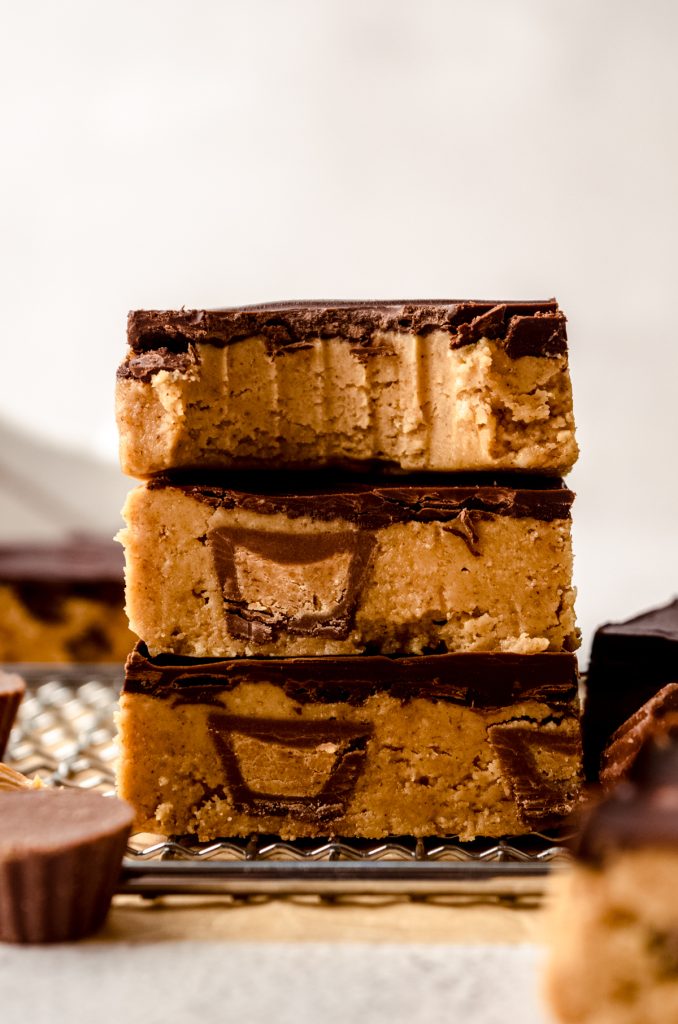
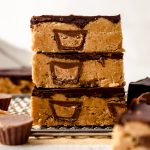
This no bake peanut butter bars recipe is next-level delicious! With the addition of mini peanut butter cups to the filling, each bar has that decadent peanut butter filling and rich chocolate layer on top that you expect from traditional peanut butter bars. Made with only 7 ingredients!
NOT YOUR AVERAGE PEANUT BUTTER BARS
Peanut butter bars are no uncommon treat. In fact, you’ve likely been seeing them, like, your entire life at holidays, at bake sales, and on dessert spreads at various types of parties or gatherings. Velvety smooth chocolate sits right on top of a thick layer of peanut butter and graham cracker filling, and the whole combo tastes just like a Reese’s peanut butter cup. What’s not to love?
But wait. These have more.
Long ago, back in 2014, when I first started this recipe website, I created a peanut butter bite recipe of sorts that was a version of the bars you see here. There was a white chocolate bottom layer and chocolate and peanut butter chips sprinkled on top, but over the years, this recipe morphed in my own kitchen to more of what you see now.
I have since ditched the white chocolate layer, the chips on top (because OUCH to the roof of your mouth), but I kept the mini peanut butter cups on the inside because they are such a fun addition to traditional peanut butter bars.
I think you’re going to love this new, updated version. These bars are fudgy, creamy, totally irresistible, and sure to make an appearance in your kitchen for any and all imaginable events where you need an easy and broadly-enjoyed dessert.
Everything to Love About These Chocolate Peanut Butter Bars
Not only is chocolate + peanut butter already a beloved flavor combination, there are many more reasons to love this recipe.
Here’s why:
• they taste like peanut butter cups, even if you omit the extras
• you only need 7 ingredients
• they contain a surprise complementary ingredient I love in peanut butter recipes
• totally no bake– no oven necessary!
• you can cut them as large or small as you need
• bars freeze wonderfully
What you’ll need for Peanut Butter Chocolate Bars
There are only 7 ingredients required for these no bake chocolate peanut butter bars and I bet you have most if not all of them in your kitchen right now.
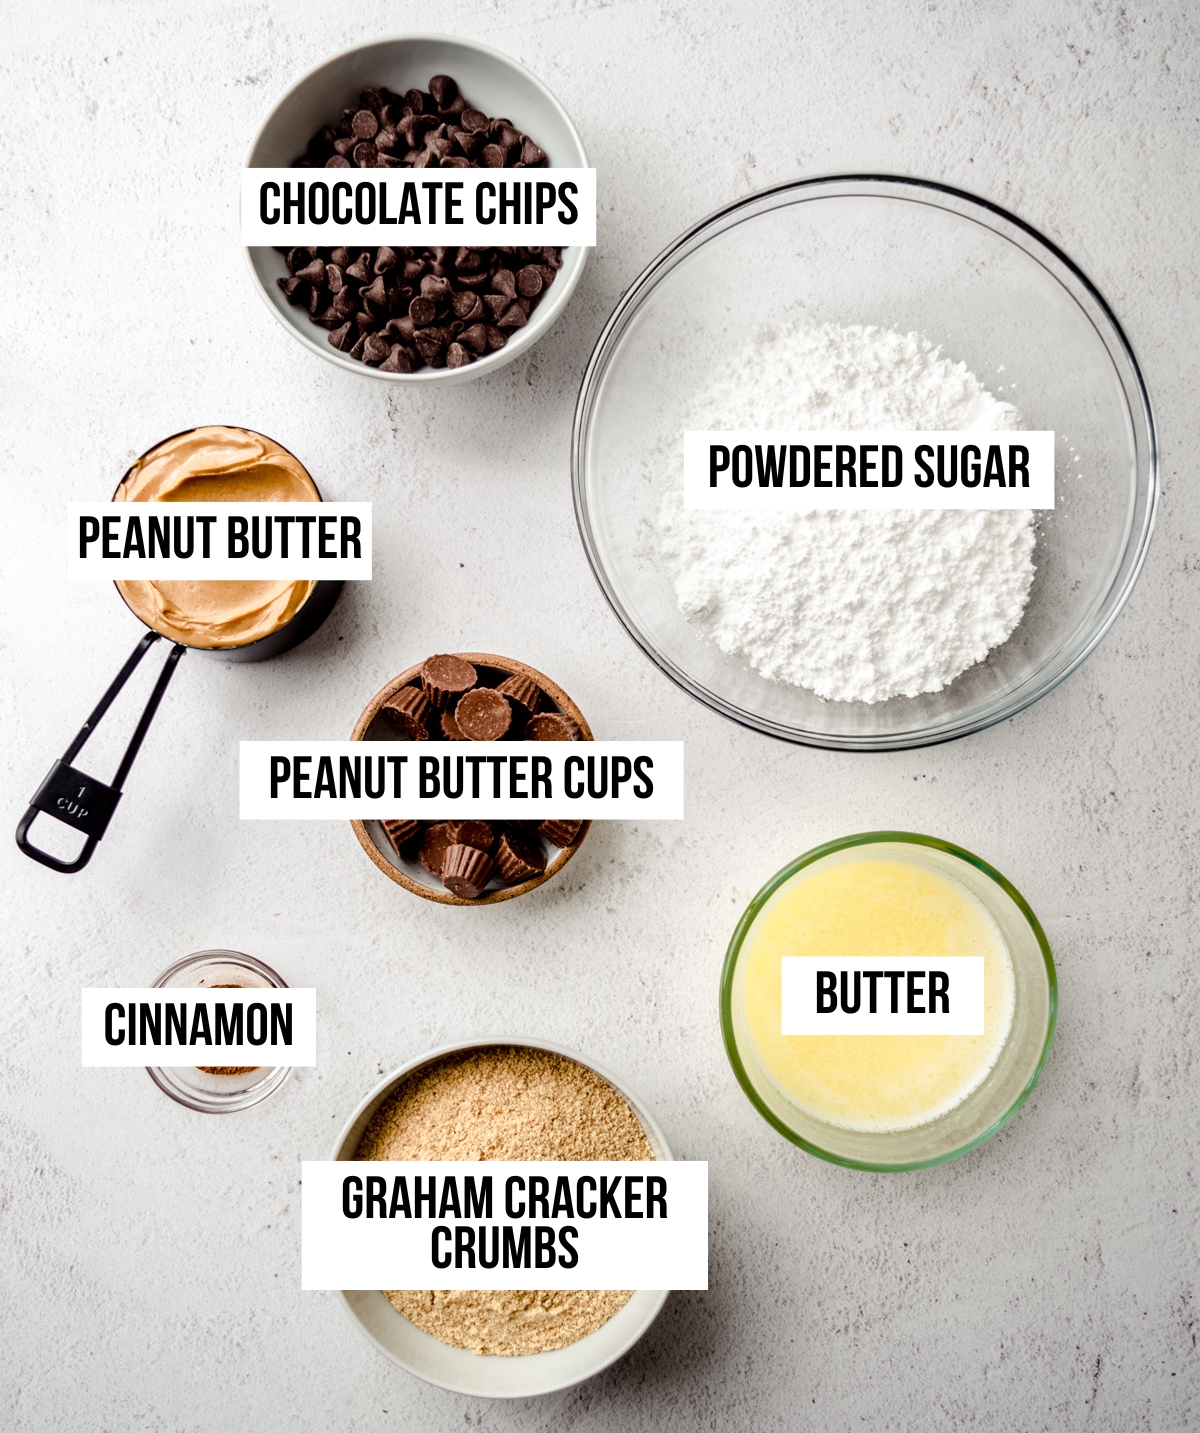
• GRAHAM CRACKERS: graham cracker crumbs add texture and structure. You can use gluten free graham crackers if you want these bars made without gluten.
• BUTTER: butter is the binder in this recipe, and you can use unsalted or salted. See notes for adjusting based on your preferences.
• CINNAMON: this is my favorite addition to peanut butter recipes! It’s such a nice complement and very encouraged, but it’s also totally optional.
• POWDERED SUGAR: this is where we’re getting our sweetness. The dry powdered sugar acts better to bind the mixture than granulated sugar would. It also contributes to the thick nature of the filling, which will be totally normal and expected.
• PEANUT BUTTER: for the best and desired texture, I suggest using a processed creamy peanut butter rather than a natural style which will have too much oil for this recipe.
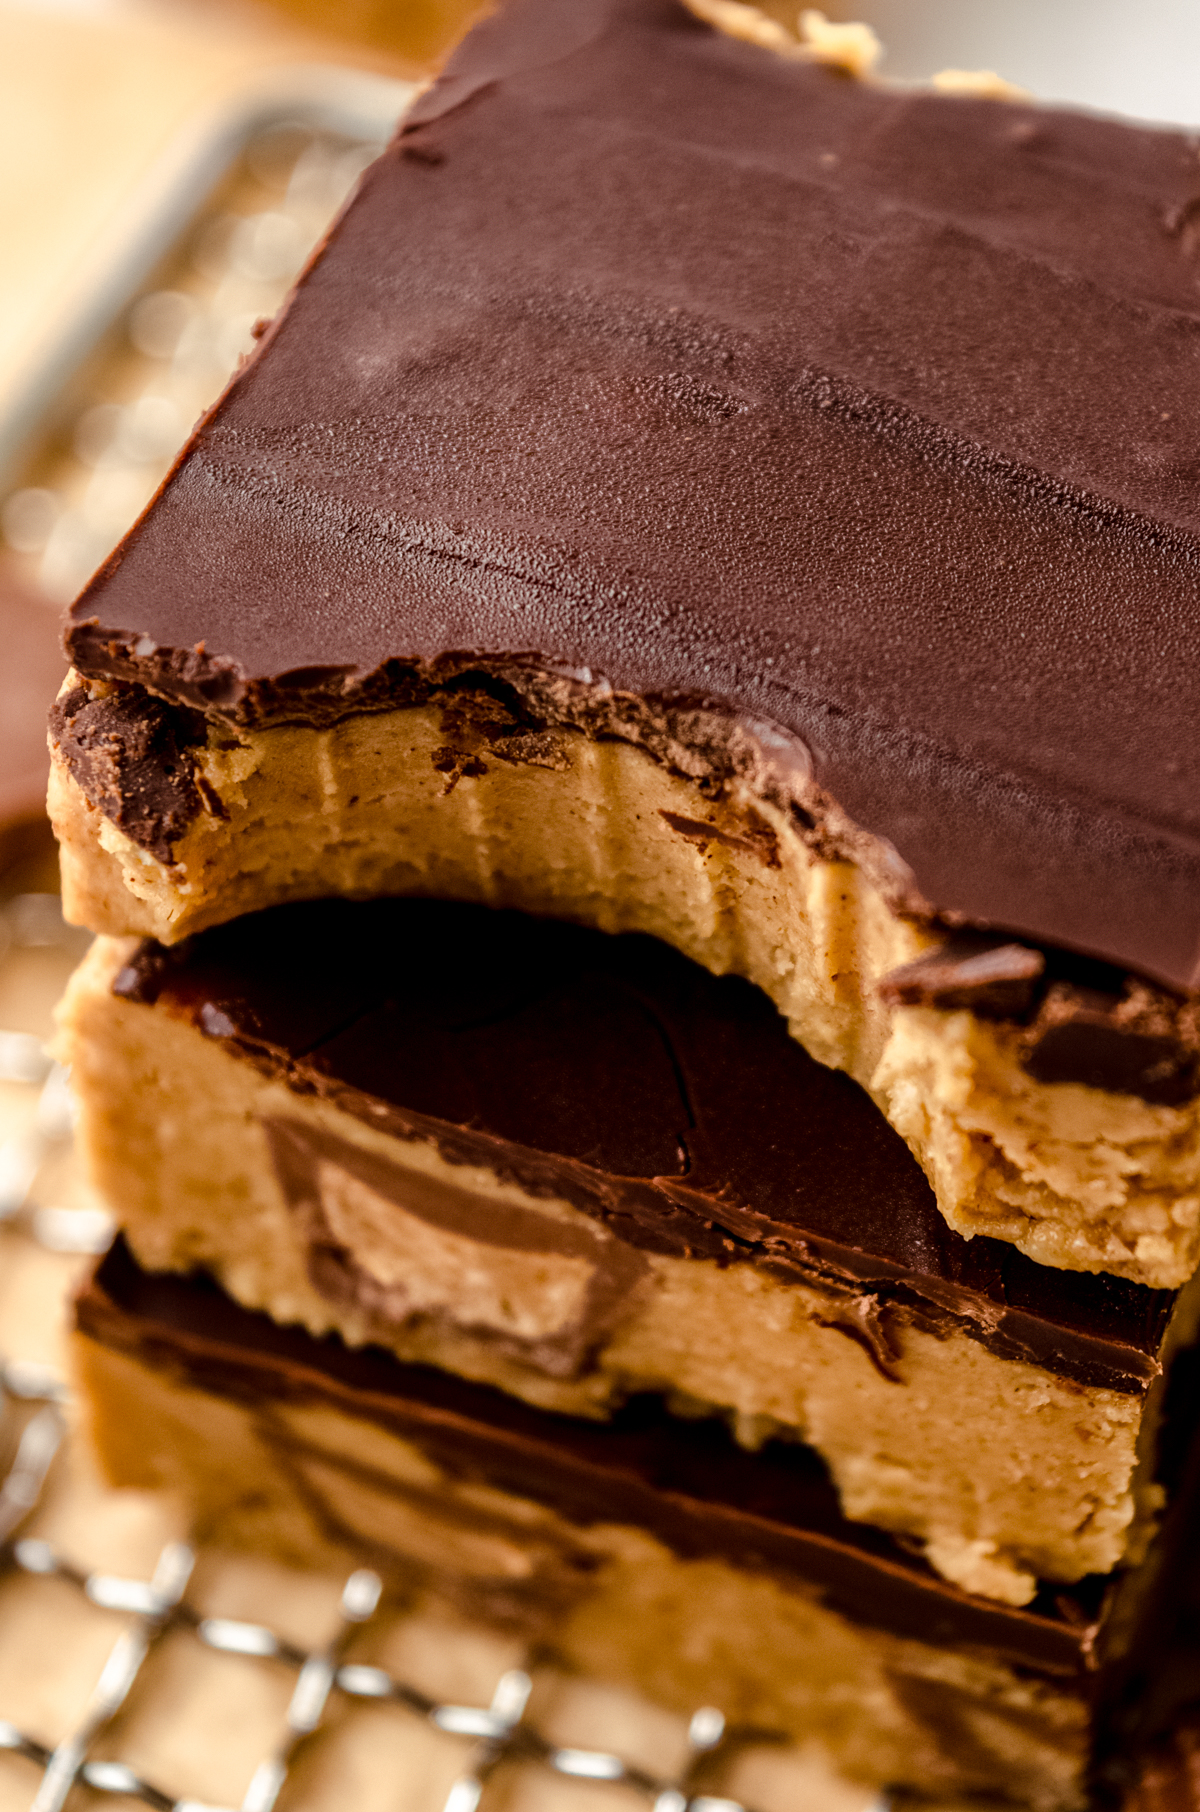
• PEANUT BUTTER CUPS: this is what makes my peanut butter bars unlike other recipes you will find. They add a little extra fun layer of flavor and texture, but just like the cinnamon, they’re totally optional (yet again, very encouraged).
• SEMI SWEET CHOCOLATE CHIPS: you can also use chopped bar chocolate if you prefer, or mix peanut butter chips in with the chocolate ones for even more flavor. You can also use dark, milk, or white chocolate chips for this topping based on your preferences.
How to Make No Bake Chocolate Peanut Butter BaRS
STEP #1: start by lining an 8” square pan with aluminum foil or parchment paper. You’ll want to be sure there’s overhang so you can lift the bars out. I like to use my Fat Daddio’s platform pan to make this super easy!
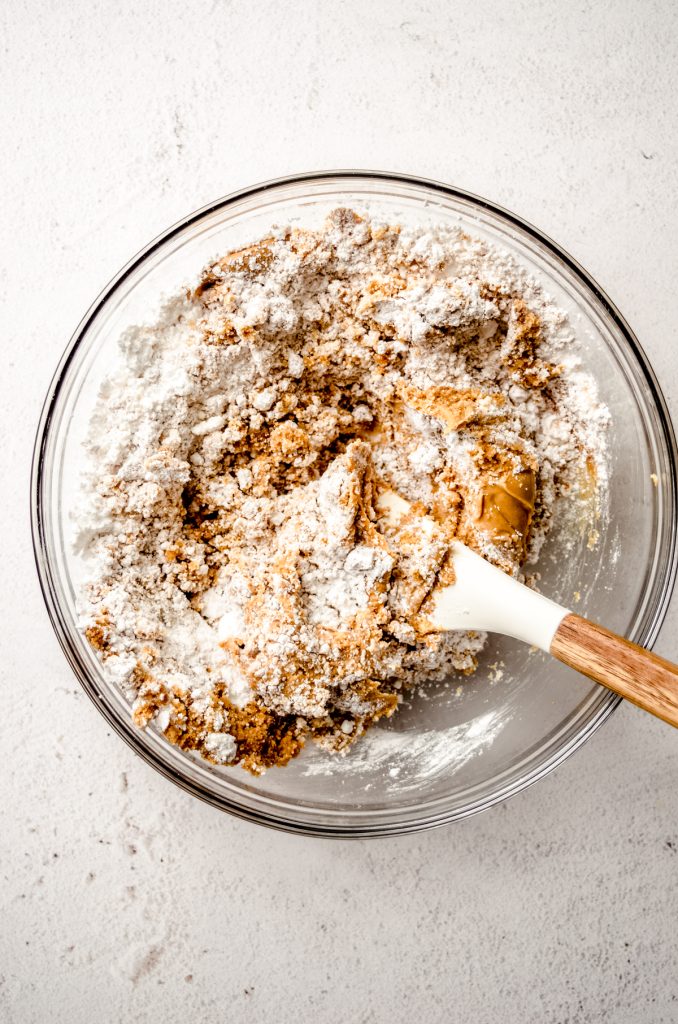
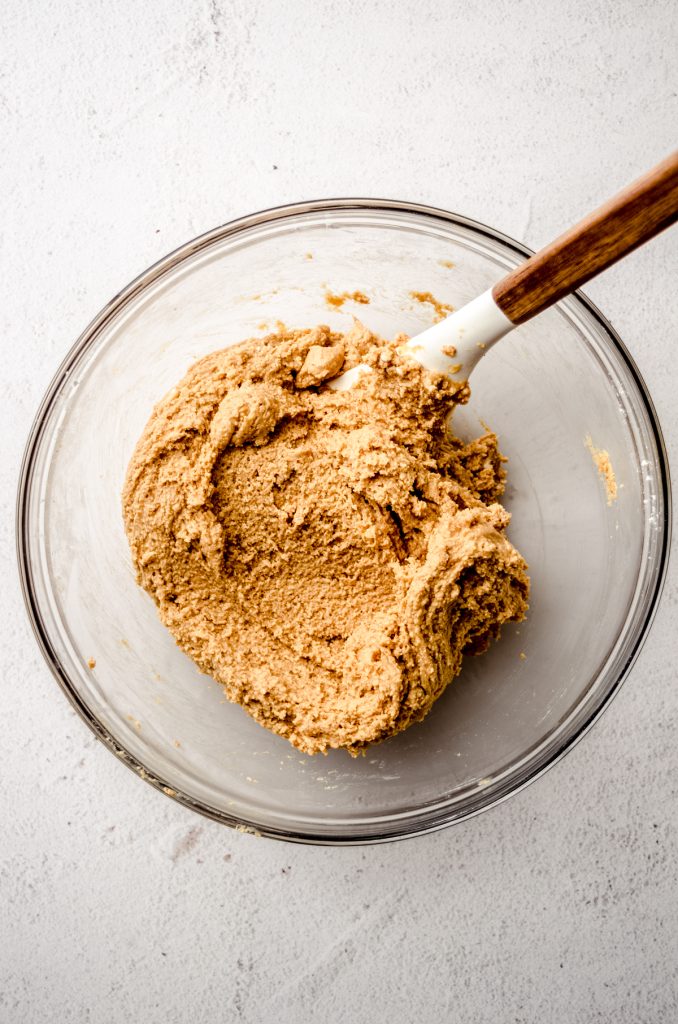
STEP #2: combine the graham cracker crumbs, melted butter, and cinnamon, then add the powdered sugar and peanut butter.
STEP #3: press a little more than ⅓ of the mixture into the prepared pan, noting that the mixture will be thick and sticky, so lightly coat your fingers in powdered sugar if it’s too sticky for you to handle.
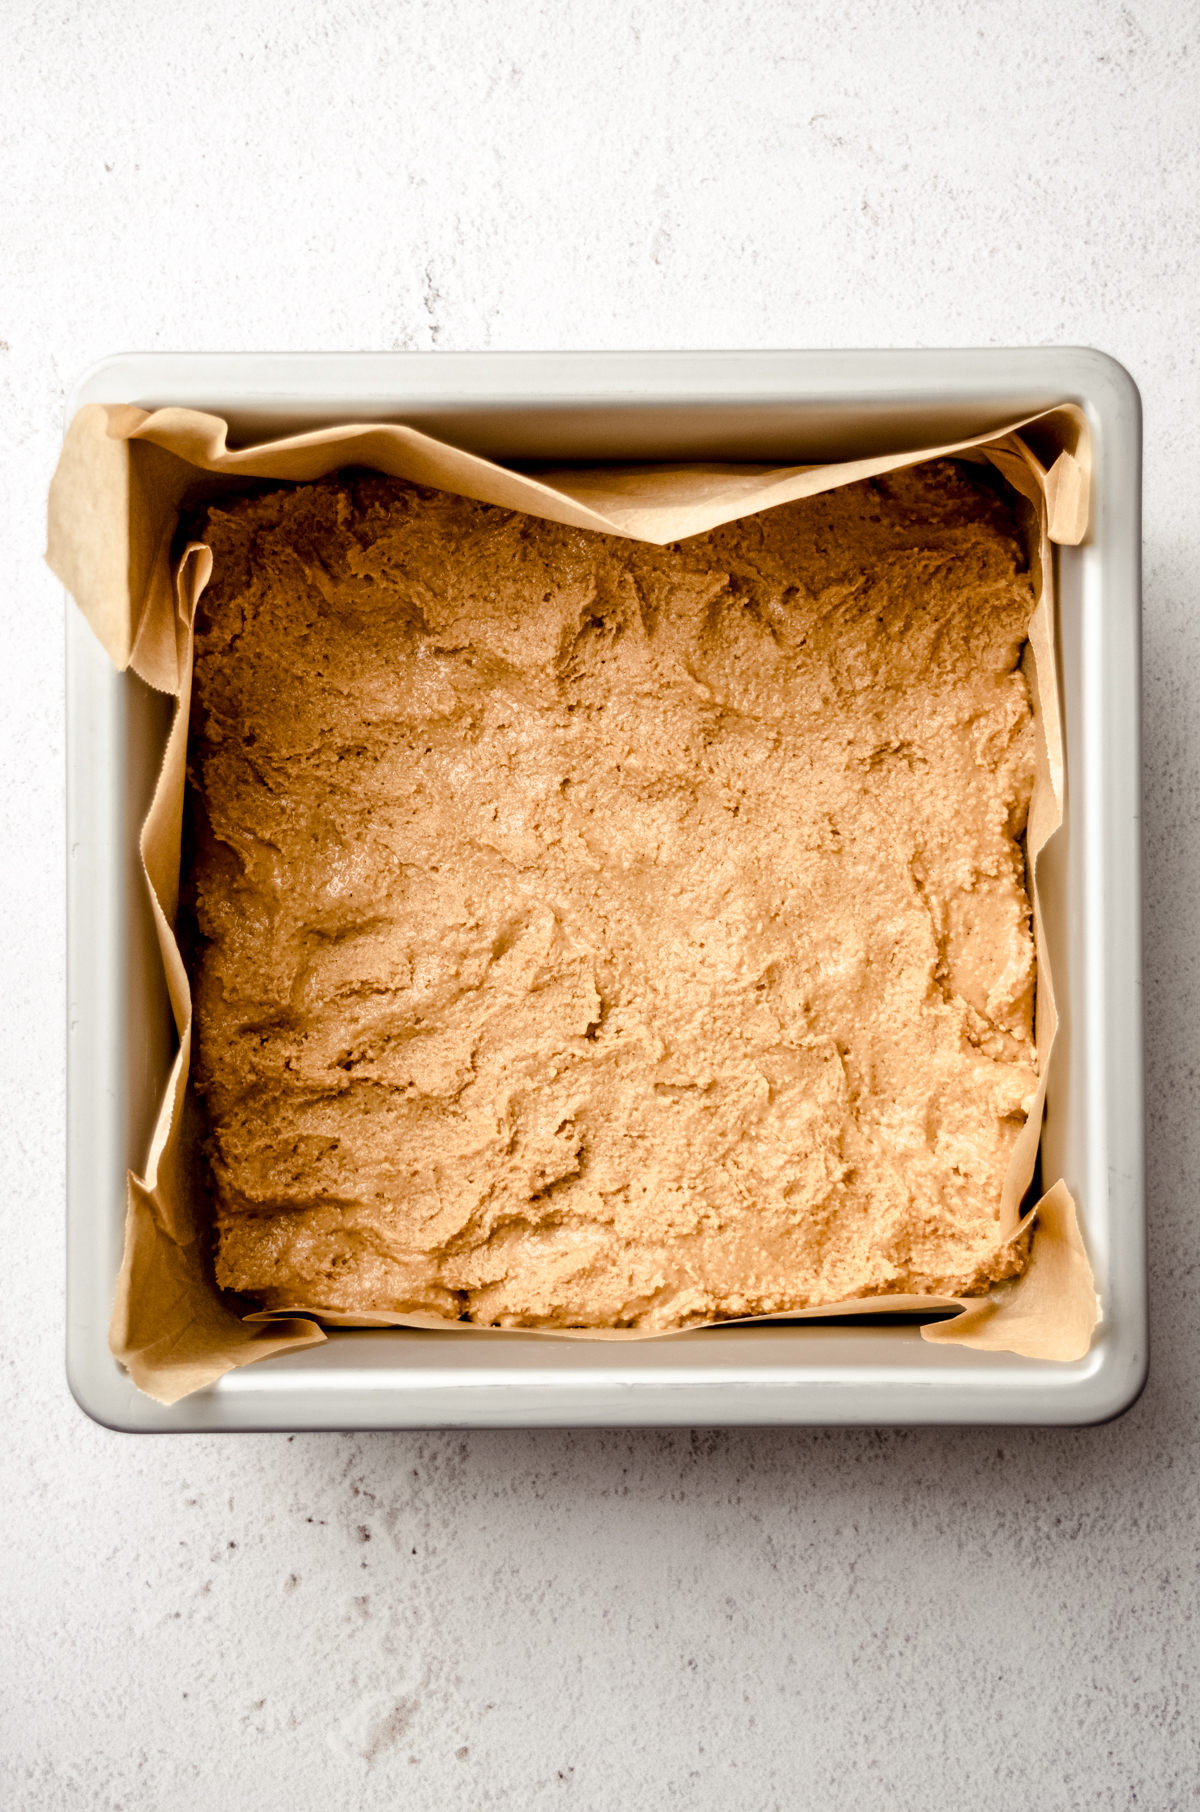
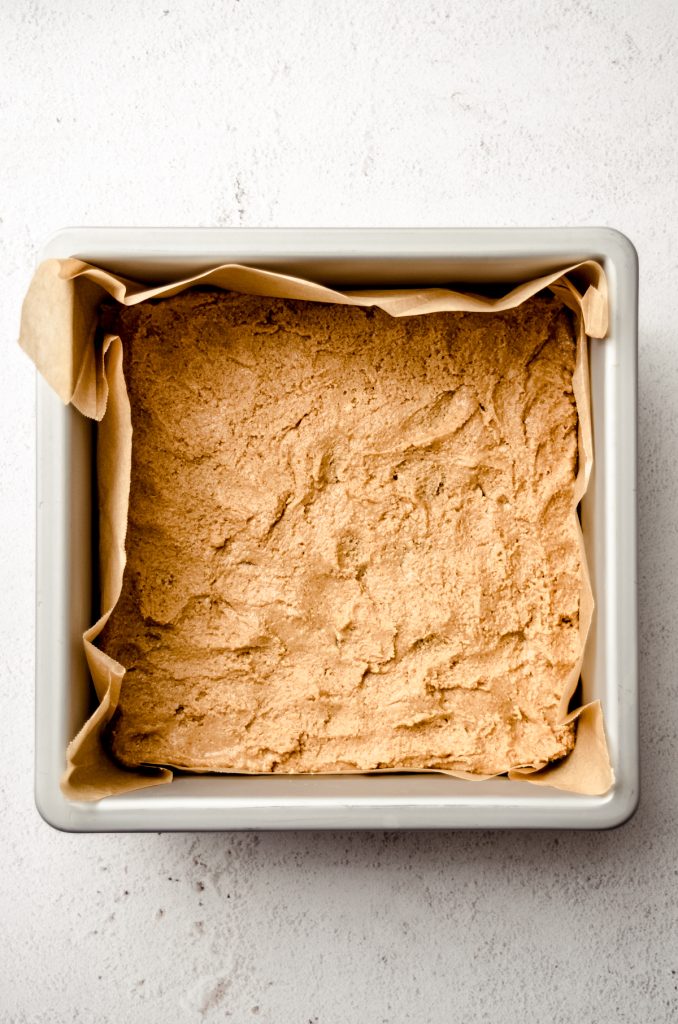
STEP #4: press the mini peanut butter cups into the peanut butter layer in rows followed by the remaining peanut butter layer.

STEP #5: melt the chocolate then pour onto the bars and spread evenly over the whole surface.
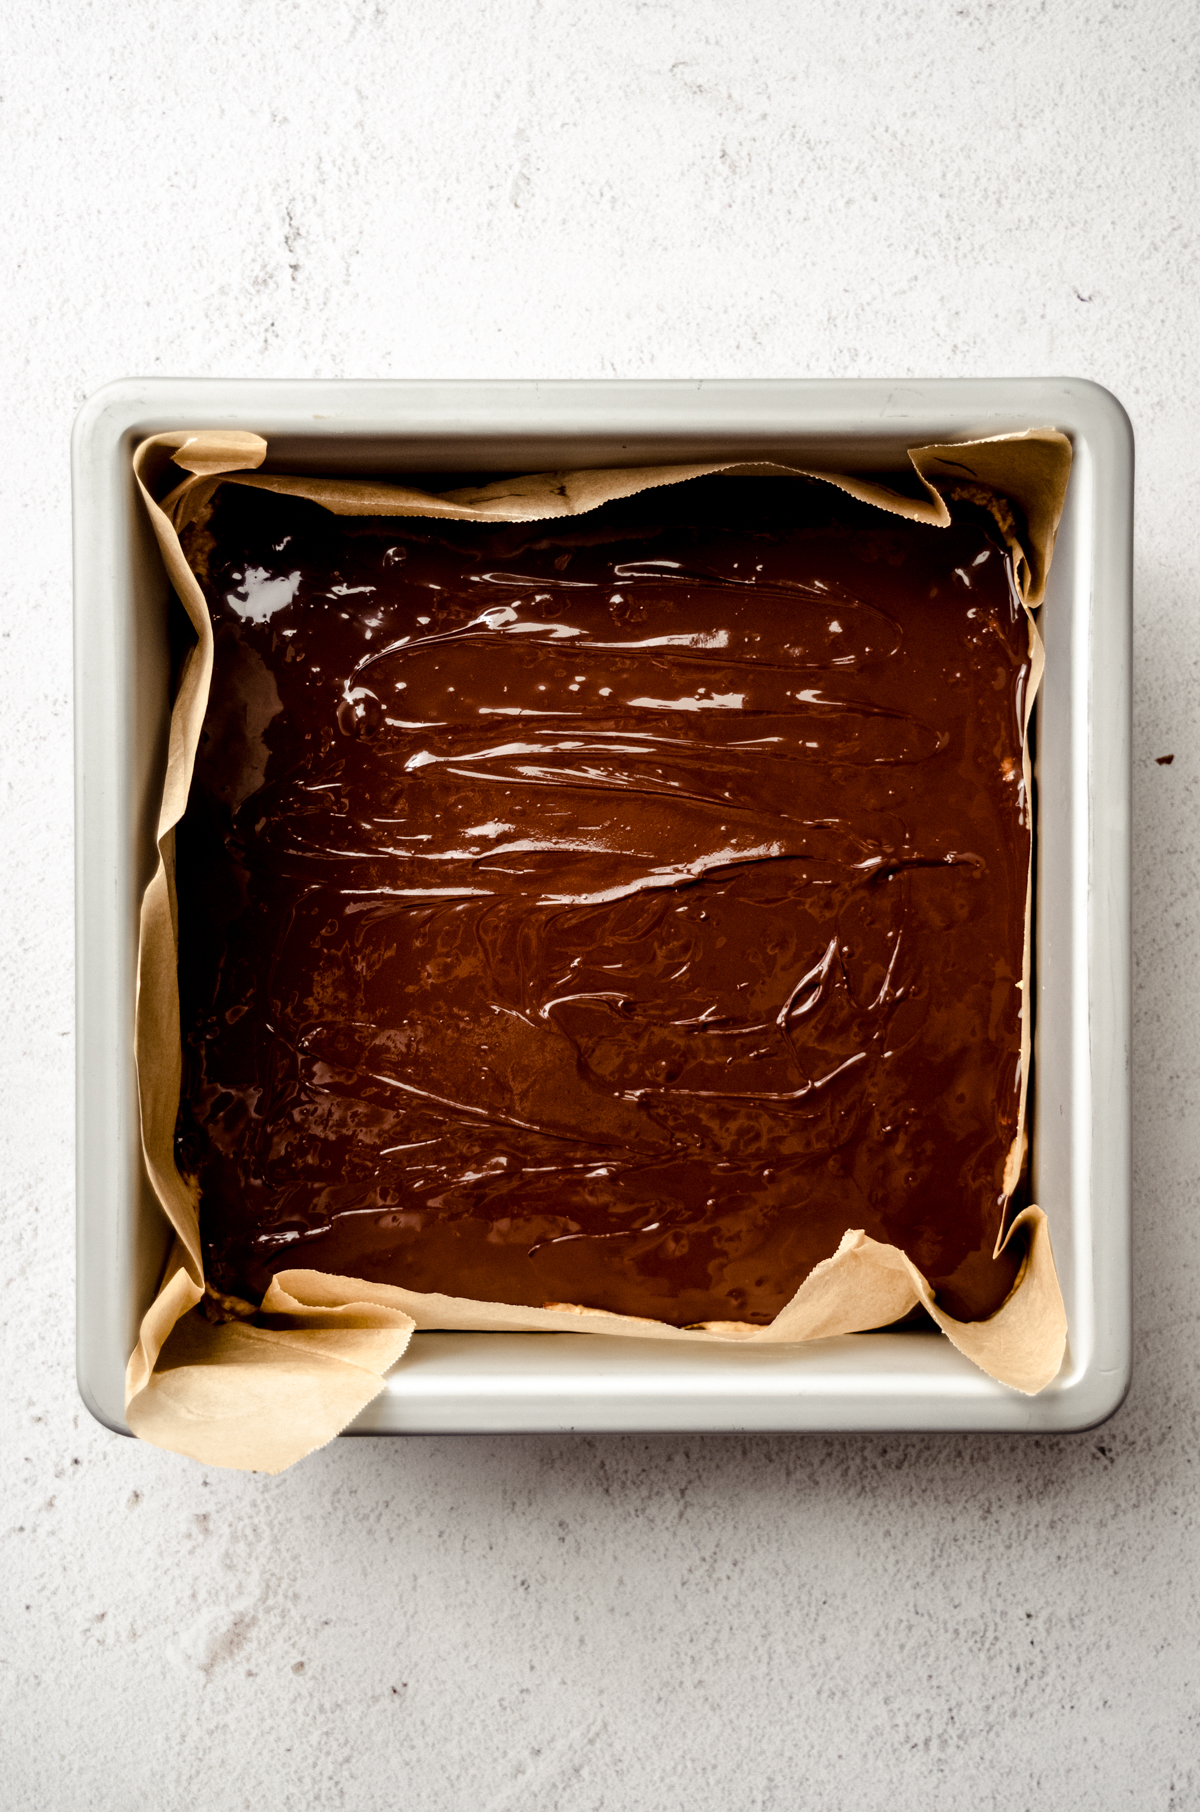
STEP #6: chill in the refrigerator until set, then serve chilled.
Variations of Chocolate Peanut Butter Bars
• USE CRUNCHY PEANUT BUTTER: as a texture lover, I’m all about adding crunchy peanut butter to otherwise texture-less baked goods. My ultimate peanut butter cookies, frosted peanut butter cookies, and flourless peanut butter cookies all use crunchy peanut butter and/or the addition of more peanuts in some fashion.
• OMIT CINNAMON: this is really a wonderful complementary flavor to peanut butter, but I can understand if you have an allergy or taste preference that would require you to leave it out. Just know that if you are into it, you won’t regret adding it!
• OMIT PEANUT BUTTER CUPS: these are my fun spin on a traditional recipe, but if you have all the rest of the ingredients to make these bars and want to save a trip, the bars be just fine without them! You could consider adding chocolate or peanut butter chips to the inside instead for more texture.
• USE A DIFFERENT CHOCOLATE ON TOP: like I mentioned, the original recipe used white chocolate, which was a nice addition to the overall flavor of these bars. Use whatever kind of chocolate you want on top! You can even consider adding peanut butter chips to the chocolate ones for even more peanut butter flavor to these bars.

Be sure you’re letting your bars sit out for at least 10 minutes before cutting into desired size, otherwise the chocolate will likely crack. Once you are ready to slice them, use quick, confident slices to mitigate further cracks.
Storing Chocolate Peanut Butter Squares
These bars should be kept in the refrigerator, but can be left at room temperature for a bit, especially in cooler temperatures. Not only will the chocolate topping soften, but the filling will, too.
It’s best to slice into bars just after the 10 minutes of softening rather than let a pan of bars sit to serve slices on-demand. As the bars sit, the filling will be too soft and will squish out from under the chocolate topping.
PEANUT BUTTER BARS FAQs
More CHOCOLATE AND PEANUT BUTTER Recipes
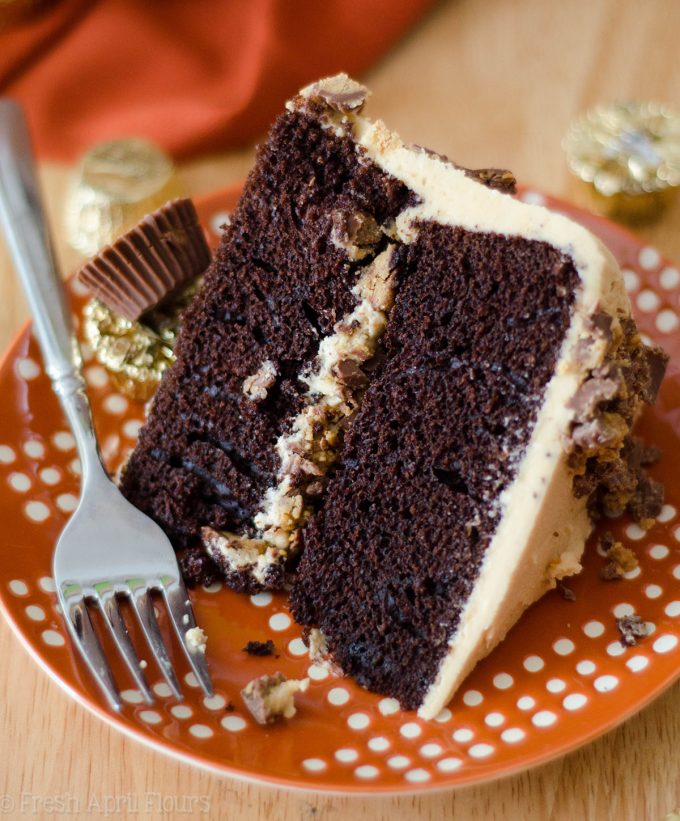
- Chocolate Peanut Butter Cake (below)
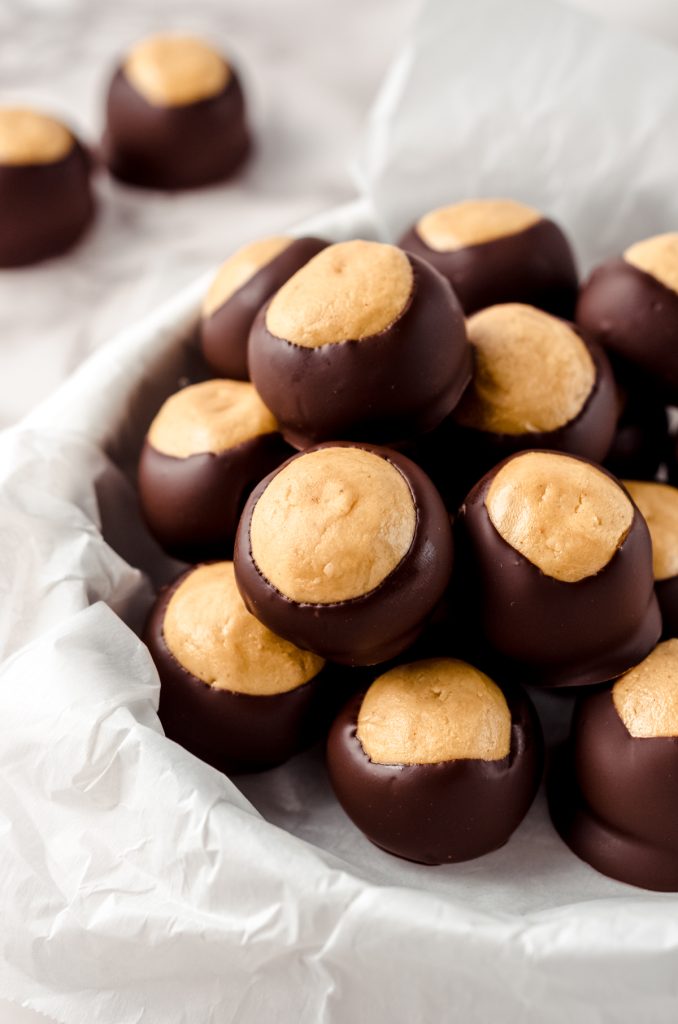
- Buckeye Candy (below)
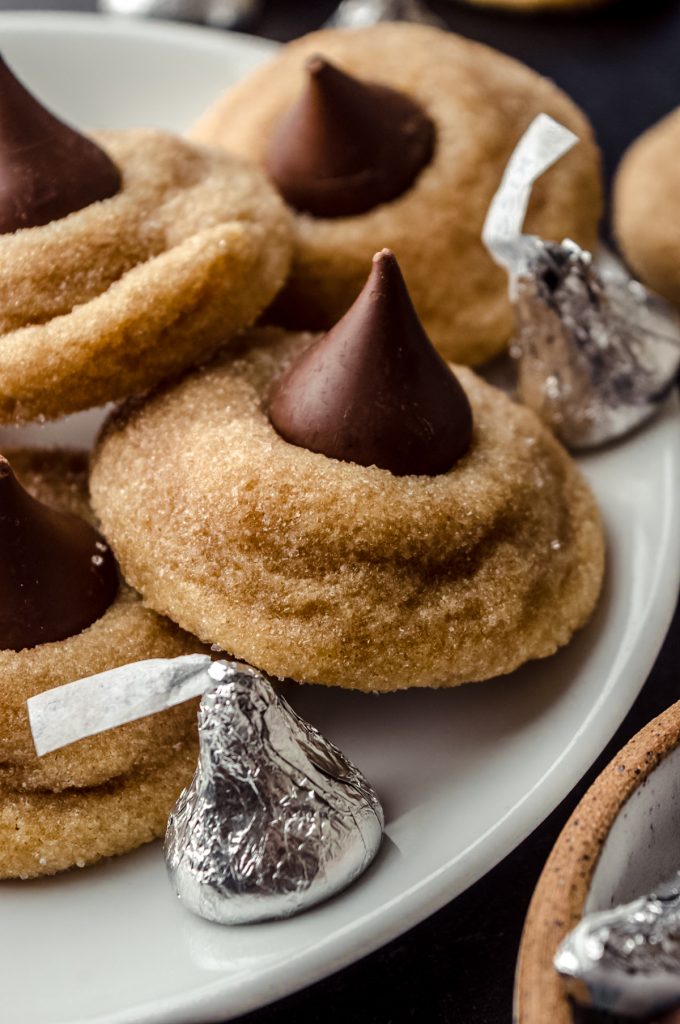
- Peanut Butter Blossoms (below)
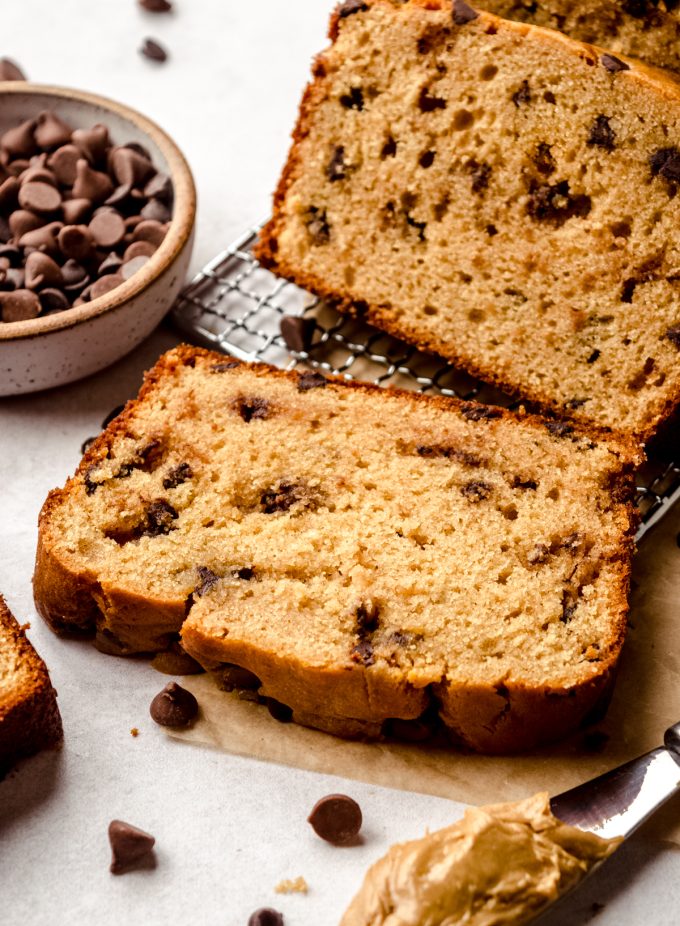
- Chocolate Chip Peanut Butter Bread (below)
Chocolate Peanut Butter Squares
Ingredients
- 8 full sheets graham crackers crushed (about 1 cup)
- ½ cup (113g) unsalted butter1 melted
- ½ teaspoon ground cinnamon
- 1 and ½ cups (180g) powdered sugar
- 1 cup (256g) creamy peanut butter not natural
- 30 mini peanut butter cups
- 1 cup (170g) semi-sweet chocolate chips2
Instructions
- Line an 8” square pan (I prefer a platform pan here) with aluminum foil or parchment paper. Set aside.
- Pour the graham cracker crumbs into a medium size bowl, then add the melted butter and cinnamon, then stir with a large spatula to combine.8 full sheets graham crackers, ½ cup (113g) unsalted butter1, ½ teaspoon ground cinnamon
- Add the powdered sugar and peanut butter and continue to mix until thoroughly combined. Mixture will be thick and you may need to use your hands.1 and ½ cups (180g) powdered sugar, 1 cup (256g) creamy peanut butter
- Press a little more than ⅓ of the mixture into the prepared pan. Again, mixture will be thick and sticky, so lightly coat your fingers in powdered sugar if it's too sticky for you to handle.
- Press the mini peanut butter cups into the peanut butter layer in rows (does not have to be perfect), then press the remaining peanut butter layer into the pan, covering the peanut butter cups. It's ok if some of them are peeking out, but try to press the mixture in evenly. Set aside.30 mini peanut butter cups
- Melt the chocolate chips in the microwave or on the stove, stirring until smooth.1 cup (170g) semi-sweet chocolate chips2
- Pour the melted chocolate onto the peanut butter bars and use an offset spatula to spread it out evenly. You don't need to rush, but work quickly so the melted chocolate doesn't melt the peanut butter layer too much.
- Chill in the refrigerator until completely firm, at least 2 hours. Allow to sit at room temperature for 10 minutes before cutting to avoid cracks in the top chocolate layer. Serve chilled. Store leftovers in the refrigerator up to 1 week.
Notes
- Butter: I always prefer unsalted butter in recipes, but you’re welcome to use salted if that’s your preference. Taste the mixture before pressing into the prepared pan and add up to ¼ teaspoon of salt if you want it saltier.
- Chocolate chips: you can use melted bar chocolate if you prefer. You can also put any variety of chocolate on top! Also consider using half chocolate and half peanut butter chips for an even more peanut buttery flavor.
- Double the recipe: to double this recipe, use a 9″ x 13″ baking pan instead.
Nutrition Disclosure
All nutritional values are approximate and provided to the reader as a courtesy. Changing ingredients and/or quantities will alter the estimated nutritional calculations.
WOW! Pinned! That looks incredible!
These look amazing! I just wanted to let you know I have a website (Simply Creative Recipe) where I showcase recipes that I find and I am linking to this post if you don’t mind. Please feel free to submit any recipes to my site if you’d like.
Thanks, Alyssa!
Awesome recipe.
Thanks so much! 🙂
Perfect! The mini PB cups make such a great difference!
I’d like to contribute my own “invention” – the way of dealing with the cracking chocolate topping – just add a tablespoon of peanut butter to the melting chocolate chips. This really prevents cracks in the top layer (and can be used for any chocolate topping – the taste of PB is hardly noticeable).
Thank you so much for this recipe, and greetings from Poland (the country in Europe)!
Thanks so much, Joanna!