
The Best Chewy Chocolate Chip Cookies Recipe

As an Amazon Associate, I earn from qualifying purchases. Read the full disclosure here.
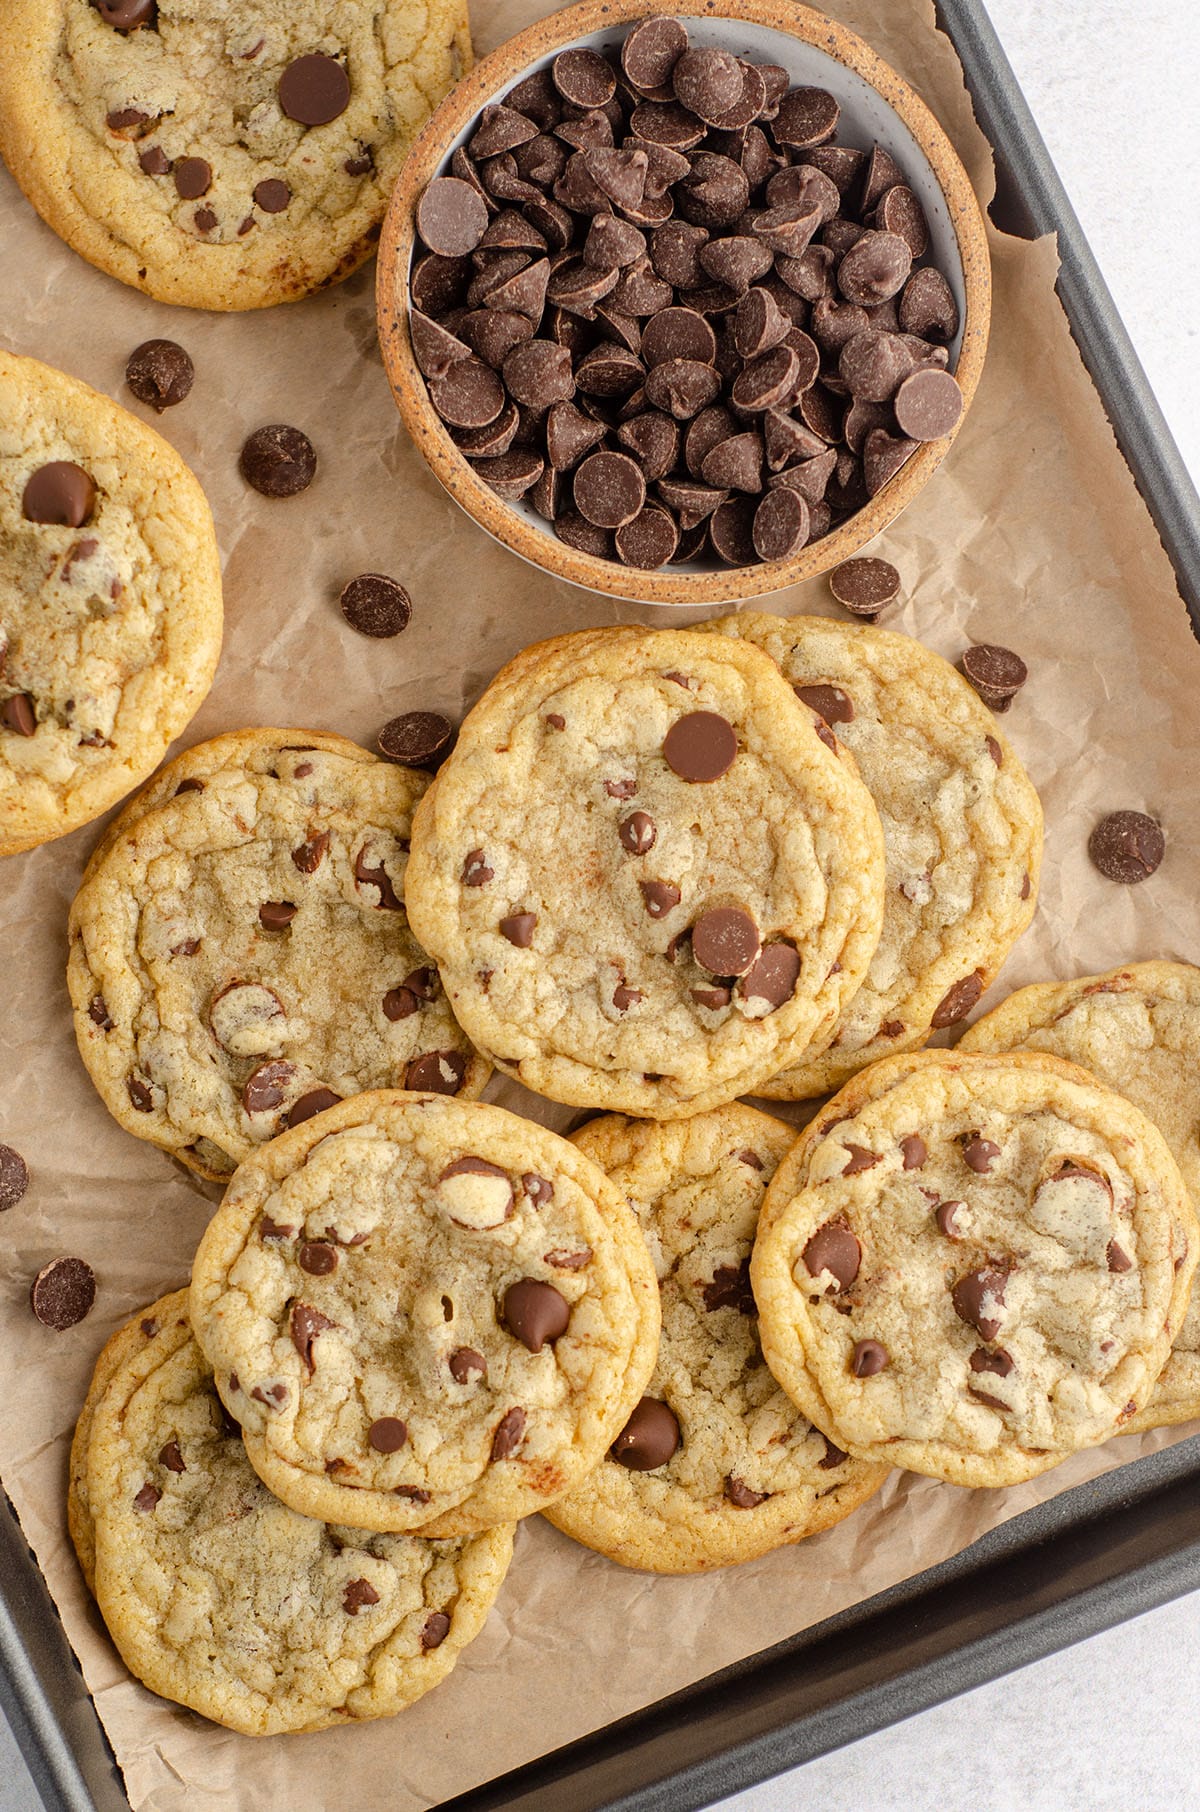
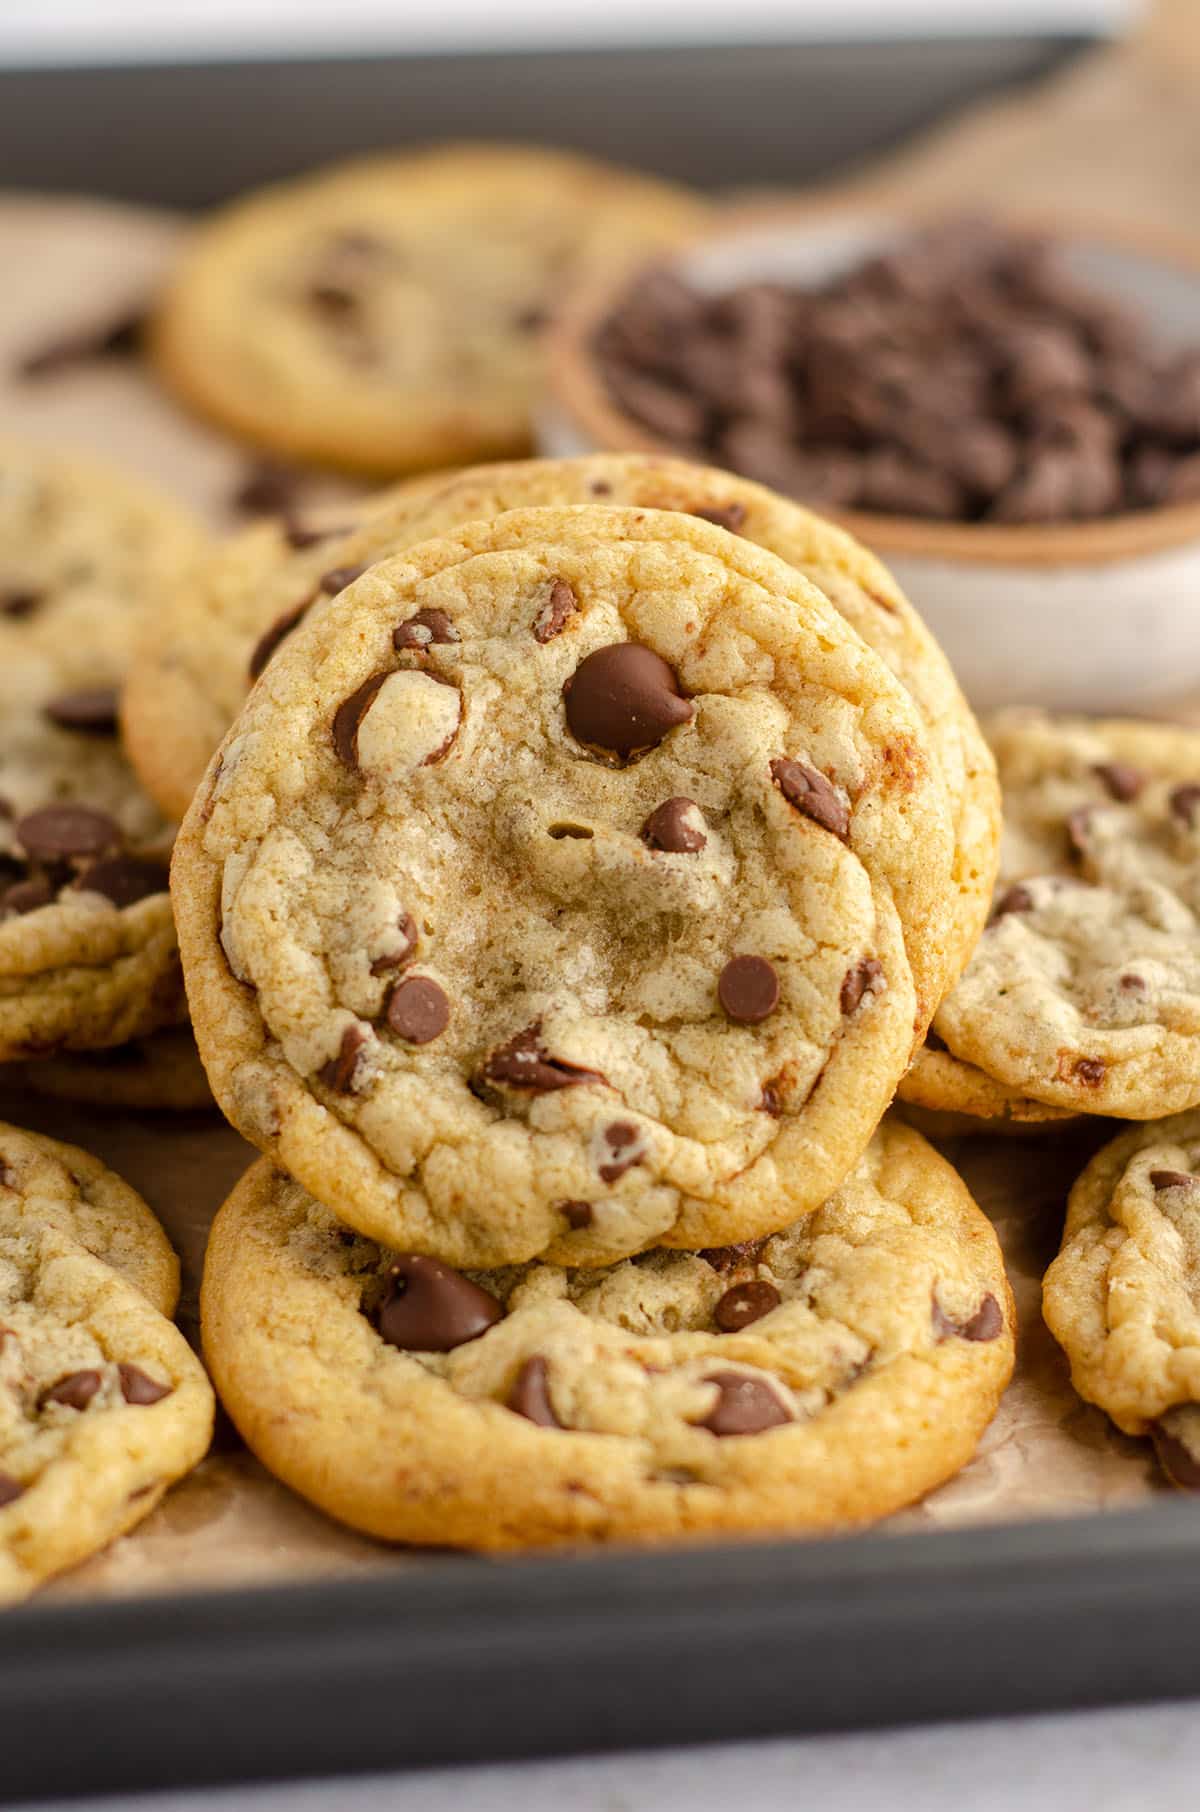
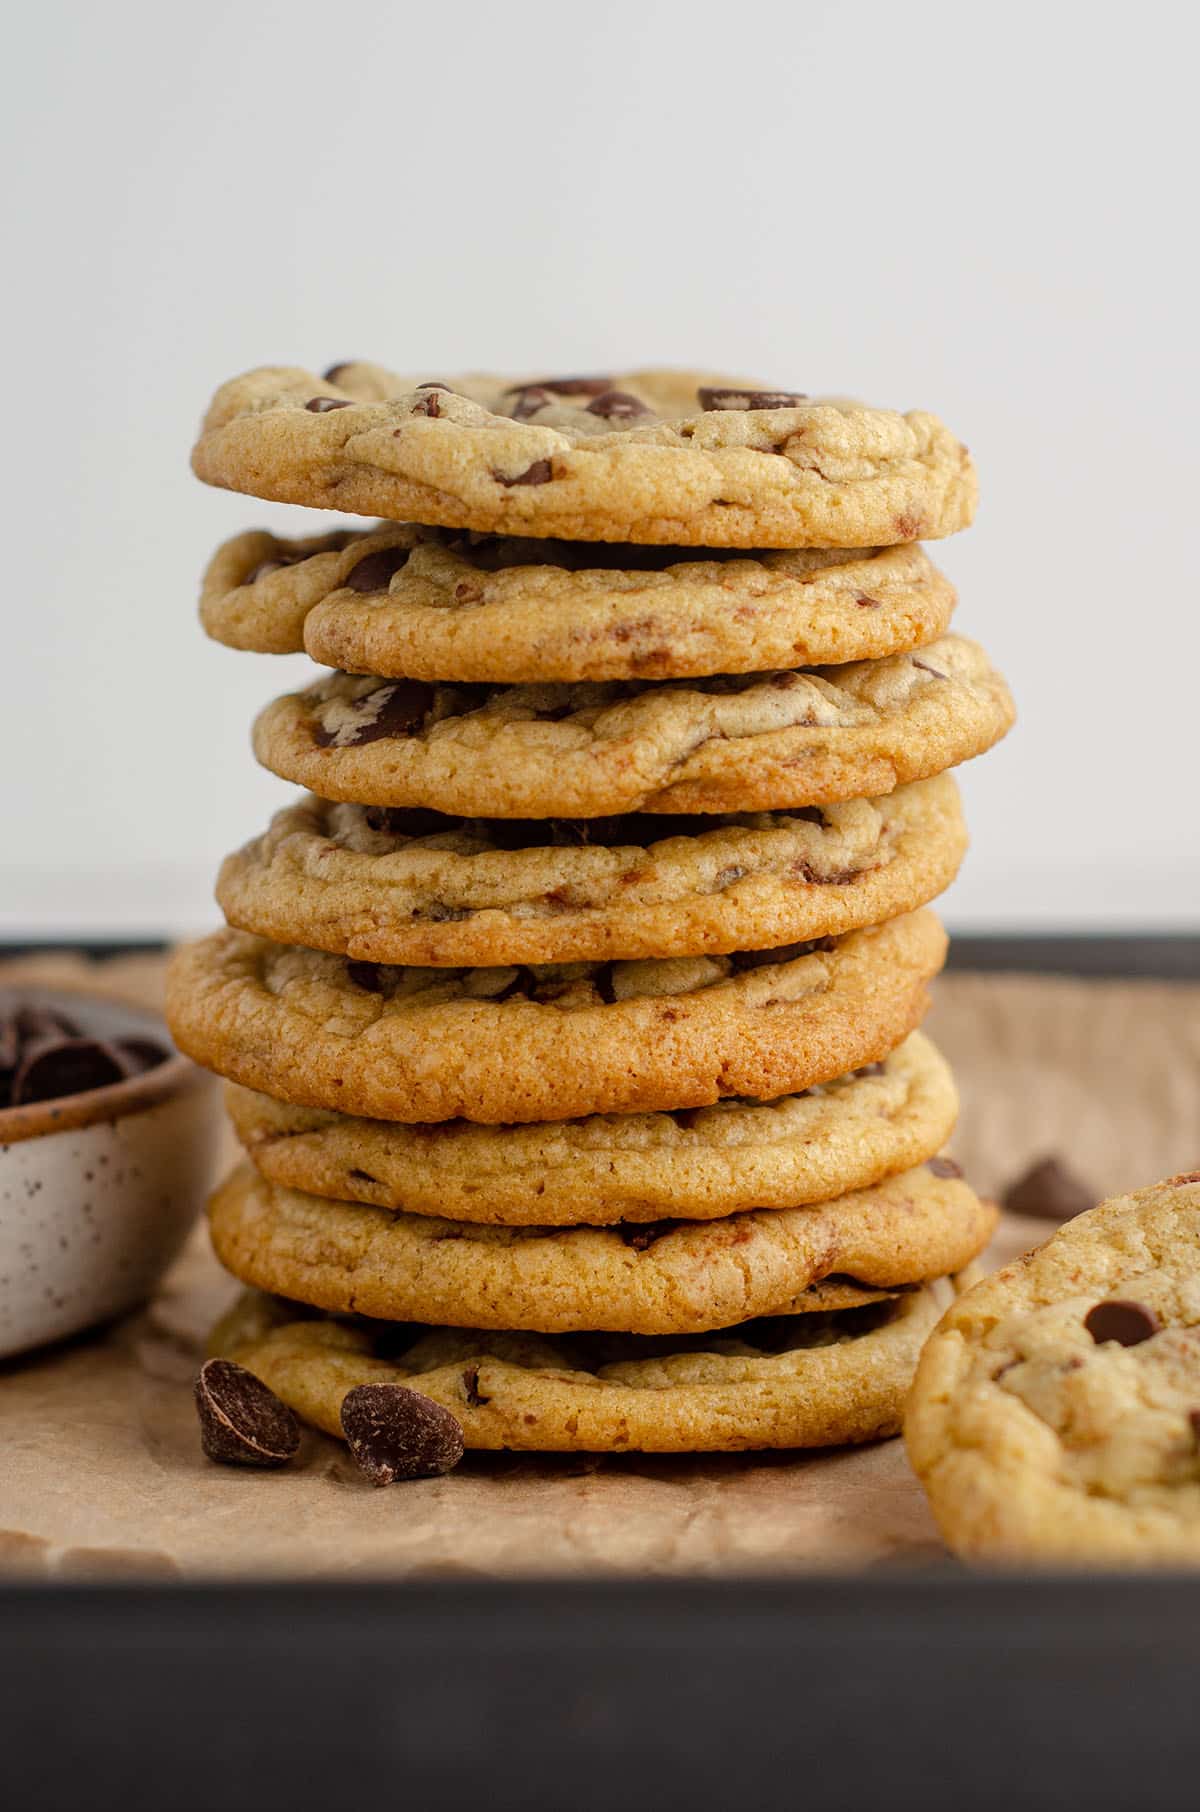
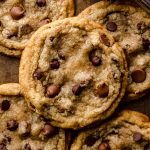
This classic chewy chocolate chip cookie recipe features slightly crisp edges that lead to a soft and chewy interior, and there’s no mixer required! With hundreds of 5-star reviews and folks who have adopted this recipe as their standard go-to chocolate chip cookie, you are sure to find something to love about it, too! You can also find this recipe on page 15 of my cookbook.
Don’t miss this beloved cookie recipe as chocolate chip cookie bars, spiced chocolate chip cookies, brown butter chocolate chip cookies, and sourdough discard chocolate chip cookies— all the same base you know and love!
Tested, Trusted, Totally Beloved: Your Forever Chocolate Chip Cookie
Let’s get one thing straight: there are a lot of chocolate chip cookie recipes on the internet. Like, a lot a lot. And while I respect the hustle of every baker out there chasing the perfect cookie, I’m here to lovingly inform you that this one is the one.
Originally published on my site in 2014, this recipe has had a bit of a glow-up over the years. It now includes updated notes (which I’ve curated from the feedback of thousands of bakers), step-by-step visuals, and a video to guide you from “hopeful home baker” to “cookie hero in your group chat.” It’s the most viral recipe I’ve ever created– millions of views, thousands of repeat bakers, and yes, people literally Googling “Fresh April Flours chocolate chip cookies” because once they try it, they’re totally hooked.
It’s the kind of recipe that turns skeptics into believers. The kind people thank you for in Instagram comments, DMs, emails, and Facebook cookie groups. The kind that gets shouted out in reviews that say some form of “I’ve finally found my chocolate chip cookie recipe.”
Listen, I know a chocolate chip cookie can seem basic. But let’s not pretend that finding the one isn’t basically the baking equivalent of striking gold. This recipe is soft, chewy, perfectly balanced with sweetness and chocolate flavor, and hits every nostalgic note you didn’t even know you were missing. I’ve made it more times than I can count (seriously, I’ve definitely lost count), and it never lets me, or anyone else, down.
So grab your spatula and your mixing bowl (no electric mixer needed!), and maybe hide a few cookies for later. Because these? These disappear fast. You’ve officially been warned.
Why READERS love these Perfect Chocolate Chip Cookies
I have a degree in biology, which means I’m wired to ask why, especially when it comes to baking. And chocolate chip cookies? They’re basically the holy grail of baking science.
What fascinates me is how nearly every chocolate chip cookie recipe starts with the same basic ingredients, but subtle shifts in ratios, mixing methods, ingredient and oven temperatures, and even rest time can completely transform the end result. Whatever it is you love about your favorite chocolate chip cookie is all (delicious).
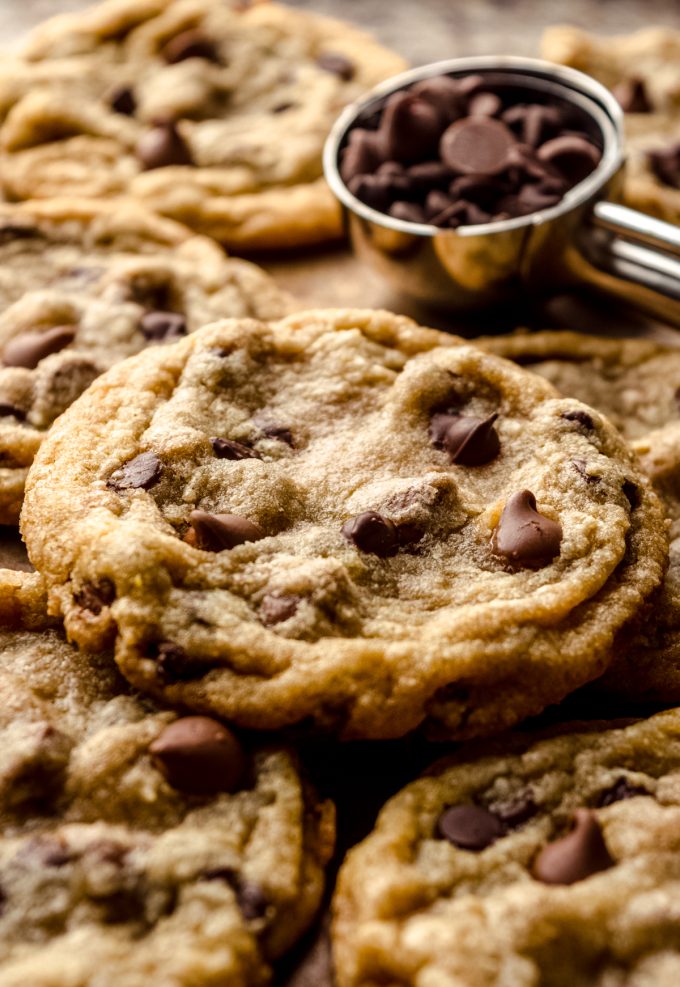
My personal gold standard? A cookie with slightly crisp edges and a soft, chewy center. That preference was almost quite literally baked into me early. In high school, I ended every lunch with two cookies from the cafeteria: one soft sugar cookie and one slightly crisp, chewy chocolate chip. That combo basically shaped my ideal cookie experience.
I’ve done a lot of research on what makes a chocolate chip cookie behave the way it does, and if you’re nerdy like me and want to dig deep into the science, I’ve compiled some of my favorite resources [link here, if you have one].
I’ve read up on the science A LOT, and if you care to see the resources that I love and have read multiple times (true story), here is a great read. If you want the Cliff’s Notes: baking is science, and this cookie is my best experiment yet.
Ingredients for Chewy Chocolate Chip Cookie Recipe
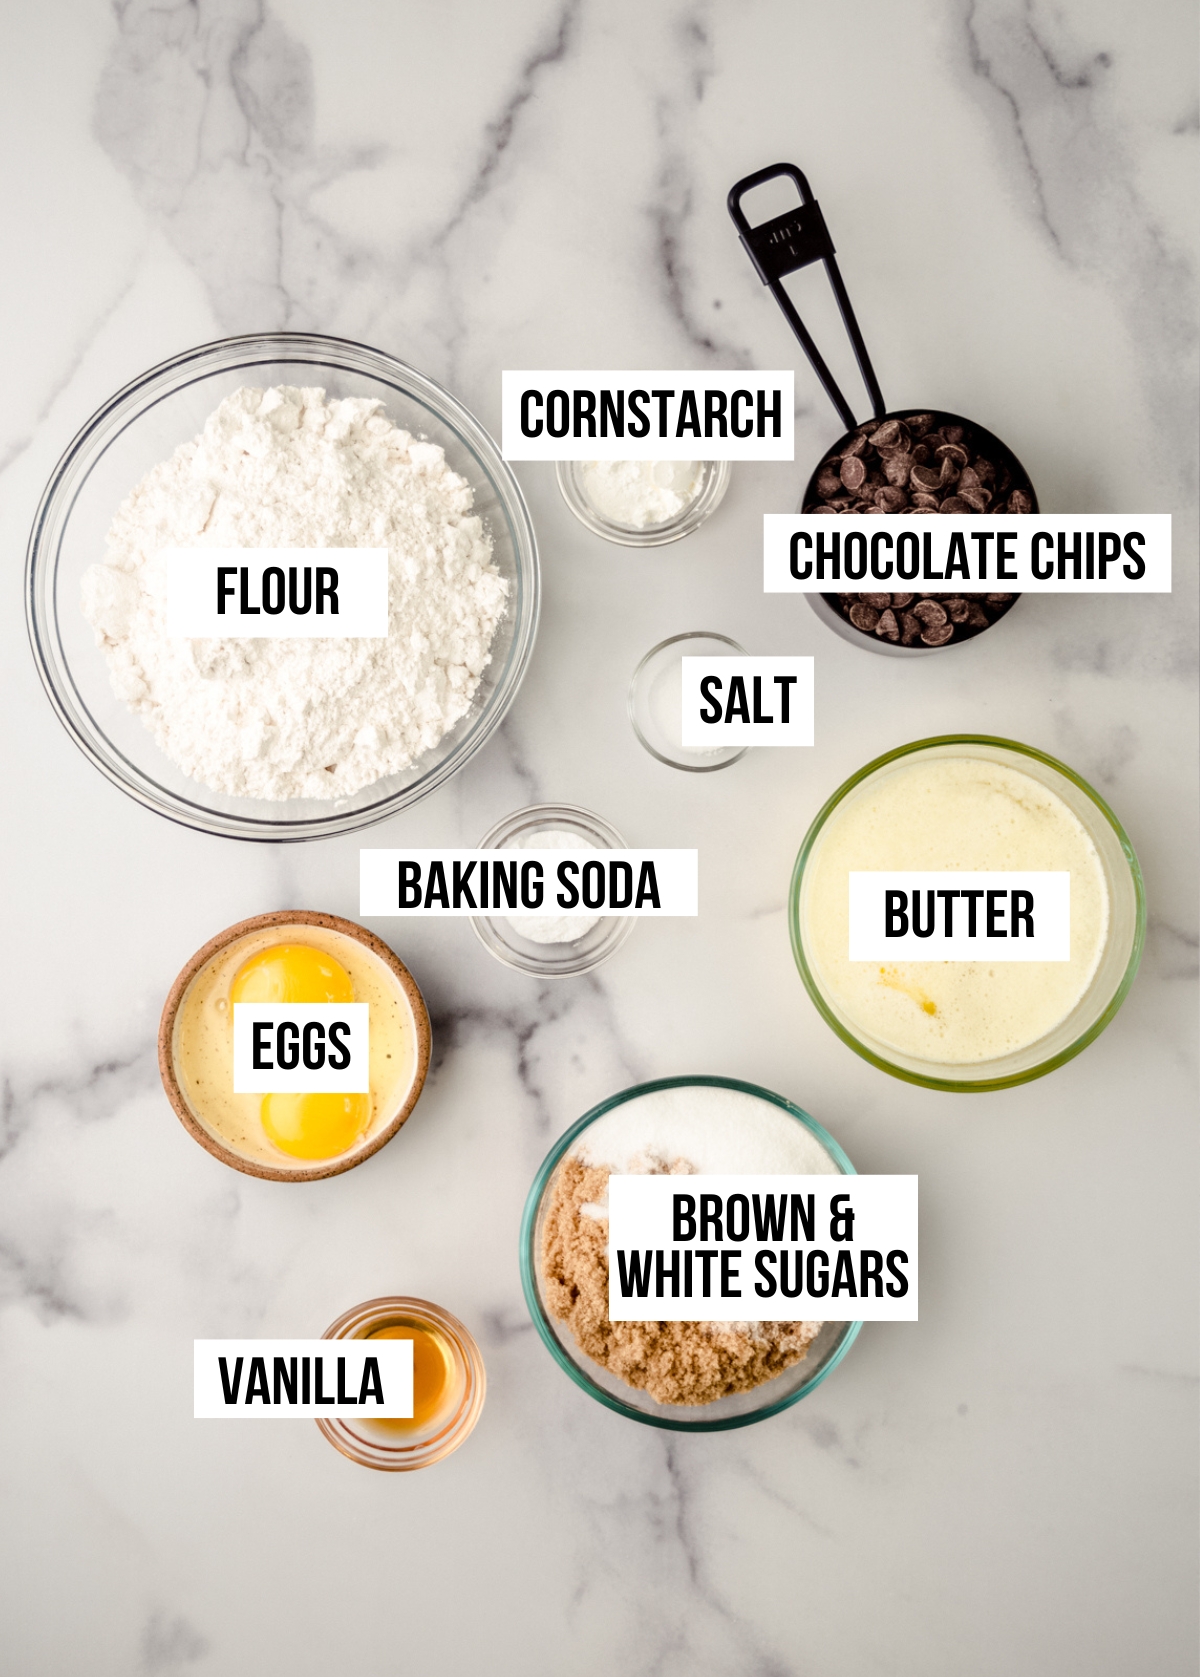
There’s not a whole lot of variety in the actual ingredients involved in chocolate chip cookie recipes. It’s more about the why, which we will talk about in a bit. Here’s a visual of what you’ll need. You can find specific amounts and details about how to prepare these ingredients in the recipe card below.
The ratios and temperatures of these ingredients will dictate the success of your chocolate chip cookies, so pay attention to the details and be sure to read all the notes before you begin the recipe.

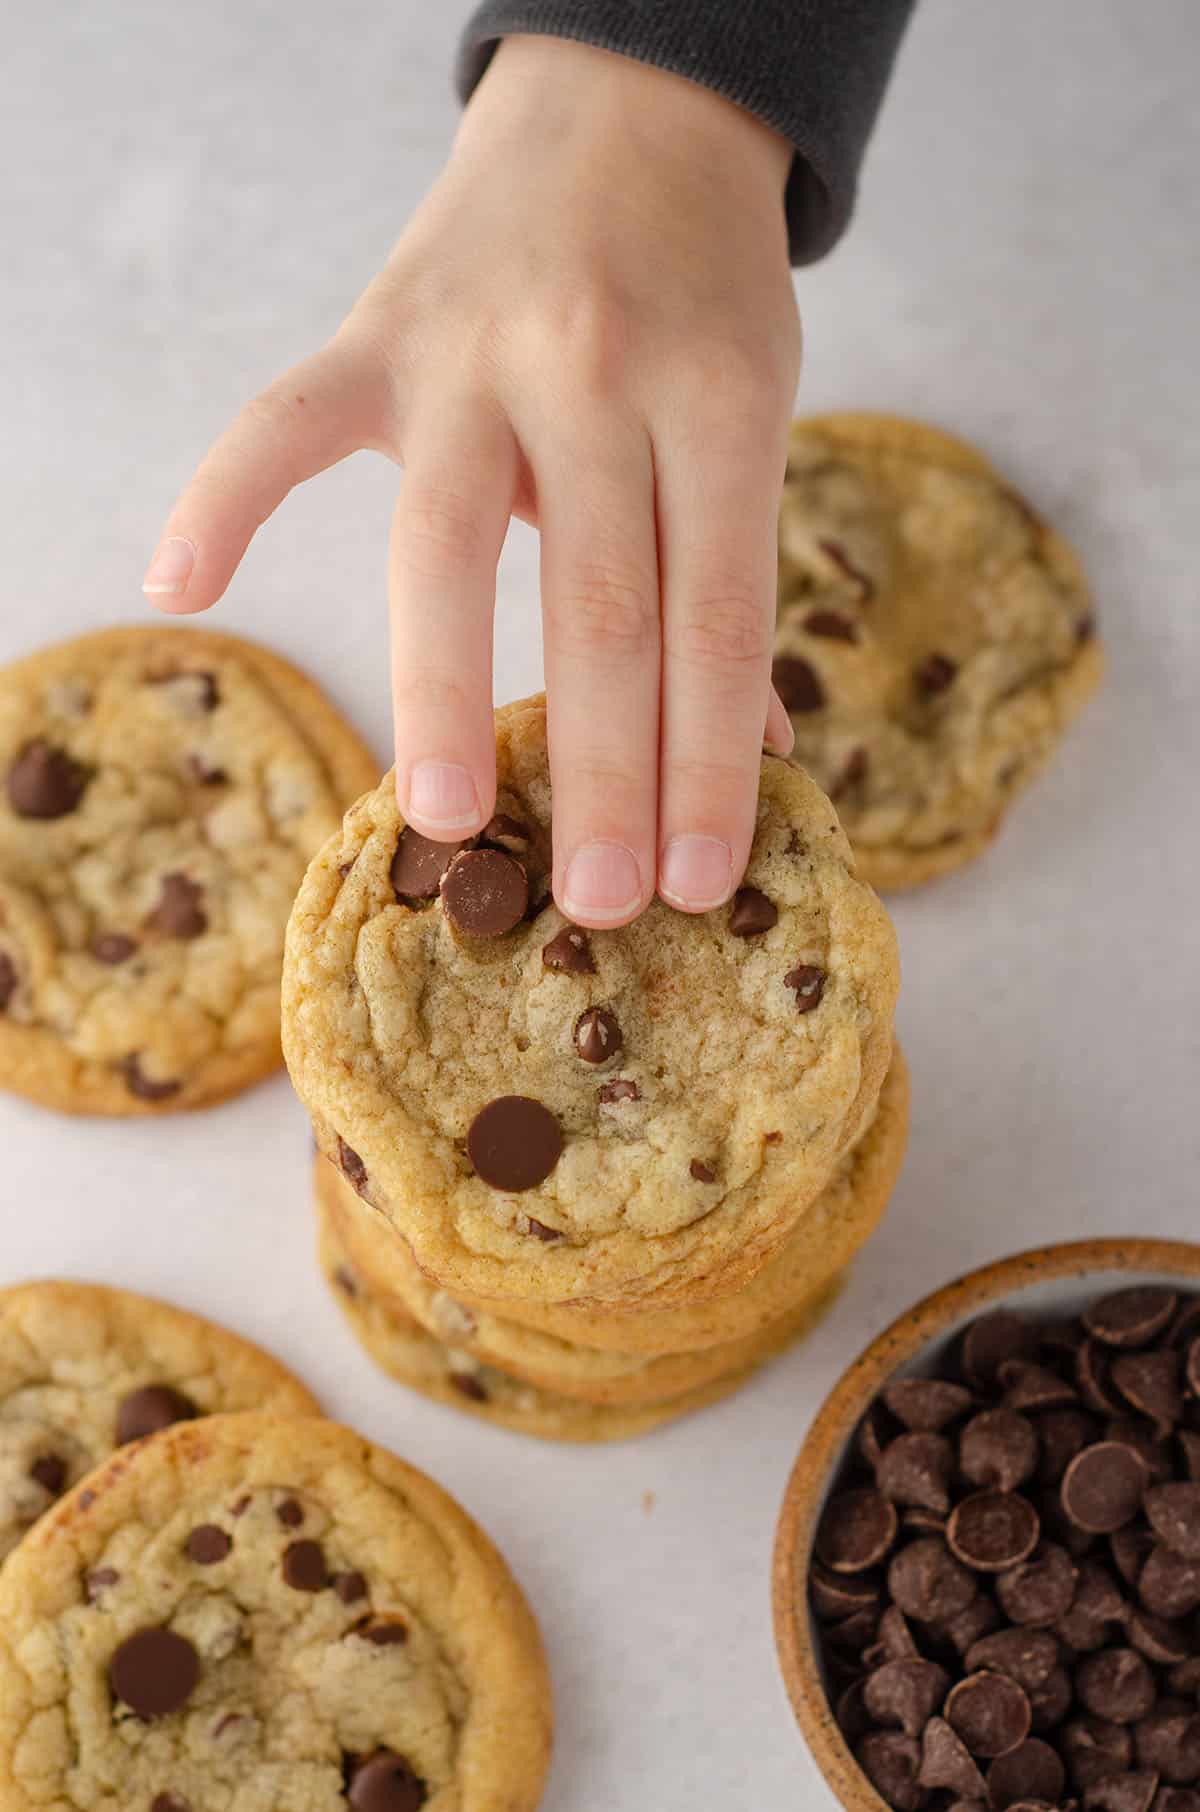
I love using a mix of standard size milk chocolate chips and mini semi-sweet chocolate chips. You are welcome to use any mix you like or stick to one size. This flavor and size combination is my favorite for variety of texture and intensities of chocolate.
TOLLHOUSE: RESPECTFULLY, WE MAKE IT BETTER
The Nestlé Tollhouse cookie recipe? Those folks knew what they were doing when they created that recipe. Phoebe’s grandmother wouldn’t have relied on it so heavily if it wasn’t awesome, right? Printed right there on the bag, it’s a reliable, nostalgic, no-fail go-to. But when it came to creating my ultimate cookie, I had to tweak a few things.
ADD SOME CORNSTARCH
Just the same way I add a little cornstarch to my white cake as well as my angel food cake to give them a softer, cakey texture, I add some cornstarch to my classic chocolate chip cookies to help increase the chew factor but not so much that we start talking “cakey” cookies.
ADD AN EGG YOLK
What makes a cookie chewy vs soft? A lot of stock lies in eggs. Eggs, as a whole, add structure to baked goods and help them rise. Egg whites bring a large quantity of the moisture to a cookie, and yolks create a source of fat. With fat, we find a great vehicle for flavor and a lot of chew.
For my cookies, I remove one egg white (we’ll add in more moisture in a second) and leave the yolk. Doing so brings a large source of fat to the cookie and helps keep the cookies fudgy (like brownies) and dense (fewer pockets of air).
Denser cookies will cook from the outside faster (think flatter) creating crunchy edges and leaving the inside chewy.
MELT THE BUTTER
Butter, while imperative to the flavor of cookies, can cause cookies to spread a lot in the oven. Furthermore, using softened butter and creaming it with sugar incorporates air into cookie batter, bringing lift to cookies while they bake.
You would do this if you wanted your result to be a puffier cookie (classic Nestlé Tollhouse cookies require creaming of butter with the sugars).
I like to melt my butter because it helps keep the cookies chewy and dense, and we will refrigerate the cookie dough once it’s all mixed together to solidify the butter again, preventing greasy cookies.
INCREASE THE BROWN SUGAR
I’ve said it before and I’ll say it again– brown sugar brings super chew to baked goods. Brown sugar is white (granulated) sugar with molasses in it, so it automatically brings moisture with it when it’s added to cookies (remember, we took some moisture out by removing that egg white).
Plus, it caramelizes faster, so the toffee/butterscotch flavors in the cookie are unparalleled vs a cookie made with all or mostly granulated sugar.
CHILL THE DOUGH
There is much debate over this in the chocolate chip cookie world, but I have made a lot of chocolate chip cookies in my life, and I am here to tell you…
Chilled cookie dough > non-chilled cookie dough.
For one, since we are using melted butter in the dough, we need some time for the butter to solidify again so that our cookies don’t end up as cookie puddles (although I’m sure those are delicious).
Secondly, the longer your cookie dough sits, the longer the flour has to absorb moisture from the butter, eggs, and brown sugar which leads to chewiness.
Lastly… Marriage of flavors. You can’t argue with that one.

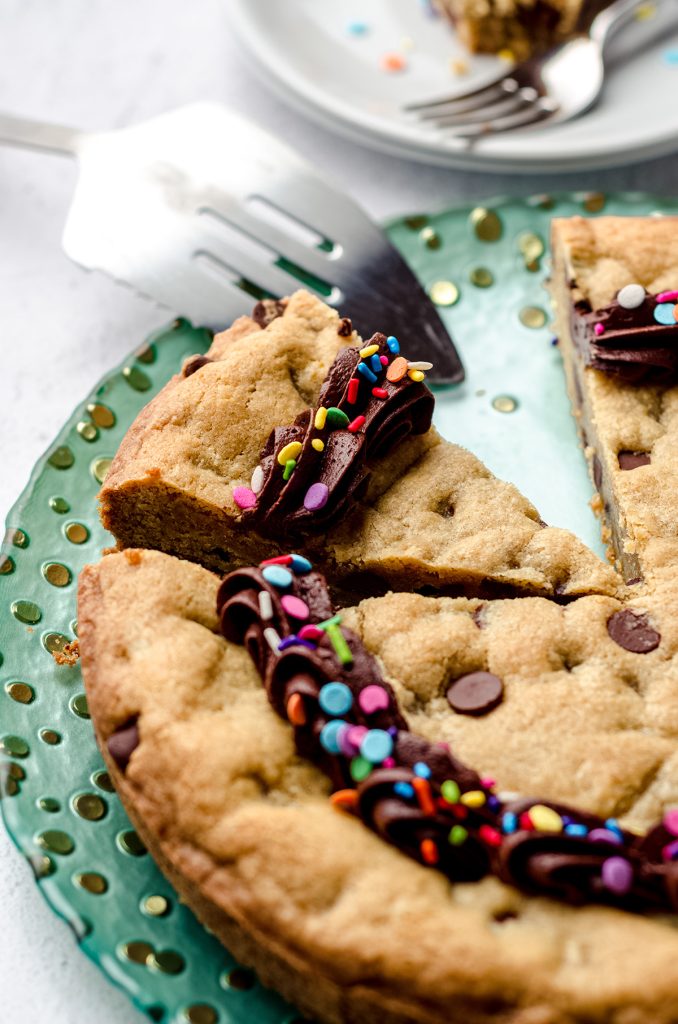
Don’t have time to chill the dough? Turn the dough into a chocolate chip cookie cake or press it into a 9″ x 13″ baking pan and bake at 325ºF/163ºC for 22-24 minutes.
Classic Chocolate Chip Cookie Recipe substitutions and variations
While I wouldn’t encourage you to stray too far from the original chocolate chip cookie recipe listed here, you can certainly change the chips to be any kind of chips you want. You can even play around with the extracts you use to add fun flavorings.
If you are looking for specific variations on a chocolate chip cookie theme, here are all of my chocolate chip cookie recipes.
How to make the Best Chewy Chocolate Chip Cookies
Because I use melted butter in these cookies, you don’t need your mixer (yay!).
It is as simple as combining the dry ingredients, setting them aside, combining the wet ingredients, then putting it all together. The chocolate chips go in last before you’ll chill the dough.
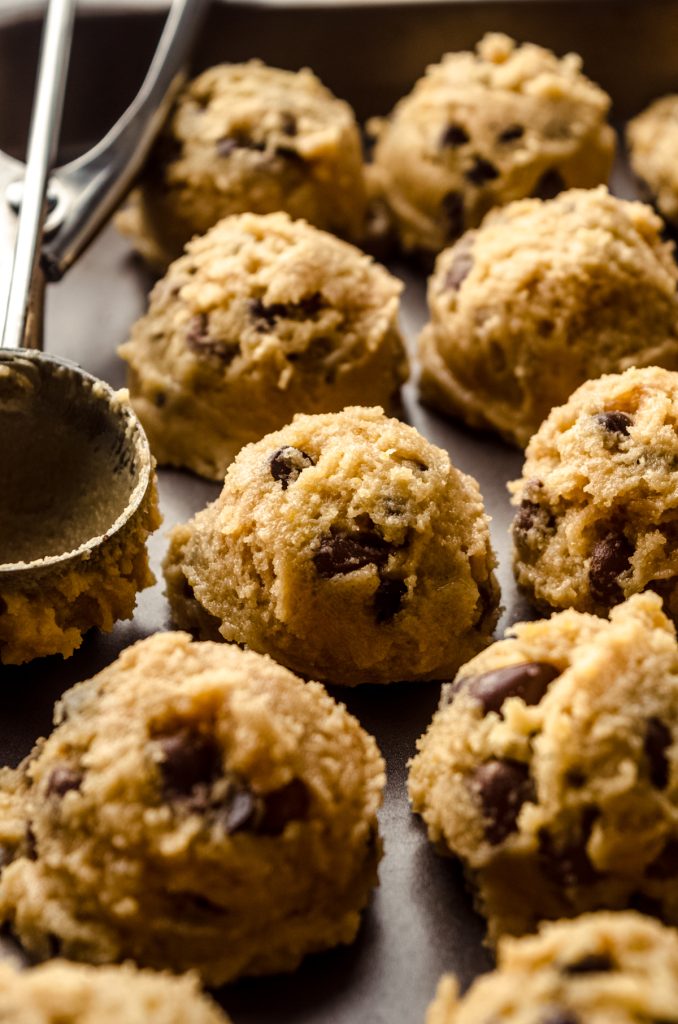
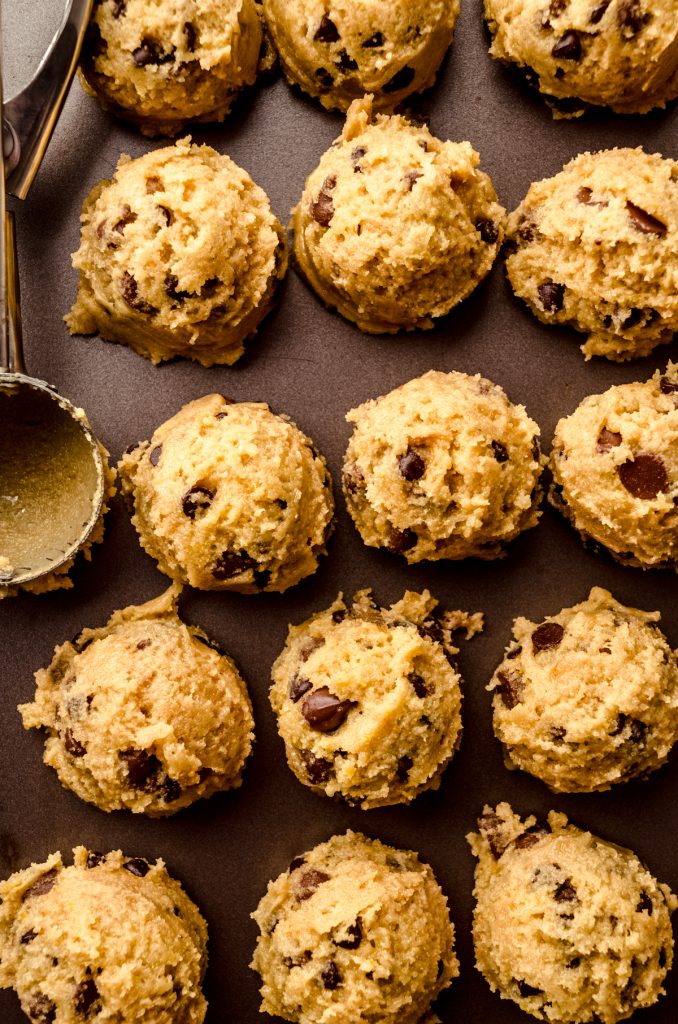
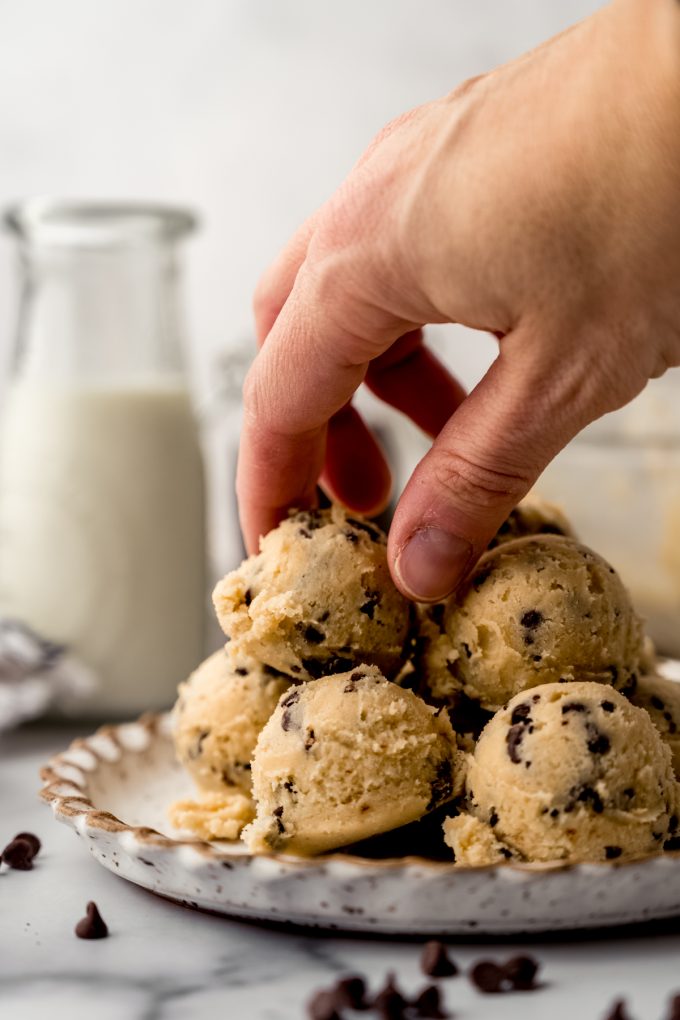
Over the years, I have discovered I prefer to scoop and roll the dough balls before I chill it. But if you’re low on space, you can chill it in the bowl. Allow it to sit out at room temperature for about 20 minutes before trying to scoop it– it will be super hard upon removal!
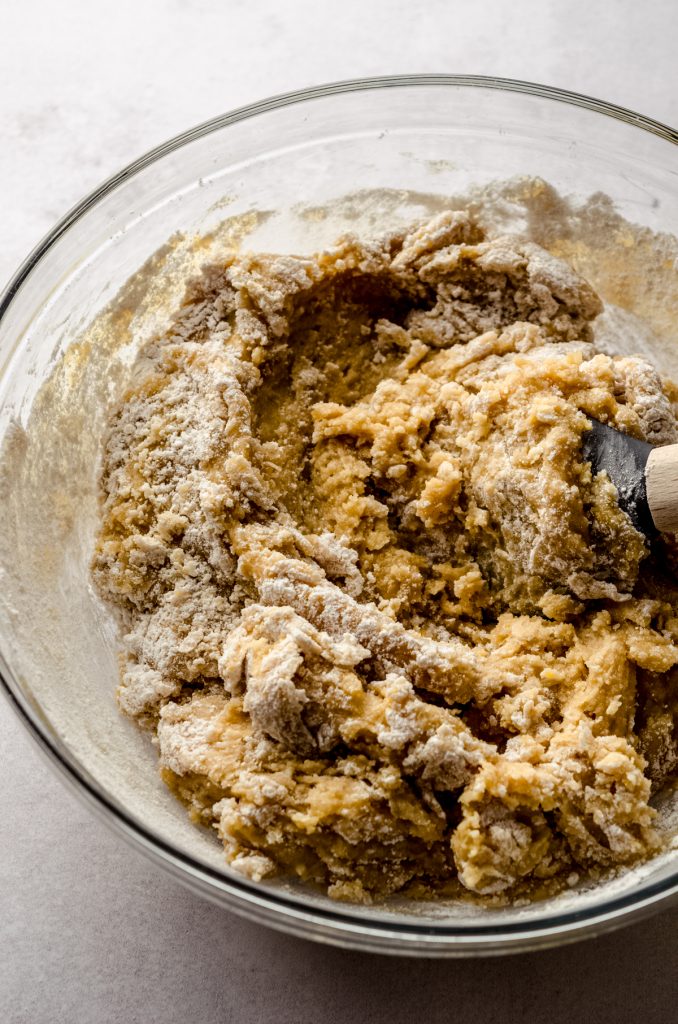

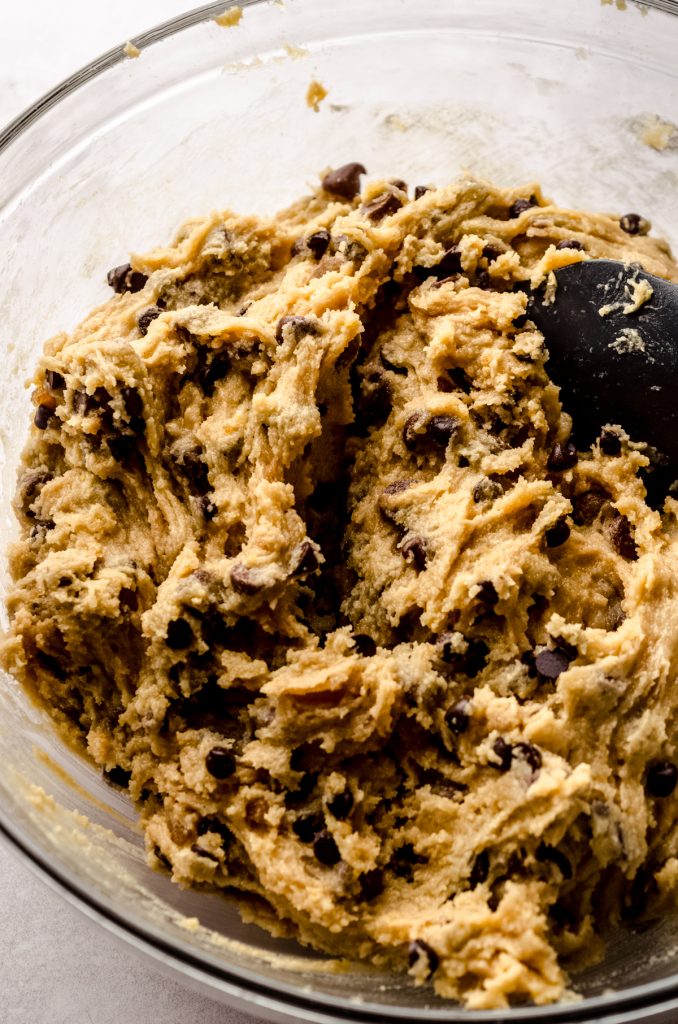
This cookie dough will be soft, and the chocolate chips might slide around at first thanks to the melted butter, but just keep stirring. It will come together, I promise. Between the melted butter and extra egg yolk, the dough might not look like your typical cookie dough… And that’s exactly how it’s supposed to be. Trust the process!
How to know when Classic Chocolate Chip Cookies are done
Bake your cookies for 10-11 minutes, remove from the oven when they juuuuust start to turn brown, and then allow them to cool on the baking sheet for 5 minutes.
Leaving them in the oven until they just start to brown will ensure you have a bit of crispiness to your edges. Allowing them to cool on the sheet continues to bake the bottoms and parts of the edges, caramelizing the sugars further and bringing more toffee/butterscotch notes to the overall flavor.
I know it may seem like a lot to put into just simple chocolate chip cookies, but trust me, the work is worth the result.
And if you need another reason to make these cookies, taste testers have often related them to those cafeteria chocolate chip cookies I spoke about, so if that elicits any kind of nostalgic elementary/middle/high school memories for you and you’d like to recreate them in your own kitchen… This is your chocolate chip cookie recipe, my friend!
Fill them with chocolate chips, mini-m&m’s, butterscotch chips, peanut butter chips… Whatever kind of chips you love! A classic chocolate chip cookie recipe is something every baker should have in their repertoire.
Chewy Chocolate Chip Cookies Recipe storage
Store chocolate chip cookies at room temperature in an airtight container up to 1 week. My best tip is to reheat cookies for 6-8 seconds before enjoying.
HOW LONG ARE CHOCOLATE CHIP COOKIES GOOD FOR?
For the most part, chocolate chip cookies are pretty resilient. They will keep their perfect texture pretty well stored properly, but you can add a slice of bread to the container if you think they are losing their soft chew too quickly.
HOW TO FREEZE CHOCOLATE CHIP COOKIES
You can freeze baked cookies for up to 3 months. Wrap them tightly and allow to thaw at room temperature before enjoying.
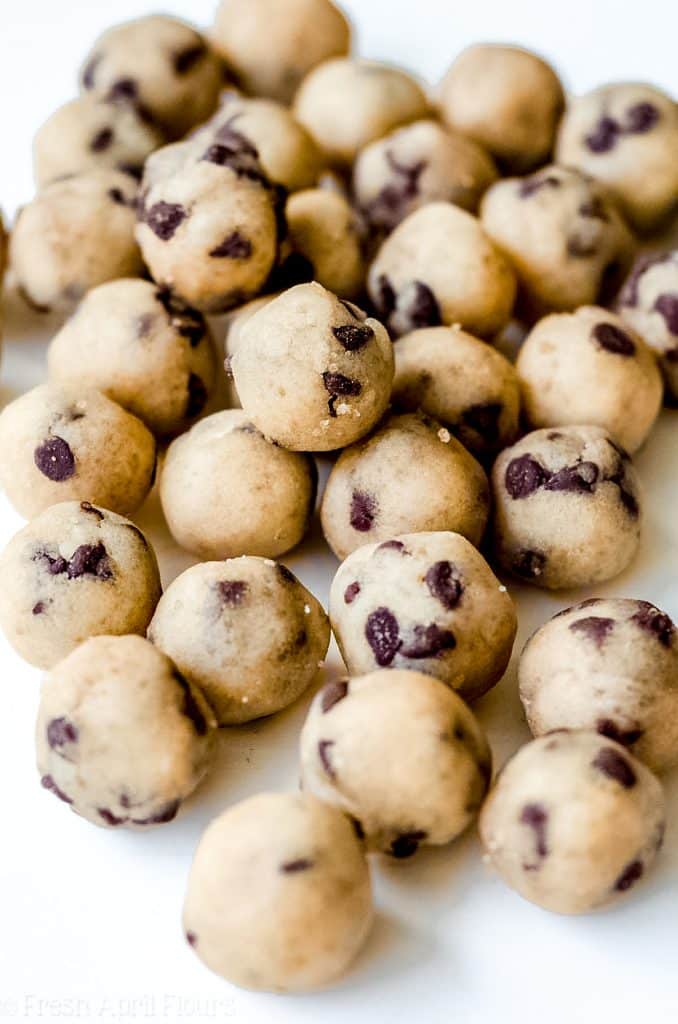
You can also freeze rolled dough for up to 2 months. Bake from frozen and add 1-2 minutes to the baking time.
HOW DO YOU MAKE COOKIES STAY SOFT AND CHEWY?
Proper storage is the key to keeping cookies soft and chewy. Be sure they’re in an airtight container or zip bag and utilize the slice of bread if they’re losing softness as they sit.
FAQs for the Best Chewy Chocolate Chip Cookies
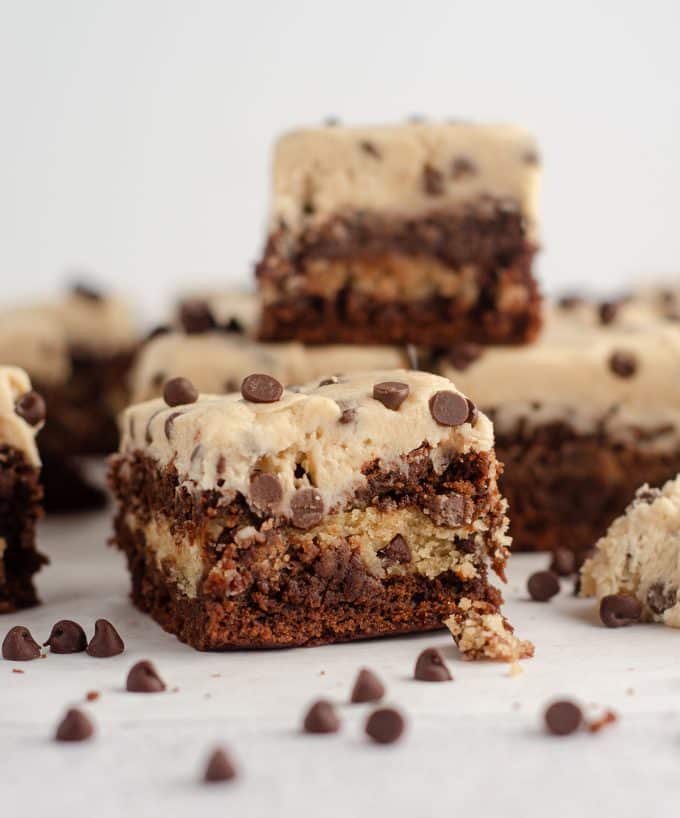
Love chocolate chip cookies in different forms? Check out any of these chocolate chip cookie-based recipes next: chocolate chip cookie dough bites, chocolate chip cookie cake, cookie dough brownies, and edible chocolate chip cookie dough.
Classic Chocolate Chip Cookies
Ingredients
- 2 and ¼ cups (270g) all-purpose flour be sure to measure properly
- 1 teaspoon baking soda
- 2 teaspoons cornstarch
- 1 teaspoon salt
- 1 cup (227g) unsalted butter melted1
- 1 cup (200g) firmly packed light brown sugar
- ½ cup (100g) granulated sugar
- 1 large egg + 1 large egg yolk room temperature2
- 1 and ½ teaspoons vanilla extract
- 1 and ½ cups (255g) chocolate chips3
Instructions
- In a large bowl, toss together the flour, baking soda, cornstarch, and salt. Set aside.2 and ¼ cups (270g) all-purpose flour, 1 teaspoon baking soda, 2 teaspoons cornstarch, 1 teaspoon salt
- In a medium sized bowl, whisk together the melted butter, brown sugar, and granulated sugar. When sugar clumps disappear, whisk in the egg, egg yolk, and vanilla.1 cup (227g) unsalted butter, 1 cup (200g) firmly packed light brown sugar, ½ cup (100g) granulated sugar, 1 large egg + 1 large egg yolk, 1 and ½ teaspoons vanilla extract
- Pour the wet ingredients into the dry ingredients and mix together with a large spatula. Fold in the chocolate chips and stir until evenly dispersed.1 and ½ cups (255g) chocolate chips3
- Chill the dough: roll the dough into balls4 (I use this #50 cookie scoop for all of my standard size cookies) and place balls of dough onto a large baking sheet, large platter, or something else flat that you can stick in the refrigerator so the dough can chill. You could also chill the whole bowl of dough, but this dough is difficult to scoop once chilled, and chilling is mandatory. Cover the dough balls/bowl of dough and chill in the refrigerator for at least 2 hours and up to 3 days.
- When you are ready to bake the cookies, move a rack to the middle position in the oven, then preheat it to 350ºF (177ºC). Line two large baking sheets with parchment paper or silicone baking mats and set aside.
- Place no more than 8 balls (with a preference of 6) of dough onto each cookie sheet. If you like, you can press a few more chocolate chips on top/sides of the dough balls for aesthetic purposes. Keep dough/dough balls that are waiting to bake chilled.
- Bake the cookies for 10-11 minutes or until edges just start to turn brown. Remove from oven and allow cookies to cool on the baking sheet for 5-10 minutes before moving to a wire rack to cool completely. You can reshape cookies while they are hot using a round cookie cutter or the rim of a mug or glass if they're more misshapen than you prefer. Store cookies in an airtight container at room temperature, up to 7 days. Baked cookies may be frozen up to 3 months. You may also freeze rolled cookie dough up to 3 months. Bake frozen for 11-12 minutes.
Video
Notes
- Melted butter: take care to melt the butter just until it’s melted and not foamy. My best tip is to melt it until there is still some stick visible, then stir it to help distribute the heat to melt the rest of the butter. If the butter becomes foamy, you may be losing too much moisture which could drastically affect the success of the cookie.
- Room temperature eggs: these are preferred for even distribution into batter. As a rule of thumb, when a recipe calls for room temperature or melted butter, it’s generally a good idea to use room temperature eggs as well. If you don’t have time to let eggs come to room temperature, place them in a bowl of warm water for 5-10 minutes before using.
- Chocolate chips: I prefer to use a combination of 1 cup milk or semi-sweet standard size chocolate chips and ½ cup mini semi-sweet chocolate chips for these cookies.
- Balls of dough: I have made these by just dropping cookie dough right from the scoop onto the baking sheet and also rolling the balls smooth with my hands. Dropping will give your cookies extra texture on the outside while rolling will make the cookies a little more uniform in texture. I do not prefer one way or the other, and the taste is exactly the same.
- Turn these into brown butter chocolate chip cookies: see my brown butter chocolate chip cookies recipe for full details.
- Extra large cookies: you can use a #16 cookie scoop or ice cream scoop with a trigger for larger cookies. Bake 3 cookies at a time for 15-16 minutes.
- Mini cookies: I do not recommend using this recipe to make mini cookies. Use my carefully tested recipe if you are looking for mini chocolate chip cookies.
- Cookie bars: you can make this cookie dough into bars. See my chocolate chip cookie bars post for details.
- If your cookies are spreading: in my decade of experience with folks making my chocolate chip cookies, you can do everything right (weighing flour, chilling dough) and your cookies can still spread. Try reducing your oven temperature to 325ºF (163ºC).
Nutrition Disclosure
All nutritional values are approximate and provided to the reader as a courtesy. Changing ingredients and/or quantities will alter the estimated nutritional calculations.
Mine really flattened out. I followed everything exact and chilled for 6 hours . Don’t know what I did wrong
Hi, Beth– did you weigh your flour?
The same thing happened to me (although I only chilled for 3 hours). Did you figure out what happened?
Hi, Angela– did you weigh your flour?
I’m an avid home baker and have made many, many kinds of cookies over the years. For some reason I’ve never really settled on one chocolate chip cookie recipe – but I think this is the one. My hubby and one of my kids both commented on how delicious they were, asking if I had made these ones before or not. My husband with a sweet tooth said they were his favourite by a long shot. The edges were slightly crispy and the middle was perfect. They weren’t greasy and the combo of chocolate chips was perfect. I chilled mine in the bowl as I usually don’t really have room for cookie sheets in my fridge, and it worked totally fine scooping the dough that way (I let it sit at room two for about 25 minutes before scooping.)
Thanks for the great recipe, Lynn!
Thank you so much, Julie! I’m so glad you all enjoyed them 🙂
I made these cookies for the first time yesterday after not having baked in years. Not only was the recipe incredibly easy to follow, but they are the best chocolate chip cookies I have EVER made! I brought them to a BBQ today and they were all gone in minutes!!! I also learned how to properly measure flour without a scale because of you and GIRRRRRRRL.. GAME CHANGER!!! Thank you so much. Will definitely be making more of your recipes!
Thanks so much, Mallory! I’m so happy you love them as much as I do 🙂
These are the best cookies I have EVER made… the recipe is easy and the flavor is amazing… I had several people come up to me and rave about how delicious they were… they were gone in a flash!
Thank you so much, Helen!
I followed this recipe to a T! I make cookies all the time but was looking for a different recipe, this one was not it for me. The cookies spread so much, even after chilling overnight. They are just ugly, I do not dare taste them. I baked one cookie at a time trying different oven temps, after the 3rd attempt it all went straight to the trash. I will forever still to my no chill recipe that has never let me down.
Also before you ask, I weighed everything in grams as noted in the recipe. This is not my first time backing cookies. I also tried reshaping and that was a fail as well.
Hi, there! I’m not sure how to reply, since I’ve literally never heard this report from anyone in an entire decade or with tens of thousands of people who have made them. I’m wondering why you tossed them, though, because even if ugly, I know for a fact they are delicious 🙂 I have had folks find success at 325ºF if they’re spreading too much at 350ºF, but I’ve never had anyone report that THAT adjustment didn’t make it right. Reshaping should do the trick, but it sounds like there’s no way you’re open to agreeing something else went awry. Thanks for trying!
Mine flattened out as well and I weighed out my flour and chilled the cookies overnight. Even tried to reduce the oven temperature. Don’t know where I went wrong.
Hi, Katrina– did you bake in the middle of the oven? If so, over the years, we have found that some ovens + baking sheet + silicone mats/parchment combos still spread more than we’d like. We’ve tested this recipe A LOT. I always reshape with a cookie cutter or rim of a mug, and the good news is they still taste delicious and reshaping does a pretty good job of keeping them together.
Absolute. Perfection.
These are hands down the BEST chocolate chip cookies I’ve ever made!
I took mine out at the 10 minute mark, used a glass to swirl them into circles, let them sit on the cookie sheet for about 8 minutes and then moved to a wire rack. I had to literally go brush my teeth so I wouldn’t keep going into the kitchen to eat another one!! Thank you for sharing this!!
I love this review so much! Thank you, Nichole 🙂
These are the best by far chocolate chip cookies. I have tried dozens of recipes and this is now my go to. I followed the recipe exactly as written. OMG so hard to stop at just one. I baked at the 350° and amazing results.
Thank you so much, Carol! 🙂
I have left a review before (5 stars) but wanted to come back to add a few notes!
*I’ve been making these cookies since fall/winter of 2018 with GREAT success. Numerous batches came out of my kitchen and met happy mouths and stomachs across my family, friends, coworkers and more.
*In fall of 2022, we bought a new oven, and of all the things I baked, these specific cookies were spreading WAY too much, looking like they had the rings of a tree trunk throughout the cookies. They did not hold their shape at all, despite following the recipe to a T.
*With Lynn’s help, we began troubleshooting the reasons why: Could it be my kitchen scale? The shape of the cookie dough balls? Where my tray sat in my oven? The butter I was using? The silicone mats, maybe? Should I switch to parchment paper? Is it my baking sheets?! I tried MANY different things, thinking I’d never be able to bake these cookies again.
*FINALLY, summer of 2024, we nailed it. It’s my oven temperature + my tray placement that will get these cookies back to the same success I saw before. I (now) bake my cookies at 325 degrees and close to the bottom of the oven, one tray at a time. I use a cookie cutter to round out the edges when they are removed from the oven, but these cookies are finally holding their shape again, so they barely need the cookie cutter’s assistance! Everything else, I follow to a T (weigh my ingredients, too).
Trust the process, people! These cookies DO WORK. Do not question your ability as a baker OR Lynn’s as a content creator/advisor. I’m thrilled I can continue to bake these cookies for all my people! 🙂
Oh, and a PS for my GF friends! I am GF, too, and the King Arthur Measure for Measure GF flour works perfectly for these cookies! 🙂
Thank you, Lynn, for giving us this gem of a recipe!
FAVORITE. COMMENT. EVER. Thank you so much for your trust in me, my recipes, and our troubleshooting! 🙂
Any replacement of egg?
Hi, Ritvika– I have used a liquid egg substitute for these cookies with no issues. Enjoy!
This is one of the best chocolate chip cookie recipes that I have ever made! I’m not exaggerating either!! The only thing that I wish was different was the chilling time that the dough requires but other than that, they’re perfection, seriously perfection! My kids constantly ask for these. I am a baker in my family but my chocolate chip cookies never turn out right! They come flat and deflated but these turn out perfect every time!
Hi, Ann Marie– thank you so much for sharing! This makes me so happy 😃
I made these and then read the reviews. I was honestly nervous after reading the them. I did put 2 trays outside to sit in the snow for 2 hours and 1 tray in the refrigerator to cool. The cookies came out beautiful and delicious. I’ll be making these again. I also didn’t cut them into a circle shape. I like the rustic shape.
Thank you for trusting my recipe, Kristina! 🙂
These chocolate chip cookies were delicious! The recipe was so easy to follow because she spells everything out for you. Great recipe and great page
Thank you so much, Shari!
Does the batter firm up when chilled? My dough is kind of wet.
Hi, Ann– it should be quite firm after chilling.
I’ve made many dozens of chocolate chip cookies over the years using the Nestle Tollhouse recipe so I was hesitant to branch out, but I used this recipe at Christmas and these cookies were AMAZING!! Soft and chewy and utterly delicious. Everyone agreed they were the best chocolate chip cookies I have ever made. The only change I made was to use 2 tsp vanilla instead of 1 1/2 because I really like vanilla. Otherwise I followed the recipe exactly as written. This will be my ONLY chocolate chip cookie recipe from now on. I’m just afraid to make them too soon because it’s hard to stop eating them 😃.
Thank you so much, Katy!
These cookies were amazing. I followed your instructions to the letter and they couldn’t have turned out any better. Since following your recipes I now weigh and spoon out my flour especially to measure before baking and I do weigh all the other ingredients as well. The creativity and science behind your recipes make them full proof and incredible. Thank you for all your hard work.
Karen – Canada
Hey, Karen– thank you so much for your thorough and kind review! I’m so glad you enjoy these cookies 🙂
Prior to baking these cookies, I studied this recipe and poured over the comments more than I like to admit. 🙂 I was a little nervous about the cookies spreading too much, but I just decided to do exactly as Lynn says rather than tamper with the recipe. I just went for it! I followed her directions and used her tips. Perfection. *IF* you’re going for a cookie that’s crisp on the outside and chewy/gooey/dense in the middle- this is for you! Here are a few tips that I gleaned from Lynn’s responses to reviews. 1. Melt your butter until it is just melted- not foaming. When you combine it with your sugars it should NOT be hot. 2. Stick with the size she recommends. I do not have a #50 scoop but figured out that the cookies should weigh about 23 g. I pushed my luck a little bit and made them every so slightly larger- about 35 g. And they were perfect. 3. When shaping the dough into balls, create a taller circle, almost a pillar. That will help to prevent spreading. 4. To allow some moisture to evaporate from the dough during the chilling process, I left the balls uncovered in my refrigerator for about 4 hours before covering them with Saran wrap for the night. I baked the cookies the next morning, so total chill time was about 14 hours. 5. Use a wide mouth mug or glass to reshape the cookies- like Lynn suggests! You will be amazed! Yes, when fresh out of the oven the cookies did look like they spread more than I wanted. But then I *gently* swirled the fresh baked cookies around the rim of an upside down mug. The sides tucked in, they shrunk in circumference, and they became this perfectly round dense cookie with slightly crisp edges! OMG! These feel like a lot of work, but holy moly is it worth it. Thank you Lynn!
This review is my NEW FAVORITE. Great observation about the butter– which is something I keep meaning to put into the recipe card (I’m going to update it right after I finish this reply). I appreciate your careful following of my recipe and sharing your results. And I’m so glad you enjoy the cookies!!
Finding your blog has been the best thing! Your recipes have truly brought joy to my family. I work out just so I can eat your desserts! 😂 Next up is the banana cheesecake…🤤
Thank you so much!! You are going to LOVE that cheesecake. Here’s the link if anyone reading this wants it!
Ate them fresh out of the oven and this is the best choc chip cookie I’ve ever had!
Thank you so much, Sara! I’m so happy you enjoyed them 🙂
Flavor is good but many cookies were flat. Very greasy.
Hi, Michelle– it sounds like you may have over-melted your butter. Be sure that when you melt your butter, it doesn’t foam or spatter. This can lead to butter that is too warm which starts to separate in the cookie dough.
These cookies were really good even though they spread for me :,) super excited to try it again next week to see what else I can do to make sure they don’t spread! I looked through all the reviews and took in everyone’s suggestions but I only did that after I had started baking my first batch! Lesson learned ! They still tasted really good. I can’t imagine how much better they’ll taste when I actually make it right. Something to note is that I think I overheated my butter in the microwave ! I did weigh all my ingredients though 🙂 I also had to adjust the size of the cookie balls I was making because I made them way too big the first time around. Really great recipe!
Hi, Patty– I think we might have chatted in DMs? Either way, I’d melt the butter more carefully next time, making sure it doesn’t spatter or foam. And give them plenty of space on a baking sheet. You should be using an 18″ x 12″ baking sheet and you can bake up to 8 cookies at a time on there. Anything smaller and you’ll want to reduce the number of cookies you bake. Let me know if you try again!